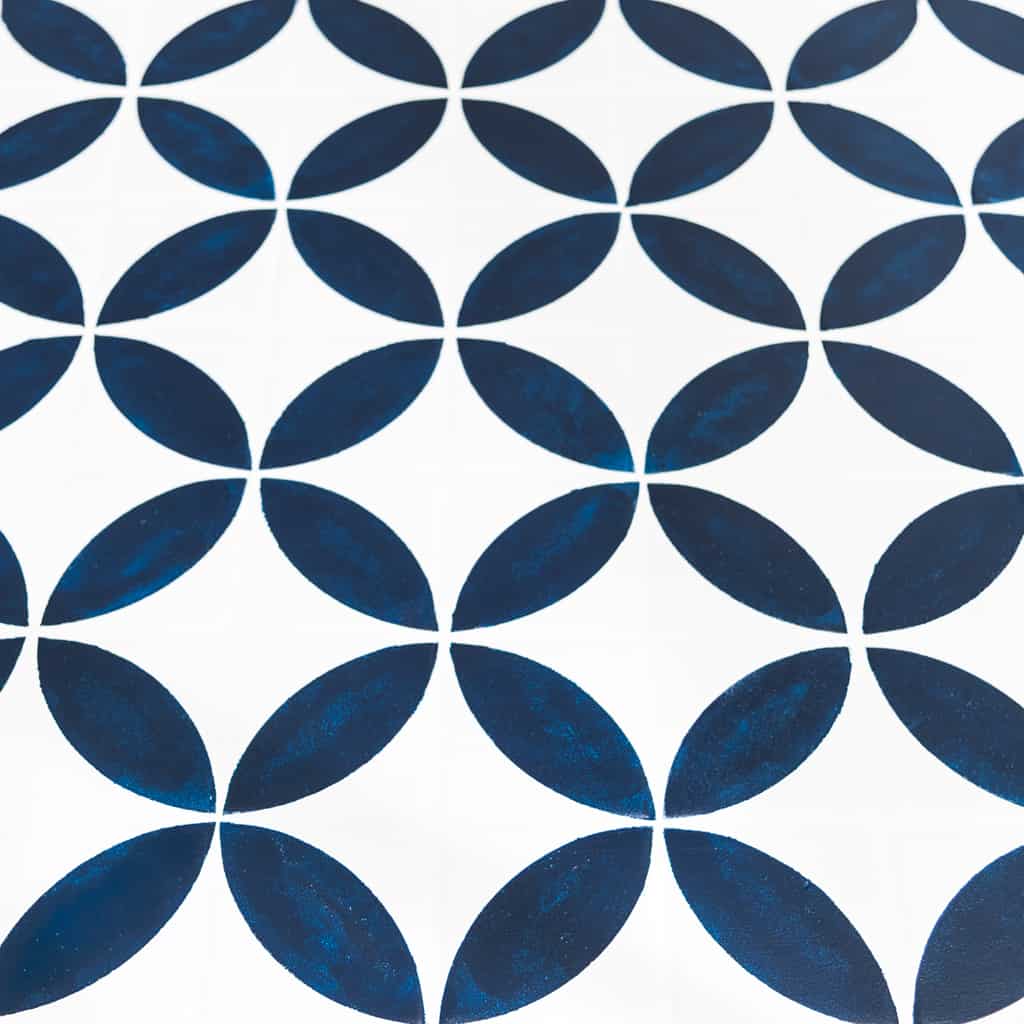
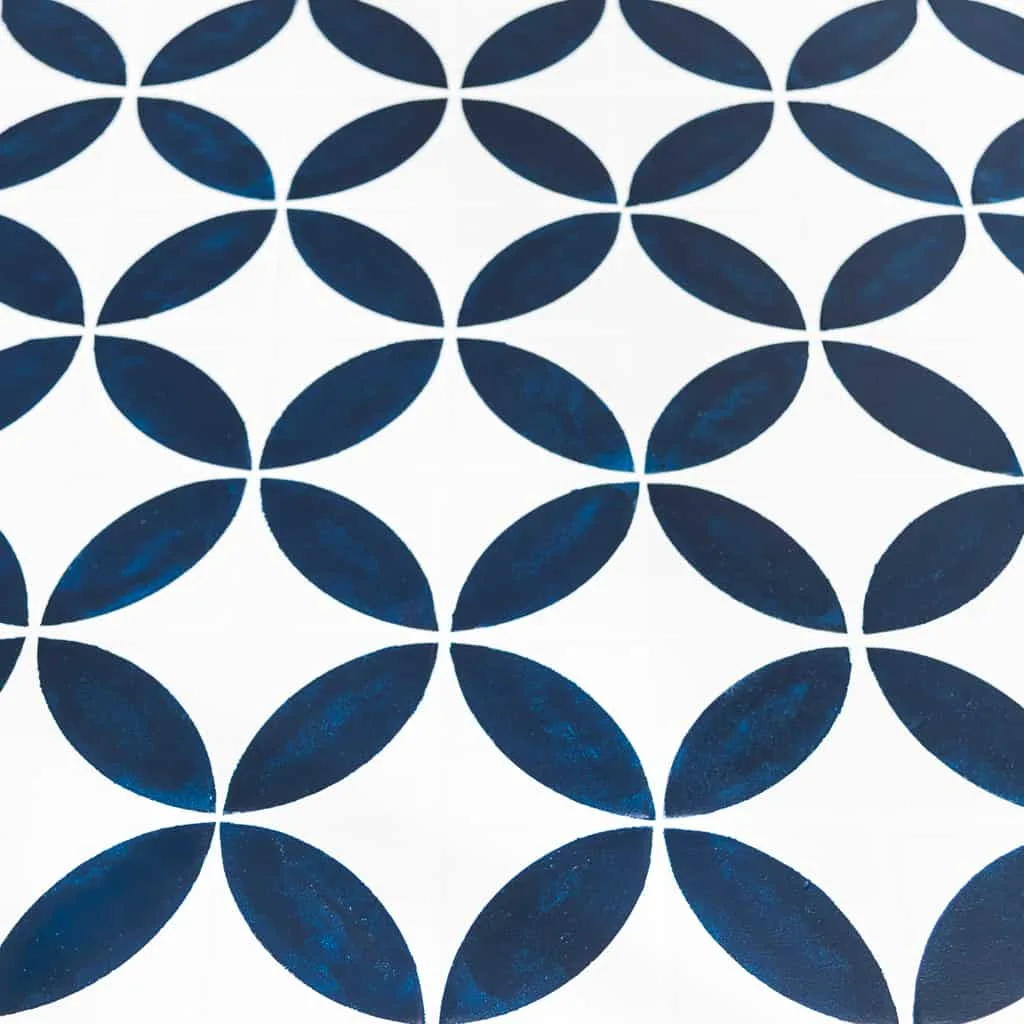
Textured wallpaper is a great way to give an accent wall dimension and style. Try wallpaper behind the bed to make the whole room pop!

When we moved into our new house, I had grand plans for our master bedroom. I envisioned a fabulous textured wallpaper accent wall, a new bed with upholstered headboard, and a cushy area rug to greet our feet in the morning.
Two years later, and the accent wall is blank, the drywall is our headboard, and the hardwood floors are bare. It's time to give our master bedroom the attention it deserves!
This post contains affiliate links for your convenience. Purchases made through these links may earn me a small commission at no additional cost to you. Please visit my disclosures page for more information.
A few months ago, I put together an inspiration board for a navy blue and gray color scheme for the master bedroom. My husband decided he didn't like the cool colors, so my challenge now is to work with the red and beige we already have.
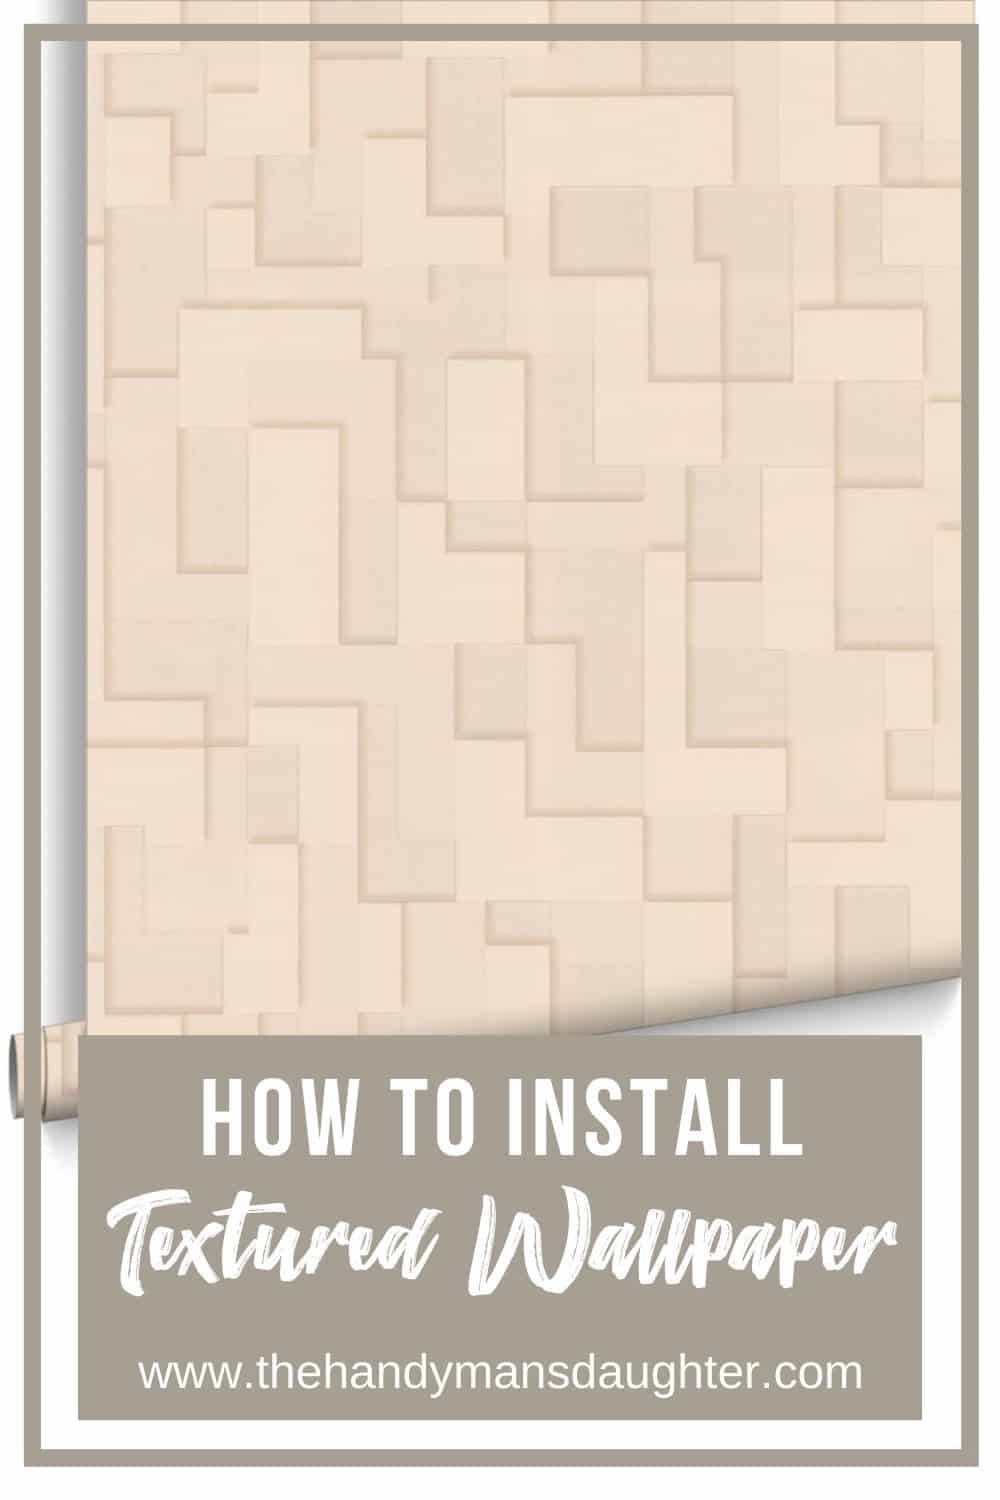
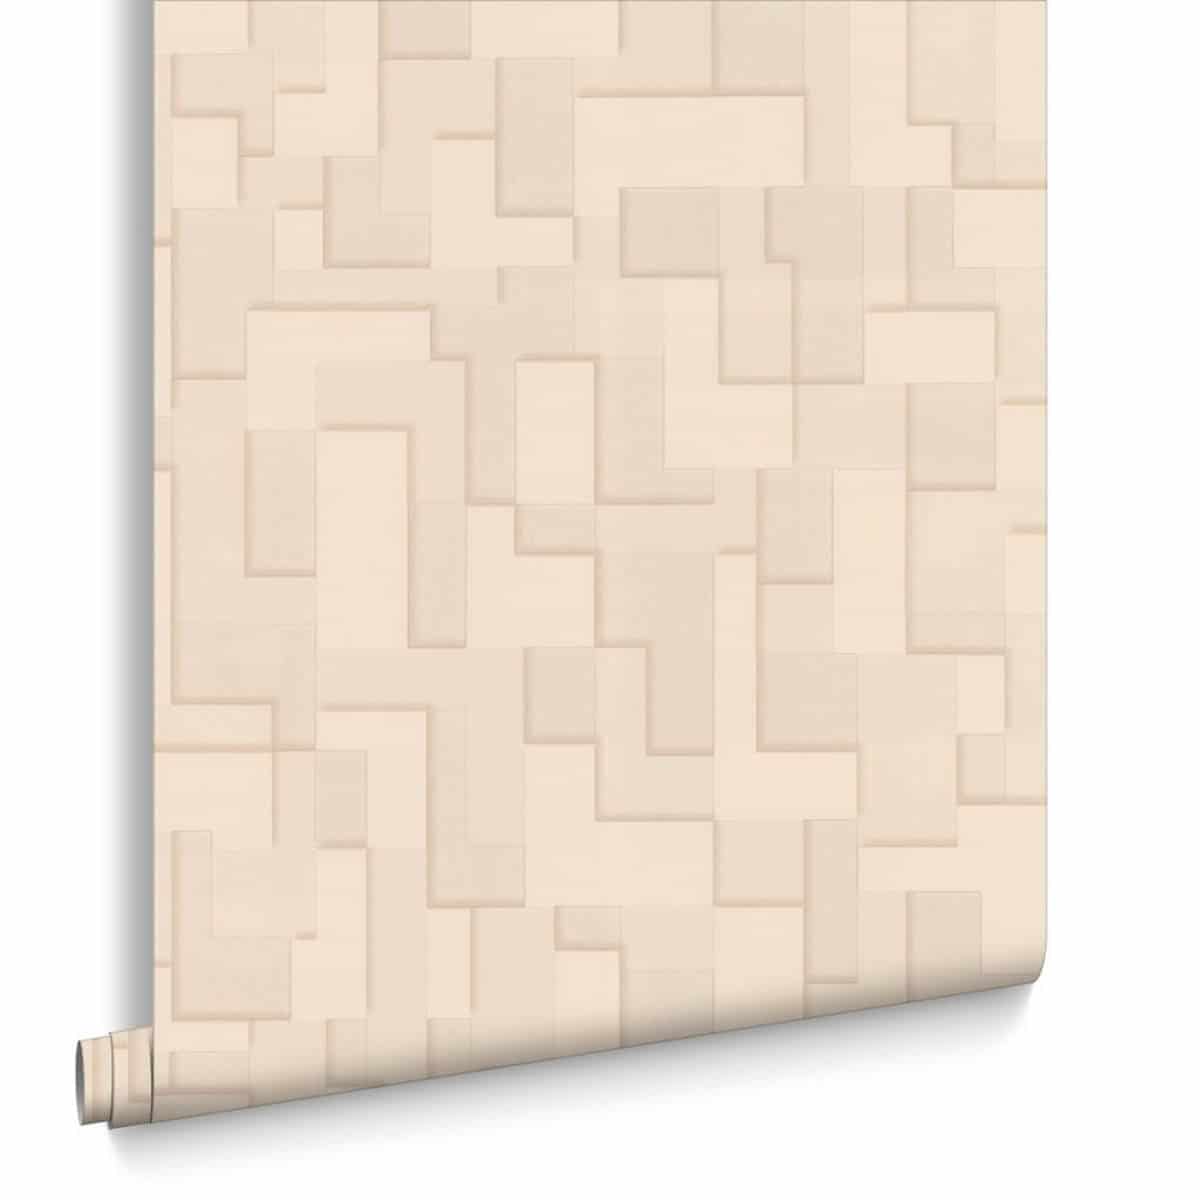
The first step to injecting some new life into the space was to install a wallpaper accent wall behind the bed. I purchased this amazing textured wallpaper by Graham & Brown when we first moved in. The rolls sat in the corner for almost two years before today!

Picking out the perfect wallpaper is way more fun than agonizing over paint colors. So many patterns and textures! And if you get tired of it, there are ways to paint over wallpaper to change it up!
Want to try a different type of wall treatment? Find out about the difference between wainscoting vs board and batten for more ideas!
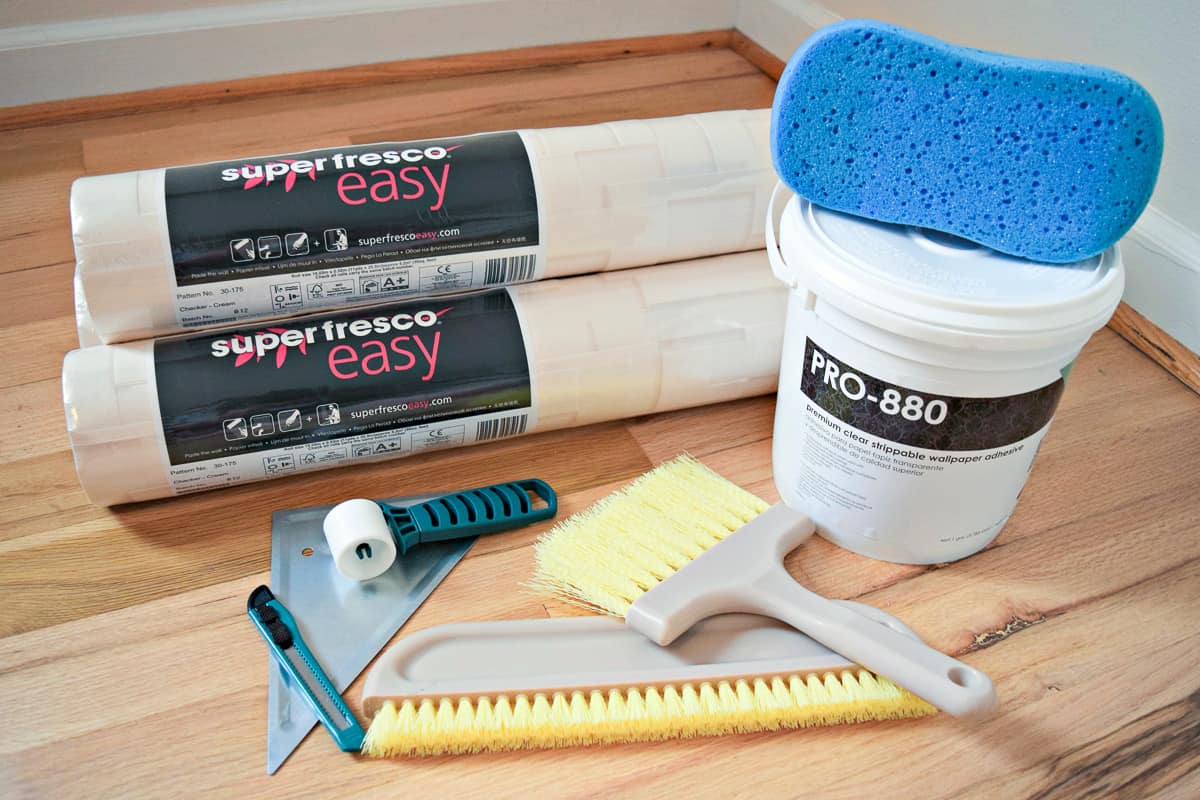
Materials Required for Installing Wallpaper
- Wallpaper adhesive
- I used Roman Pro-880, which gives you a bit more "slip" when aligning the pattern on the wall.
- Wallpaper paste brush
- Wallpaper smoothing brush
- Wallpaper sponge
- Retractable razor knife with snap off blades
- 6" putty knife or other straight edge tool

How to Hang Textured Wallpaper
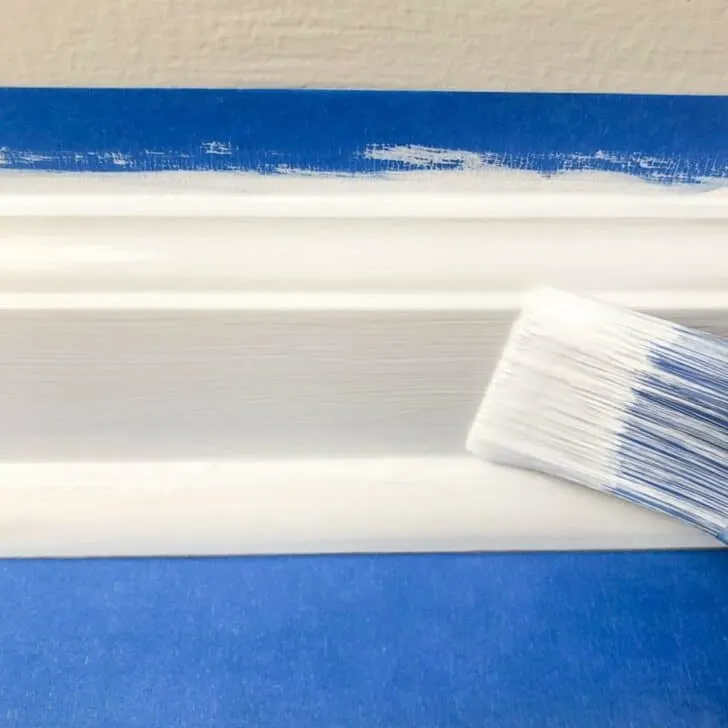
Paint the Walls a Matching Color
It may seem like a huge extra step, but painting the wall behind the wallpaper with a matching color will help any seams or gaps disappear.
Our upstairs bathroom was wallpapered by the former owner, and you can see the wall color in the seams. Check out how I removed this wallpaper for future reference!
I brought a sample of the new wallpaper to Home Depot to be color matched for paint. All the walls were painted the lightest color of the wallpaper pattern. This helped to tie the rest of the room together.
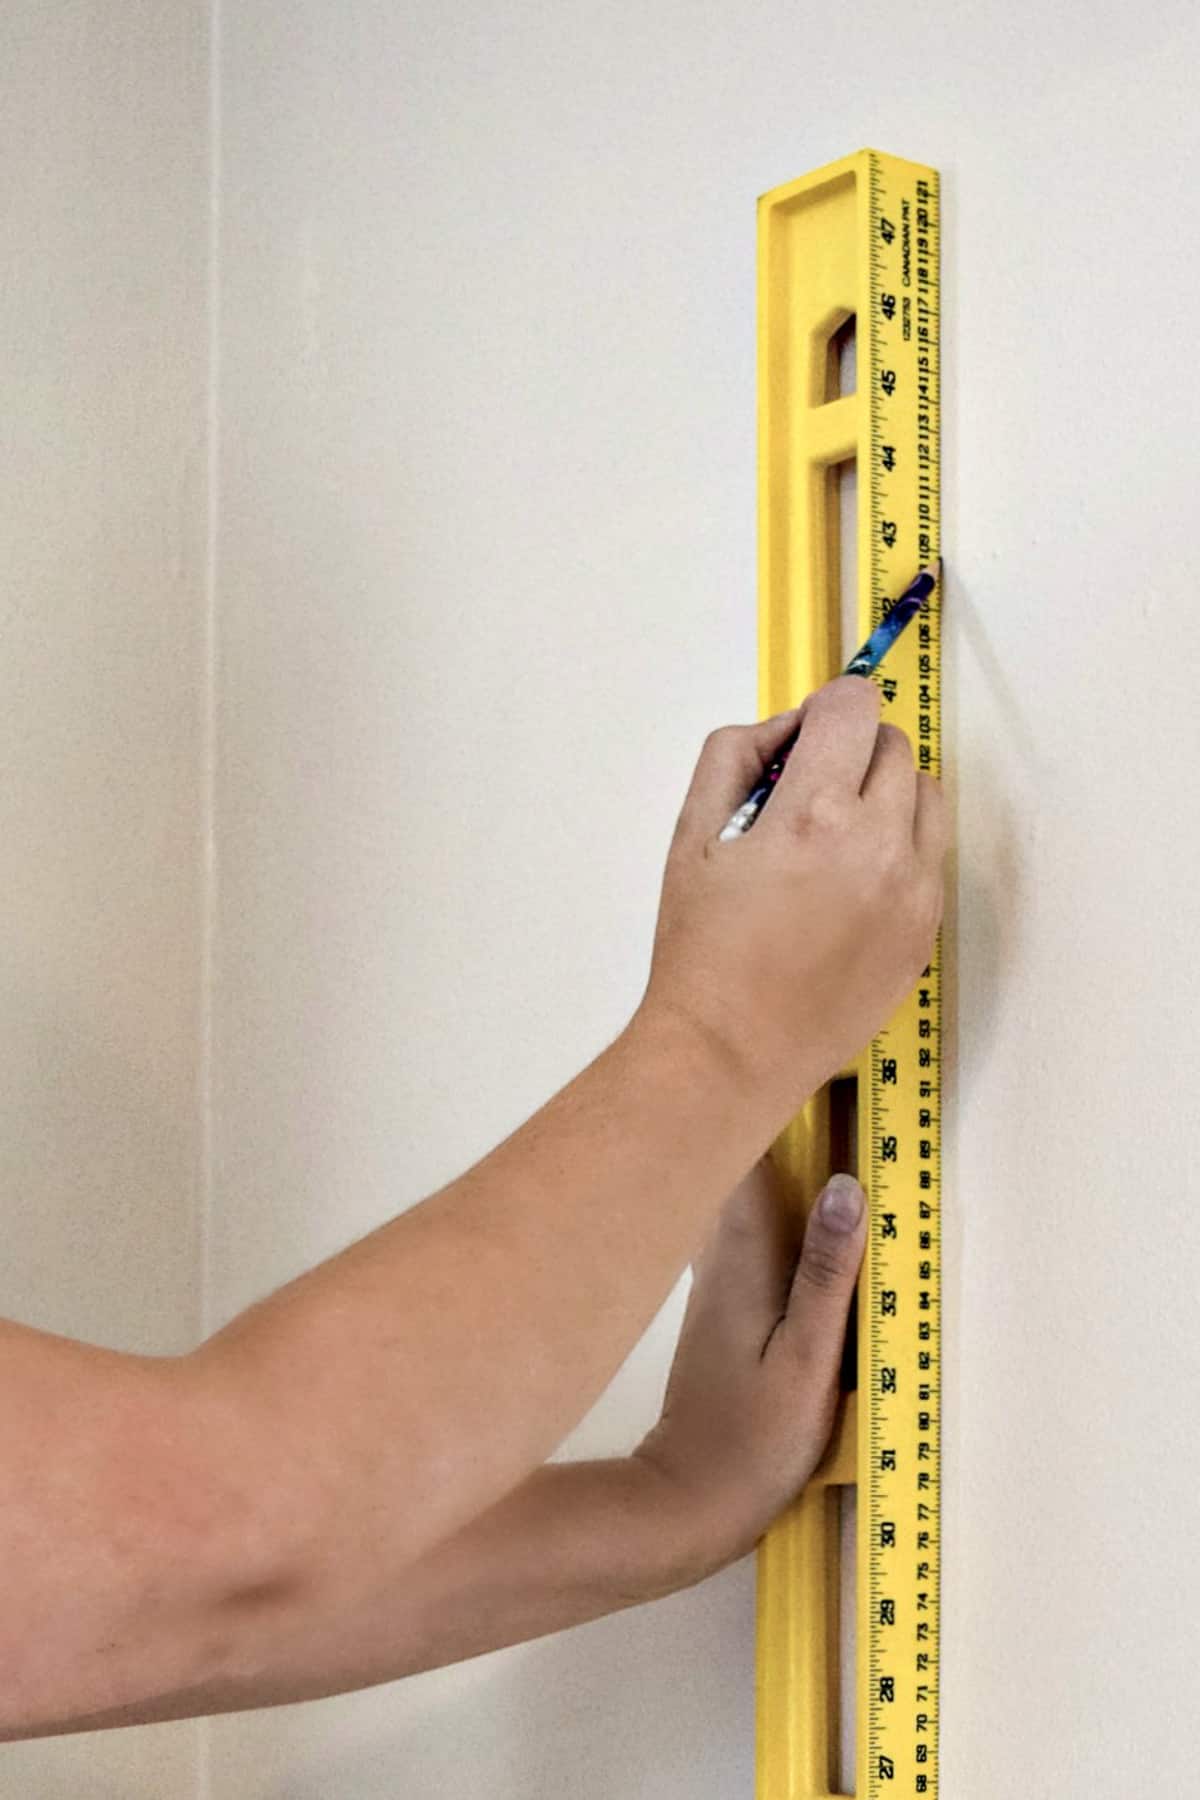
Mark a Vertical Reference Line
Once the paint was dry and cured, I marked up the wall for the first strip of wallpaper. This wallpaper is 20 inches wide, so I measured out 18 inches from the corner. The extra 2" will be trimmed for an exact fit. Use a level to draw a straight vertical line for reference.

Cut the First Wallpaper Strip to Length
Unroll the wallpaper and take a good look at the pattern. Mine has distinct horizontal lines, and I wanted to line up one of those with the ceiling. Cutting off the pattern right in the middle can disrupt the flow and look weird!
Once I decided on where to start the pattern, I folded the paper at that line and used painter's tape to attach the wallpaper to the ceiling. Just let the roll drop to the ground, then stand back and see how it looks.
Once you're happy with the first piece, cut it with a few extra inches at the bottom. Set it aside while keeping it flat to take out some of the curl.
Apply Paste to the Wall
This type of wallpaper calls for pasting the wall, which makes installation super easy! Using the wallpaper paste brush, coat the section of wall from your marking to the corner.
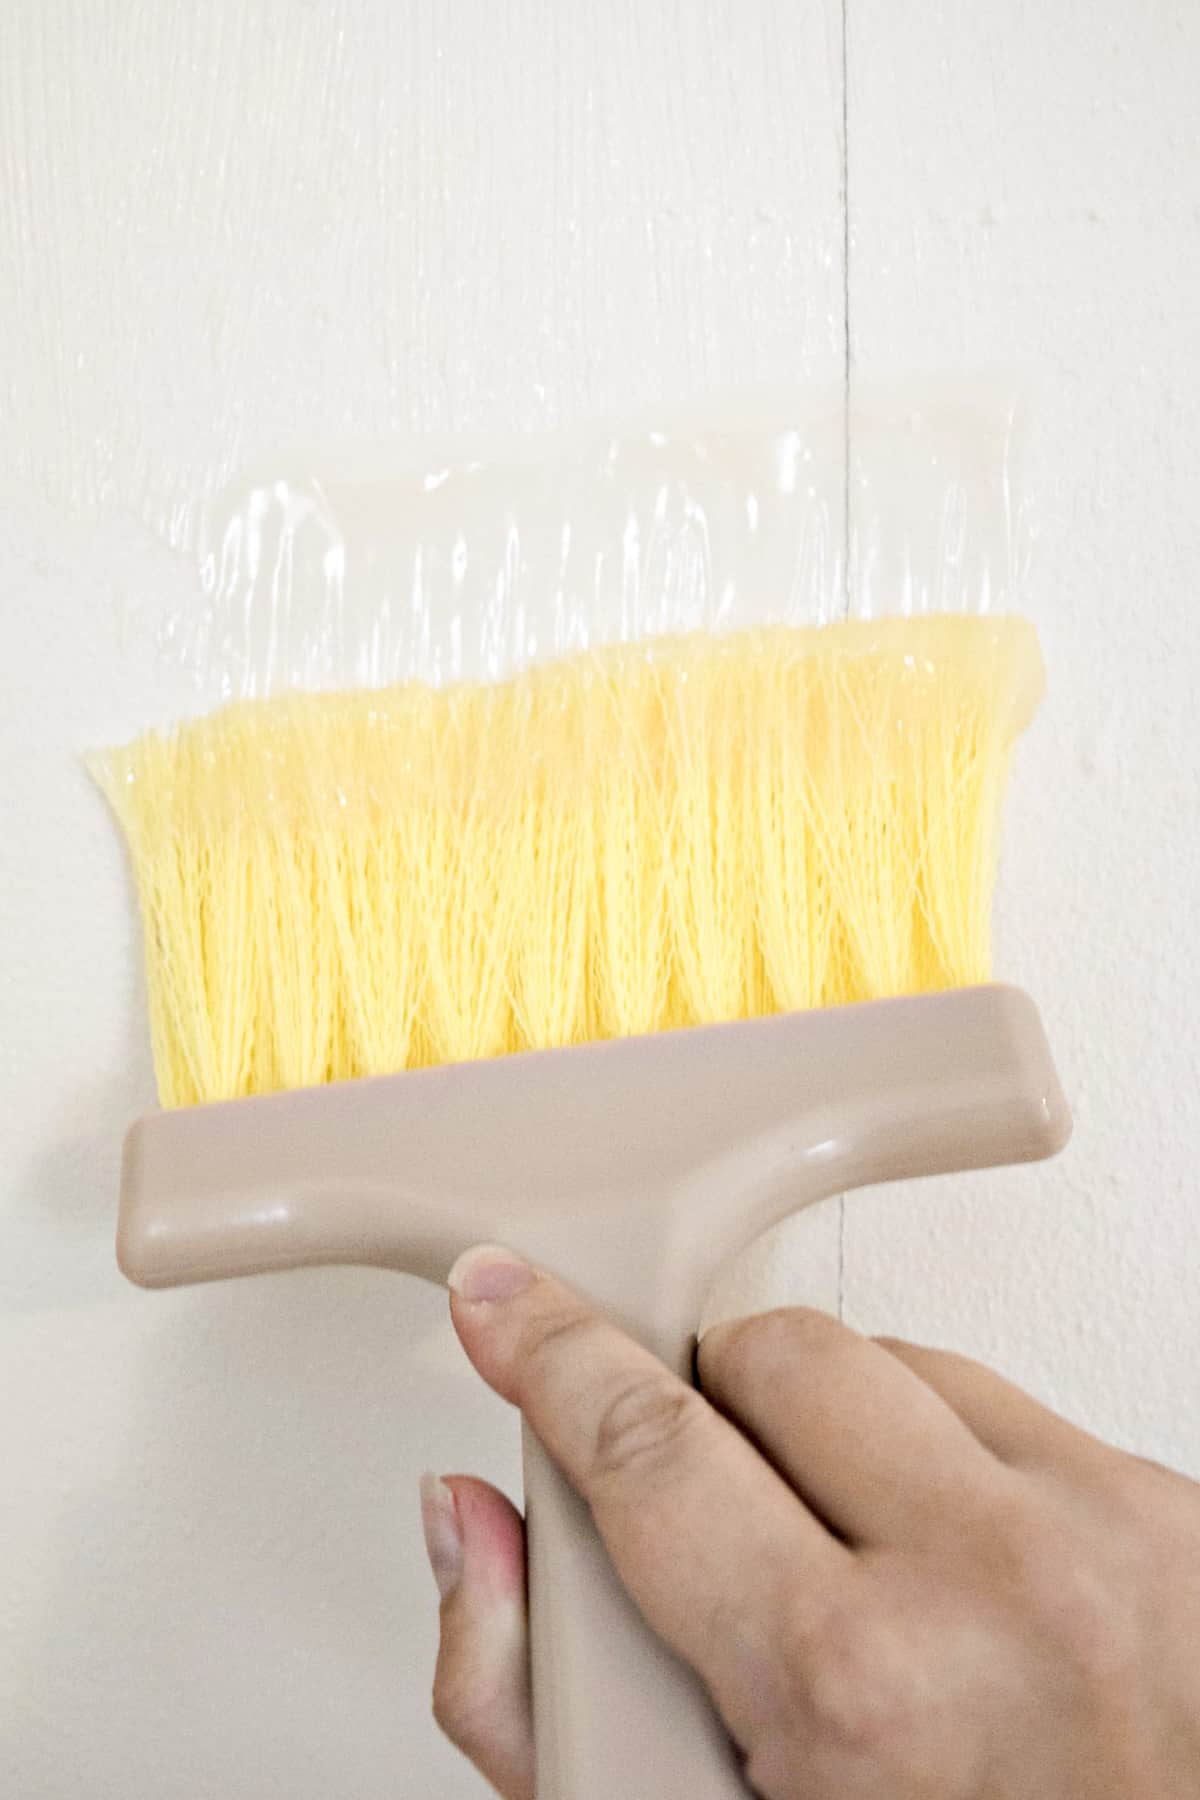
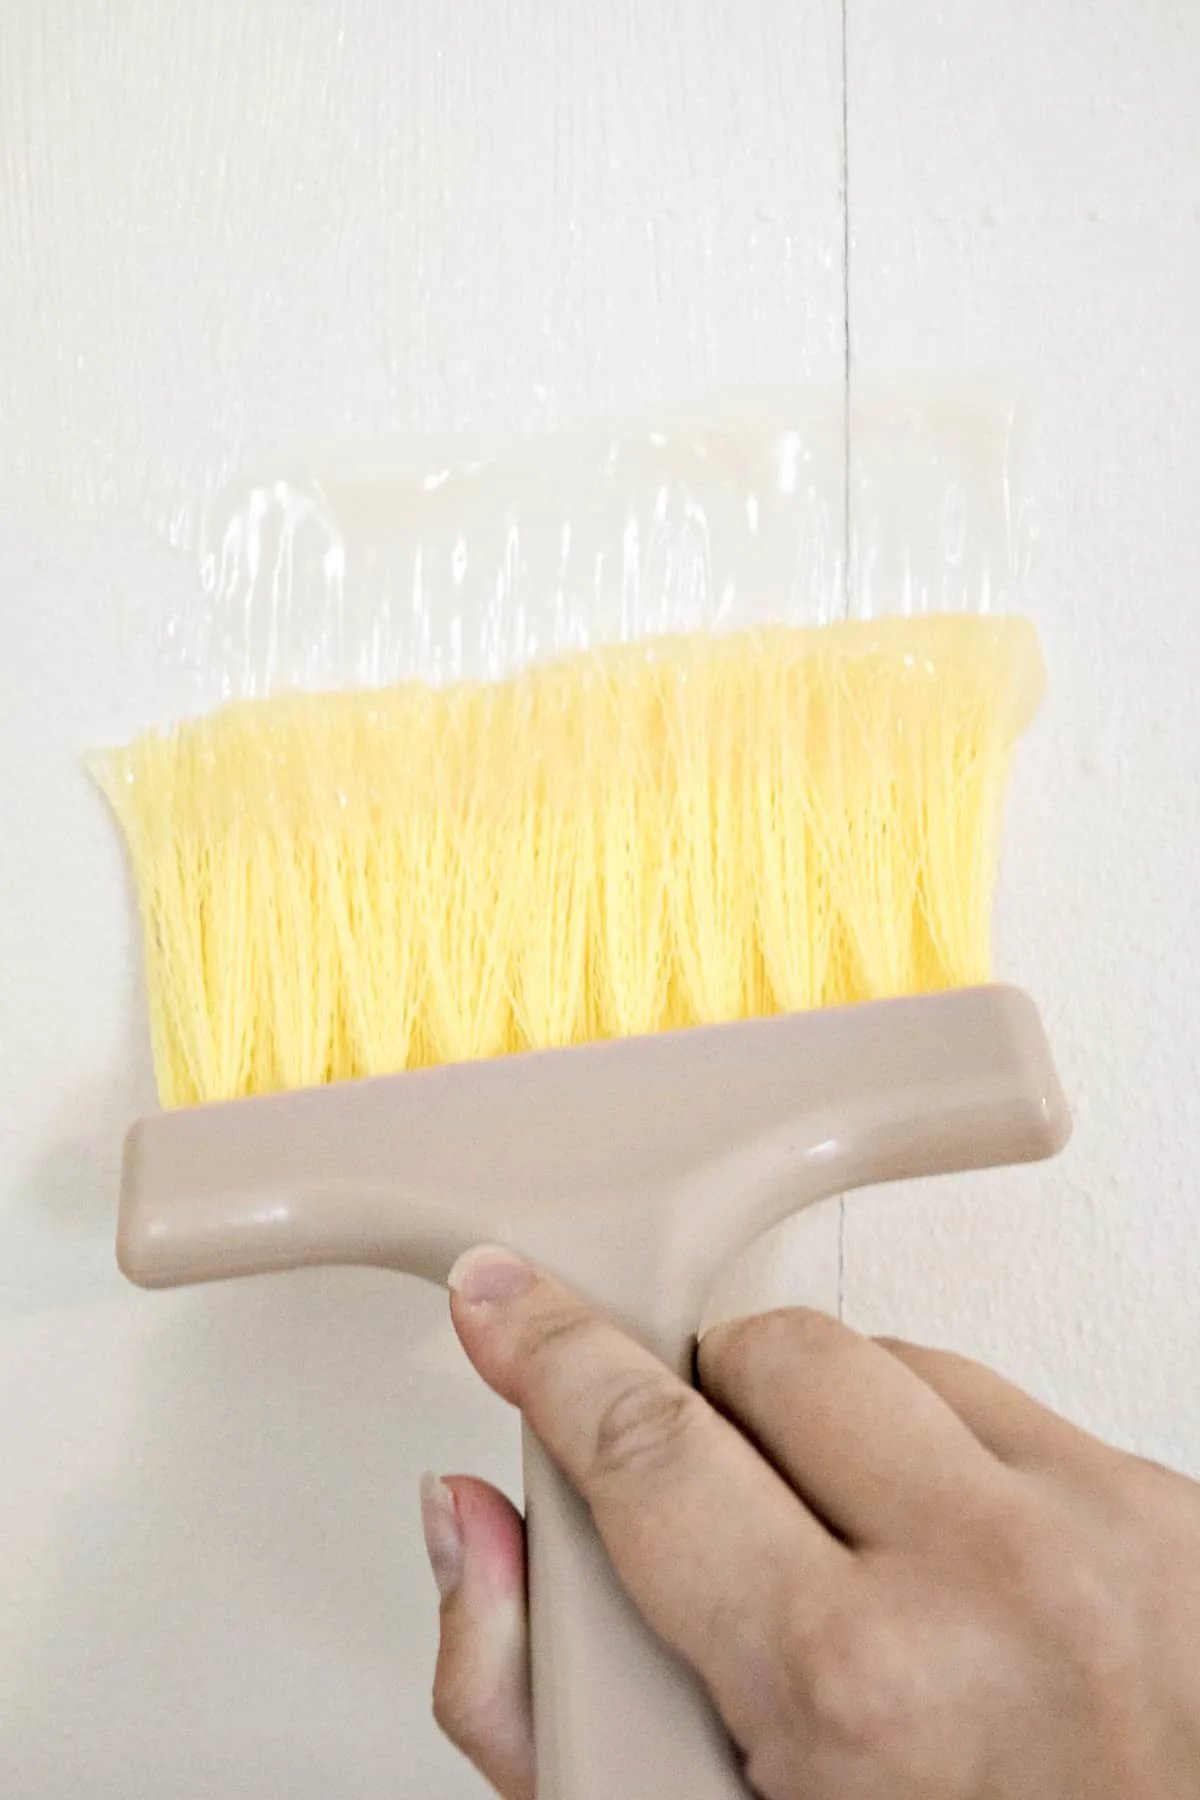
Paste slightly further than the marking as well so there is plenty of adhesive at the seams. This will prevent the edges from curling up.
Apply the First Sheet of Wallpaper at the Corner
Line up the edge of the wallpaper with your vertical line on the wall, making sure to keep a few extra inches at the top and bottom. This first piece will wrap around the corner, and that's ok.
Walls are never perfectly straight, so trimming to fit is easier than trying to line up the edge of the wallpaper with a wonky corner!


Smooth Out the Air Bubbles
Be careful when smoothing out textured wallpaper! I used a wallpaper smoothing brush rather than a hard plastic smoother to prevent smooshing down the texture.
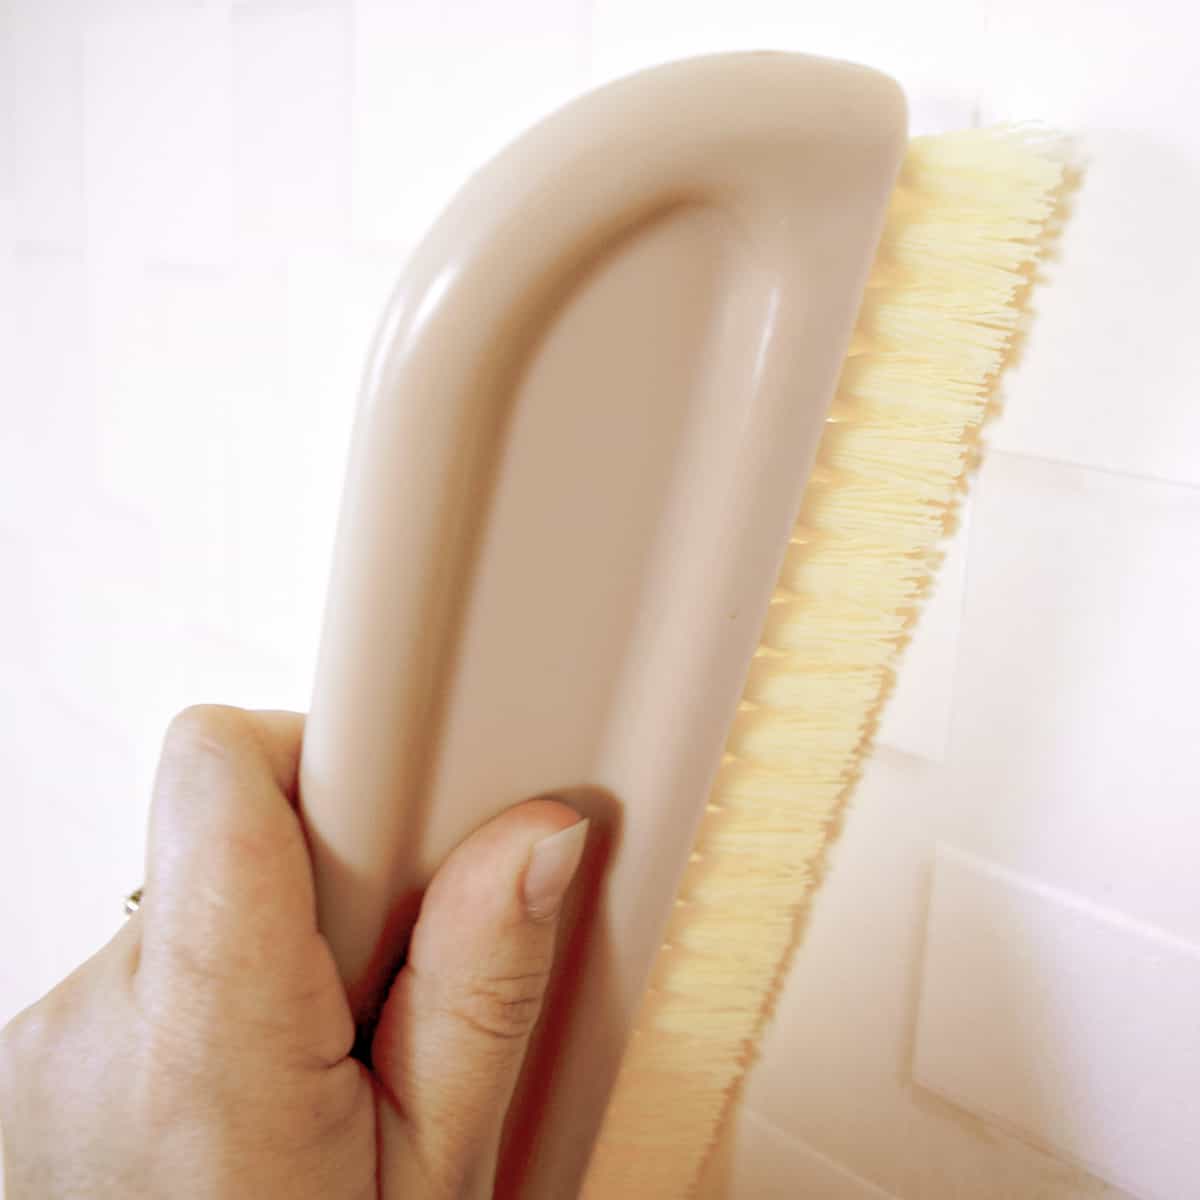
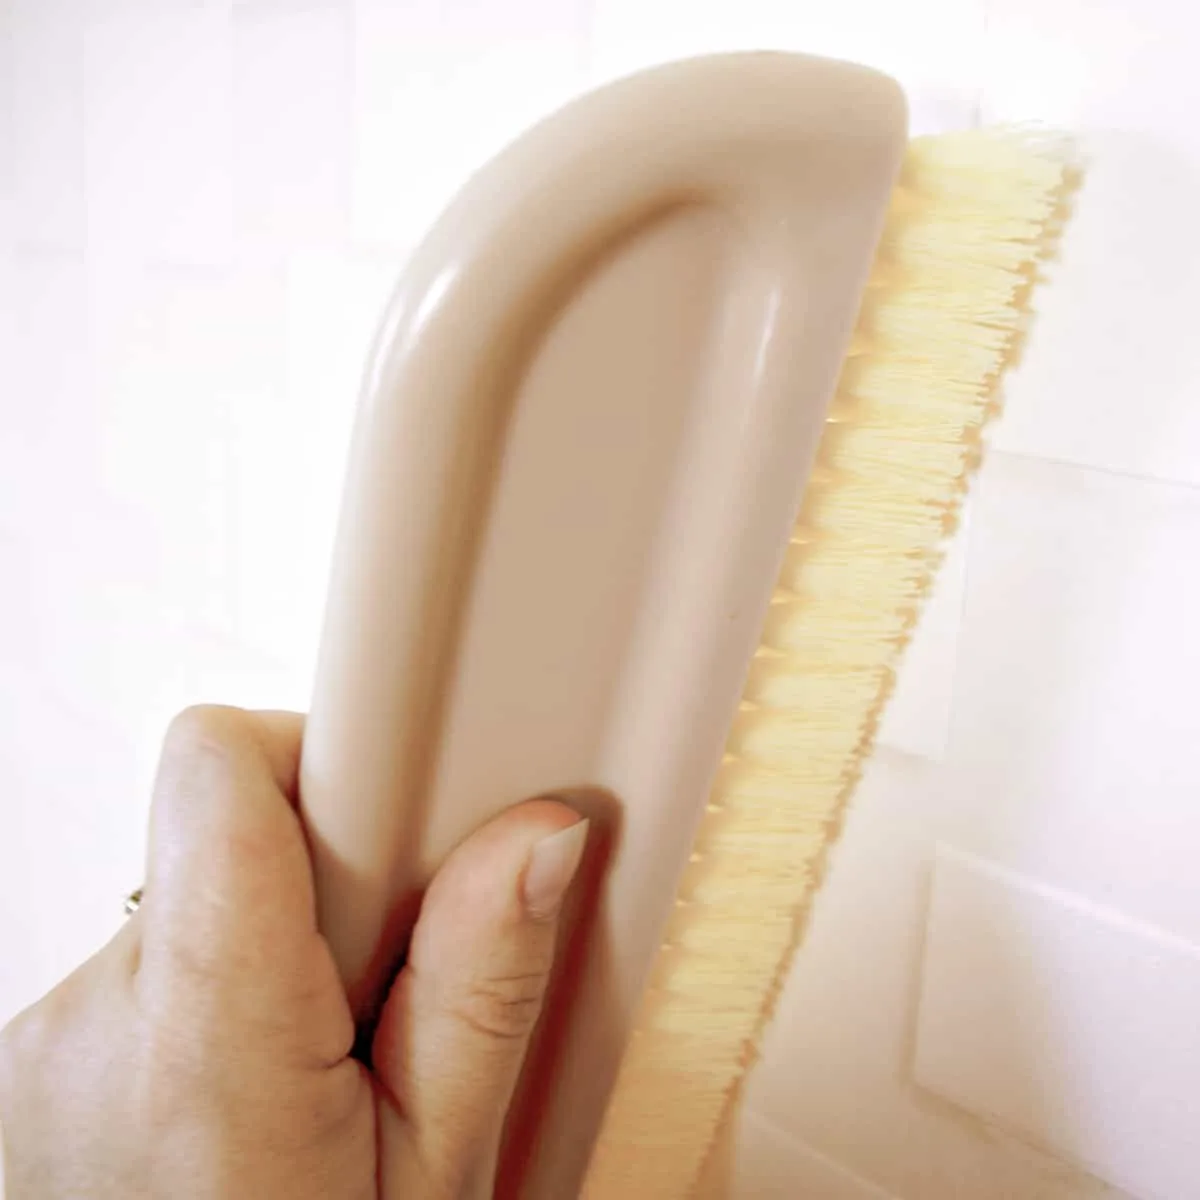
Start in the center of the wallpaper, and push any air bubbles out to the edges with the brush. Make sure to work in every direction, not just straight up and down.
Trim the Excess Wallpaper
With everything smooth and straight, trim the excess. Using a straight edge, like a wide putty knife, press down tight into the corner.
Slide the razor blade along the edge, then keep the point of the blade in the wallpaper while you move the putty knife down to the next section. This creates a continuous cut rather than a series of jagged stops and starts.


Keep that blade sharp! I switched out dull blades after every 2-3 strips of wallpaper because it would get gunked up with wallpaper paste. Snap-off blades make this process easy!
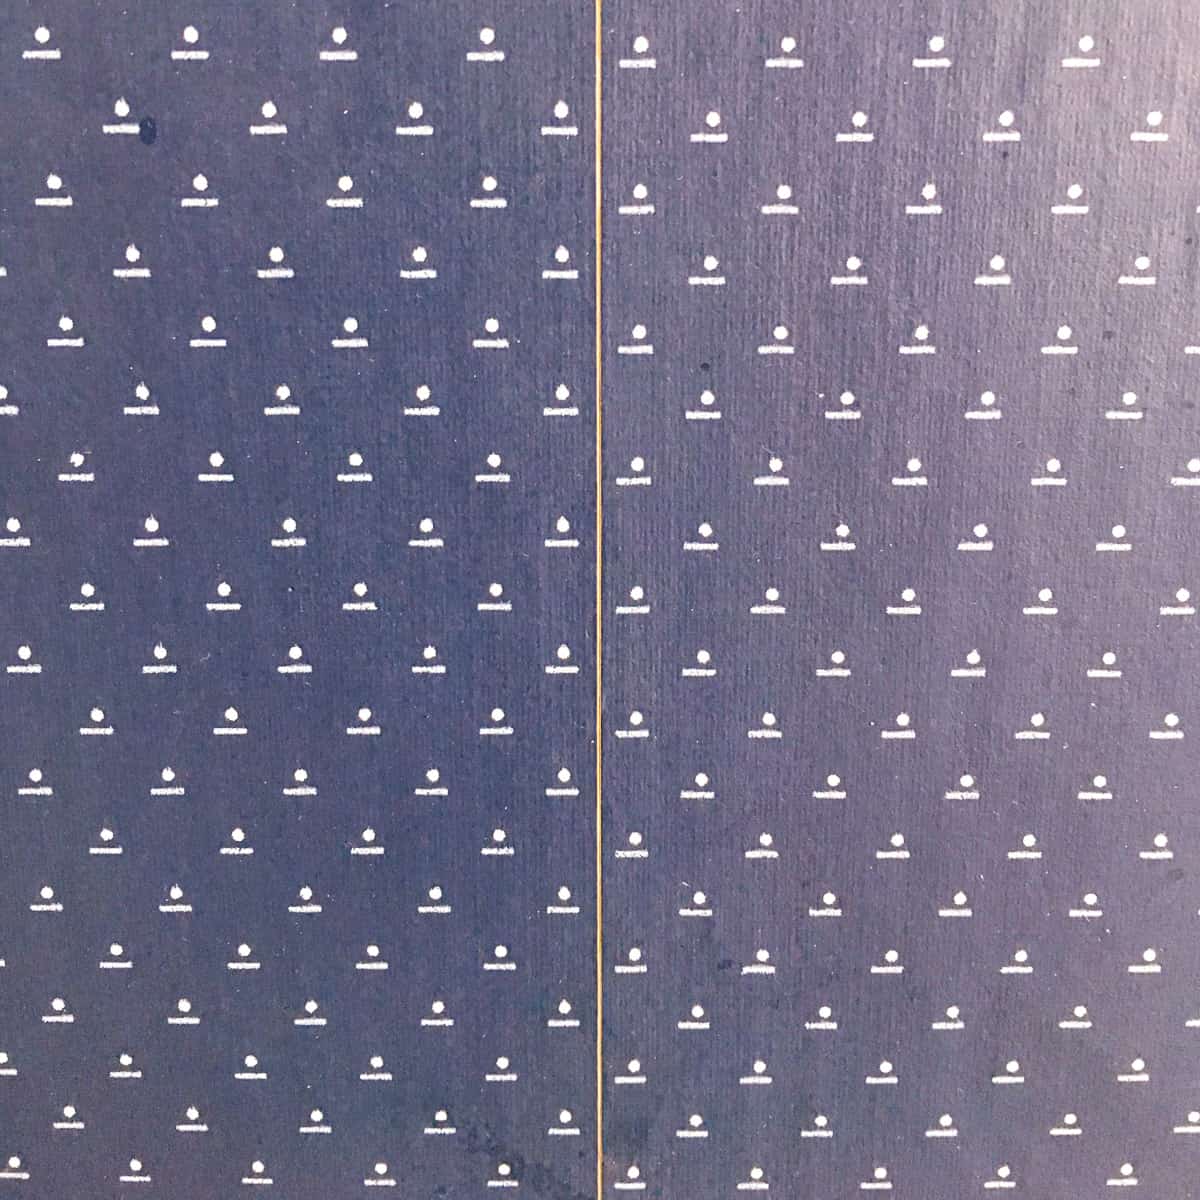
Line Up the Next Strip of Wallpaper
For the next strip of wallpaper, find the repeat in the pattern and match it to the strip already on the wall. I found it easier to apply the paste first, then pull the wallpaper up from the roll on the floor until I found the match.
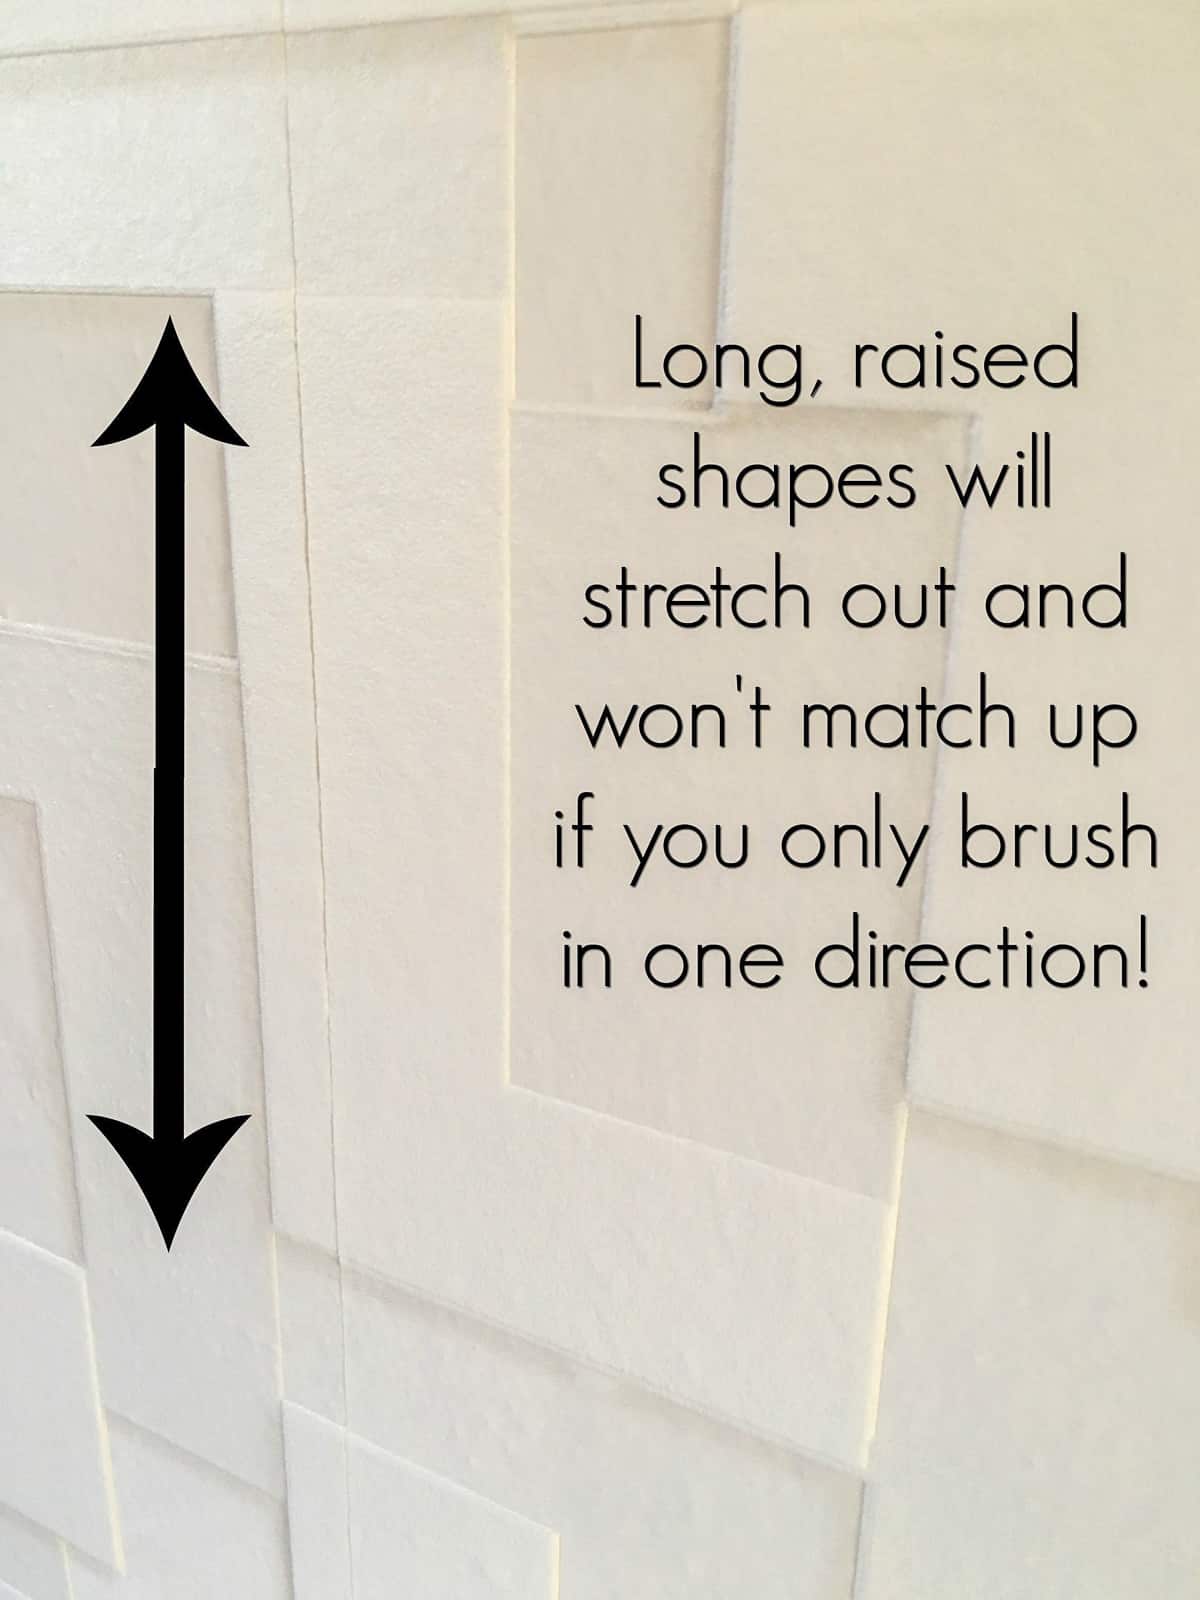
The paste dries slowly enough to allow you to slide your piece around until you get everything lined up exactly. But one word of warning: Try not to stretch the raised sections of this textured wallpaper when matching up the pattern.
I found that the long L shaped parts wouldn't match up with their counterparts on the adjoining strip until I puffed them back up a bit. Brush from different directions to avoid stretching.

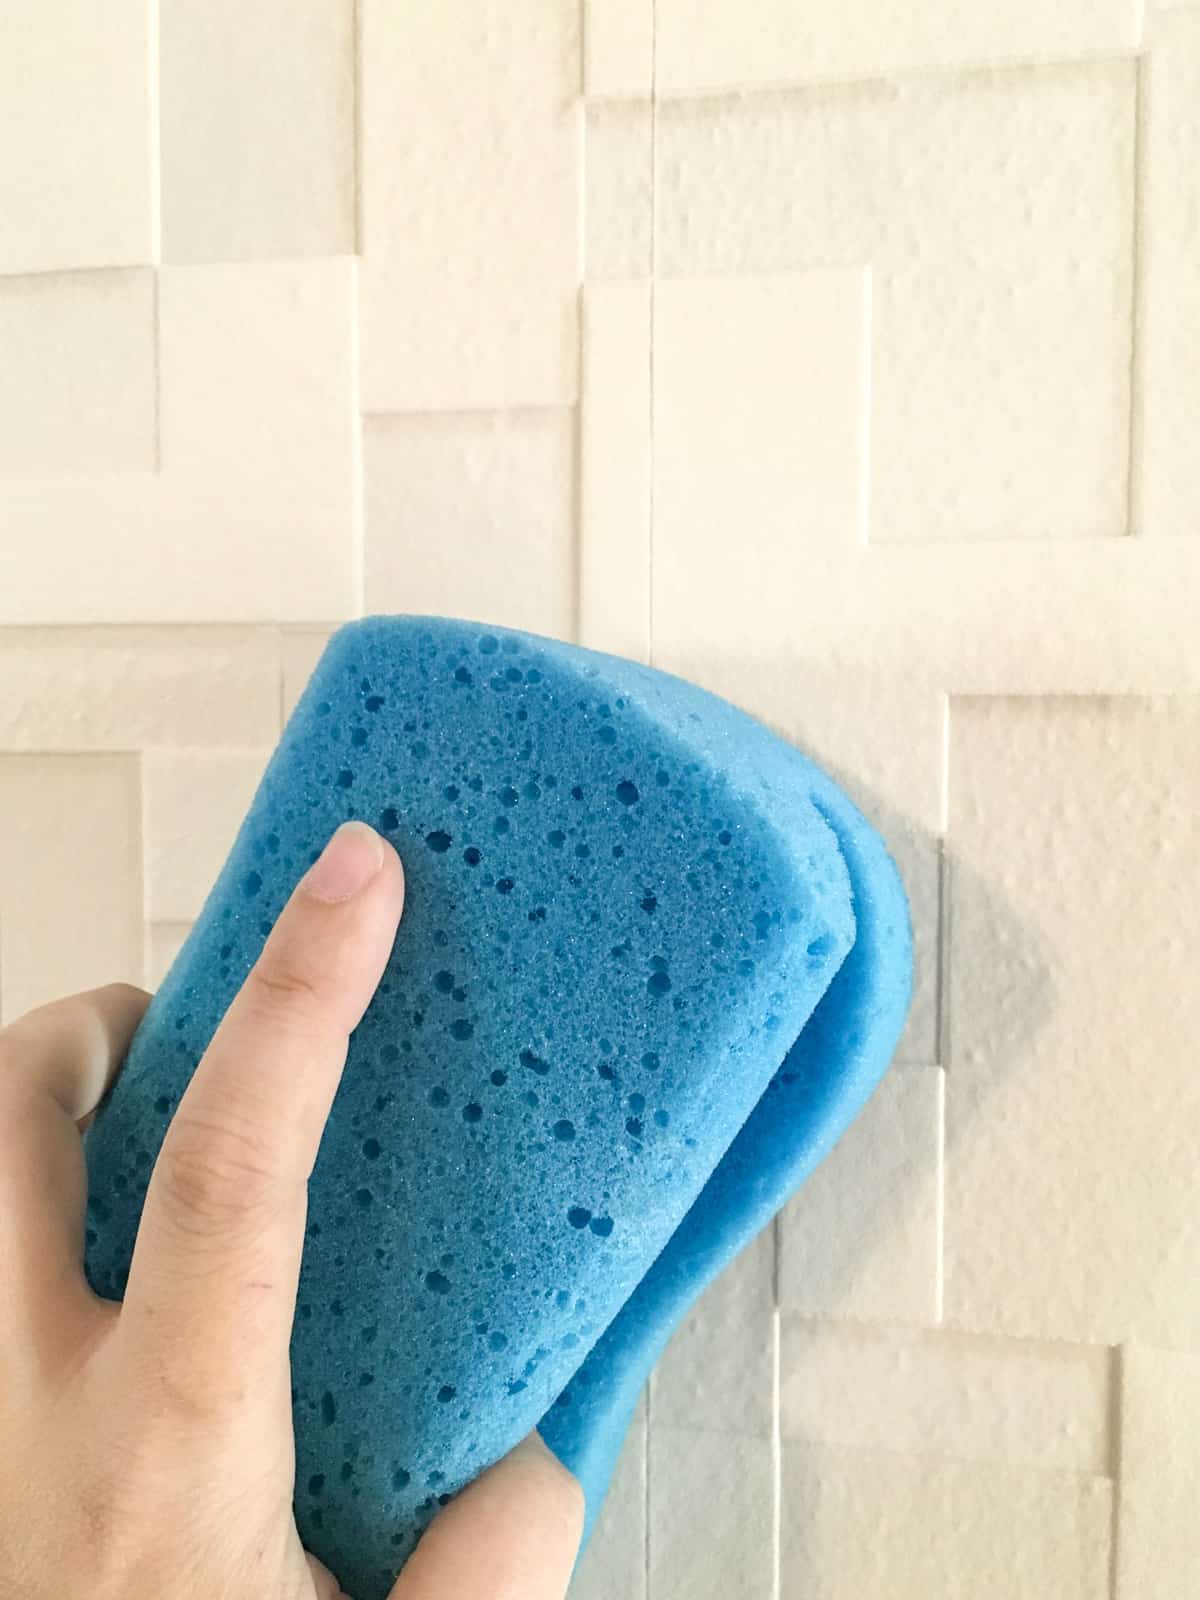
Wipe Off the Excess Paste
Once you have the pattern lined up, wipe off any excess wallpaper paste at the seam with clean water and a wallpaper sponge. This is also your last chance to get those air bubbles out before applying the next piece!

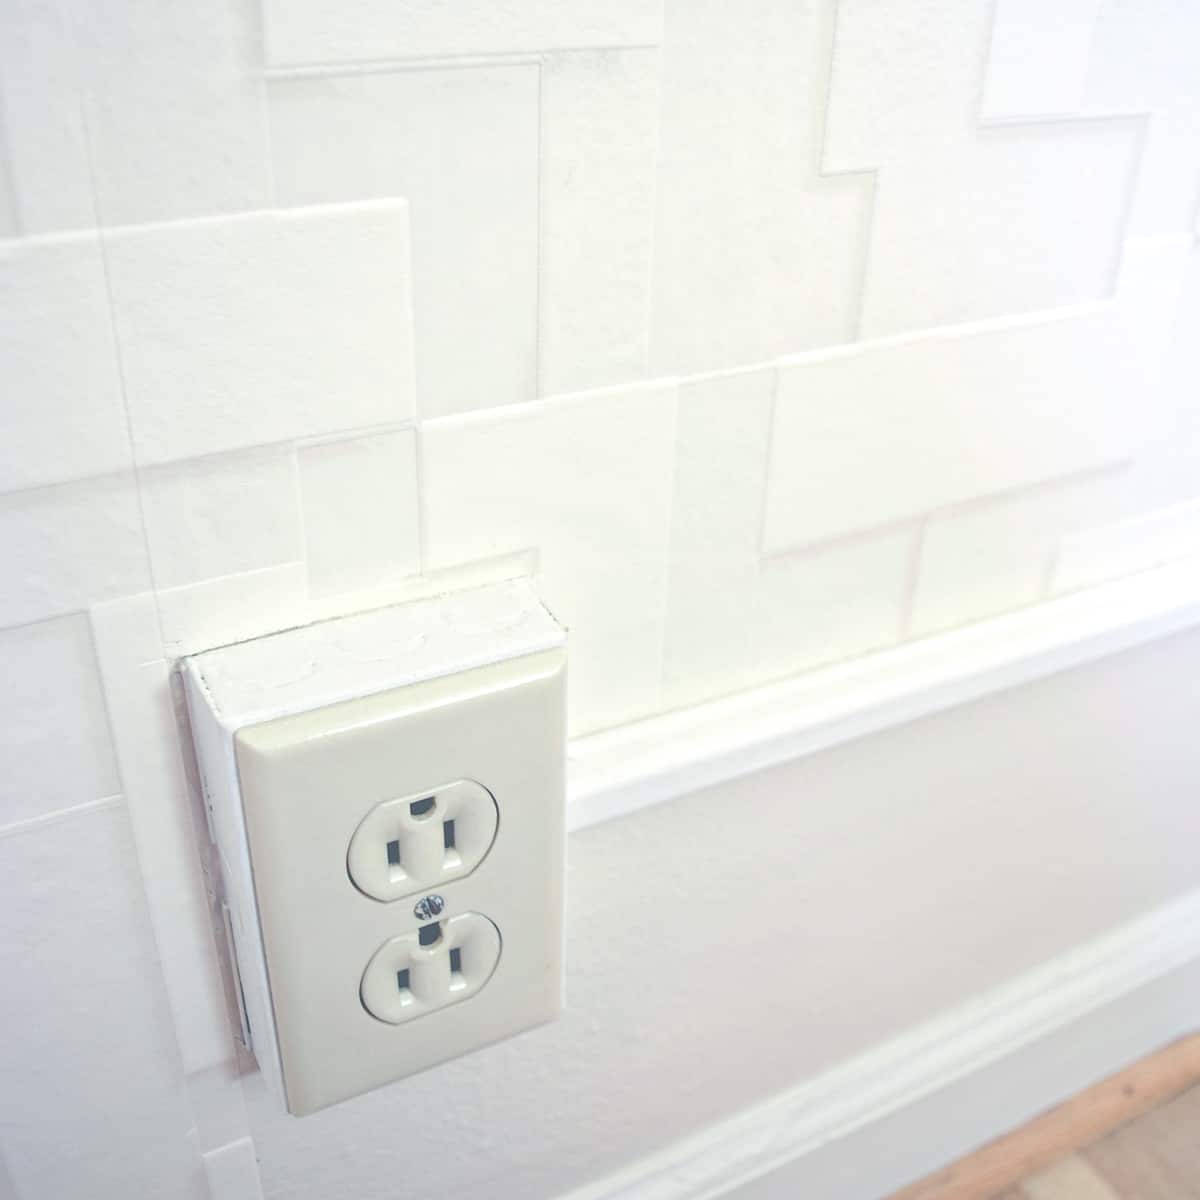
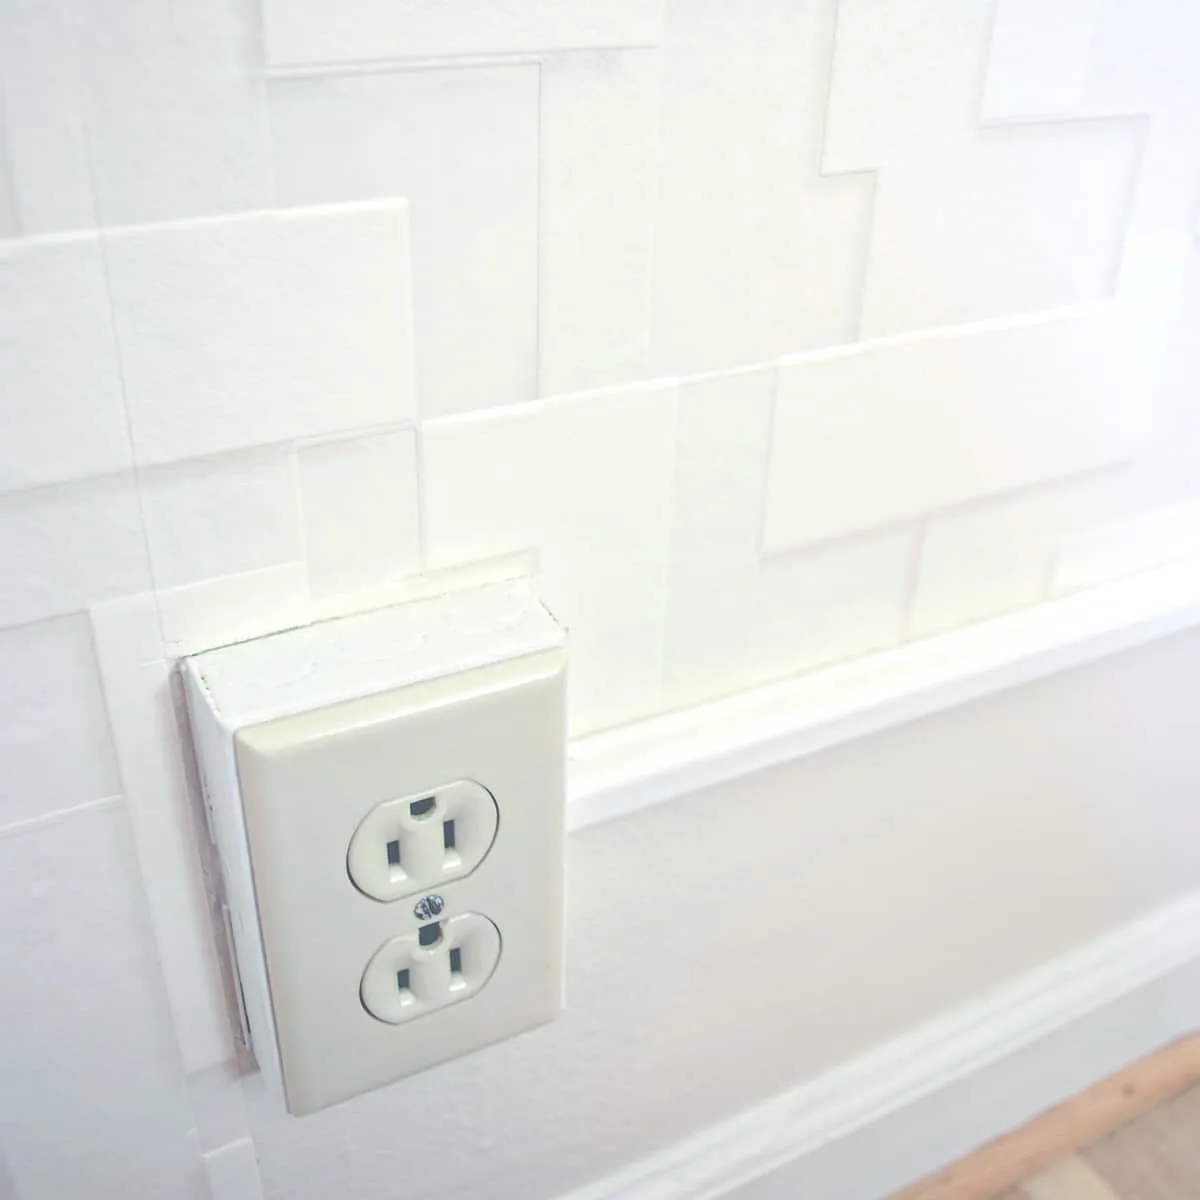
Trim Wallpaper Around Outlets and Doors
Our weird house has an electrical outlet mounted on the outside of the wall, with conduit running between the two outlets. I appreciate having outlets on both sides of the bed, but would it have killed them to run it through the wall?
I decided to cut off the wallpaper at the conduit and leave the section below painted. No one will see it behind the bed anyway, and it was a lot easier than trying to match up the pattern!
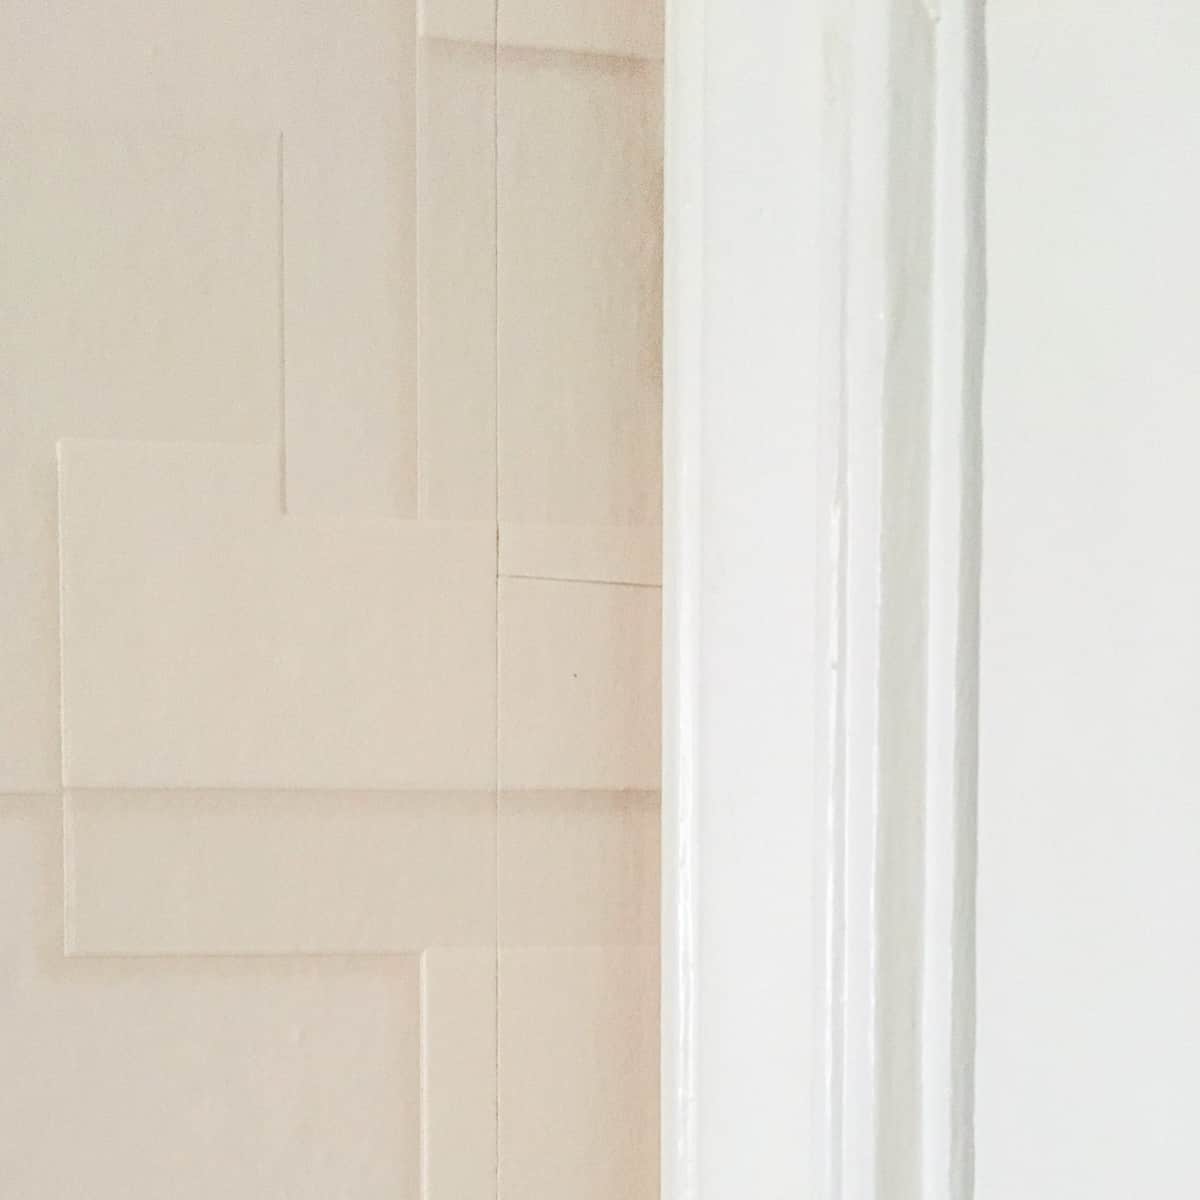
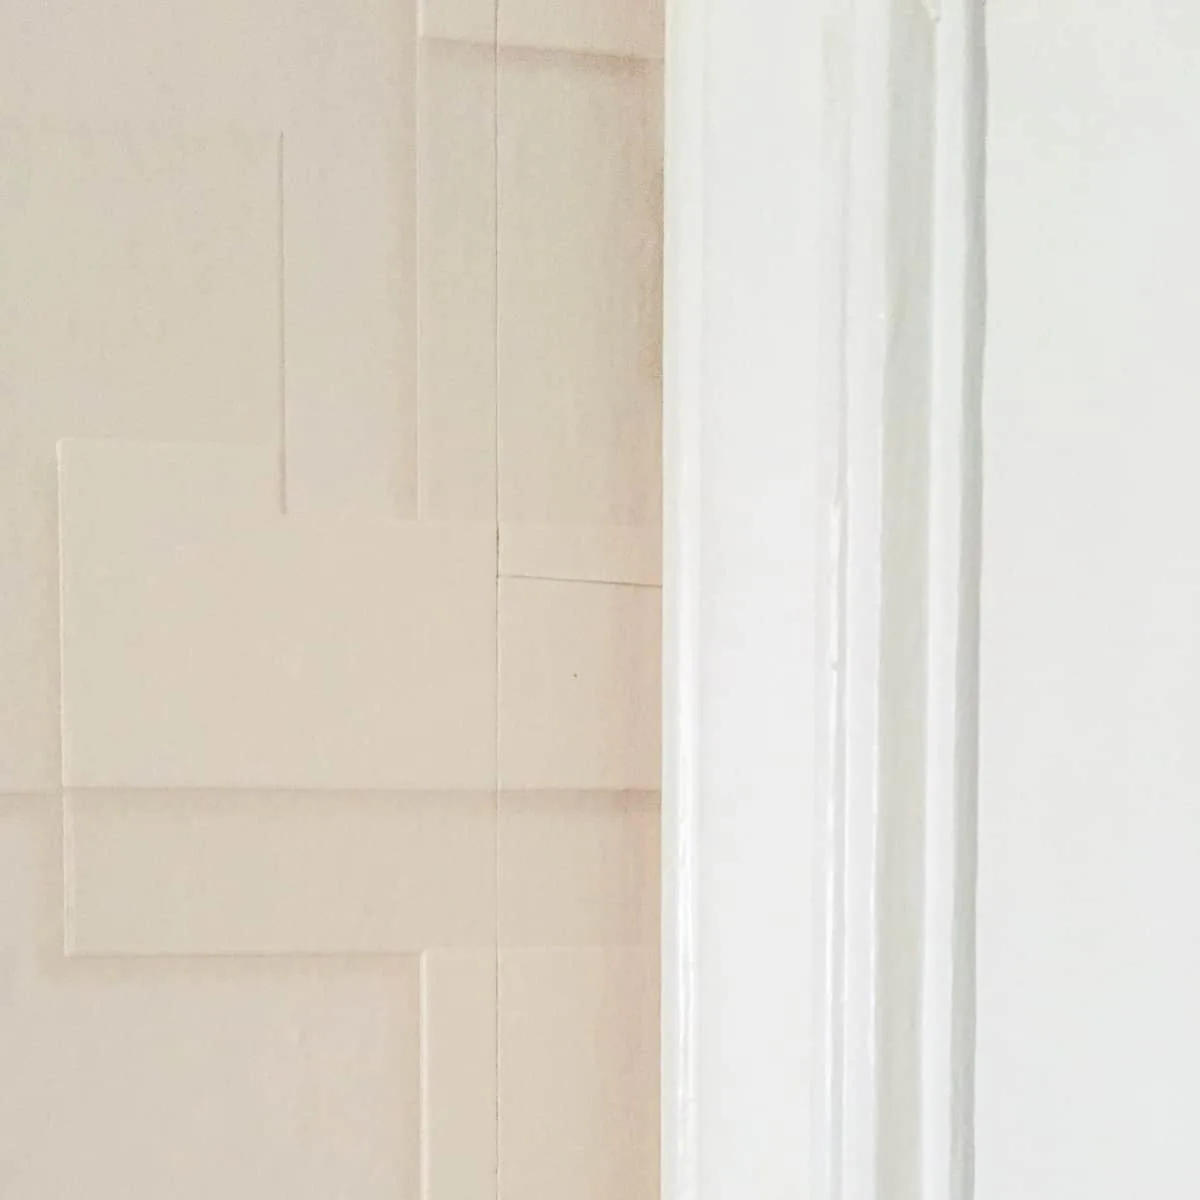
When I got to the other corner of the wall behind the door, I needed a two inch wide strip behind the trim to finish it off. Rather than wrestle with a huge sheet, I used left over pieces.
I cut down each scrap to 2 inches wide, found the match and stuck it in place. No one will see this part of the wall behind the door, and it was easier than trying to attach an 8 foot long sheet!
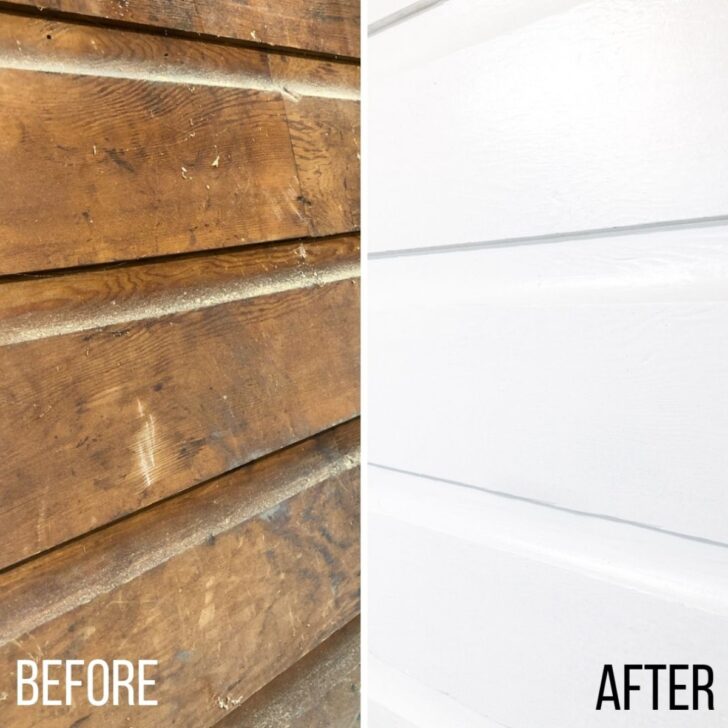
Enjoy Your New Textured Wallpaper Accent Wall!
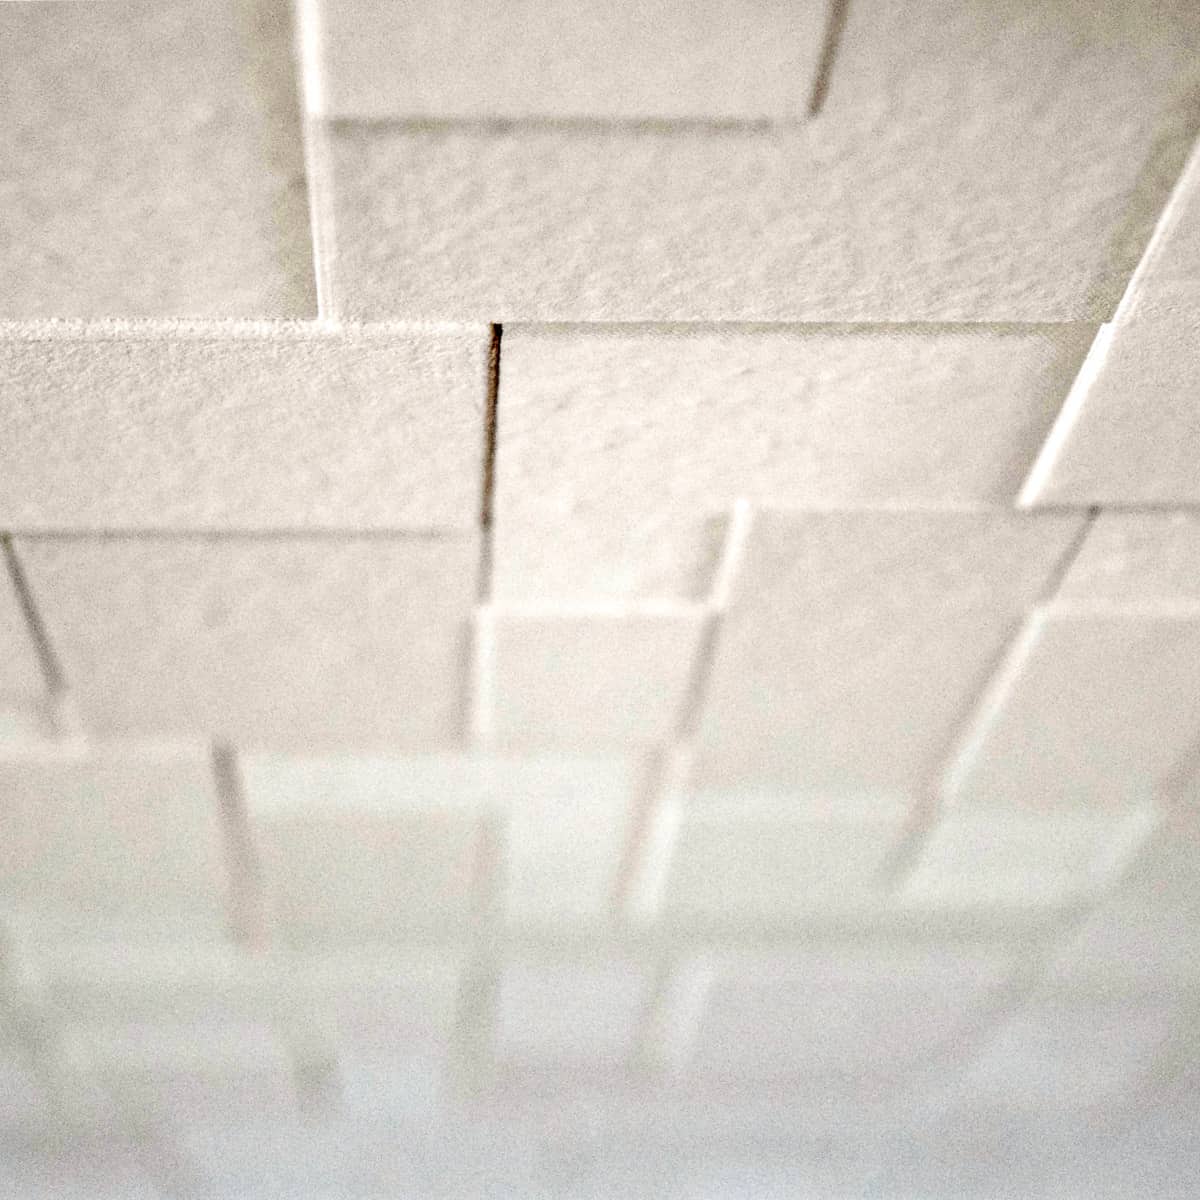
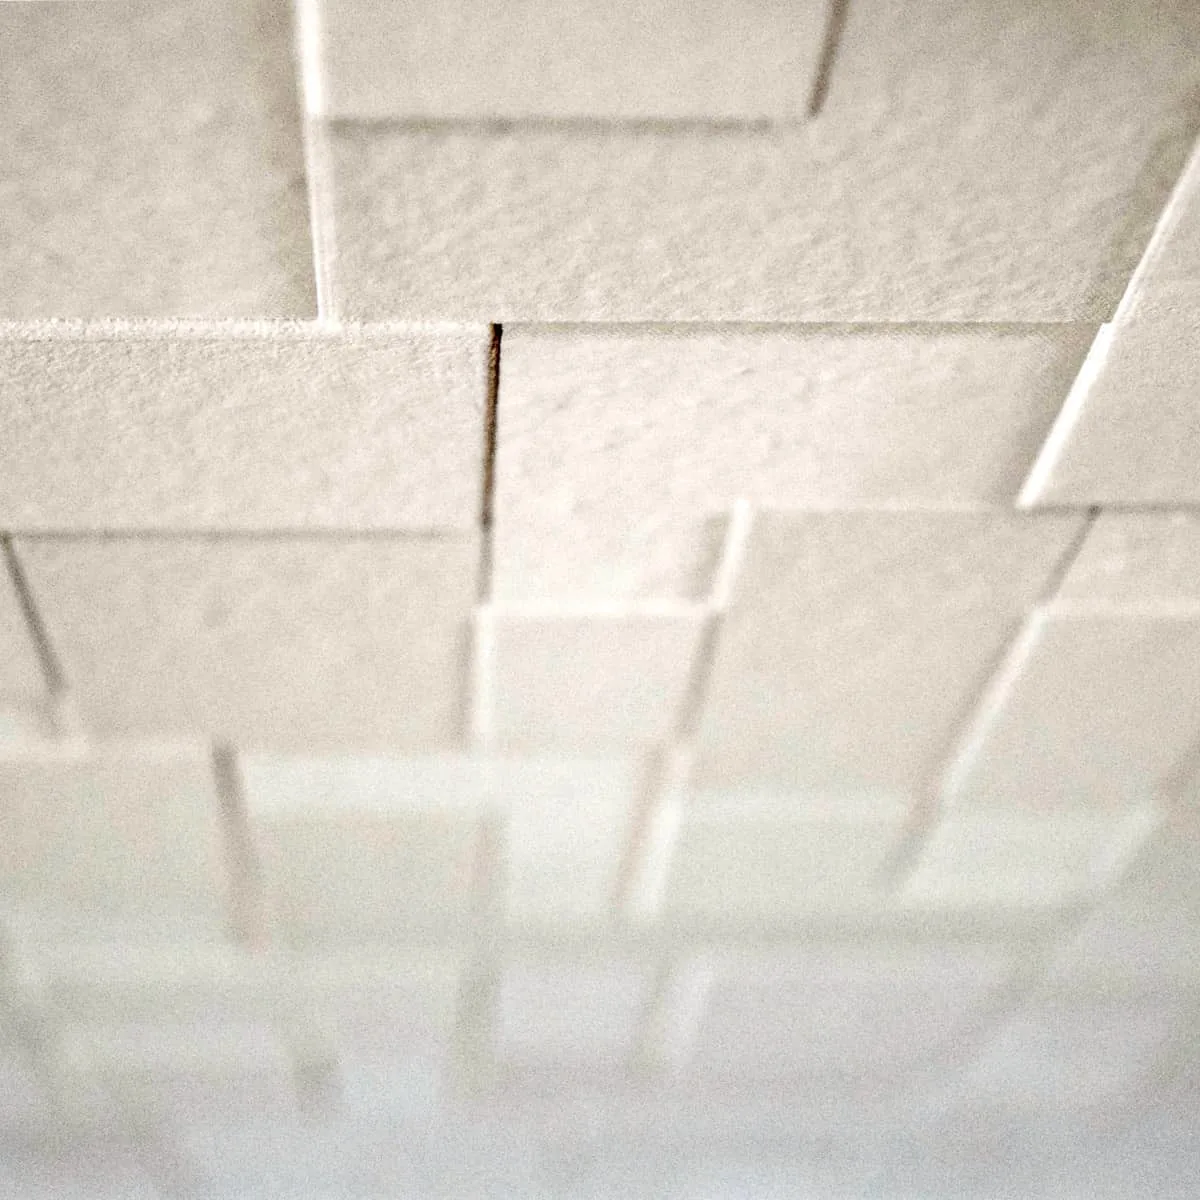
Boy, was I sore when I finished this project! Hanging wallpaper turned out to be a good arm workout! It took about three hours to complete this wall by myself, but it was totally worth it. You can't get this 3D look with paint!
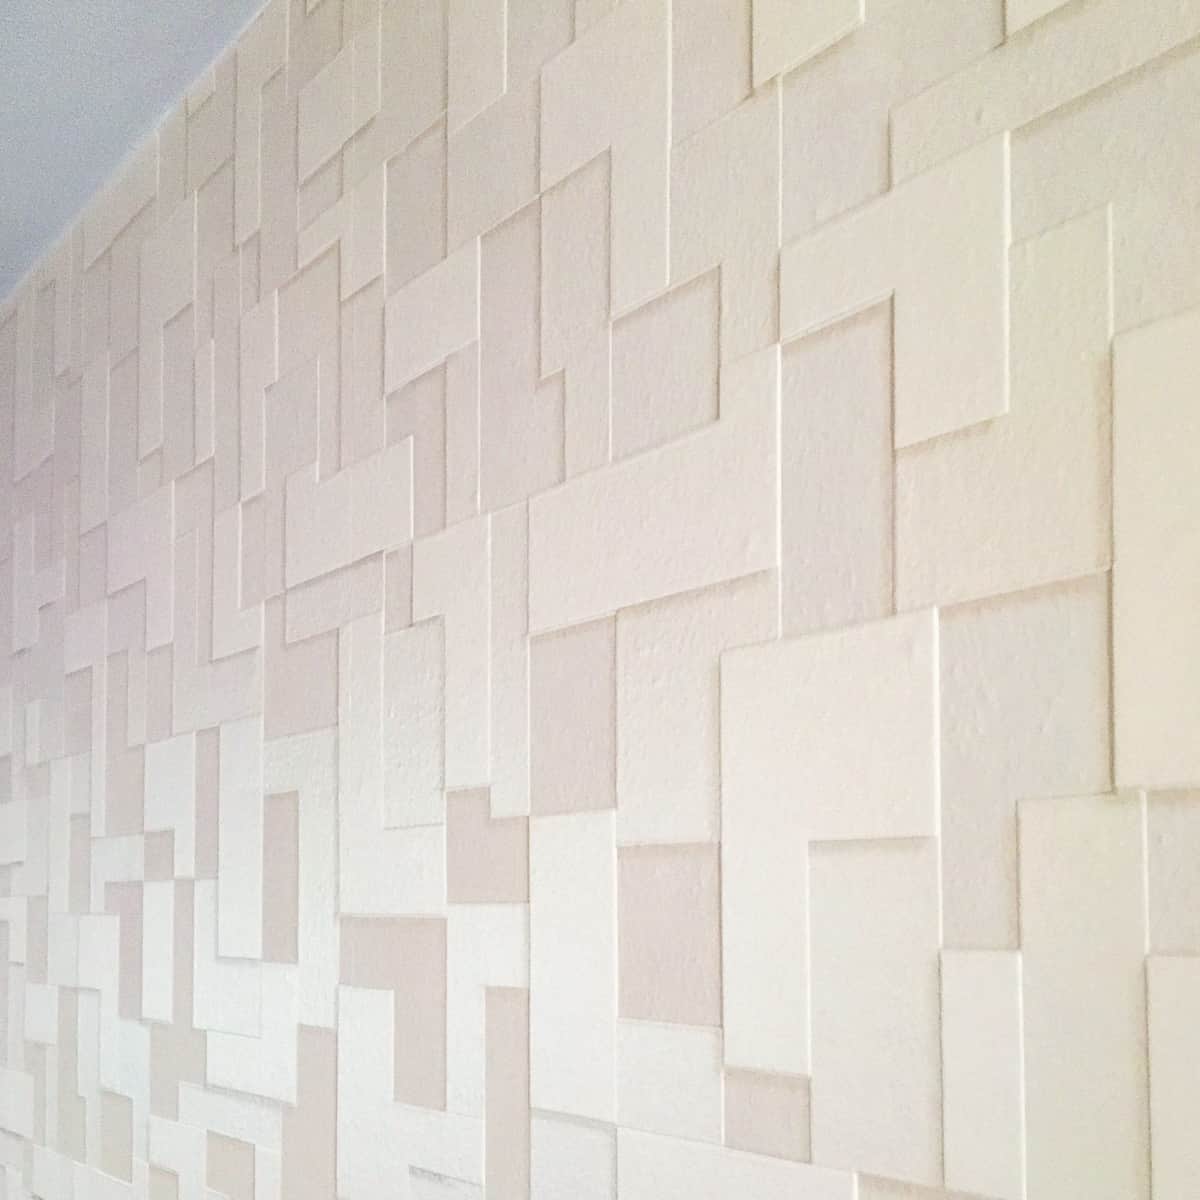
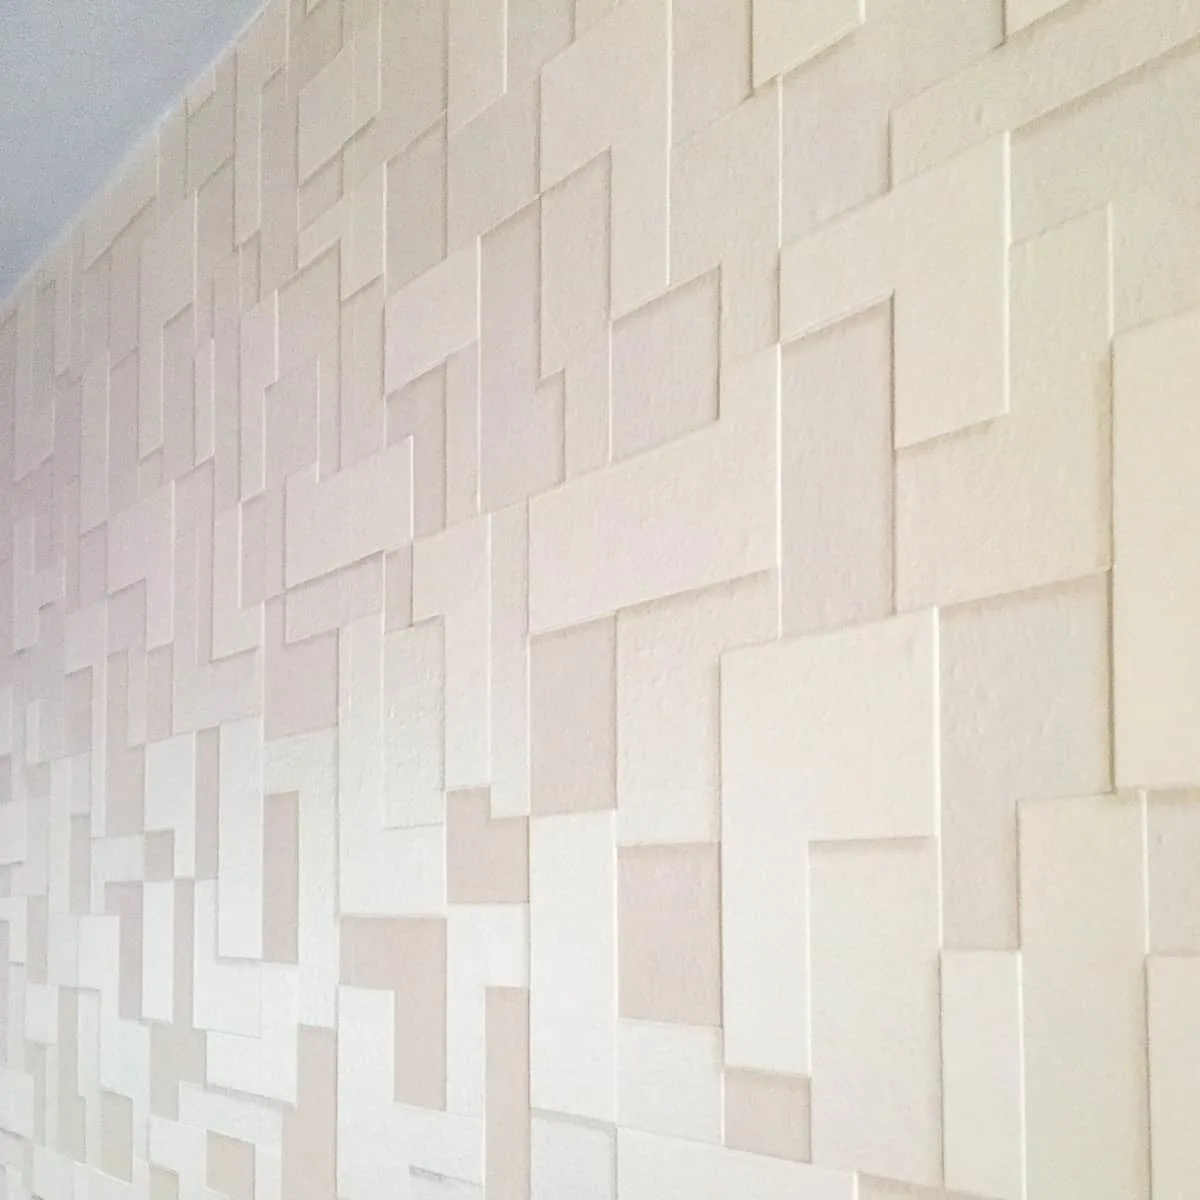
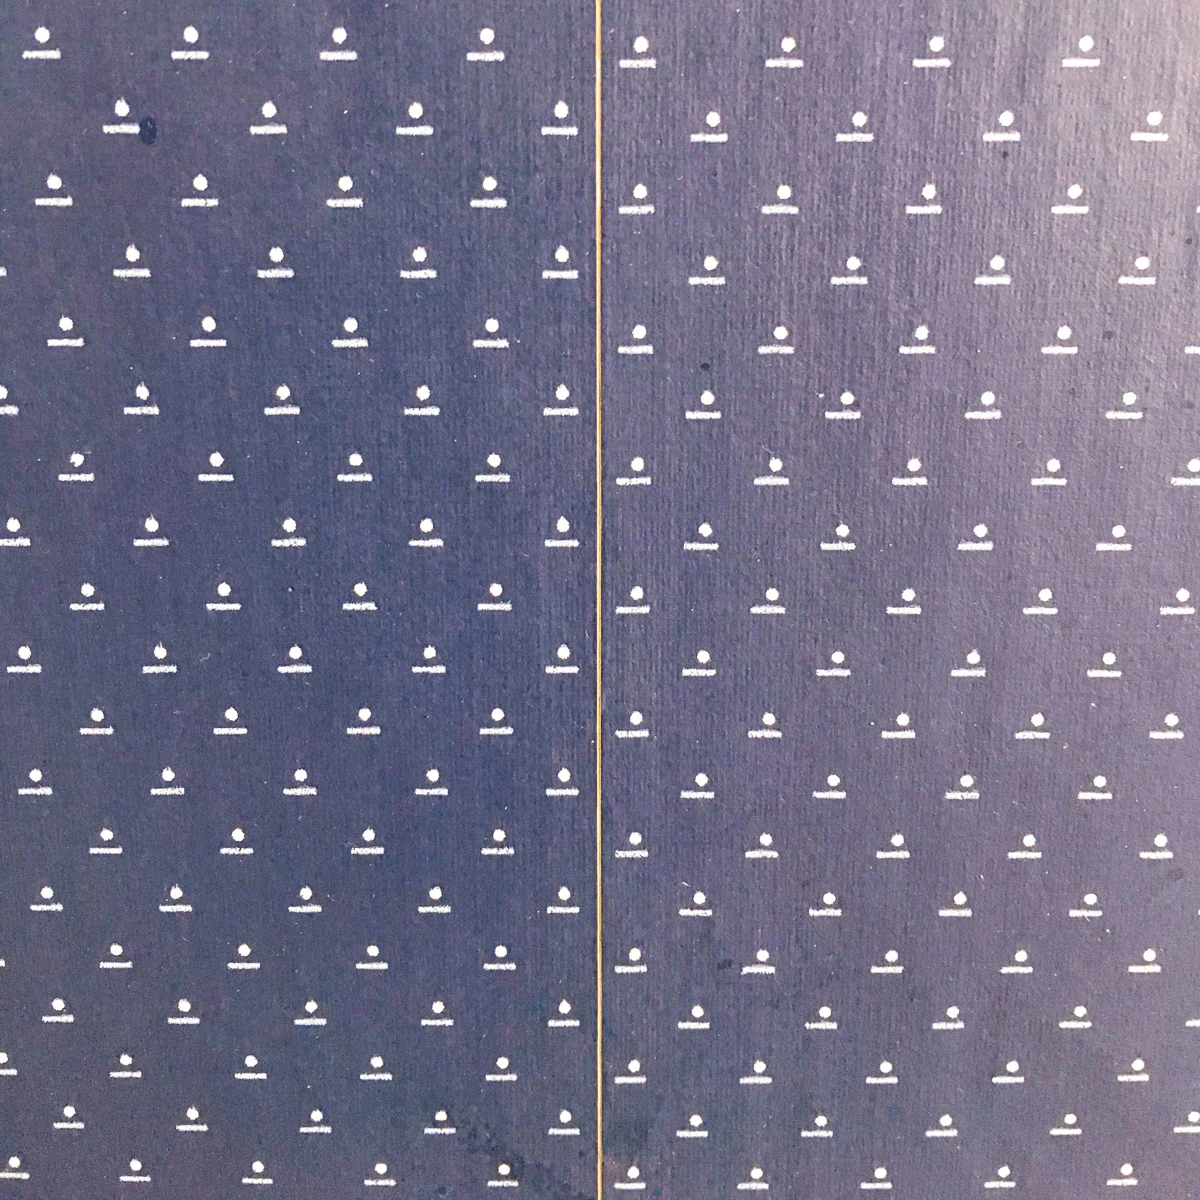
The shading in the pattern really makes the blocks pop, even though it's really only a few millimeters away from the wall.
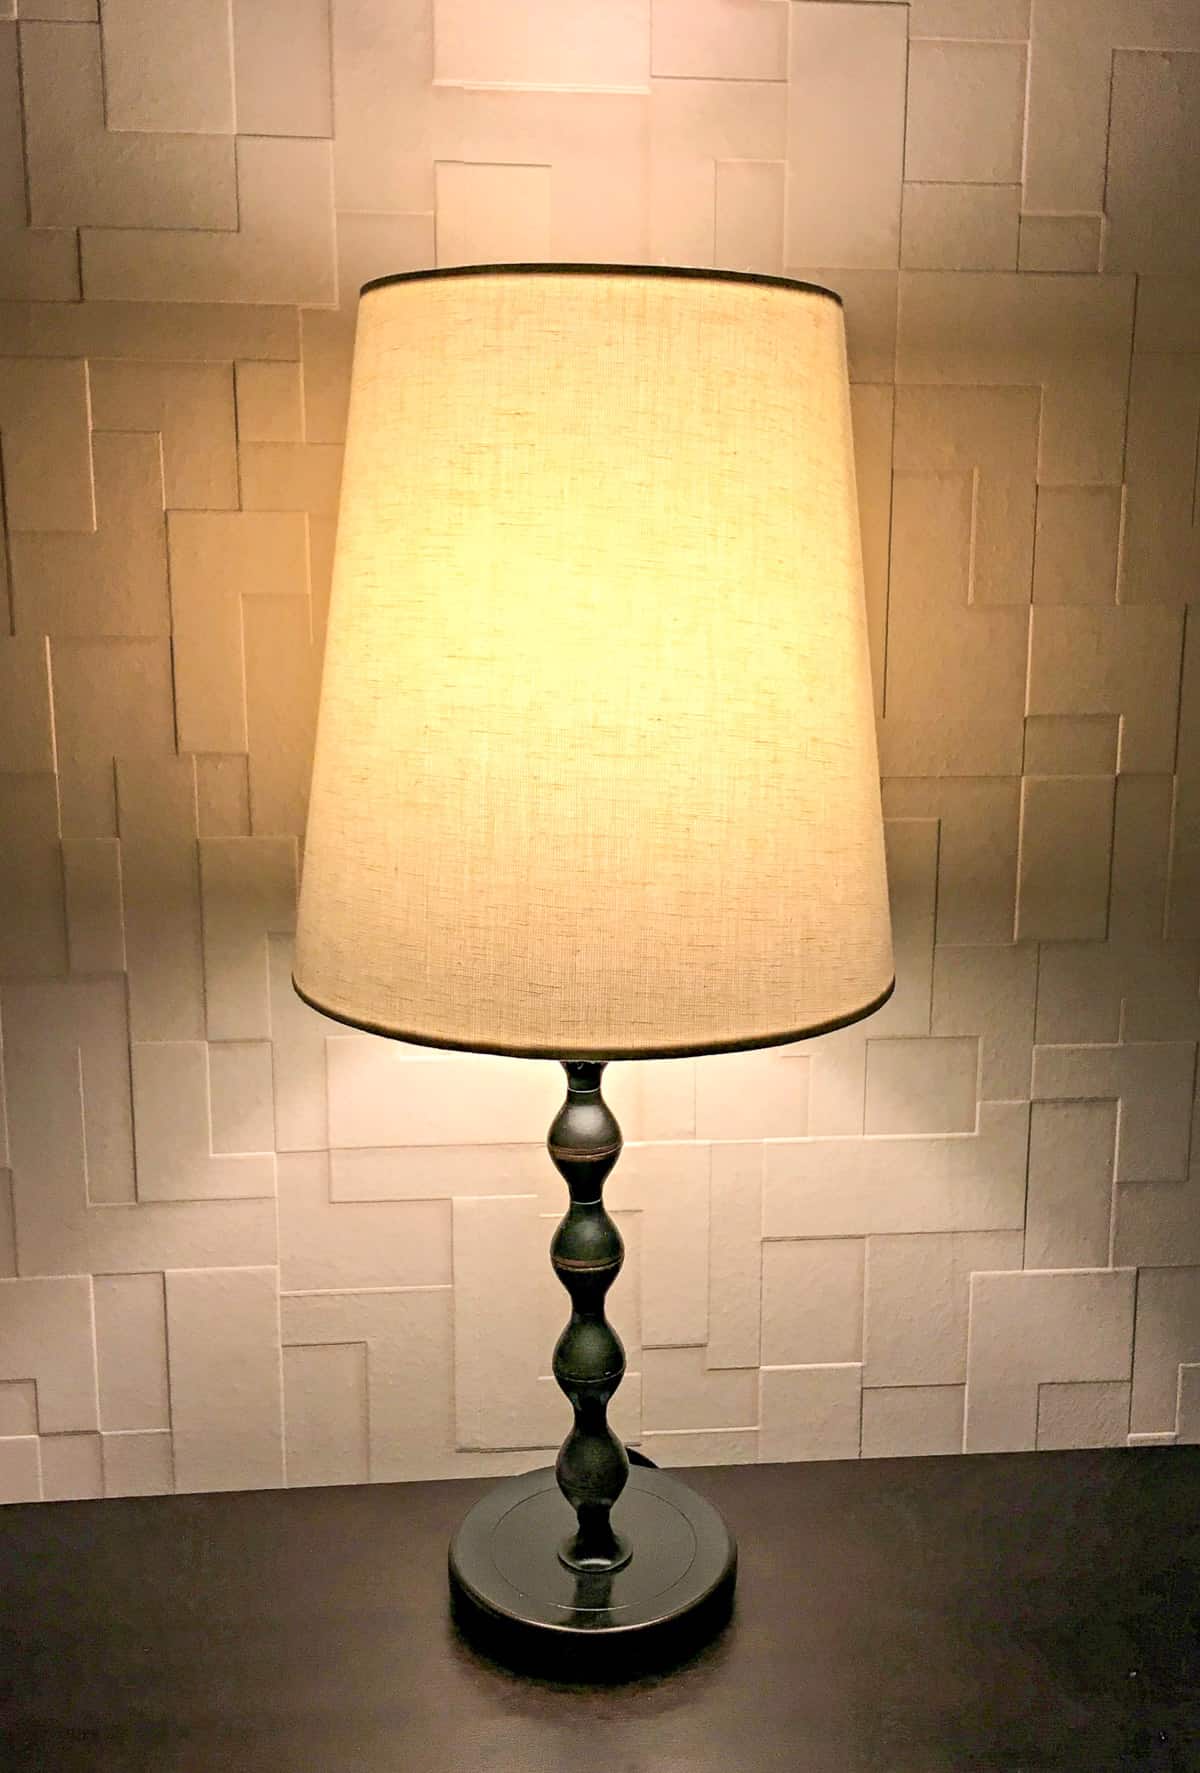
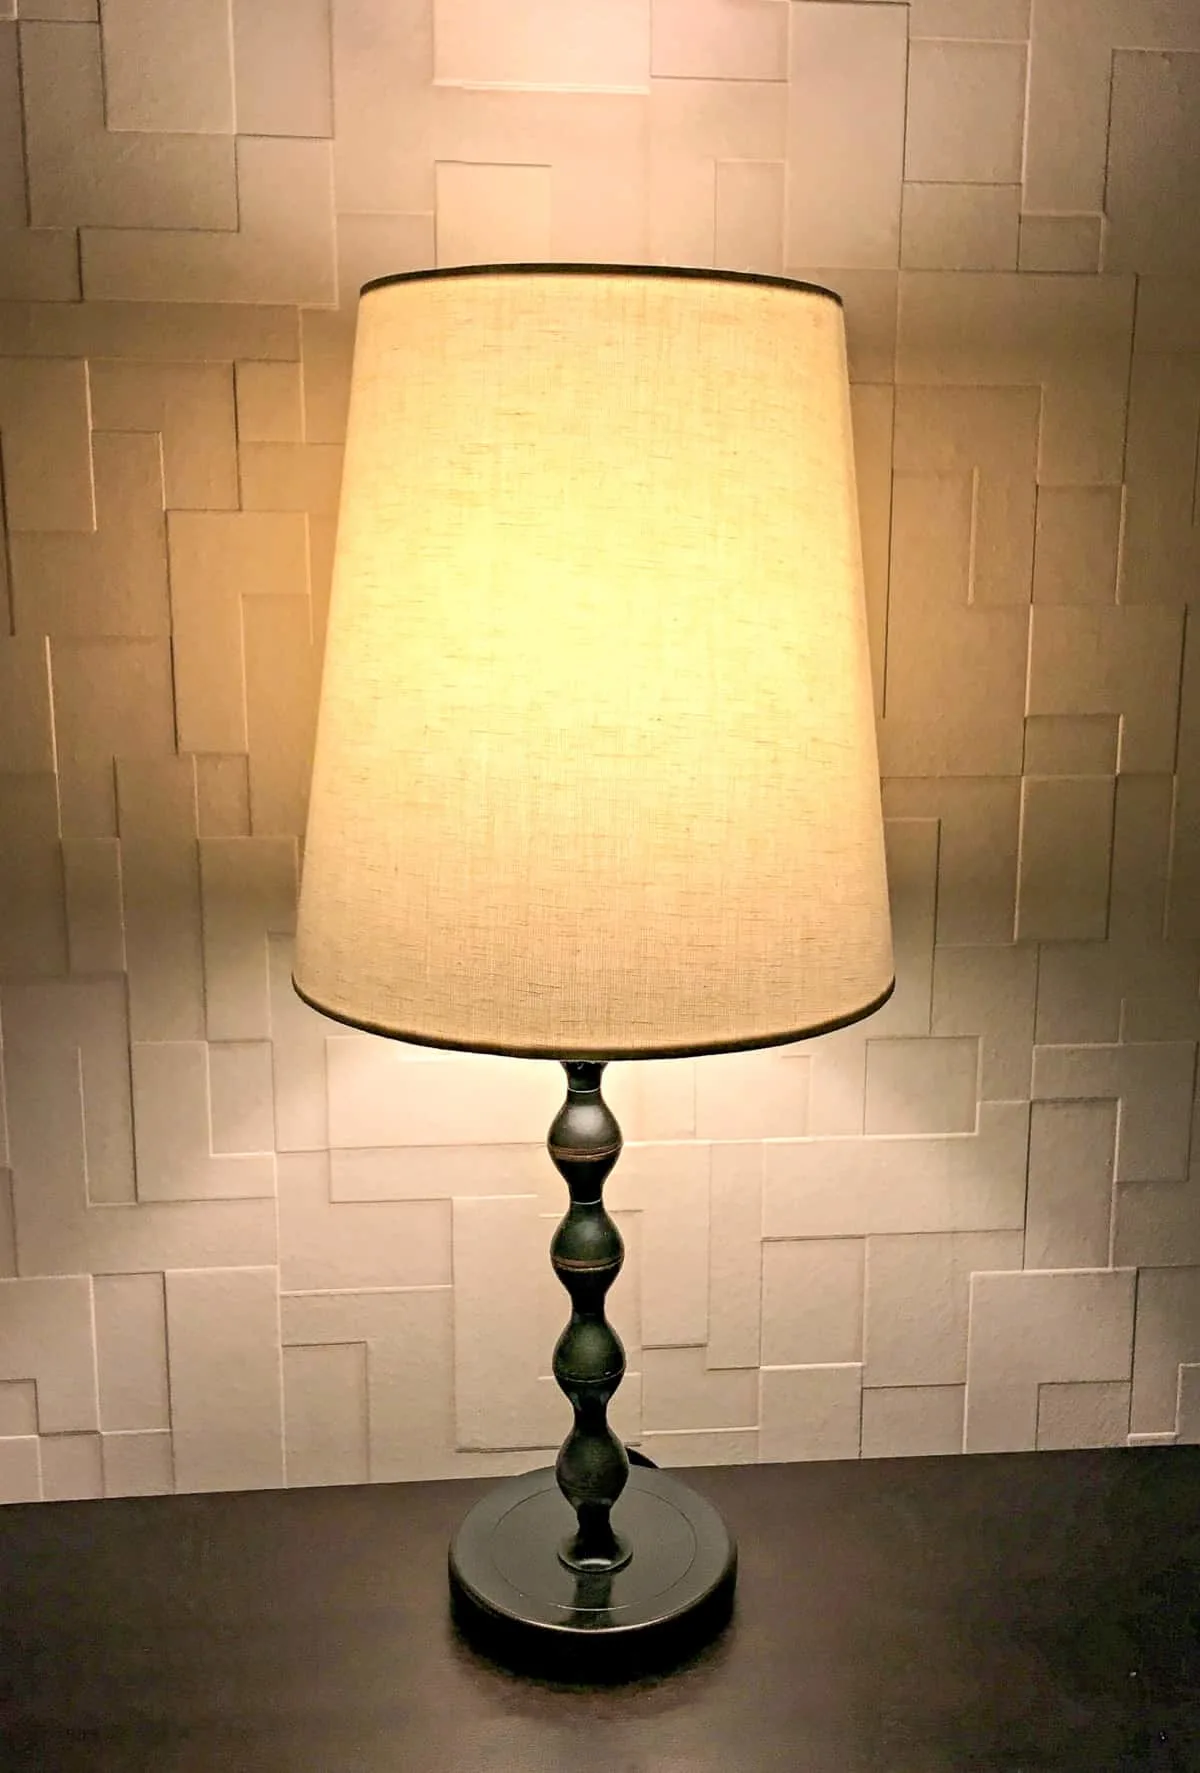
The texture really stands out when viewed against a raking light, like this one on the nightstand.
I can't believe it took me two years to get up the courage to install this amazing textured wallpaper. The final result completely changed the feel of the room!
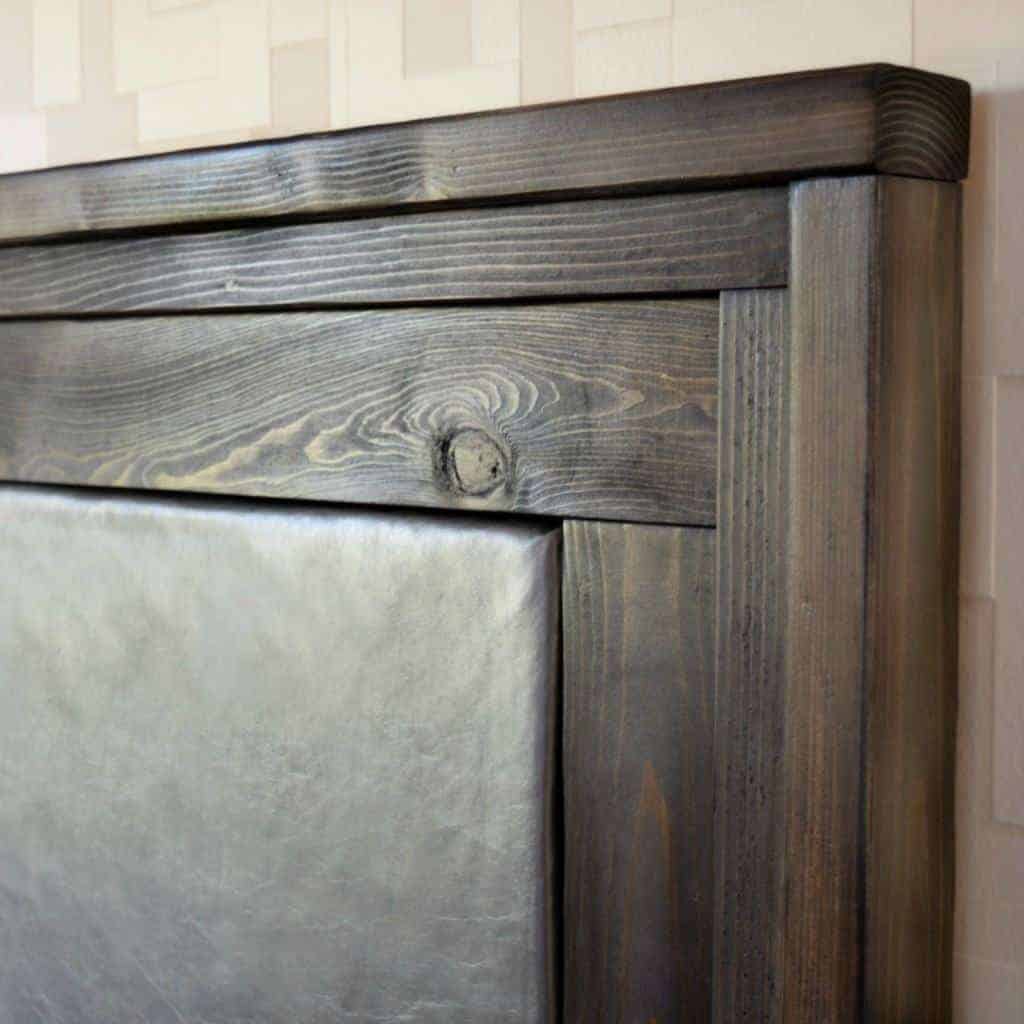
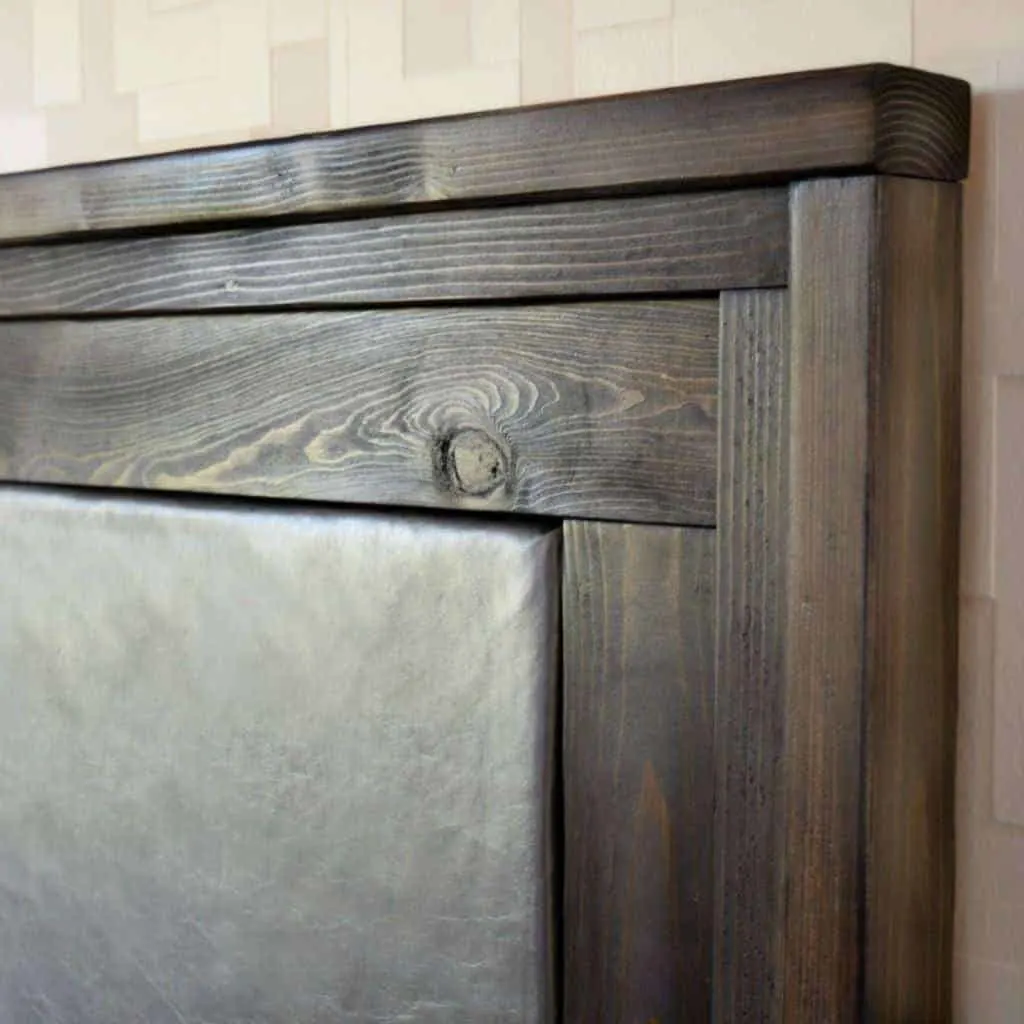
I was so inspired by this project, I built this upholstered leather headboard with a wooden frame that mimics the pattern in the wallpaper!
Check out these other home improvement projects!

Shirley Wood
Sunday 25th of September 2016
I love your textured wallpaper! Your tutorial is awesome too. So glad you shared with us at Merry Monday. We painted our home after 15 years and wondered why in the world we didn't do it sooner. It's always just so nice to have fresh updates. It makes us fall in love with out home again.
debbie
Wednesday 21st of September 2016
In the 90s I wallpapered every single room in my home if not with full out paper at least a border and I did it myself except where there were two story walls. I find hanging paper very relaxing and honestly it never aged in appearance....like a 10 year old painted wall needs to be repainted? I have one room yet to be updated with 25 year old wallpaper in it and it still looks fresh. I love your textured paper. I agree as we renovate and see how impactful things are it is kind of crazy to wonder why we didn't do something sooner. Lovely!
The Handyman's Daughter
Wednesday 21st of September 2016
Wow, I can't imagine hanging that much wallpaper! I was exhausted after one wall! Wallpaper makes such a huge impact that you just can't get with paint. Your home must have looked amazing!
Pamela List
Monday 19th of September 2016
The wall paper looks fantastic. I really like a textured look in small bathrooms.
Rebecca
Saturday 17th of September 2016
Your wallpaper looks awesome. You did a great job of lining up the pattern. Thanks for all the tips you shared. What a great accent wall.
The Handyman's Daughter
Sunday 18th of September 2016
Thanks Rebecca! Glad you liked it!
Carolann
Saturday 17th of September 2016
I am flipping in love with this wallpaper. Your instructions are so clear and make it look like something I can actually do! Thanks so much for this. I have to get that paper...oh lala love it!
The Handyman's Daughter
Saturday 17th of September 2016
You can totally do it! It was way easier than I thought it was going to be. I regret not putting it up sooner!