Add a little bling among those rectangles and squares in your gallery wall! This easy DIY arrow decor is the perfect graphic statement!
Adding arrows or other shapes into a gallery wall helps break up a sea of rectangular frames, and the graphic element draws the eye from across the room.
After completing my upholstered leather headboard, I had a few scrap pieces that were big enough for another project. I'm not about to let this gorgeous leather go to waste, so I started thinking of other ways it could be used around the house.
I spotted a paper mache arrow among the other shapes at the craft store, so I decided to make my own leather wrapped version!
This post contains affiliate links for your convenience. Purchases made through these links may earn me a small commission at no additional cost to you. Please visit my disclosures page for more information.
Materials Needed
- Leather or faux leather
- Paper mache arrow
- Sobo glue or other glue that works with both leather and paper
- Batting (I went with ¼" loft)
- Staple gun and ¼" staples
- Scissors
- Decorative Nail Heads (optional)
- 3M Command Picture Hanging Strips (if hanging on wall)
How to Make a Decorative Arrow
First, a word of caution... If you dread wrapping presents, this is not the project for you! Arrows have so many weird corner angles, and the leather was a little thick to wrap around the corners.
One benefit to using leather is that it won't ravel, so I decided to reduce bulk by exposing cut edges in a few places. Using a thinner fabric or even pretty paper would probably be easier, and give you a similar look!
Trace the arrow shape
Trace the shape of the paper mache arrow onto the batting, then cut it out just slightly inside the lines. Glue up the top of the arrow, then apply the batting. This will fill in any slack in the leather and give the front a bit of padding.
Cut the leather or fabric
Cut the leather to roughly the size of the arrow, making sure there is enough to wrap around the sides and staple to the back. Save any scraps and keep them handy for the next step!
Cut a small strip of leather as wide as the side of the arrow, and a couple inches long. Glue this piece into the corner of the back of the arrow. Repeat for the other inside corners. Cut your main leather piece straight into each corner, as marked in yellow.
Wrap the arrow
Apply glue, then wrap it around the sides and staple to the back.
Work your way around the arrow, cutting into the inner and outer corners and wrapping each segment as neatly as possible.
Put those gift wrapping skills to the test! I left the excess leather sticking up until I was sure I liked how it looked, then gave it a trim.
When I got around to the tip of the arrow, I did things a little differently. I didn't want to wrap the point with an extra layer of leather, which would leave it looking bulky.
Instead, I carefully cut the leather off the tip, keeping both sides touching. Then I opened up the gap a bit and squirted glue into the space. I used my fingers to press the two sides together to make a point until the glue dried.
It took a bit of patience, but I finally wrapped the entire arrow in leather. You could stop there, but I wanted to add a bit of bling!
Add decorative nail heads (optional)
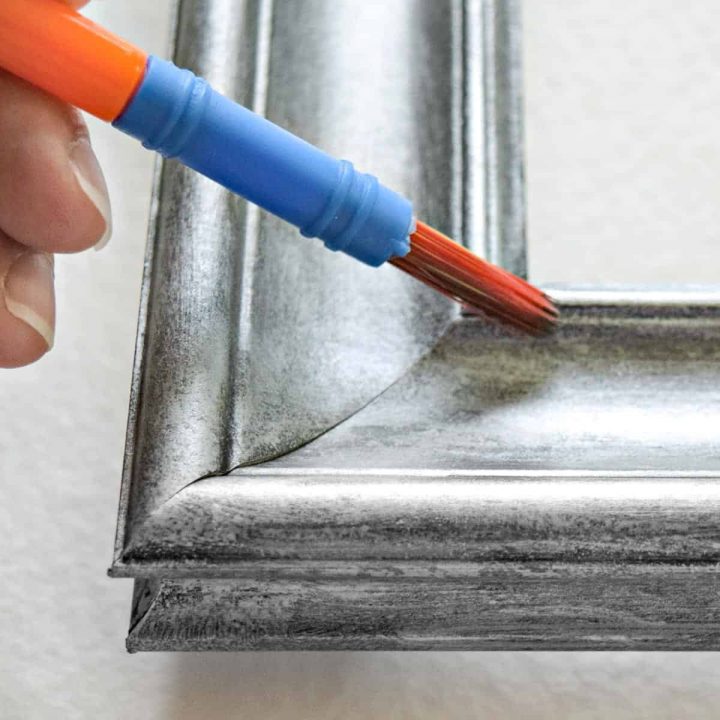
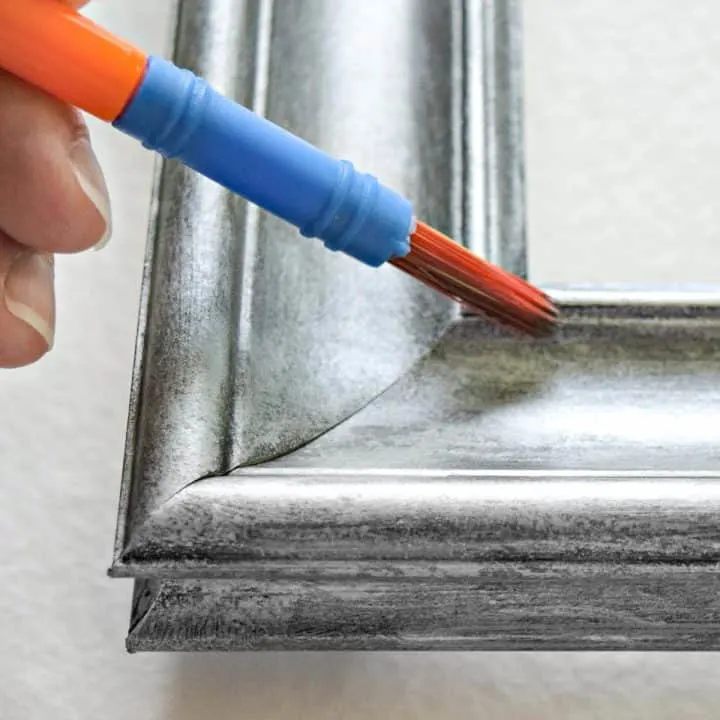
I found these hammered silver decorative nail heads in the home decor section of Joann's. You can also find a huge selection of them on Amazon. They're easy to press through the leather and into the paper mache with your fingers.
Hang it on the wall
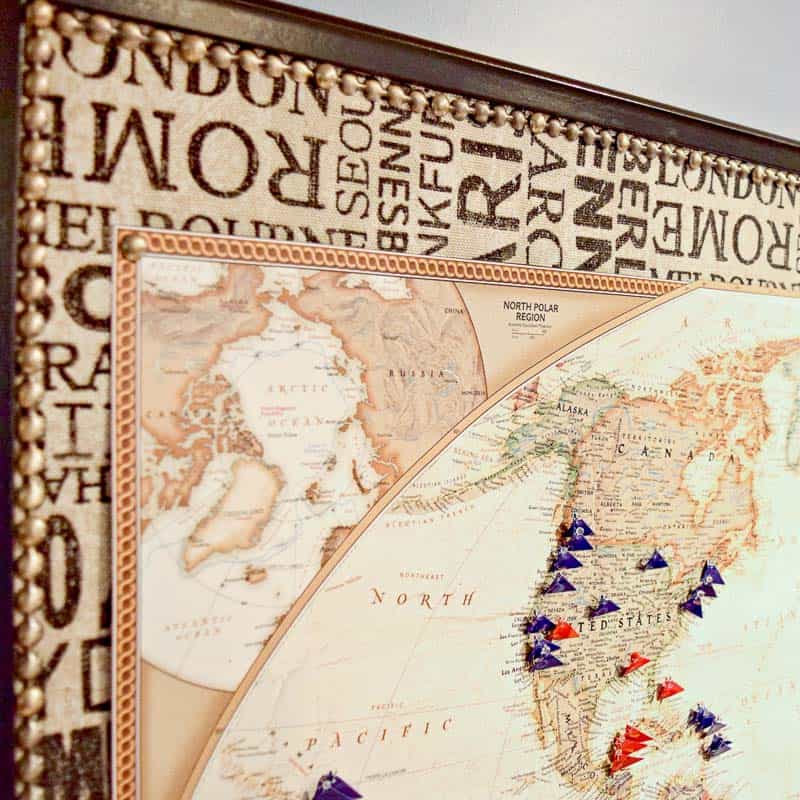
Finally, attach Command Strips to the back. I used these to hang the picture frames of my gallery wall, and they're rock solid! They make it easy to change things around without having to patch holes each time.
I love how my decorative arrow looks among the dark gray picture frames! It breaks up all those rectangles and fits in perfectly with the travel themed photos and quotes.


Grandmas House DIY
Friday 19th of October 2018
Love it! Thanks for sharing with us at the To Grandma's house we go link party!
Jann Olson
Saturday 13th of October 2018
Arrows are so popular and yours turned out wonderfully!! Thanks for sharing with SYC. hugs, Jann
tru
Wednesday 10th of October 2018
Oh my this is adorable I have the materials at home. Yay! I am lovin Wonderful Wednesdays!
Kim~madeinaday
Tuesday 9th of October 2018
Love the leather! Pinned! Thank you for sharing on Merry Monday! Hope to see ya next week! Kim
Toni | Small Home Soul
Tuesday 25th of October 2016
I love this arrow, you did such a beautiful job! Congratulations on your feature over at the DIY Dreamer link party :)