Want to build your own furniture, but don't know what tools to get? Check out this list of 12 essential woodworking tools for beginners!

Walking into a big box home improvement store looking for tools can be intimidating! There are so many options, and when you're just starting out, you never know which ones you need first.
This guide will help you navigate the tool aisle and decide which are best for the beginning woodworker! And if someone you know is just starting to get into building projects, now you can cross that name off your gift shopping list.
In this list of woodworking tools for beginners, I'll let you know exactly what to look for when you're out shopping. Some people are loyal to a particular brand, or need to stick to a tight budget, so I'll give you general advice rather than particular models.
This post contains affiliate links for your convenience. Purchases made through these links may earn me a small commission at no additional cost to you. Please visit my disclosures page for more information.
Basic Power Tools for Beginners
You won't get very far building your own furniture without these basic power tools. I use most of these every day! With these first three tools, you can tackle the majority of the projects in my woodworking plans library!
Cordless Drill

Pretty much every homeowner needs one of these in their arsenal. From hanging pictures to building a table, a cordless drill is required to get the job done. Here are my tips for getting the right cordless drill for you!
Try before you buy
Test out the various models at the store before buying. Sometimes there's a scrap of wood next to the display so you can check out each one for power and comfort.
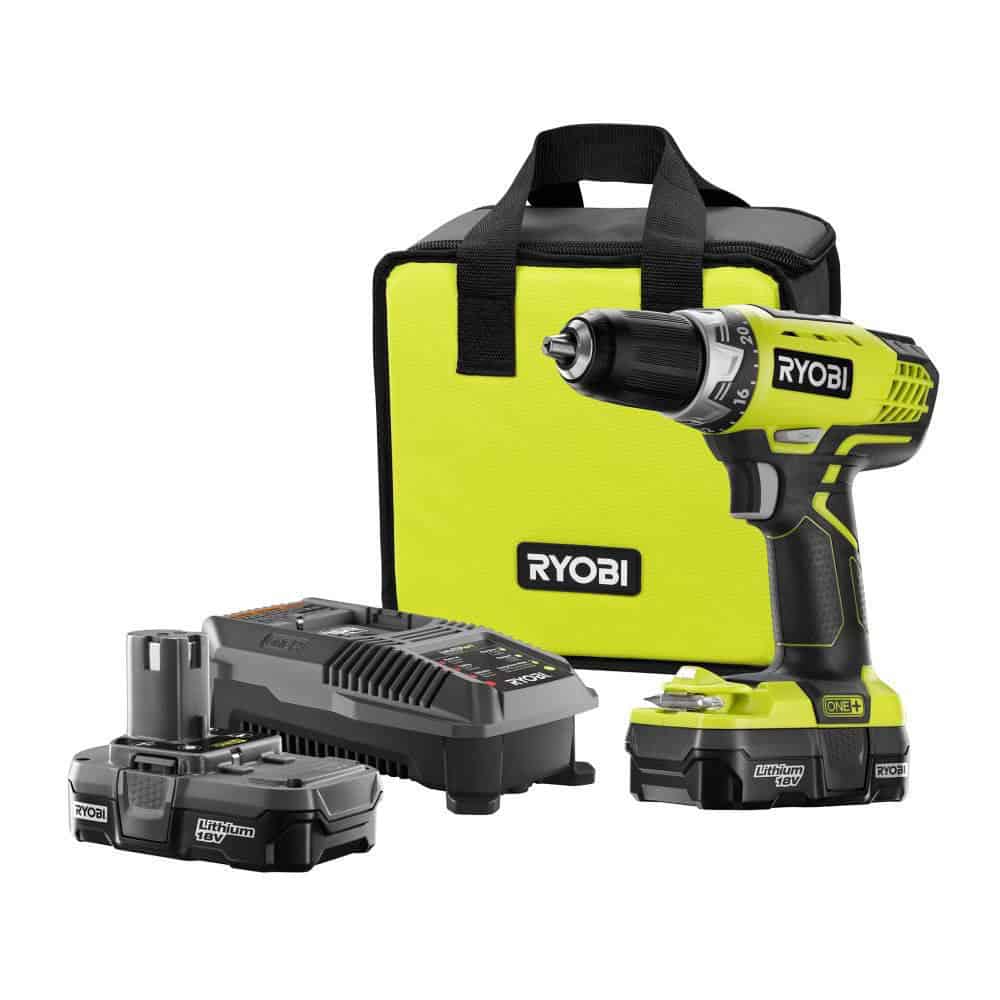
Keep in mind that each brand has its own batteries, so you'll save some money by sticking with one brand and using the same batteries on multiple tools. I started off with the Ryobi tool line at Home Depot, because they're inexpensive and there's a huge variety of tools that all use the same batteries. However, I should have followed my own advice and tested out a few different brands first!
I recently switched to the Dewalt Atomic line, and the difference is like night and day! This cordless drill is more compact, and feels much better in my smaller hands. I feel like I have much more control, which is really important when you're a beginner!
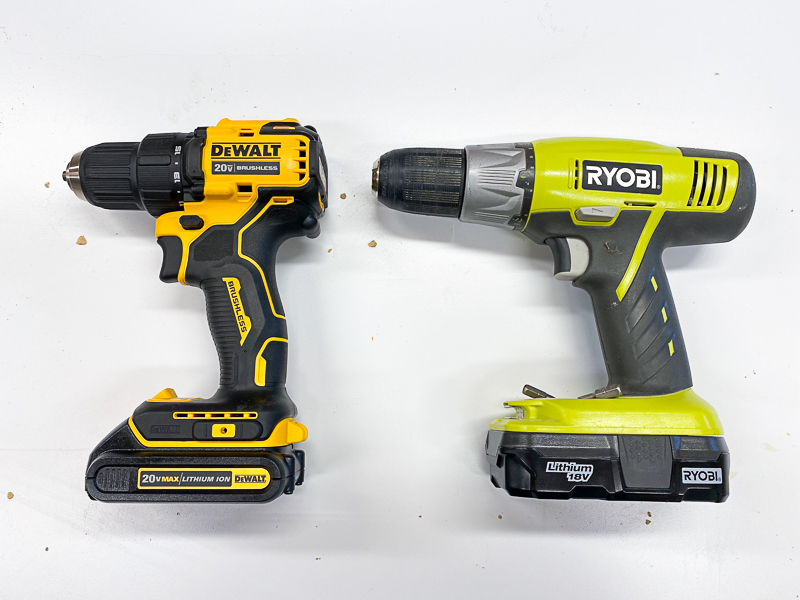
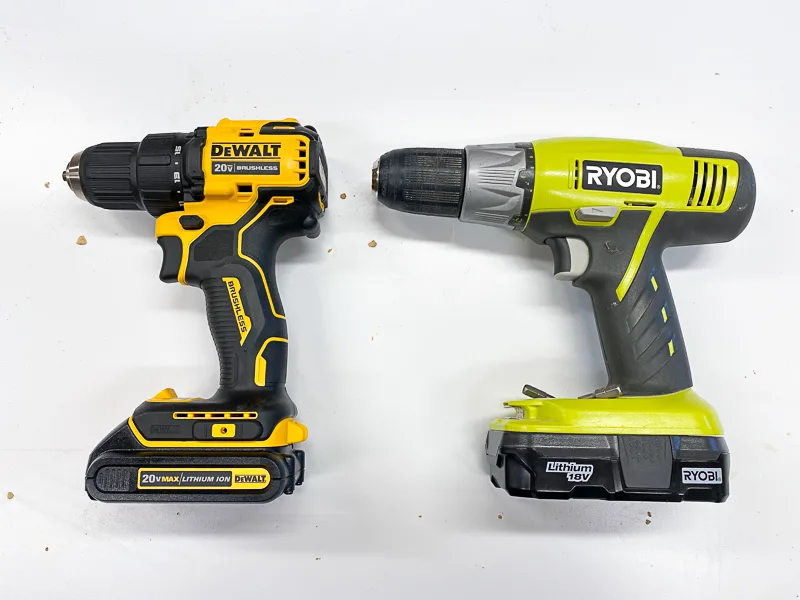
My advice is to make sure you're getting a tool you'll be comfortable with, even if it's a little more expensive. I suffered with that huge drill for YEARS when I could have saved myself hours of frustration by just buying the right one in the first place.
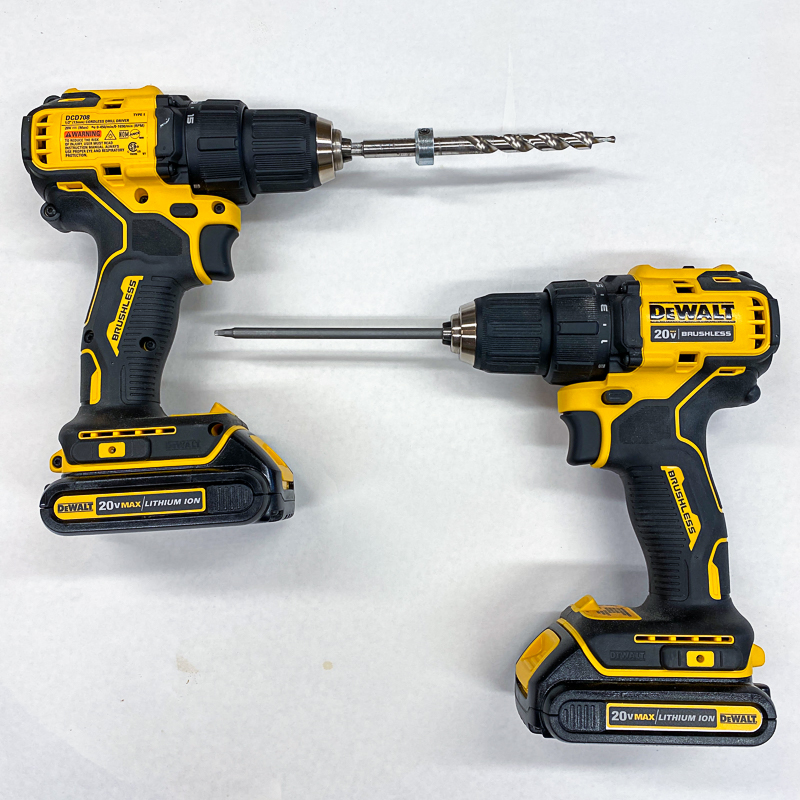
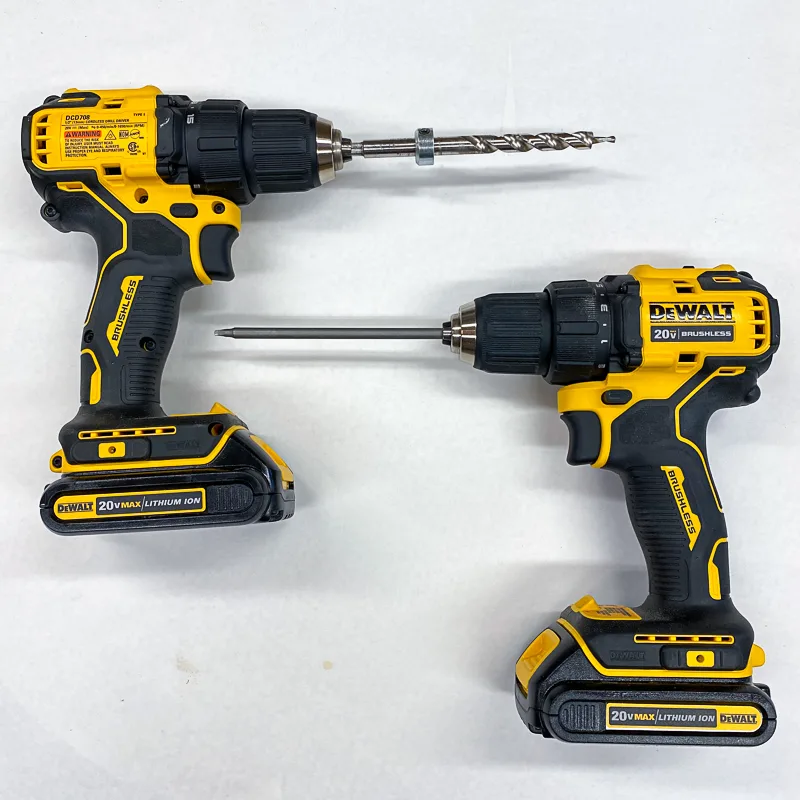
Consider getting two drills
Once you've been woodworking for a while, you might want to think about getting a second drill for your collection. Why waste money that could be used on other new tools, you ask?
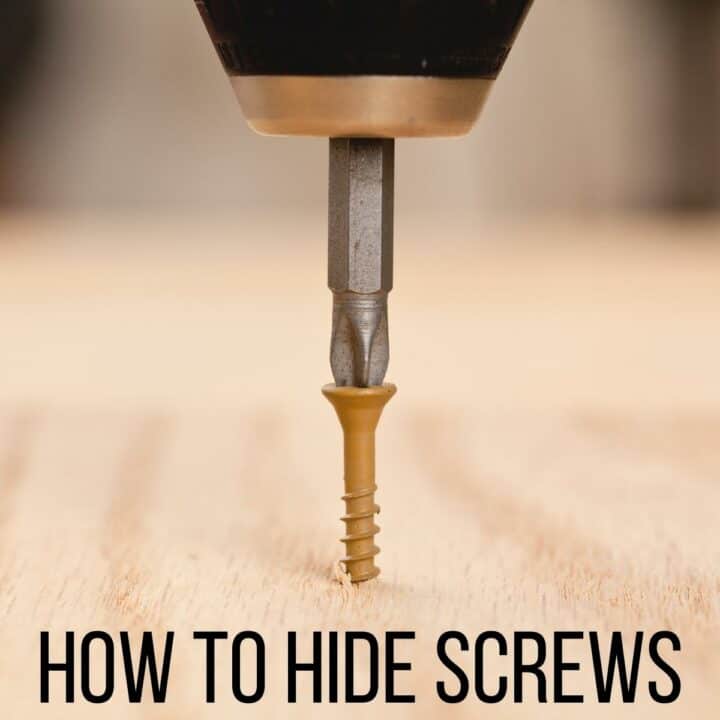
Many woodworking projects require you to countersink screws, or at least predrill a hole first so the wood doesn't split. With one drill, you're constantly switching between a drill bit (to make the hole) and a driver bit (to drive in the screw). Having two drills means you can leave a different bit in each one and speed up the work!
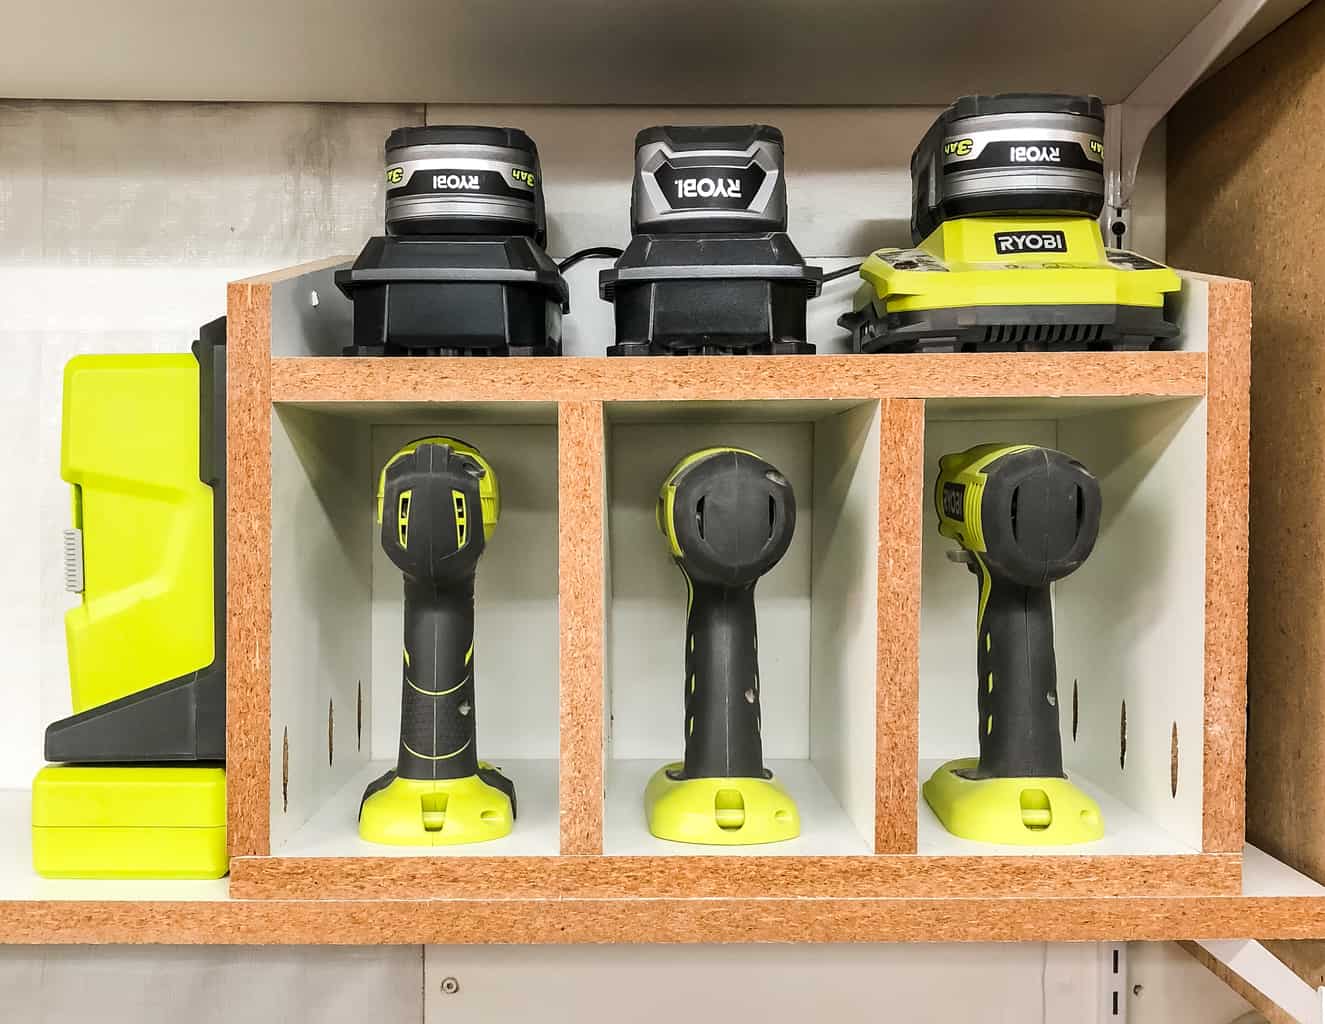
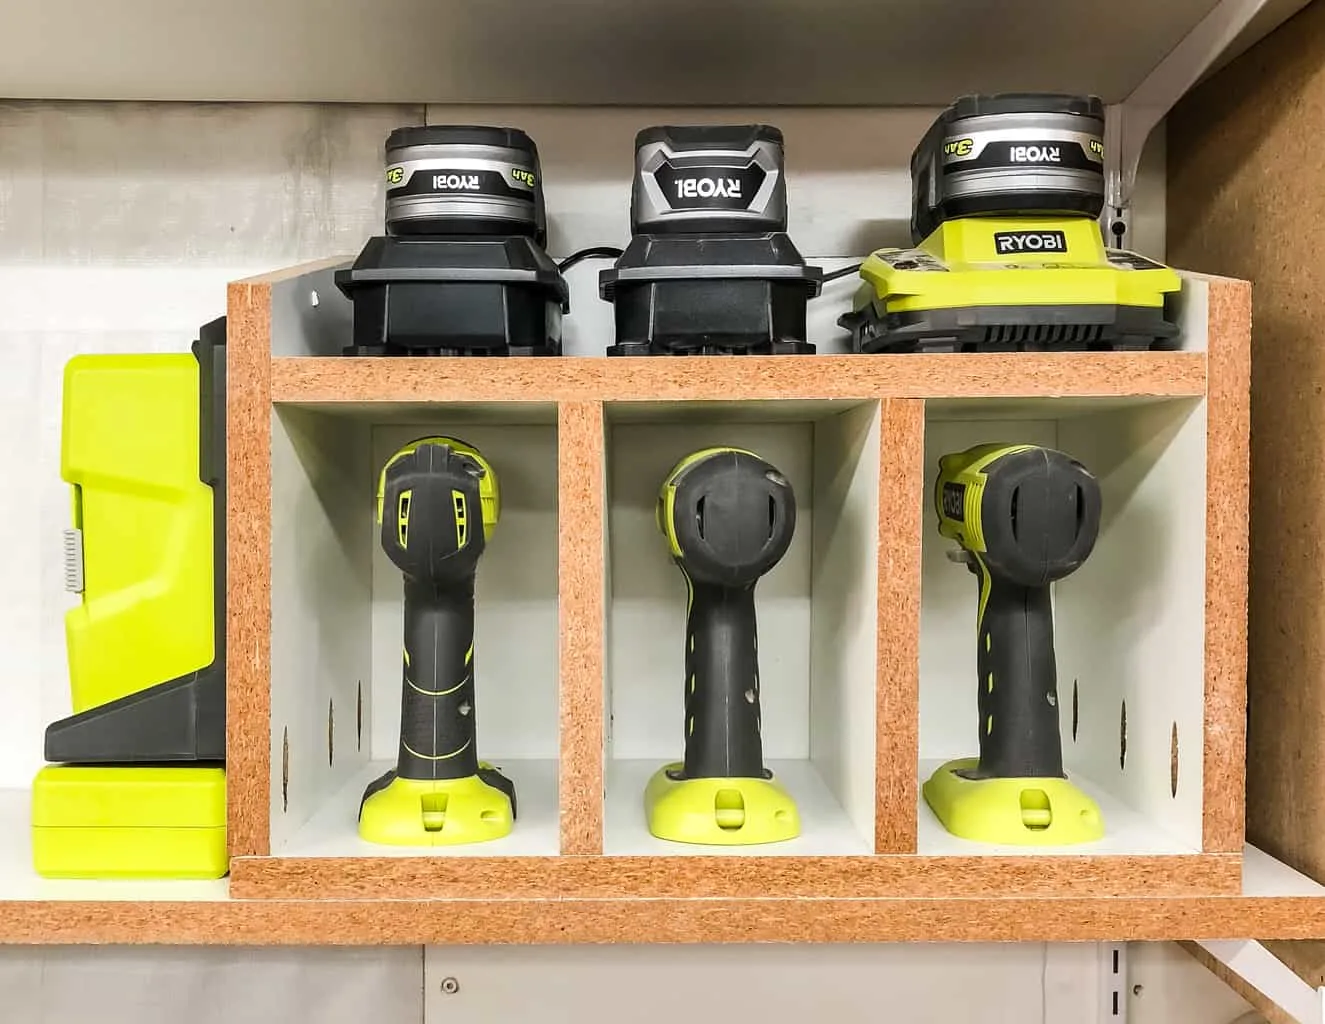
Cordless Drill Storage
Every drill and battery kit nowadays seems to come with its own cloth bag for storage. Honestly, I've NEVER used one for drills! However, they're great for other tools that you don't use as often, so don't toss them!

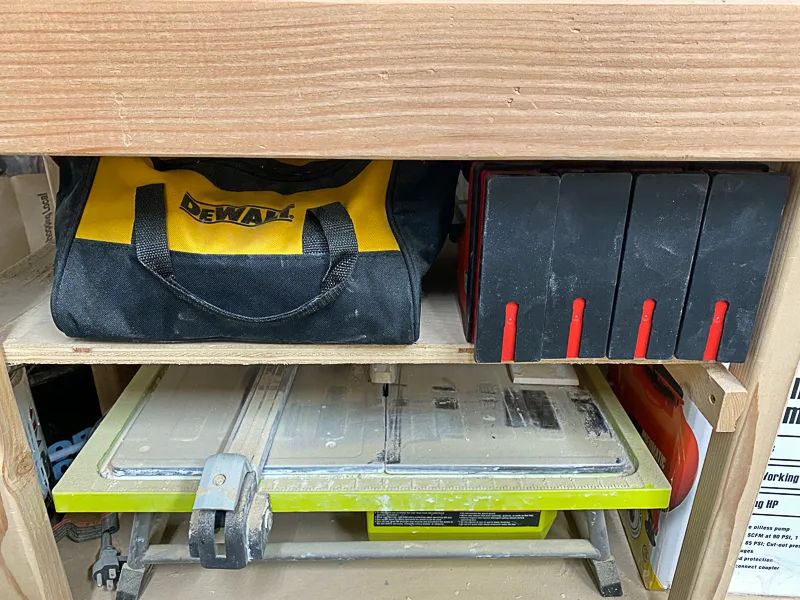
Drills are used far too often in woodworking projects to keep them zipped away in a bag. I keep all of mine in one spot with the chargers and extra batteries in a cordless drill storage rack like this one!
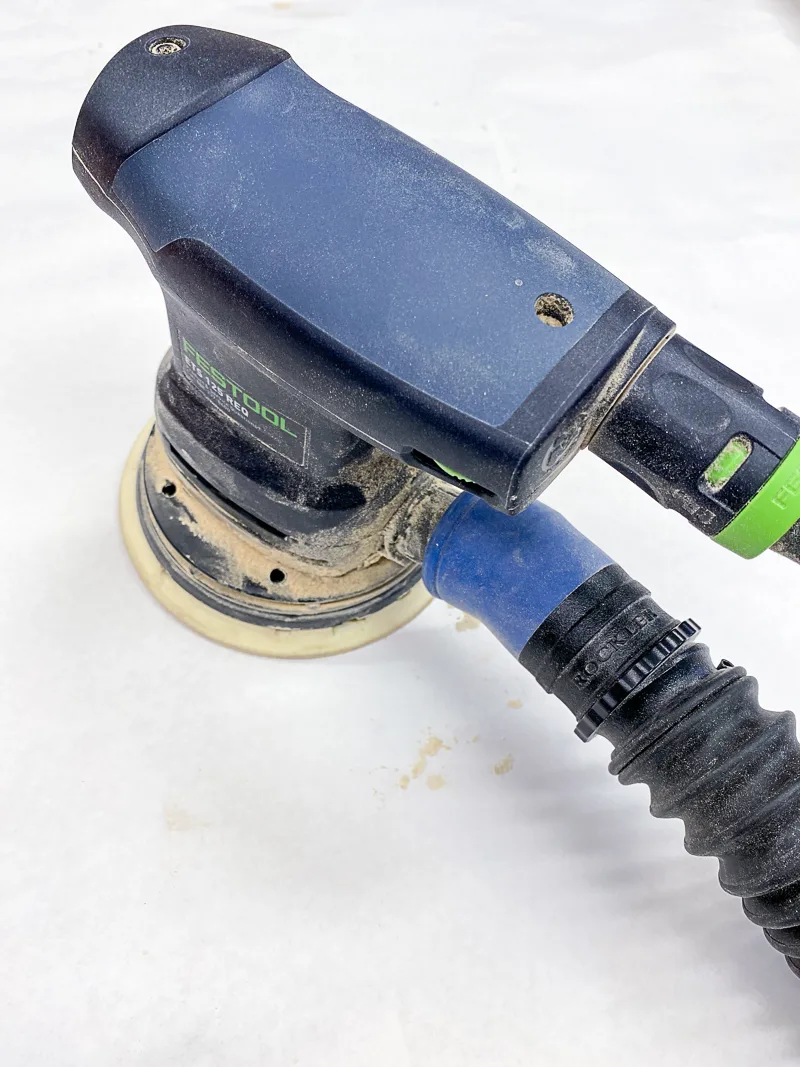
Random Orbital Sander

The key to a flawless finish is a good random orbital sander! It may look like it just spins in a circle, but it also moves randomly from side to side so you don't end up with those dreaded swirl marks. You can learn more about the different types of sanding tools here!
I started with the most inexpensive sander I could get, but quickly learned that there's a huge difference in quality. Features like soft starts and more effective dust collection not only make the tedious job of sanding easier, but your results will look better too!
Dust Collection
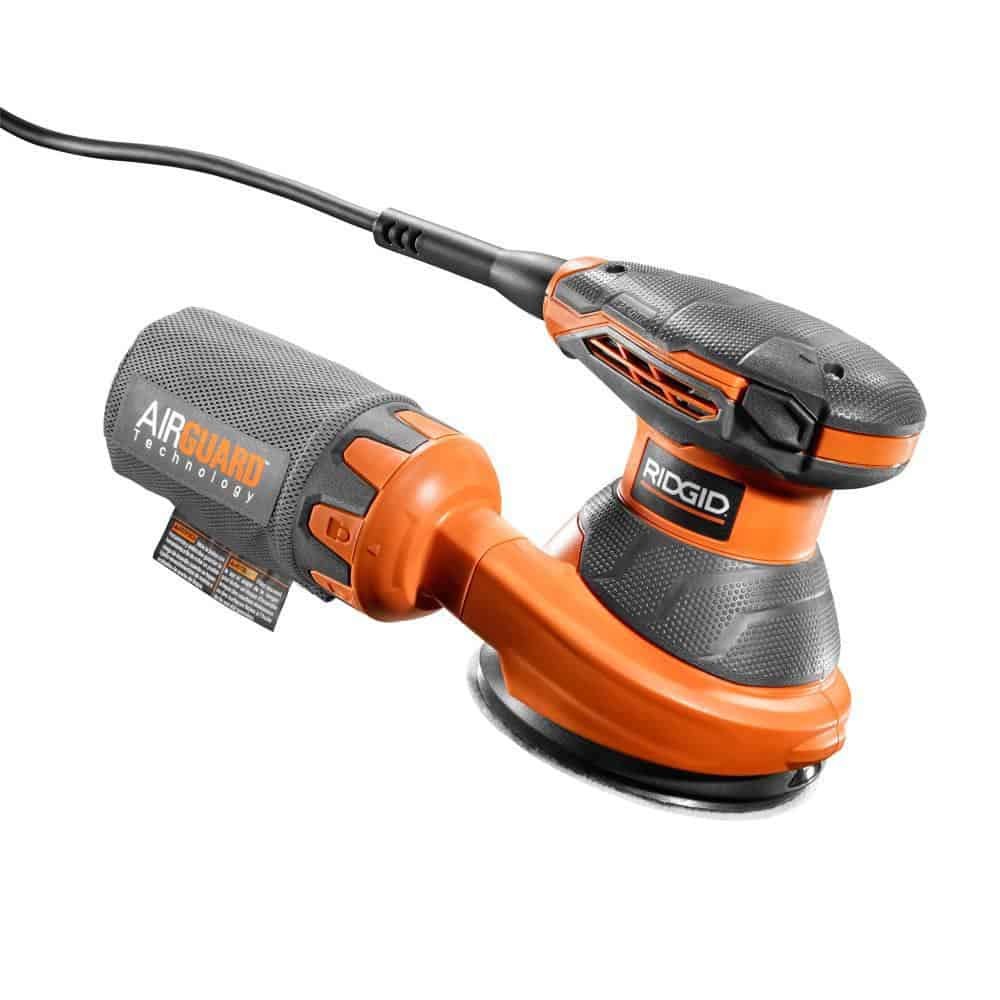
I have a Ridgid random orbital sander, which connects easily to a shop vac to whisk dust away. This is much better for your lungs than the cloth bag that comes with your sander, and keeps your workshop cleaner too!

Some sanders have weirdly shaped dust ports, but you can use these adapters to make them fit.

Comfort
You also want to look for a model that fits comfortably in your hand for long periods of time. Sanding sucks, so why make it worse with an uncomfortable tool?
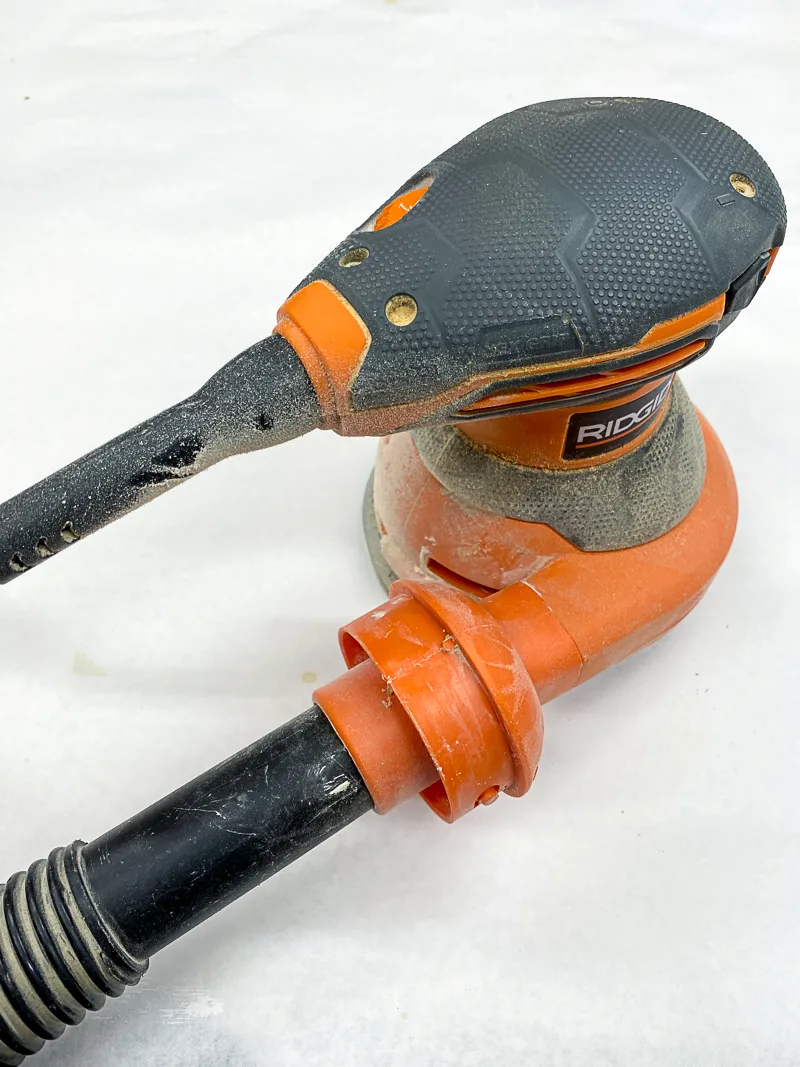
The Ridgid model has a wide, circular grip that makes my hand sore after a while. I wouldn't recommend it for someone with smaller hands.
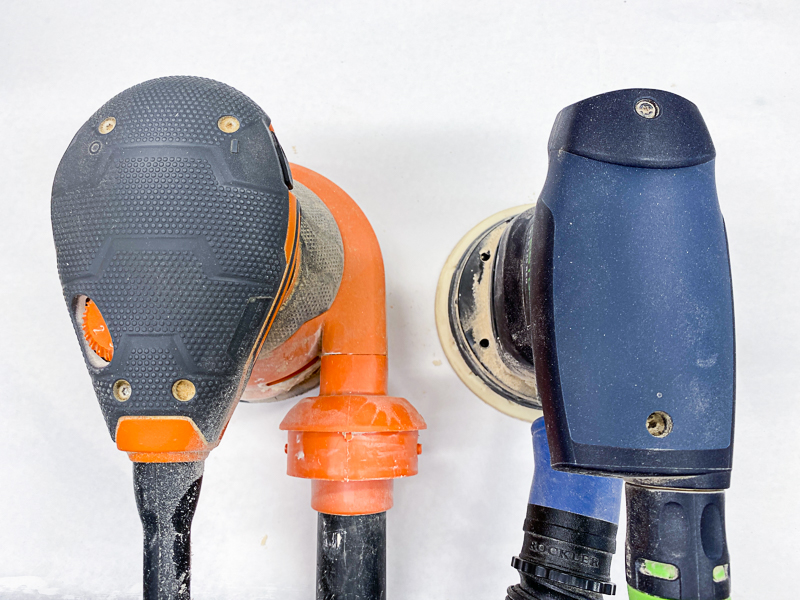

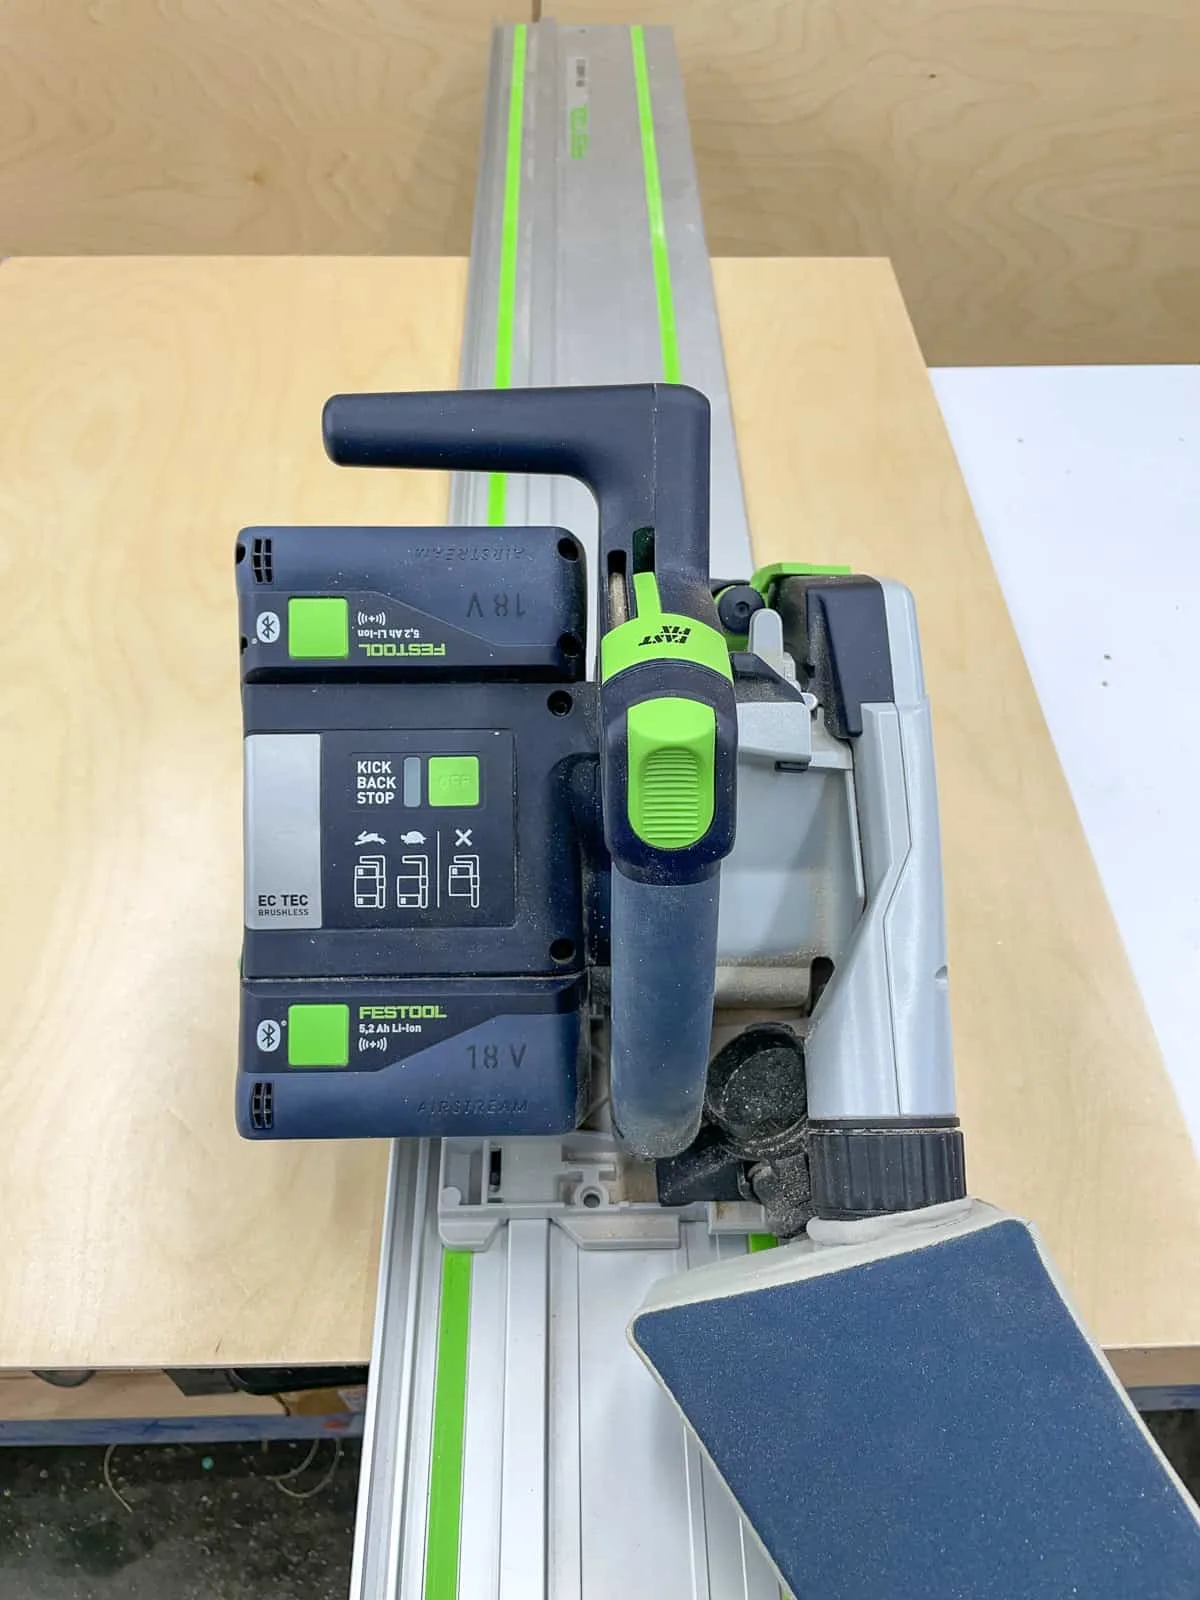
Instead, look for one with a more narrow handle like the one on the right (no, I'm not recommending that a beginner should buy a Festool sander, but when you do this for a living, it's totally worth the ridiculous price!)
Vibration can also impact your comfort over those marathon sanding sessions. This can be harder to judge in the store, so check out the reviews before you buy. There's nothing worse than your hand going numb after 15 minutes of sanding! This is another reason why I bought the Festool... 🙂
Miter Saw

The miter saw is the most used saw in my workshop! Nothing is quicker and easier for cutting down multiple boards for a project. Check out my beginner's guide on how to use a miter saw for more details!
Miter saw vs circular saw
Some people say you should get a circular saw instead of a miter saw for your first wood cutting tool. Yes, it's less expensive, but I think the miter saw is a better tool for beginners. You can learn more about the difference between a miter saw vs a circular saw in this article!
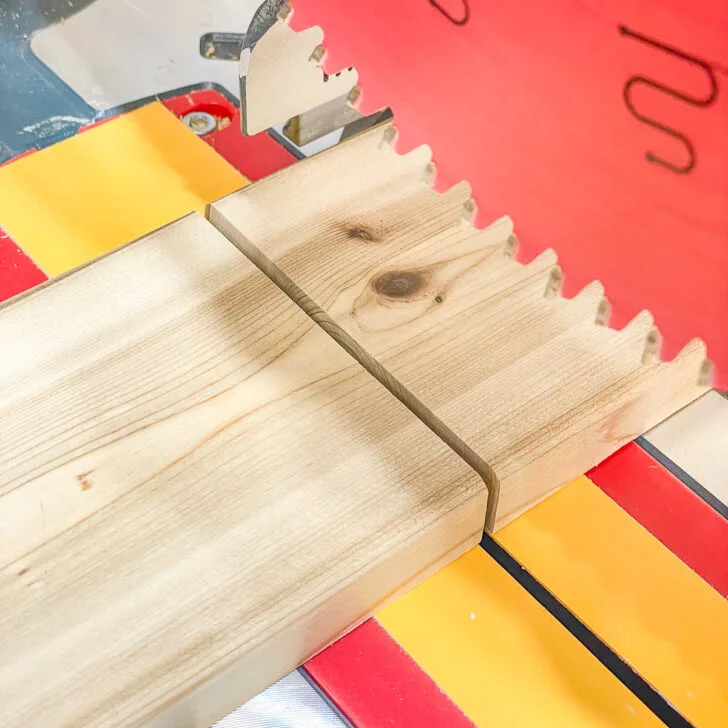
Stationary tools like a miter saw give you more control over the cut. Both sides of the cut are supported, and if the blade is aligned correctly, you'll always get a straight cut. Unless you make a jig like this one, chances are your circular saw cut won't be perfect.

There's something intimidating about holding a spinning blade in the palm of your hand. The miter saw is more approachable for beginners, because it's easier to see the blade and ensure that all your body parts aren't near it!

Don't forget that you can have plywood cut for you at the home improvement store, so you don't need to rip down huge sheets by yourself with a circular saw. Even though I have a table saw, I still have plywood cut into more manageable sizes at the store!
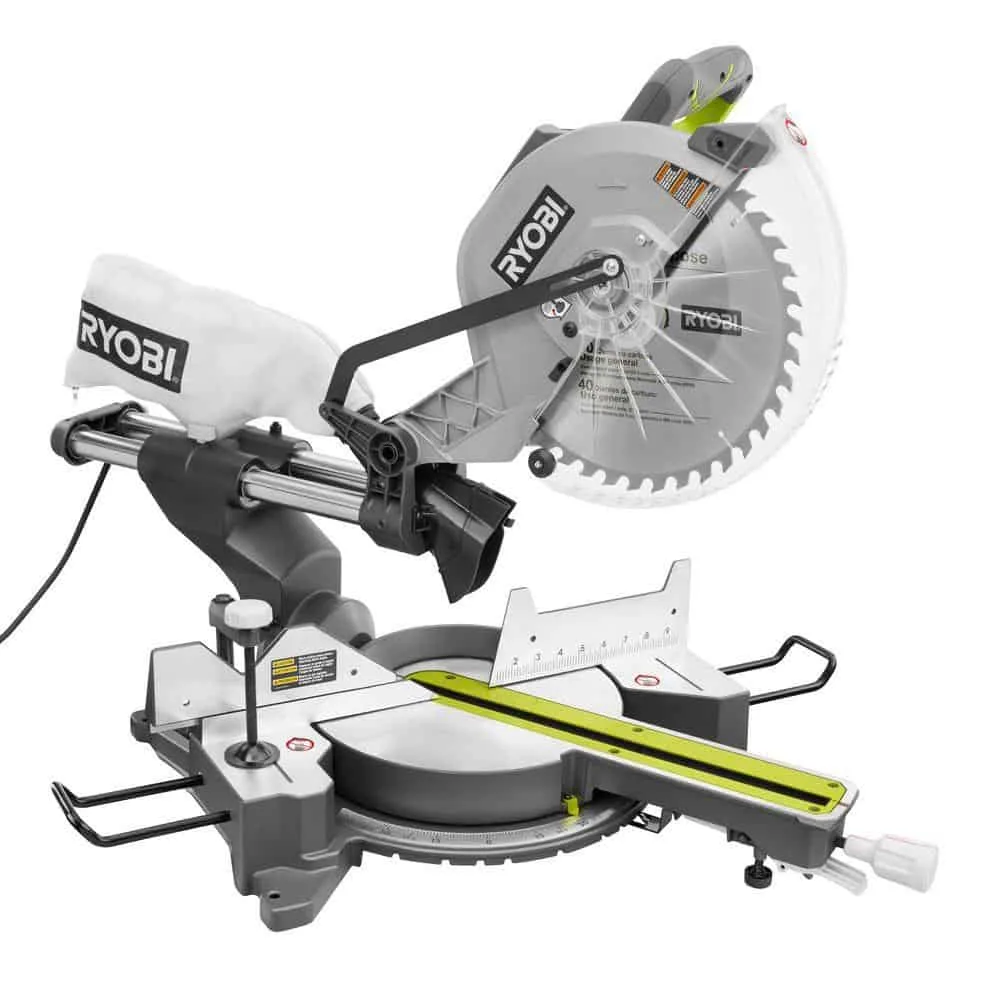
Sliding vs stationary miter saws
Before you start shopping, think about the types of projects you plan to build and the space you have in your garage or workshop.
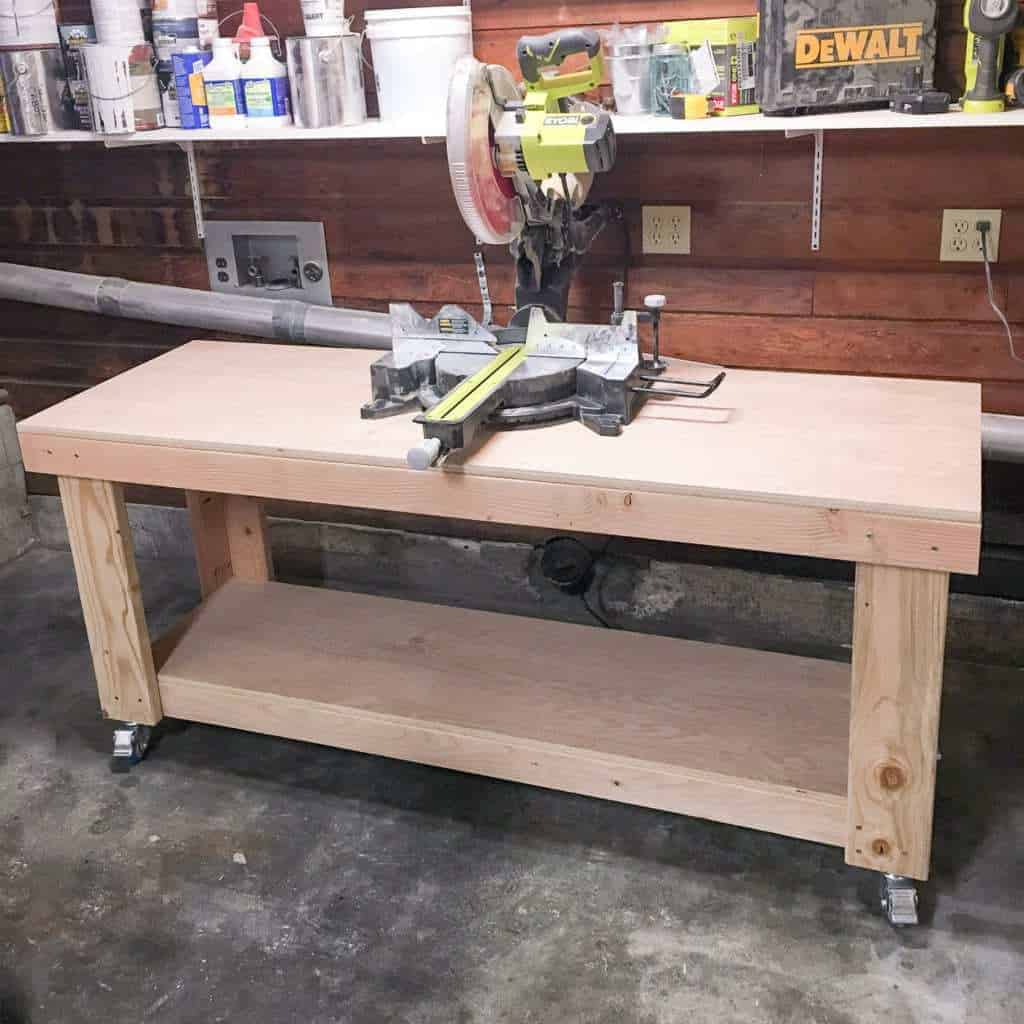
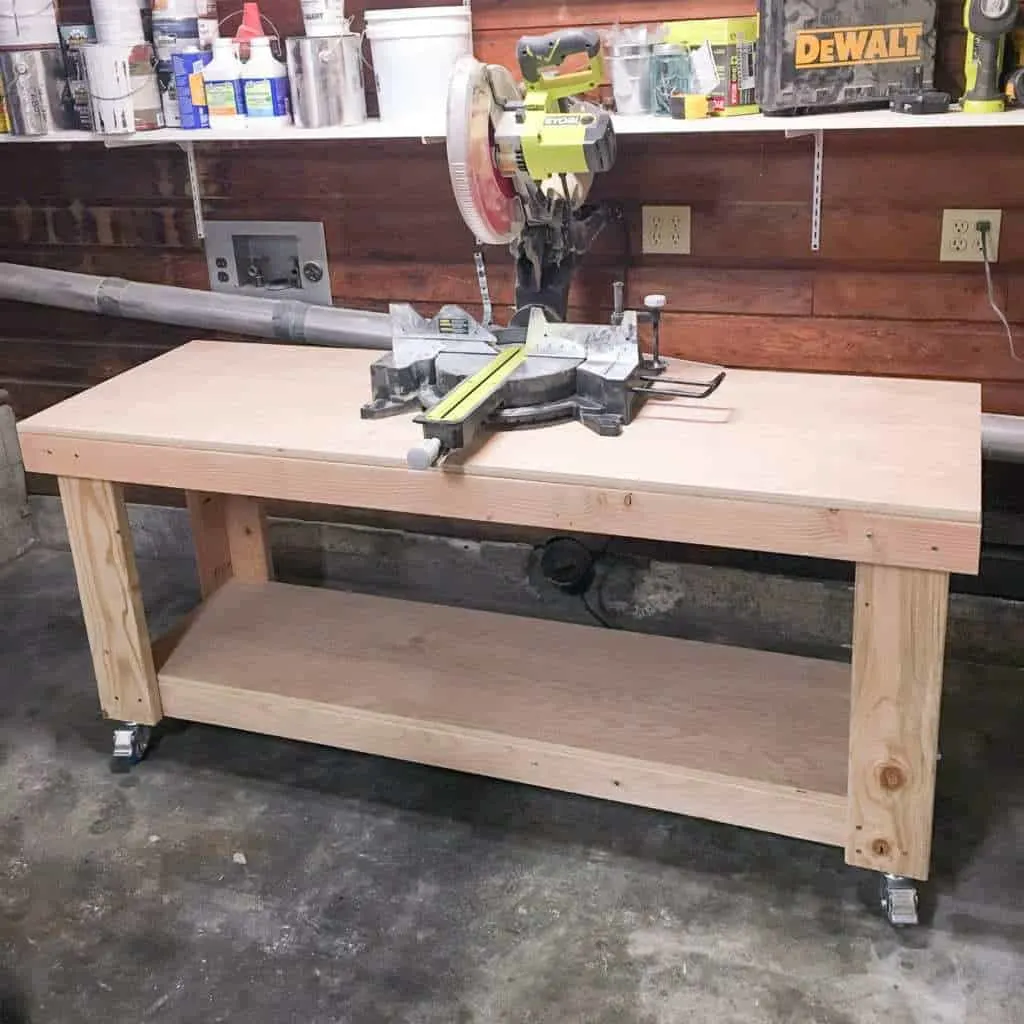
A huge 12" sliding miter saw takes up a LOT of space, especially with that long rail in the back. This workbench has to sit almost a foot away from the wall, which isn't ideal if you plan to park your car in the garage when you're not working on a project.
A fixed head miter saw doesn't have as much cutting capacity, but it takes up less space. If most of your project list calls for cutting 2x4s or other narrow boards, you probably don't need the sliding mechanism.
Single Bevel vs Double Bevel Miter Saws
One feature of the miter saw that you might come across is the bevel. You can tilt the blade to create an angled cut across the width of the board. This type of cut is most commonly found when installing trim around the home.
A single bevel miter saw will only tilt in one direction, either to the left or the right. A double bevel miter saw will tilt in both directions, saving you the hassle of having to flip your board around every time you need to cut the opposite angle. Check out this article on single vs double bevel miter saws for more information on this handy feature!
Miter saw dust collection
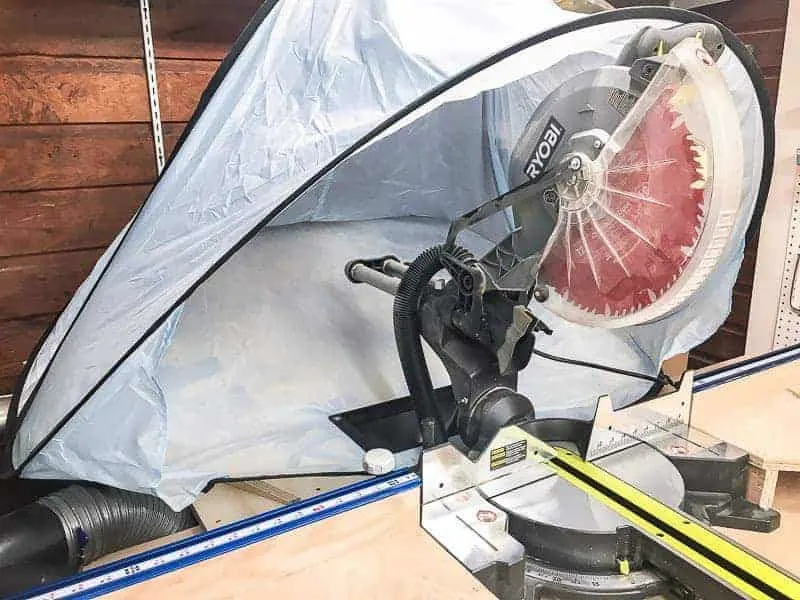
The miter saw makes a huge mess compared to other tools, and it can be difficult to keep the dust contained. That little bag on the back of the saw does next to nothing! This list of miter saw dust collection ideas will help control the sawdust and keep it out of your lungs.
A miter saw station is a great first woodworking project, and it's easy to customize to fit your space. You can even add this DIY miter saw dust hood to trap all that sawdust!

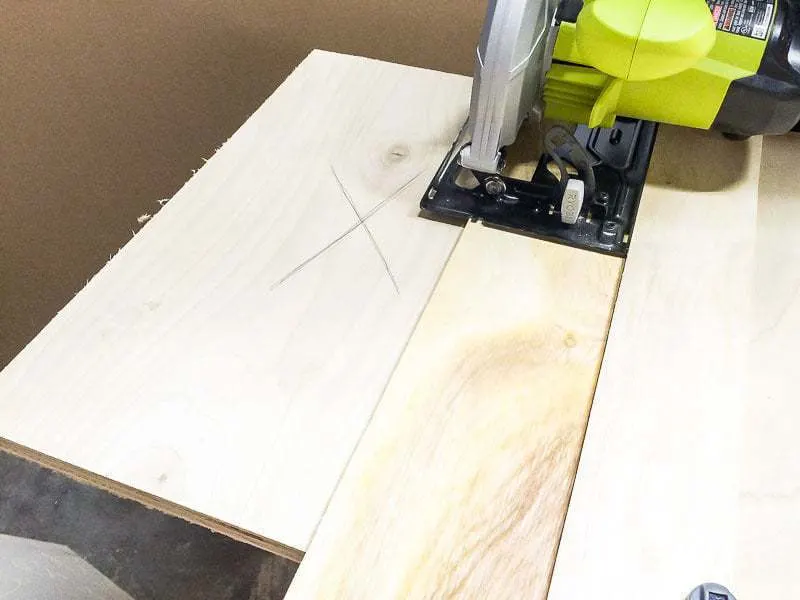
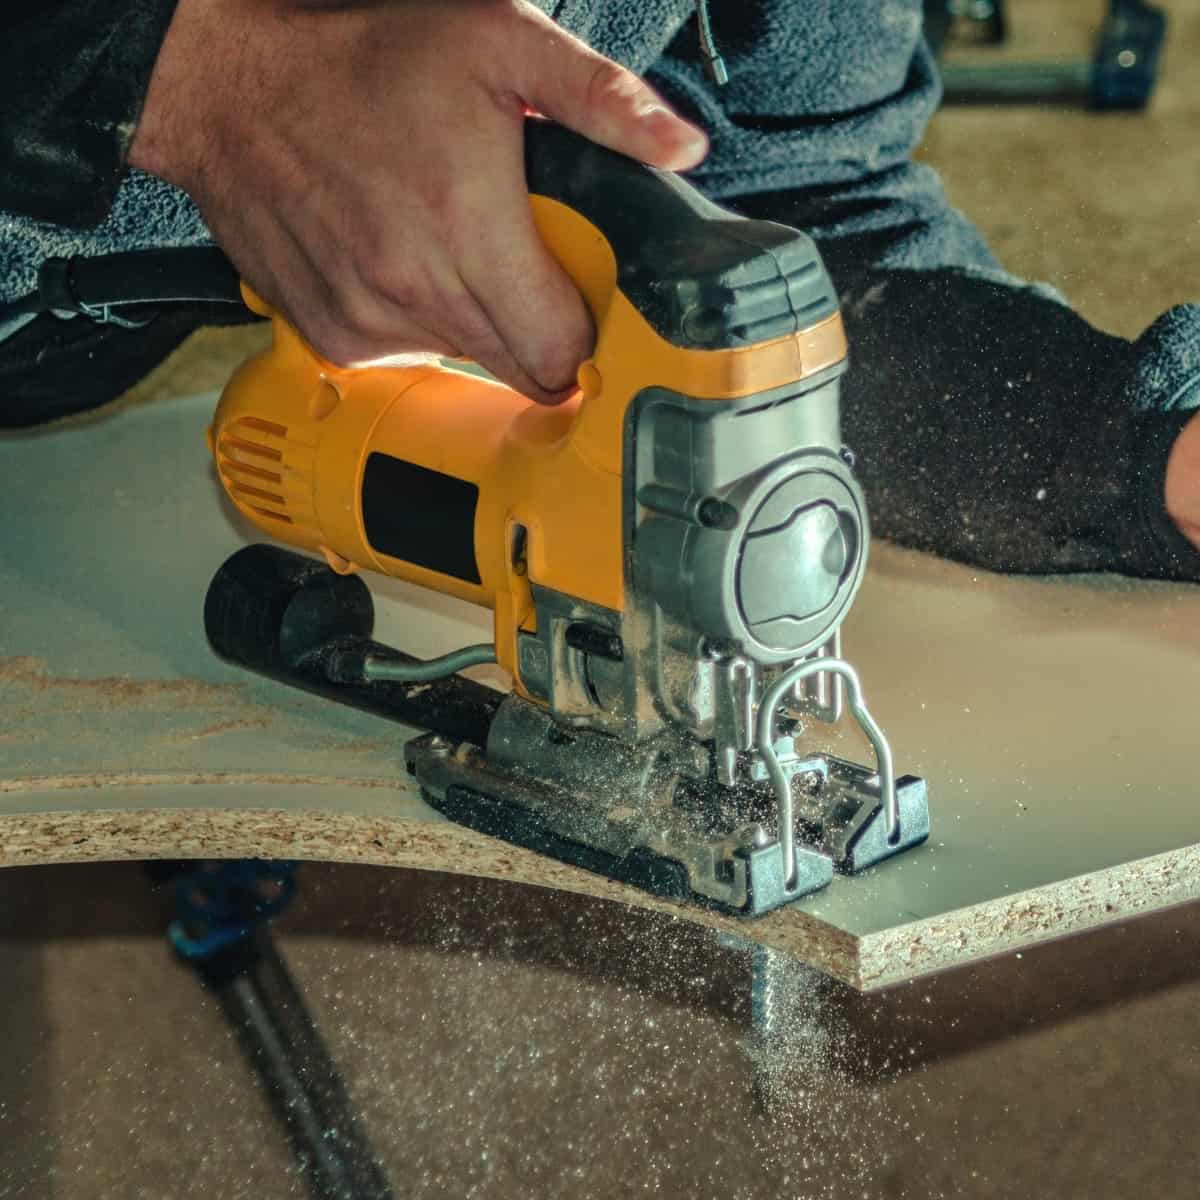
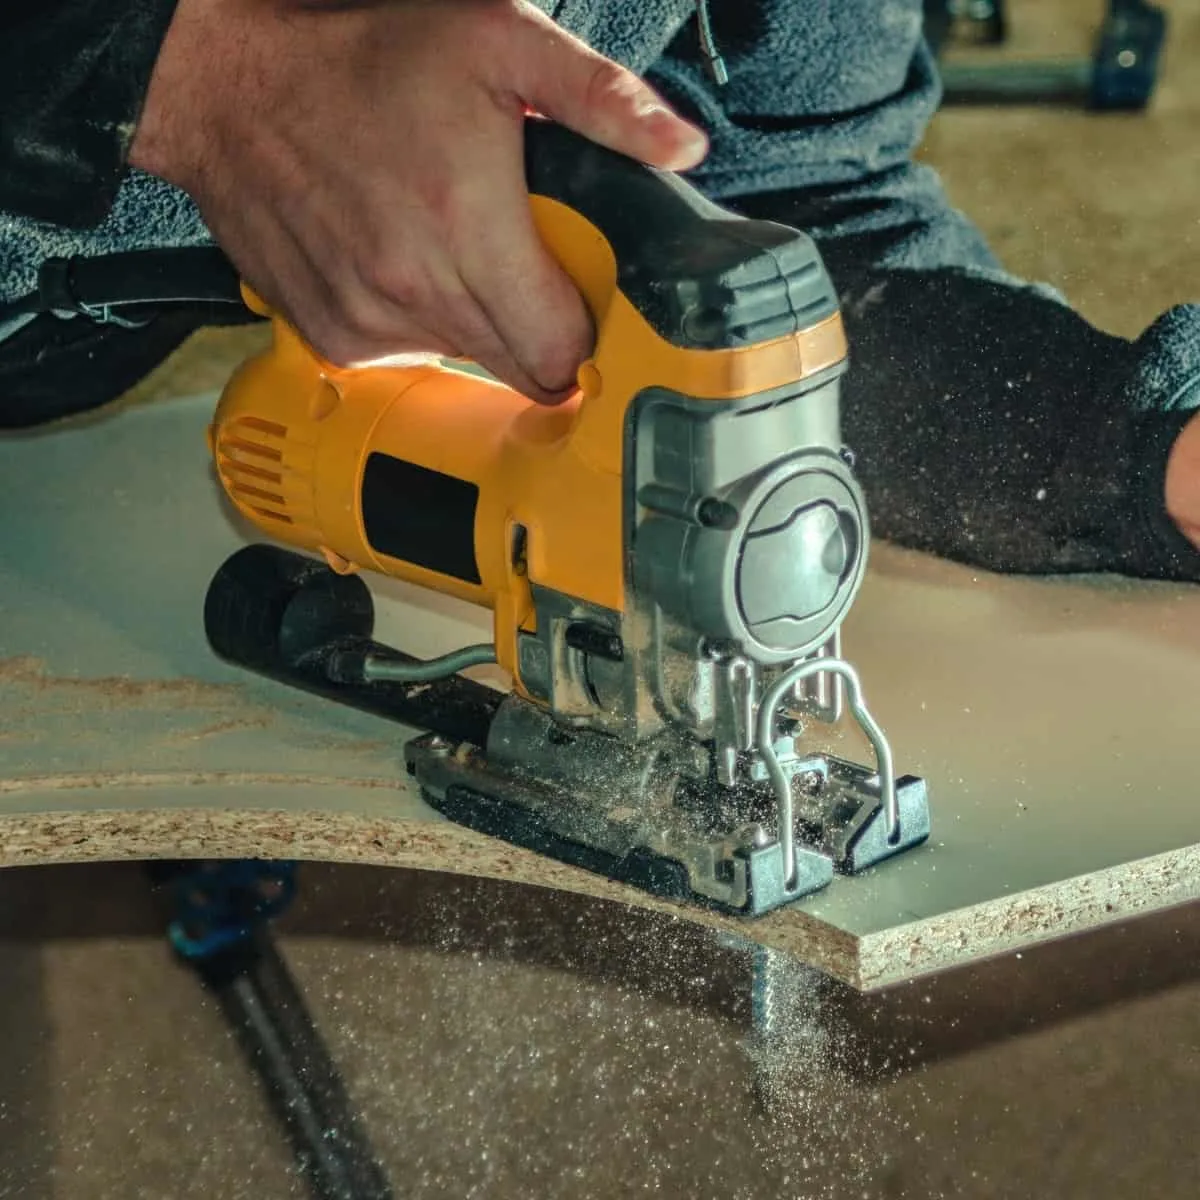
Jigsaw
If you want to cut curves in wood, you're going to need a jigsaw! This versatile tool is great for beginners, because it's easy to handle and safer to use. This guide on how to use a jigsaw will help get you started!
Check out this article if you're debating between a circular saw and a jigsaw for your next tool purchase!
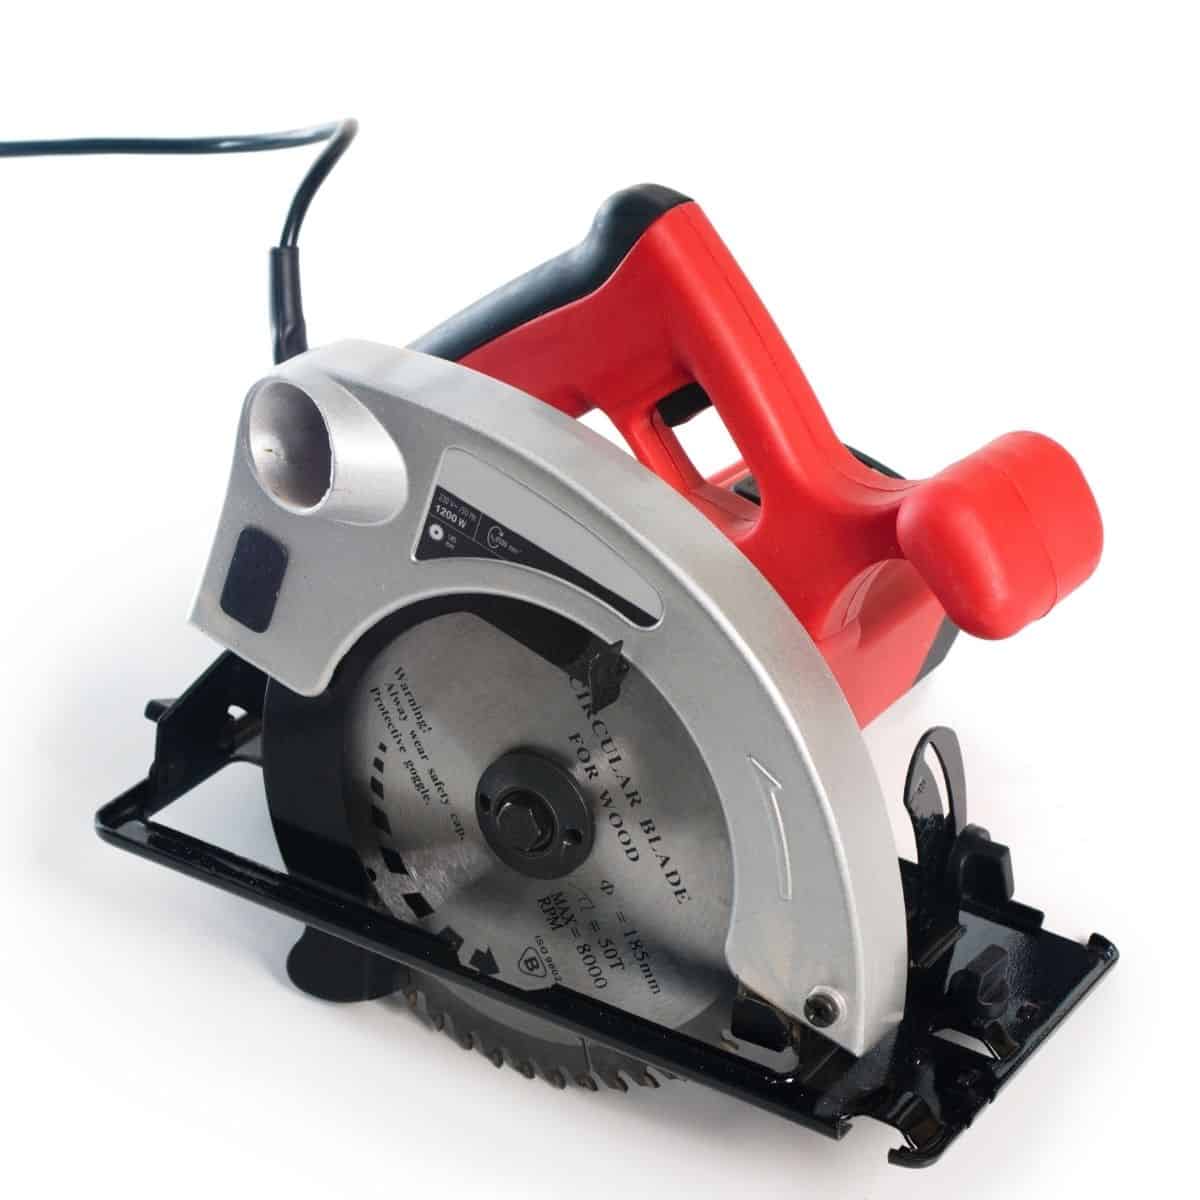
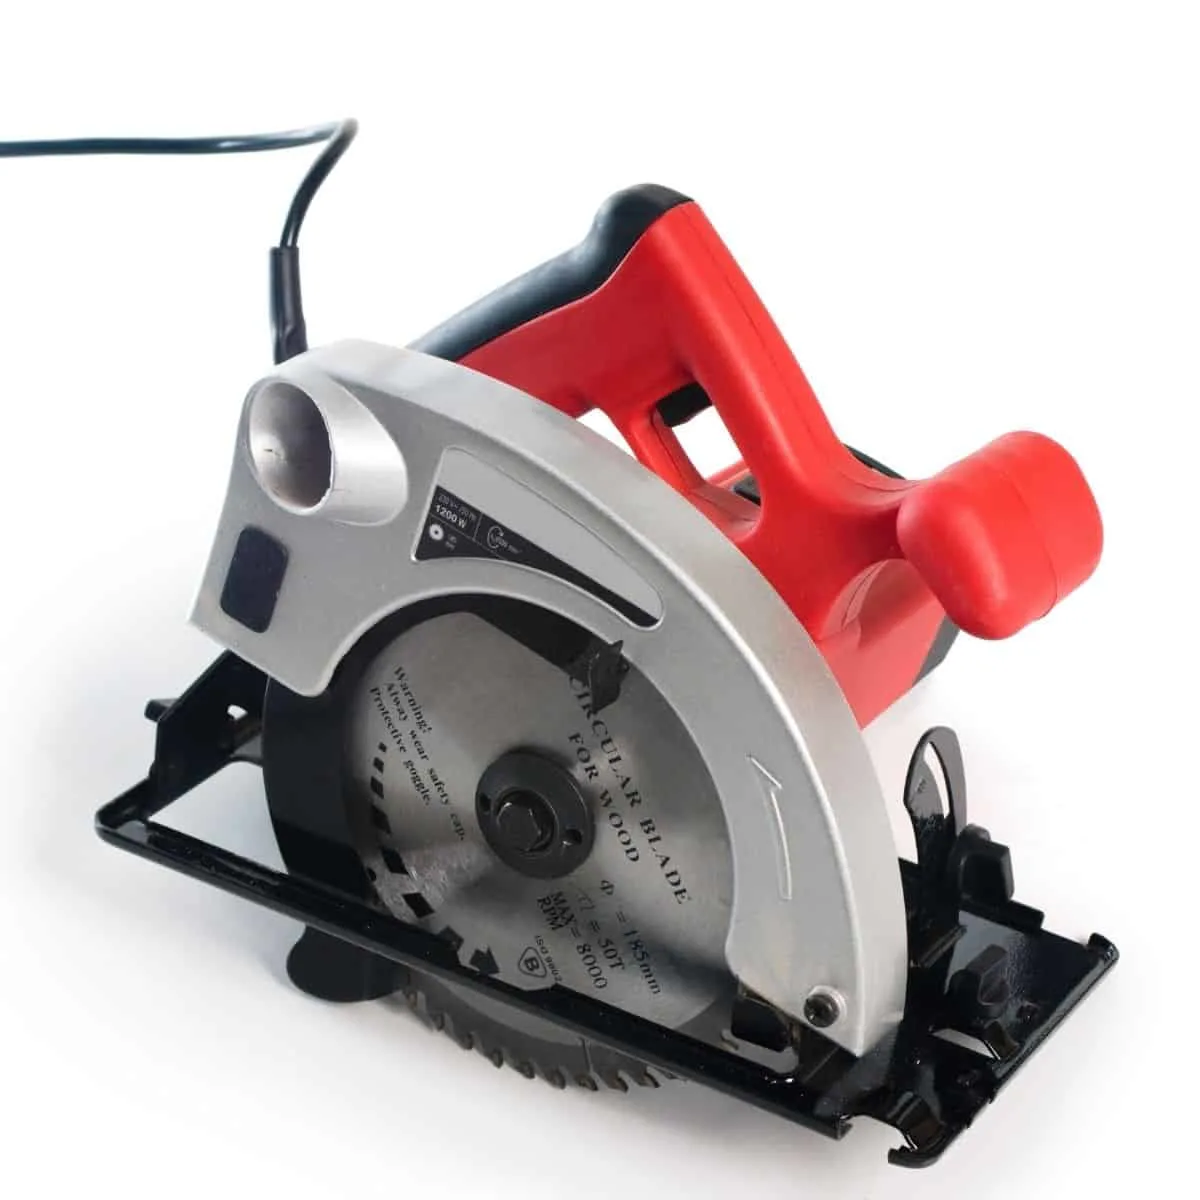
Circular Saw
If you need to make rip cuts (along the length of a board) or you're working with plywood, a circular saw is the ideal tool for the job. It's much less expensive than a table saw, and a lot less intimidating too! With a straight edge or circular saw guide, you can quickly and easily make all the cuts you need for your project.
A step up from the circular saw is the track saw. A track saw rides on a track that lines up perfectly with your cut line, and delivers cleaner, straighter cuts than a circular saw. You can learn more about the difference between a circular saw and a track saw here.

Shop Vacuum
Woodworking is a messy hobby and a regular household vacuum just won't cut it! I've gotten into the habit of vacuuming up all the sawdust in my workshop after I complete each project, so it doesn't pile up.

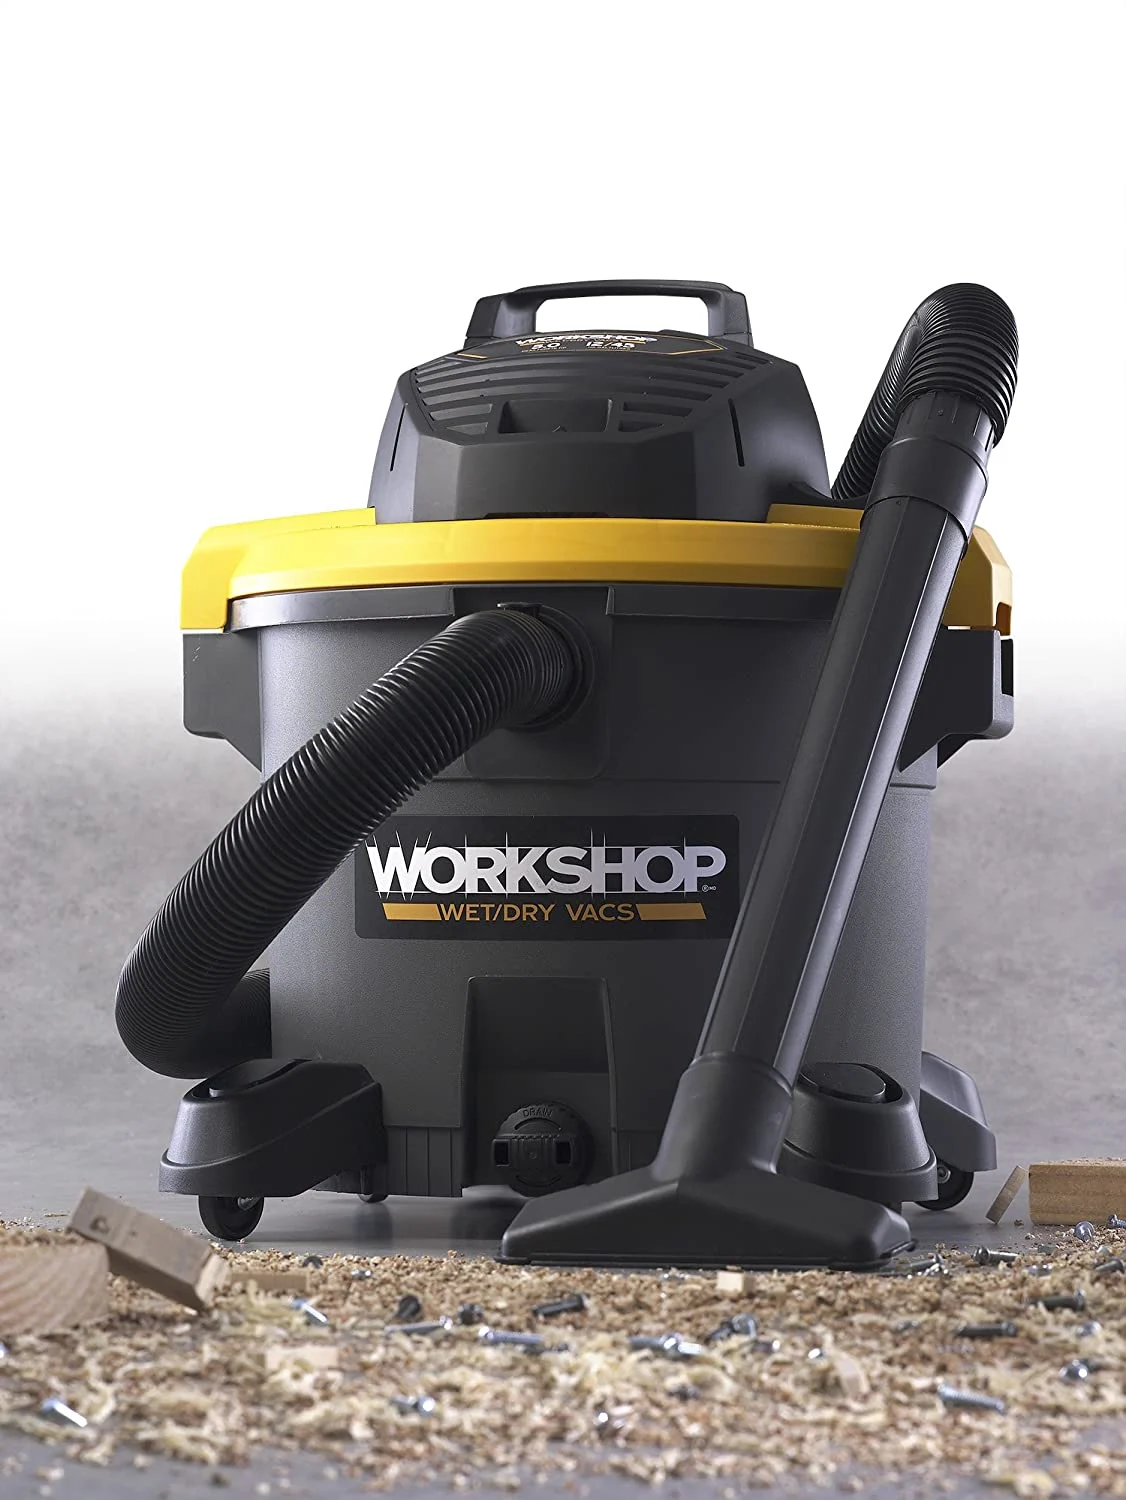
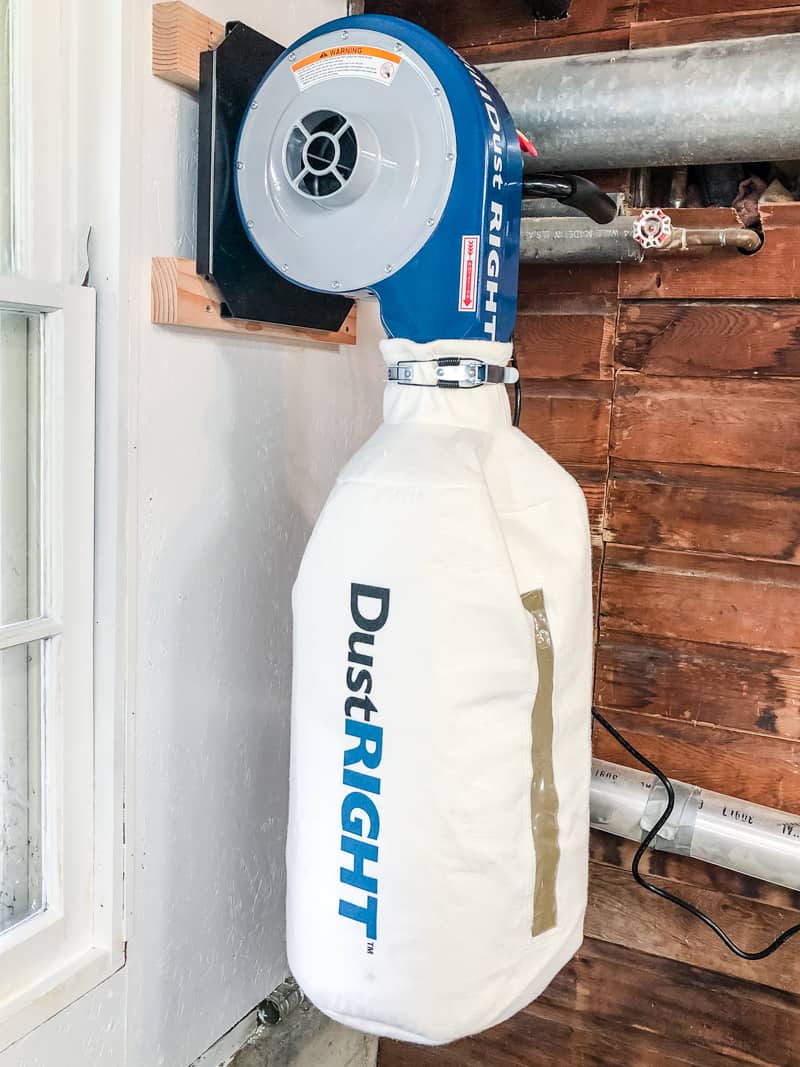
Hooking up your shop vac to your sander will help prevent all those fine dust particles from entering your lungs. For my larger power tools, I have a wall mount dust collector to suck up all the sawdust straight from the source.

Other Woodworking Tools for Beginners
Now that we have the power tools out of the way, here are some other things you should pick up before your first project.
Tape Measure


You won't get very far in your first woodworking project without a tape measure! Look for one with easy to read numbers, and a sturdy tape that won't crumple over long lengths. I have a full tutorial on how to read a tape measure along with tips and tricks for getting the most accurate measurements.
My favorite tape measure has the fractions listed above each line. If you've ever measured something and said it was one tick past the ½" mark, you need one of these!
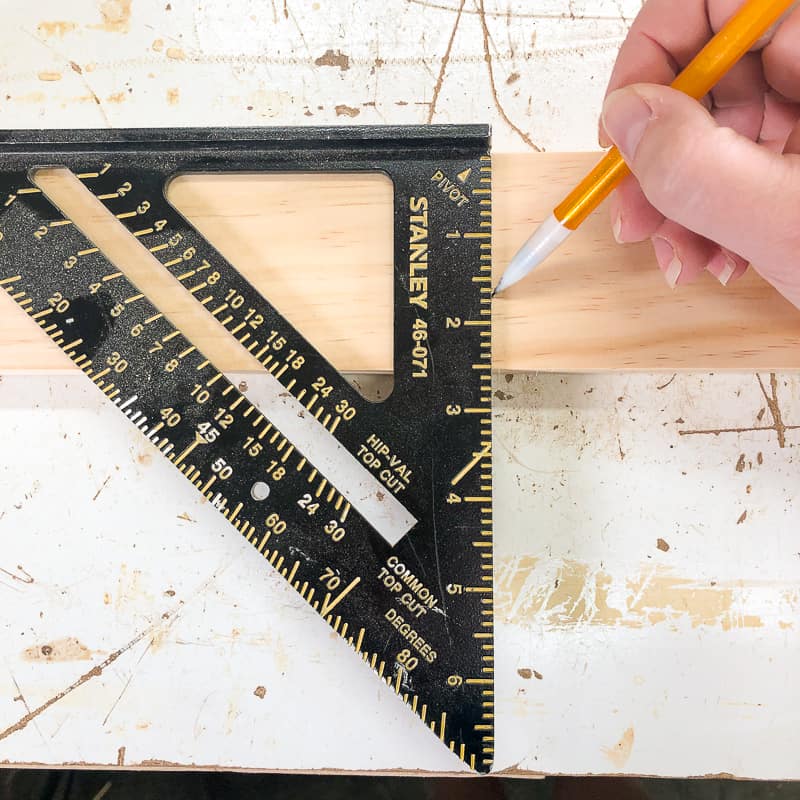
Speed Square
If your projects are looking a little wonky, chances are you didn't check for square! This handy tool not only helps keep everything at a 90 degree angle, but it's useful for marking cut lines as well.
You can learn more about how to use a speed square here!

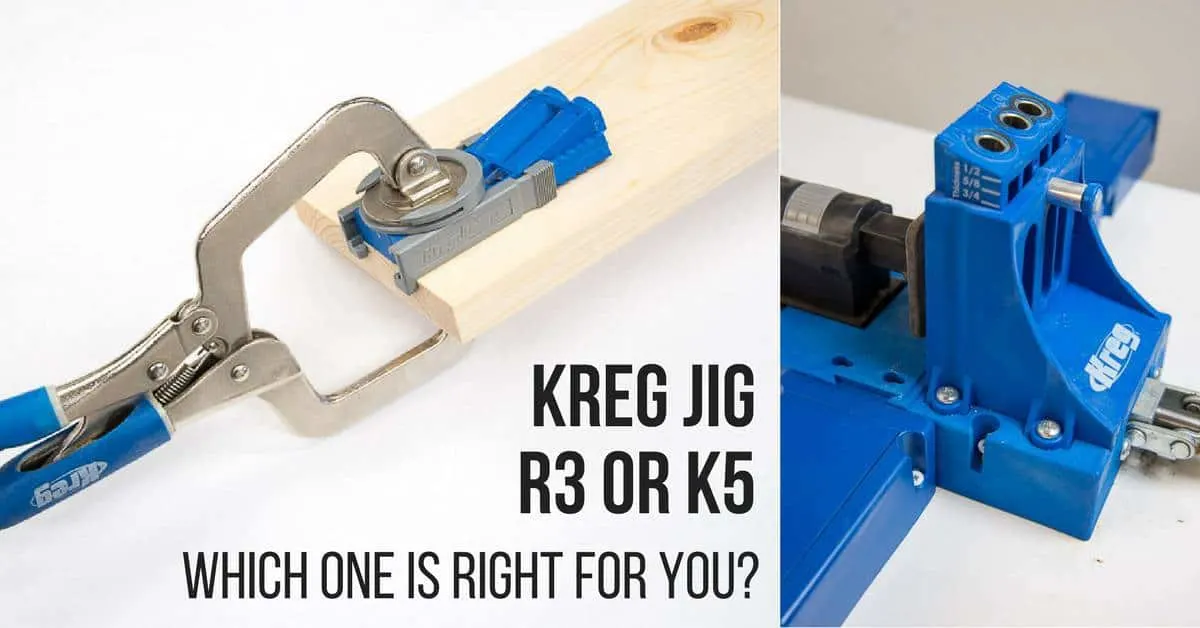
Kreg Jig

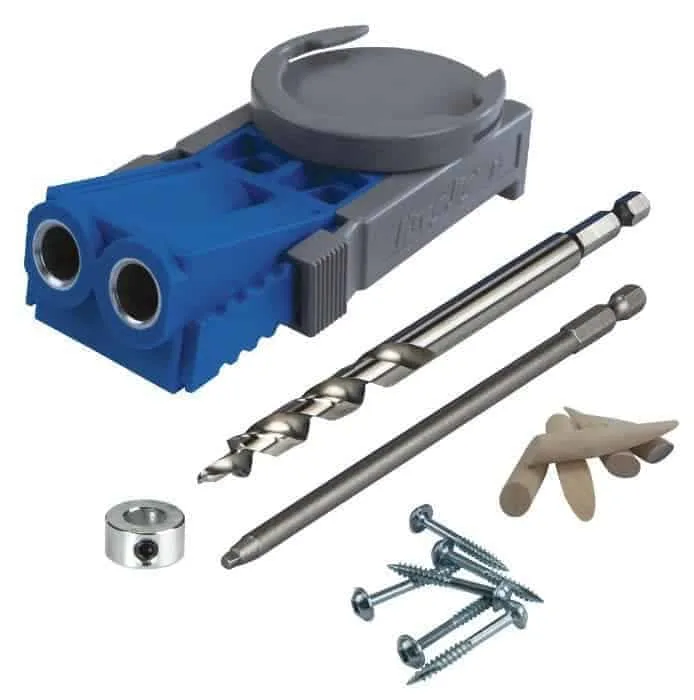
The Kreg Jig totally changed my woodworking capabilities for the better. Pocket holes are such a simple, clean way to assemble strong joints. I've compared the Kreg Jig R3 vs K5 to help you decide which one is right for you!

Add in a few accessories, such as the Kreg Face Clamp, and you'll be completing projects faster than ever!
Clamps
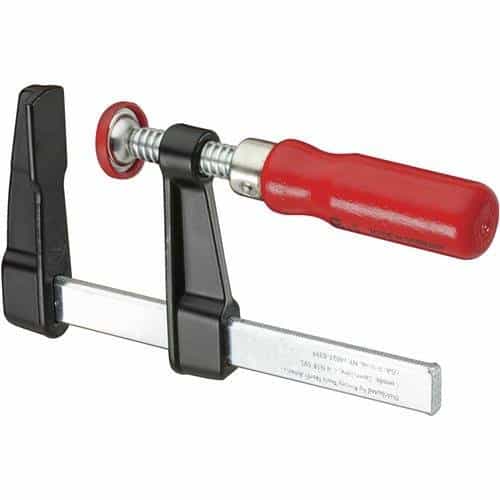

A woodworker can never have enough clamps! They're like a third hand, holding boards together while you drill or drive screws. I picked up a couple of these 6" and 12" sets of F style clamps, and longer ones for bigger projects.
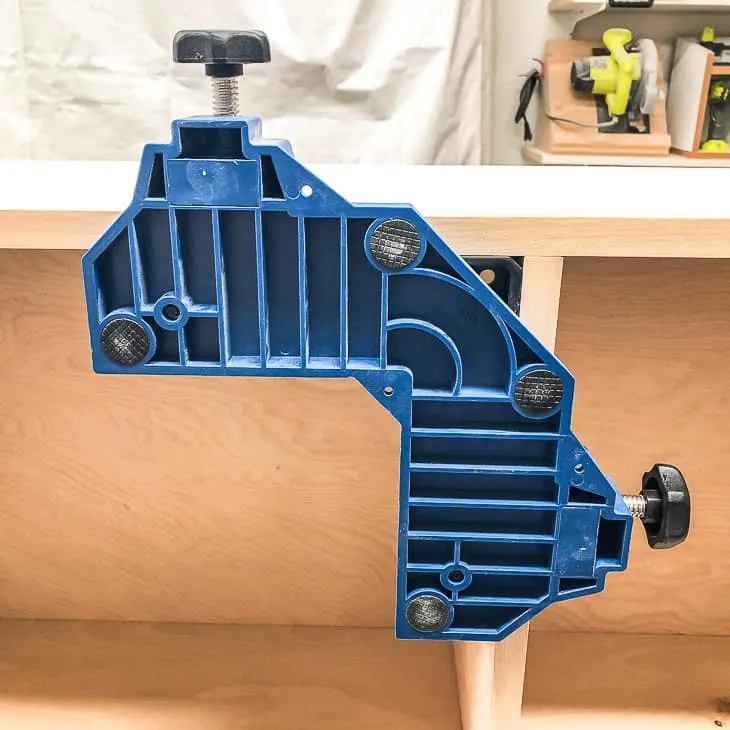
If you find yourself building lots of cabinetry, some corner clamps make things so.much.easier! I couldn't have put together my pantry cabinet without these clamps acting as a second pair of hands!

Safety Glasses
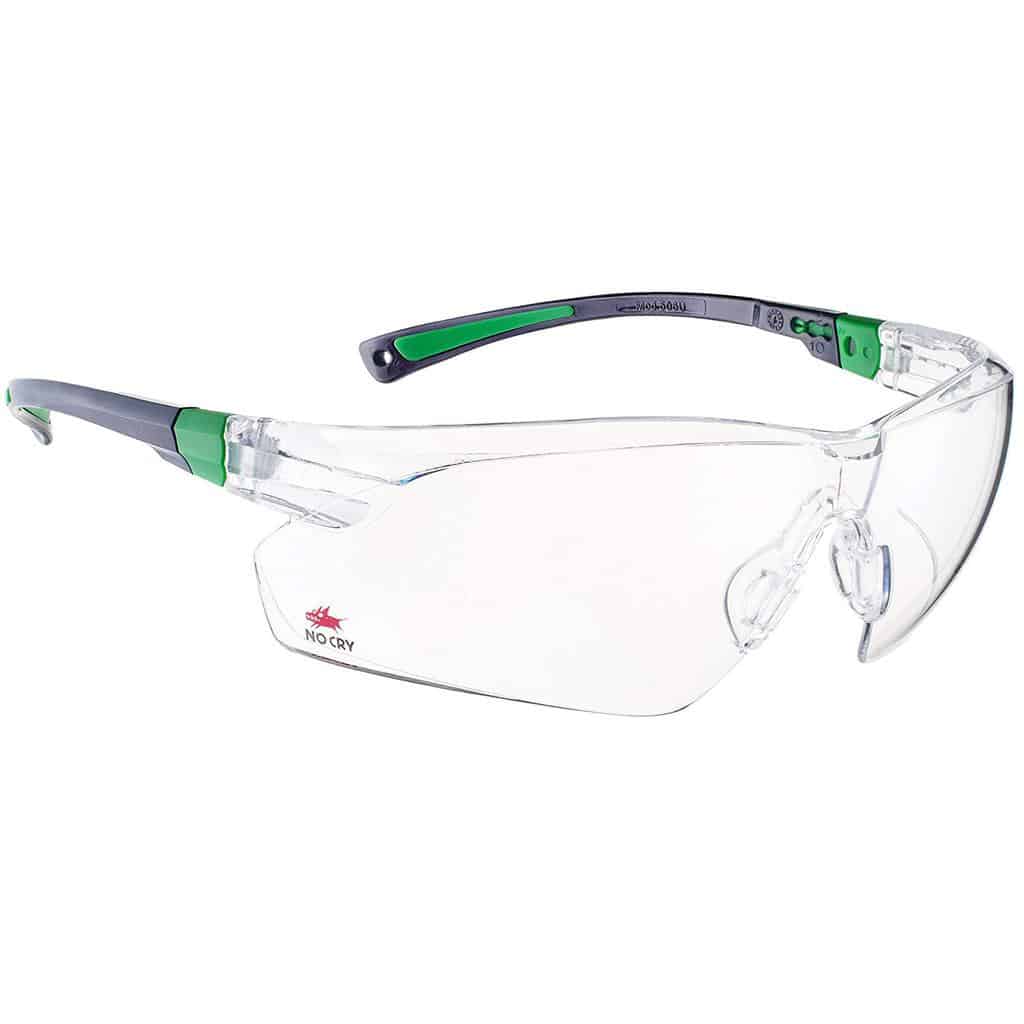
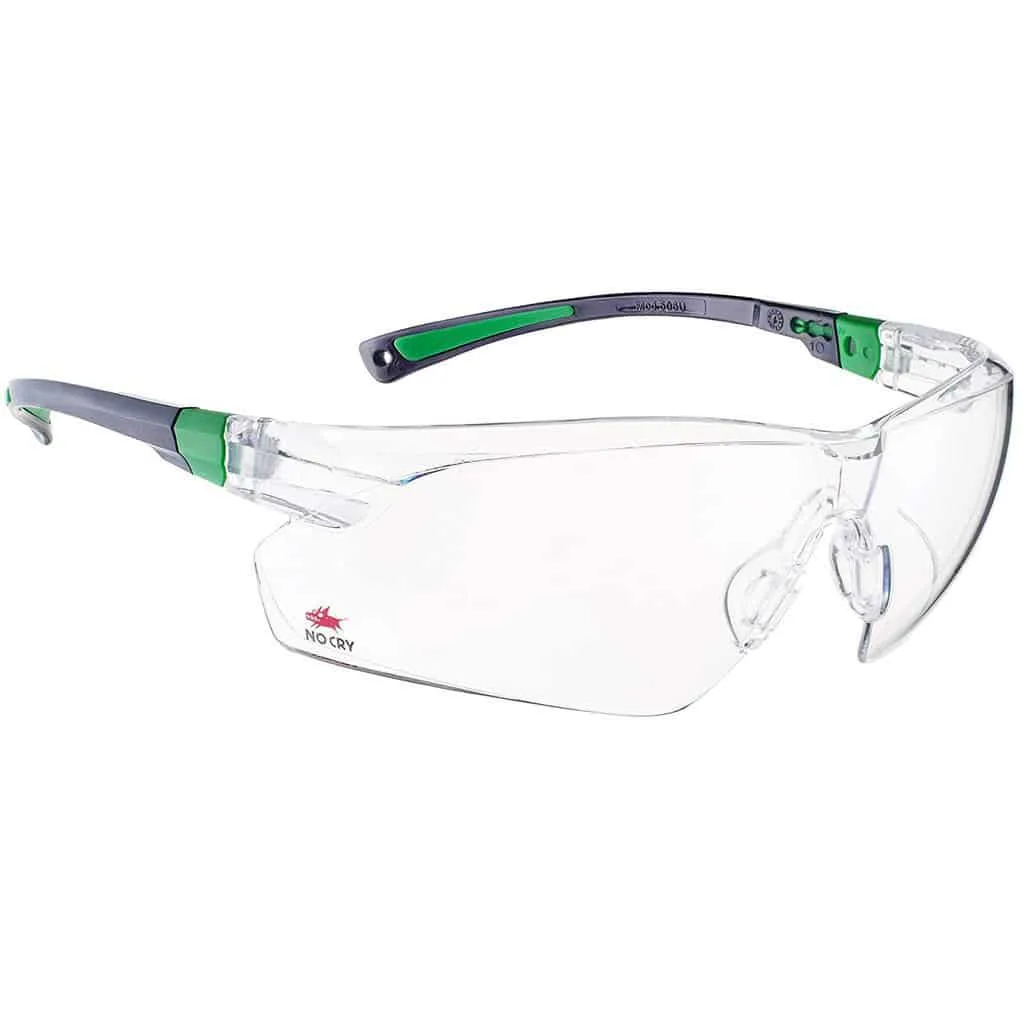
Never, ever use any power tool without safety glasses! They're inexpensive, and they could save your eyesight. I keep several pairs around the workshop, so I always have one within arm's reach. You can read about the best safety glasses for woodworkers here.
Hearing Protection
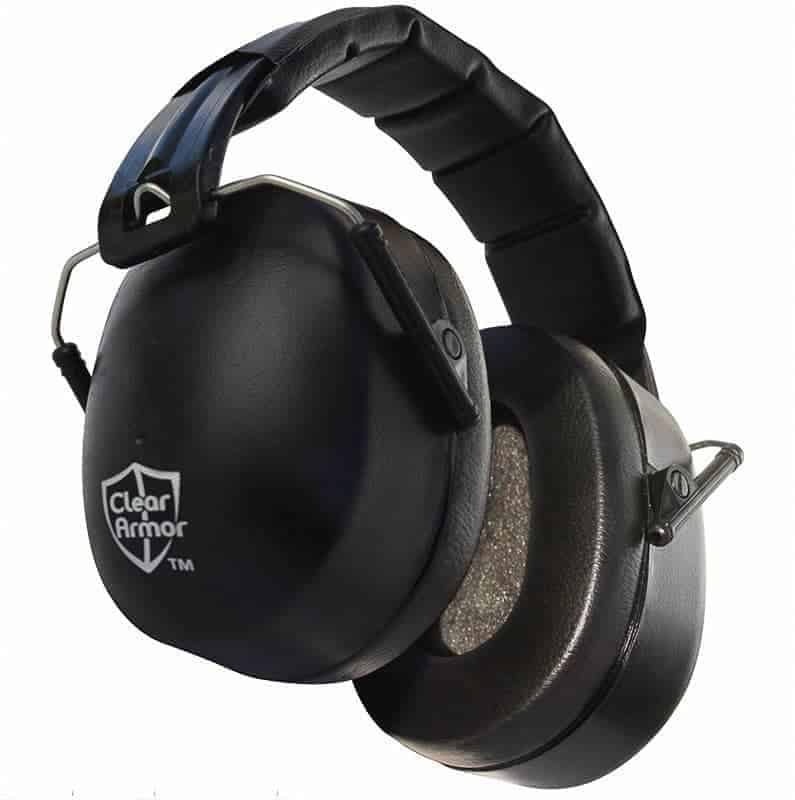

Last, but by no means least, is hearing protection! There are a few different styles to choose from, from simple earplugs to fancy Bluetooth headsets. You can find my list of the best ear protection for woodworkers here. Like safety glasses, I have a few pairs scattered around the shop at all times!
I hope this list answers the question "What tools does a beginner woodworker need?" for you! Similar lists include things like chisels, planes and other hand tools. But these are only going to frustrate a budding furniture builder who just wants to work with lumber from the big box store. I'm not what you would call a "fine woodworker," so many of the tools on those lists sit gathering dust in my workshop!
It's much more cost effective to buy additional tools only when you need them, instead of plunking down a huge wad of cash on things you might not use. I went YEARS before I shelled out the money for a top of the line table saw, because my skills weren't there yet. When I got tired of breathing in sawdust all the time, I picked up a dust collector system. But I would never buy those things when I just started out!
Check out these other woodworking guides for beginners!