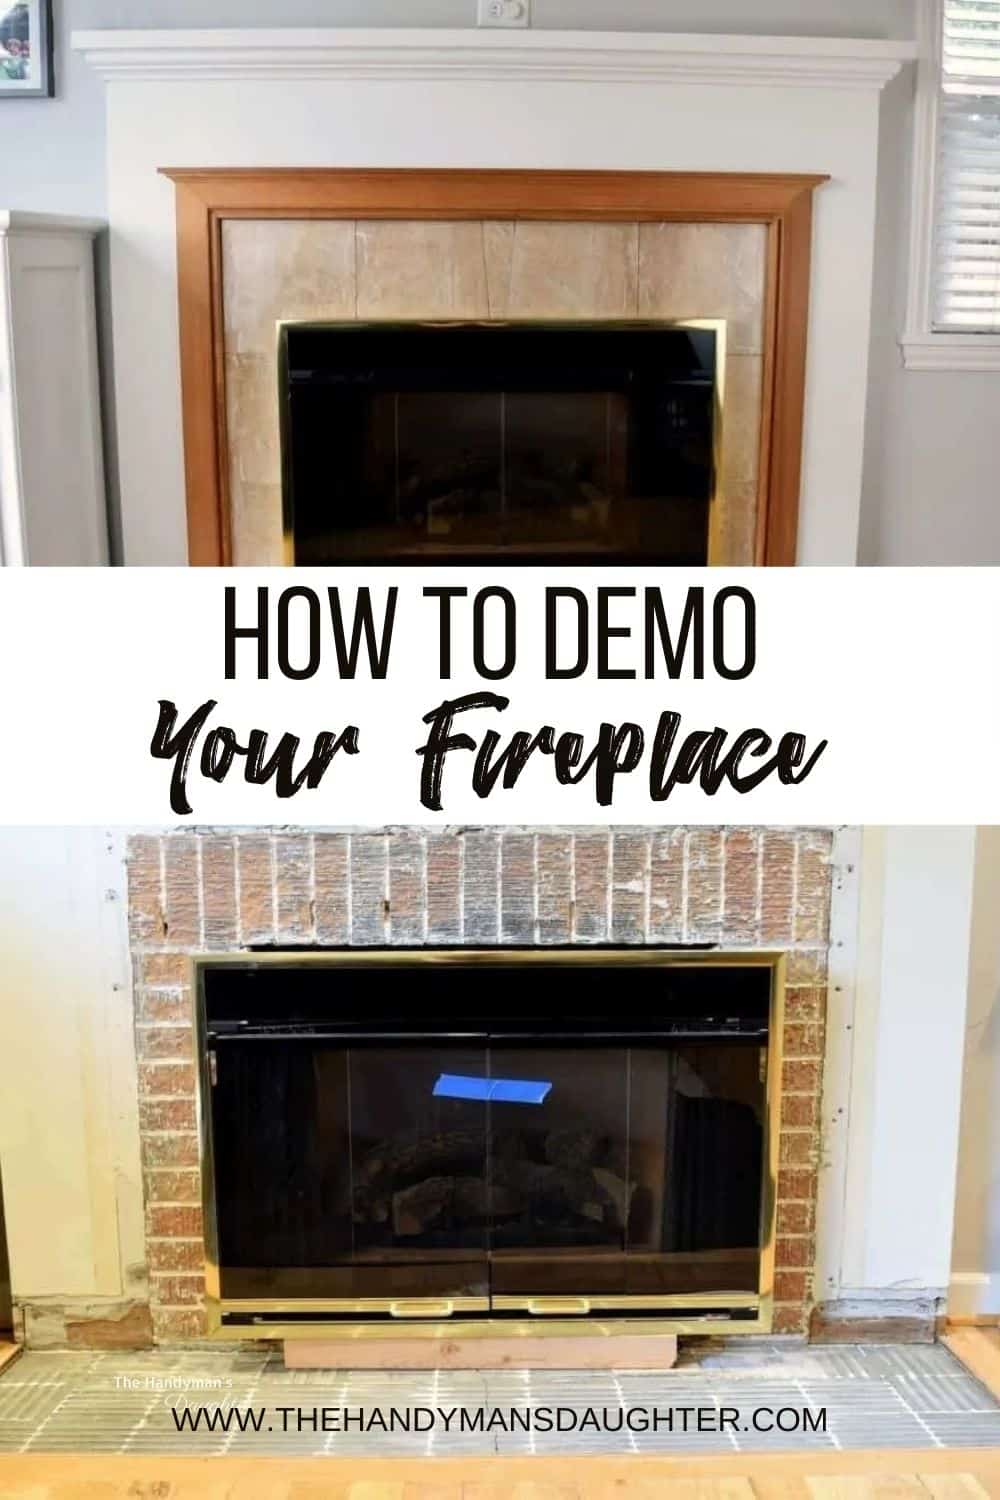
Fireplace demolition is fun, but messy and a little scary! See how I tackled this first step towards a beautiful new fireplace.

I've been waiting for this day for over two years. Our fireplace is finally getting the makeover it so desperately needs!
I'm tackling this project all by myself, which is a little intimidating. I'll be doing the demolition, building up and tiling the hearth and surround, adding new trim, and fixing the mantel.
Whew! I'm taking it step by step, solving problems that pop up along the way. You can find all the posts for my fireplace remodel series here. But before I can make it beautiful, it's time for some fireplace demolition! Smashy smashy!
Our house was built in 1946, and the last update was sometime in the 80's. I banished that decade from the kitchen with paint and new hardware, but the fireplace isn't that easy.
I can handle spray painting the brass on the gas insert, and I've done trim before. But I've never tiled anything, and I usually leave demolition to the pros. Good thing I have my dad on speed dial!
This post contains affiliate links for your convenience. Purchases made through these links may earn me a small commission at no additional cost to you. Please visit my disclosures page for more information.
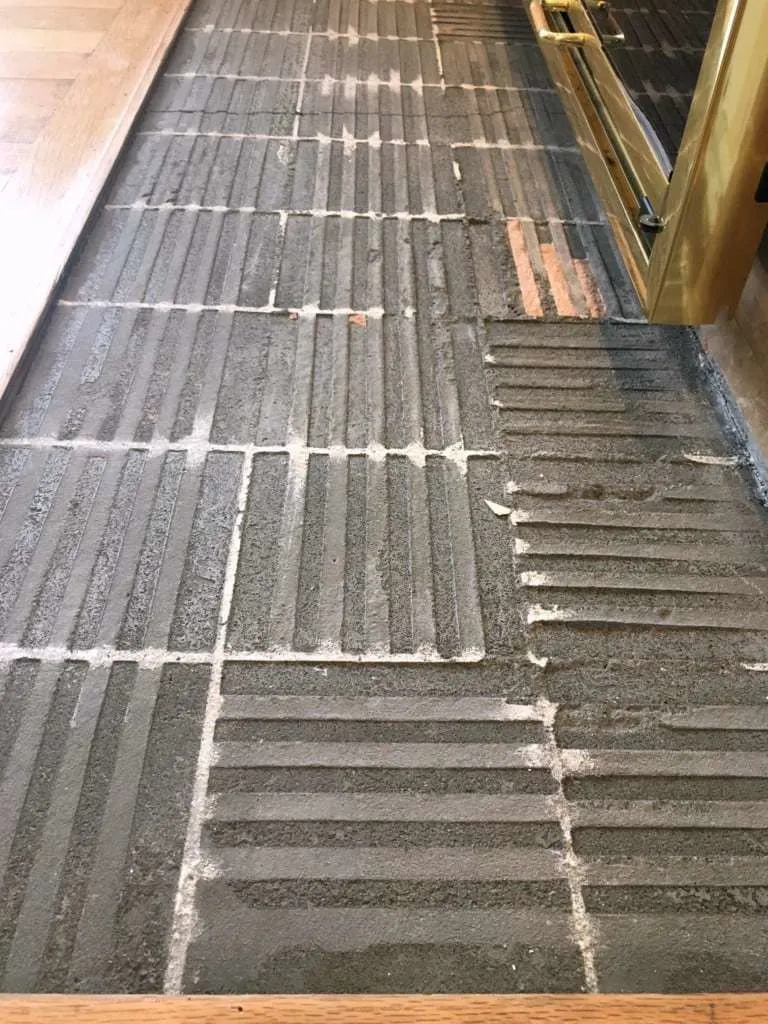
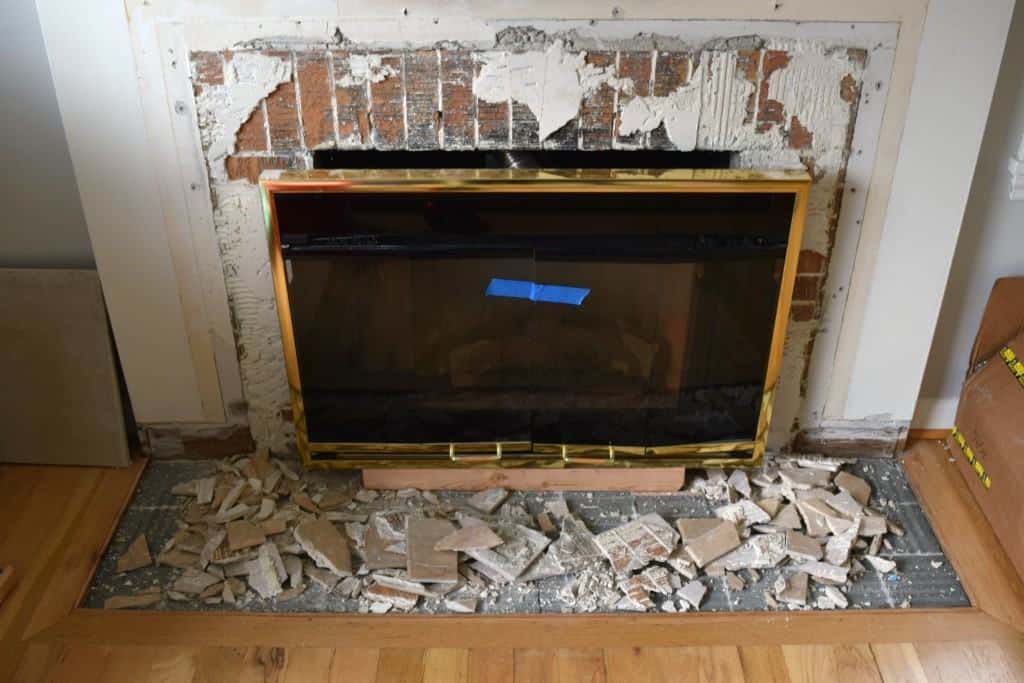
Fireplace before demolition
Before I tear the fireplace apart, let's take a little tour so you can see why I'm so excited to get out the sledgehammer!
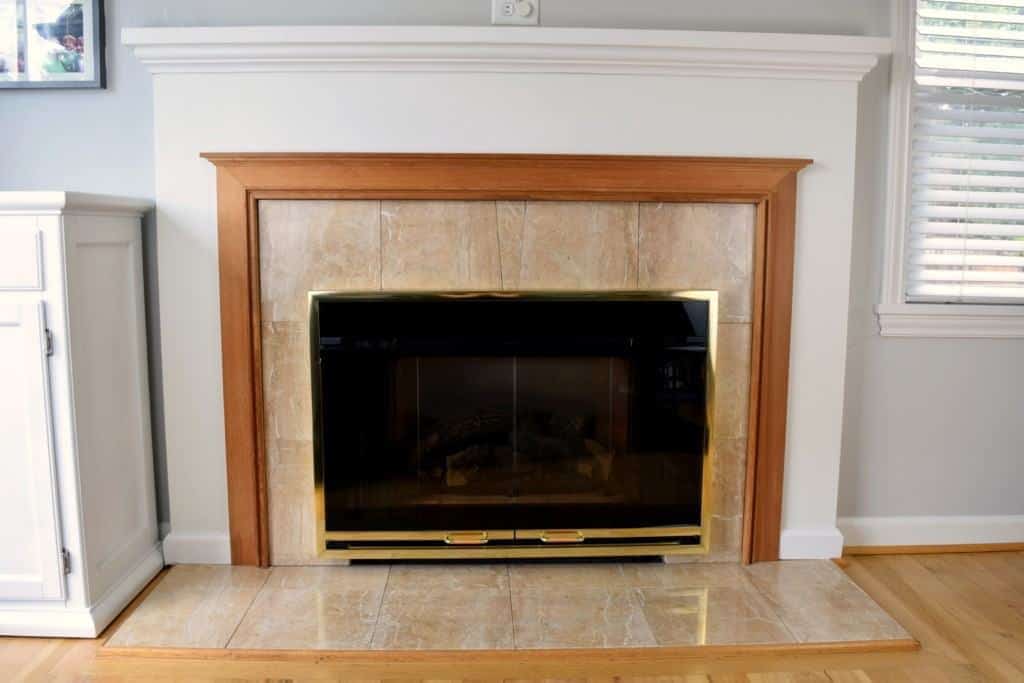

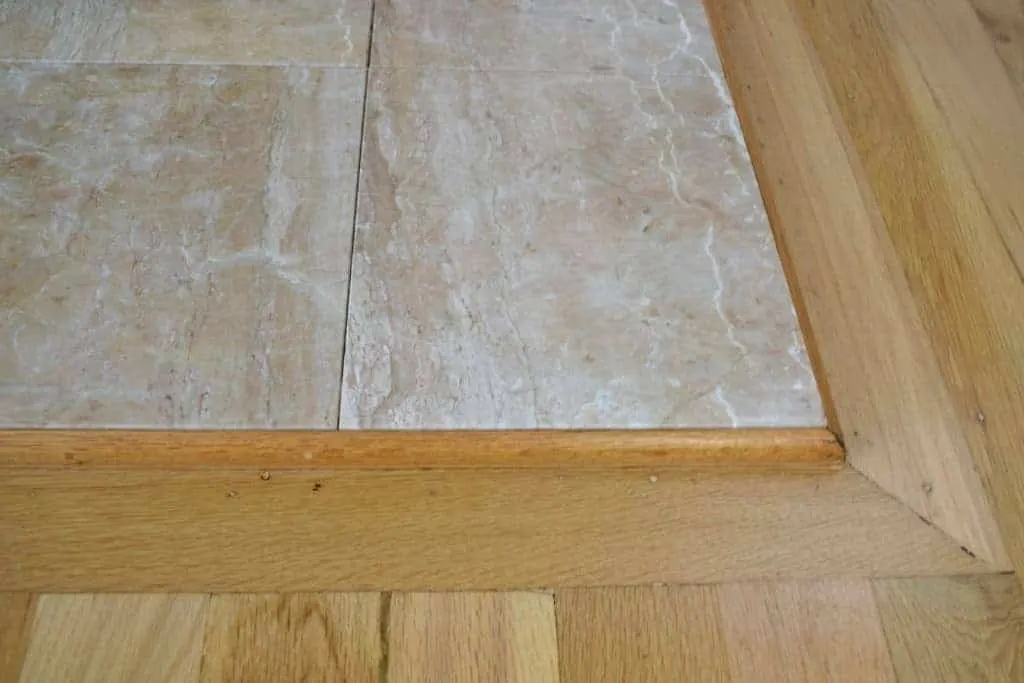
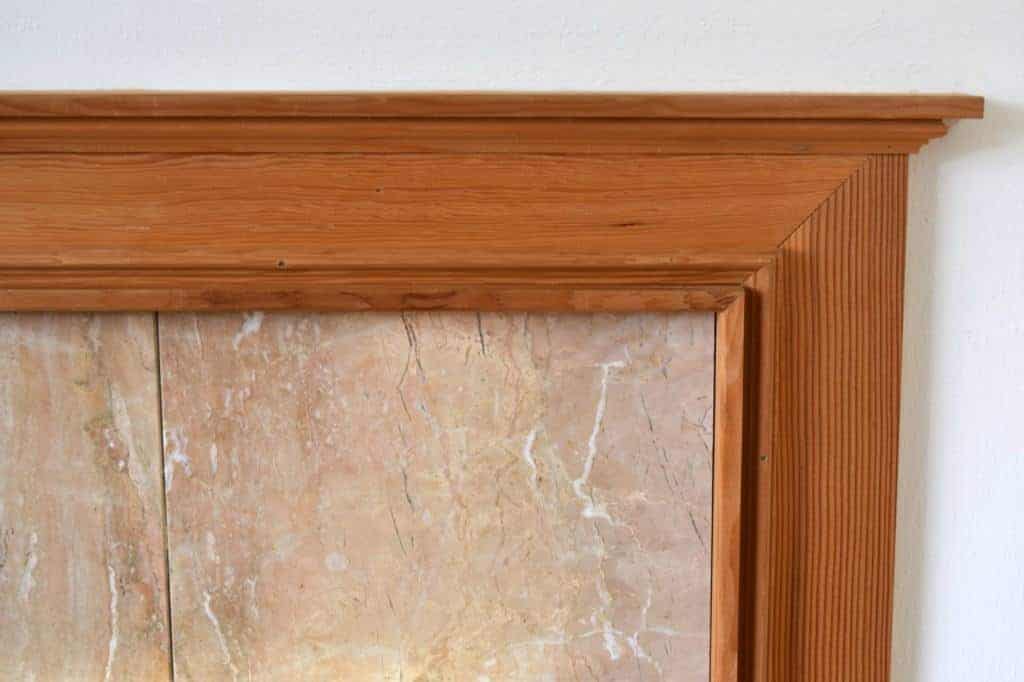
This is the brass and peach marble monstrosity I stare at as I write blog posts on the couch every day. Not exactly inspiring! Note the wood quarter round trim around the hearth, and the weird mantel within a mantel thing going on.


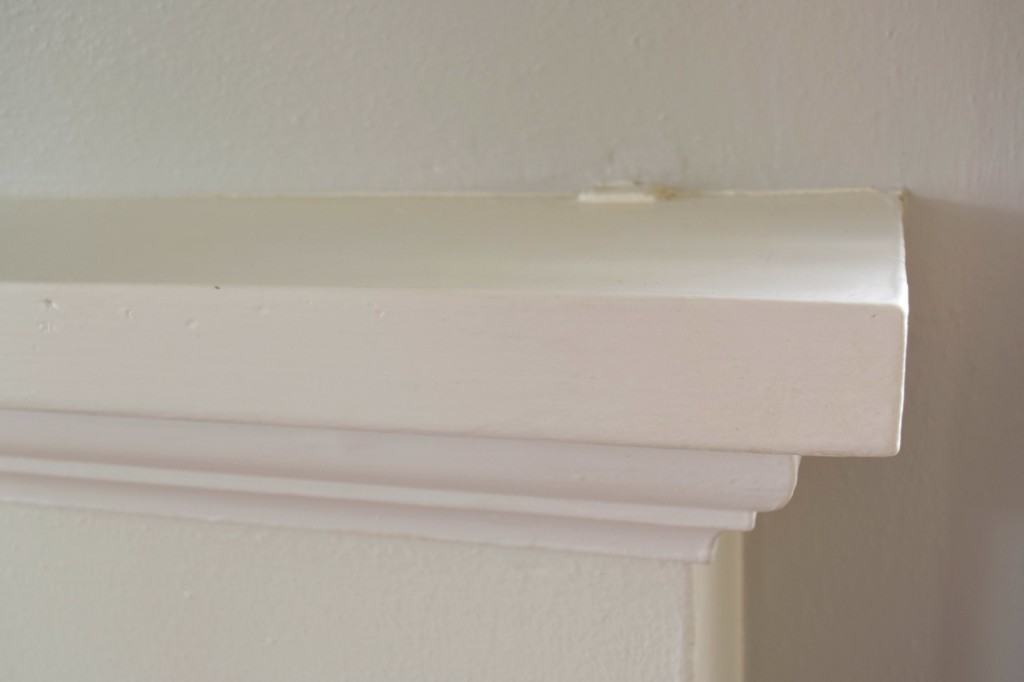
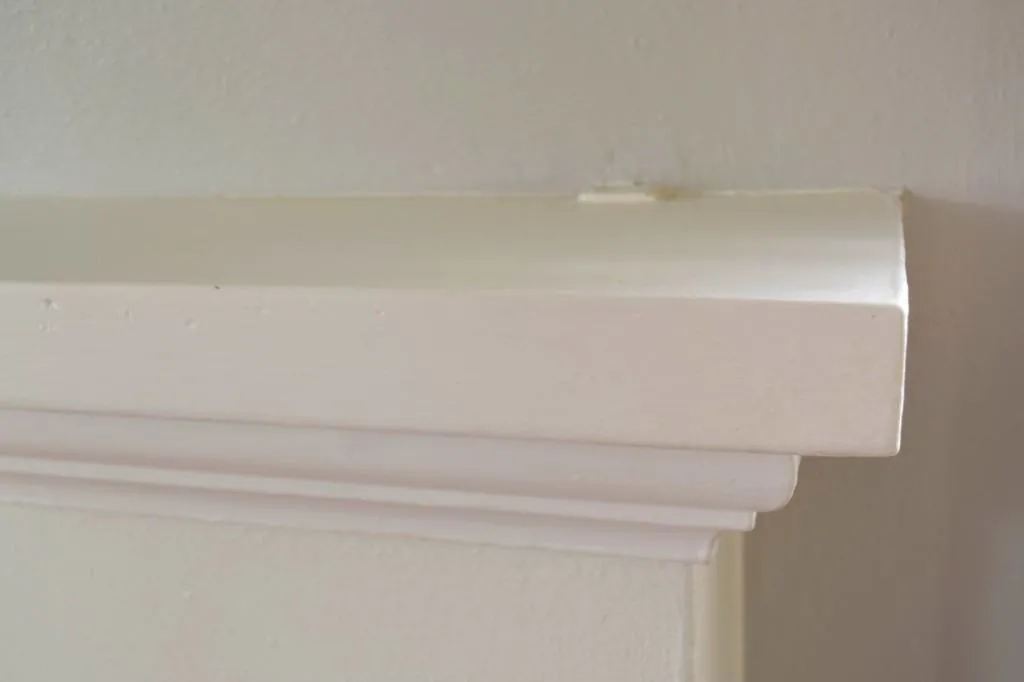
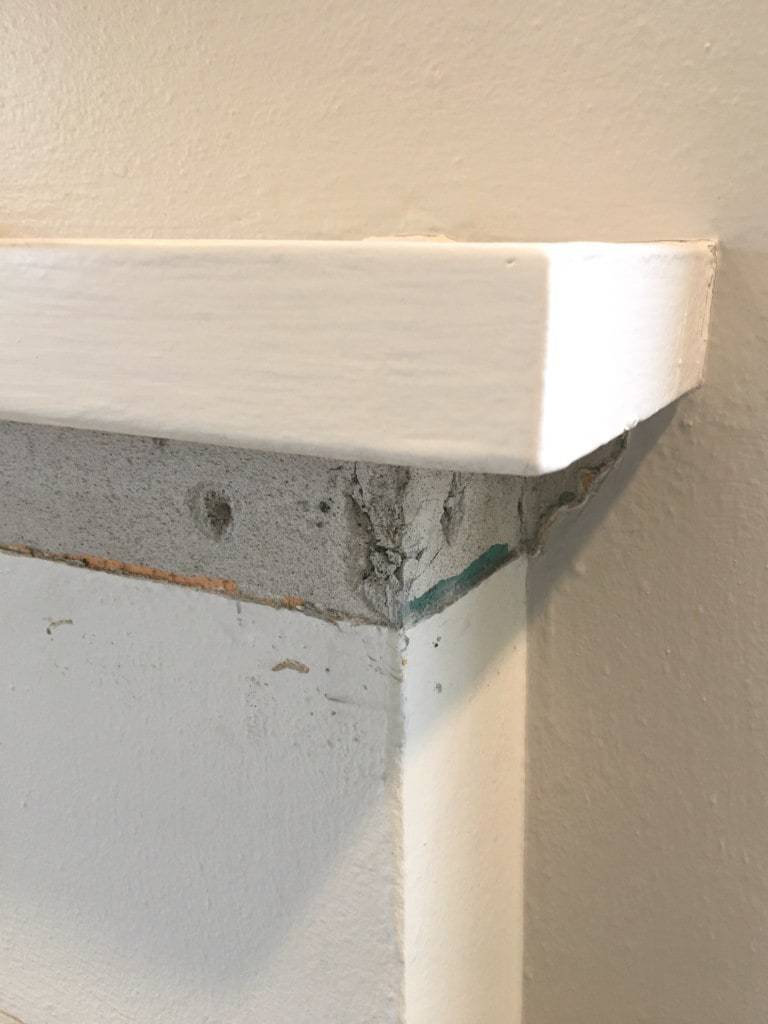
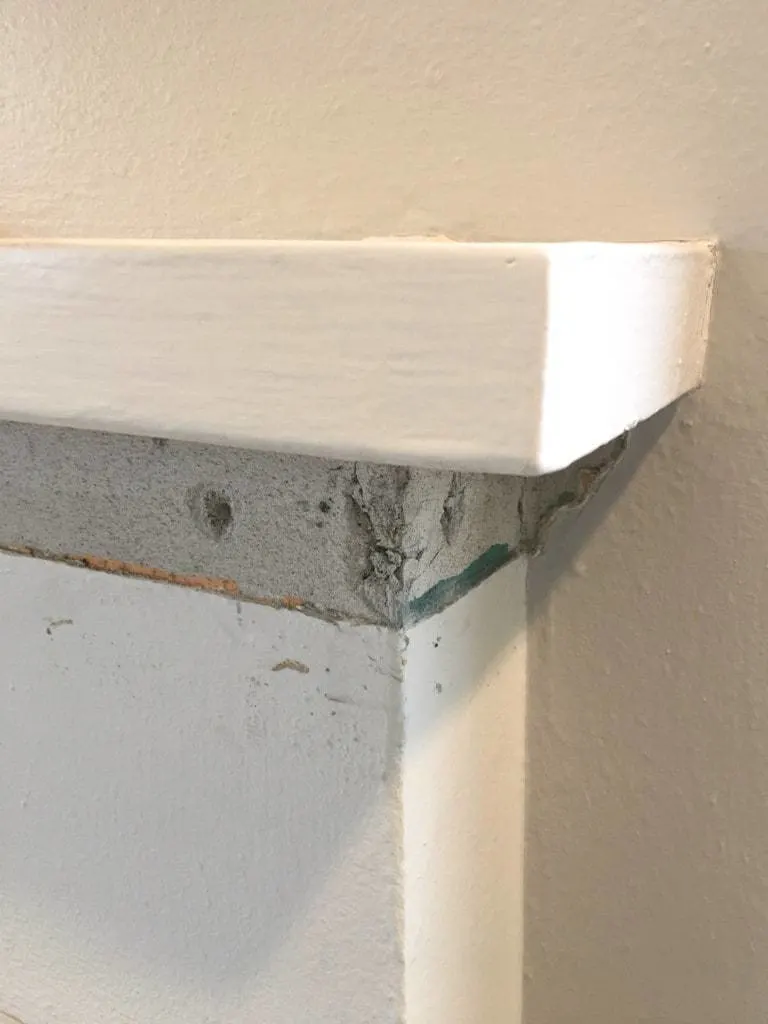
Speaking of the mantel, see these bumps where it meets the wall? Those are the brackets holding the mantel to the wall, which were hastily plastered over. I've kept a vase and candles on either side of the mantel to hide these unsightly lumps.
Now let's get smashing!
If you're planning to do your own fireplace demolition, here's the list of tools I used. I made what seemed like a dozen trips to the store over the course of this fireplace remodel to pick up something I didn't know I needed. Hopefully this saves you a few steps!
Tools Needed for Fireplace Demolition
- Narrow chisel with hand guard (your fingers will thank you!)
- Wide chisel with hand guard
- Wire brush
- Hammer
- Pry bar for removing trim
- Utility knife for scoring caulk
- Safety glasses
- Hearing protection (nothing gives me a headache faster than hearing the clink - clink - clink of a chisel for hours!)
Hearth Demolition
I started with the hearth, because I was curious how it was raised up underneath. When I removed the wooden quarter round trim with a pry bar, it was easy to get a chisel under the tile. I pulled up the first piece of tile in one piece, and discovered...more ugly tile!
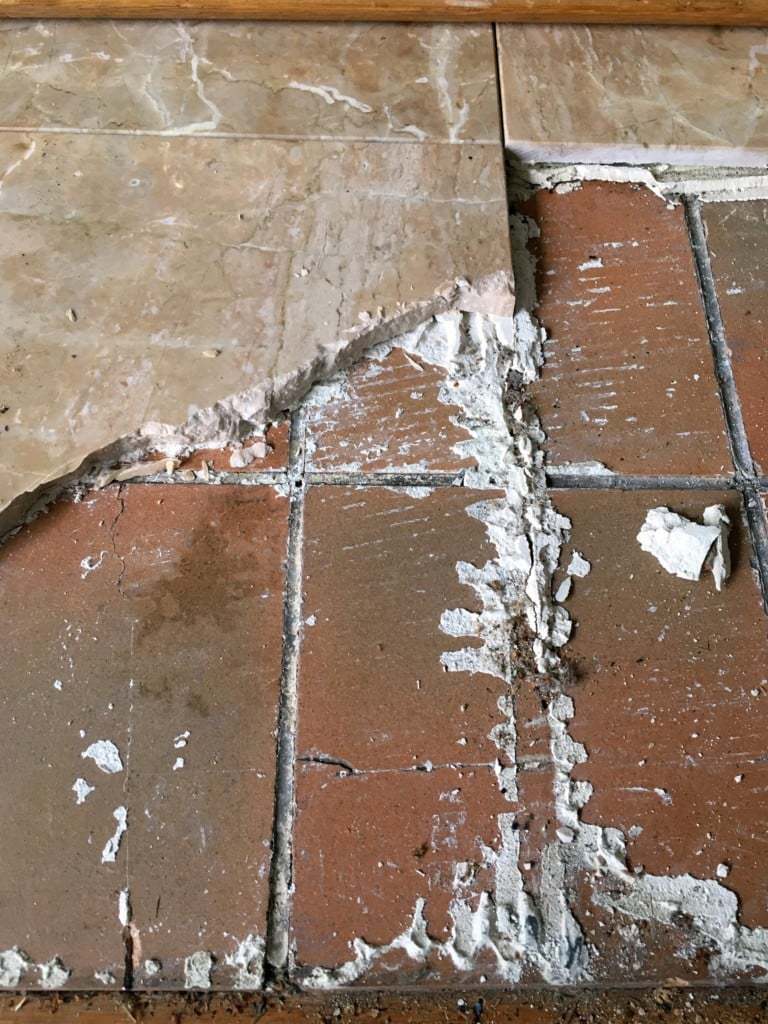

This must be the original 1946 tile. It was pretty loose, which would explain the cracks in the marble tile above it. A single whack would remove the entire tile from the floor in one piece!
Demolition of the hearth was pretty quick, and I was getting more confident with every swing of the hammer. The mortar above the subfloor was in remarkably good shape, except for one crack that's probably the result of an earthquake. I'll be covering it up with thinset and backer board, so I didn't think it was necessary to chip it all away.
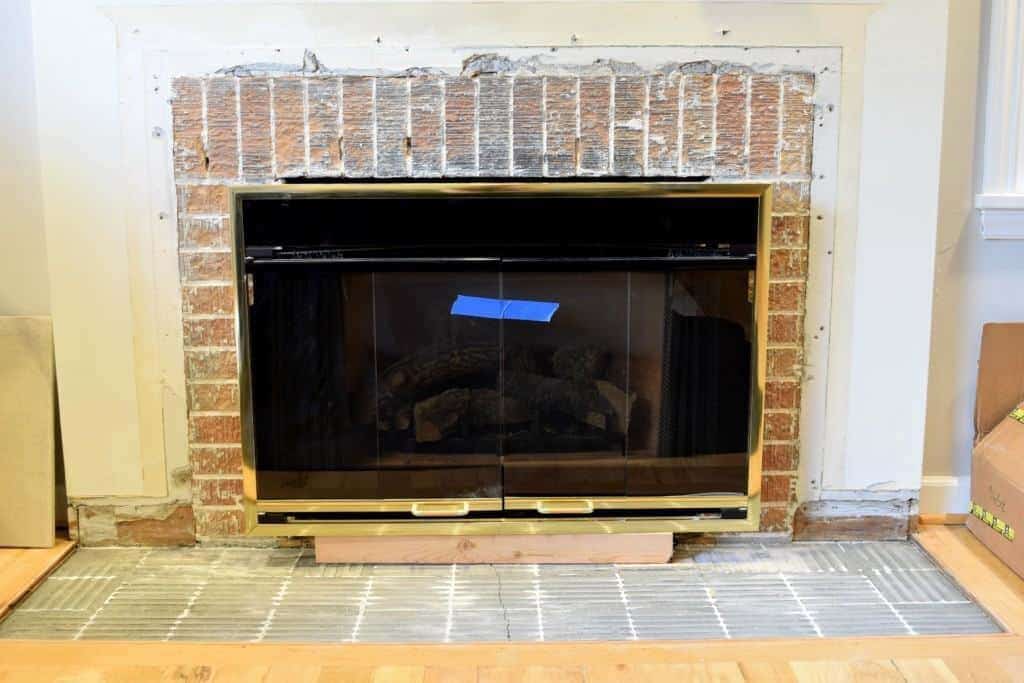
Remove the old trim
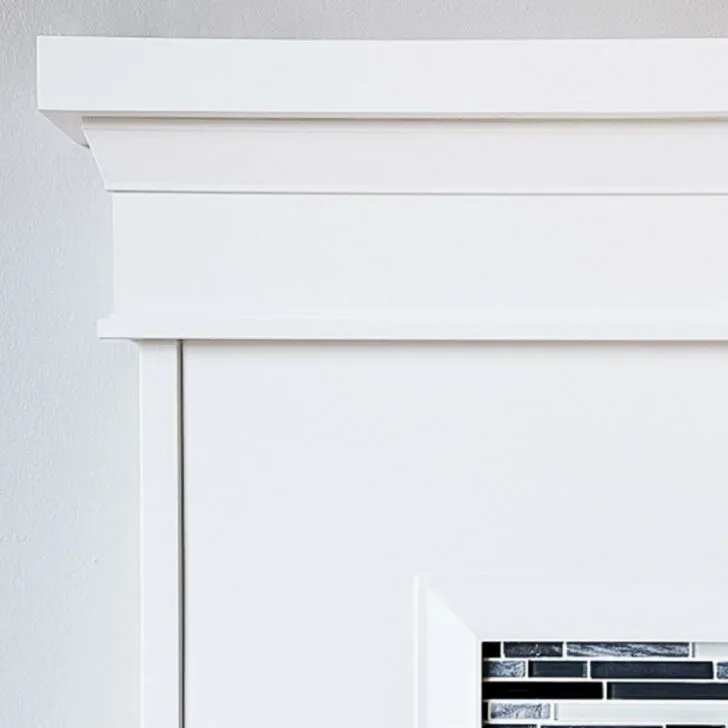
Removing the mantel within a mantel trim was also easy. It didn't even have caulk around the edges! I planned to keep the top mantel, but wanted to update the crown moulding underneath.
I scored the caulk between the top mantel and the trim with a utility knife, then pried the whole thing off in one piece. Apparently, this house was pretty groovy in the 60's, because one side of the fireplace was once green and the other orange!
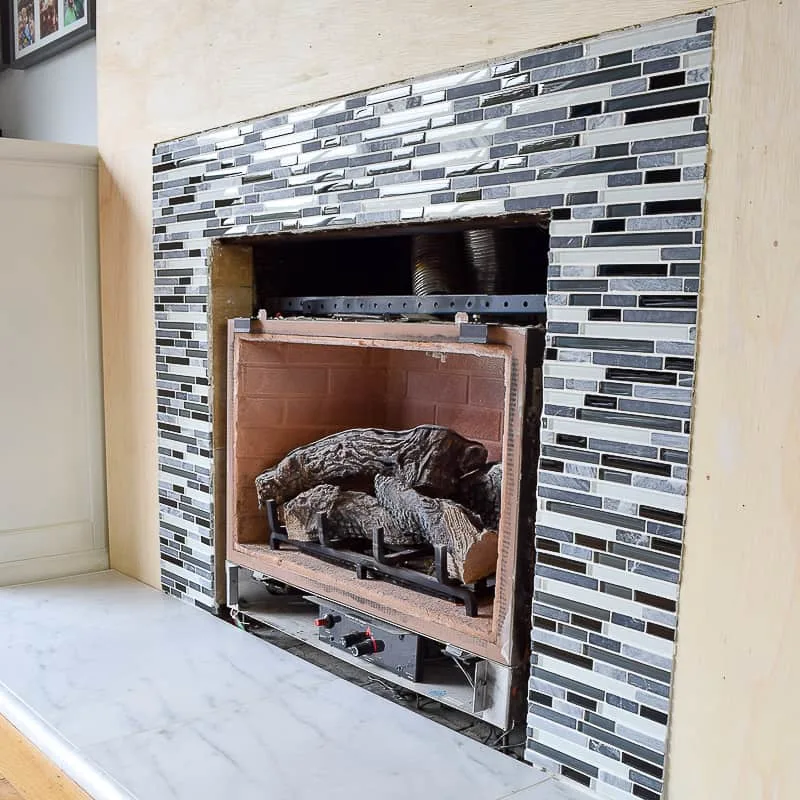
Remove the fireplace surround tile
There were big gaps between the tile and the surface of the fireplace, with gobs of mortar holding the tile in place. I could wedge the entire chisel behind the tile, so I was optimistic about removing this tile as fast as the hearth.
Nope!
That tile was stuck on there with what appeared to be industrial strength mortar, and was almost half an inch thick in spots. Instead of coming up in whole pieces like the hearth, I was lucky to chip off a chunk more than an inch big. After working for half an hour on one corner, this is as far as I got.

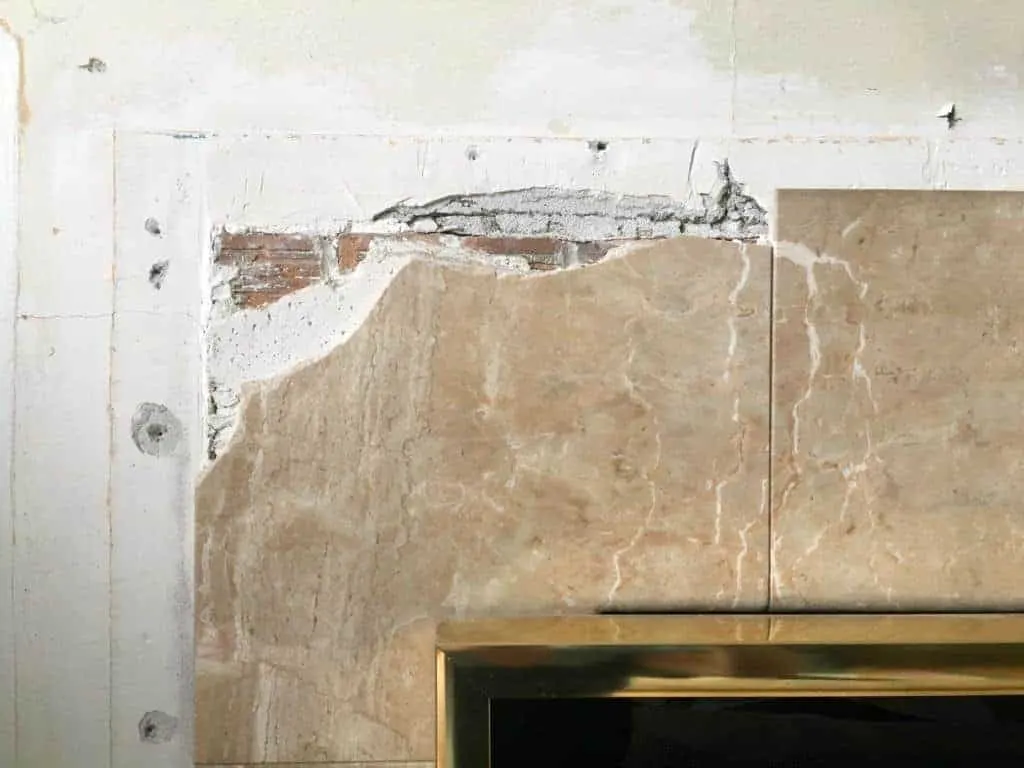
In a frantic phone call to my dad, he said I had two options. Keep chipping away, or repair the chipped out corner with mortar and retile over the old tile. I strongly considered the second option, but in the end I decided to suck it up and keep chiseling.
Many, many hours later...

It looks like a complete mess, but I was so excited to get all that tile off! I found that working with a smaller chisel with a hand guard worked best. Trust me on that hand guard!
The soundtrack of our fireplace demolition went something like "clink - clink - clink - thunk - clink." That thunk could be your hand (followed by your choice of curse) or the hand guard. You decide!
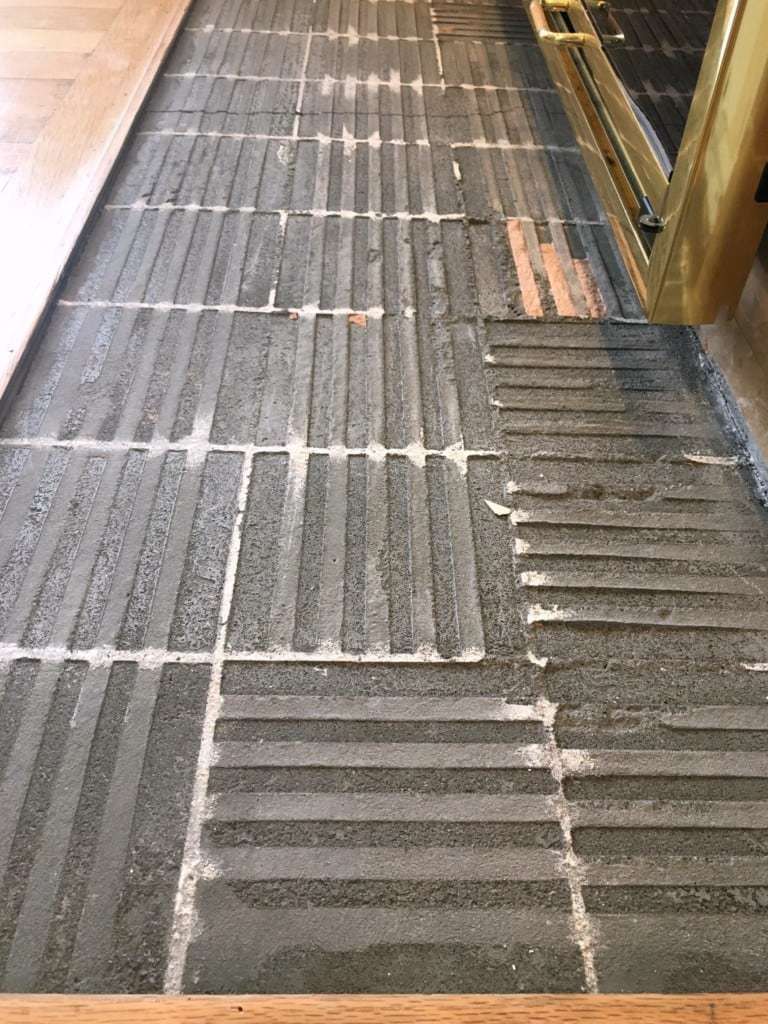
To remove the leftover thinset on the old brick, I used the wider chisel. The loose stuff came off easily with a wire brush. I finished up by vacuuming the entire surface, then wiping it down with a large sponge to remove any lingering dust.
It looks like a mess now, but it's progress!
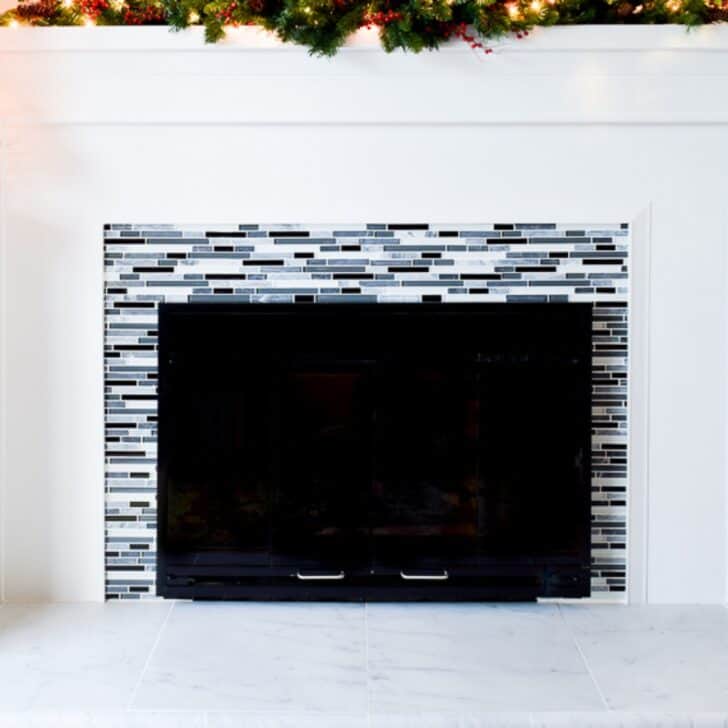
Check out the rest of the fireplace remodel!

Kairi Gainsborough
Monday 30th of April 2018
Thanks for sharing the process you went through to remove the old tile on the fireplace. I agree that the peachy color it was before is a bit outdated. My husband and I are planning on renovating our fireplace soon too, but I plan on getting professional help with it.
Fireplace Remodel - Pulling it All Together With Trim - The Handyman's Daughter
Monday 19th of December 2016
[…] my beautiful fireplace trim, I had to do something about my wonky mantel. If you remember back to my original fireplace demolition post, the mantel is attached to the wall with brackets that were plastered over to create this unsightly […]
Christina
Friday 16th of December 2016
A two year wait could make anyone eager to tackle a home project themselves. Your intimidation at the thought is still understandable.
emily bennette
Tuesday 29th of November 2016
This is some really good information about how to demolish an old fireplace. My fiance and I just moved into a fixer-upper that has a really ugly old fireplace in the living room. I like that you talked about the tools you could use to do the job. It seems like you need to be kind of strong to get some of this stuff up. It might be better for us to hire a professional to do it.
Vineta
Tuesday 29th of November 2016
You don't need strength, just lots of patience! I can't imagine how much we would have paid for a professional to chip away at all that tile. It took a few hours, but I'd rather do it myself than pay someone to do it for me!
Prepping the Fireplace Surround - The Handyman's Daughter
Tuesday 22nd of November 2016
[…] And after I attacked it with a hammer and chisel… […]