


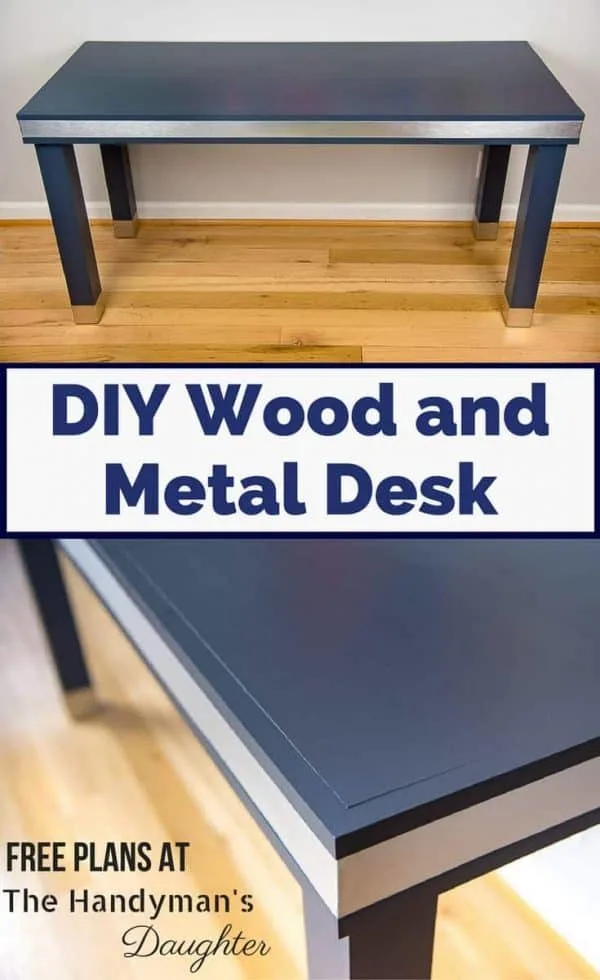
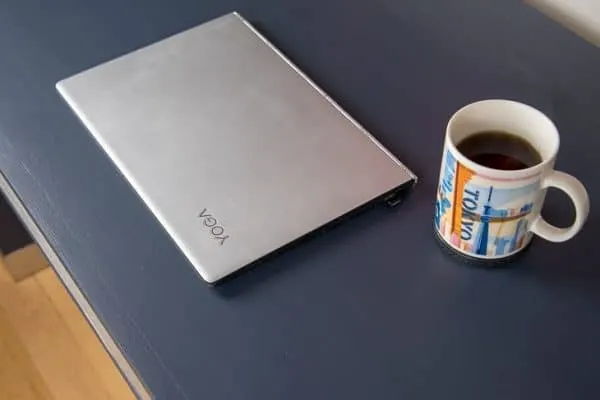
My husband asked me to make him a desk over a year ago, and I'm finally getting around to building it! Oops! His only requirement was that it was long enough for both he and our son to sit at together. This wood and metal desk will be perfect for all their geeky endeavors, and I finished it just in time for Christmas!
This post is sponsored by Osborne Wood, and contains affiliate links for your convenience. This means that I may receive a small commission from any purchases made through these links at no cost to you.
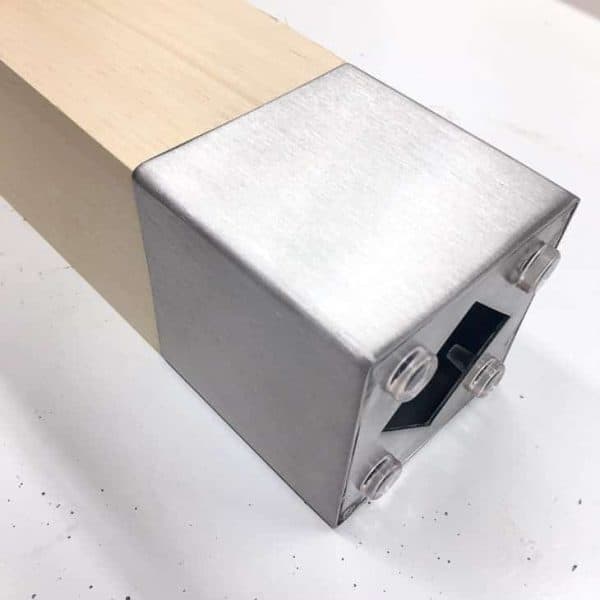
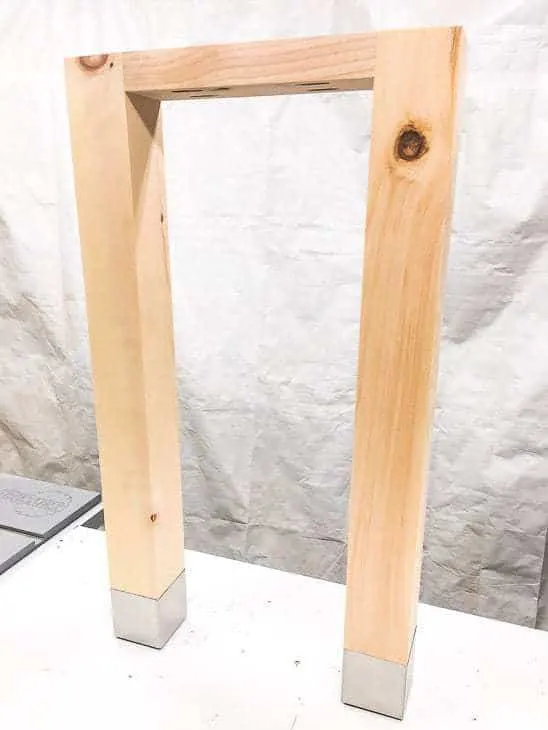
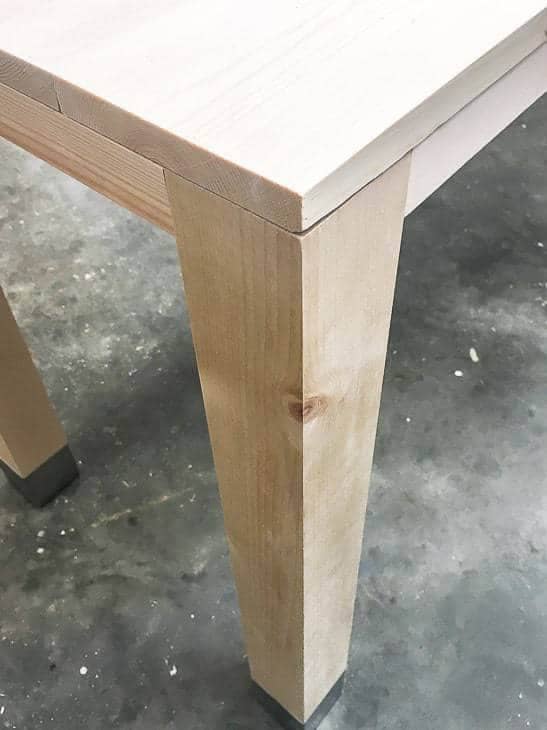
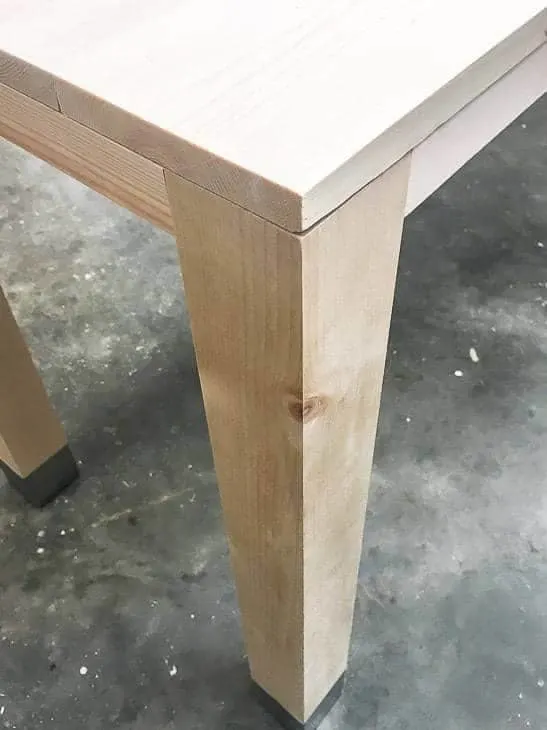
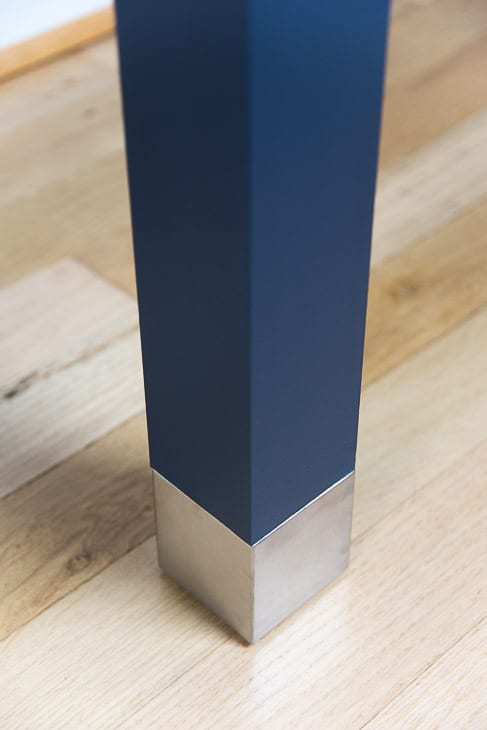
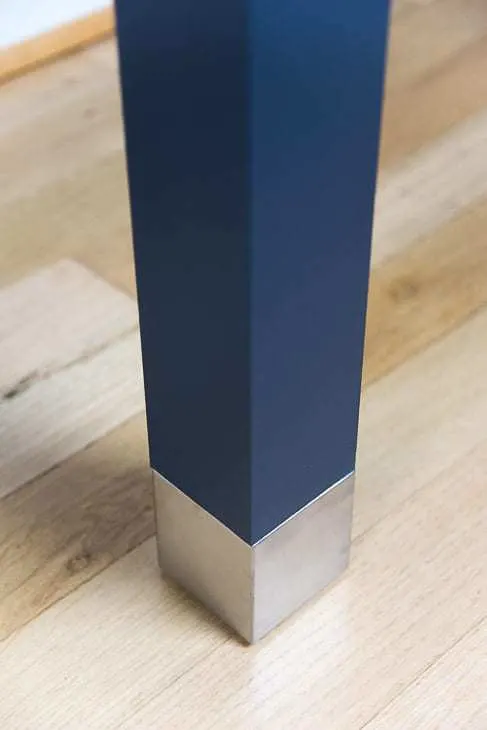
I had my eye on the Weston Fusion table legs from Osborne Wood for months before starting this project. The square shape coupled with the metal feet melted my modern/industrial loving heart!

I originally planned to make a new dining table with these gorgeous legs. But I was reminded yet again about my promise of a new desk, so I decided to change gears. This design would work both for a table and a desk, though!
Materials Needed for Wood and Metal Desk
- Weston Fusion table legs
- 4 - 1 x 6 boards
- 2 - 1 x 4 boards
- 3 - 2 x 4 boards
- Wood glue
- 2" wide aluminum banding
- Construction adhesive
- Kreg Jig
- I have this one, but if you're on a budget, this one will work too!
- Check out my post on how to use a Kreg Jig to help you decide which one is right for you.
- 2 ½" pocket hole screws
- 1 ¼" pocket hole screws
- Countersink drill bits
- 1 ½" flat head screws
- For attaching the apron to the frame.
- Figure 8 desk top fasteners
- ¾" Forstner bit
- ¾" wood screws
- For attaching the top to the frame.
- Wood filler
- 2" mending plate (to finish off the back of the metal band)
- Paint (I used Benjamin Moore's Hale Navy)
Don't forget your safety gear when woodworking! Here are my recommendations for safety glasses and ear protection. No excuses!
How to Make this Wood and Metal Desk
To bring more of that gorgeous brushed aluminium into this wood and metal desk design, I scoured the internet for something I could inlay into outside edge of the desk. I discovered a seller on Etsy that sold 2" wide brushed aluminum banding. Perfect!
Now that I had the banding, I worked my way backward. Using a 1 x 4 board for the apron gave me ¾" above and below the band. It will cover up the entire frame and edges of the desktop, giving it a clean, modern look.
Assemble the Frame
Knowing the dimensions of the apron, I could plan the rest of the desk. The frame will incorporate the legs, which are 3" wide. Trim ¼" off each side of the 2 x 4 boards to create 1 ½" by 3" boards.

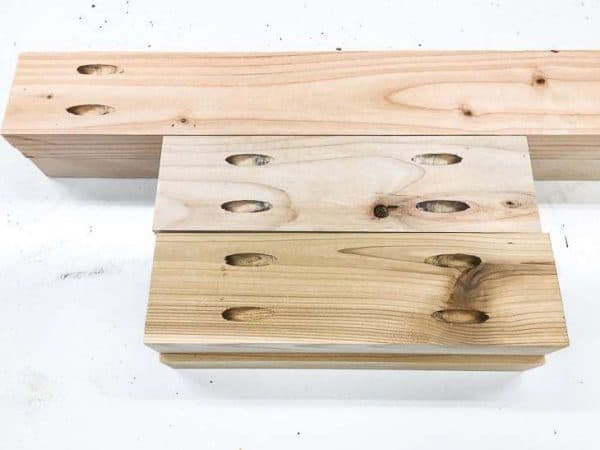
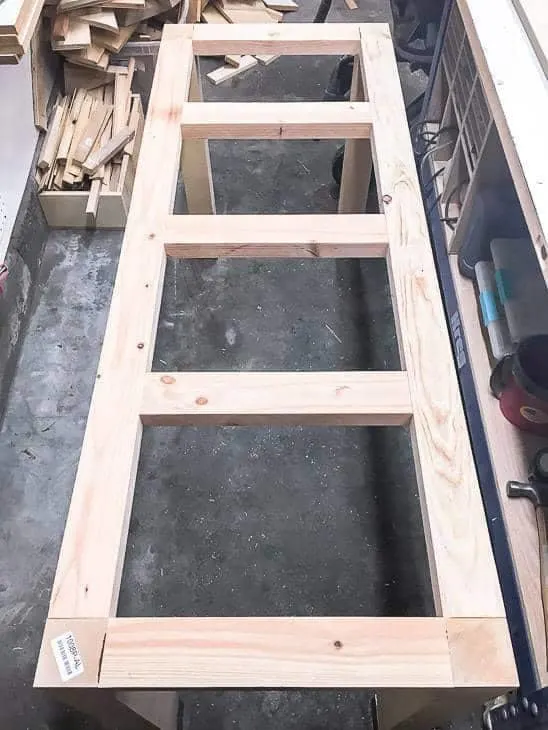
Cut two of these boards to 52" long for the front and back, and cut five at 16" long for the sides and center supports. Drill pocket holes into both ends of all the pieces.

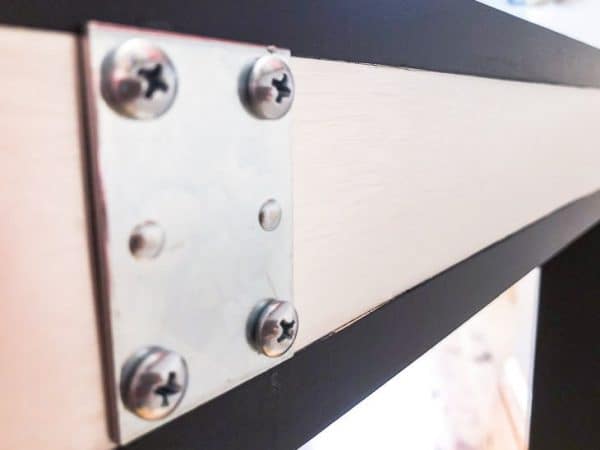
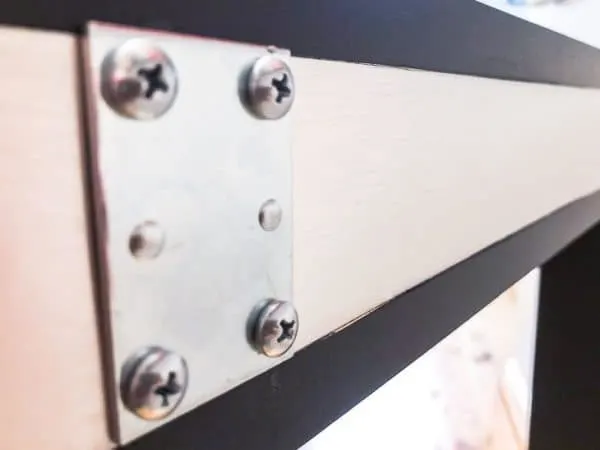
Join two legs together with a 16" piece with wood glue and 2 ½" pocket hole screws. You may need a right angle drill attachment if your drill doesn't fit between the two legs. Repeat for the other set of legs.
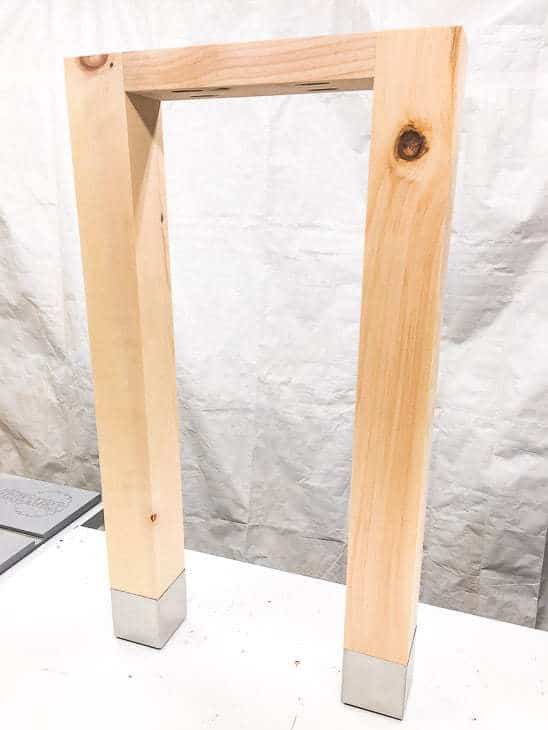
Join the pairs of legs together with the 52" pieces. Then attach the remaining three 16" pieces down the center for additional support.

Assemble the Top
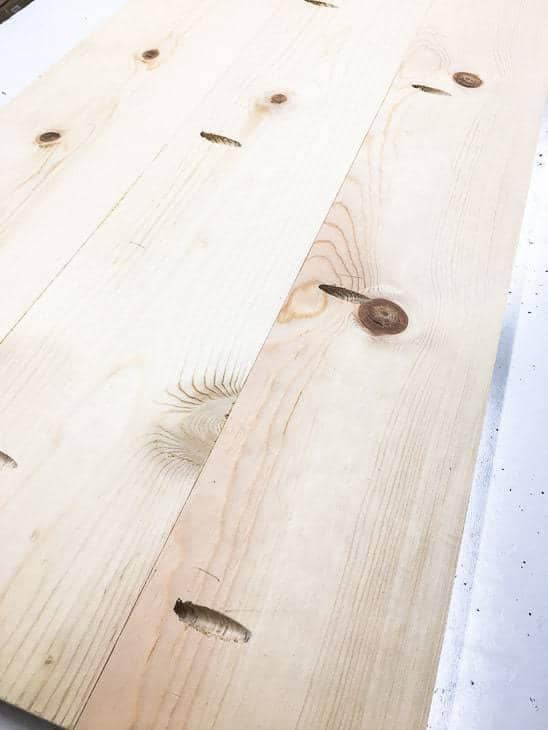
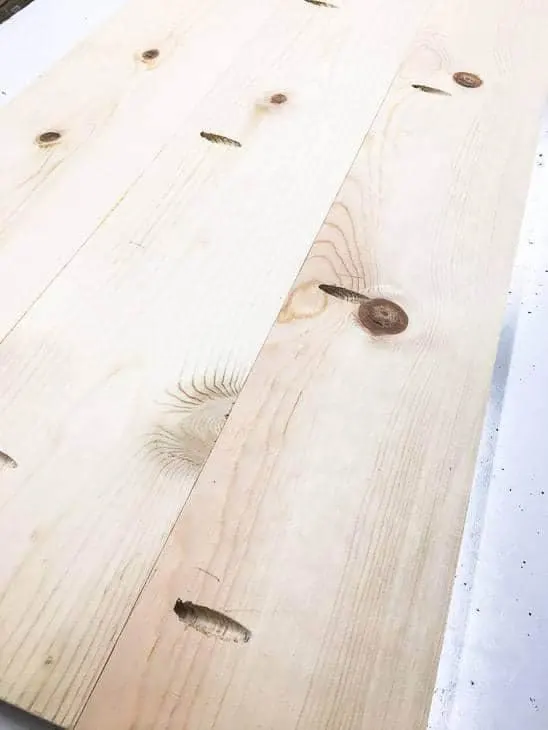
It's always a challenge to find straight 1 x 6 boards, especially at the big box stores. I typically have better luck at small, independent lumber yards that get nicer stock, plus sometimes it's cheaper too!
Cut four 1 x 6 boards to 58" long. Drill pocket holes down the length of all but one board. Then glue and screw them together with 1 ¼" pocket hole screws. Use clamps to make sure everything is straight and flat before attaching them together.
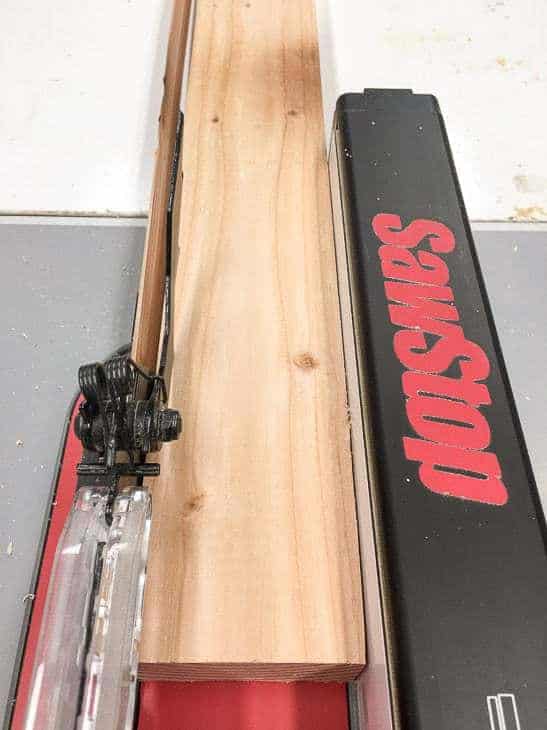
Double check that the planked top matches up perfectly with the edges of the frame. If it's slightly too big (lumber sizes can vary slightly), trim off the excess on a table saw. No table saw? Check out this post on how to cut perfectly straight lines with a circular saw!
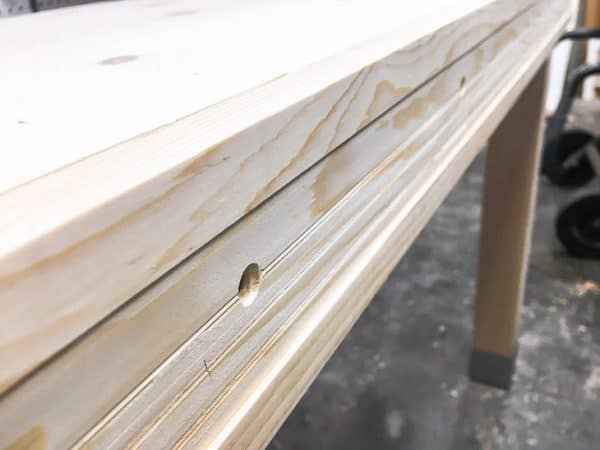
When you attach the top to the frame, you need to account for wood movement. Changes in humidity and seasons can cause your wood top to expand and contract. This can ruin a perfectly good desk top over time.
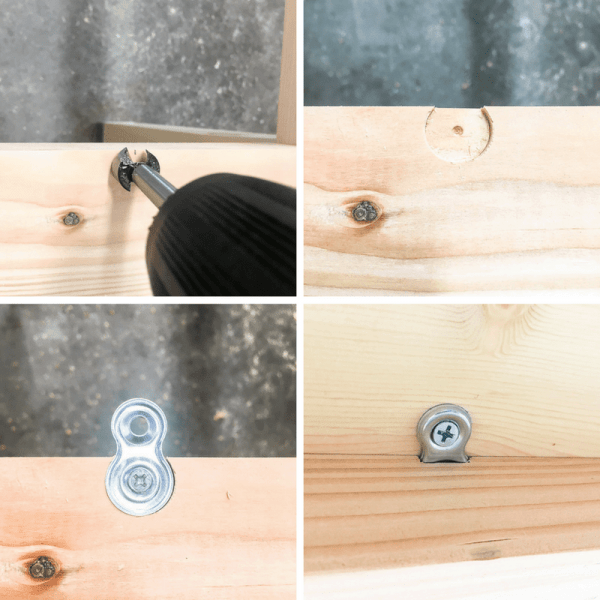
To allow for wood movement, I used these figure 8 brackets. They give the wood a little bit of wiggle room, while keeping the top securely fastened to the base.

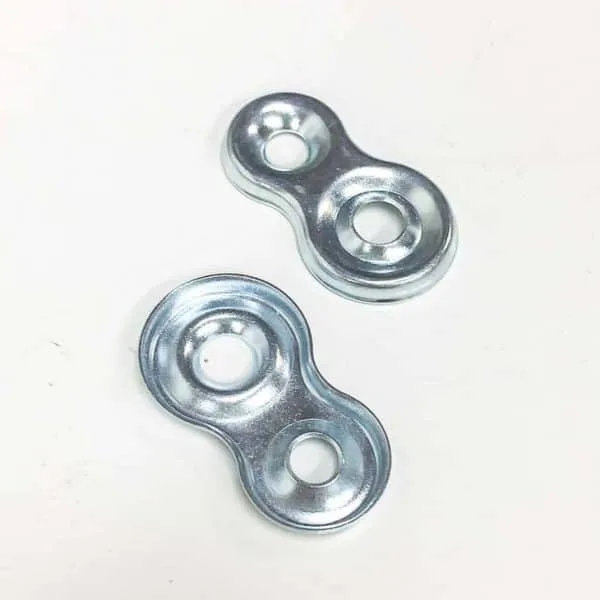
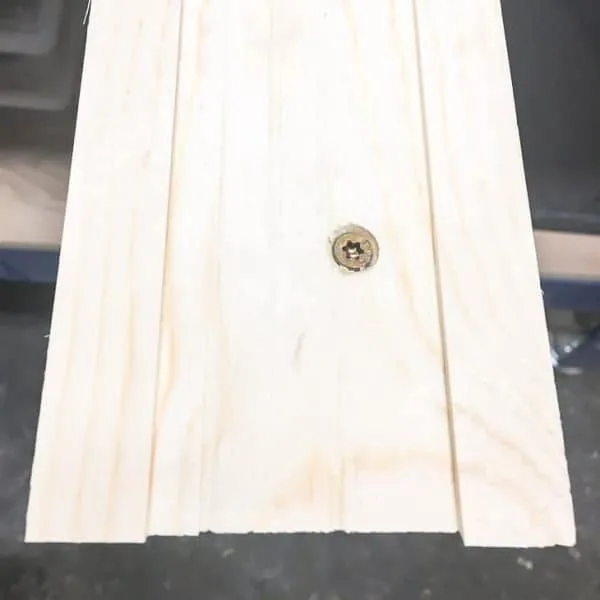
To install them, just drill a shallow hole with a ¾" Forstner bit slightly off the edge of the frame. The top of the bracket should be flush with the frame when it's screwed in place. The other side of the figure 8 is attached to the underside of the desk top with ¾" screws.

Create and Attach the Apron of the Wood and Metal Desk
This is the trickiest part of the build. In order to recess the metal band into the face of the apron, you need to cut a shallow channel for it to sit in. You can skip this step entirely if you want to attach the band to the face instead.
I finally bought a dado stack for my table saw (which also required a special brake and insert for my SawStop). I have a few projects that I've been putting off because I didn't have a dado blade, so it was time to shell out the cash for the whole setup. You can also accomplish this with a router if you prefer.
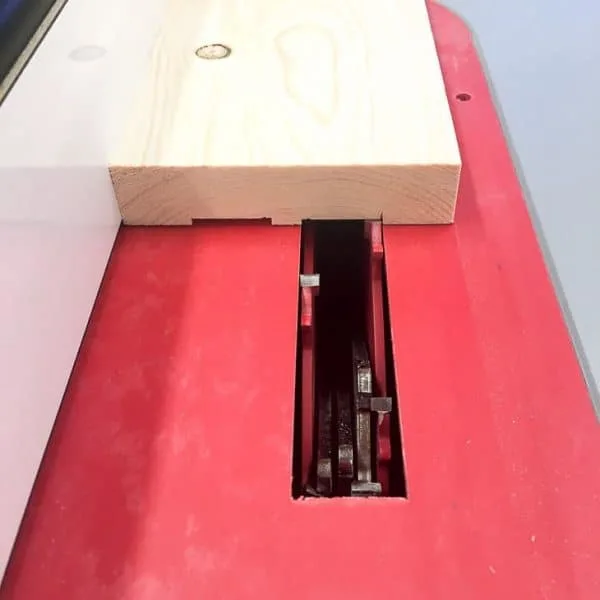
Cut two 1 x 4 boards to 59 ½" and two to 23 ½". You'll be cutting out a ⅛" deep channel two inches wide down the center of each board.
Set the outside edge of the dado stack so that it's ¾" in from the edge of the 1 x 4 boards. I found it easiest to mark that point on the side of the board to be cut, then adjust the fence until the edge of the blade lined up with that mark.
Cut the first dado, then flip the board around and cut the other side. You'll be left with a bit in the middle, which you can then cut away with a third pass.

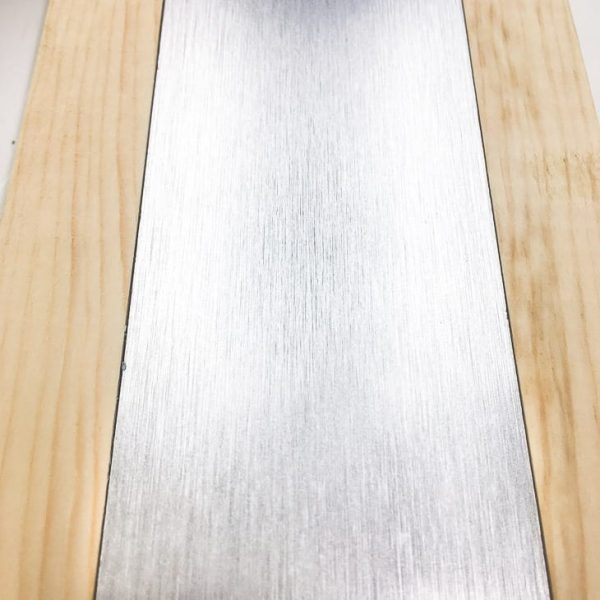
Test the fit with the metal banding. Now you can start to see how it will all come together!

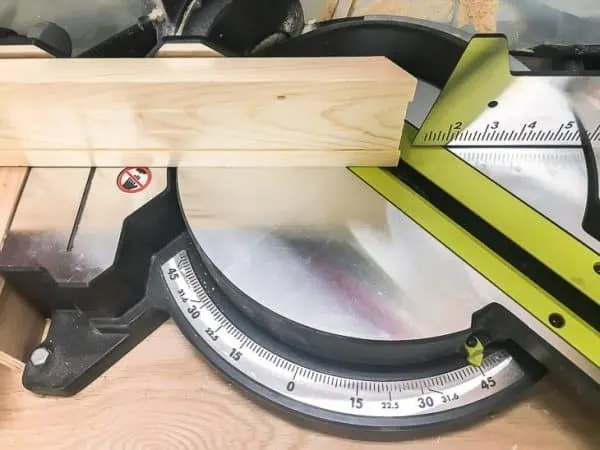
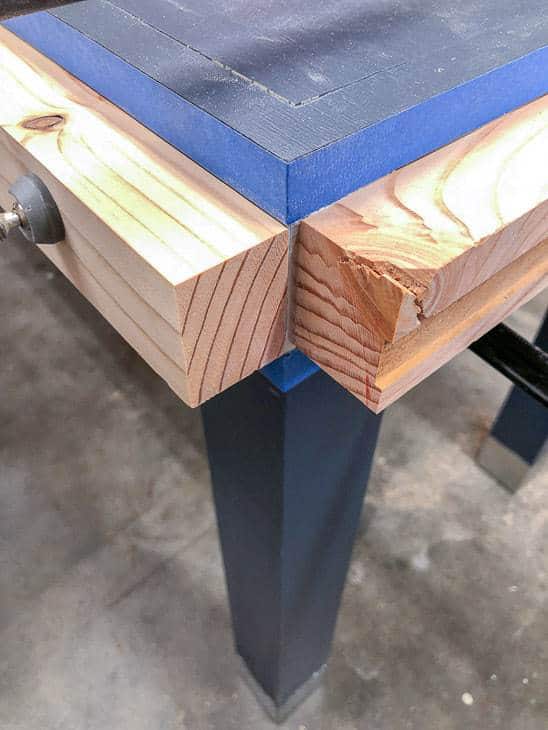
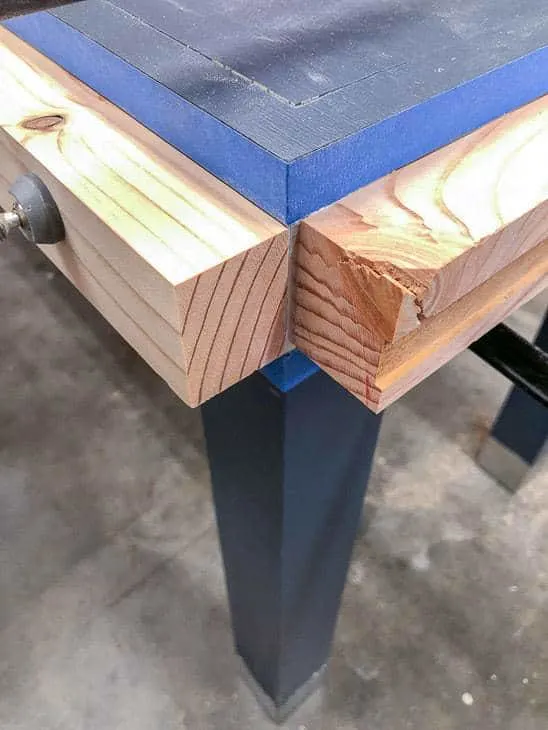
Miter the ends of the 1 x 4 boards with a miter saw. I suggest cutting the long boards first, clamping them to the desk frame, then cut the shorter ones to fit.

Drill countersink pilot holes along the length of the 1 x 4's in the upper half of the INSIDE the channel. These will be hidden behind the metal banding, but make sure that the screw head will be completely below the surface of the wood. You can learn more about this technique here.

Attach the 1 x 4 pieces to the outside edge of the frame with 1 ½" flat head screws, keeping the top edge flush with the desk top.

Fill in any gaps in the desk surface with wood filler, then sand smooth with progressively finer grits of sandpaper.
After much debate about color, my husband finally settled on dark blue. Benjamin Moore's Hale Navy is really popular, and for good reason! It's a gorgeous navy blue with gray undertones that looks great with pretty much everything, especially brushed aluminum.
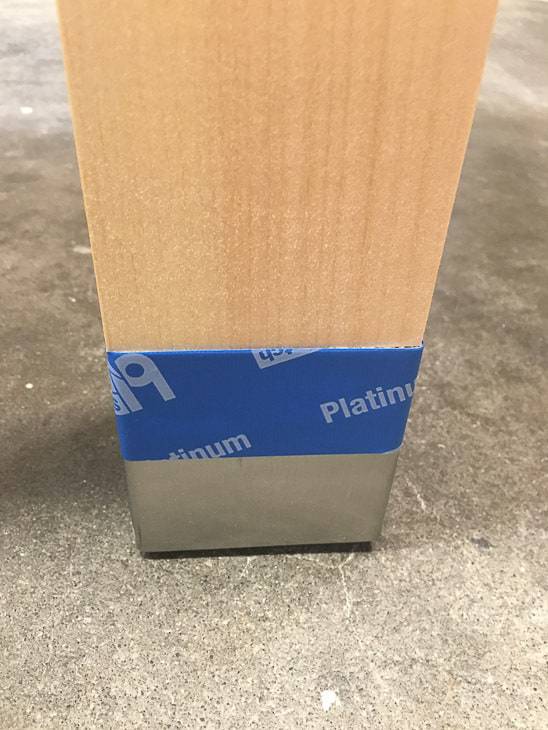
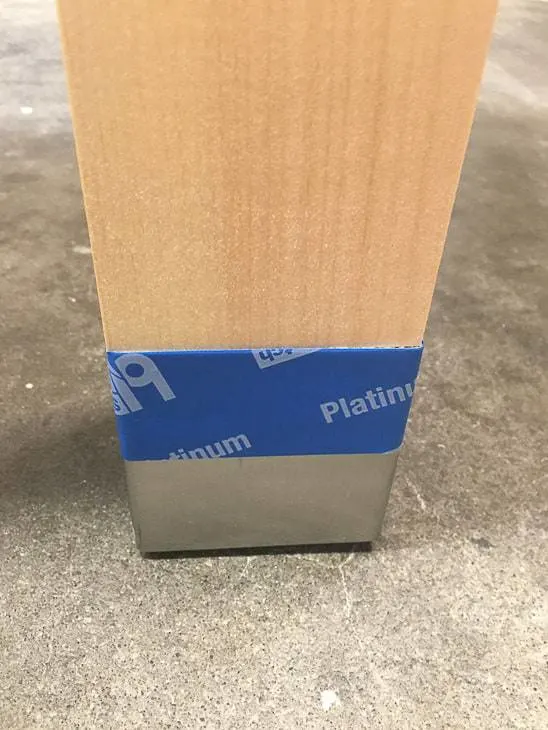
Cover up the metal feet with painters tape, then give the entire desk a few coats.
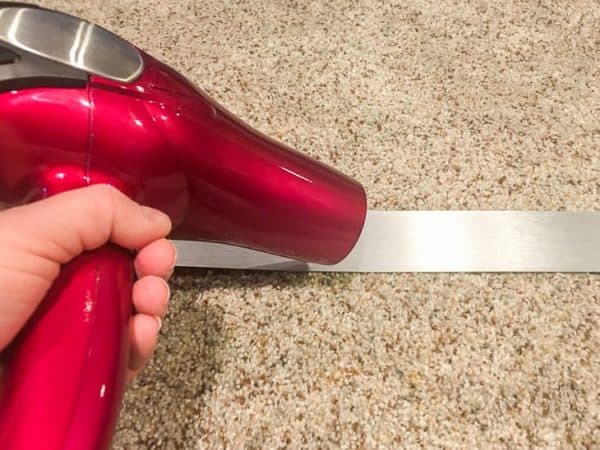
Now, for the finishing touch! Cut a strip of the 2" wide brushed aluminum banding long enough to go all the way around the desk. Be careful not to bend or crease it! Mine was rolled up pretty tight, so I helped it relax with the heat of a hair dryer until it lay flat.

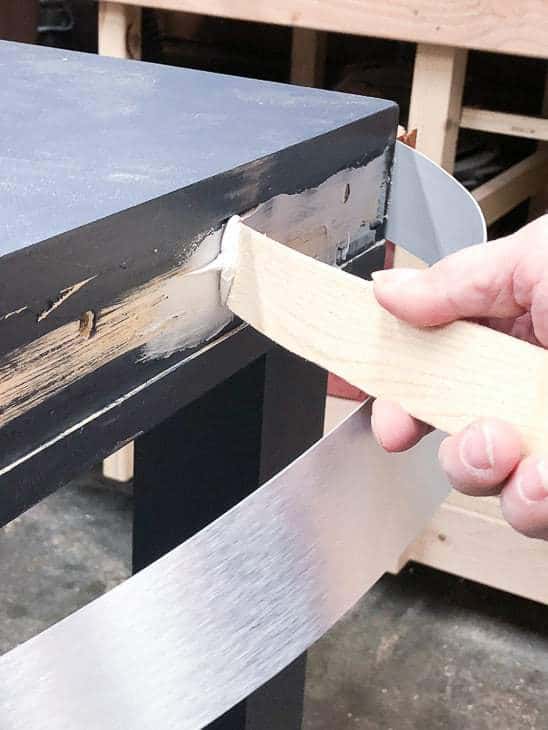
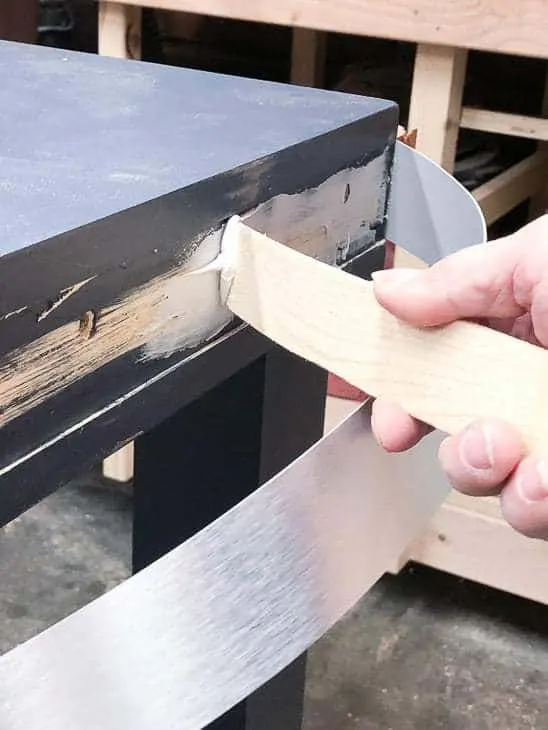
Apply construction adhesive to the groove. Don't overfill it, and keep it away from the edges so it doesn't ooze out. I used a wood shim (I have tons of them left over from my wood shim barn door) to smooth it out.

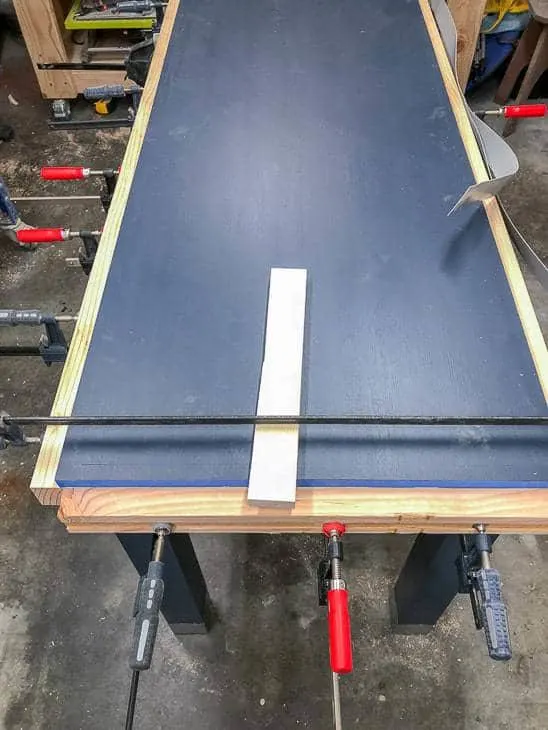
Insert the metal band into the groove, and use a scrap piece of 2" wide board to clamp it into place. I attached one long end and one short end at a time because I ran out of clamps!
Make a crisp crease at the corners by clamping two boards at a 90 degree angle to each other.
Once the adhesive cures (I left mine in clamps for 24 hours), use a razor blade to cut away any adhesive that may have oozed out. Touch up any spots where the paint was removed.
Where the two metal ends meet at the back, I attached a 2" mending plate. This covers up the seam and makes sure the band stays in place.
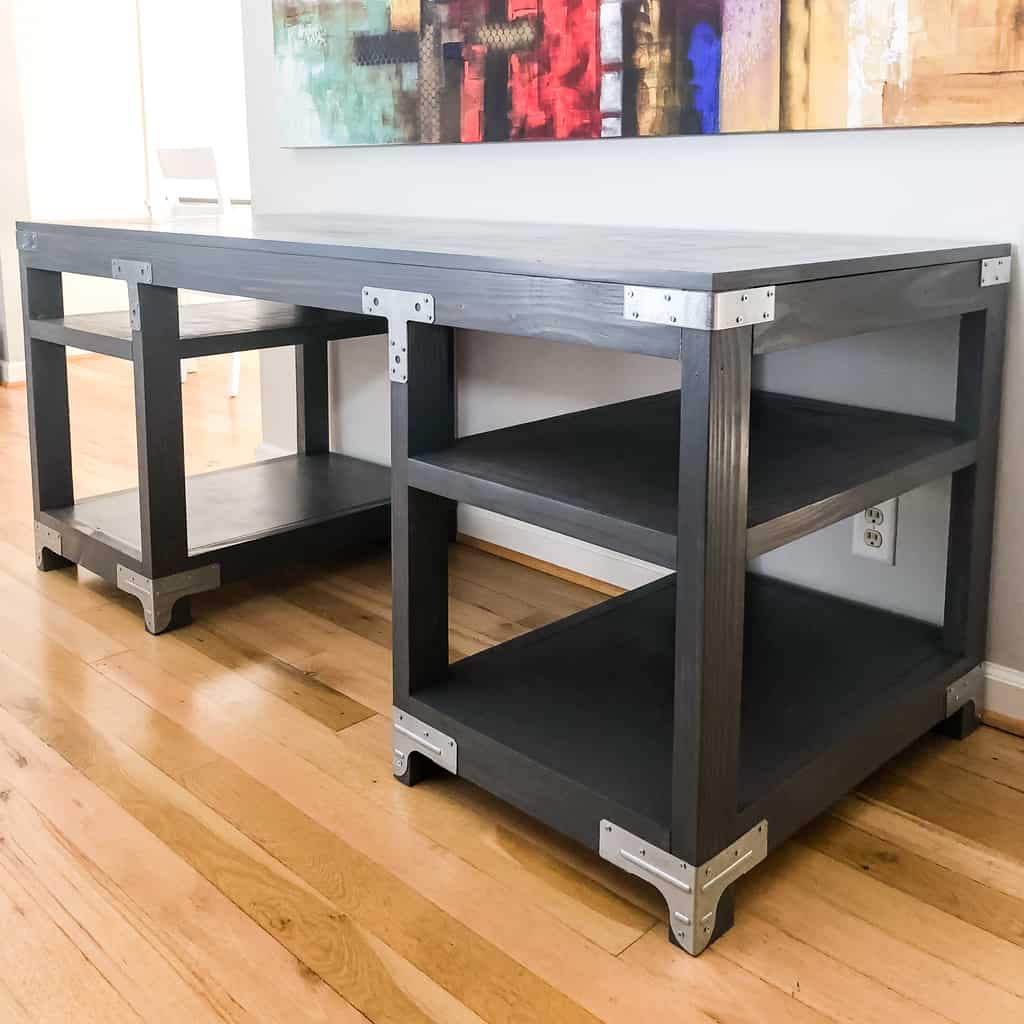
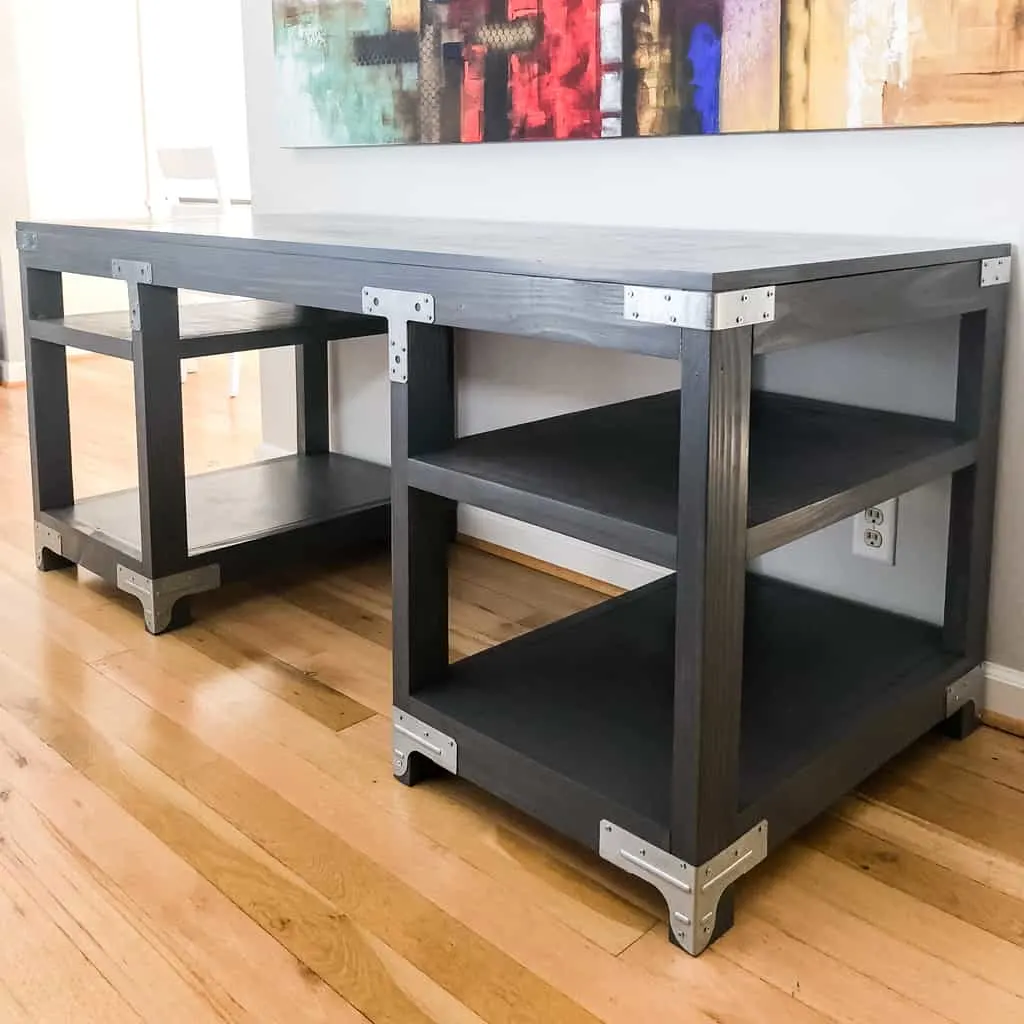
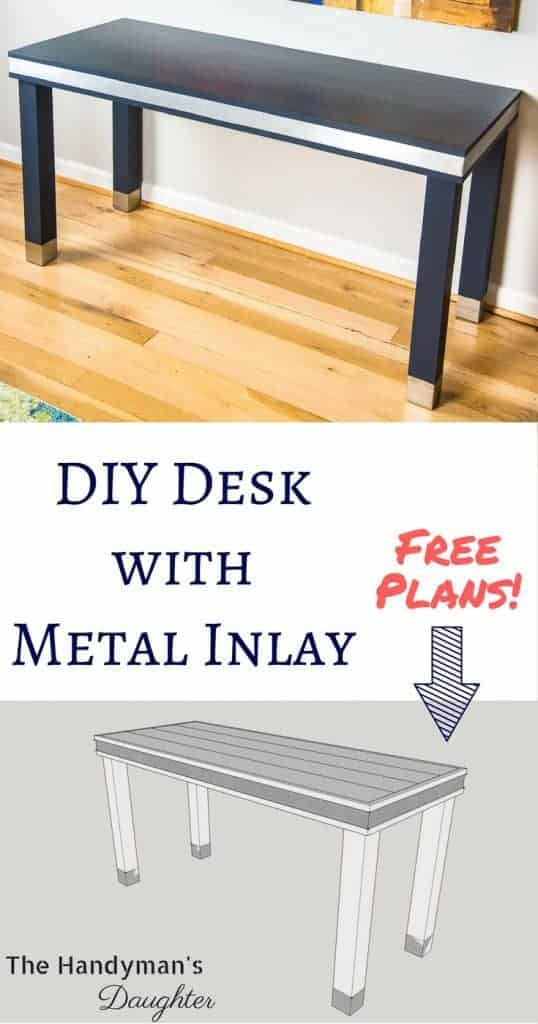
Finally, my husband's office has a new desk!

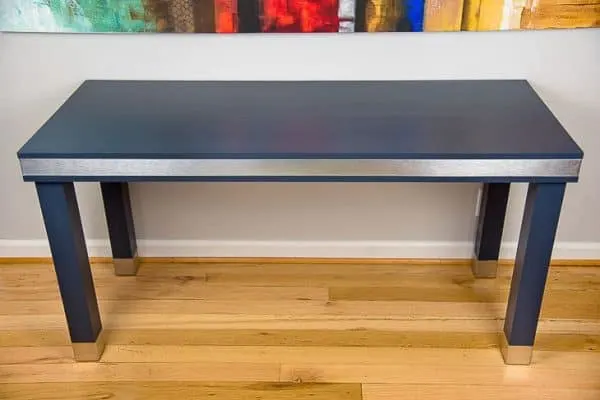

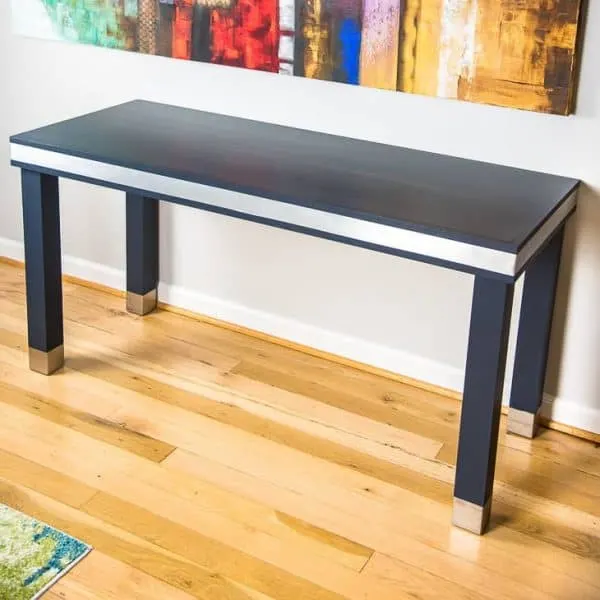
The dark navy blue contrasts beautifully with the brushed aluminum. The details really make this wood and metal desk pop!


Want to make your own? Enter your email address in the box below to get the woodworking plans sent straight to your inbox!
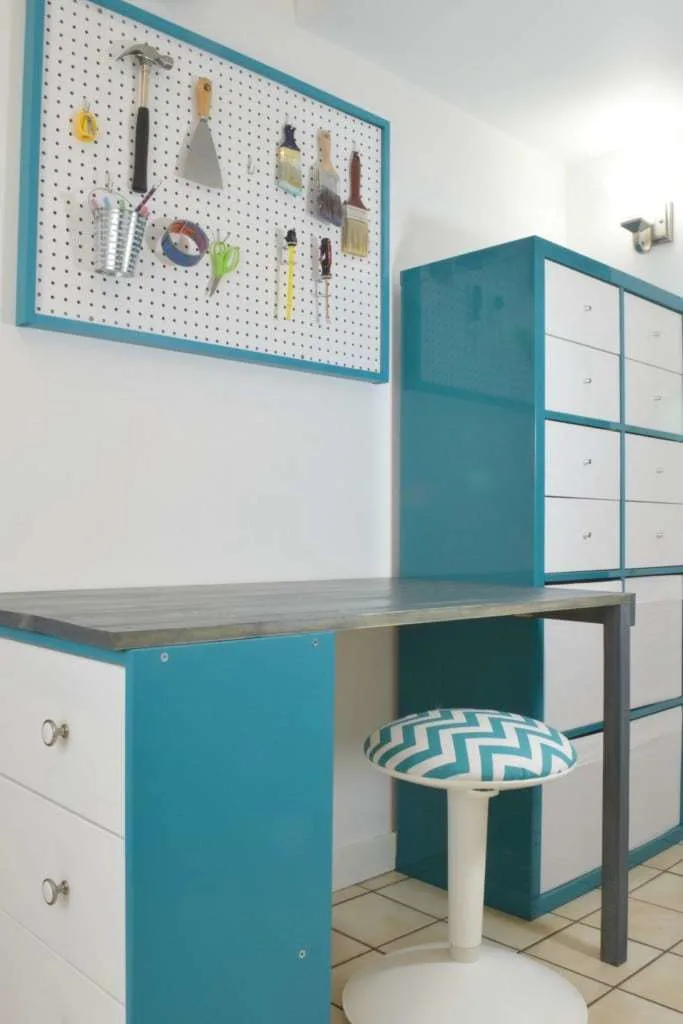
Not quite the wood and metal desk you were looking for? Try this DIY industrial computer desk!
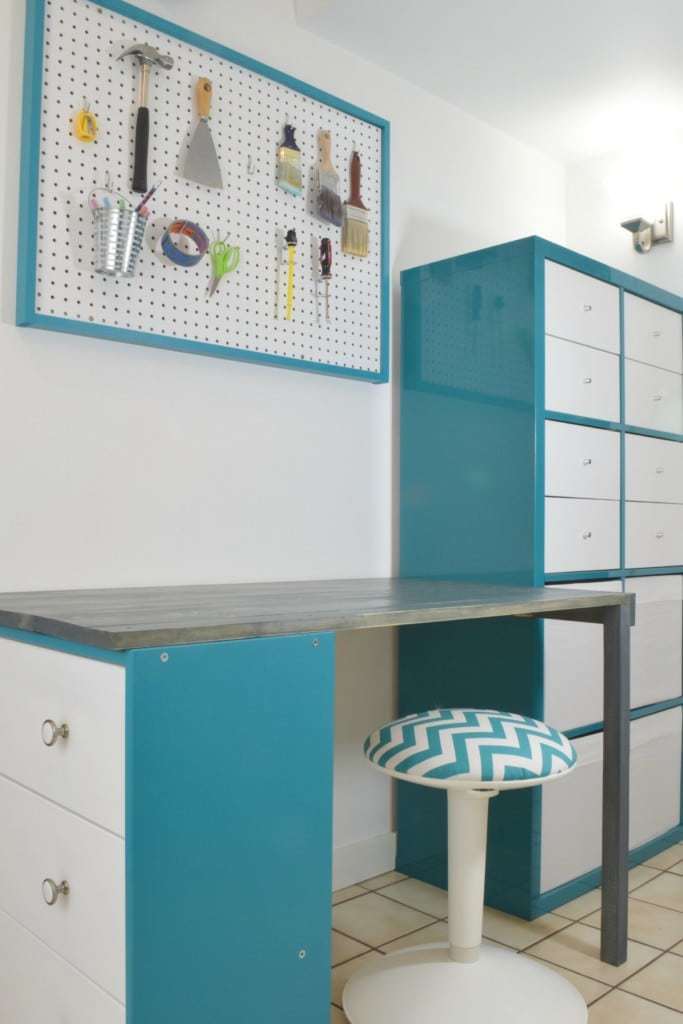
You can create your own desk using IKEA Kallax and Rast furniture pieces too!
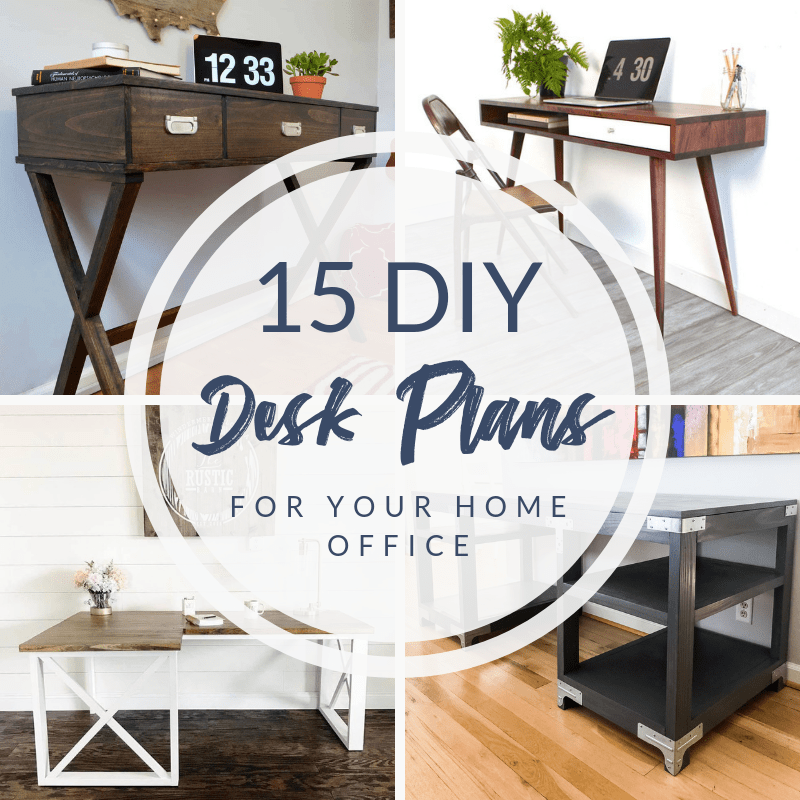
Or try one of these other DIY desk plans!


Judy
Tuesday 15th of May 2018
That's amazing. Great job. I will be featuring this tonight at my Swing into Spring party that opens at 8pm EST. Please stop by and pick up an I've Been Featured button. Thanks. http://diybydesign.blogspot.com
Jann Olson
Monday 14th of May 2018
I love the combination of the wood and metal! Thanks for sharing with SYC. hugs, Jann
Rhonda
Friday 11th of May 2018
I love how this turned out. I think it's the color combination that makes it pop. Thanks for sharing on Sunday's Best.
Chas
Wednesday 9th of May 2018
Thanks for sharing on To Grandma's House We Go!
Debrashoppeno5
Monday 7th of May 2018
This desk is fantastic looking. I bet your husband is thrilled.