I'll show you how to update your kitchen track lighting to give the entire room a brand new look. Our kitchen now feels bigger, brighter and a lot more stylish!
I'm on a mission to banish the 80's from our kitchen. Painting the cabinets and adding new hardware certainly helped, but a few dated details still remained.
The old kitchen track lighting was starting to fail, and adding new heads to the ugly track wasn't helping.
I finally decided to replace the old fixture with modern track lighting that gave the entire kitchen a new look!
This post was sponsored by Lamps Plus, and contains affiliate links for your convenience. Purchases made through these links may earn me a small commission.
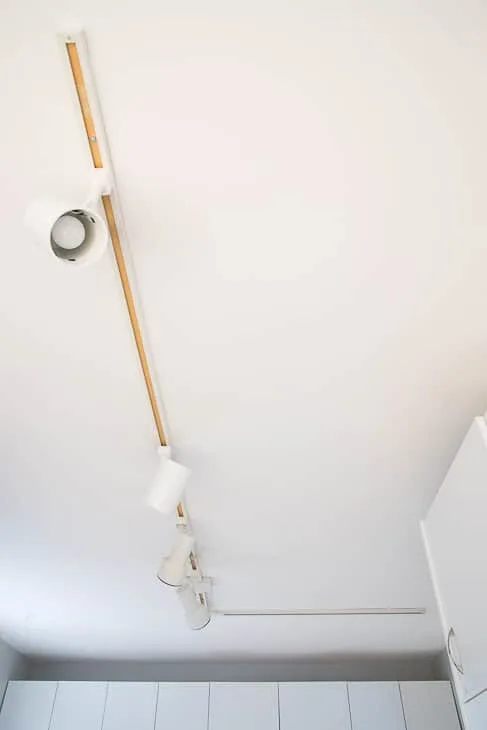
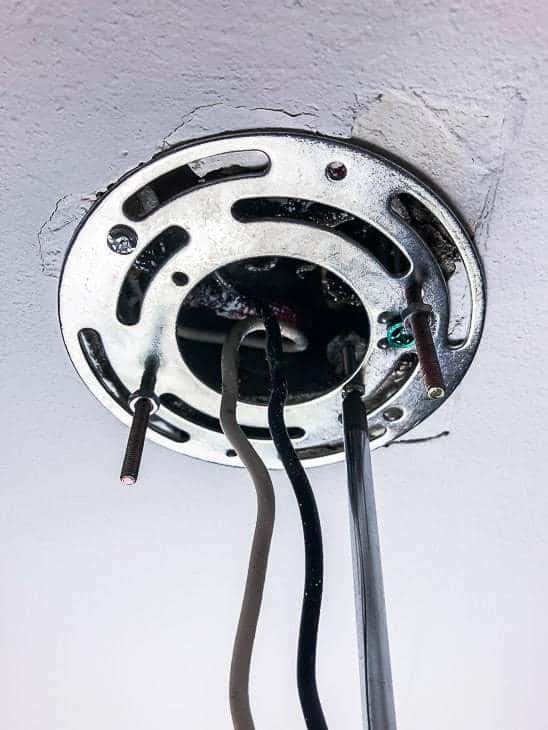
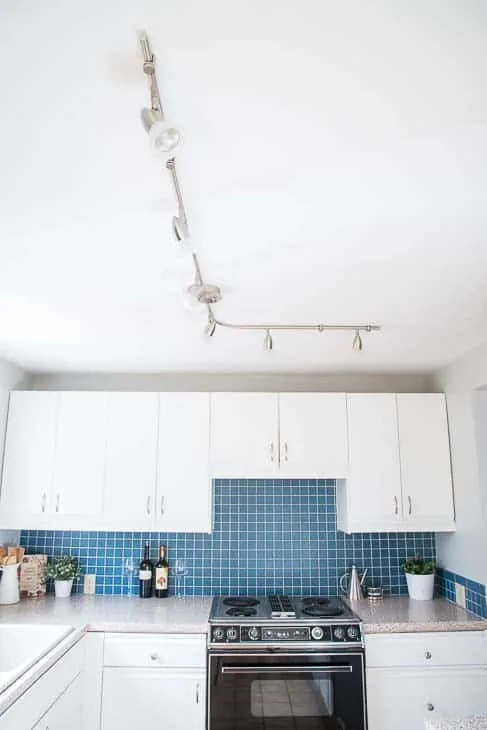
Behold, our ugly old kitchen track lighting in all its glory! The original track and lamp heads had turned a lovely shade of bleh over the years. The short arm over the stove didn't work at all, so we couldn't see what we were cooking. As the heads failed, I replaced them with new ones that didn't match at all.
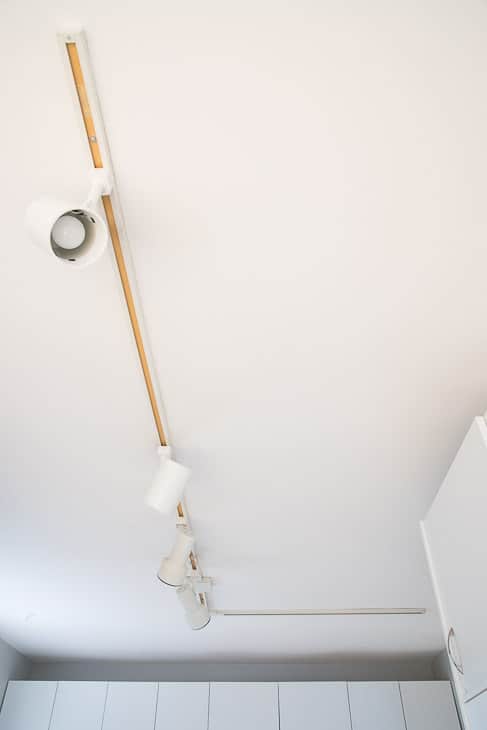
I didn't want to invest more money into this atrocity when another lamp head bit the dust, so I started searching for a replacement. Our L shaped kitchen needed an L shaped light fixture to illuminate every corner of the space. Luckily, there are plenty of amazing track light fixtures at Lamps Plus to choose from!
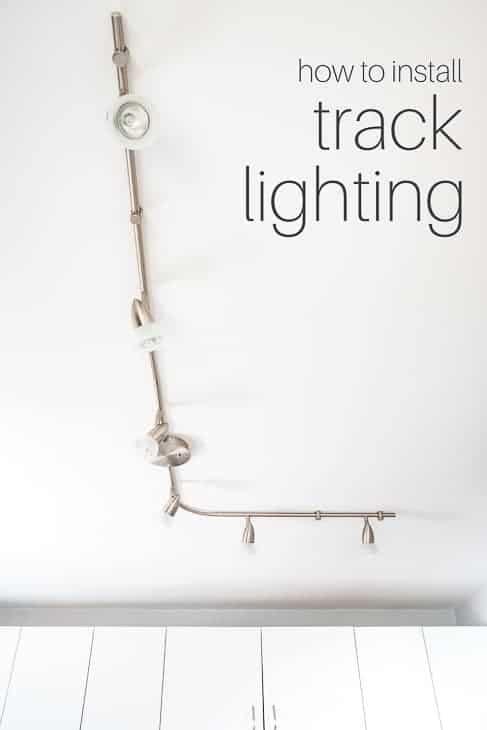
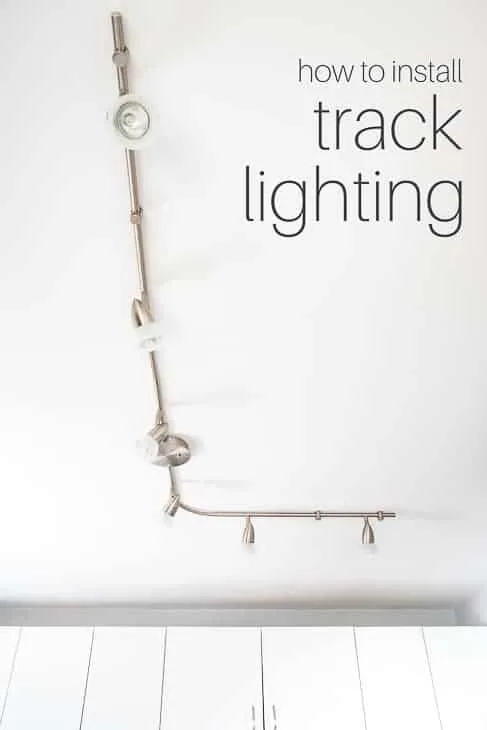
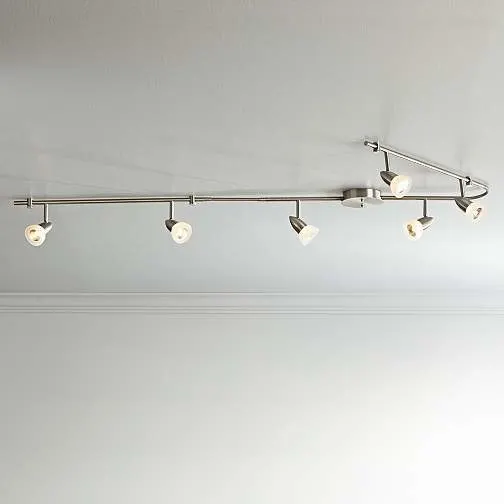
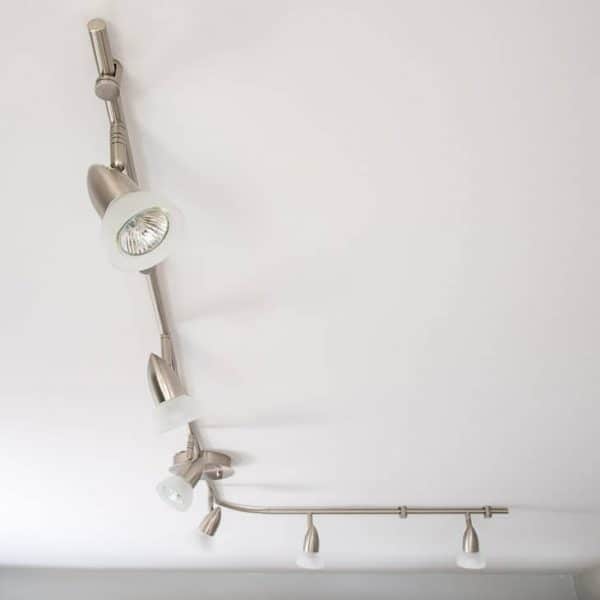
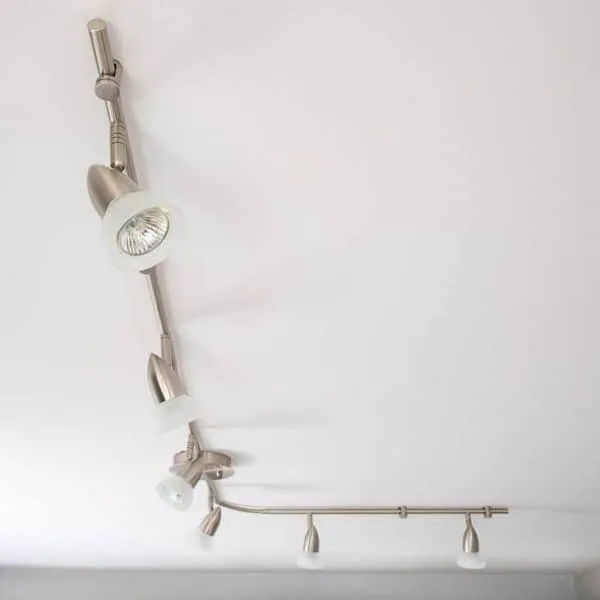
The ProTrack Flex Rave track light instantly caught my eye. It has flexible arms that allow you to customize the shape of your kitchen track lighting to fit your needs. The L shaped configuration was perfect!

Remove the old track lighting
Before starting work on any light fixture, be sure to turn off the electricity to the circuit at the breaker box. If your kitchen feels dark with the lights off, wait for a sunny day or use a work light so you can see what you're doing.
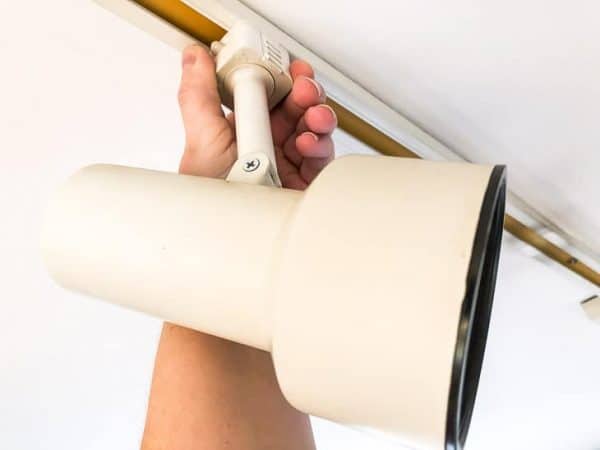
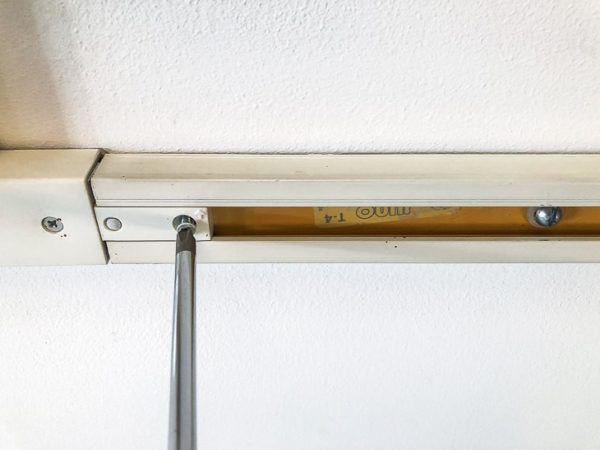
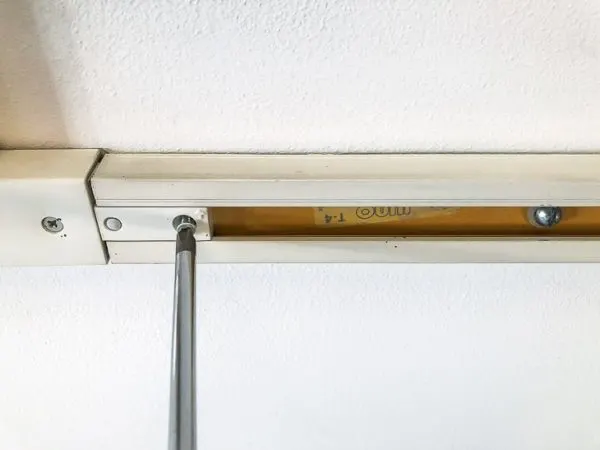
Remove the existing heads from the track. Mine had a slide lock on the side that needed to be released before I could twist them off.

Next, remove the screws that hold the track segments together. Then remove the screws that attach the track to the ceiling.
Patch and paint the ceiling
Once the old kitchen track lighting came down, I discovered a problem . . . HUGE holes! Not only that, but whoever installed the track 30+ years ago didn't paint the ceiling underneath.

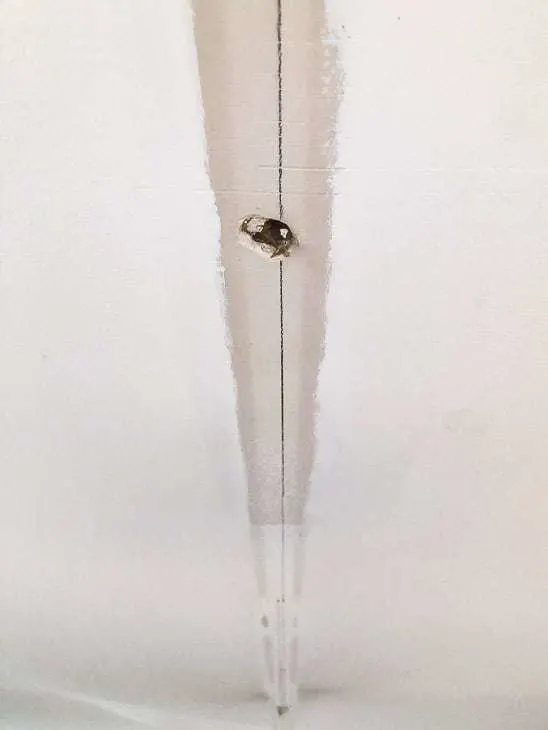
Sigh. Home improvement projects are never as easy as you think they'll be!
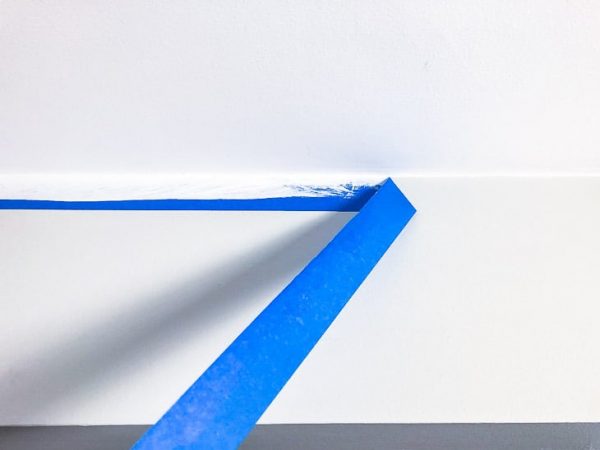
I patched the holes with fiber-reinforced spackle, then painted the entire ceiling with Benjamin Moore ceiling paint in Decorators White. What a difference a fresh coat of bright white paint makes! It felt like the ceiling raised up half a foot!

Once the paint was dry, it was finally time to install my new kitchen track lighting!
Install the new track lighting
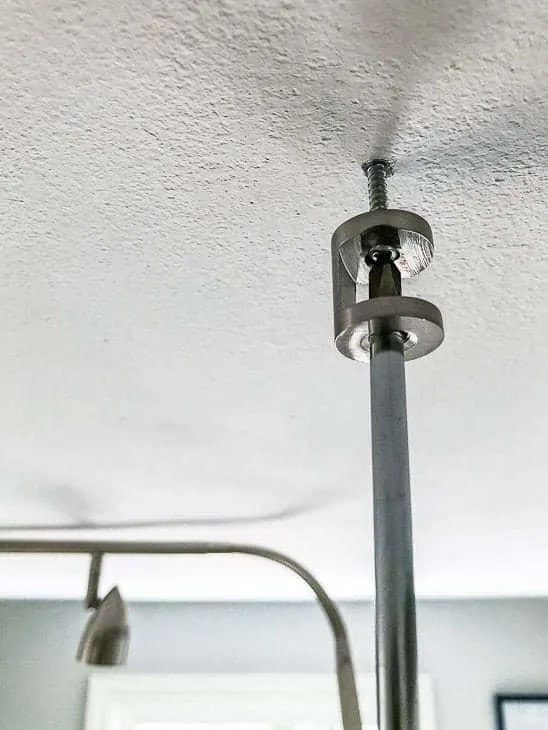
First, attach the mounting plate to the junction box. Don't worry if it doesn't cover the hole entirely. The rest of the fixture will hide it.
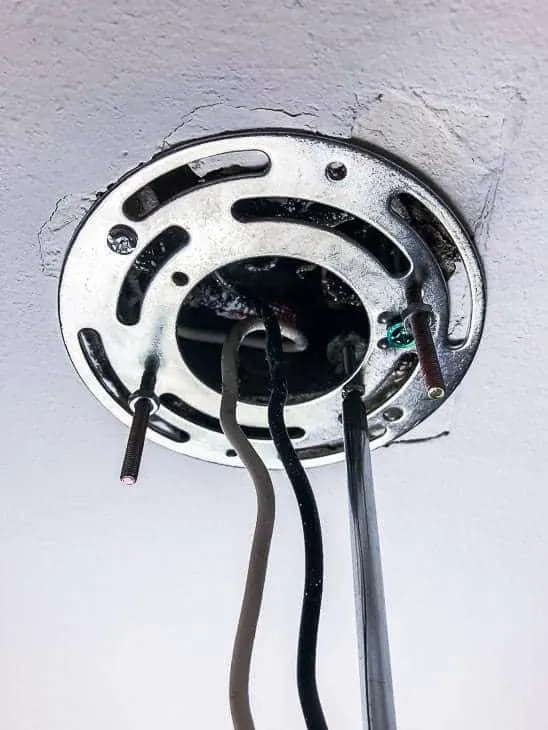
Connect the black wire from the ceiling to the black wire on the fixture with a wire nut. Repeat for the white wires. Wrap the copper wire around the green screw on the mounting plate, then tuck the wires back into the ceiling.
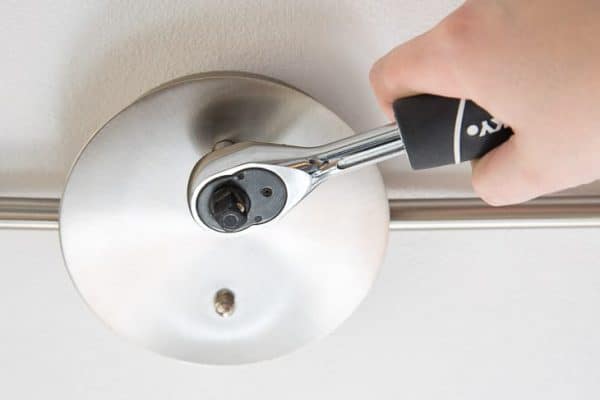
Attach the fixture to the mounting plate with the included hex nuts. They can be a little slippery to tighten by hand, so use a socket wrench to make sure it's secure.

Now, determine where you want the arms of your kitchen track lighting to go. My husband held the track in place while I marked the spots for the brackets.
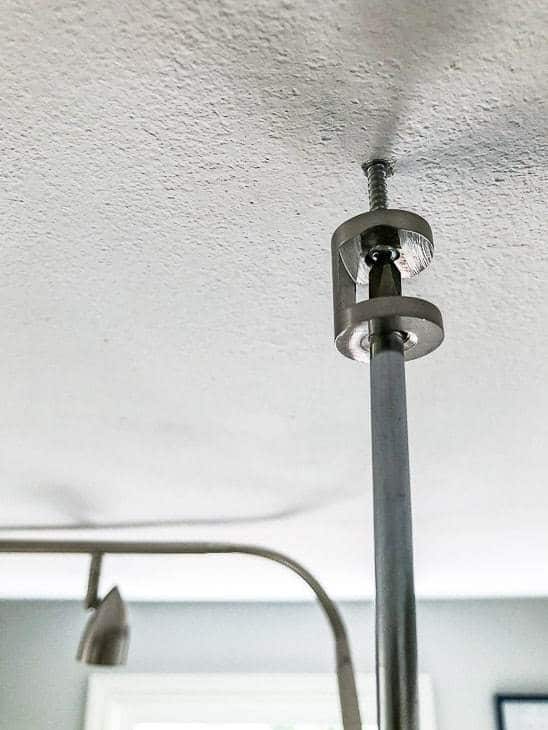
Drill a hole in each location big enough to fit a plastic drywall anchor. Then insert the screw through the bracket and tighten it into place.
Finishing touches
My track lighting kit came with these caps to finish off the bracket and hold the track in place.

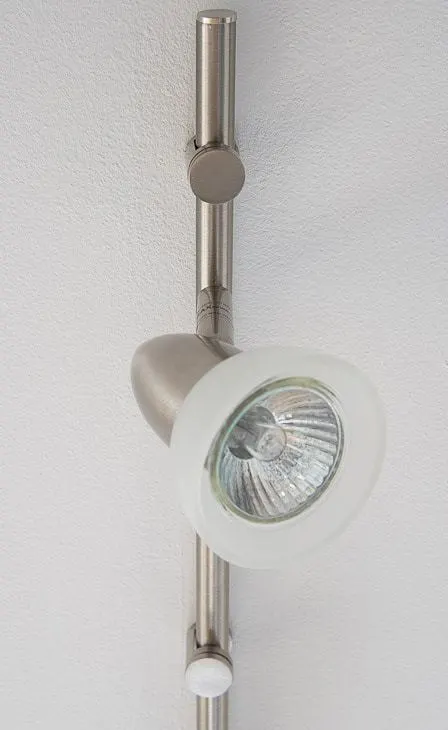
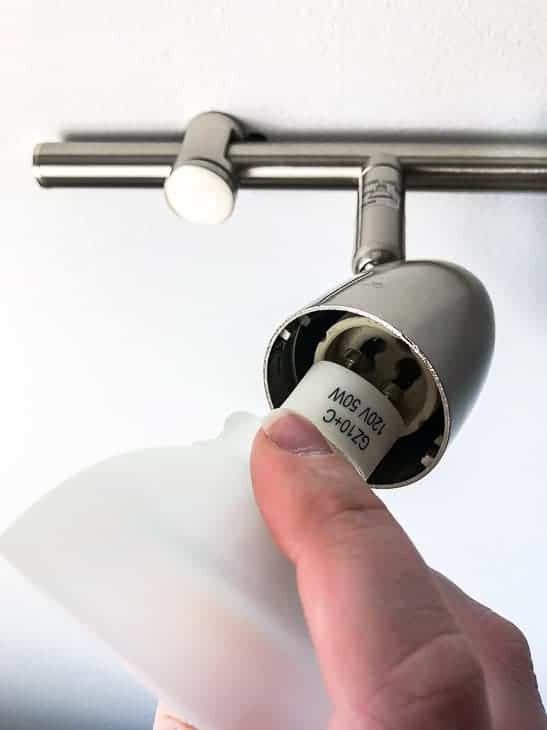
Finally, screw the bulbs and shades in place.

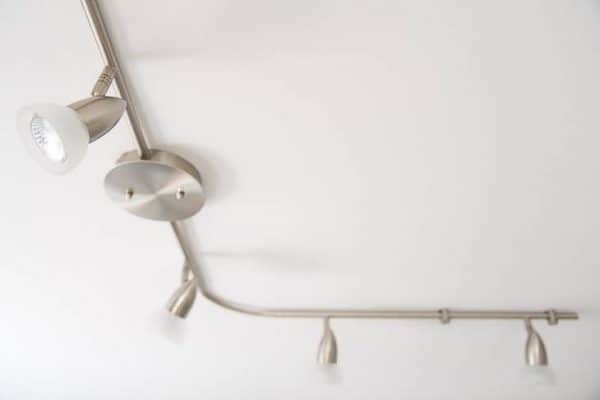
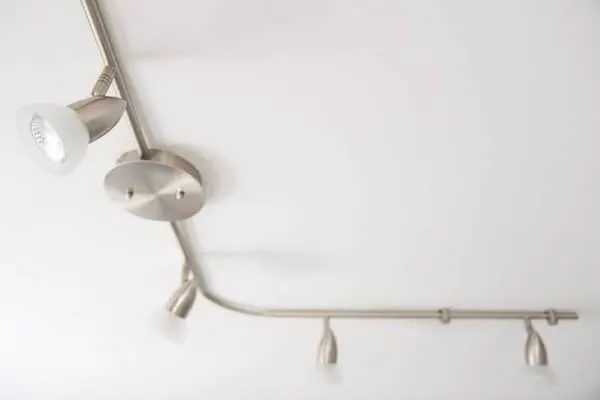
Turn the circuit back on and watch your kitchen light up!

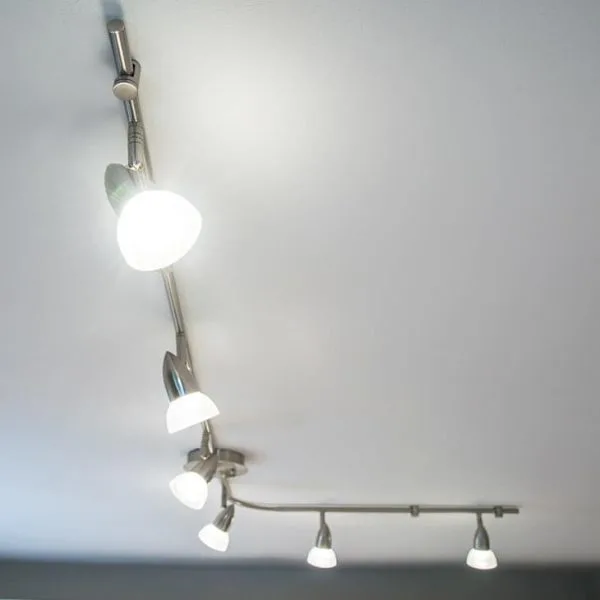
Each head swivels independently, so I can direct the light to the spots that need it most. We can finally see what we're cooking and cleaning!
Next up on my list is painting the backsplash tile white to match the rest of the kitchen!

A big thank you to Lamps Plus for providing me with the kitchen track lighting for this project!
Check out these other lighting projects!


Evaline
Tuesday 13th of March 2018
Great job and Wil keep these instructions. In the photo, the blue tiles add punch and cheer...just do a nautical or beach theme in your kitchen.
Toni | Small Home Soul
Tuesday 30th of January 2018
What a great update, and you're tutorial is easy to follow. So far I've left electrical to my husband but I know I can do it too. You've done such a great job with so many inexpensive updates to ban the '80s from your kitchen. These lights are awesome and I bet you'll save some money on your electric bill too.