Learn how to make a hanging moss ball planter, called kokedama, to display your favorite houseplant in a floating green ball!

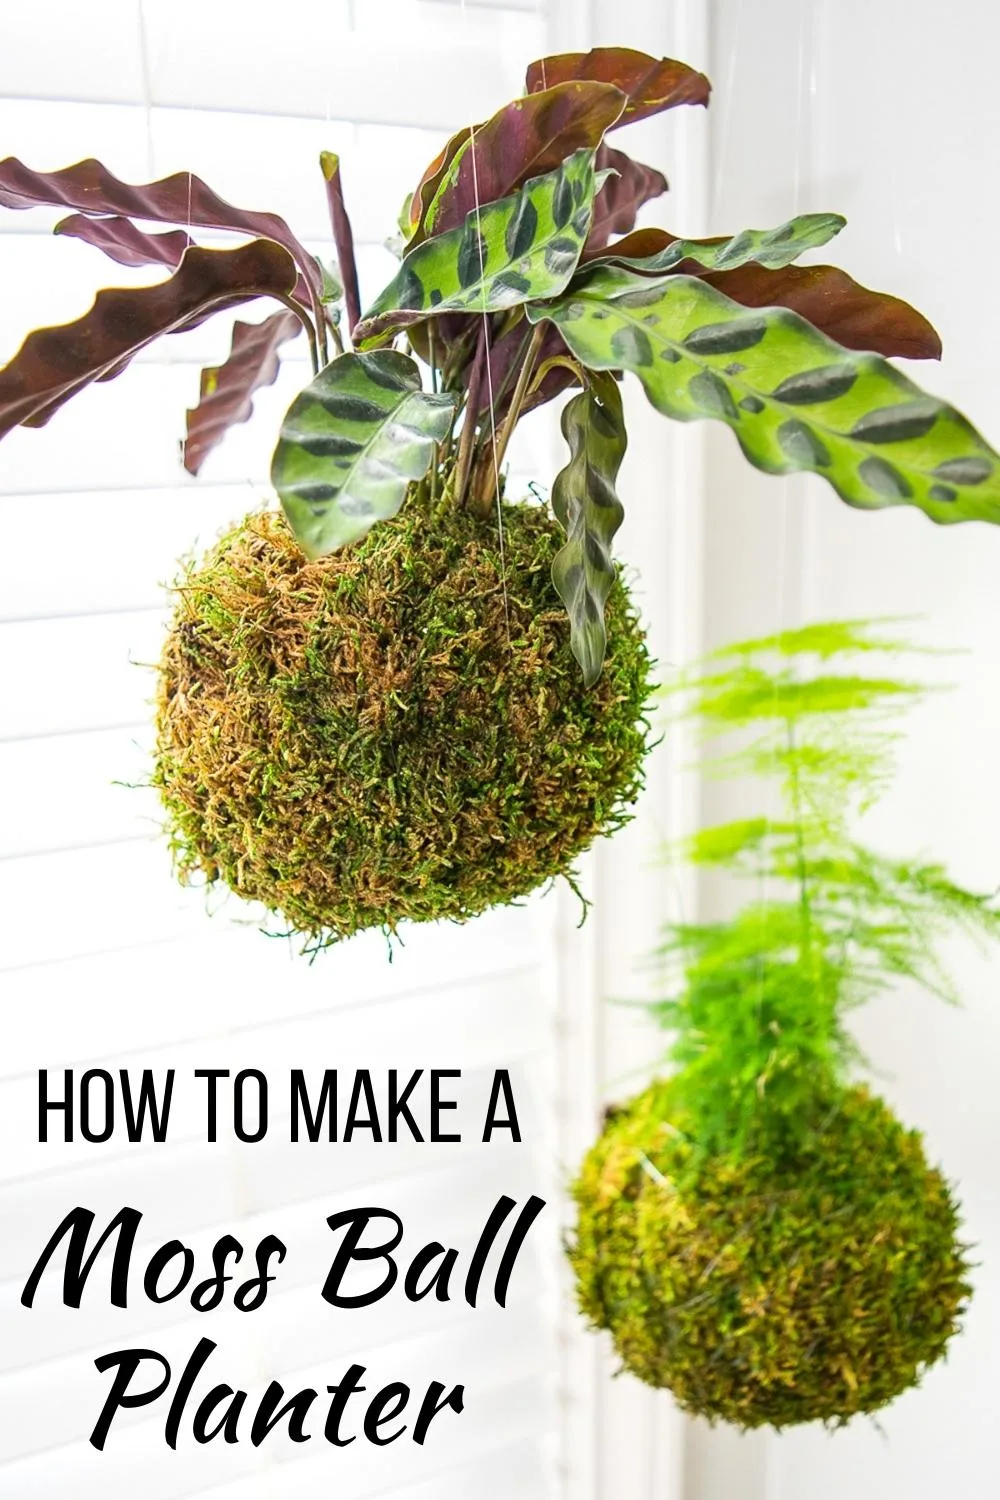
Recently I learned how to make hanging Japanese moss balls, called kokedama, and now I'm hopelessly addicted! They're the perfect way to add a little greenery to your home without a bunch of pots cluttering up the windowsill.
This post contains affiliate links for your convenience. Purchases made through these links may earn me a small commission at no additional cost to you.
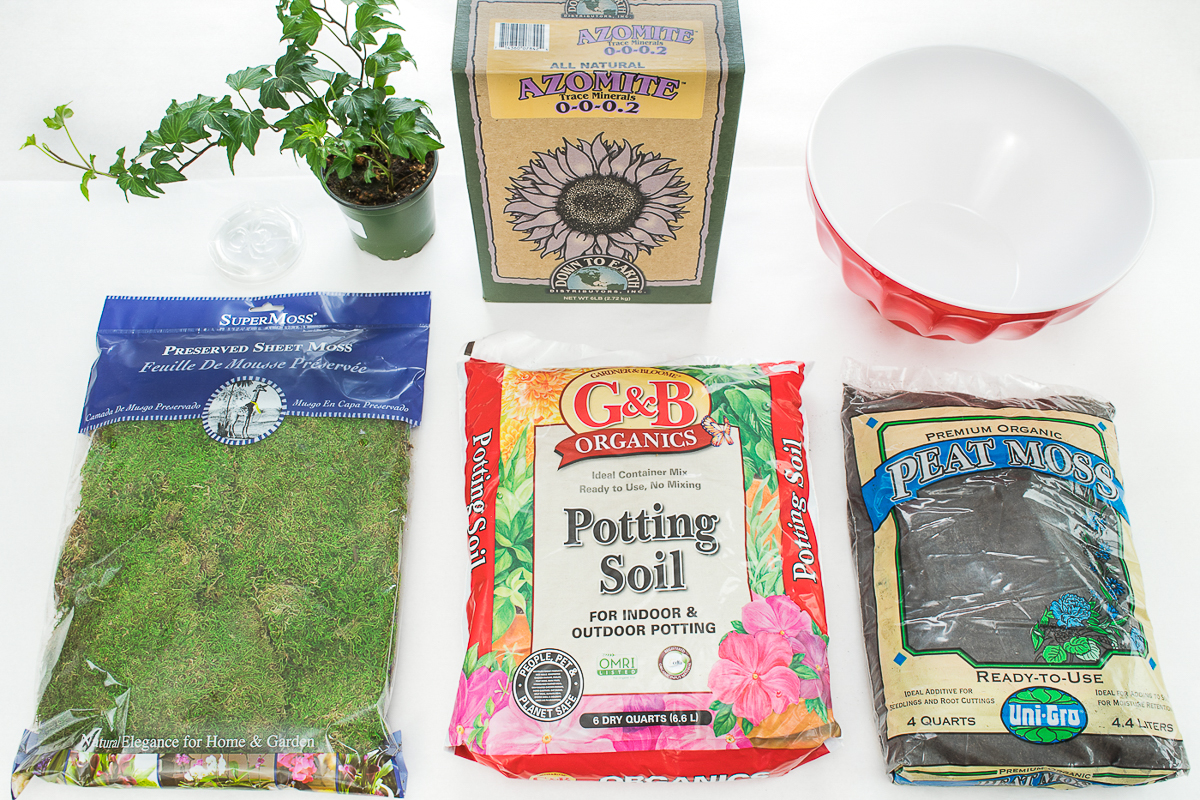
Materials required for hanging moss ball planters
- 4" potted plant that will tolerate the sunlight of the window you plan to hang it in.
- Asparagus fern, Staghorn Fern, Hedera Ivy, Foxtail Fern and Rattlesnake Plant are good choices.
- Potting soil or Bonsai soil
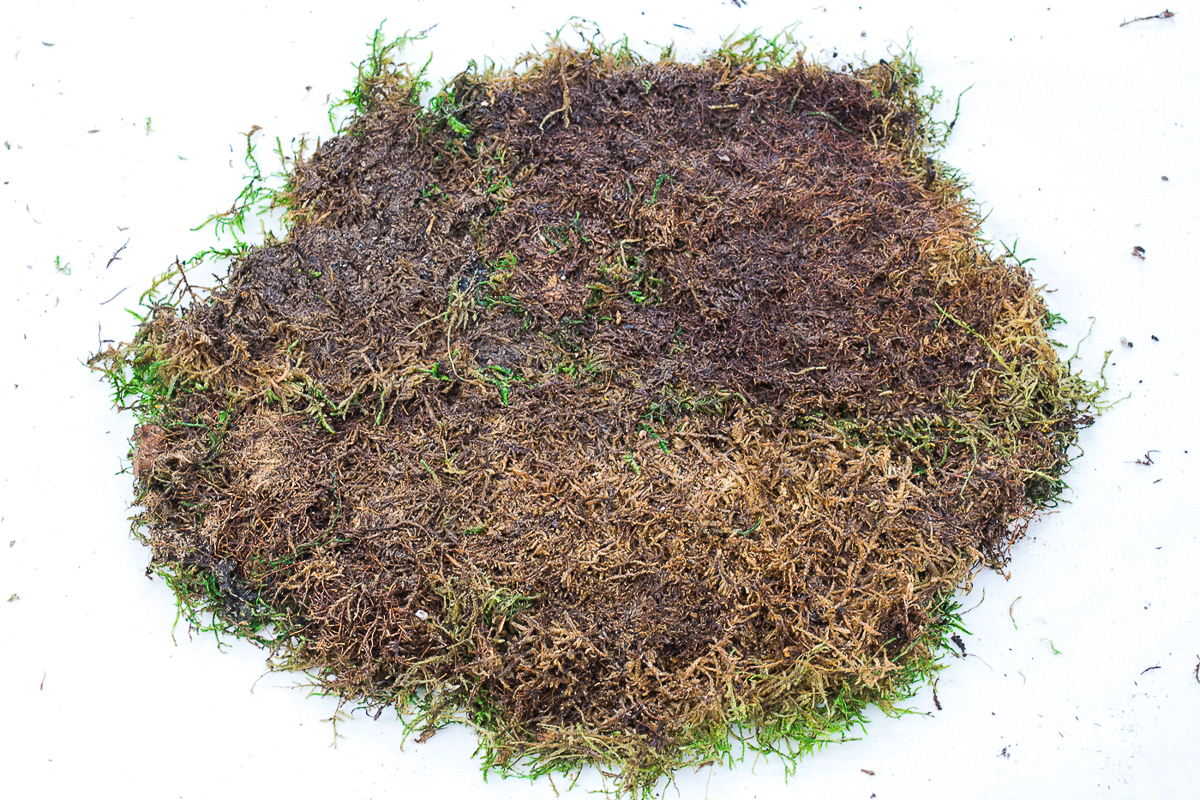
- Peat moss
- Azomite powder
- This is a trace mineral that will give your plant the nutrients it needs.
- Sheet moss
- Clear fishing line
- Jute twine (optional)

How to make kokedama
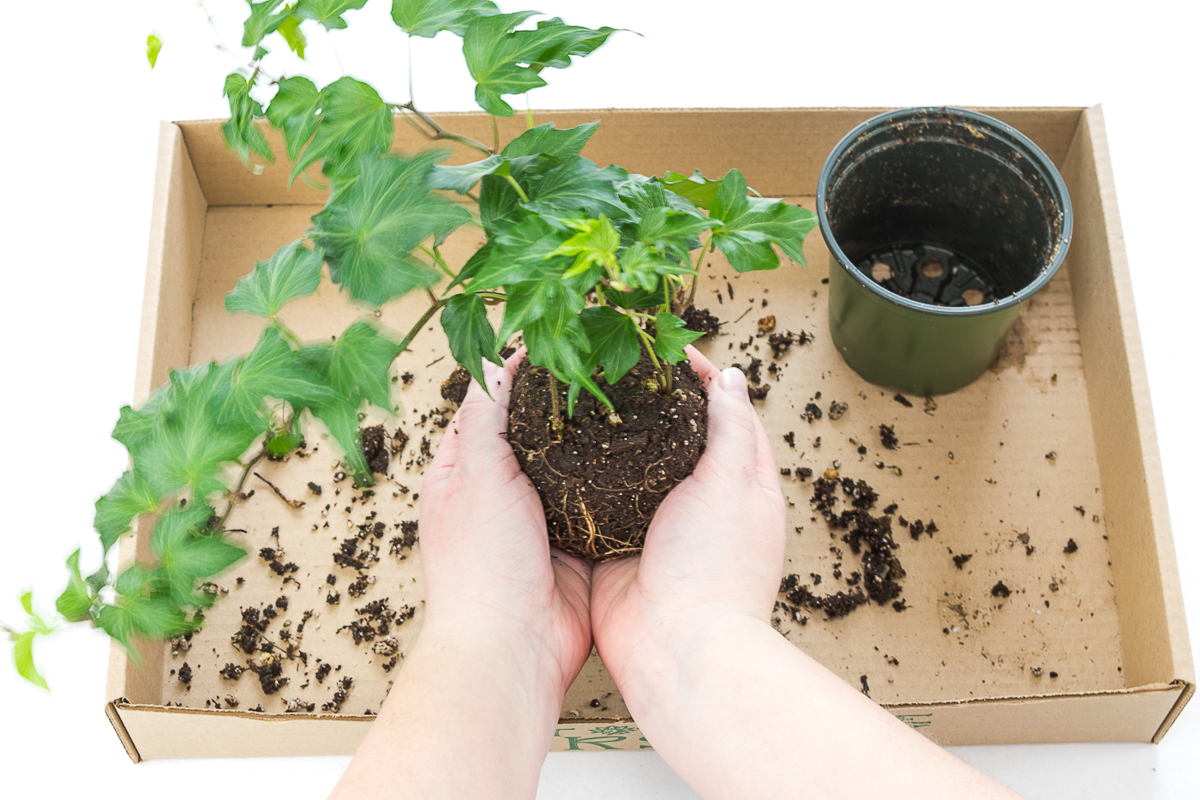
Prepare the root ball
Water your plant the day before you plan to make your moss ball. This will ensure that the soil is damp, but not too liquidy to work with.
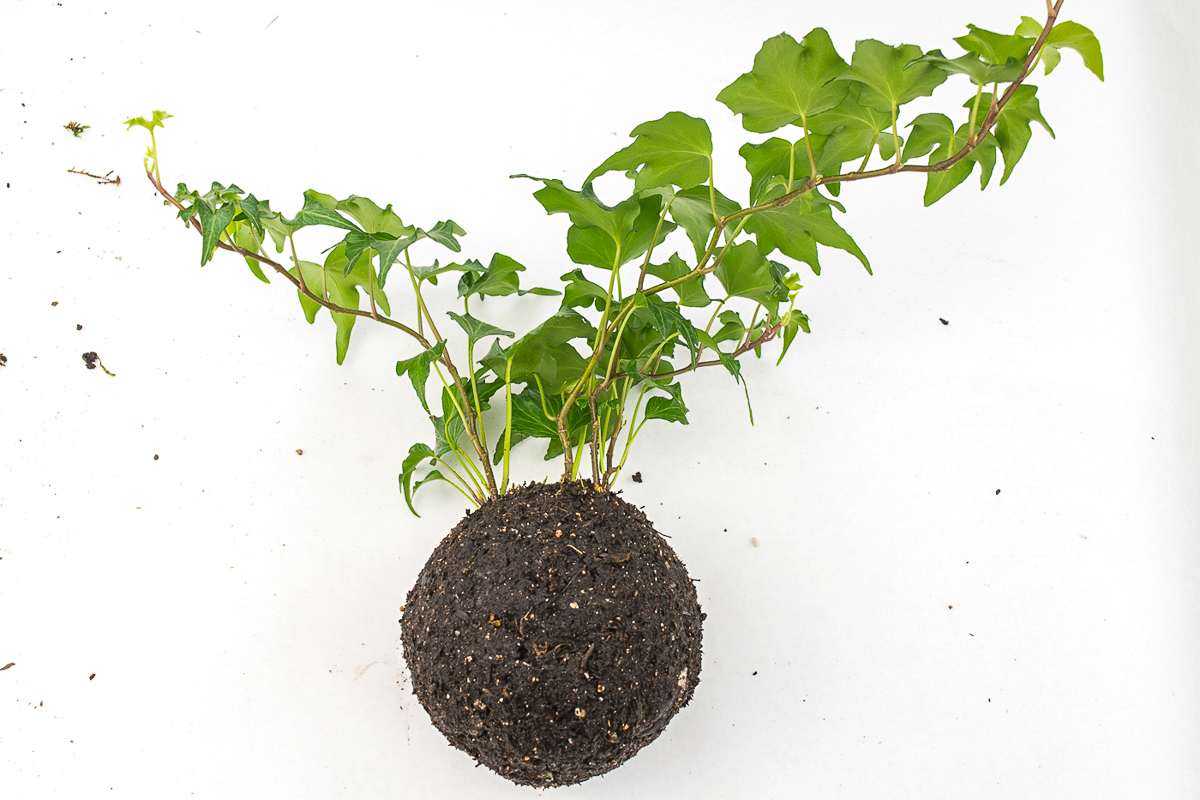
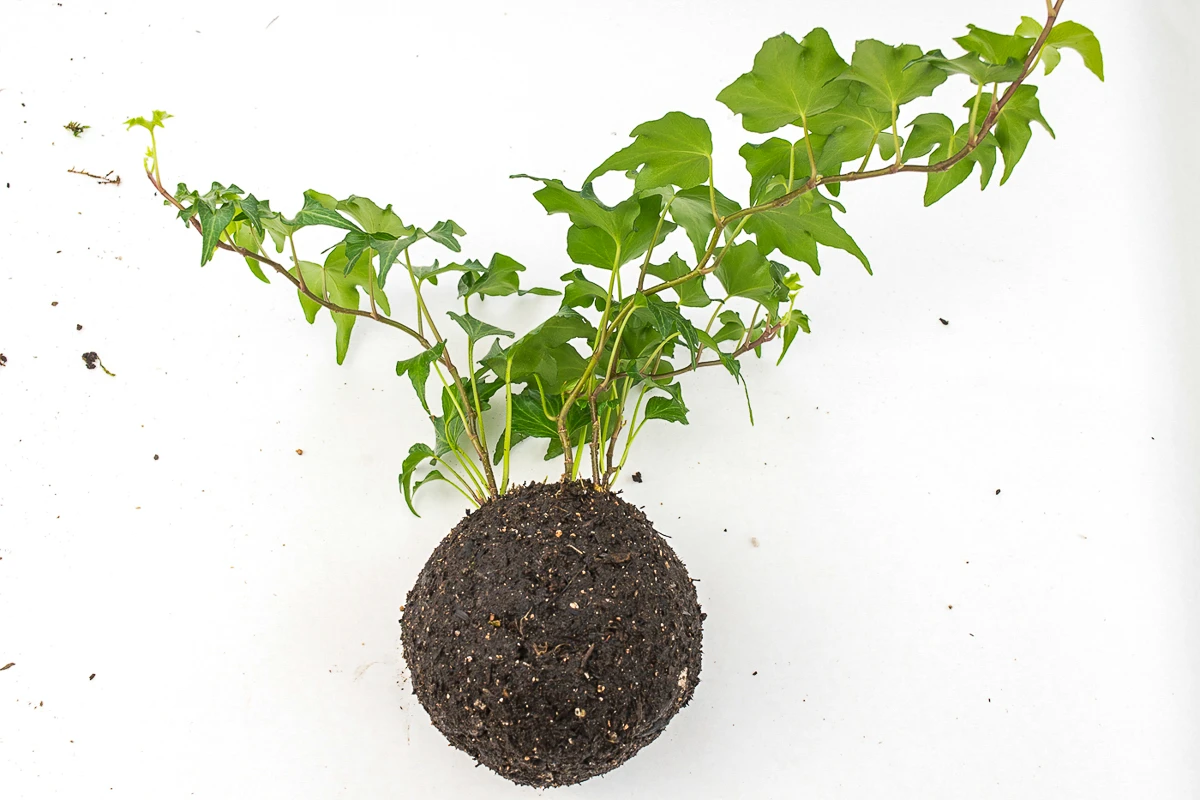
Remove the plant from pot and form the soil and roots into a ball shape. I like mine on the smaller side, so I let any loose soil fall away before patting it into shape.

Next, create a mixture of one part peat moss and one part potting soil with a generous handful of azomite. Azomite is a trace mineral that is great for potted plants, because they can't get the nutrients they need from the surrounding soil like a plant in the ground.

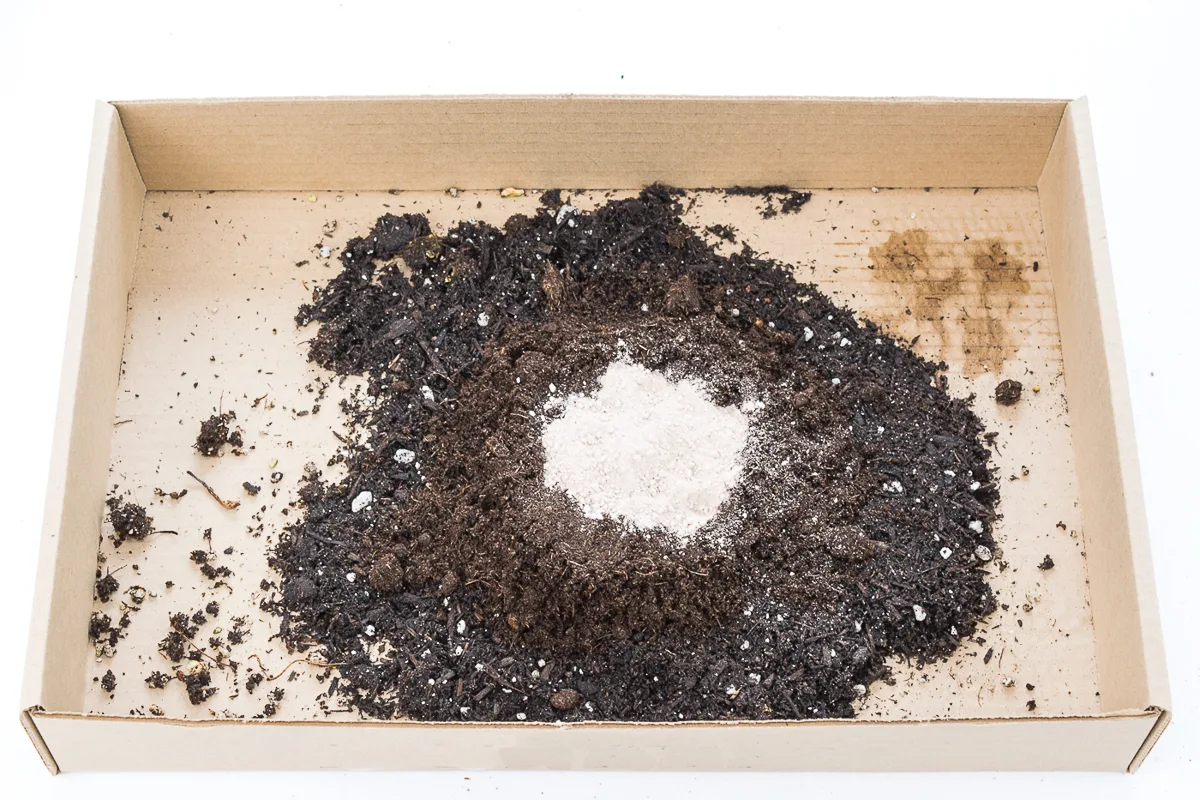
Add water to the mixture, and pat it together to make a ball. It should appear a little wet on outside and hard enough to toss between your hands without breaking.
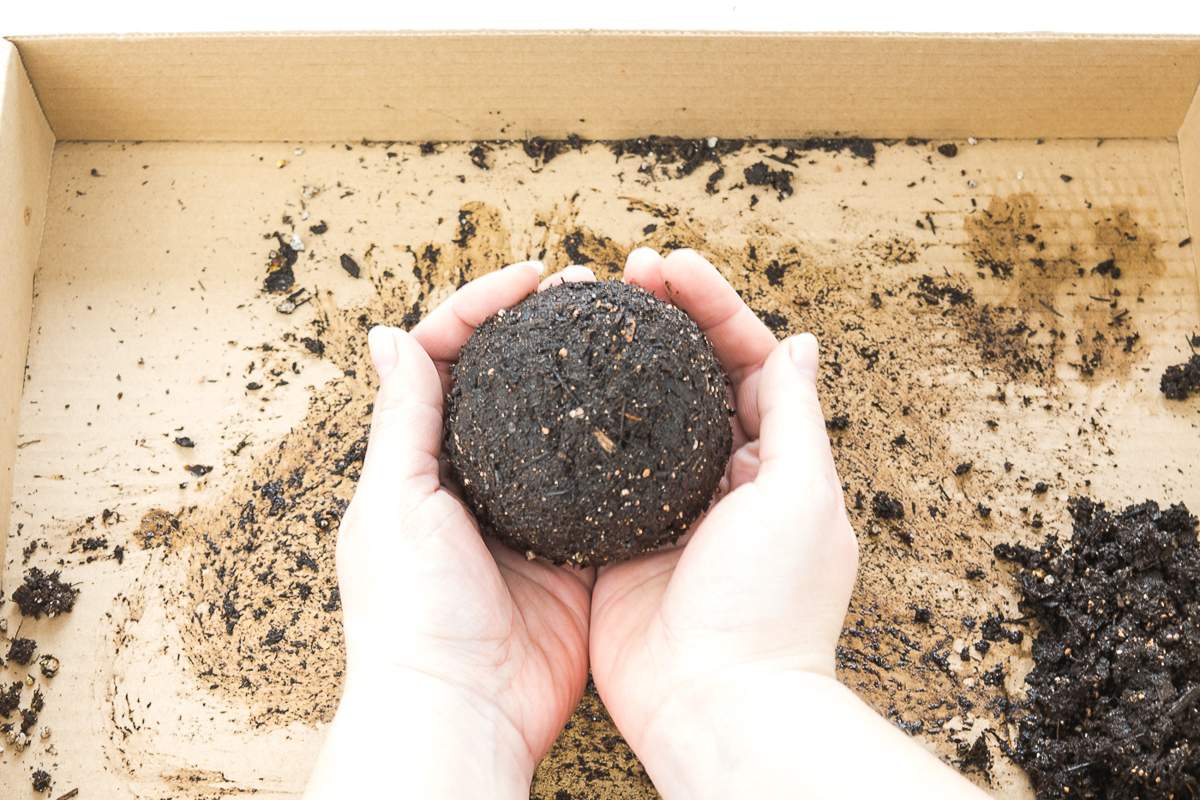
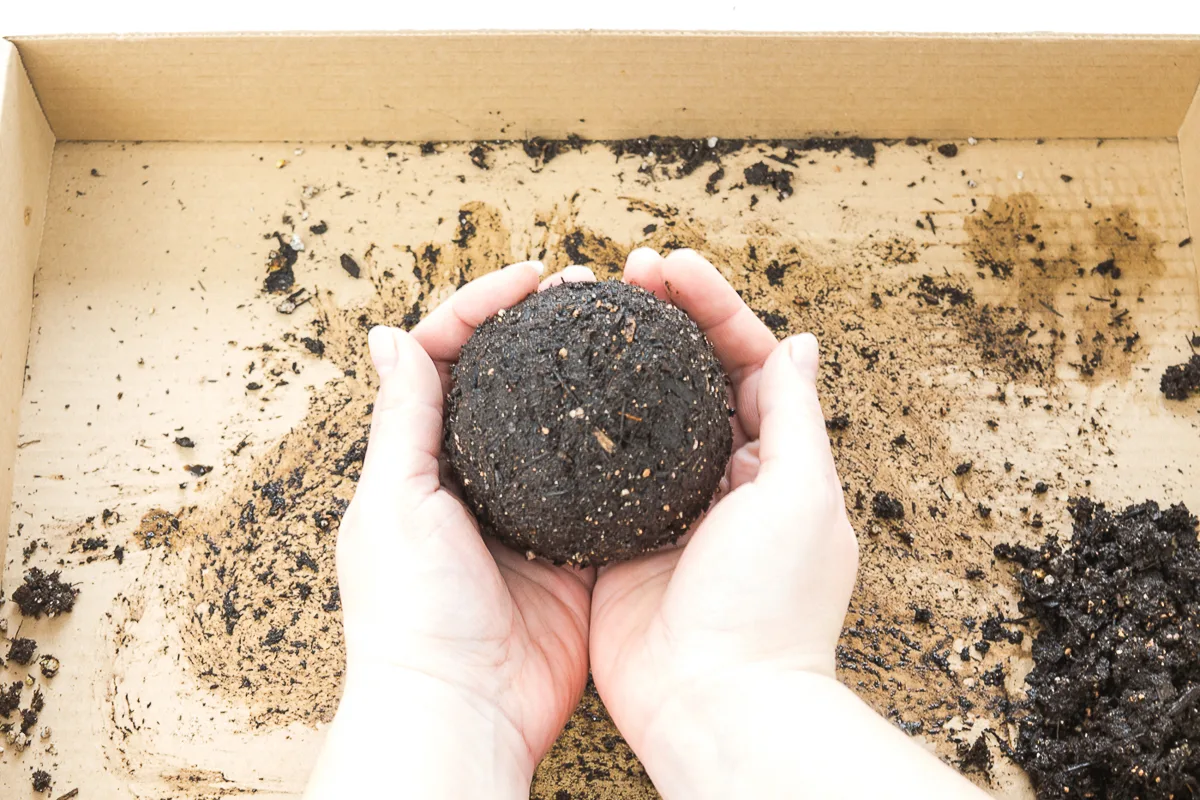
Crack the ball in half.


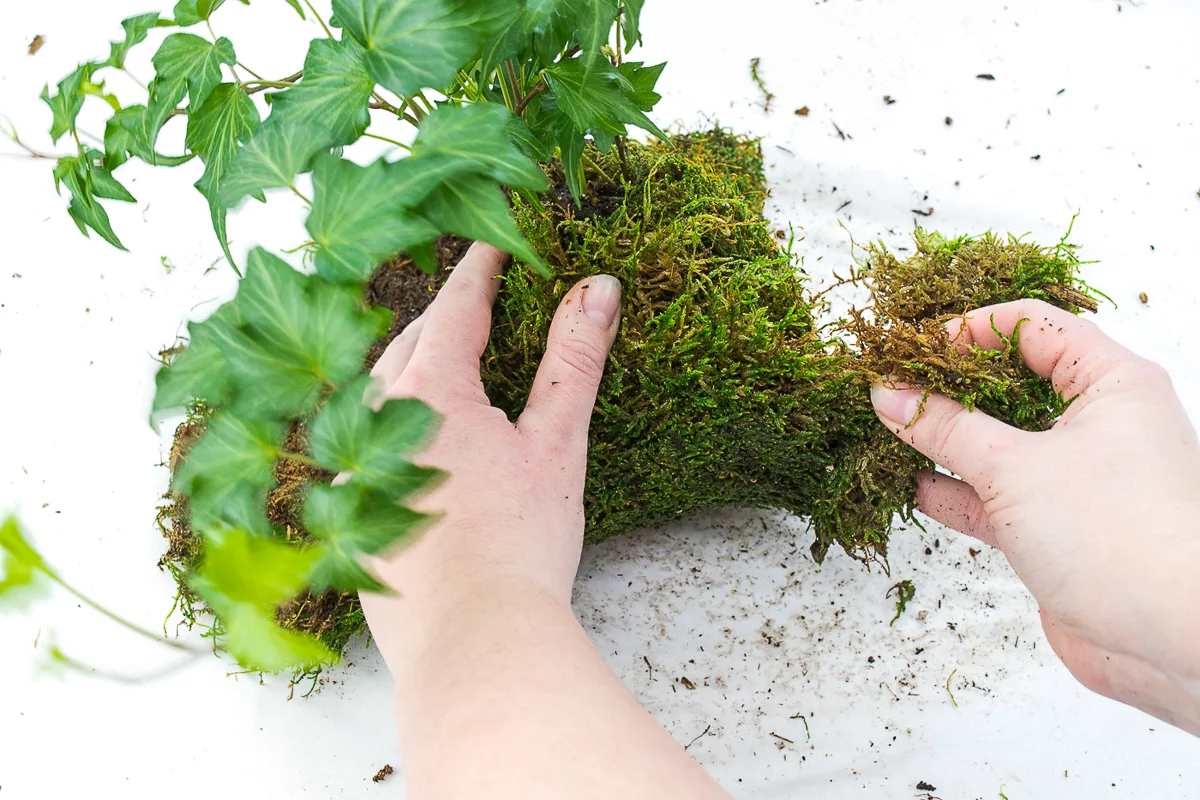
Take one half of the ball, and form it to the side of the plant's root ball. Make sure to not to cover up the base of the plant. Repeat for the other half and continue shaping it until you have a nice ball.
Wrap the root ball in sheet moss
Soak the sheet moss in water until it becomes soft and pliable. If you don't have a single piece of moss that's large enough to cover the entire ball, pinch together smaller sections. Keep the cleanest edges around outside.

Place the ball in the center of the moss sheet and pull the edges up towards the base of the plant. Give the plant some room at the top so it doesn't have to work hard to grow through the moss. Tear off any excess that might make the ball too bulky.

Tie up the ball with fishing line
Wrap the fishing line around the circumference of the moss ball. Tie a few knots to make it secure, leaving about a foot of a tail on the loose end.

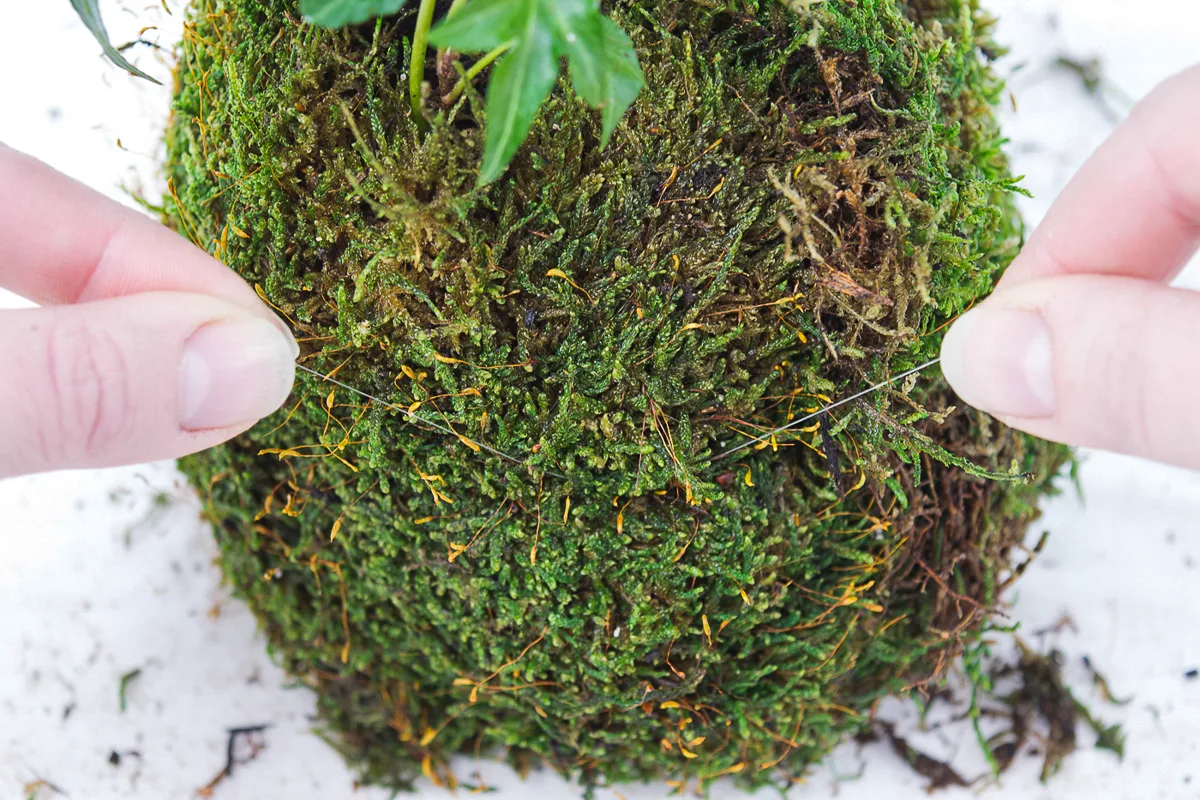
Continue wrapping the moss ball with the fishing line until there's no loose moss and it has formed a shape you like. Keep the fishing line about ½" away from the stems of your plant so the line doesn't impede its growth.
When your moss ball is complete, wrap the line back to the tail you left at the beginning, and tie the two ends together. The fishing line becomes nearly invisible as it embeds into the moss.

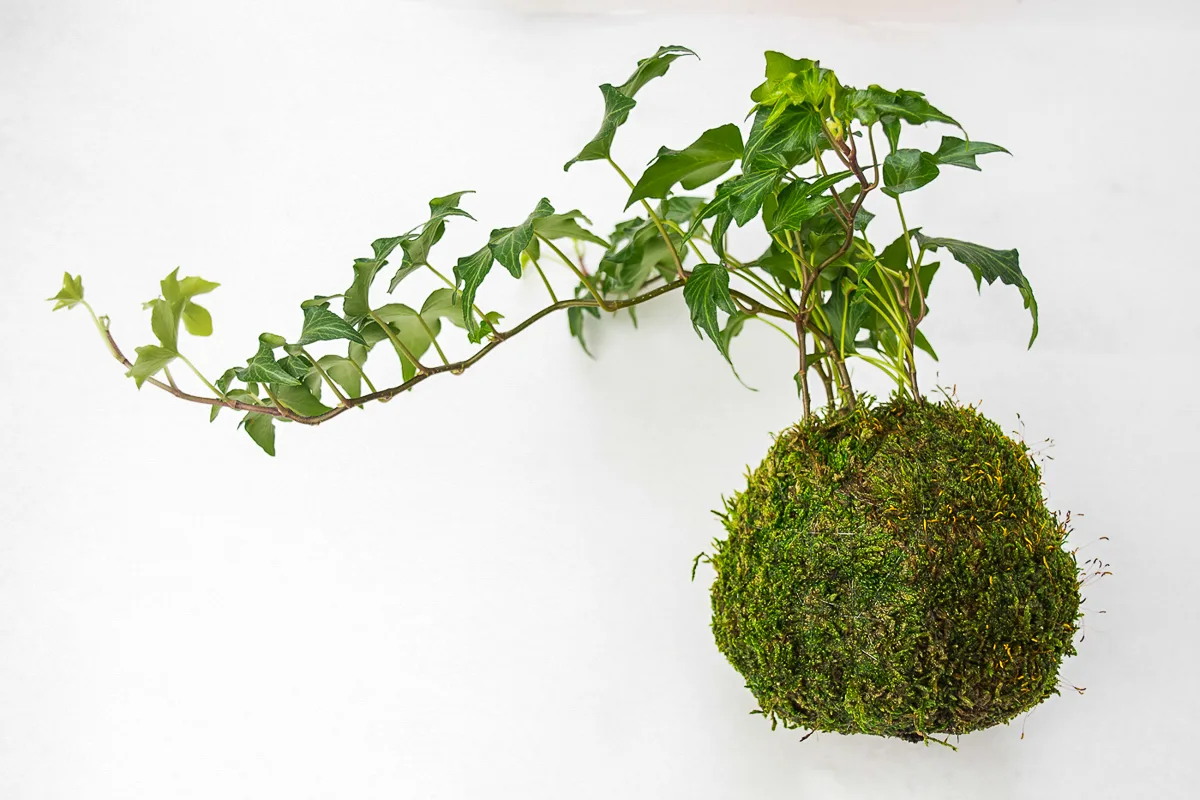
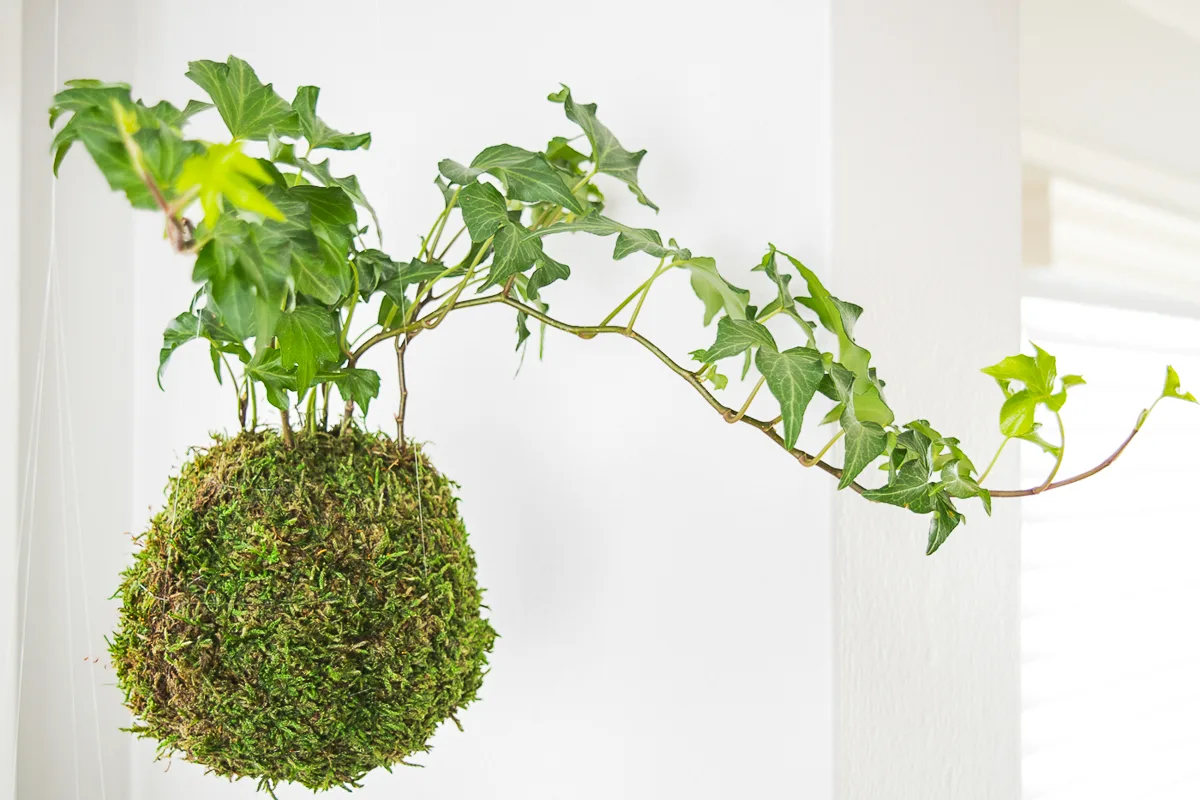
Hang your kokedama in the window
To hang your kokedama, first determine how far down from the hook you want it to hang. I'm making a set of three that will be arranged at different heights. I prefer the look of moss balls hanging magically in midair, so I used fishing line. You can use jute or twine for a more rustic look.
Measure out a piece of jute twine or fishing line four times the length from the hook. Fold the twine in half, then fold it in half again. Tie the folded ends together to form loops for hanging.
Then tie the loose ends together, splay each of the four lines apart, and place the moss ball in the middle. Make sure the twine is divided equally around the ball, then pull up from the loops and hang!

I just love how my trio of hanging moss ball planters brightens up an otherwise empty corner of our living room window!

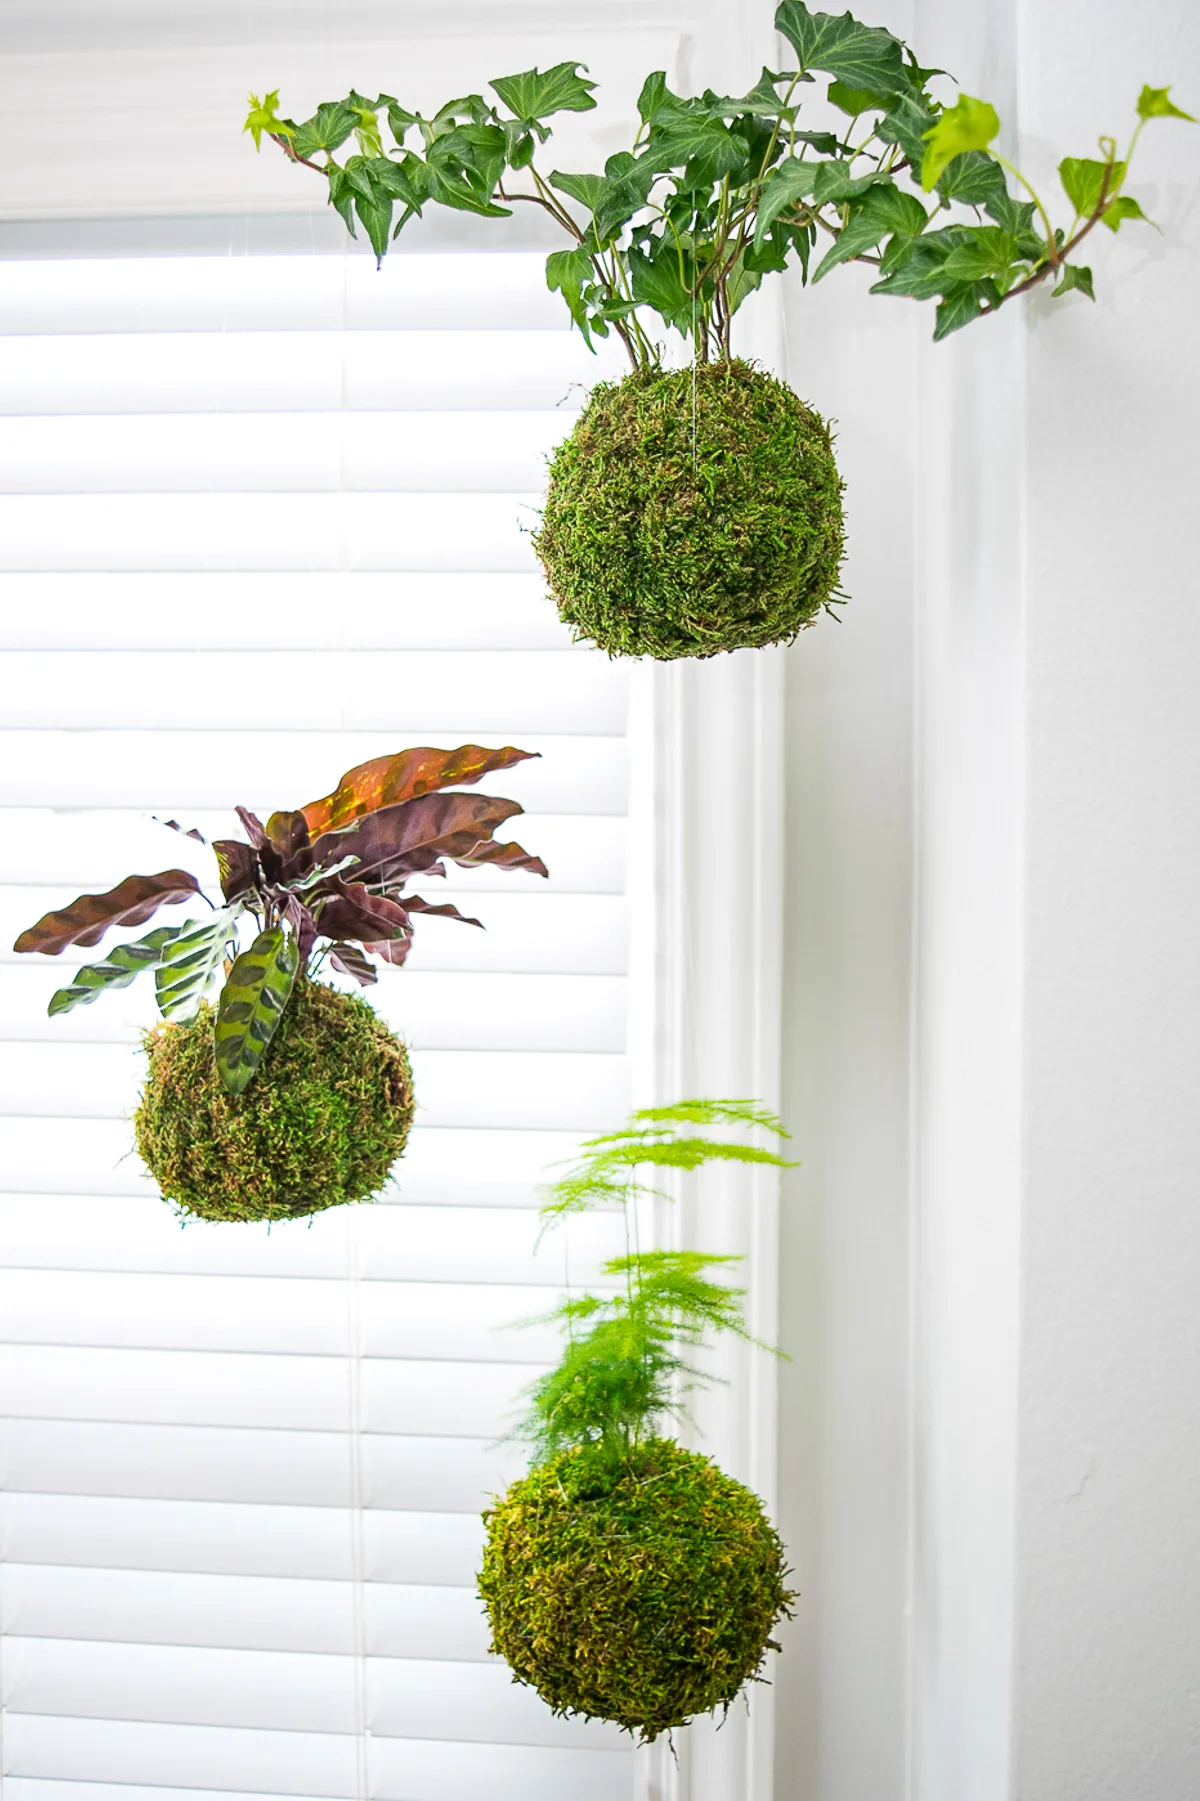
Placing this Rattlesnake Plant in a hanging moss ball planter allows you to see the dark underside of its unique leaves. The Asparagus Fern below it almost looks like a tiny tree sapling!


How to care for your hanging moss ball planter
Kokedama are self-contained gardens, but they still need some care to keep looking their best!
Watering
To water your moss ball, just submerge the entire ball in a bucket of water about once a week. Over time, you'll learn when it needs to be watered just by the weight of the ball. When it's about half its weight, it's time for a dunking! I added a hook over our kitchen sink to allow them to drain before hanging them back in the window.
Fertilizer
After a while, your plant will absorb all the nutrients in the soil. If it's starting to look a little sad, add some liquid fertilizer for indoor plants to the water before you dunk the moss ball. This will allow the roots to take in the new nutrients and thrive!
Replanting
With any luck, your kokedama should last about a year in its current form. If you notice that the roots are starting to push through the moss, it's time to replant it!
Just cut the fishing line, remove the moss and repeat the process with more of the soil mixture outlined above to make a new kokedama. Or plant it in a new pot or out in the garden and start over with a new species!