

Always have the right sandpaper on hand with this sander and sandpaper storage rack! Each sander has its own sandpaper organizer ready for your next project.


Sanding is my least favorite part of woodworking, but it's also one of the most important steps of any project. I have a bunch of different sanders that I use for certain situations, and they all require their own type of sandpaper.
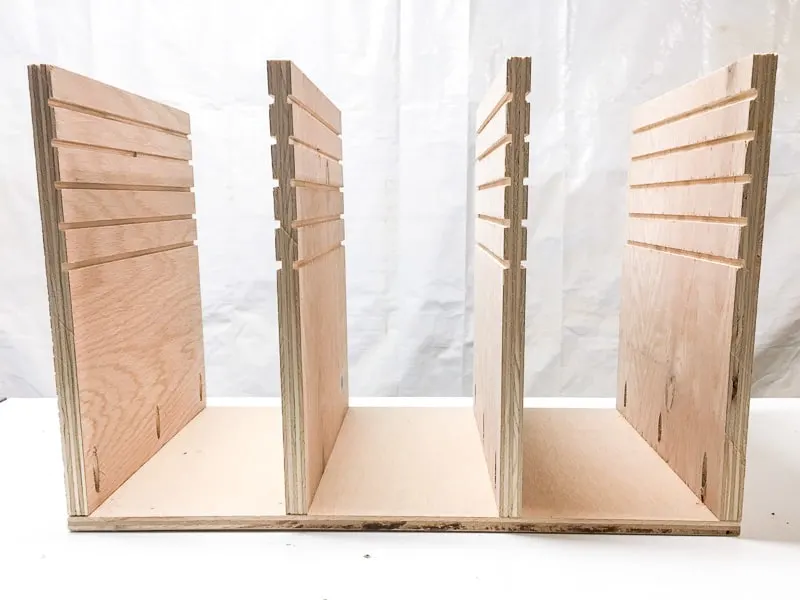
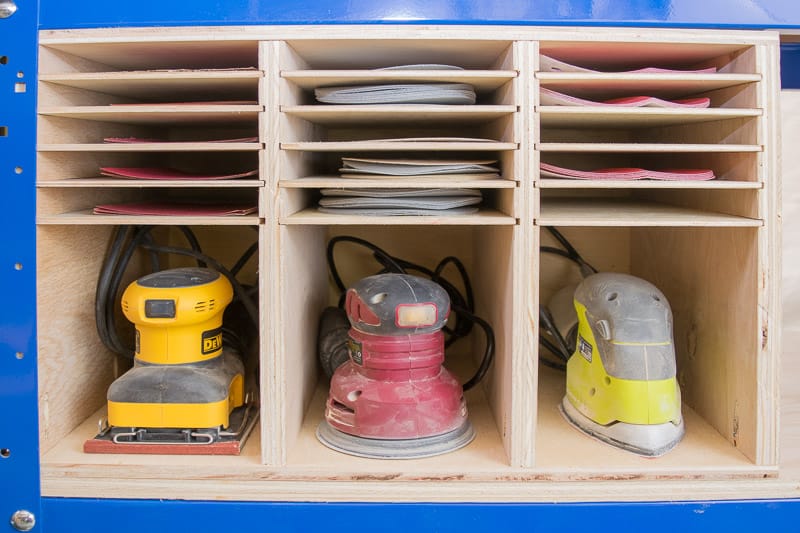
I'm consolidating my growing collection of sanding supplies into one compact storage box. This sander and sandpaper storage has enough space for three sanders and five sandpaper grits each! Now I'll always have the sandpaper I need on hand and ready for my next project!
Not quite what you're looking for? Check out these other sandpaper storage ideas!
I'm trying to make my small workshop as organized as possible, and optimize every inch of space. My workbench does double duty as an outfeed table for my DIY table saw stand, but the shelf below is turning into a dumping ground for tools!


And the shelf behind my miter saw stand is a mess of power cords from my various sanders. I tend to grab the least tangled one rather than the right one for the job!

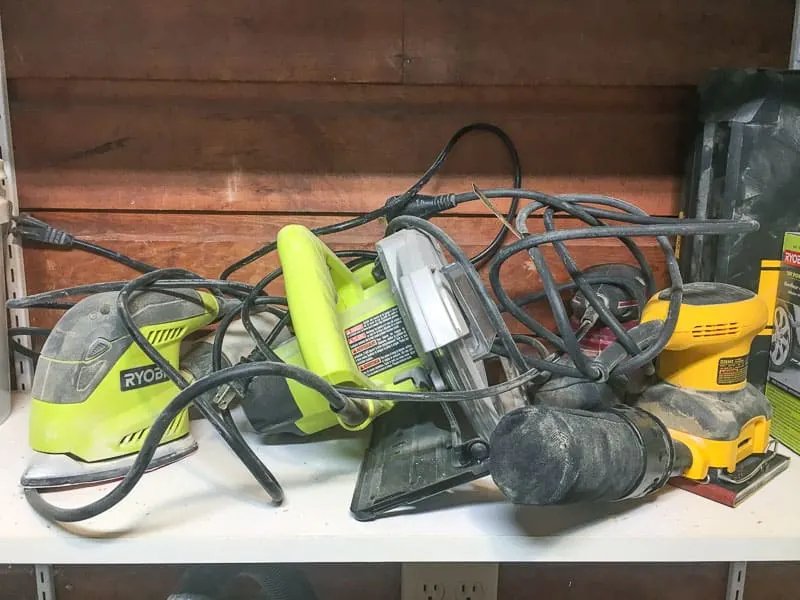
By moving the sander storage to the shelf under my workbench, I'll clean up the clutter and put that space to better use. As a bonus, I'll also be using up some of the smaller cuts of plywood I have in my scrap lumber cart!
This post contains affiliate links for your convenience. Purchases made through these links may earn me a small commission at no additional cost to you. Please visit my disclosures page for more information.
Materials Needed for Sander and Sandpaper Storage Rack
- Half sheet of ¾" plywood
- Half sheet of ¼" plywood
- Kreg Jig
- 1 ¼" pocket hole screws
- Brad nailer and 1 ¼" brad nails
- Table saw
How to make a sander and sandpaper holder
Download the plans
You can download the sander and sandpaper storage plans by clicking the button below! The printable plans include a detailed cut list and plywood cut diagram, step by step instructions with 3D models, and a handy checklist to keep you on track.


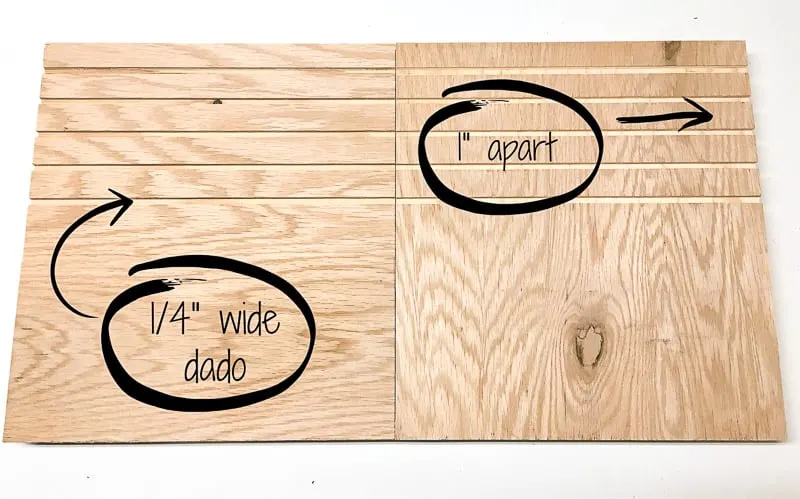
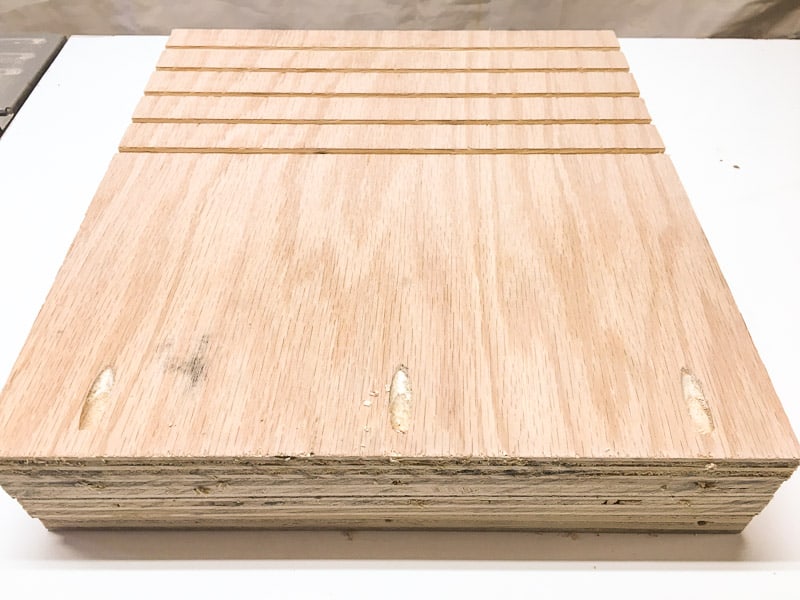
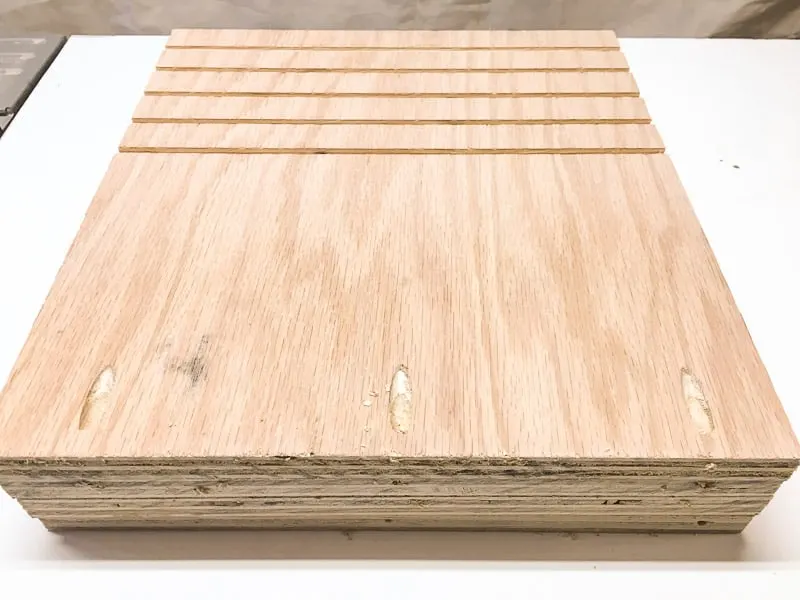
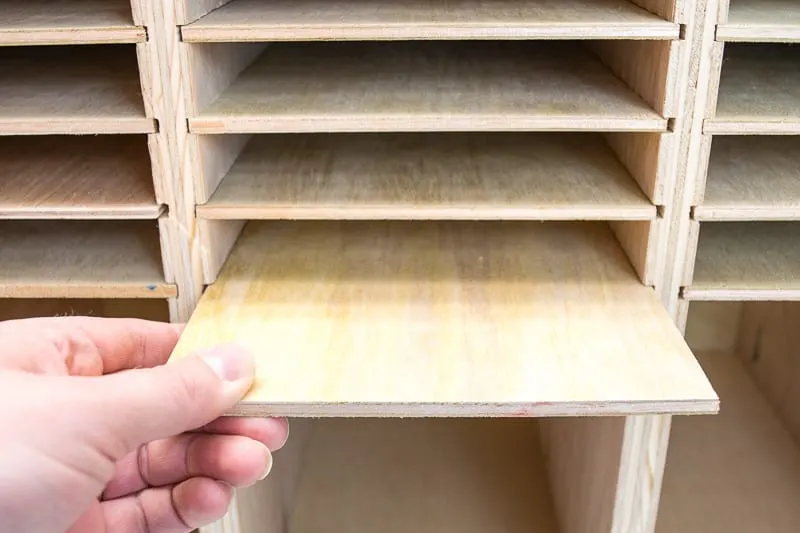
Cut the shelf grooves
You don't need a dado stack or a router to make the grooves for the shelves! I cut them with a regular table saw blade by making two passes, testing the fit to make sure the ¼" plywood slides smoothly.

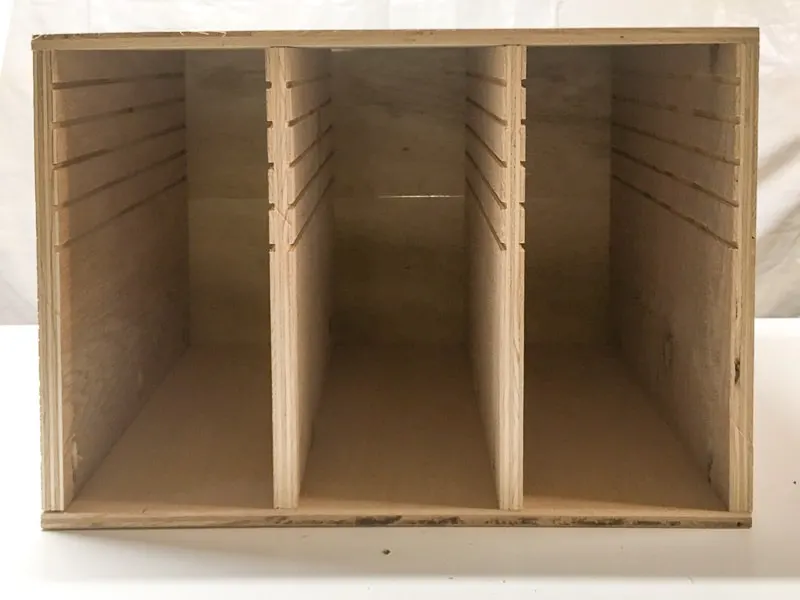
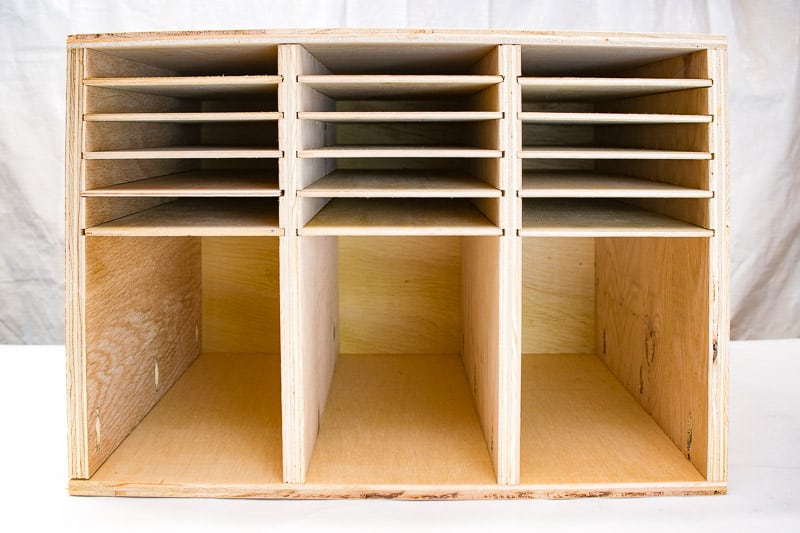
Assemble the sandpaper storage box
At the bottom, drill three pocket holes in each vertical support on the same side as the grooves. You can learn more about how to use a Kreg Jig here!
Then attach each vertical support to the bottom piece with 1 ¼" pocket hole screws. The supports with dados cut into both sides go in the middle, with the single sided ones on the outside facing in.

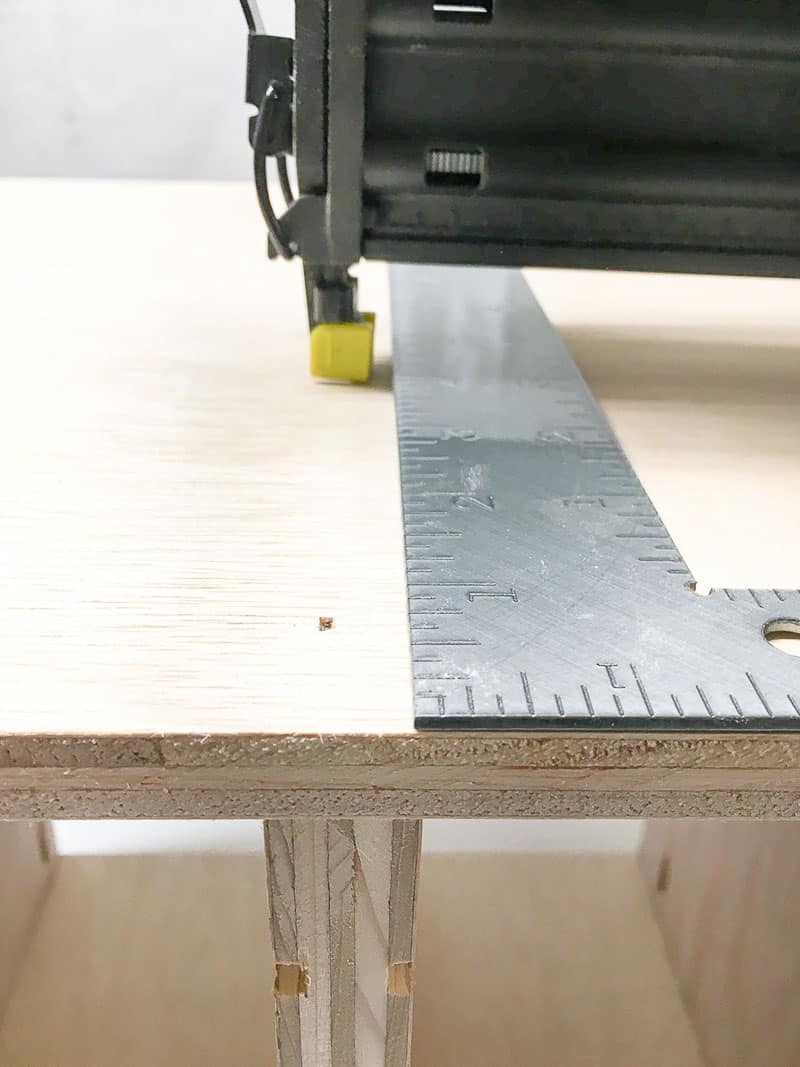
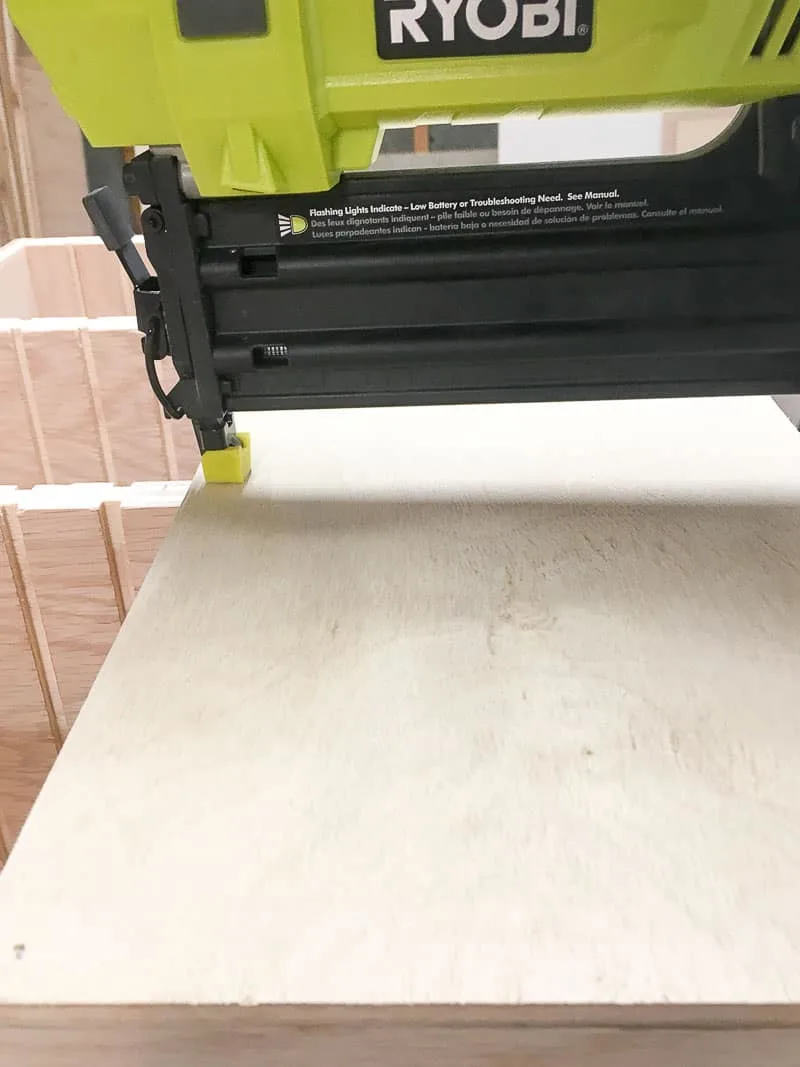
Nail the top of the box to the top of the vertical supports with brad nails. You can also countersink screws if you don't have a nail gun. I used my Ryobi Airstrike brad nailer for this step. It helps to line a square up with the edge of the support so you know where to put the nail.

Flip the box face down, and attach the ¼" plywood back with nails. I didn't have a piece of scrap plywood big enough to cover the back, so I pieced two together. No one is ever going to see it, so it's no big deal!

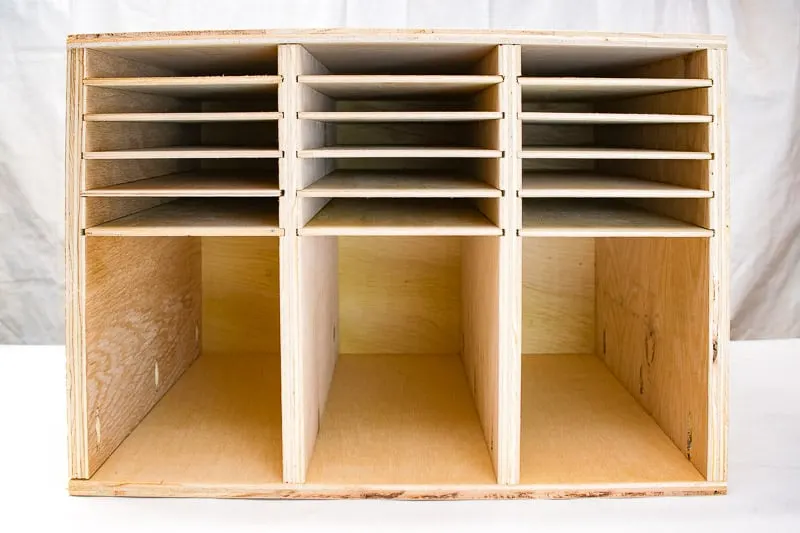
Your sandpaper organizer is almost complete!

Slide in the sandpaper shelves
Each of the ¼" plywood shelves should simply slide into place. If you're having trouble getting it to fit, sand the top and bottom of the edges until it moves freely.

Time to load it up!
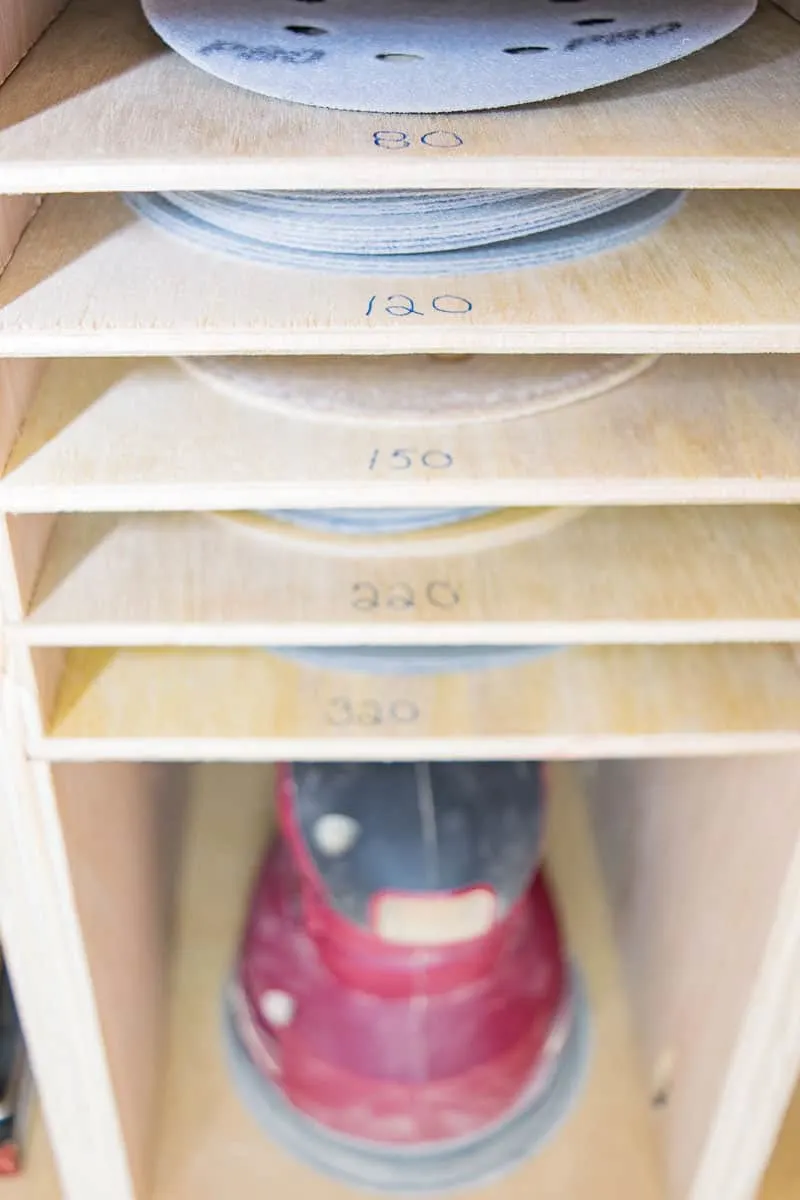
Organize your sandpaper by grit
My ¼ sheet sander, random orbit sander, and corner cat sander each have their own home now! They're no longer a tangled mess of cords and sawdust!
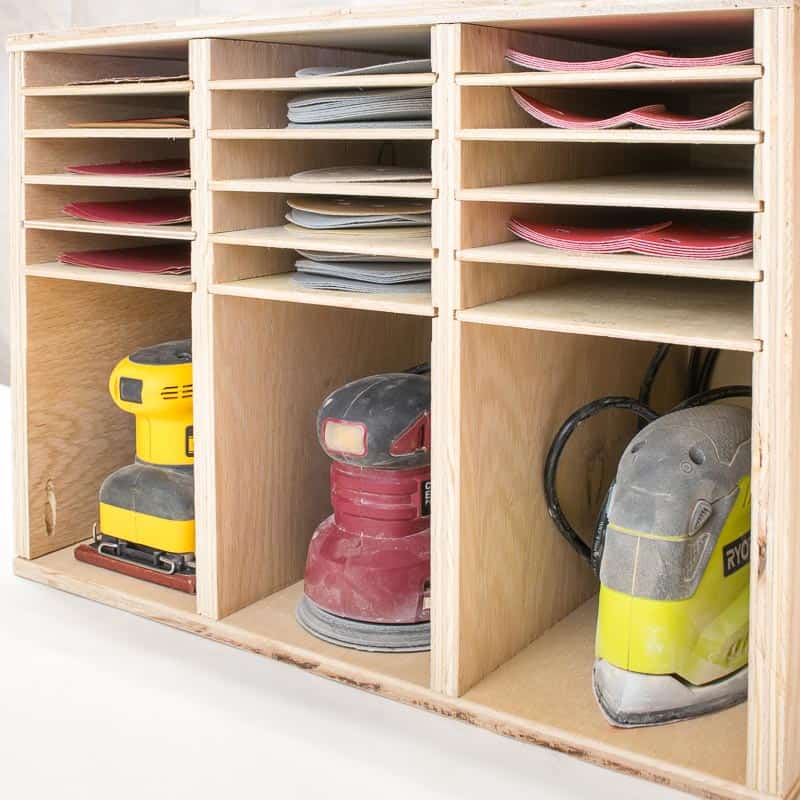

The sandpaper organizer is sorted by grit, with the numbers written on the end of the shelf. Now I can see when I'm running low on a particular kind, and replenish my supply on one of my many trips to the home improvement store!

I customized the size of the box to fit perfectly on the bottom shelf of my Kreg workbench. Now I have less room for clutter, so hopefully I'll start putting things away rather than dump them here!

Want to make this sander and sandpaper holder for your own workshop or garage? Download the plans by clicking the box below, and start building!
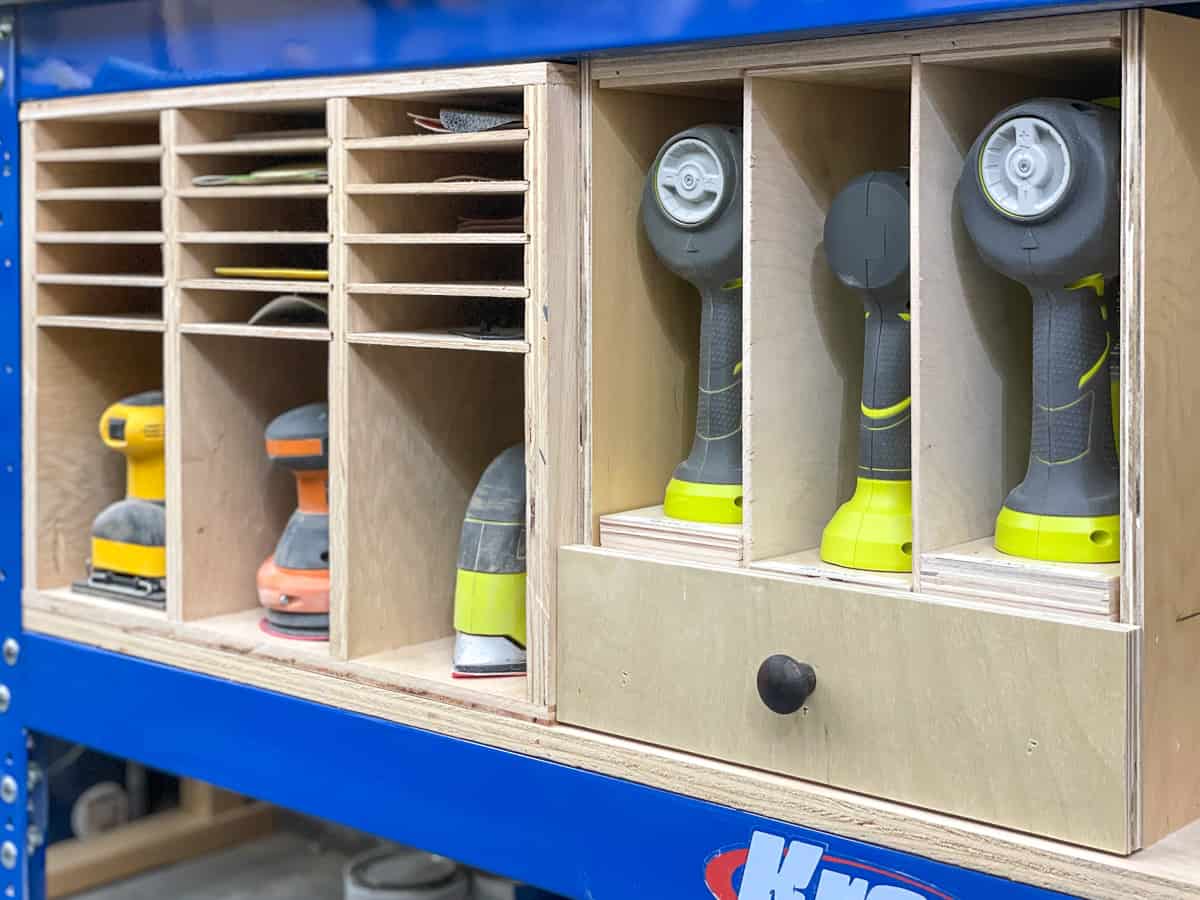
Want more storage under your workbench? Add this nail gun organizer too!


Jann Olson
Wednesday 4th of July 2018
What a great project! Thanks for sharing it with SYC. hugs, Jann
Christina Bowen
Sunday 24th of June 2018
OMG! I love this! My husband and I have actually taken apart our garage this weekend to paint and organize it and this is definitely something we are going to do! Thanks for much for sharing!
Wayne Barton
Wednesday 2nd of May 2018
I really appreciate with you. I also think that this is a complete handy idea for storing the sanders and papers together. I needed to build something to keep all of my sanders together. Thanks for the sharing such a helpful article.
Wayne
Monday 10th of April 2017
Hi Vineta, That's a really handy idea for storing the sanders and papers together. Thanks for sharing the plans.
Vineta
Monday 10th of April 2017
Thanks Wayne! Hope it helps you get your own sanders and sandpaper organized!
Sam @ Raggedy Bits
Sunday 9th of April 2017
I was only just saying to my husband over the weekend that I needed to build something to keep all of my sanders together!!! Fabulous tutorial!