Don't spend a fortune on craft show product displays and packaging! Make your own using inexpensive materials and your laser!


This post contains affiliate links for your convenience. Purchases made through these links may earn me a small commission at no additional cost to you. Please visit my disclosures page for more information.
Craft show season is heating up! I've been scrambling to build up my inventory of night lights and bookmarks for the next market.
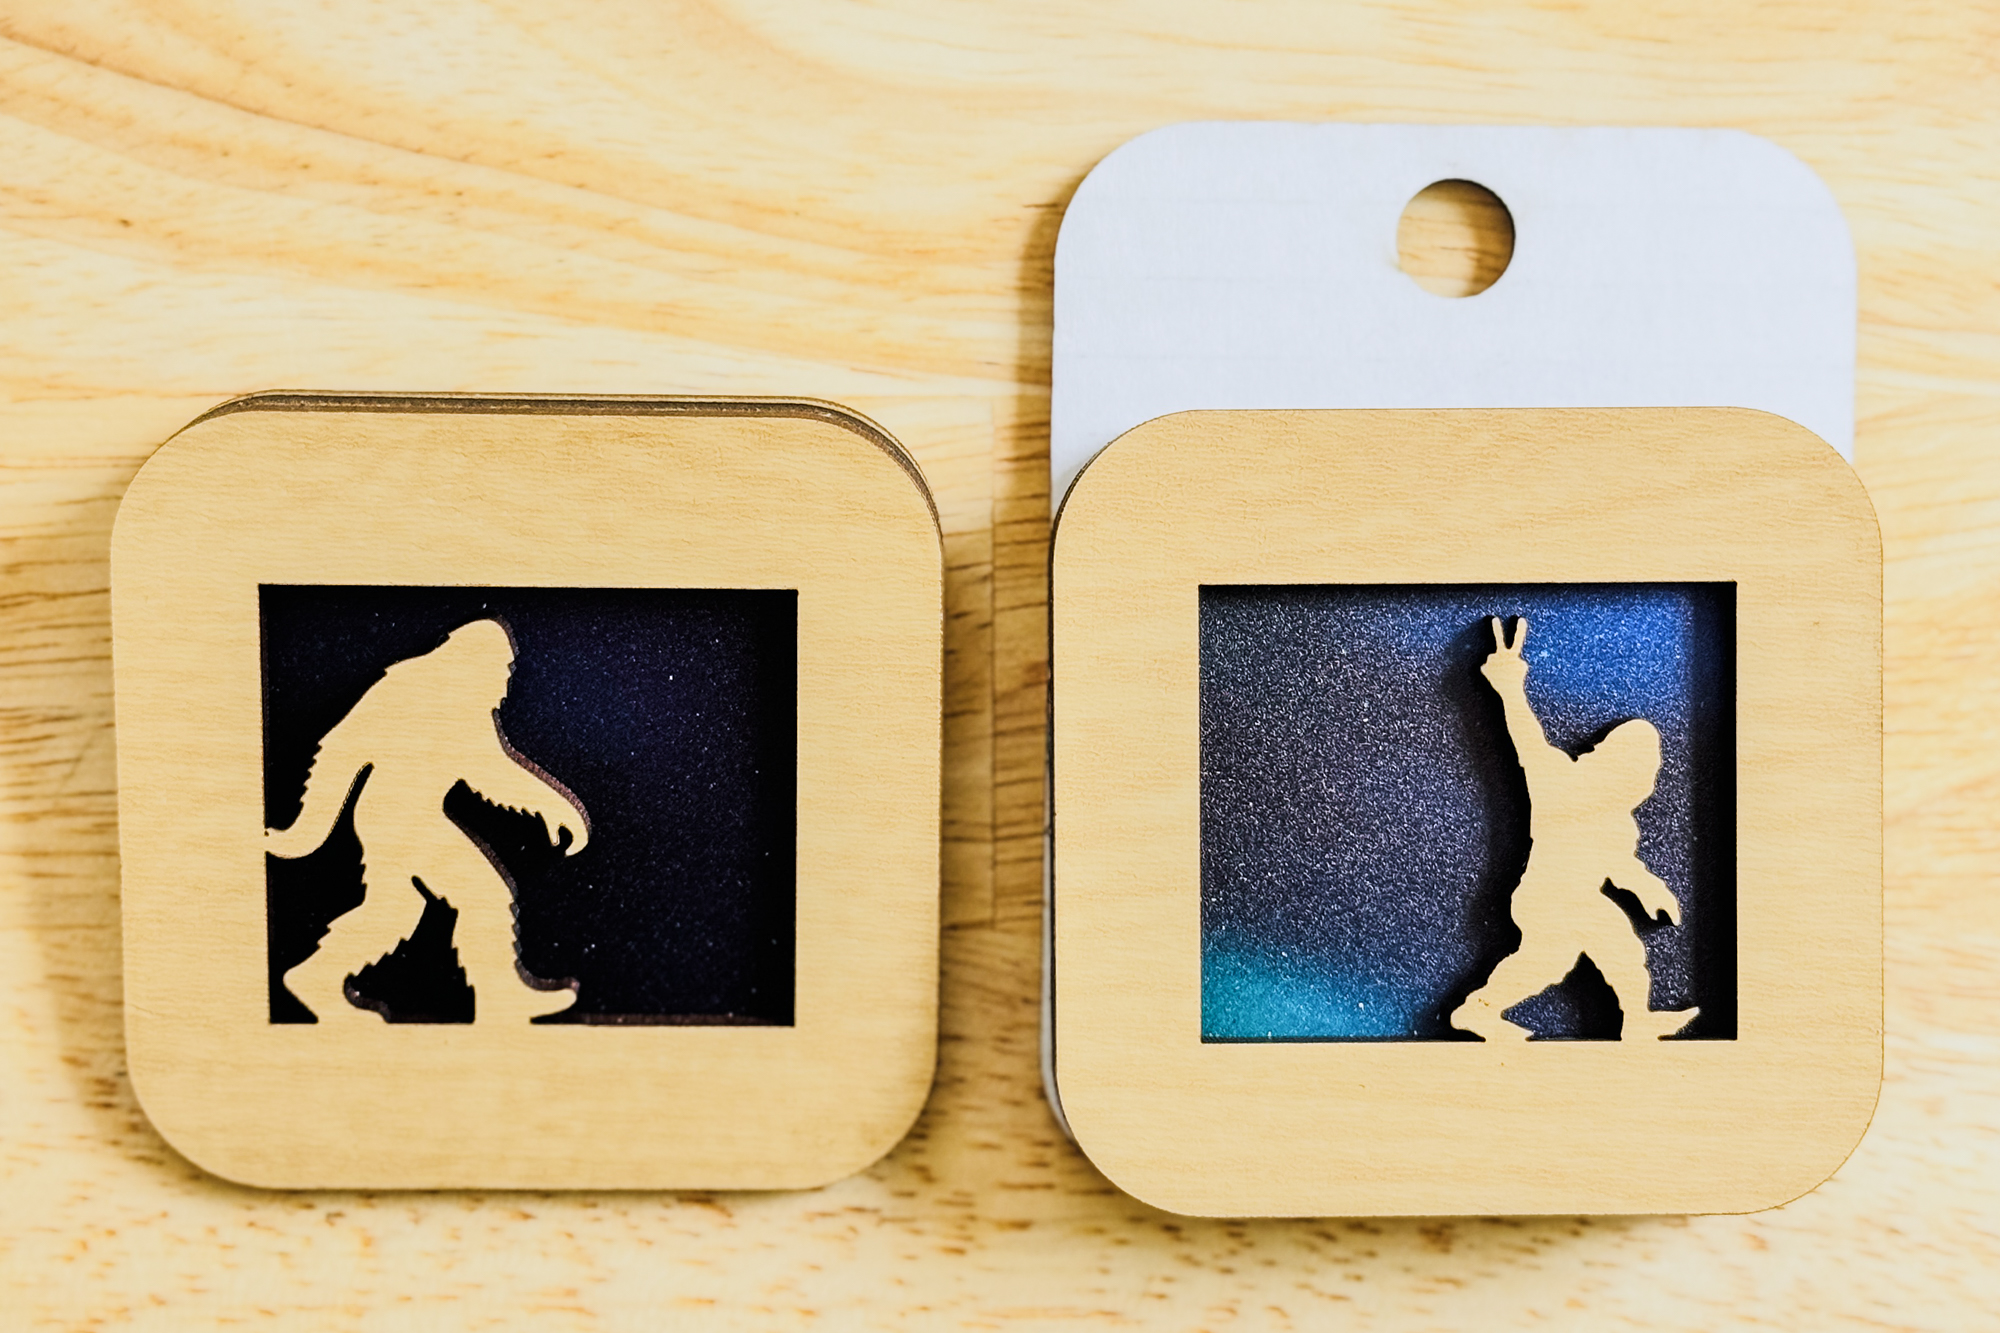
The biggest challenge for my booth is showing off the gorgeous patterns of the transparent acrylic without having to hold each one up to the light. The colors look dull until they're illuminated or held up against a white background, especially darker ones like this Northern Lights pattern.

I also wanted an easy, lightweight display for the dozens of different options I have available. At my first show, I just scattered them all over the table and it was a mess!
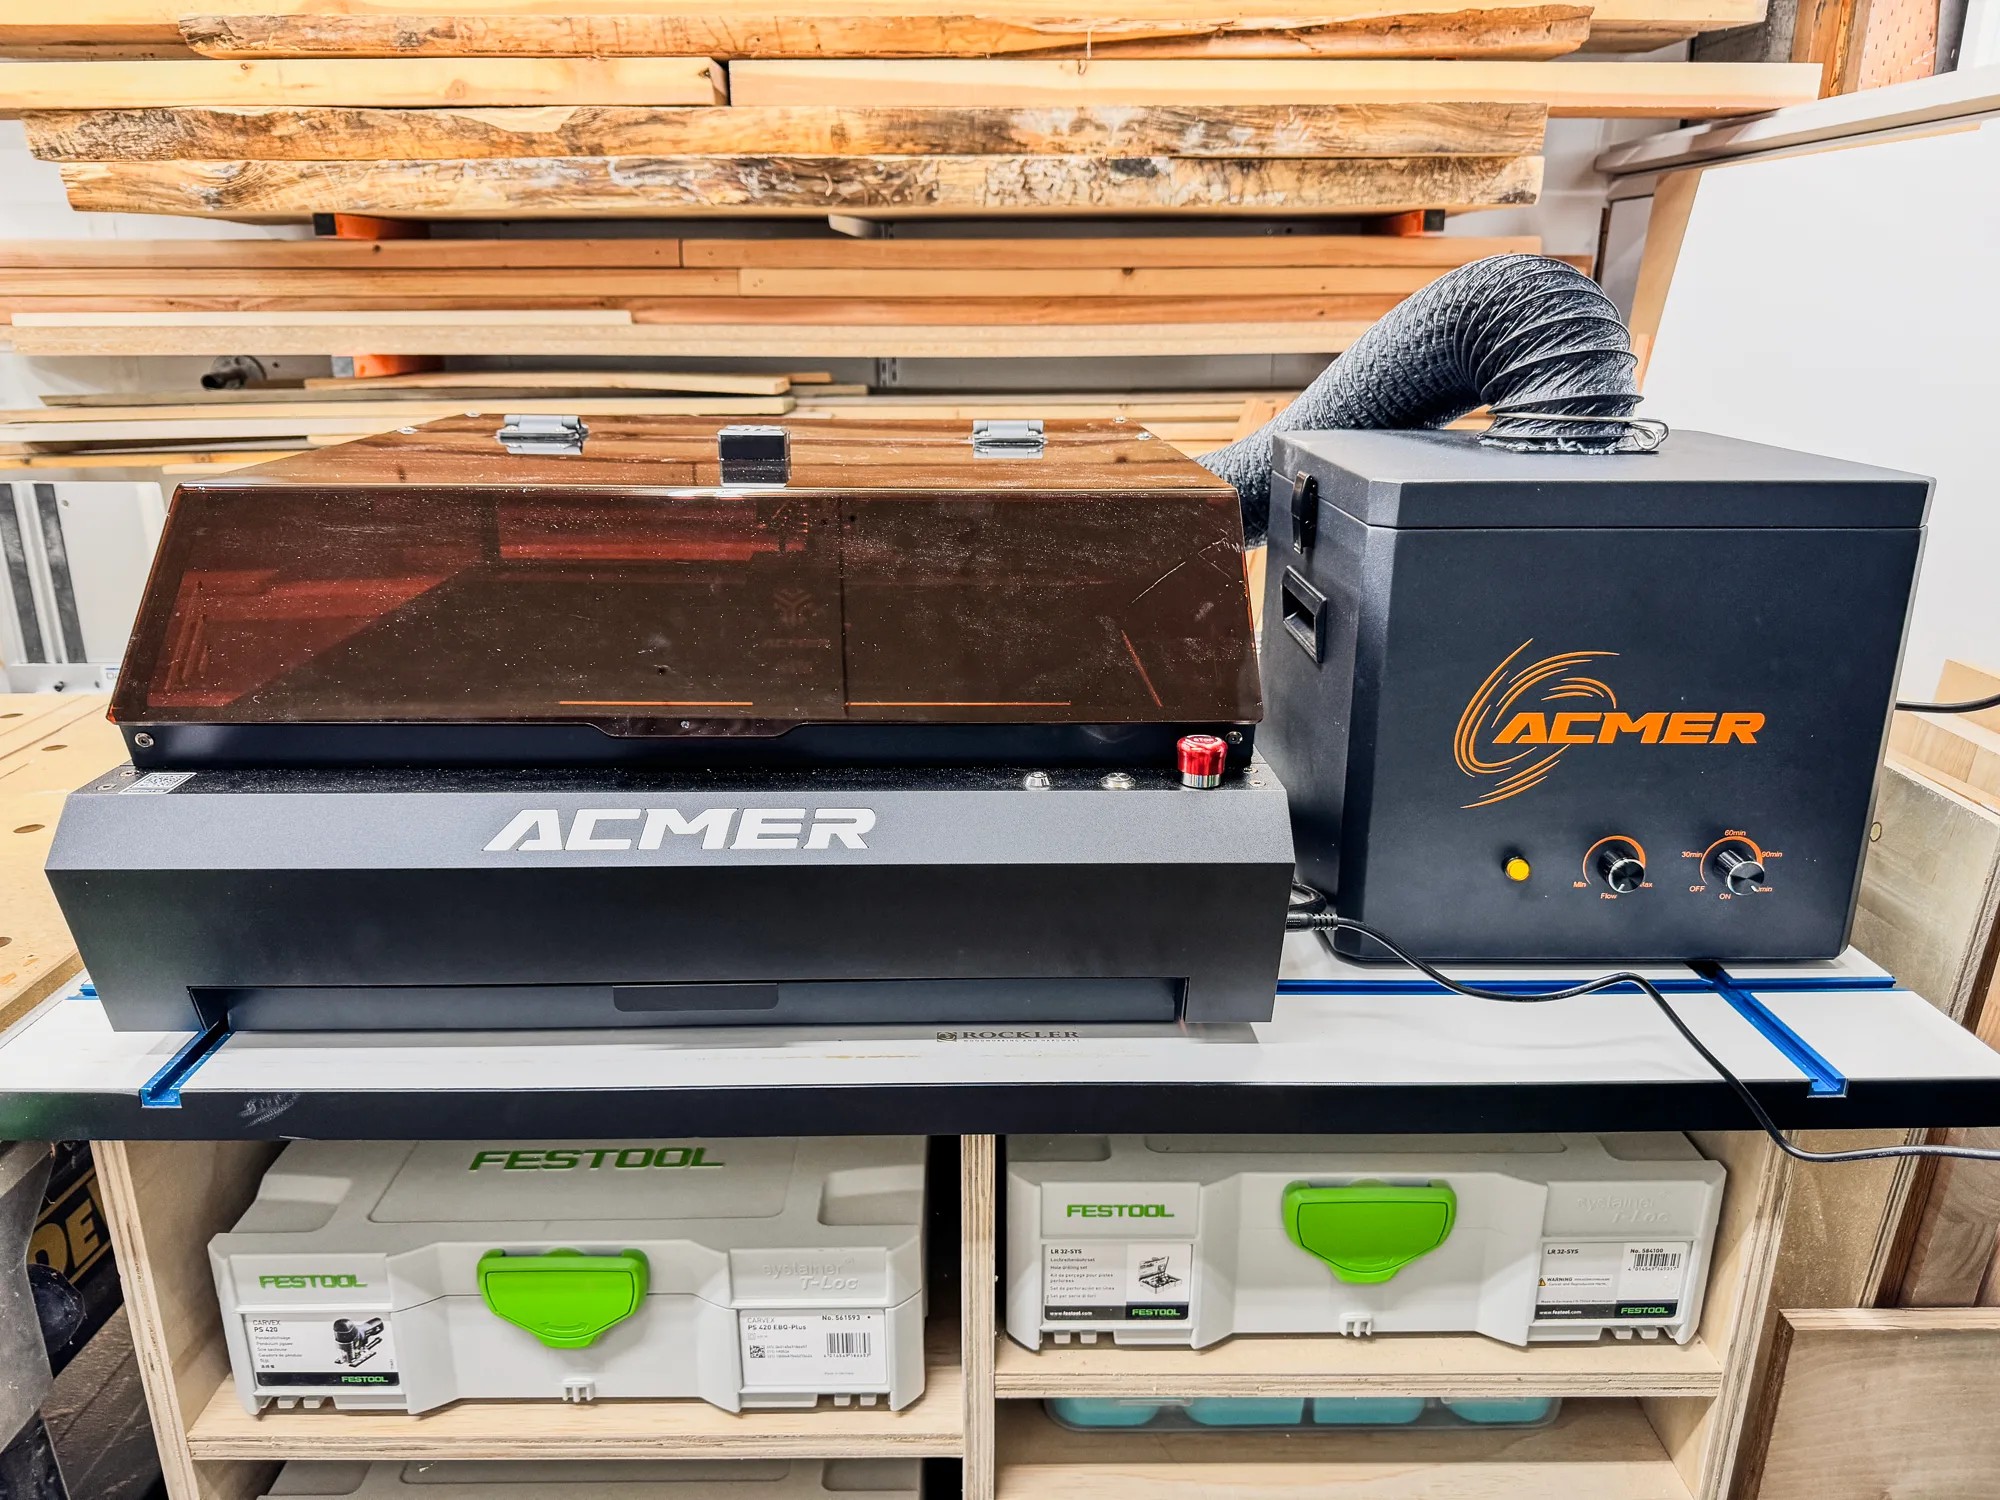
Luckily, ACMER just sent me their 48W laser module to try out with their P3 laser! I'm excited to see how it compares to the 10W version I used for my Mother's Day gift last month.
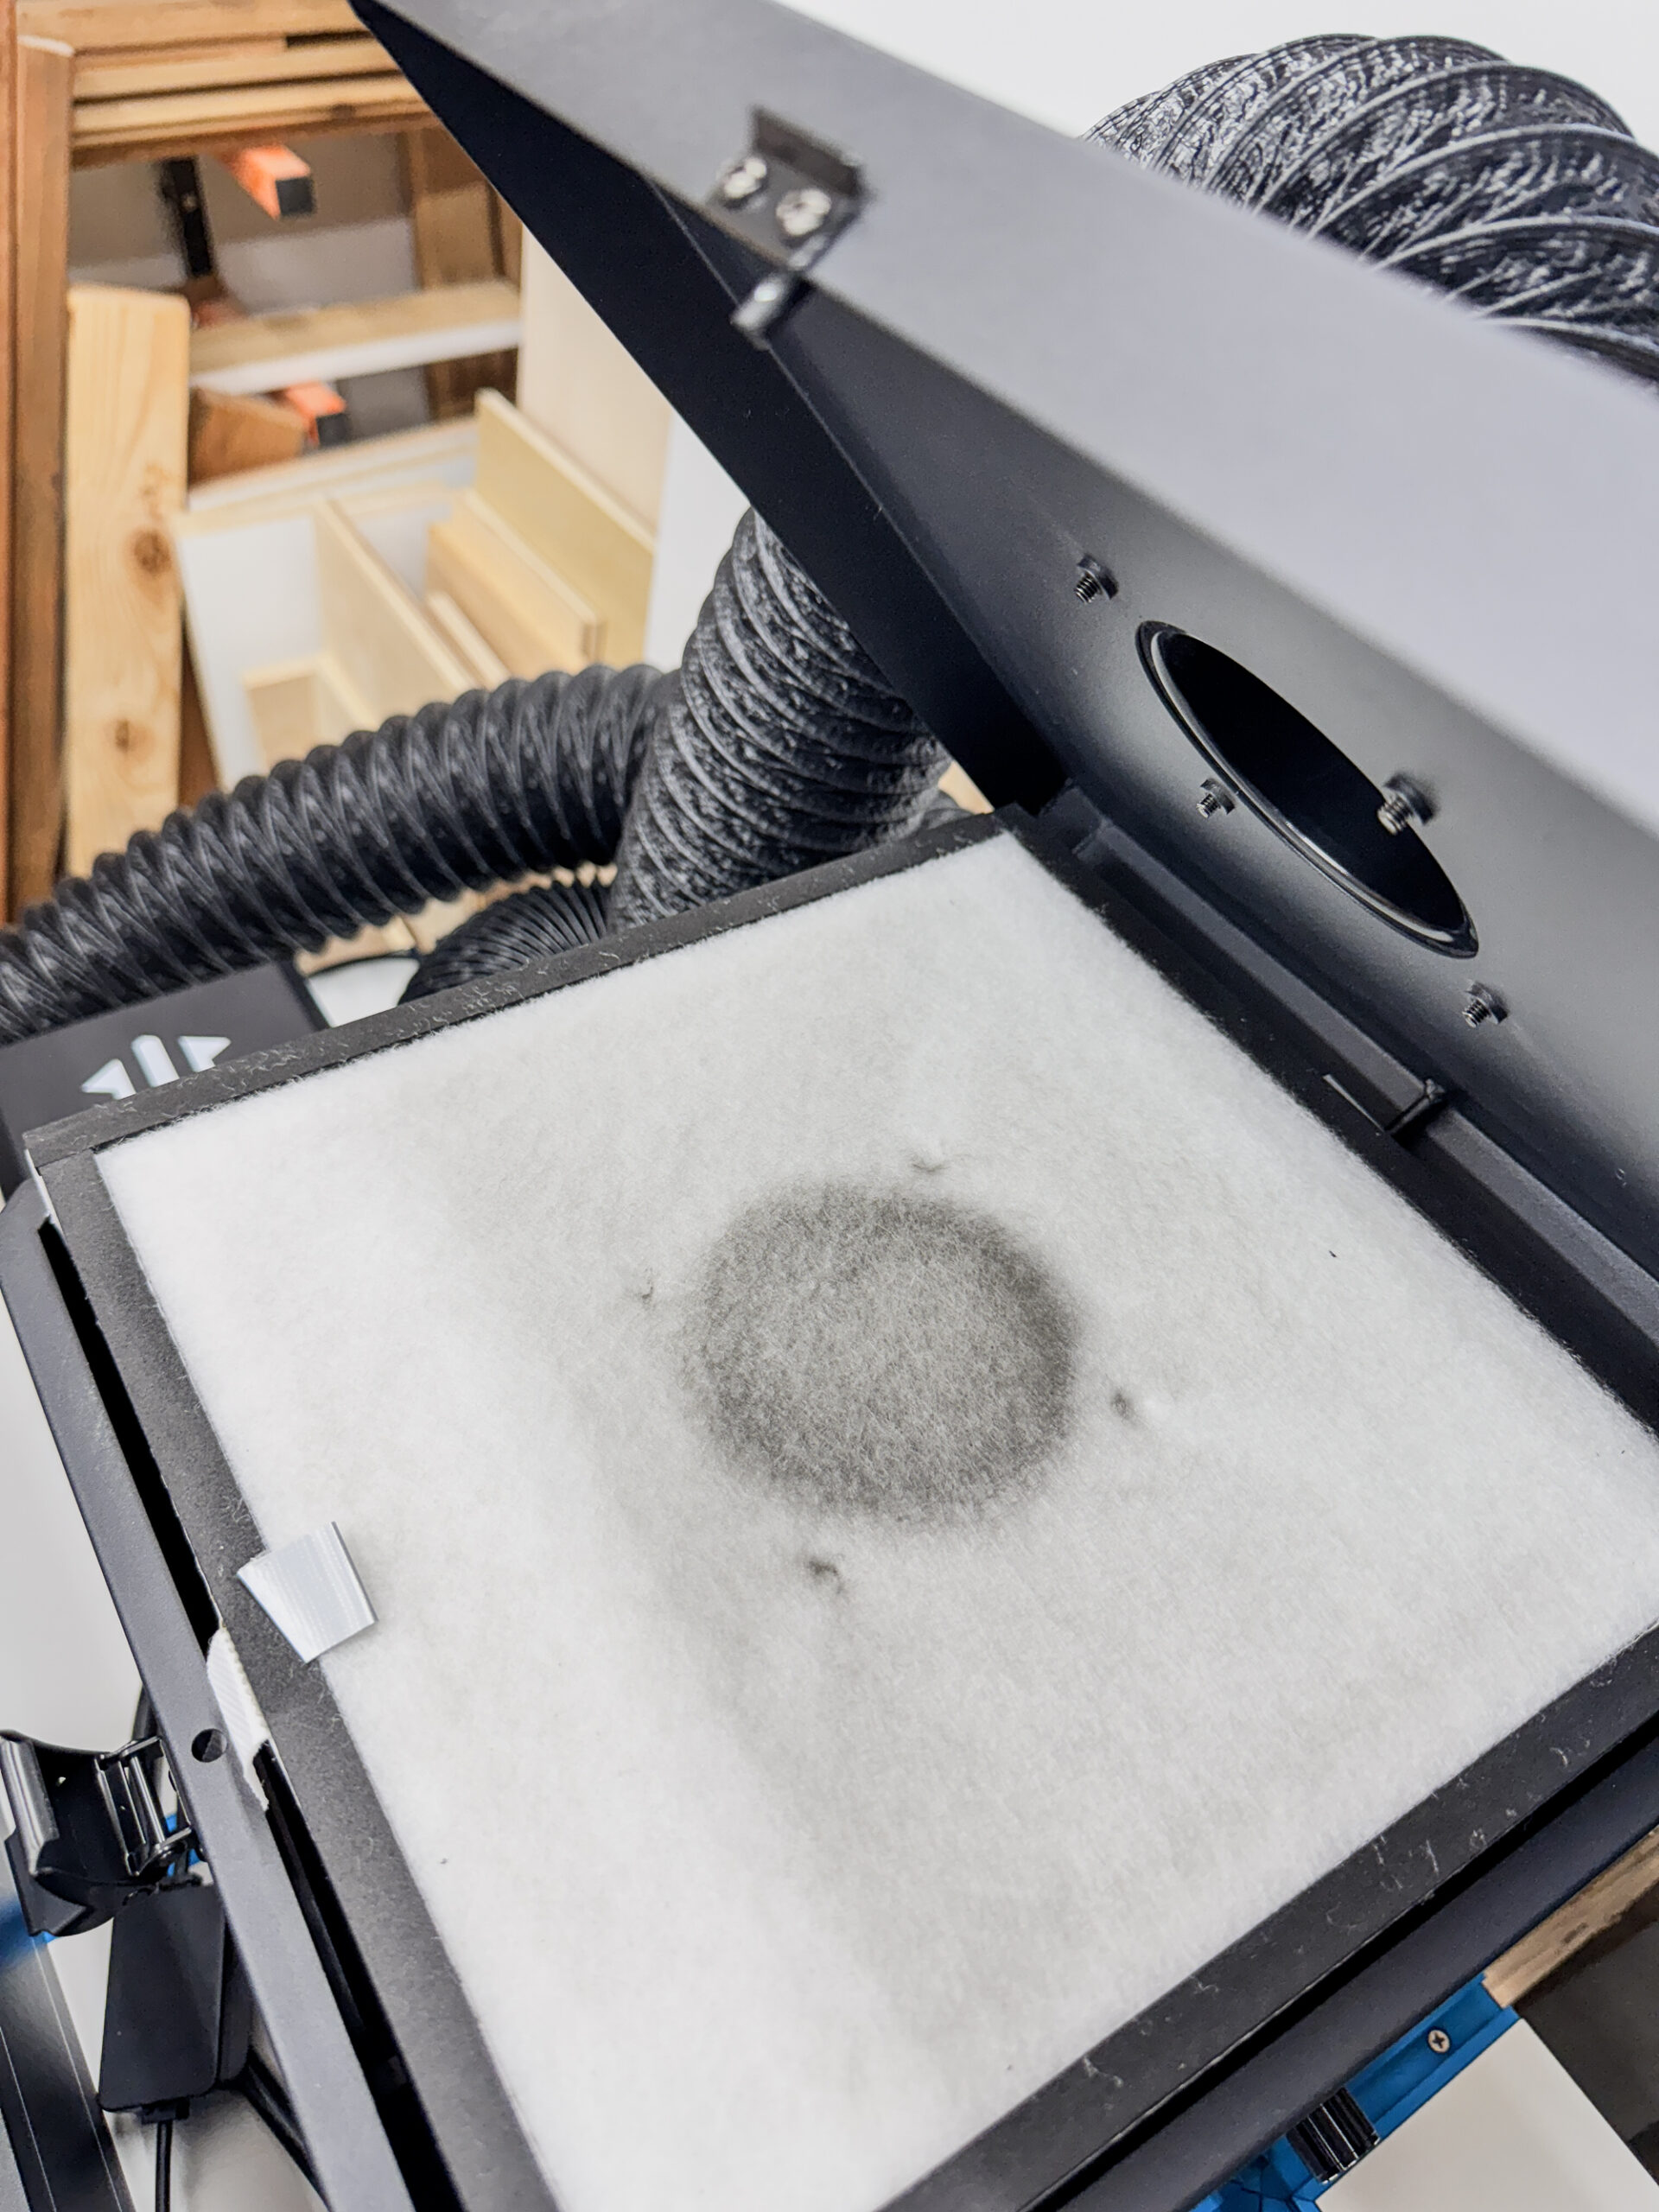
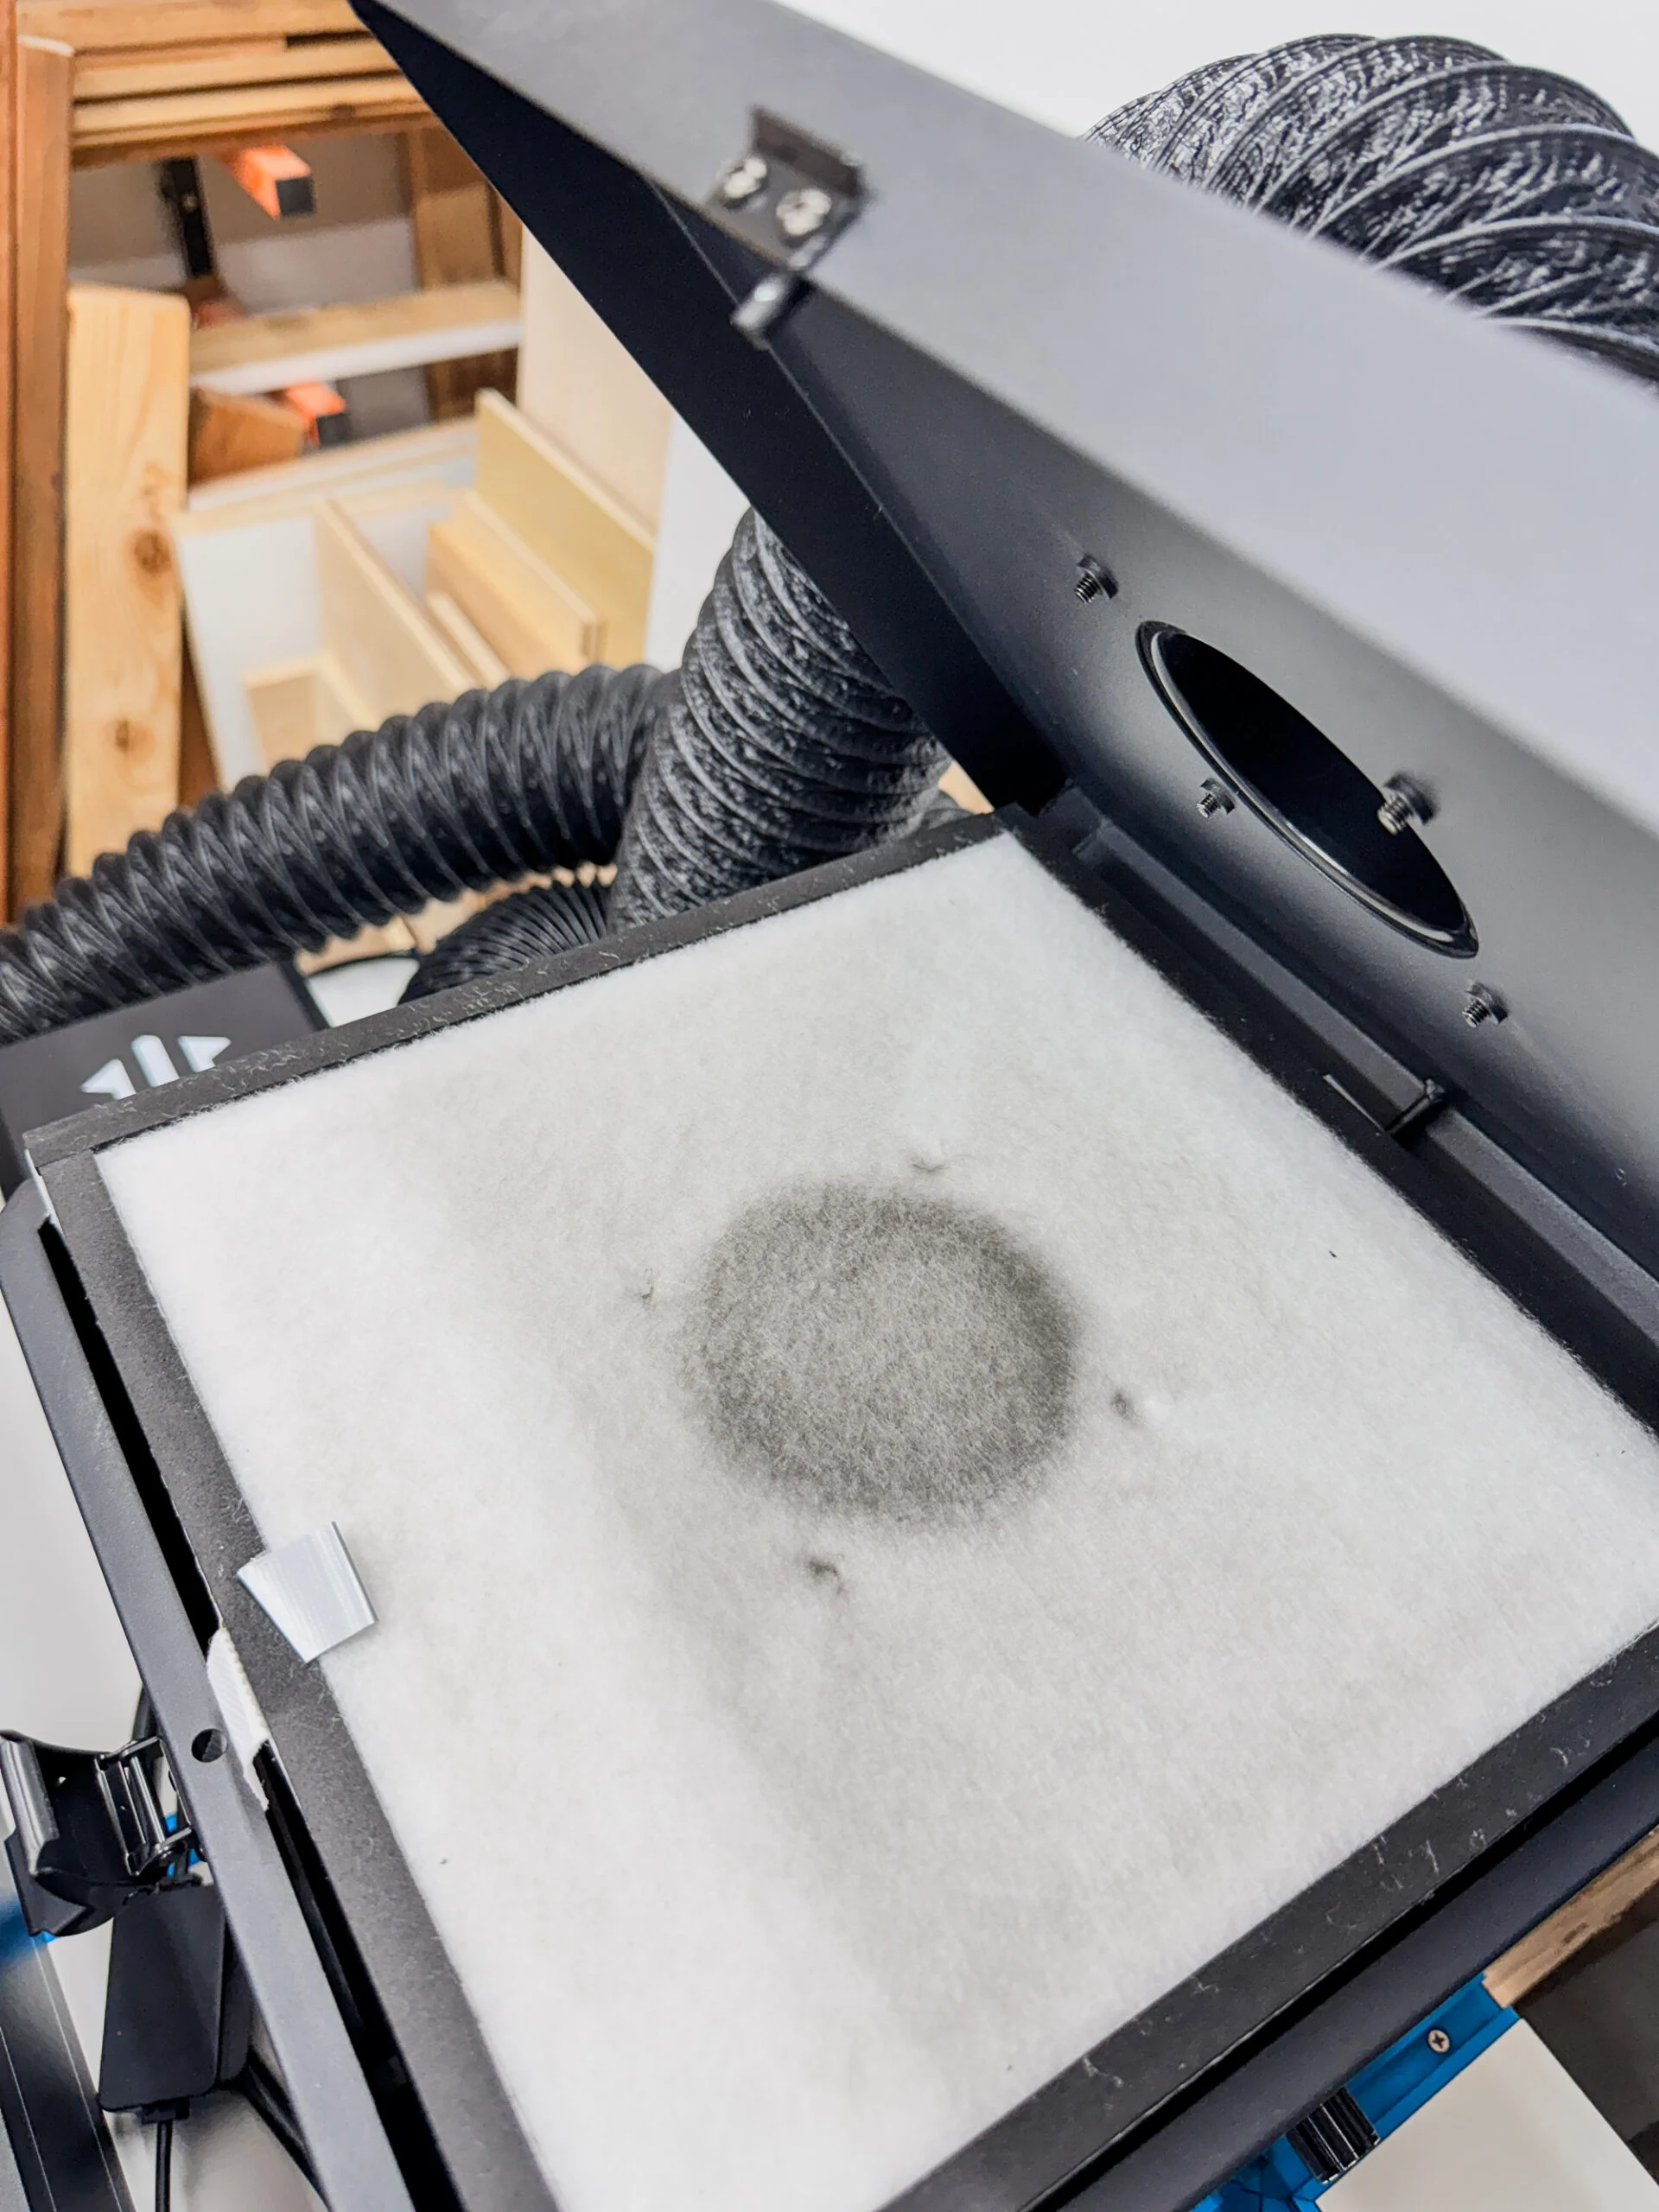
I'd like to move this laser into the shed with my other machine instead of down in the basement workshop, but I don't have space to vent both out a window. So I'll also be testing the ACMER air purifier to see how well it captures smoke without venting outside.

File Preparation and Testing
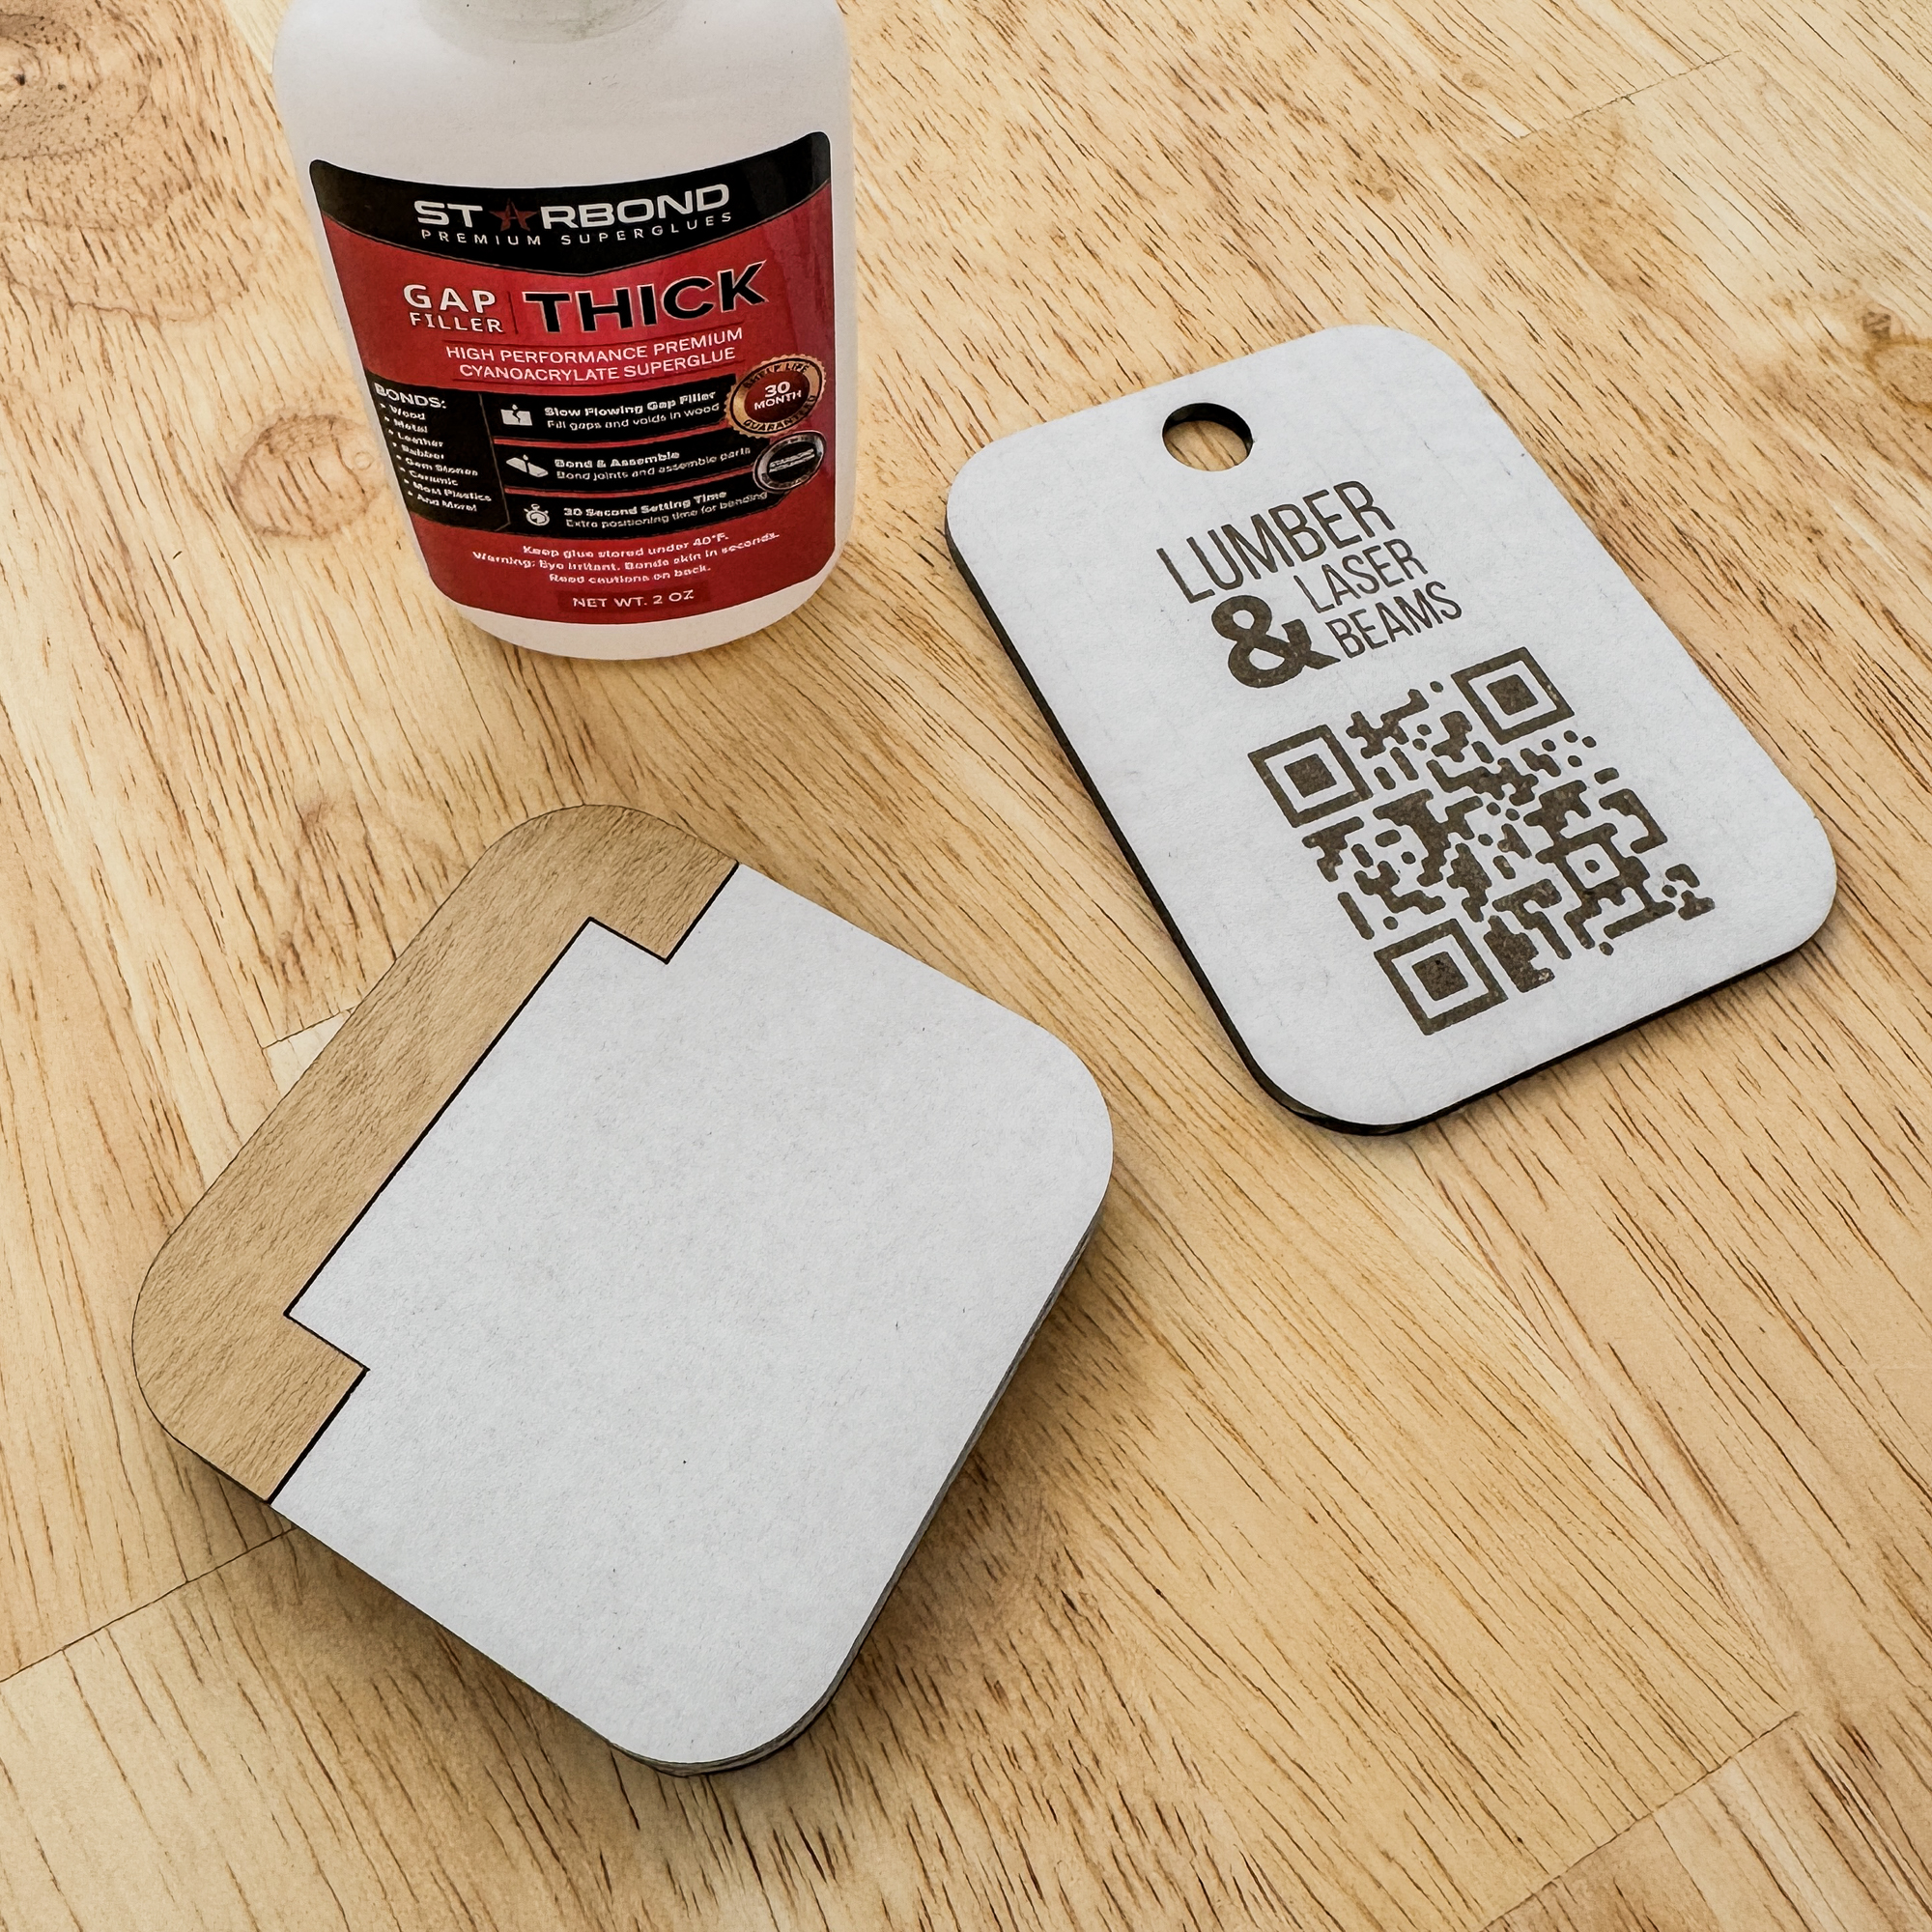
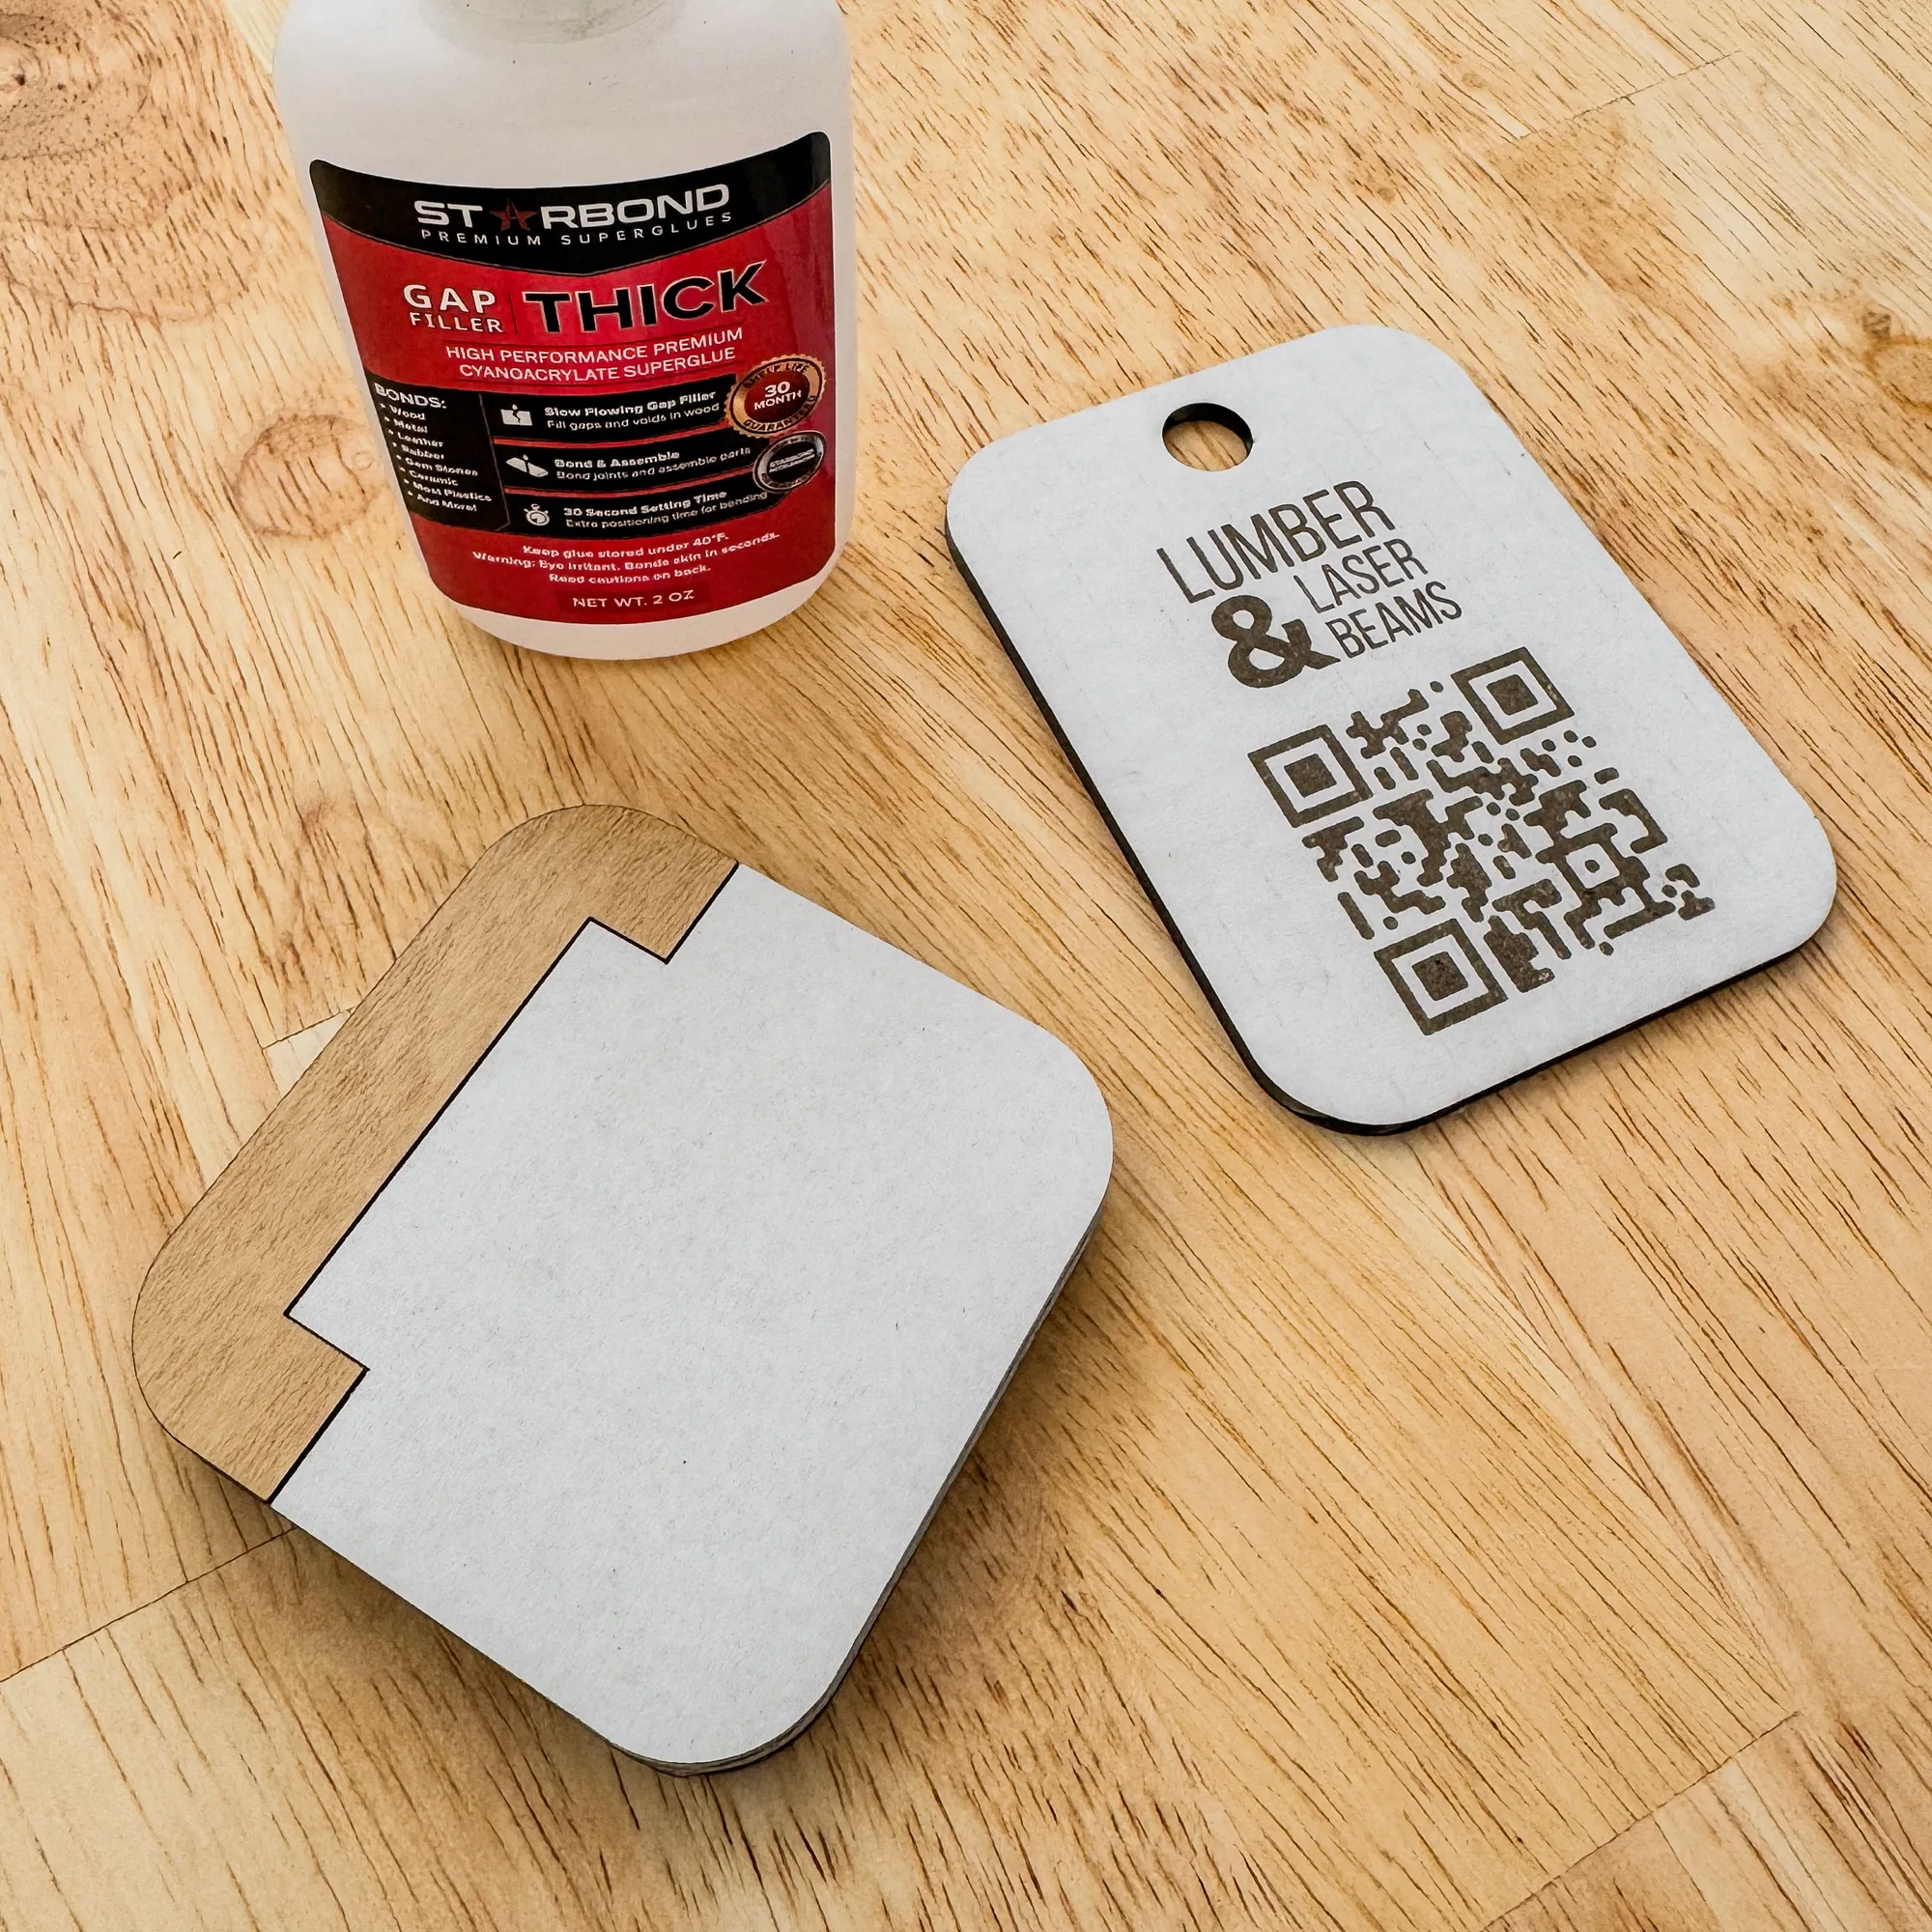
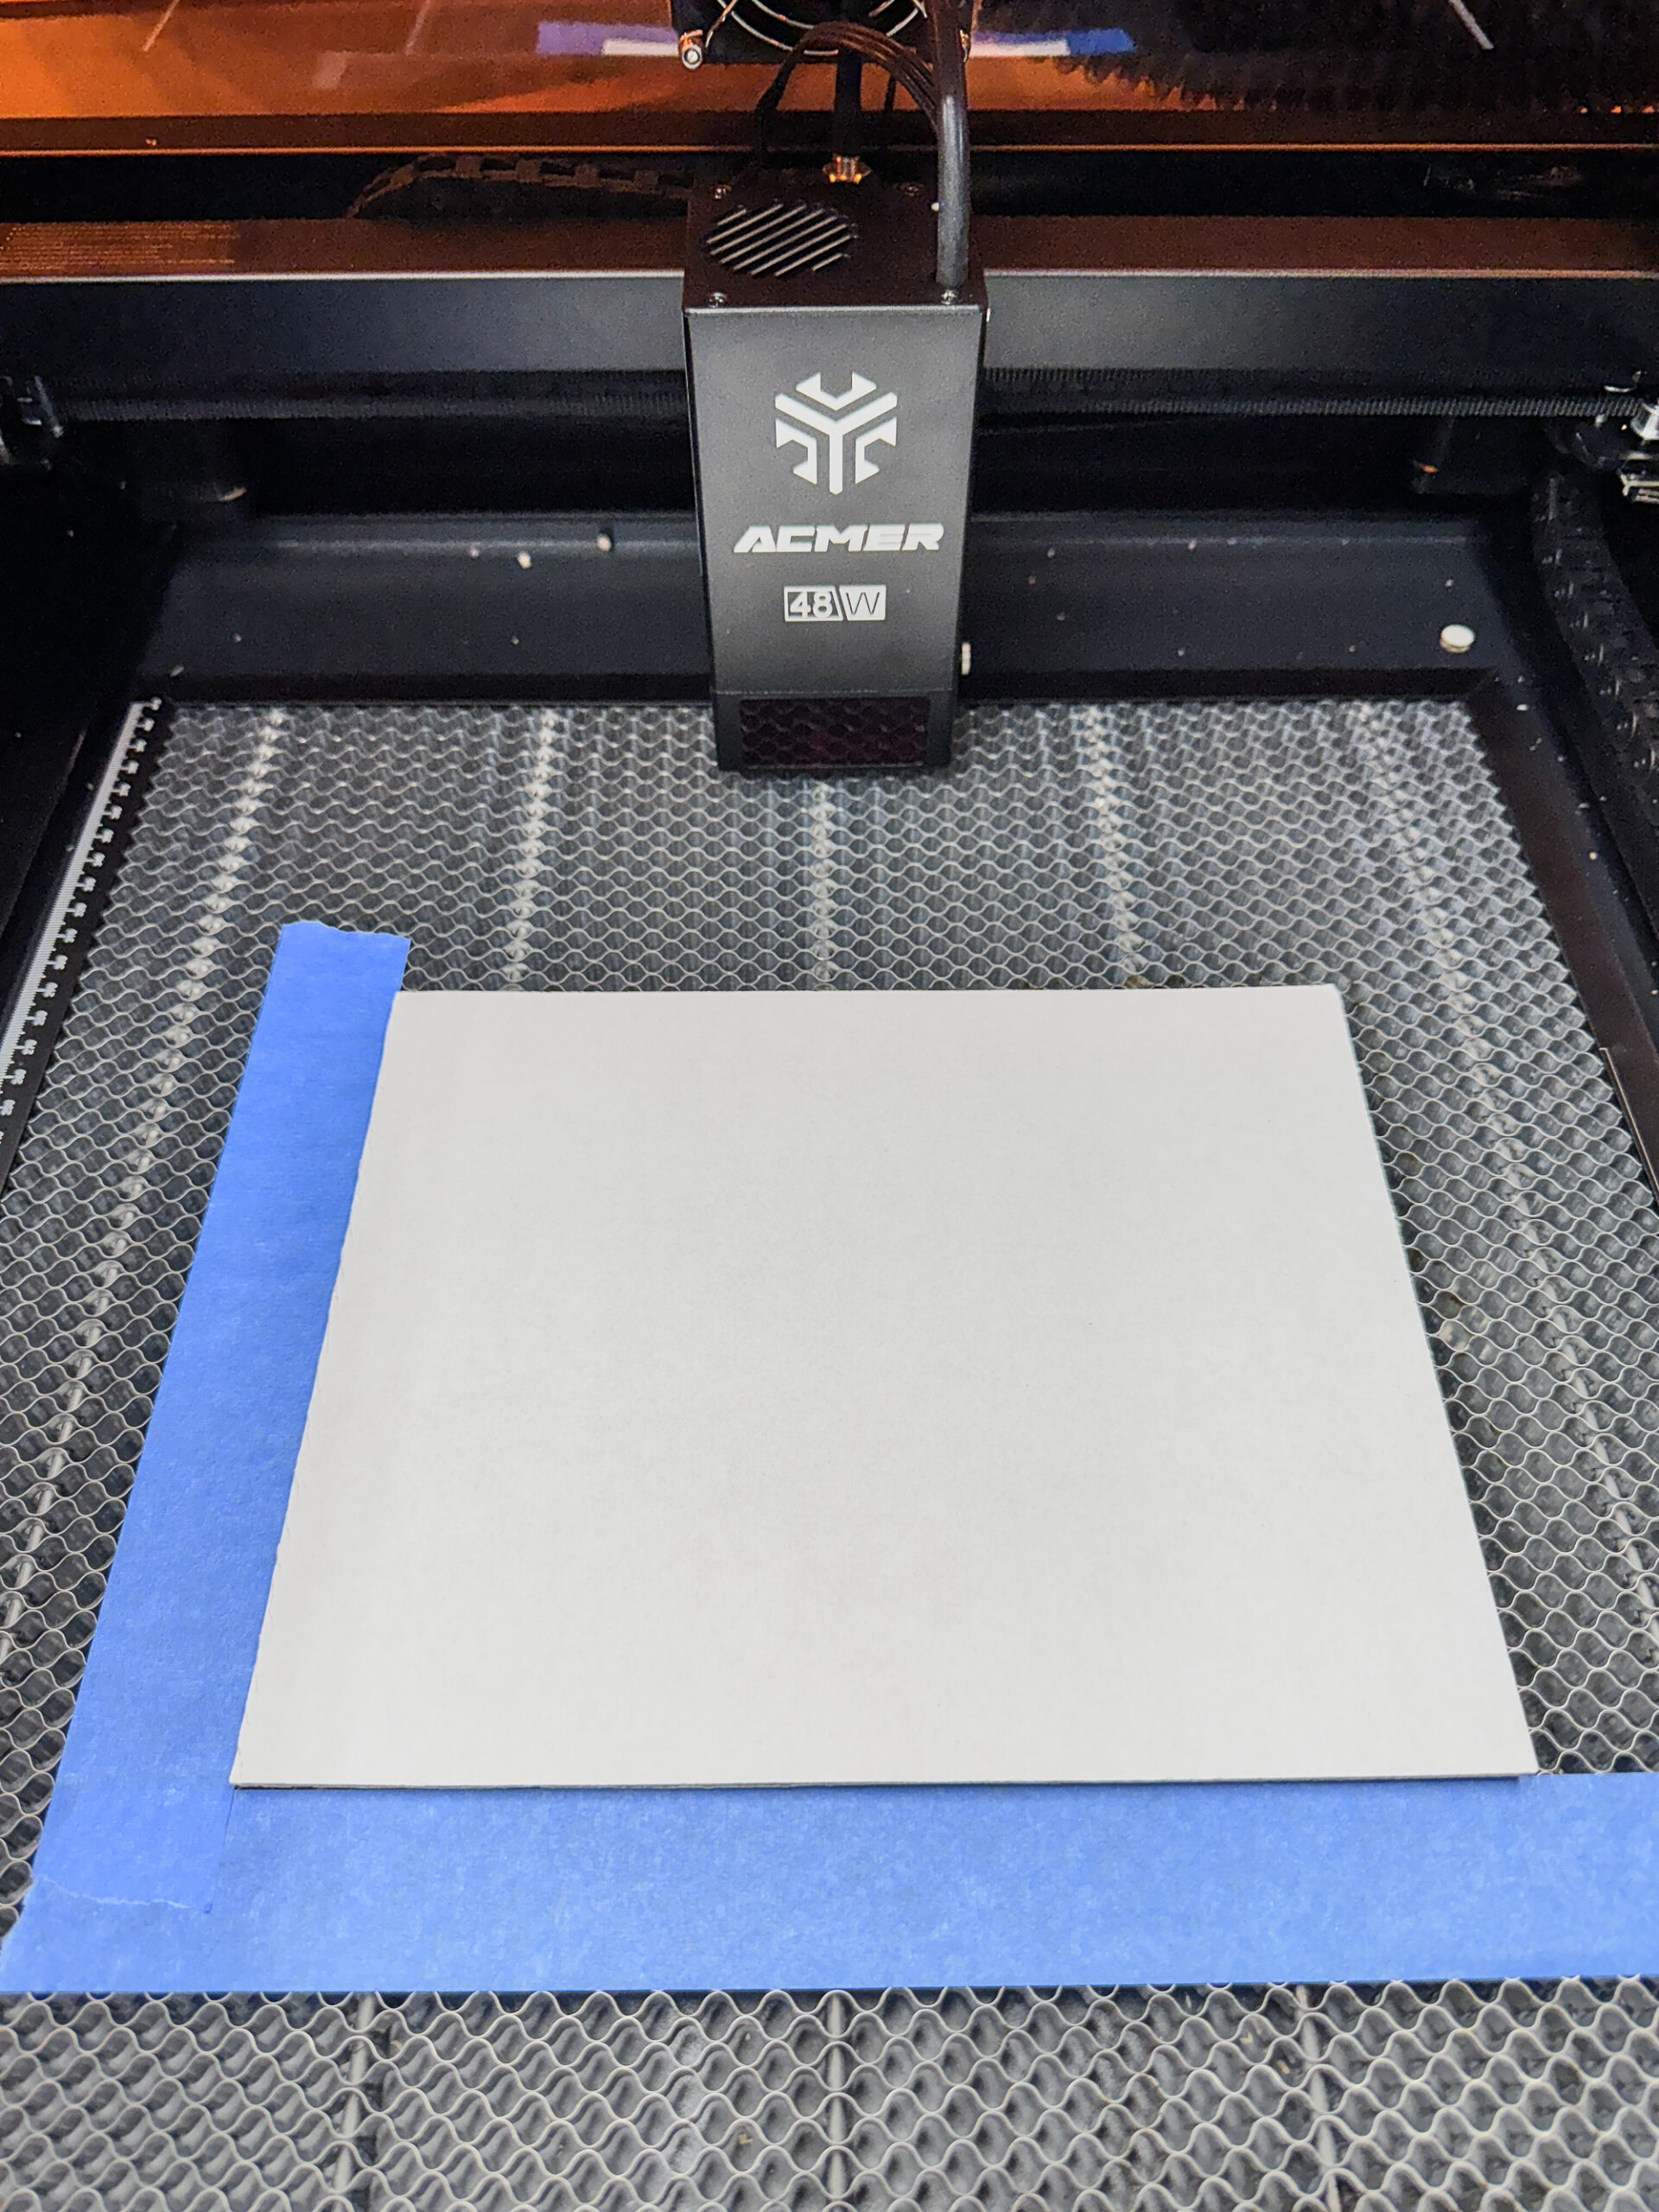
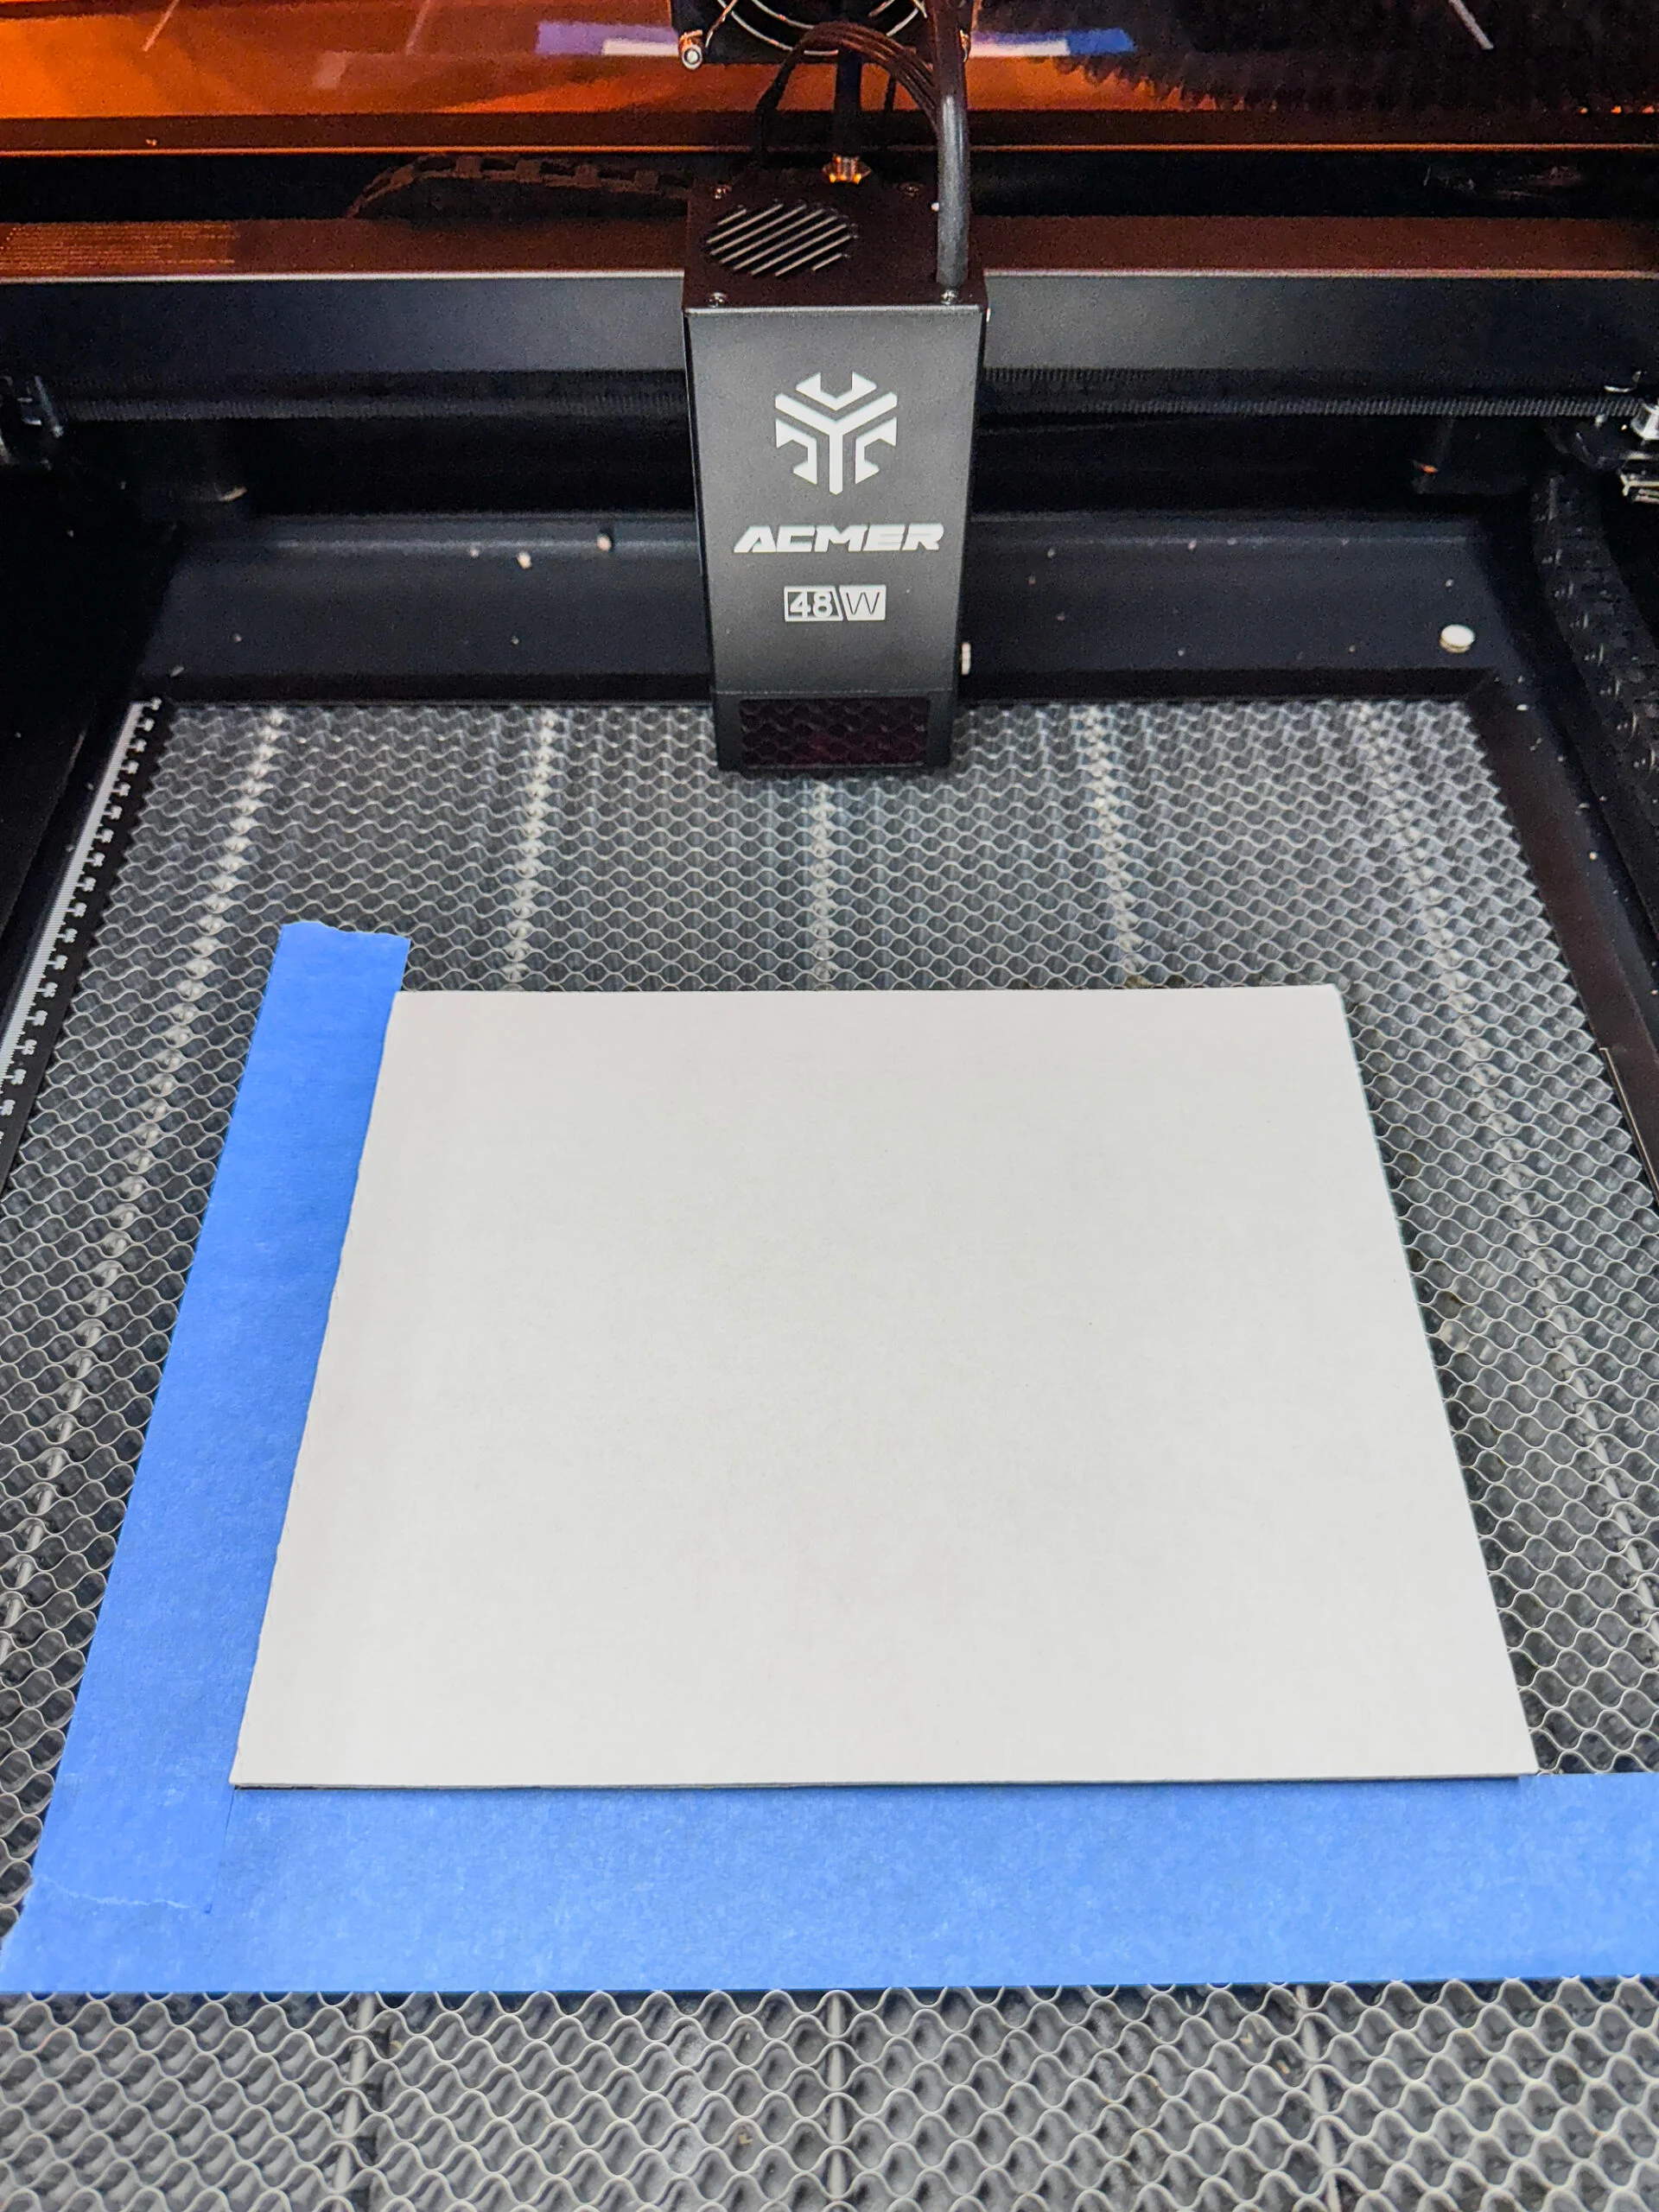
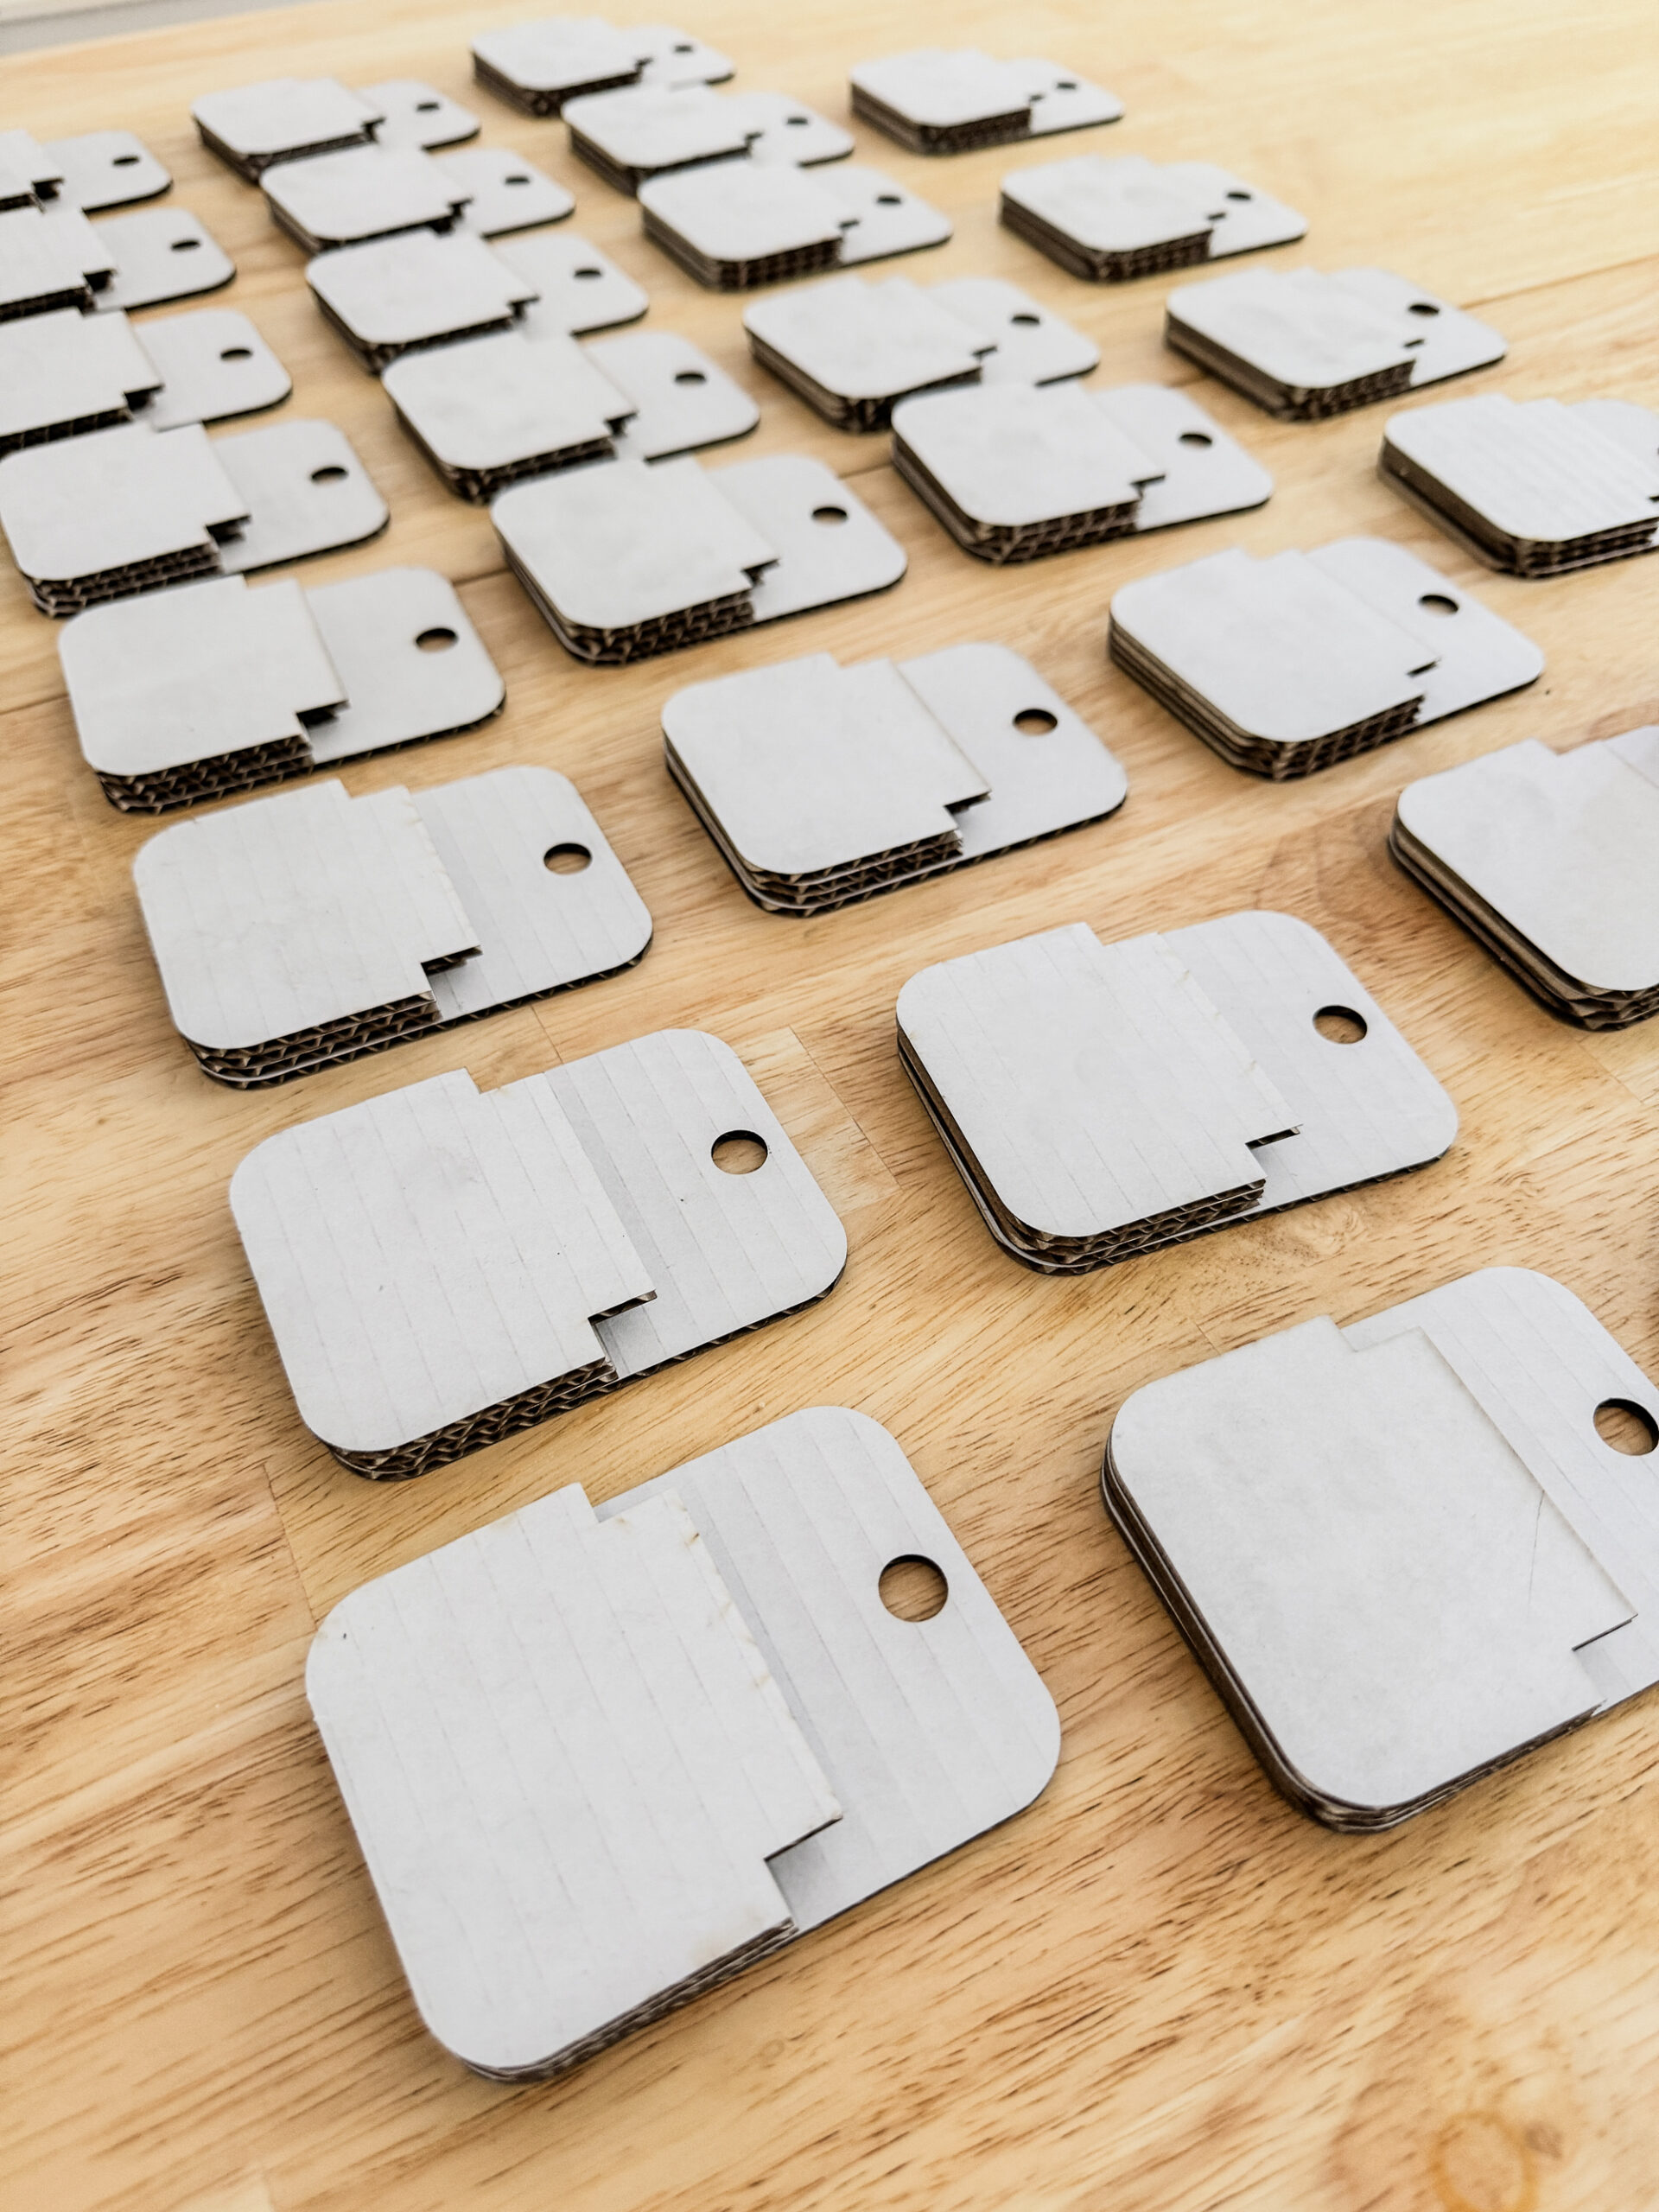
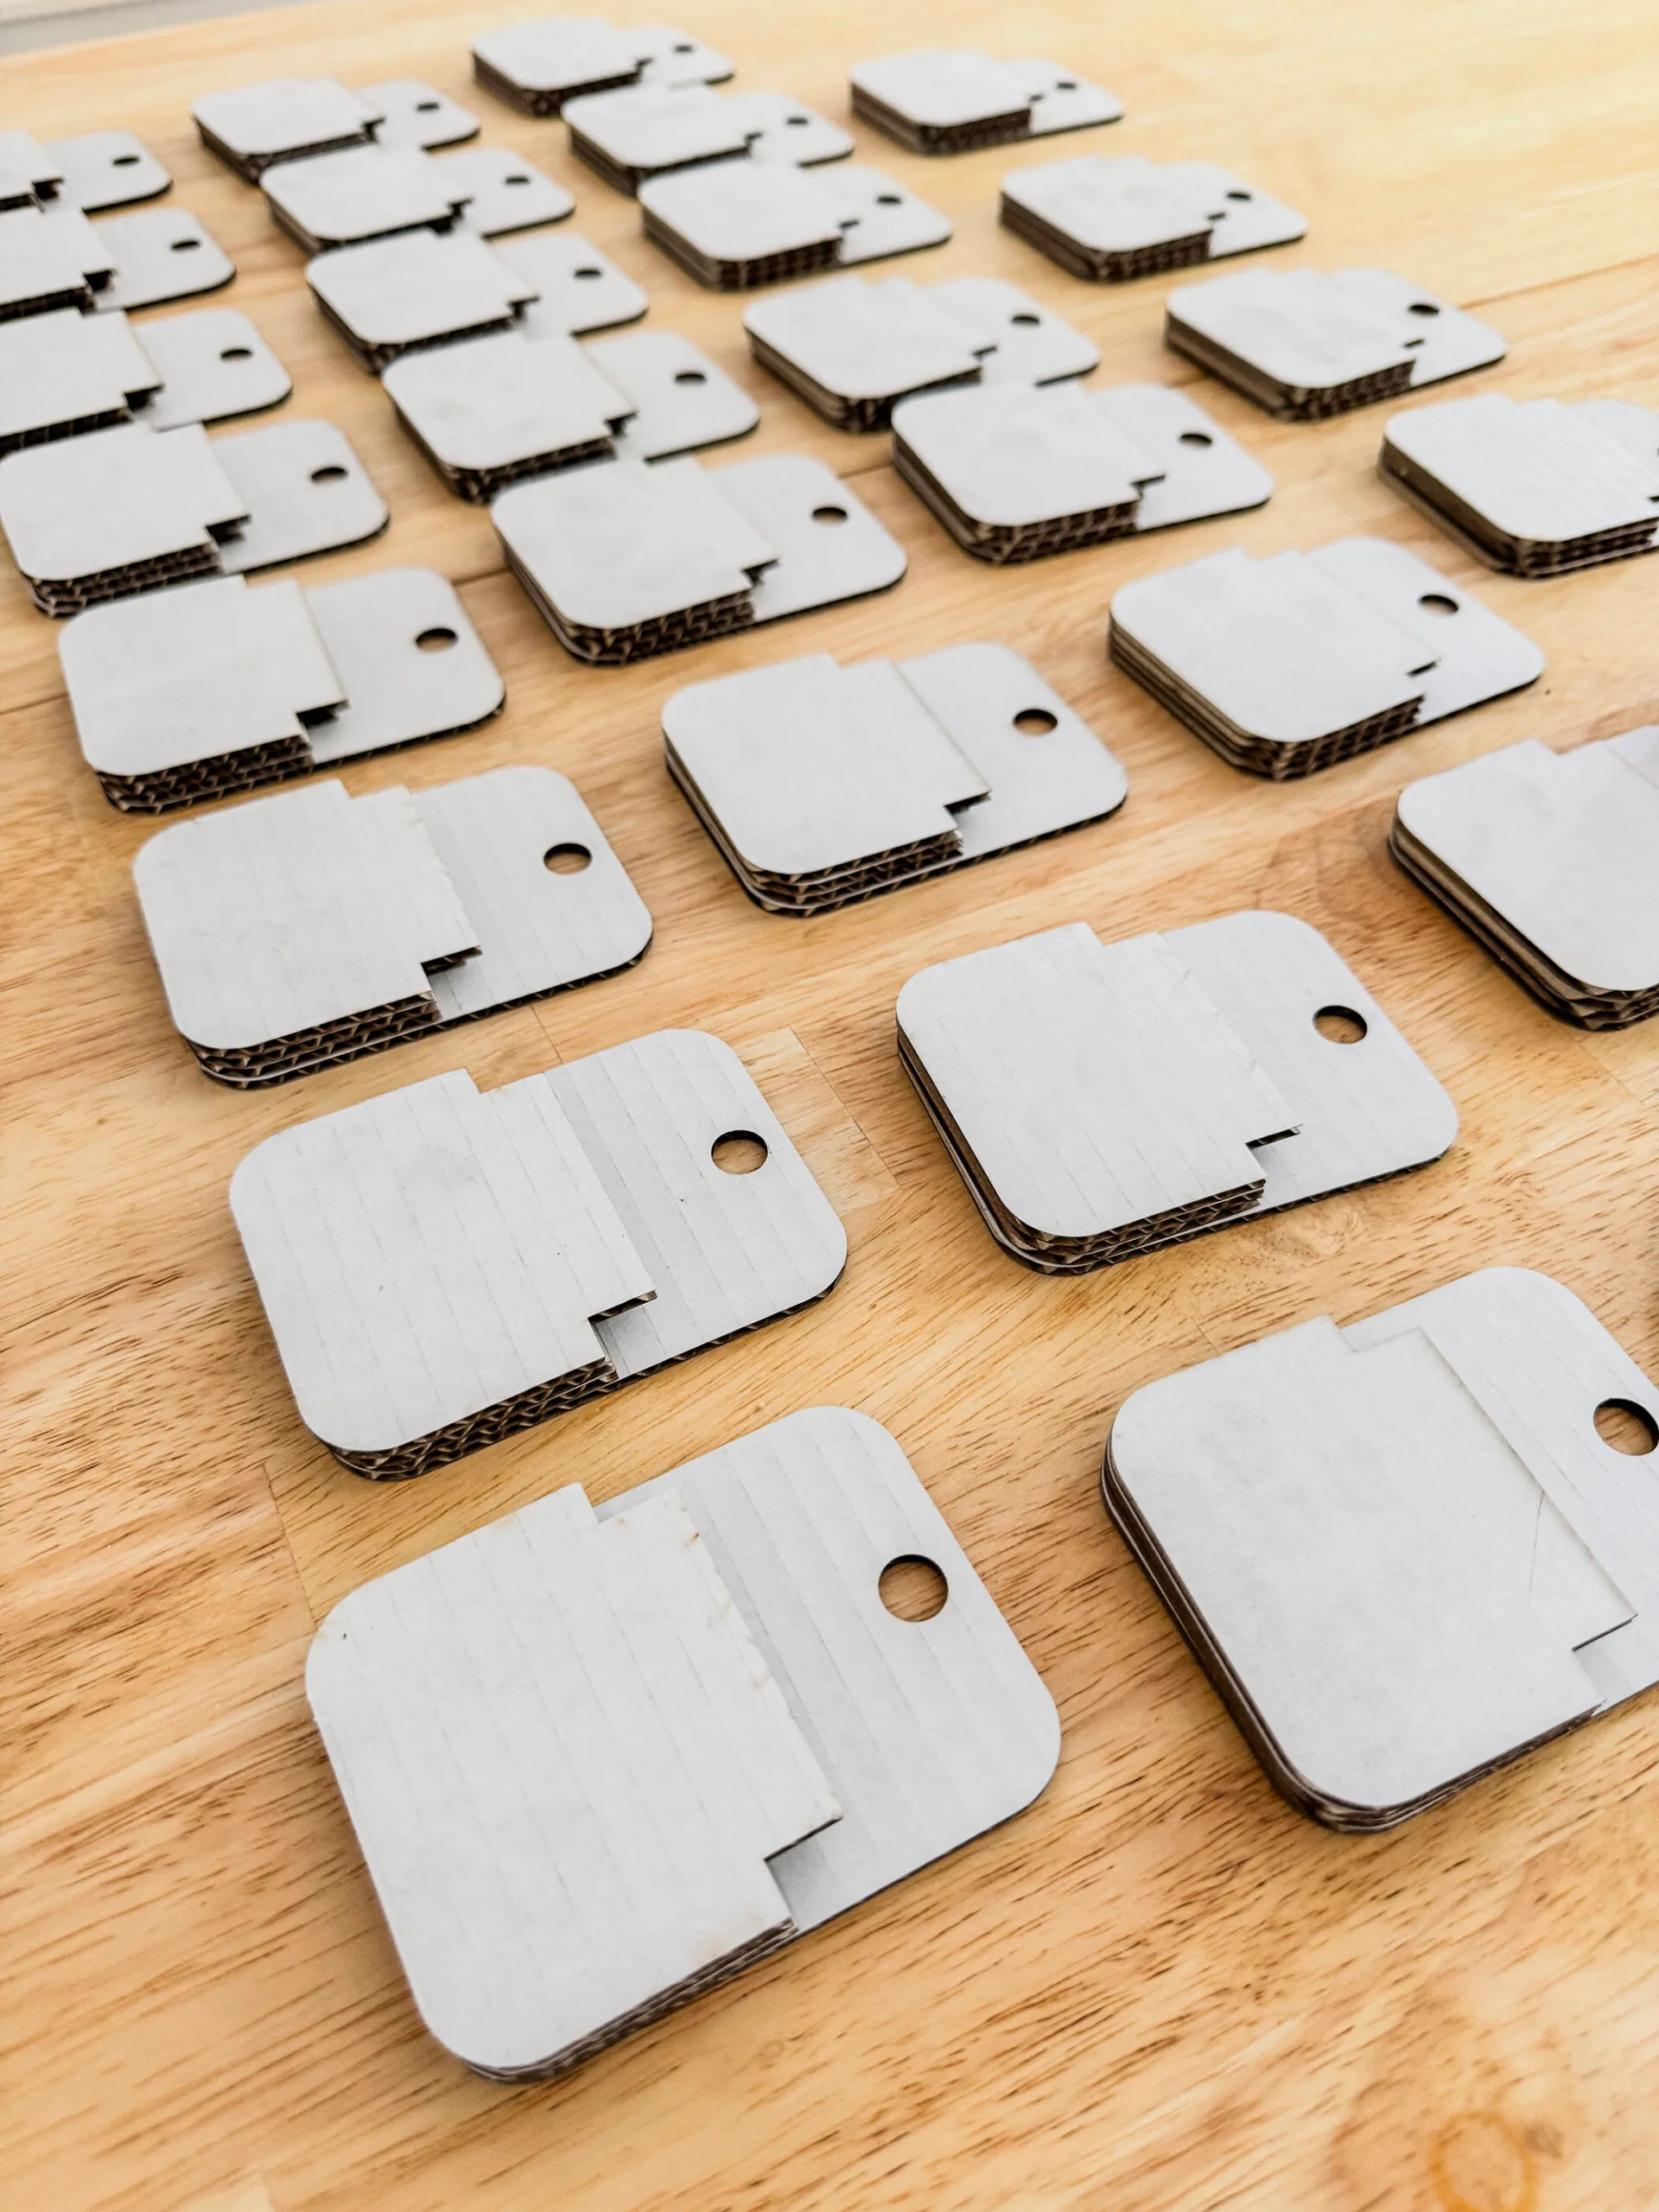
My night light covers are designed with multiple layers of wood that stack together to form a hook that slides on top of the light. I used the same file to create layers of white cardboard for the cover to hook onto.

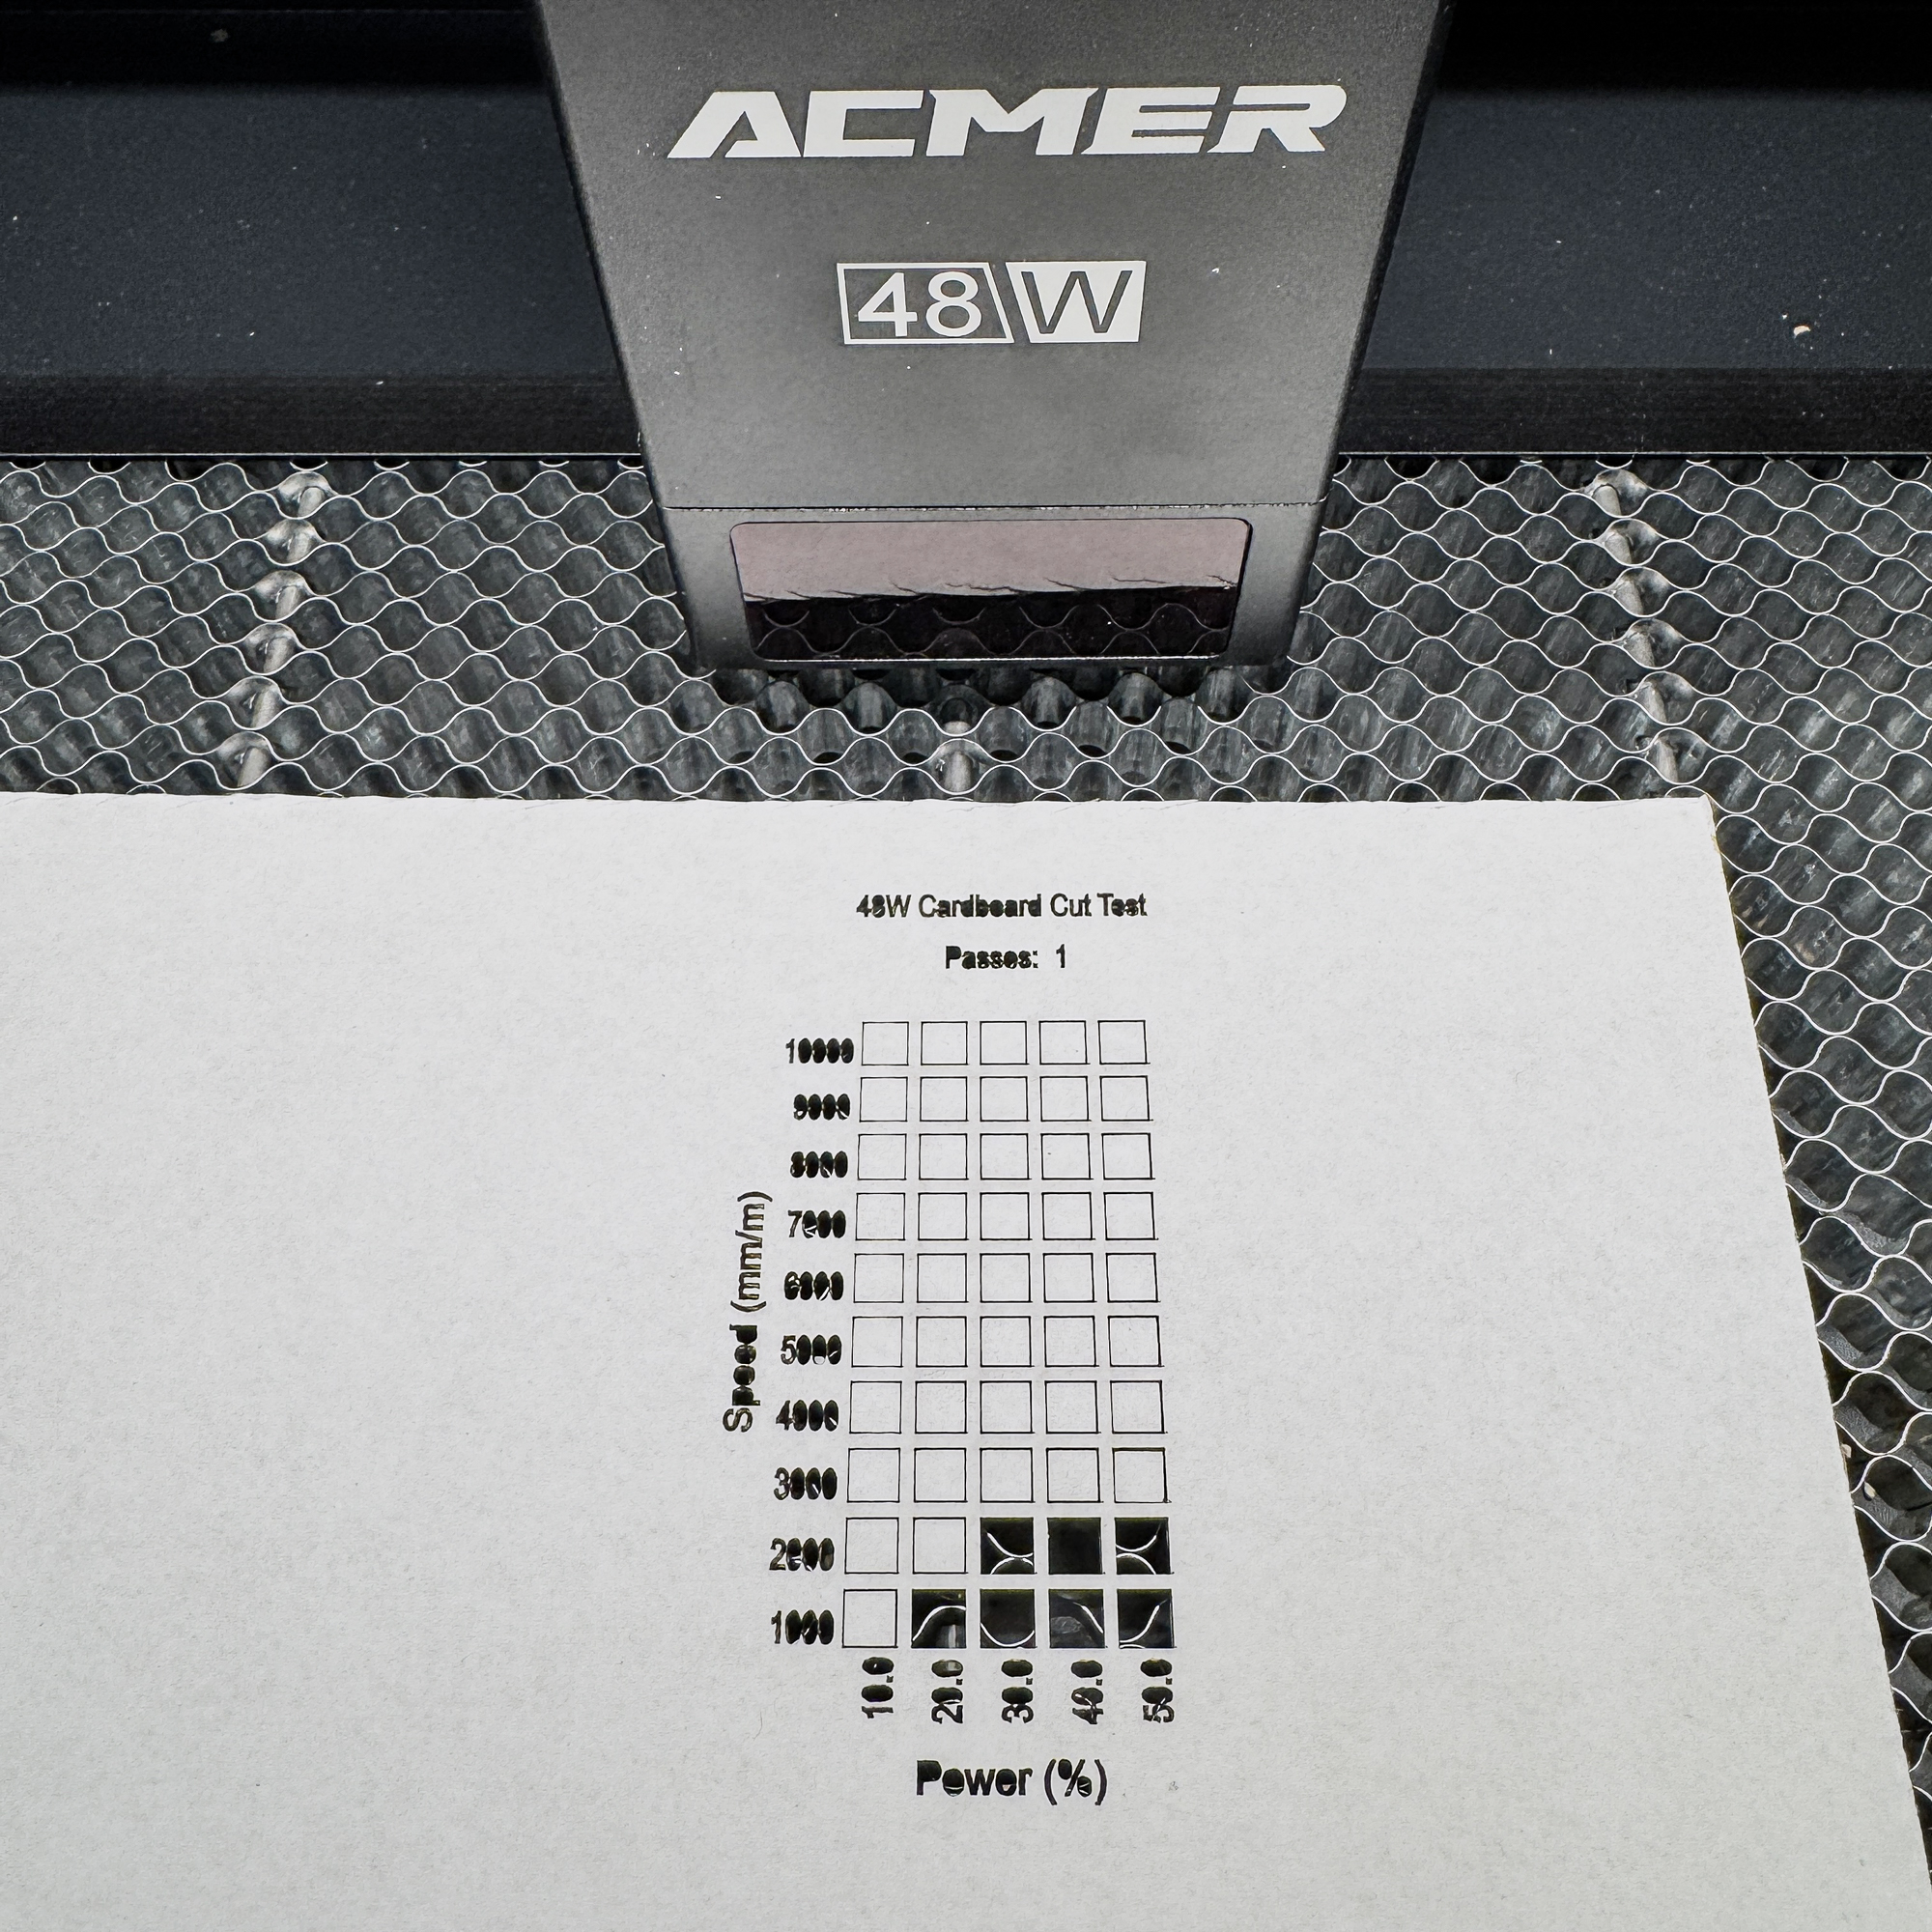
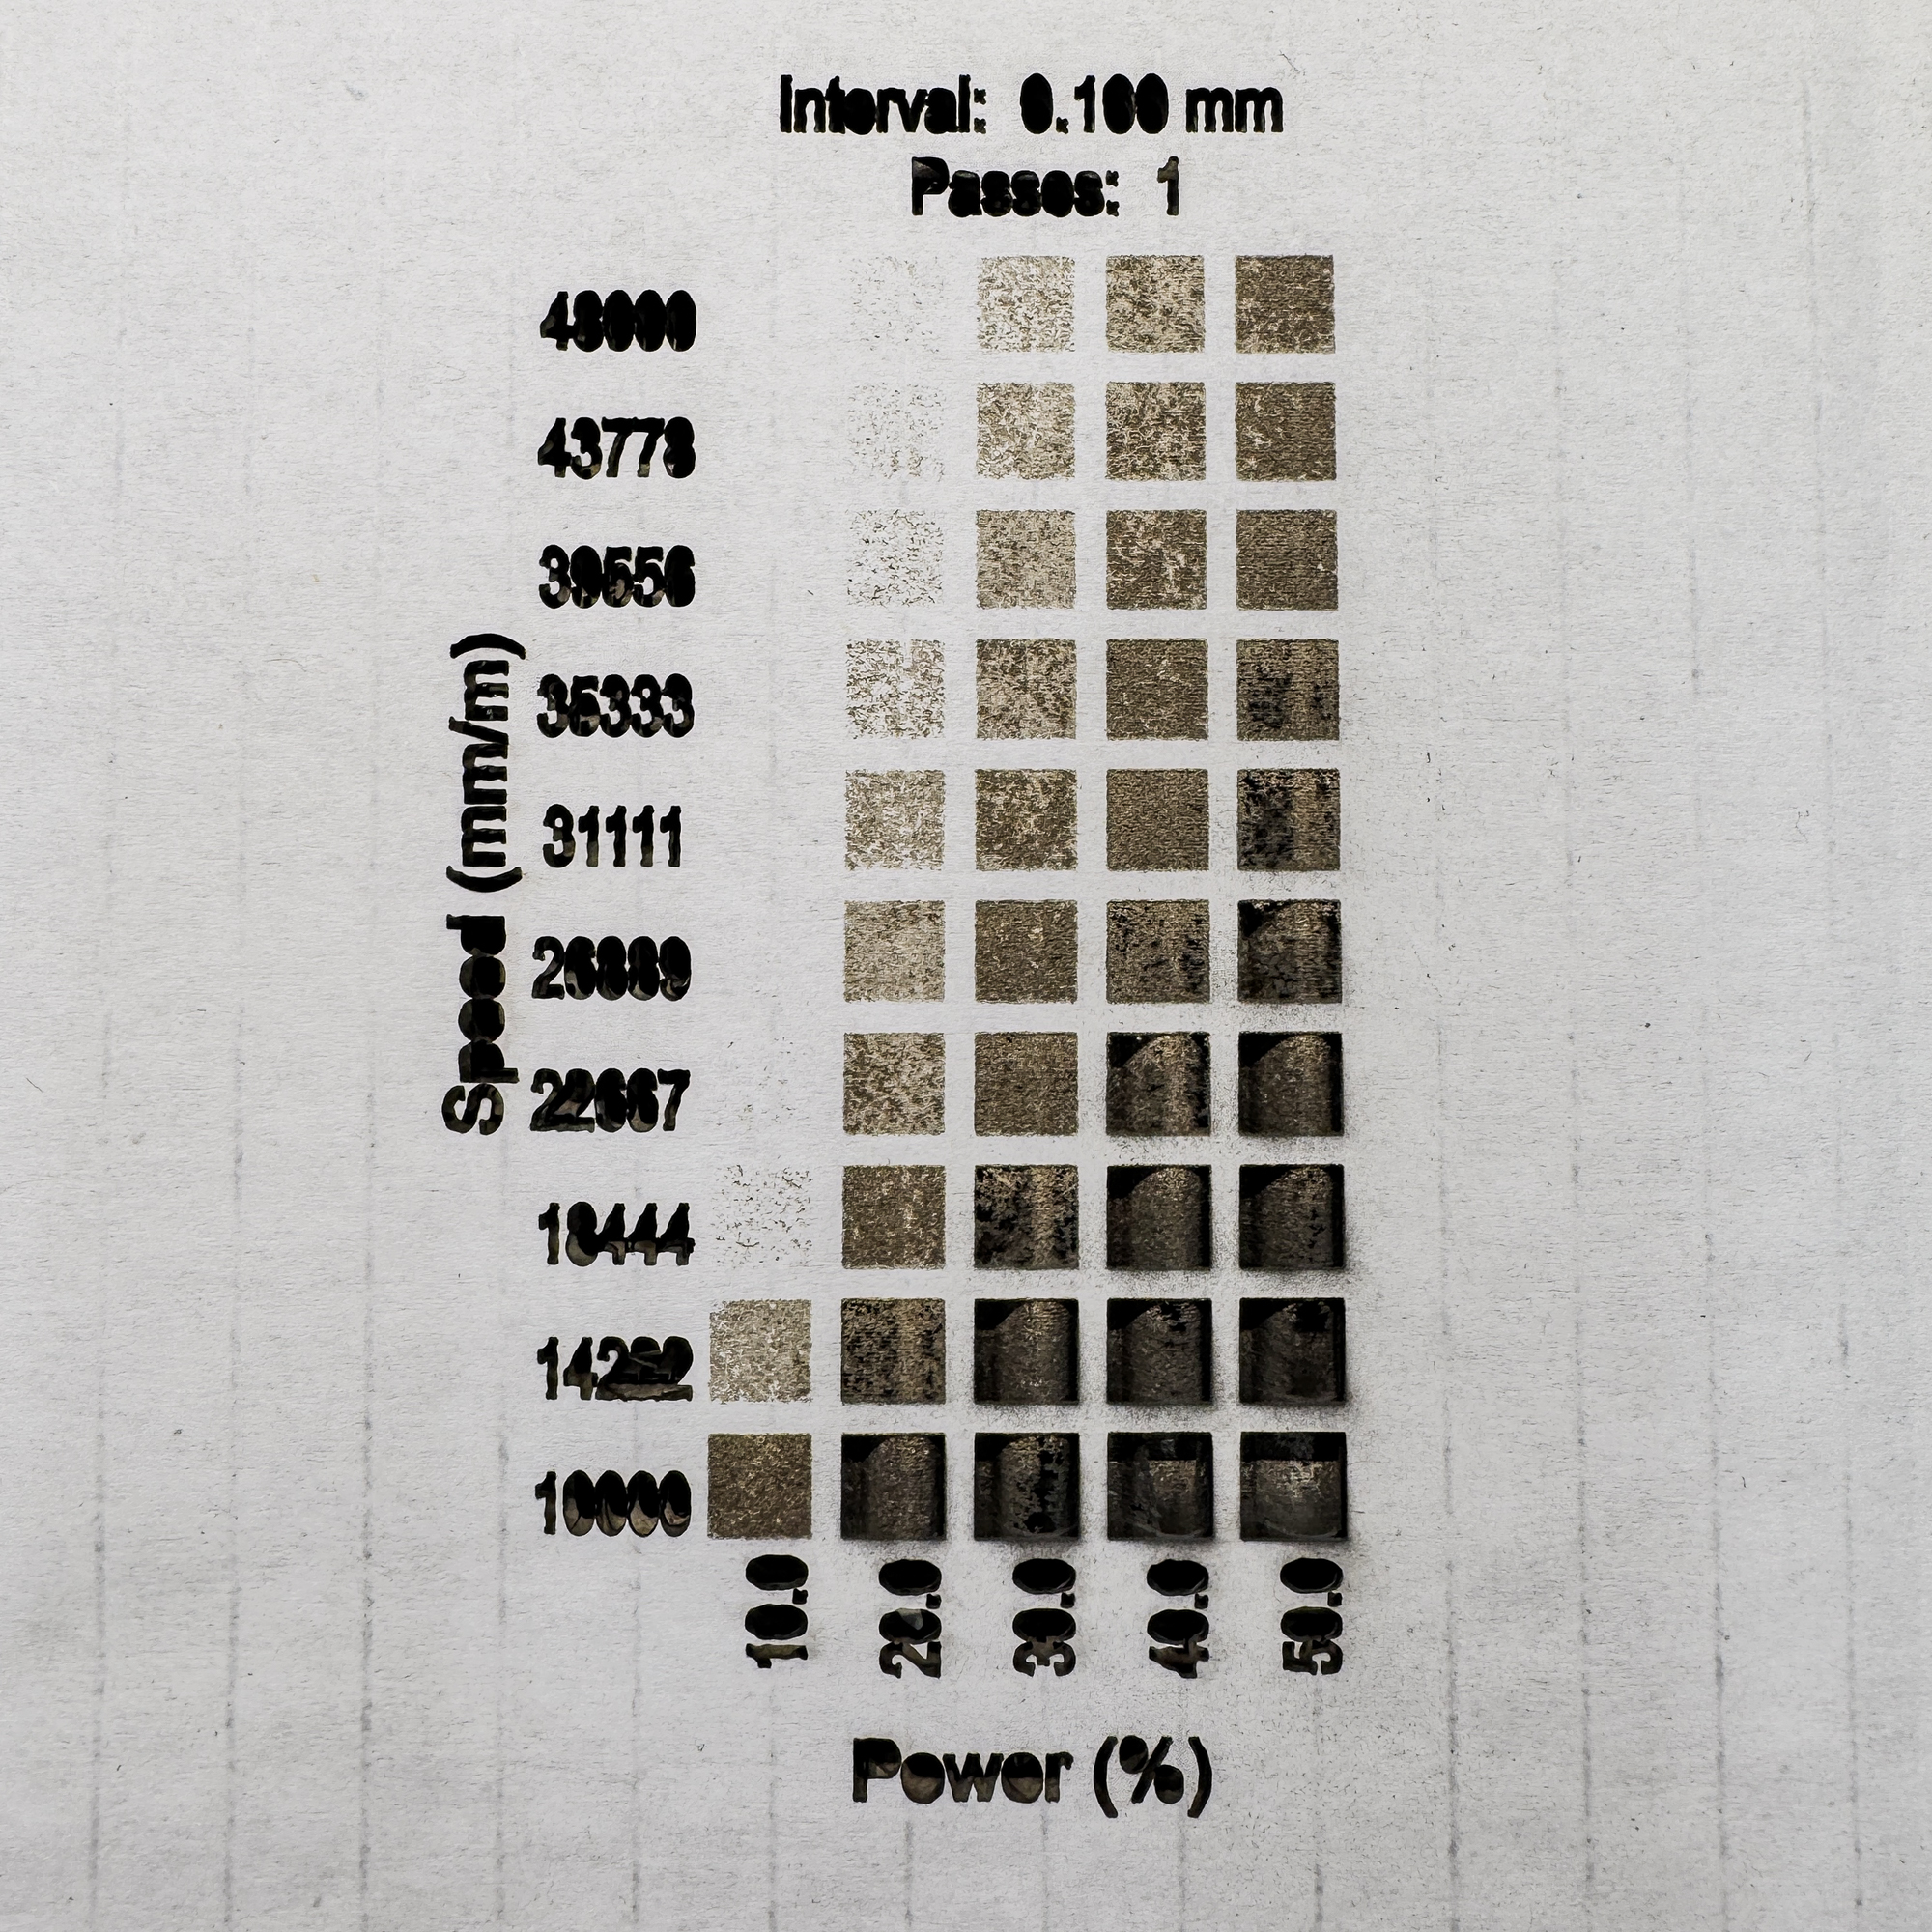
But before I start cutting, I need to run a test grid to find the best settings for cardboard. Since cardboard is quite flammable, you want to cut and engrave as quickly as possible with the lower power to avoid flare ups. Luckily, the ACMER P3 is really fast!
I started with the fastest speed possible and scaled it down from there. It looks like 2000mm/m at 30% power is the best setting for this cardboard.

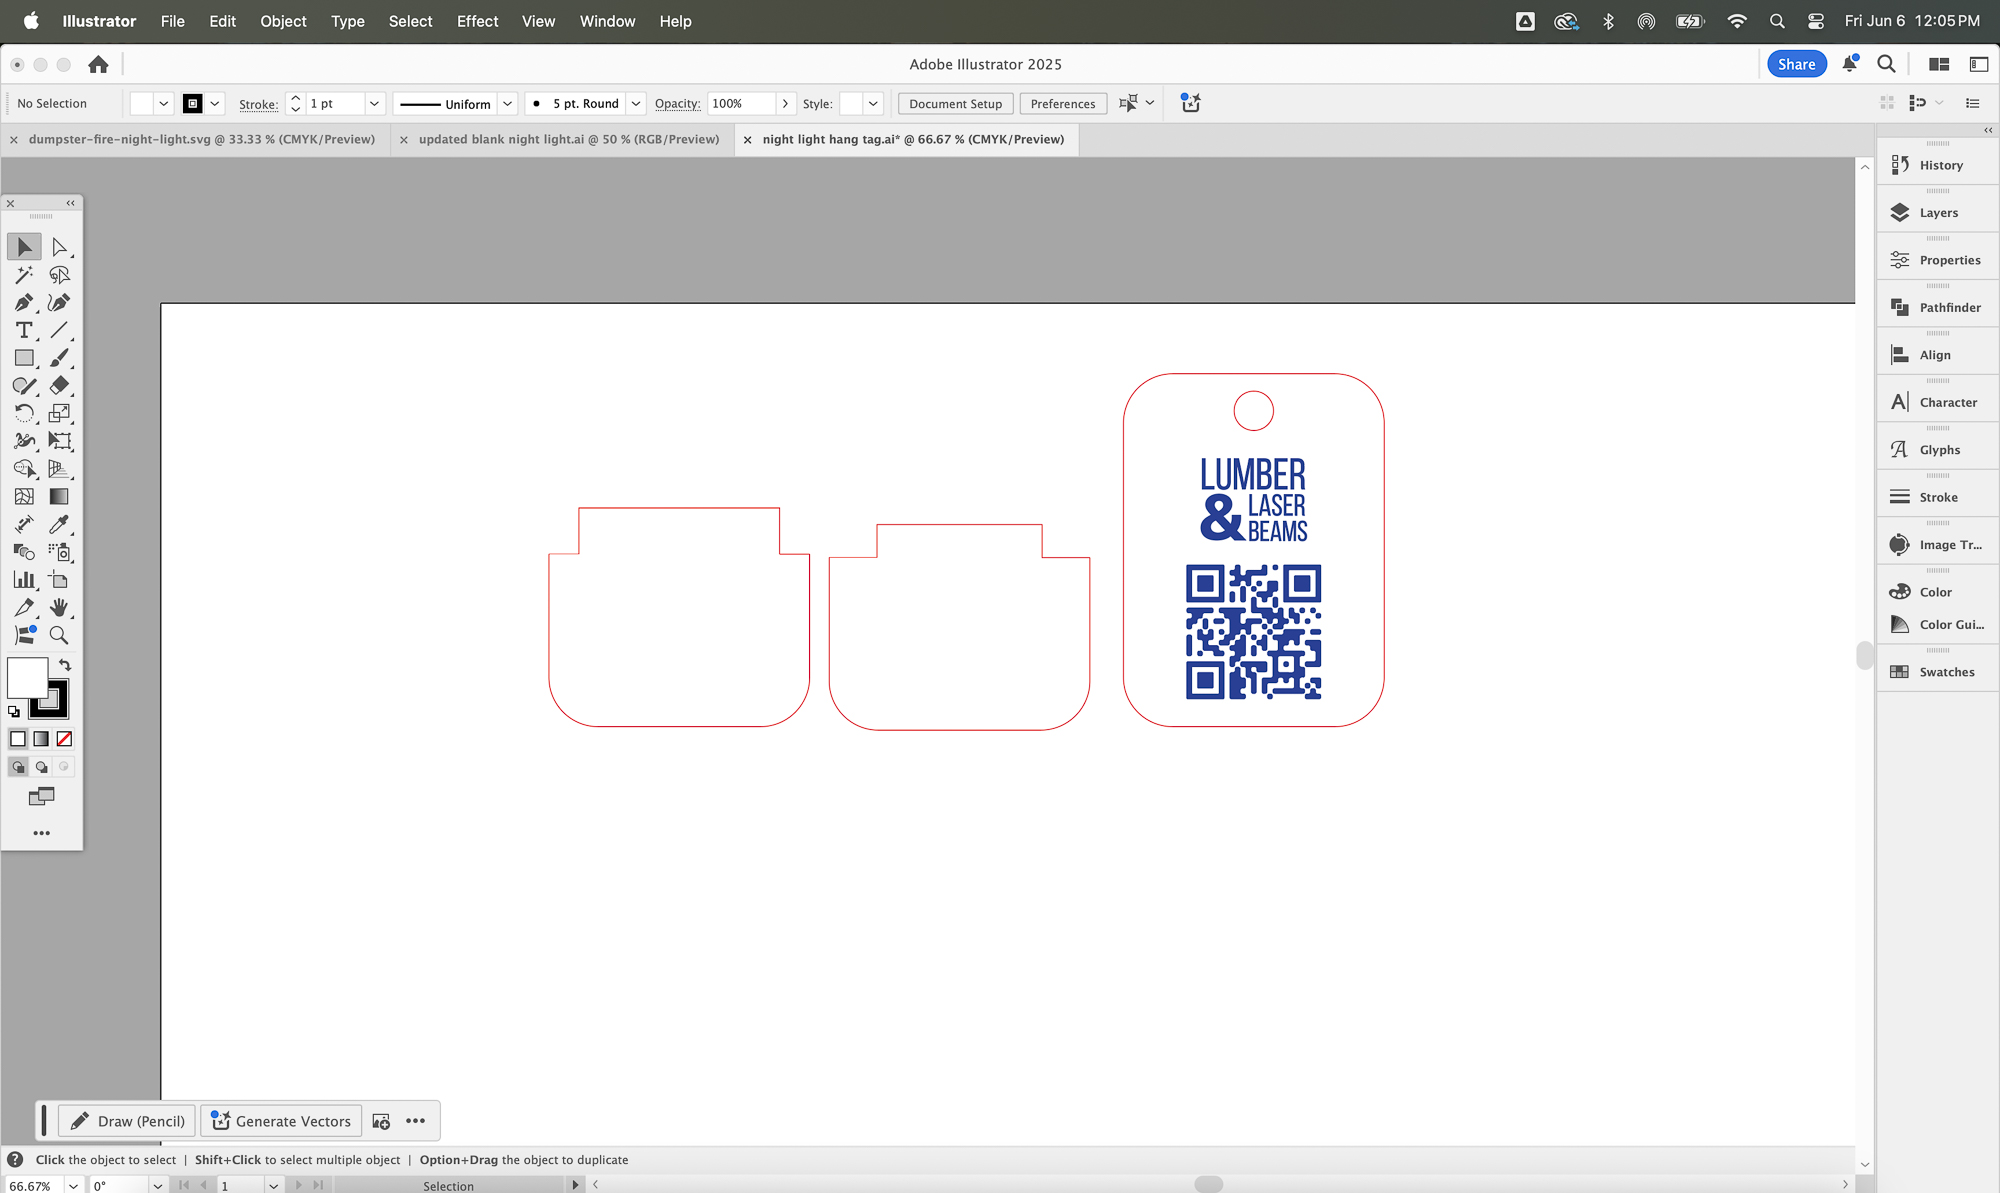
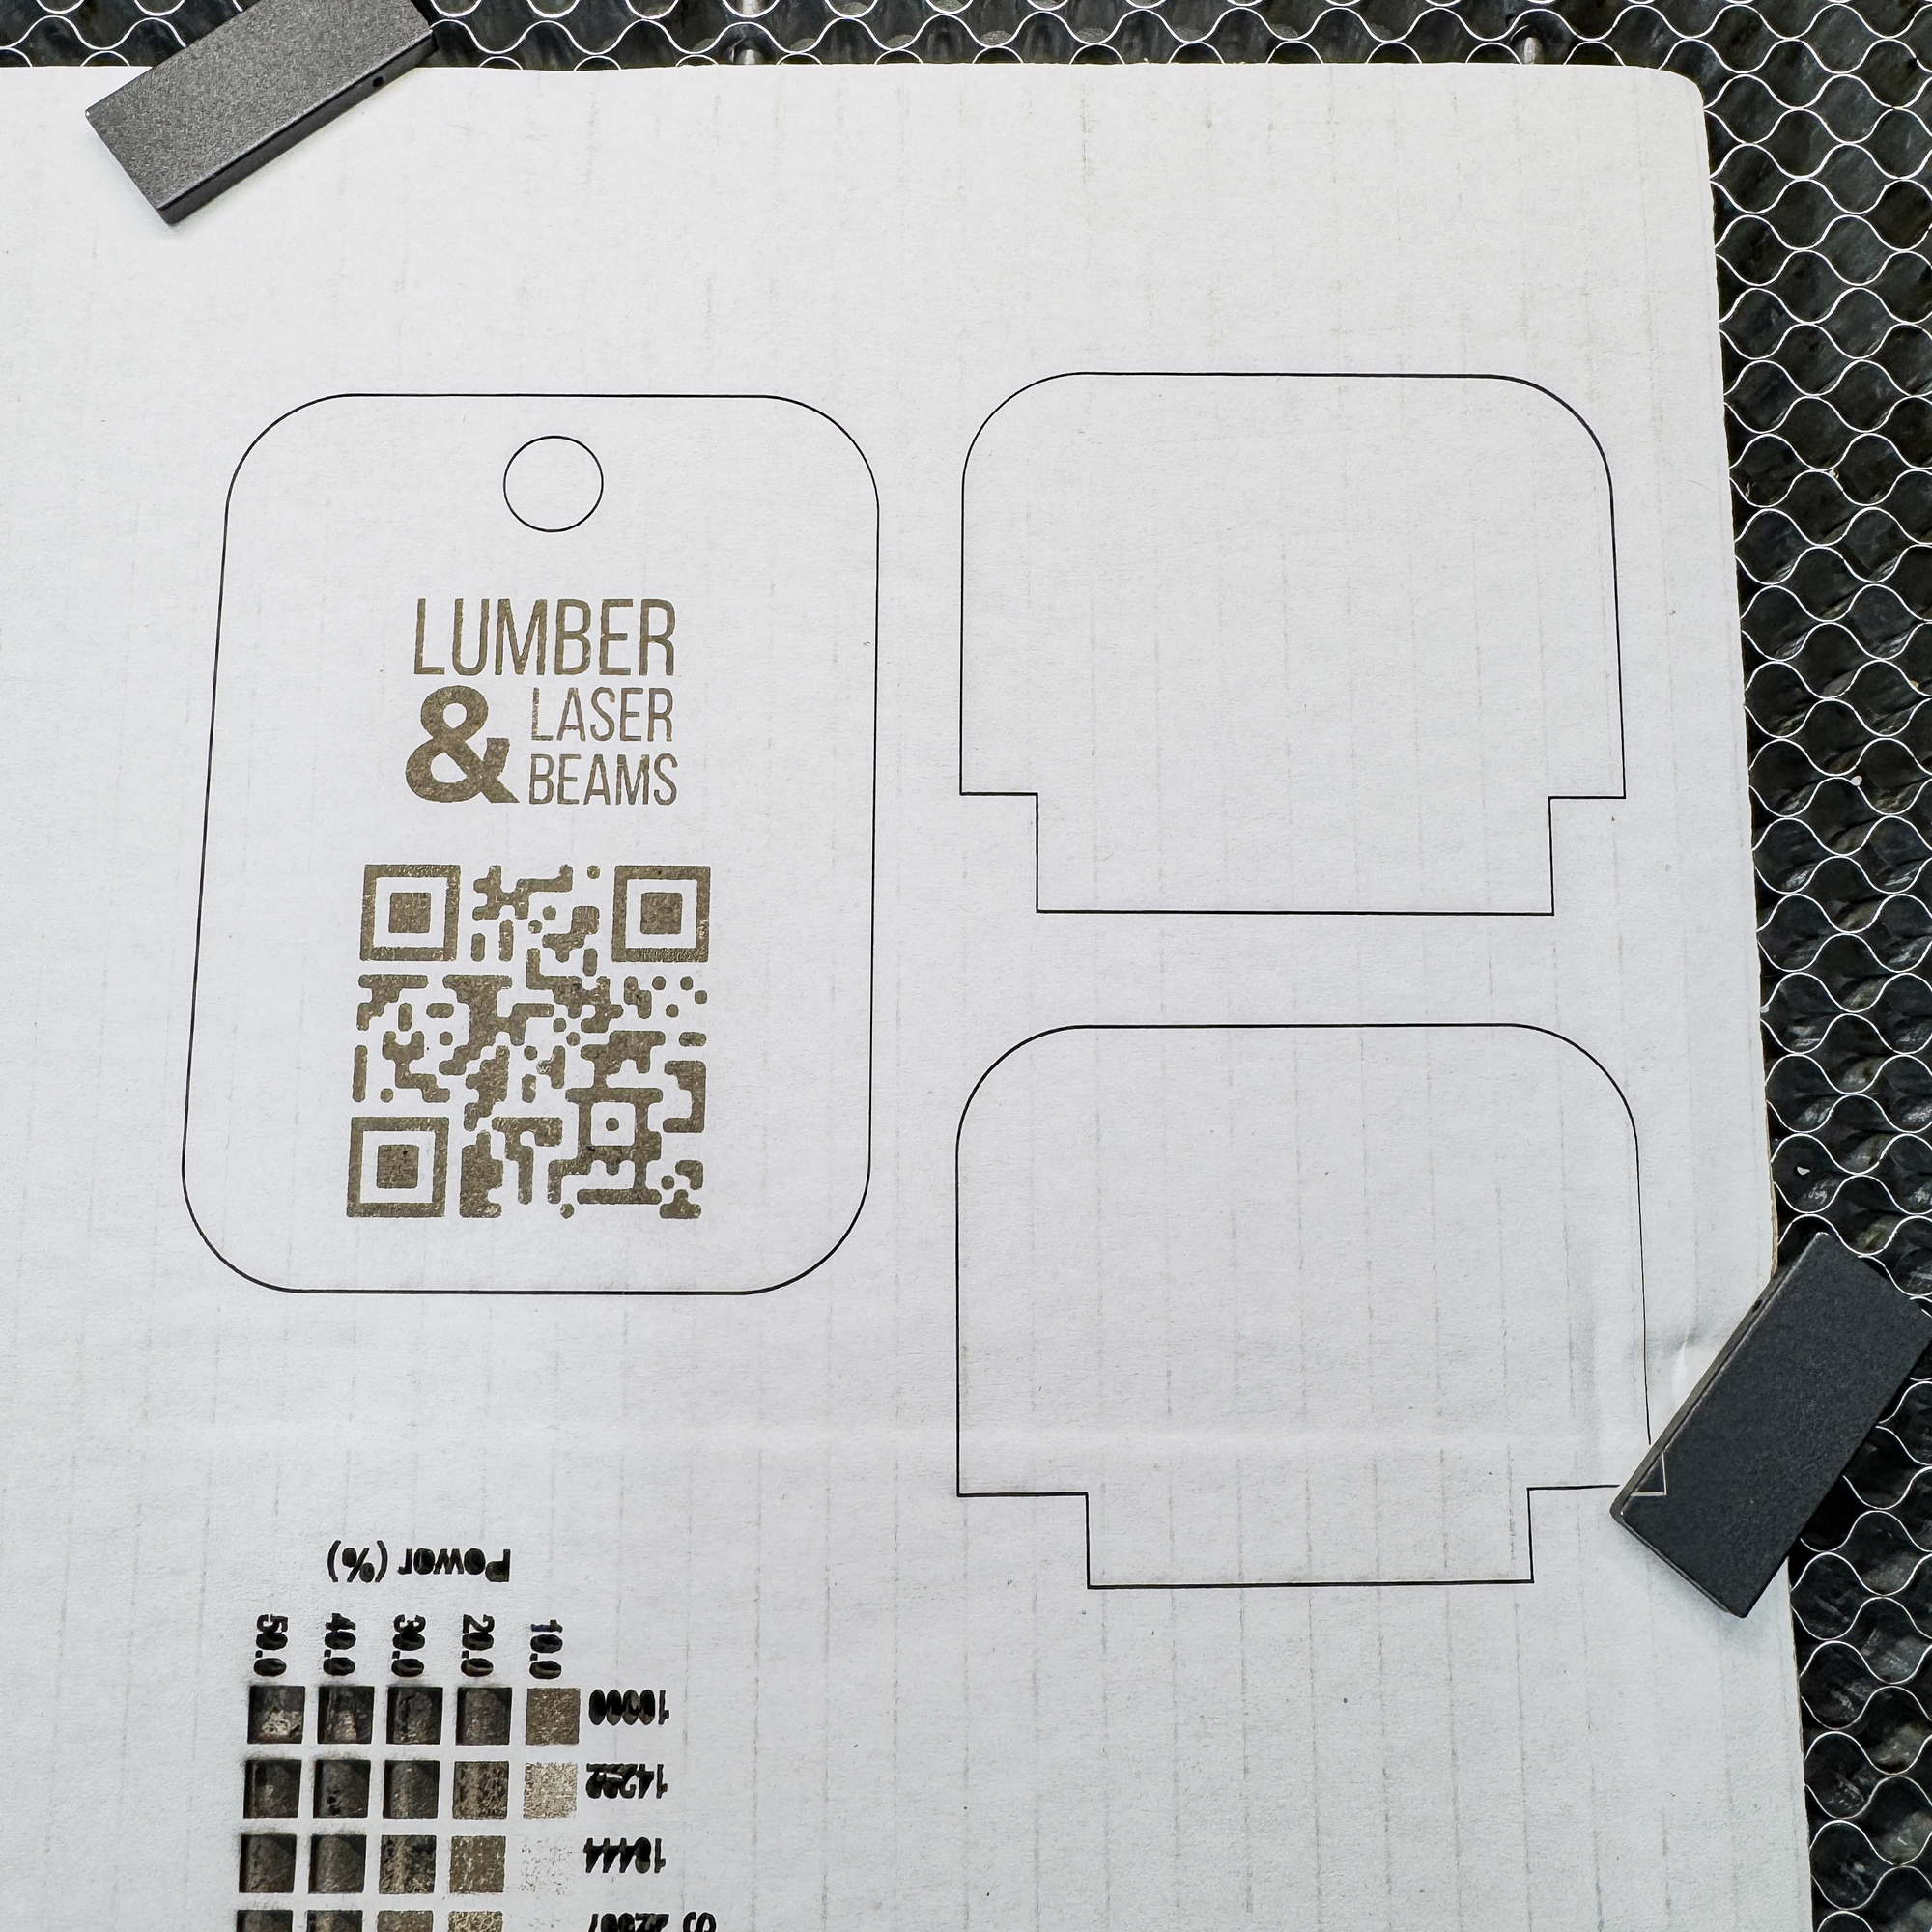
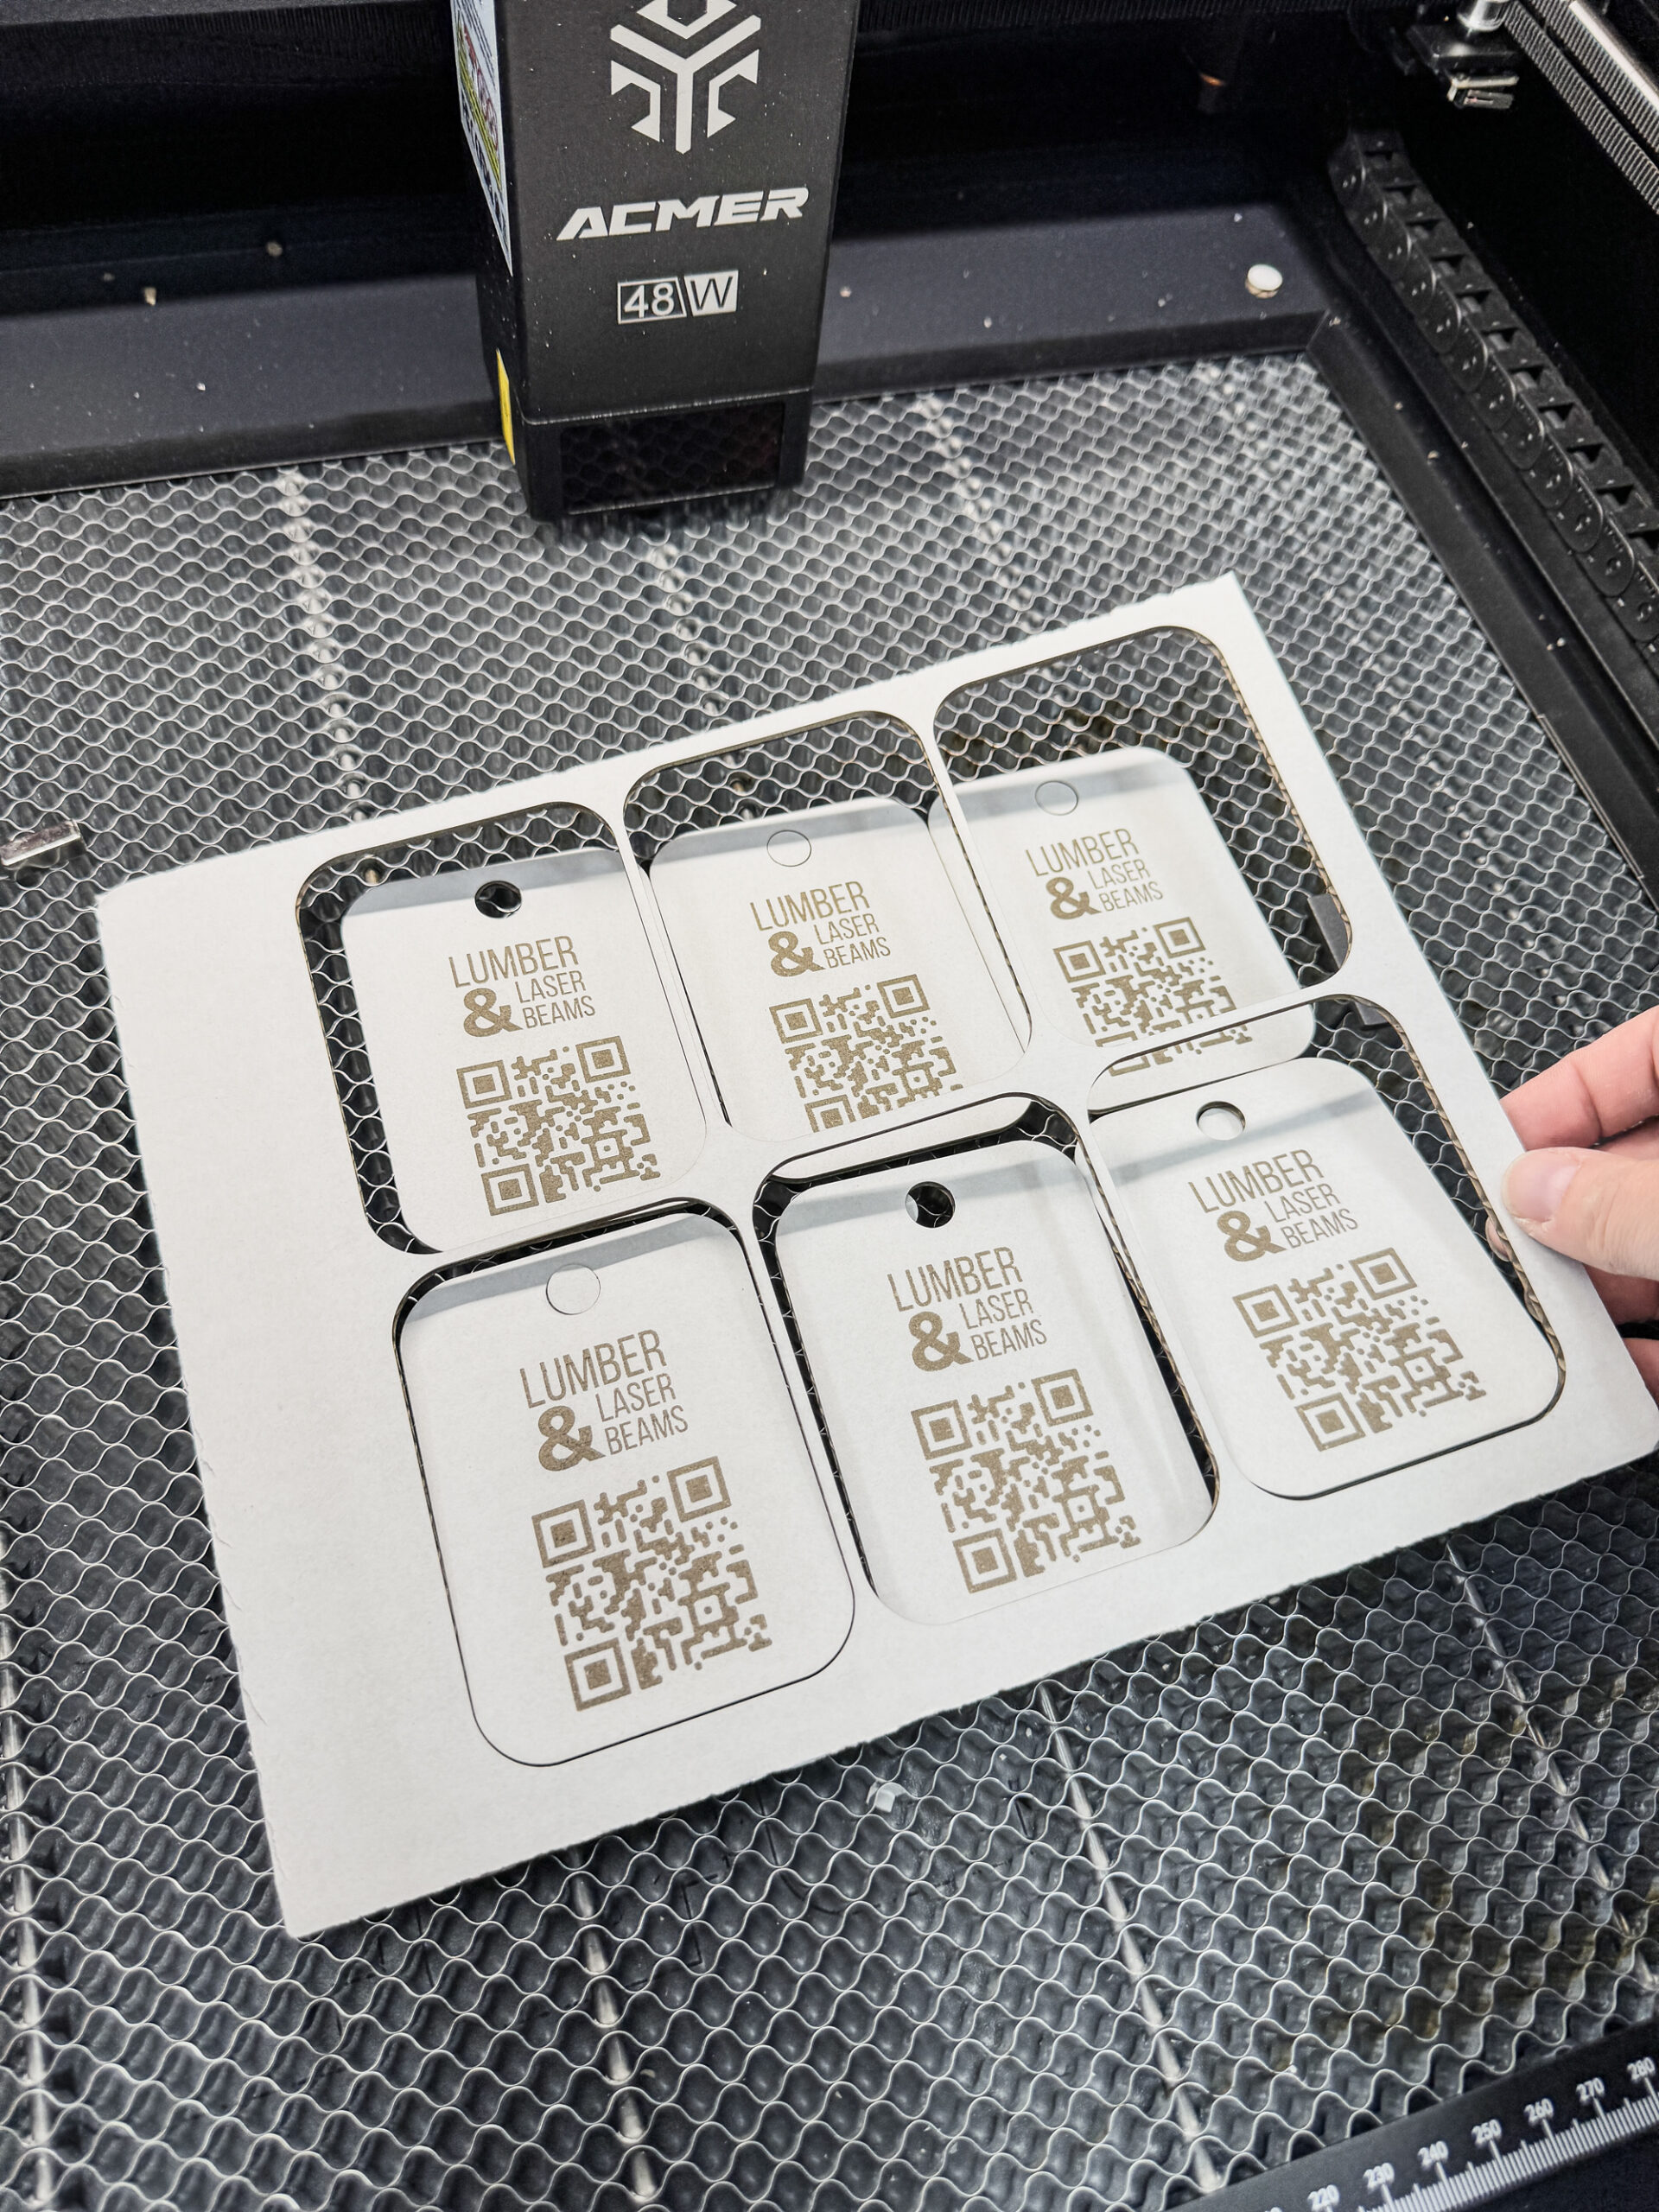
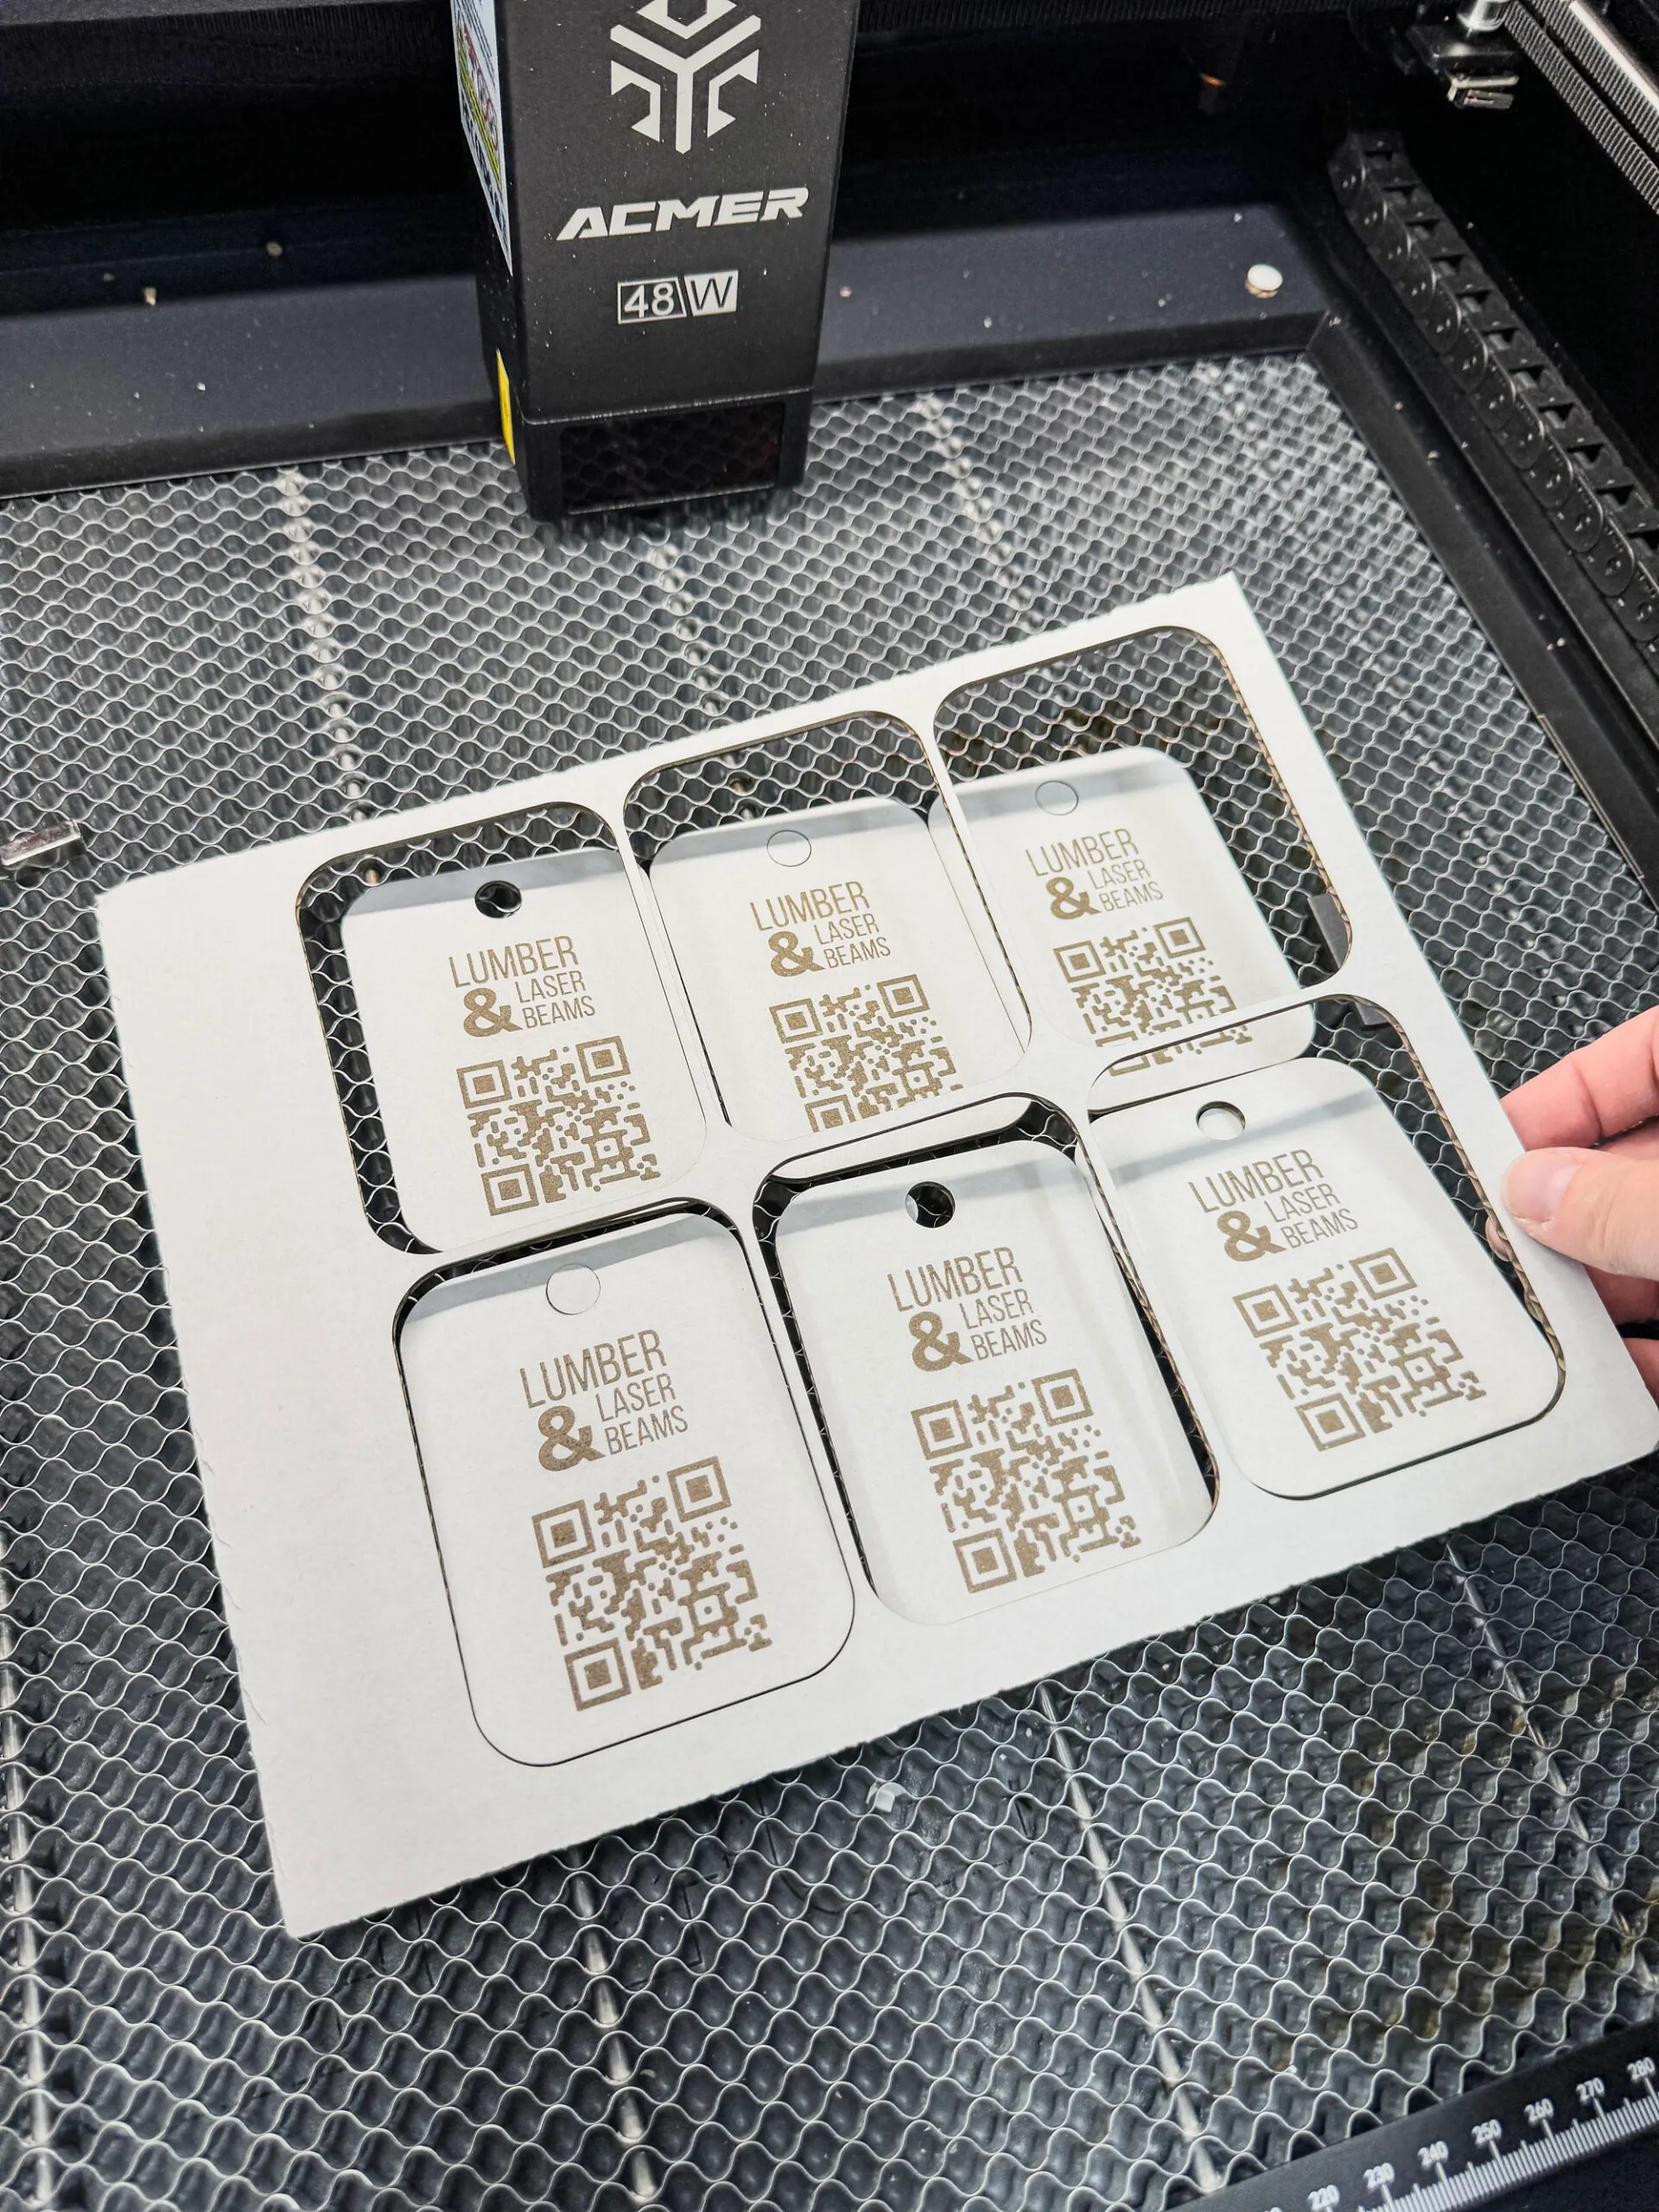
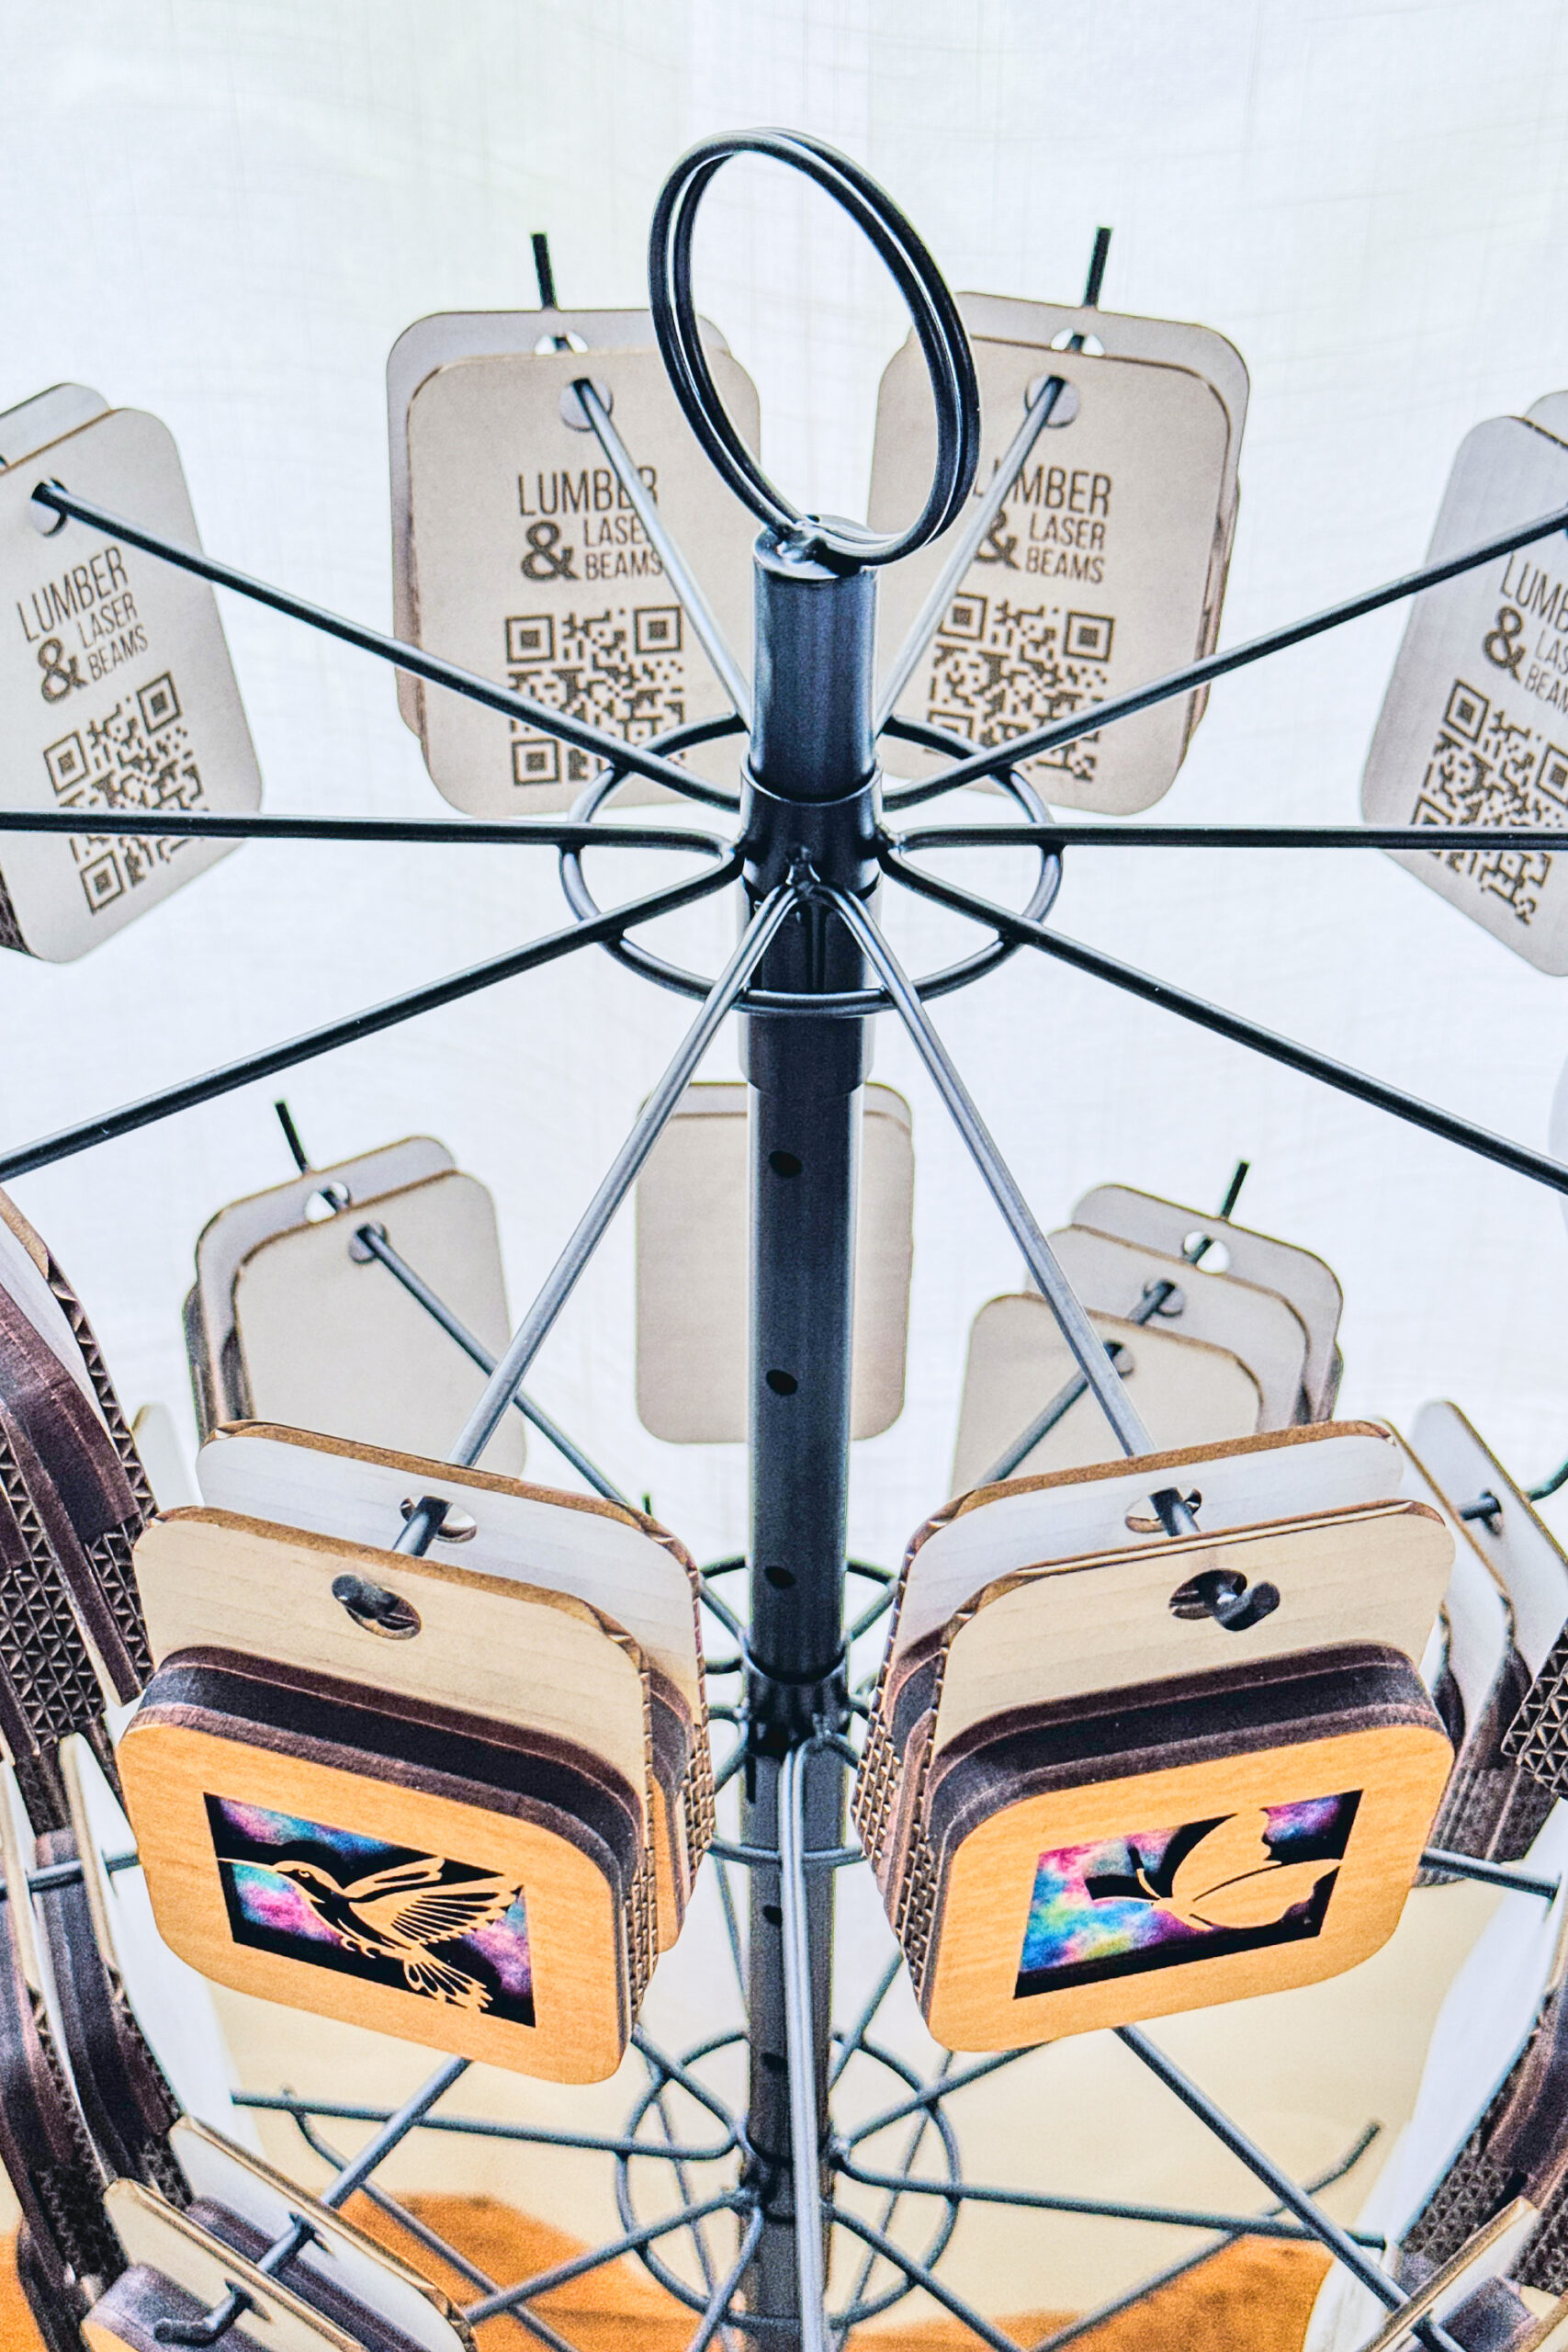
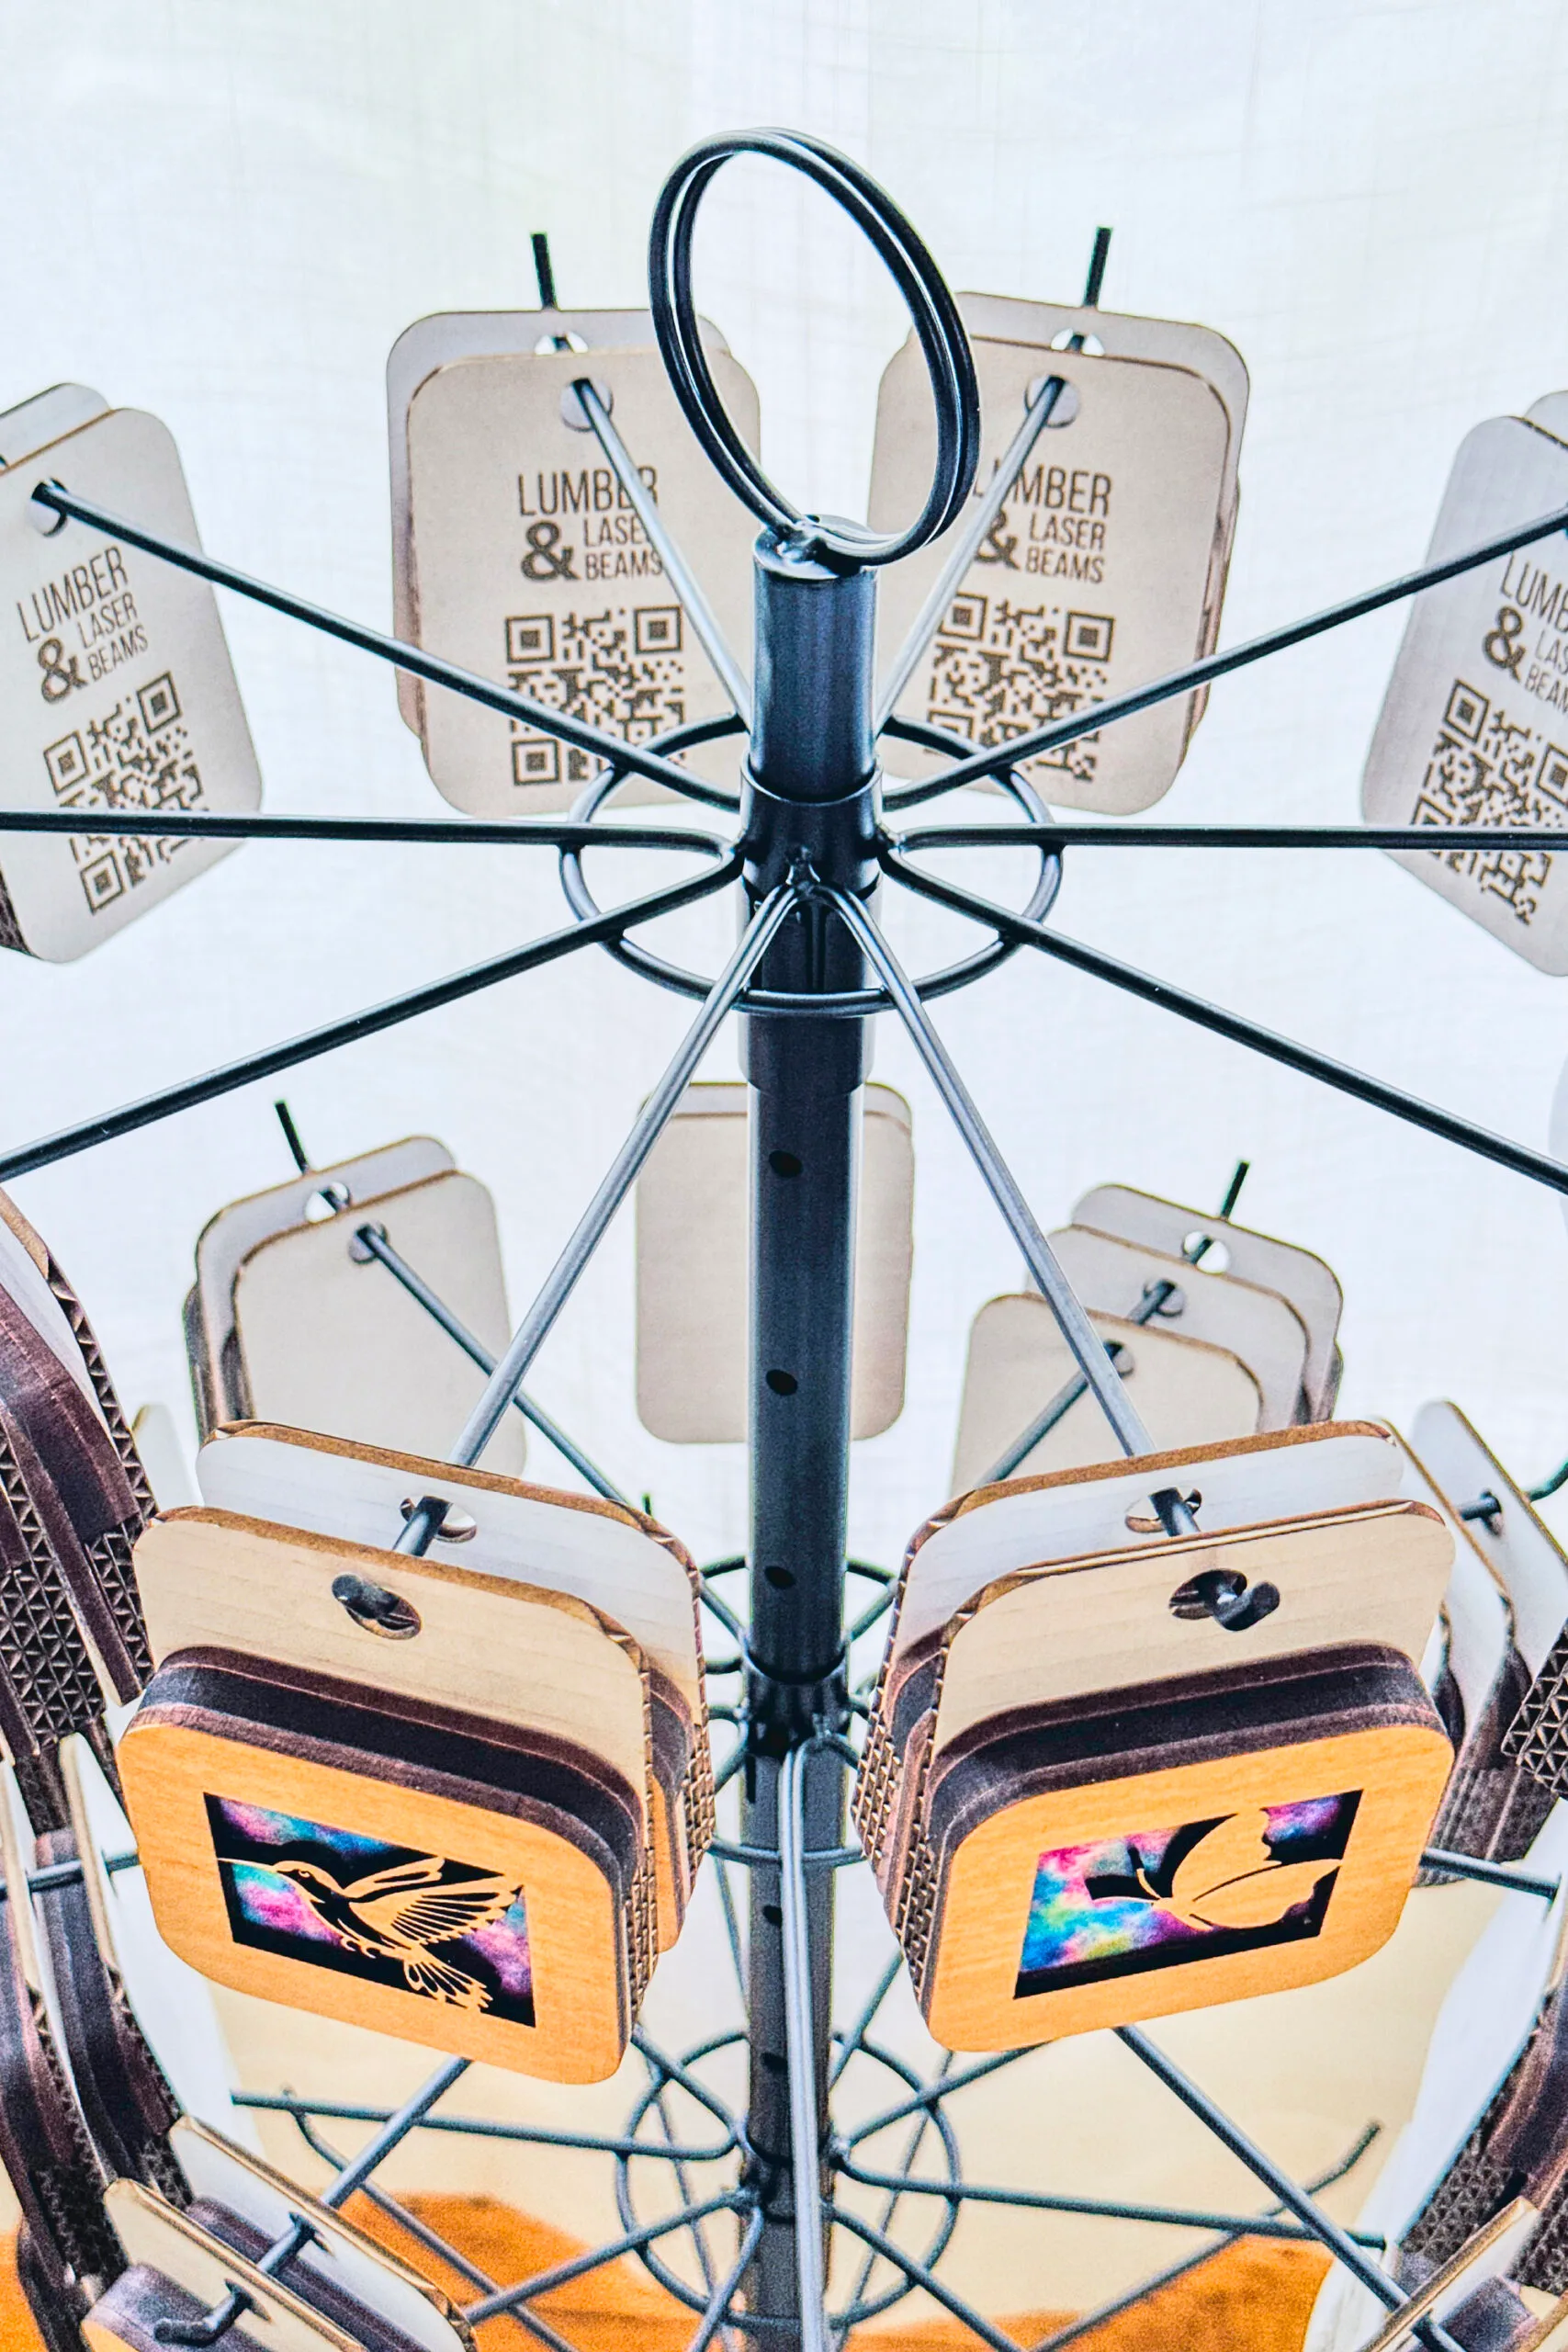
I also wanted to engrave my brand, Lumber & Laser Beams, and a QR code for customers to shop online for designs that sold out at the show. It needed to be dark enough for the camera to read, but didn't burn through the top layer of cardboard and leave soot everywhere.
Again, I started with the fastest speed and worked down from there. Around 40000mm/m at 50% power gave me a great result!
With those settings saved, I was ready to test out my packaging design!
Cut and Test the Packaging
I imported my packaging design into Lightburn and tried it out on a corner of the test cardboard. I forgot to move that hold down clamp and accidentally marked it with the laser, but it turned out fine!
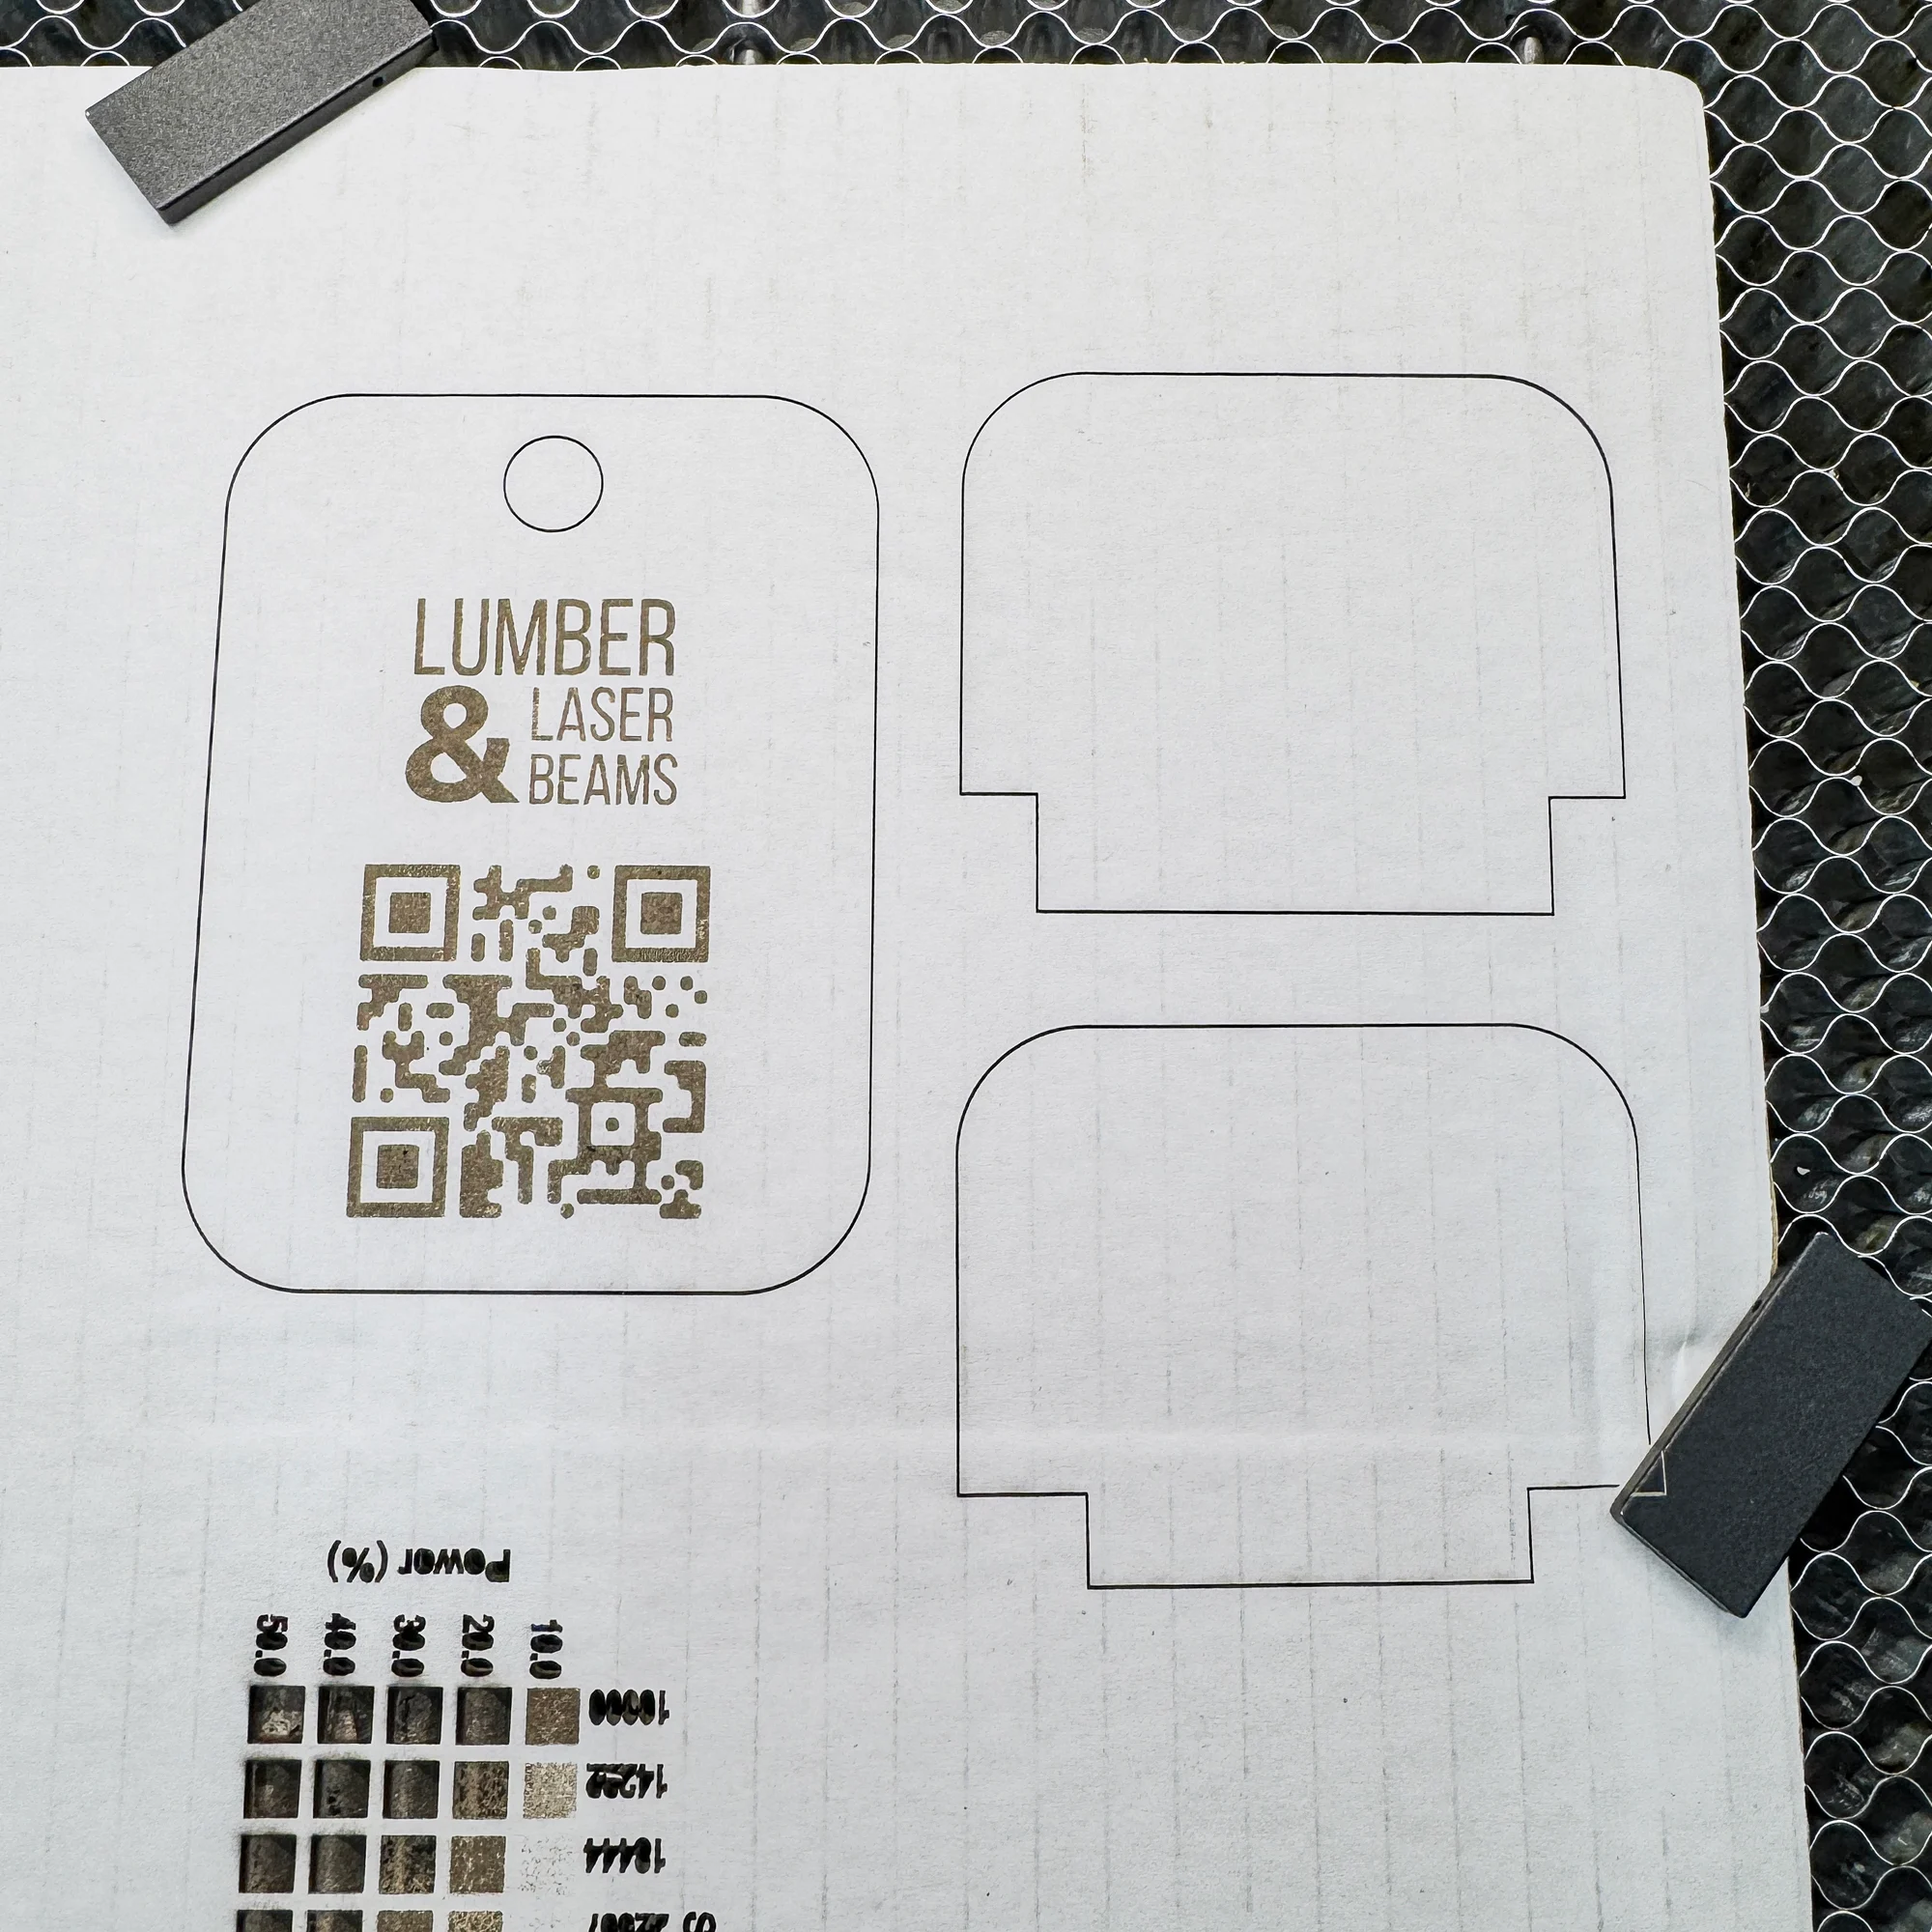
The two lower pieces are glued together first, then attached to the engraved backer.
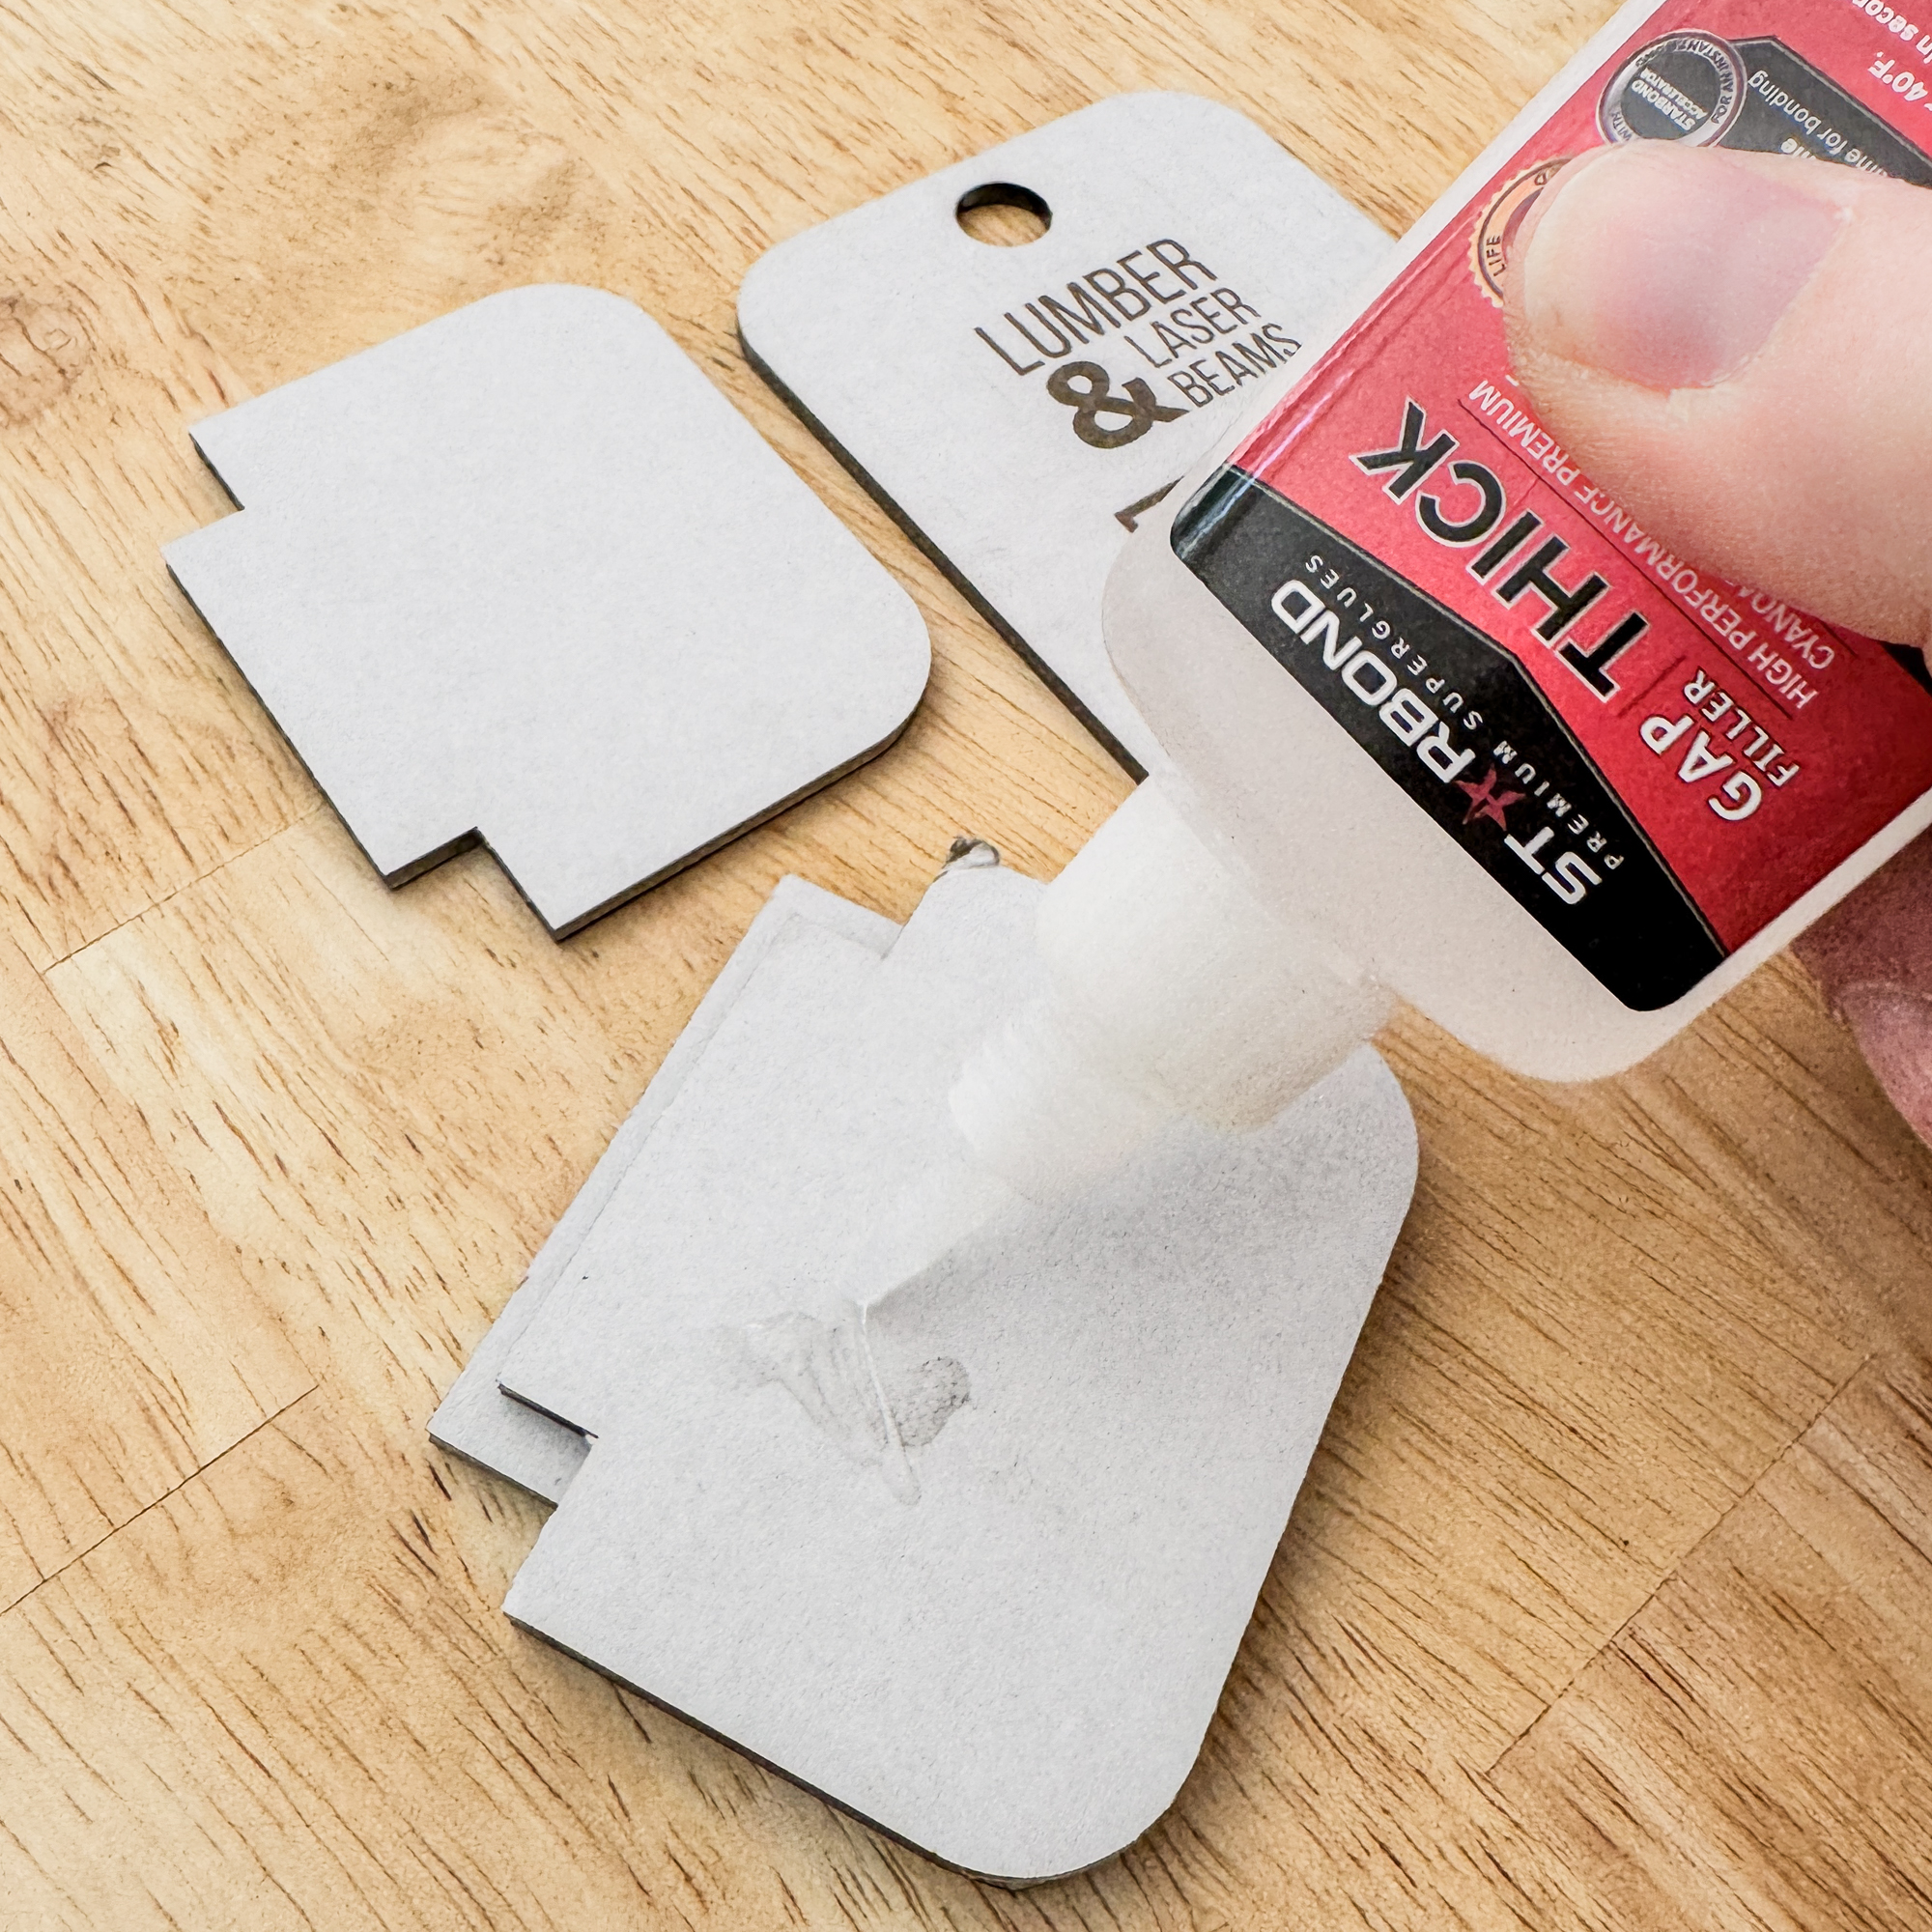
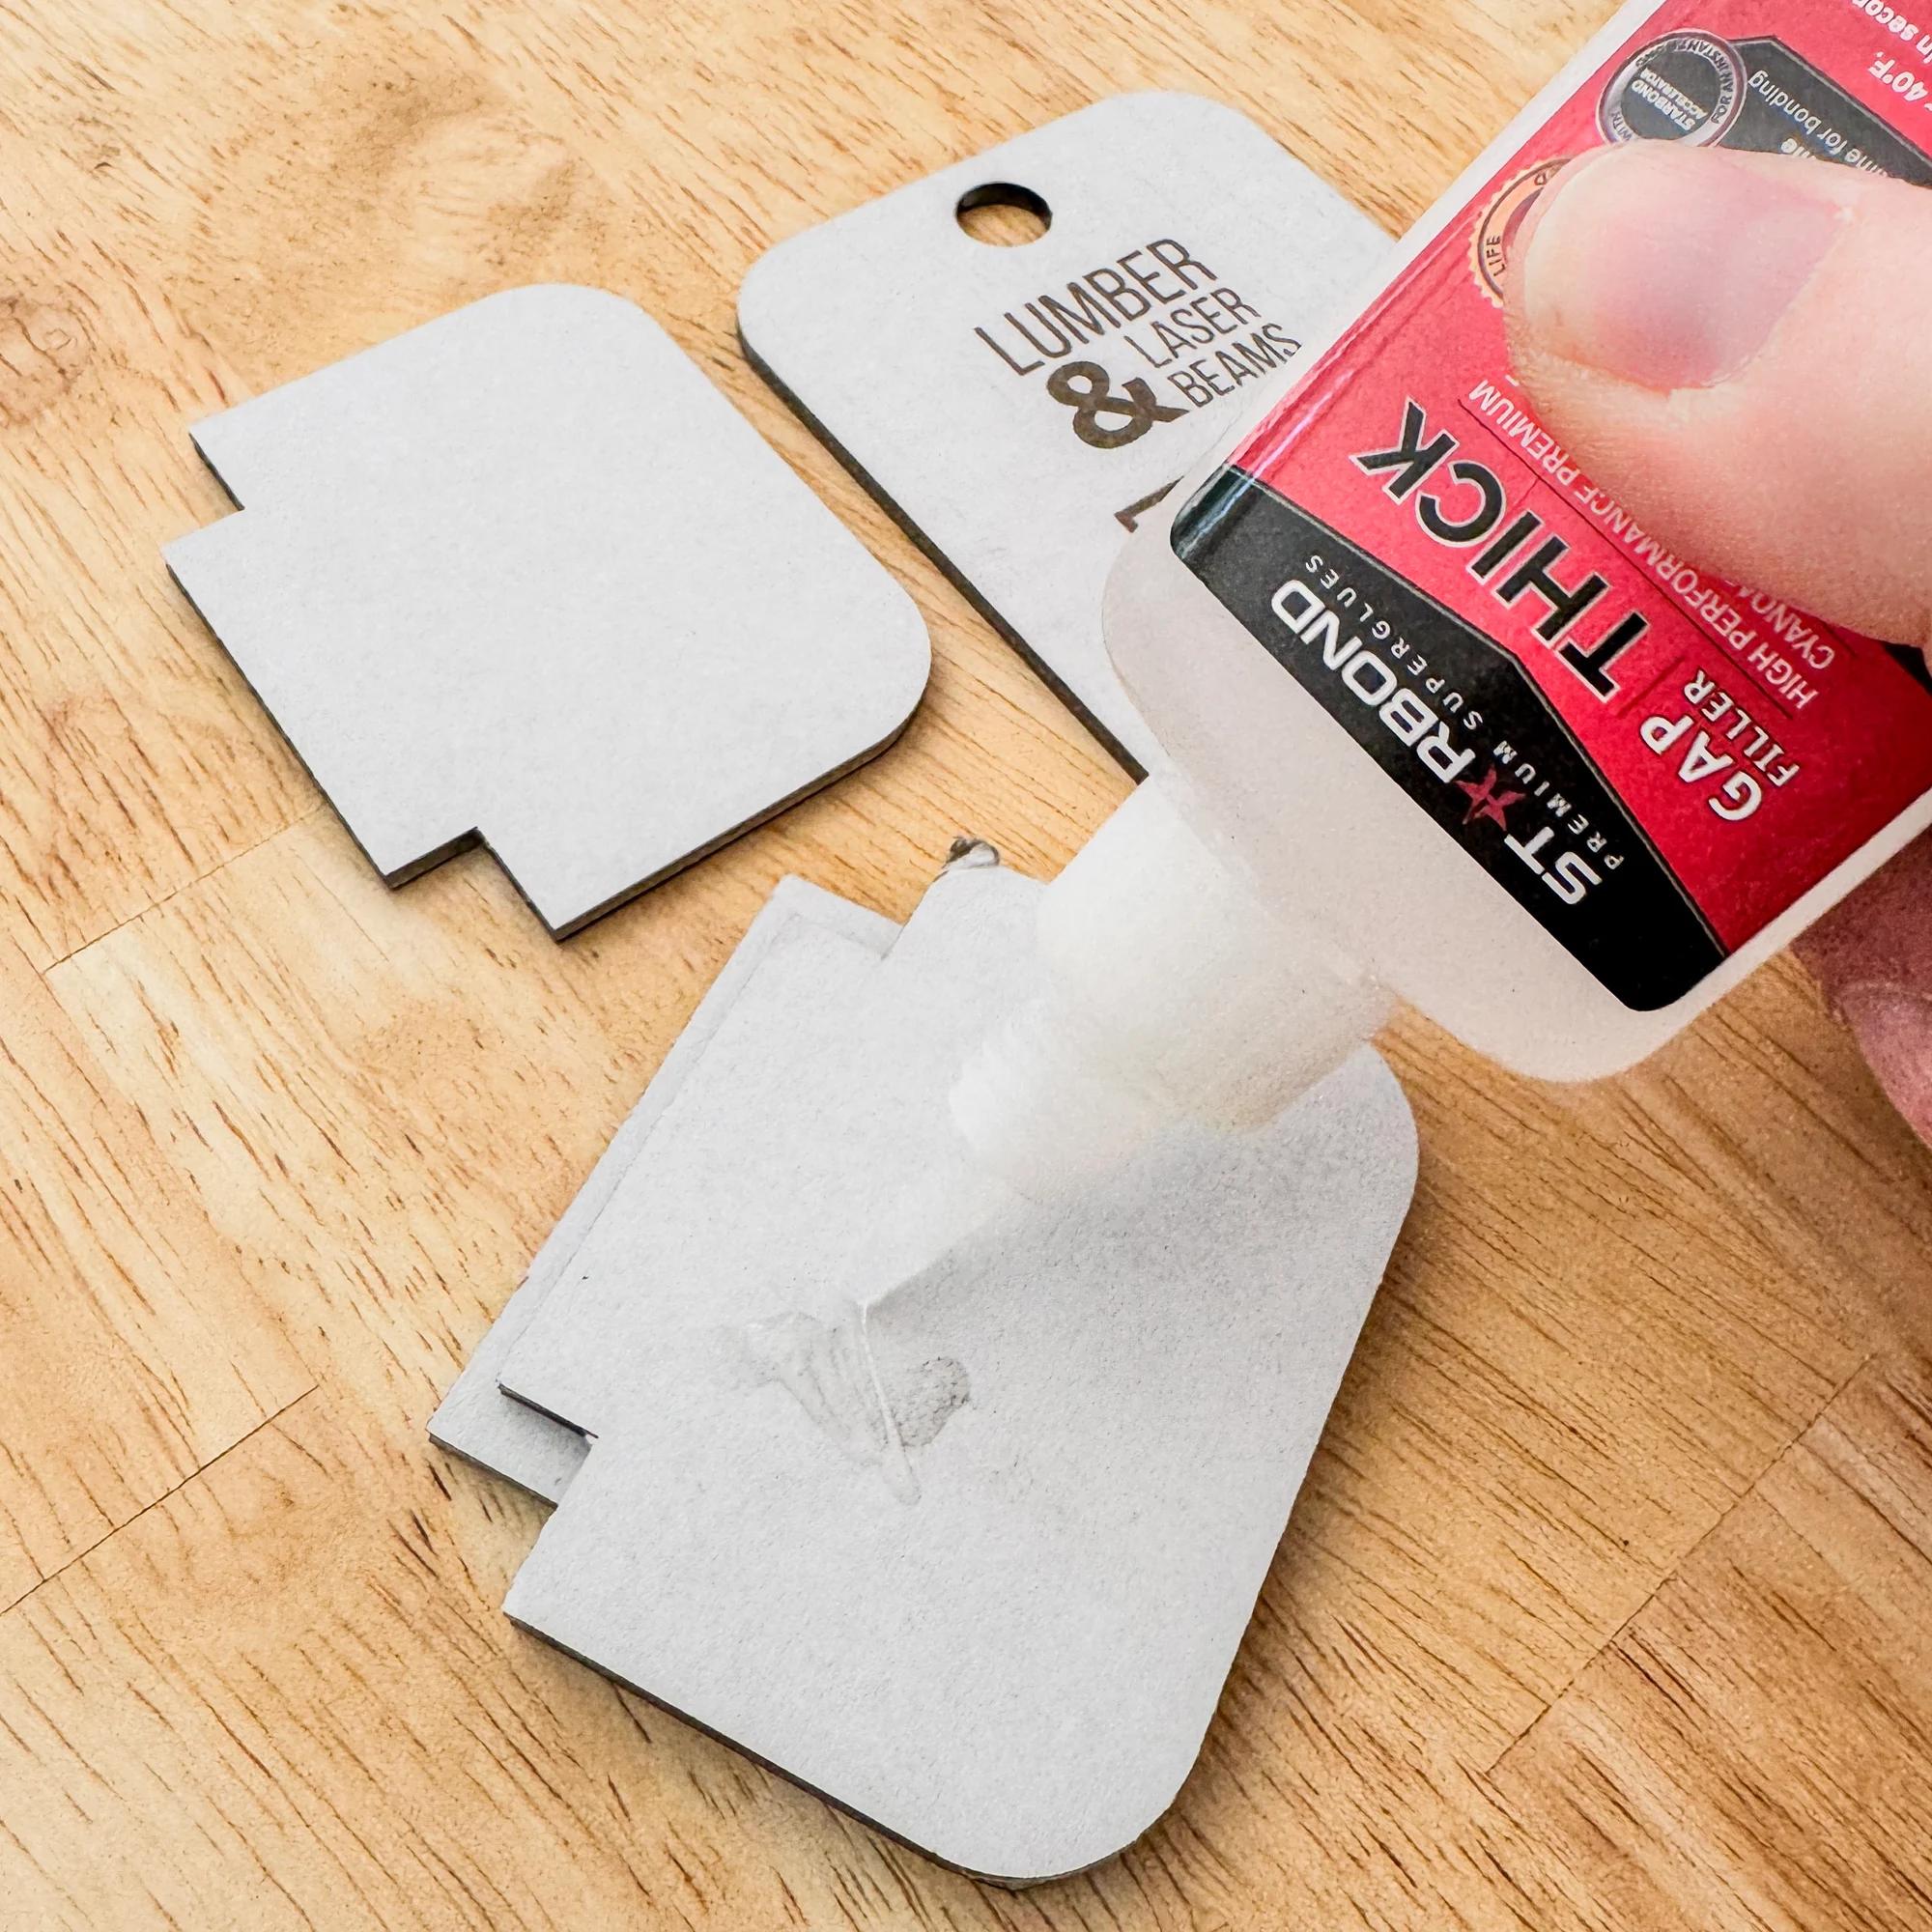
I ended up needing a third piece of cardboard to bring it flush with the back of the night light cover, but it fit perfectly!
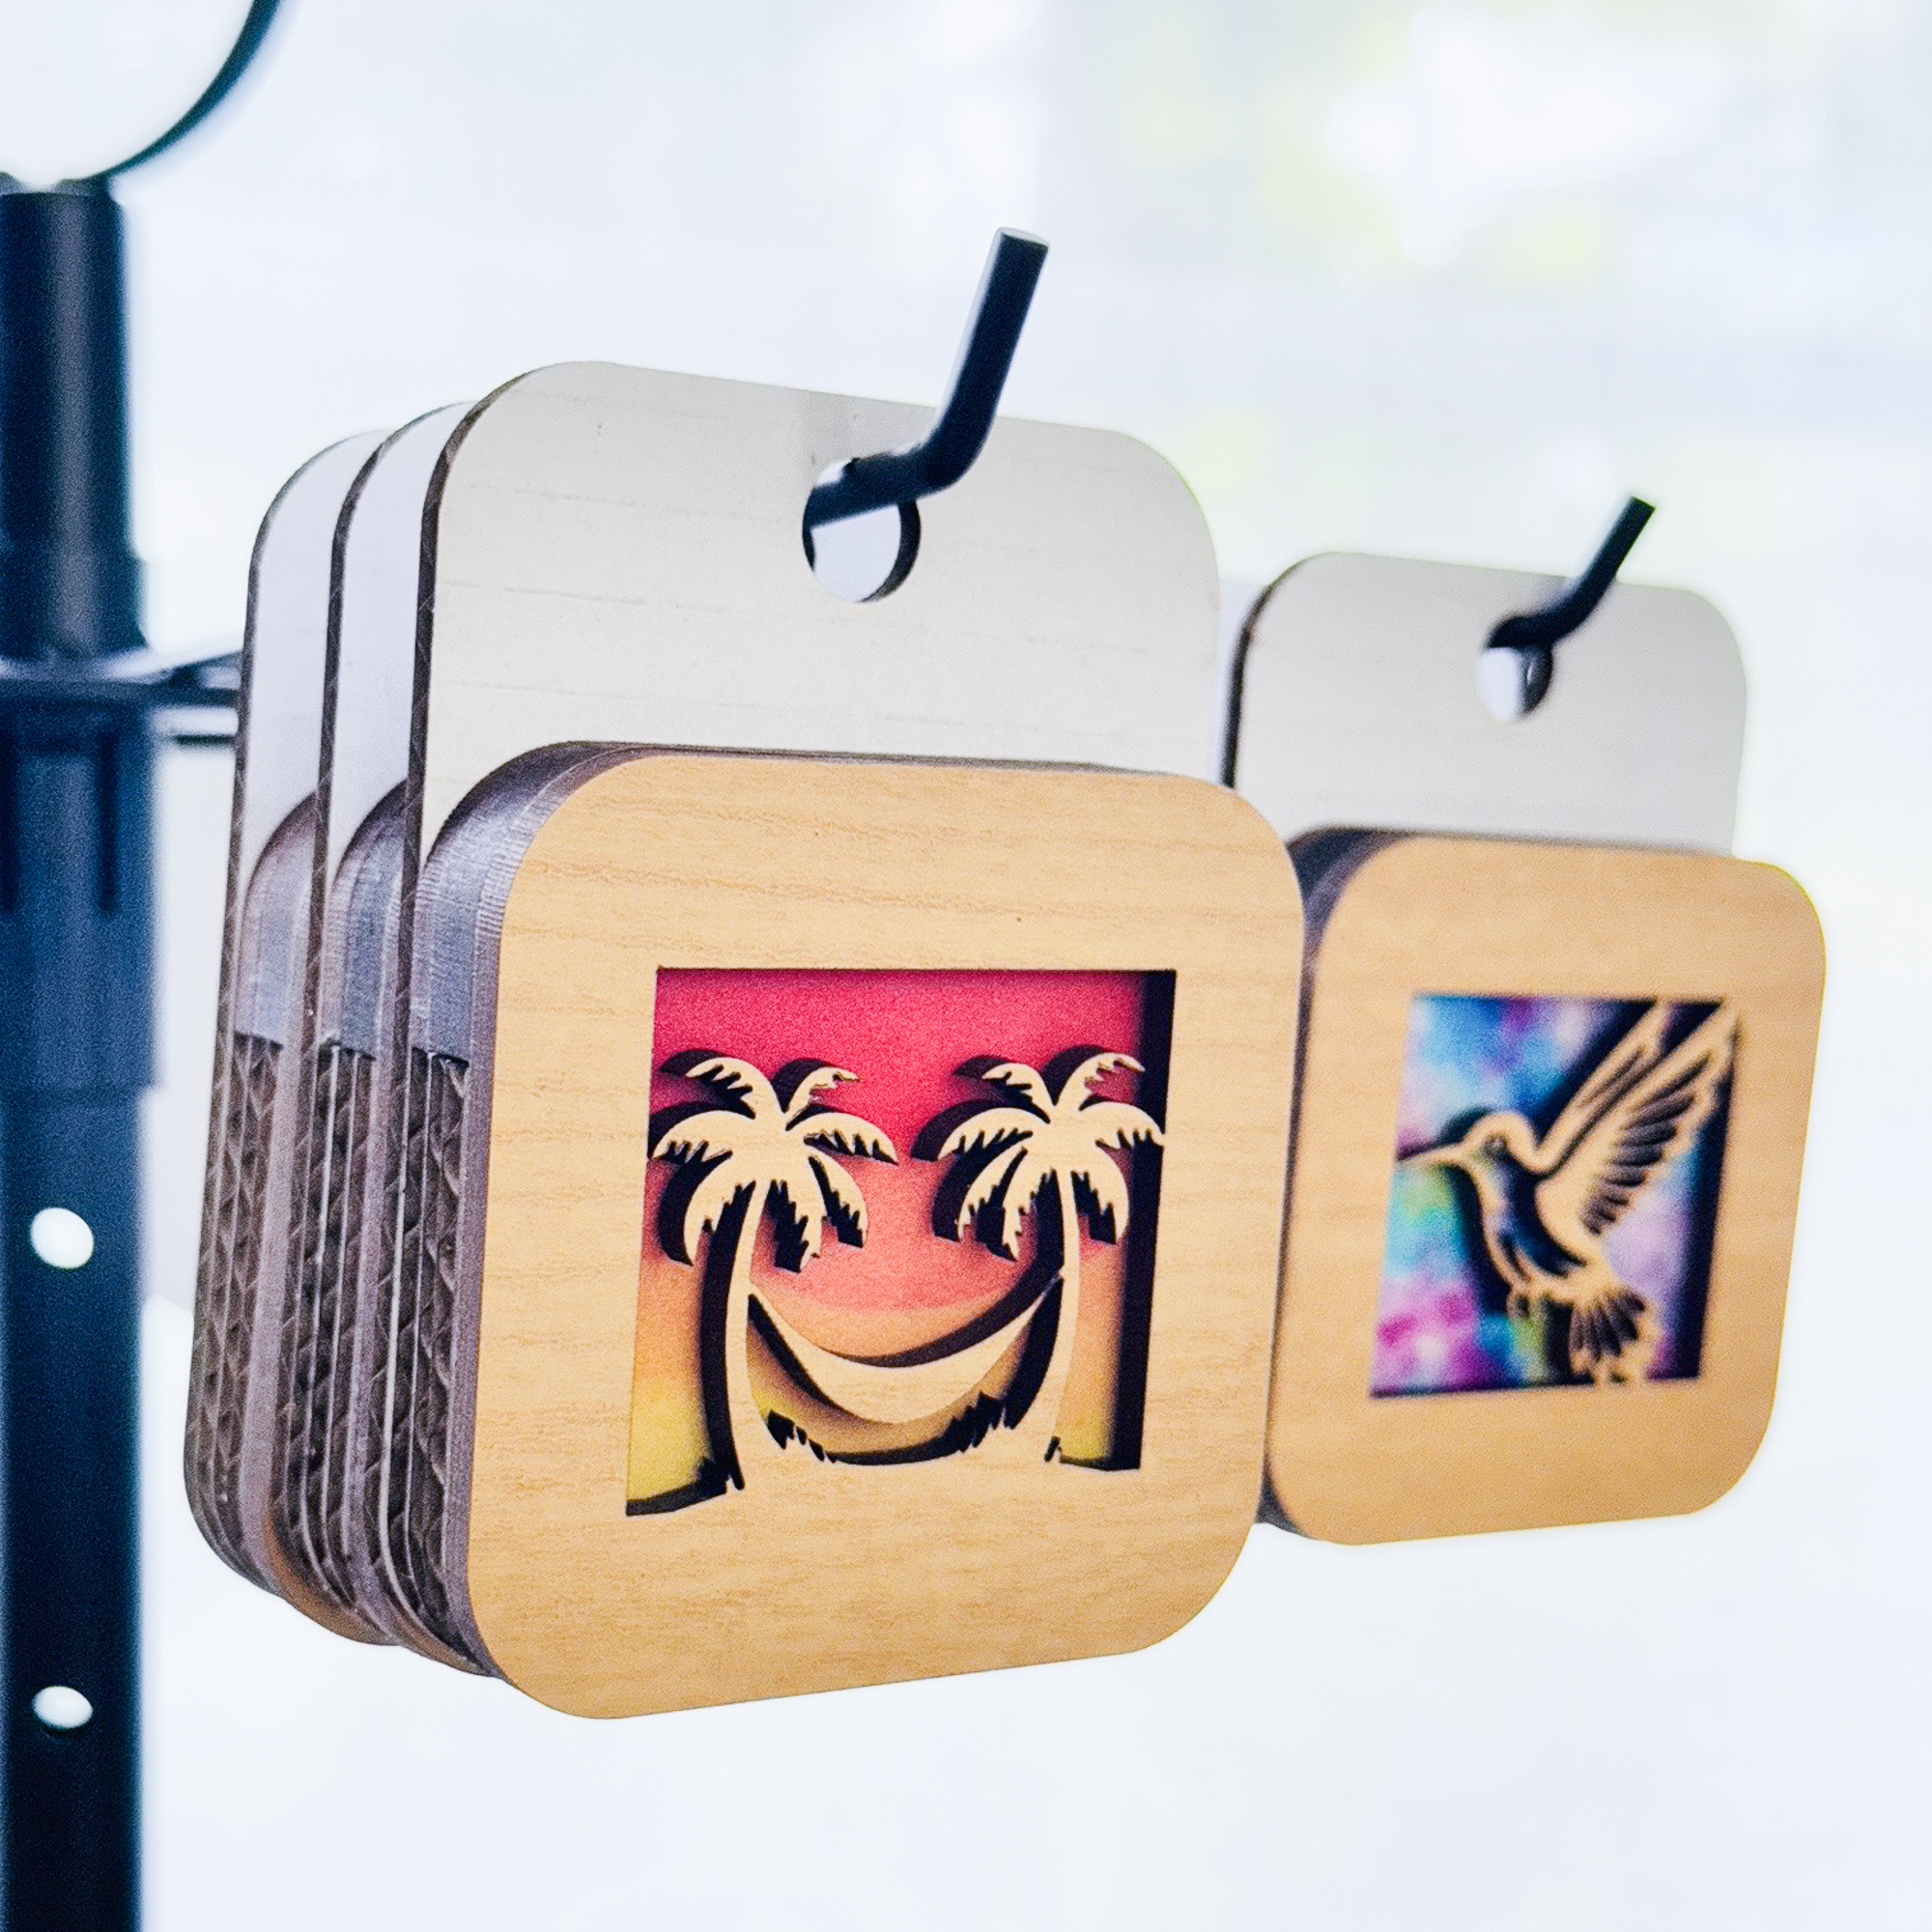
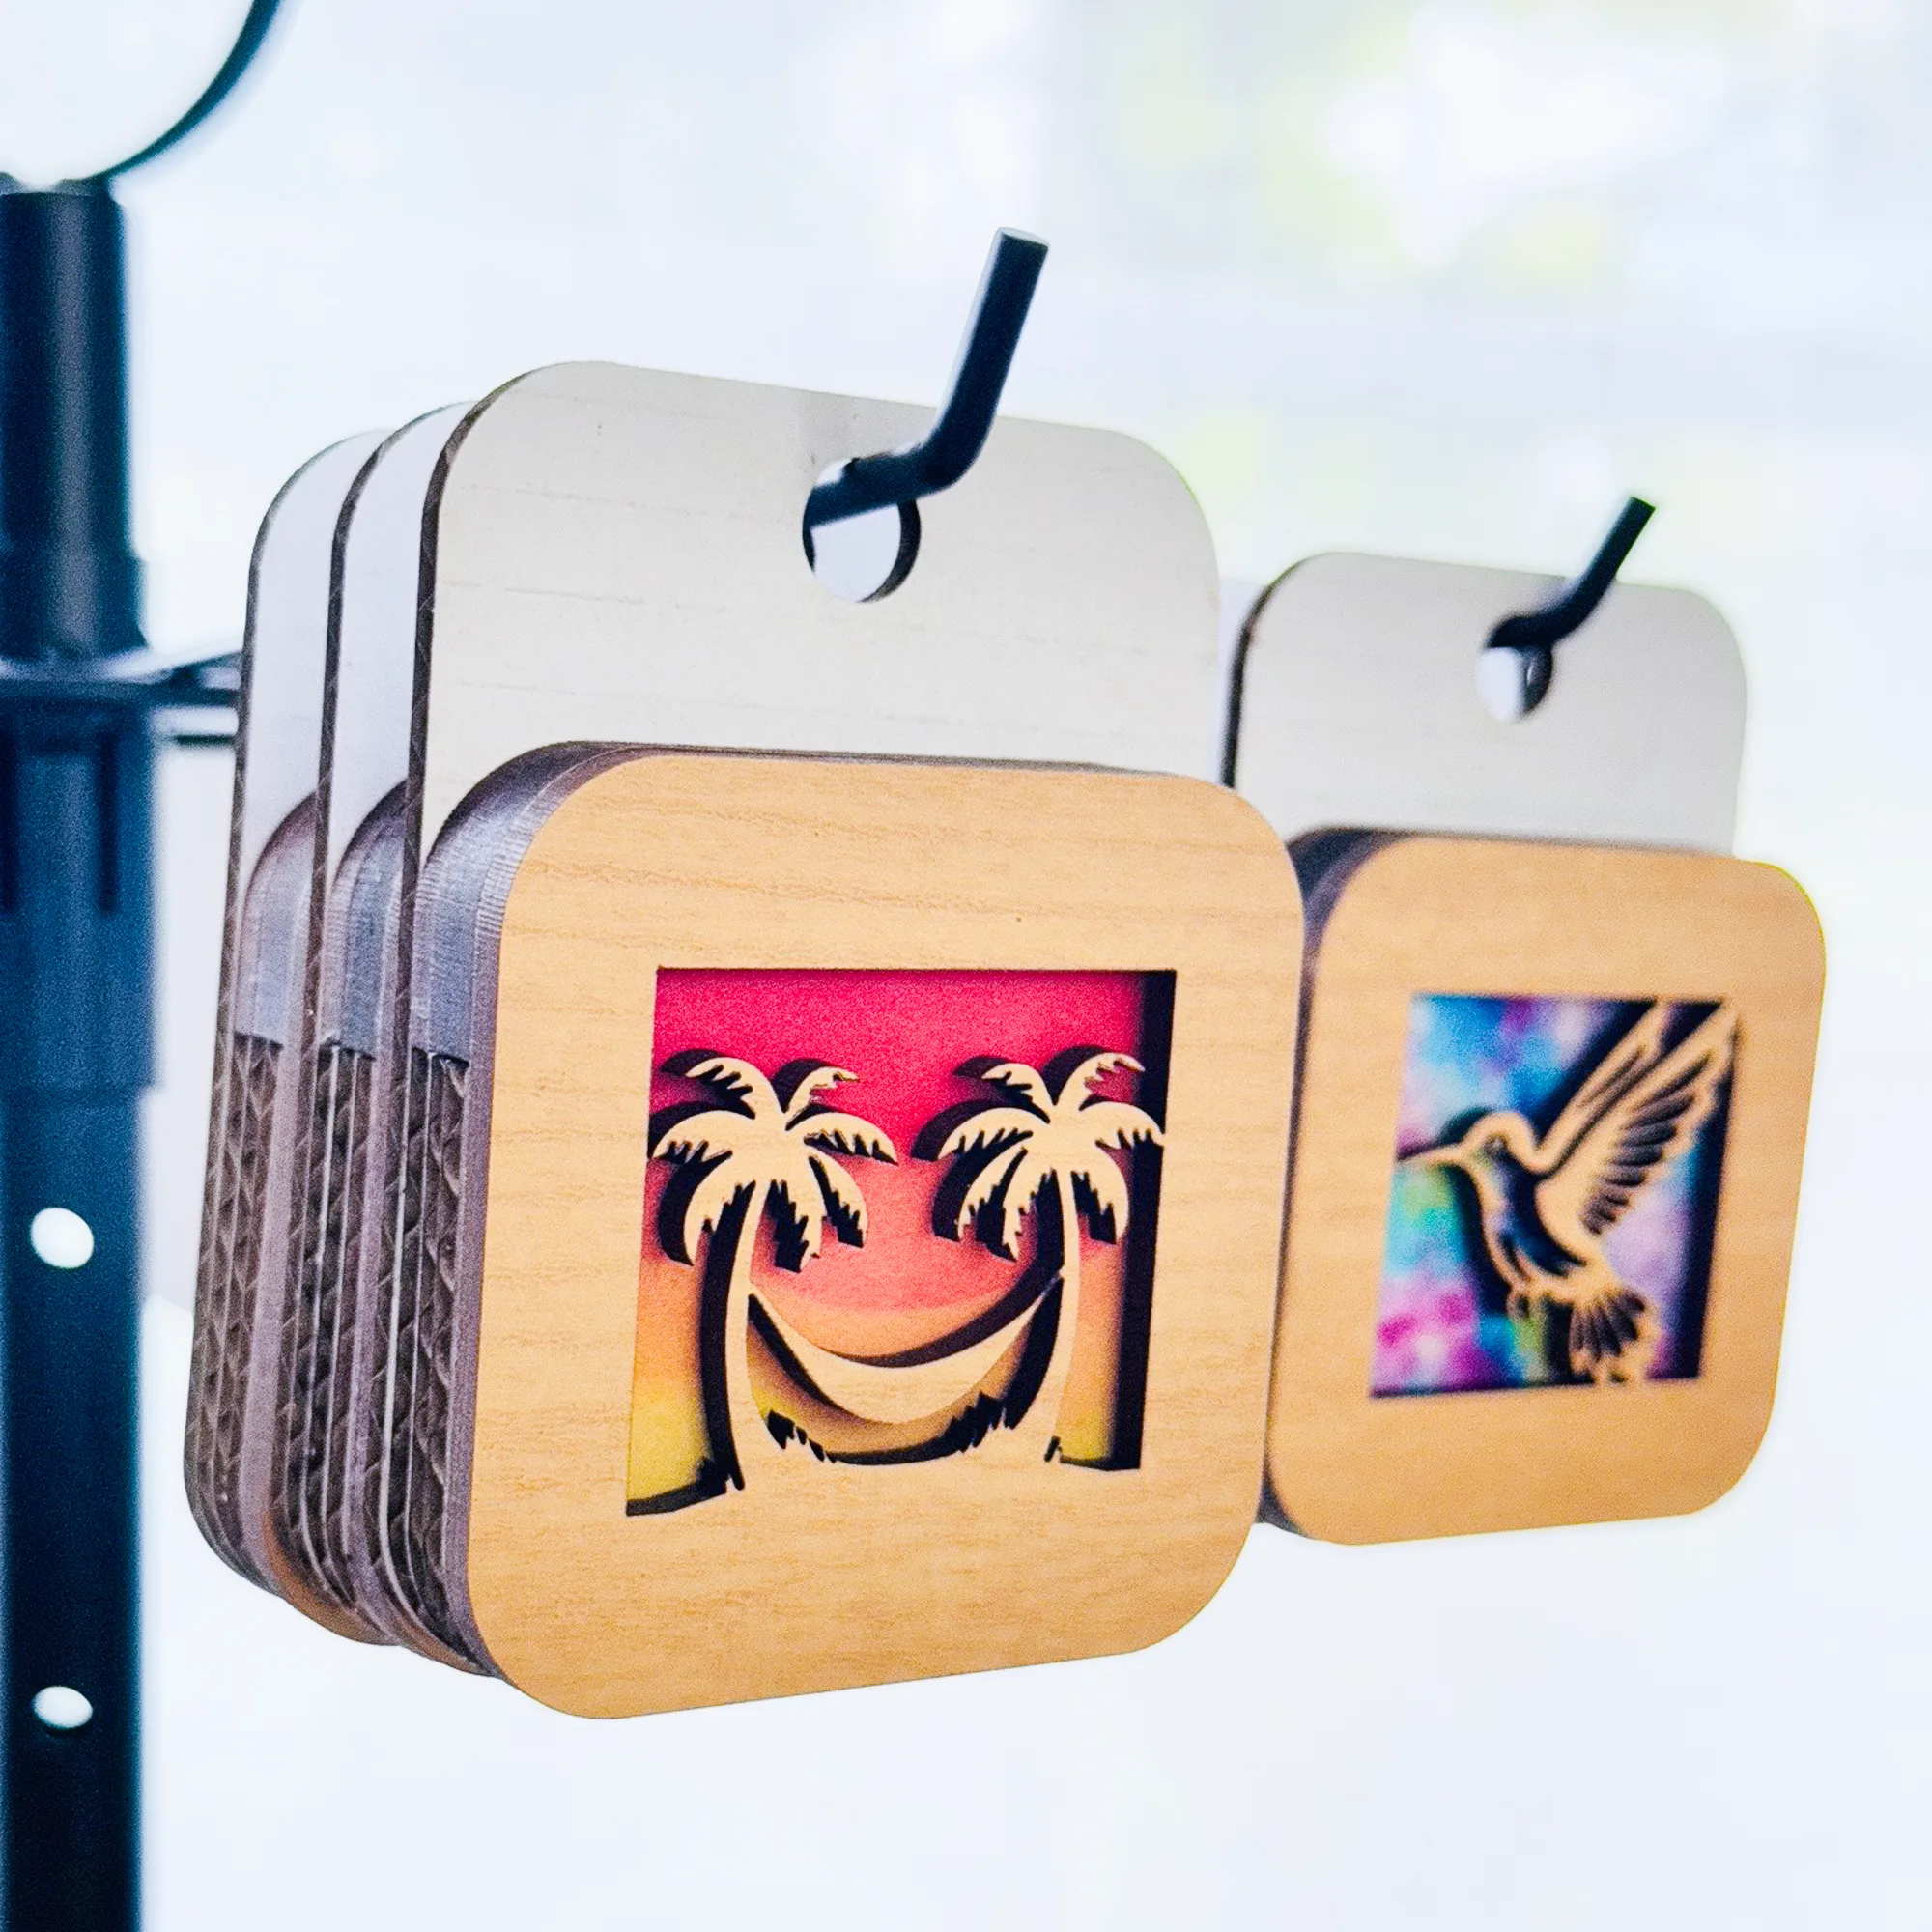
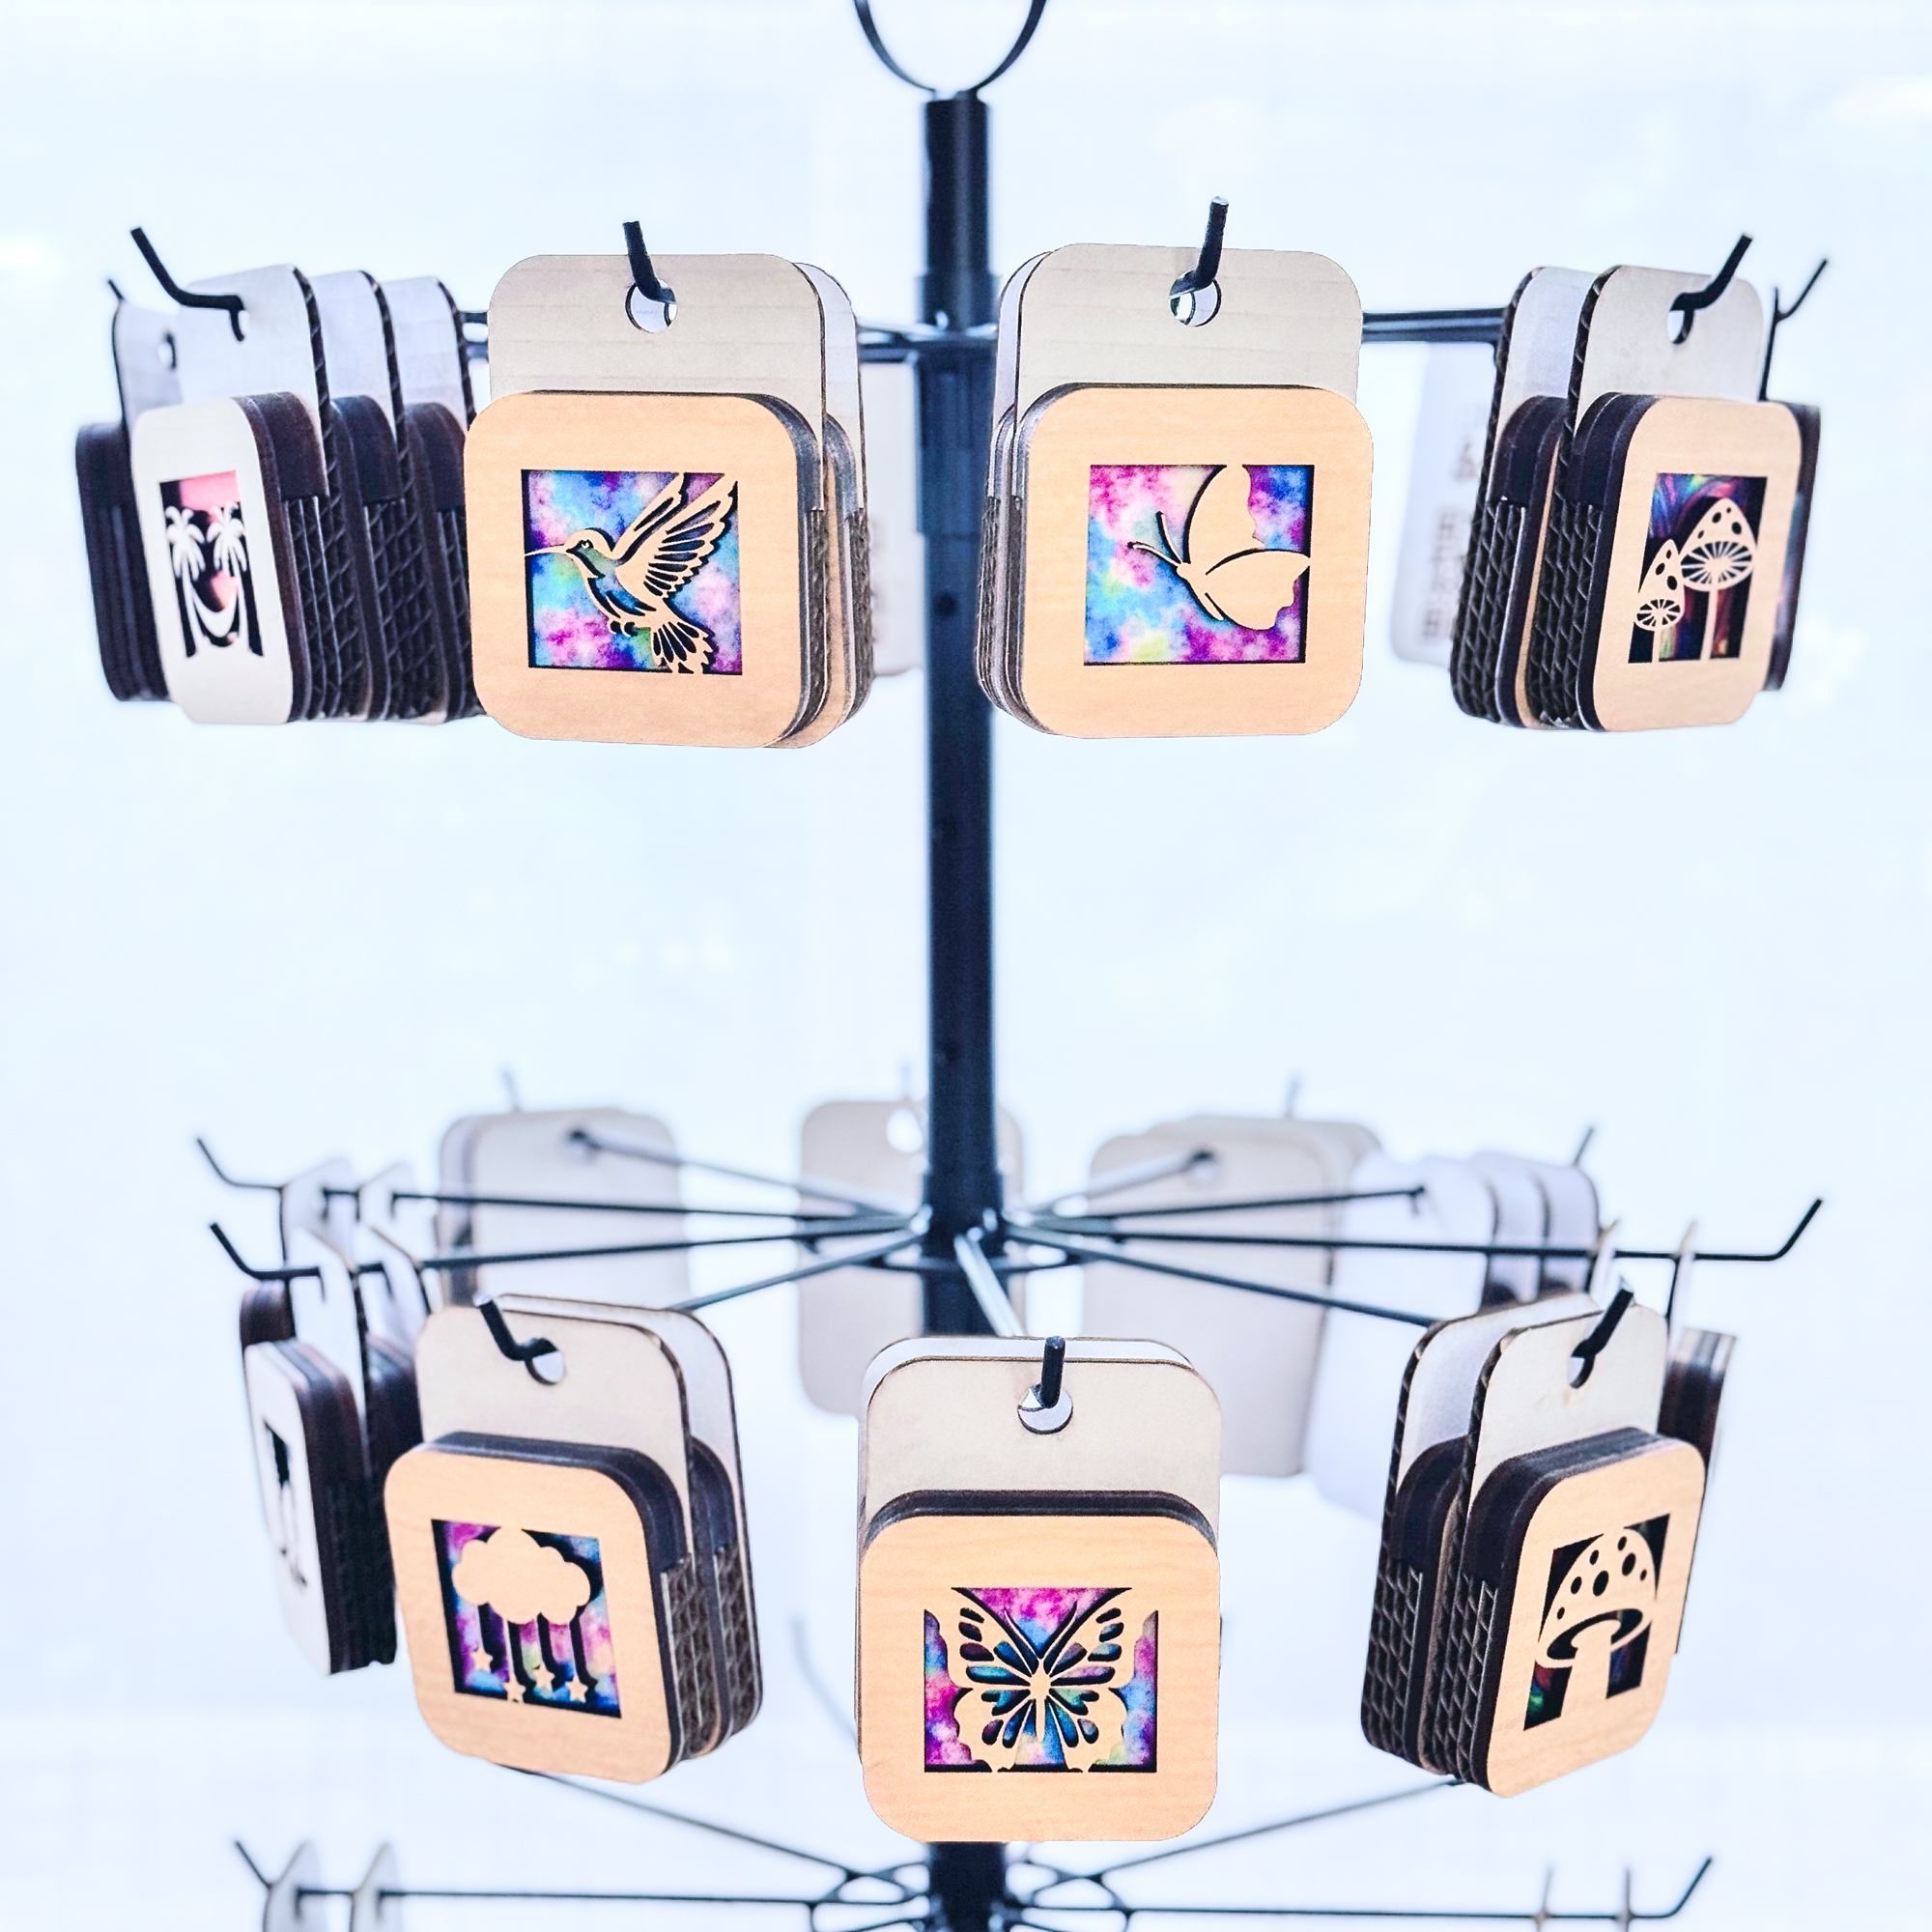
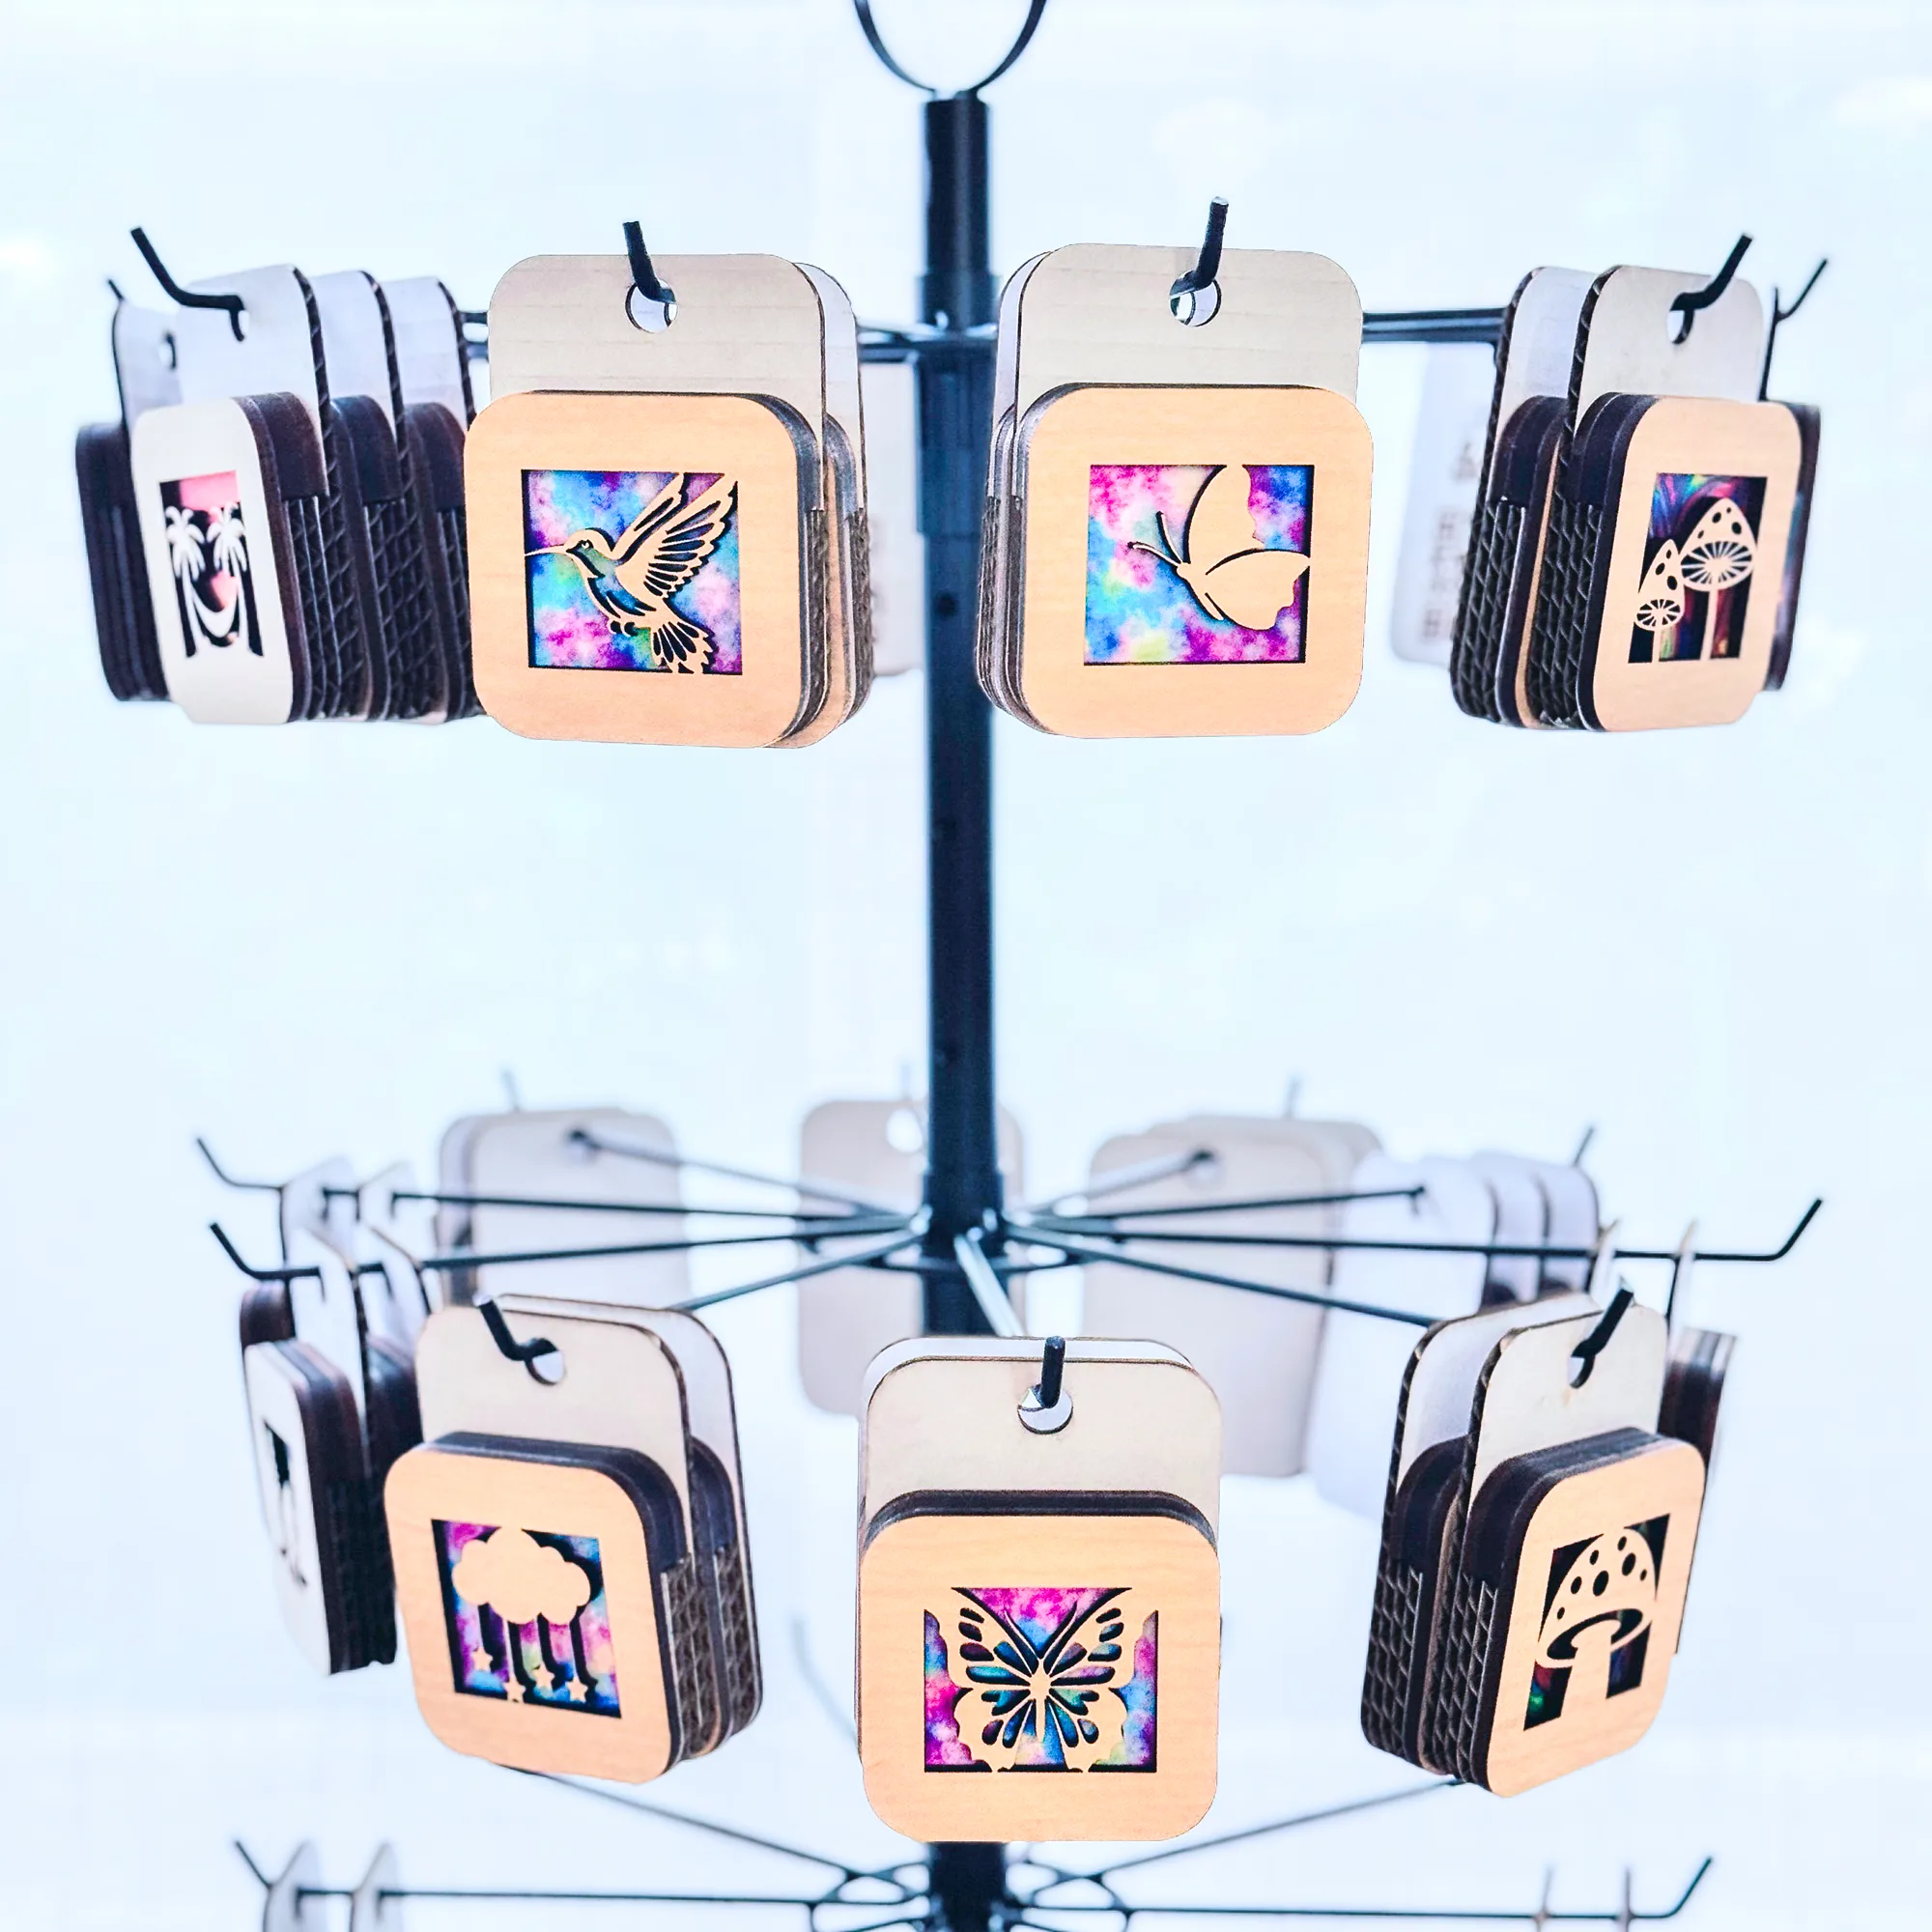
The night light covers hang from the hole at the top on this rotating display rack I got from Amazon ! I typically have three or four different designs per theme, so I can hang an entire set on each arm.
Now that I know the packaging works, I can start cranking them out! I could fit six backers on a 8x10 sheet, and it took 12 minutes to engrave and cut each sheet. I also made some blank ones that will be used just for display purposes.
The hook pieces were even faster at just a minute per sheet, and I could squeeze 9 onto each one. To speed things up, I placed strips of masking tape on the honeycomb bed to use as a jig to line up the corner of the cardboard. Then I could rerun the job without having to check the position with the camera each time!
The air purifier did a great job capturing the smoke produced from engraving and cutting all the packaging. The top filter layer trapped most of the particles, and the finer filters underneath grabbed the rest.
Assemble and Display Your Products
I have a lot of different designs to display, so I cranked out dozens of these cardboard hangers in an afternoon. I put them together assembly-line style, one layer at a time to let the glue dry between each step.
The night light covers just hook right on the front, so I can quickly stock the entire rack when it's time to set up my booth.
Some of my customers choose multiple covers to go with their light, so they can swap them out for different holidays or seasons. I can quickly slip off one cover to place in the box with the plug, and give them the rest on the cardboard sleeve to take home.
This display is such a huge upgrade to my first craft show table! I can't wait to see how my sales improve this summer!
Check out these other laser project ideas!