Add a personal touch to that generic gift card with these laser cut DIY gift card holders! What a fun and creative way to give a gift card!
Need a last minute gift? Gift cards are always a popular choice, but their presentation often leaves something to be desired. That plain envelope can get lost in a sea of wrapping paper!
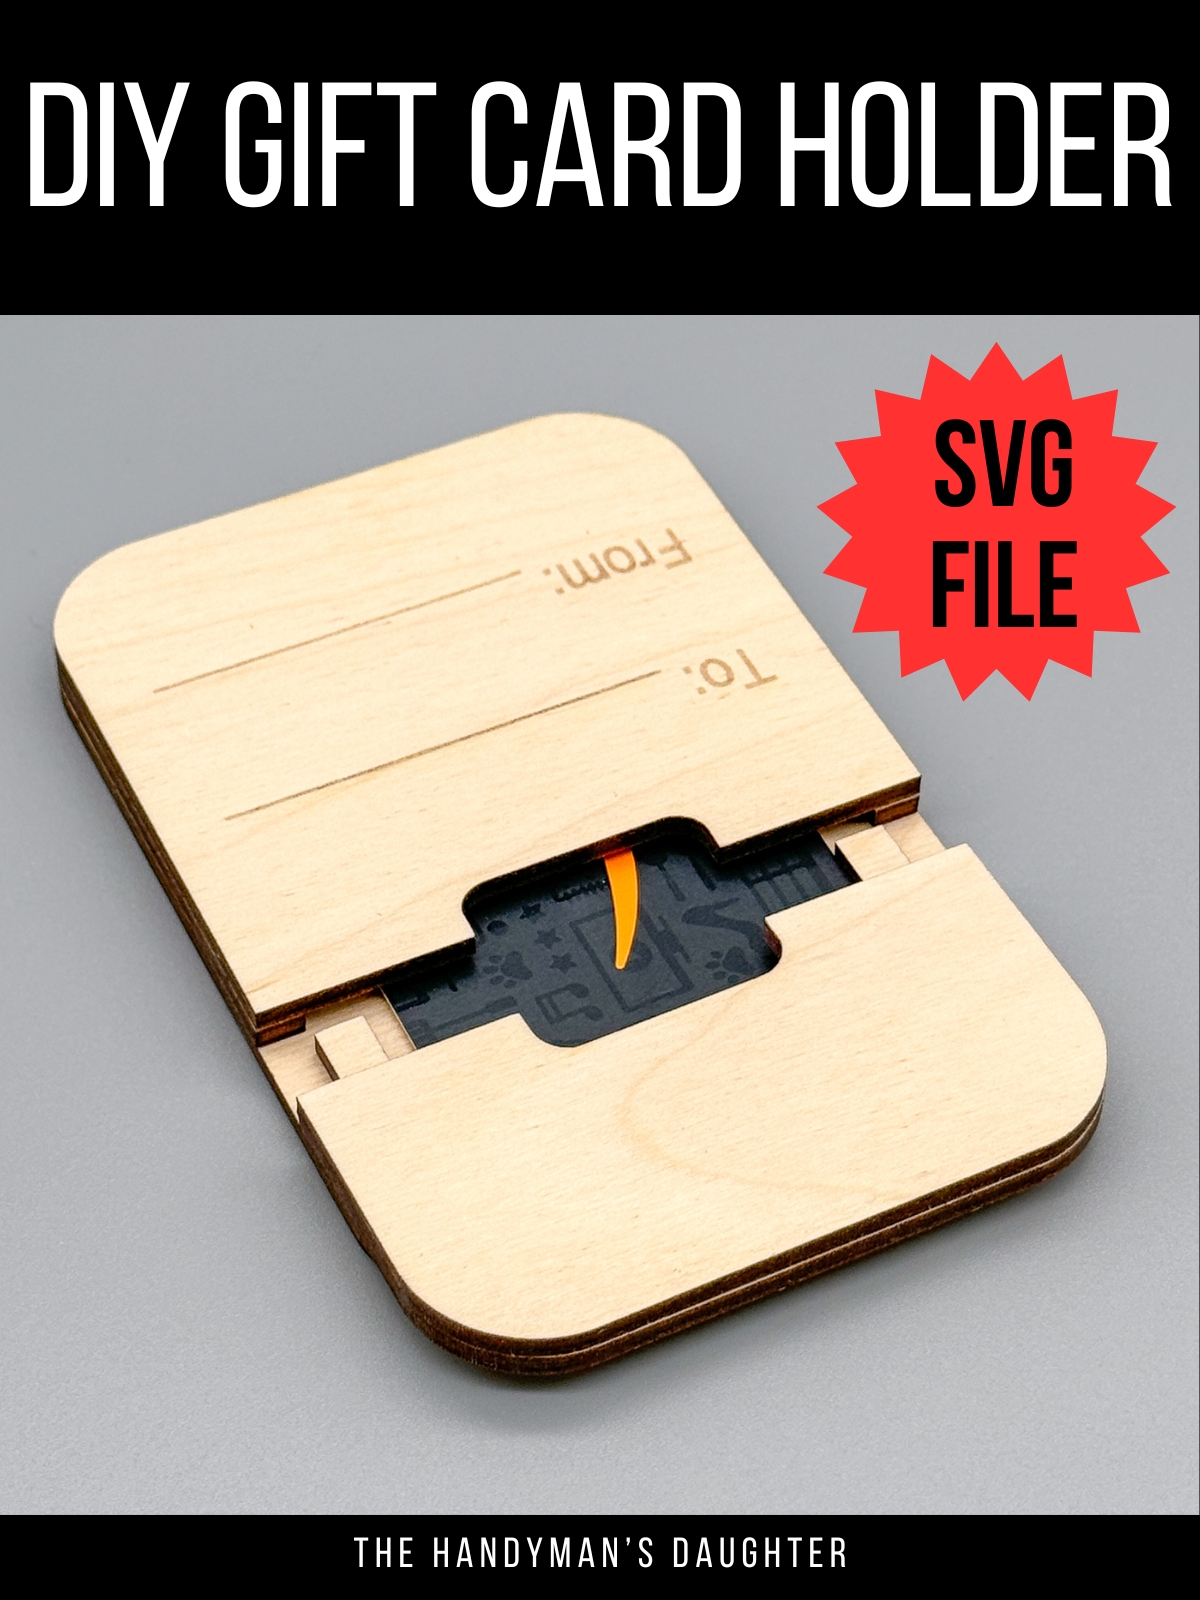
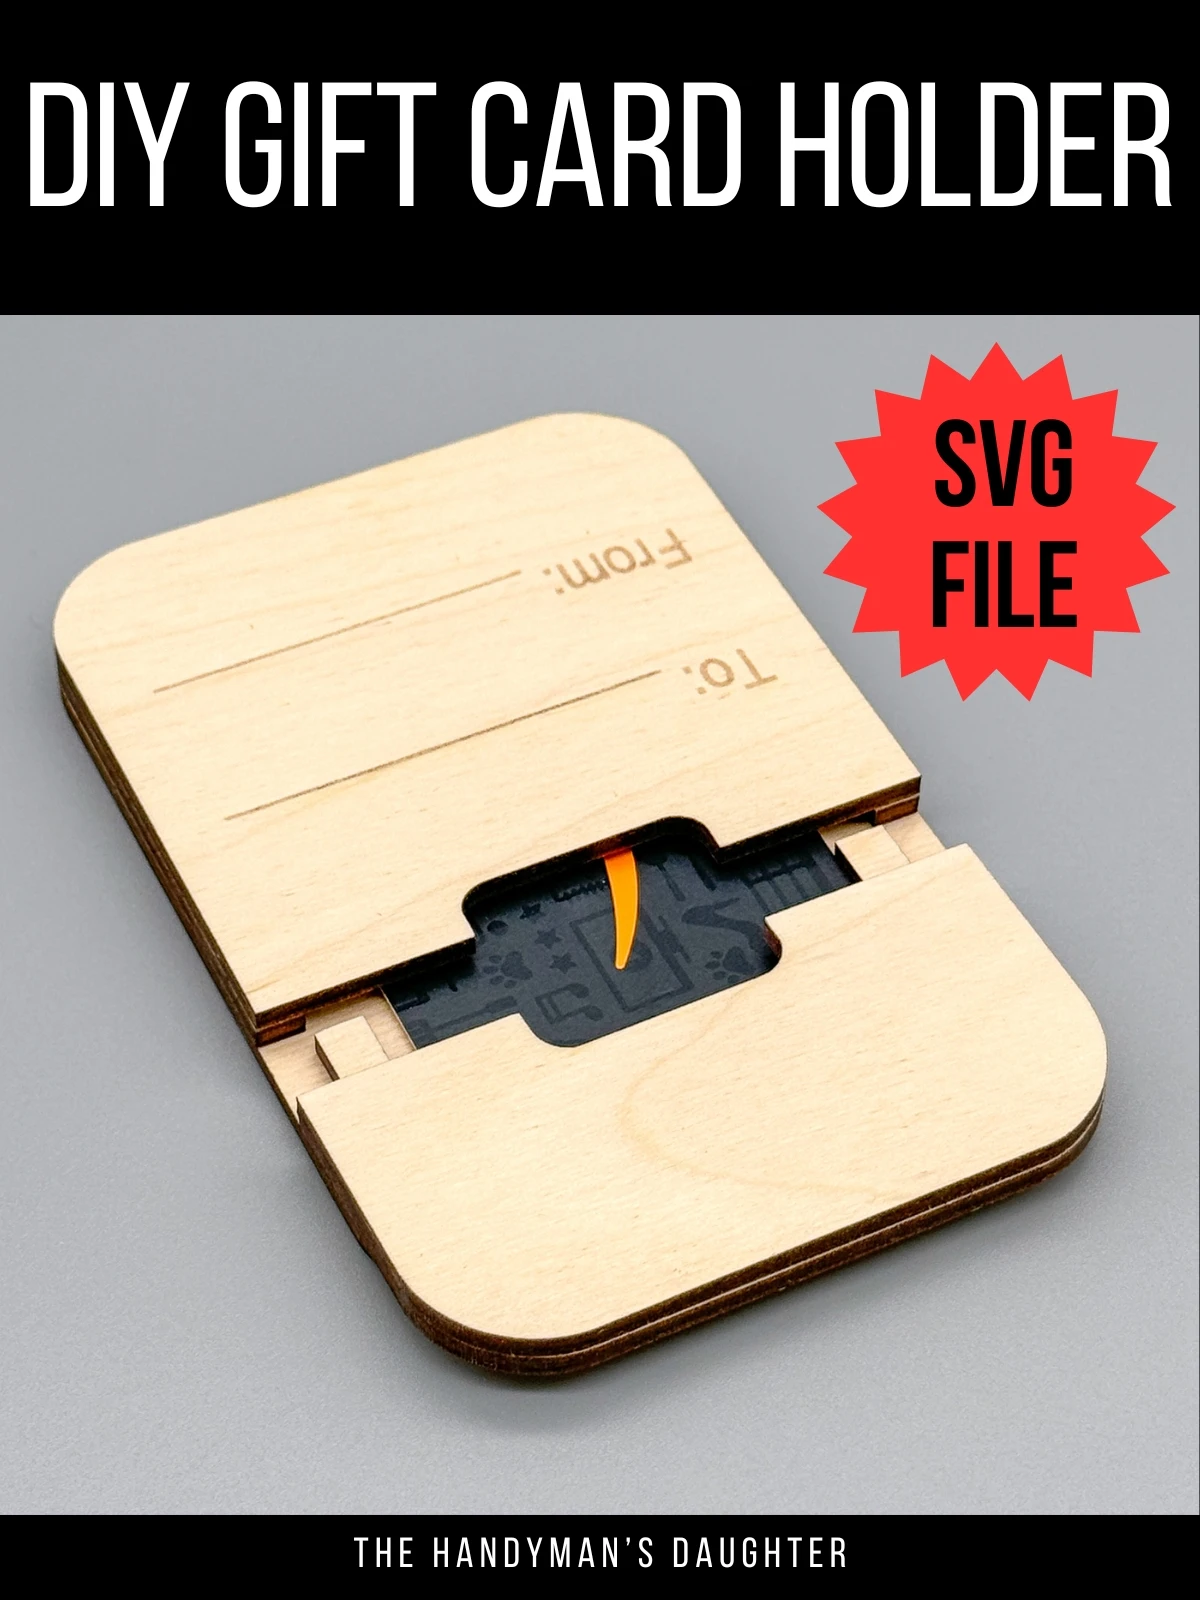
Elevate your gifting game with personalized, laser-cut gift card holders that are as unique as the recipient! This creative way to give a gift card is sure to make an impression.
I have SVG files available in my Etsy shop for graduation, teacher appreciation and Father's Day gift cards so far, with more on the way!
Here's how to make one!
This post contains affiliate links for your convenience. Purchases made through these links may earn me a small commission at no additional cost to you. Please visit my disclosures page for more information.
Materials Needed
- Diode or CO2 laser
- I'm using the xTool P2 CO2 laser for this project, but you could use a diode laser like the xTool M1 or S1 too!
- ⅛" plywood sheet
- ⅛" black acrylic or craft plastic (optional)
- CA glue or 3M double sided adhesive tape
- Small sanding block and 220 grit sandpaper
Don't have a laser, or looking to upgrade? Use the code VINETA100 for $100 off an xTool laser! Click here to check them out!
Prepare the laser file
I went through a bunch of different prototypes before settling on this interlocking tab design. It took quite a few tries to get it just right!
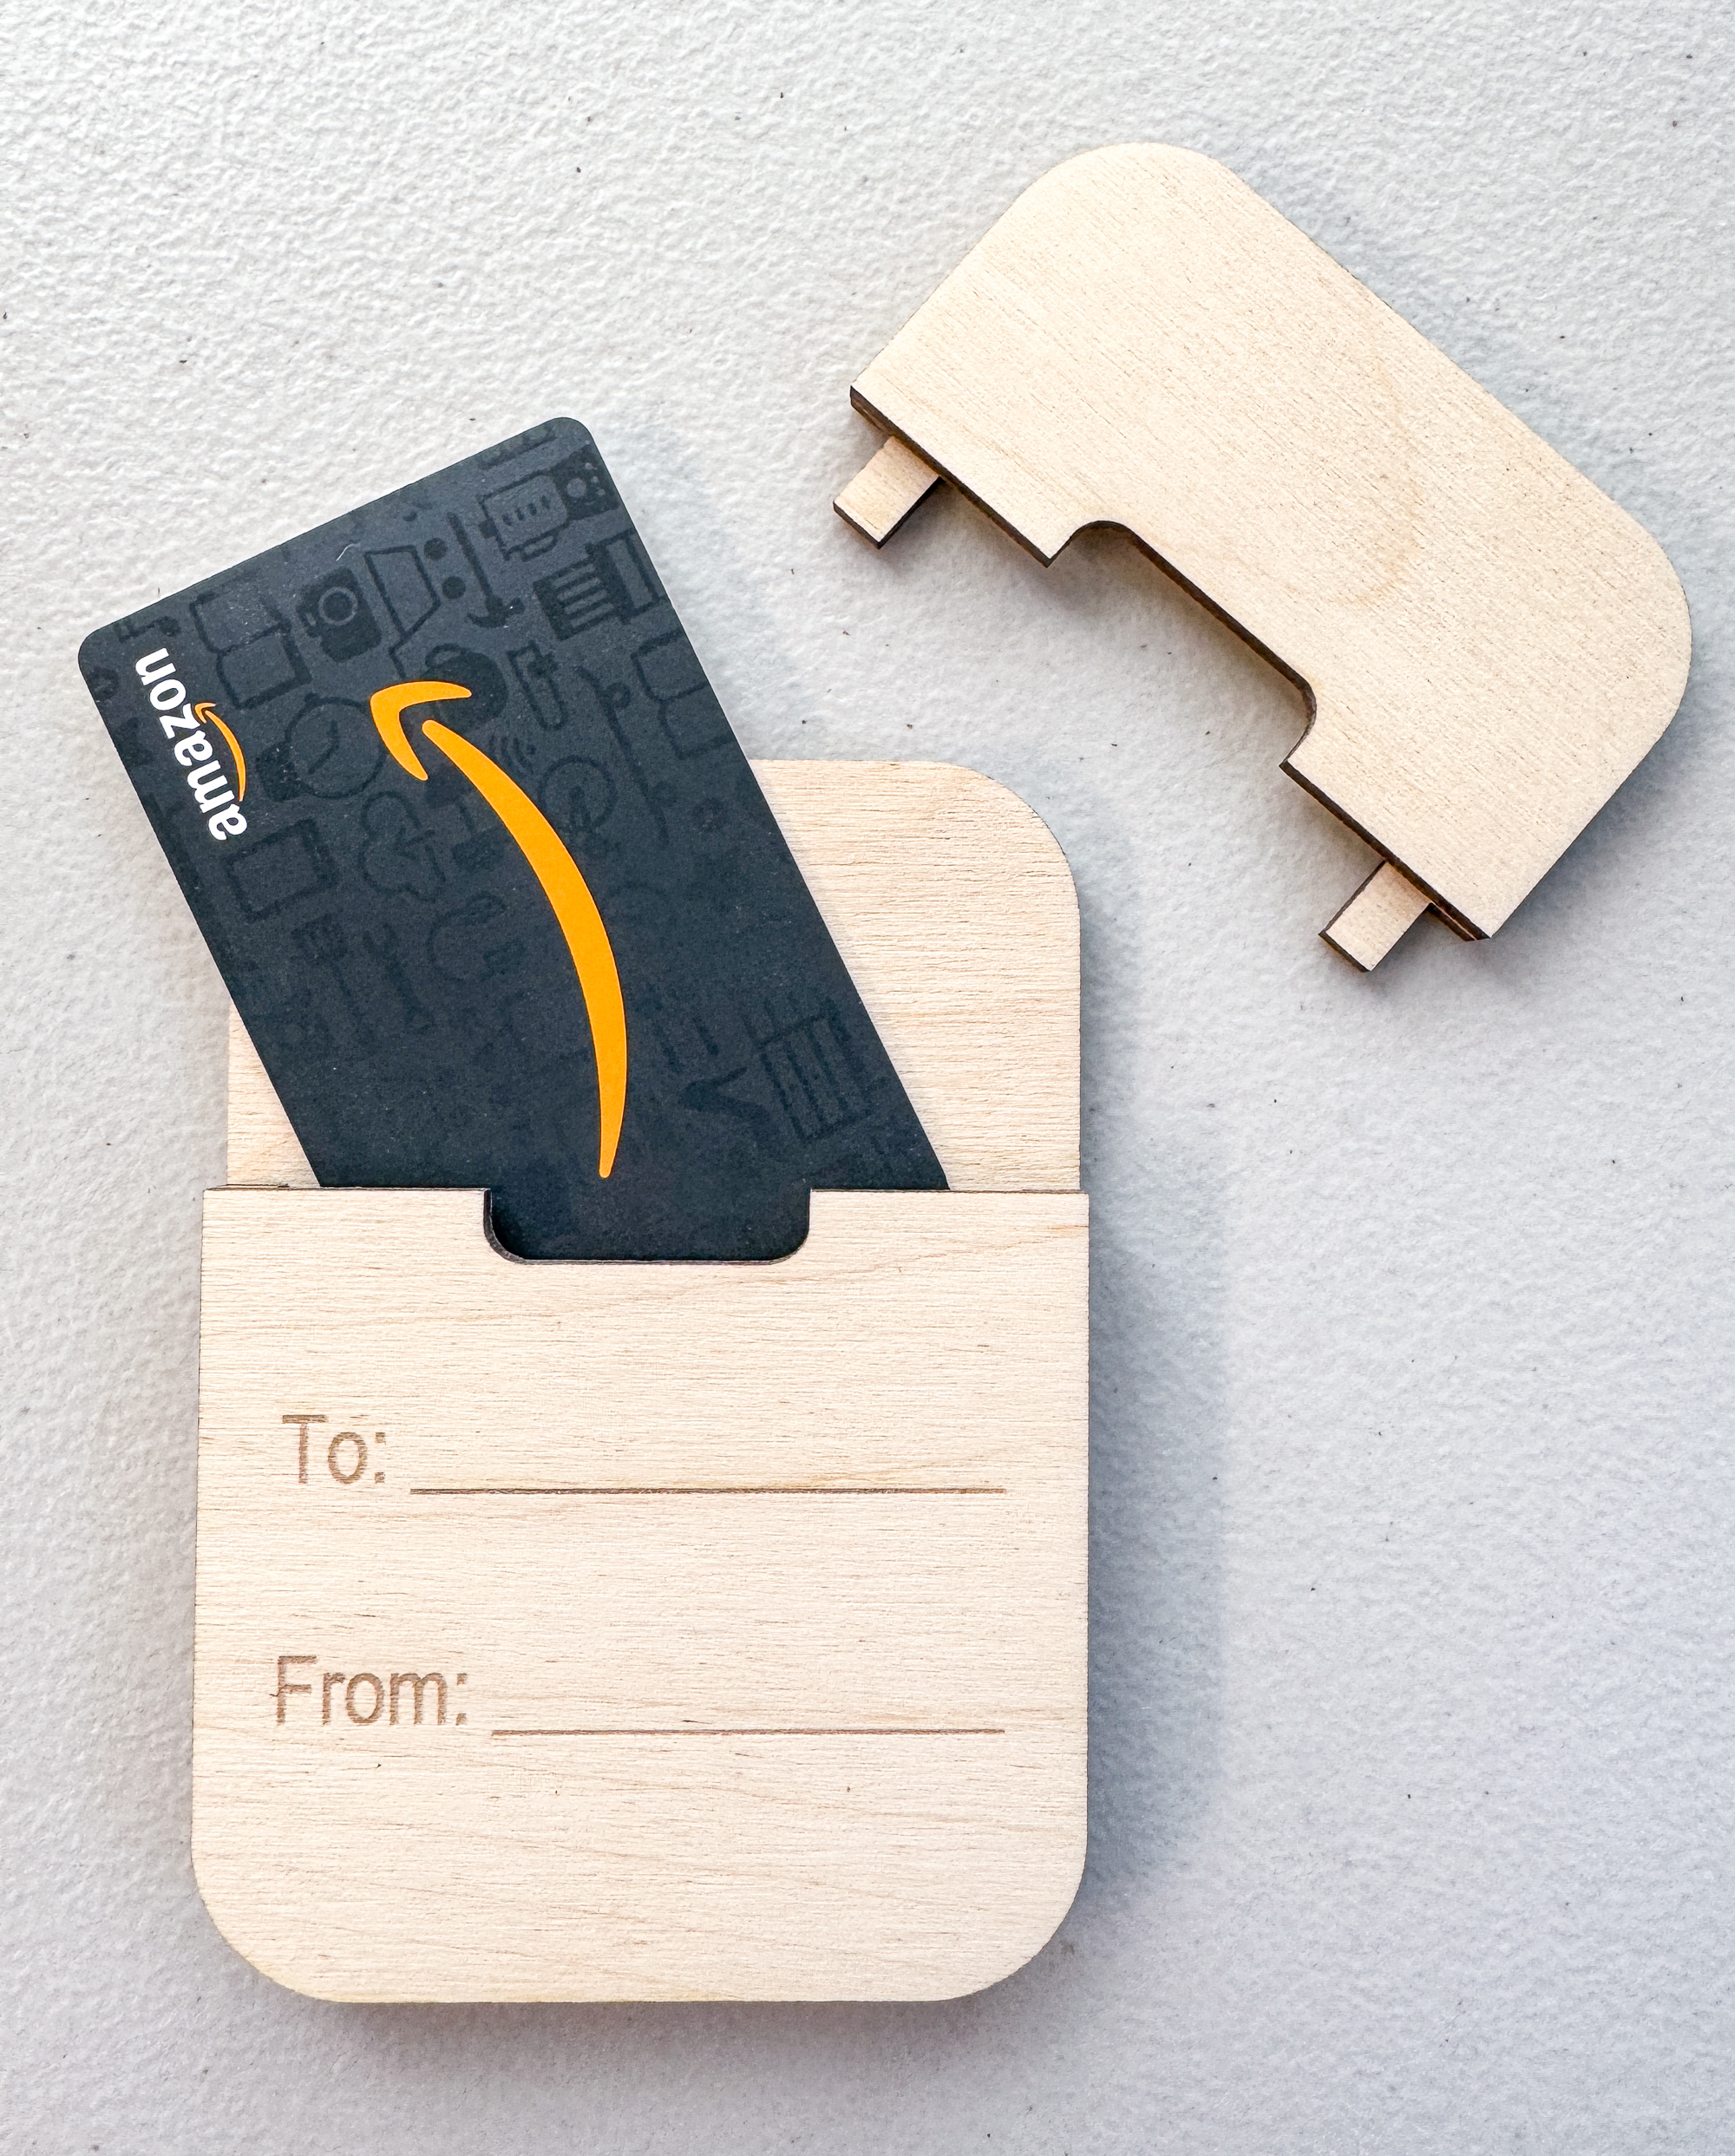
The tabs in the top fit snugly between the tabs in the bottom so it doesn't come apart easily. The window in the middle shows the recipient that there's something inside, and makes it easier to open.


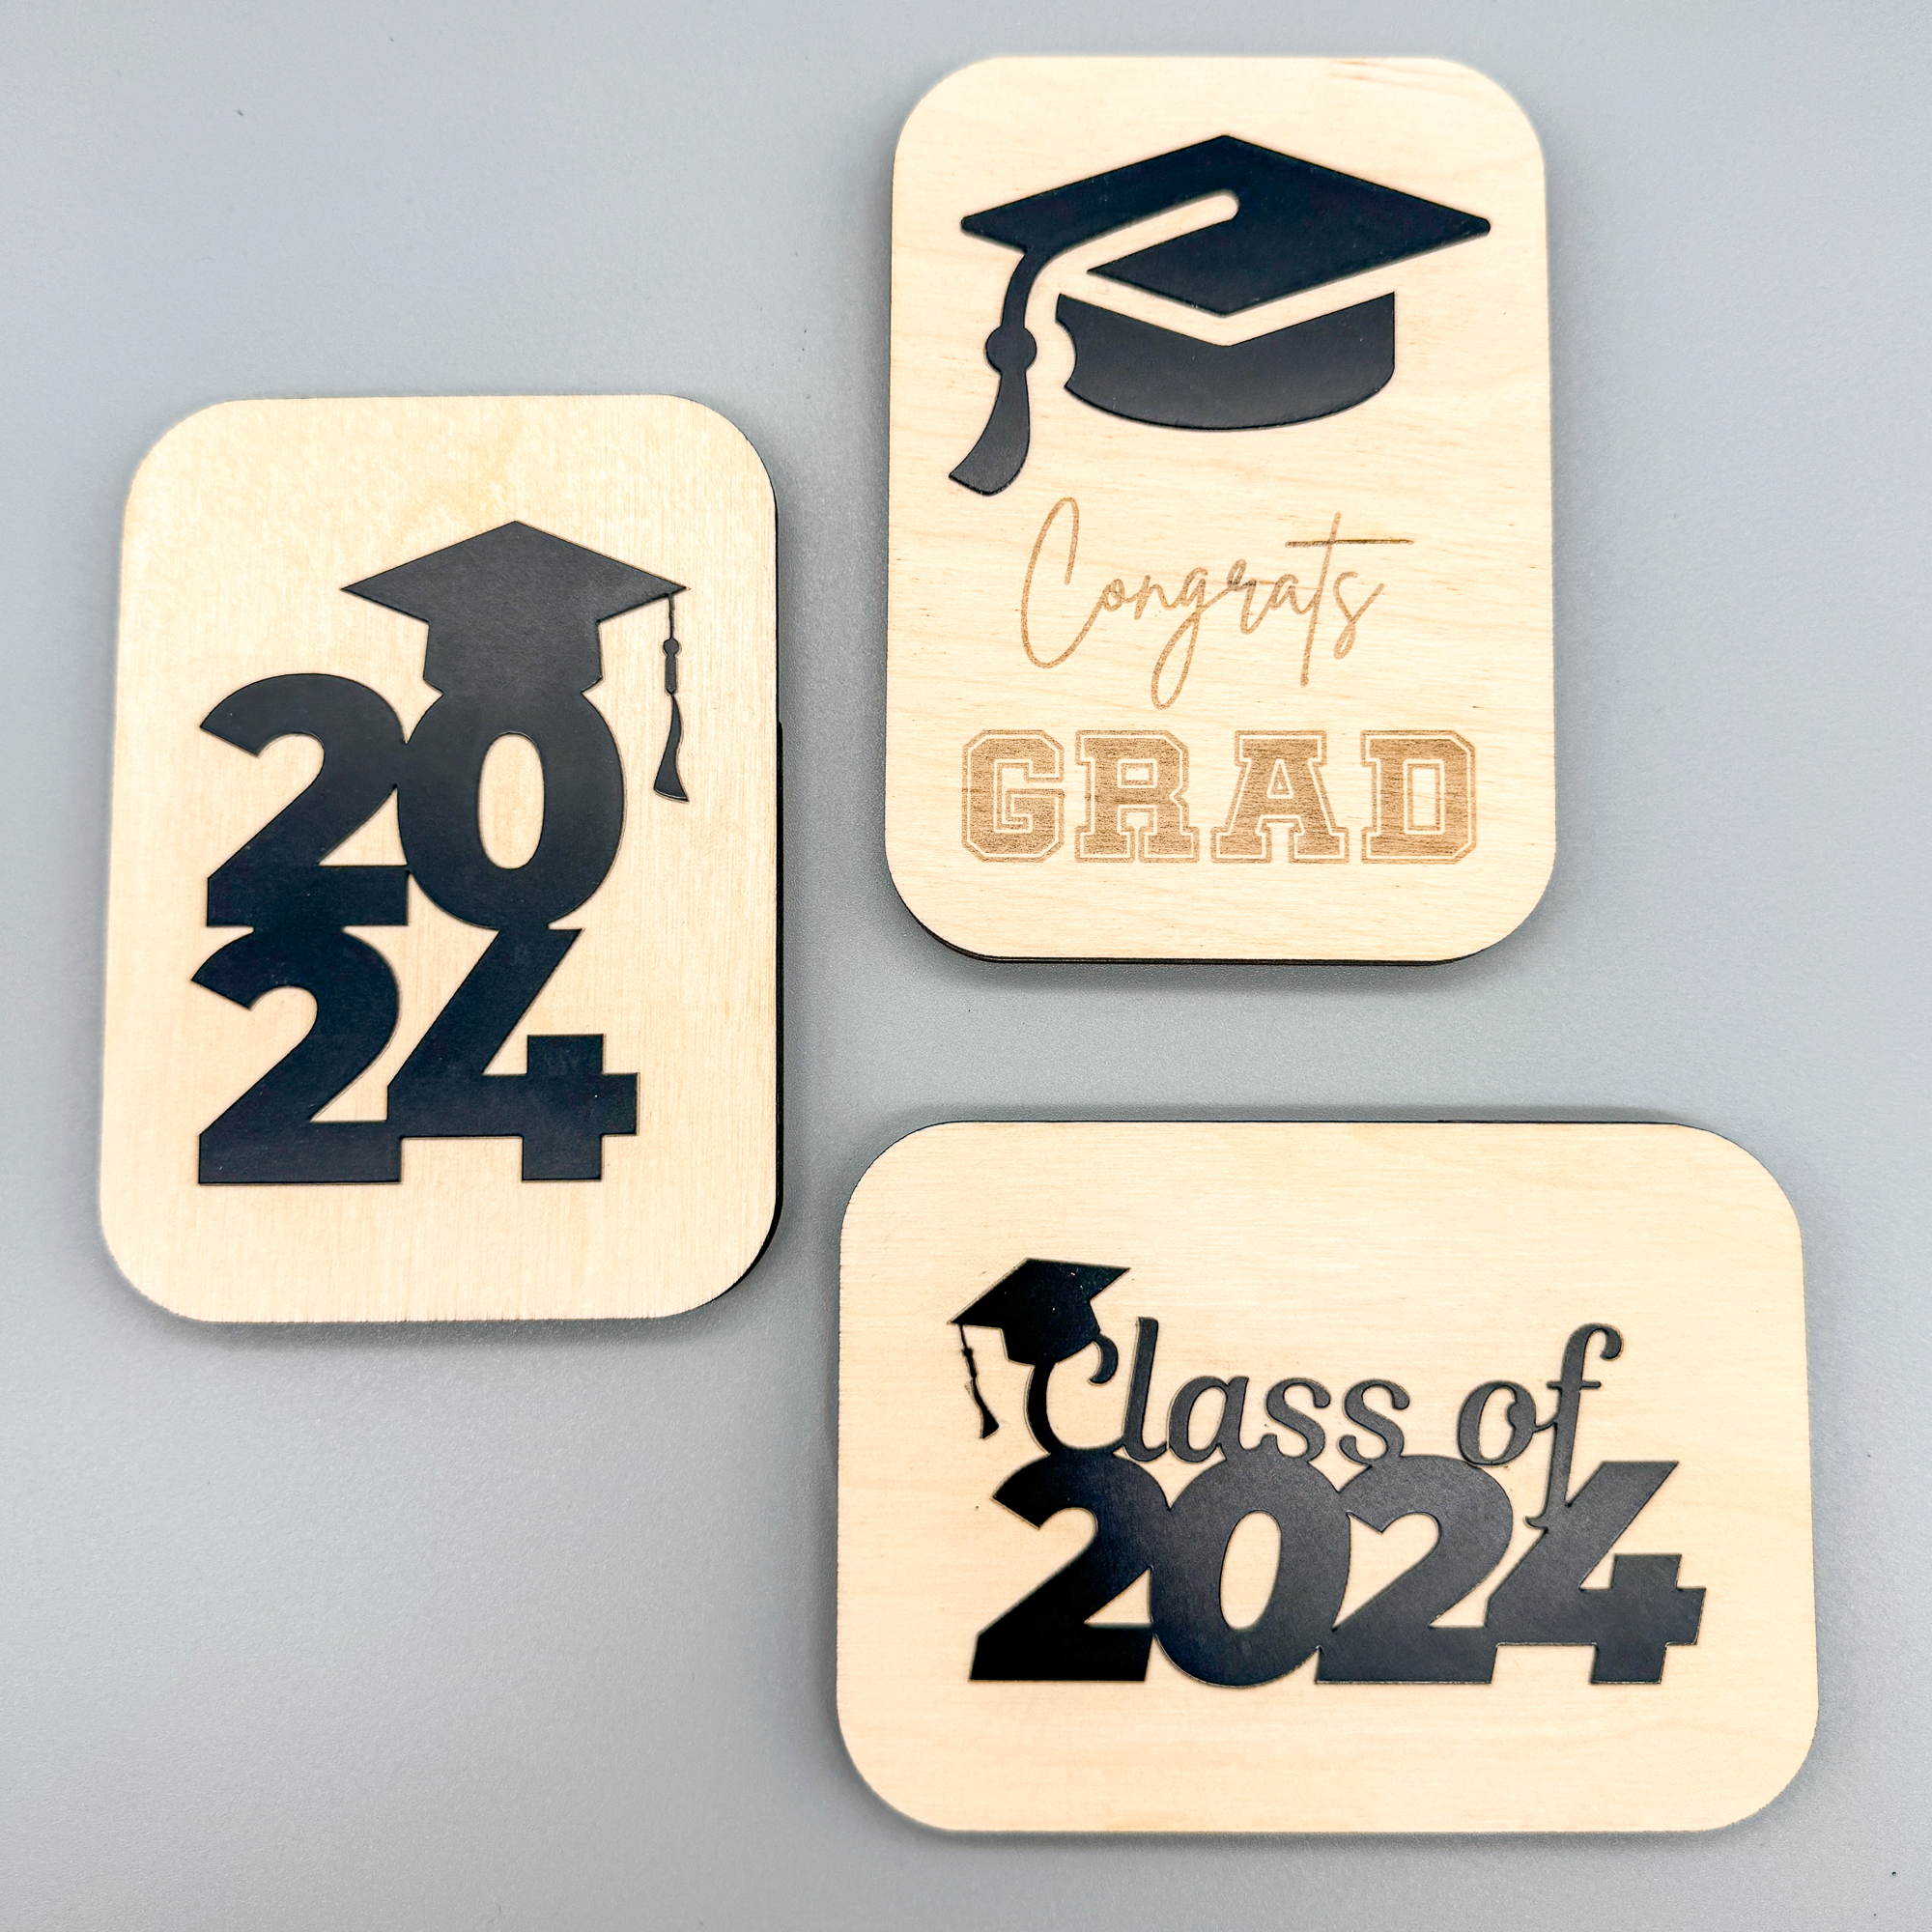
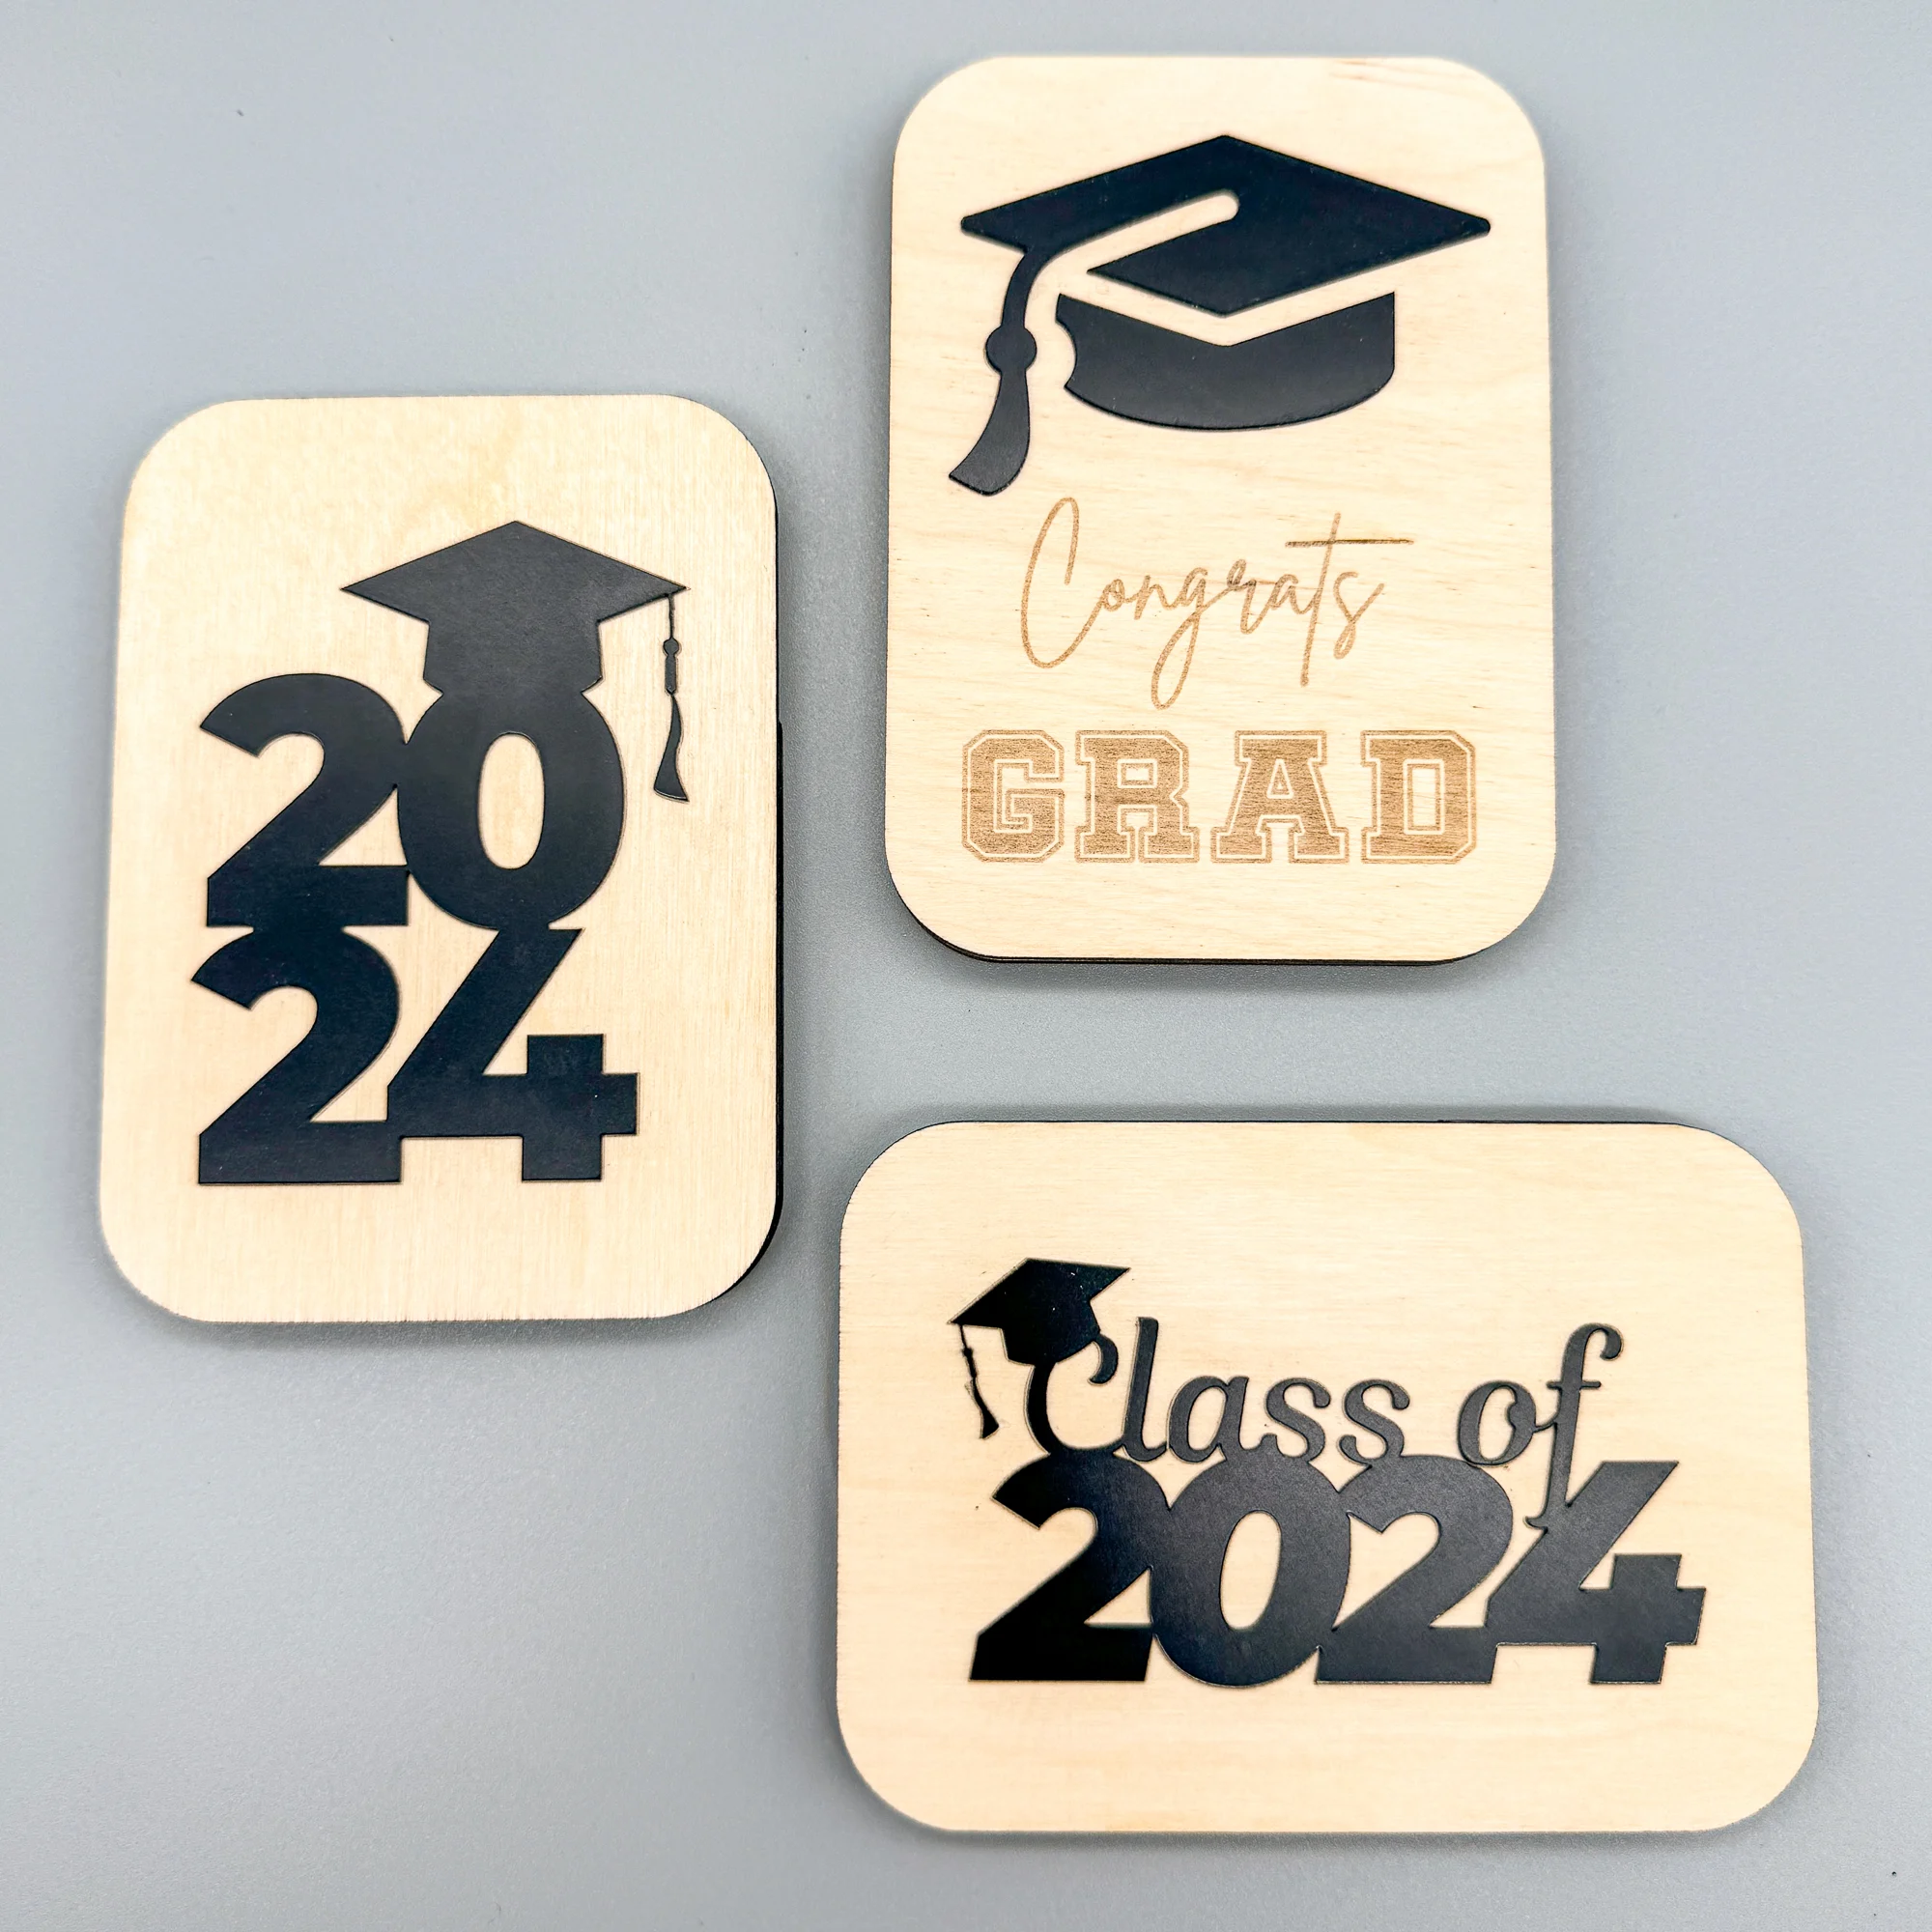
It's currently graduation season, so I decided to make a few different designs to celebrate this huge accomplishment. You can find the files over in my Etsy shop! I'll be adding different variations for birthdays and other events soon, so check back to see what's new!

Once the file was ready, I imported the SVG over to xTool Creative Space so I can cut it out on my xTool P2 laser. This project can be made with a diode laser such as the xTool M1 as well!
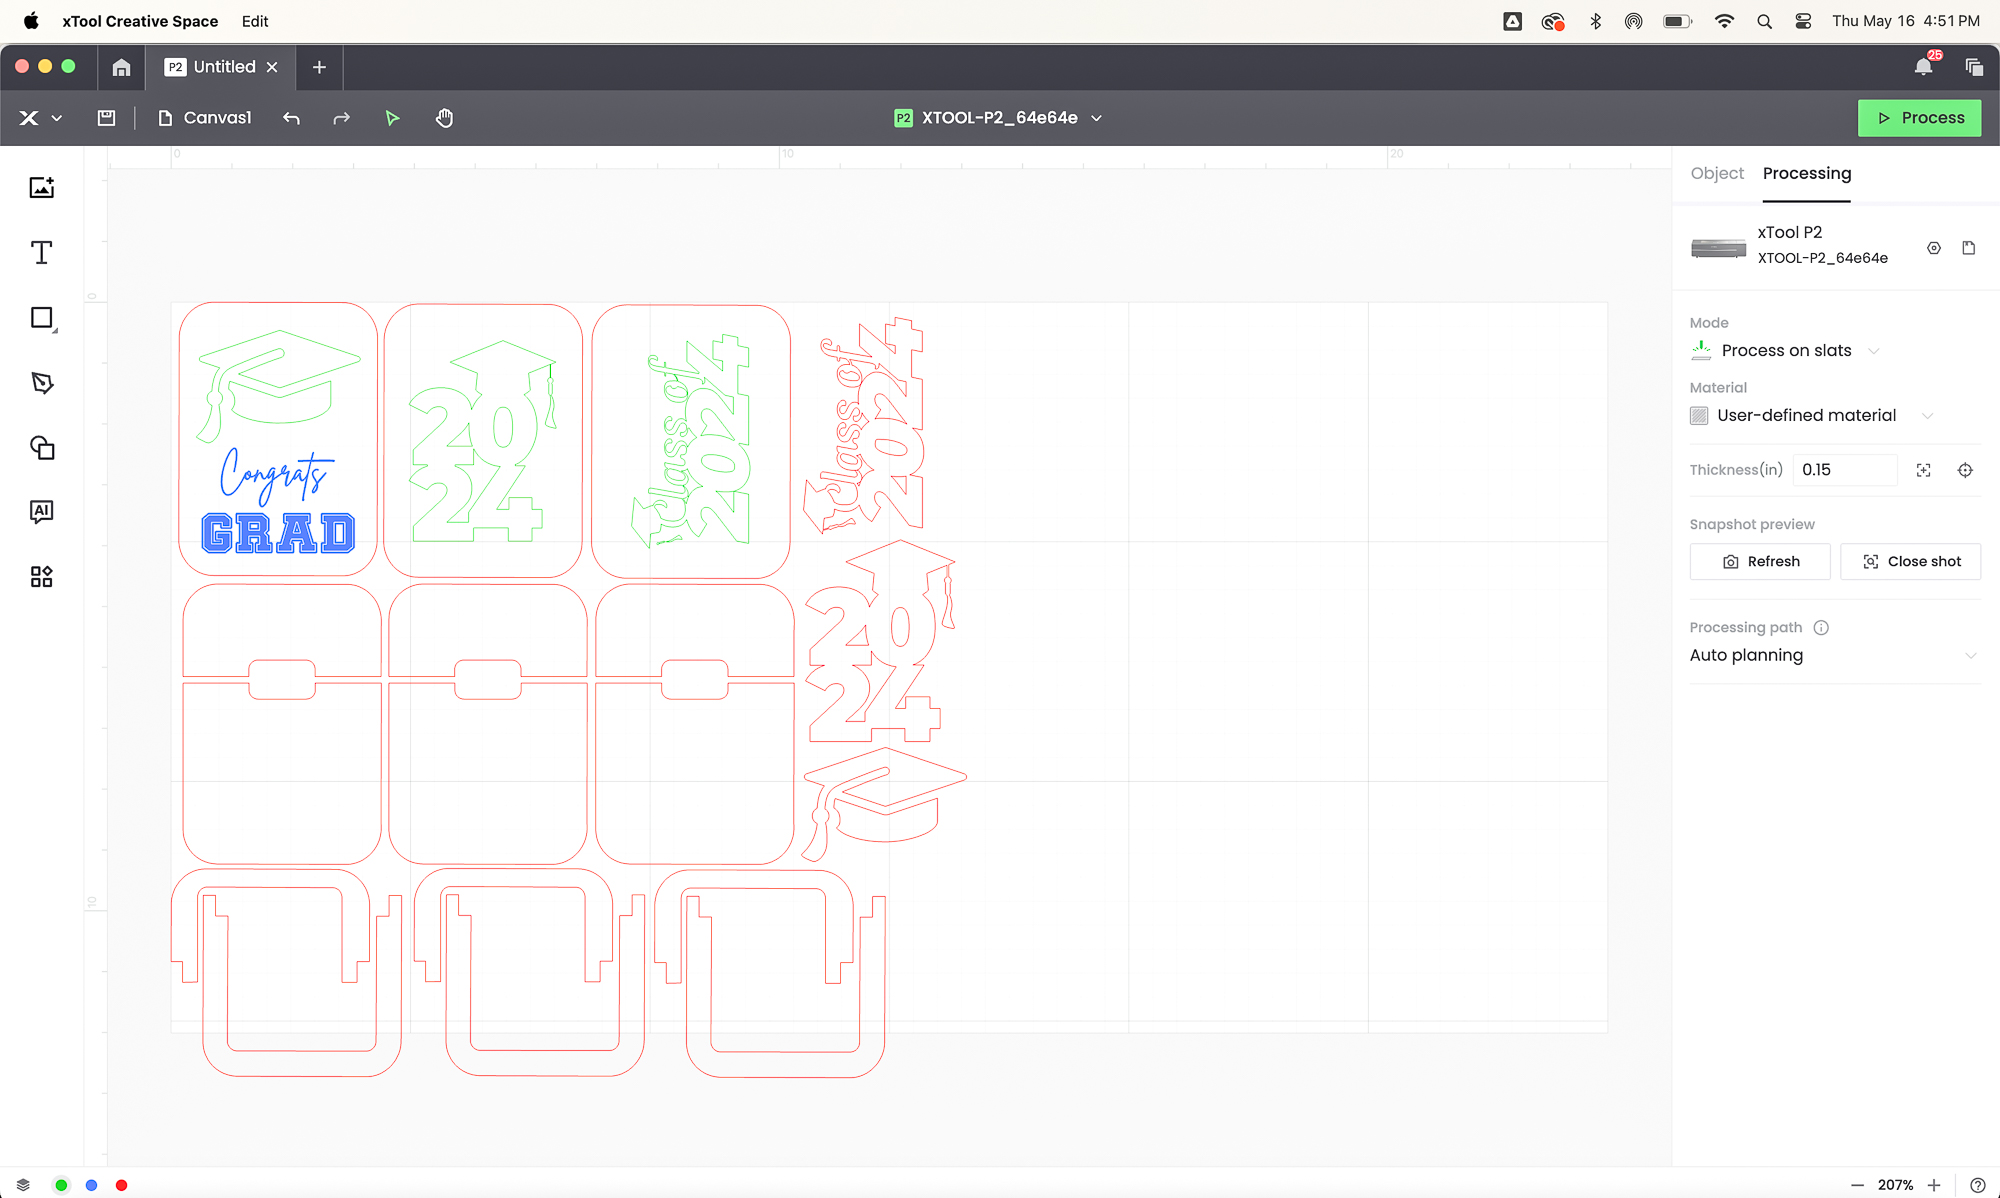

I want to cut the layered elements out of black acrylic and the rest of the holder out of birch plywood. So I moved the three cutouts to a different canvas with their own settings.
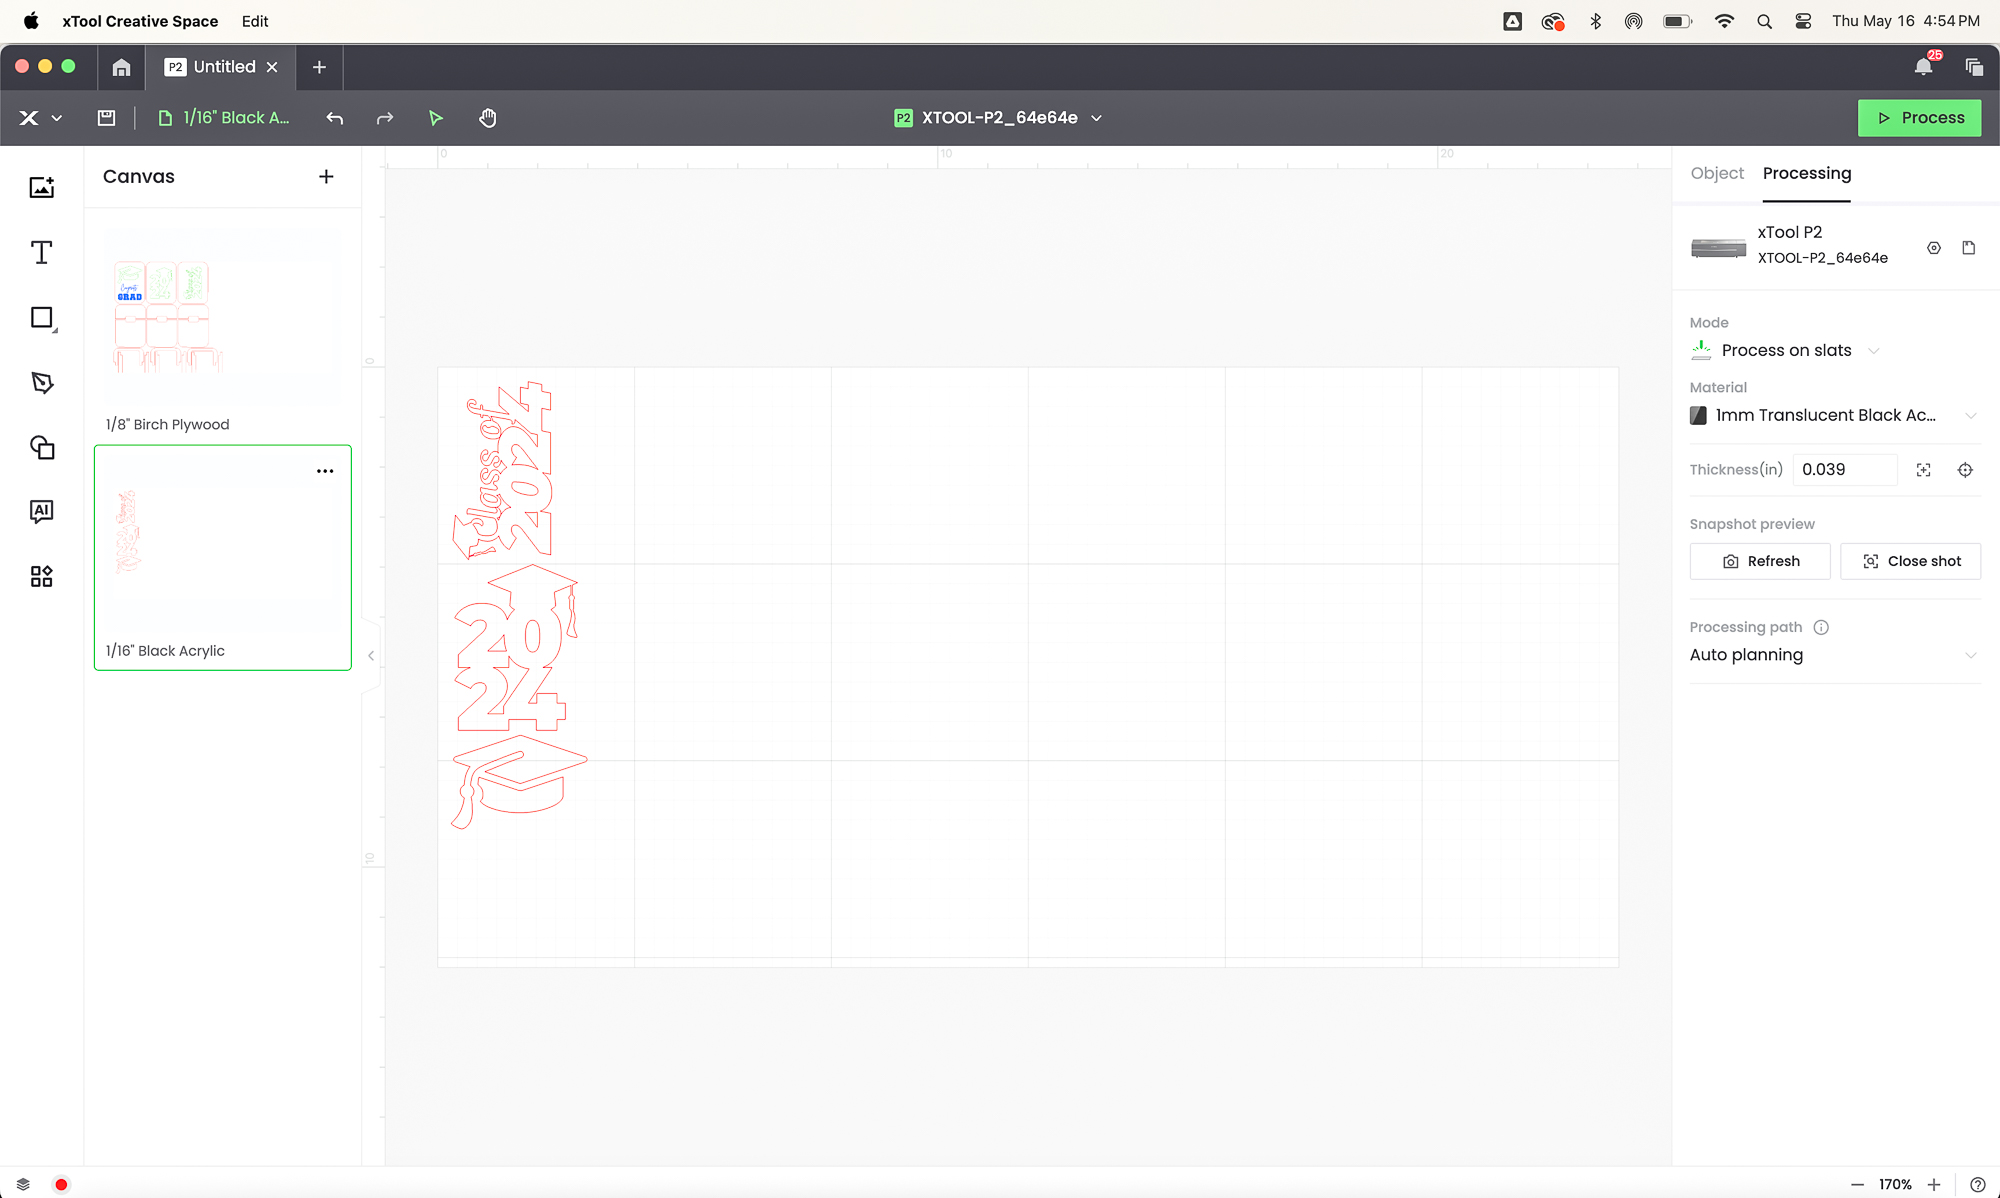
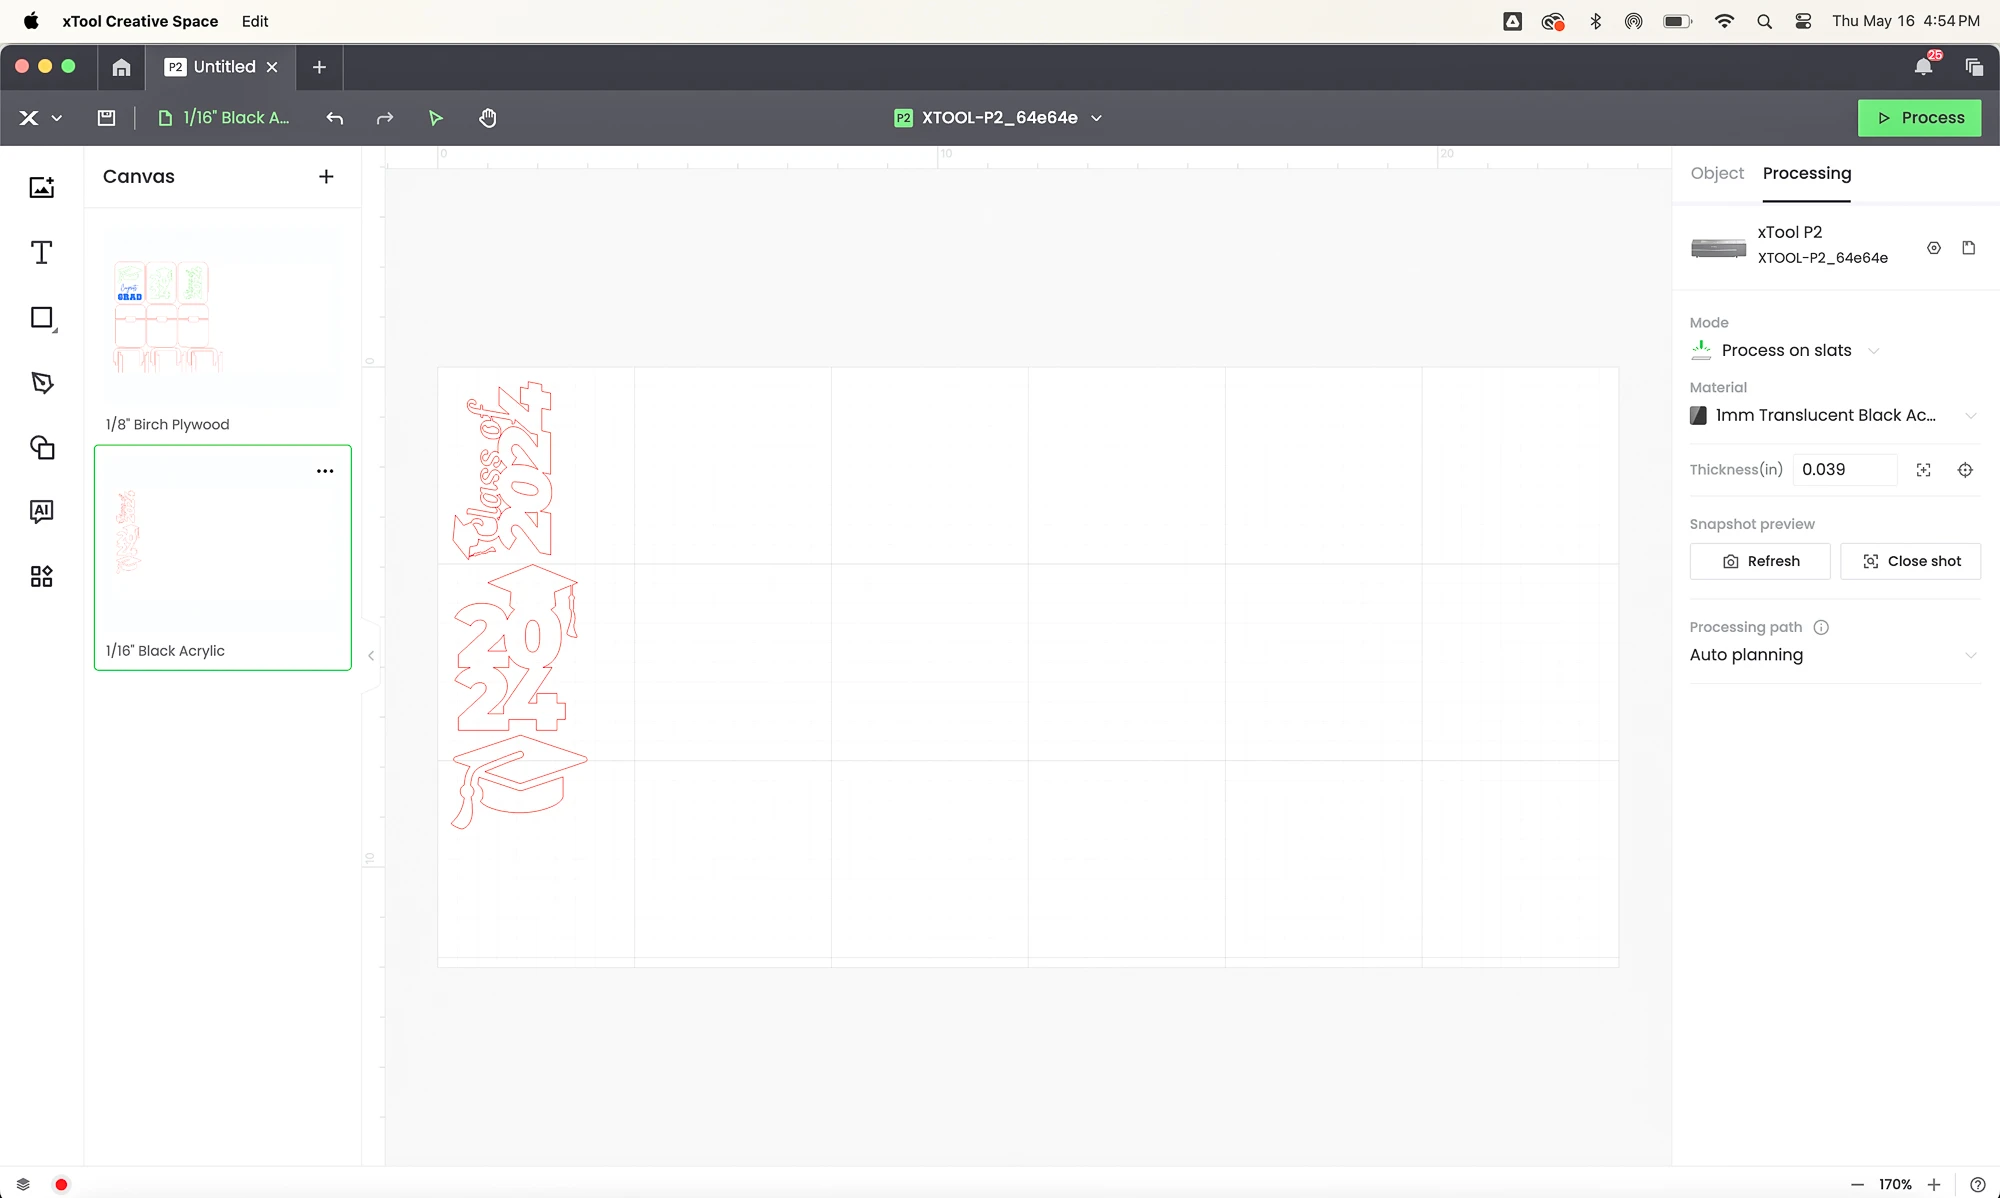
I was able to fit three gift card holders on one sheet of 12"x12" birch plywood, except for the bottom spacers. These will be hidden between the layers, so I just used some scrap plywood for those pieces.
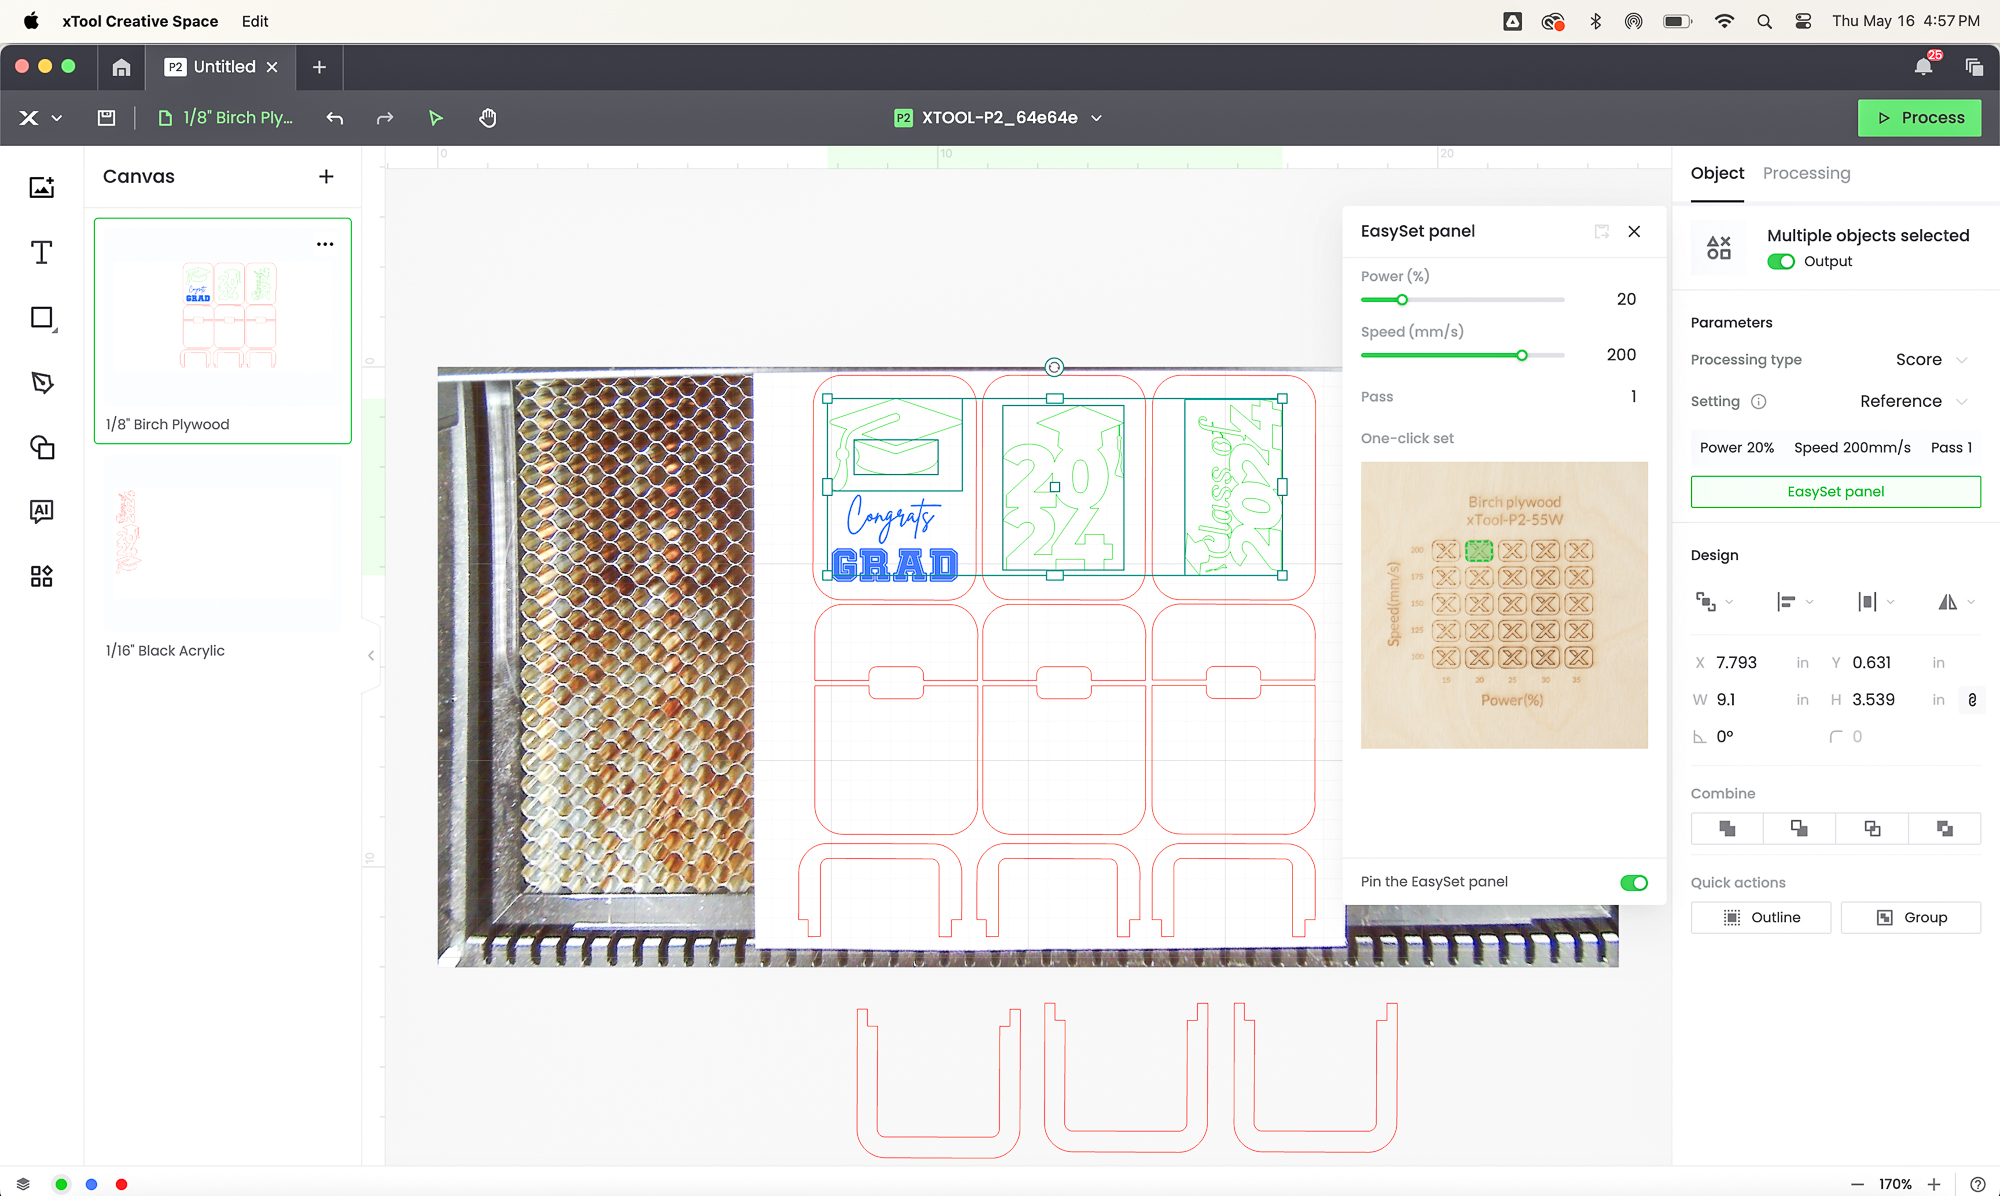
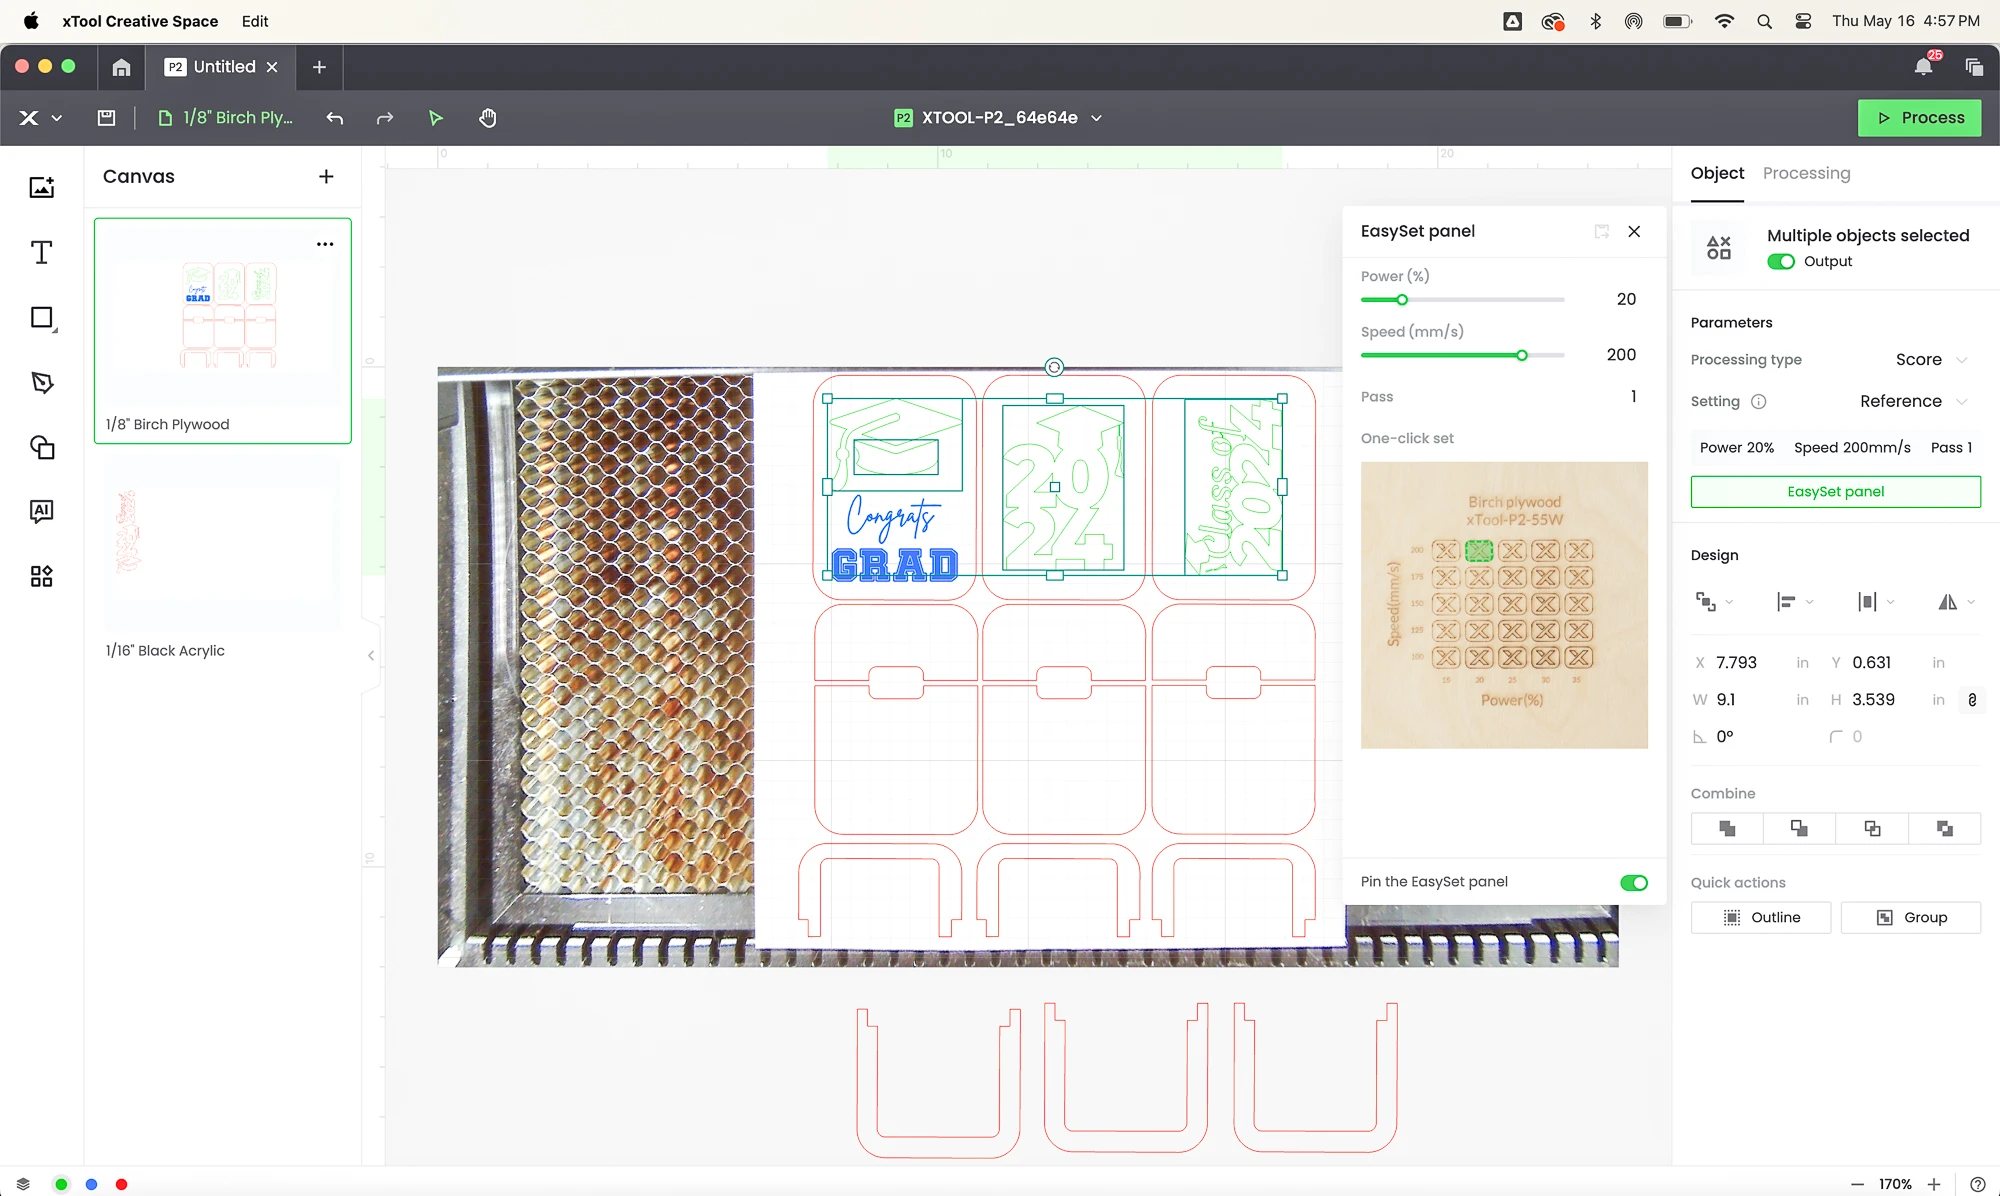
The green layer will be scored to help with placement of the decorative elements. I love how the new software update shows the laser test grid photo right in the settings panel, so you don't have to run your own!
The blue layer will be engraved. I selected a slightly slower speed than what was recommended in the EasySet panel, so it would come out darker. The red layer is set to cut.
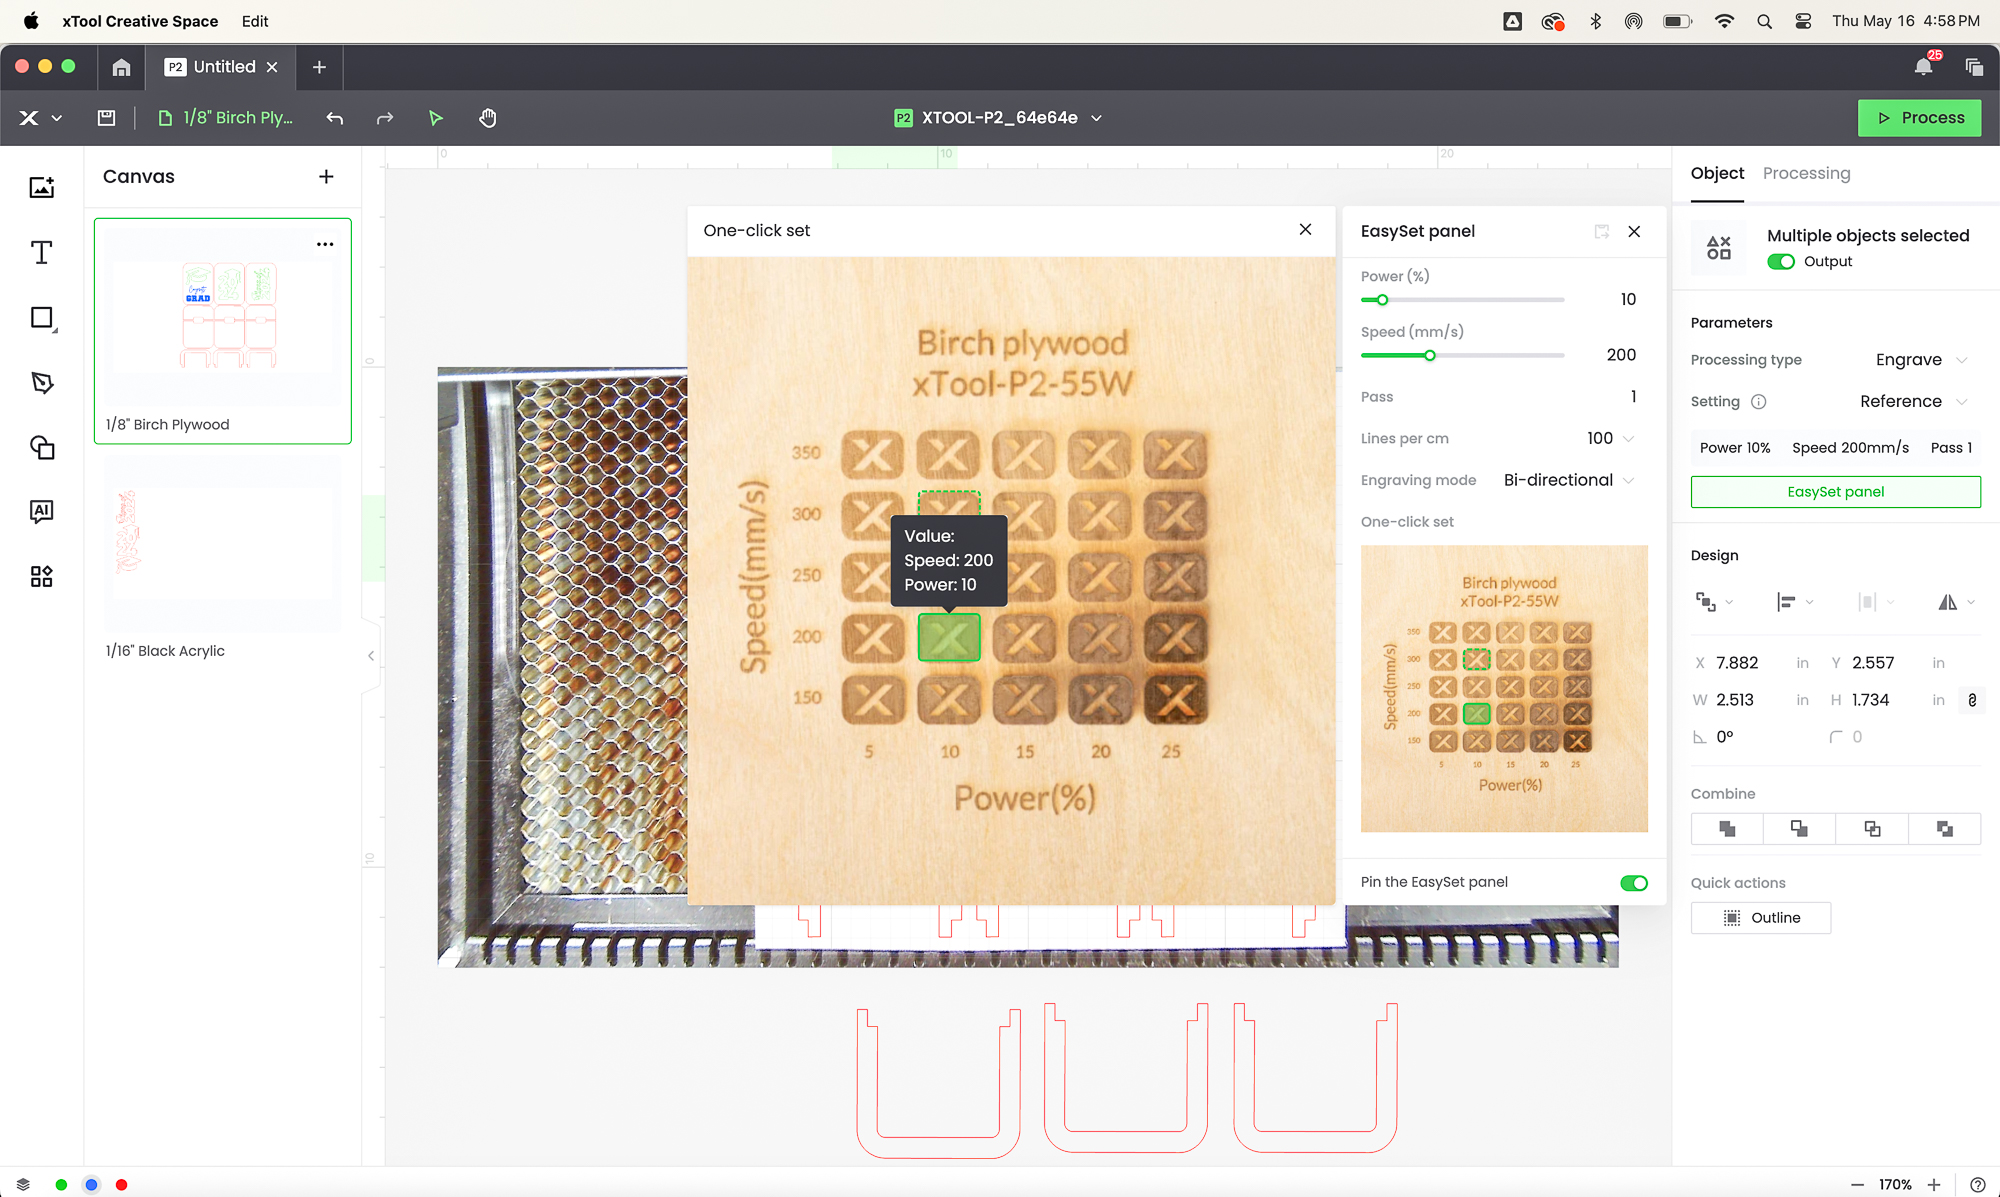

When you hit the process button, now it shows the path the laser will take and how long it will run. This helps spot any issues with duplicate cut lines or weird spots that you didn't notice in the original file, before you waste material.

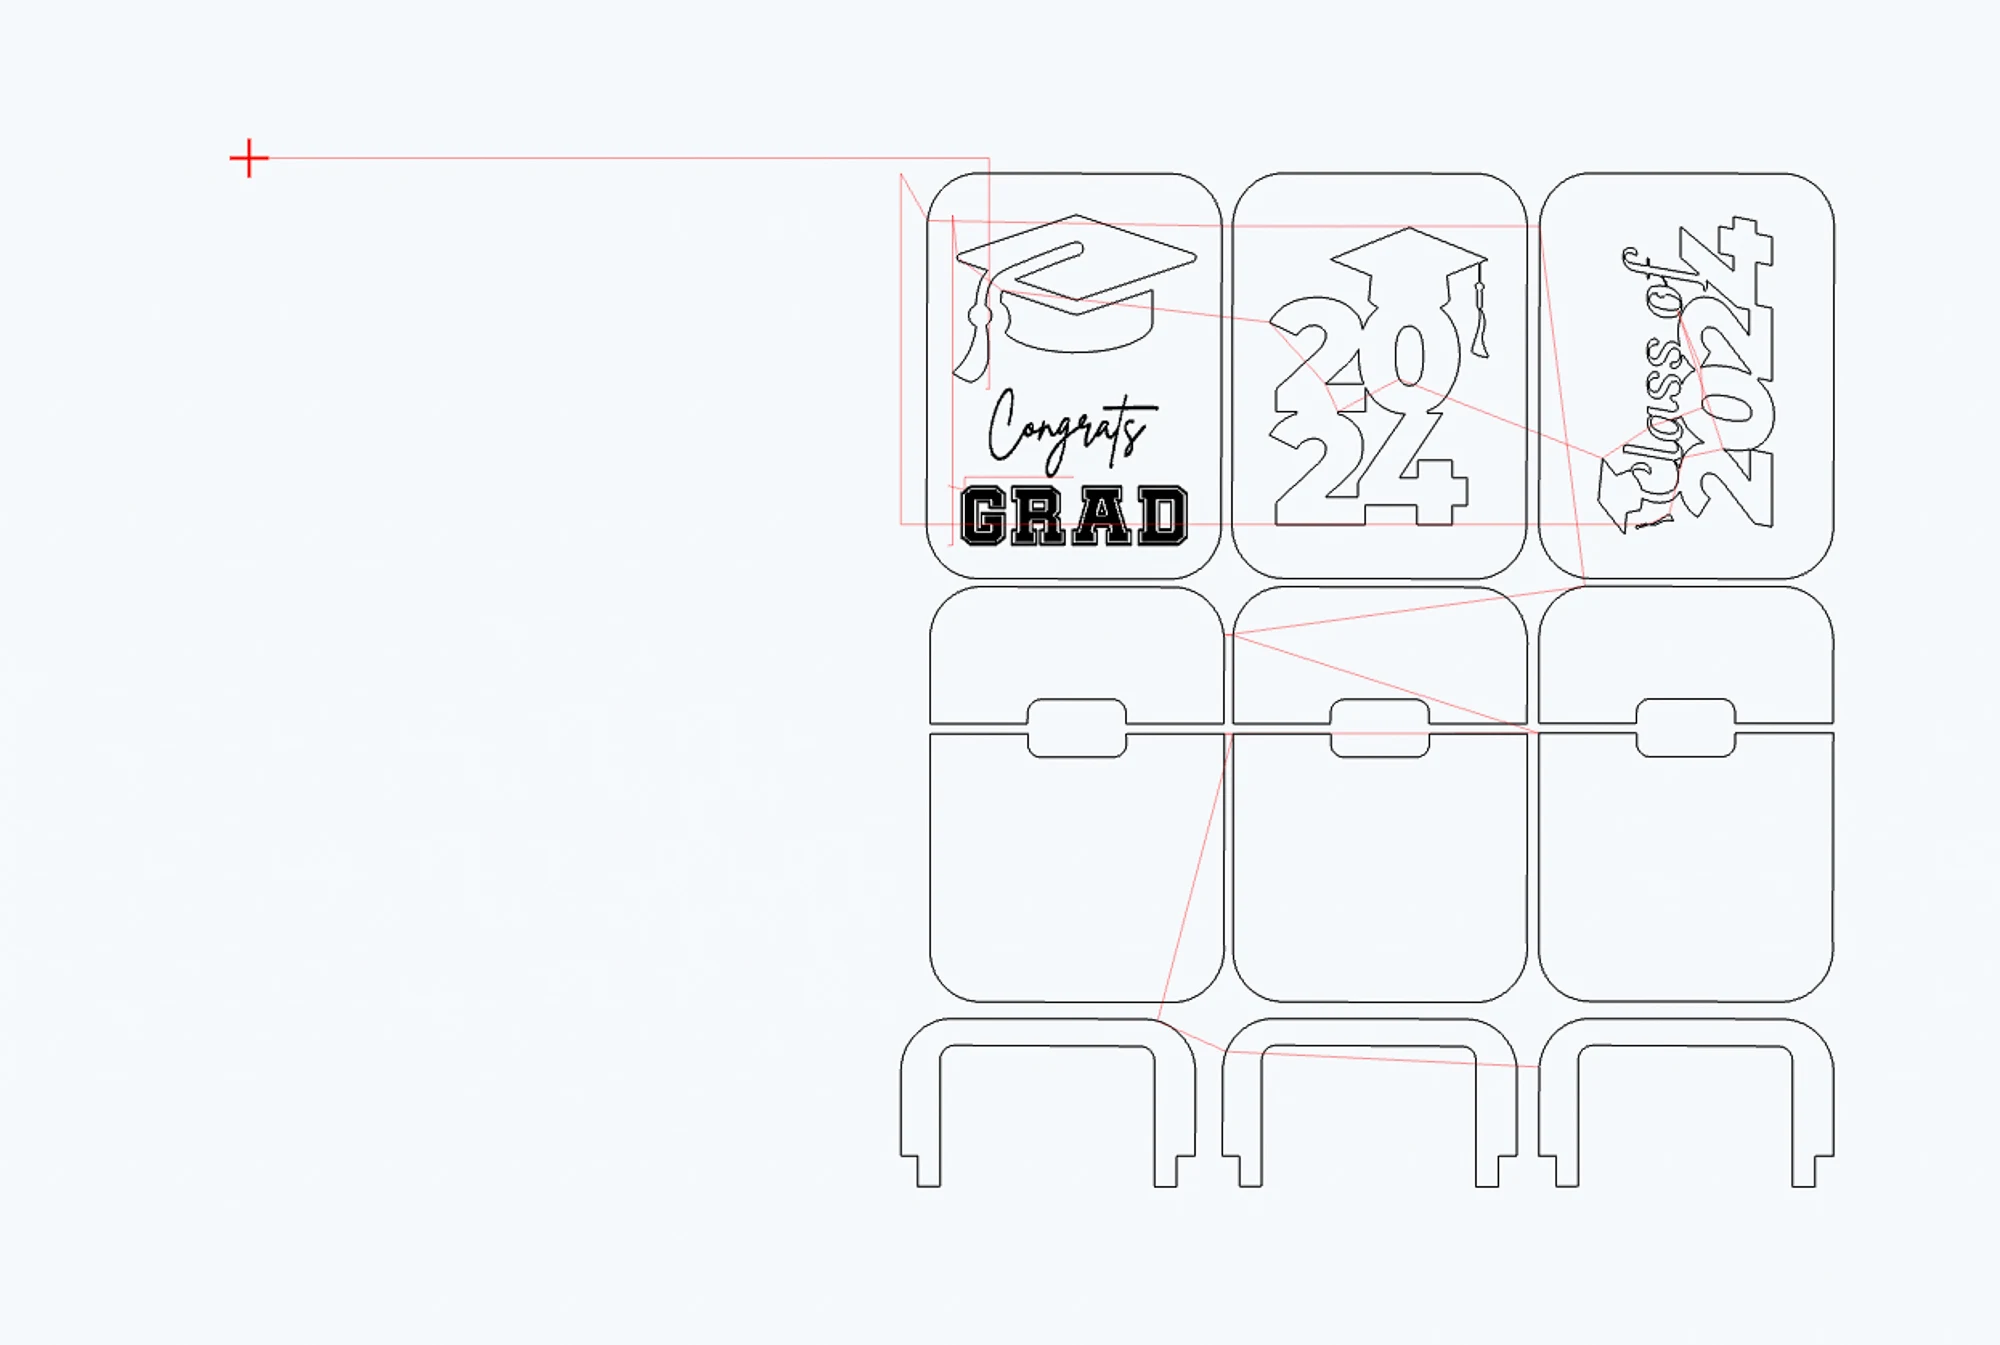
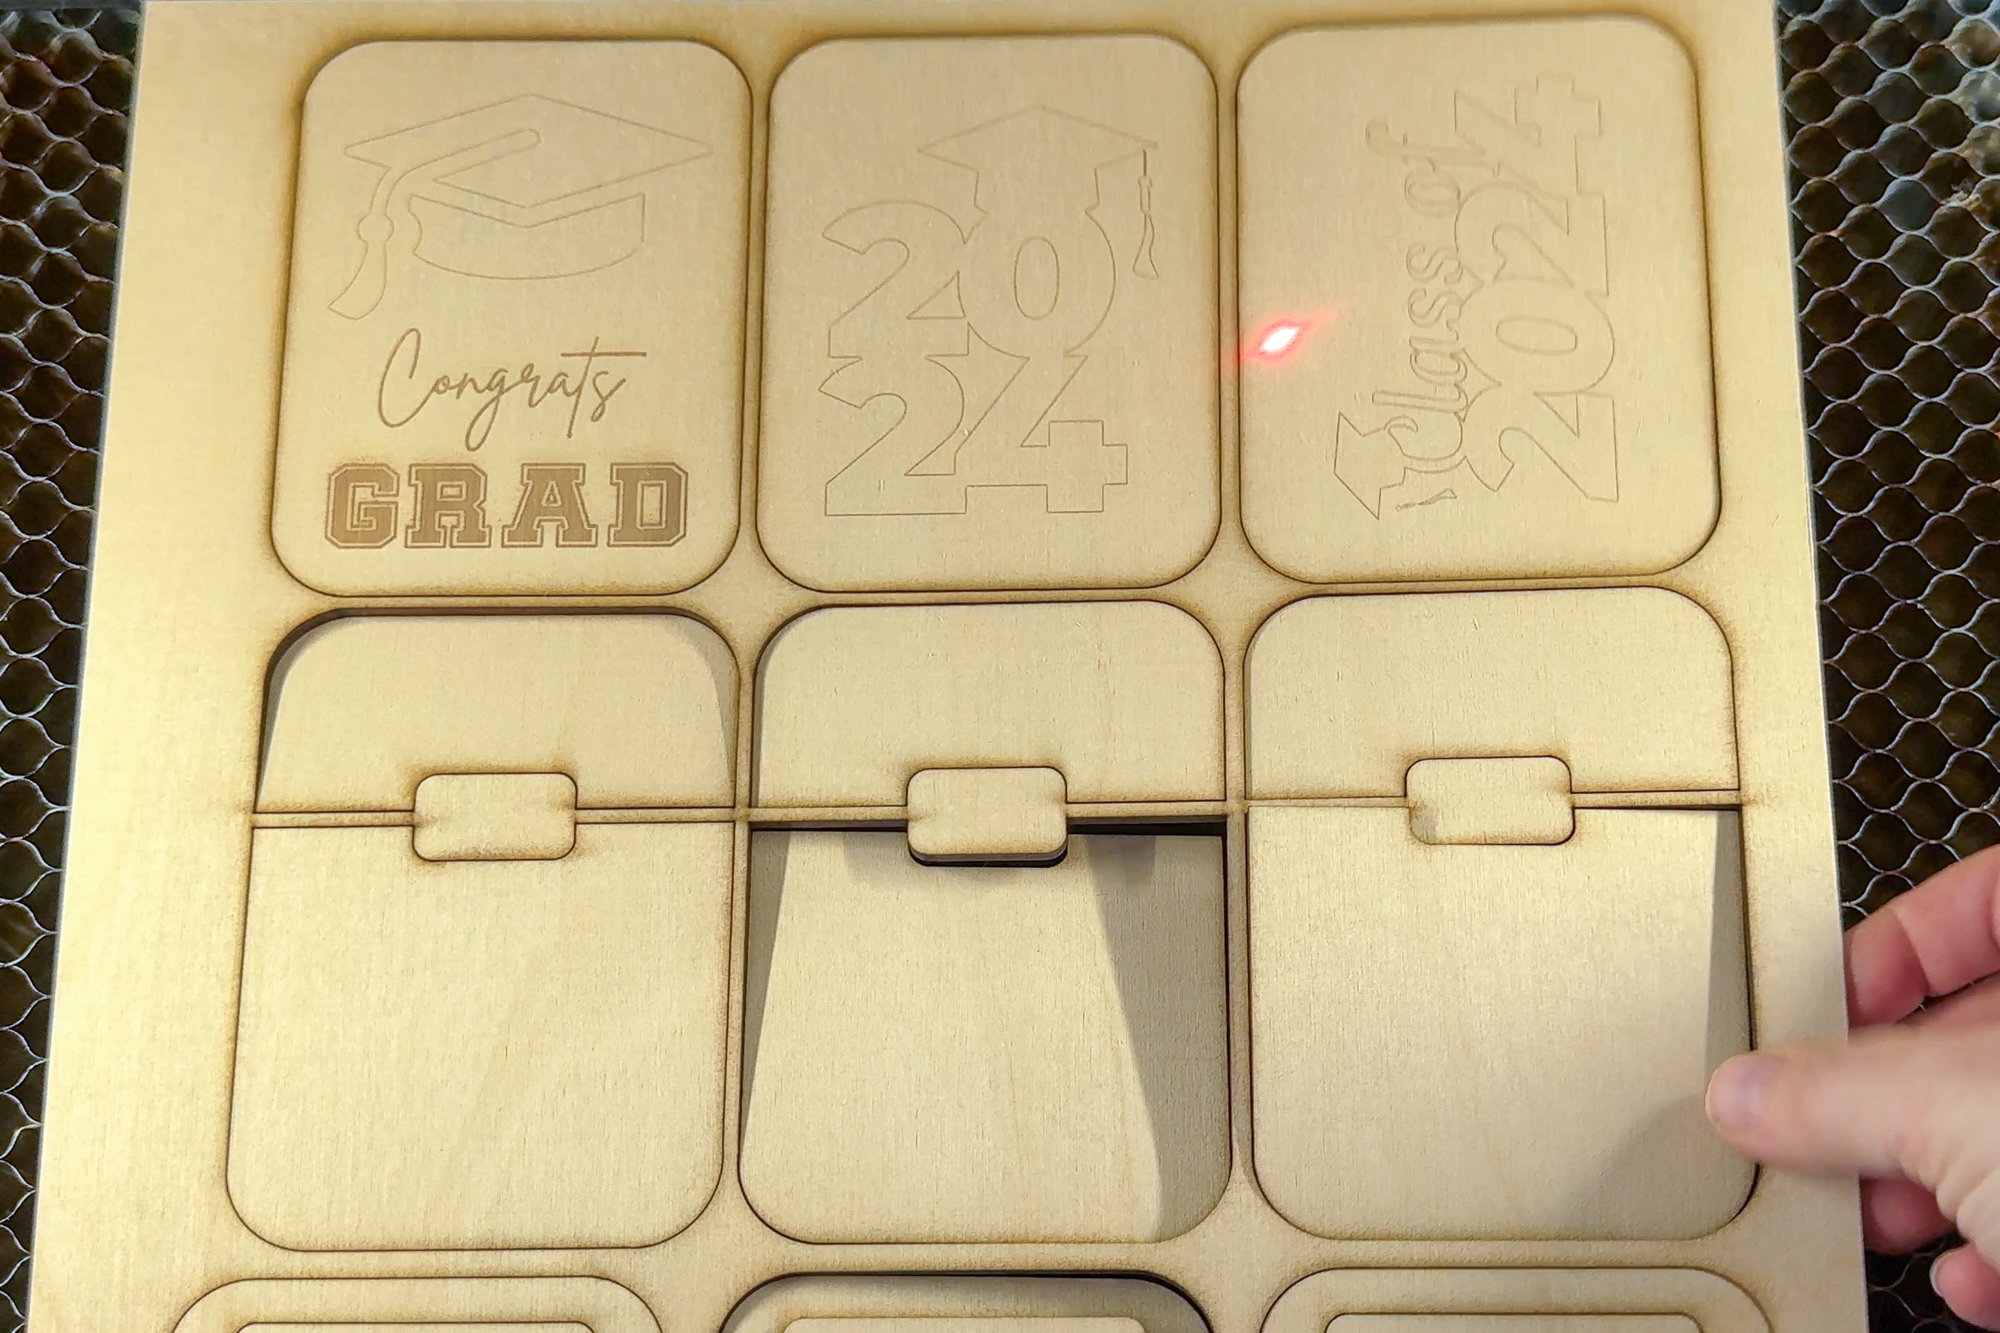
It looks good, so let's cut it out! It only took 7 minutes to engrave and cut all three of these gift card holders on my xTool P2.

Assemble the gift card holder
If you have any charring around the cut lines, use 220 grit sandpaper to remove it. Mine came out pretty clean, with just a little bit of burning on the back that will be covered up anyway.
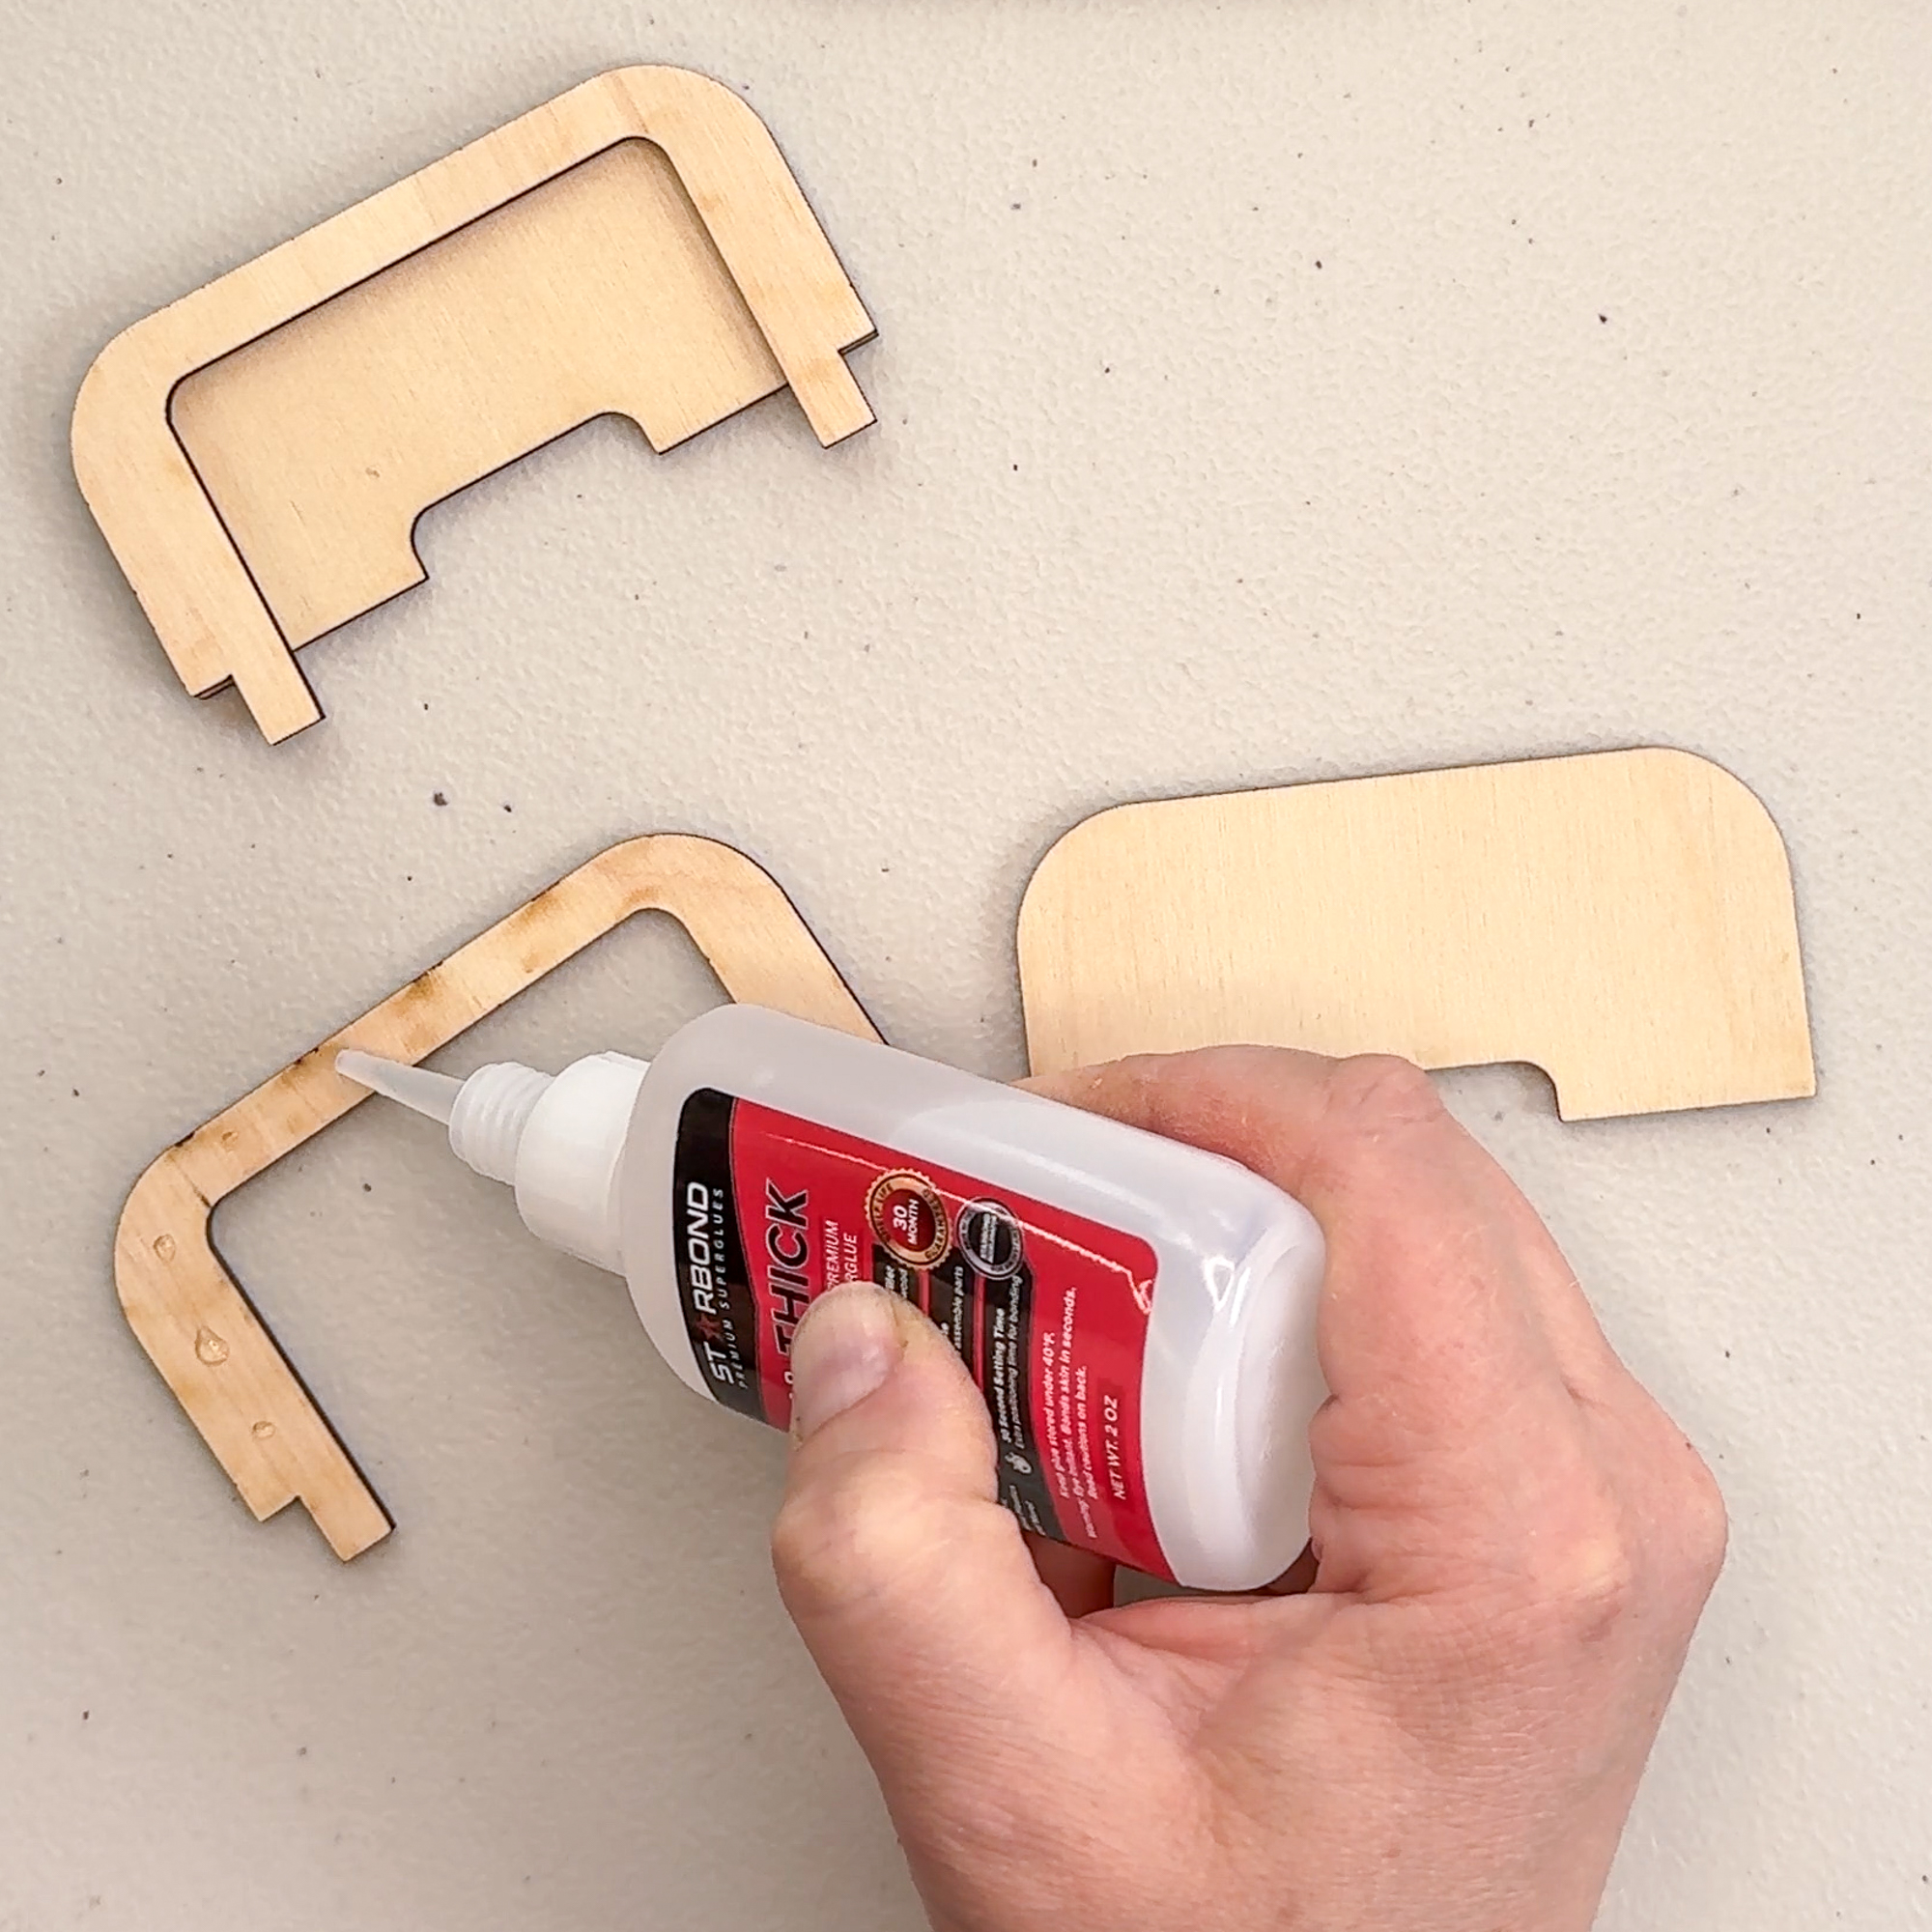
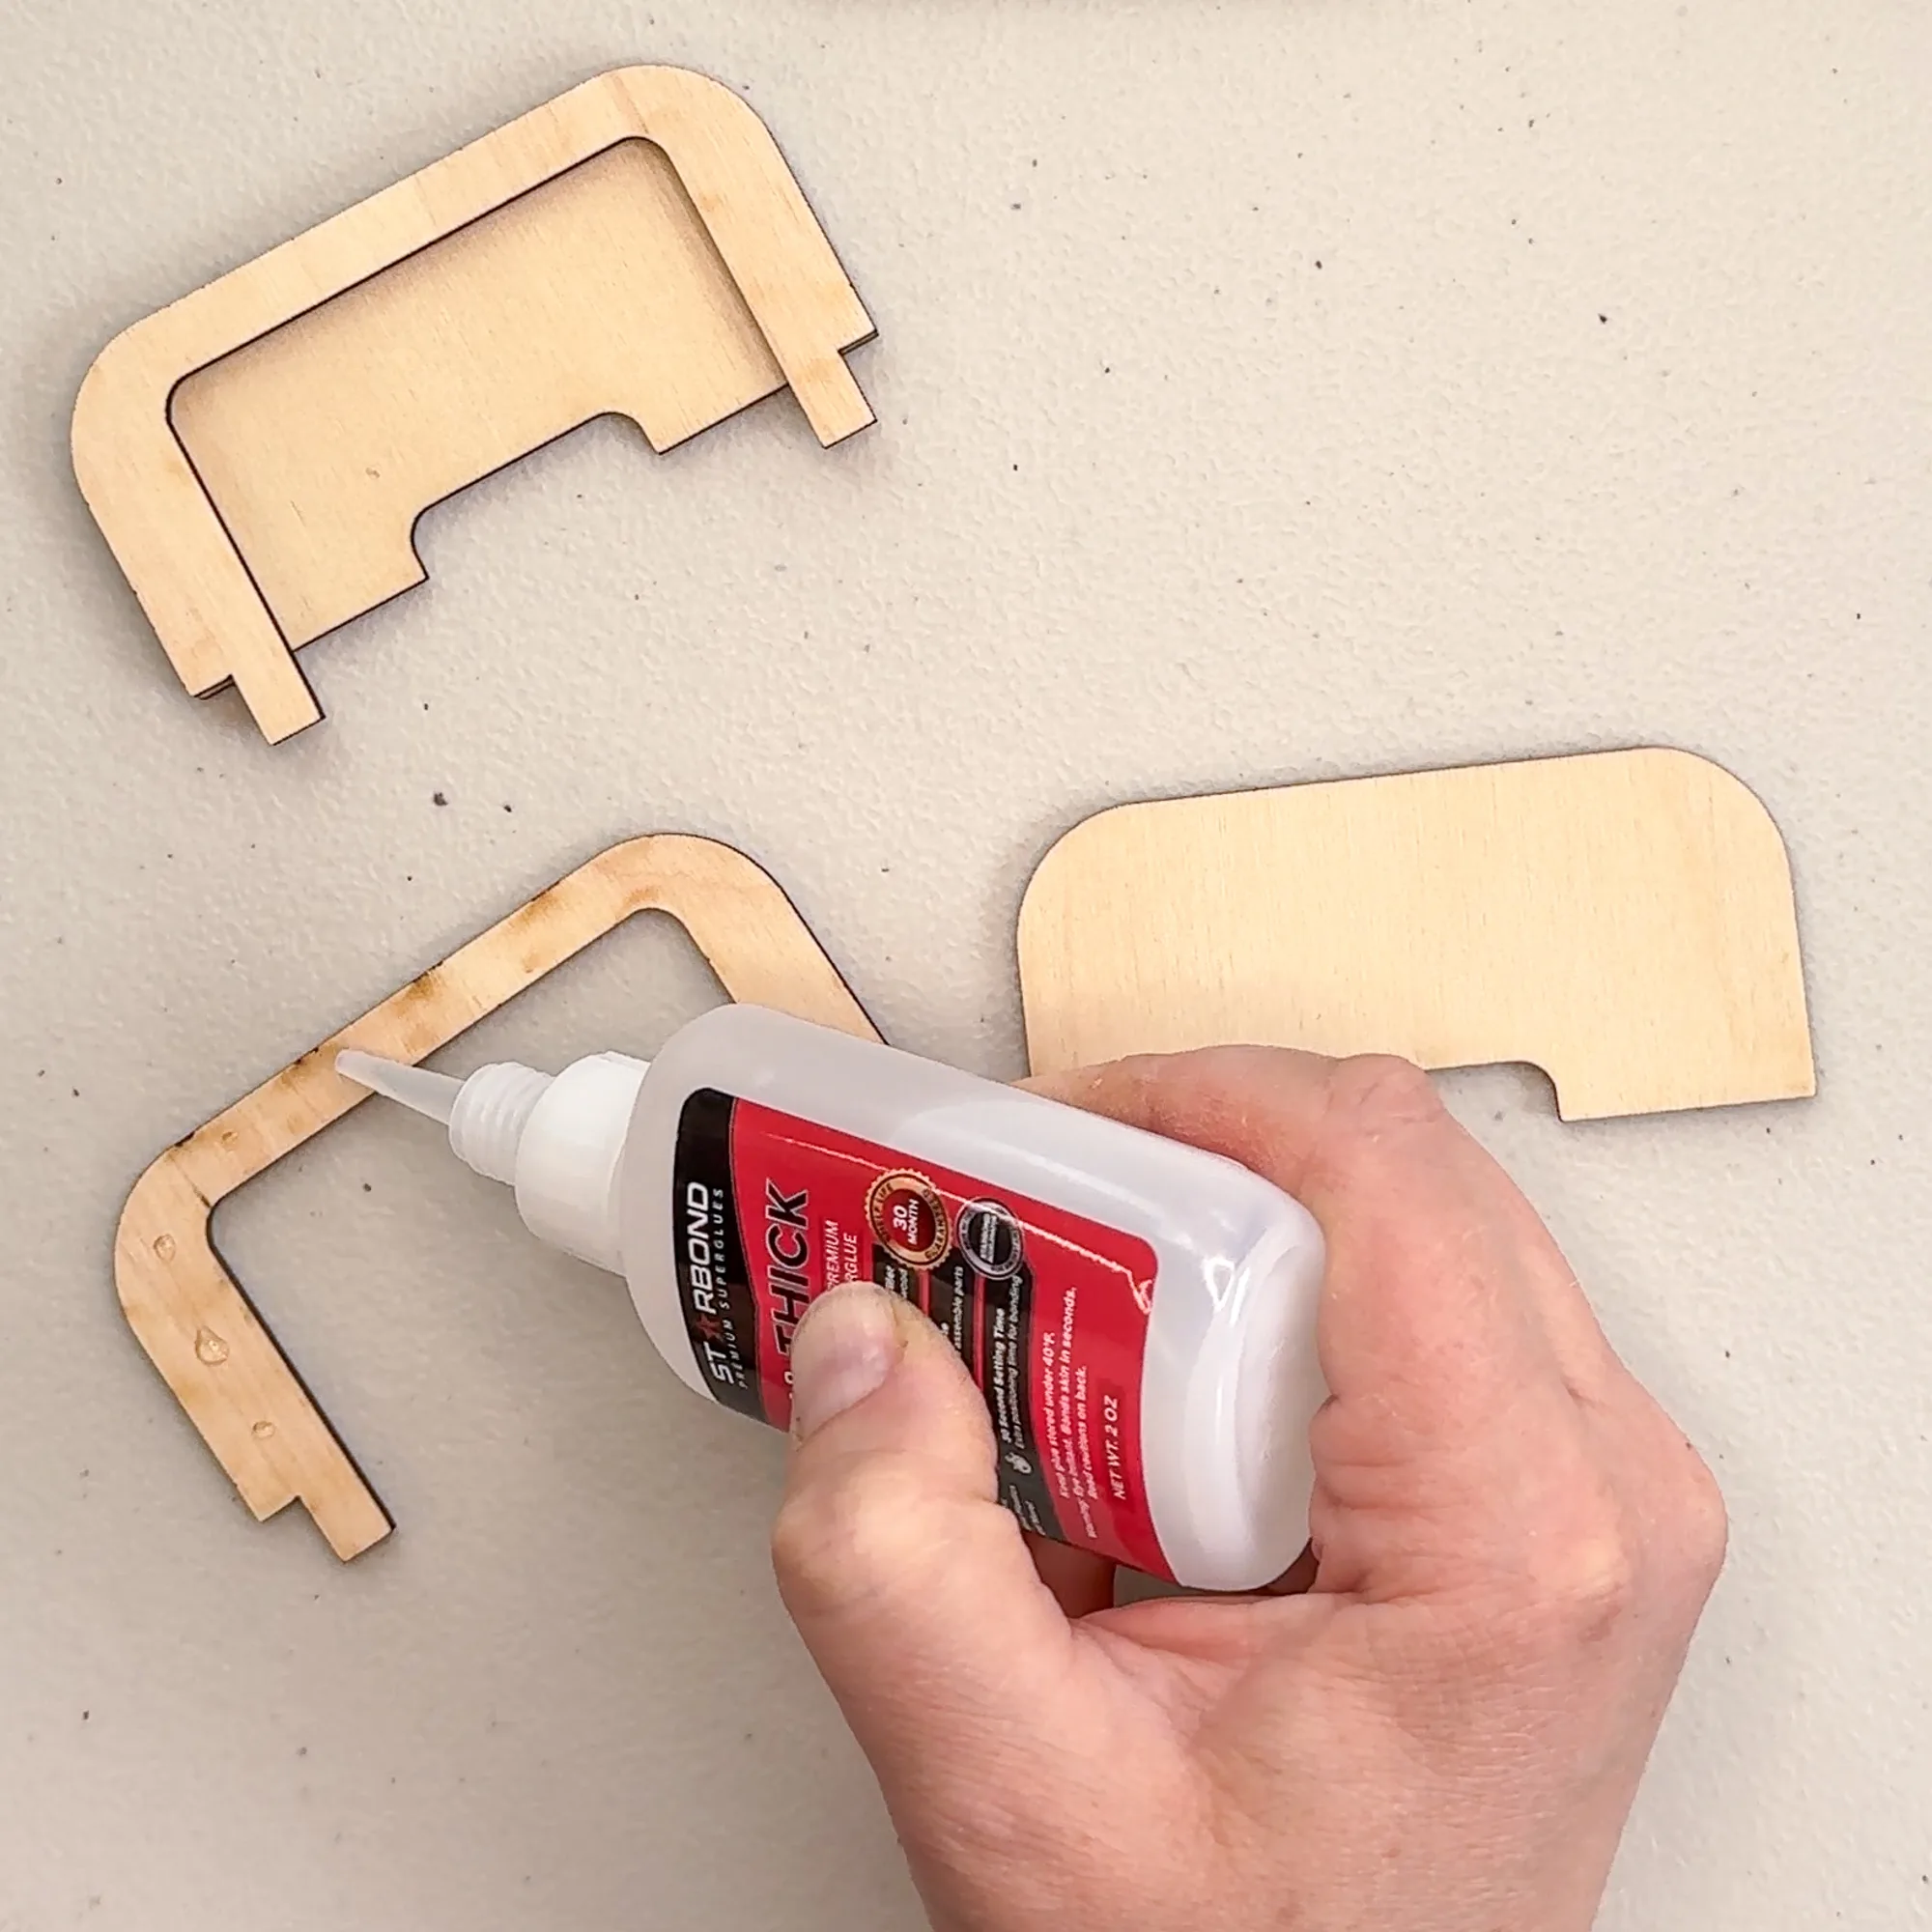
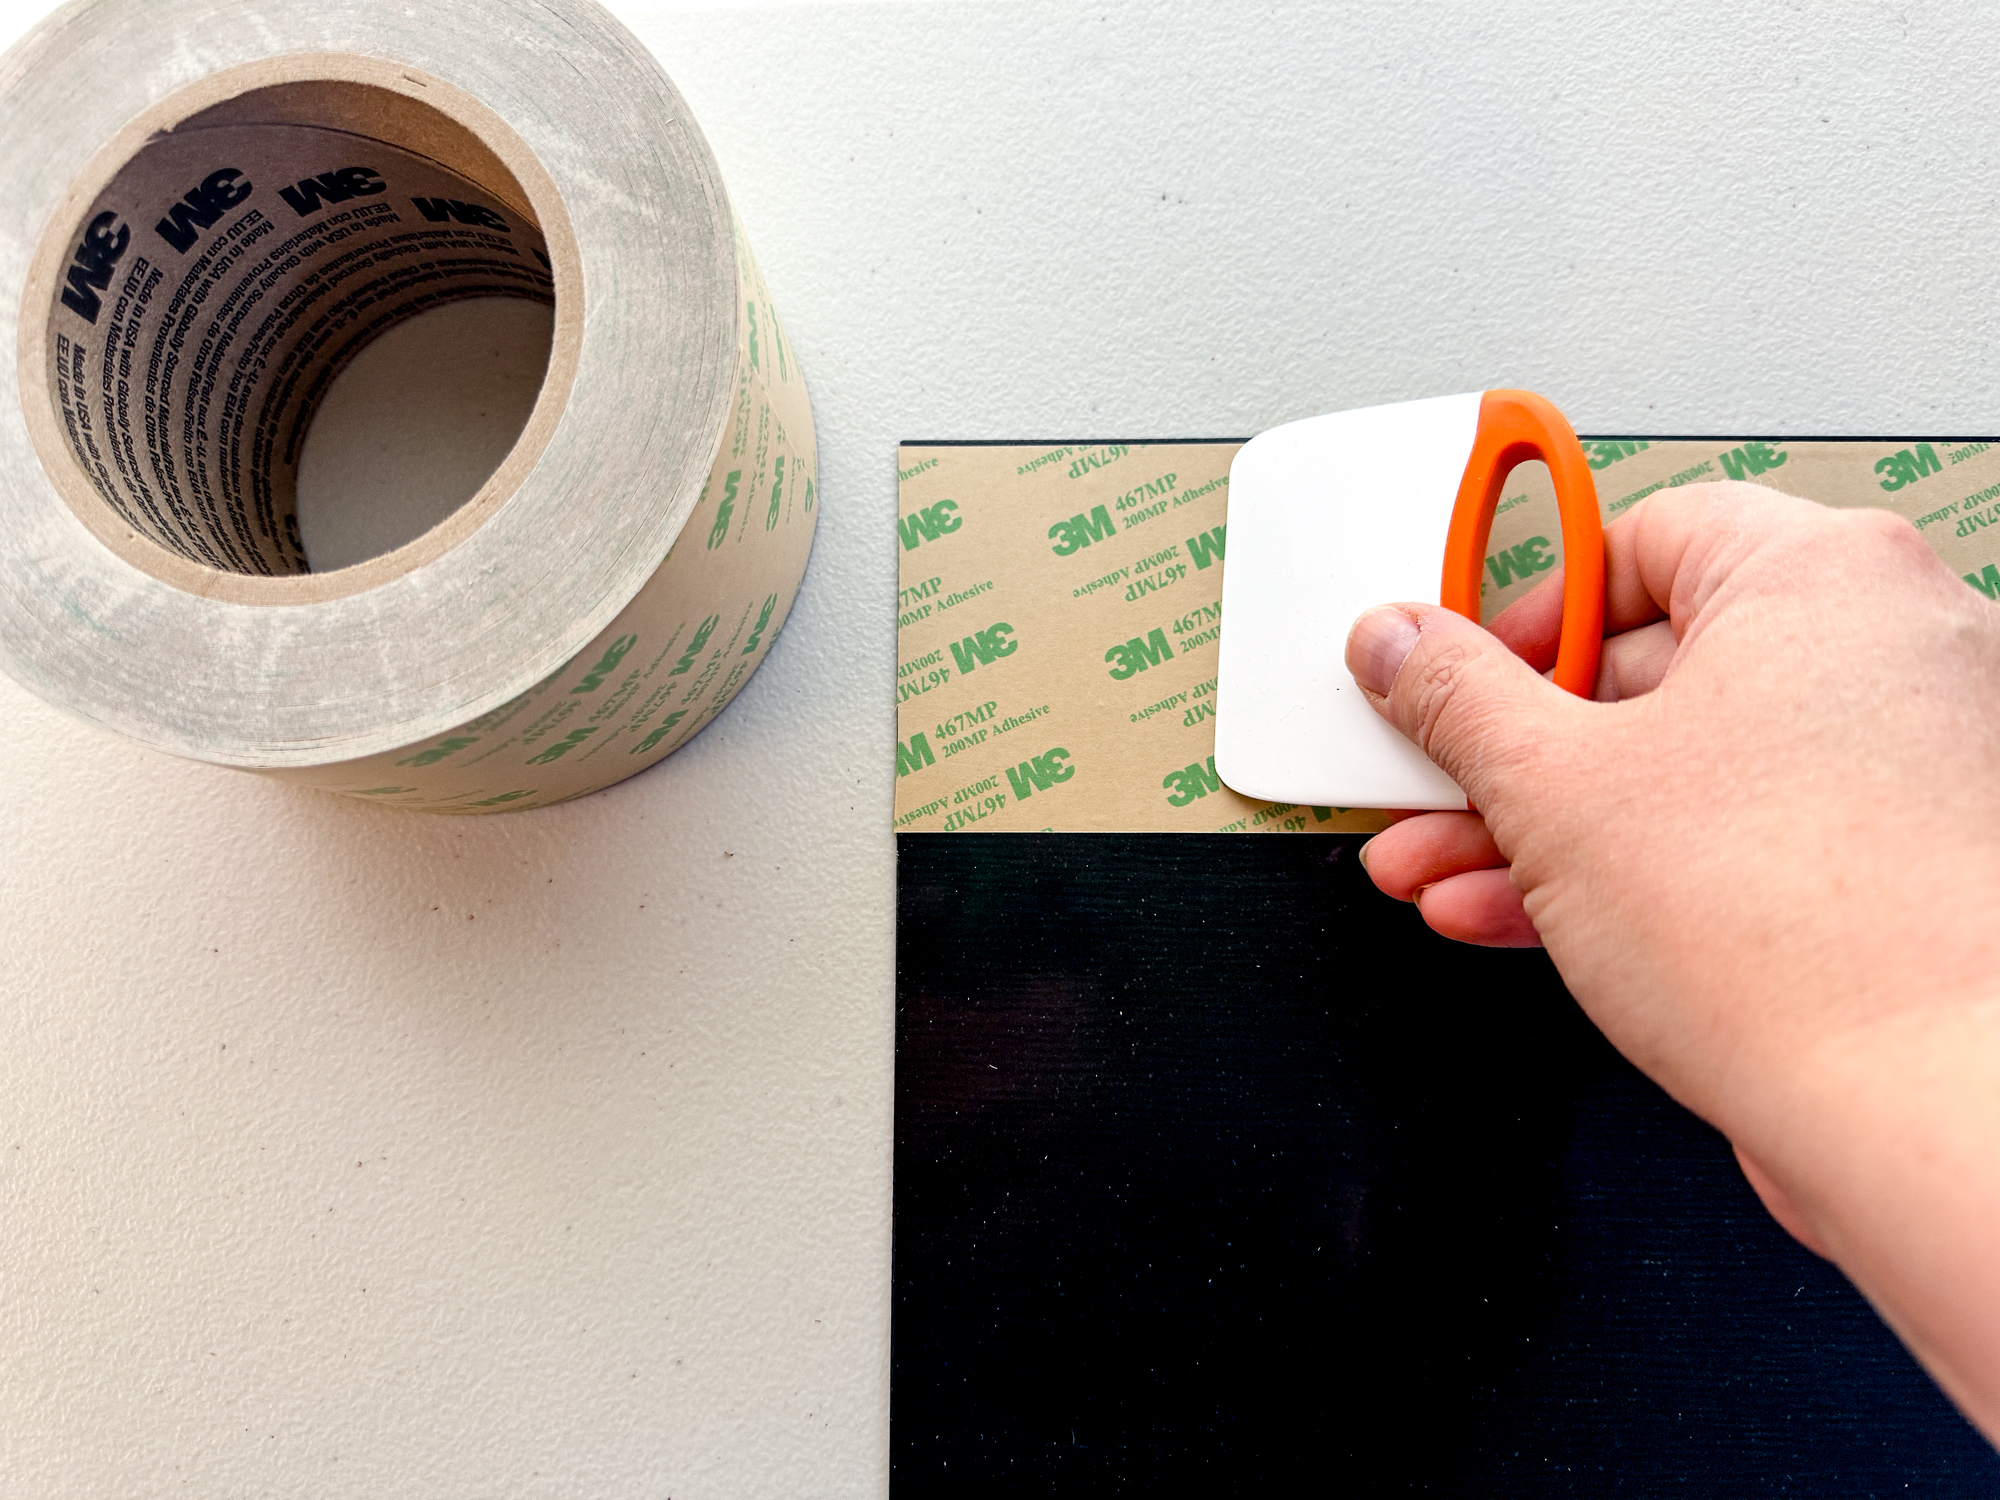
I'm using a combination of CA glue and 3M double sided adhesive tape to put it together. CA glue works well for joining the wood pieces, and 3M provides a strong hold on the decorative pieces so they don't pop off accidentally.
Apply CA glue to the back of the smaller spacer. You don't need a lot, so little dots down the middle will help prevent glue from squeezing out. Don't put any glue on the tab at the bottom.
Line up the outside edge of the spacer with the outside edge of the top back piece. The tabs will stick out past the bottom edge. Set this piece aside to dry.
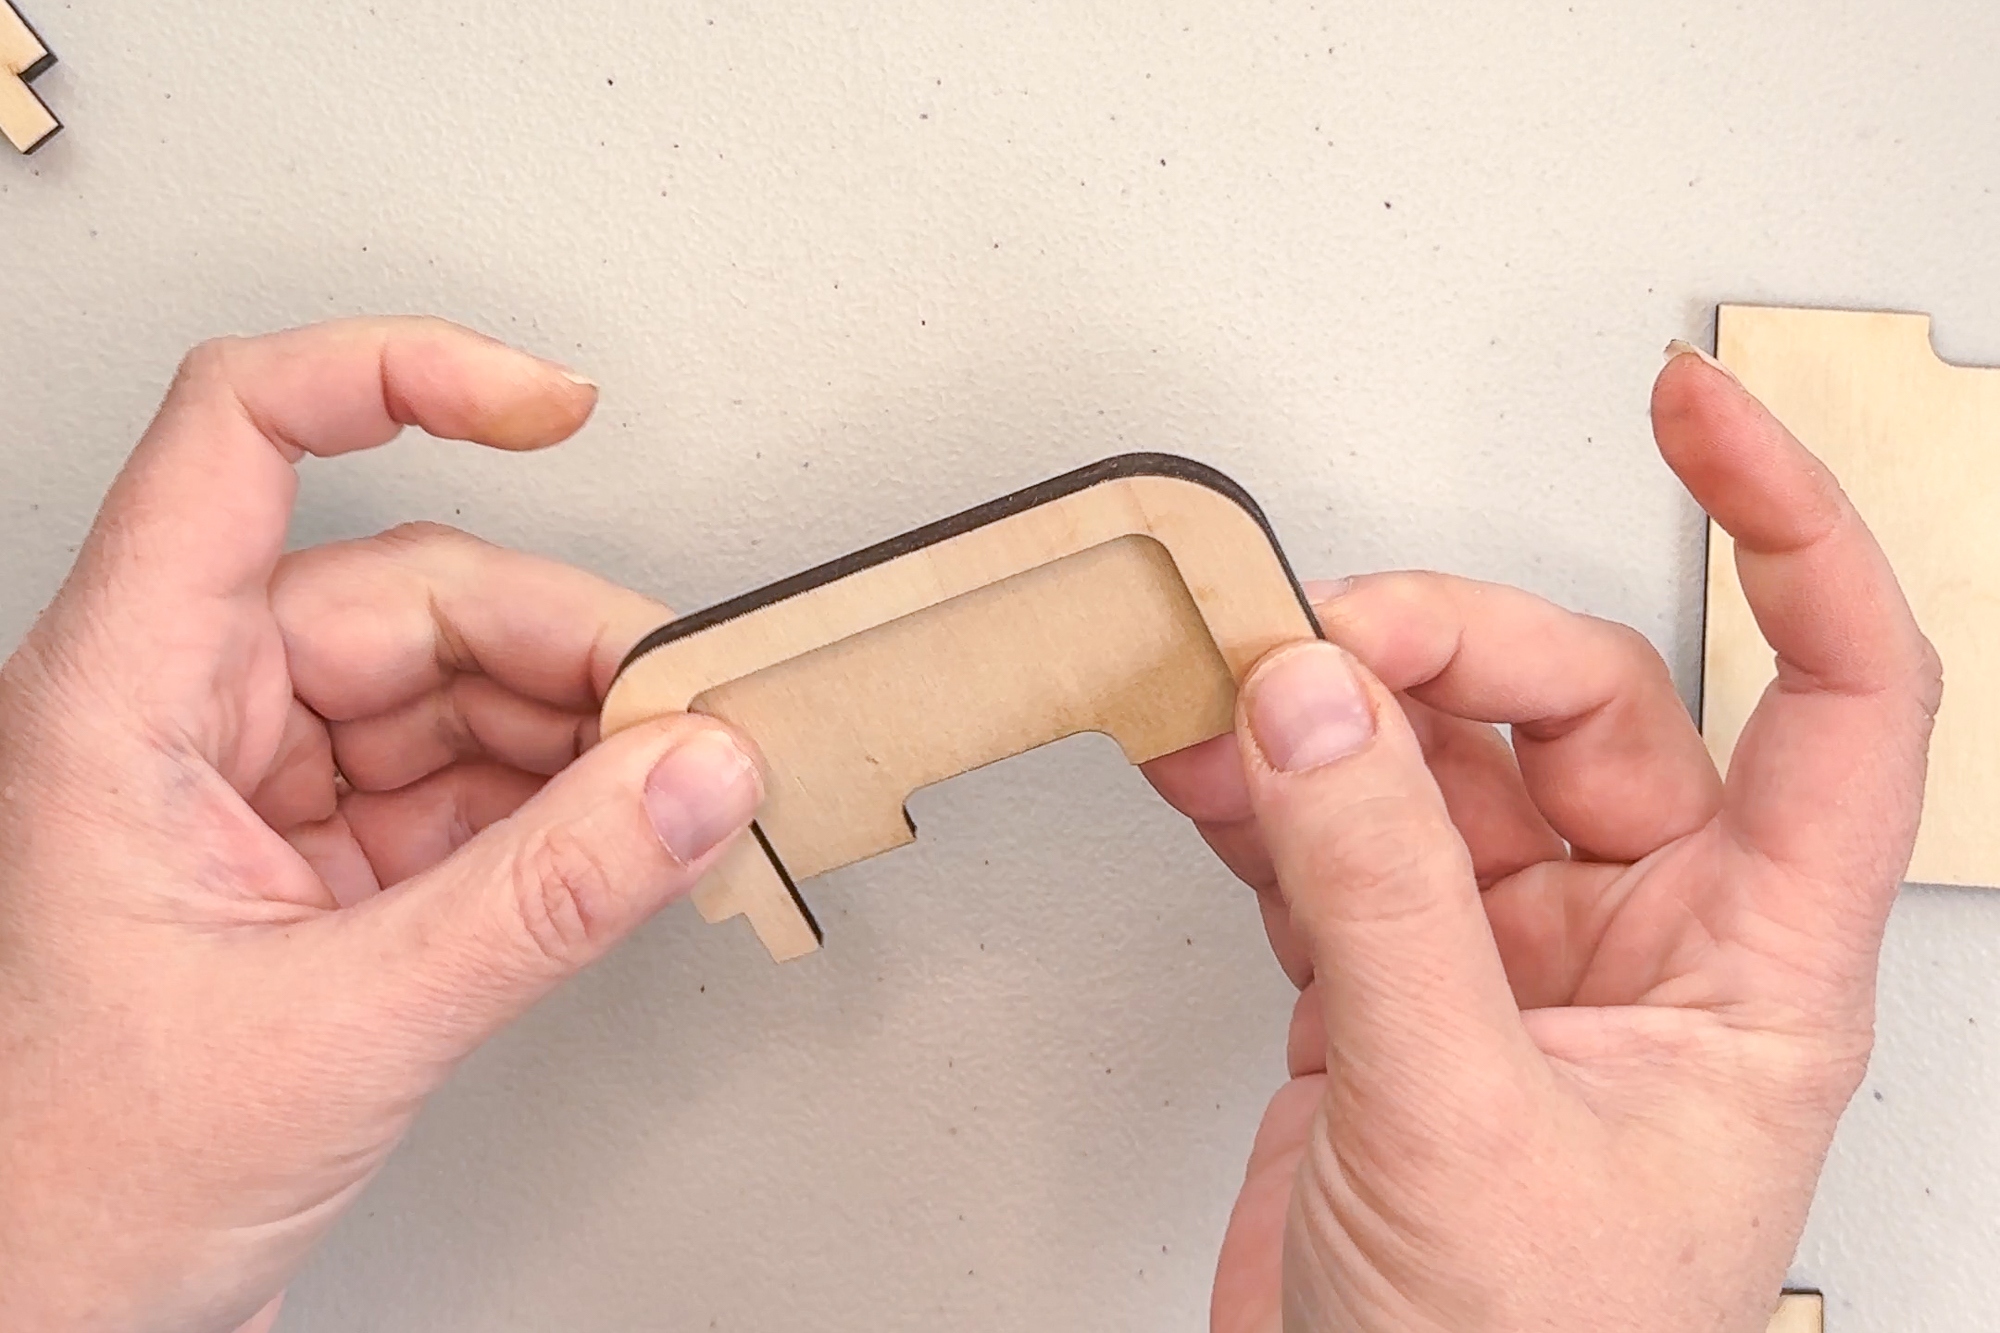

Repeat the process for the larger bottom spacer and back piece. The tabs should line up with the top edge.

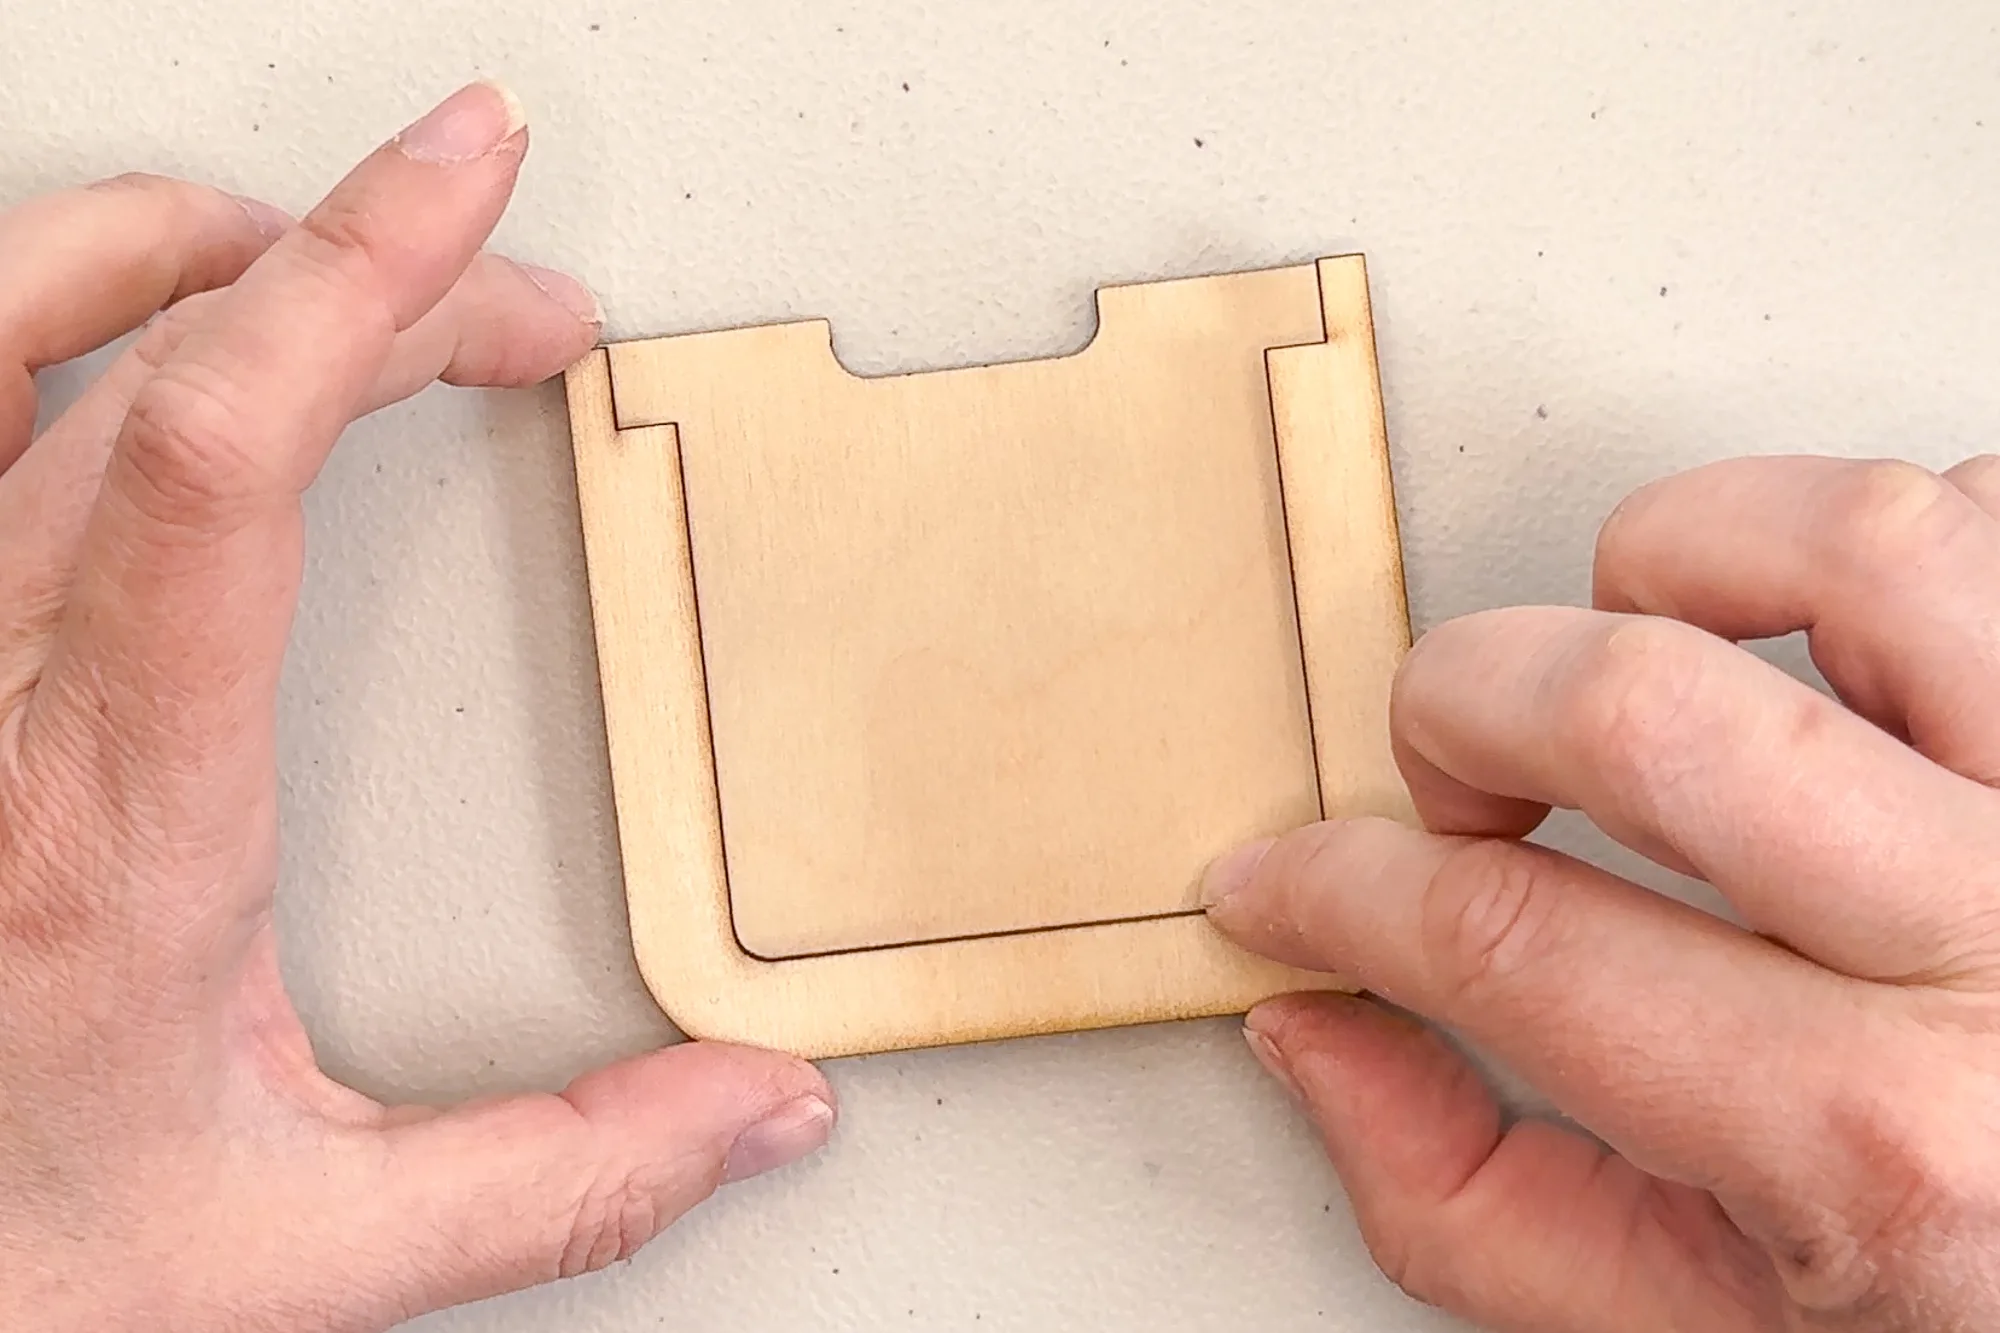
Next, apply glue to the bottom half and attach the front piece.


If you cut the decorative elements out of wood, you can paint them before attaching them to the front. I hate painting tiny pieces, so I cut mine out of craft plastic instead. This stuff is super thin, so it won't get snagged and accidentally pop off the front.
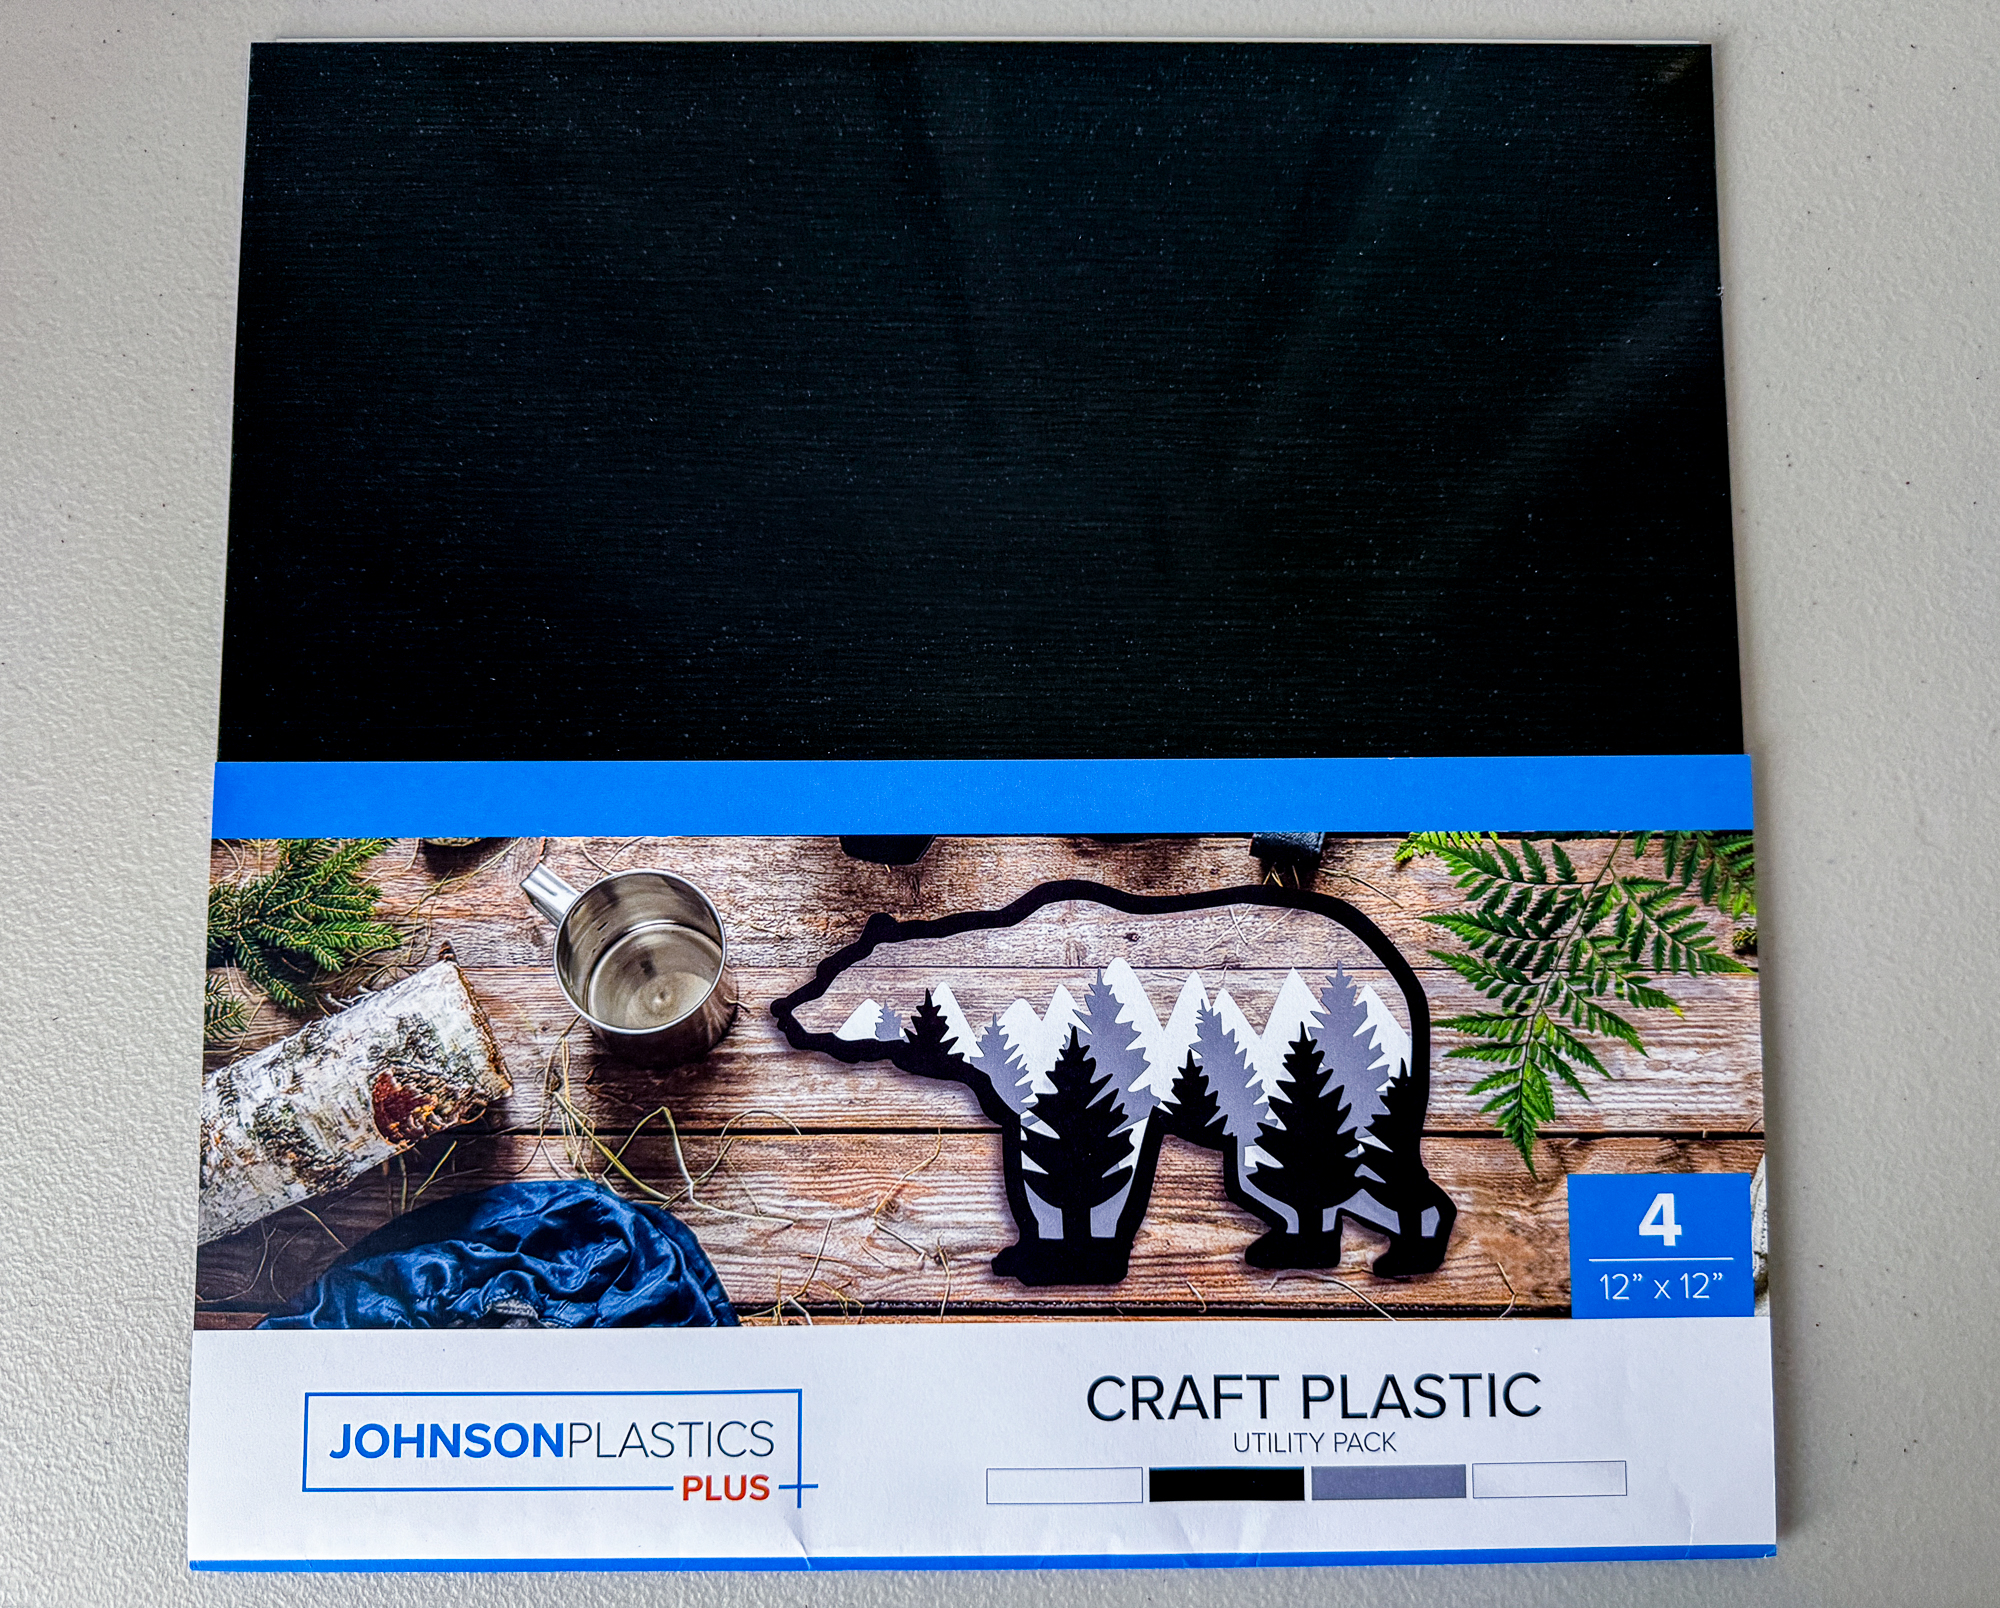

I applied 3M double sided adhesive tape to the back before cutting it out on the laser.

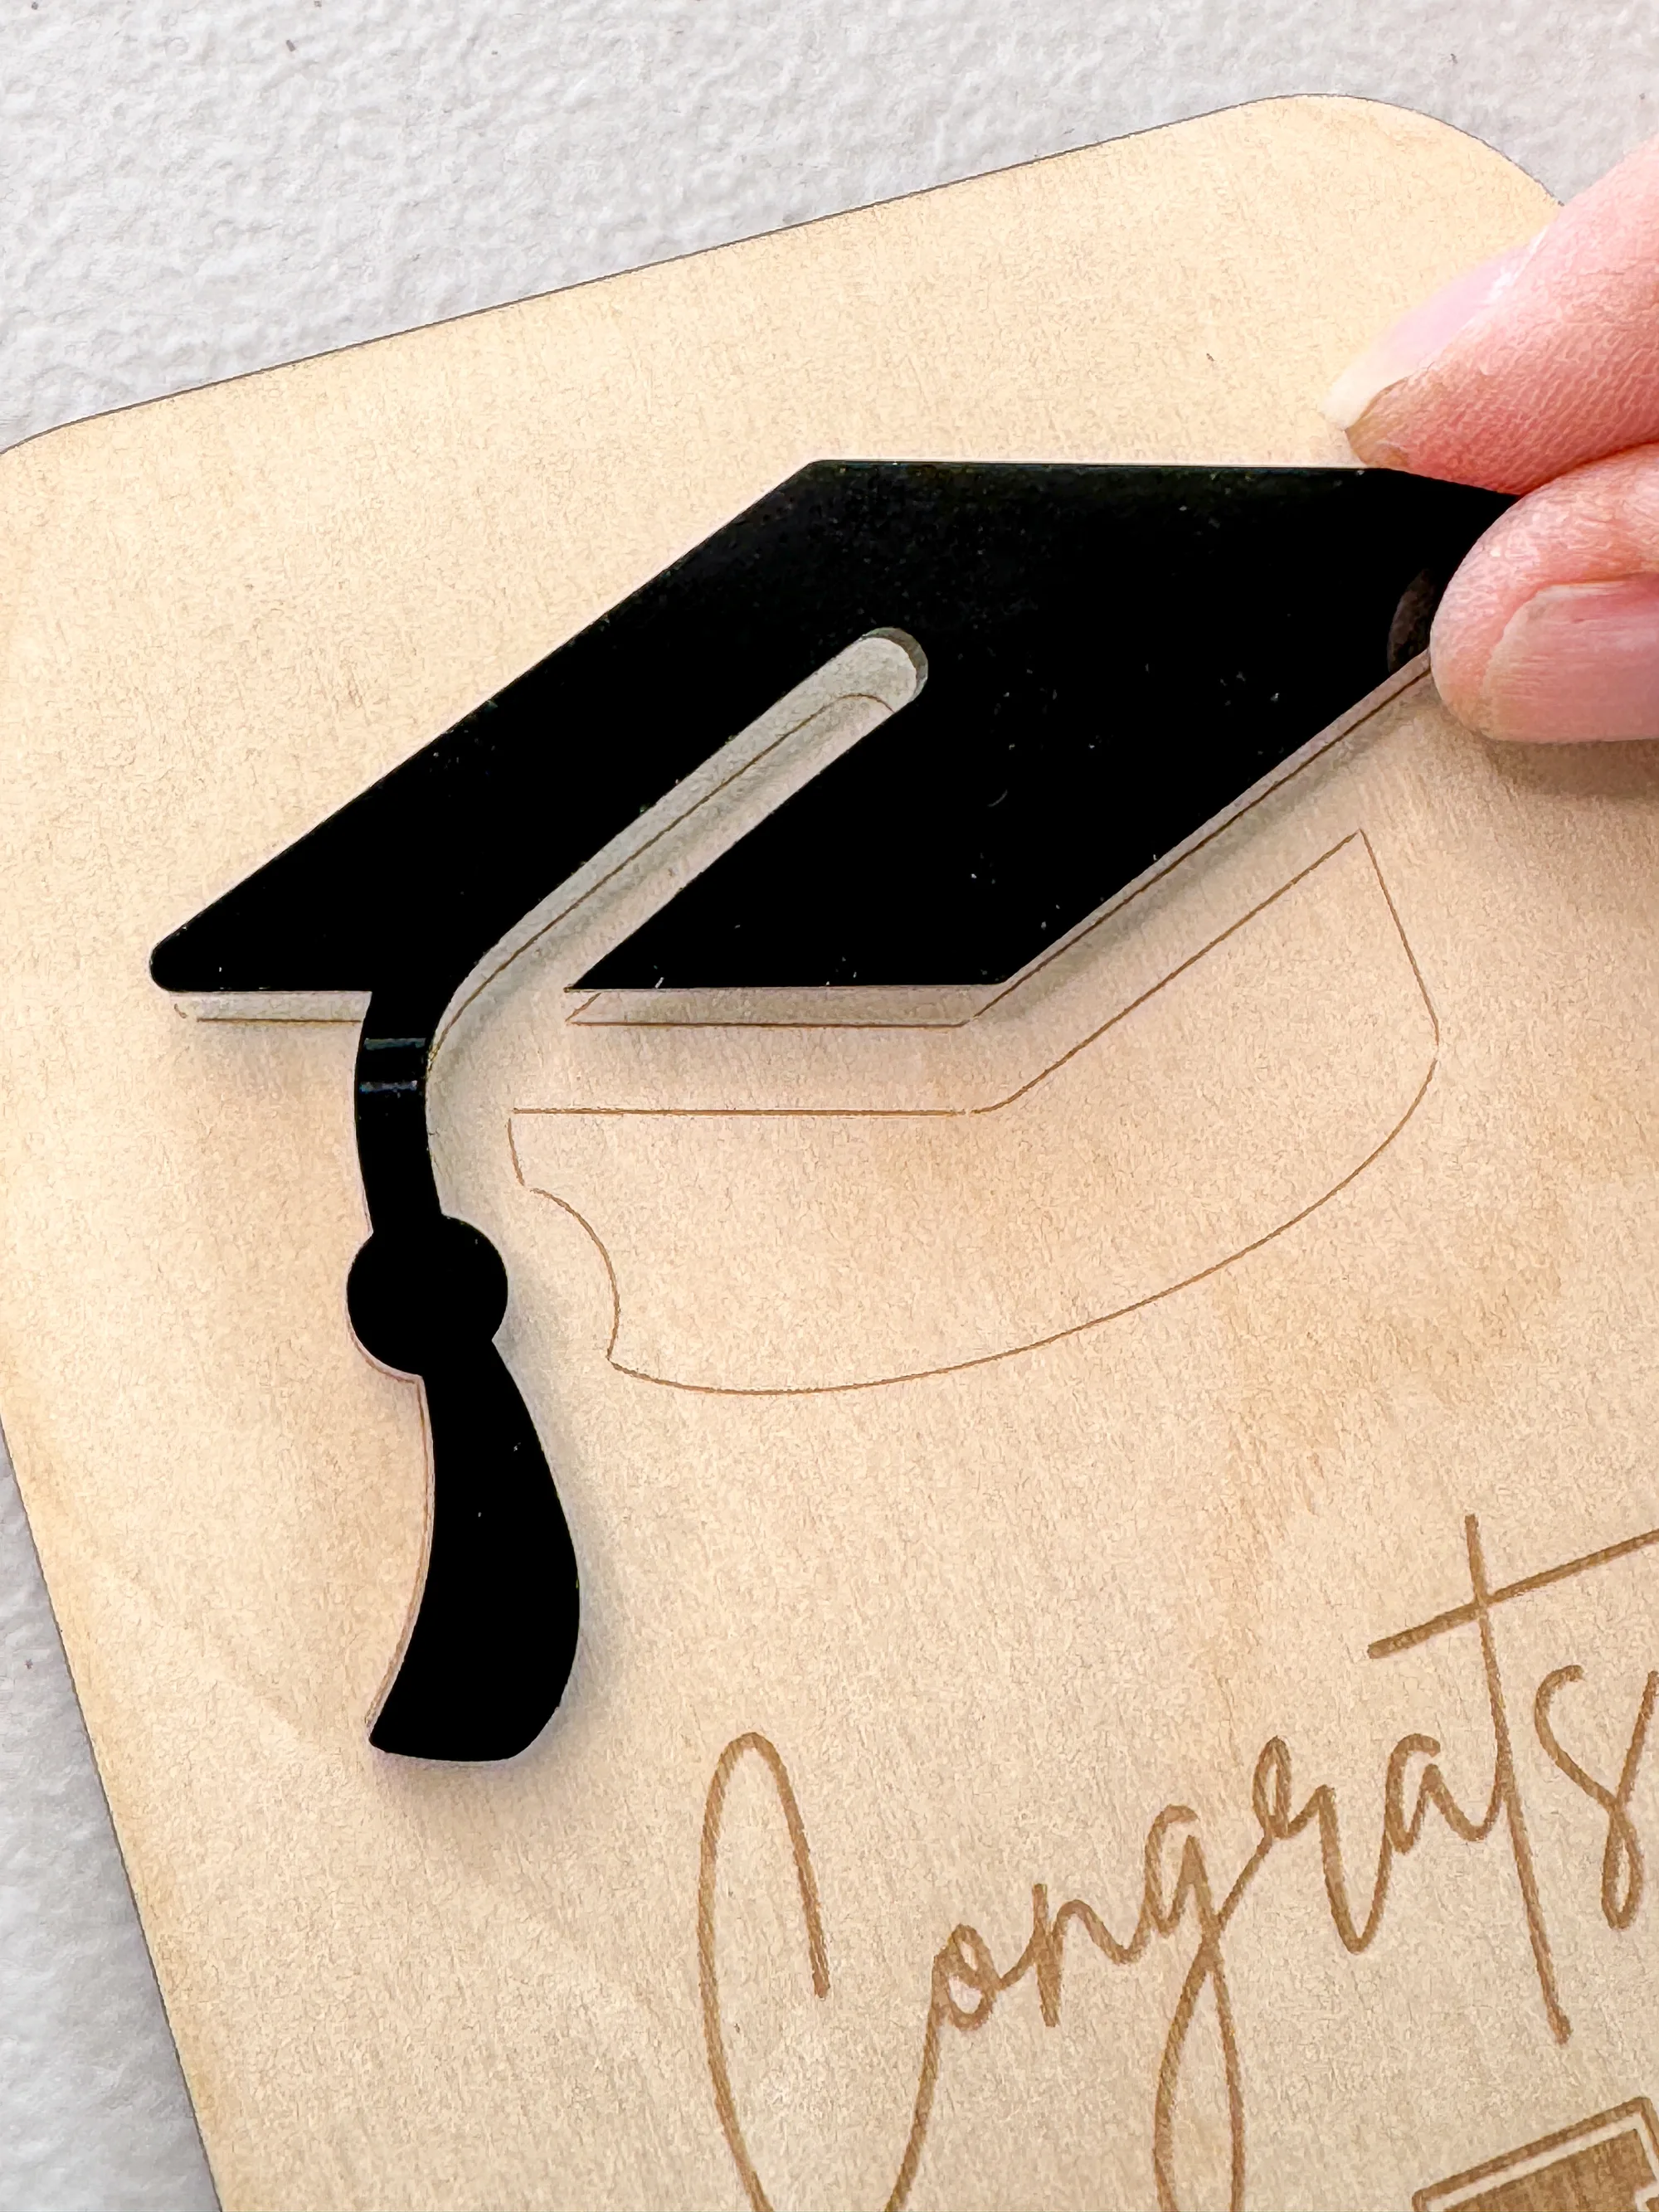
Then I can just peel off the backing and stick it in place over the scored design.

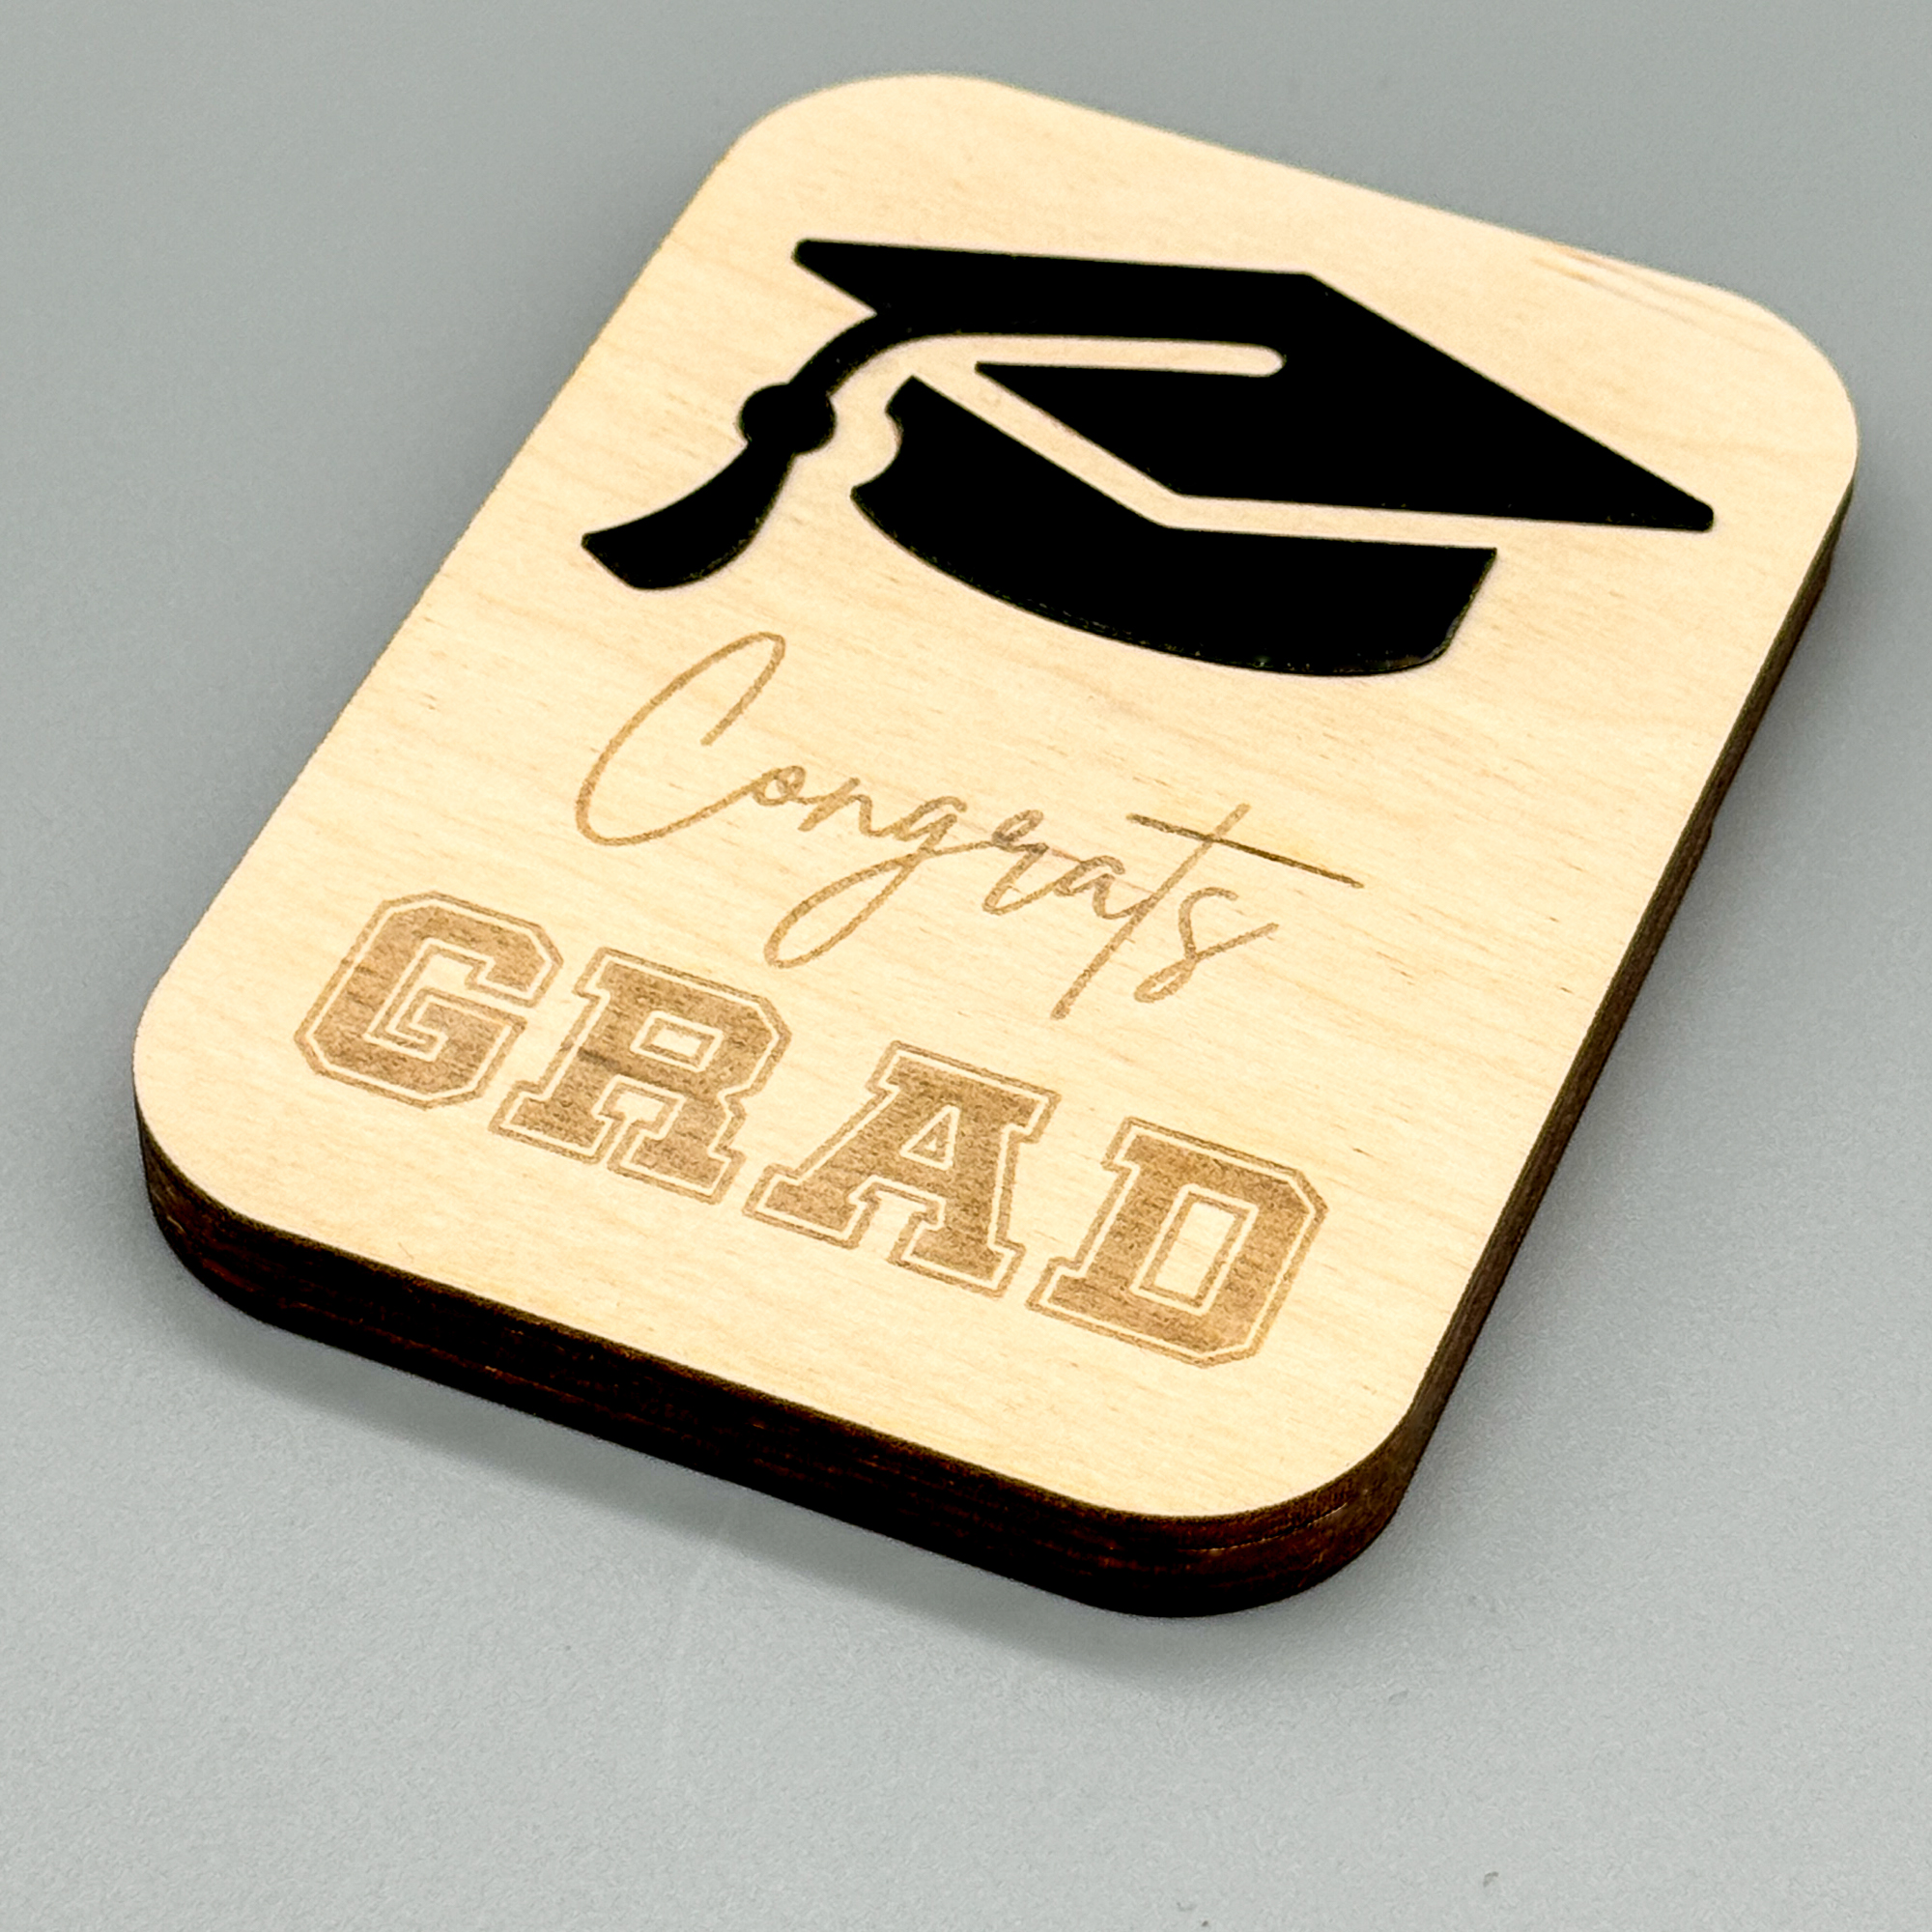
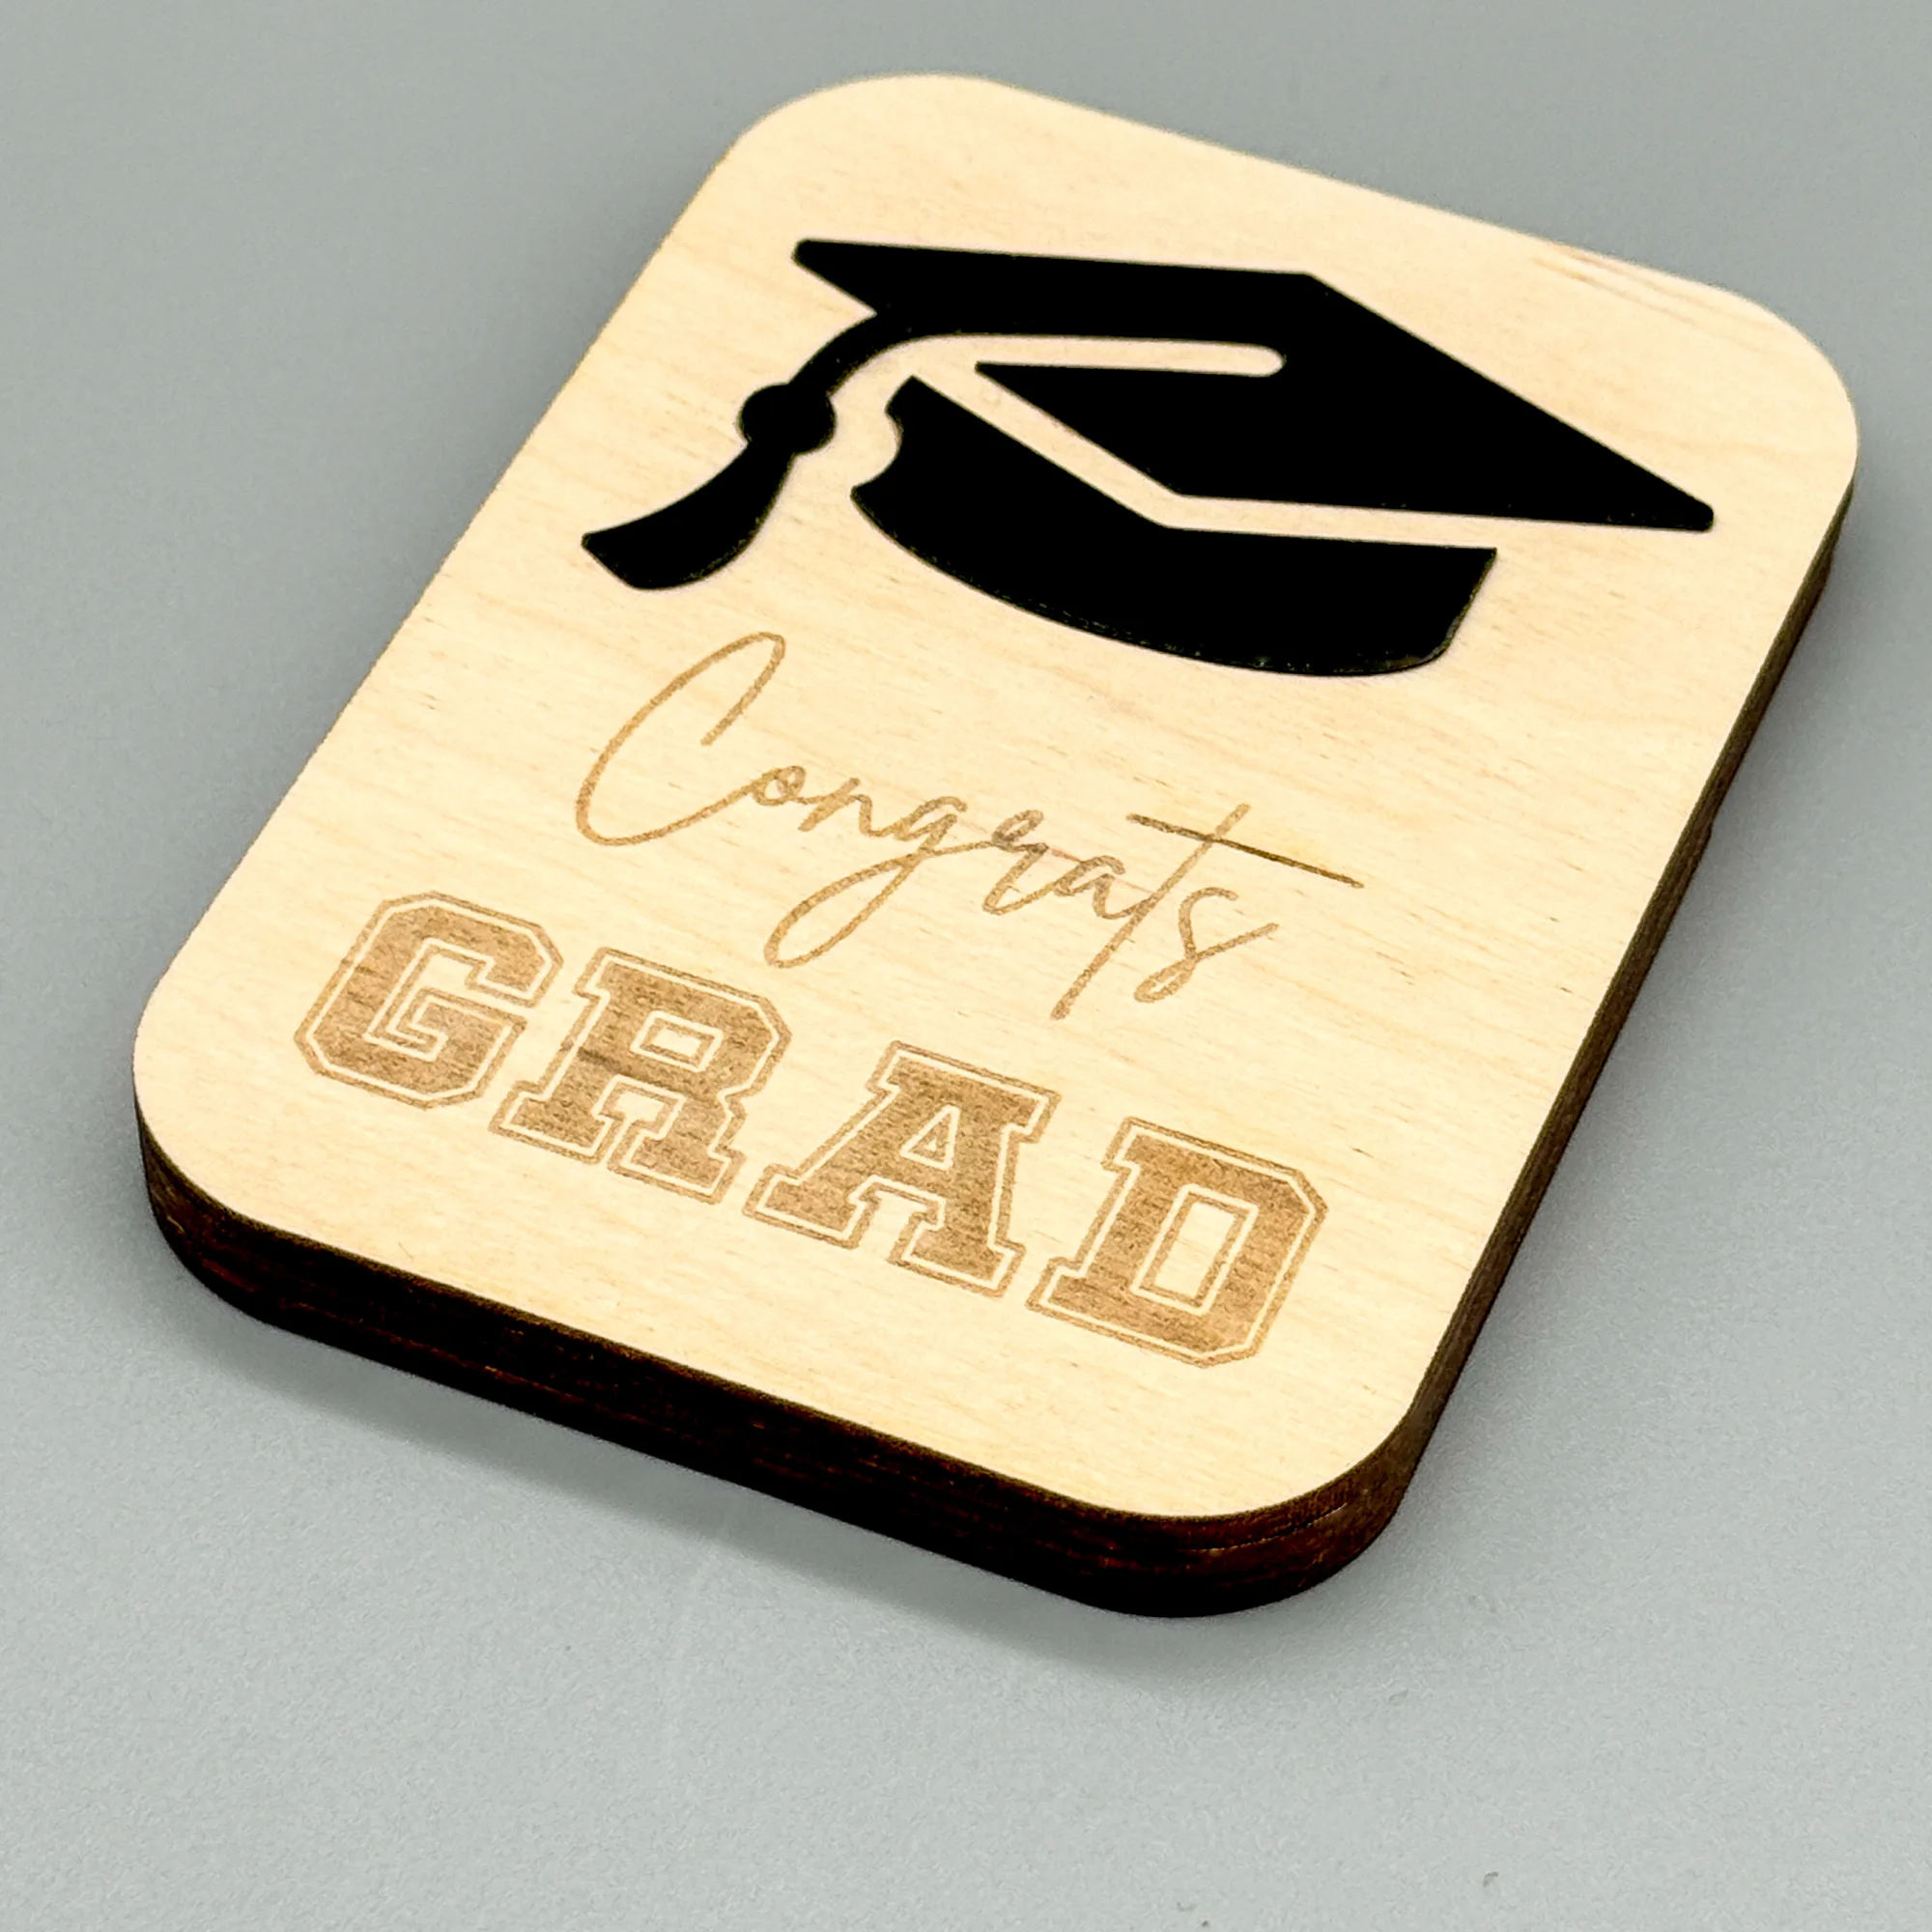
That's it! I really like how it turned out. I think this craft plastic will be my go-to for layering designs when I don't want the extra height.
Just pop in the gift card and slide in the top to lock it into place! I shook these around to test them out, and the top stays on securely so the card won't fall out.

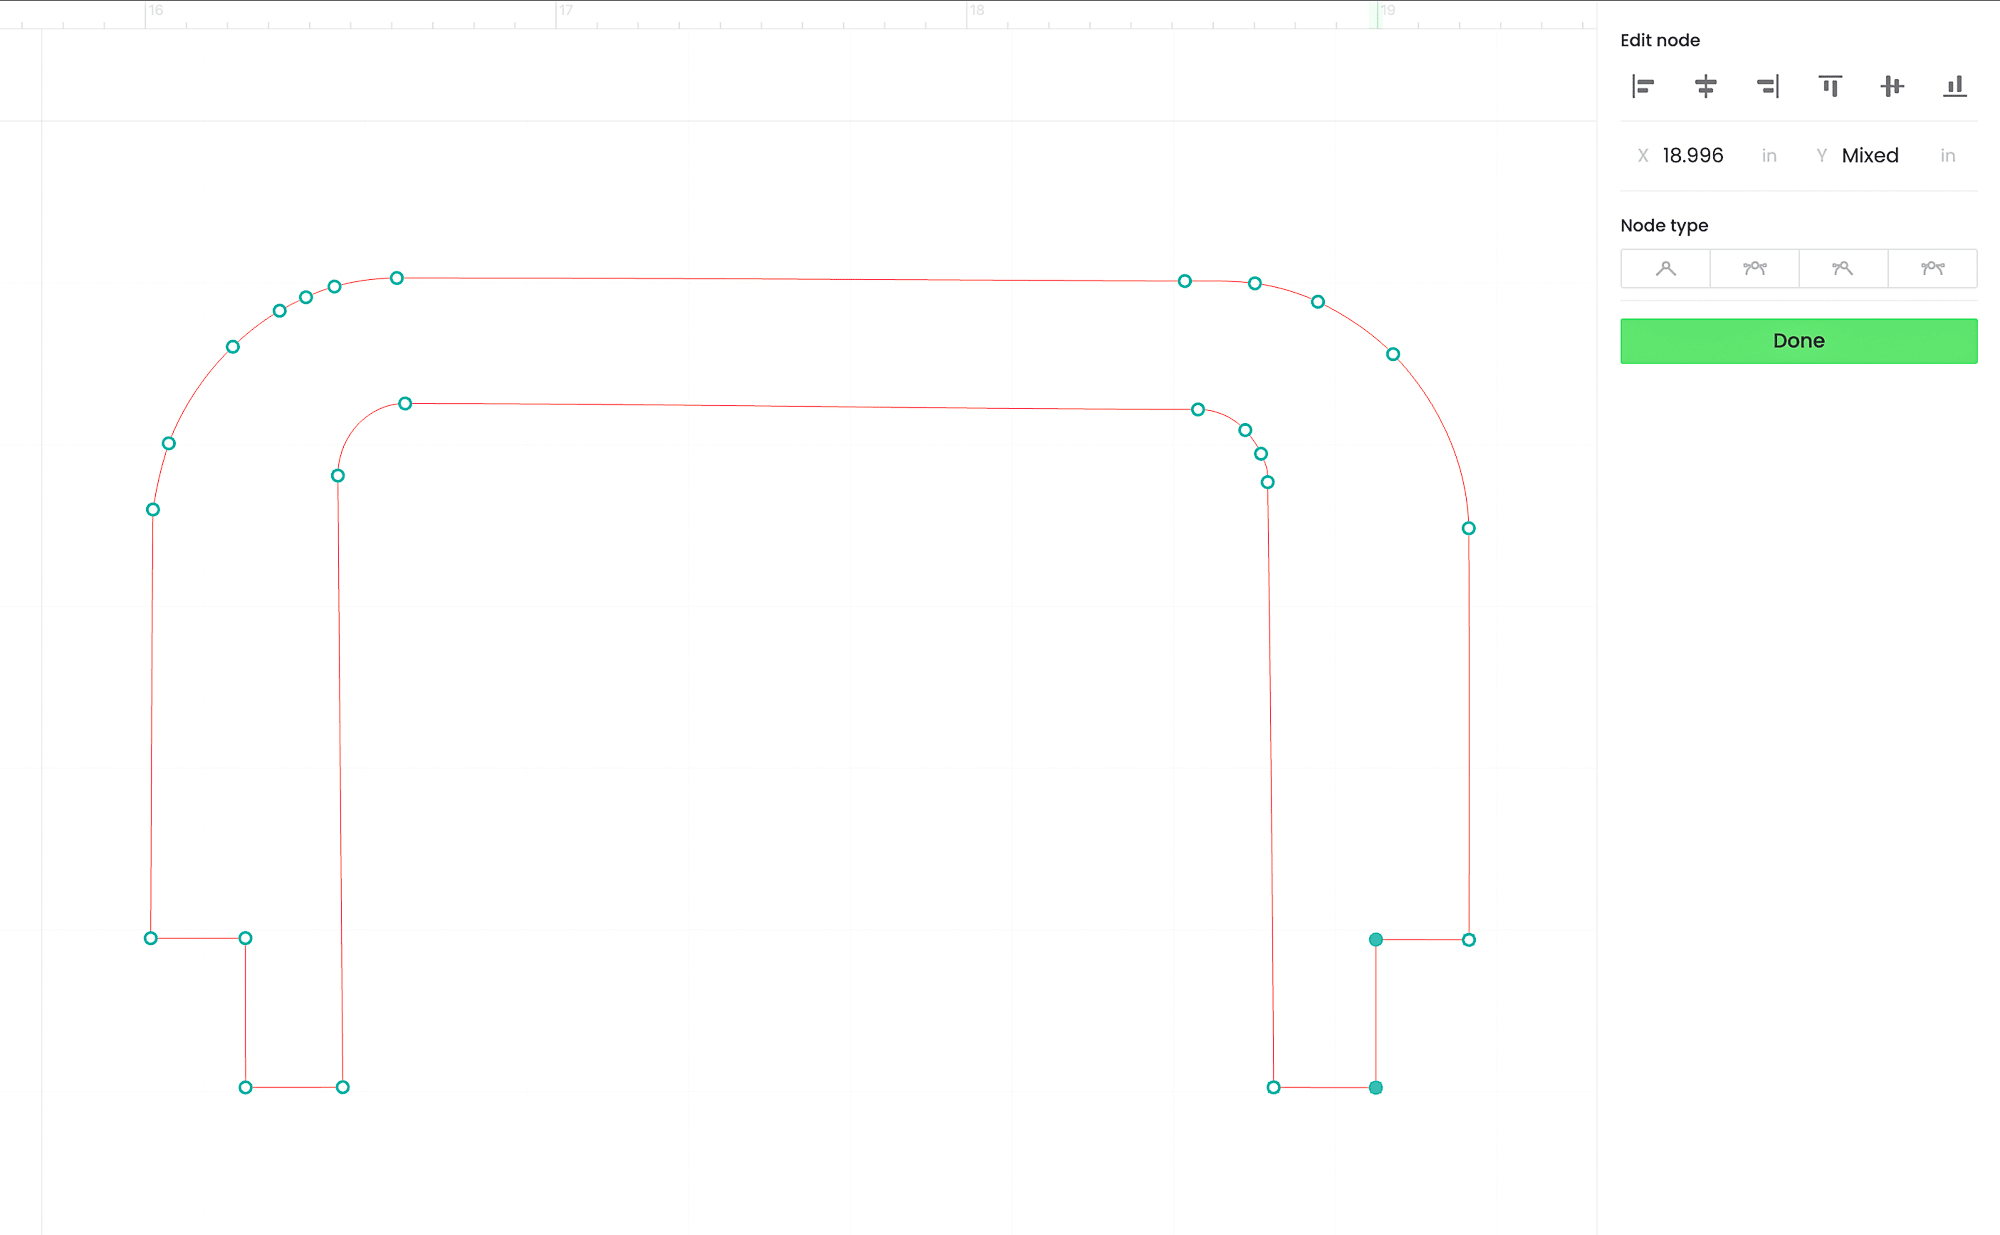
The tabs should fit snug against each other. If yours are too tight or too loose, you may need to adjust the width of the tabs to account for the kerf of your laser beam.
In xTool Creative Space (or other laser software), select the two nodes on the inside of each tab and move them left or right, then cut and test the fit.

There's a little bit of wiggle room inside the case to accommodate gift cards that are wider than the standard size.
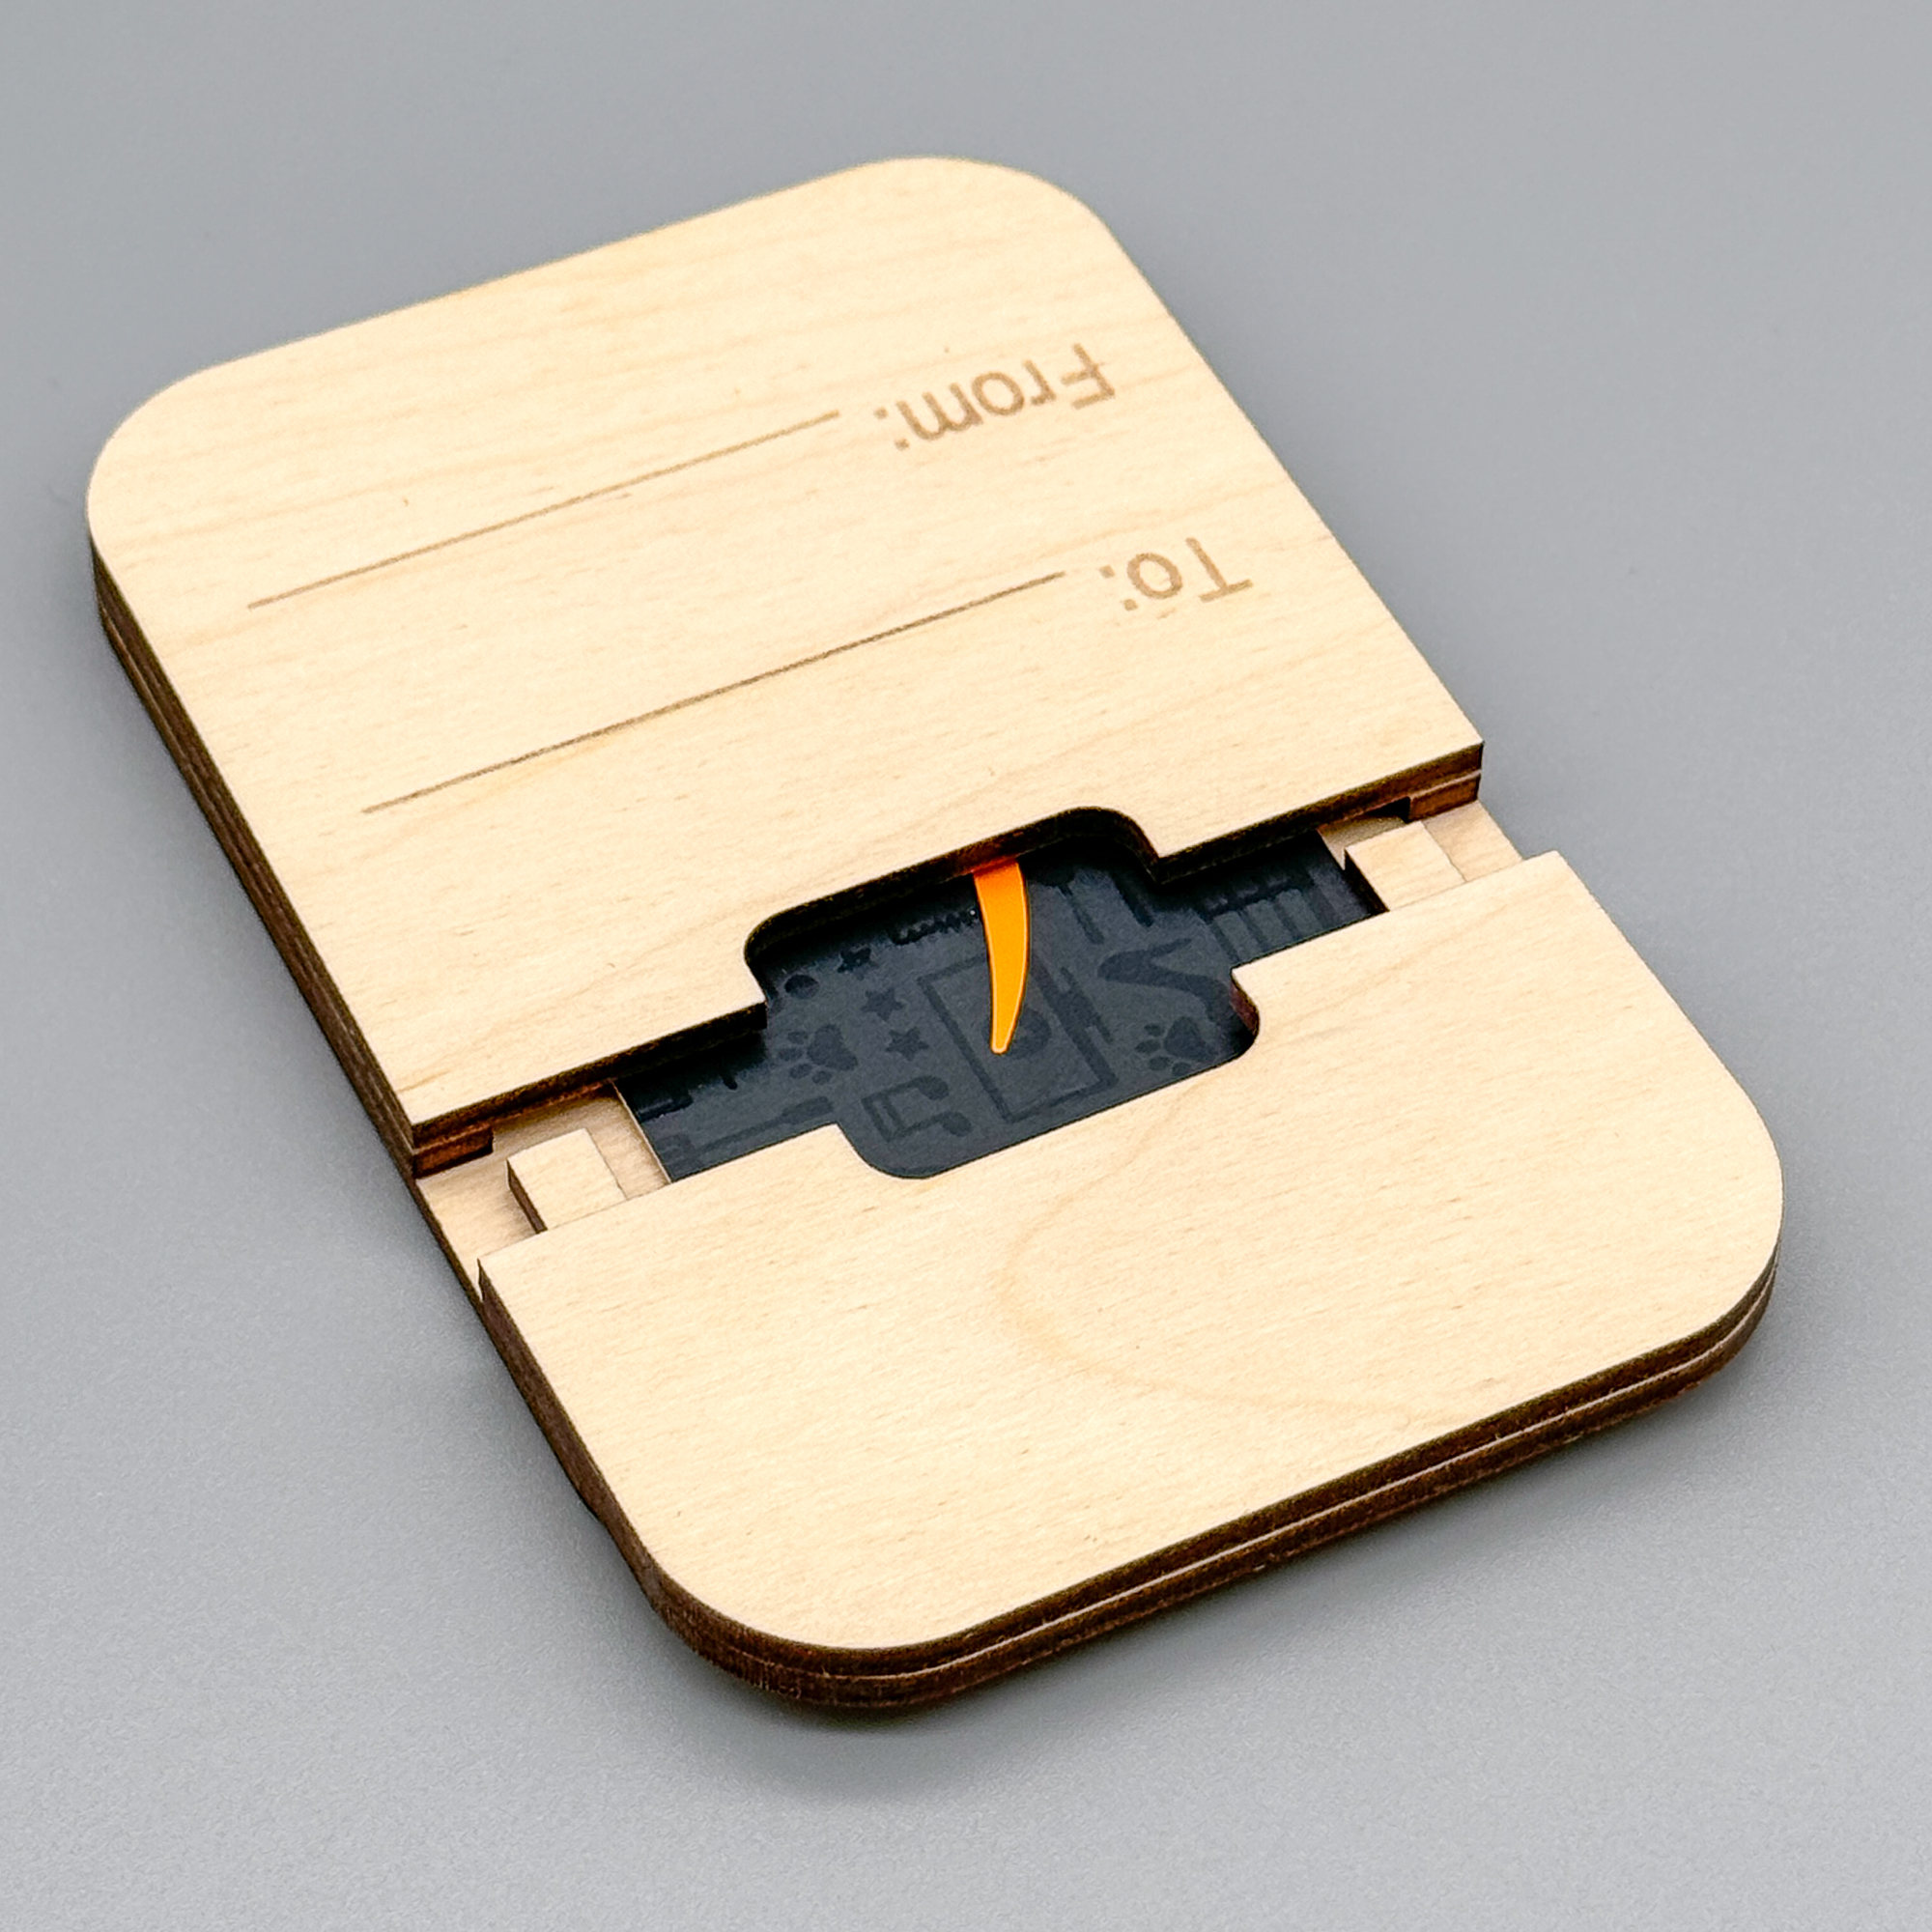
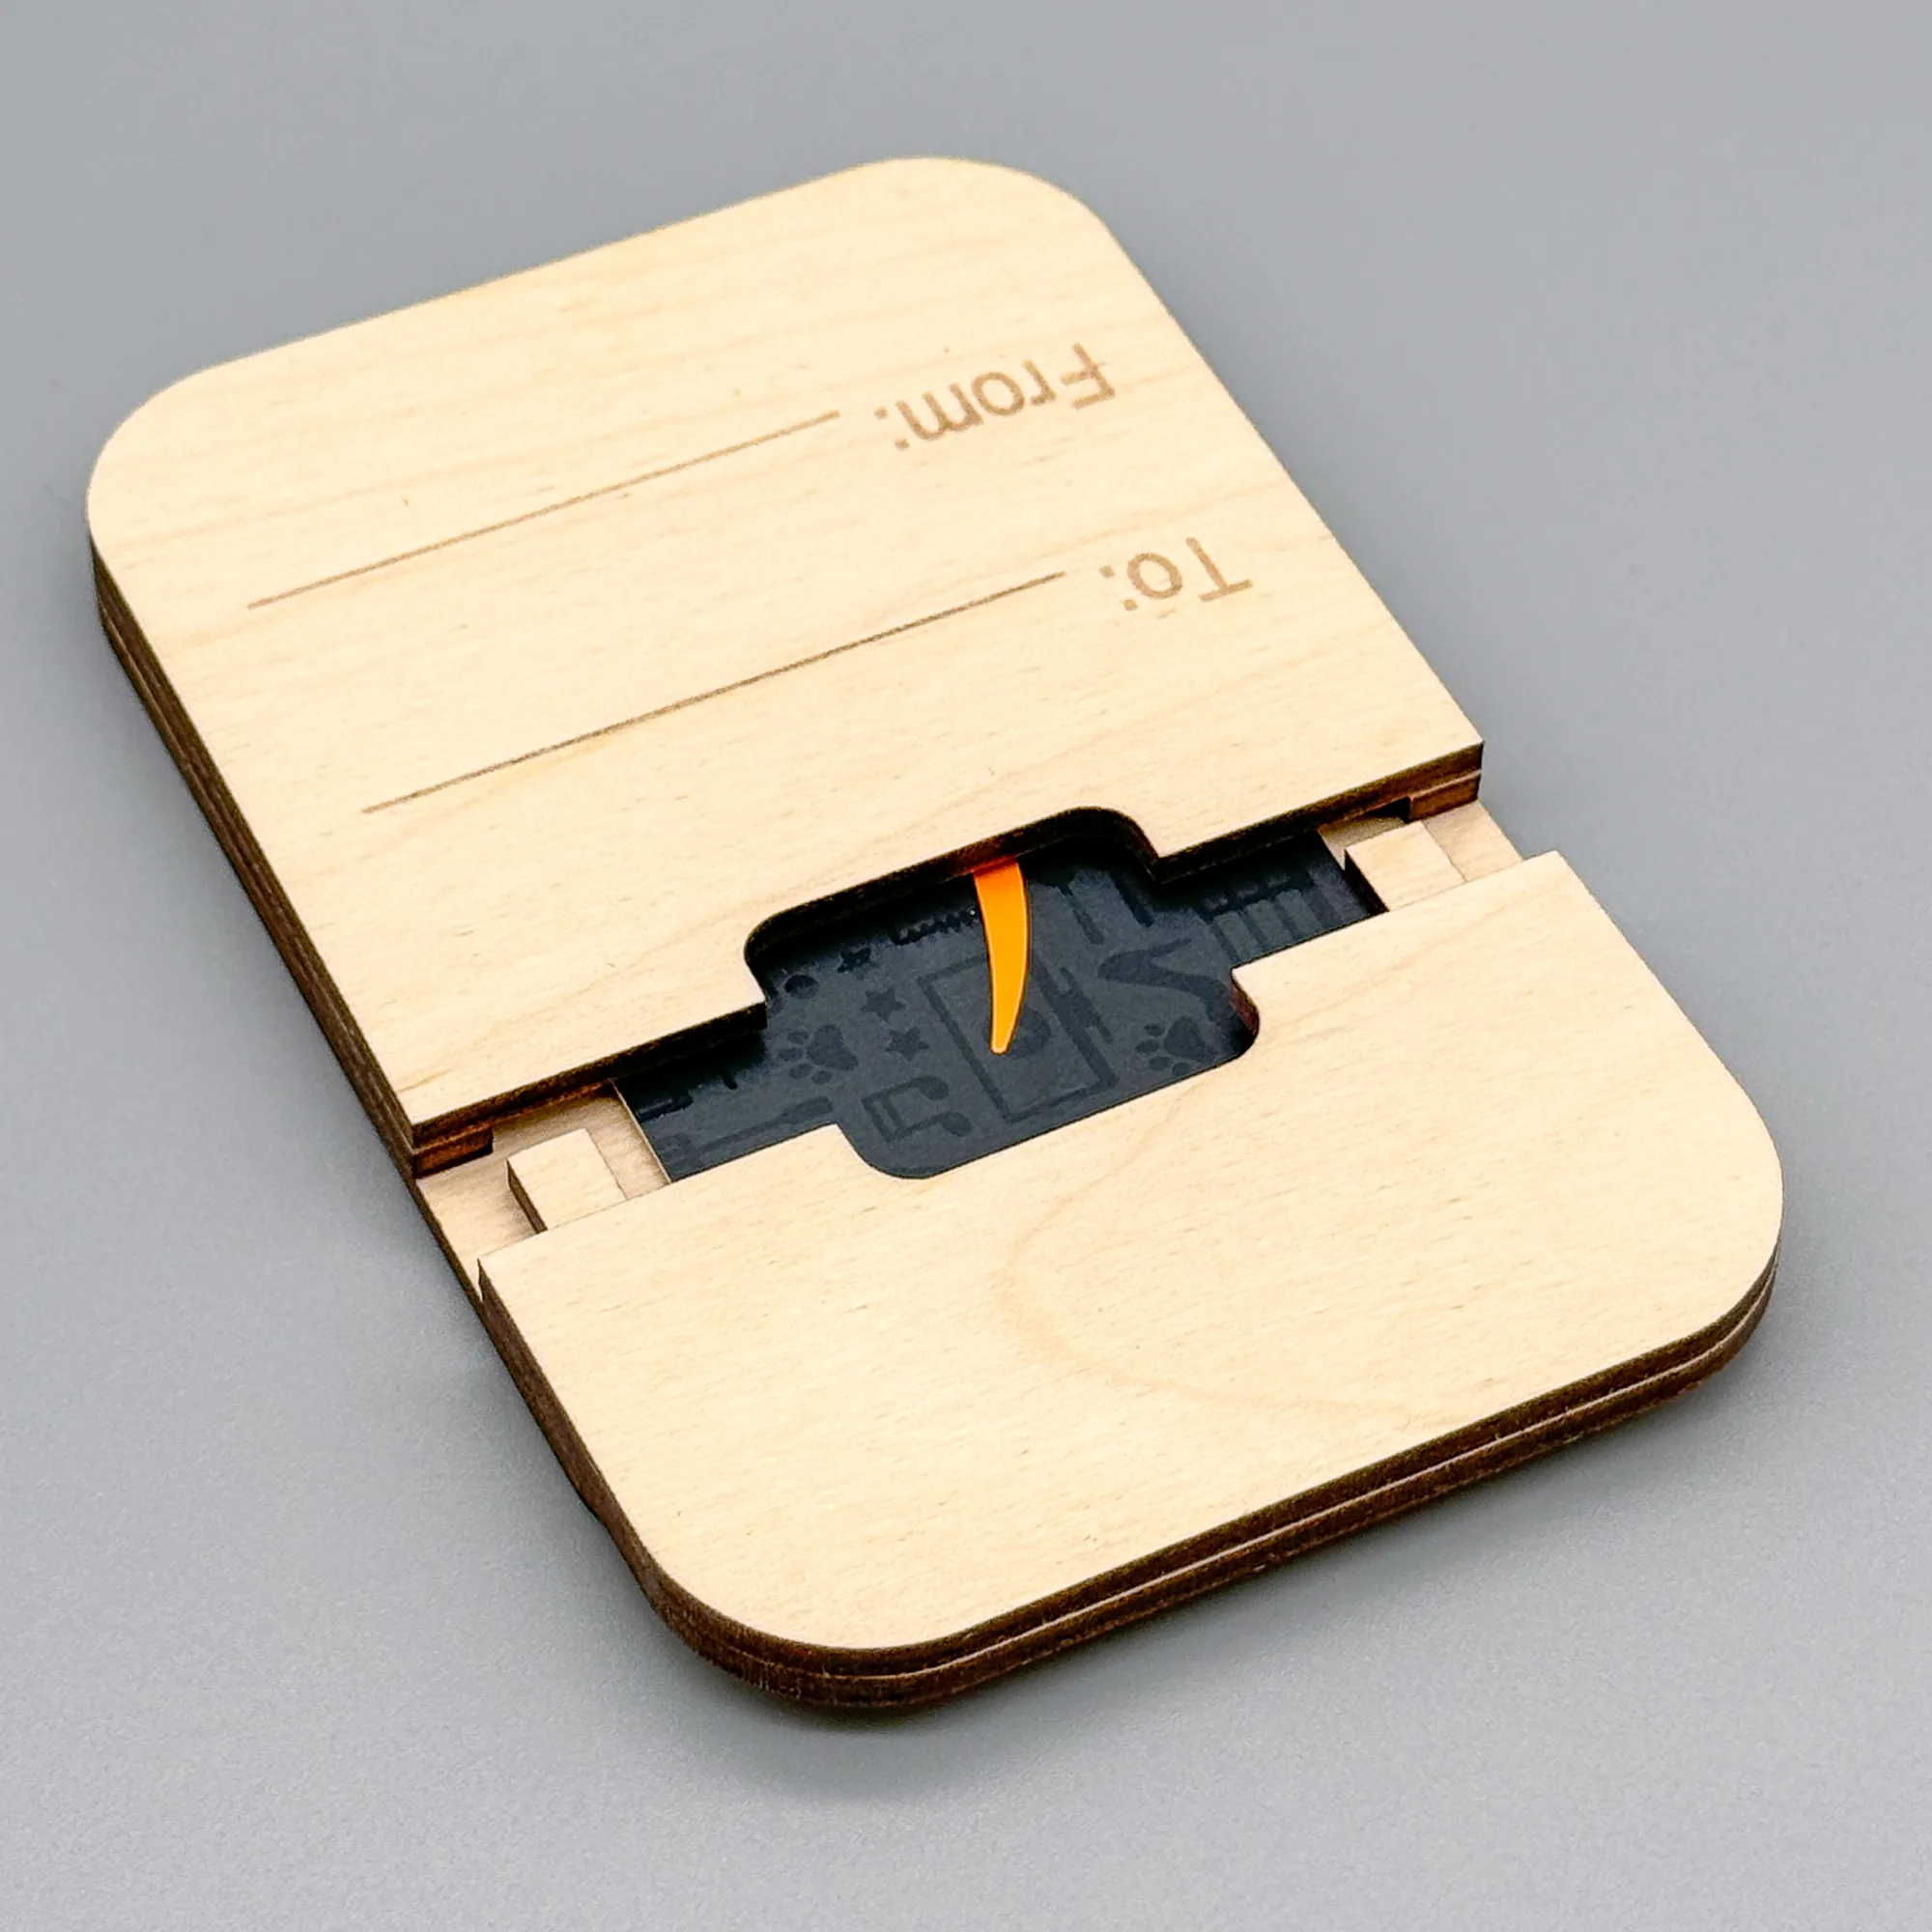
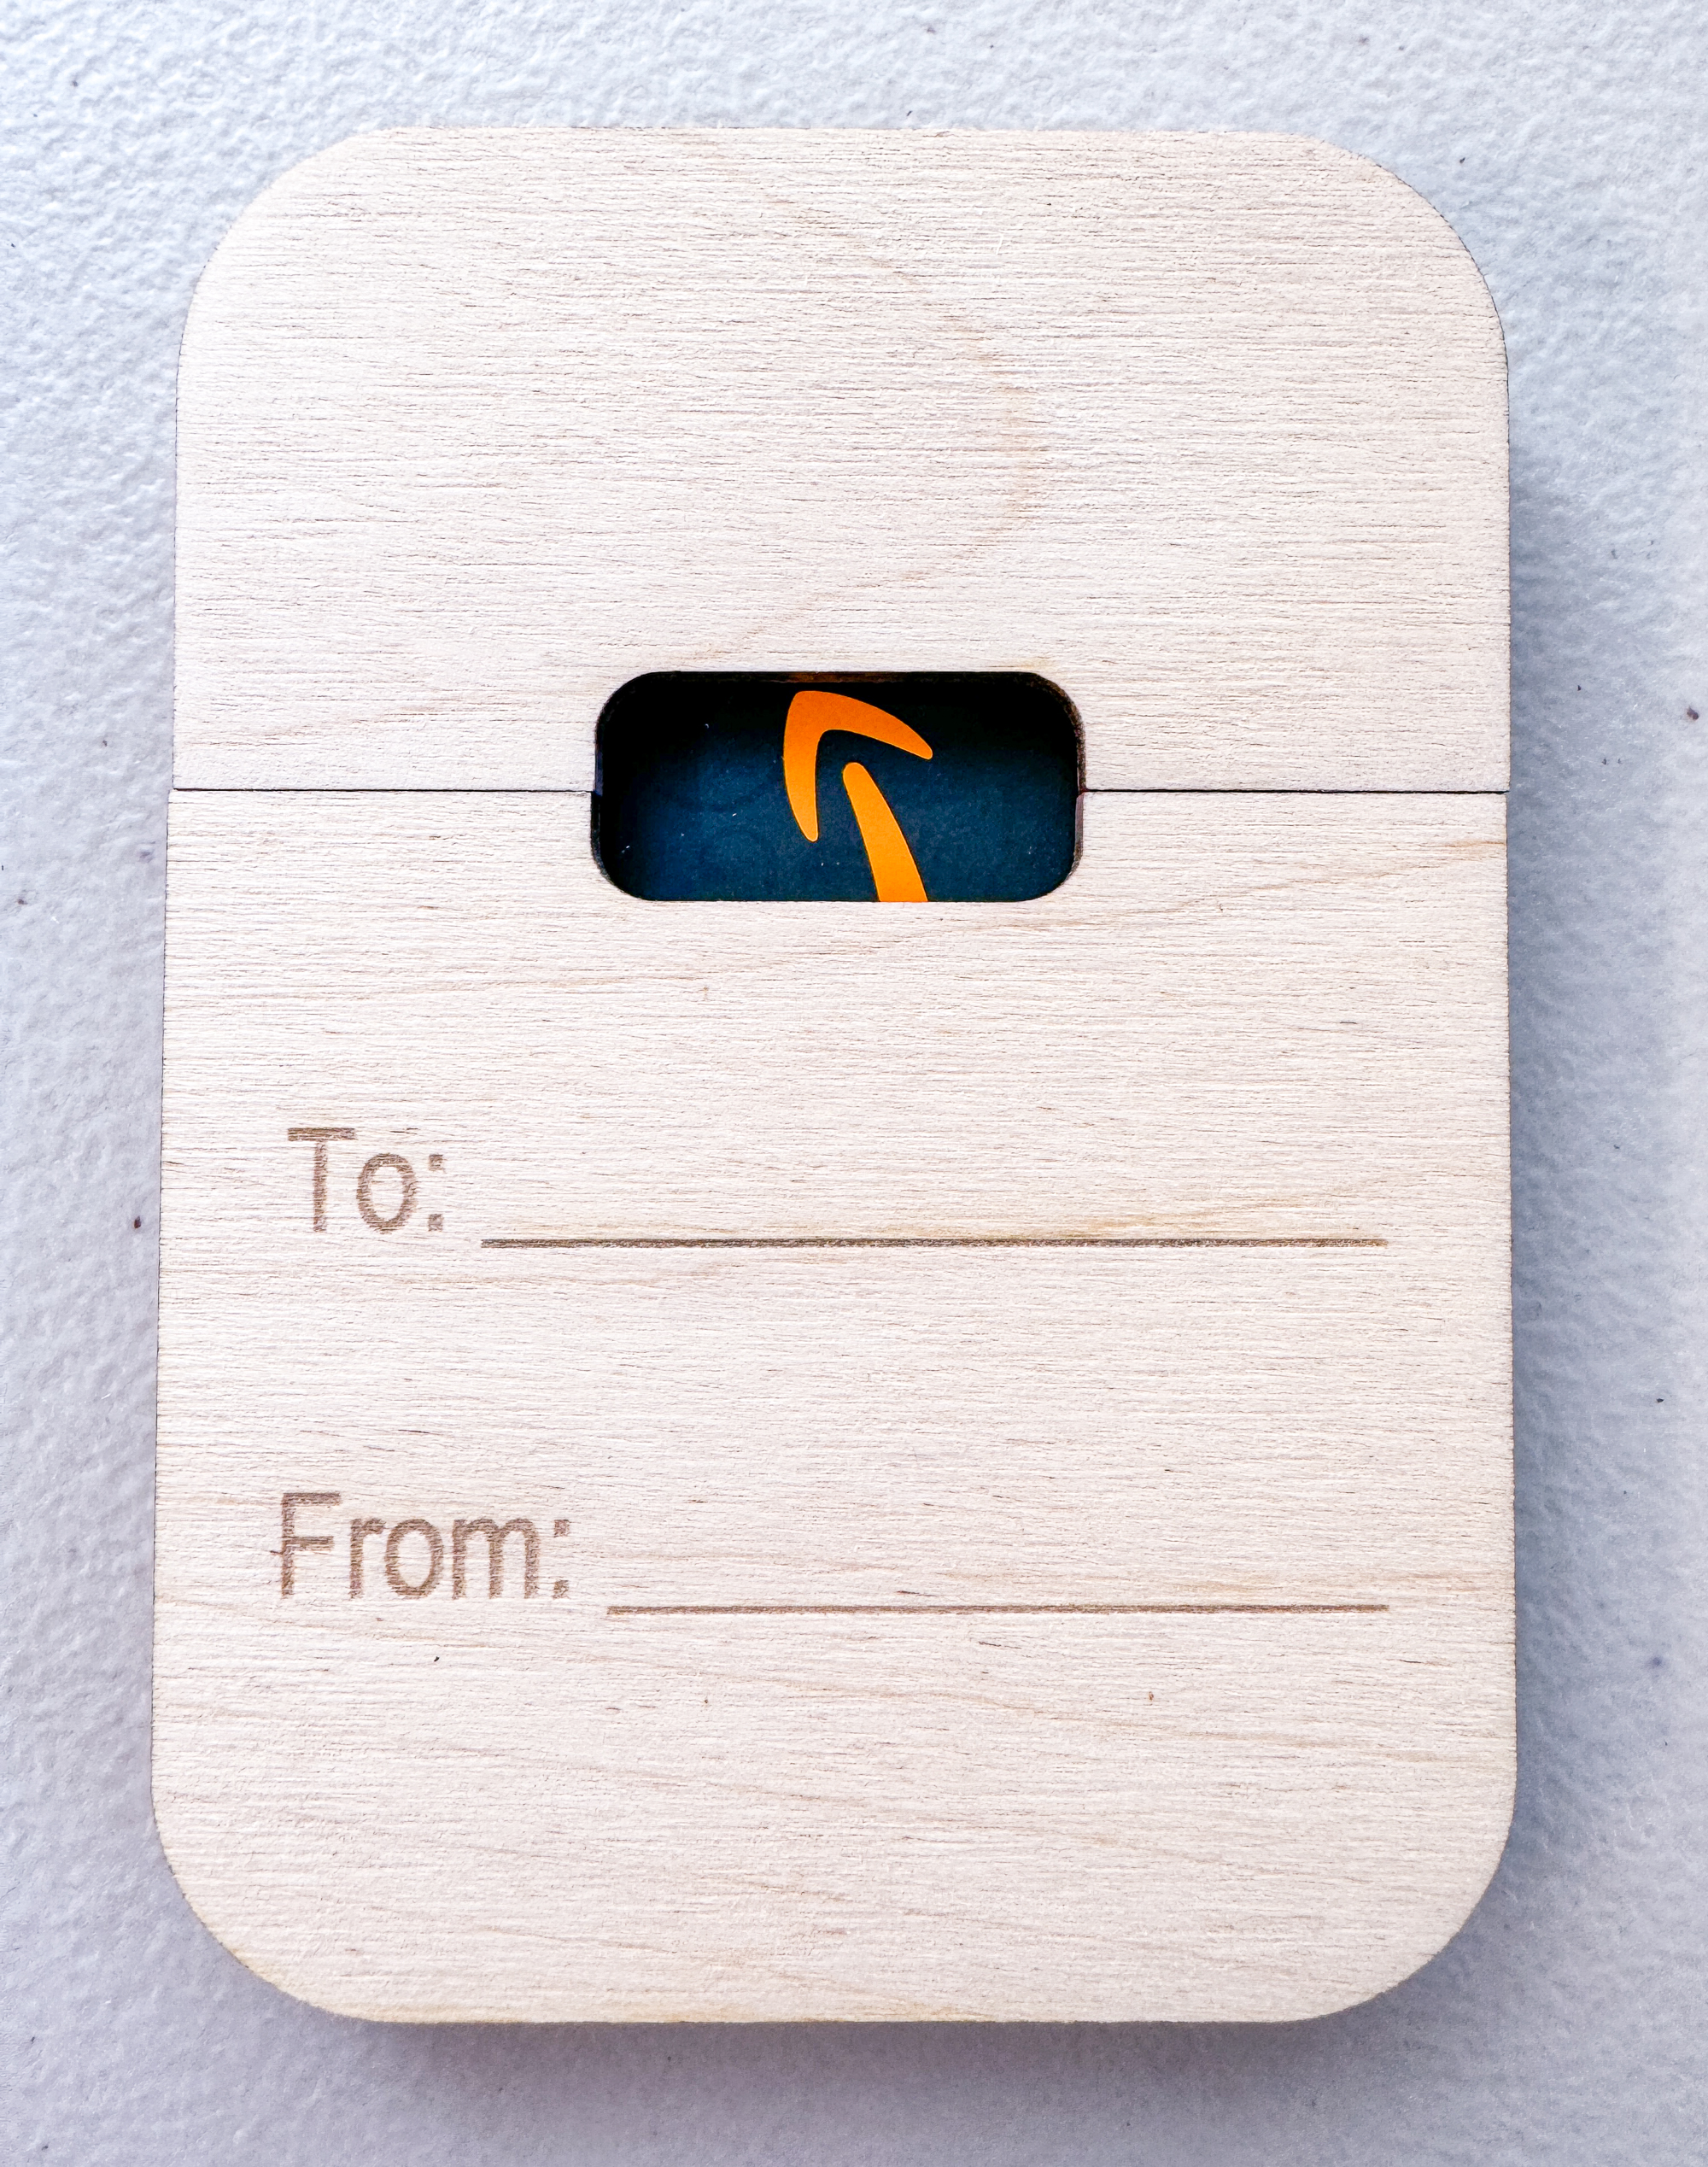
The little window on the back shows the recipient that there's something inside, and makes it easier to open. I added lines on the back with to: and from: engravings afterwards, but they're included in the file.

Now I have three graduation gift card holders ready to go! I'll be making birthday ones next, so I always have them on hand for those last minute gift giving occasions!
Want to make your own? Head over to my Etsy shop to get the file!
Check out these other laser cutting projects!