Learn how to create vibrant DIY suncatchers with a laser cutter! This project is perfect for brightening any window on a dreary day!
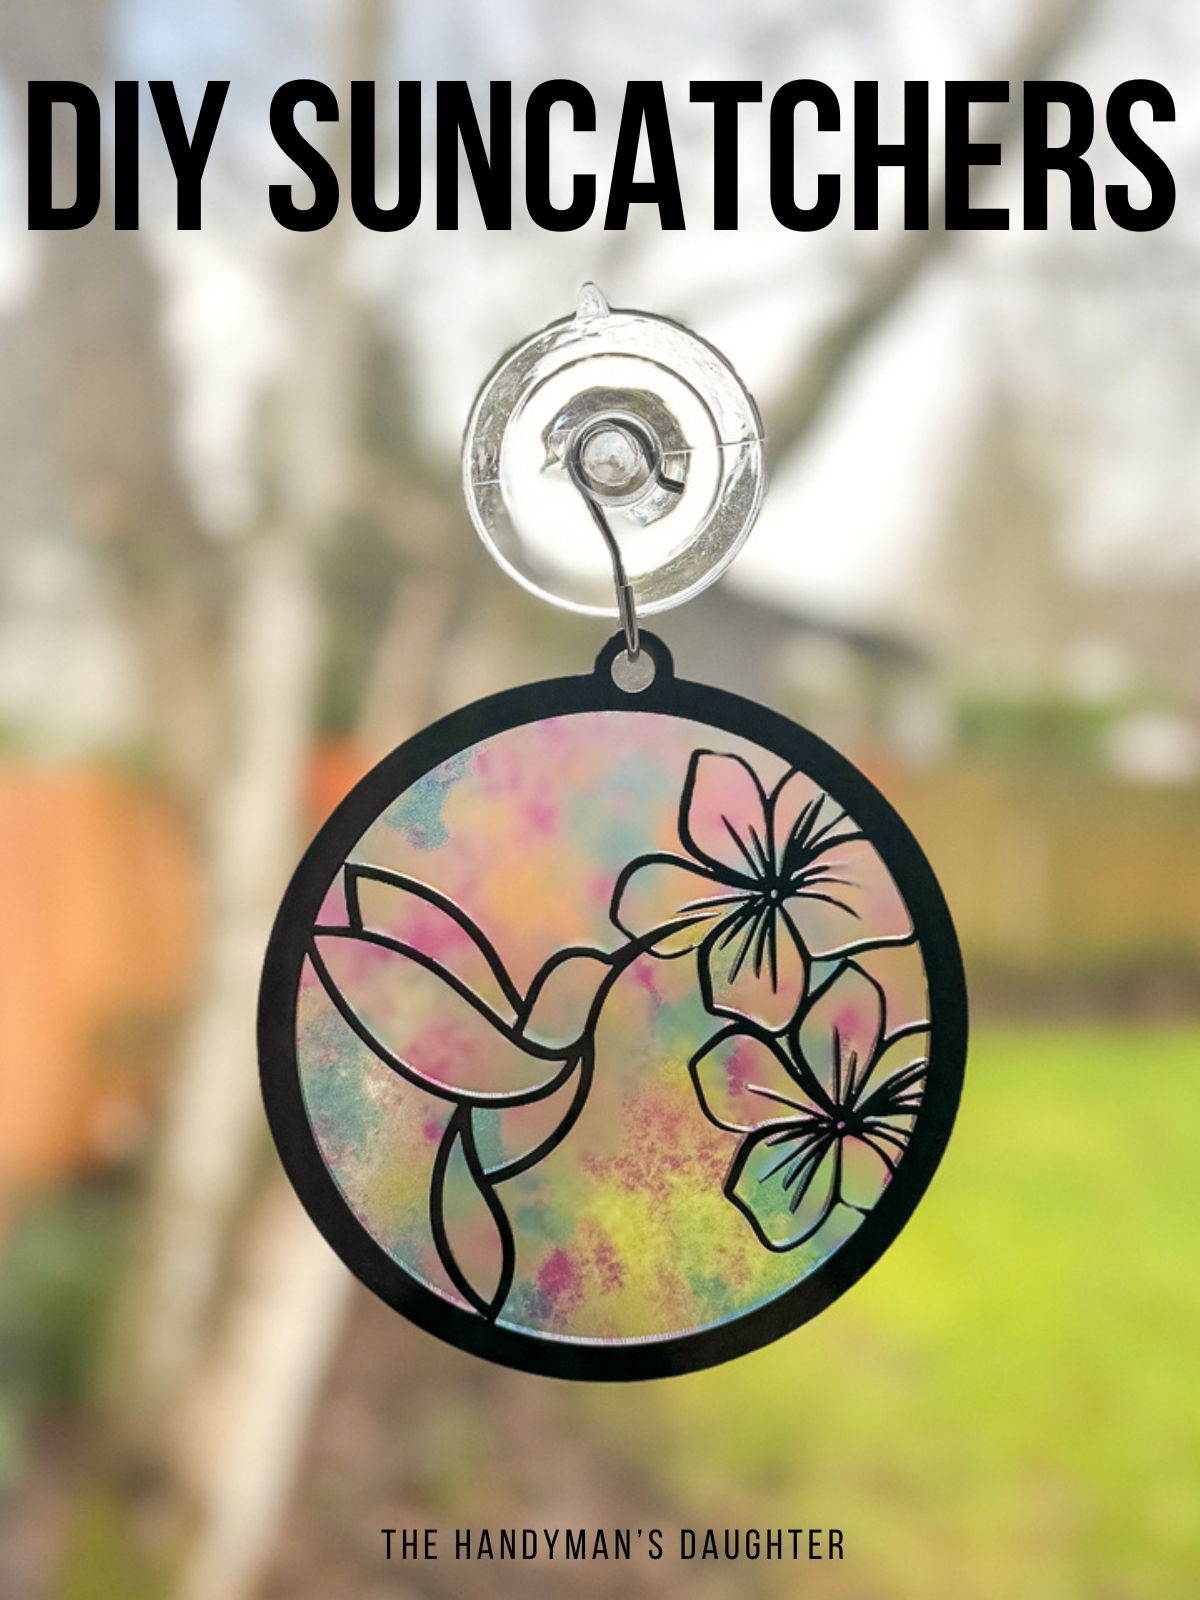

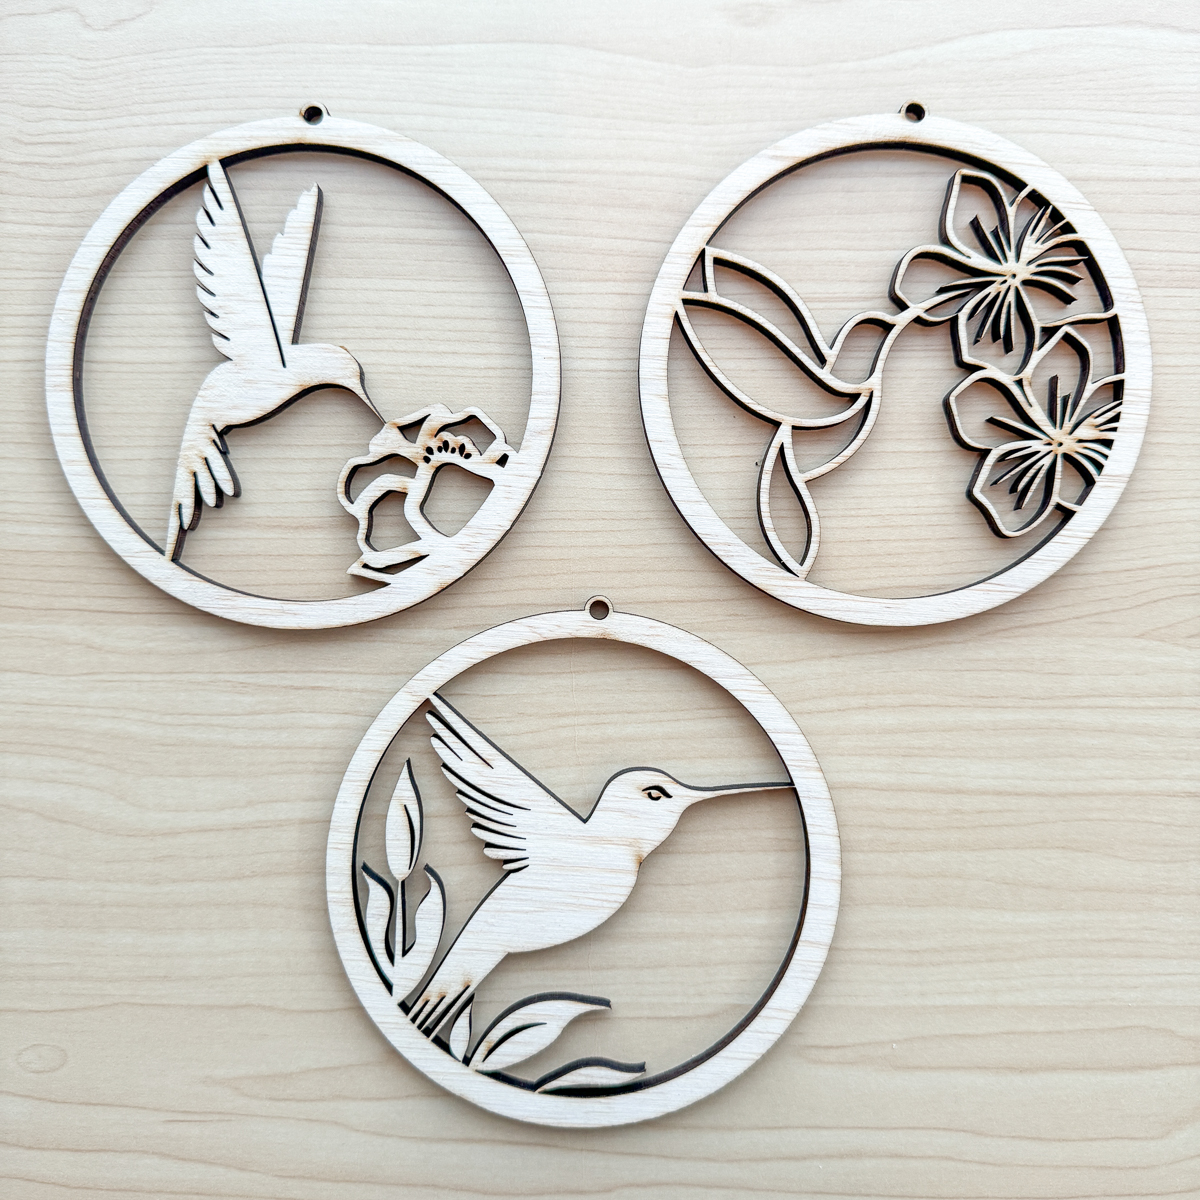
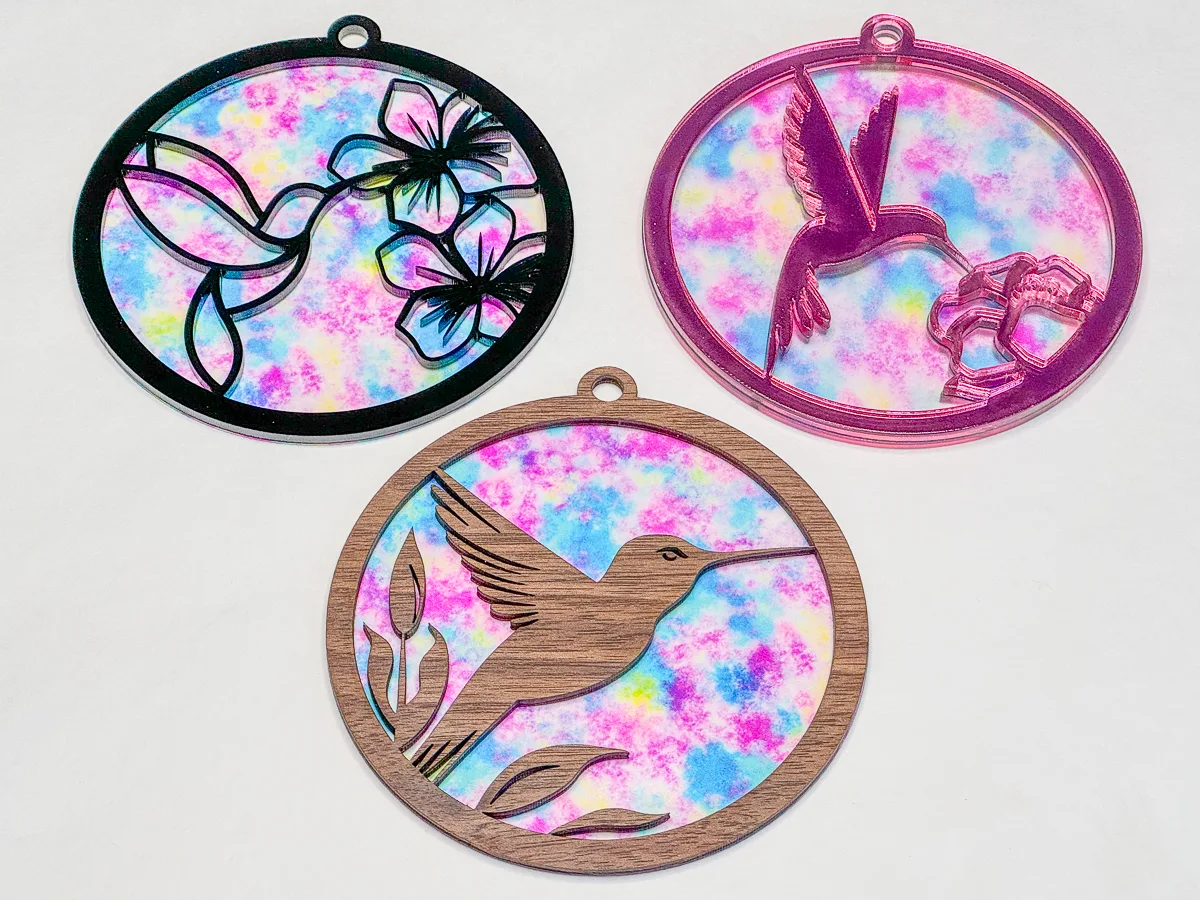
There's nothing quite like the colorful sparkle of a suncatcher in a sunny window! It's a beautiful way to express your interests too! I love watching hummingbirds flit around our garden, so I made these three designs with my favorite feathered friends in mind.
Best of all, you can make these on a diode laser like the xTool M1 as well as a CO2 laser like the xTool P2. Learn more about the difference between these two laser machines here. You typically can't cut clear acrylic with a diode laser, but transparent flex from Smokey Hill Designs will work!
Don't have a laser, or looking to upgrade? Use the code VINETA100 for $100 off an xTool laser! Click here to check them out!
Hummingbirds not your thing? Check out the other suncatcher designs I have available in my Etsy shop!
This post contains affiliate links for your convenience. Purchases made through these links may earn me a small commission at no additional cost to you. Please visit my disclosures page for more information.
Create your design
Don't want to make your own design? You can purchase the files for these three suncatchers in my shop here!
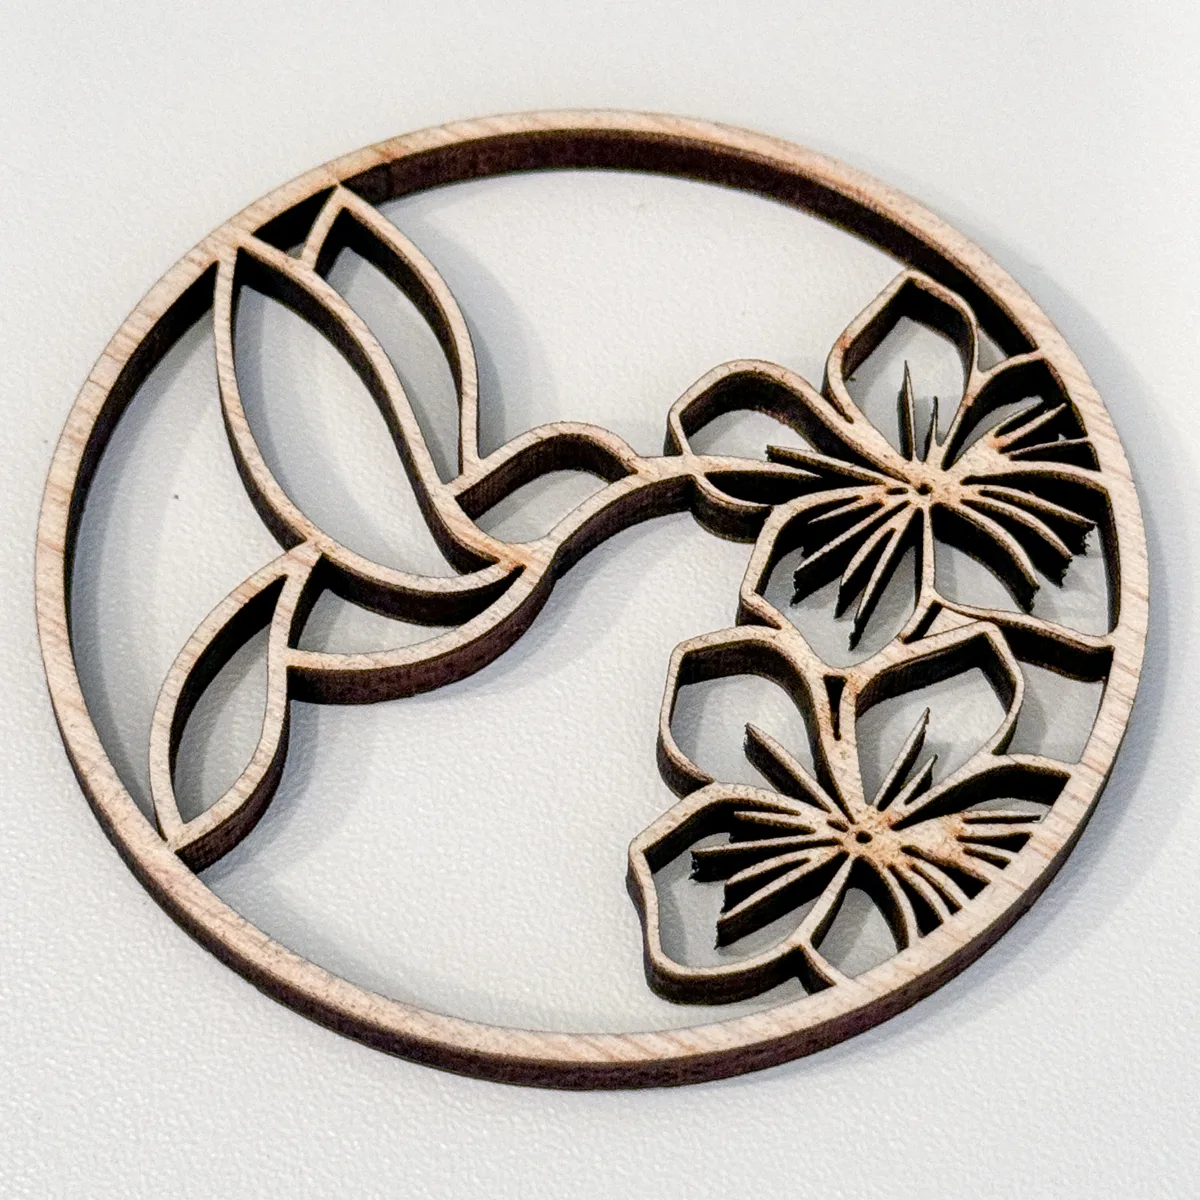
I love using Canva to create my designs. They have so many elements to choose from! I just searched for hummingbird and flower outlines, and moved my favorites onto a canvas with a 4 inch circle to see how they looked.
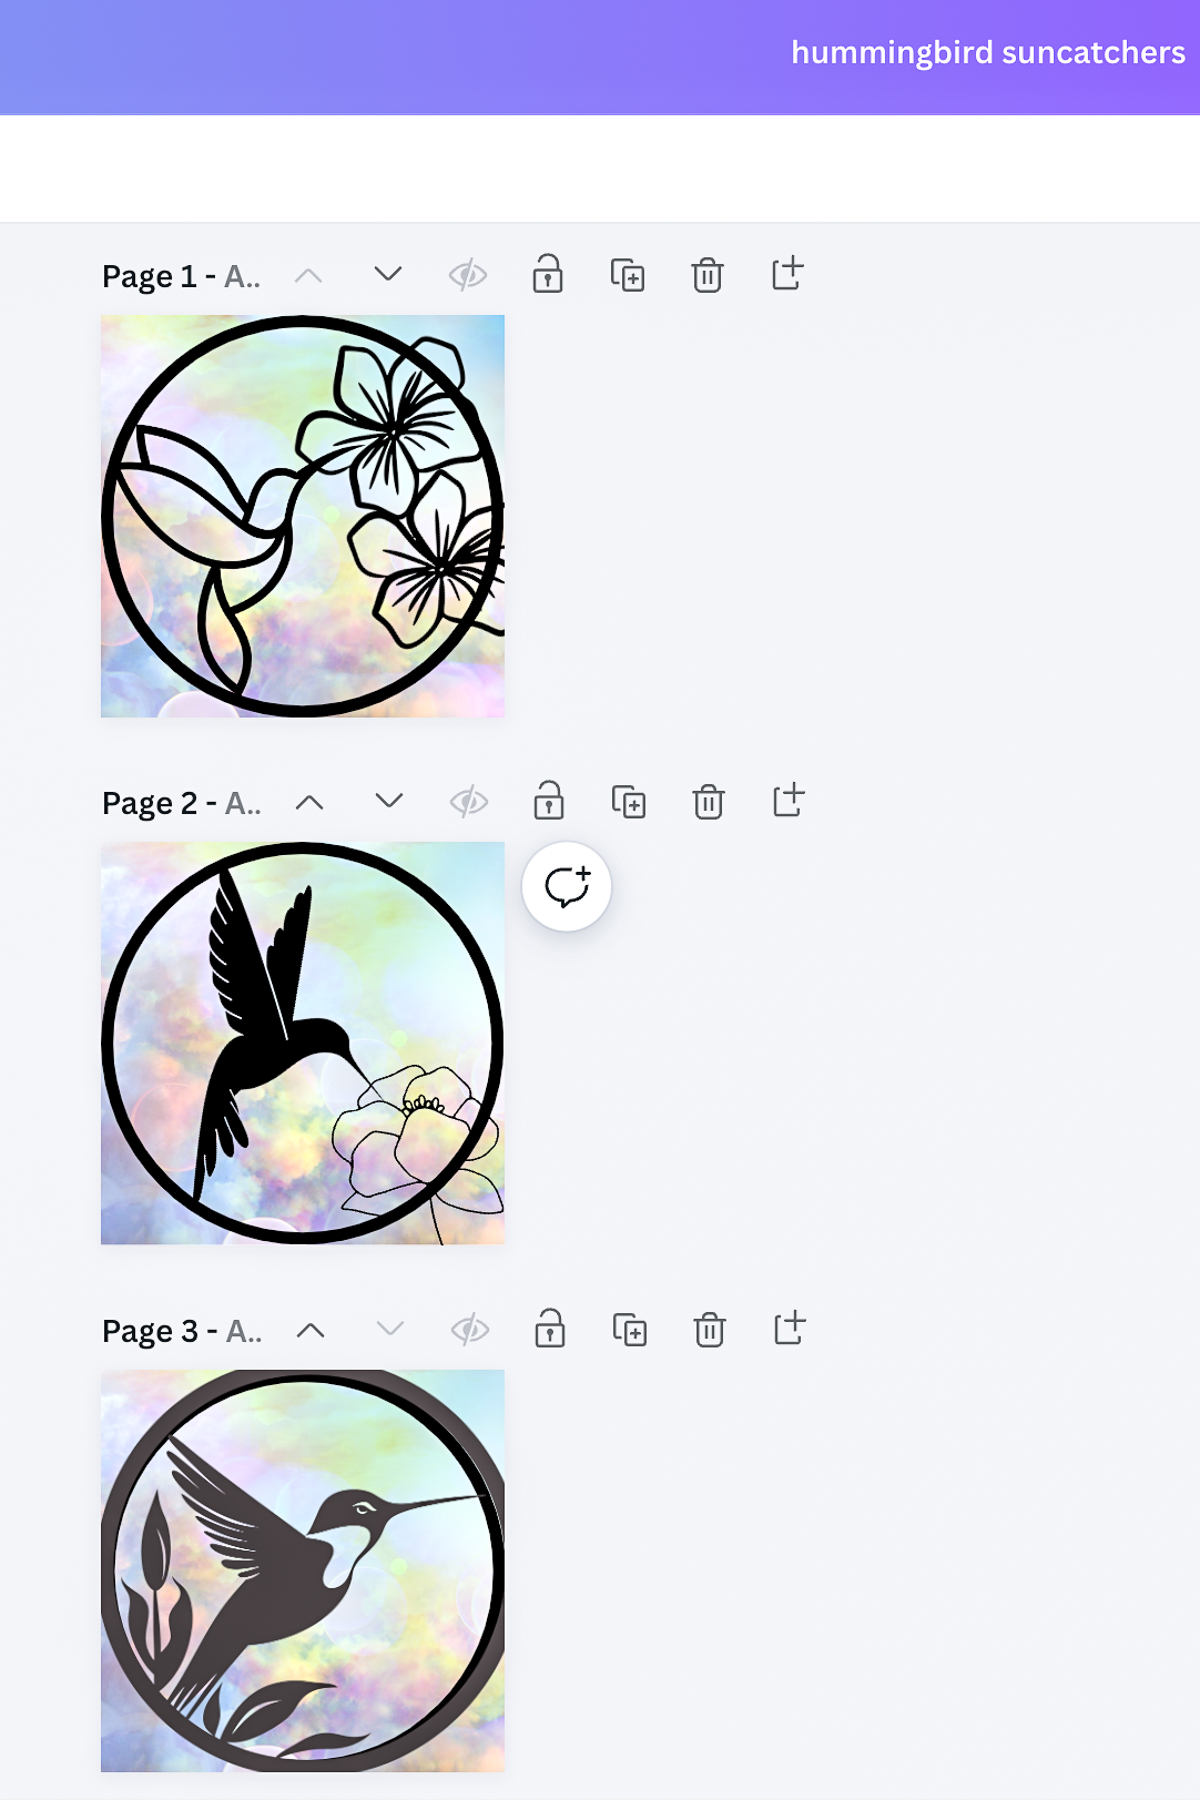
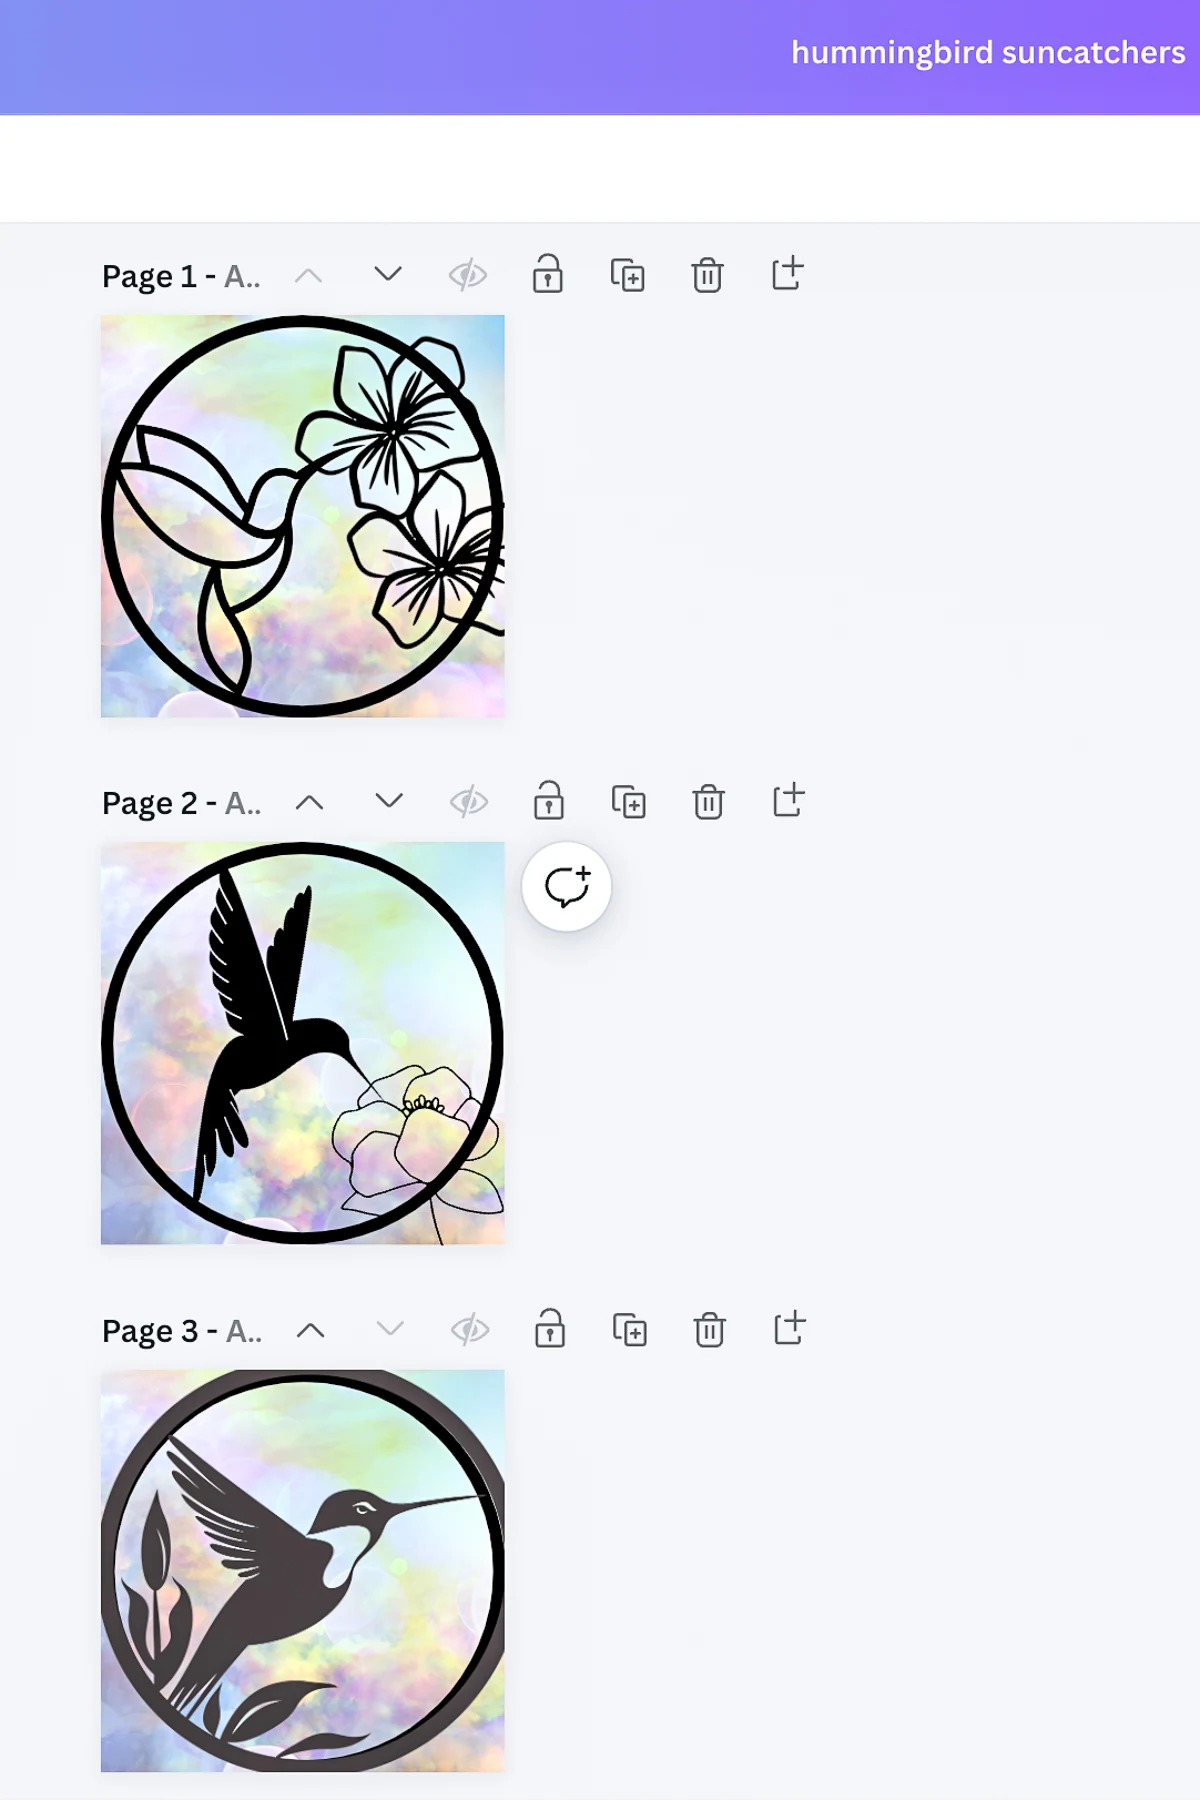
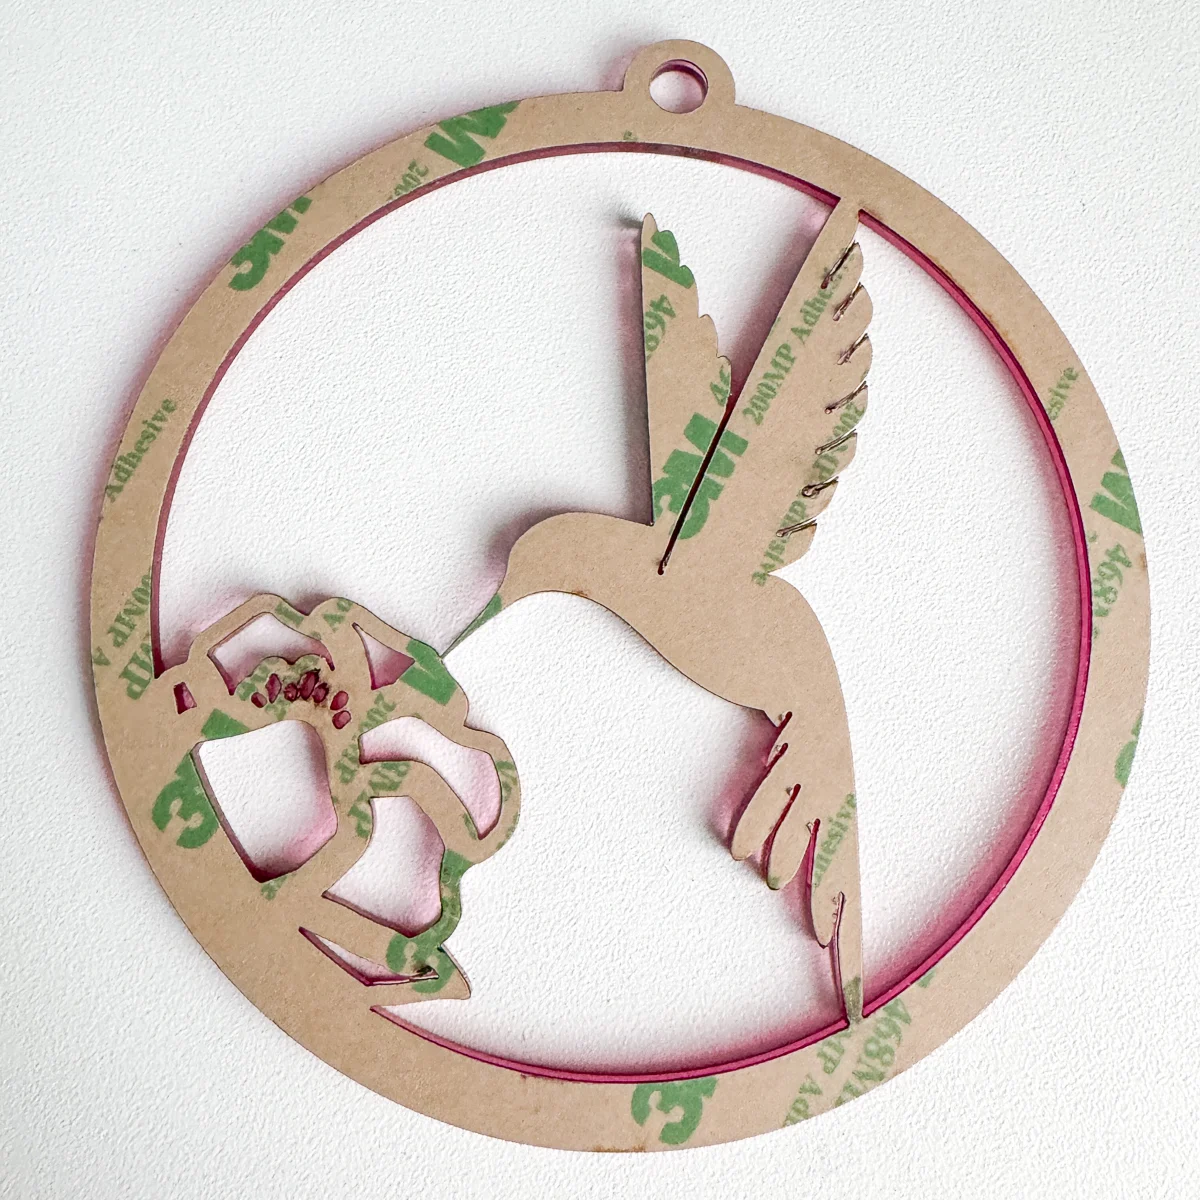
Make sure each element is touching the circle in at least one spot, otherwise it will fall out. Also check that the lines are continuous, avoiding anything that "floats" in the middle. The third hummingbird design had issues with the narrow points holding his head in place, which you'll see later.
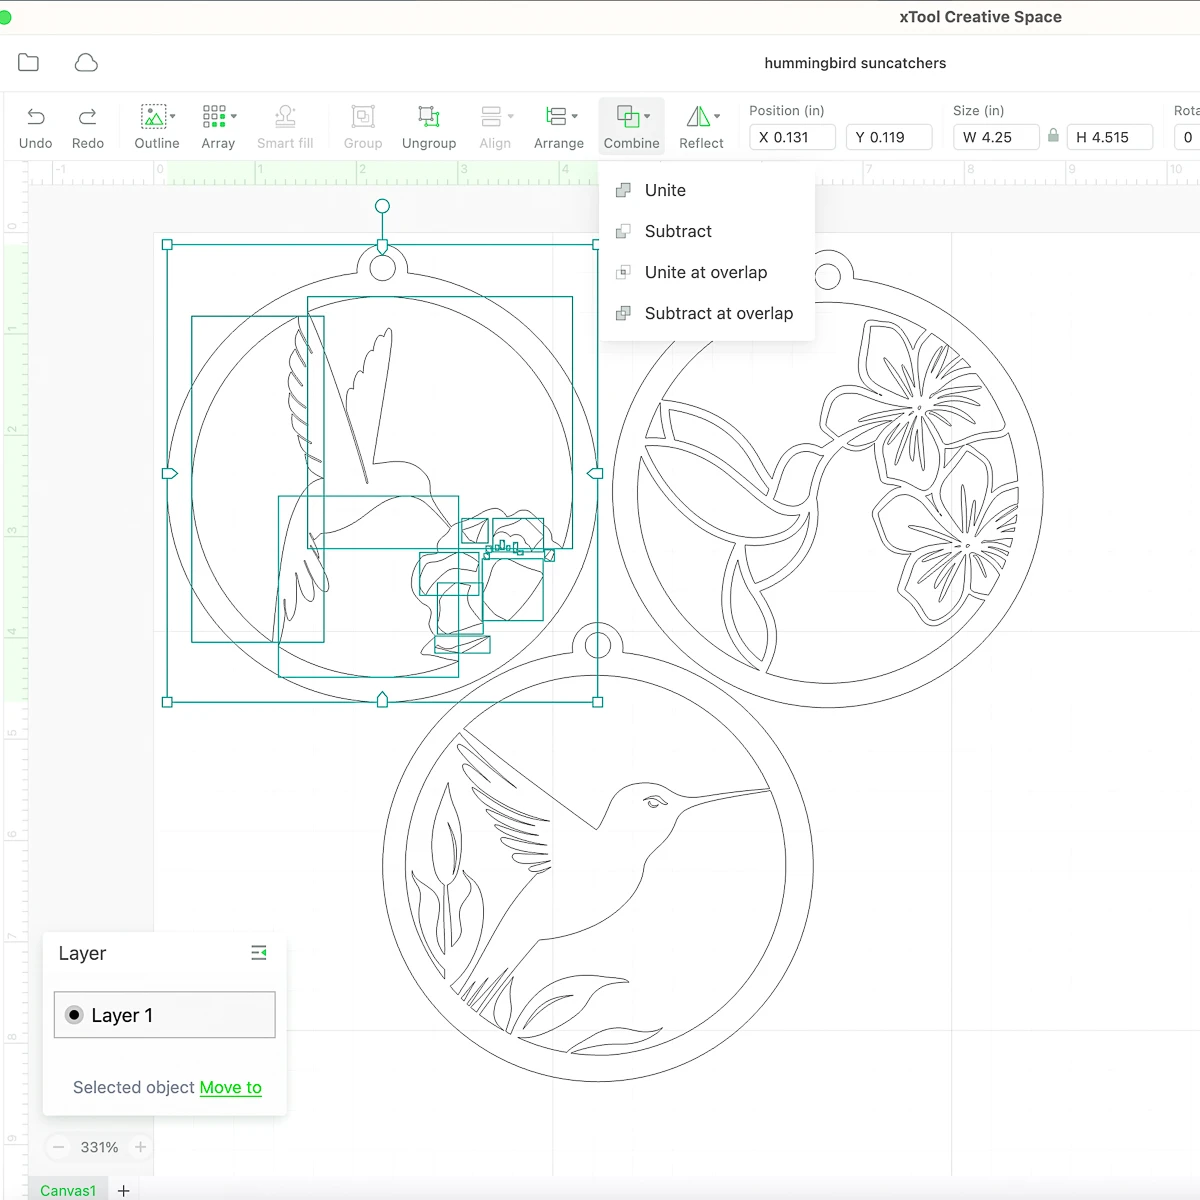
Export the designs as an SVG, then upload them into xTool Creative Space. Combine each element together with the outside circle with the unite feature. Sometimes it takes a little experimentation to figure out which one will work, so use the Undo button if you mess up!

Run a test cut
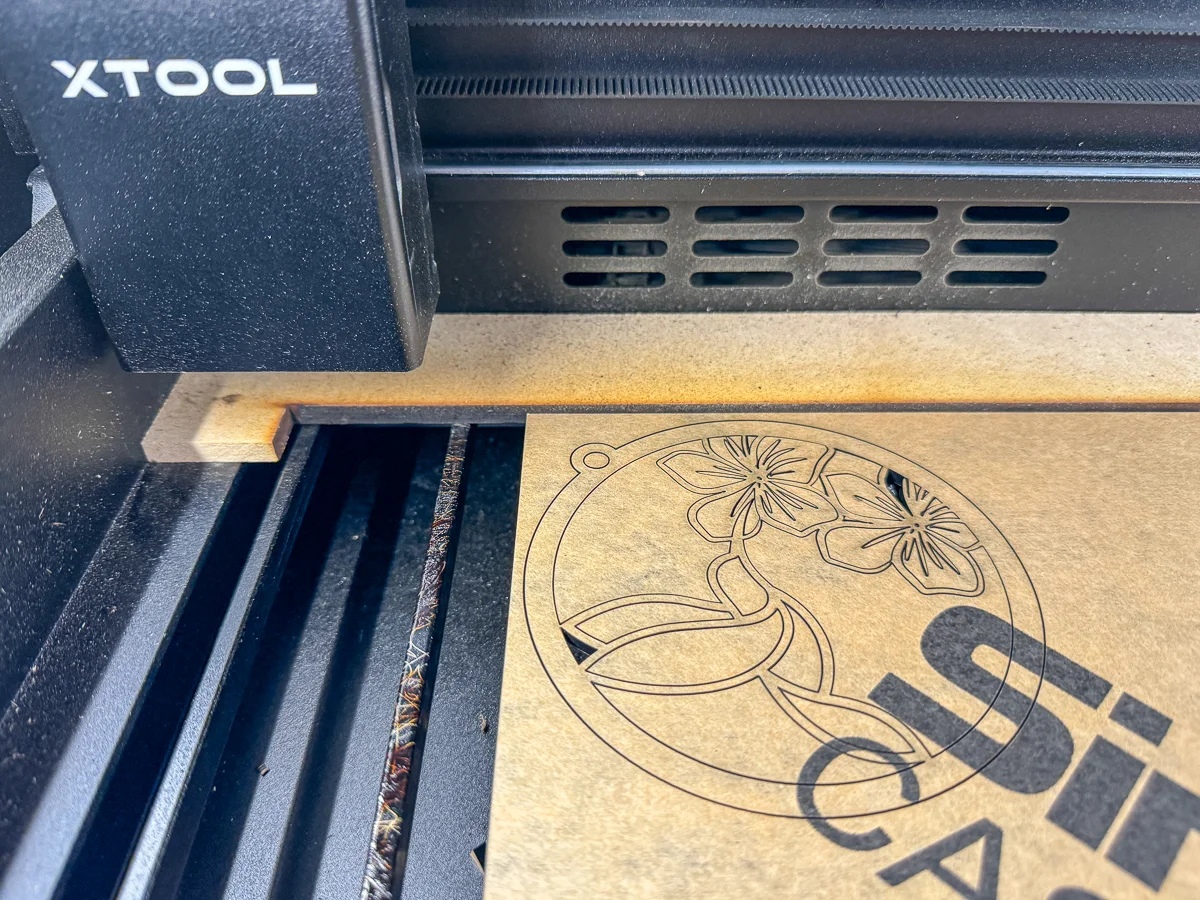
With any new design, I always run a test cut on cheap ⅛" pine or basswood plywood first. The xTool P2 cut out all three designs in just a couple of minutes, and I could already spot a couple of issues...

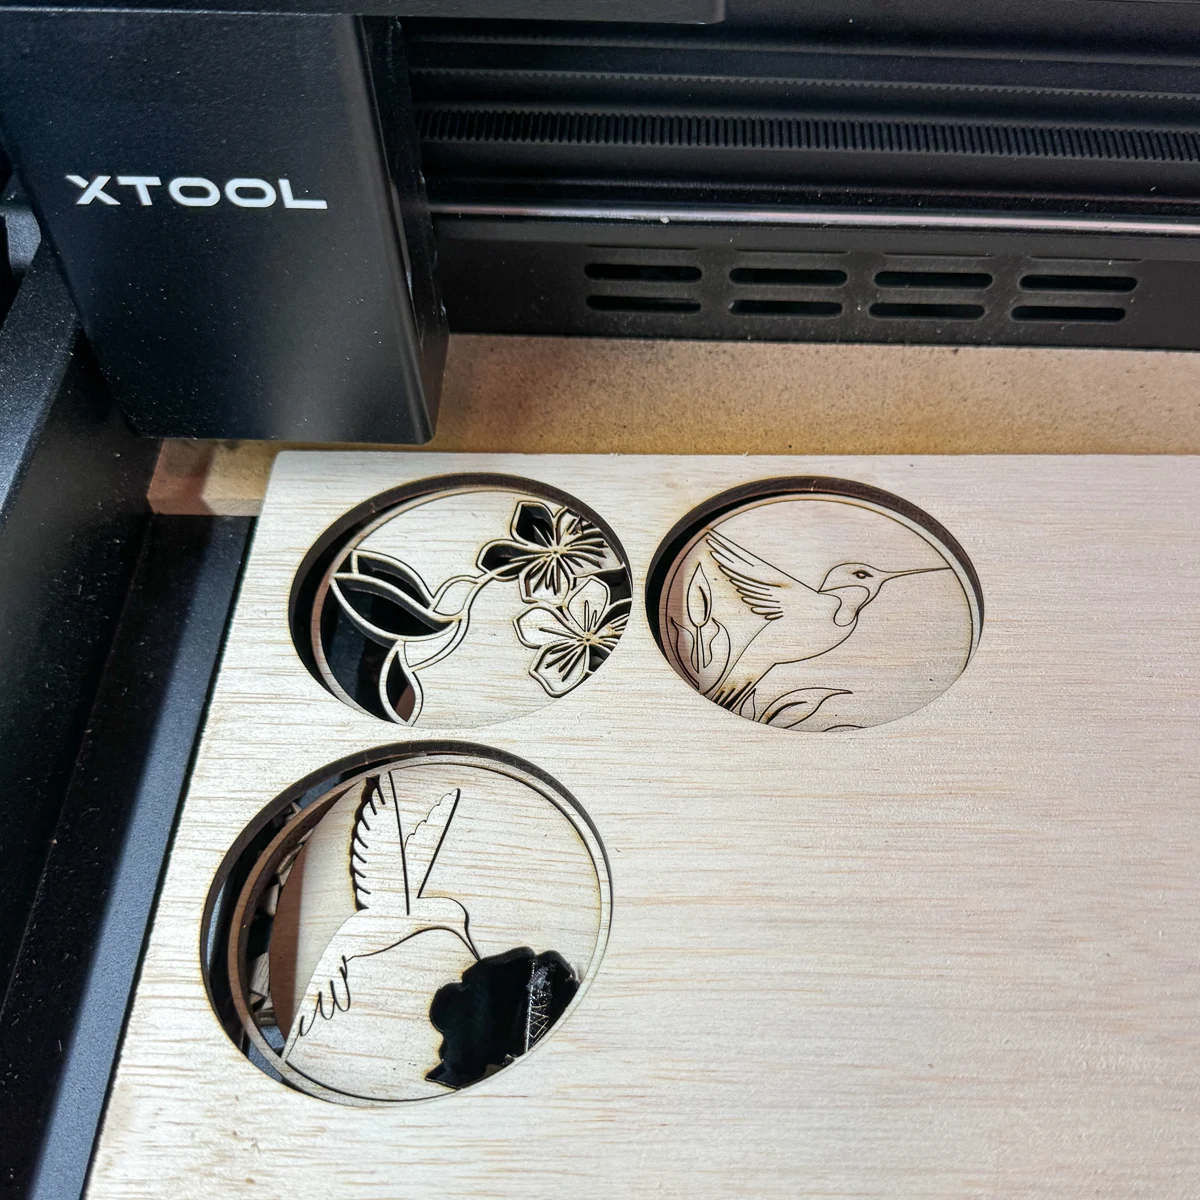
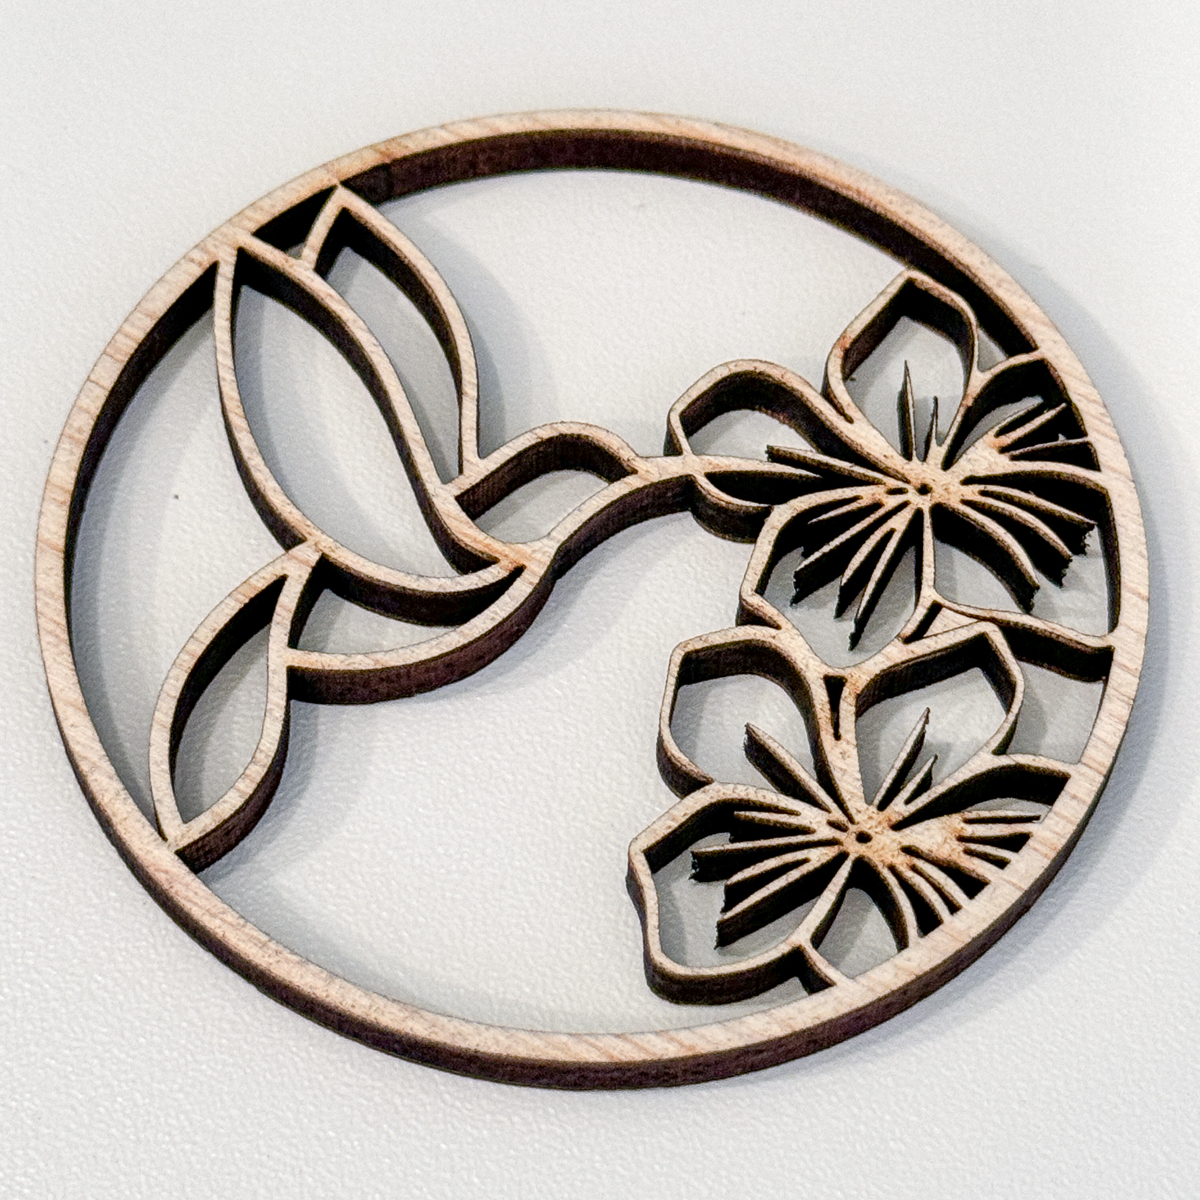
This design had a delicate flower outline that totally burnt to a crisp! While I could run a laser test file to determine the precise settings I need to avoid this issue, I decided to just increase the thickness of those lines so it holds up better in the final material.
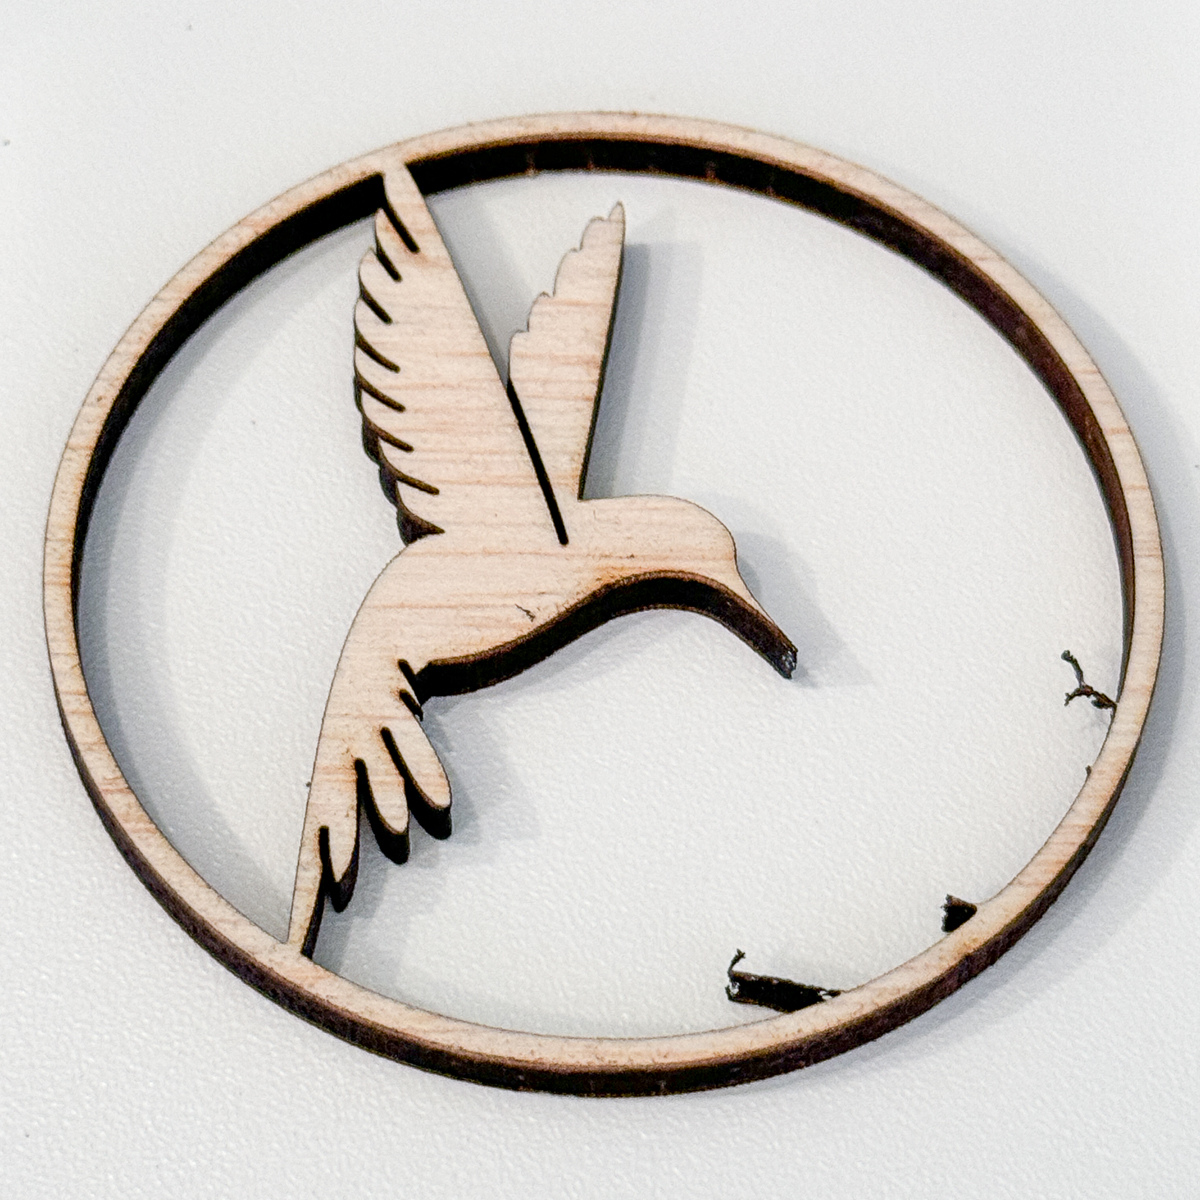

The connection points on this hummingbird were a little too small, and he lost his head! I can just remove those lines in the middle of his chest, or change them to score or engrave instead of cut.

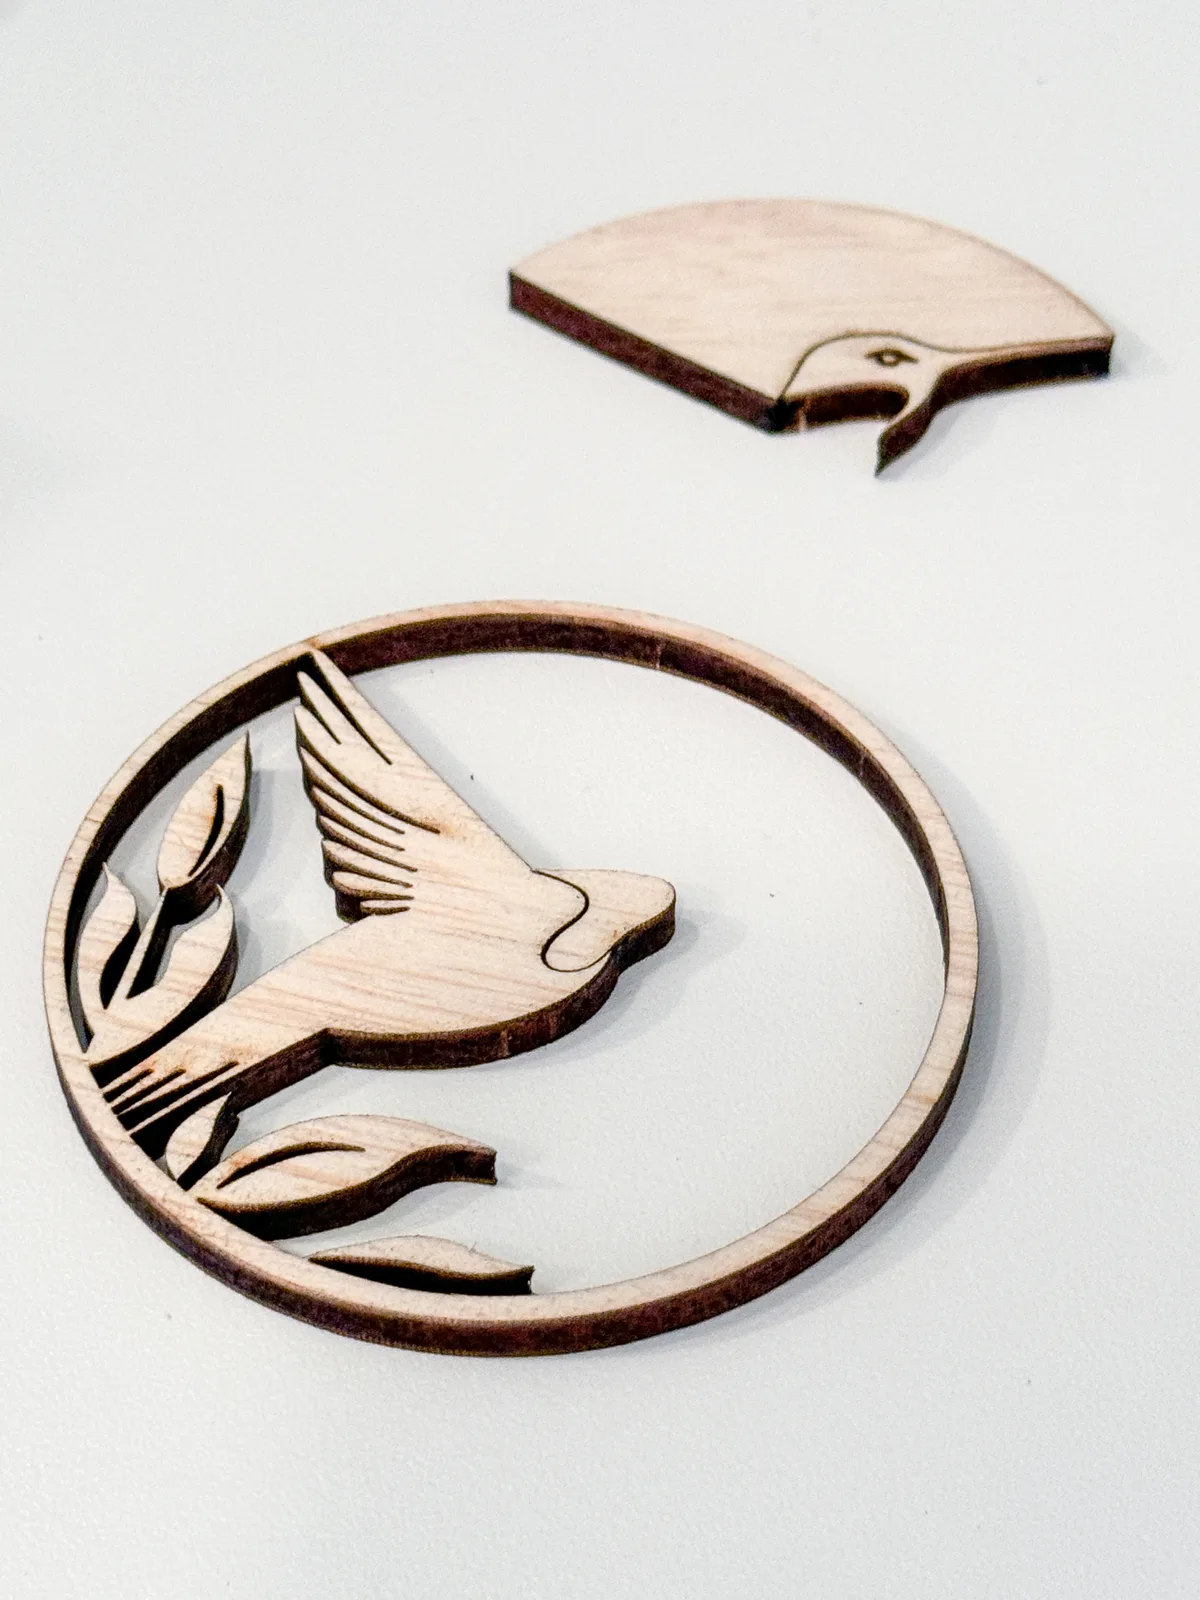
The first design, on the other hand, actually came out really nice! This was my favorite of the three, so I was glad this one worked.
I went back into the file to fix up the issues, increased the thickness of the outer circle, and added a hole at the top for hanging them in the window. I ran a second test cut, and it came out much better!
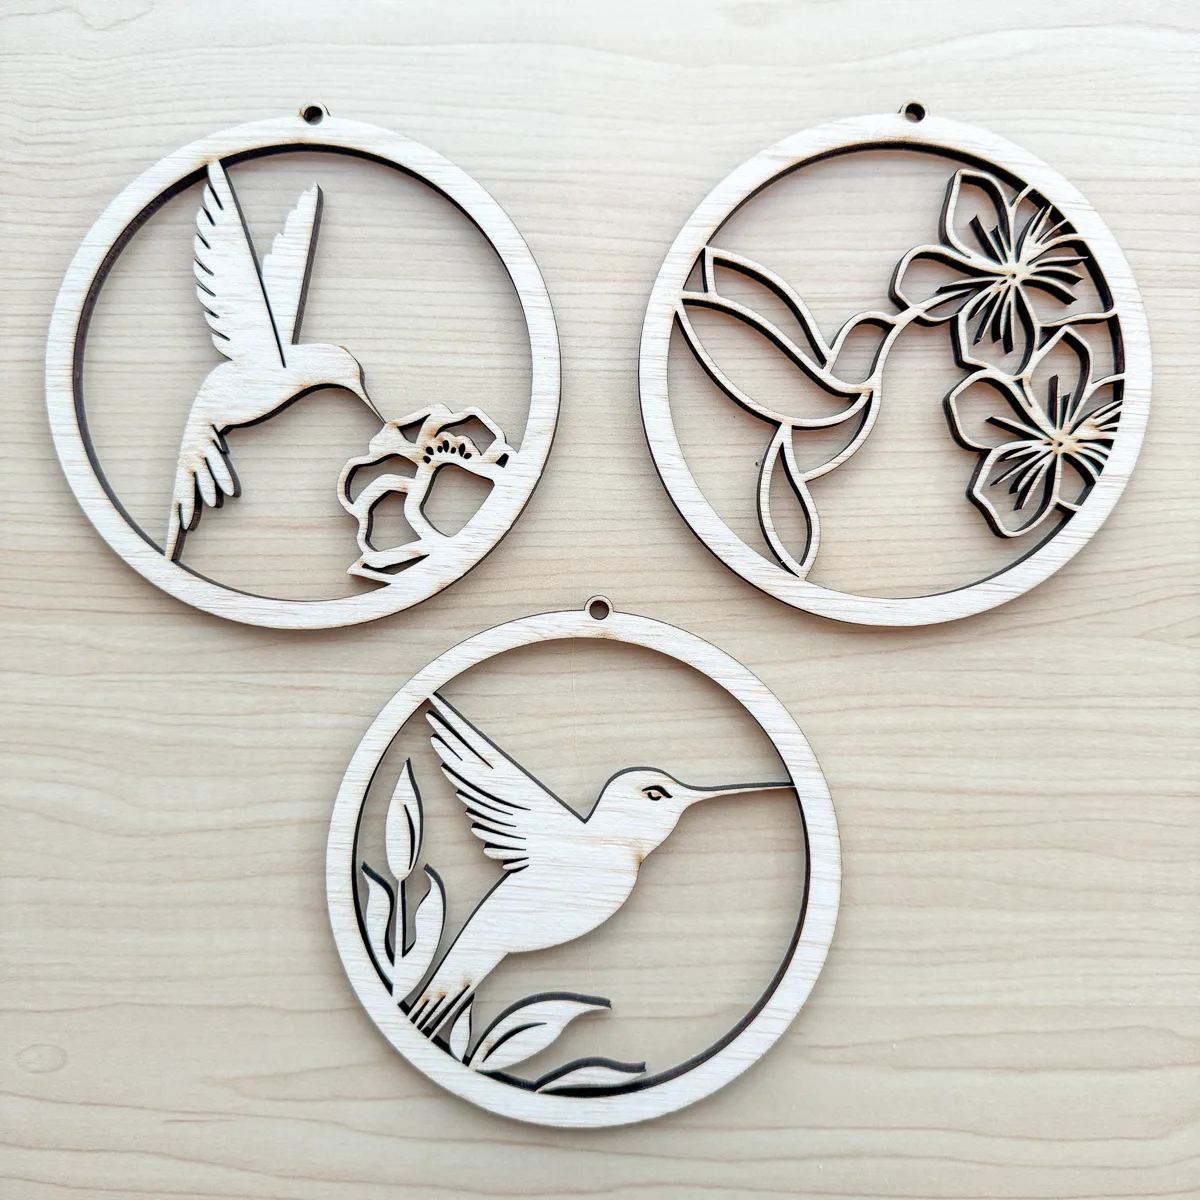
I decided to make the hole at the top a little bigger, but otherwise it was ready for the final cut!
Laser cut the layers
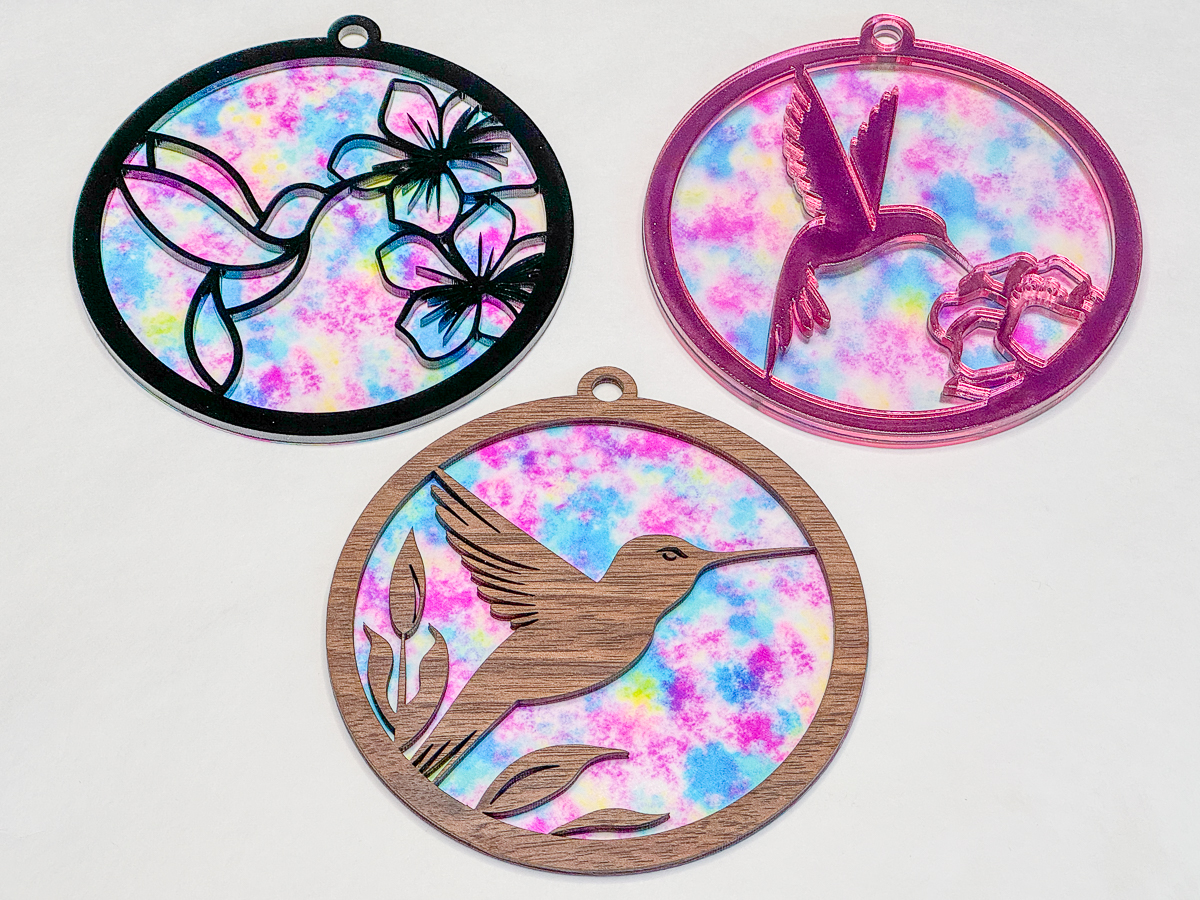
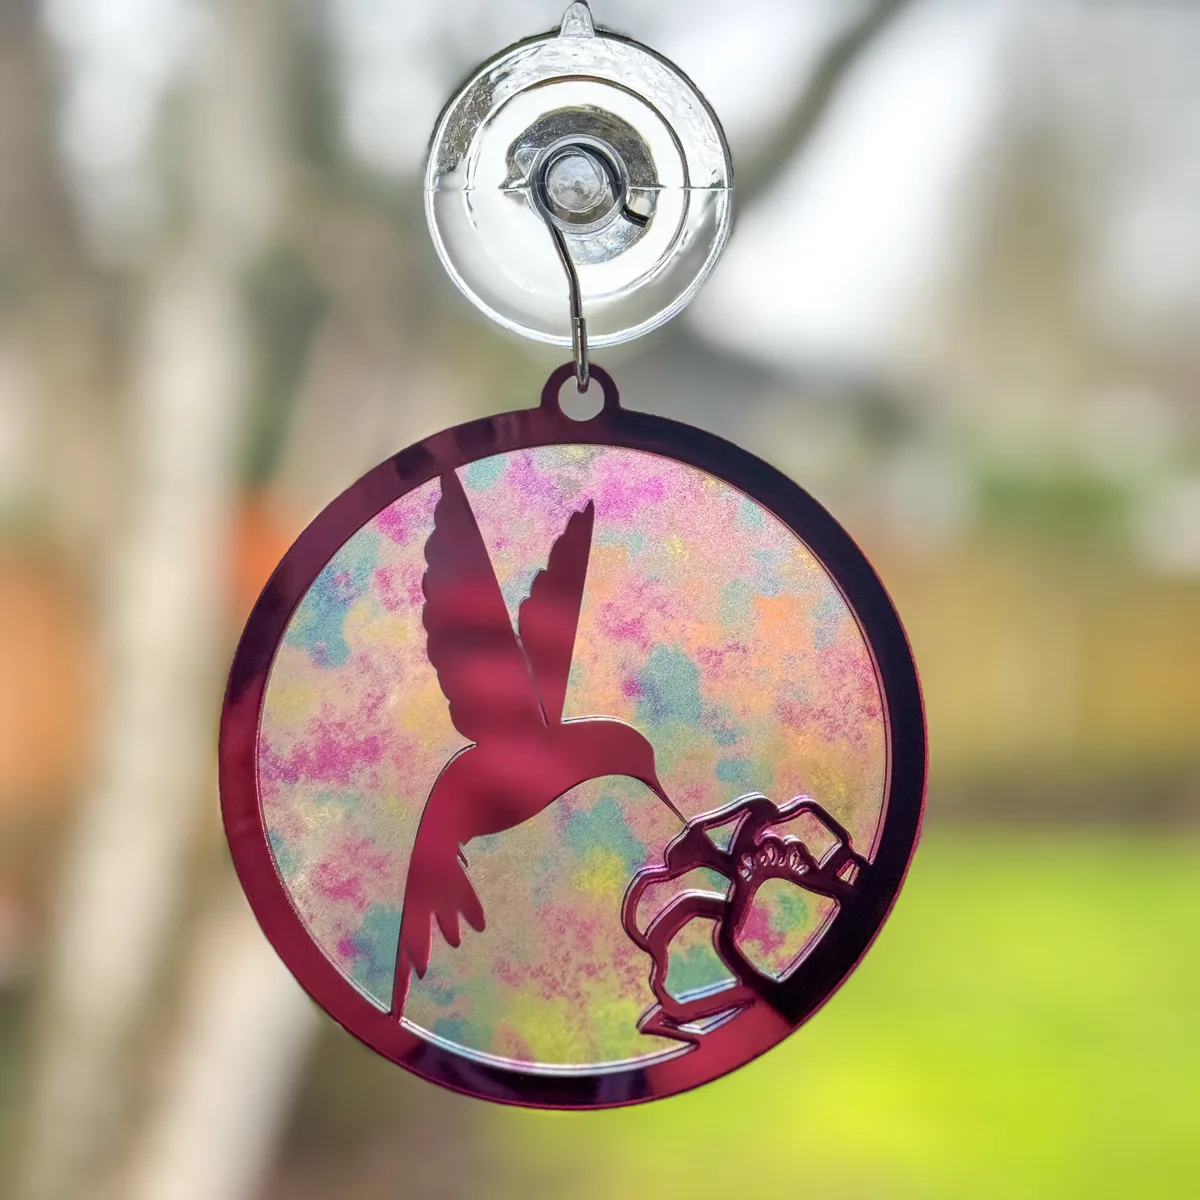
I wanted to try out three different material combinations to see which one I liked best. They'll all have the same translucent acrylic layer, but I'll be mixing it up with ⅛" black acrylic, black walnut plywood and pink mirror acrylic I received from xTool.
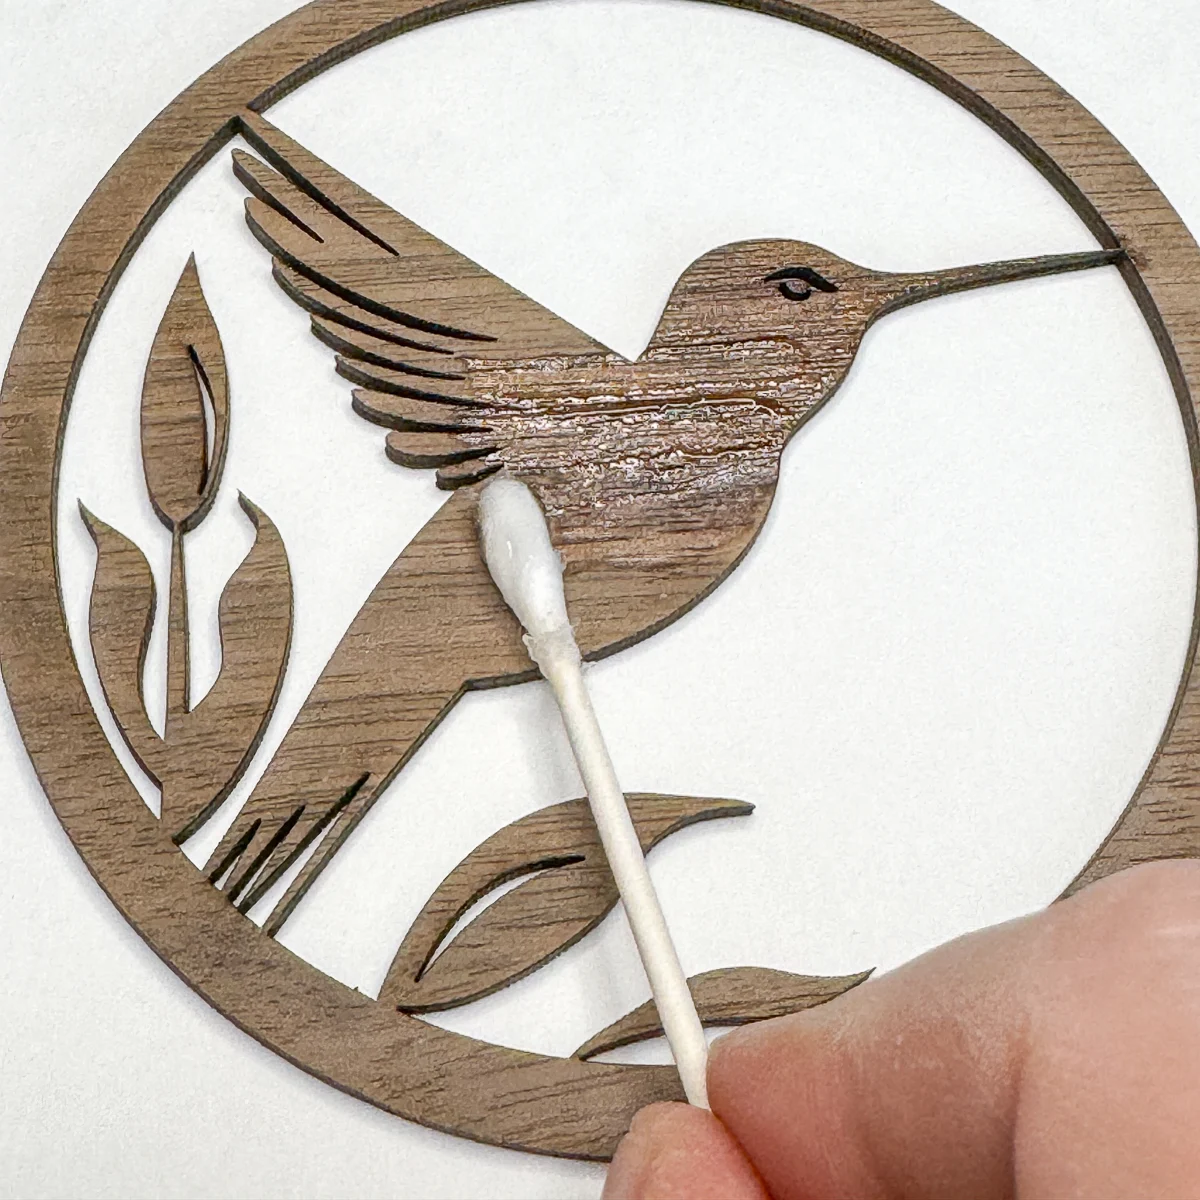
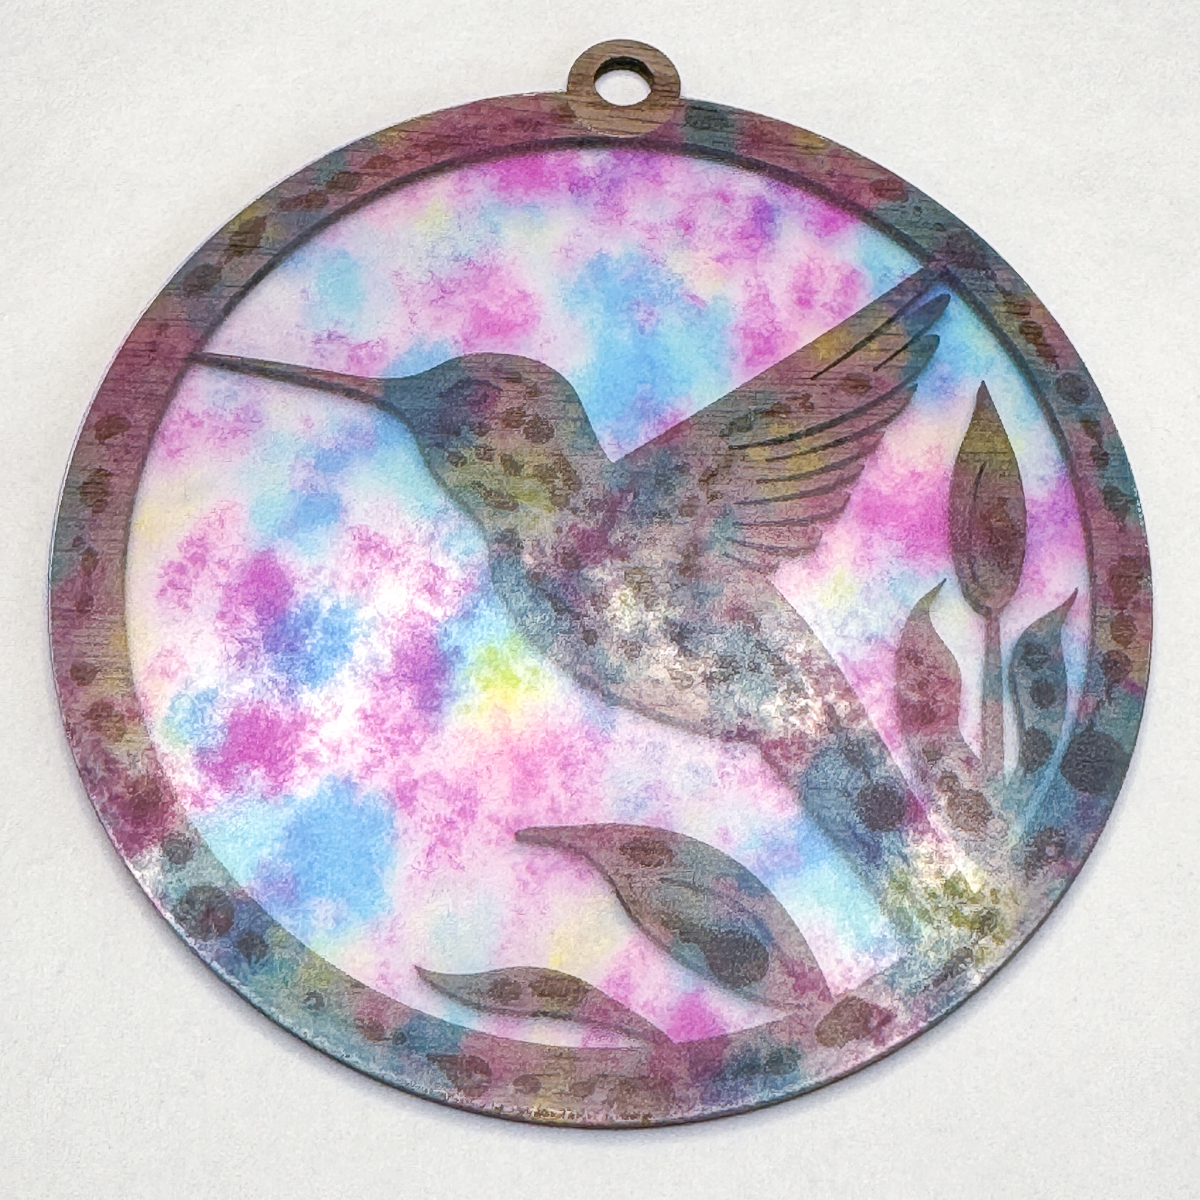
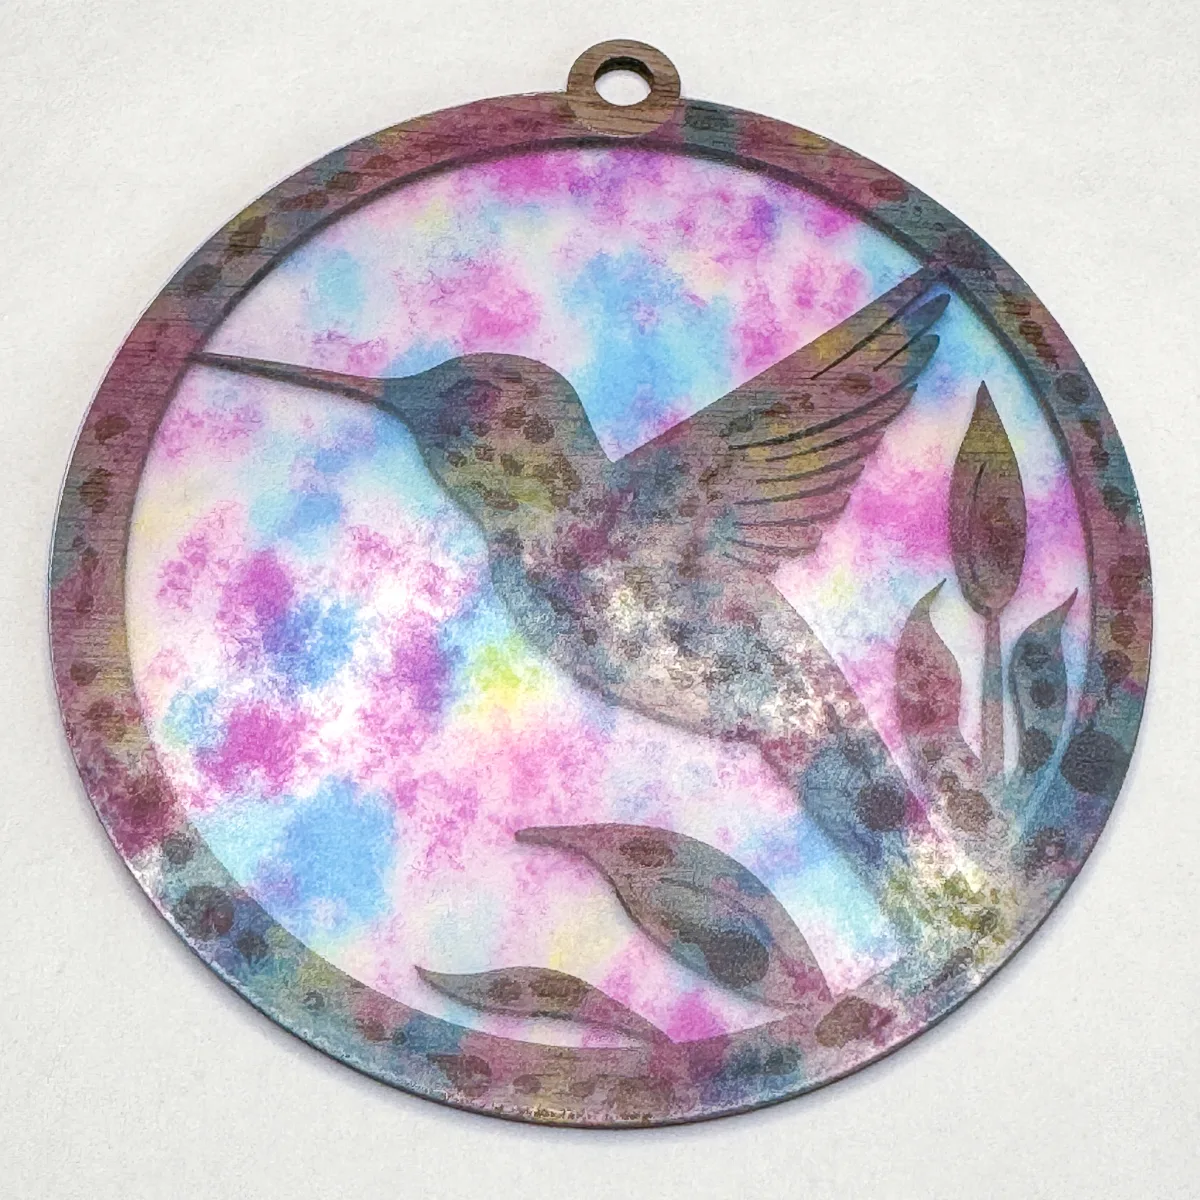
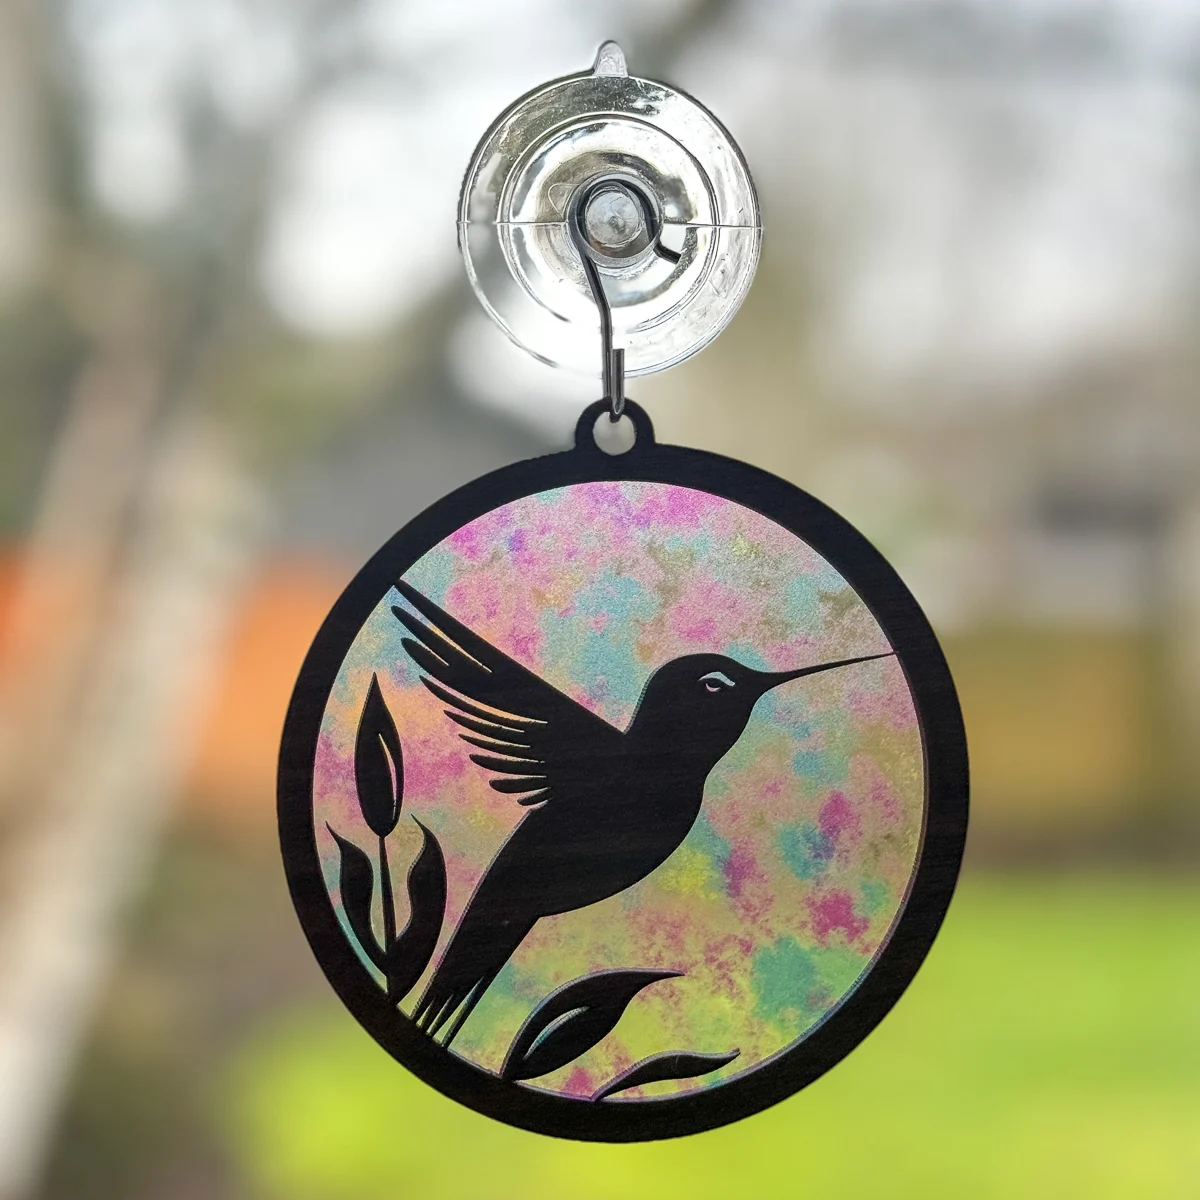
I started off with the walnut plywood. This will only be one layer instead of double sided, so you don't lose the detail in the eye.


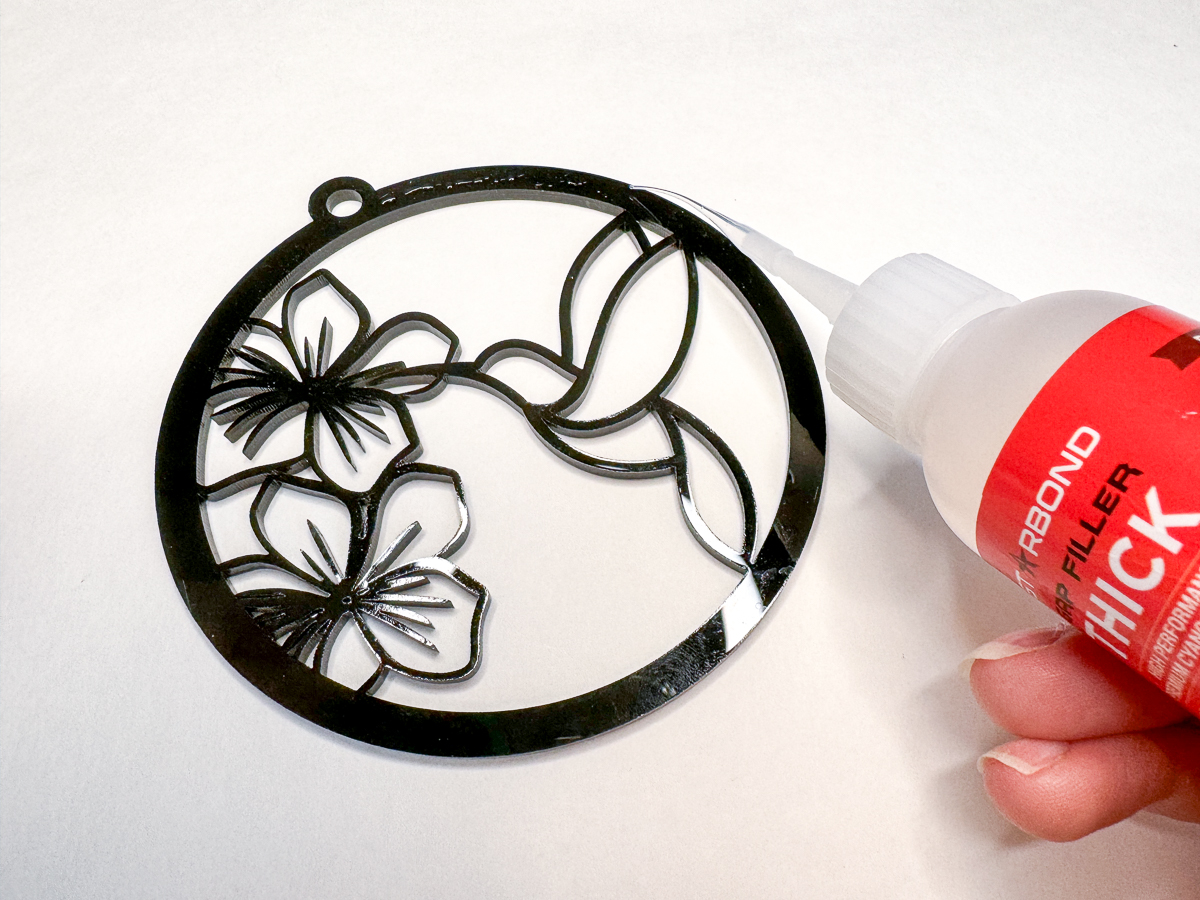
Next, I cut out the black acrylic version. This design reminds me of stained glass, so I left this one single sided as well.

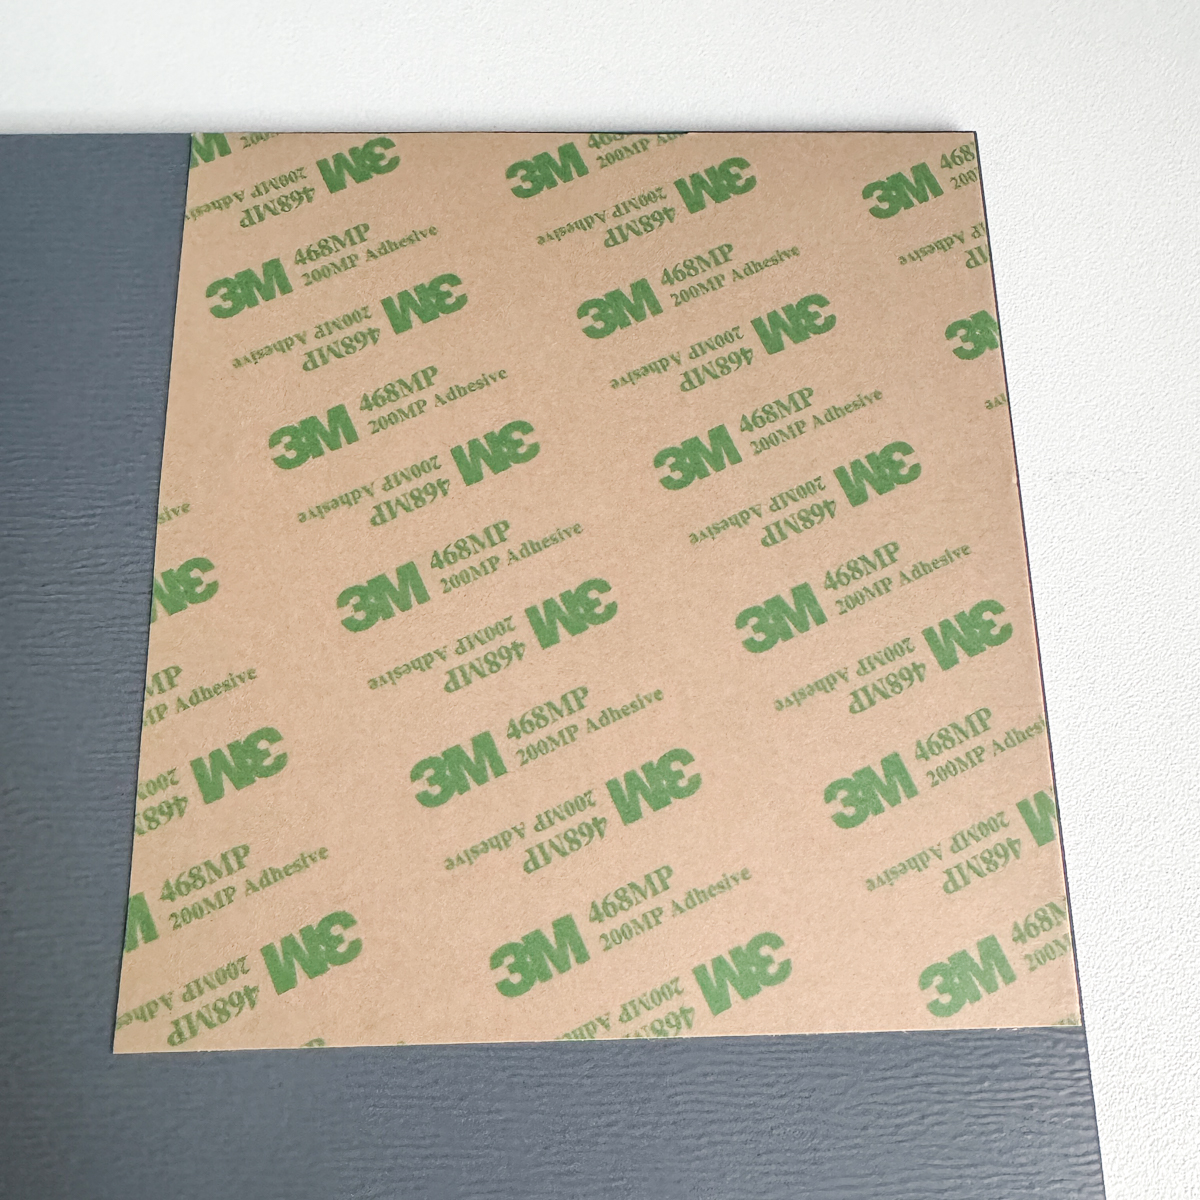
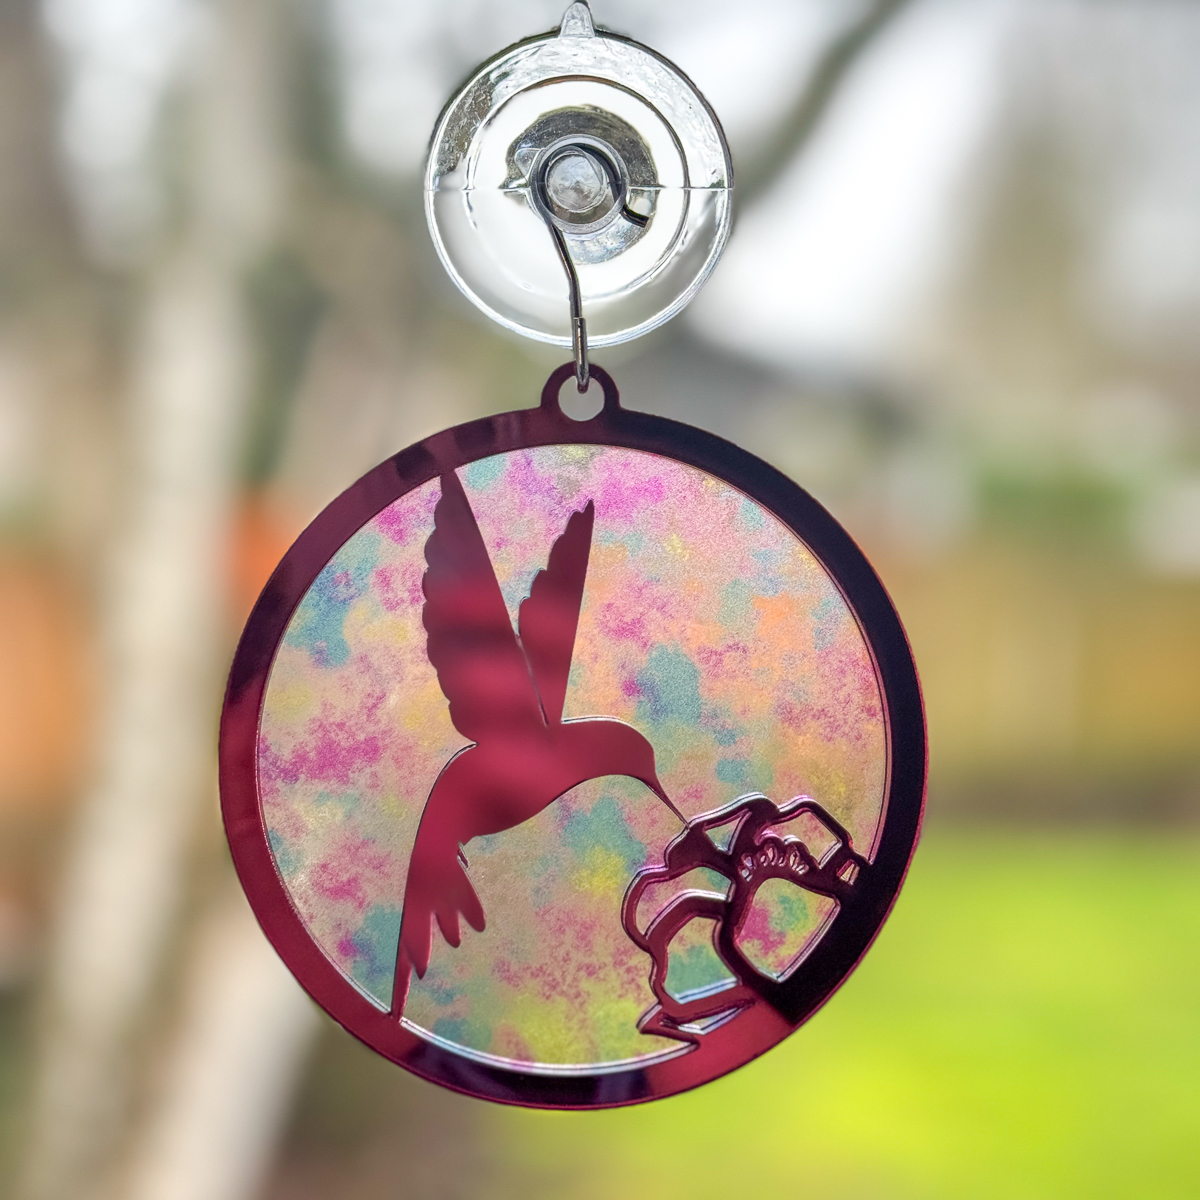
Finally, the pink mirrored acrylic! I was worried about glue seeping out from behind those intricate pieces of the flower and ruining the mirrored effect, so I applied double sided adhesive to the back of the acrylic before cutting it out. Decrease the speed or increase the power to ensure the laser cuts through the adhesive layer.

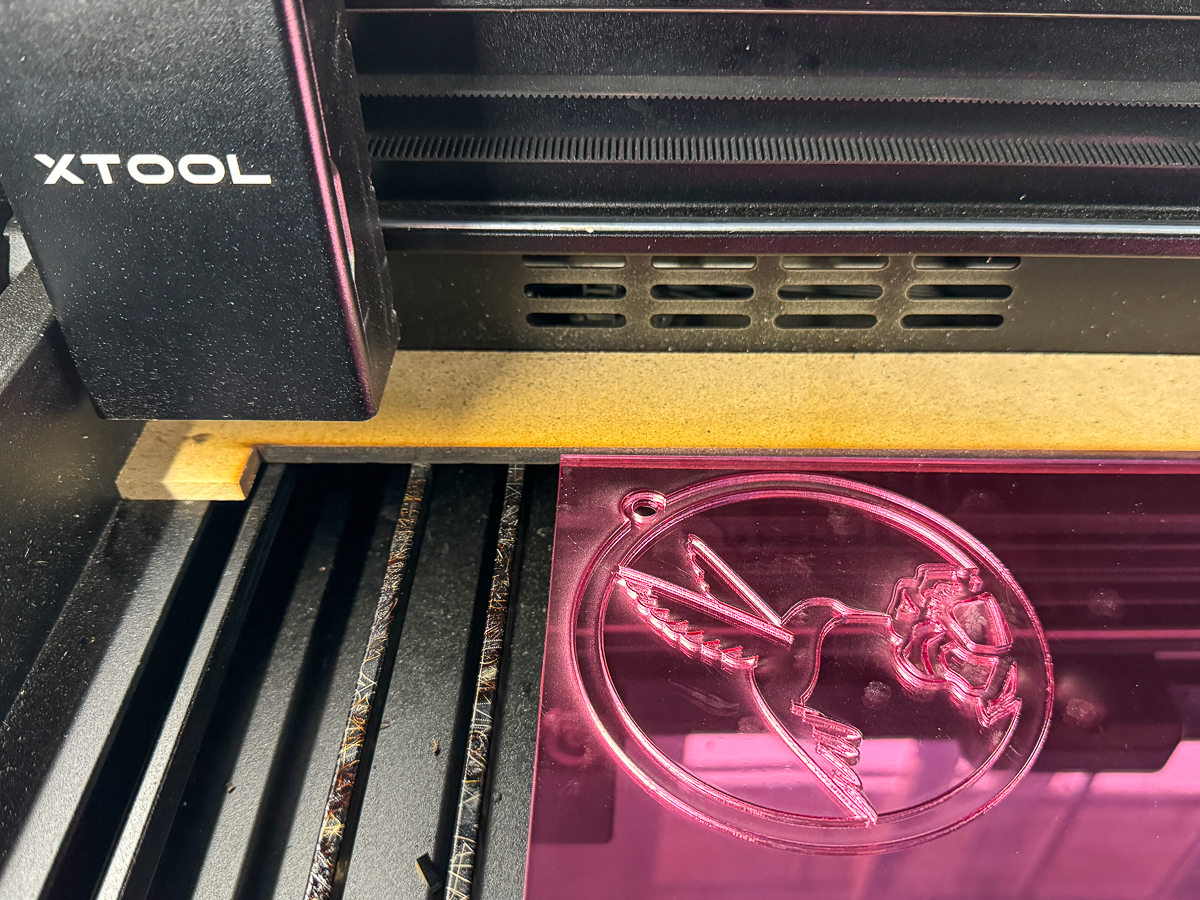
The back of mirrored acrylic is pretty plain, so this one will double sided with the translucent layer in between. I ran a single cut first to test it out, then cut a mirrored image of the design for the back layer.
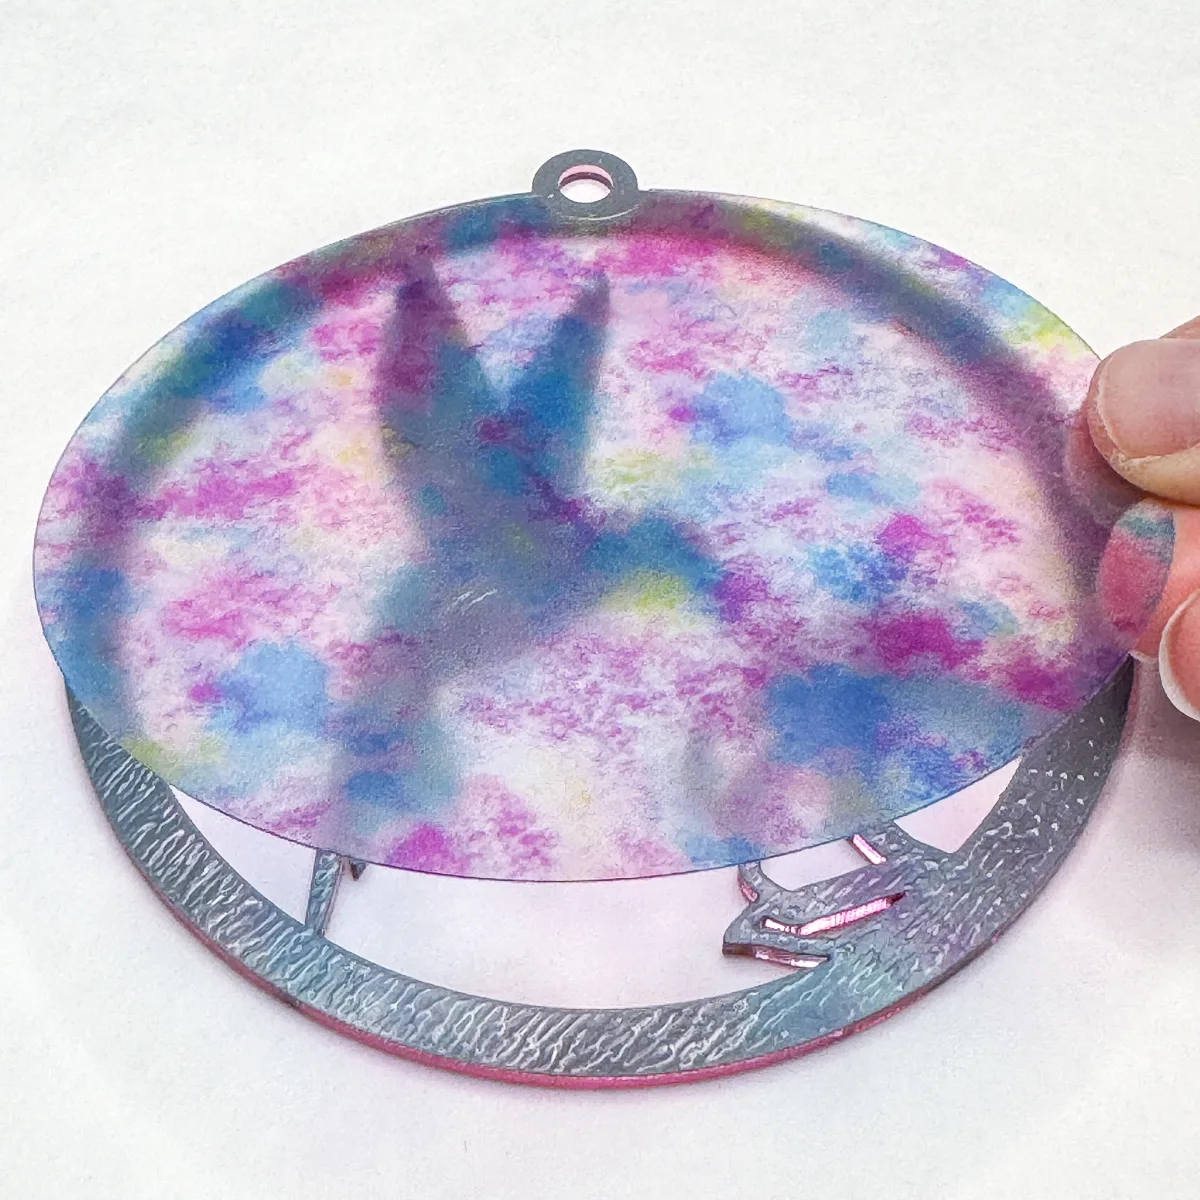
I almost forgot the translucent layer! This piece is the same size as the outer circle, with a notch cut out so it doesn't cover the hole. There's a shiny and matte side, so you can choose which side you want to see through the cutouts.
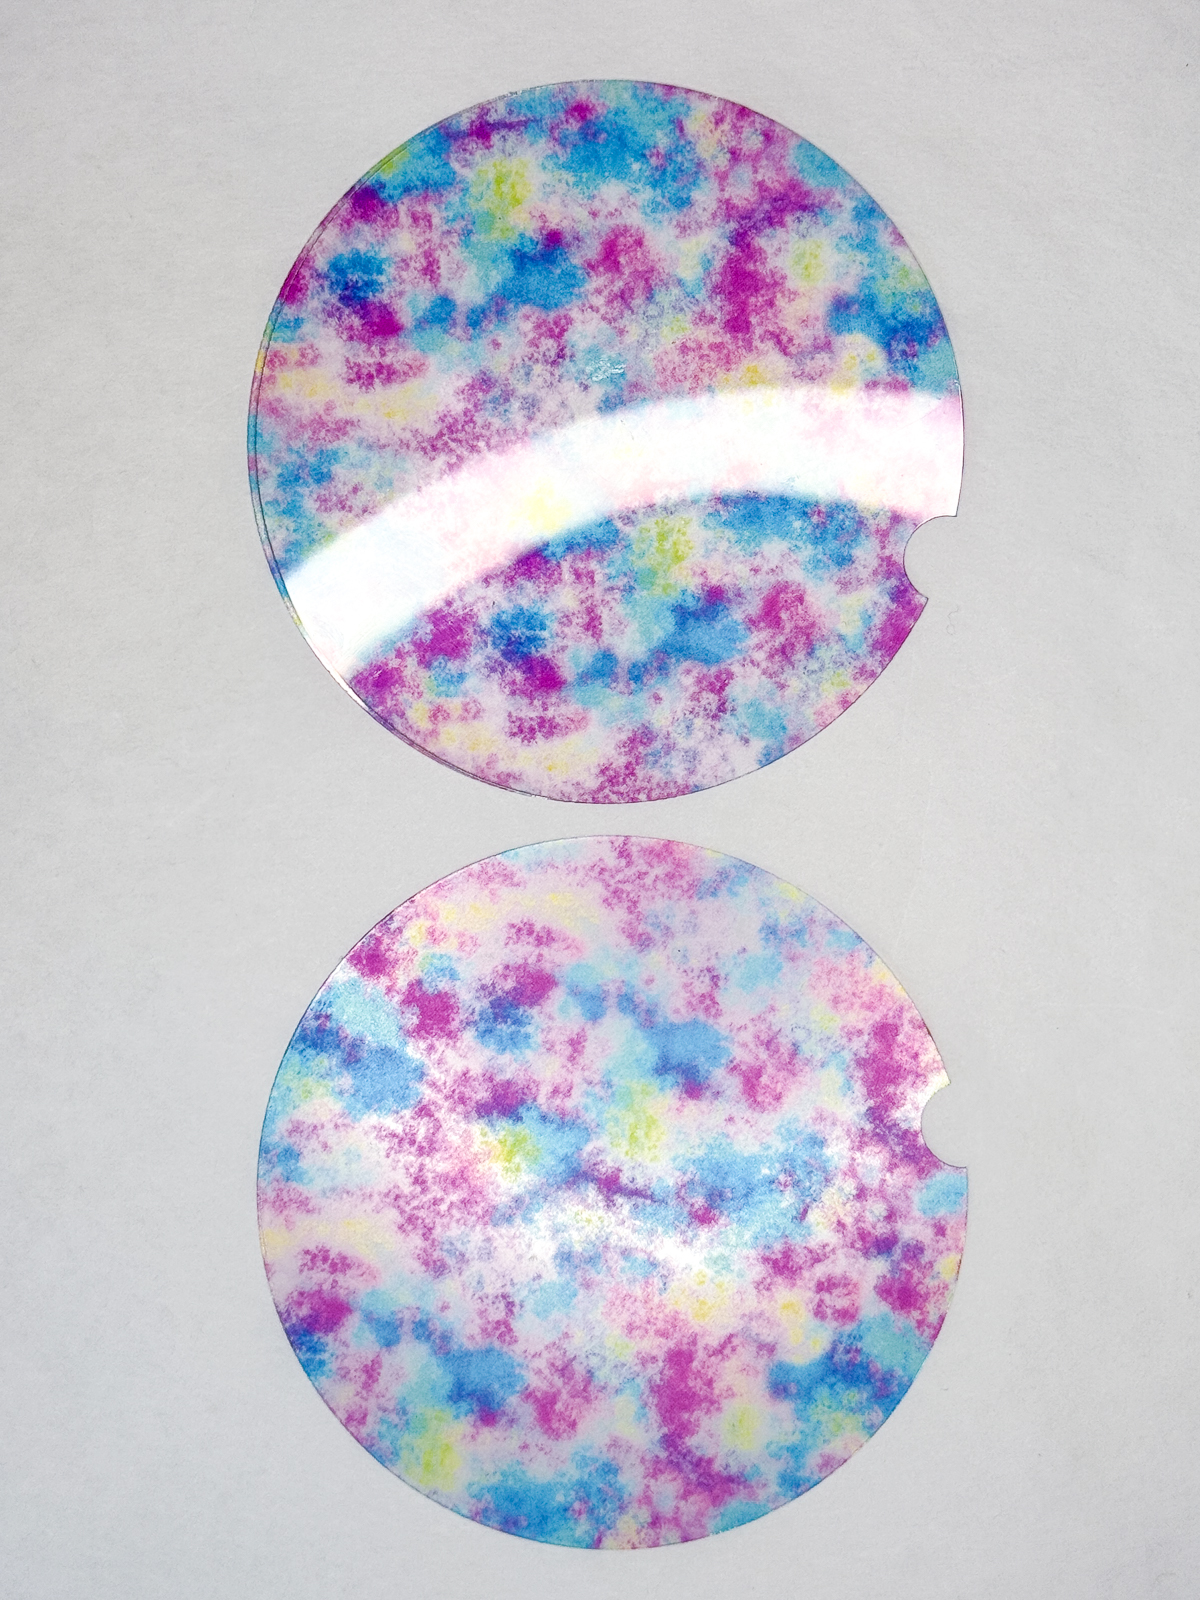
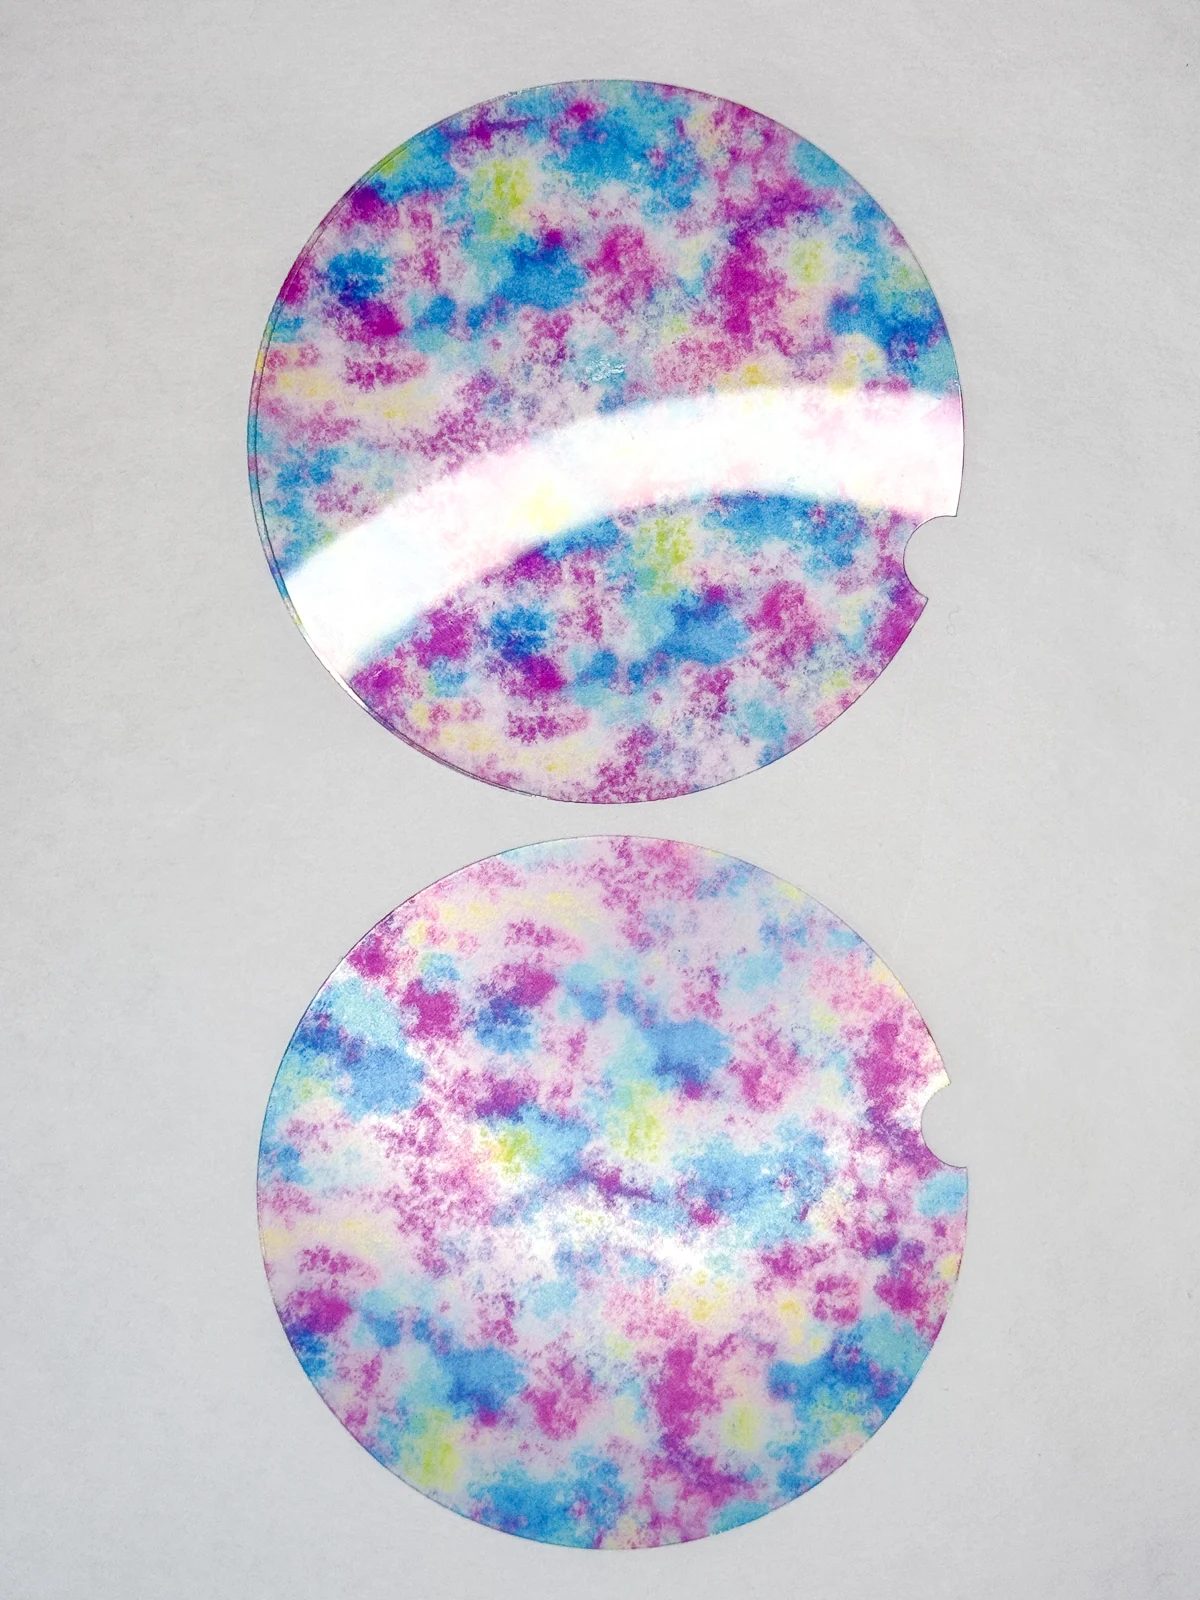
You could also make your own patterned acrylic using a sublimation printer and a heat press! Clear acrylic will appear more translucent, which is just what you want for a sun catcher.
You can only cut clear ⅛" acrylic on a CO2 laser like the xTool P2, but you can cut super thin transparent flex from Smokey Hill Designs with a diode laser! I use this stuff for everything from bookmarks to earrings to night lights, and it's perfect for suncatchers too!
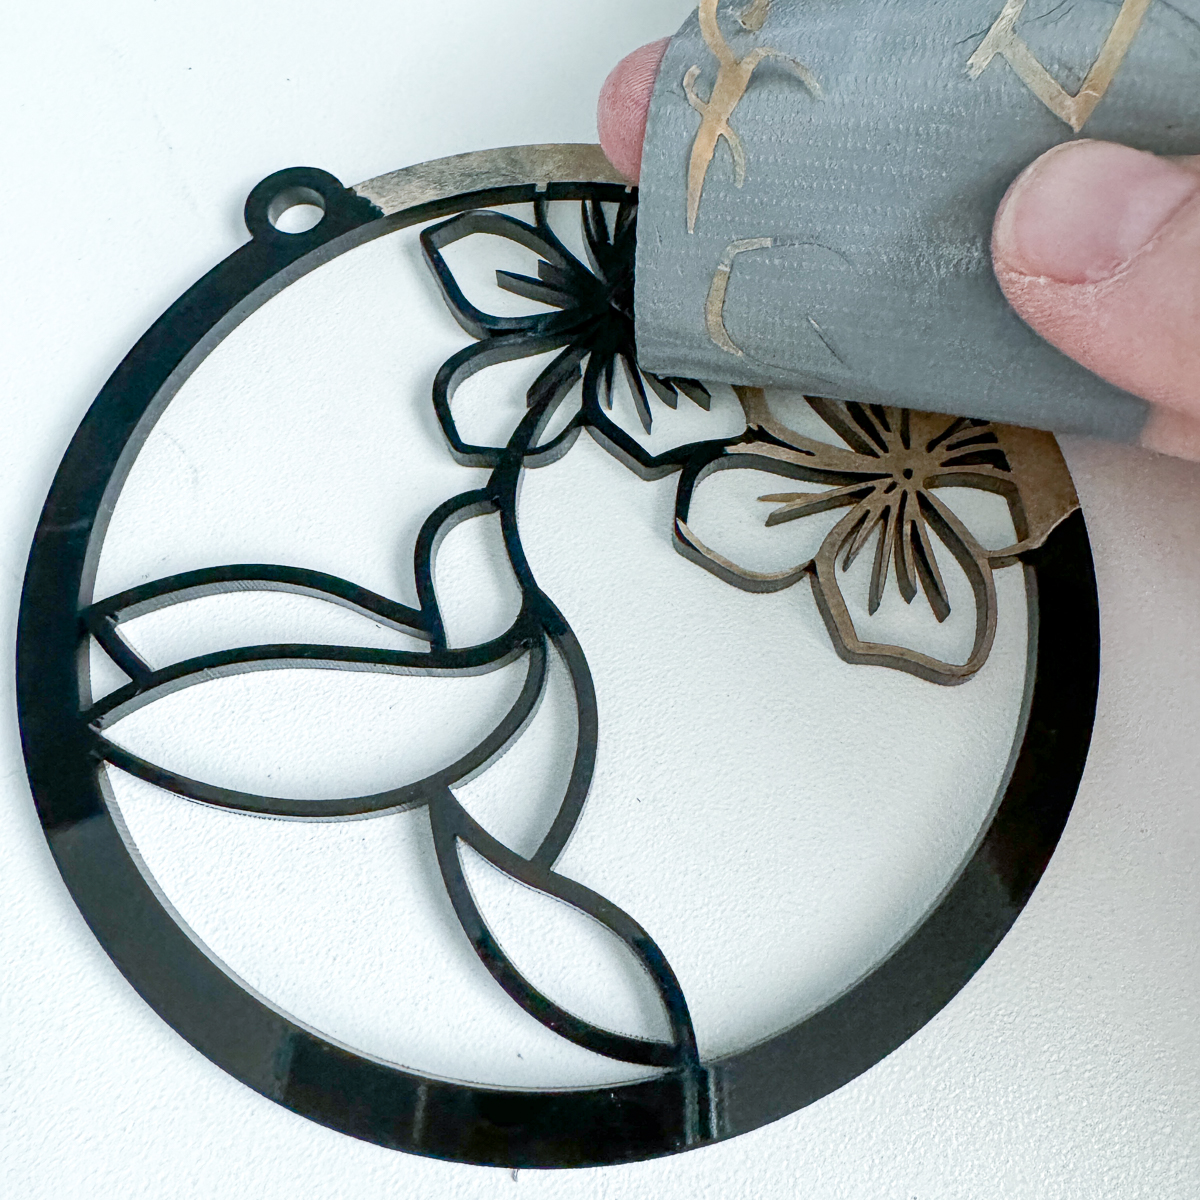
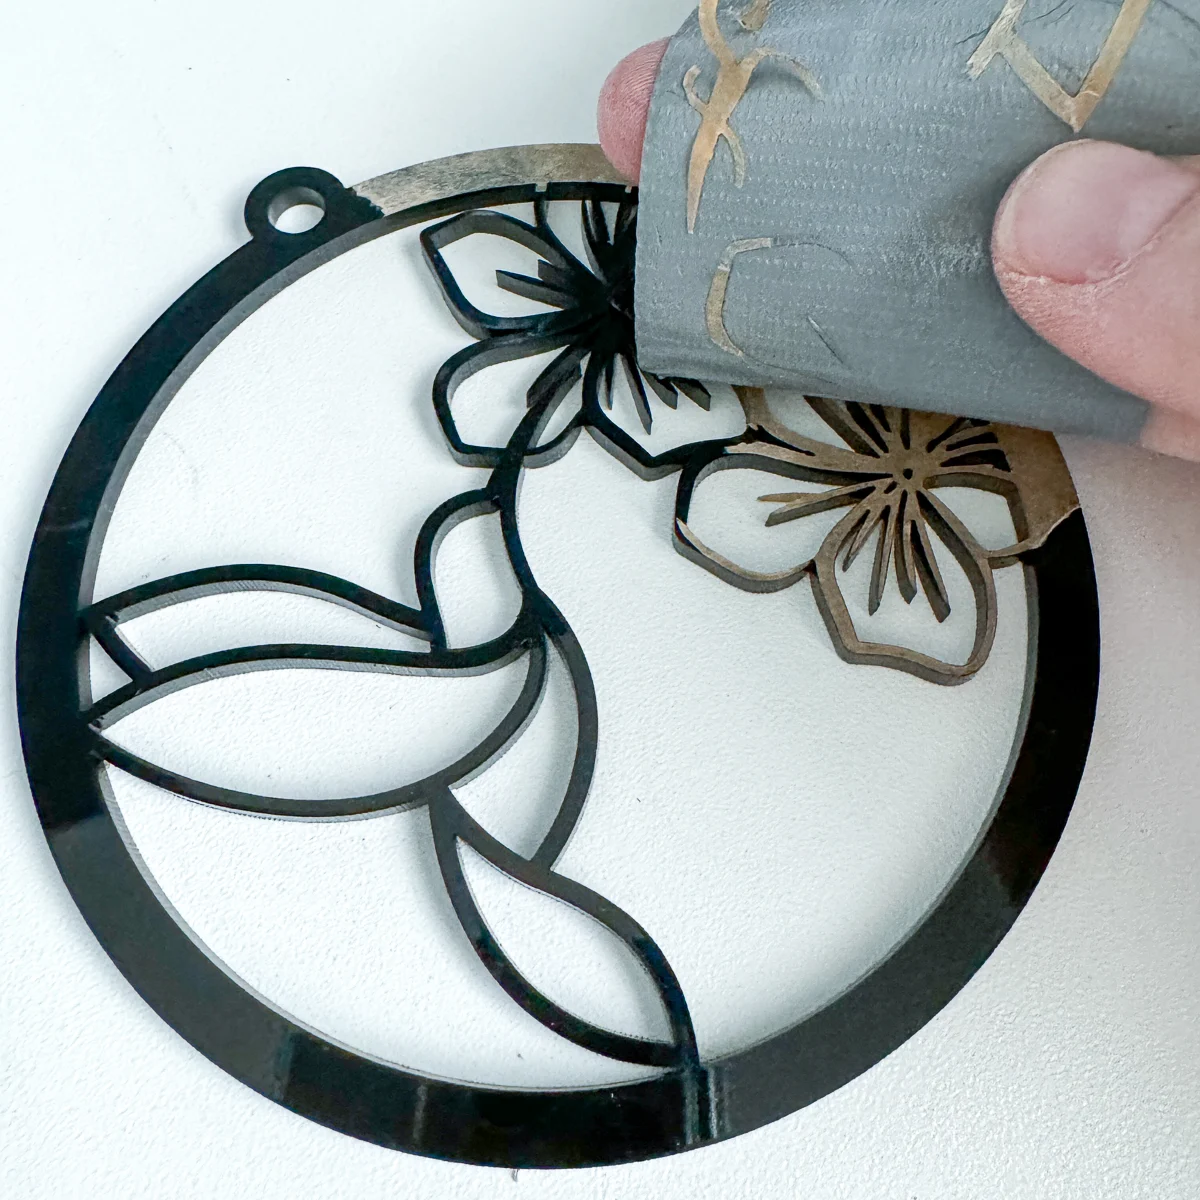
Clean up the cut pieces
All those intricate cuts can be a little tricky to remove, especially in acrylic. I like to use bent tweezers or a weeding tool to poke out the tiny pieces.


Instead of peeling off the paper backing with my almost non-existent fingernails, I wrap a piece of duct tape around my fingers to pull it off.
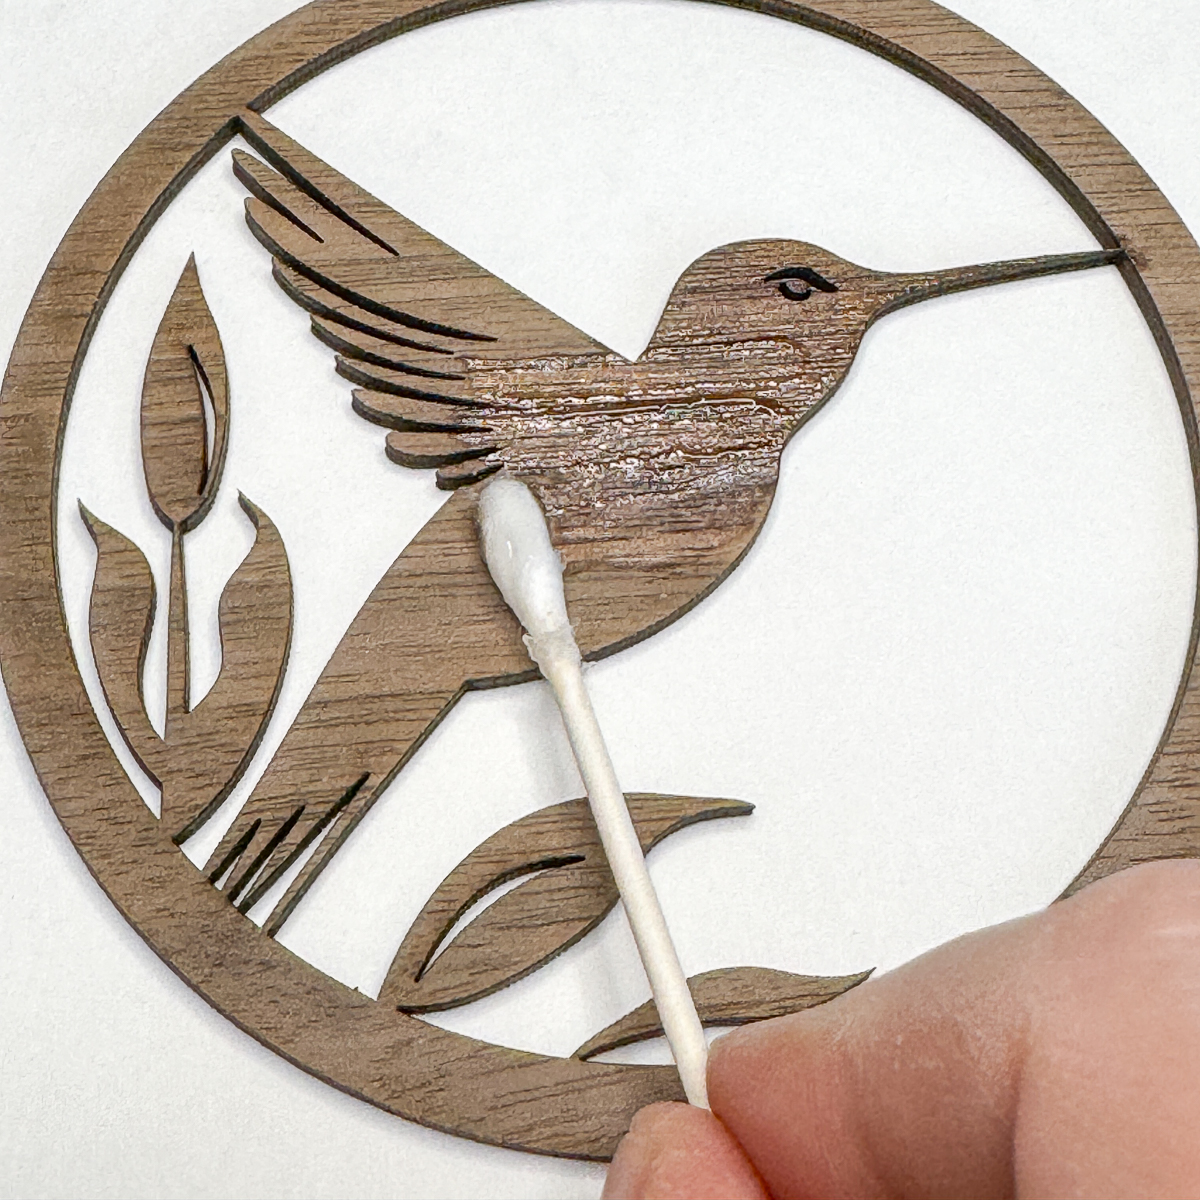
For the wood suncatcher, I lightly sanded away the soot first. Then I applied mineral oil to the top with a Q-tip to make the grain really pop! Don't put oil on the side where the glue will go, or it may not adhere properly. After it soaks in for a bit, remove the excess with a rag or paper towel.
Assemble the suncatchers
Time to put it all together! I'm using CA glue for the wood and black acrylic suncatchers, and double sided adhesive for the pink one. The double sided adhesive makes it super quick to assemble, but is more expensive than glue.

Line up the notch on the translucent layer with the hole in the top, and press them firmly together. Then apply the back layer the same way.

I like to use Starbond Thick CA glue with a precision microtip so I don't get any squeeze out or runs. Just a few drops around the outside and the wider inner parts of the design is all you need!
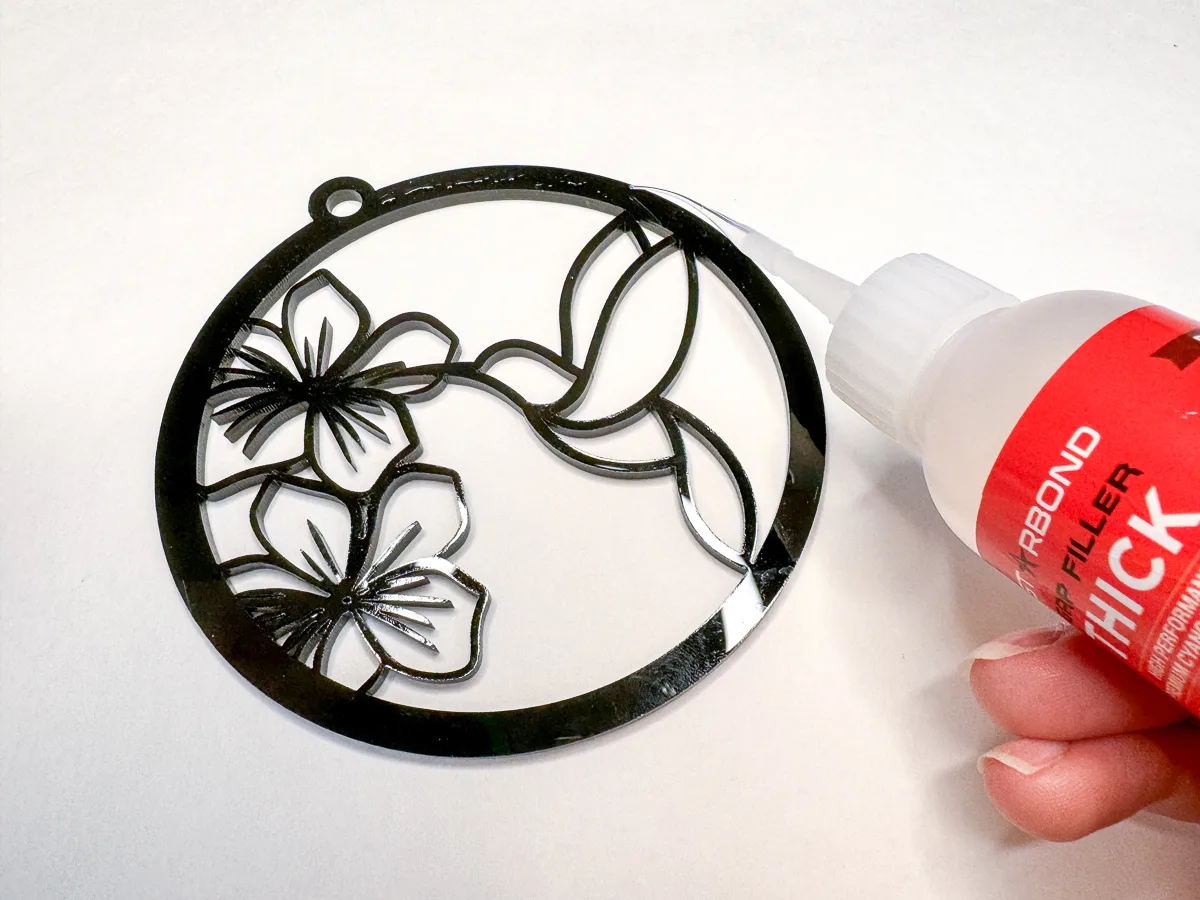
Then just drop the translucent layer on top! You don't have long to adjust it before the glue sets, so work quickly.
You can see glue spots through the back, but it will be up against the window where it won't really be visible. Just add a second layer like the pink version if you want to cover it up!
Here's all three versions, ready to display!
Hang your hummingbird suncatchers in the window
I used these suction cups to attach the suncatchers to my window. They came with chains, but their hooks didn't fit in the holes.
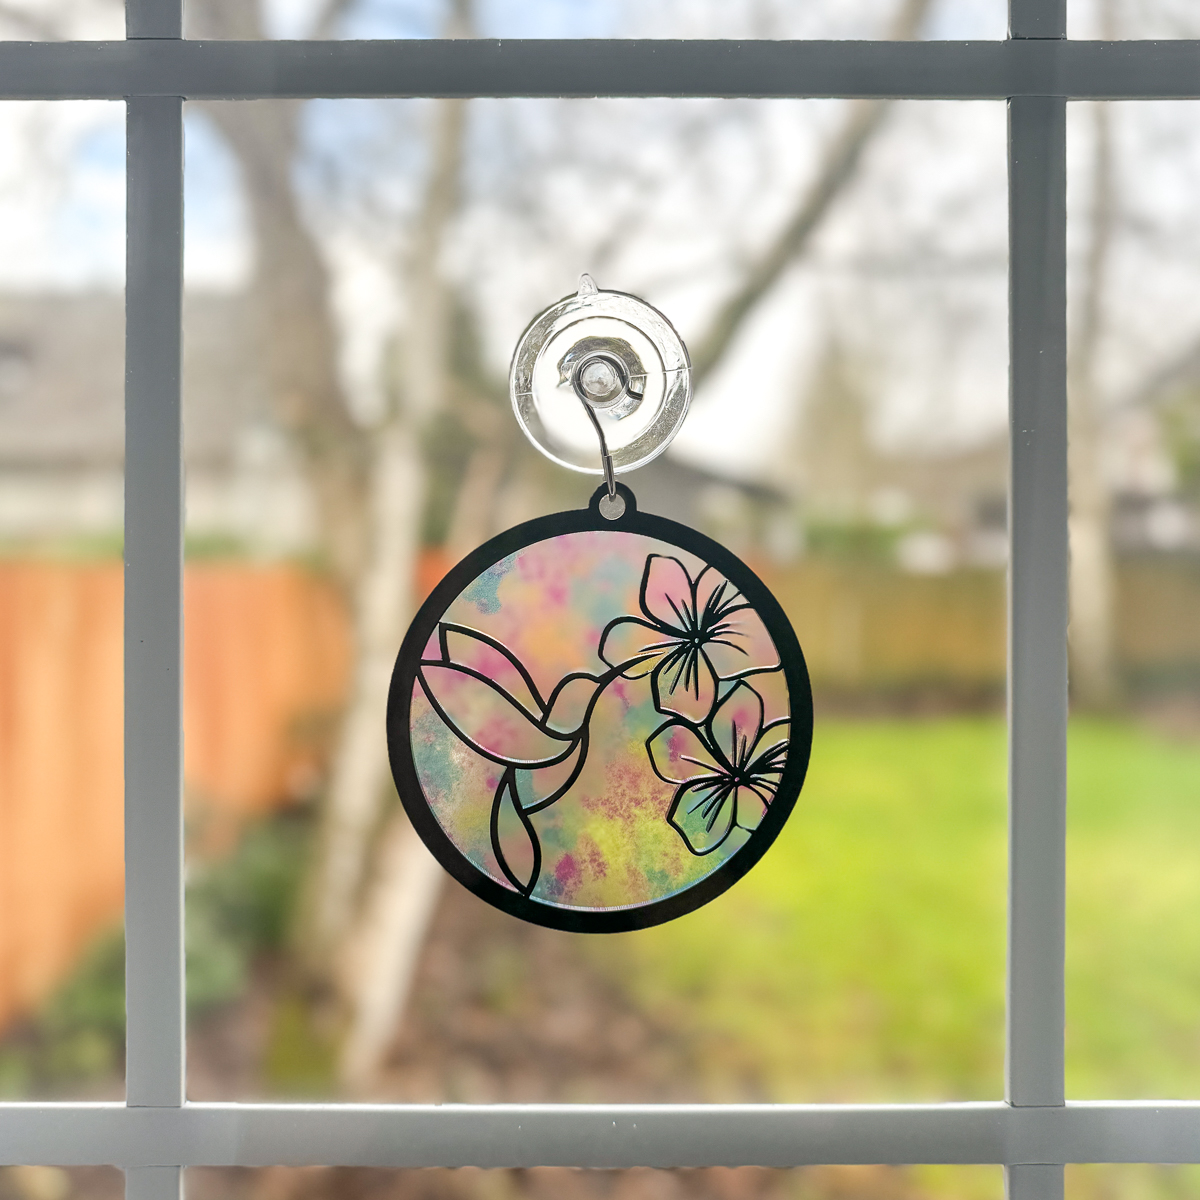

I just love how these look when they're held up to the light! It's early February, and here in Seattle it's usually overcast and gray all the time. These hummingbird suncatchers really bring some brightness to this dreary time of year!

The pink mirrored acrylic version really brings out the colors in the translucent pattern!
Has this project convinced you to get a laser cutter? Head over to xTool and check out all their different options! You can make the wood and black acrylic versions of this project with a diode laser like the M1 or S1. Mirrored acrylic will require the P2 CO2 laser.
Check out these other laser project ideas!