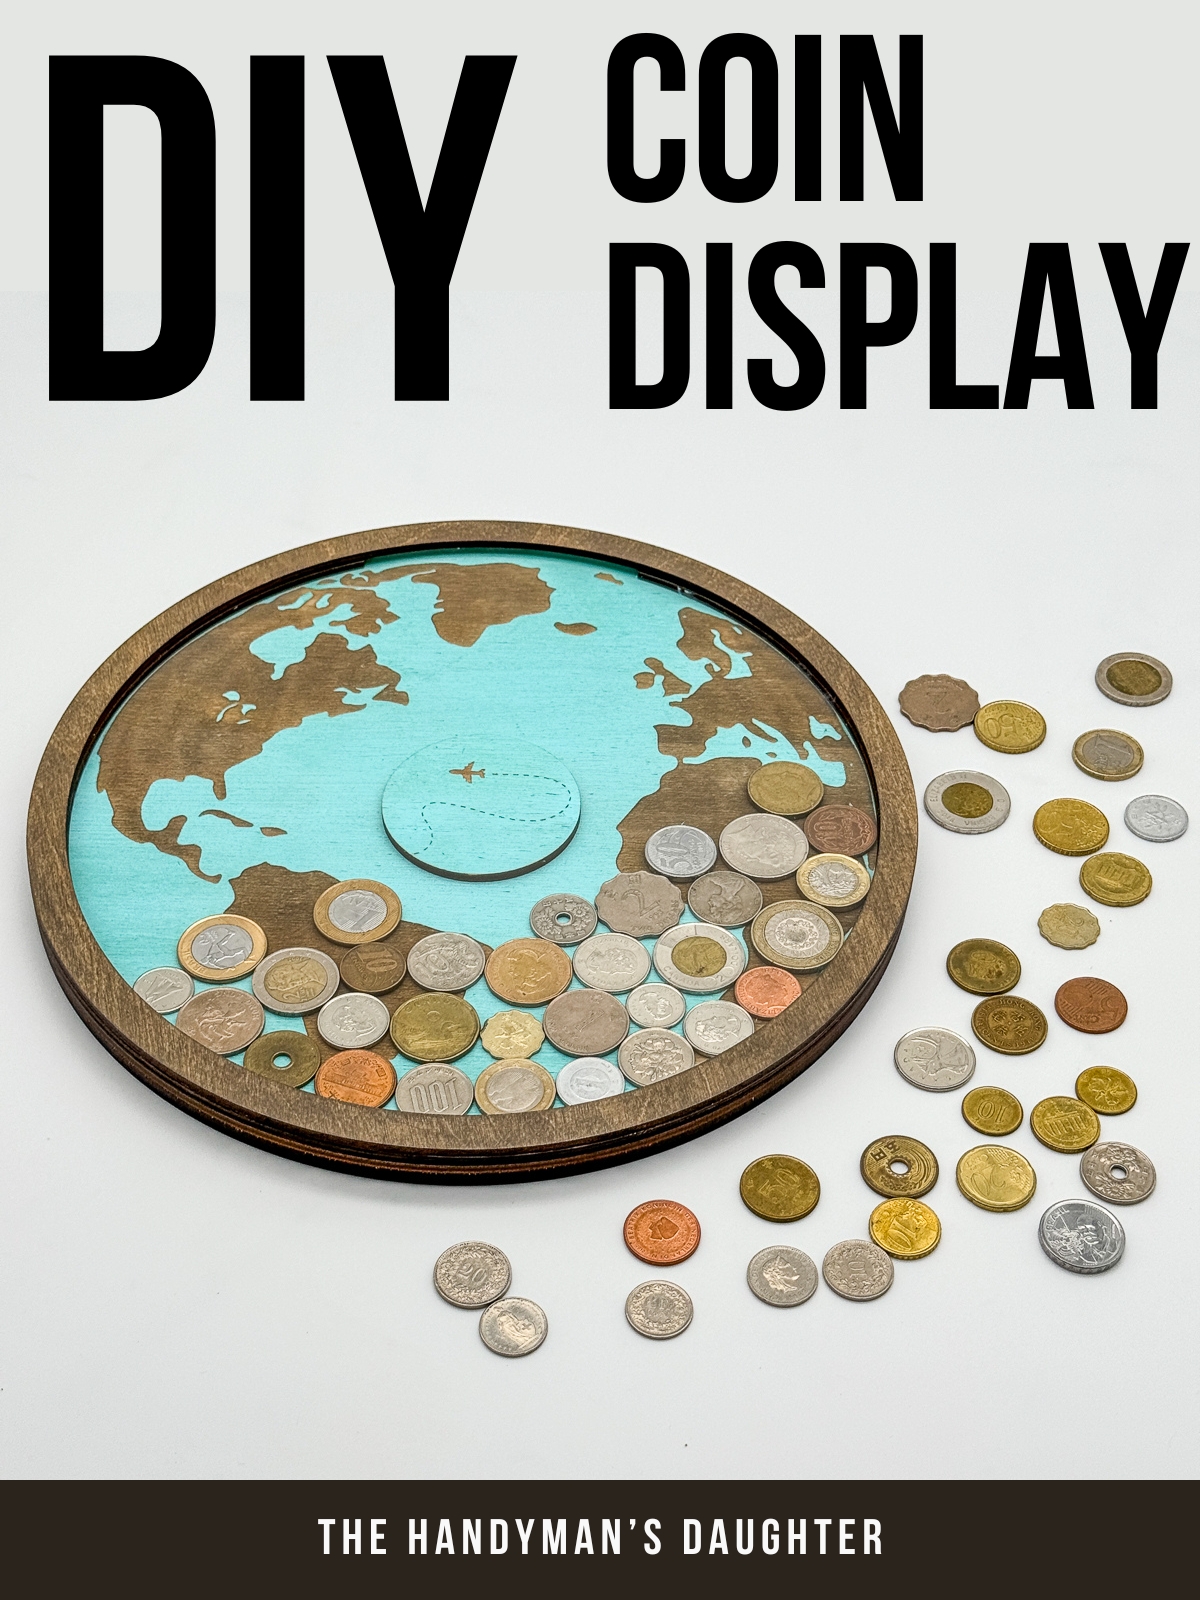
Display your collection of foreign currency, challenge coins or pressed pennies with this DIY coin holder that mounts on the wall!

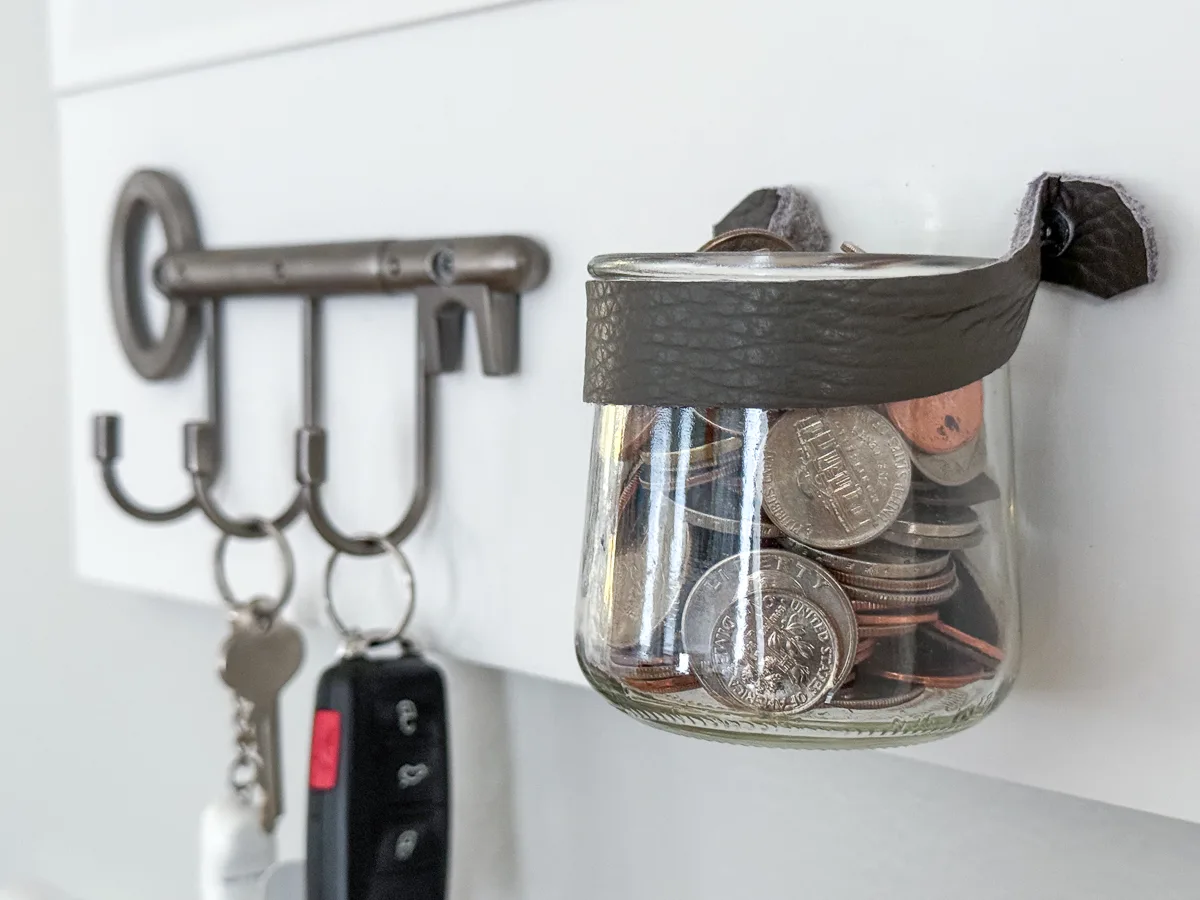
Our family loves to travel, and we always come home with pockets filled with coins from other countries. They usually end up mixed in the jar of our entryway key rack, which makes it much harder to pull out quarters when you keep finding yen and euros!

I was originally thinking of making a Plinko style display. But larger coins would get stuck between the pins and the smaller ones would just fall straight through.
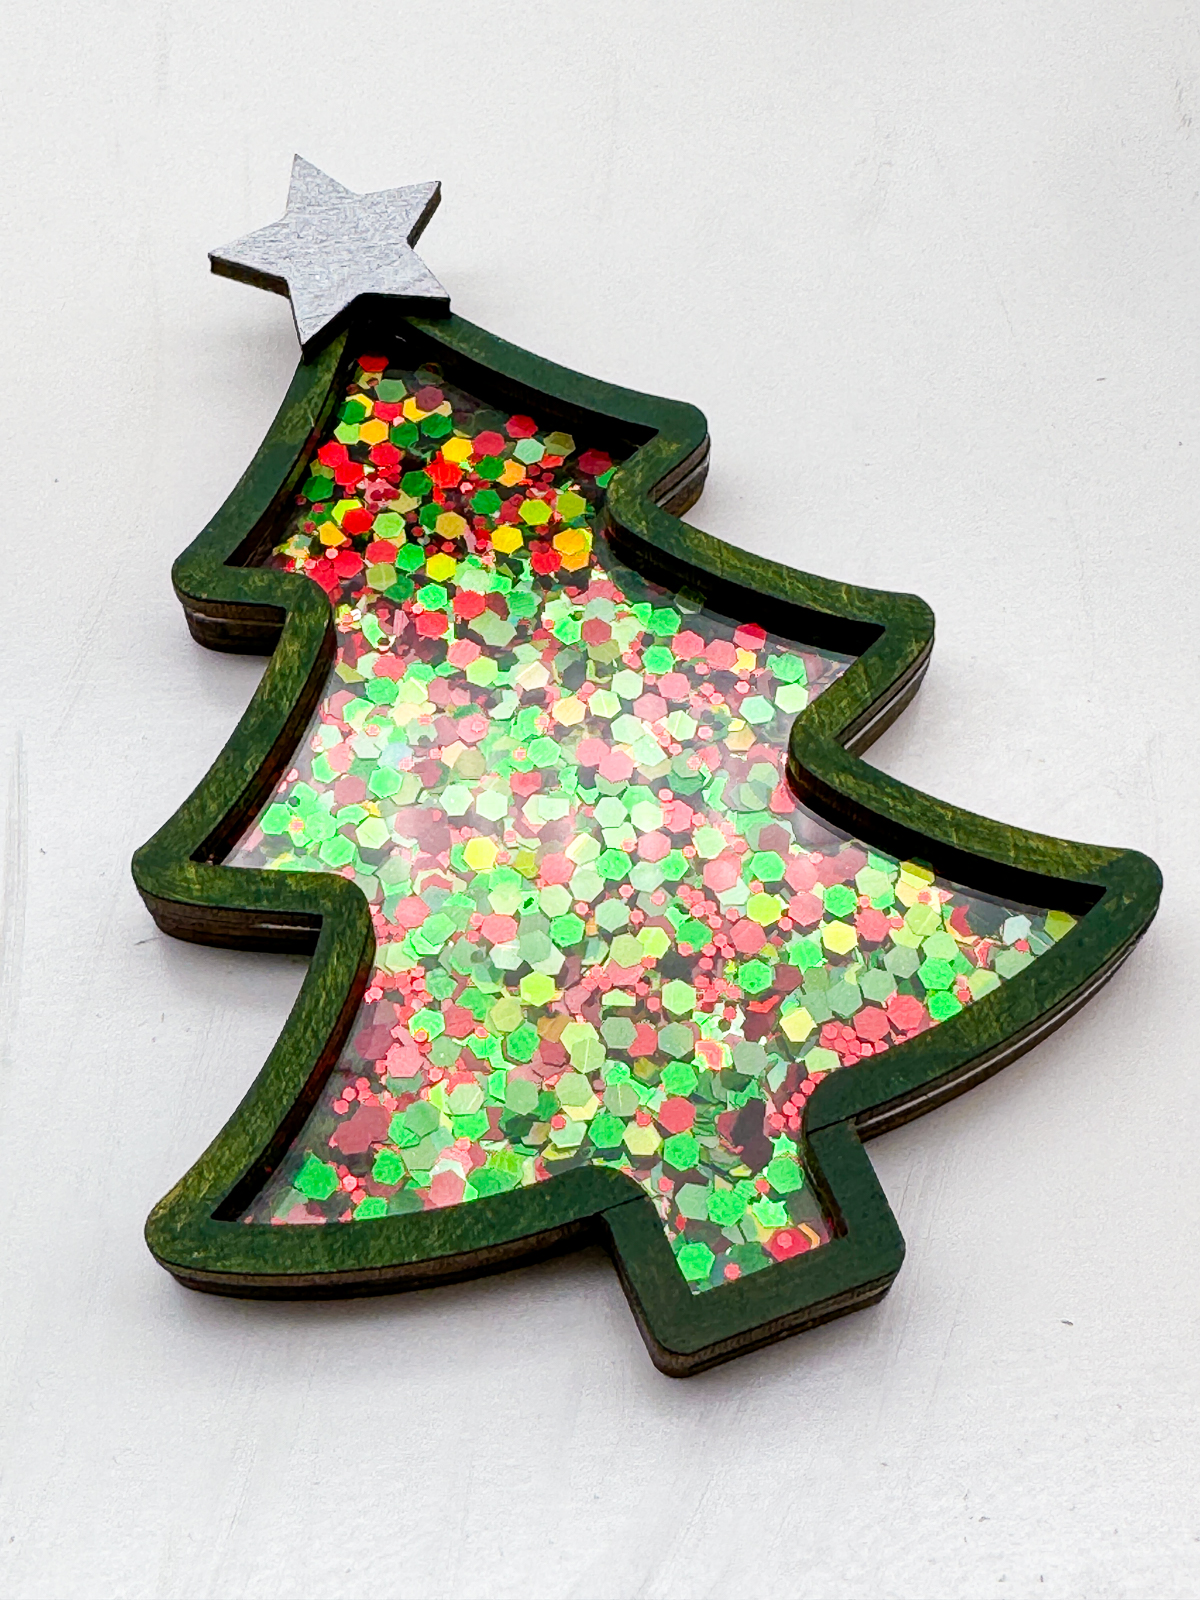
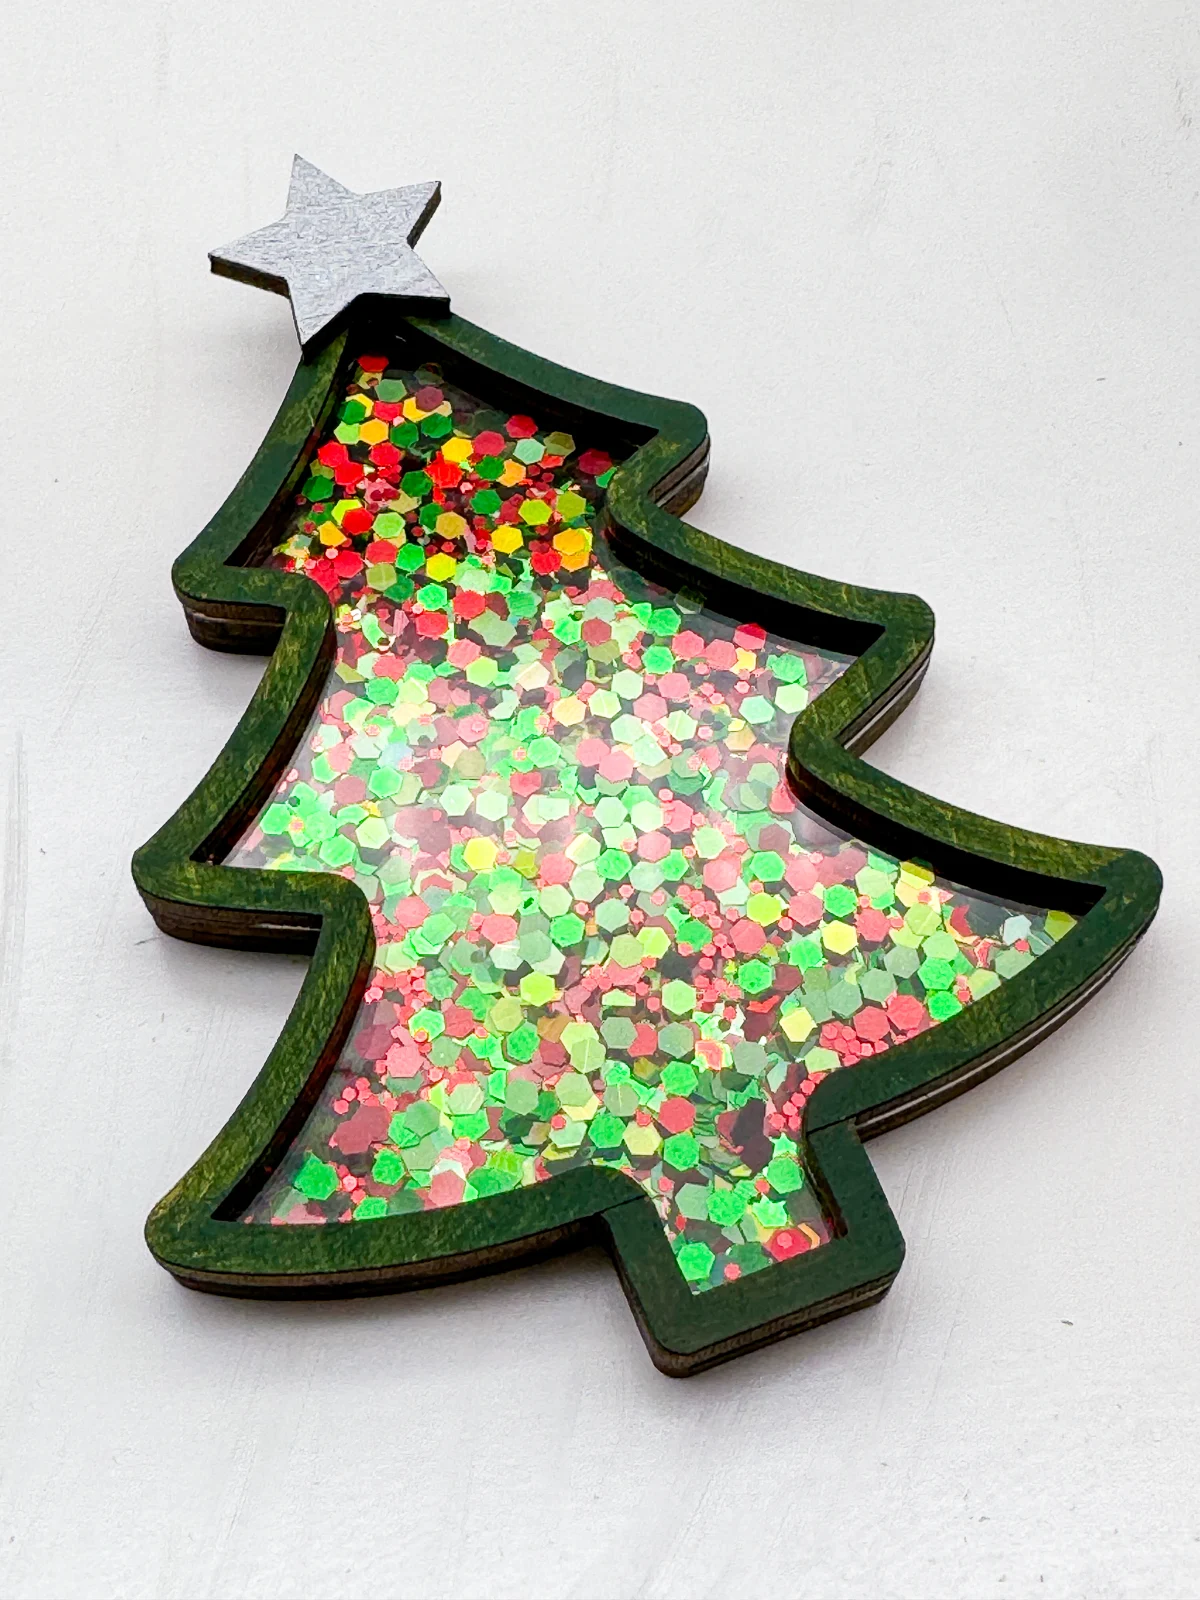
So I decided to keep it simple and make this coin display the same way I made these laser cut Christmas ornaments. Instead of glitter, this design creates a space behind the clear acrylic so you can drop the coins in from the slot at the top.
I made this project with my xTool P2 CO2 laser, but you could also use a diode laser like the xTool M1 and buy the acrylic circle separately. Here's how to do it!
This post contains affiliate links for your convenience. Purchases made through these links may earn me a small commission at no additional cost to you. Please visit my disclosures page for more information.
Don't have a laser, or looking to upgrade? Use the code VINETA100 for $100 off an xTool laser! Click here to check them out!
Materials Needed
- Diode laser like the xTool M1 or CO2 laser like the xTool P2
- Two 12"x12" sheets of ⅛" birch plywood
- One 12"x12" sheet of ¼" MDF
- One 12"x12" sheet of ⅛" clear acrylic (or buy a precut one here)
- Water based stain or paint (I used aqua Unicorn Spit stain)
- 12" wide paper masking tape (to avoid burn marks when engraving)
- Clear lacquer spray finish
- Starbond thick CA glue
- 3M Command strips or other picture frame hardware
Download the laser cut file
I've created the laser cut files for this DIY coin holder, so you don't have to! You'll get a zip file with everything you need, delivered right to your inbox. Click here to check out the shop!
You can easily customize the file to resize it, change the engraving design, or personalize it with a name or date in the center. It's totally up to you!
Paint or stain the engraved layer
It's much easier to paint or stain a blank 12x12" board first, then engrave. You'll get nice, crisp lines and won't have to worry about paint dripping into the engraving afterwards.
However, it's important to use a water-based paint or stain if you're applying it beforehand. You don't want to burn oil based products in your laser cutter!
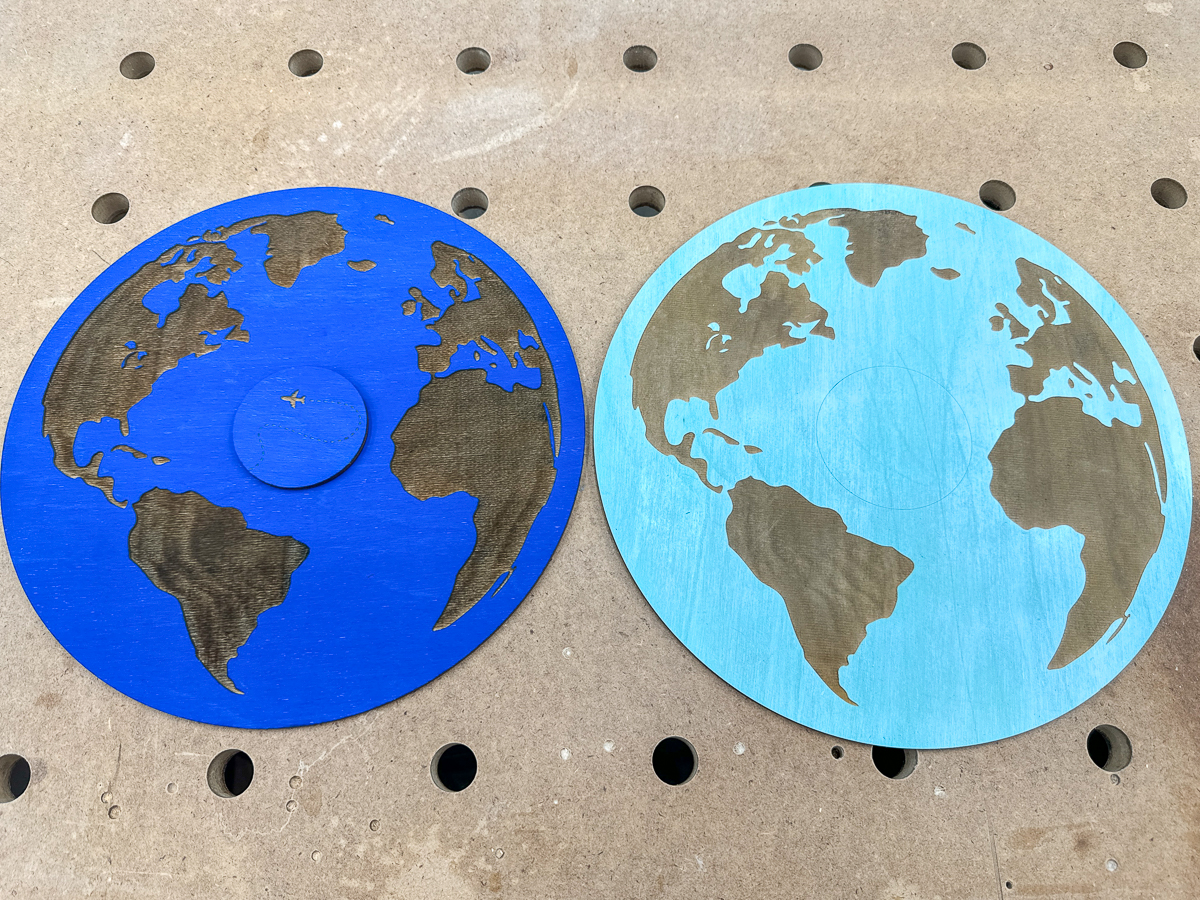
I'm using Unicorn Spit, which is water-based, non-toxic and comes in a ton of bright colors. I stained one board aqua and the other one dark blue to see which one I liked best.
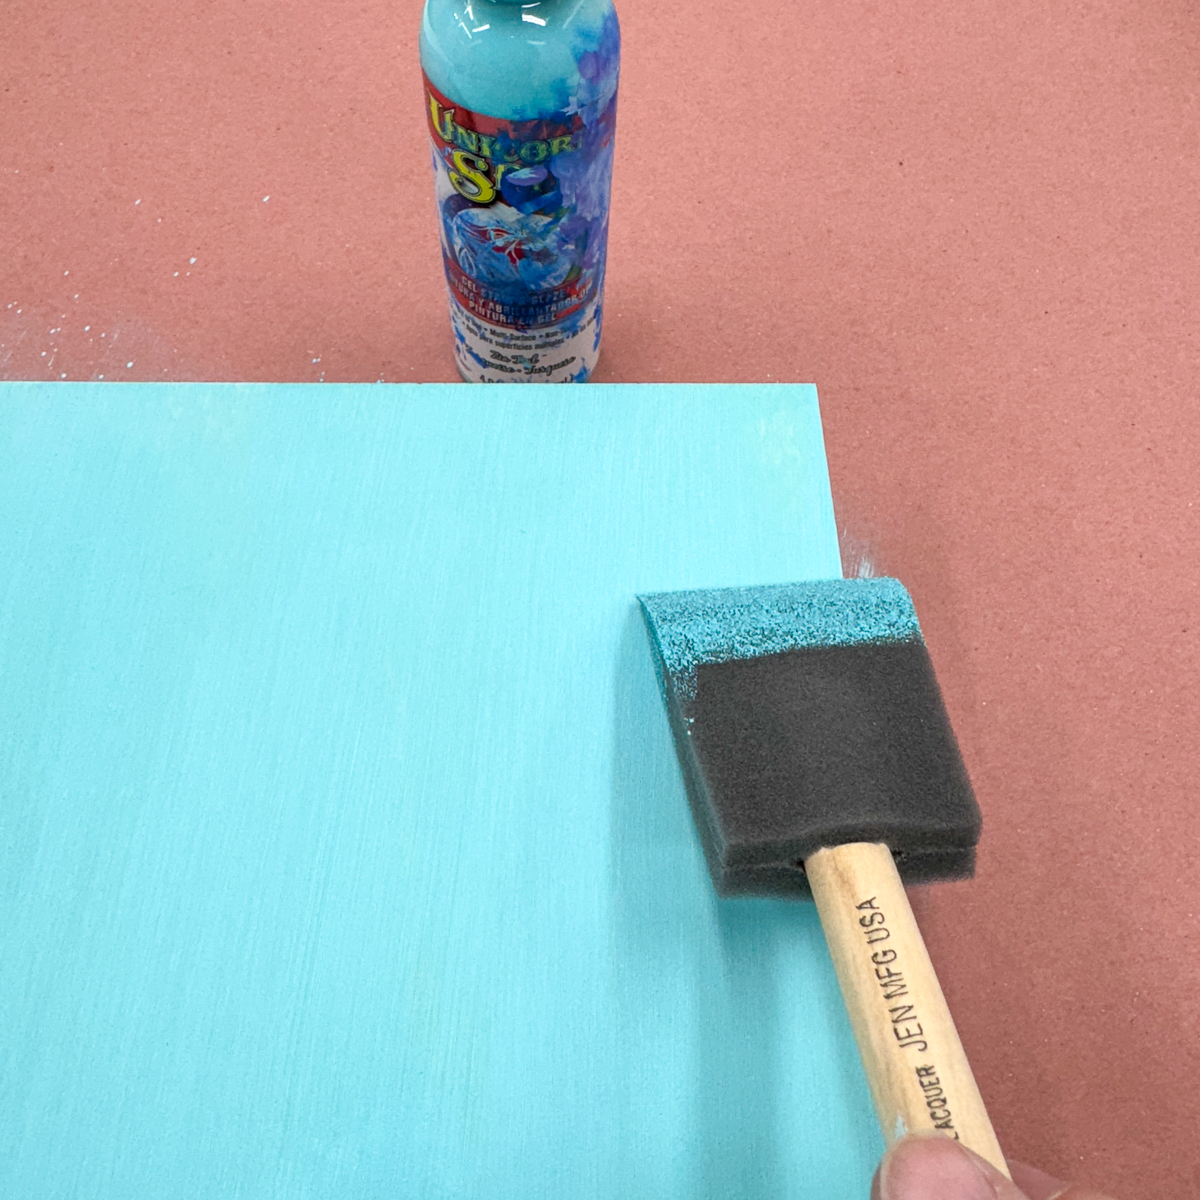

Once it's fully dry, I recommend applying paper masking tape to the surface you're going to engrave. This will prevent scorch marks from bleeding into the color and requiring a bunch of clean up afterwards.
You can use regular painter's tape for this, but I use 12" wide masking tape so I don't have any seam lines. Just rub the surface with an old credit card or a squeegee tool to get out the air bubbles and make sure it's properly adhered.
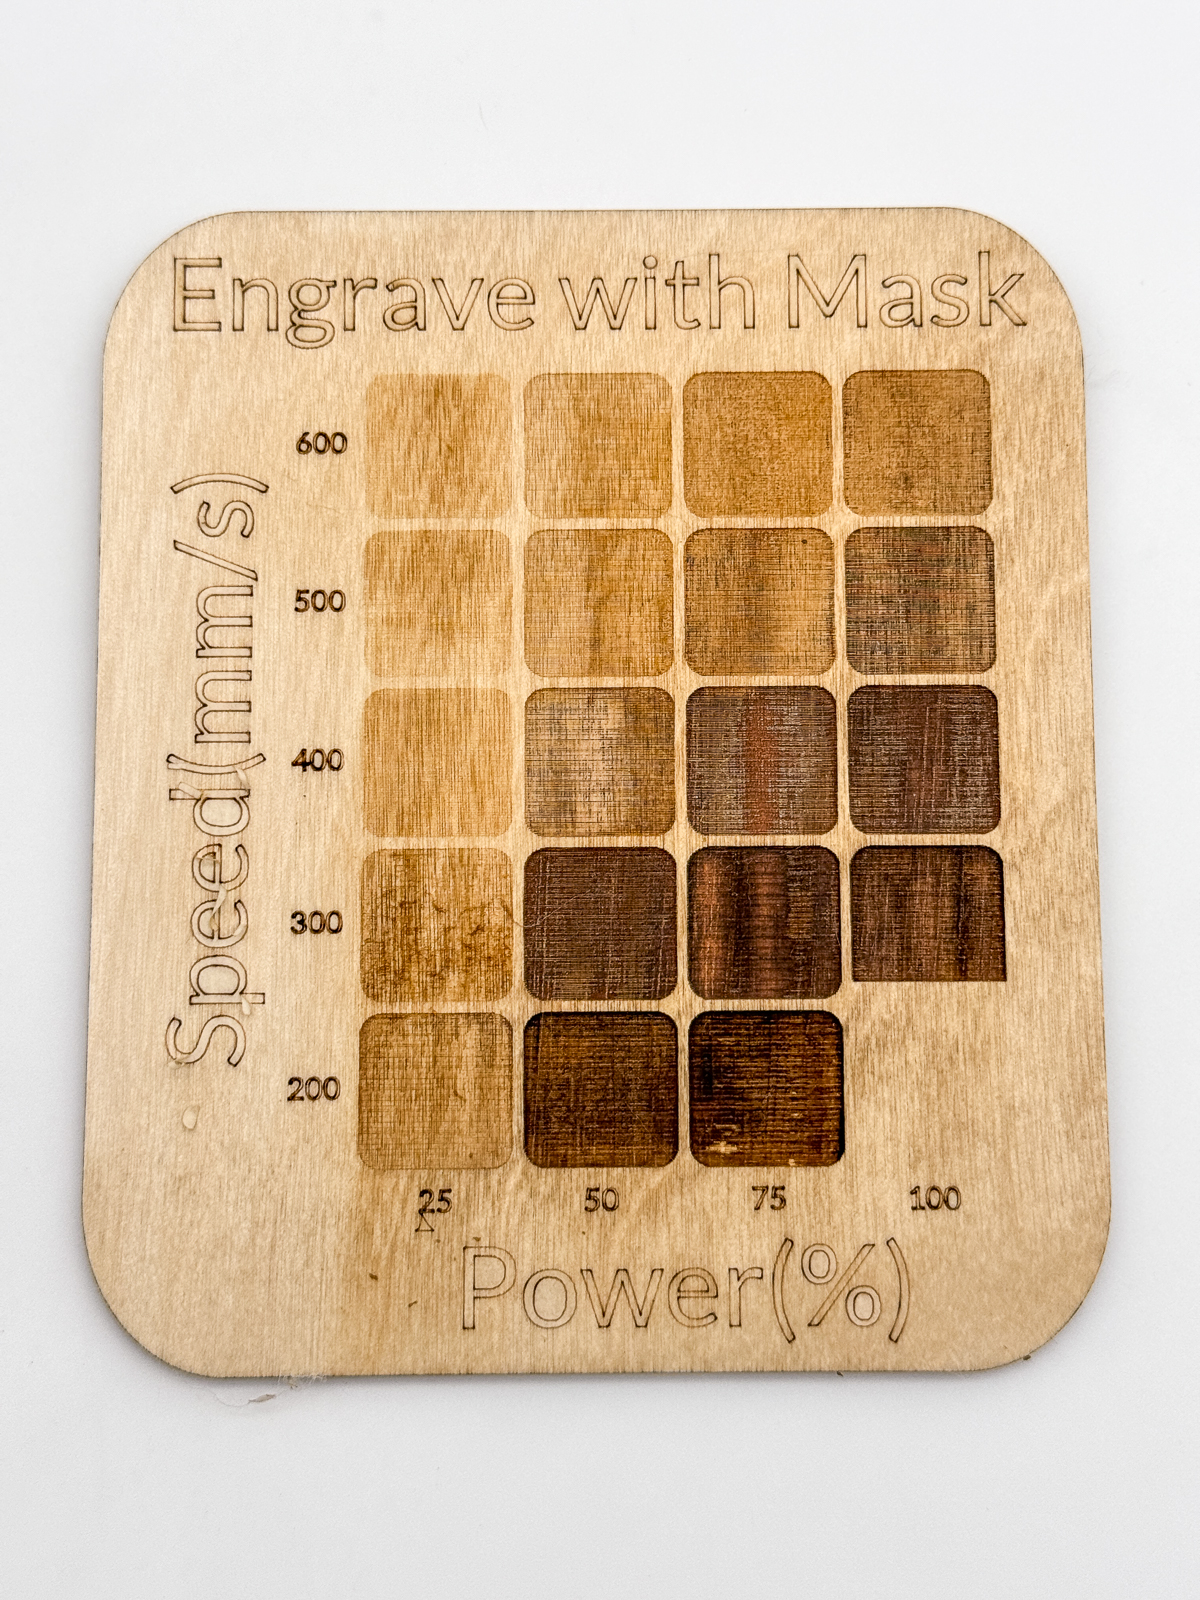
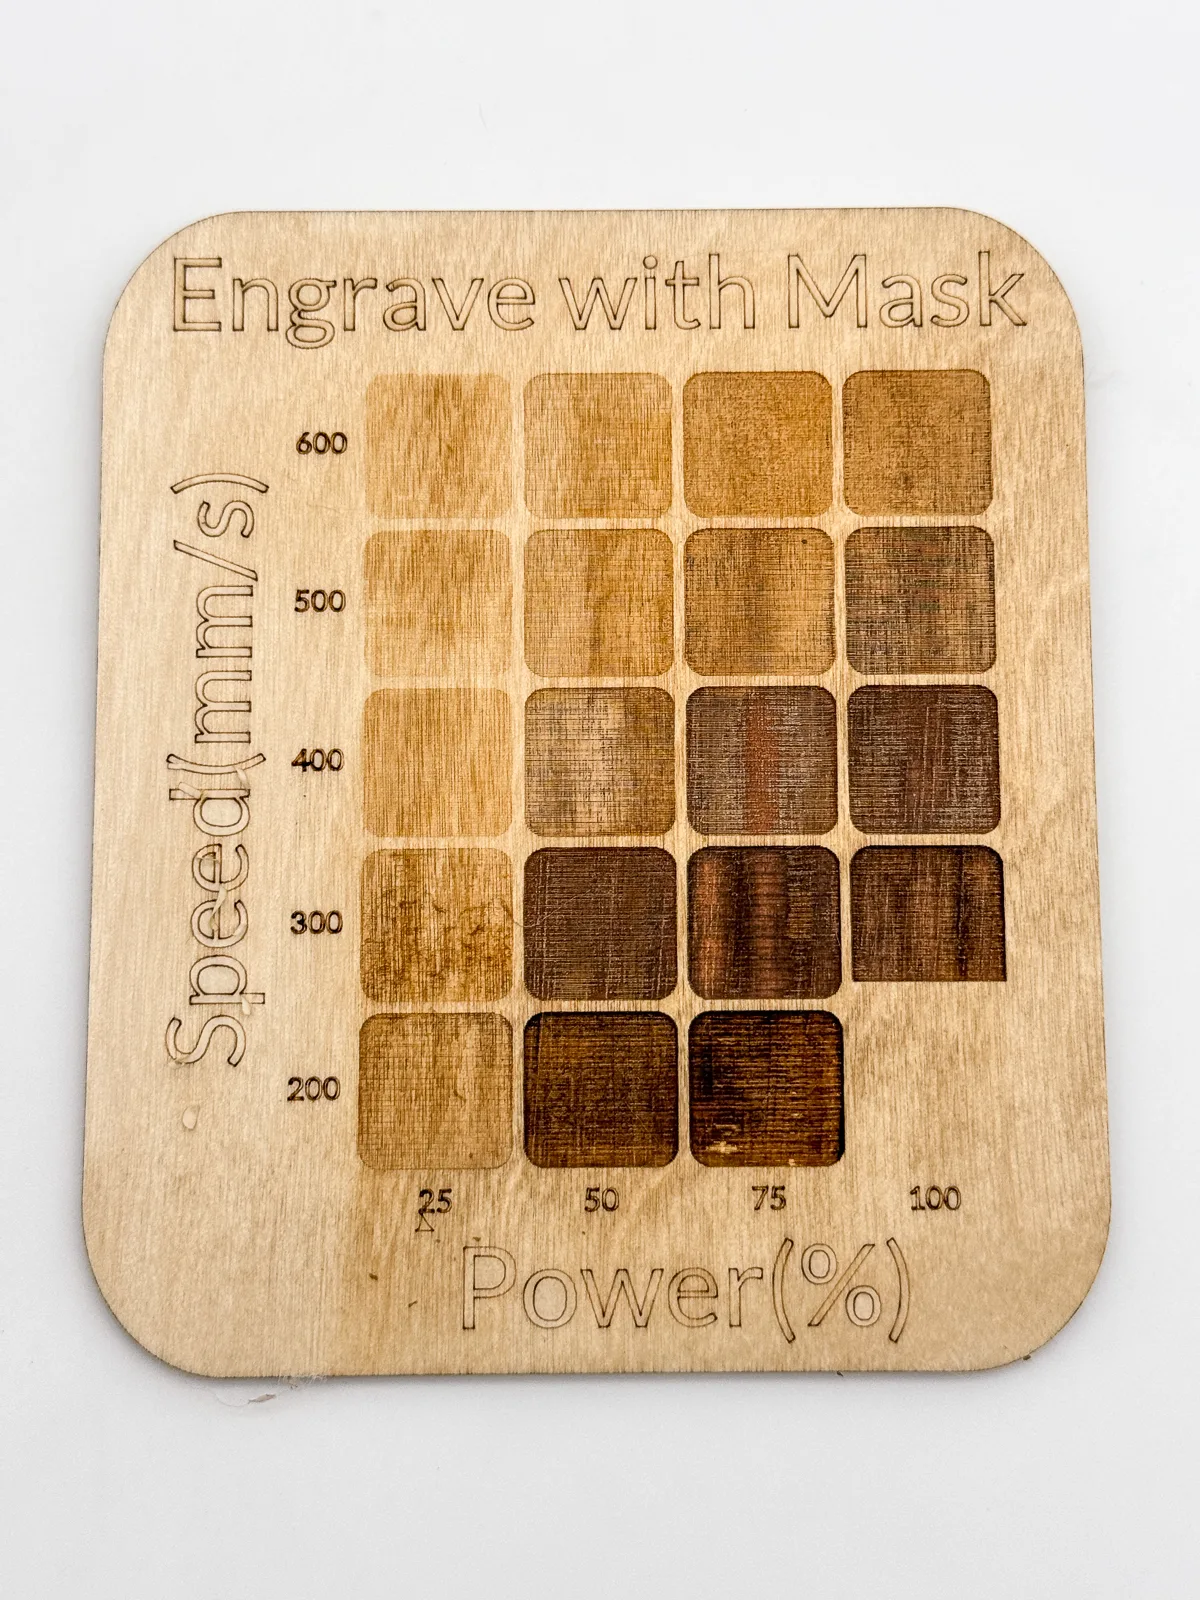
Keep in mind that your typical engrave settings may be different with the mask on. You may want to run a new engrave and cut test grid to see which speed and power performs best.
Cut and engrave all the pieces
I placed each layer on a different canvas tab at the bottom of xTool Creative Space. There are lots of materials and thicknesses going on with this project, and it helps to keep them all organized on their own screens.

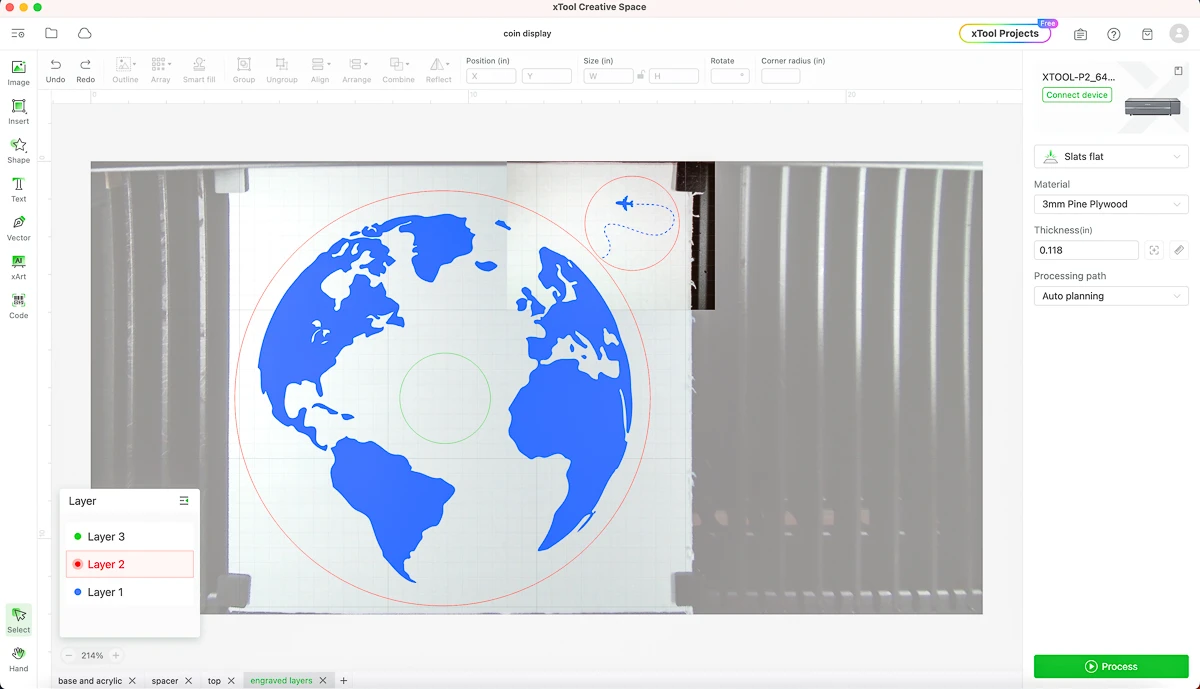
I started with the engraved layer, so I'd have time to stain a new board if I messed it up! I was able to fit both the large circle and the smaller center one on the same board. The center circle will help keep the acrylic from bowing in the middle.
Once I verified that all my cut and engrave settings were correct, I just hit the button and let the xTool P2 do its thing!
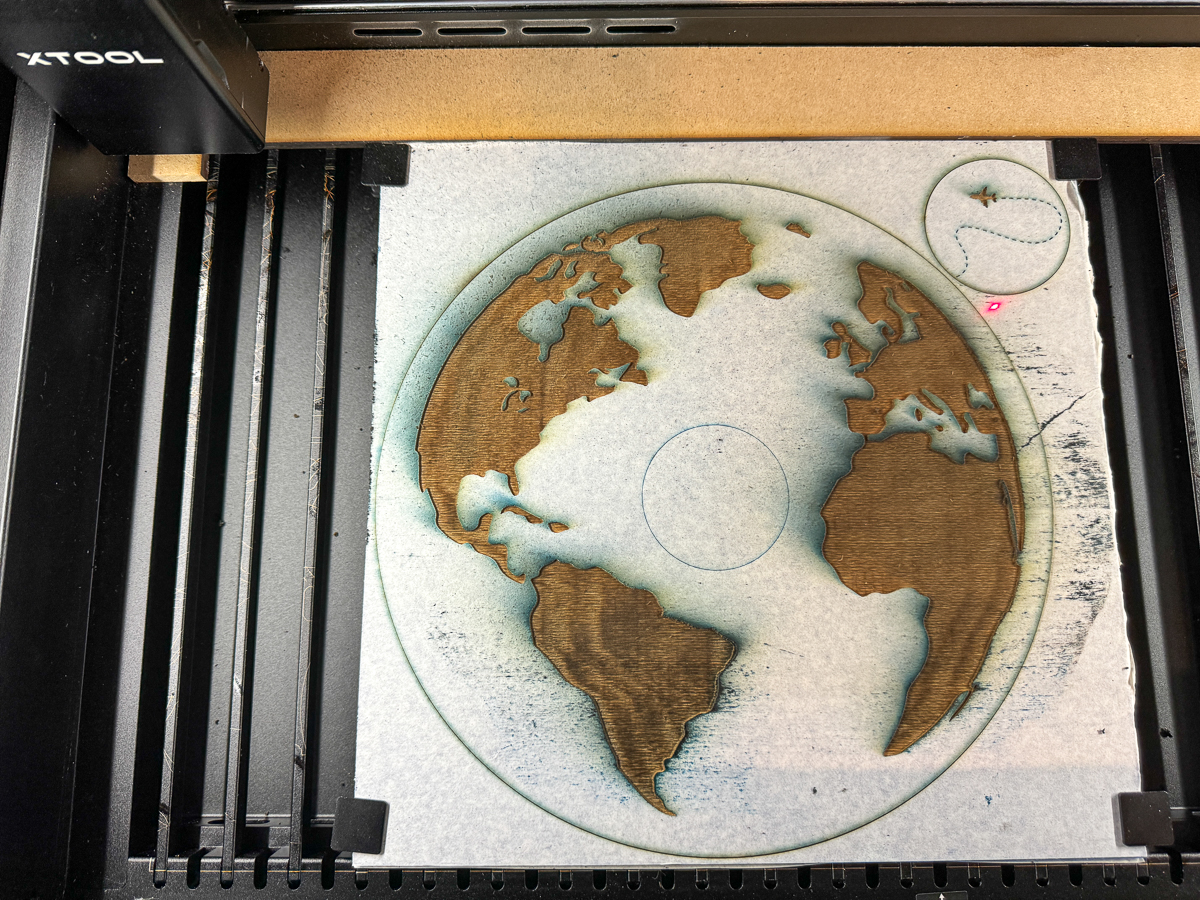

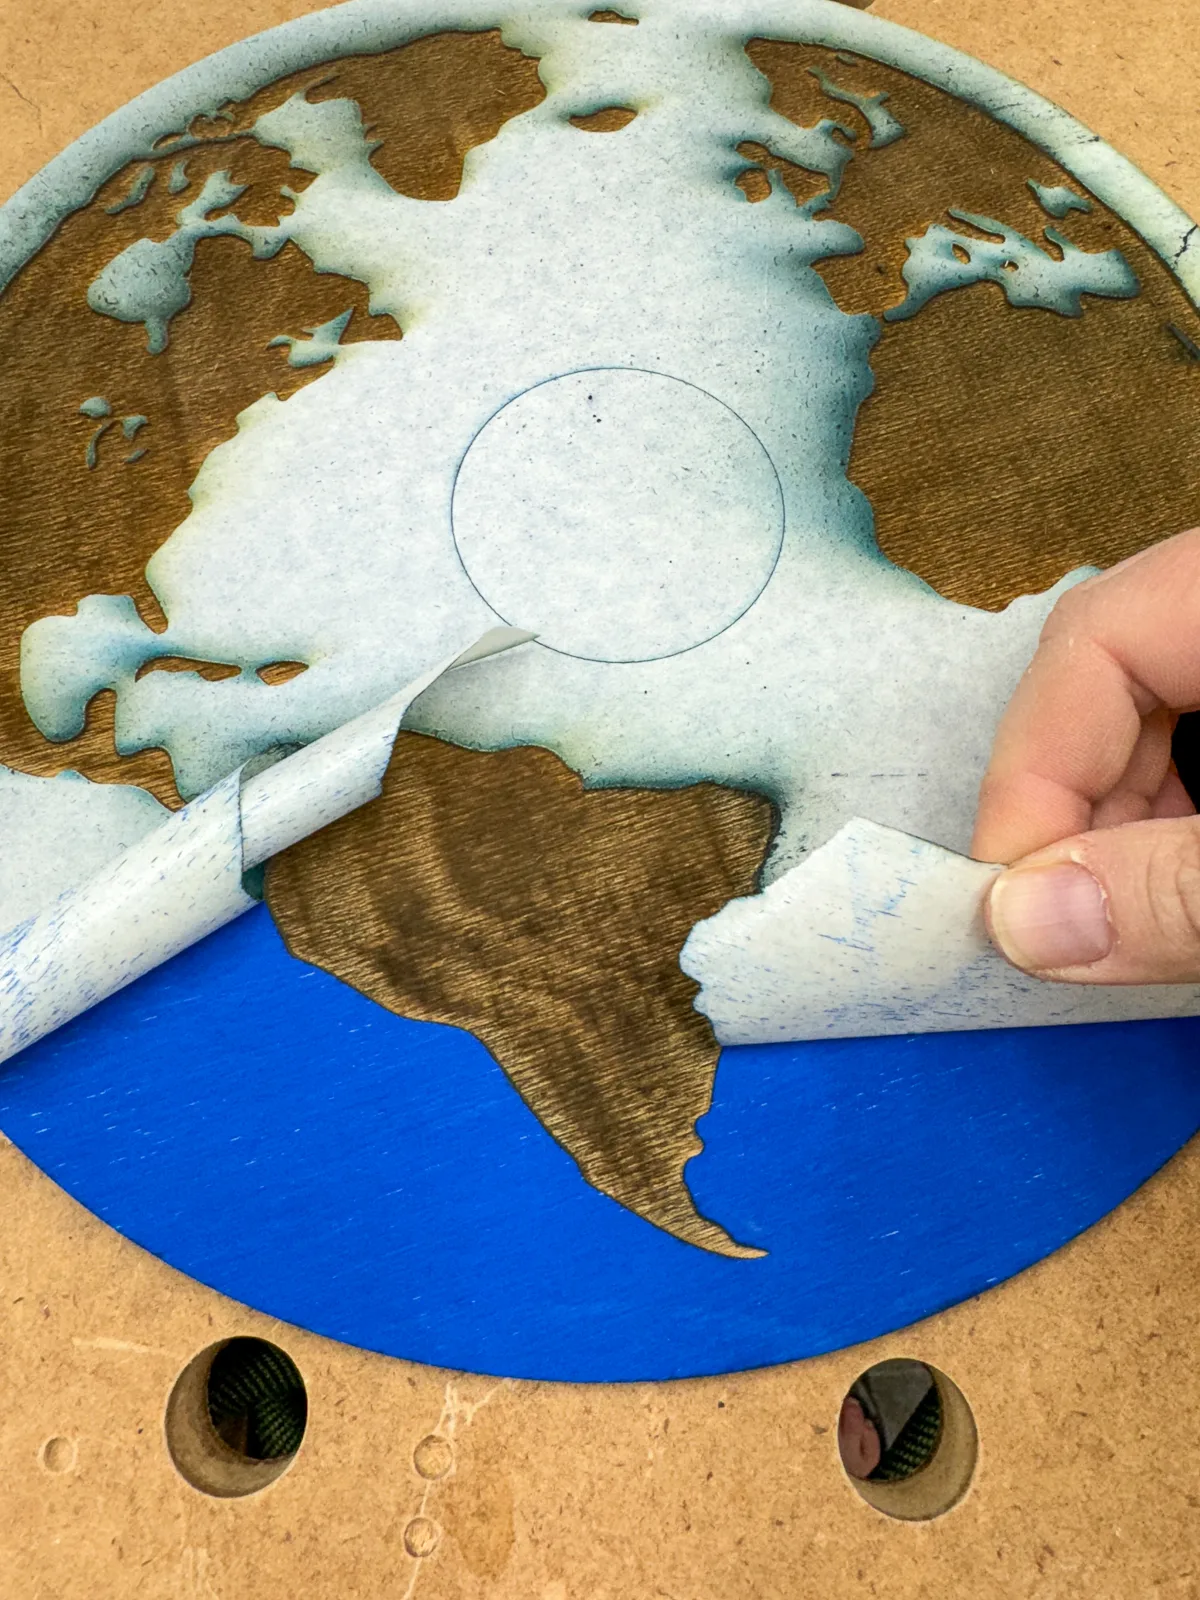
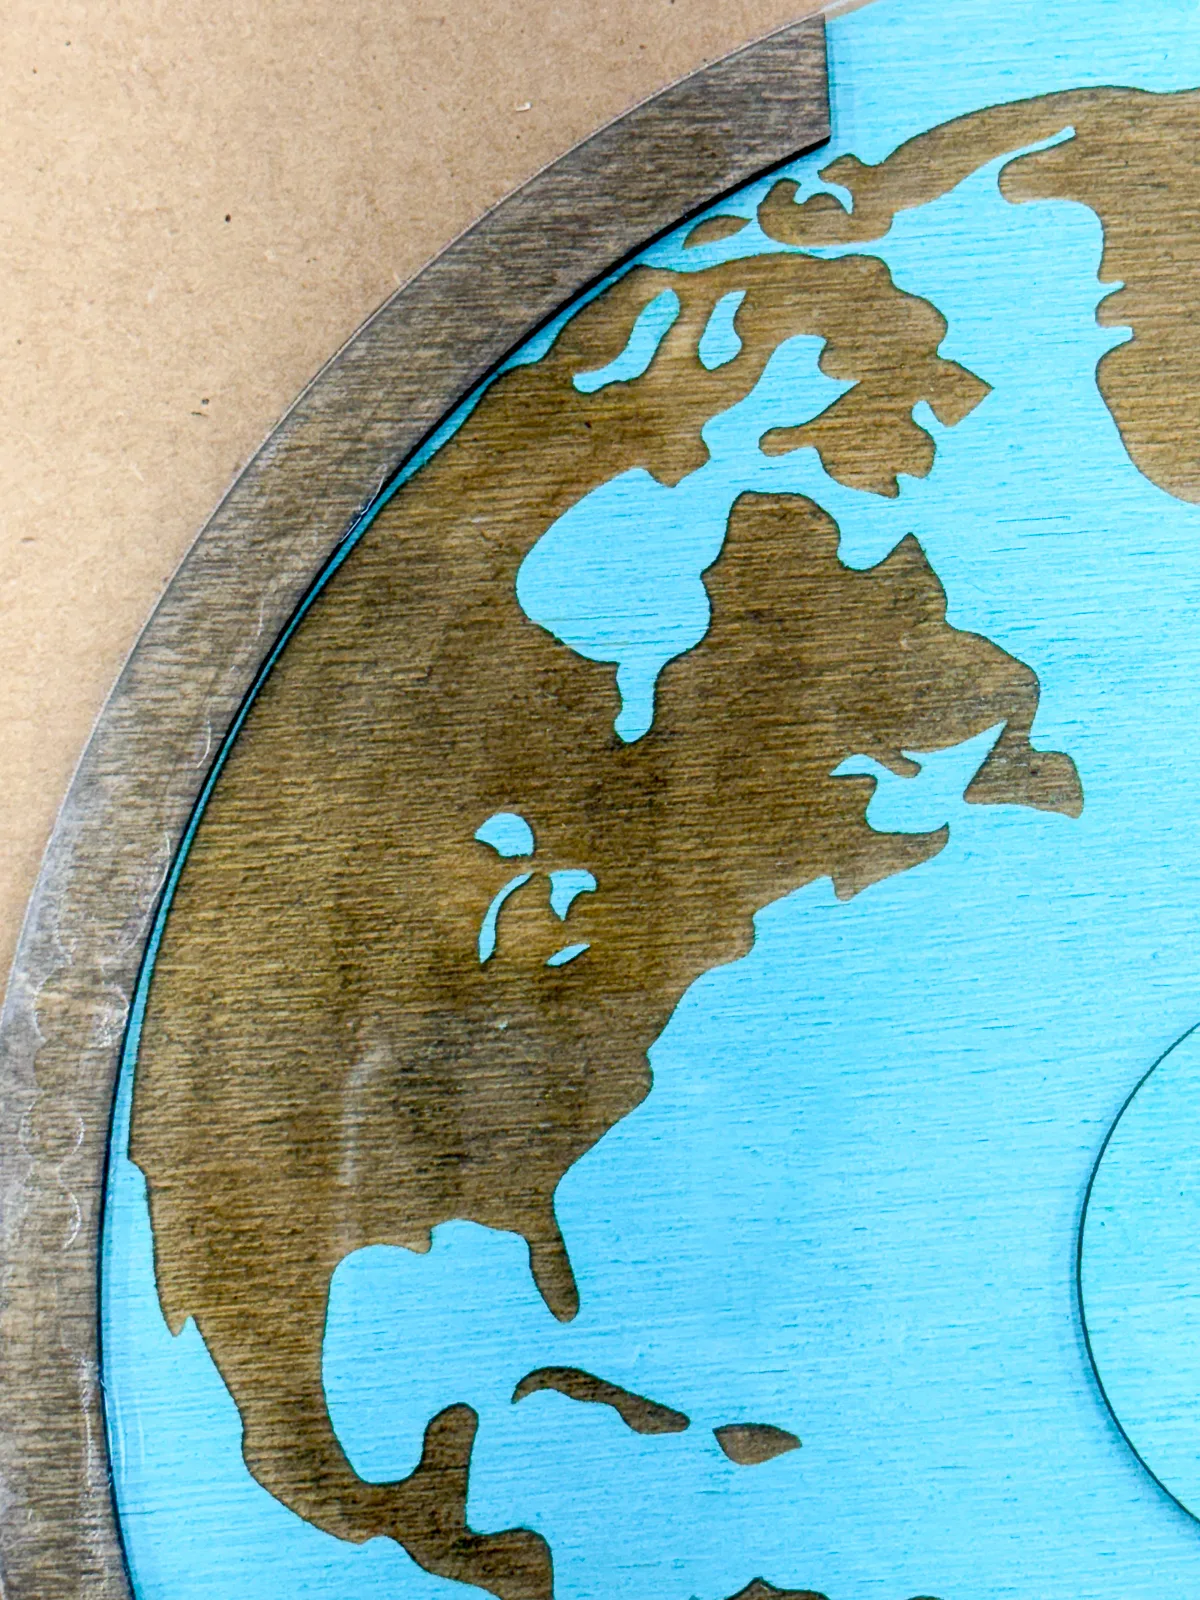
The masking really helps to prevent the char from ruining the stain. Just peel it off to reveal those clean, crisp lines!

I'm glad I tested both colors, because the light blue one turned out much better than I thought! The dark blue would look better if the engraving was filled with white paint.

It only took a few minutes to cut out the rest of the pieces on the laser. Then I brought them all down to the workshop to put it together.
Apply finish
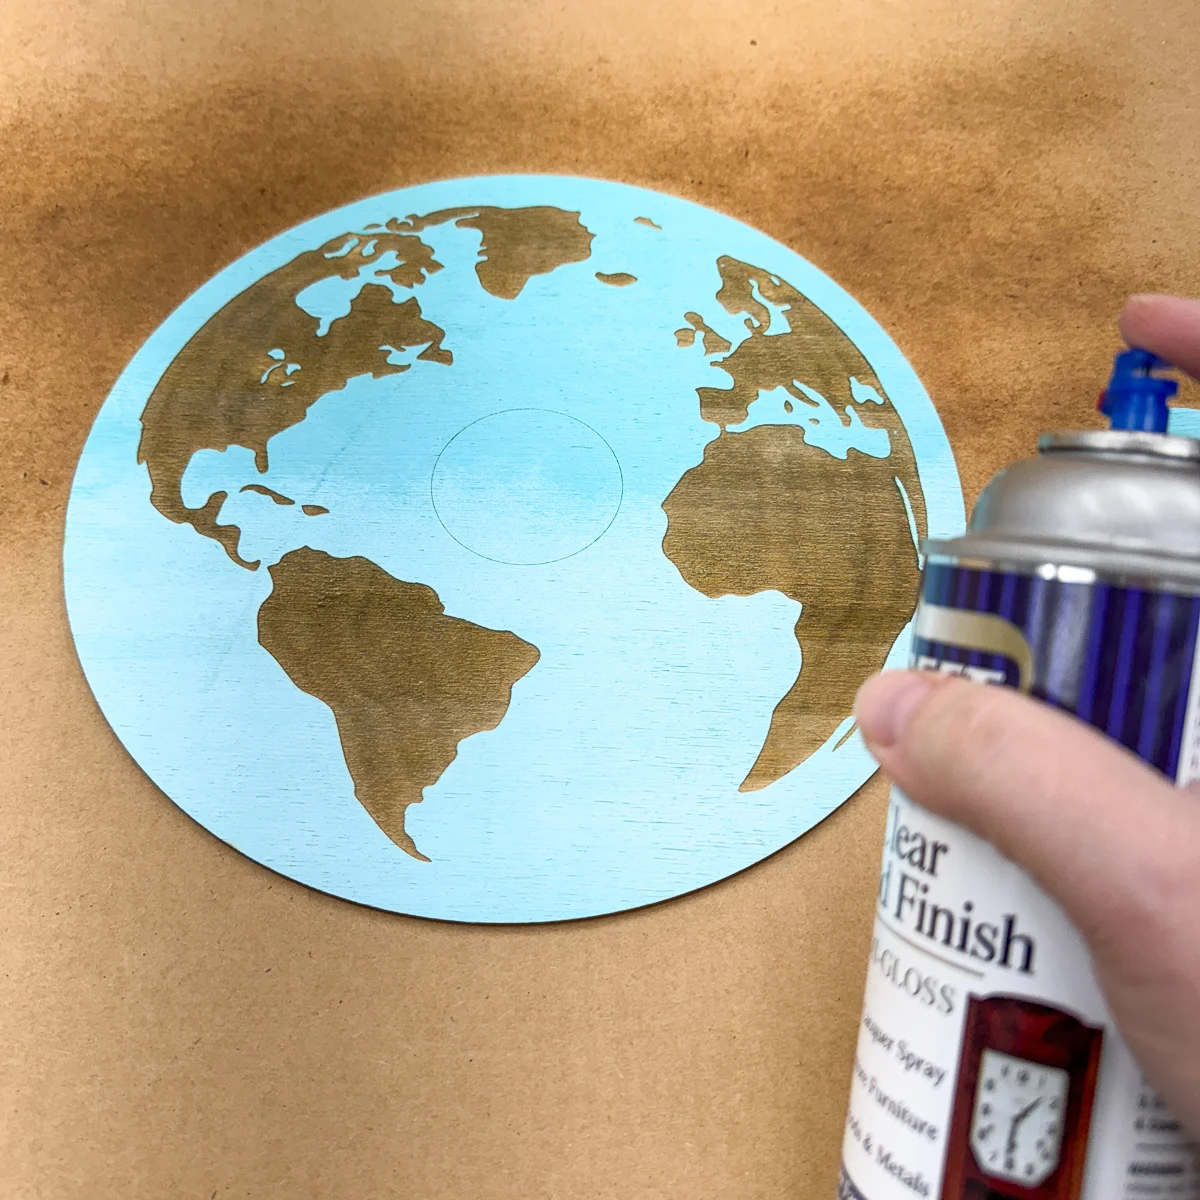
Unicorn spit stain loses some of its brilliant color when dry, but it comes back once you apply a clear finish on top. I just sprayed a few coats of satin lacquer to the engraved layers to make it pop.

I also stained the top frame layer so it would match the engraving color. I've found that Varathane Briarsmoke matches pretty well. It's oil-based, though, so apply it after lasering!
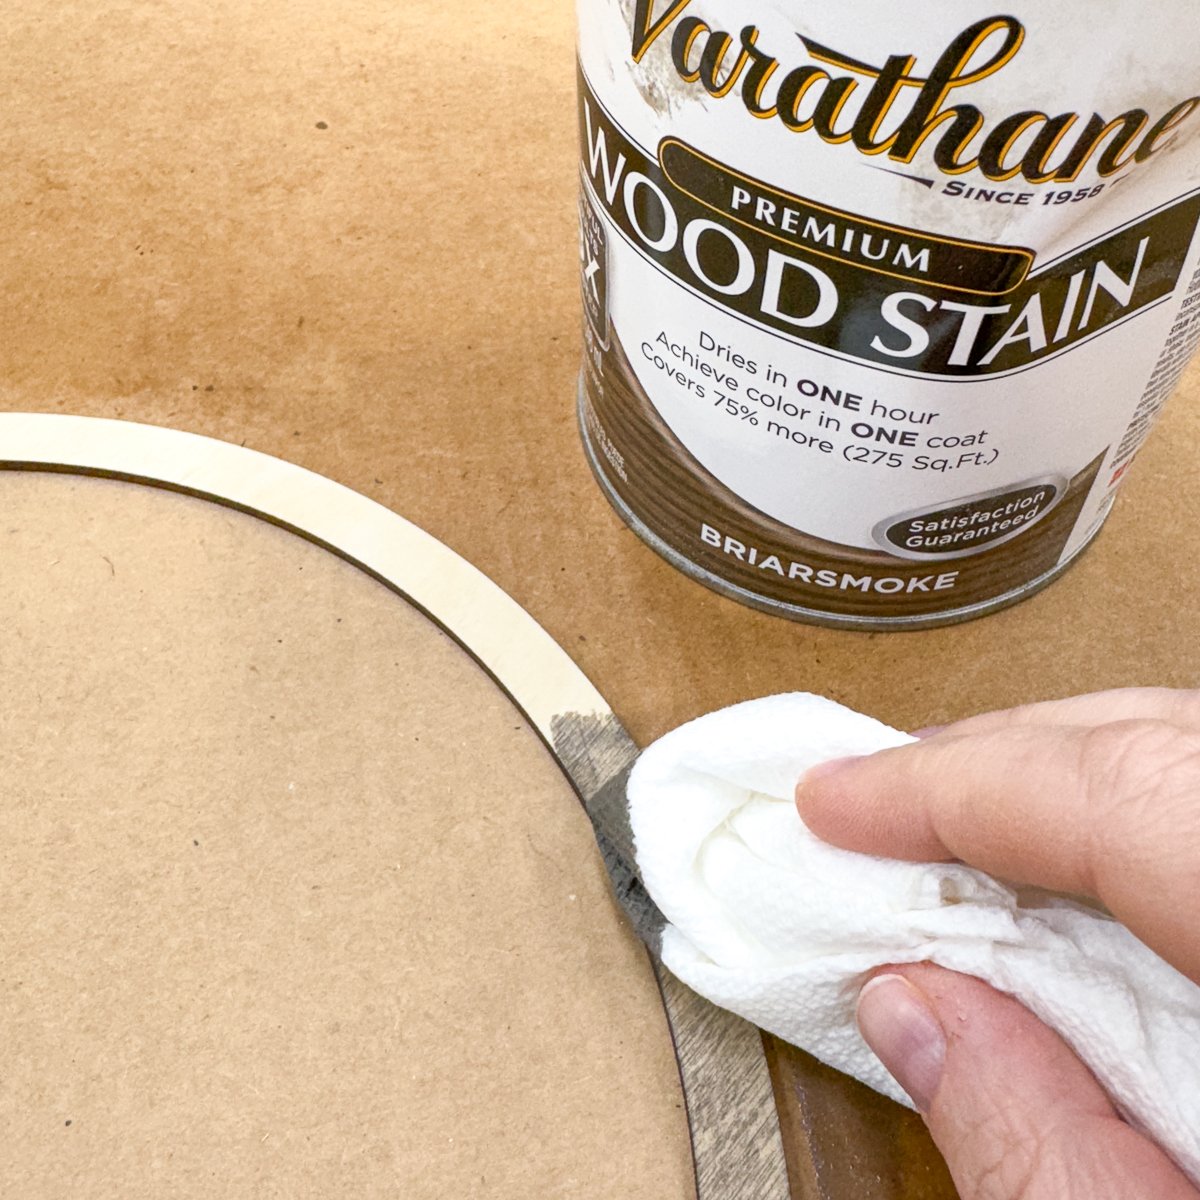
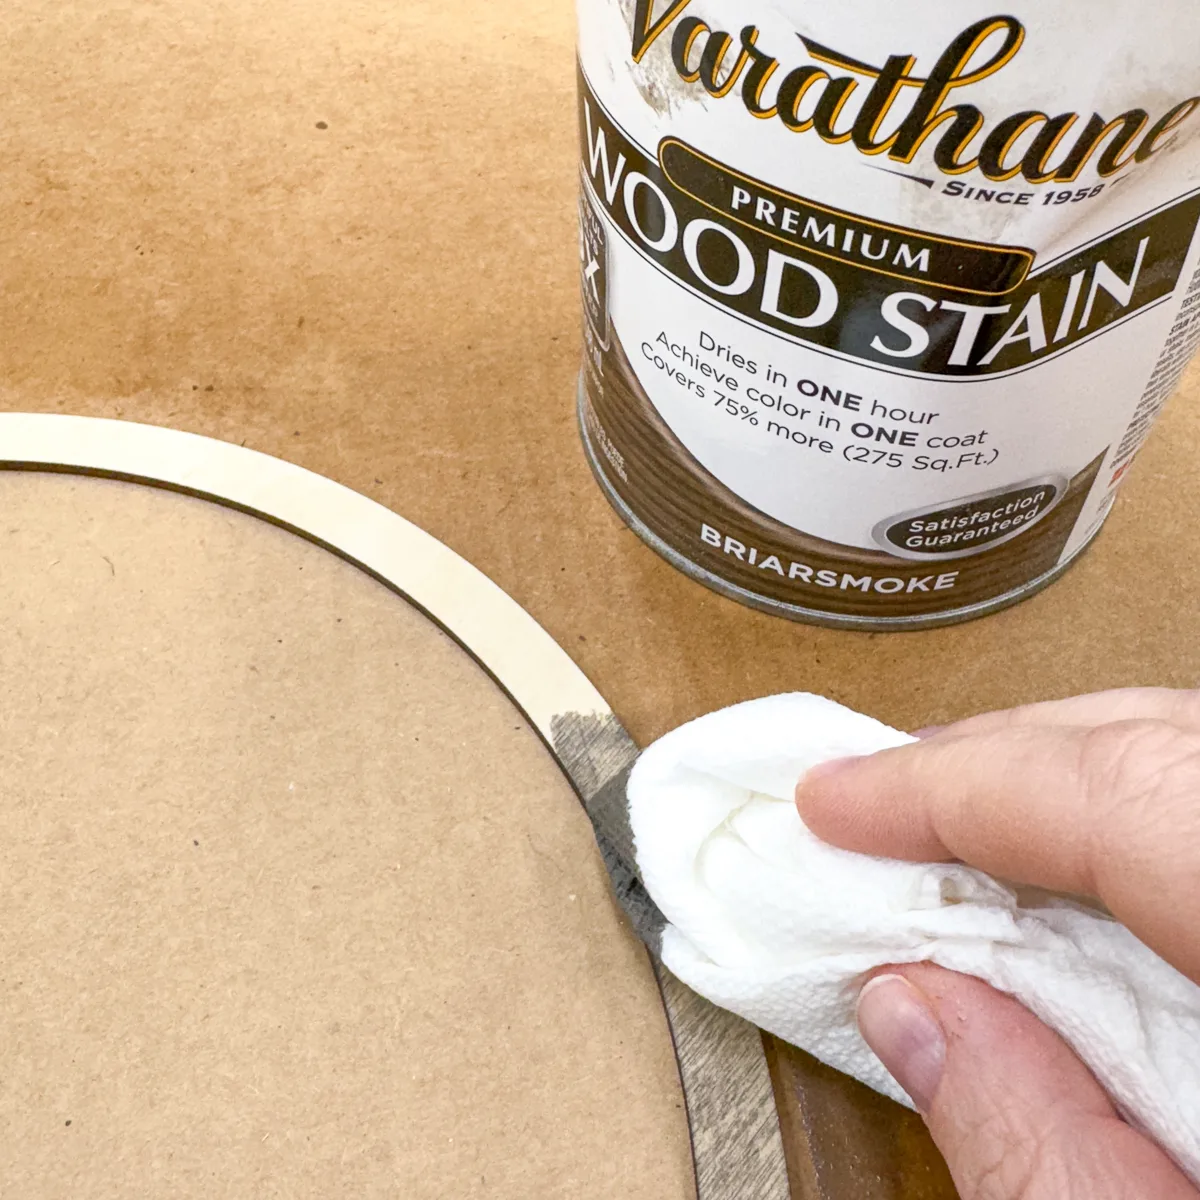
I hit it with a couple coats of the same spray lacquer after the stain dried. Then everything was ready for assembly!
Glue the layers together
Start with bottom MDF layer and work your way up. The MDF will prevent the thin plywood from warping and keep everything flat.
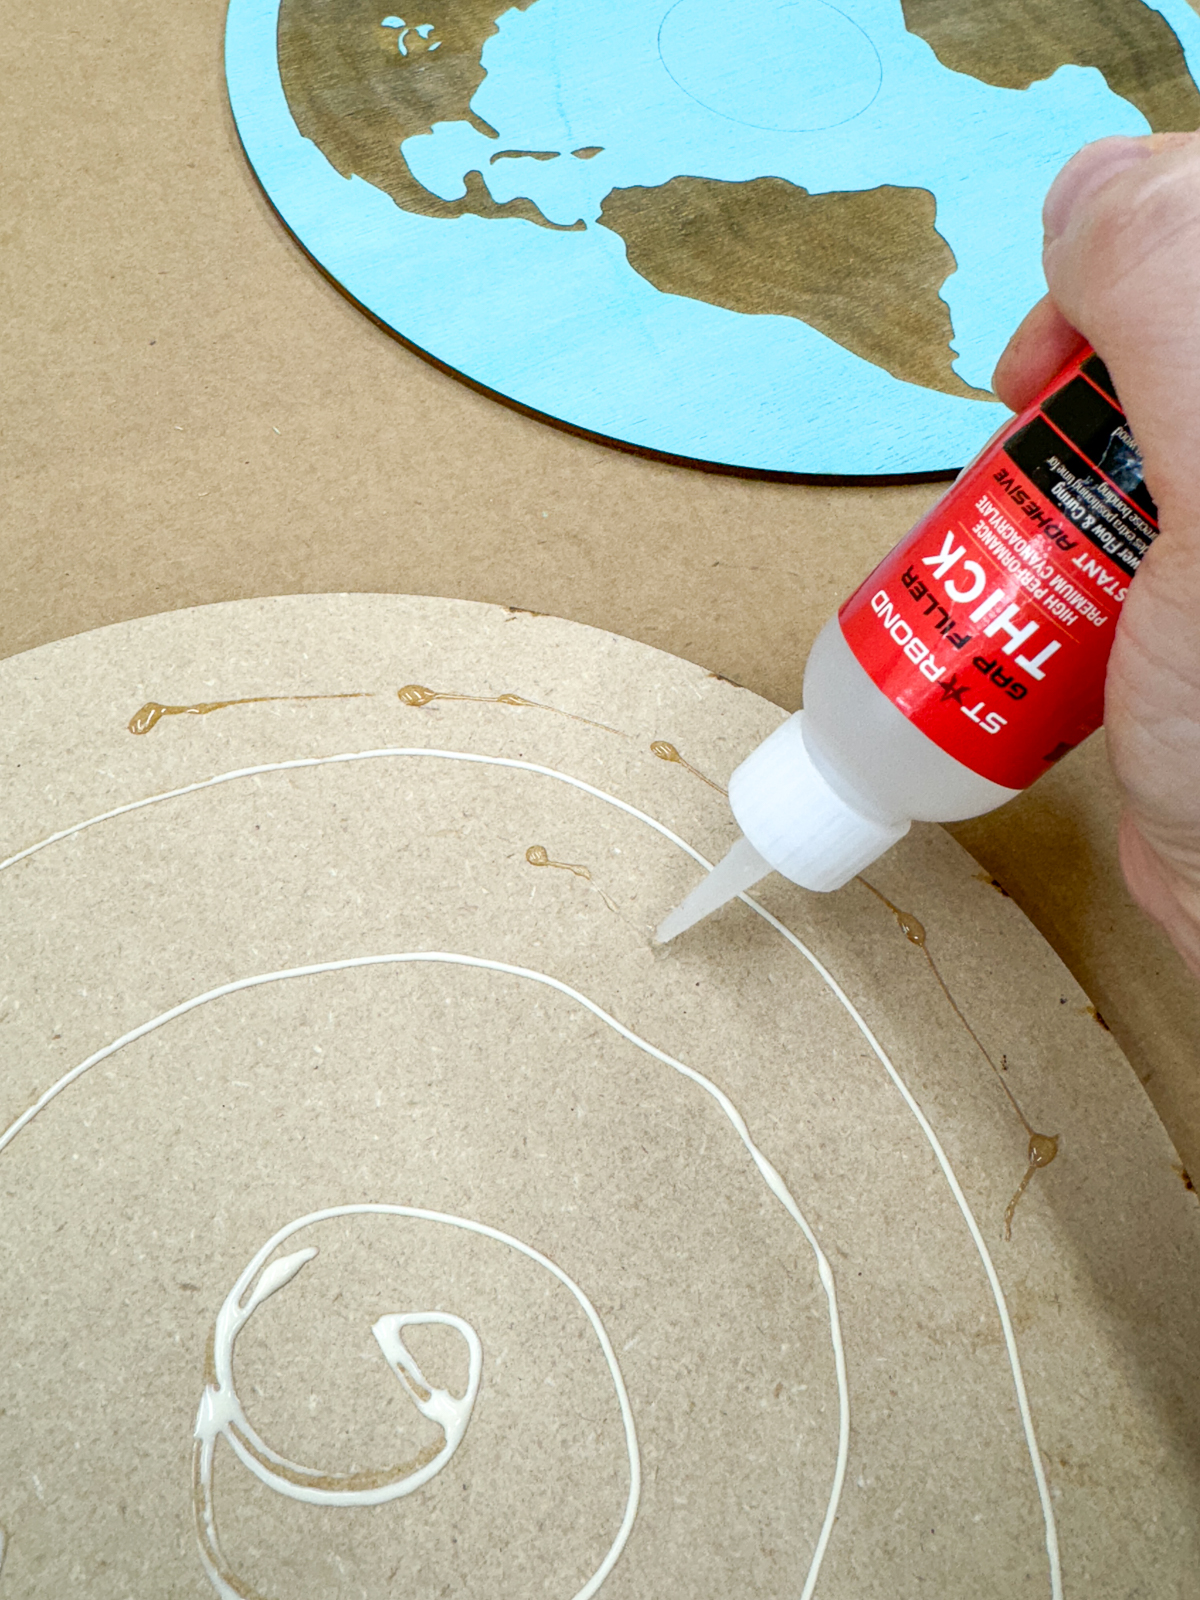
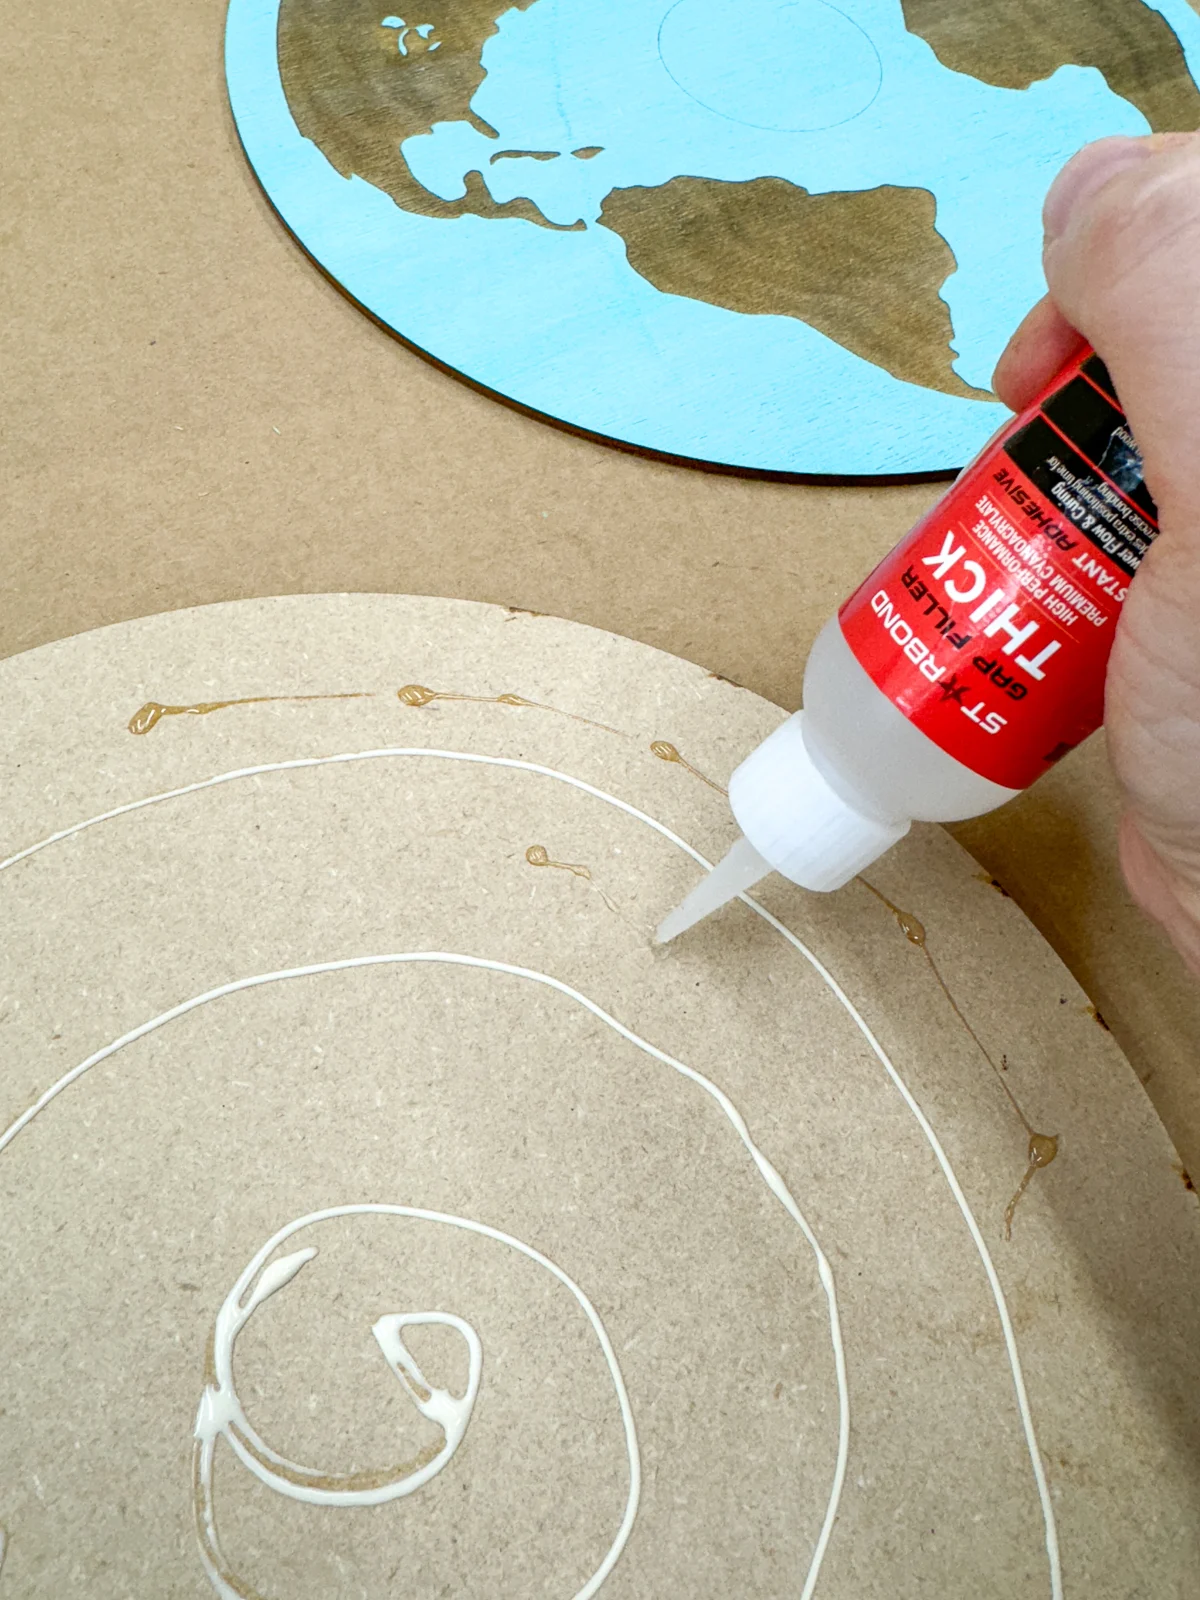
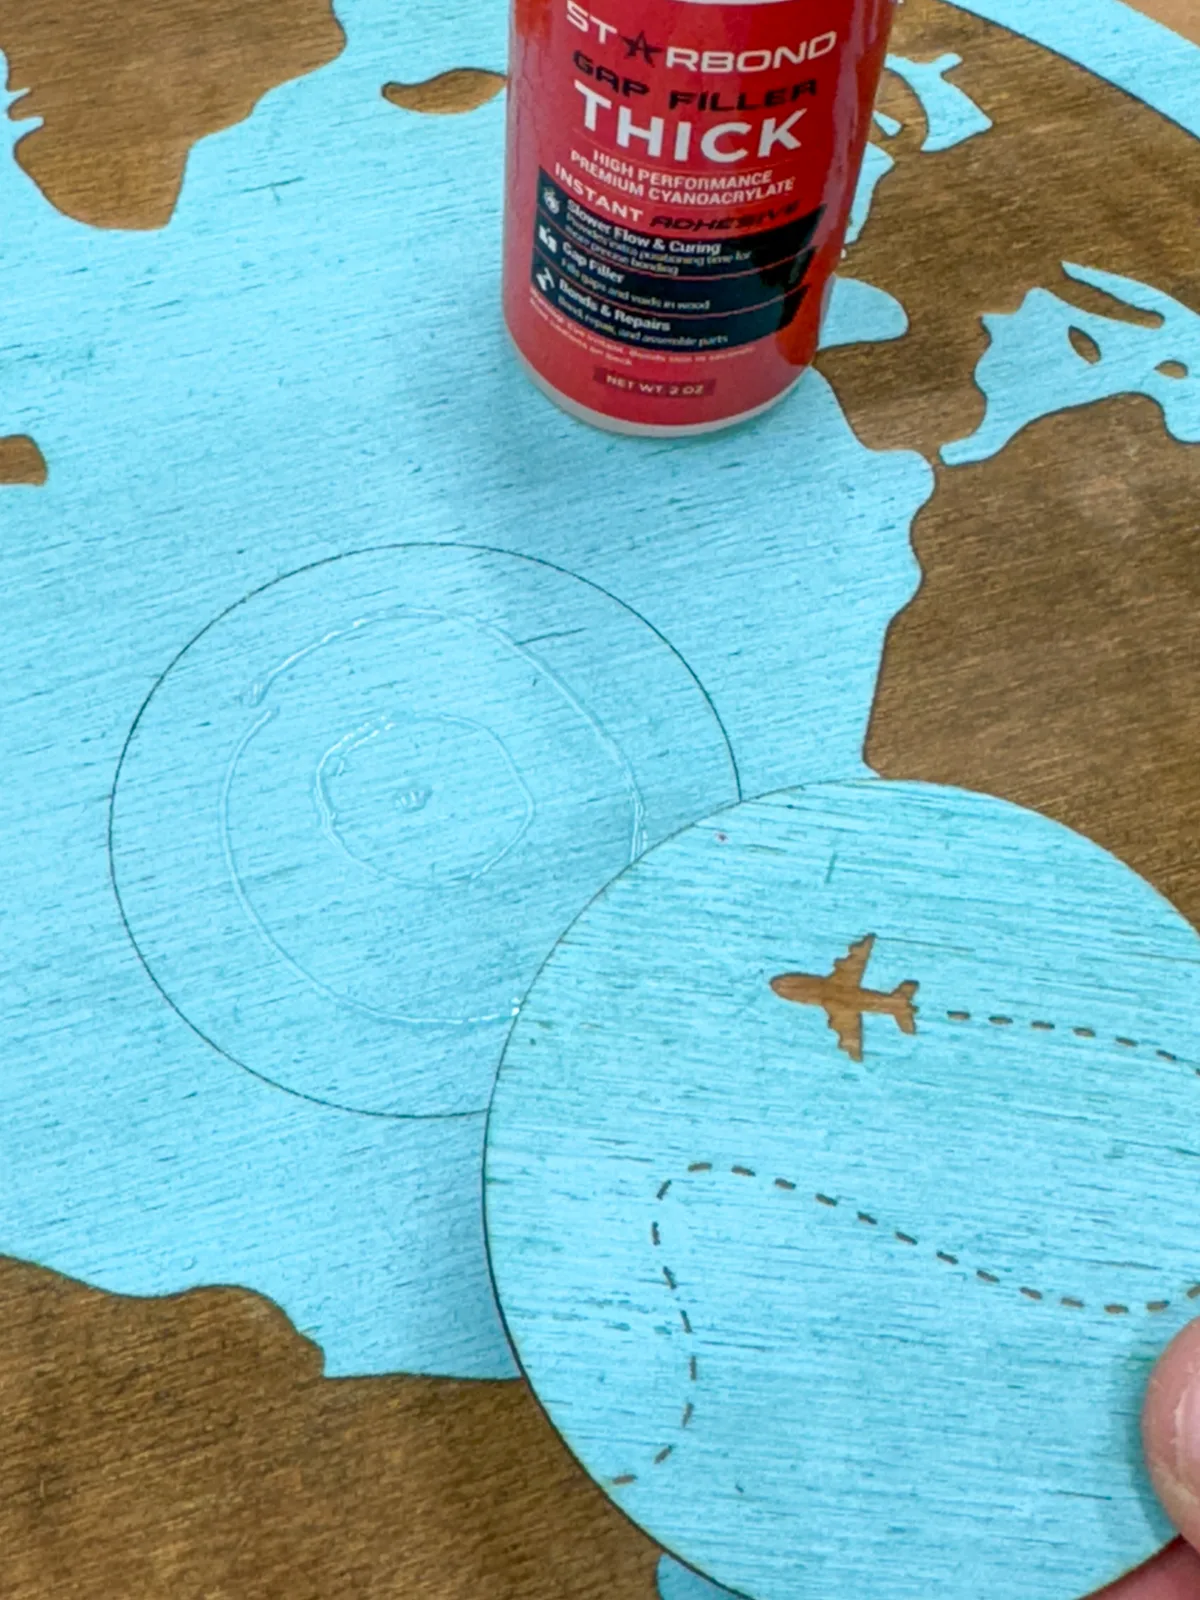
I used a combination of wood glue and CA glue to attach the engraved layer to the MDF backer. The CA glue cures in minutes, which will hold the pieces together while the slower wood glue dries.
The next layer is the spacer pieces. I scored the center circle on the engraved layer slightly smaller than the actual piece, so the line would be covered up. It's just there to help with alignment.

Then the larger circle with the gap at the top is glued into place around the outside edge. I stained this piece as well, just in case the lighter wood showed through on the sides.

Next, attach the acrylic with CA glue. Don't put glue on the center circle, just the outside edge. I originally made this out of 1/16" acrylic, but it flexed too much with the weight of the coins pressed against it. ⅛" held up much better.

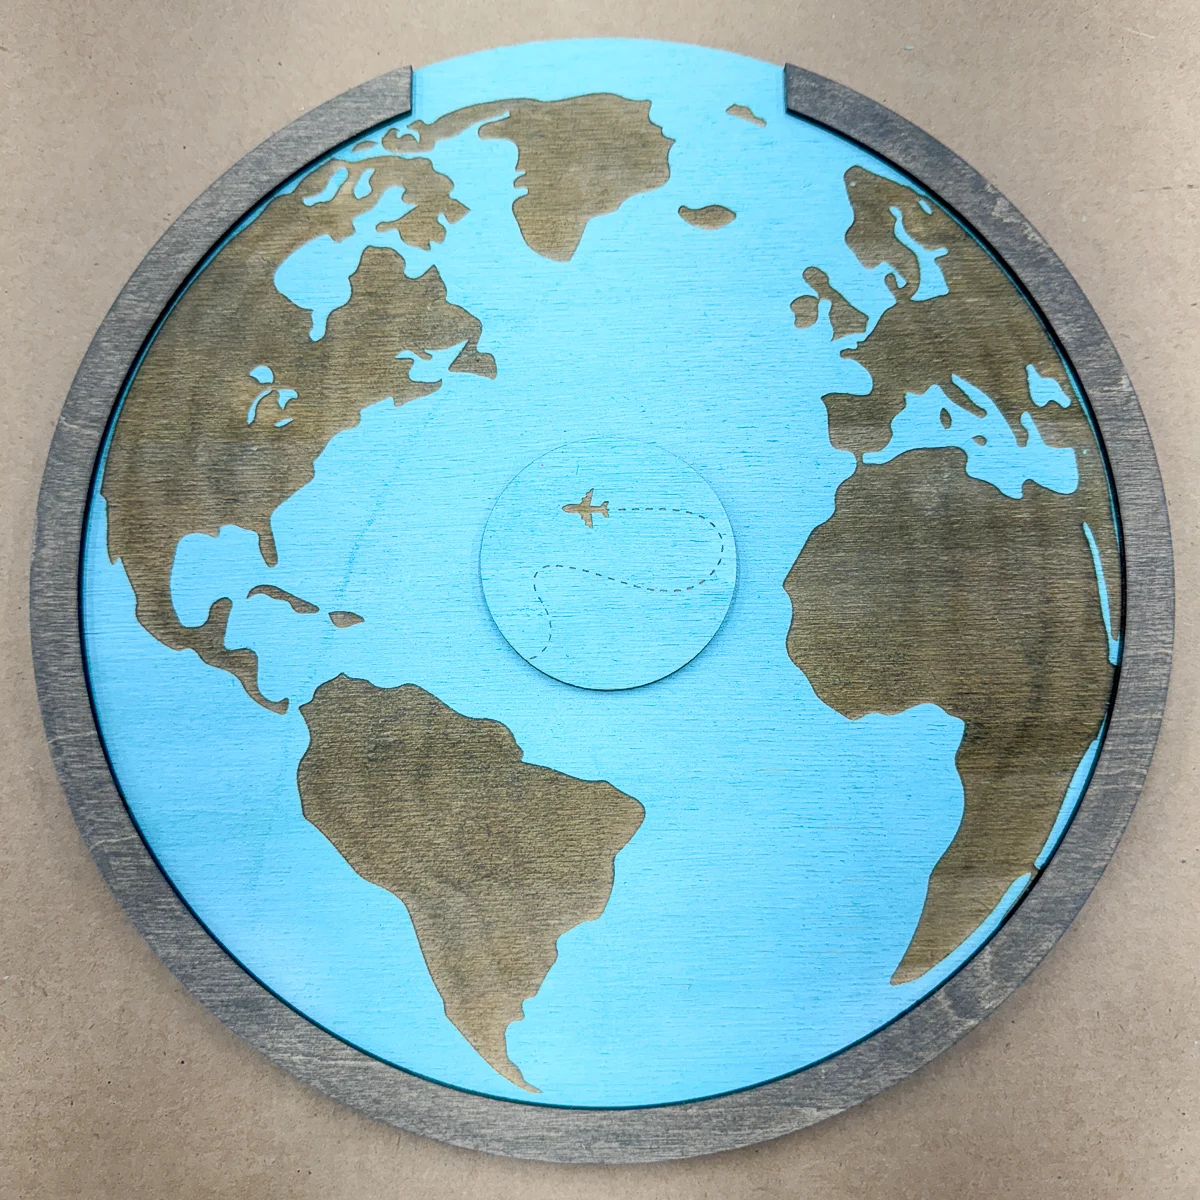
Finally, glue on the top frame layer. This will hide the glue that shows through the clear acrylic. Try not to move it around too much after it's placed on the acrylic, so it doesn't smear the glue around.


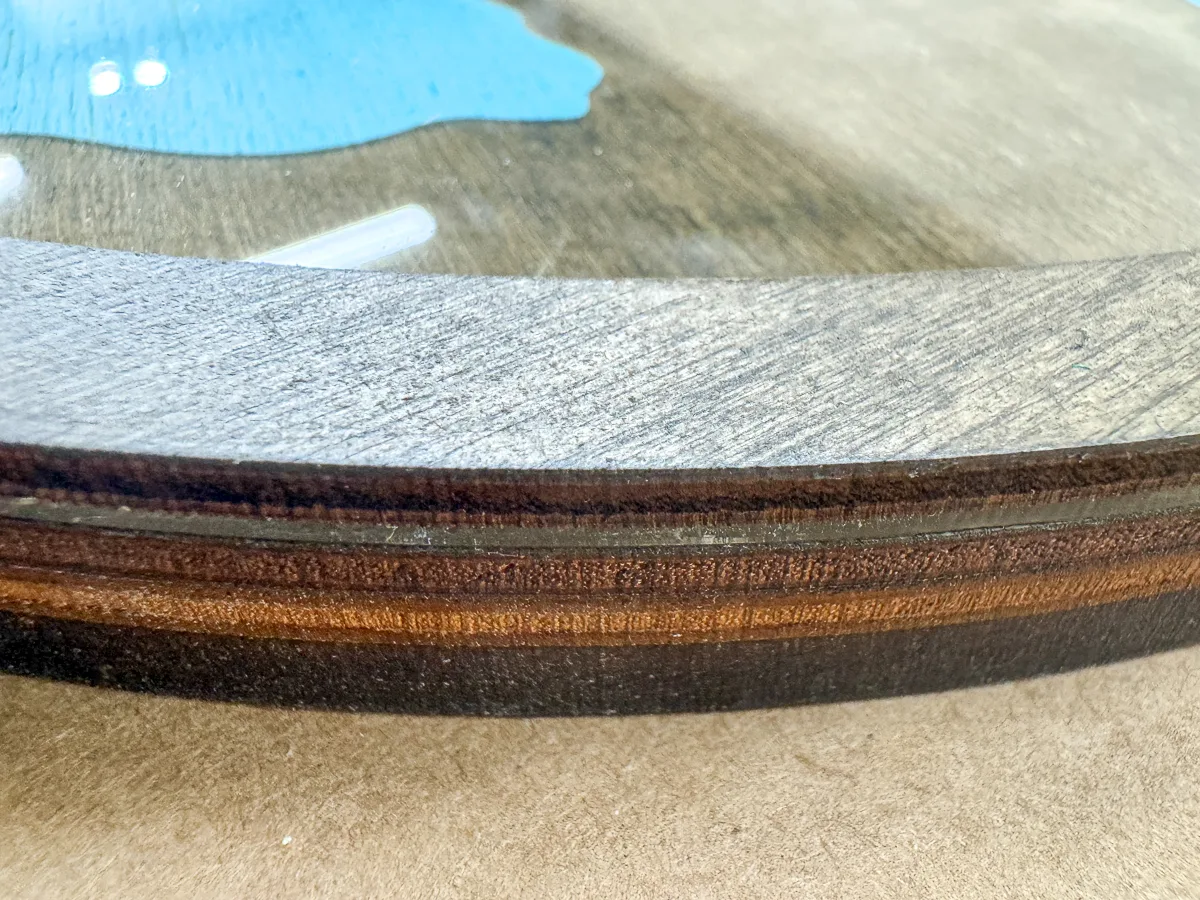
All the layers should line up perfectly. If you want to hide the edges, you can apply edge banding around the outside. Walnut edge banding would match pretty well, but I left it as is.

Hang your new coin display on the wall
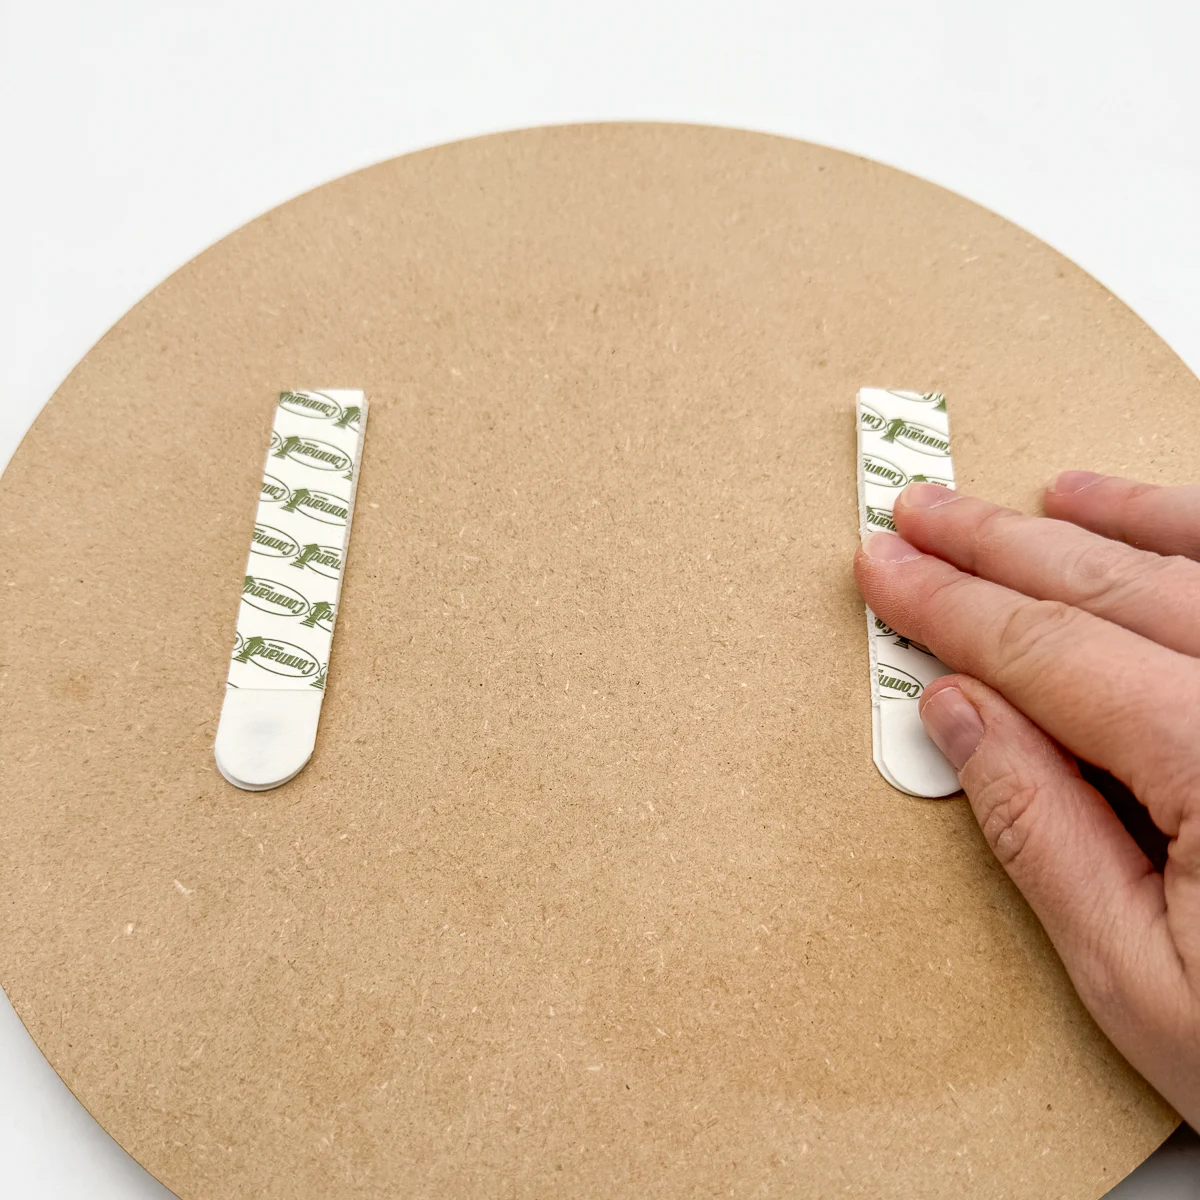
You can use any kind of picture frame hardware to hang this coin holder, but I went with these simple 3M Command strips. They hold items up to 16 pounds flat against the wall, and the Velcro makes it easy to pull it off if I want to add or rearrange the coins.

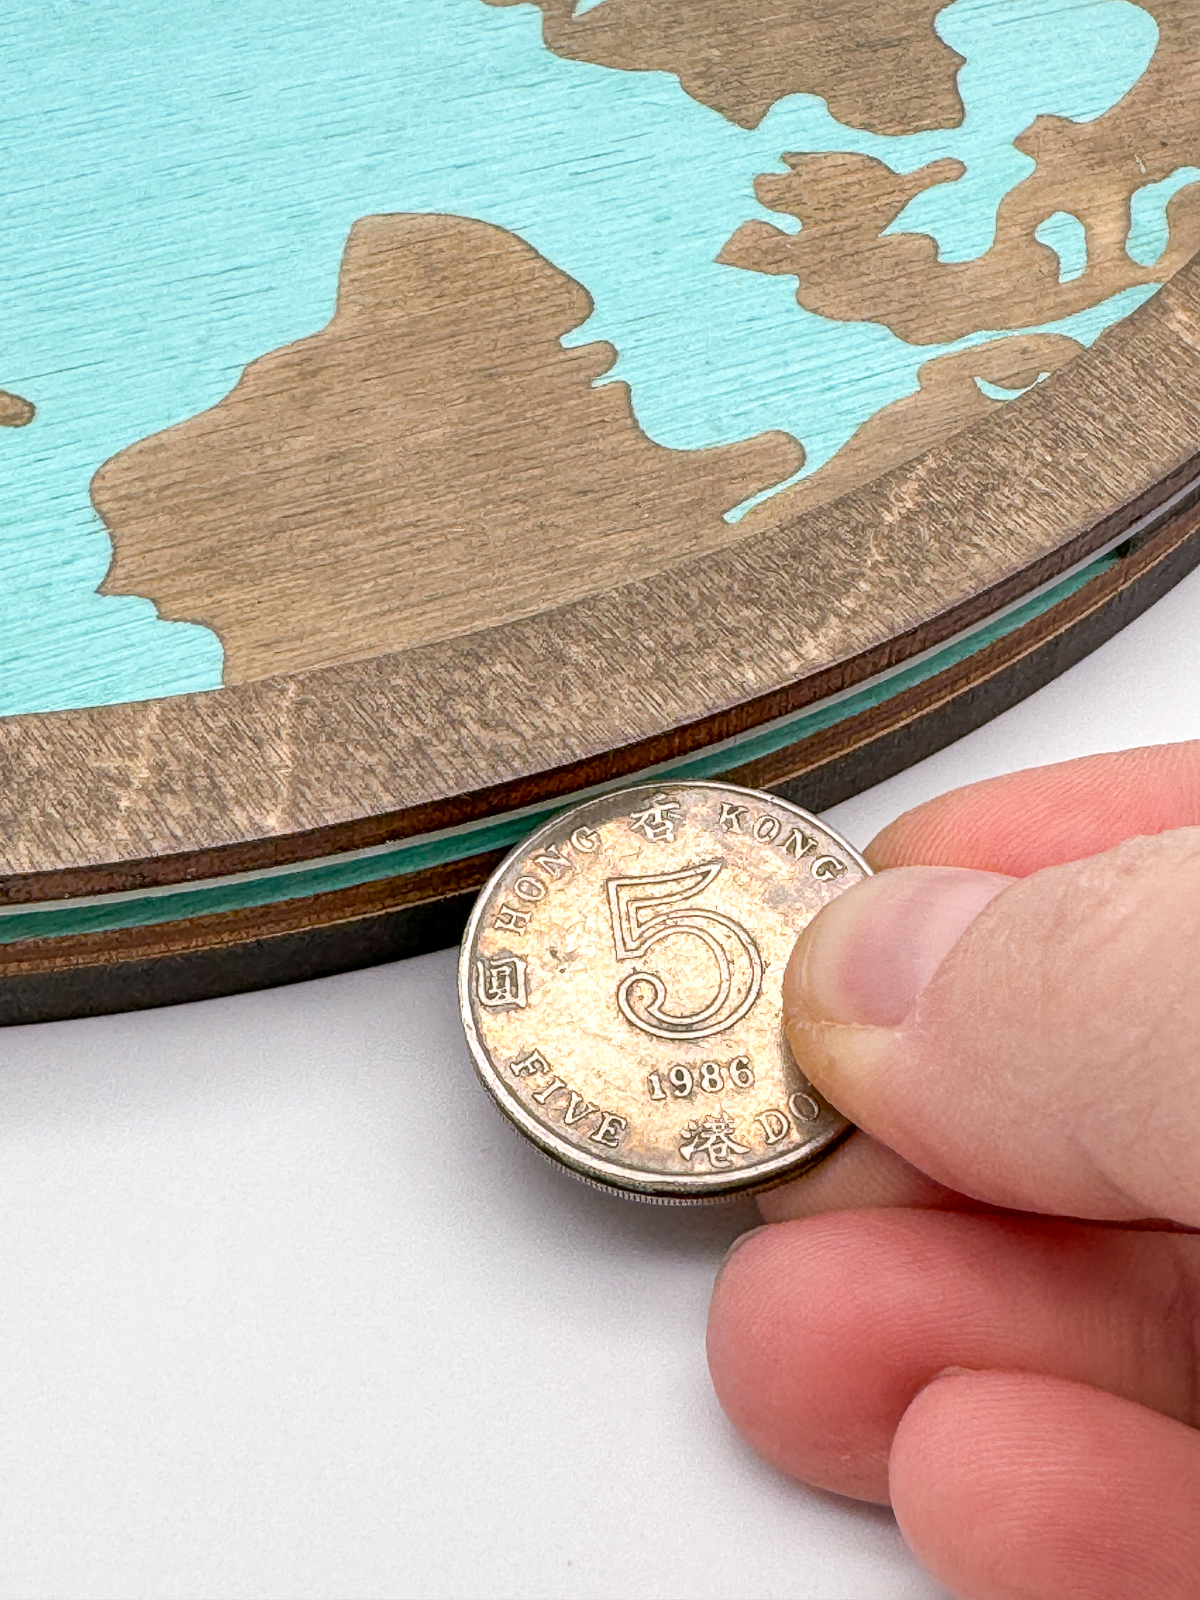
Speaking of coins, almost all of them fit through the ⅛" gap at the top of the circle. The Hong Kong $5 and $10 coins are really thick and didn't fit through. I wouldn't increase the thickness of the spacer, though, or thinner coins will fall behind each other instead of stacking on top.

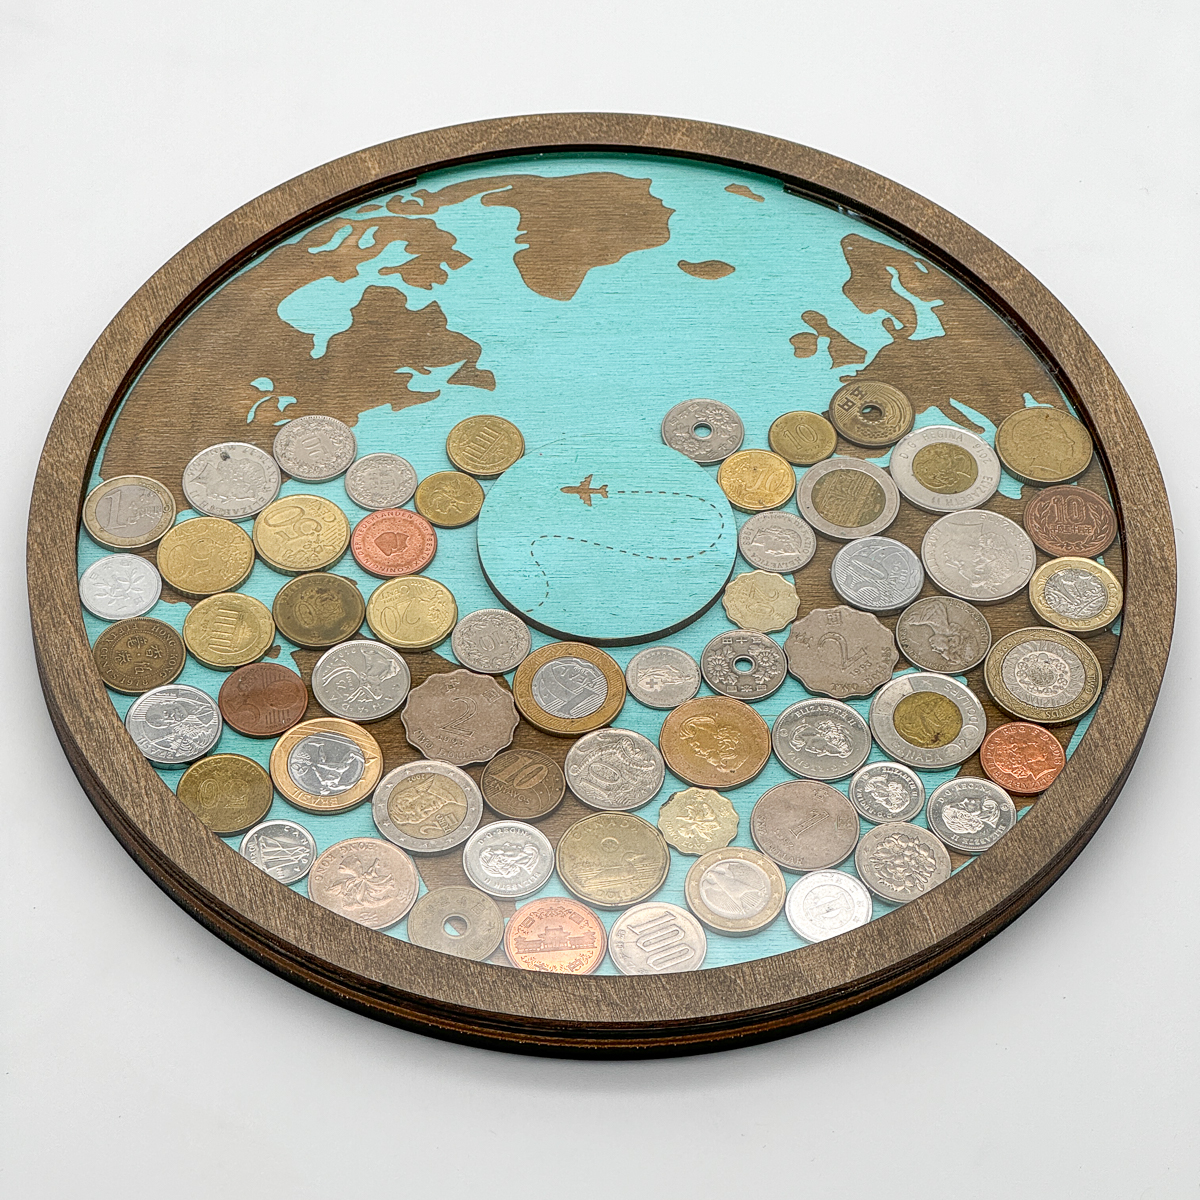
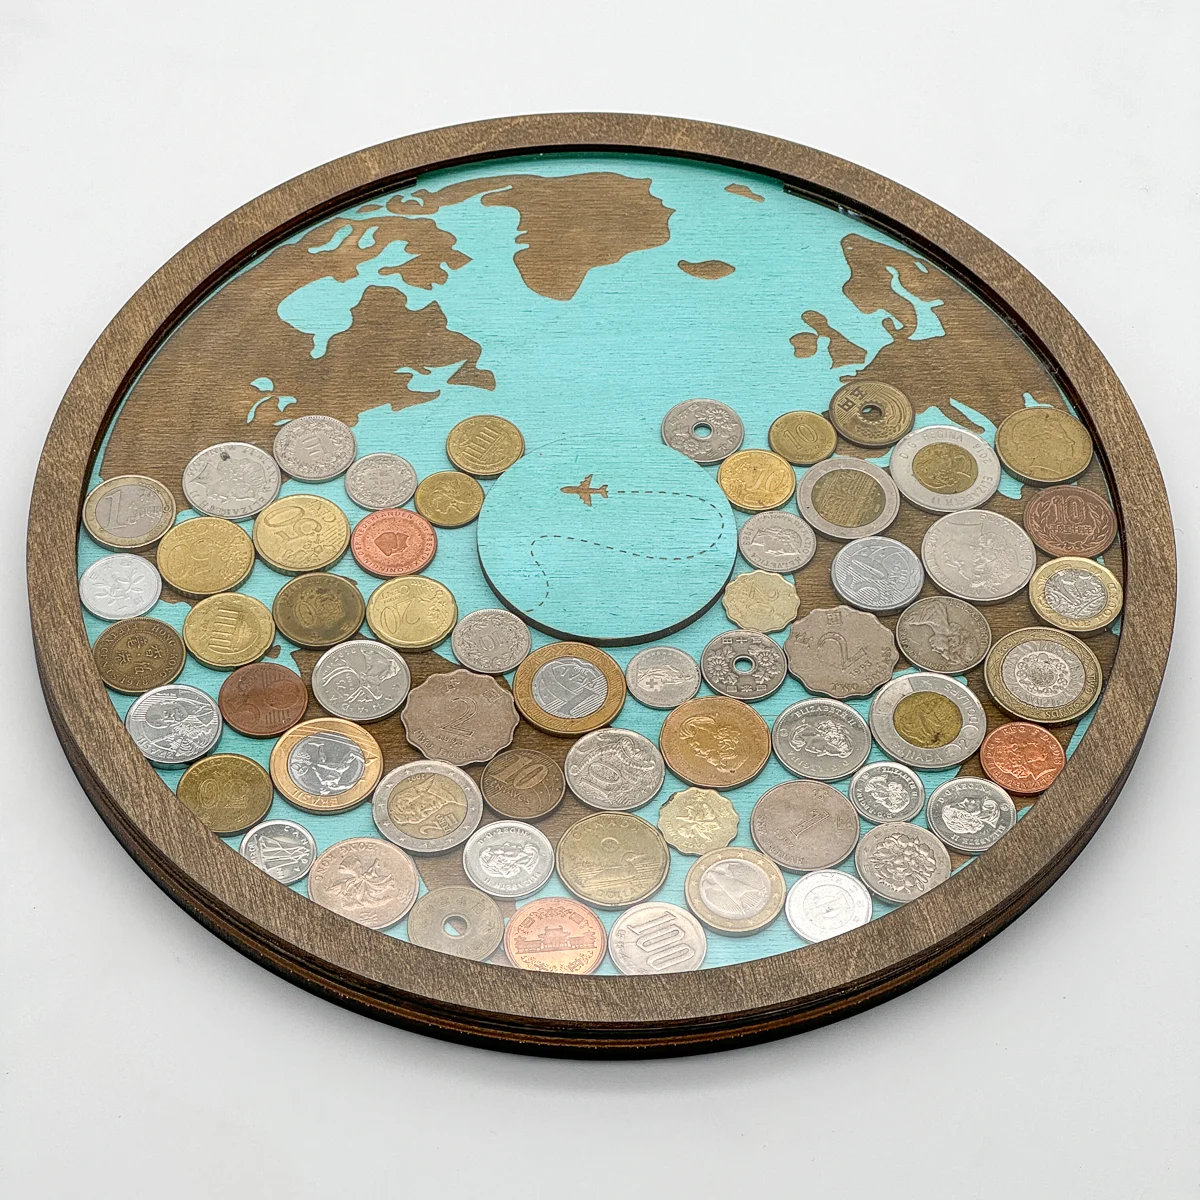
I love the way it turned out! I rummaged through our coin jar and junk drawer for all the different currencies we had hidden around the house. There's some Thai Baht and South Korean Won around here somewhere, but I couldn't find them! Guess we'll have to go back to get more...
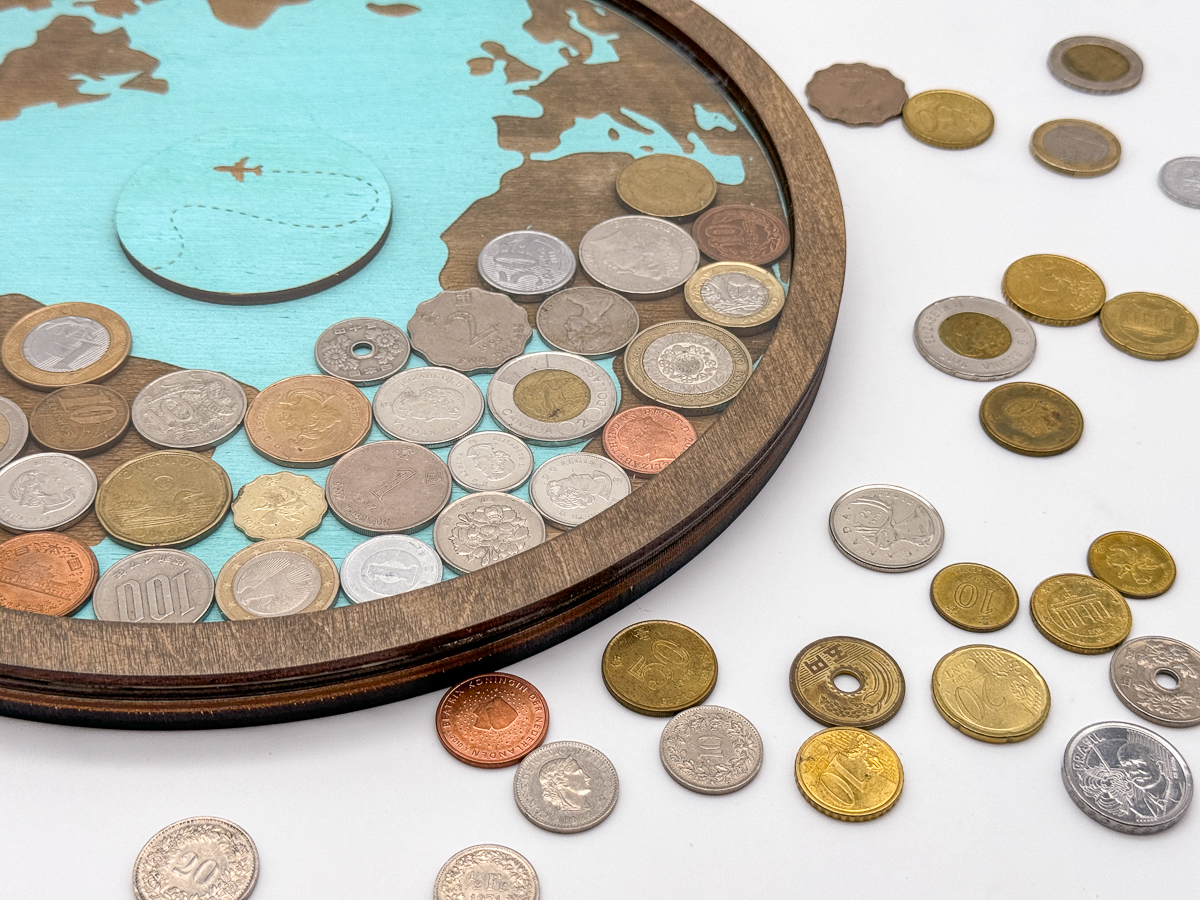
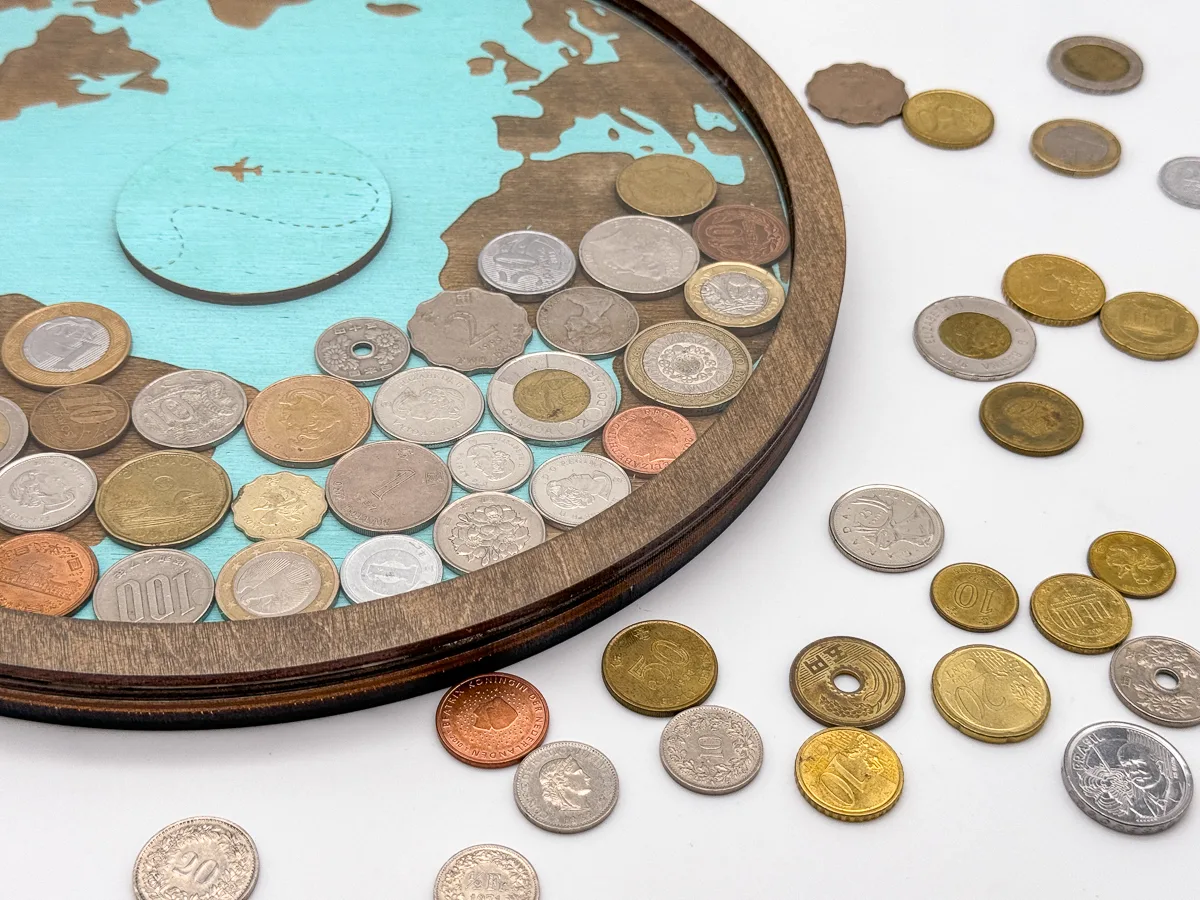
Whenever I could, I included two of each coin so I could display both the front and back. It filled up pretty well, but there's plenty of room to collect more on future trips!
Want to make your own coin holder? Download the files from my shop here!
Check out these other laser cutter projects!