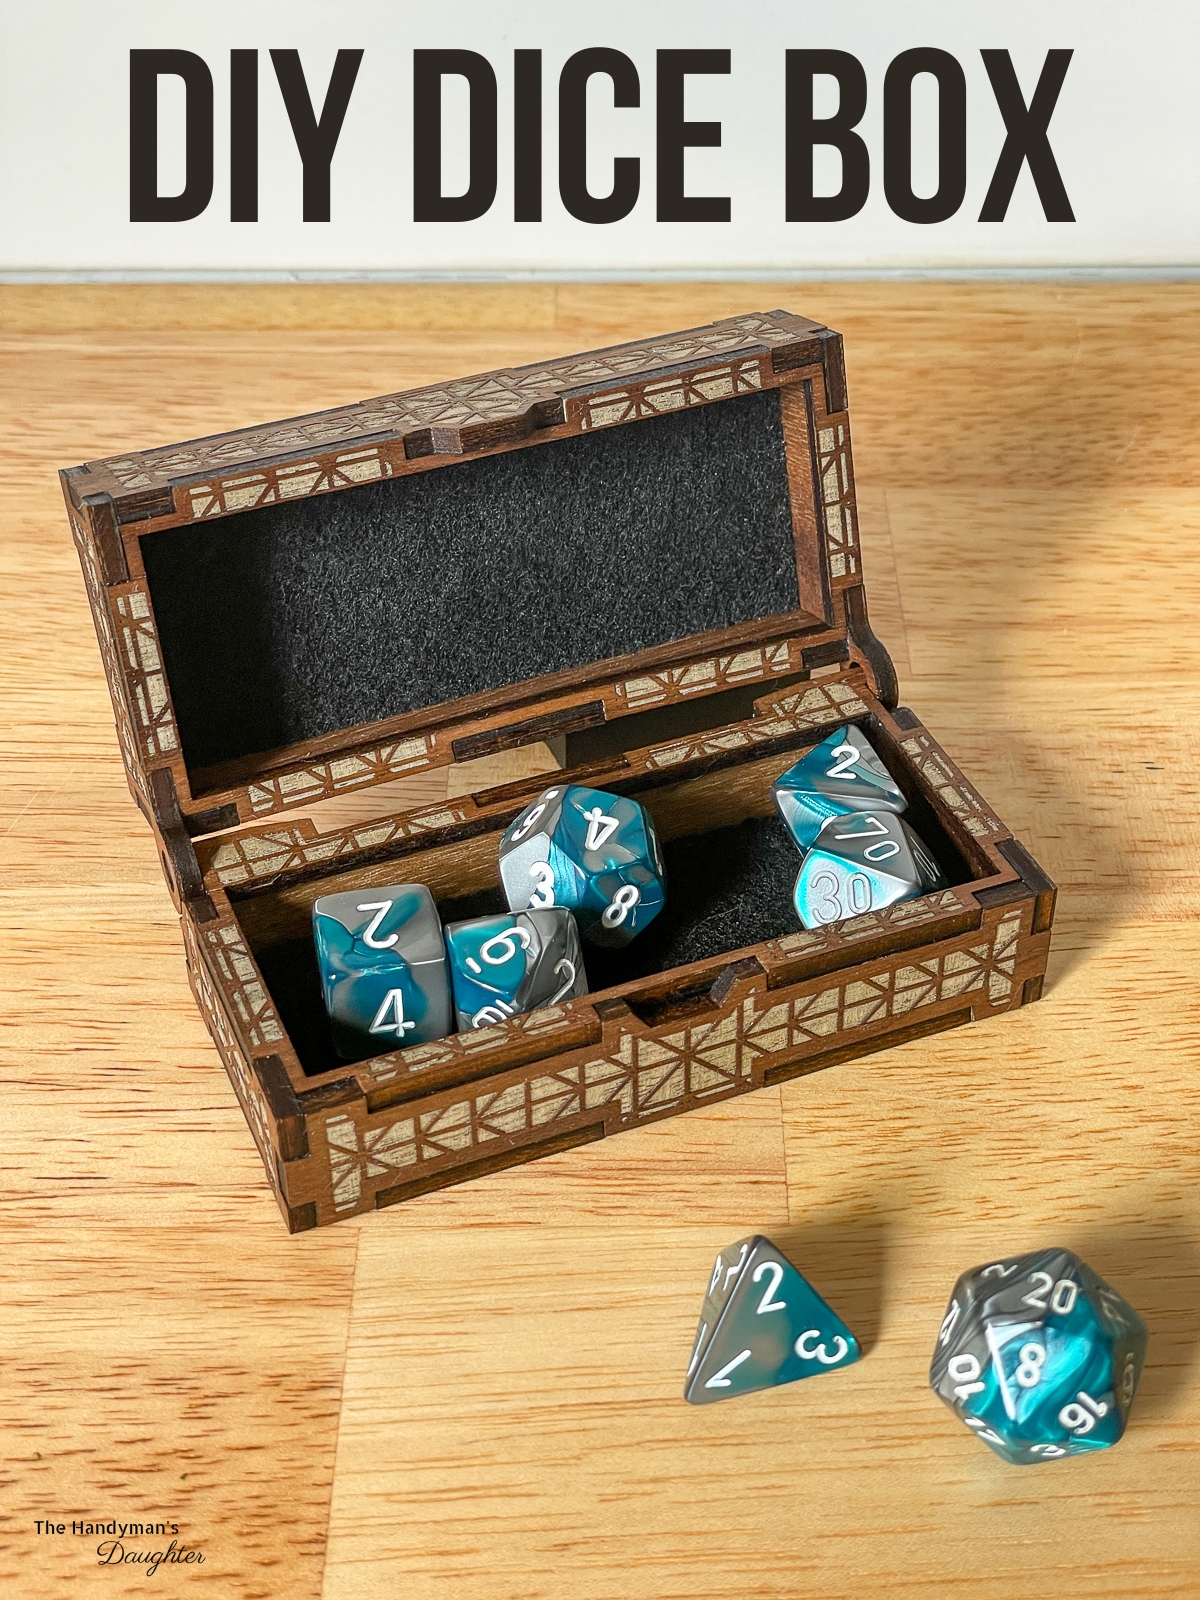
This DIY dice box is a quick and easy laser cutter project that makes a great gift idea for the DnD or tabletop gamer in your life!

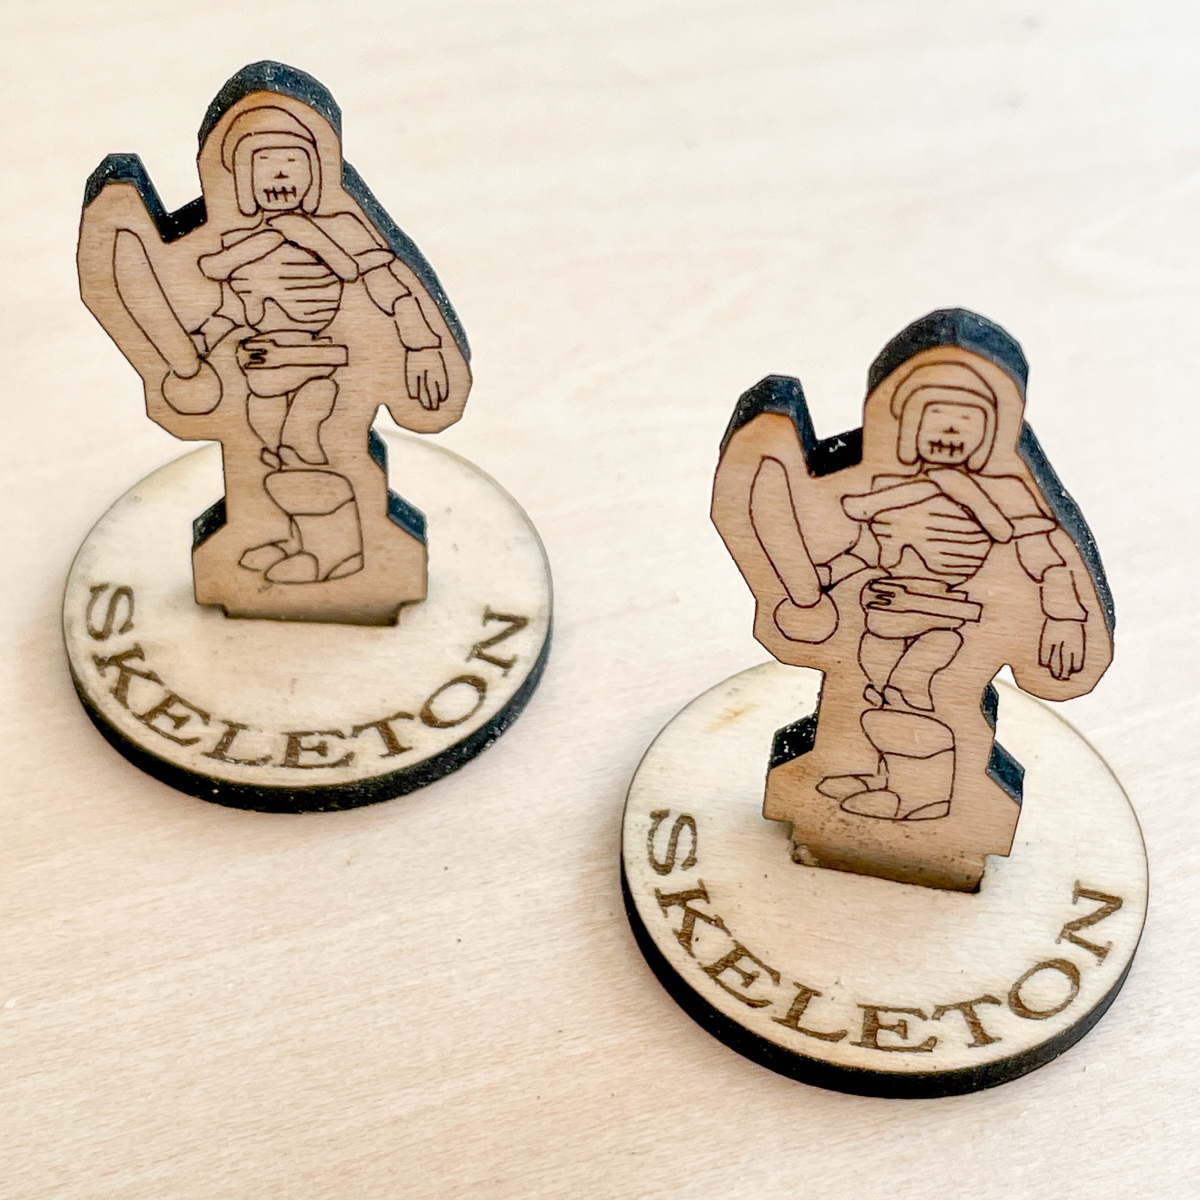
The first project I made with my xTool M1 laser cutter were these wooden miniatures for my son's Dungeons and Dragons campaign. They were quite the hit with his friends, and made it easier to visualize the skeleton battle he had planned.

One of his DnD friends had a birthday coming up, and my son wanted to get him a new set of dice as a gift. I was thinking of making a dice tray to go along it, but my son always brings his to the game.

So instead, we settled on this DIY dice box. It's the perfect gift to go along with a set of dice, and will hopefully prevent them from getting lost in the bottom of a backpack!
Don't have a laser, or looking to upgrade? Use the code VINETA100 for $100 off an xTool laser! Click here to check them out!
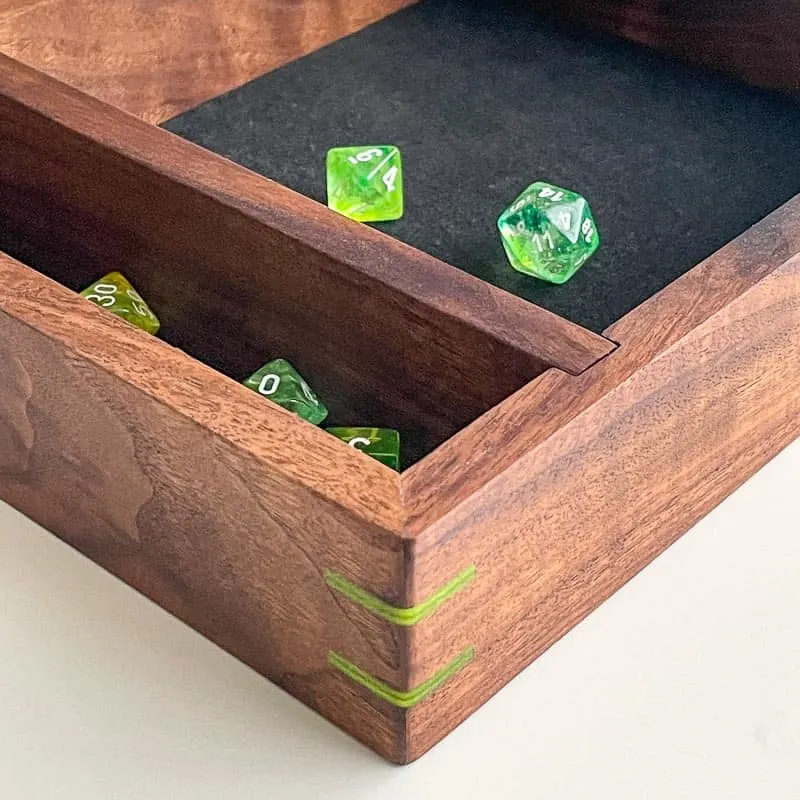
If you don't have a laser cutter, you can make a similar dice box using regular woodworking tools. Here's a great video that shows you how!
This post contains affiliate links for your convenience. Purchases made through these links may earn me a small commission at no additional cost to you. Please visit my disclosures page for more information.
Prepare the file in your laser cutter software
I bought this mini dice box file as part of a bundle from this Etsy seller, but you can get just this file here. It comes with variations for different wood thicknesses and file formats, depending on your machine and materials.
I'm using a sheet of 3mm black walnut plywood that came with the premium materials box xTool sent me. You'll only need an 8"x8" square for this project, so it's great for using up scraps!
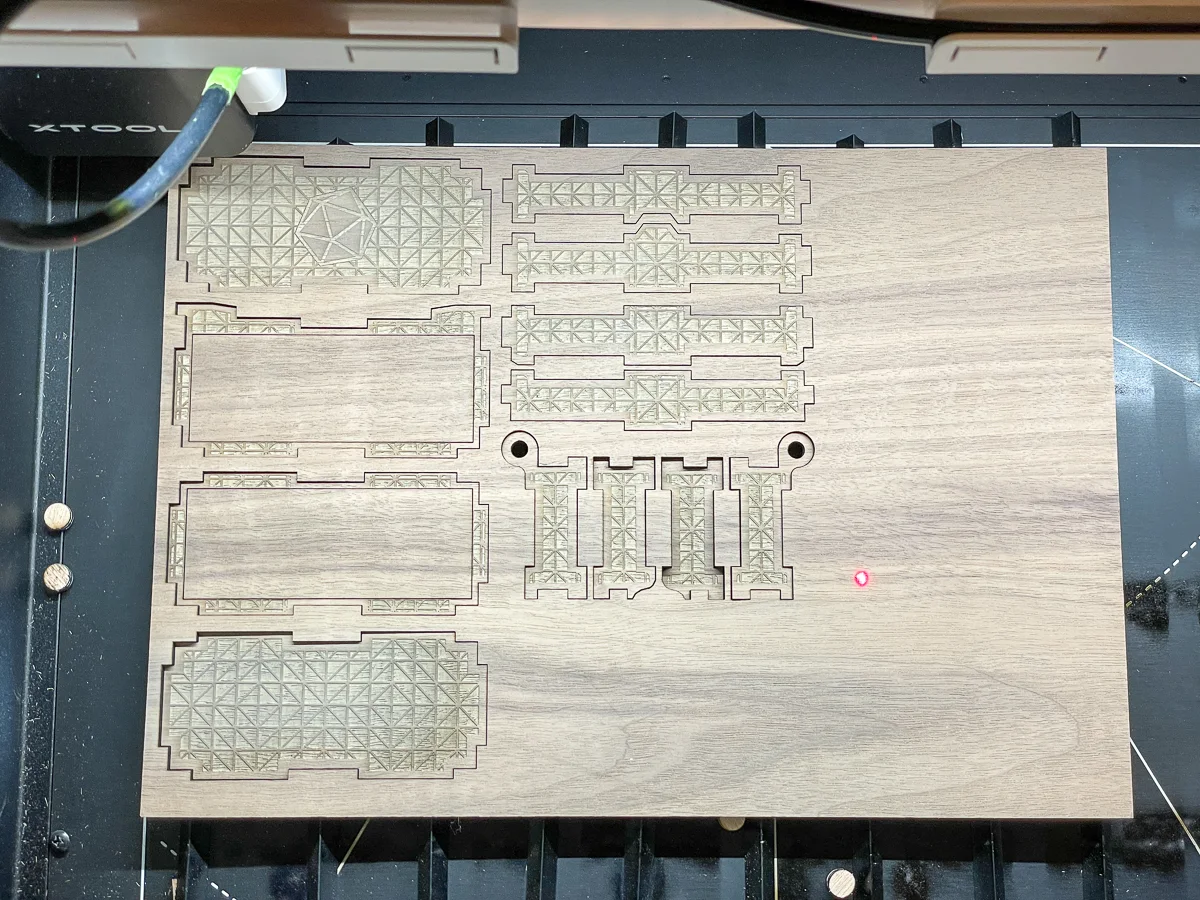
I set the plywood into the xTool M1 on top of the triangular prisms at the bottom of the machine. Once you close the lid, it takes a picture of your material so you can position your project precisely.
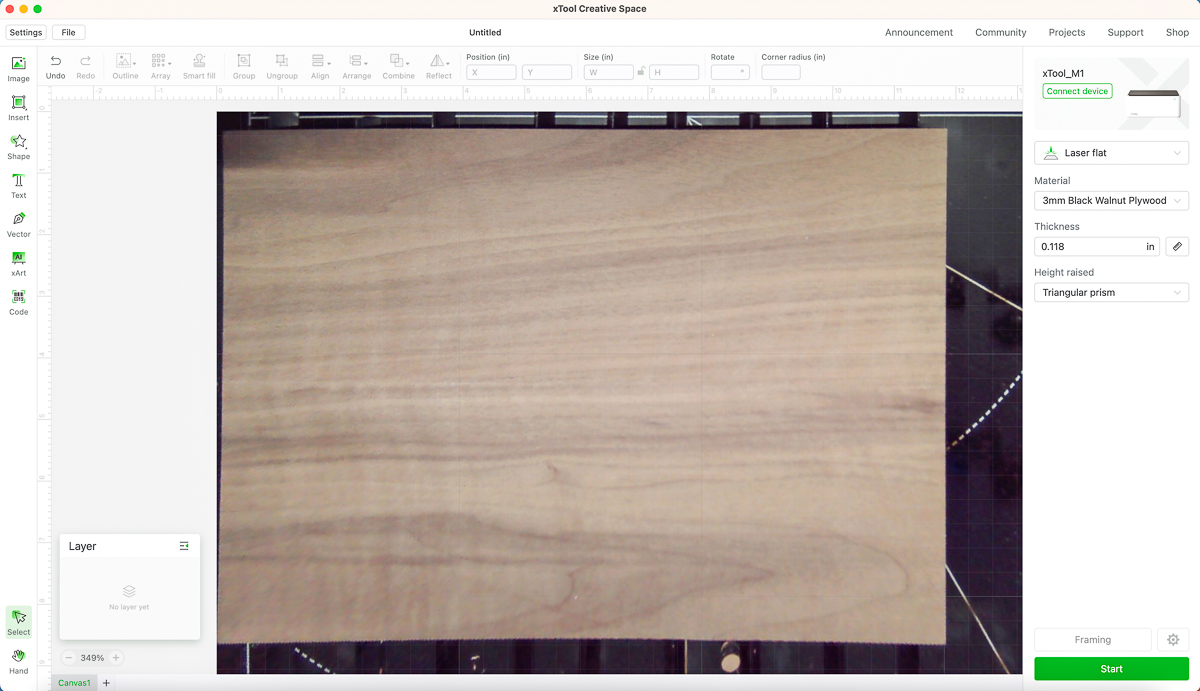

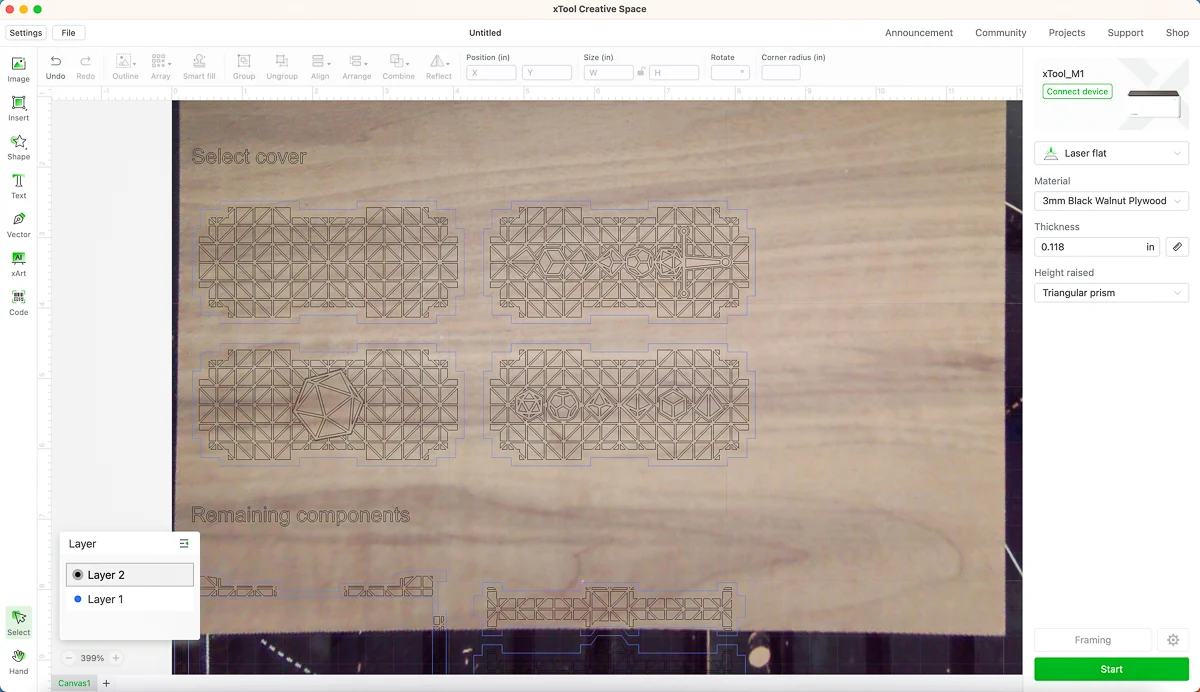
When you import the image as an SVG, it will tell you that the size is too big for your material. Just tell it to keep the original dimensions so all the pieces stay the right size. You can move all the parts around once it's imported.
This file came with four design options for the top. Pick one and delete the other three, so you don't accidentally engrave them all!

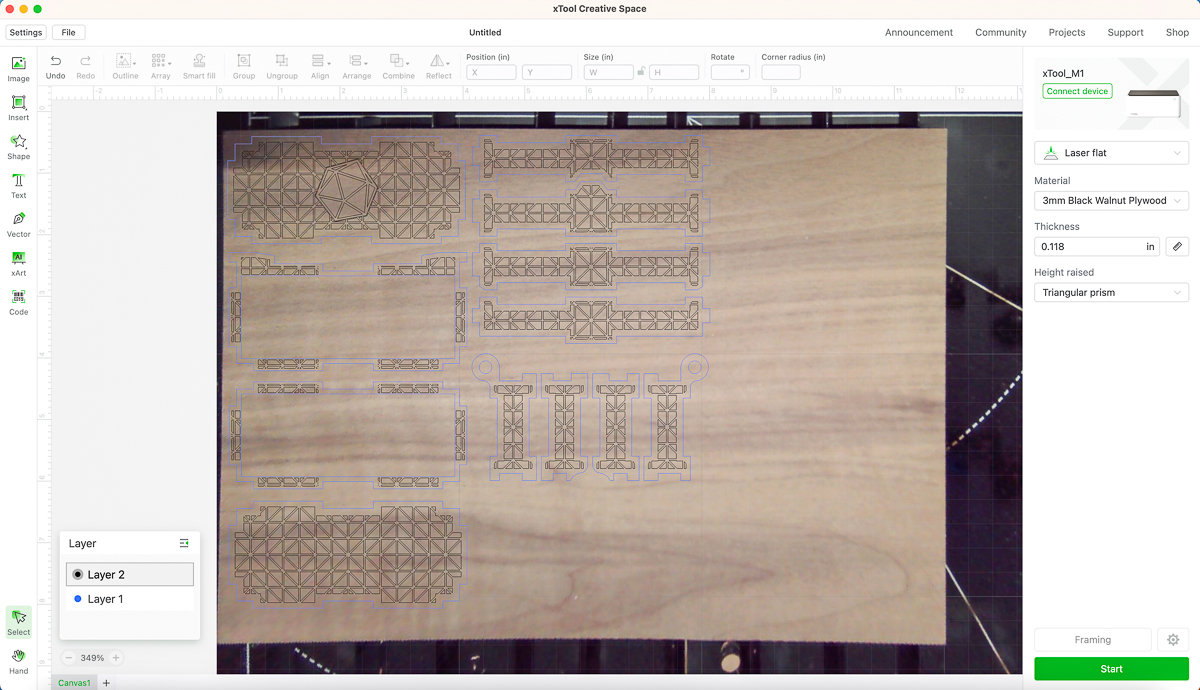
Now you can rearrange all the pieces so they fit on your plywood board. I recommend grouping each piece before you move it, so you don't accidentally alter the engraving pattern. Leave about ¼" of space from the outside edge of the plywood.

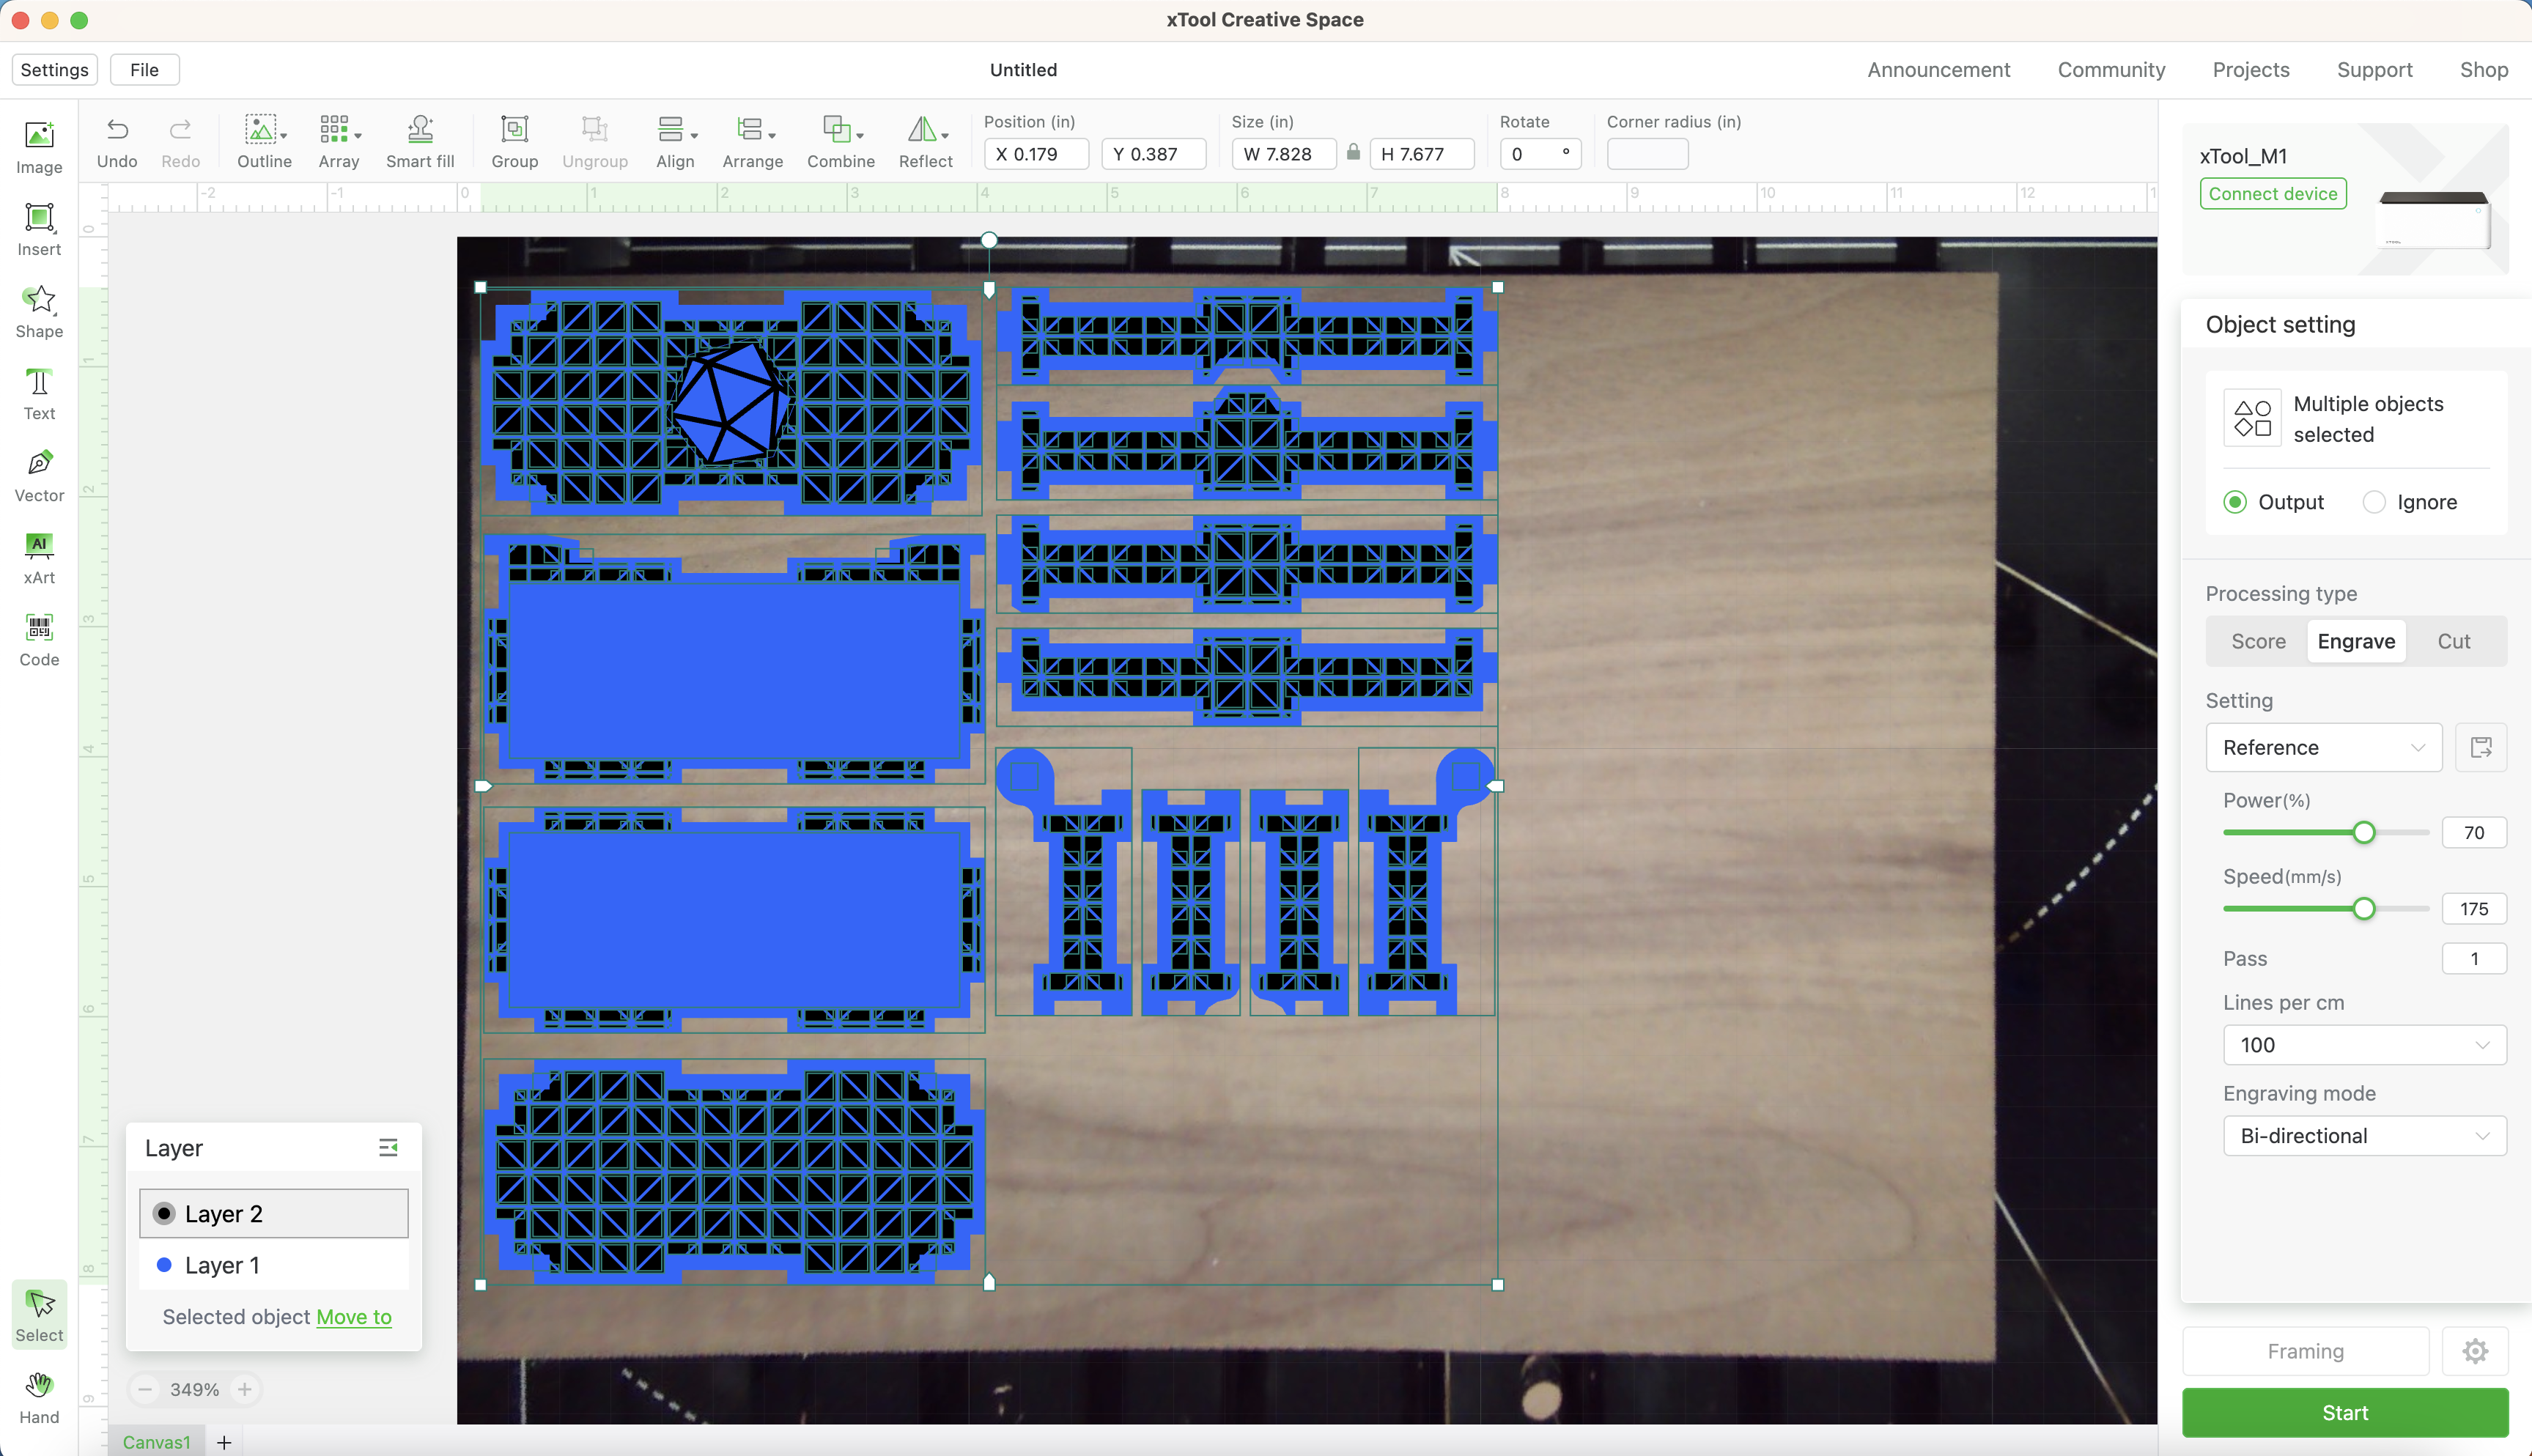
Each one of those black lines can either be scored on the surface of the wood or engraved a bit deeper. I wanted a 3D effect, so I selected all the lines and set the machine to engrave with 70% power and 175mm/s speed. You can run a test grid first if you're not sure which settings to choose.

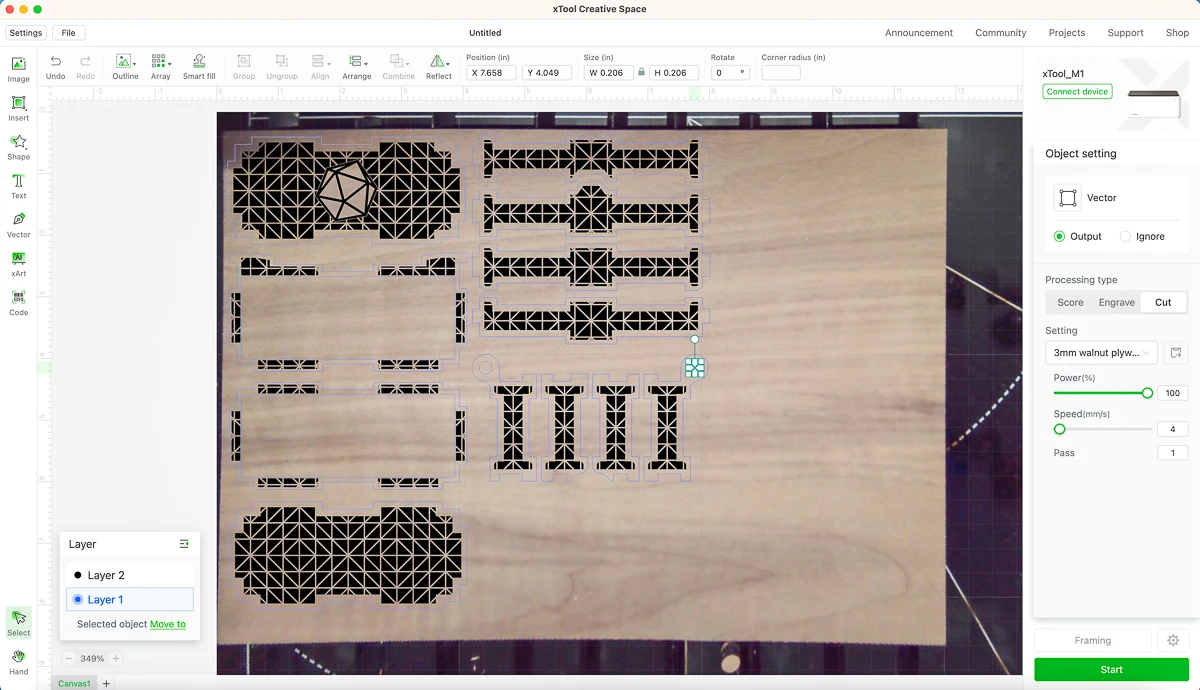
Now I can go back and select each cut line individually. Don't forget to cut out the middle of the holes for the hinges and the center of the inner lid pieces. The cut settings are 100% power, 4mm/s and one pass.

Check that all your parts are correct before hitting that start button. Then watch as the xTool M1 does all the work!
It took about two hours to complete, but most of that time was spent engraving. If I make this project again, I'll definitely use my xTool P2 CO2 laser instead, which is much faster. You could also skip the engraving altogether and just cut out the parts in a few minutes!

Assemble the dice box parts
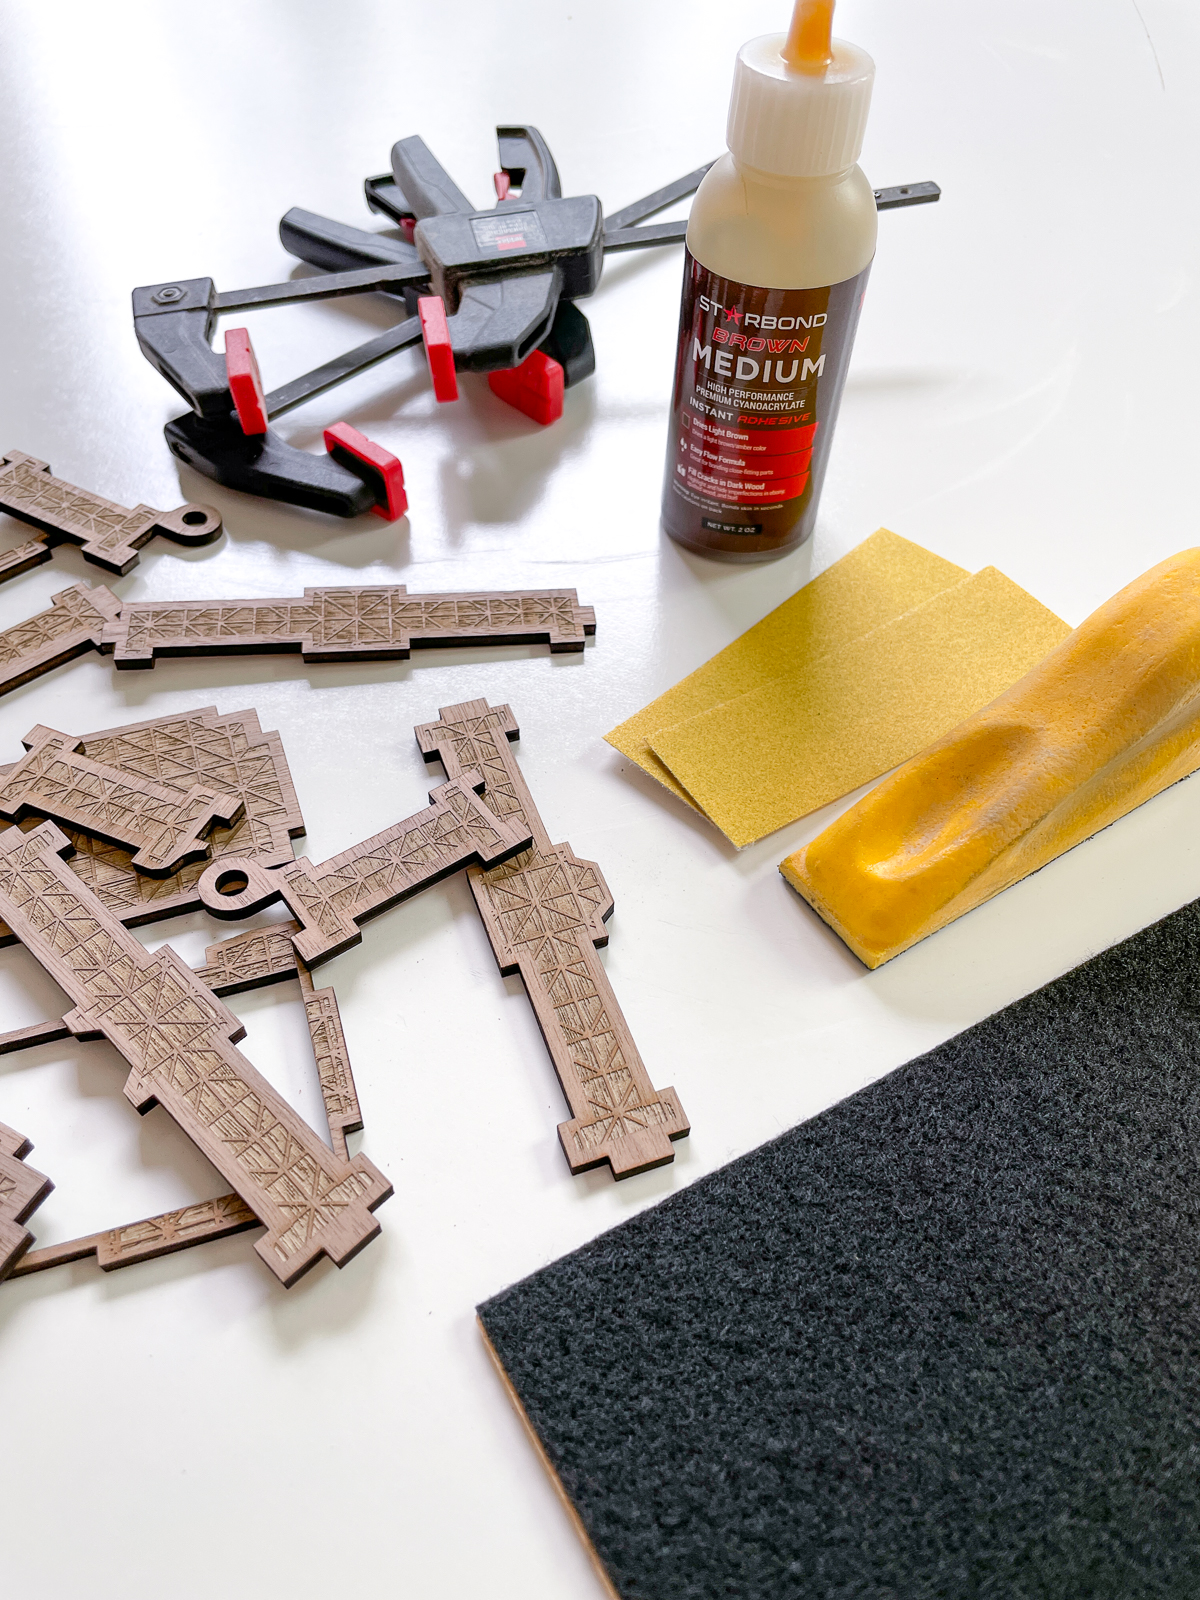
The cut file came with a nicely illustrated set of assembly instructions, so I'll just go over a few tips. Here's what you'll need to put the dice box together:
- Adhesive backed felt
- Utility knife or scissors
- CA glue
- 220 grit sandpaper and mini sanding block
- Small clamps
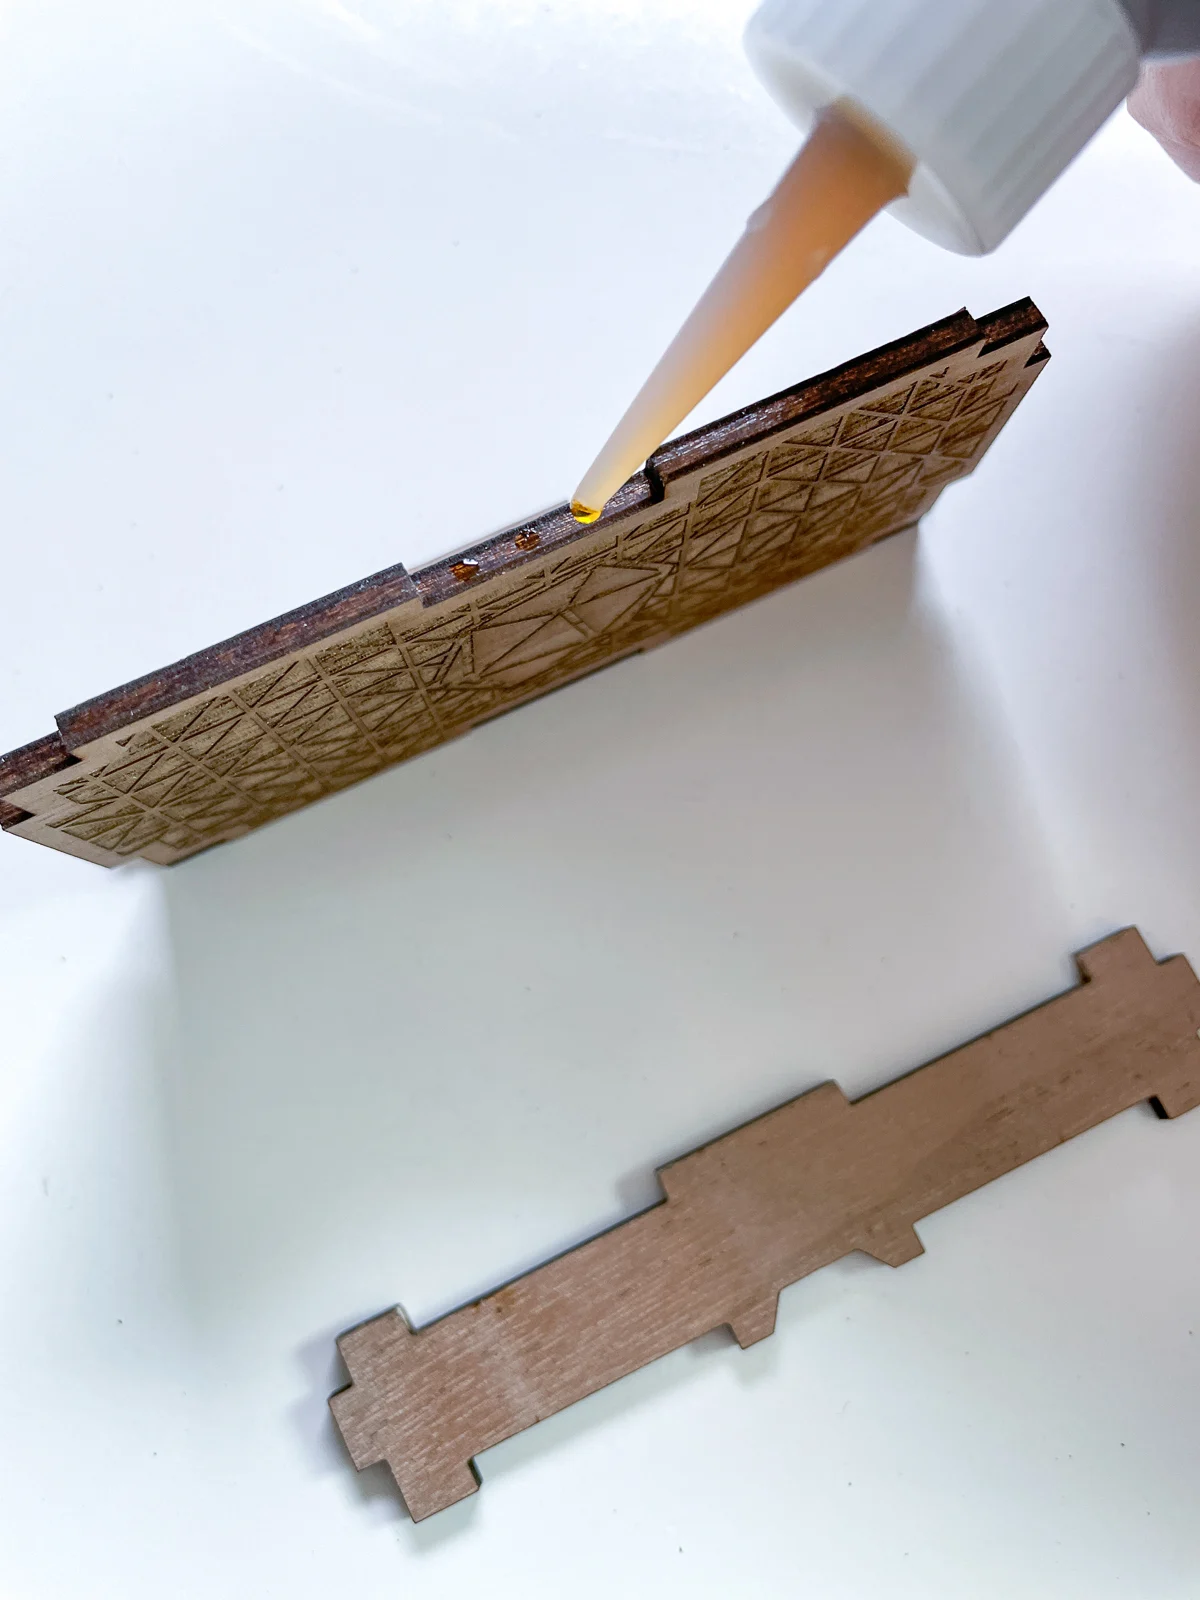
I chose CA glue over wood glue because it dries quickly. The dark brown color blends in with the walnut if it accidentally squeezes out. The parts fit together pretty snug, so you could even skip the glue if you wanted to.

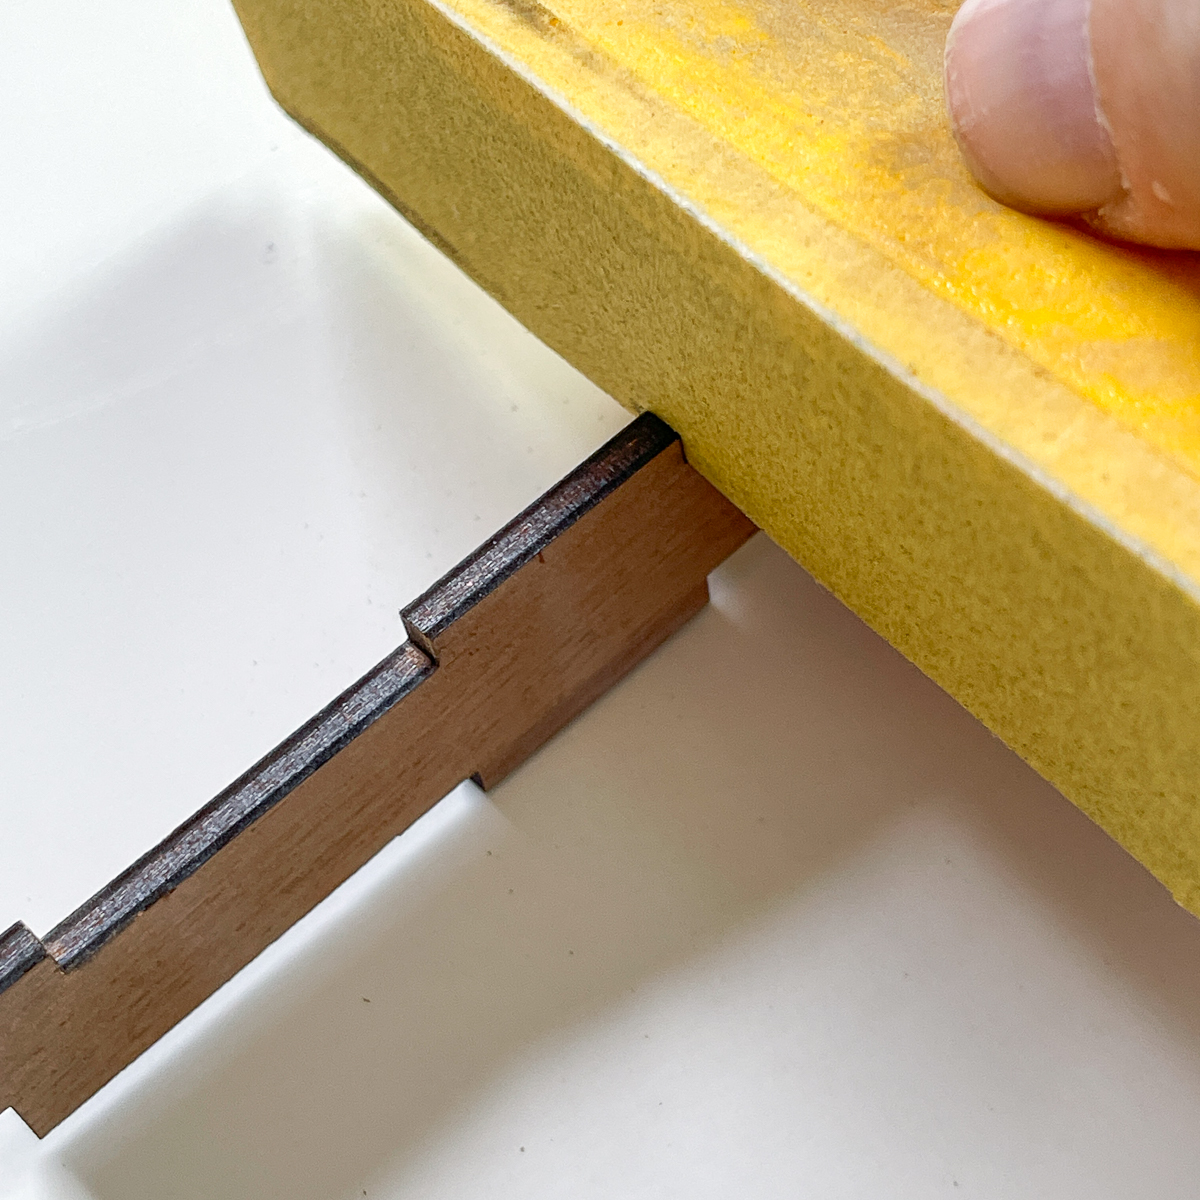
I recommend test fitting the parts together at each step and sanding the notches as needed. You want the joints to be snug, but not so tight that it causes the wood to bow or break.
If they don't fit together easily, carefully sand the sides of the notches. This mini sanding block helps to keep the sandpaper flat so you don't accidentally round over the edges.

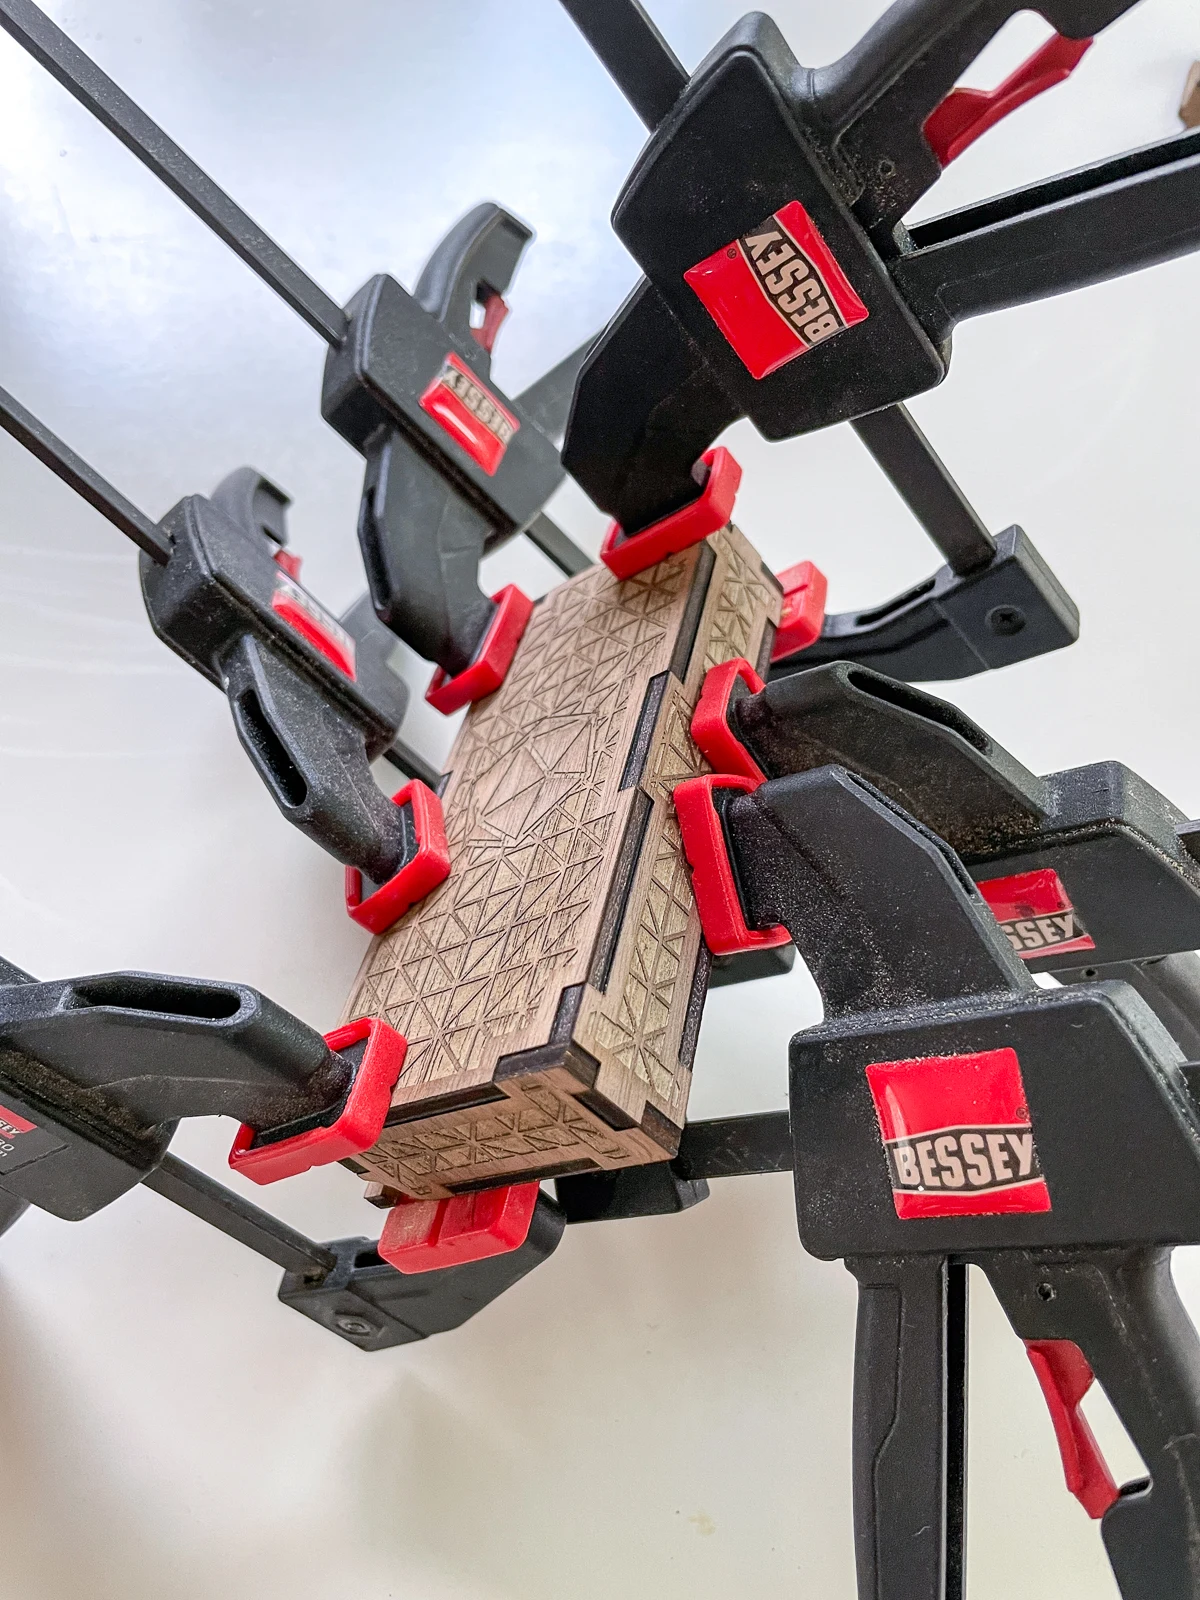
Once the joint fits snug, add a few drops of CA glue along one edge. It dries quickly, so make sure you have the adjoining piece ready to go nearby!
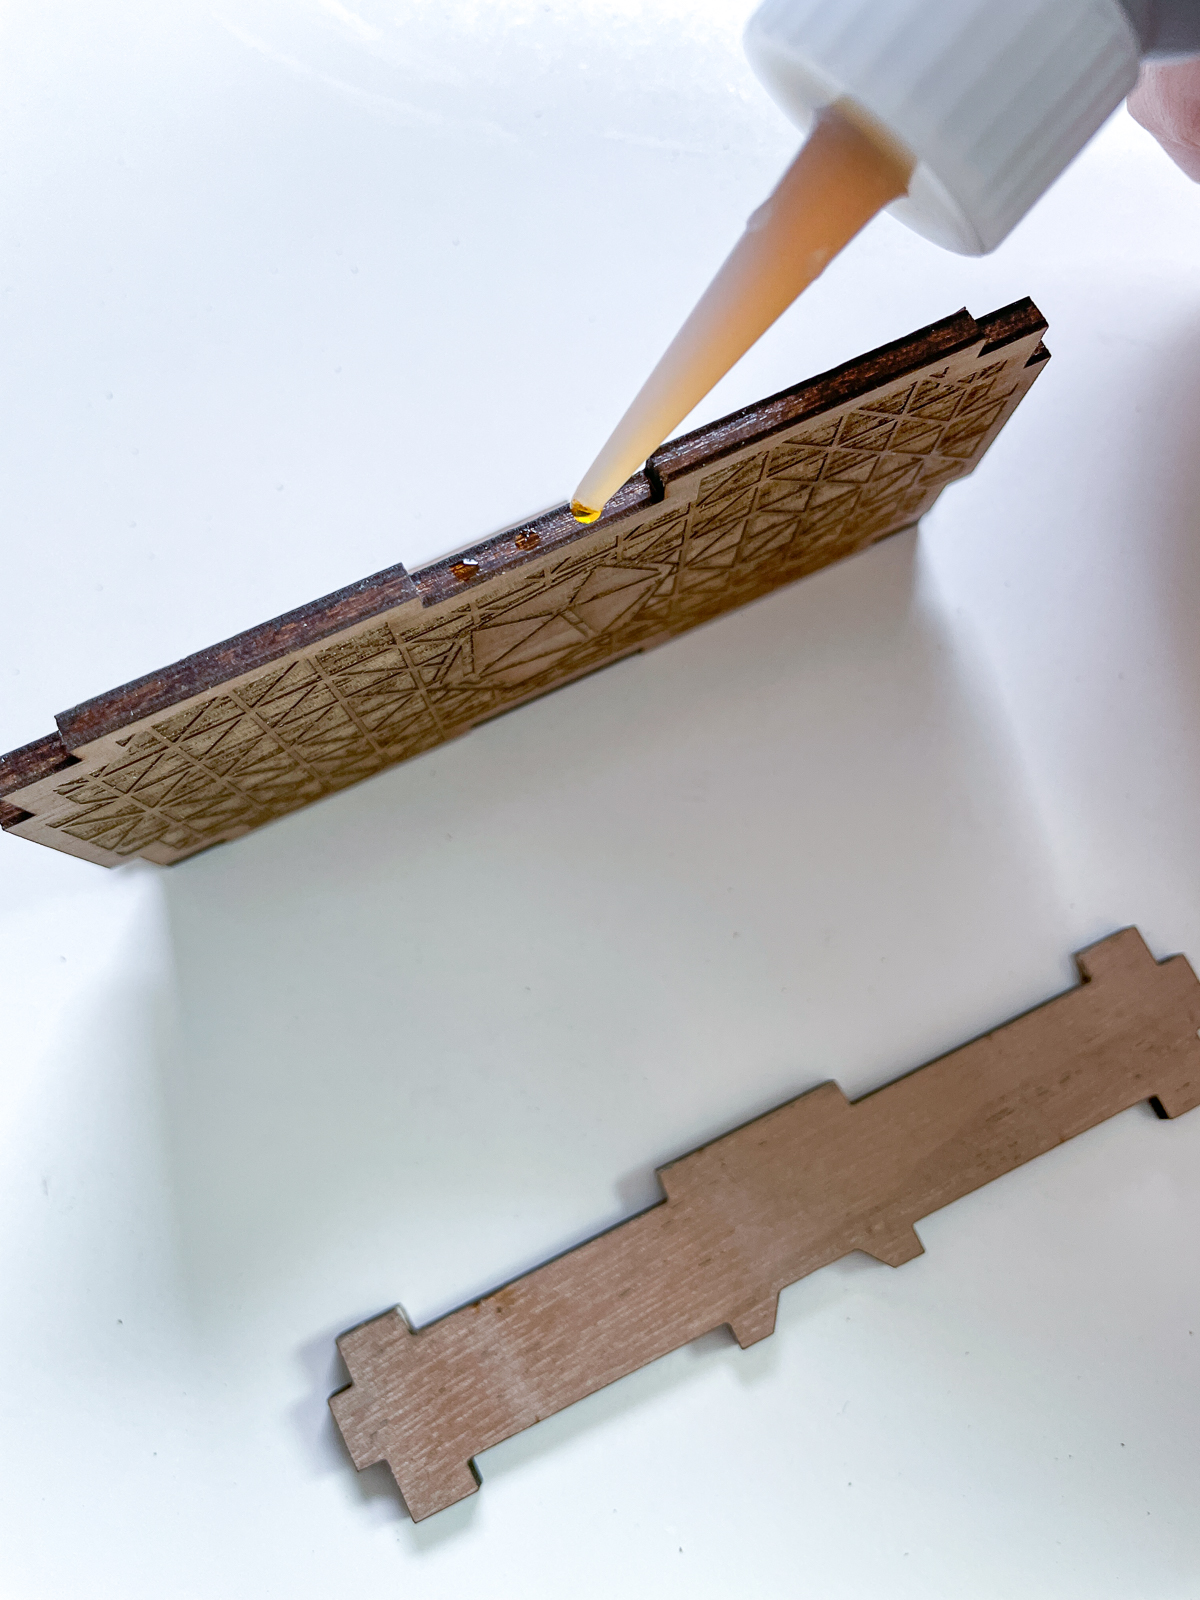
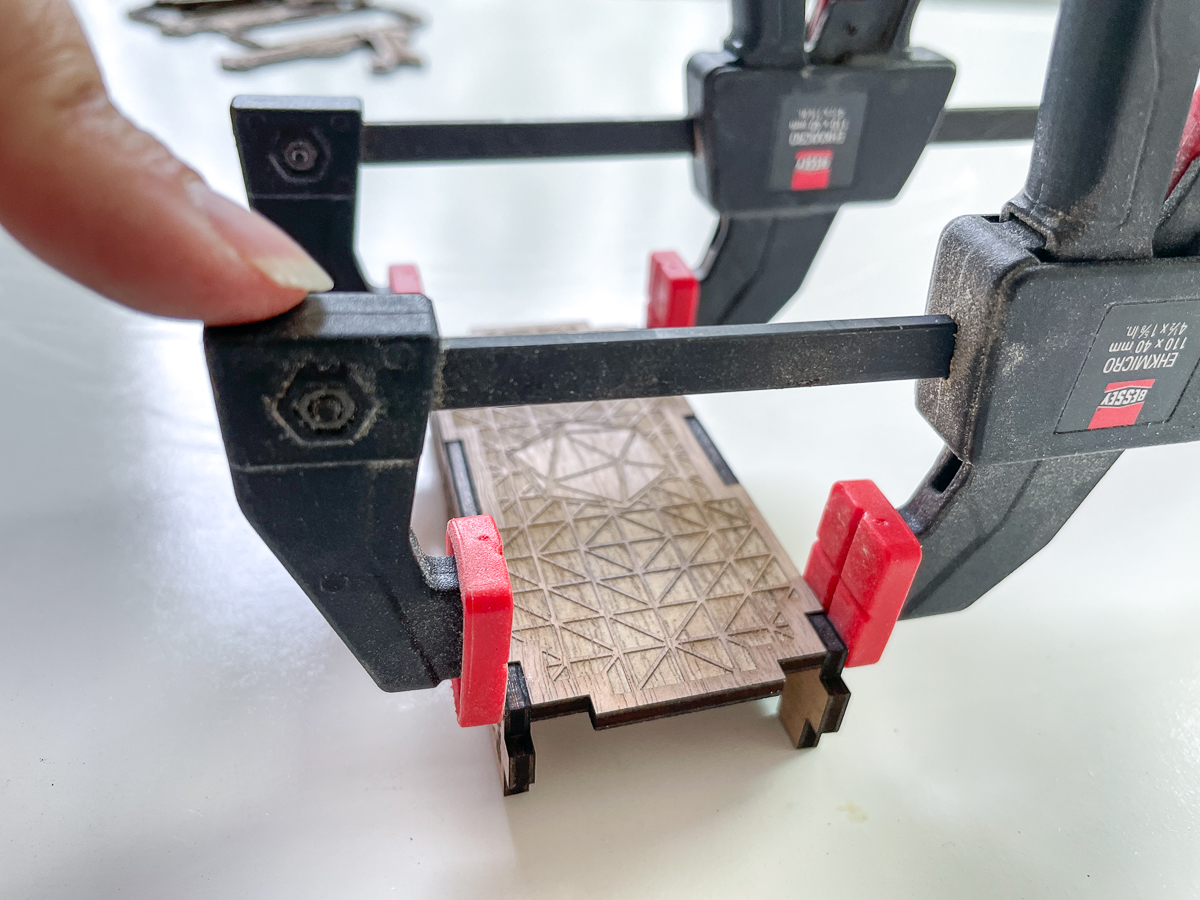
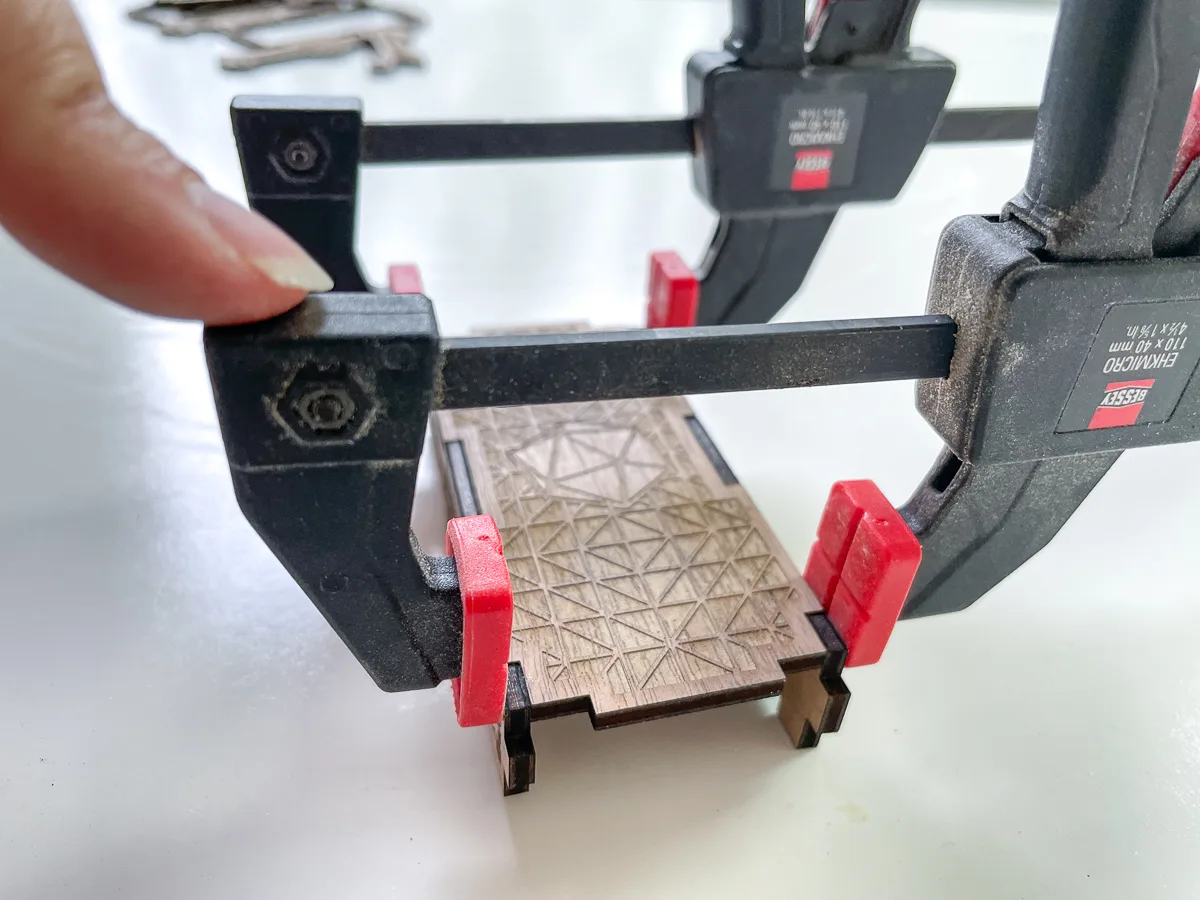
These mini clamps really helped to keep the pieces together while the glue dried! Make sure the pressure is directly over the joint, so the sides don't bow inward.
I used the offcut from the lip around the inside of the box to cut out the adhesive felt. There's also a separate piece in the cut file if you want to be more precise. I just popped the offcut into the lid to see how much space was around it, then eyeballed the spacing on the felt.
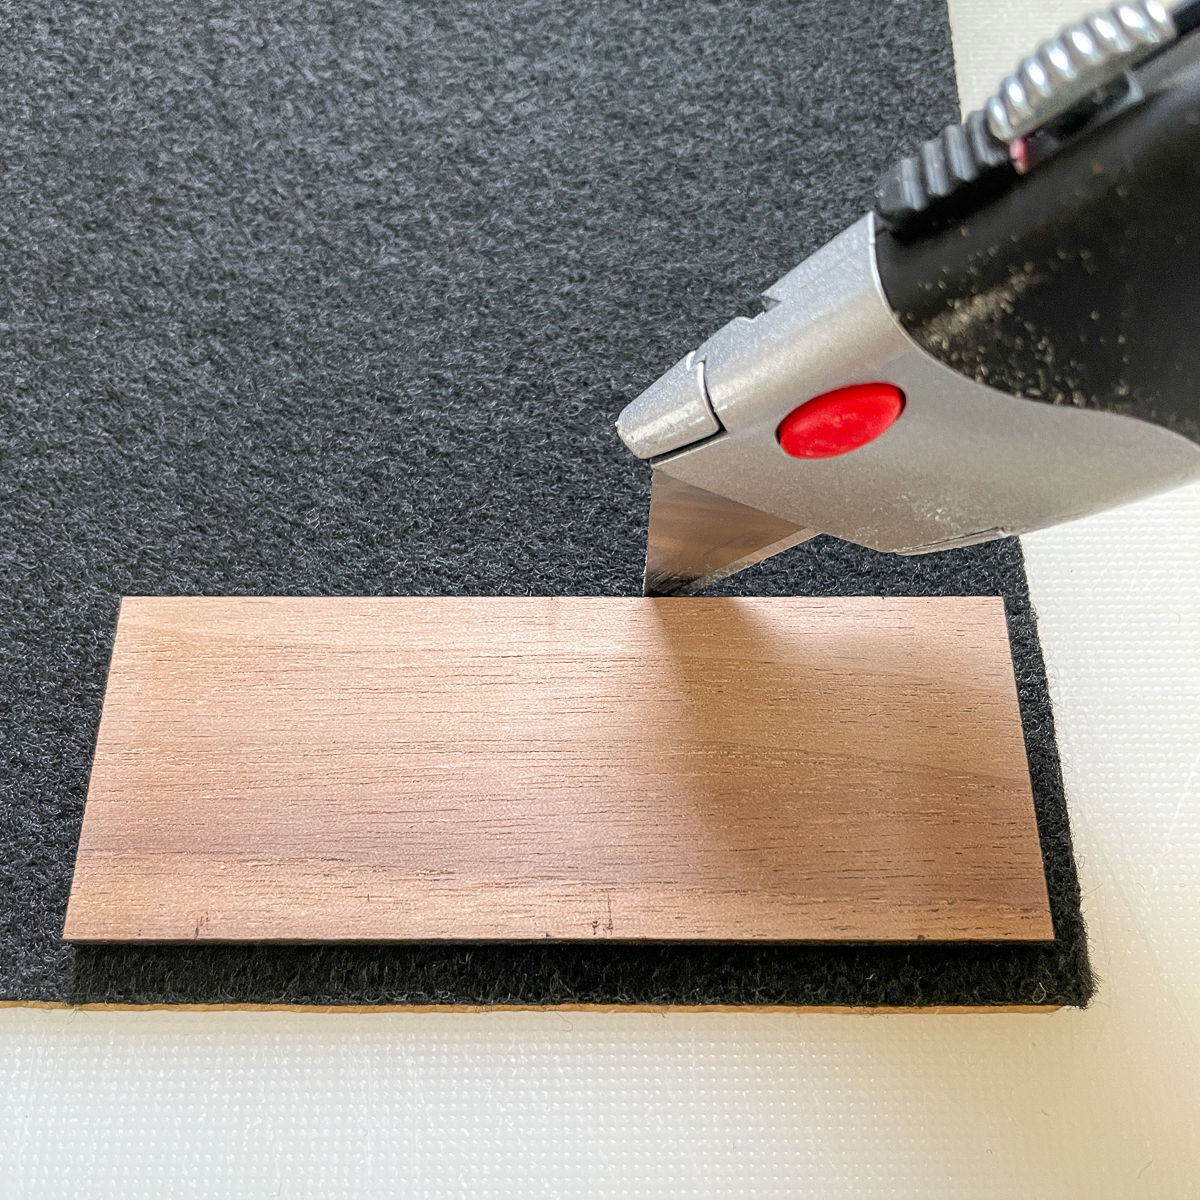
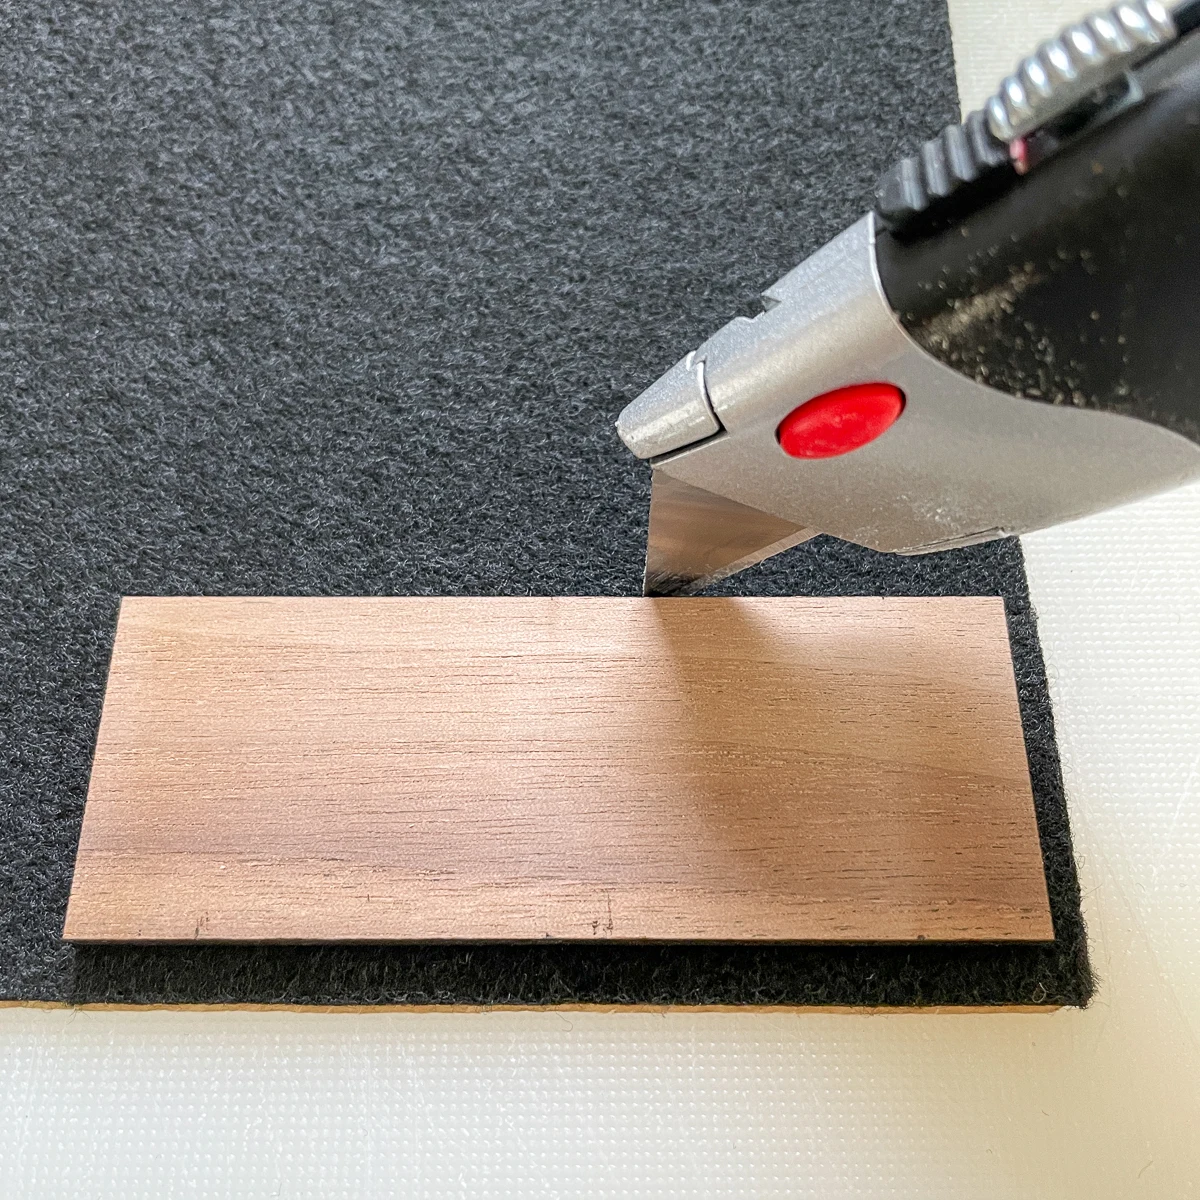
It fit nicely inside the lid, so I peeled off the backing and stuck it in place.
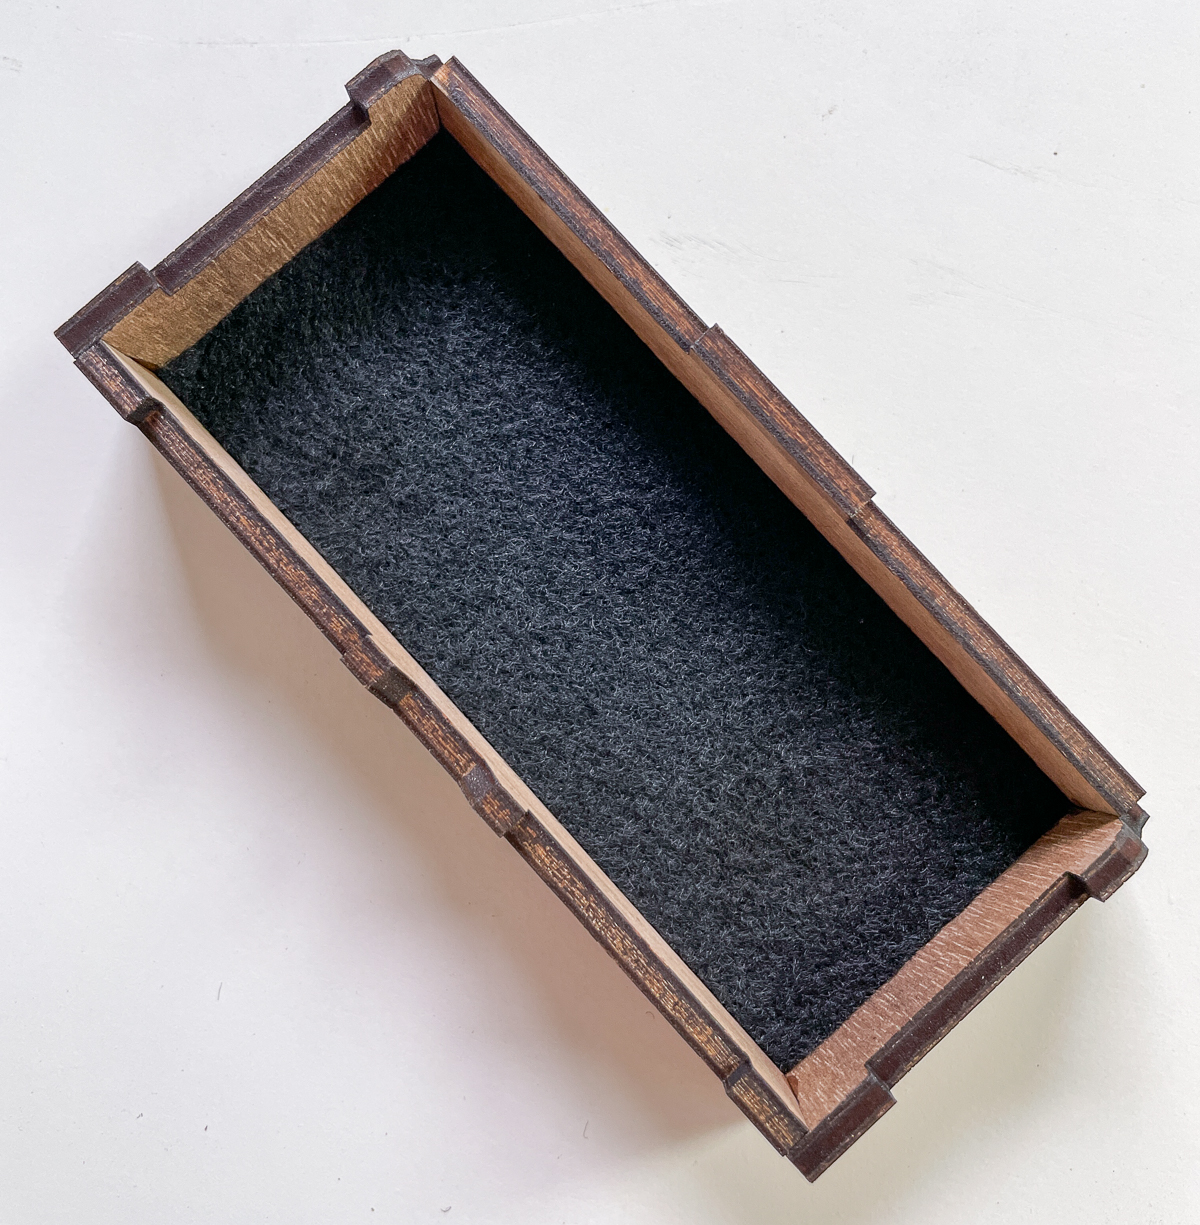
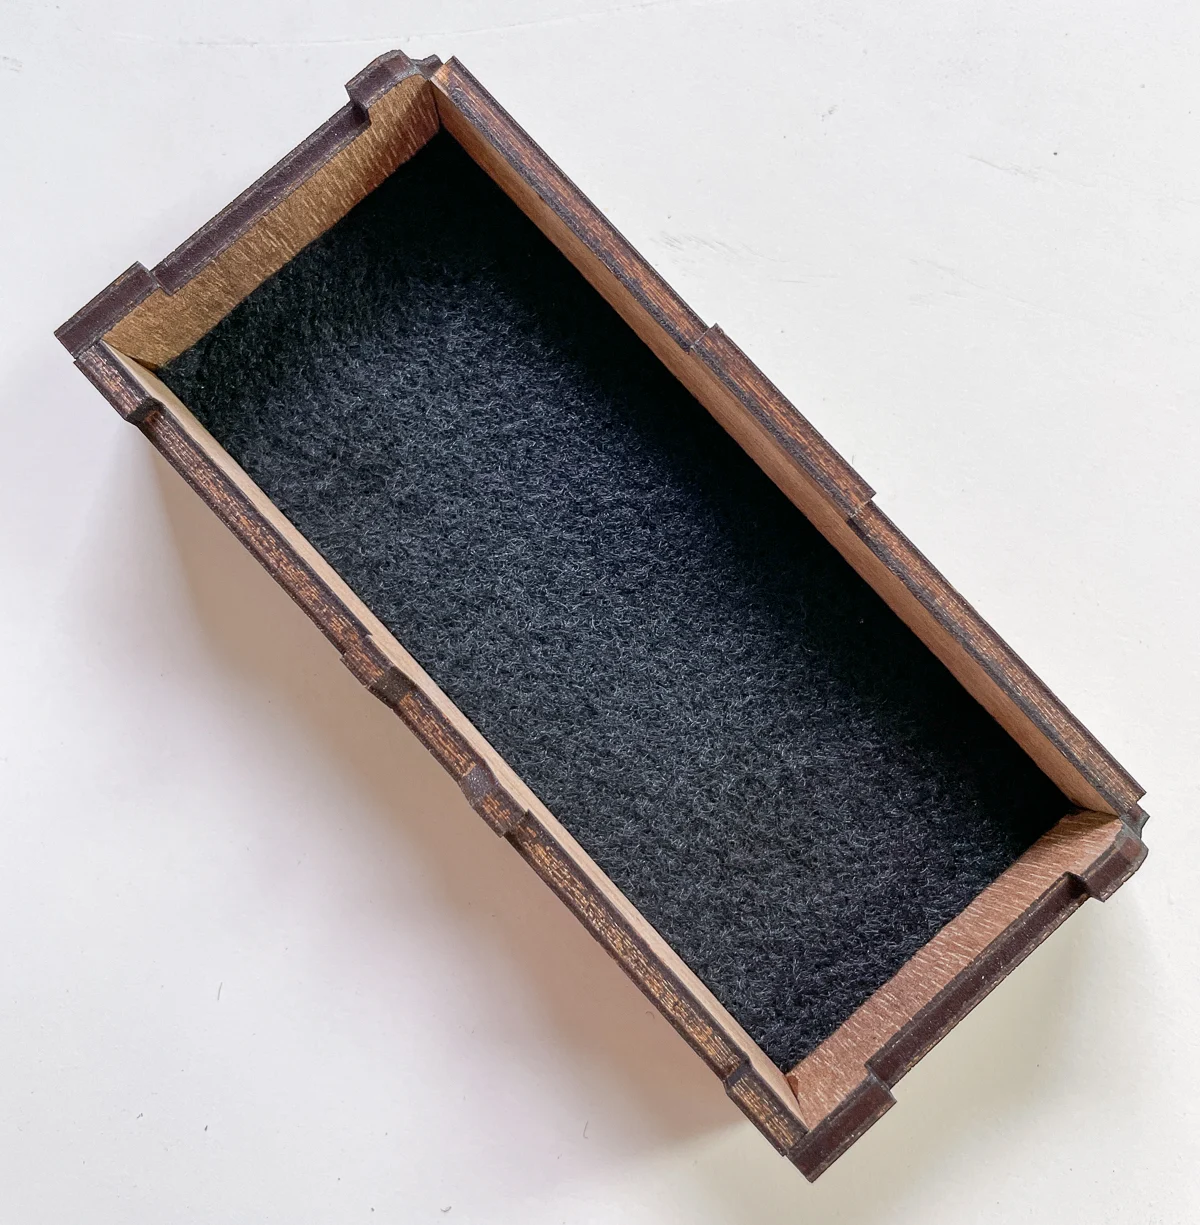
The lip around the inside of the box was the trickiest part to assemble. It's super thin in some spots, and I was worried about breaking it. After a bit of sanding and test fitting, I was able to get it into place. The clamps helped to hold everything together while the glue dried.

Clean the wood and apply finish
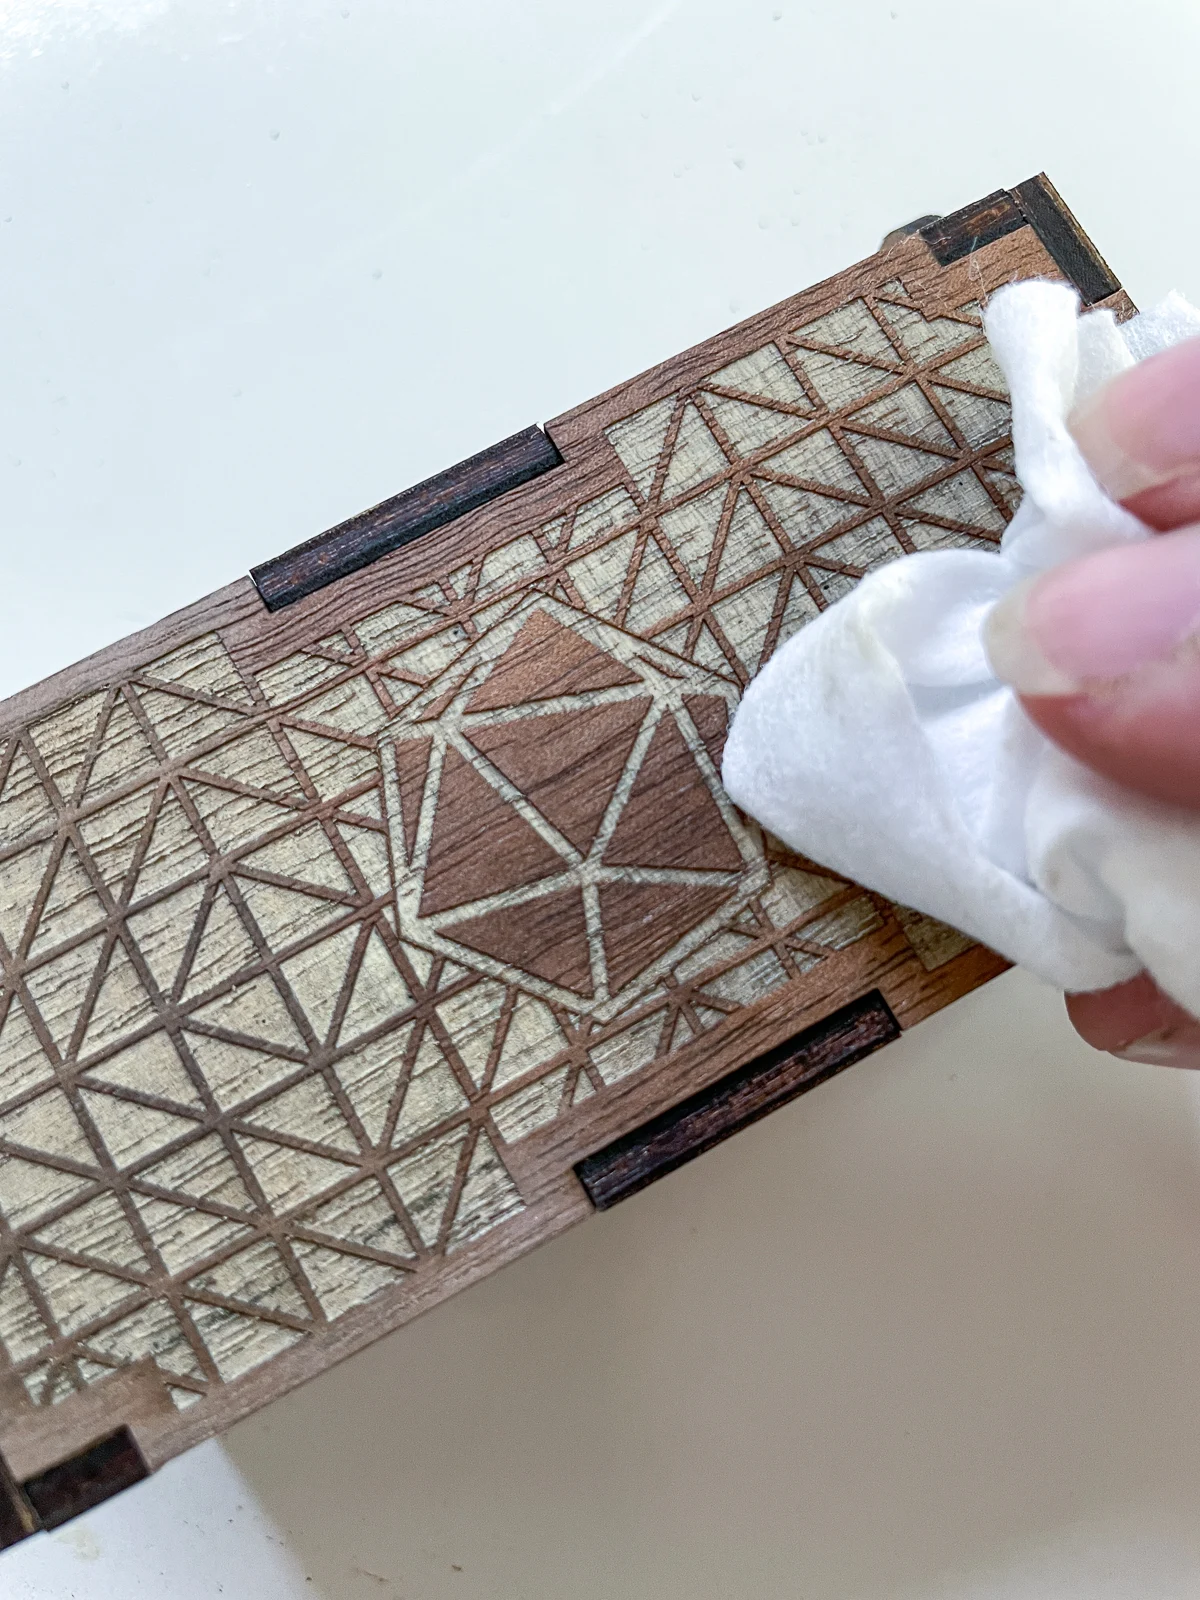
There was still a bit of soot from the engraving process left in the finer details of the box. I used a baby wipe to gently clean the entire surface, and sanded off any obvious blobs of CA glue.

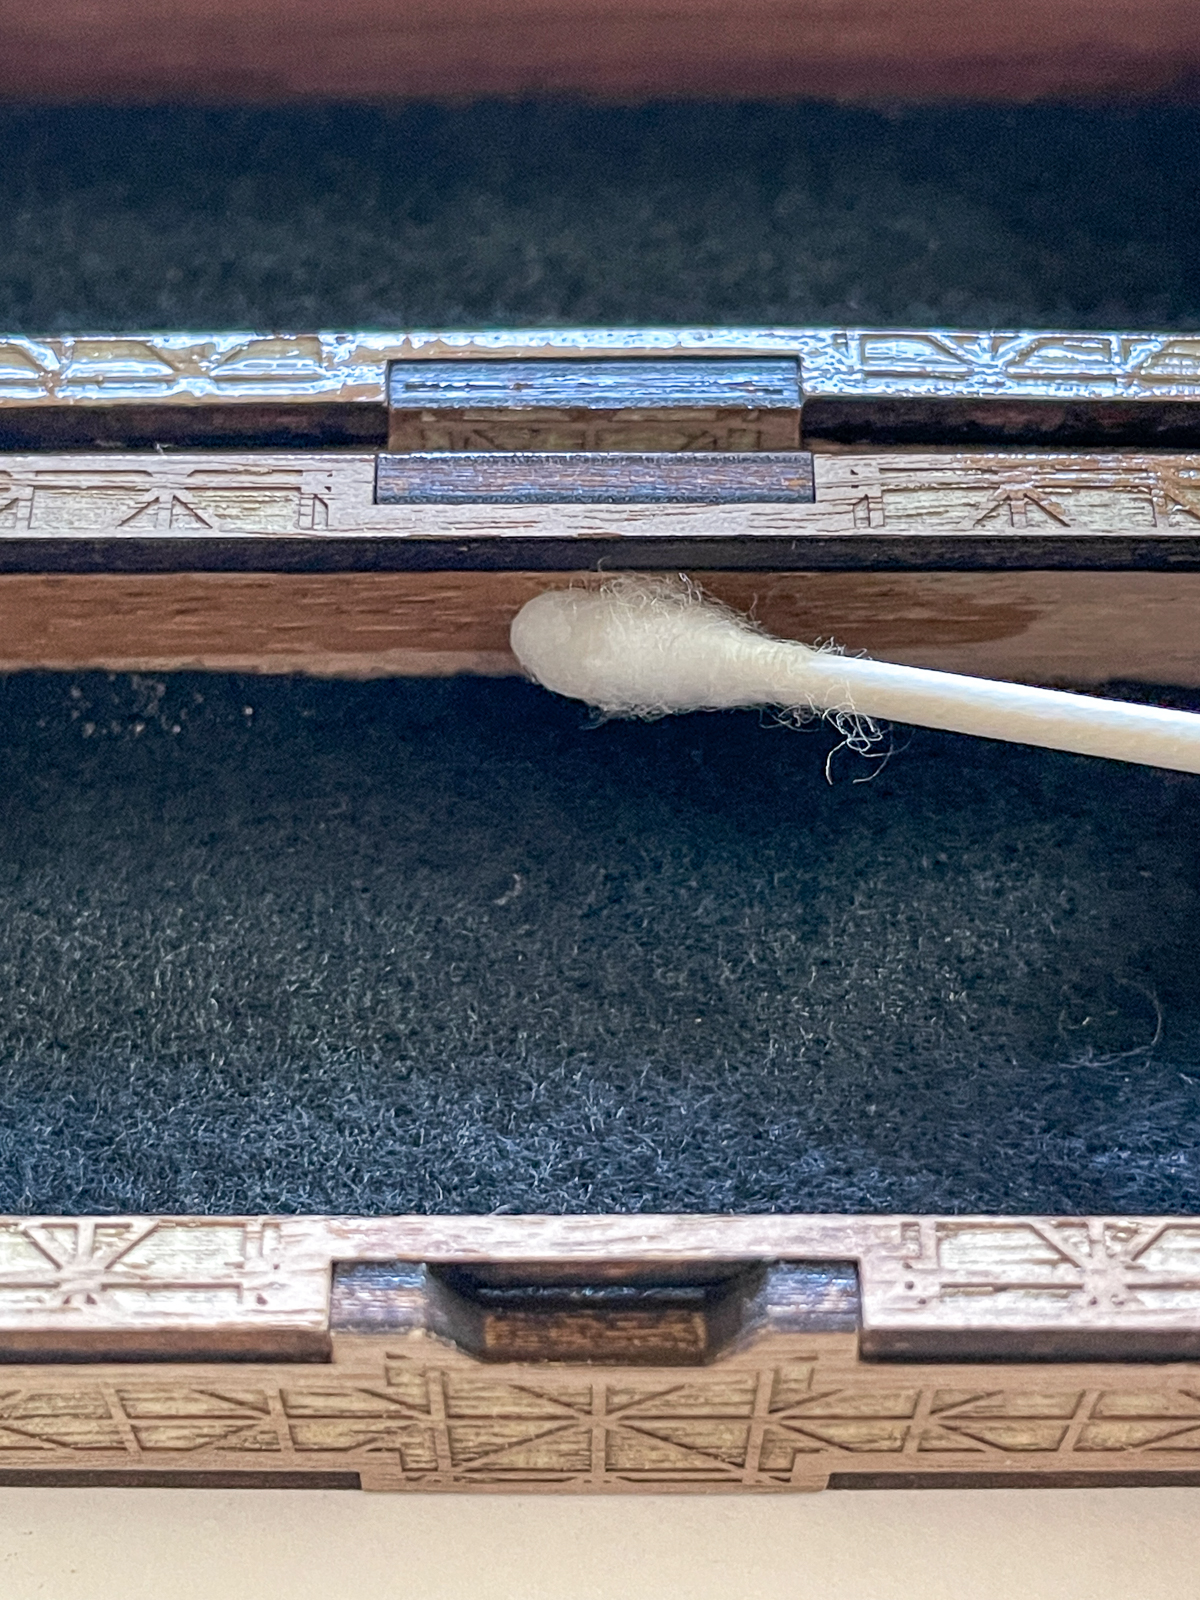
I decided to use some leftover Walrus Oil cutting board oil from my butcher block countertops, but any wipe on finish would work. You'll also want to grab some cotton swabs to get into those tight spots on the inside of the lid.


Start with the inside, using a cotton swab to coat the exposed wood with the finish. A little goes a long way, and you don't want to saturate it and get oil all over the felt.

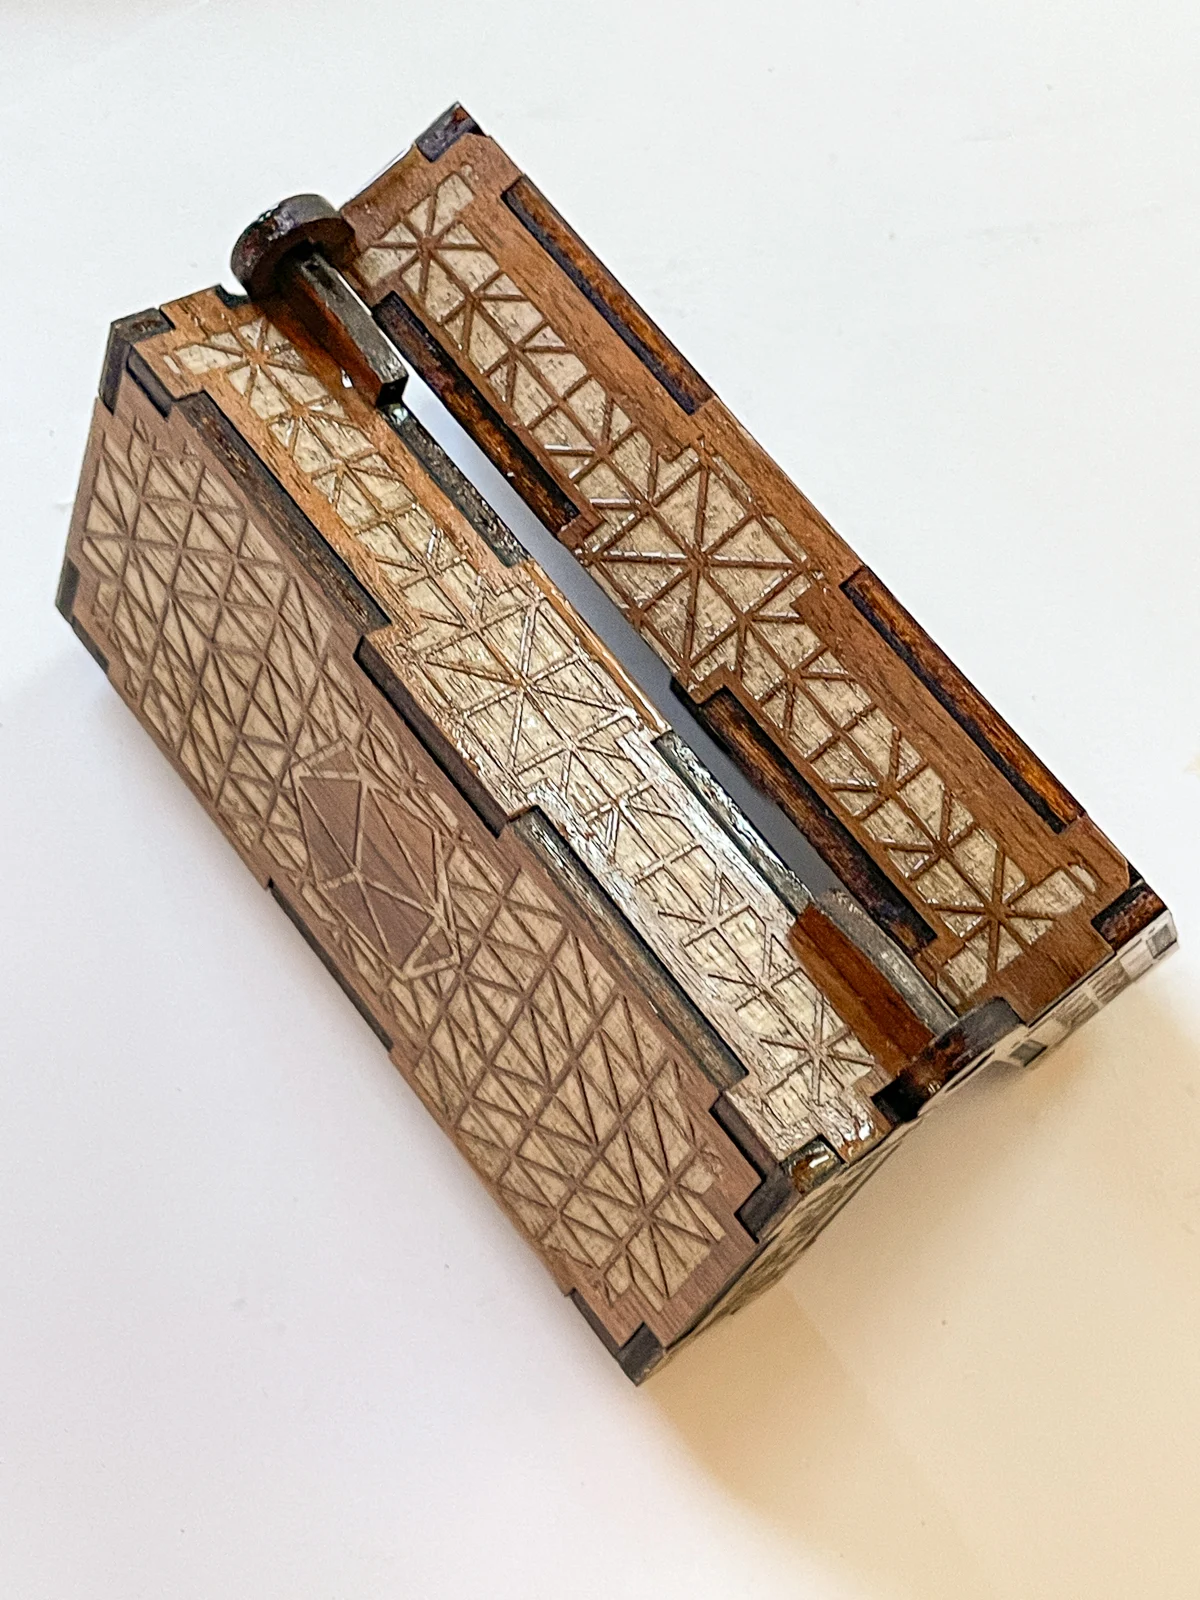
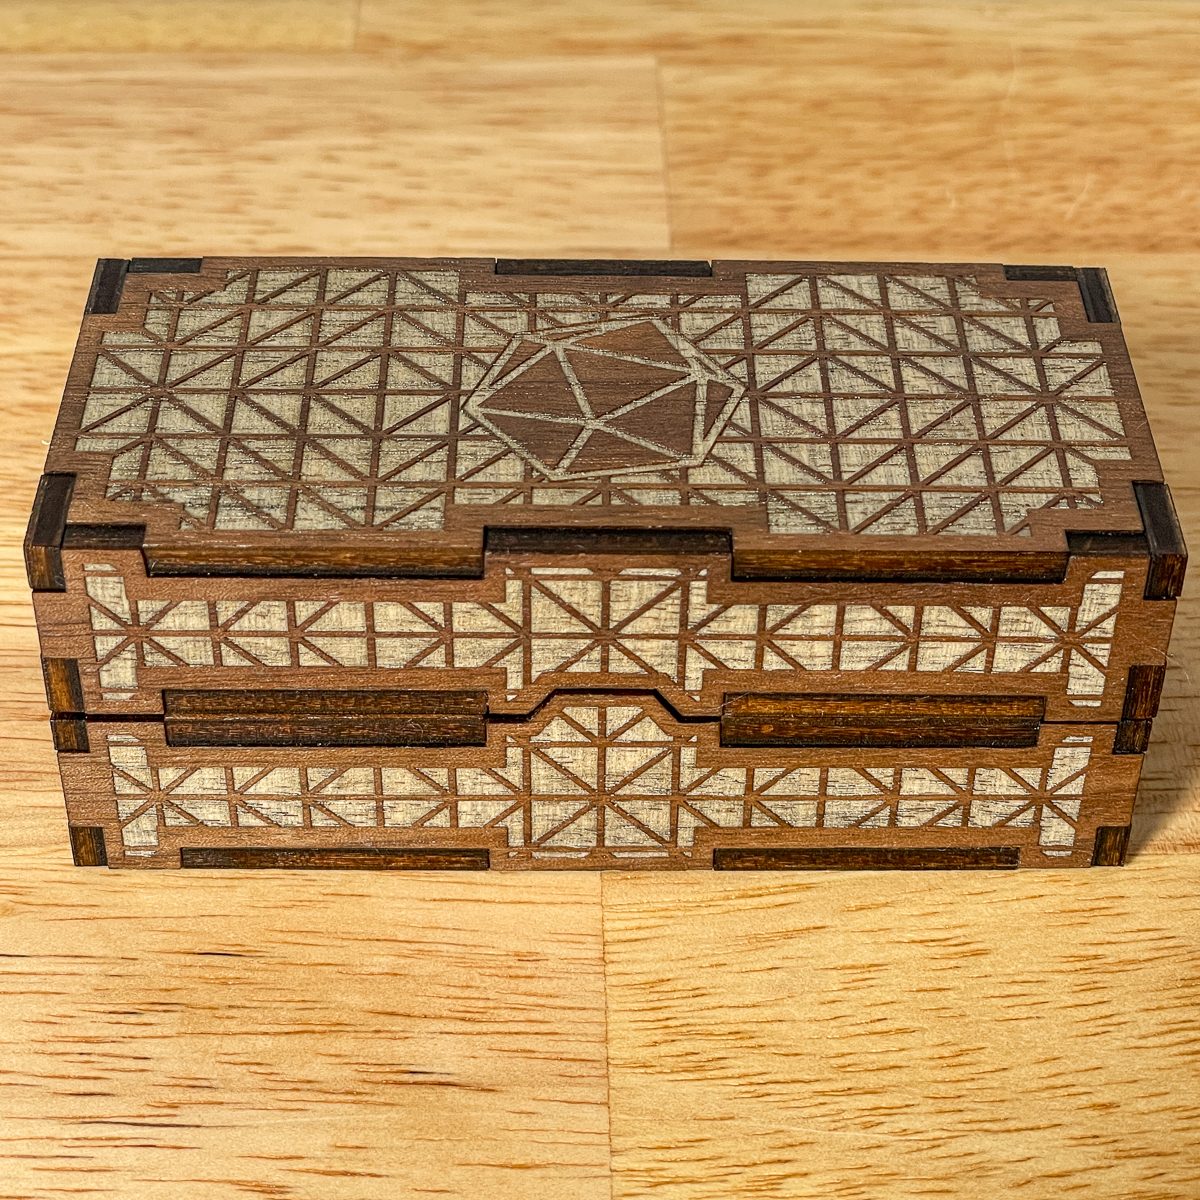
The oil really made the engraved design pop and enhanced the contrast. I left the box propped open like this overnight, and all the oil soaked into the wood. If there's any excess, just wipe it off with a lint-free rag.

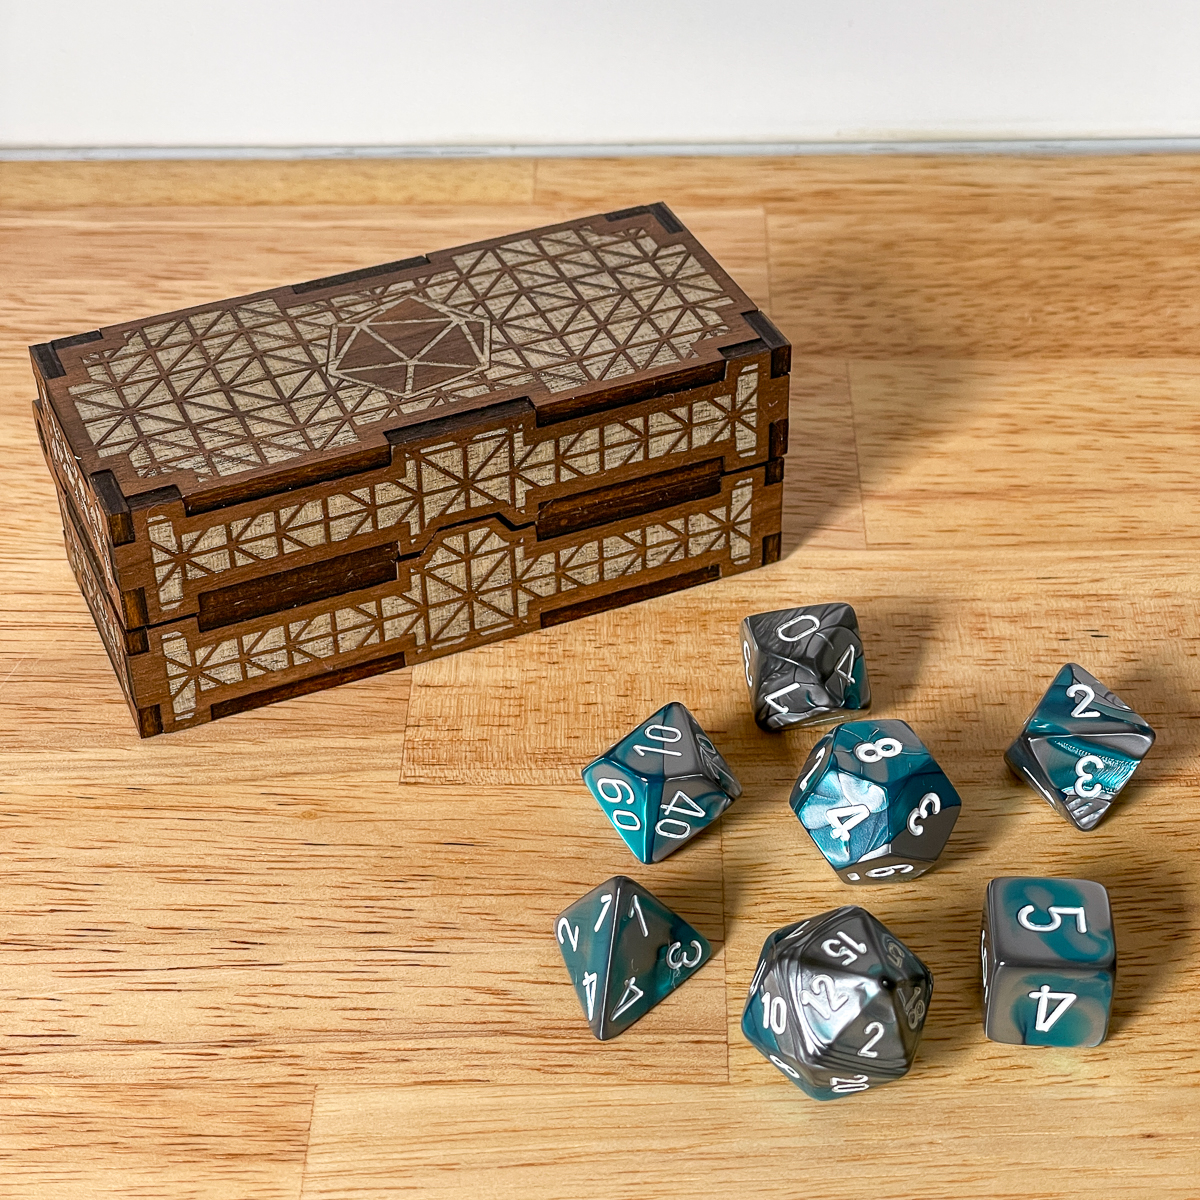
I love how this DIY dice box turned out! My son picked out a set of dice from our local game store to go with the box and complete the gift.
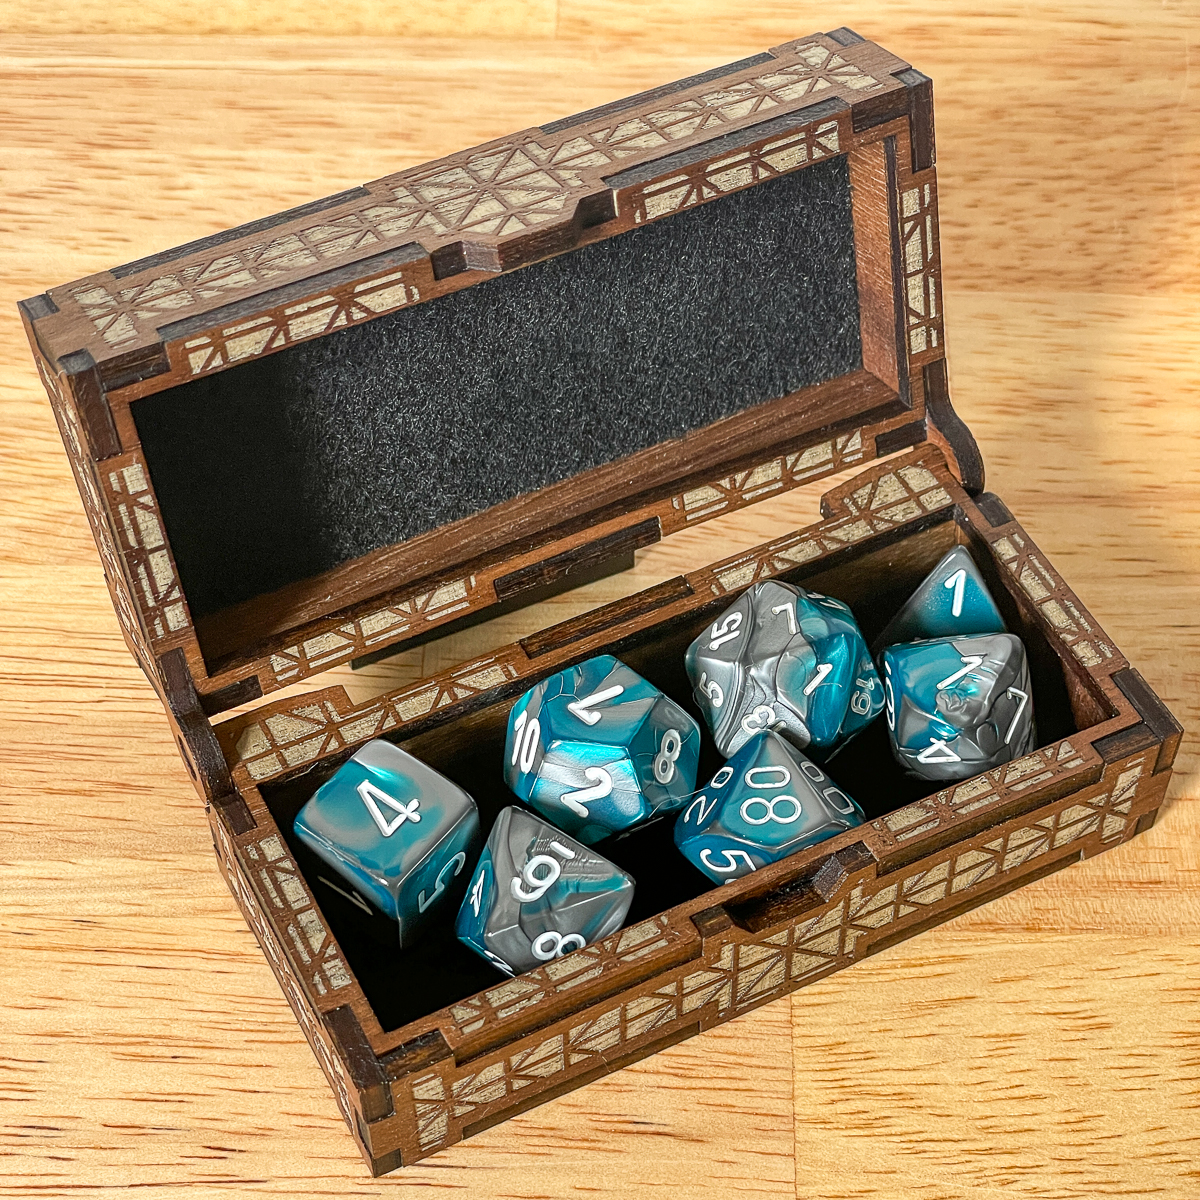

I'm really impressed with how well everything fit together! I'll definitely be buying more files from this Etsy seller in the future. There's no way I could get this level of precision on something this small with regular woodworking tools!

I love having a laser cutter for last minute gift ideas like this! You could even start a small business selling them online (but you should always check with the original owner of the file to get their permission first!)
Read my review of the xTool M1 if you're on the fence and learn more about this awesome machine!

Check out these other laser cutter project ideas!