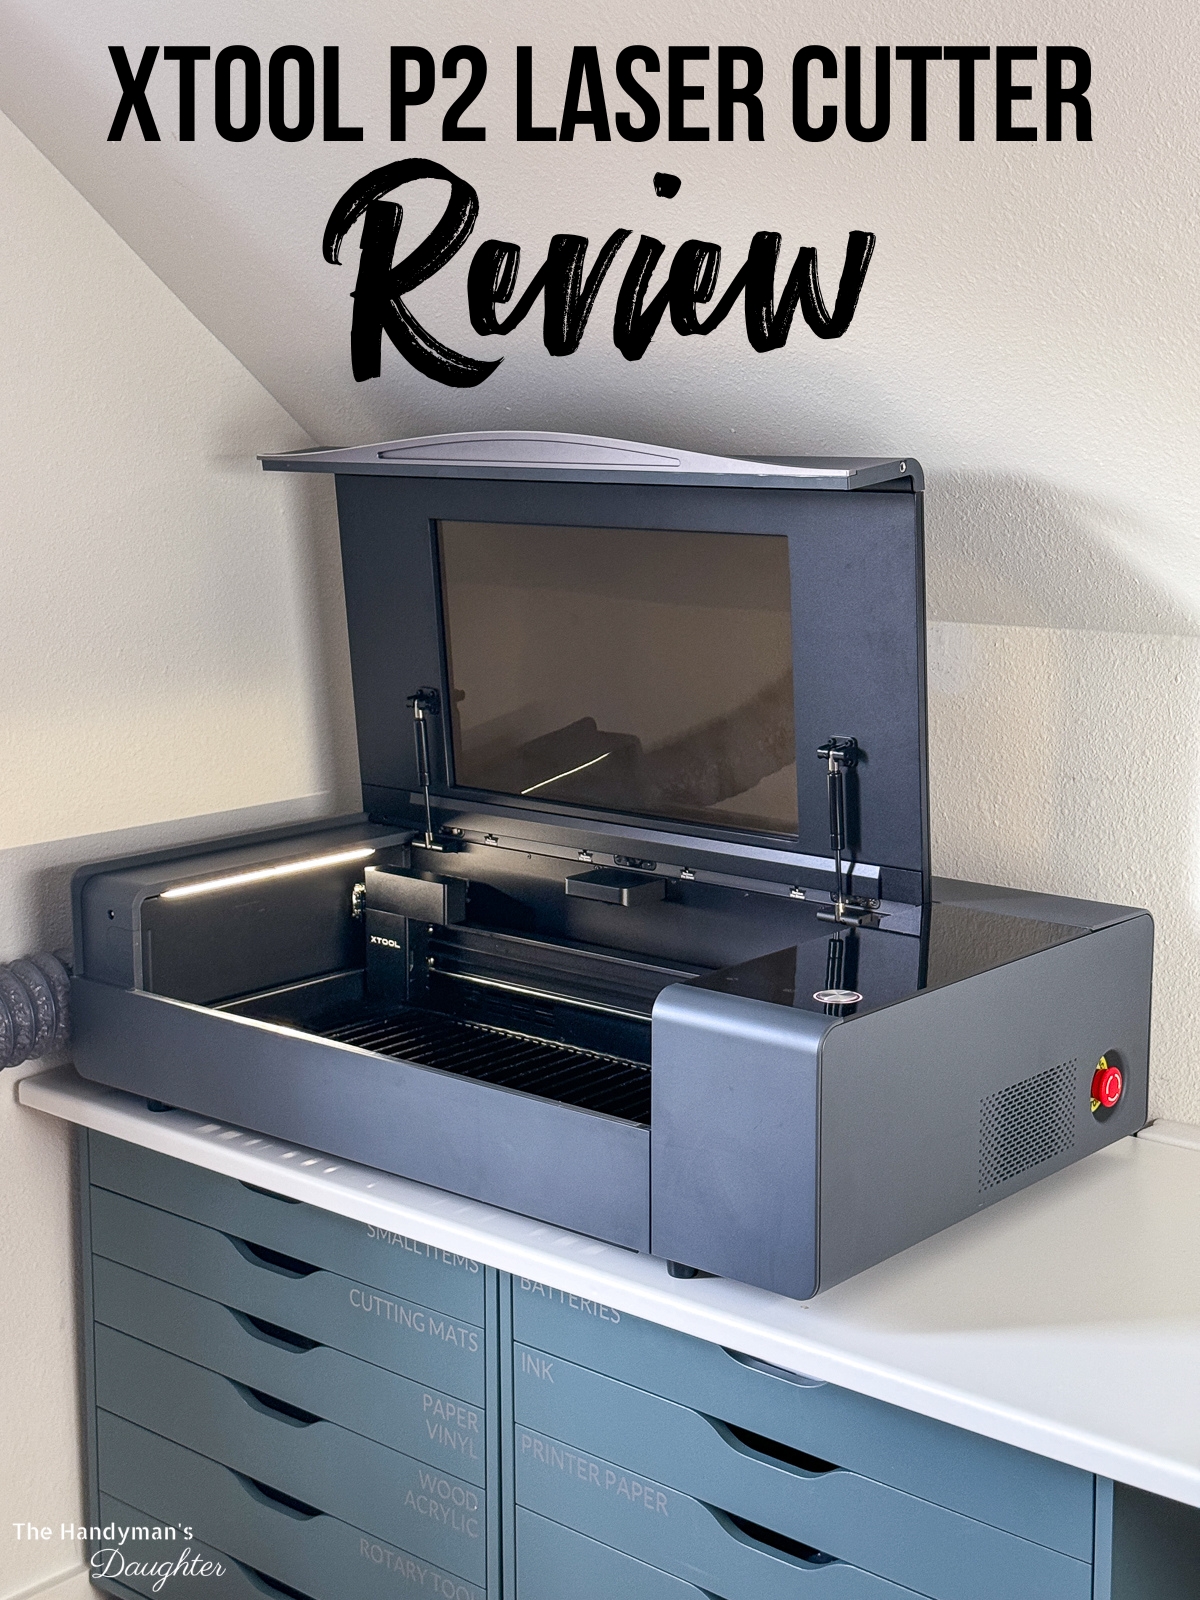
Want more speed and power from a laser cutter? Check out my xTool P2 CO2 laser review after over six months of testing and use.

Are you debating between getting a diode or a CO2 laser cutter for your hobby or small business? Both types of machines can cut and engrave similar materials, such as wood, colored acrylic, and tumblers. So which one is right for you?
A diode laser cutter is great for crafting small items, such as this propagation station or this dice box. I made both of these projects (and many more!) with my xTool M1, which has both a 10W diode laser and a cutting blade. I've been having a ton of fun with it!
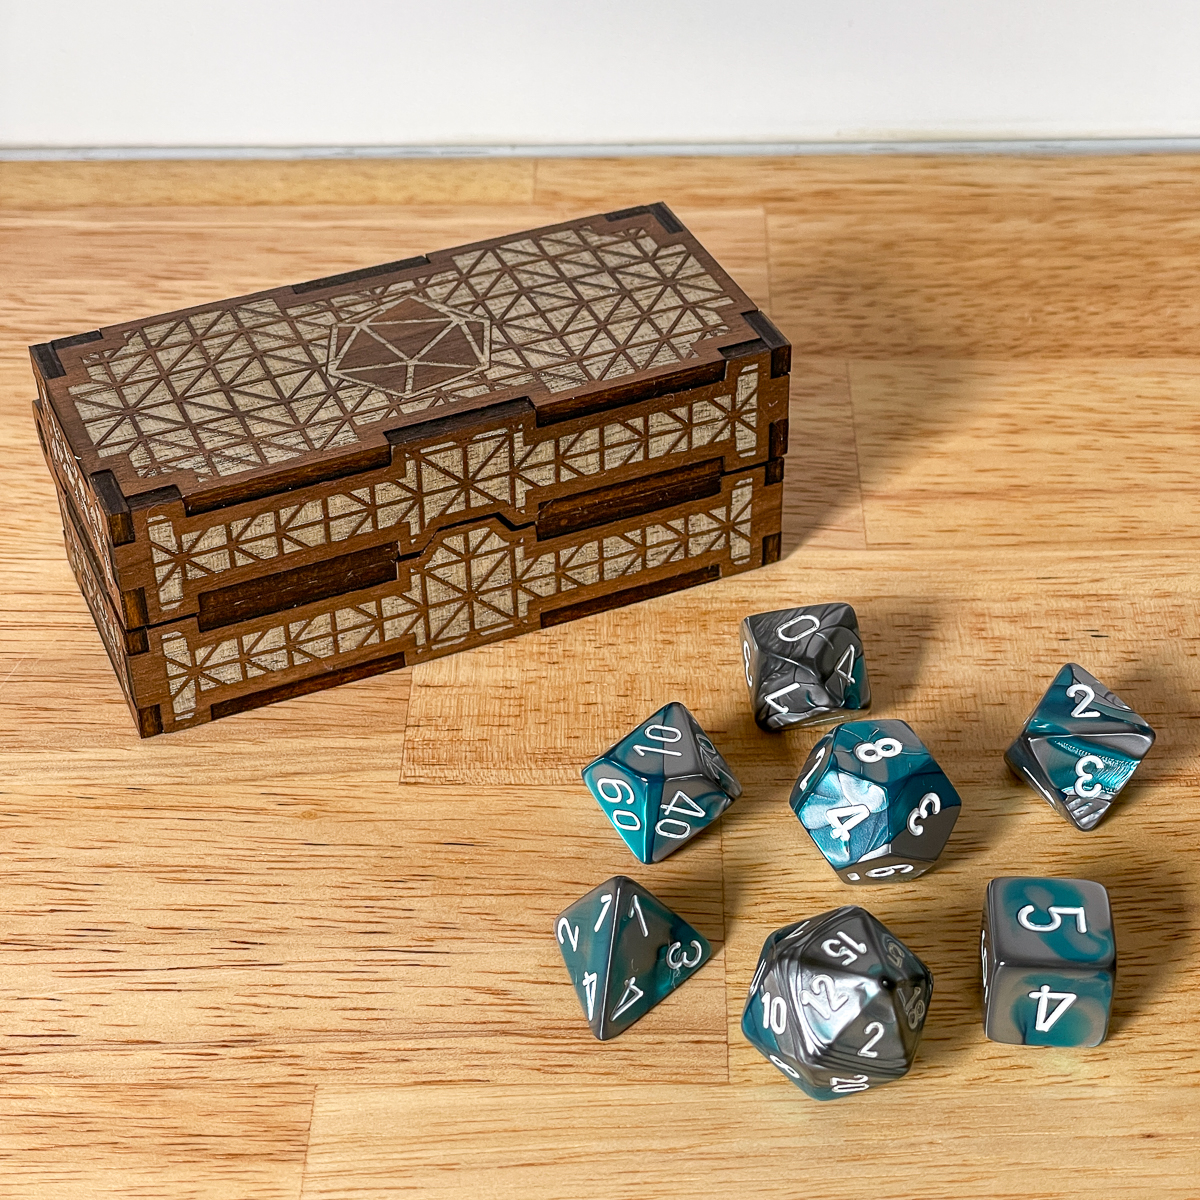

However, there are a few drawbacks to diode laser cutters. It struggles with thicker materials, and can't cut clear, white or blue acrylic. They're also much slower, especially when engraving. That little box took almost two hours to engrave and cut!
This post contains affiliate links for your convenience. Purchases made through these links may earn me a small commission at no additional cost to you. Please visit my disclosures page for more information.
Don't have a laser, or looking to upgrade? Use the code VINETA100 for $100 off an xTool laser! Click here to check them out!
So I was thrilled when xTool reached out again and asked if I wanted to try out their new P2 CO2 laser! While xTool provided this machine to me for free, I was not paid to write this review. I'll share my genuine experience using this tool for the first time, and any hiccups that occurred along the way.
Let's check it out!
xTool P2 at a glance
| Laser Type | CO2 Laser |
| Laser Power | 55W |
| Work Area | 23.6"×12" working area 26.7''×14.1'' bed size |
| Machine Size | 39.4"×25.1"×10.6" 99 pounds |
| Material Compatibility | Cuts wood, acrylic, leather, MDF, rubber and fabric. Engraves on glass, ceramic, slate, coated metal, and anodized aluminum. |
| Cutting Thickness | Up to 18mm solid wood and 20mm acrylic |
| Engraving Speed | Up to 600 mm per second |
| Camera | Two 16MP cameras (wide angle and close up) |
| Software | Comes with xTool Creative Space Compatible with LightBurn |
| Connectivity | USB, Ethernet, Wi-Fi |
| Additional Features | Automatic locking lid for safety, curved surface engraving, batch engraving |
| Optional Accessories | Riser base for taller items Rotary for engraving round objects Conveyor system for longer boards Smoke purifier if you can't vent the machine outside Honeycomb panel for smaller cuts |
Setting up the workspace
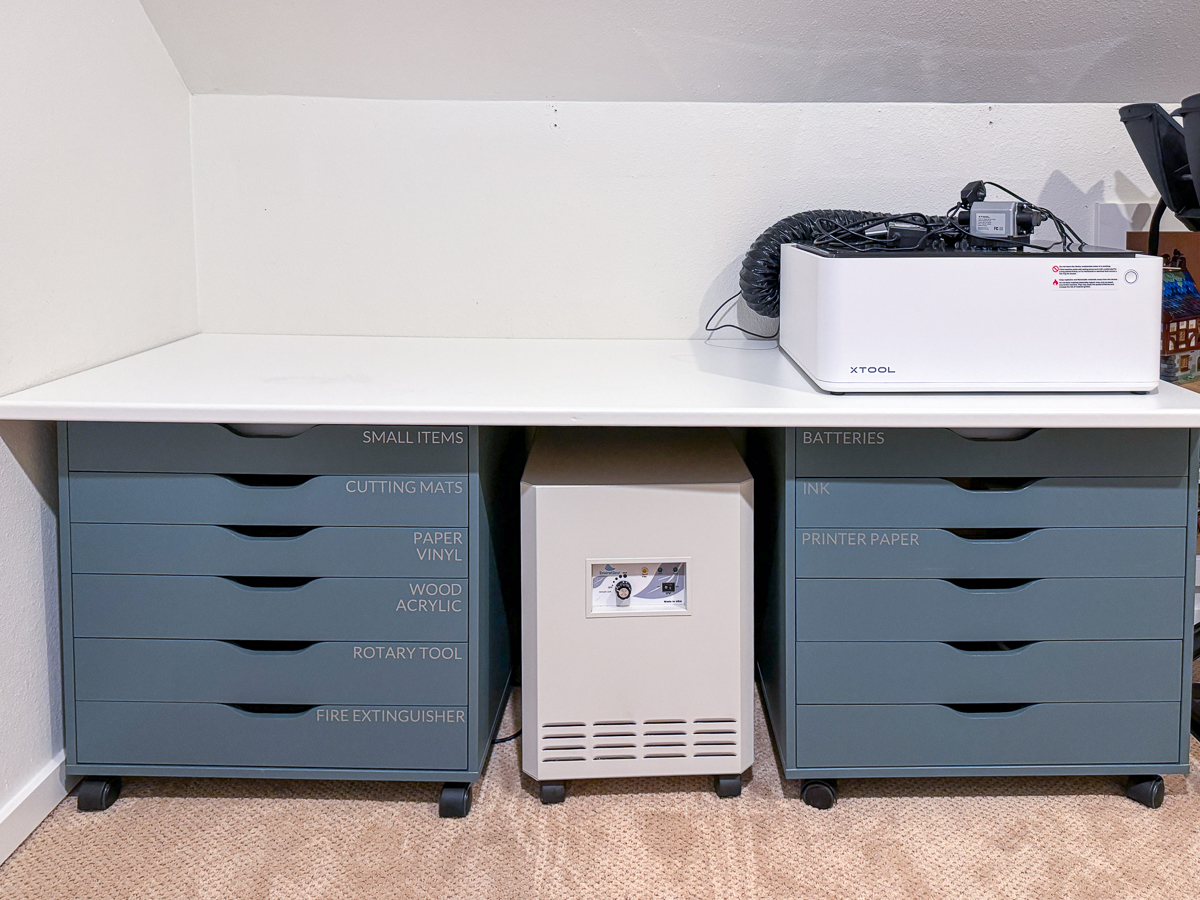
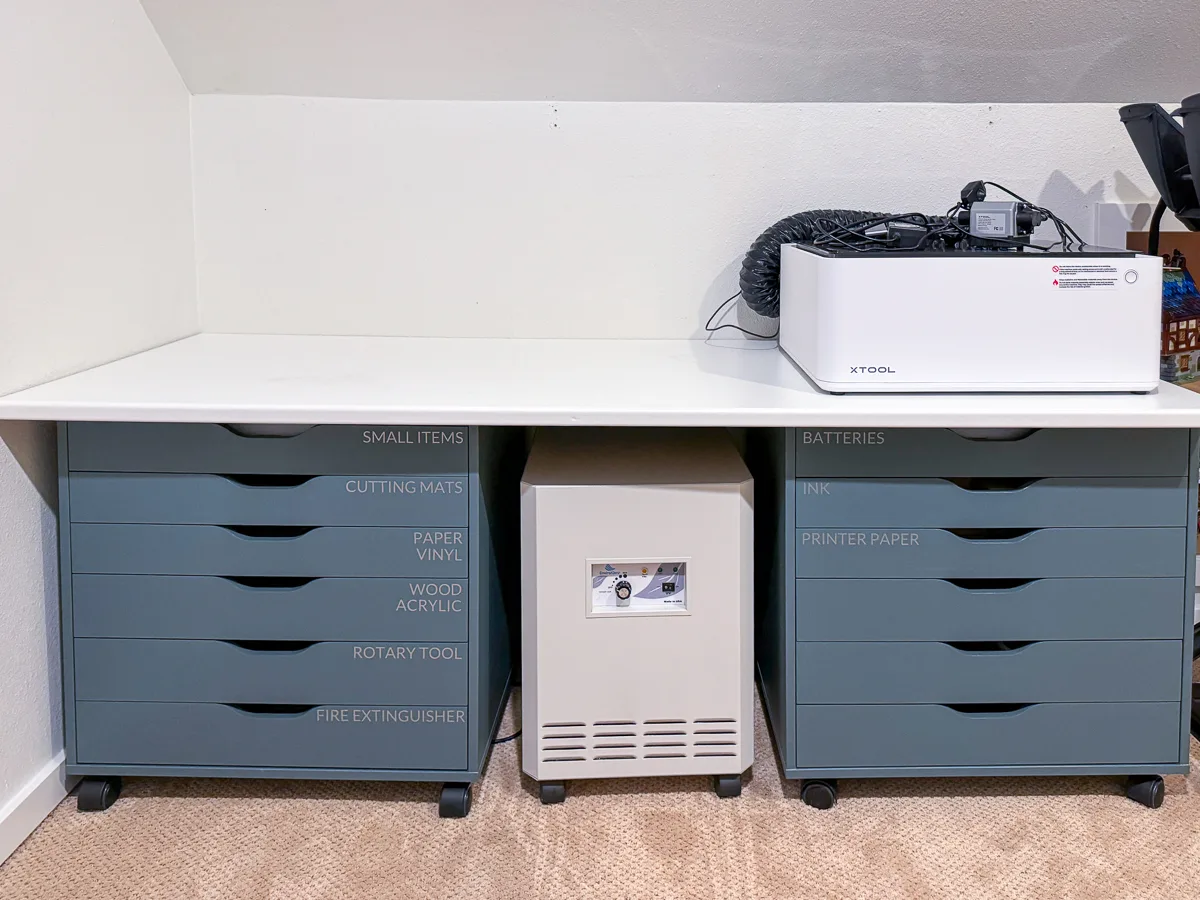
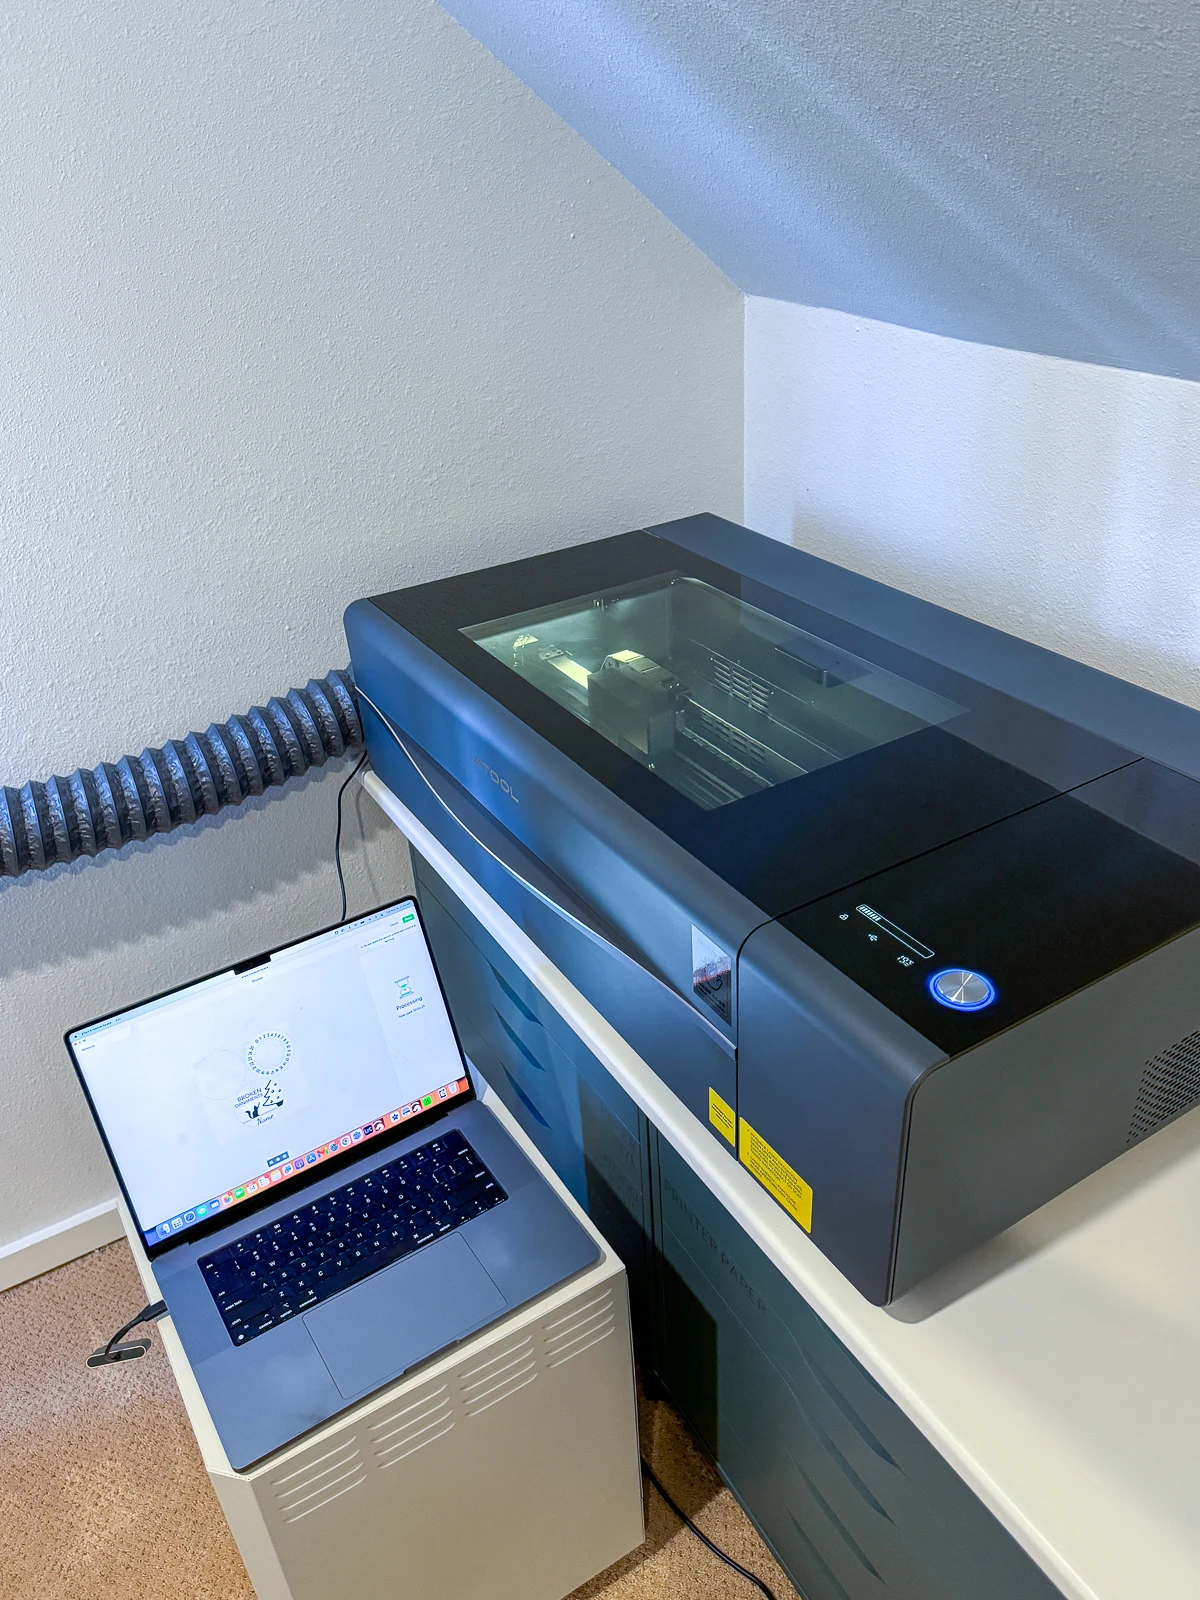
Before the P2 arrived, I had to do a little rearranging in the craft/guest room. The M1 was originally sitting on an IKEA Alex drawer unit, with another one for the printer.

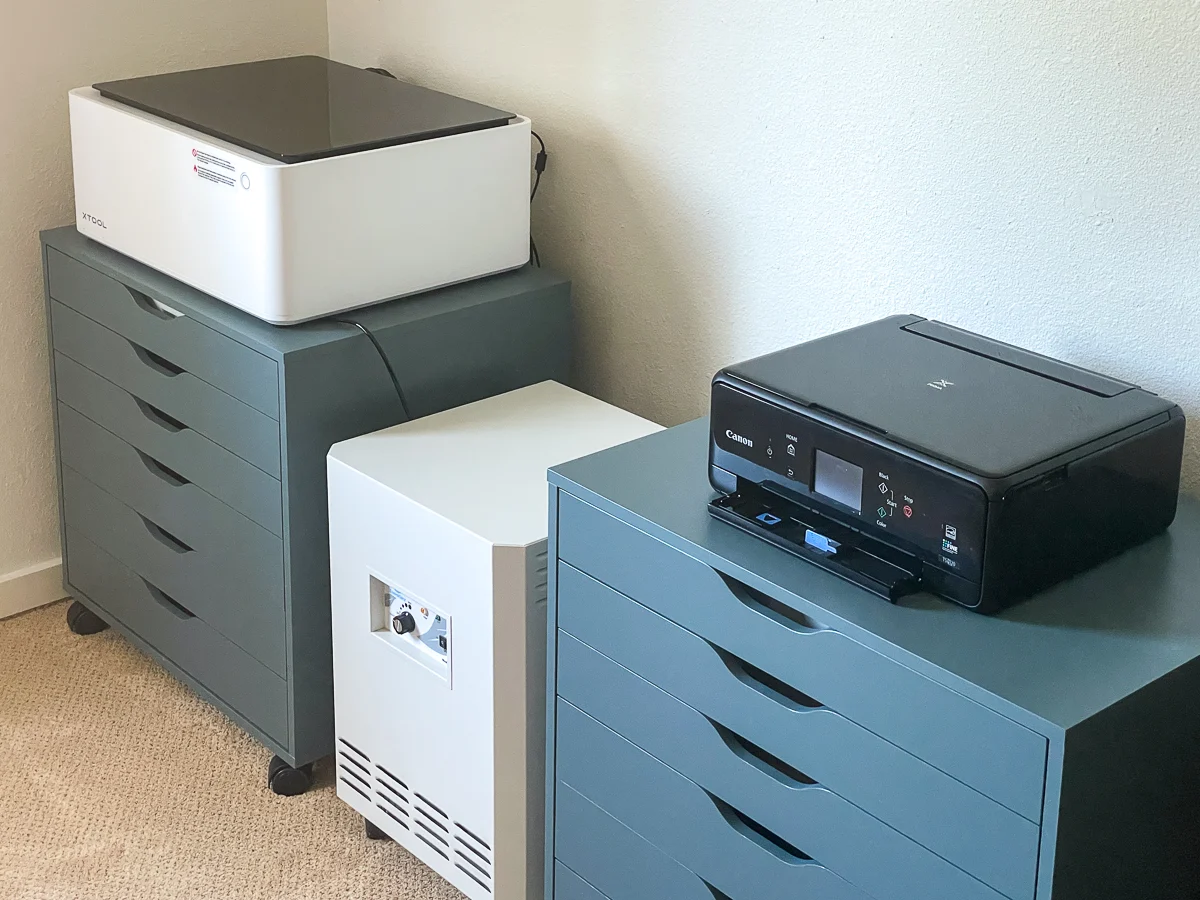
The P2 is significantly larger than the M1, and it wouldn't fit on the Alex drawer units on their own. I ended up buying a cheap white IKEA countertop that fit the span perfectly.
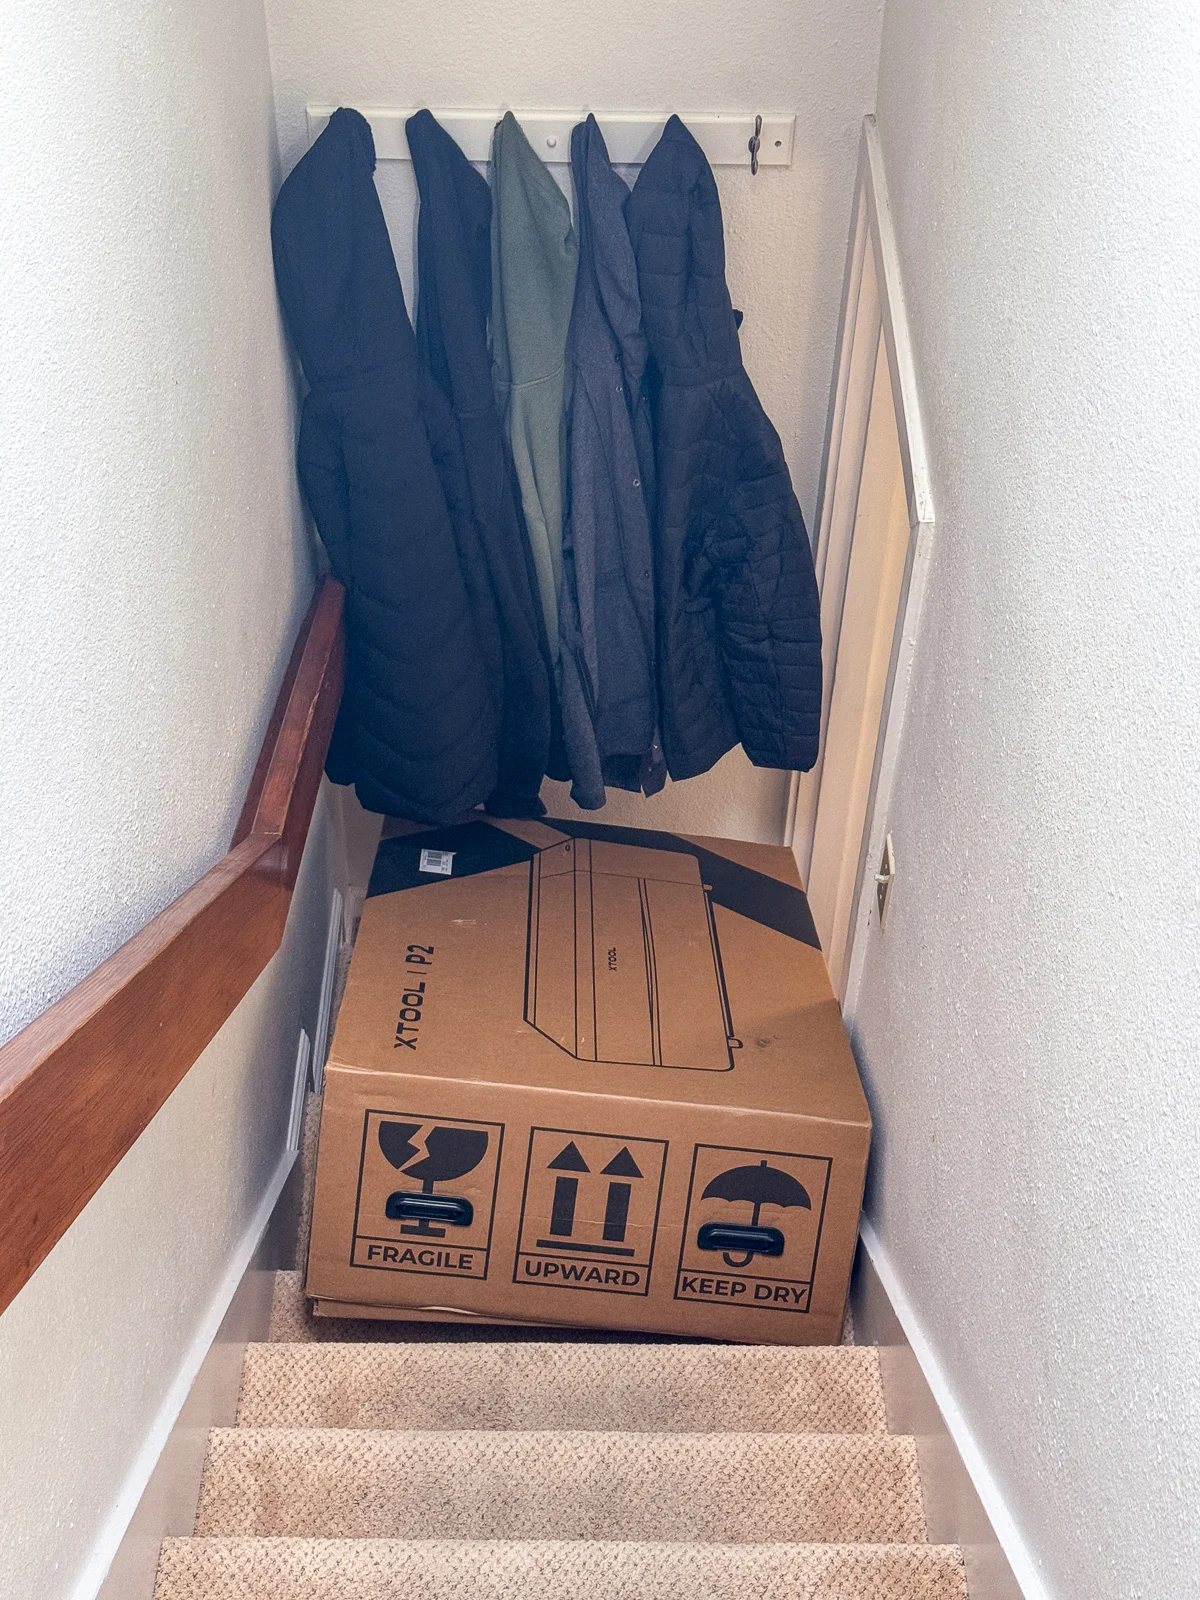
I knew this machine was heavy, but I wasn't quite prepared for how difficult it would be to get up our narrow staircase to the second floor. The box was almost the same width as the stairs! We had to slide it up rather than carrying it. It's definitely a two person job!

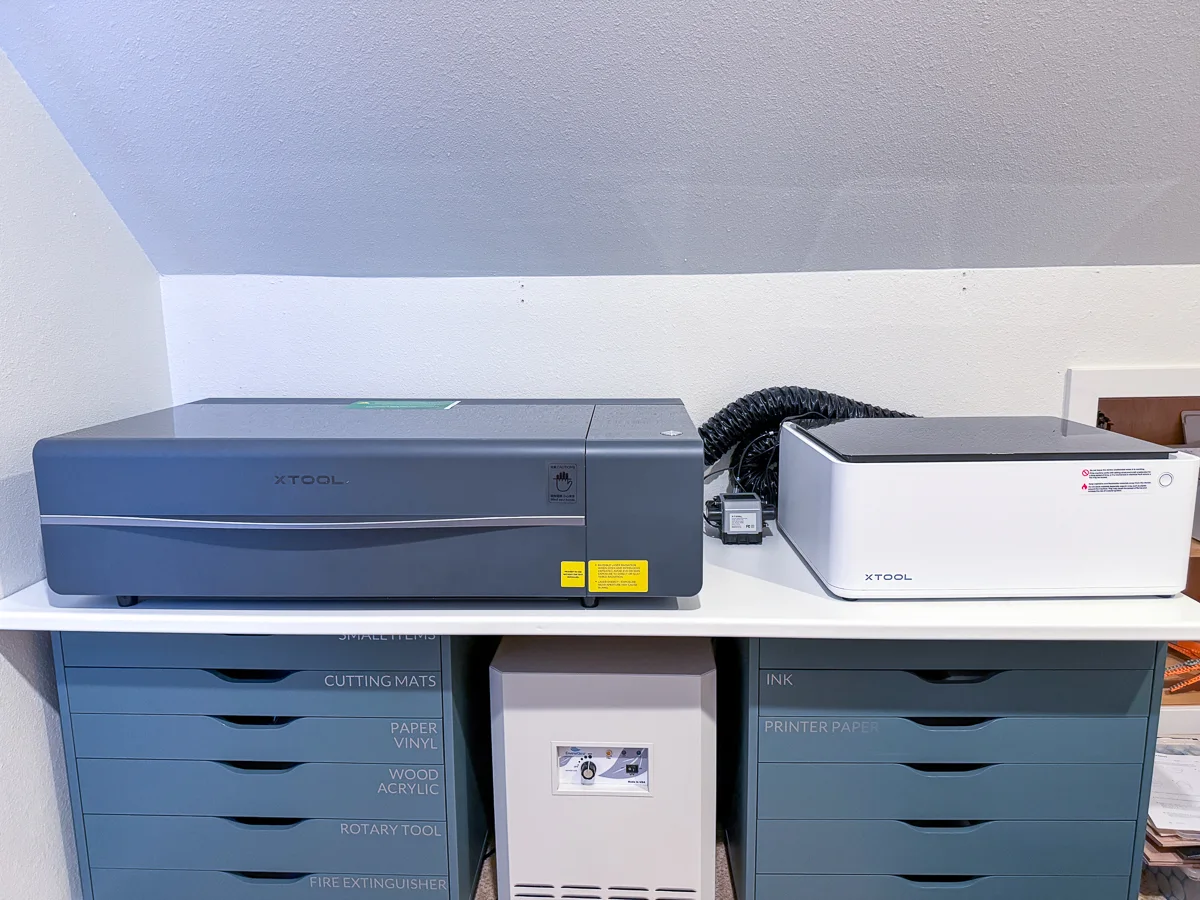
Once we got the machine out of the box and onto the counter, you could really see the size difference between the P2 and the M1. This thing is a beast!

xTool also sent me the riser base, rotary and conveyor system, but I decided to start with the base model so I can compare it to the M1 without all the bells and whistles.
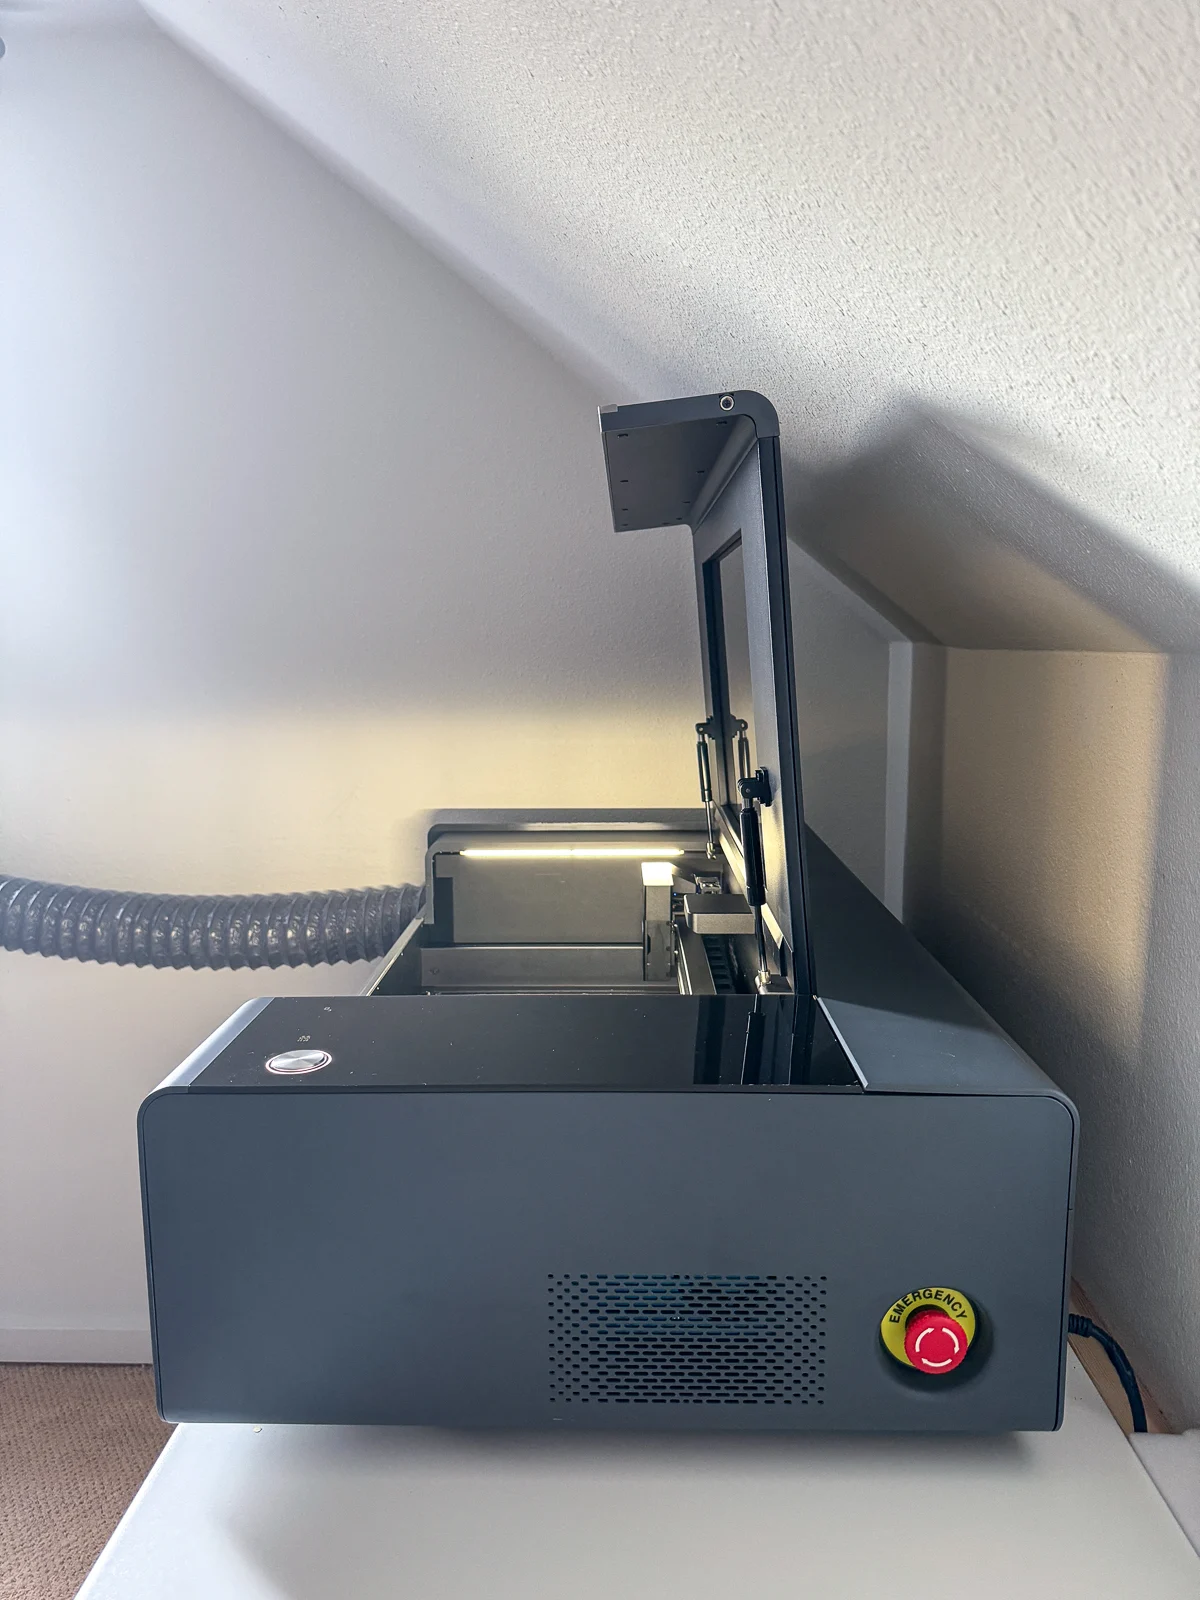
Plus, I'm still figuring out how to get the accessories to work in this awkward space. The raised lid is currently at the perfect height to avoid hitting the angled ceiling!

After a few months, I decided to go all in on the tech craft machines and converted our backyard shed into a maker space! Now I have plenty of room for both lasers, plus a 3d printer, sublimation printer and heat press!
The P2 fits perfectly on this Husky workbench, which has casters and adjustable height to make it easier to reach inside with the taller riser base.


Initial set up
There are a few steps you need to take before firing up your P2 for the first time. It's not quite as plug-and-play as a diode laser, but it's pretty easy to get started!
Add water and antifreeze
CO2 lasers require a mixture of distilled water and antifreeze to keep the machine cool. The antifreeze prevents the glass tube from shattering if the temperatures drop below freezing in your house or workshop.
xTool provides the antifreeze, a funnel and a handy chart to determine how much to add. Make sure to use distilled water, which you can buy at the grocery store. I marked a measuring cup with the ratios required for my climate.

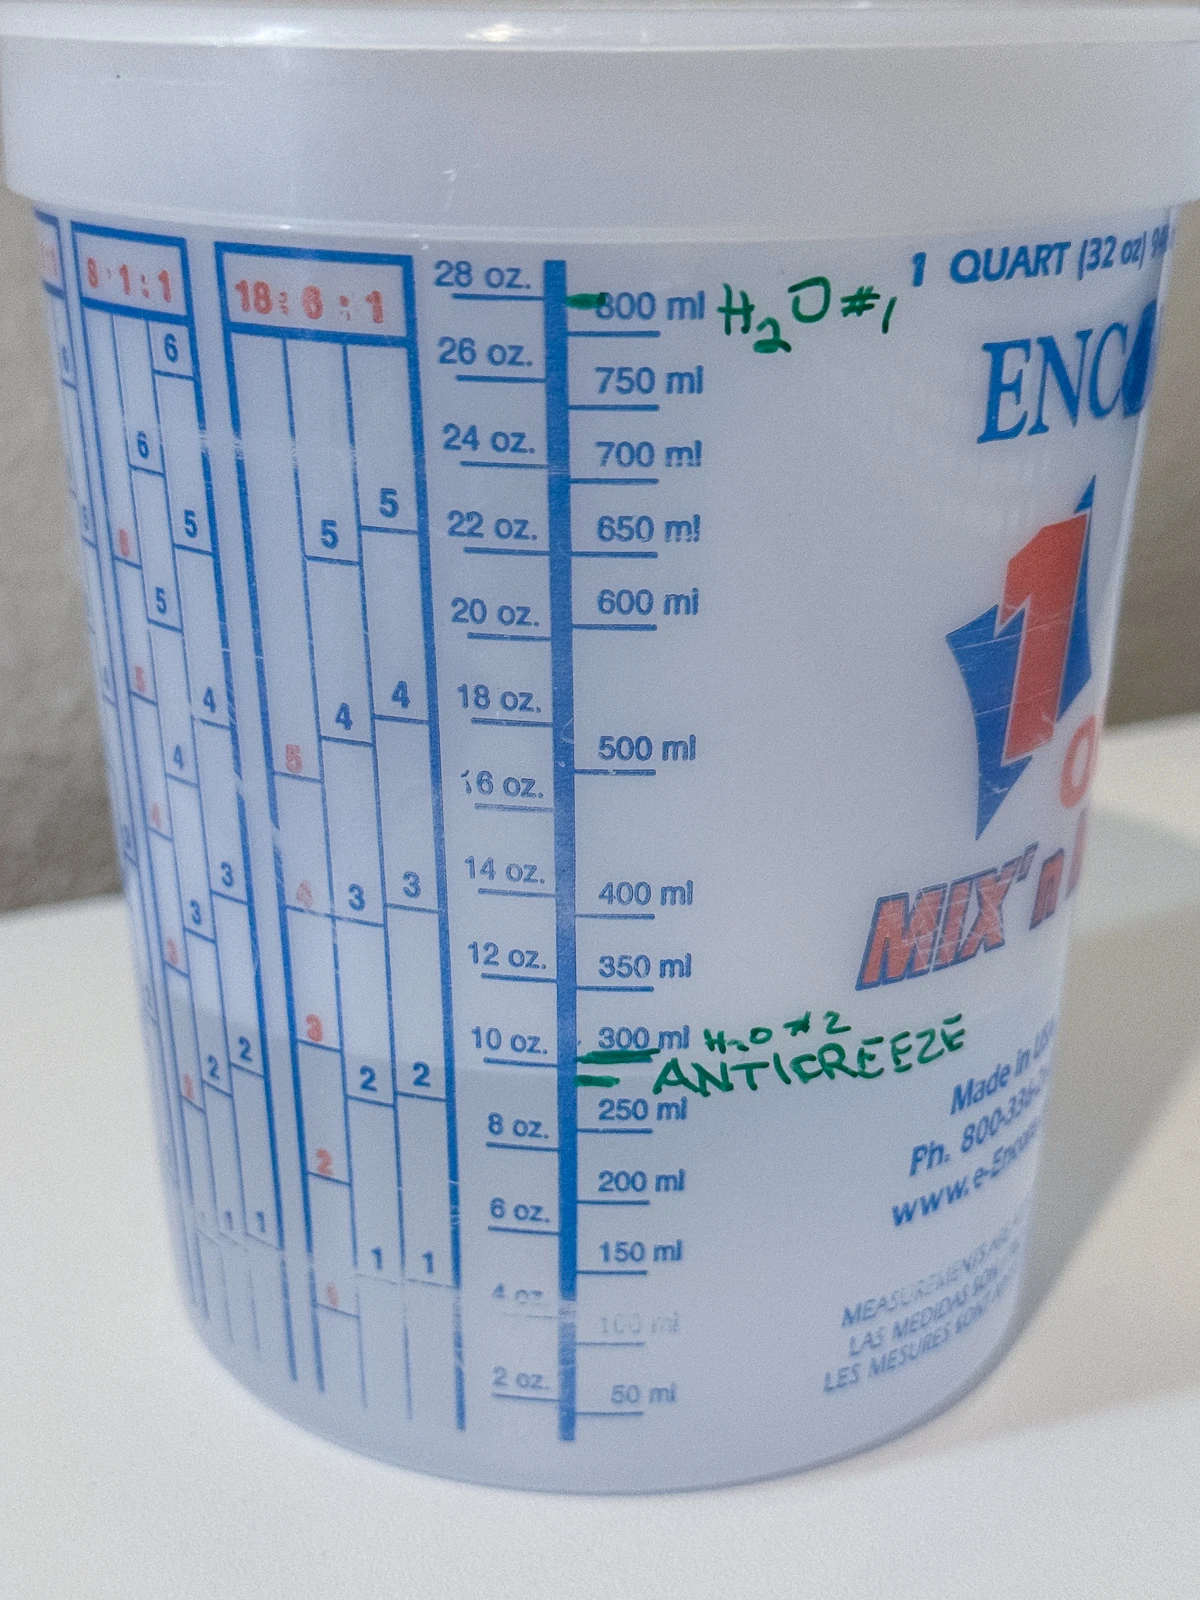
The instructions walk you through this process step by step, including removing the back cover to access the tube. It sounds complicated, but it was really easy!
Align the mirror
The laser bounces off three mirrors to change the direction of the beam from the back of the machine to your work piece. To get the best results, you'll need to test the beam's position and adjust the mirror if necessary.
Basically, you cover the hole on the laser module with painter's tape, then fire a quick pulse to mark the beam position. Mine was just slightly high of center.

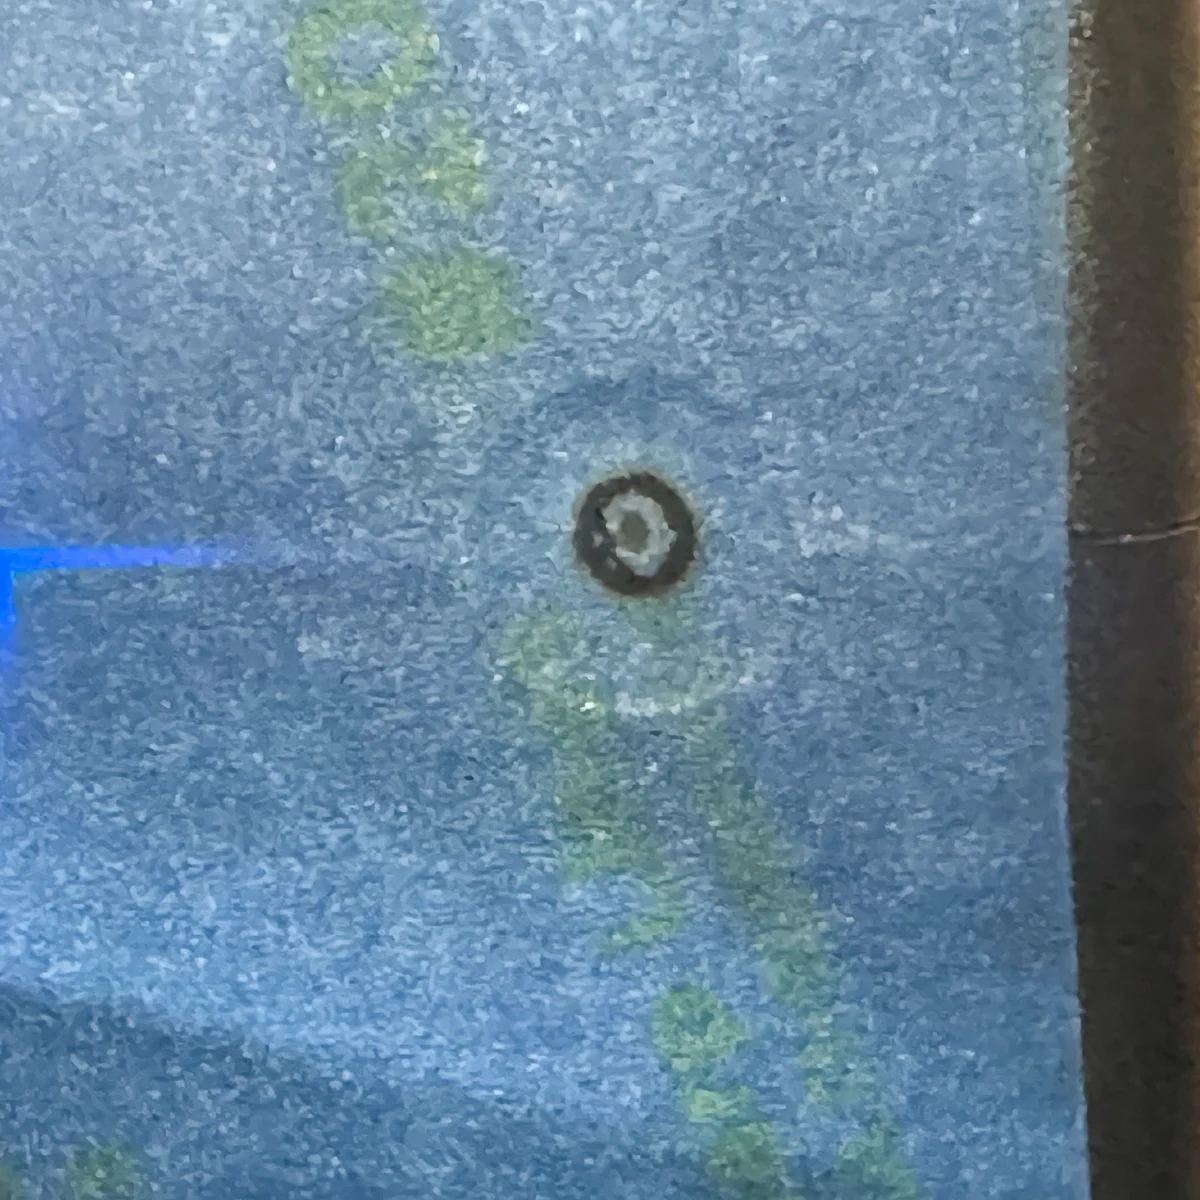
Adjust the set screws on the mirror as indicated in the instructions, then move the tape and test the beam again. Perfect!

Attach the exhaust hose
Cutting and engraving on a laser can create a lot of smoke and fumes. The best way to prevent your house from smelling like a campfire is to vent it outside through a window or door. If you don't have outside access, you can also hook it up to an air purifier.
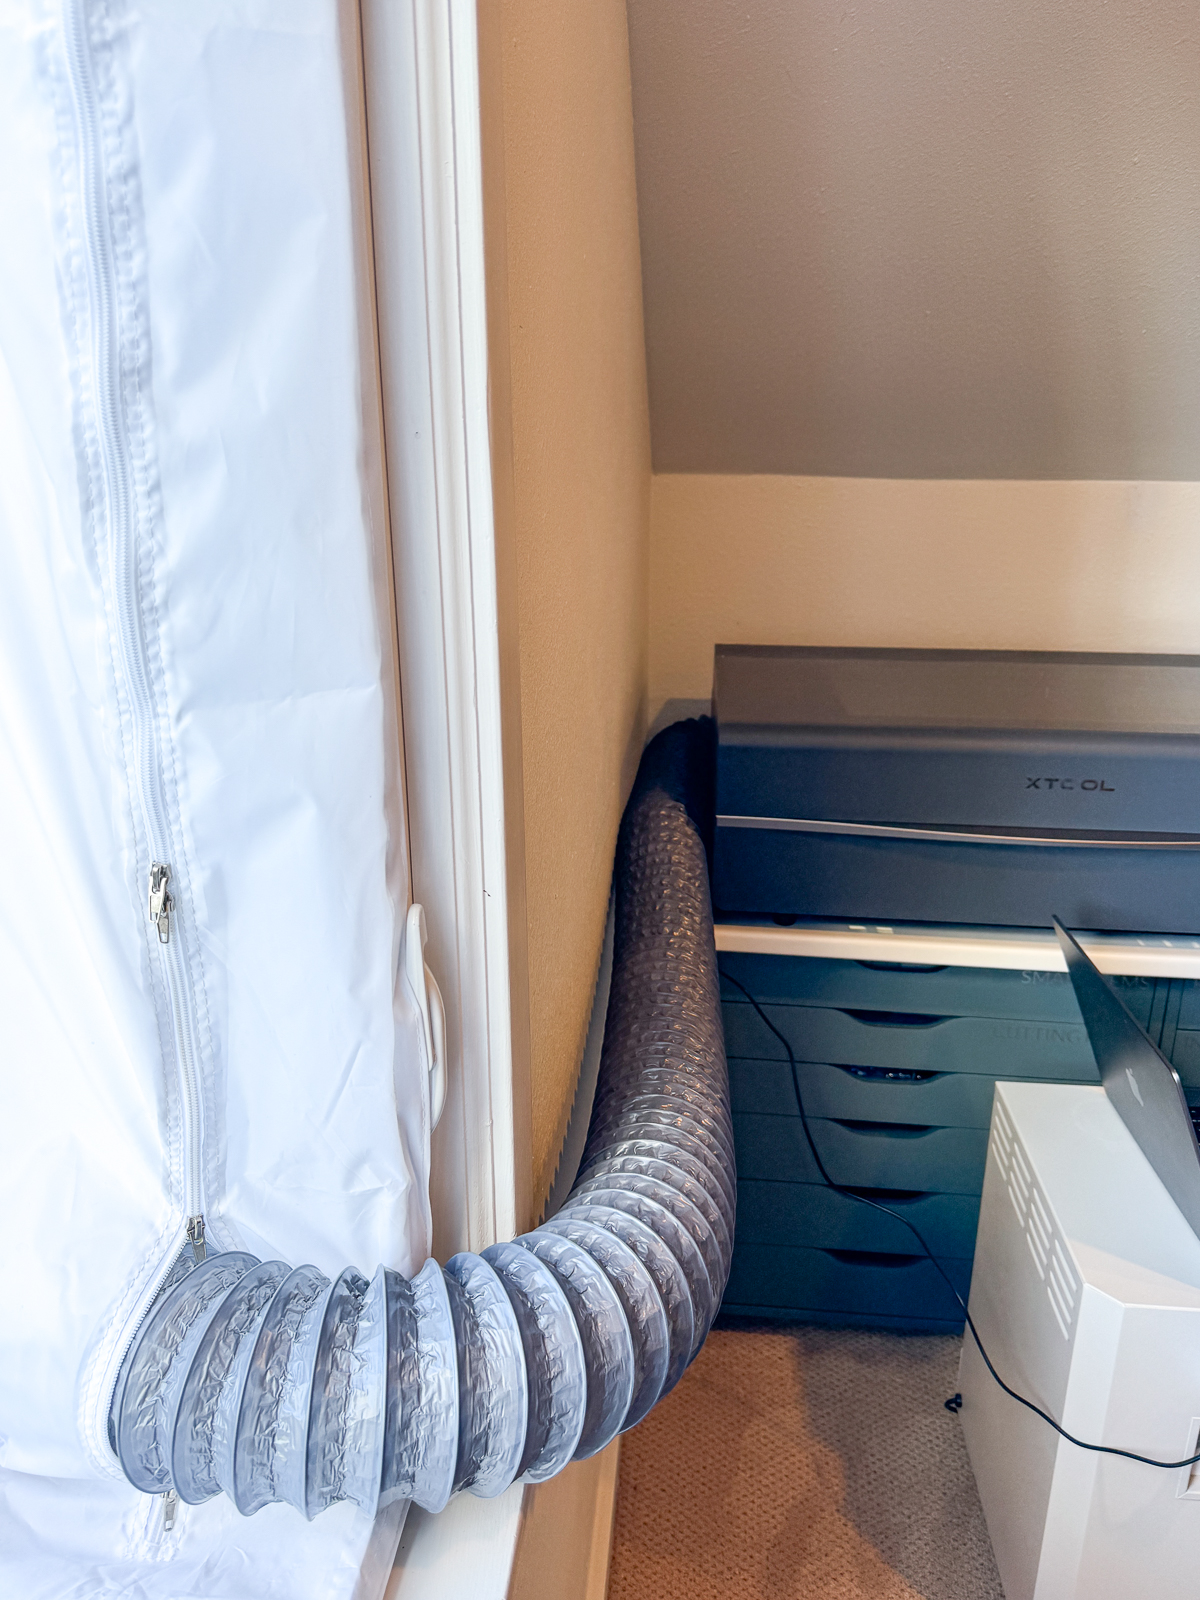

The exhaust vent that comes with the P2 was a little too short to reach our window. I had the same issue with the M1, but it was light enough to wheel the stand closer. The casters barely move under the weight of the new machine!
I had some 4" hose left over from my dust collector in the workshop, but the fan exhaust only has a 3" opening. I connected the two different sizes with this adapter so it could reach the window. The casement window air conditioner seal keeps it in place, while also preventing rain from dripping into the room while I'm using the machine.
Connect to your computer via USB
After downloading the xTool Creative Space software, you'll need to connect your computer with the provided USB cable. After the initial set up, you can connect over Wifi, although I'm still having issues connecting it this way. I prefer to plug it in when I'm using it so I don't lose signal to the machine.
The cord is fairly short, and I needed an adapter since my MacBook only has USB-C plugs. But soon I was up and running!

You can also use Lightburn with the P2, although you'll lose some functionality such as curved surface engraving. I recently downloaded Lightburn just to play around with it, and it definitely has a steeper learning curve than xTool Creative Space!
xTool P2 vs M1 comparison
I spent a week creating a bunch of projects with the new machine, which I'll share in future tutorials. Now that I've used both the P2 and the M1 extensively, I've gotten a good feel for where each one shines. Let's take a look at some of these features in more detail.
Working area
It's pretty obvious when you see both machines side by side that the P2 is much bigger. But it's the space on the inside that counts!

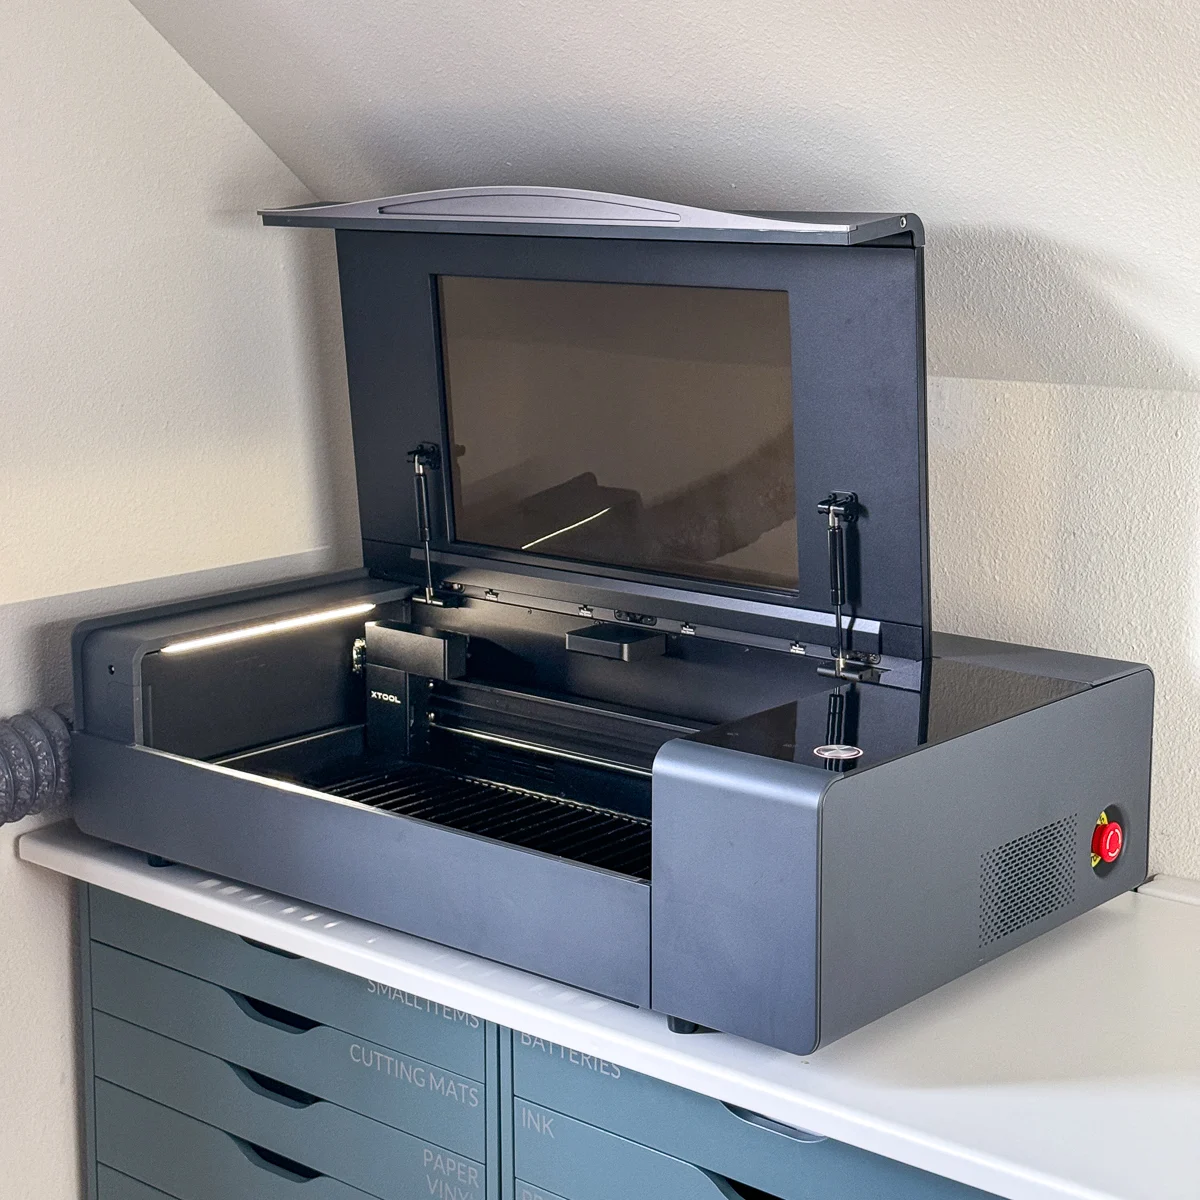
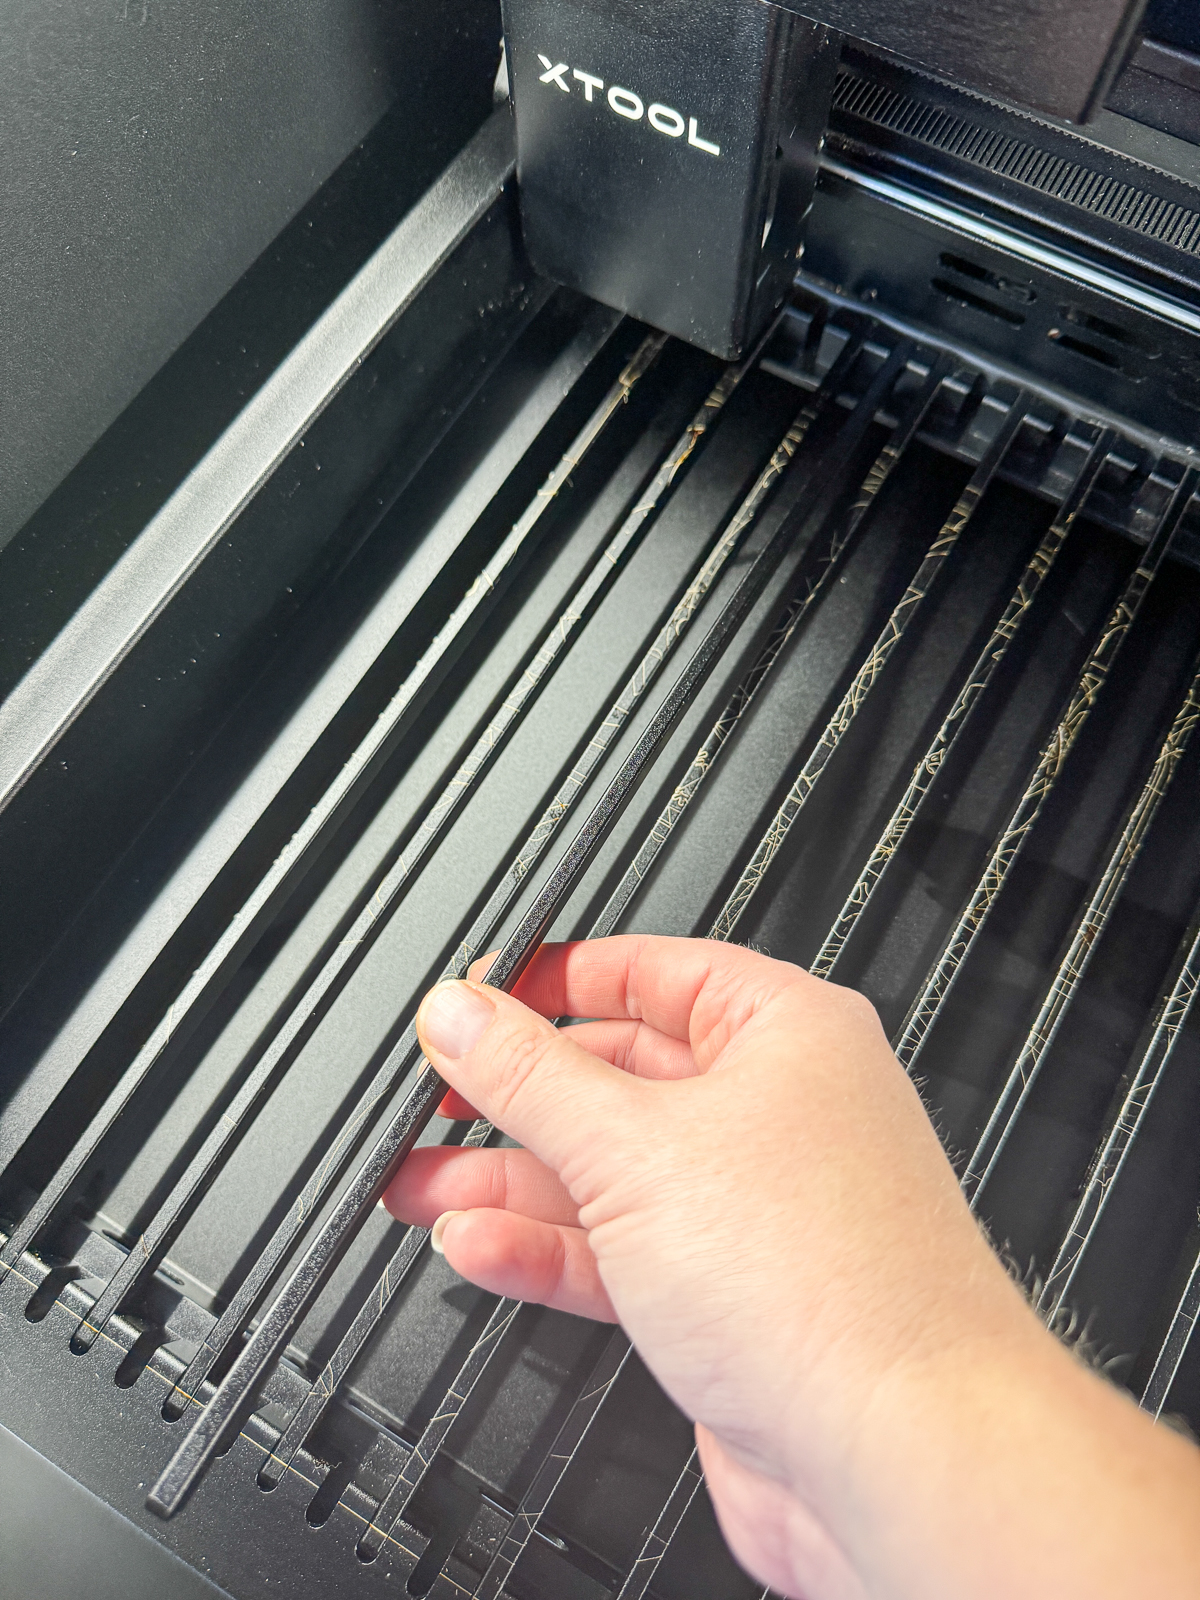
The xTool P2 has a working area of 23.6"×12", versus the 15"x12" of the xTool M1. The bed is even larger, with adjustable slats that fit into grooves in the front and back. You can move the slats around to prevent smaller pieces from falling through, and there's an optional honeycomb panel for really tiny cuts.

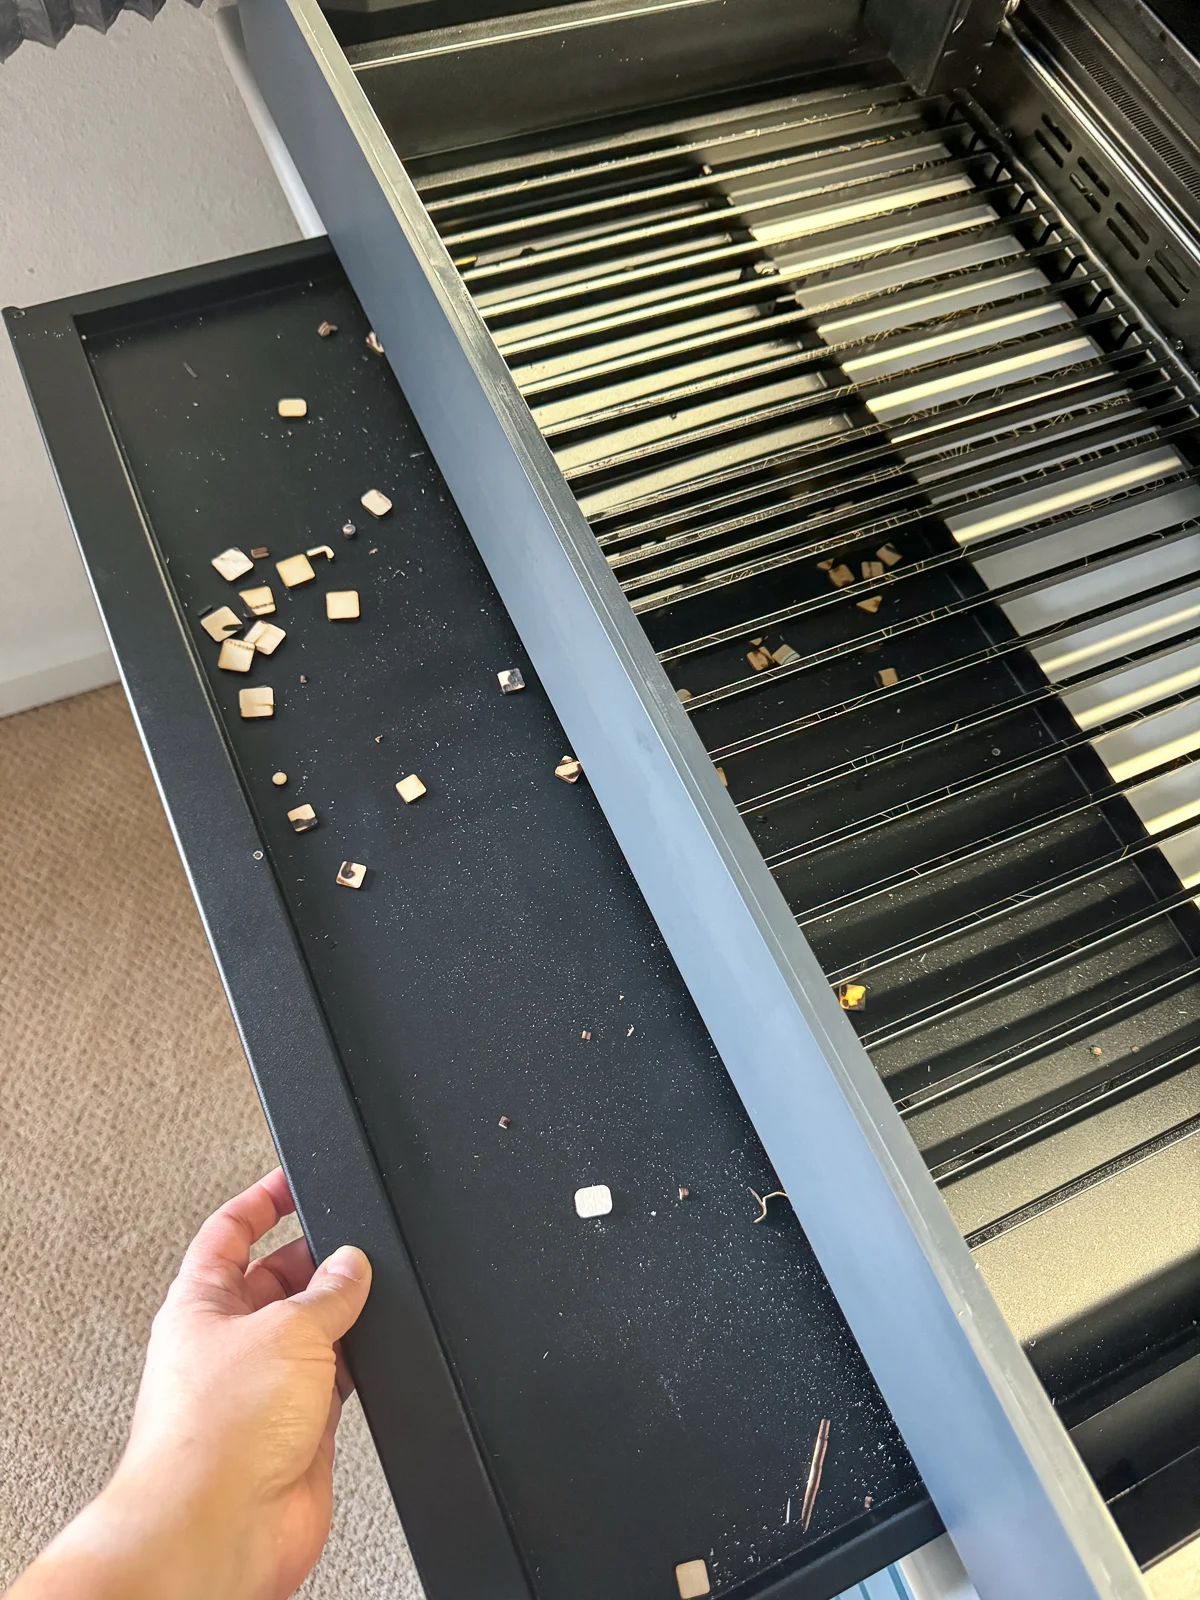
The tray underneath catches all the tiny pieces that fall through, and can be pulled out like a toaster crumb tray for easy cleaning.

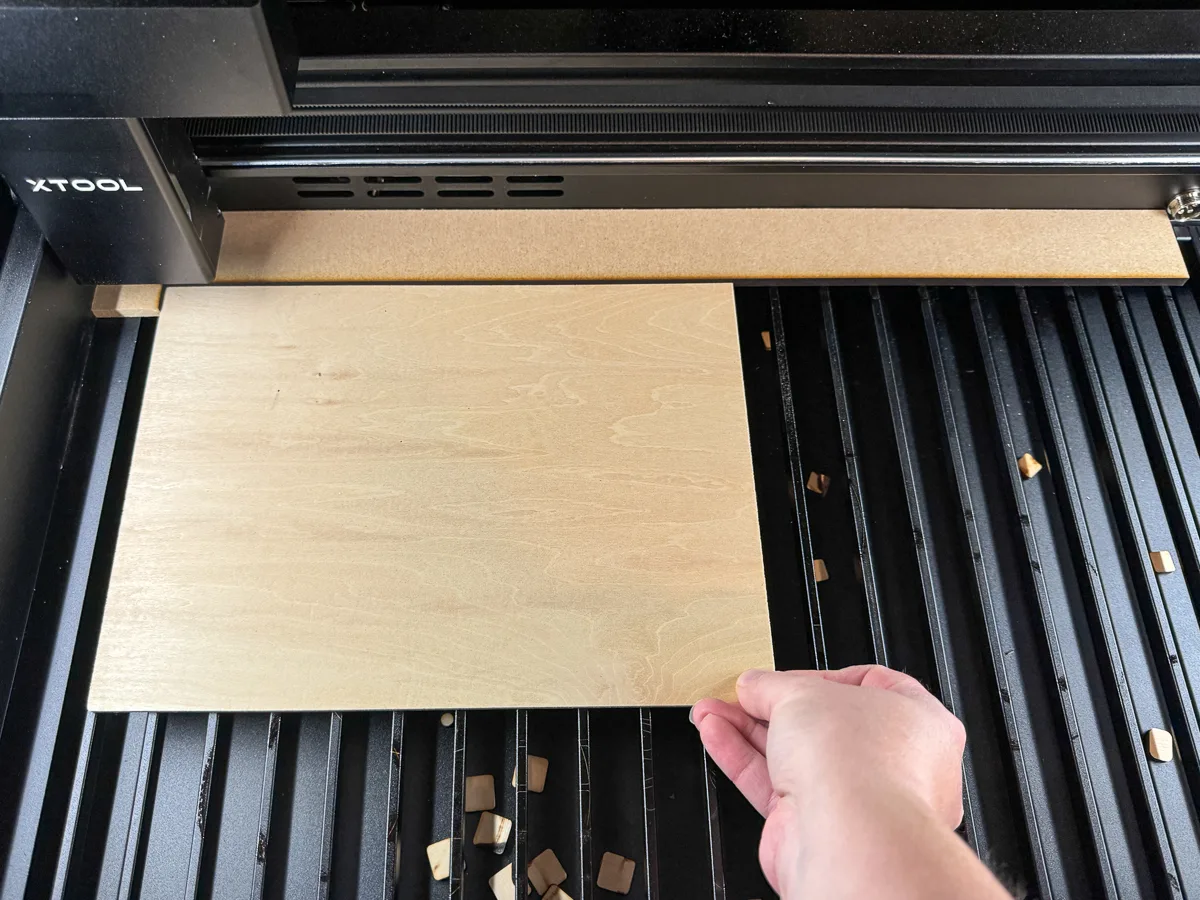
It can be a little tricky to figure out where to place your materials on such a large bed. The M1 has a grid on the bottom that makes it easier to see the actual cutting area.
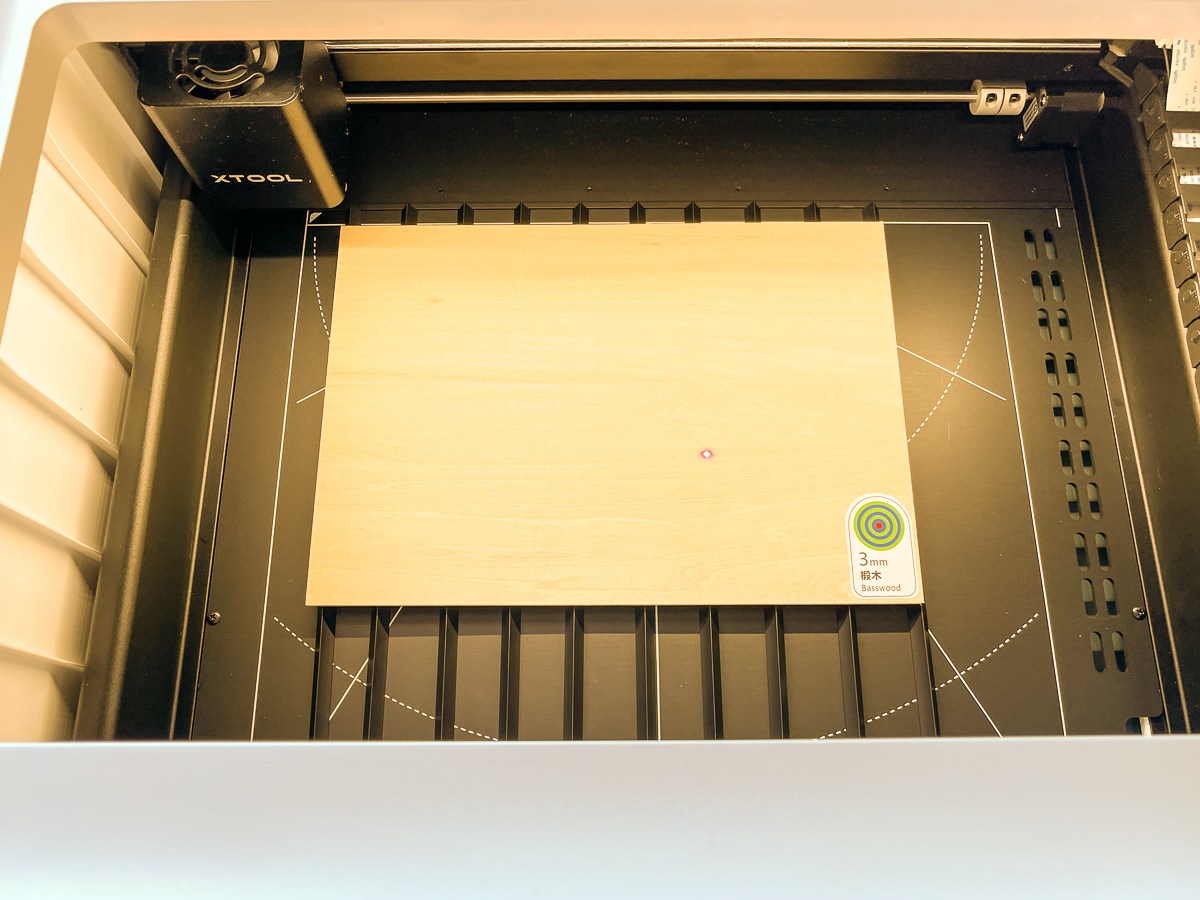
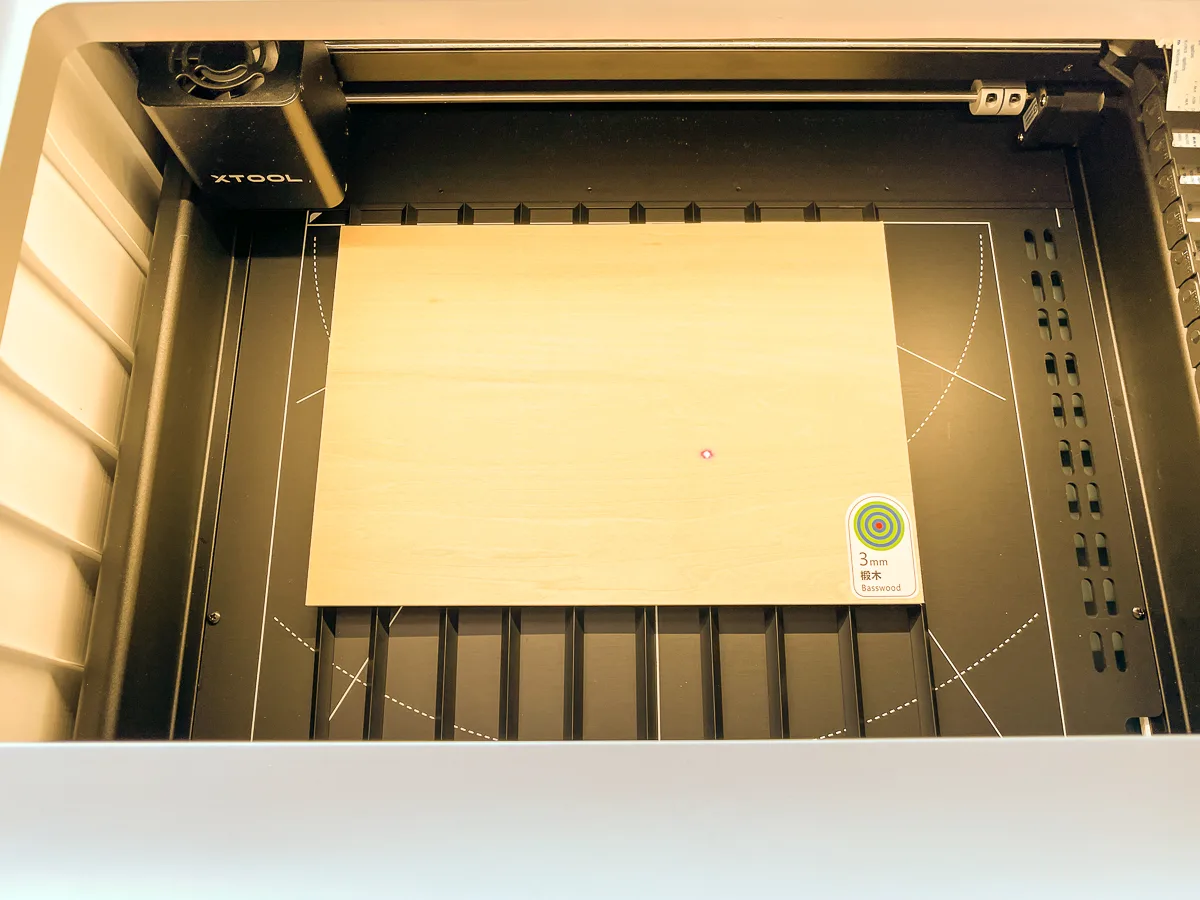
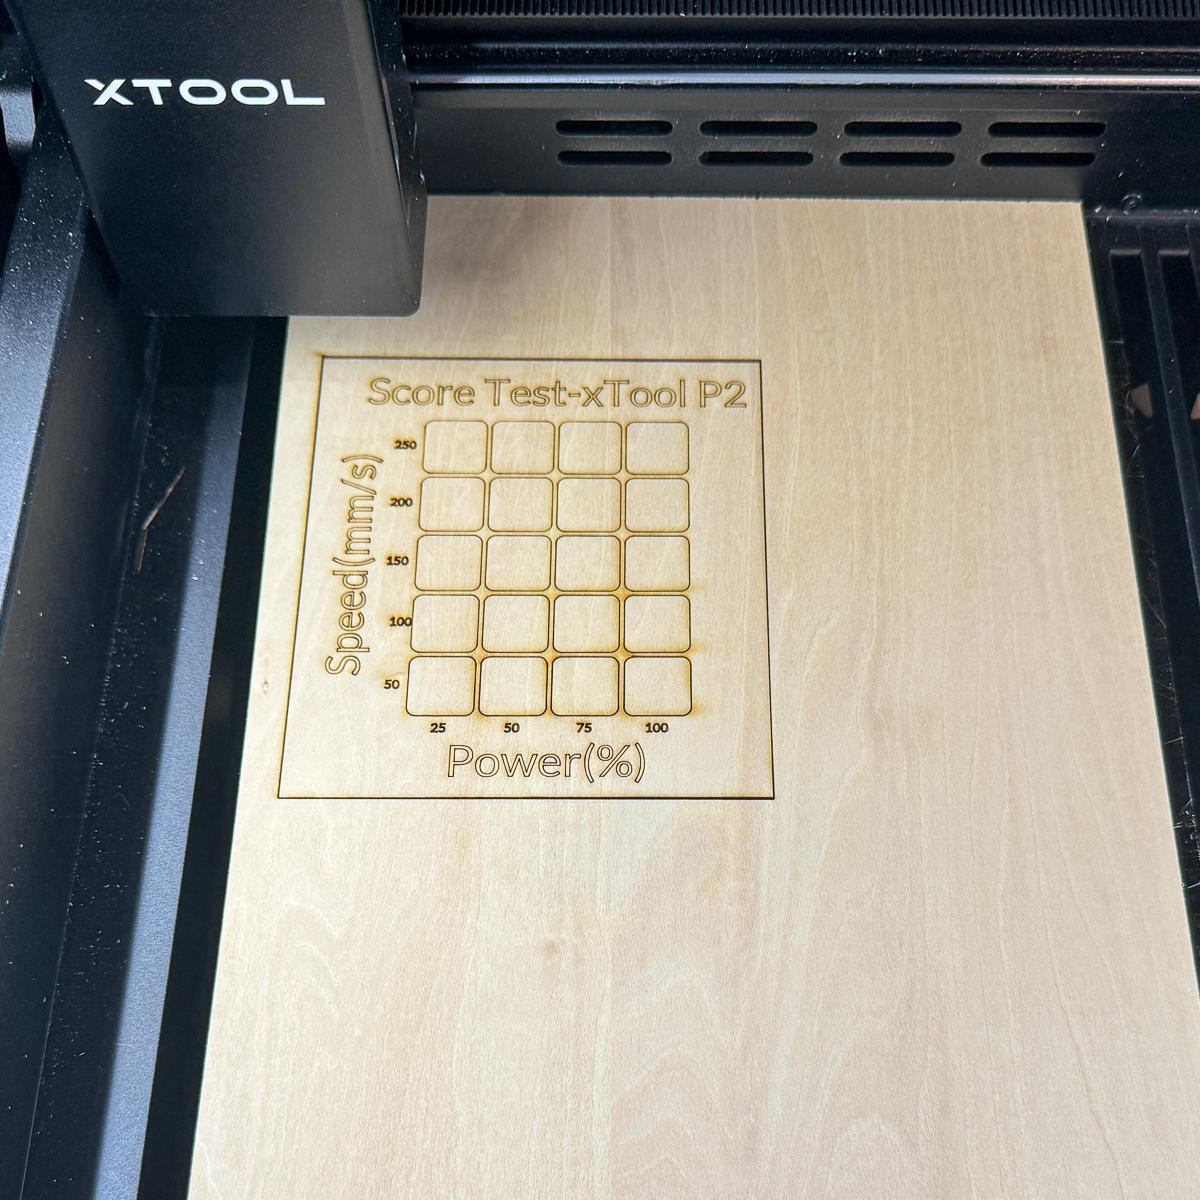
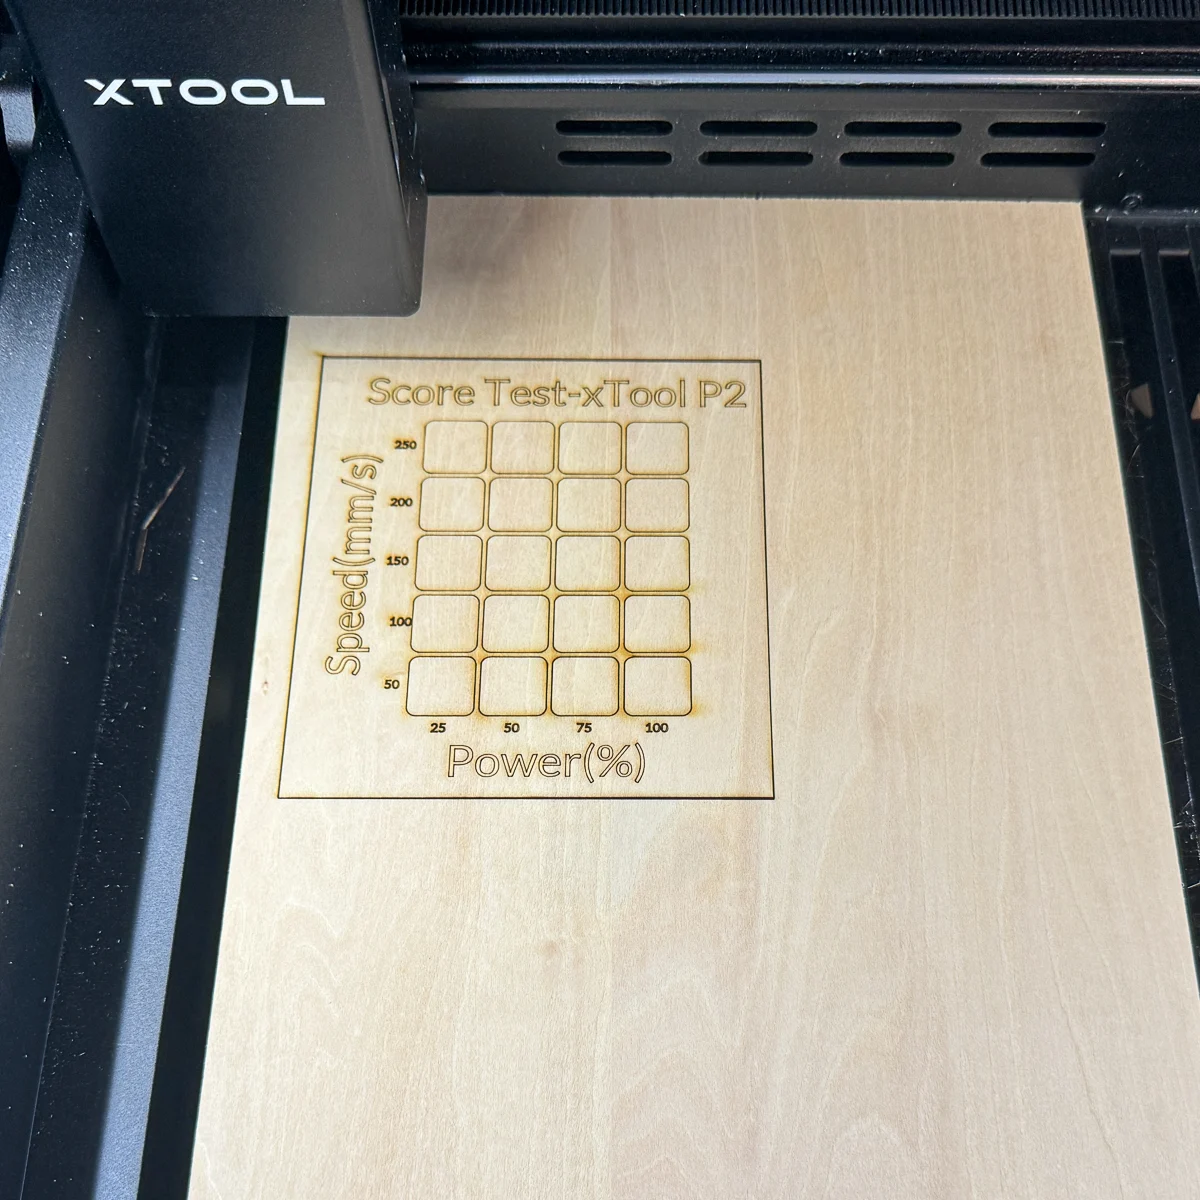
The first time I ran a test grid on the P2, I placed the board right along the top edge of the bed. But obviously the machine can't cut anything behind the laser head, so my grid ended up in the middle of the board. Oops!
There are two ways you can ensure that you get perfect placement every time. First, you can use the P2's close up camera to zoom in on the area you want to cut or engrave. It's mounted on the laser head, so you'll get a more precise view of the cutting area.

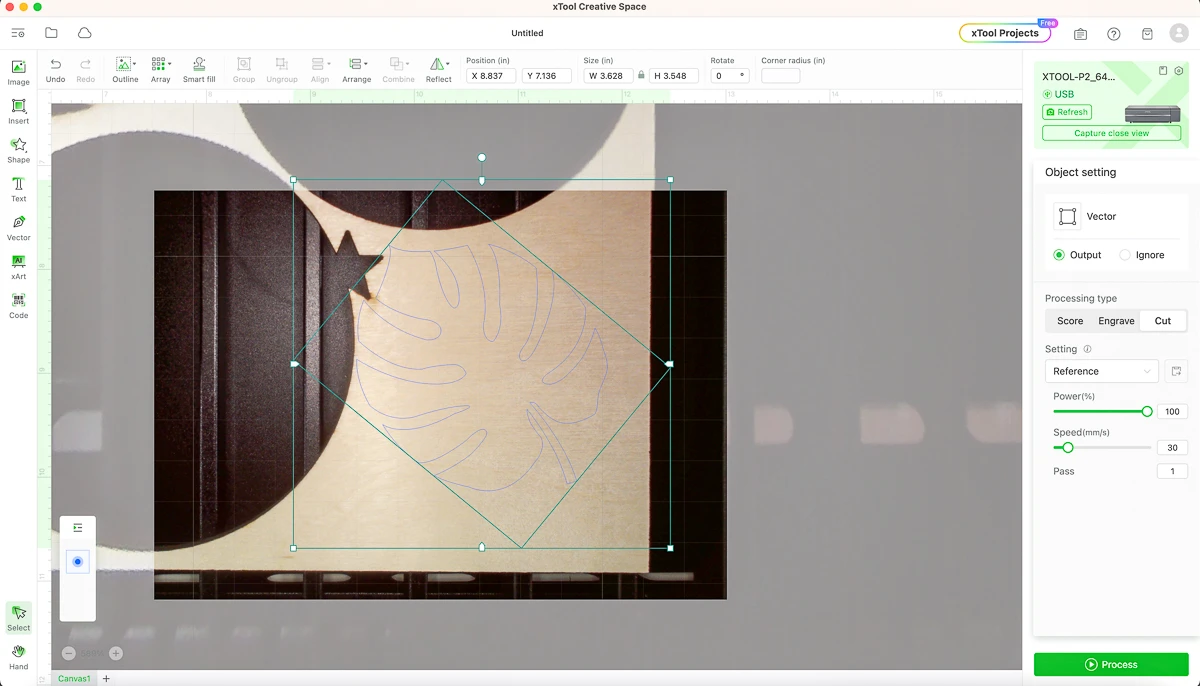
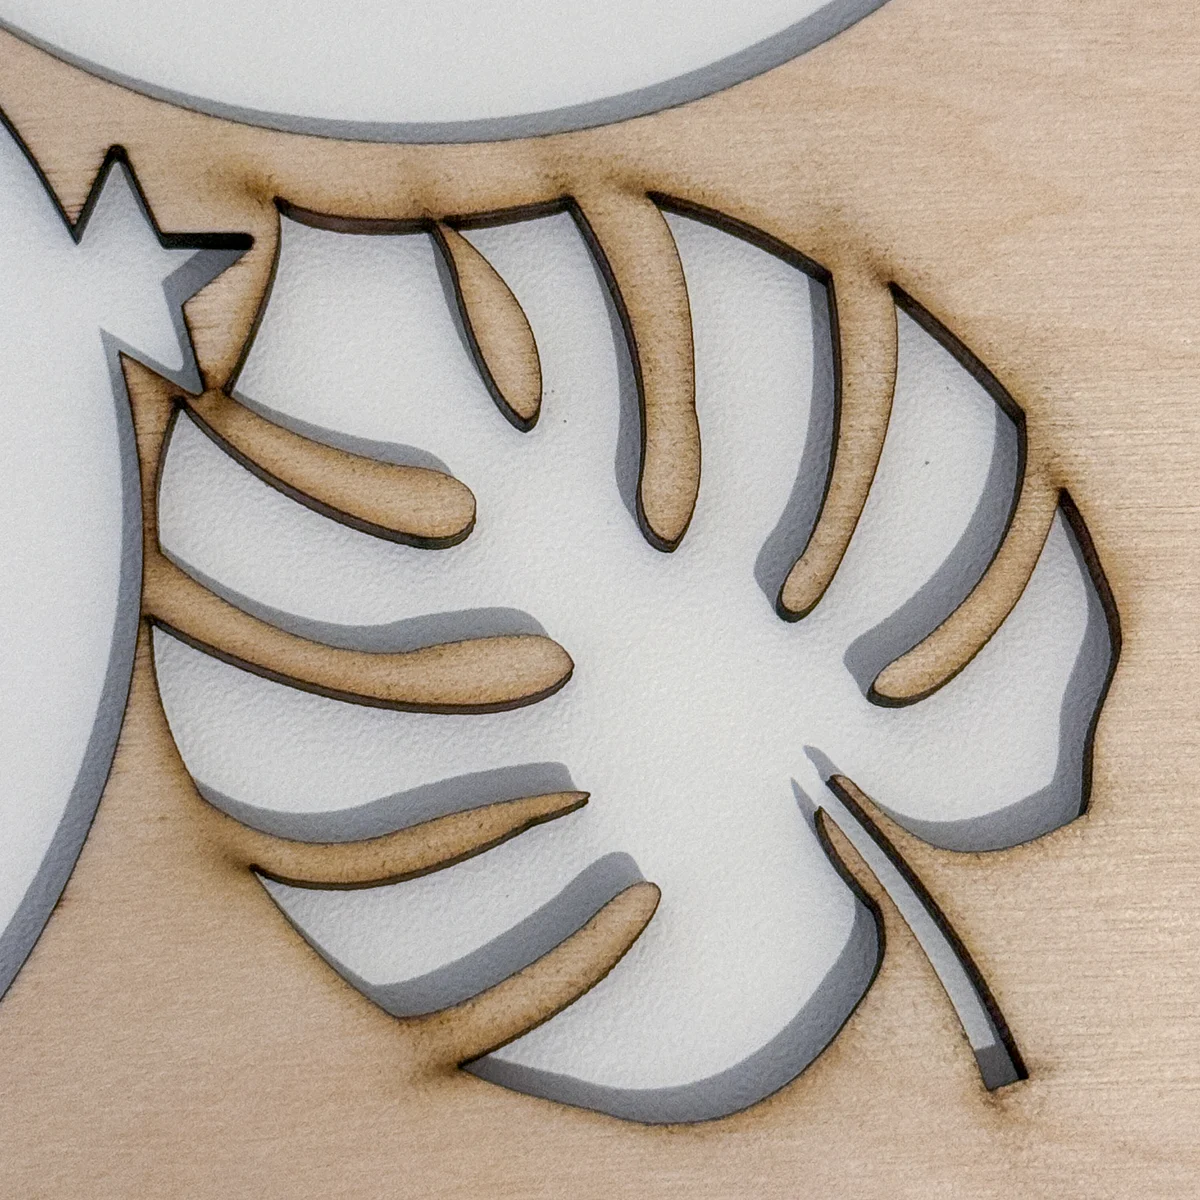
You can use this feature for cutting or engraving tiny objects, even a toothpick! I like it for using up all those scrap boards with useable material left over. I was able to zoom in on this corner of plywood and fit it in super close to the previous cuts.

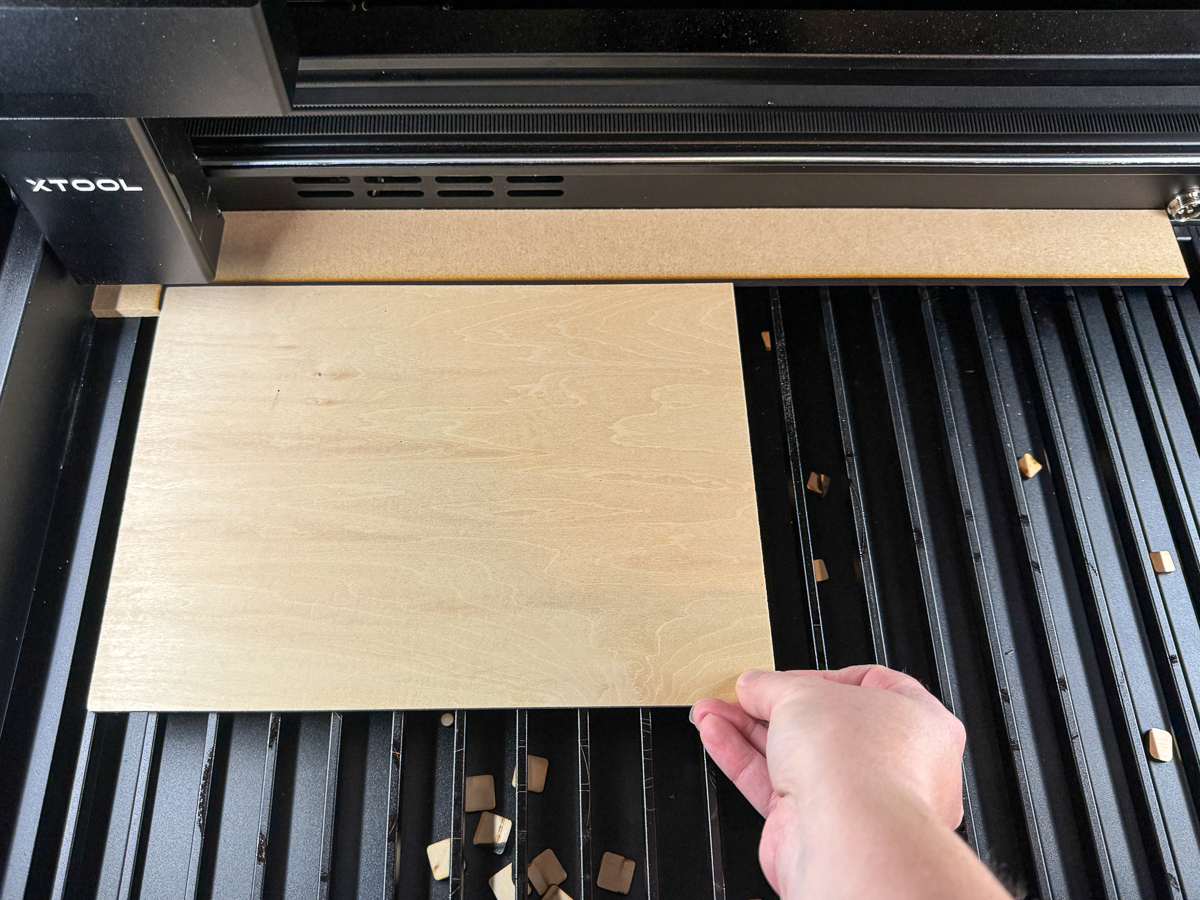
If you're batching out a bunch of projects that all require the same placement, you can cut yourself a little jig to make lining up the boards easier. I used the xTool Creative Space software to cut a rectangle across the top of the working area and the left side.

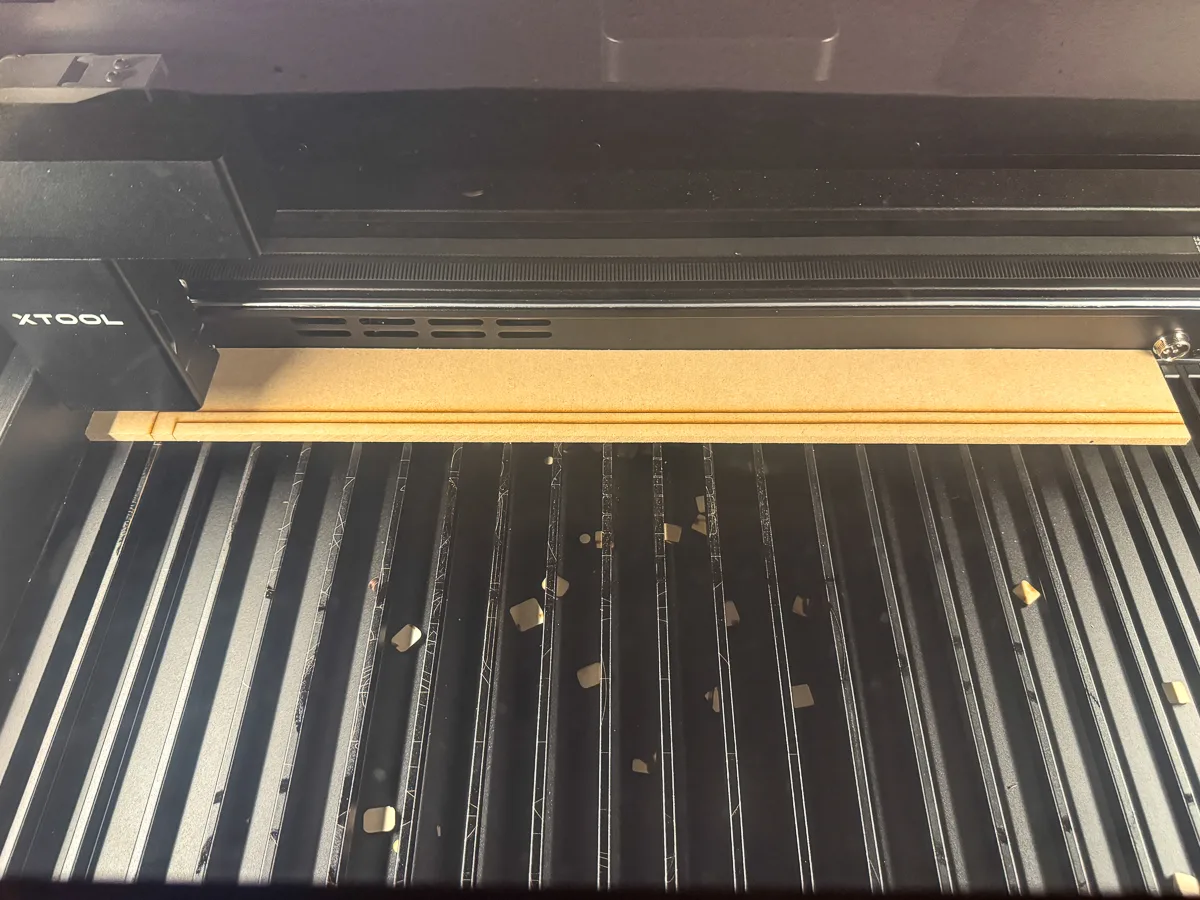
The jig sits against the walls on the inside of the machine, so it won't interfere with any cuts and doesn't move. Now I can just place the board in the corner of the jig and know that it's lined up perfectly with the cutting area of the bed!
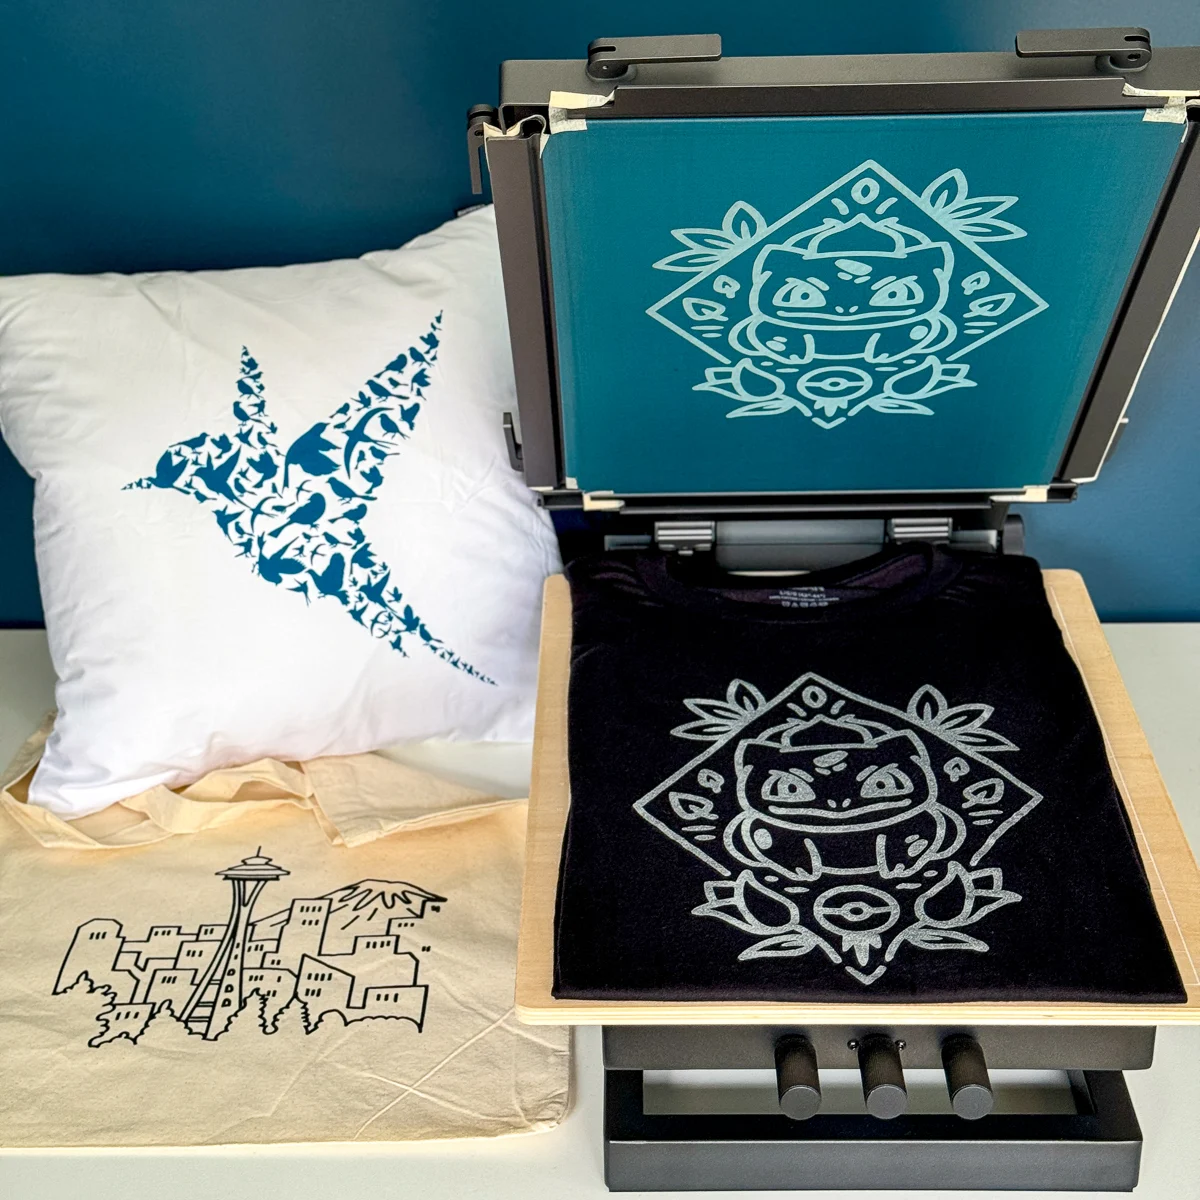
You can cut even larger materials with the optional riser base, which allows you to open up the front and back to pass a board through. You'll also need the riser base to engrave the screens for the new xTool screen printer!

The conveyor system automatically moves the board back and forth to cut and engrave items up to 8 feet long! I can't wait to try it out!
Speed
With greater power comes greater speed. The 55W CO2 laser is more powerful than the M1's 10W diode laser, so it can cut and engrave much faster.
To put this to the test, I used the same file on both machines. I ran test grids on both machines to find comparable engrave settings. Both are cut at the fastest speed that goes all the way through 3mm basswood plywood.
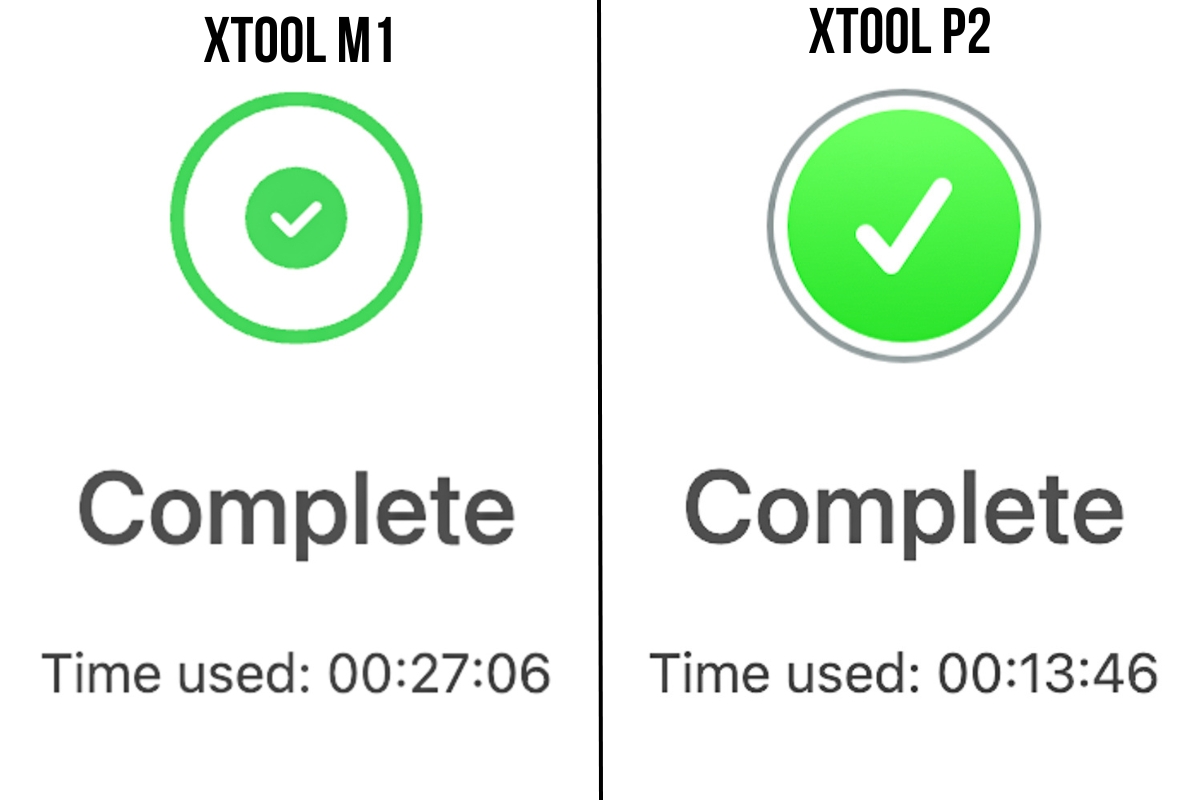

What a difference! The P2 is twice as fast as the M1 when completing both engraving and cutting of the same file. I've recently learned ways to speed up the engraving process, so I could easily reduce this time even more.
If you're batching out lots of projects to sell online or at craft shows, the xTool P2 is clearly the better choice. Even if you're using your laser as a hobby, waiting half an hour for a small job like this one to finish can get annoying. I find that I'm using the P2 way more often than the M1 simply because it's faster.
Cutting acrylic
So far, everything I've shown you can be done with both machines. The P2 just does it faster and better.
But one task CO2 lasers can do that diode lasers can't is cut clear, white and blue acrylic. Those are the colors I'd be most likely to use for my projects!
To test out this feature on a smaller scale, I found this cute snowman ornament file on Etsy. It requires 1/16" clear acrylic cut to the same shape as the rest of the pieces, so you can see the glitter inside.

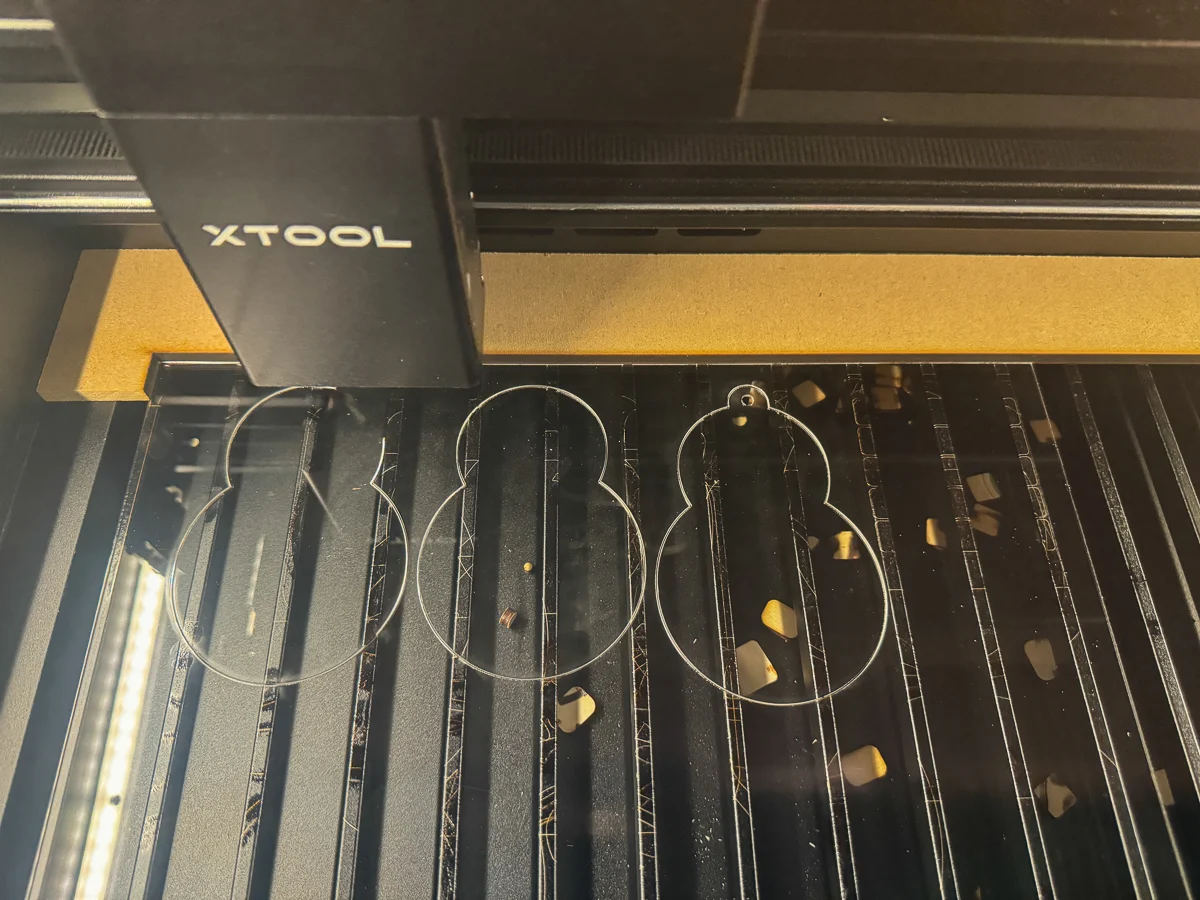
It cut like butter! Seriously, this took less than a minute to cut and the edges are perfect!
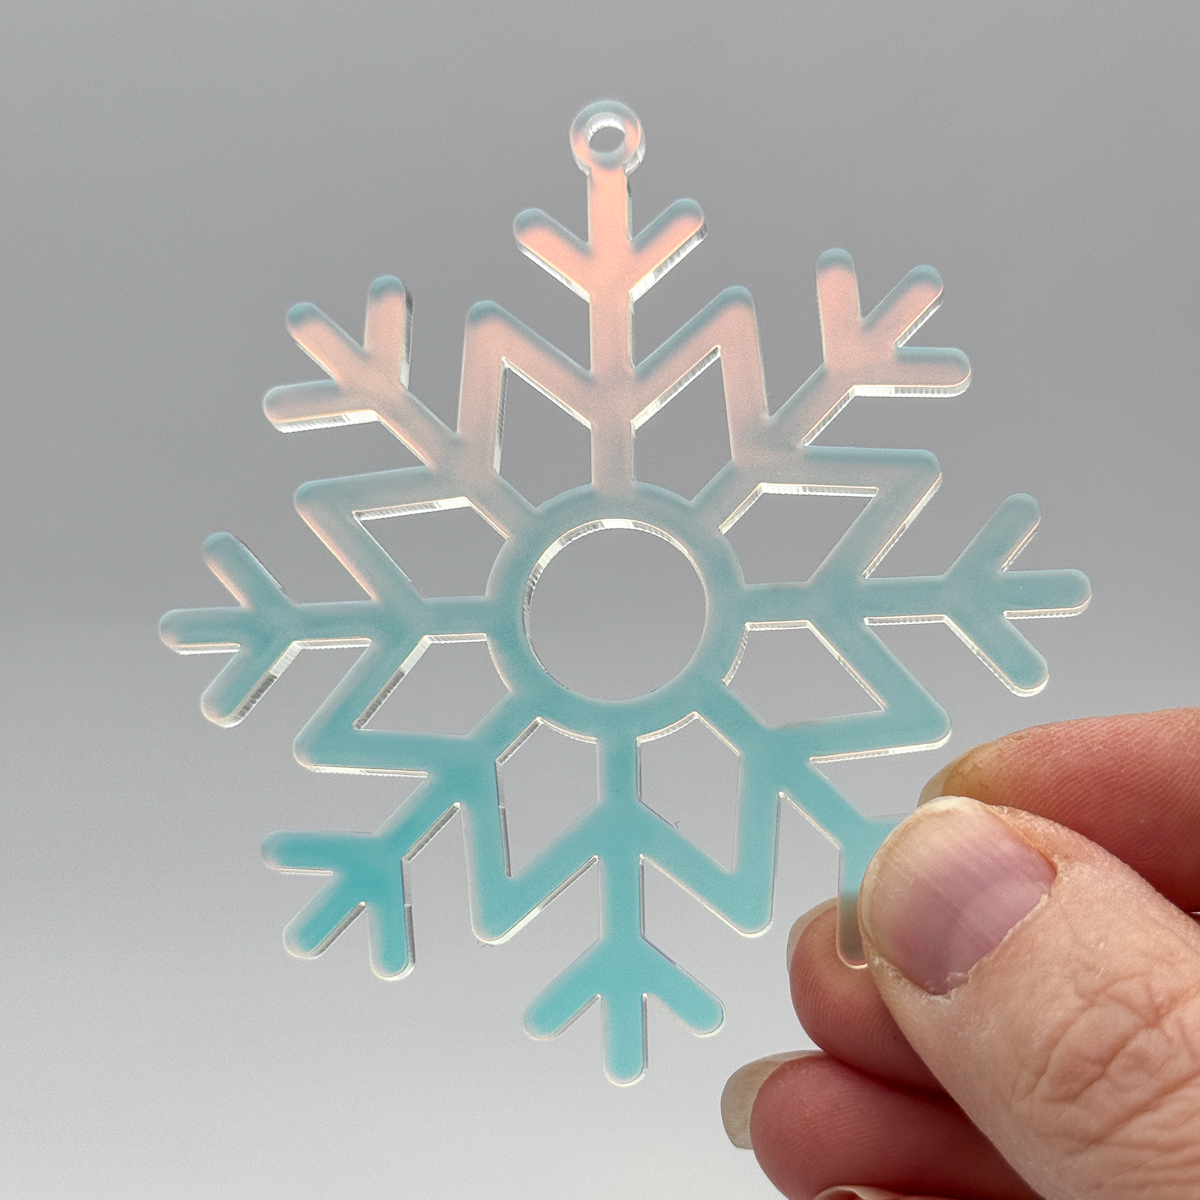
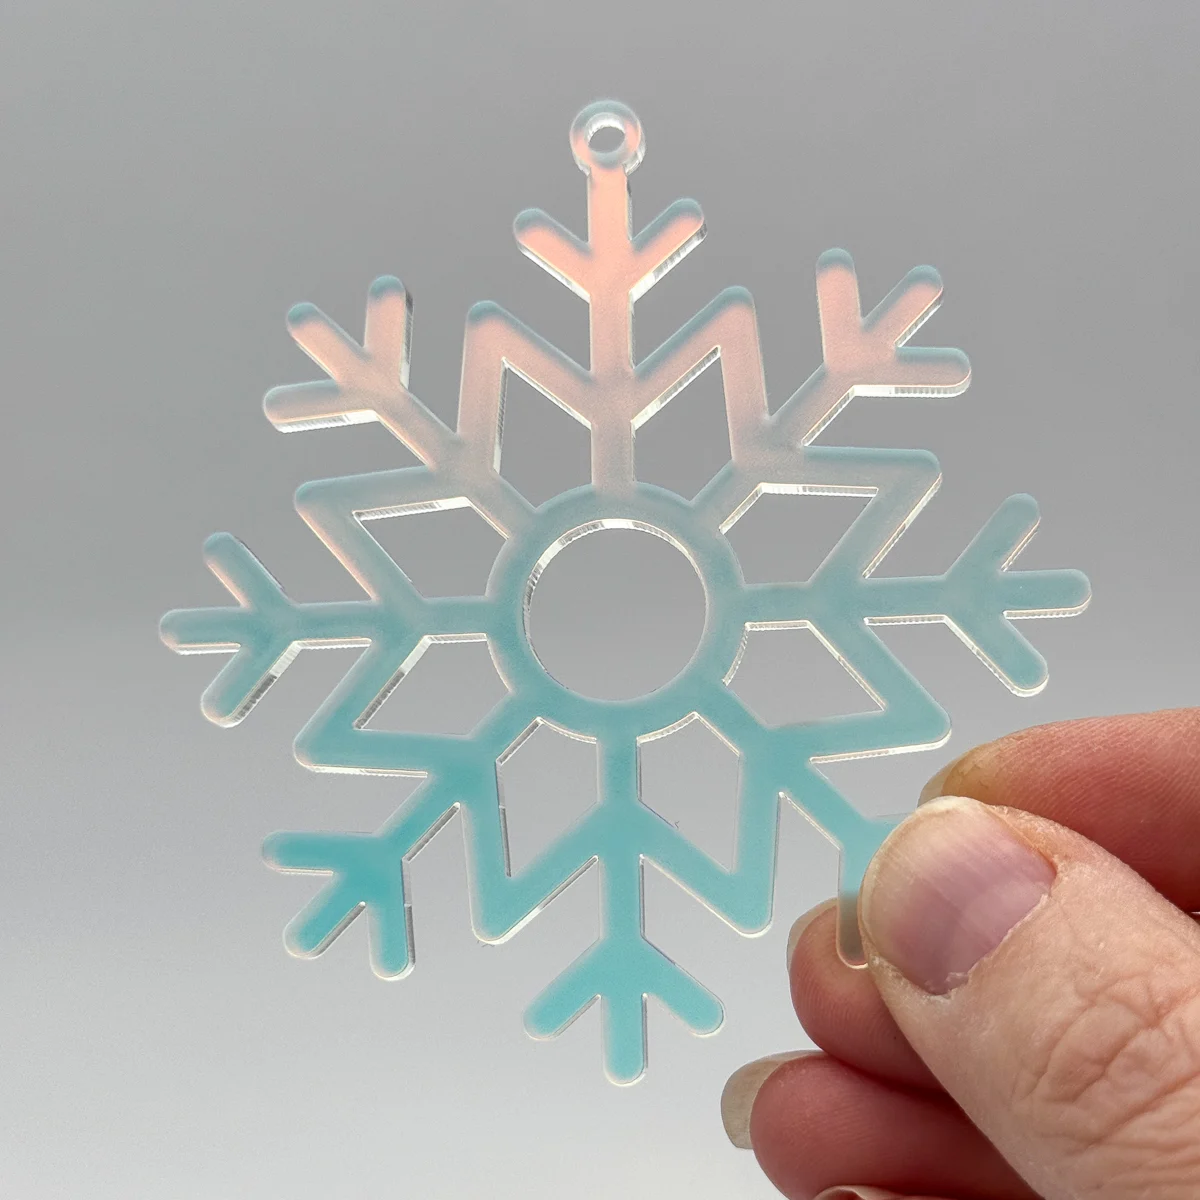
Next, I tried cutting this really cool iridescent acrylic that xTool sent me for these giant outdoor snowflake decorations. I did a small scale test first with some ornaments.
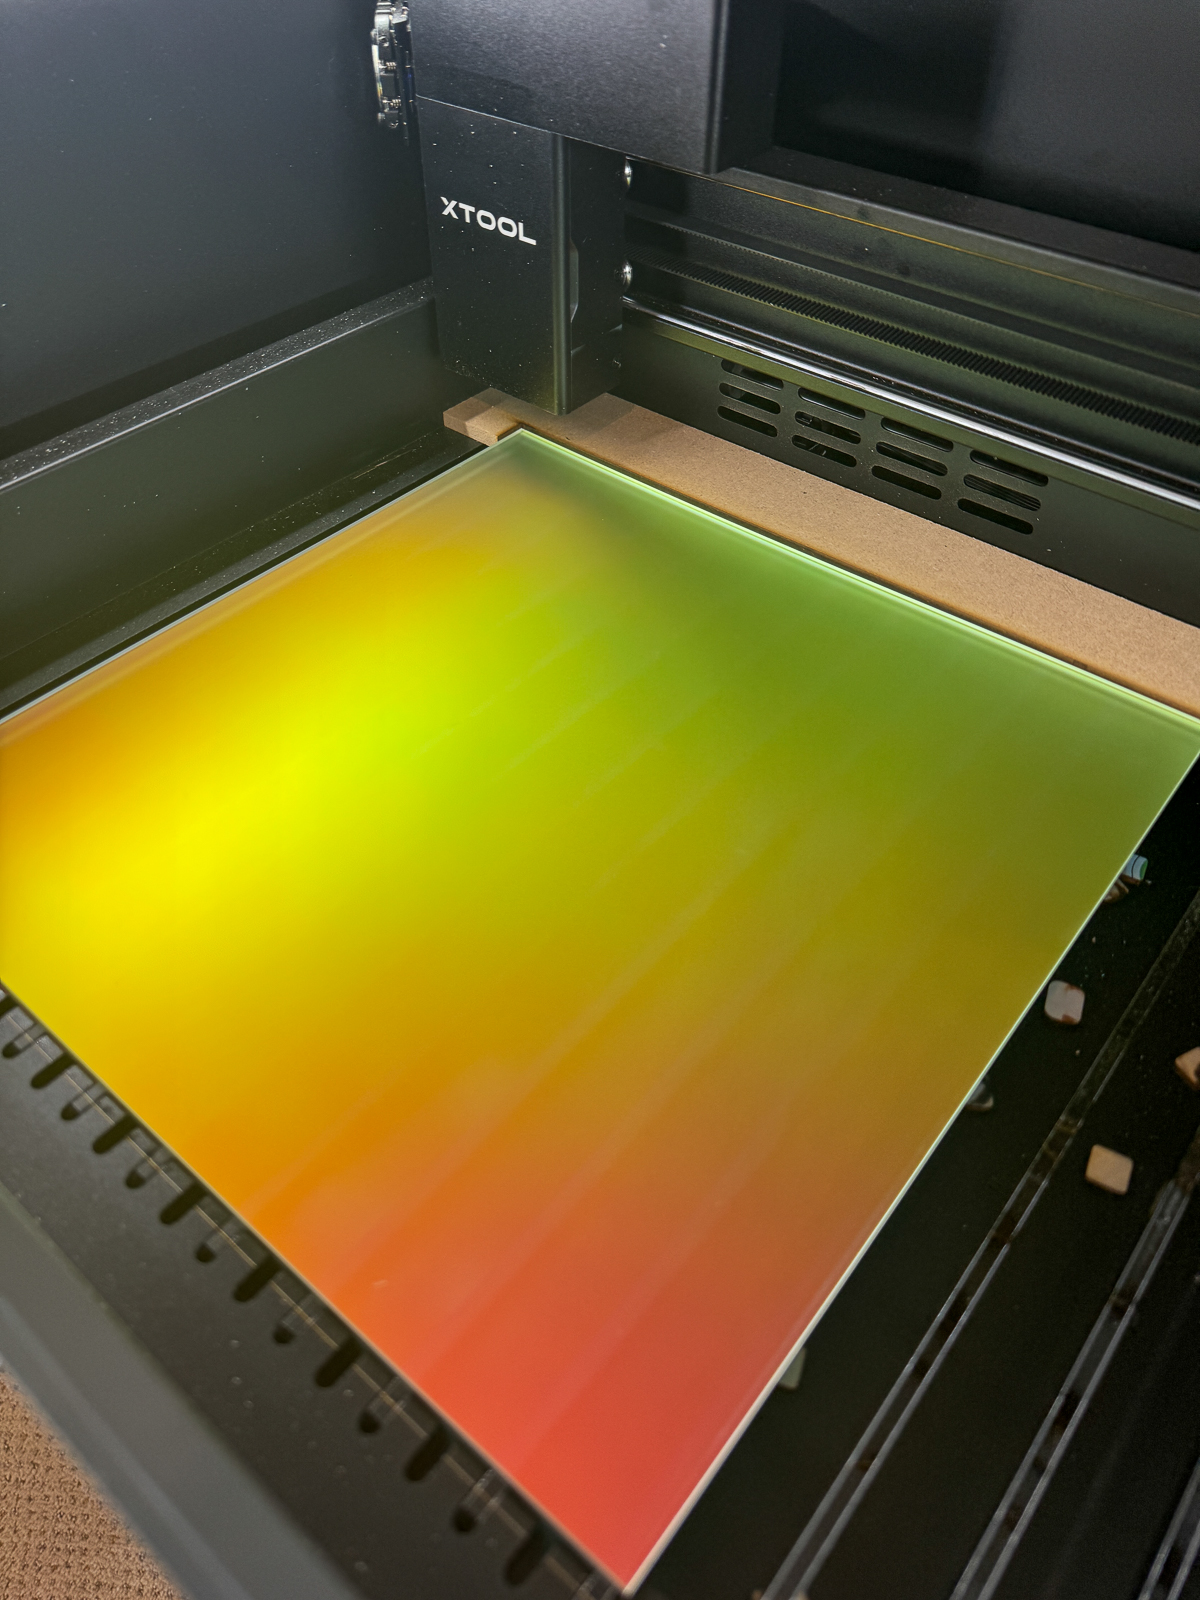

They came out so cool! I love how the color changes depending on the angle of the light. The cut edges are perfectly smooth.
Having the ability to cut through clear acrylic isn't limited to just decorative items. I plan to make woodworking router templates and jigs, as well as some other practical projects that you'll see soon!
User experience
Now that you can see how well these laser cutters work, you may be wondering what it's like to use one? There's a few differences between the P2 and the M1 that I wanted to point out.
Noise
One thing that caught me off guard with the P2 was how loud it is compared to the M1. It can be difficult to carry on a conversation in the room while the machine is running.
The sound is a hum similar to a high powered fan. Not an annoying sound, but louder than the diode laser fan. My son's bedroom is across the hall, and he complained about how loud the fan is when I kept the P2 in the guest room. Now it's in the backyard where it won't bother anyone.
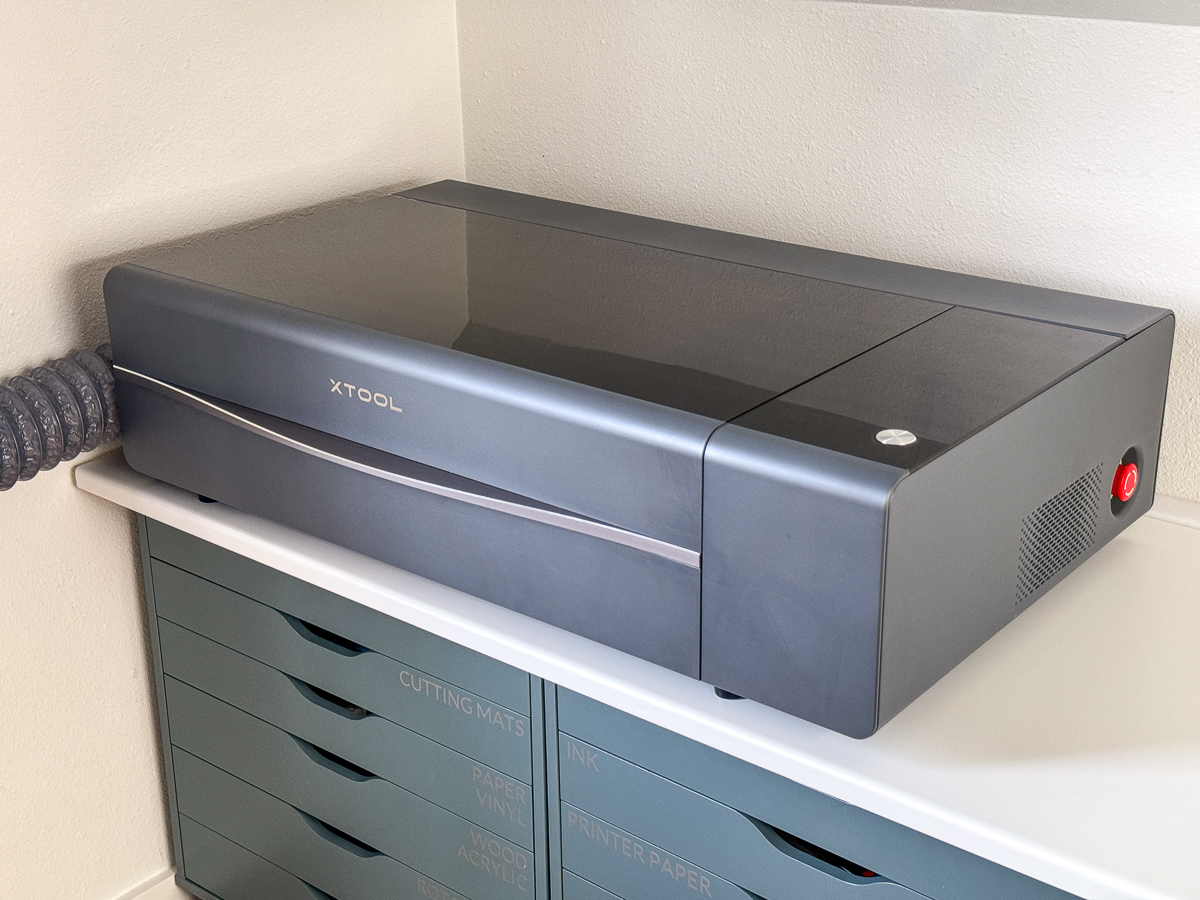
Size
Although both machines are desktop lasers, you'll need a much bigger, stronger desktop to support the P2. The M1 is about the same size and weight as a desktop printer, making it easier to tuck into a corner or put in the closet when not in use.
With the exhaust hose attached on the back, the P2 doesn't quite fit on this 25 ⅝" deep countertop. I pulled it away from the wall about an inch and a half and filled the gap with foam I cut from the xTool packaging so that small objects don't get lost behind the cabinets.
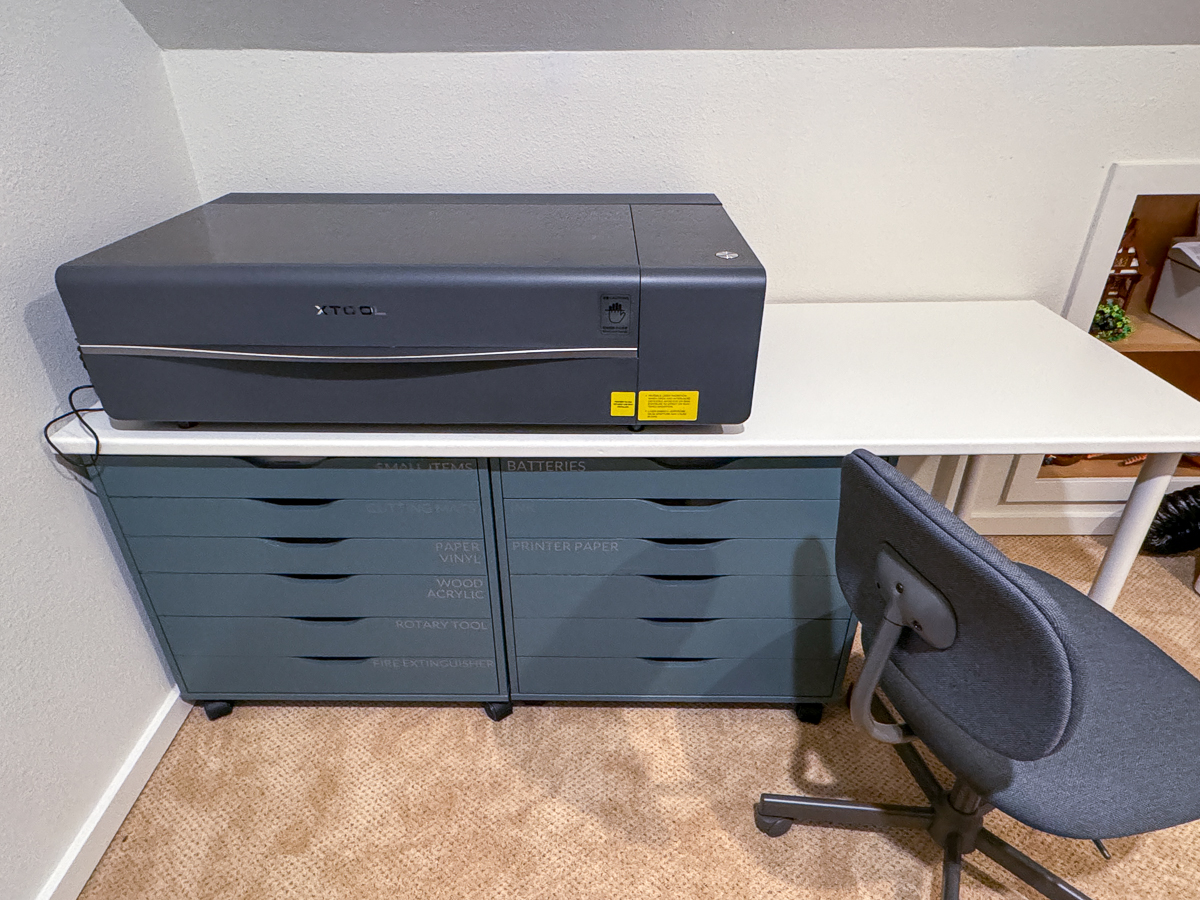

I moved the second drawer cabinet to the middle of the countertop, because I was worried about the cheap particleboard sagging under the weight of the machine over time. At least it makes a nice desk area on the end!
Smell
Laser cutters literally burn away the material they're cutting, and that produces smoke and fumes. If you're using your machine in a living space, like a guest room or craft room, the smell can be an issue.
One huge bonus of the xTool P2 is that the smoke smell is greatly diminished compared to the M1. I can spend hours closed up in this room while it's running without an issue.
Even cutting acrylic wasn't bad at all and quickly dissipated. My husband has a super sensitive sense of smell, and he couldn't even tell I'd been using the machine all day!
Final verdict
After cranking out a lot of projects on the xTool P2, I can safely say that this will be my primary laser cutting machine! The larger working area, faster speeds and wider range of materials all make it the better choice for me.

I'm starting an Etsy shop to sell some of the items I make online. I can't imaging trying to keep up with orders with a diode laser! Not only is the P2 faster, but the larger working area means I can cut more out of a single sheet, and offer larger products. If you're thinking of getting a laser to start a small business, the xTool P2 is the way to go!
I plan to set up the M1 as a dedicated rotary engraving station, and use the P2 for all of my flat materials. I have so many amazing projects planned for this machine, and I can't wait to share them all with you! In the meantime, check out my previous laser cutting projects!