Add festive sparkle to your yard with these DIY outdoor snowflake decorations made with iridescent acrylic that will make your trees shine!


Are your trees looking a little bare after the leaves have fallen? Brighten them up with these sparkling acrylic snowflakes that change color as they spin in the wind!
Unlike Christmas decorations that are only left up for a month or so, these DIY snowflakes can be displayed all winter long! Acrylic won't warp or fall apart when it gets wet, so they'll look great even in rain or snow.
This post contains affiliate links for your convenience. Purchases made through these links may earn me a small commission at no additional cost to you. Please visit my disclosures page for more information.
I cut out these outdoor snowflakes with my xTool P2 CO2 laser. You can't use a diode laser like the xTool M1 to cut clear acrylic, but you could use the same design on wood and give them a few coats of exterior paint to seal them.
Don't have a laser, or looking to upgrade? Use the code VINETA100 for $100 off an xTool laser! Click here to check them out!
Create the cut file
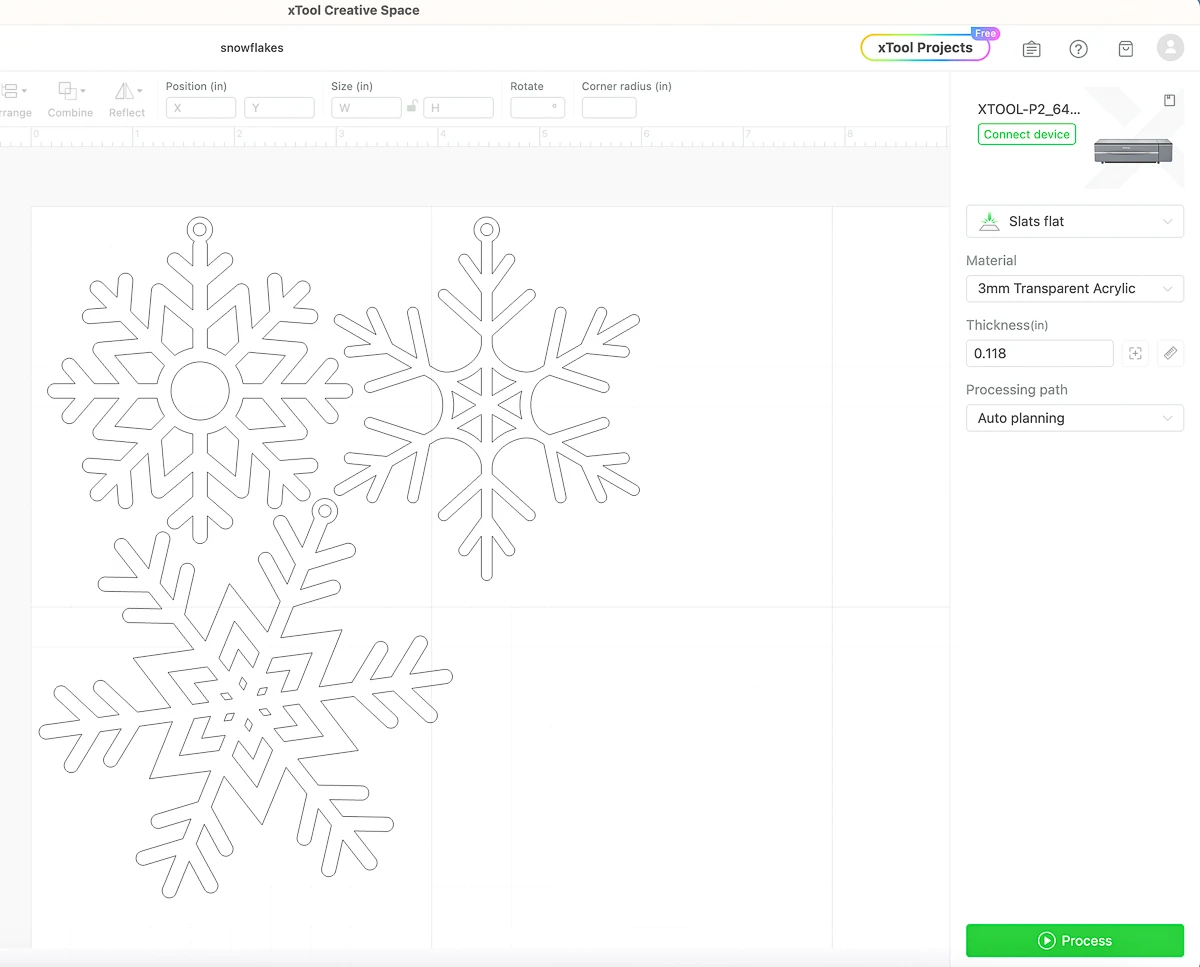
The design for these laser cut snowflake decorations couldn't be simpler. I just searched on Canva for snowflake graphics, chose my favorites, and downloaded them as an SVG file (you'll need a Pro account for this setting).

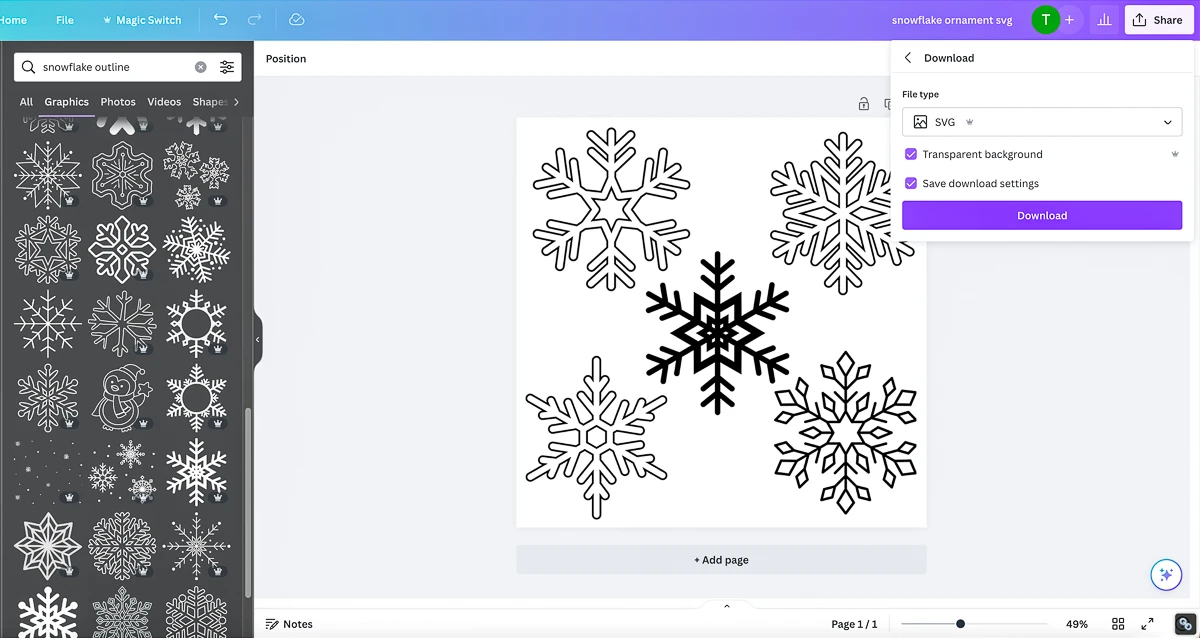
Sometimes the SVG files don't look the way you expected. Some of my snowflakes imported with double lines around the outside, because they were outline drawings instead of solid lines. Oops! There are ways to fix it, but I usually just choose a bunch of different designs at first and delete the weird ones.

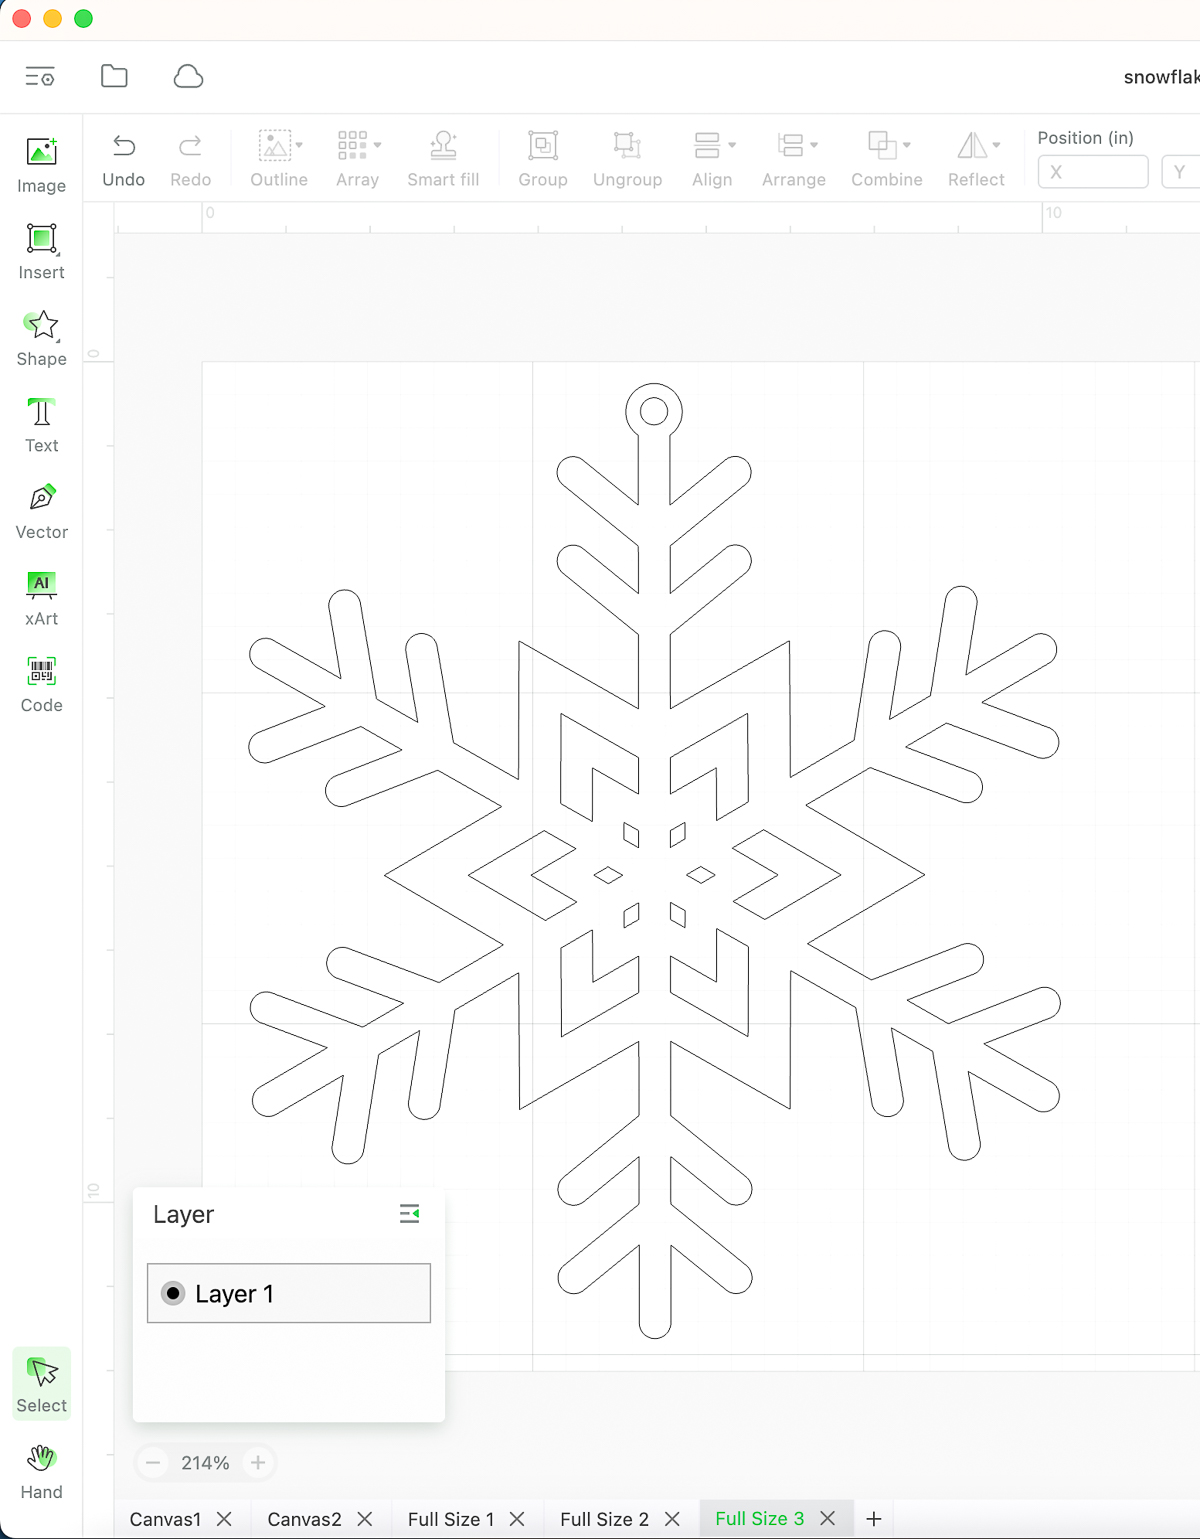
Add a circle to the top of each one, and unite it to create the area for the loop. Then add a smaller circle inside of it.
Run a test cut
I recommend doing a test of each snowflake design before making the larger ones. They make great Christmas ornaments!
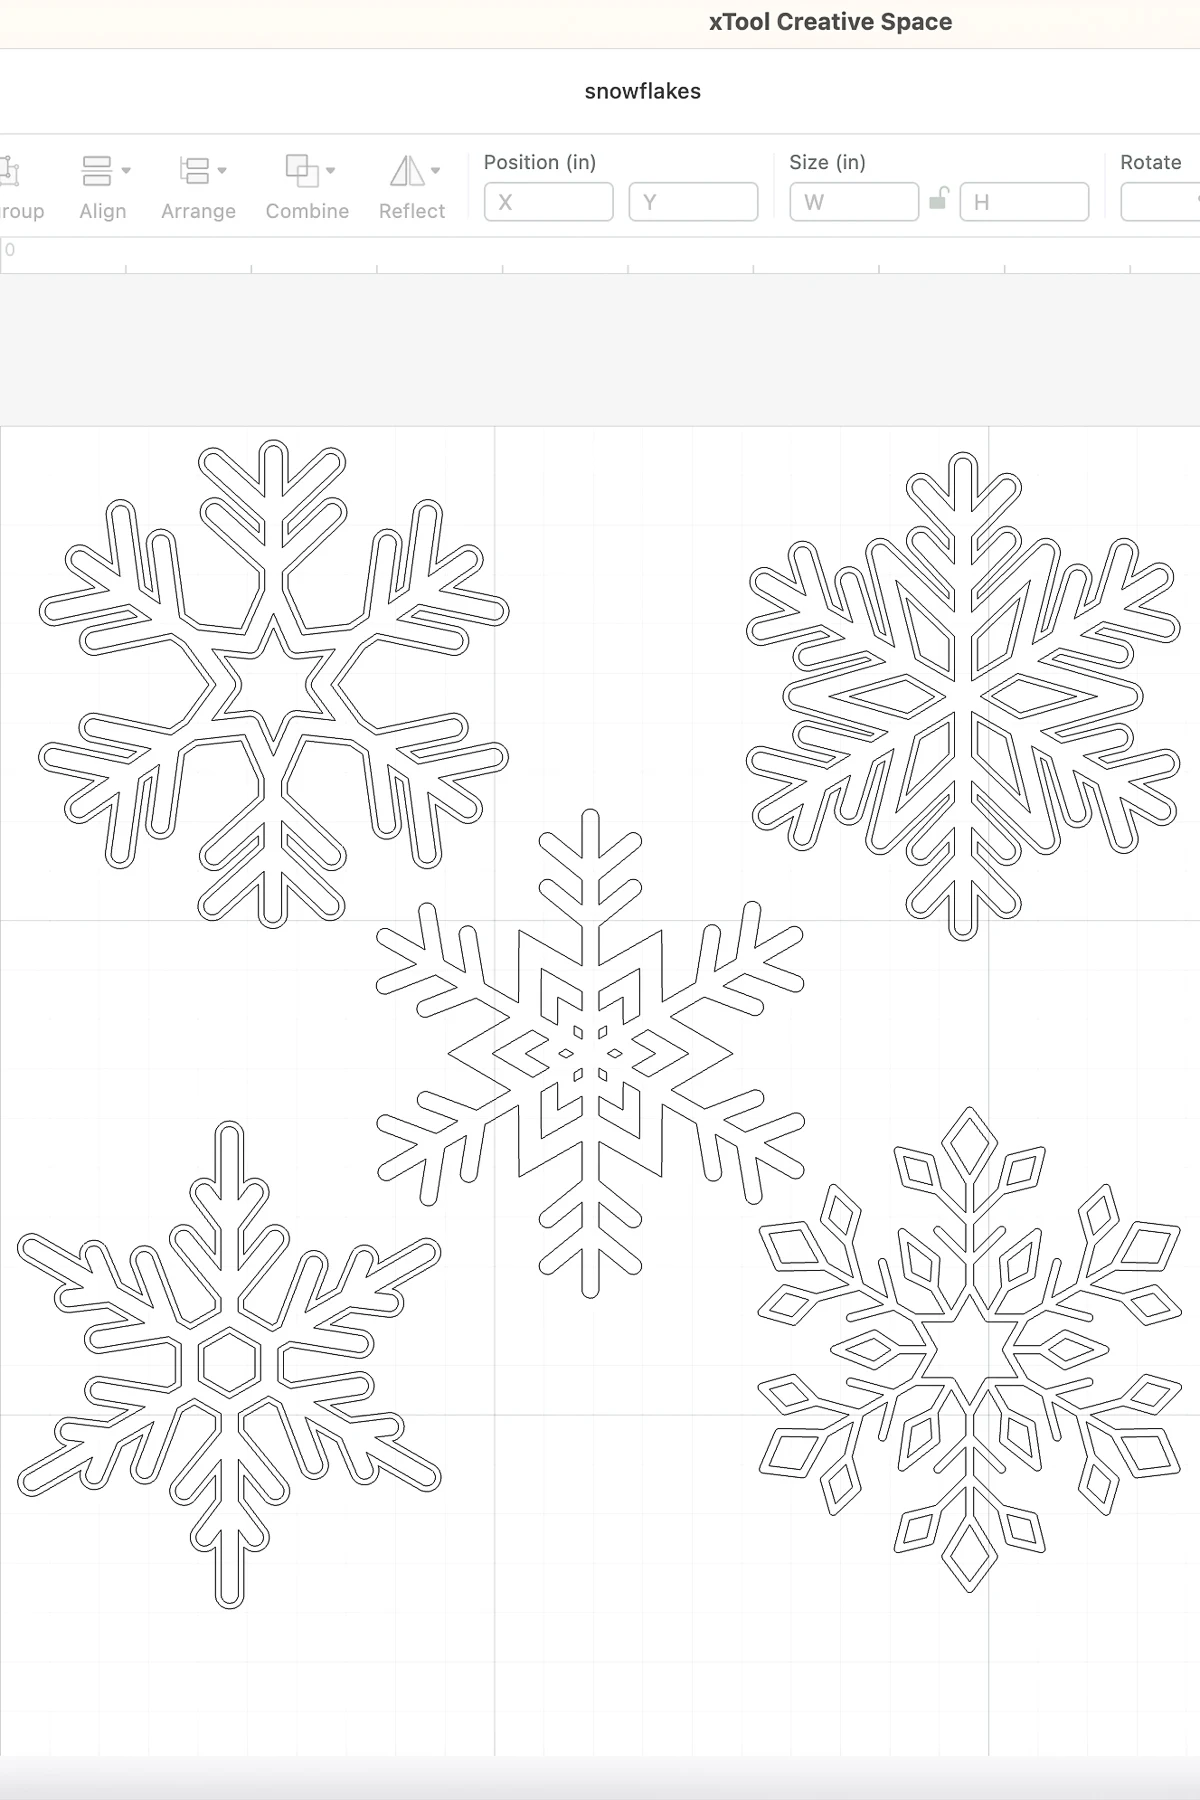
Scale each snowflake down to 3-4 inches in diameter. Play around with the placement and try to get them as close together as possible without touching. Acrylic is expensive, and you don't want to waste it!

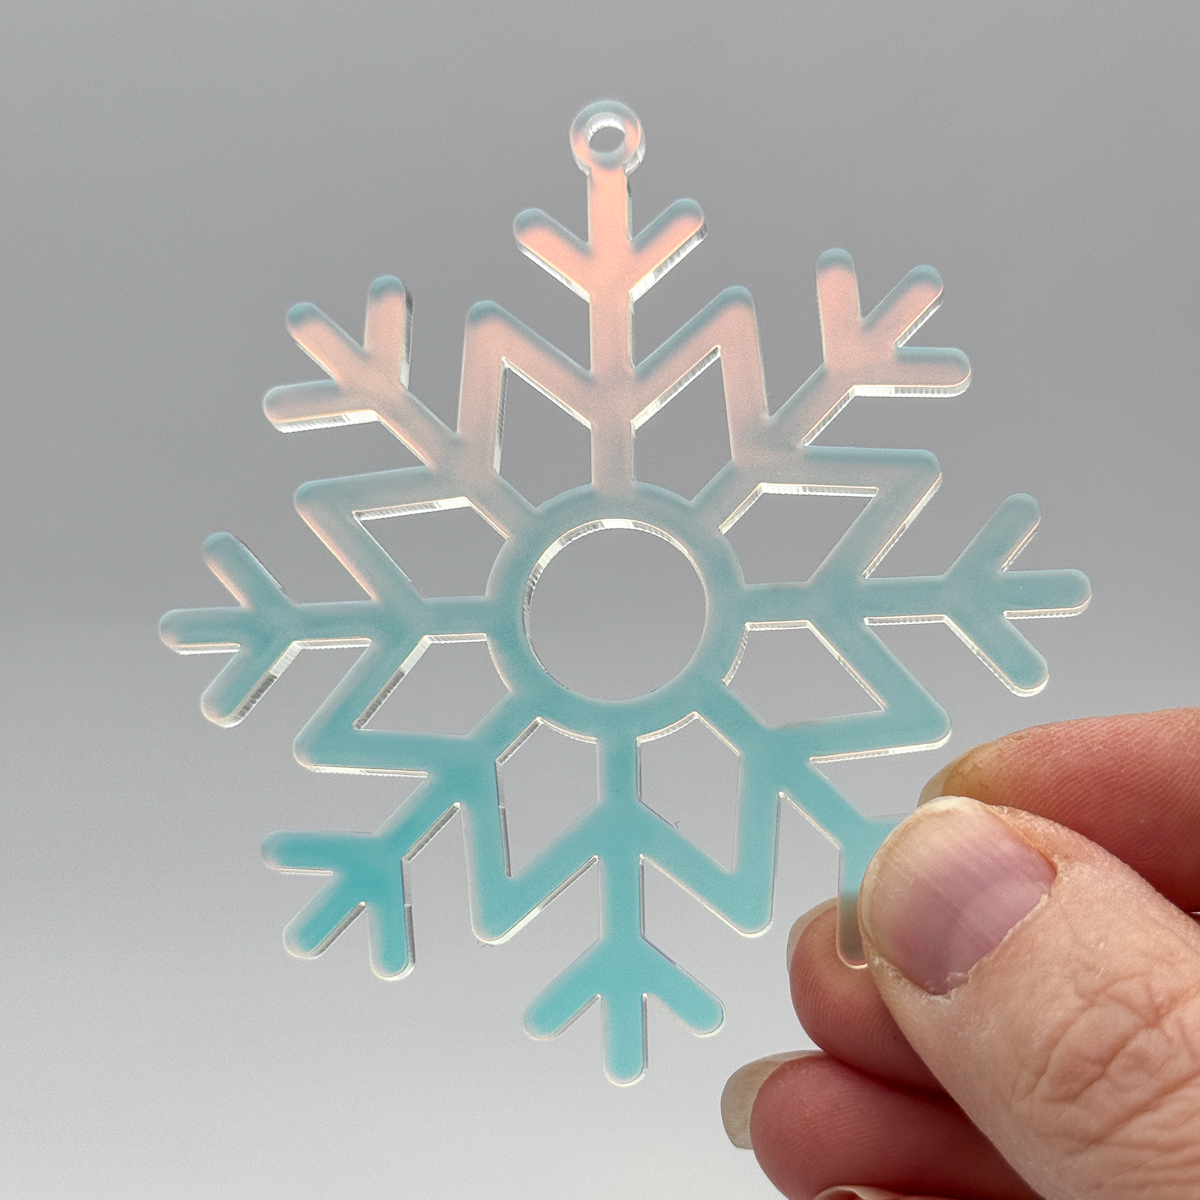
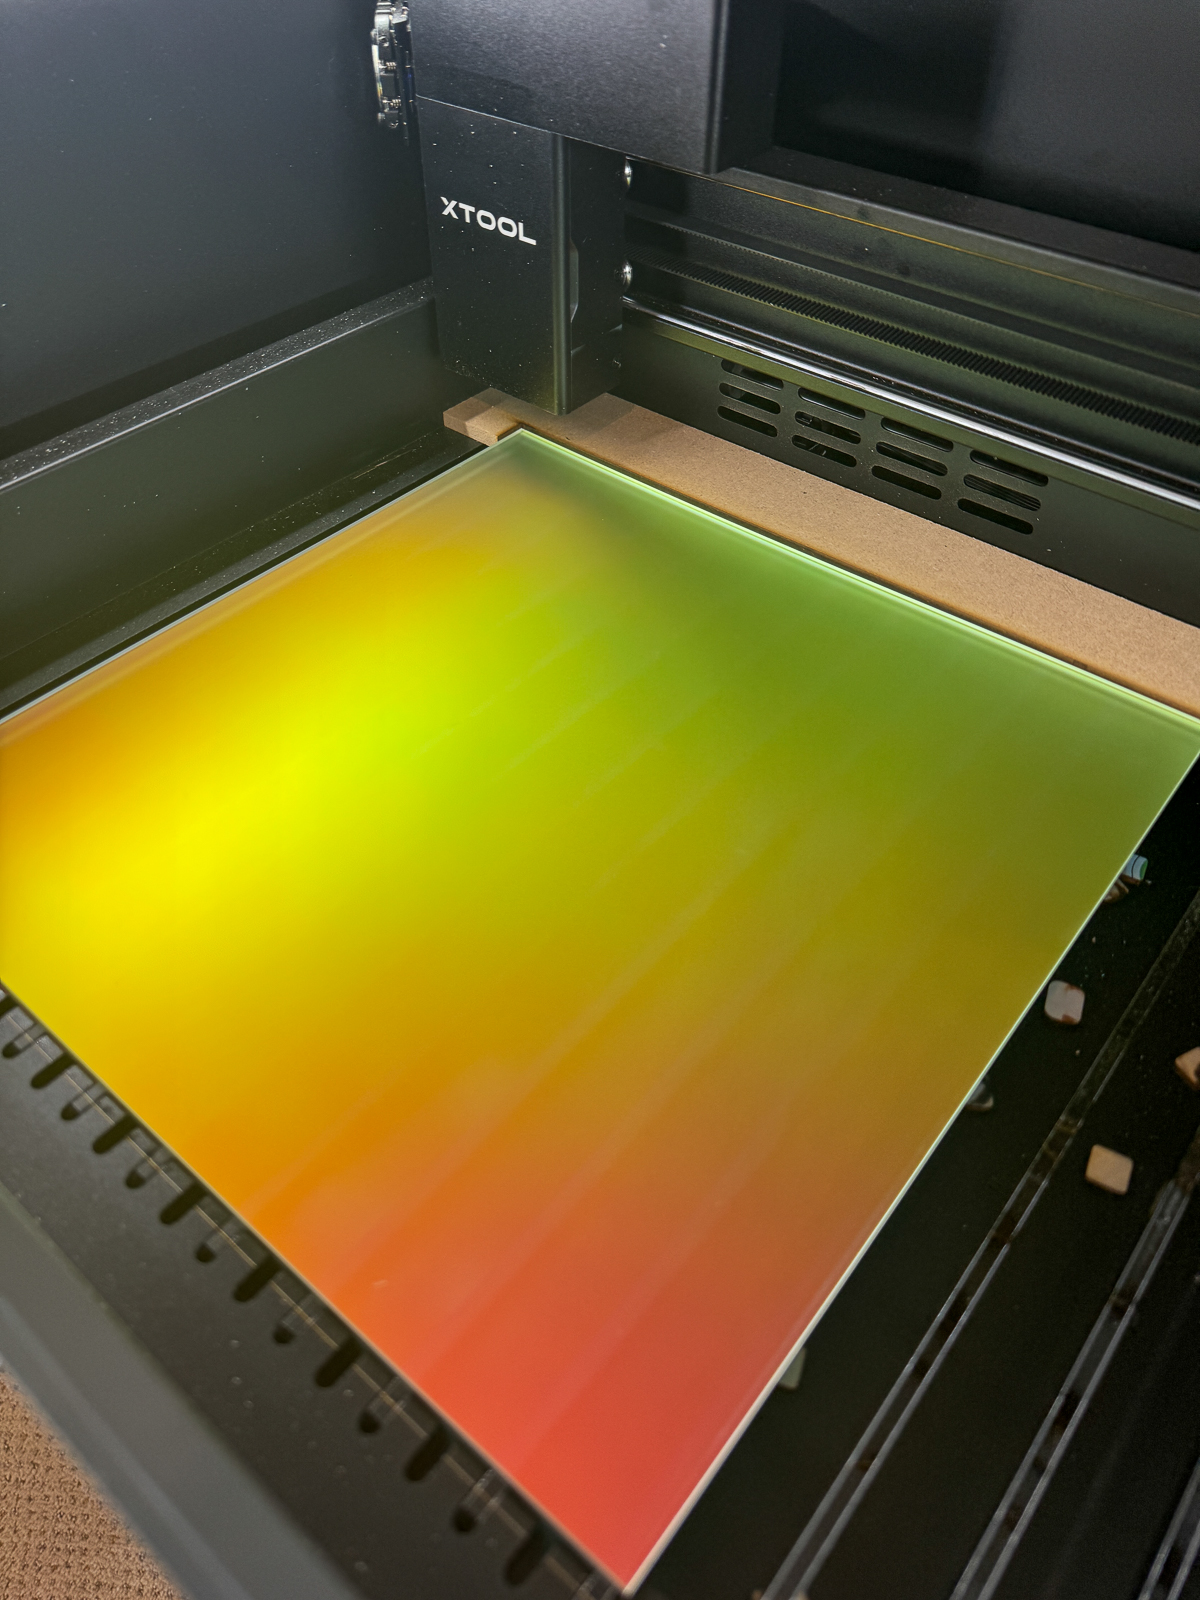
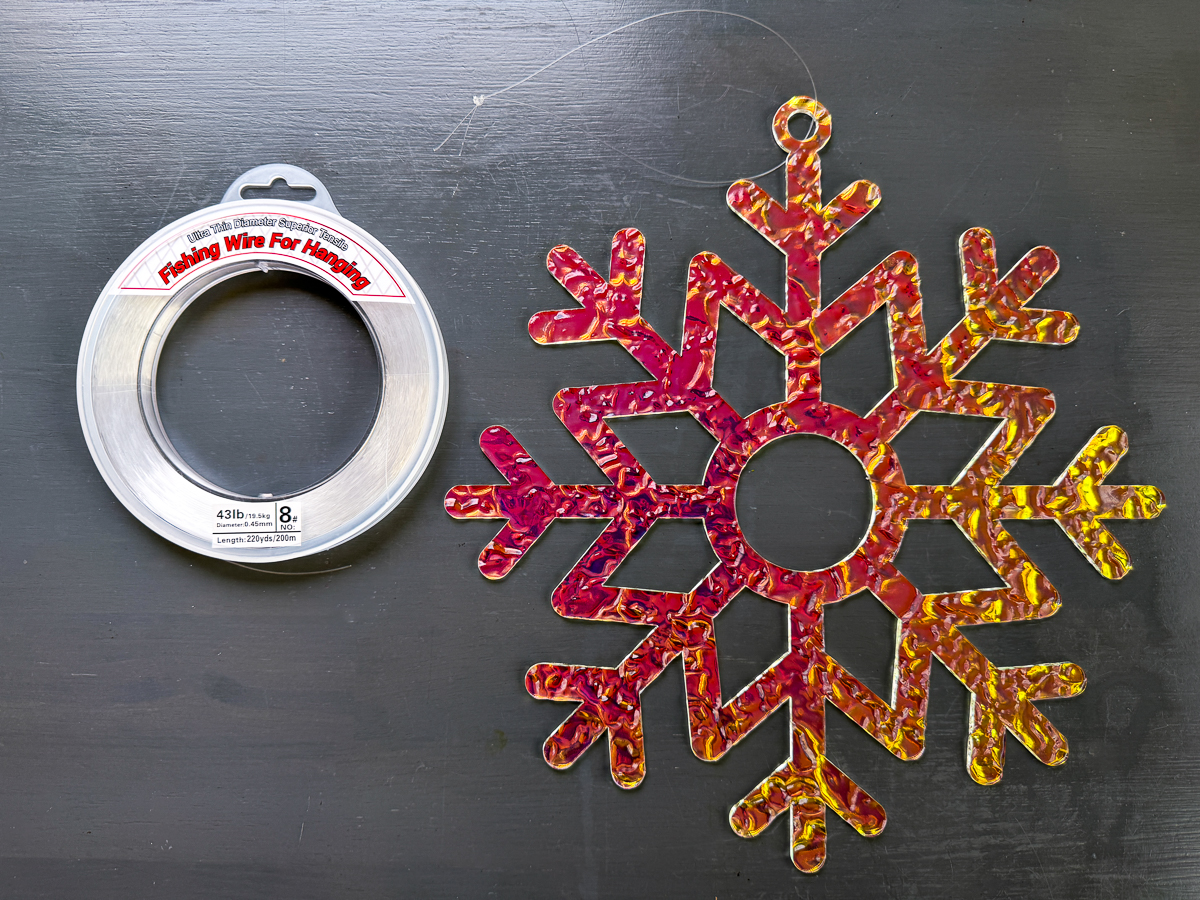
I'm making these snowflakes out of iridescent acrylic that xTool sent to me for this project. I used the default settings for 3mm transparent acrylic for the xTool P2 laser. Remember that you can only cut clear acrylic with a CO2 laser, not a diode like the M1!

I'm always impressed by how fast the P2 cuts! This video is sped up x4, but the overall cut time was around 3 minutes.
The test cut came out perfect! Now it's time to make these snowflakes bigger!

Cut the giant snowflakes
To make these snowflakes really stand out in the tree, I made them as big as I could! These sheets are 12"x12", so I created a separate canvas for each design and increased the size so that they would take up an entire sheet.

It can be tricky to see where your acrylic is positioned on the bed. The camera inside the P2 picks up some of the light bouncing off the surface, but the edges are hard to see even when you take a close up shot.
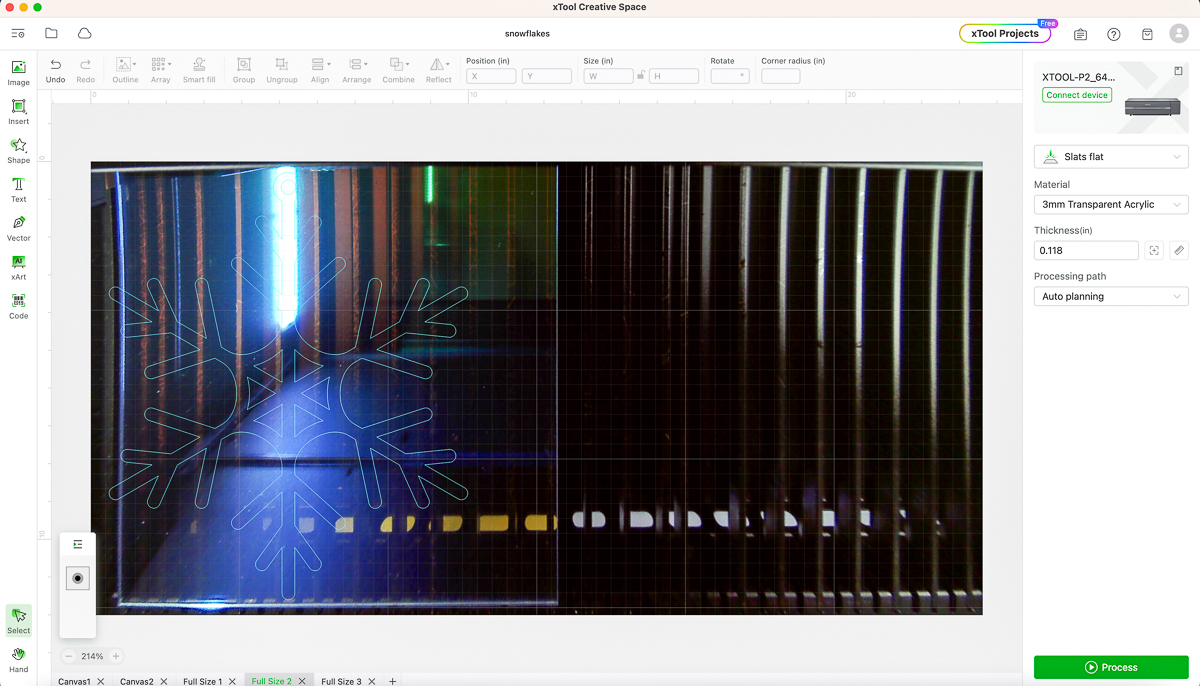
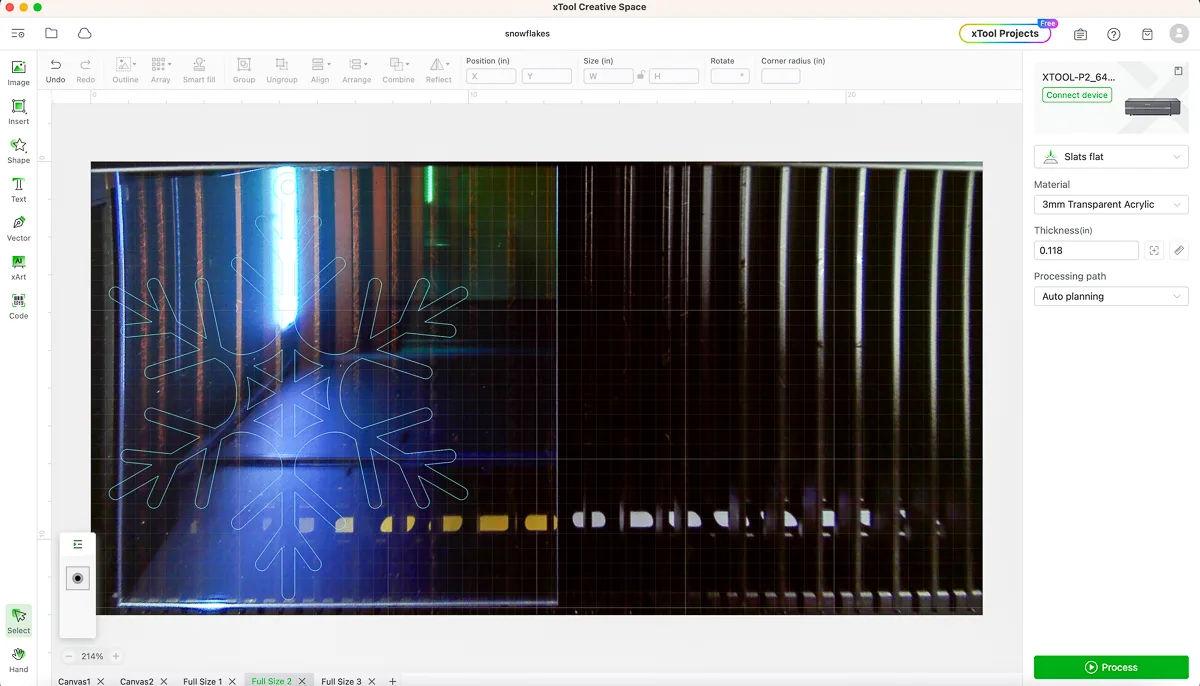
I made a jig that sits along the top and left side of the bed to mark the outside of the cutting area. This takes all the guesswork out of placing the sheet in the machine!
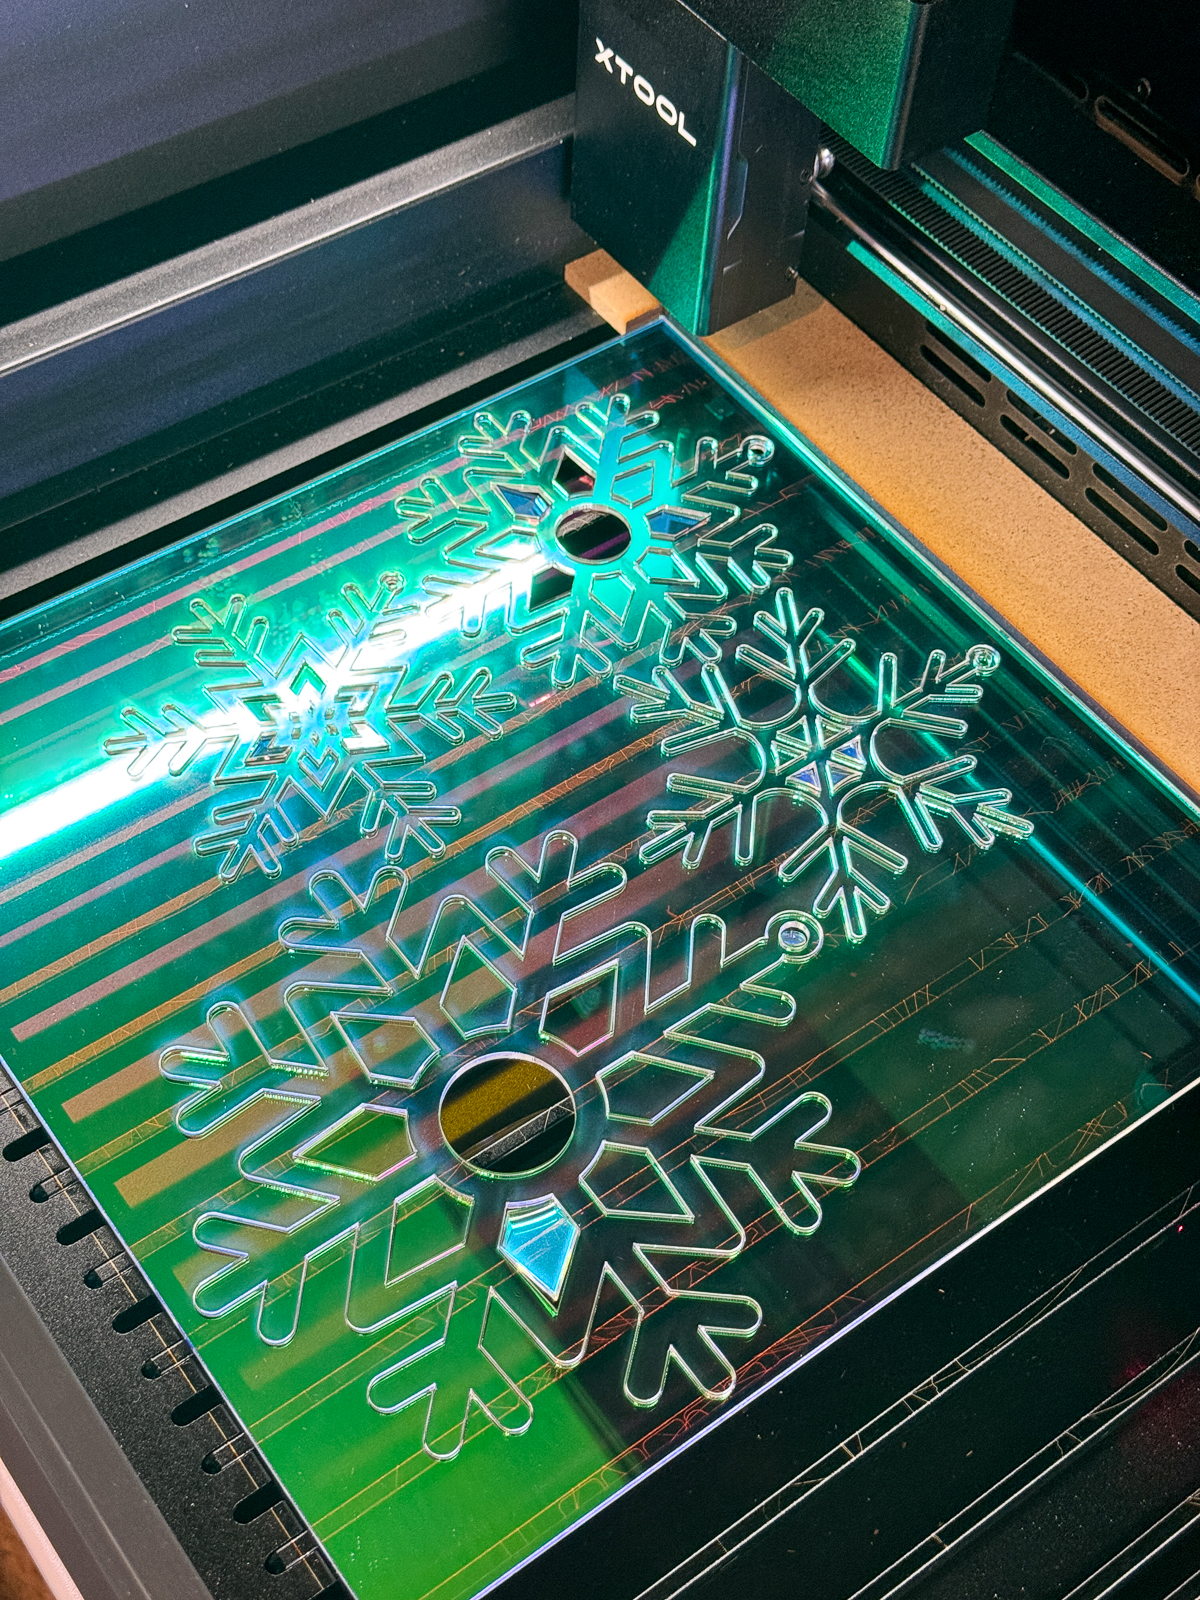
I started with the same acrylic as the test. Each giant snowflake took about 3 minutes and came out perfect!

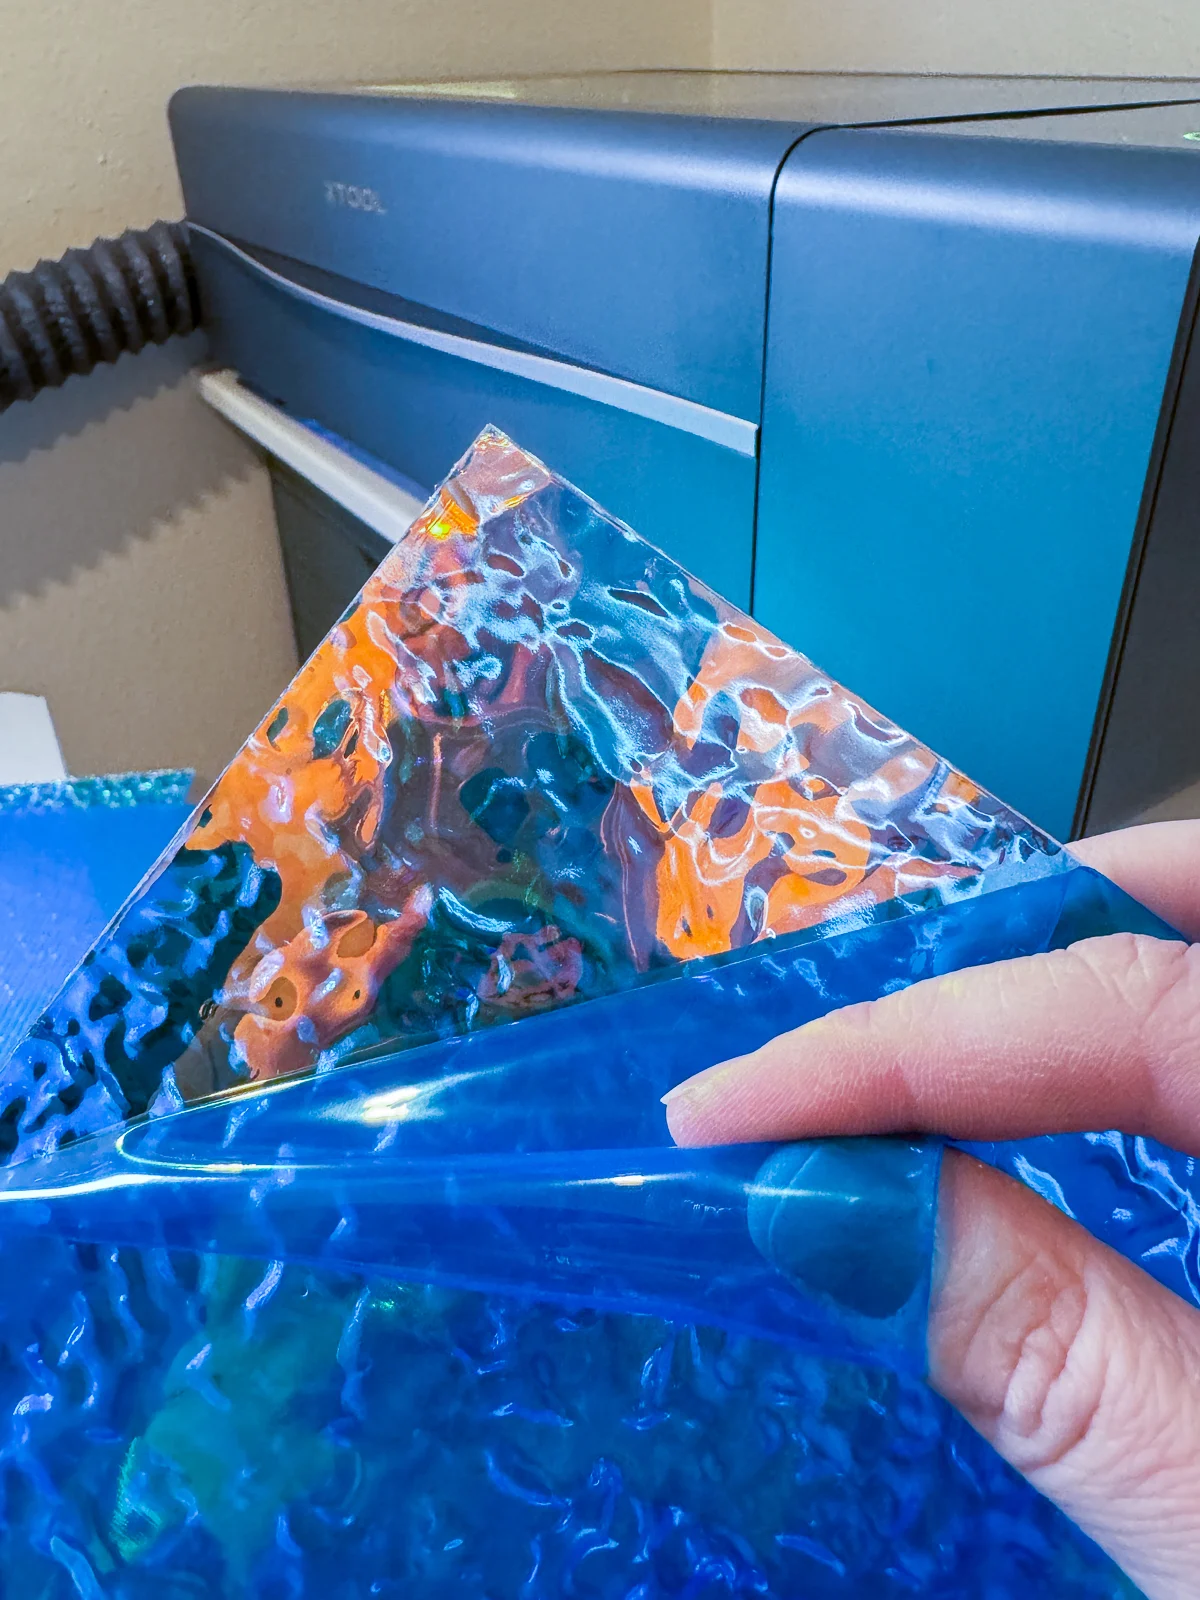
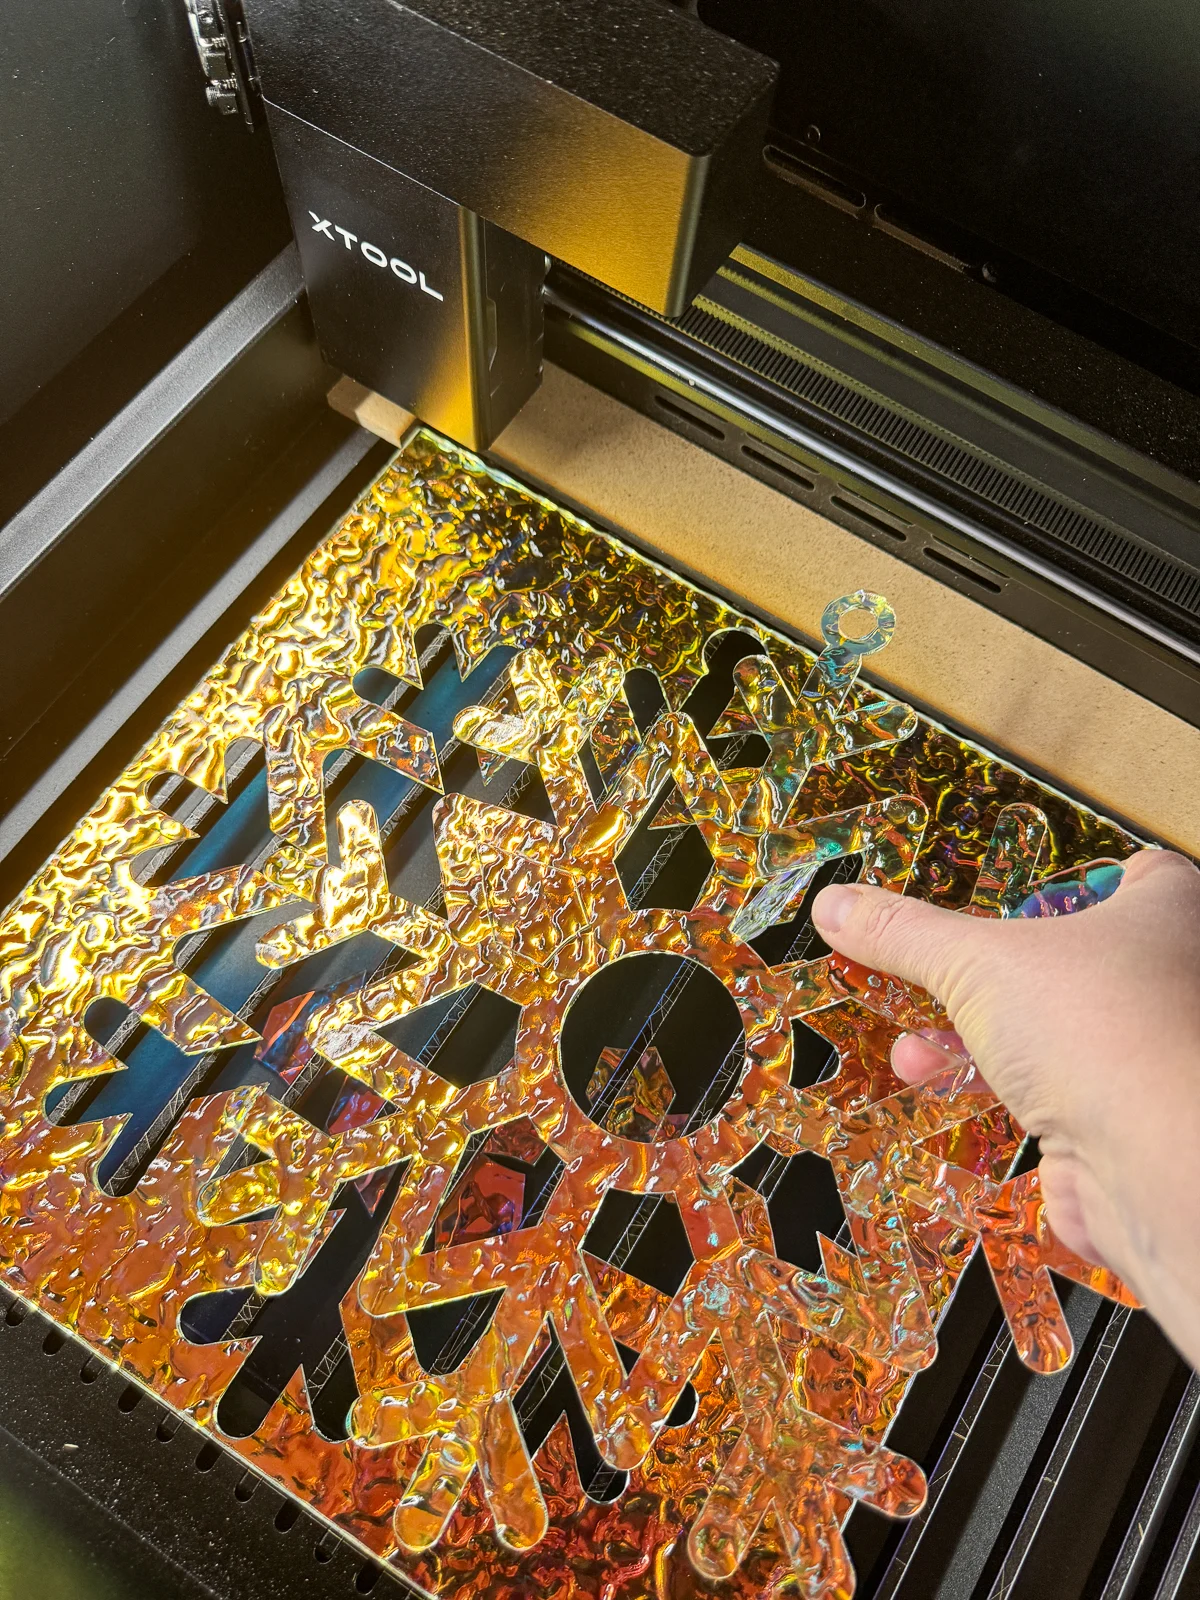
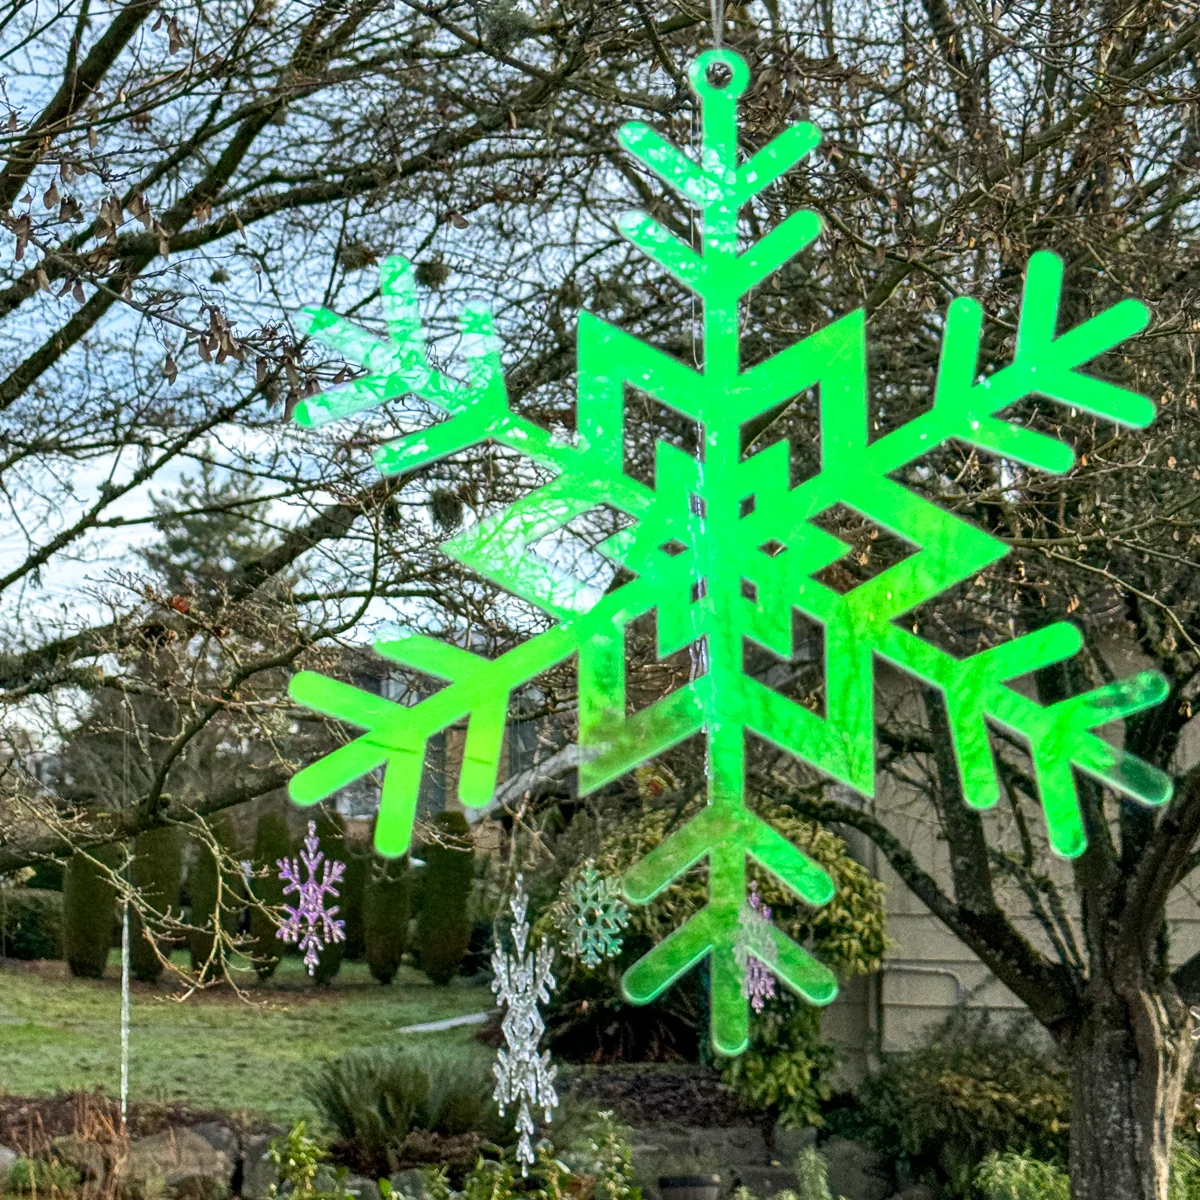
I was really excited to see how the snowflakes would look in this iridescent water ripple acrylic! Make sure to peel off the clear plastic from the top and the blue plastic from the bottom, but leave the iridescent film intact.

It took a bit of force to get some of the pieces out of the center, but it all cut through cleanly. It looks like this snowflake is really made of ice!

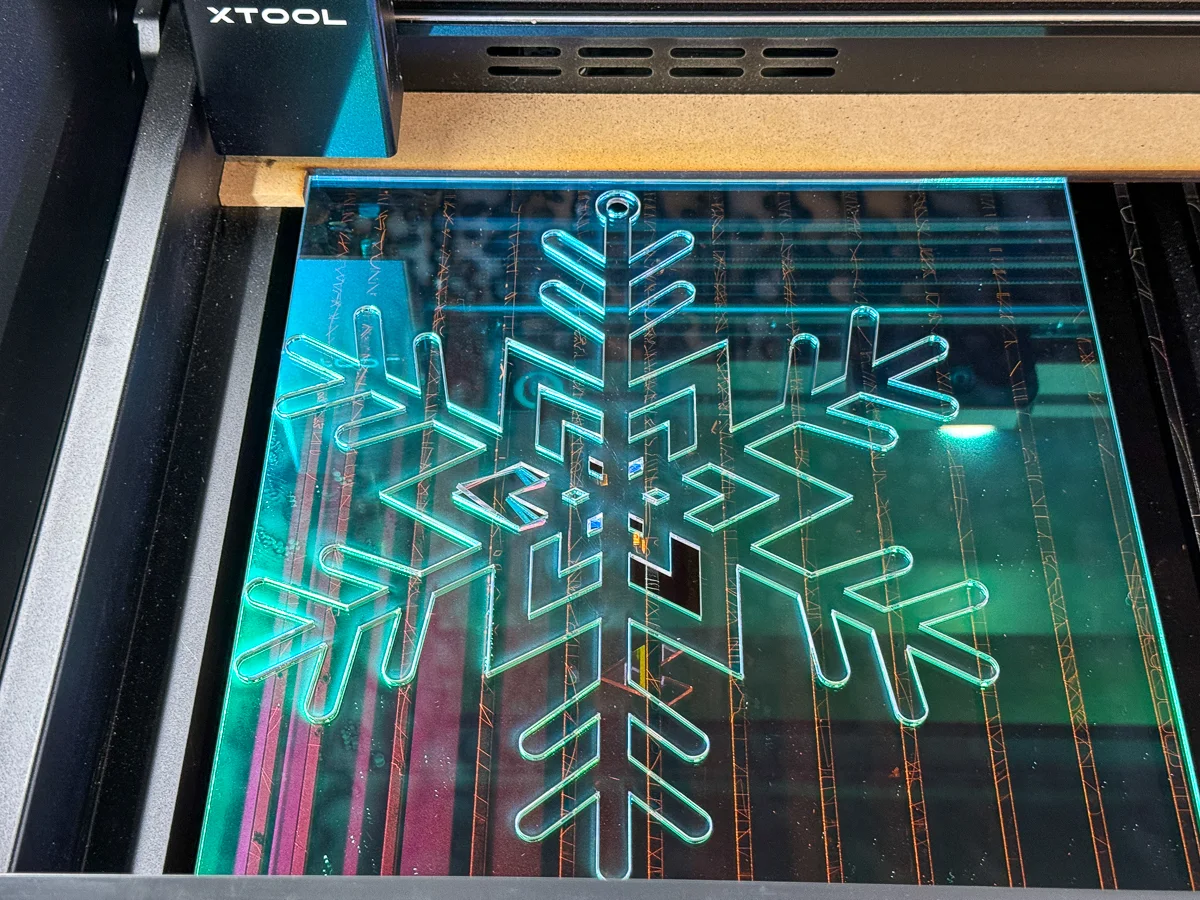
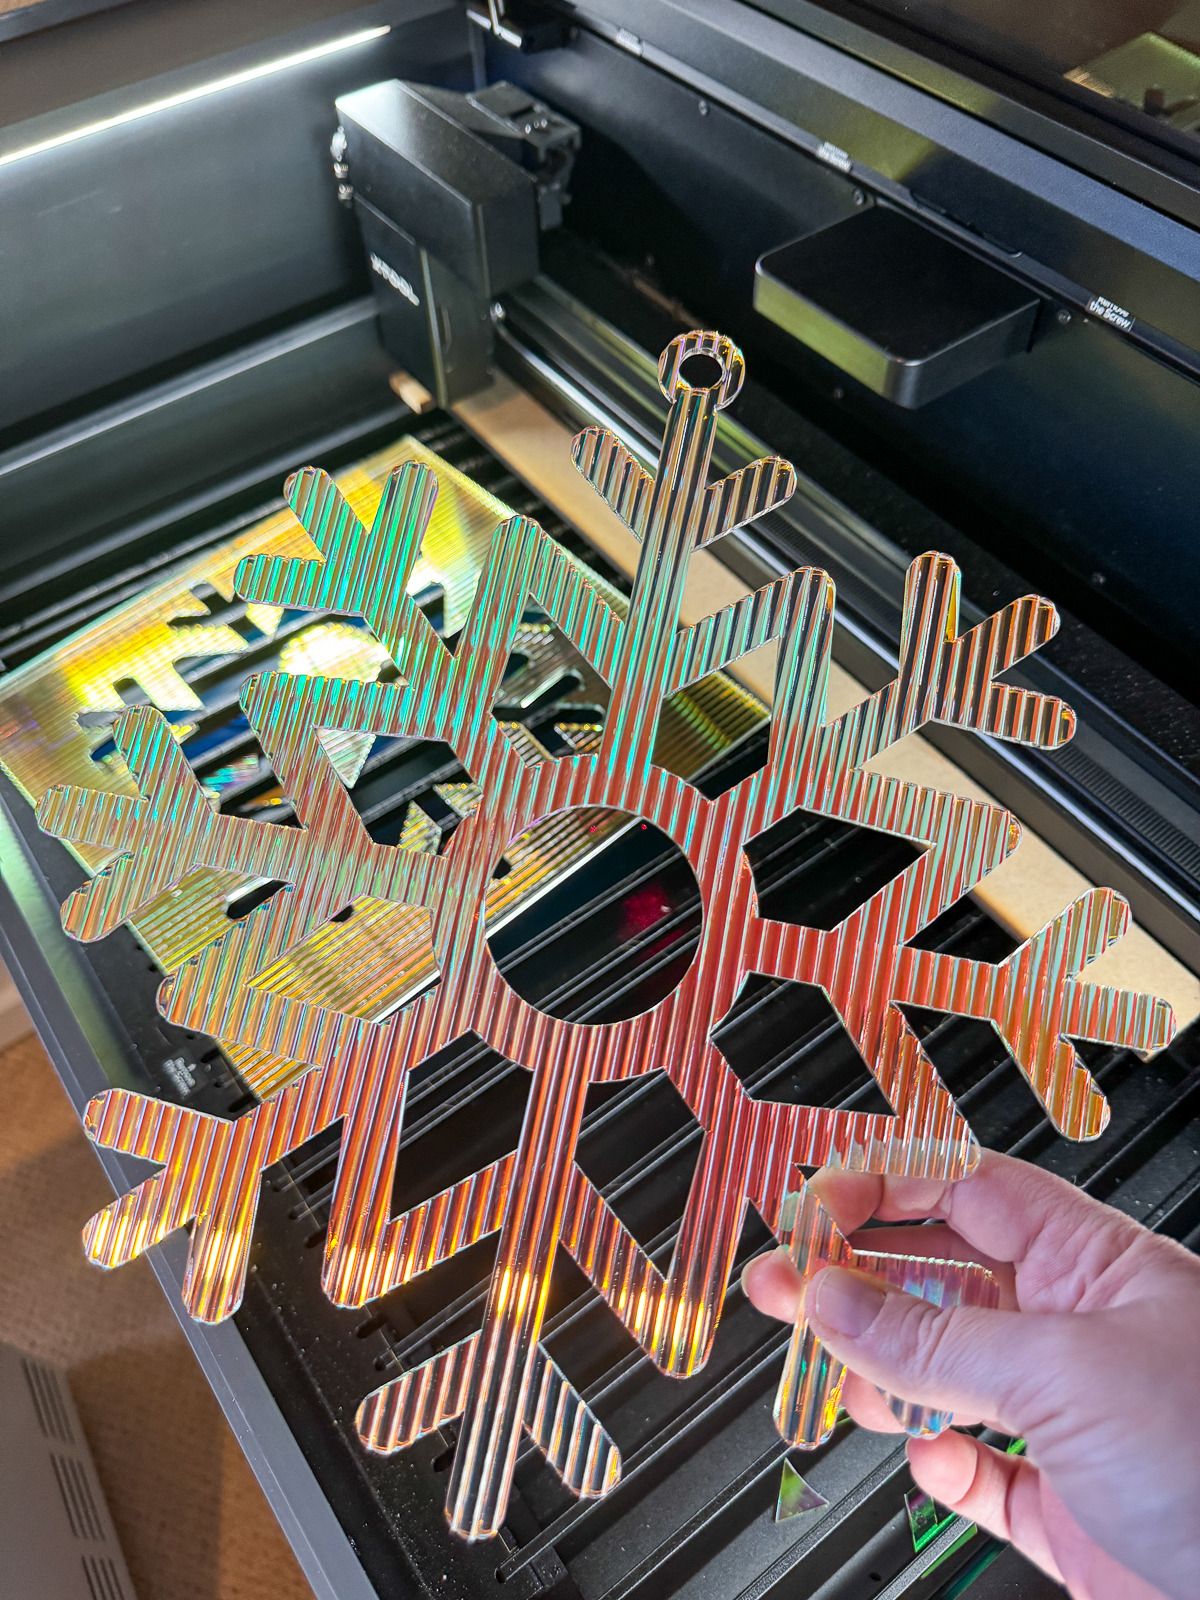
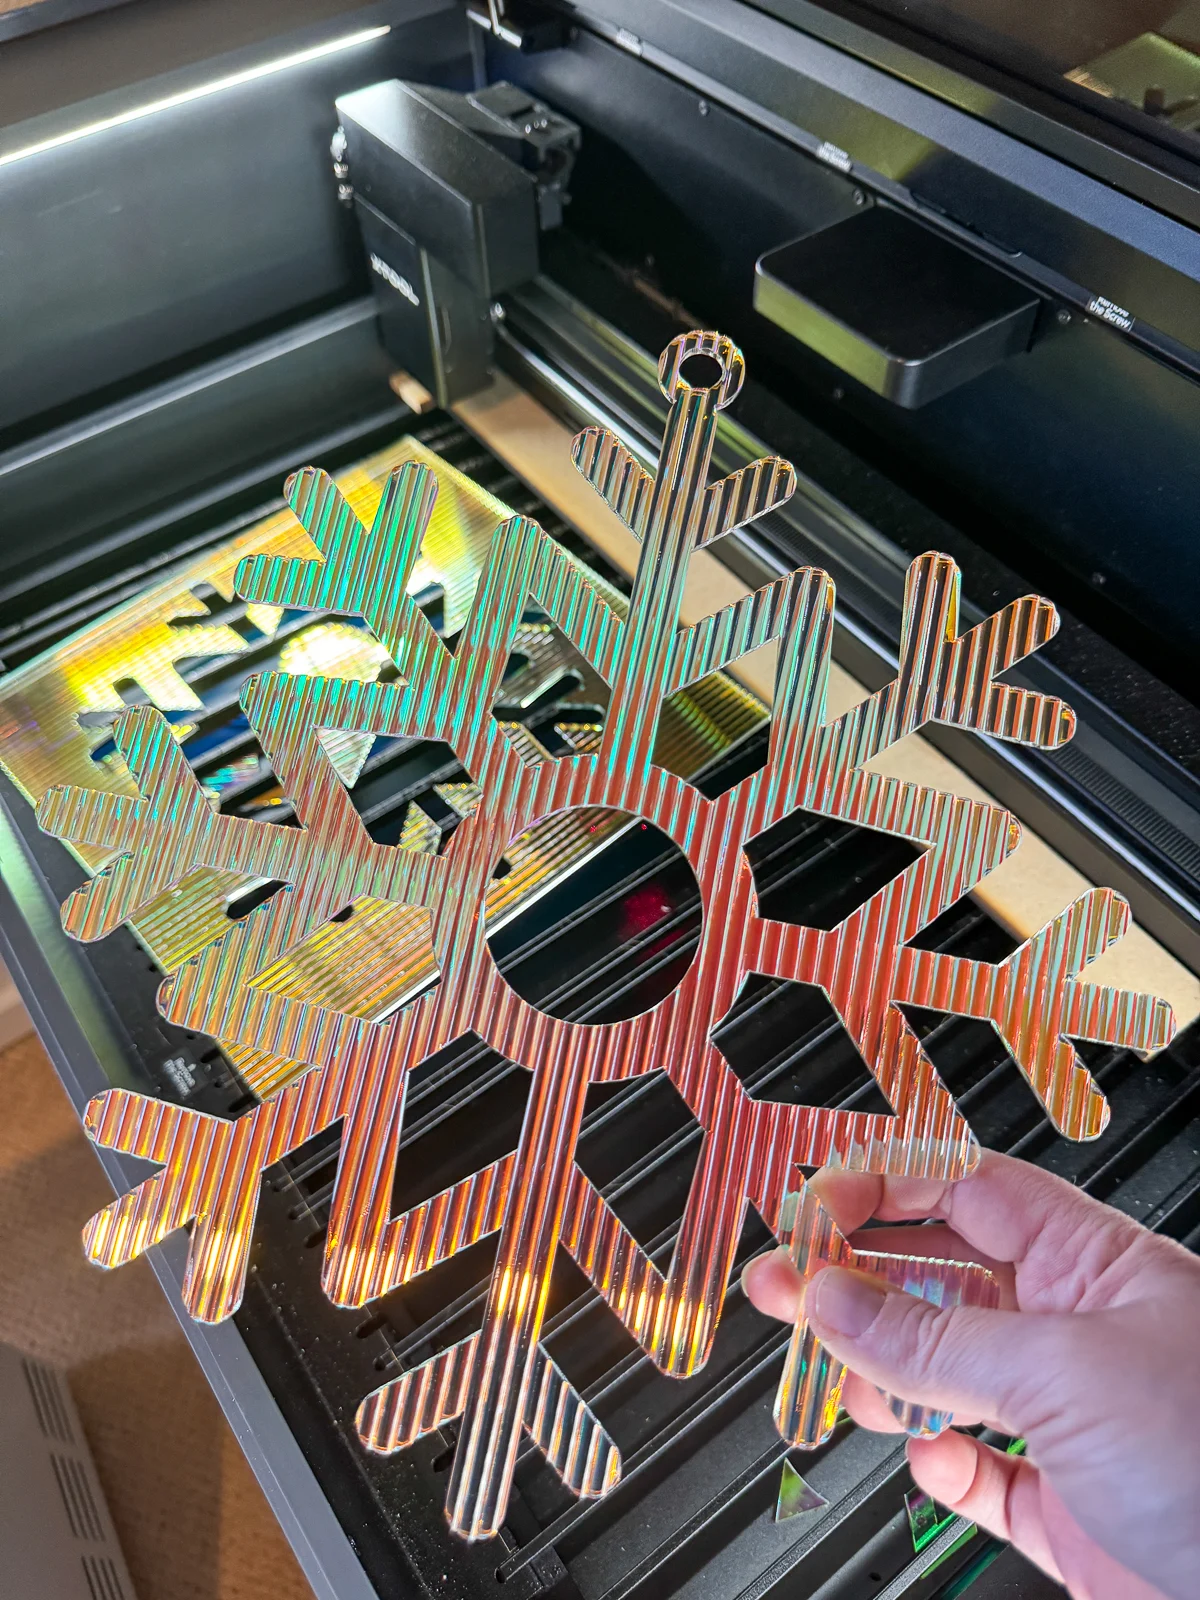
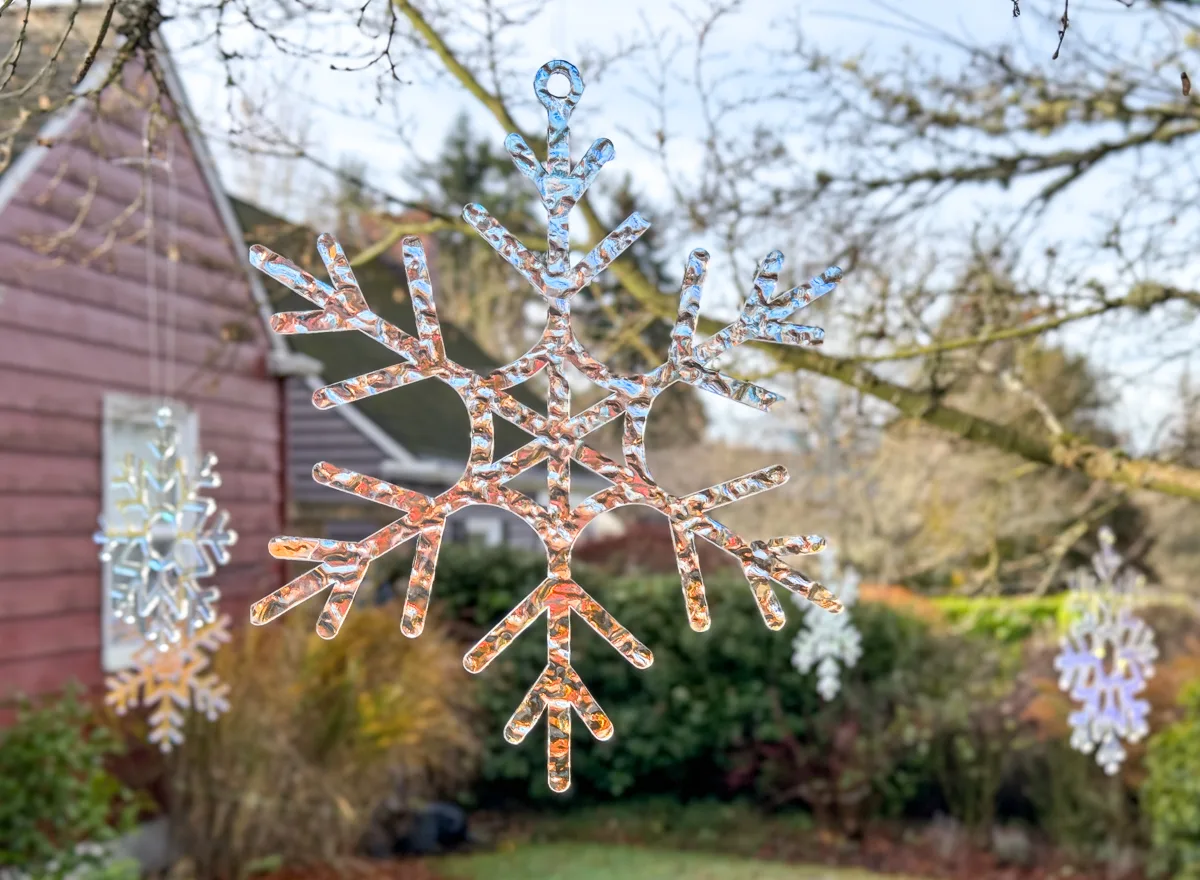
Finally, I ran it through a third time with the fluted acrylic. This one was easier to see with the camera, so I moved the design to align with the lines of the acrylic. The center vertical line fit three stripes perfectly!
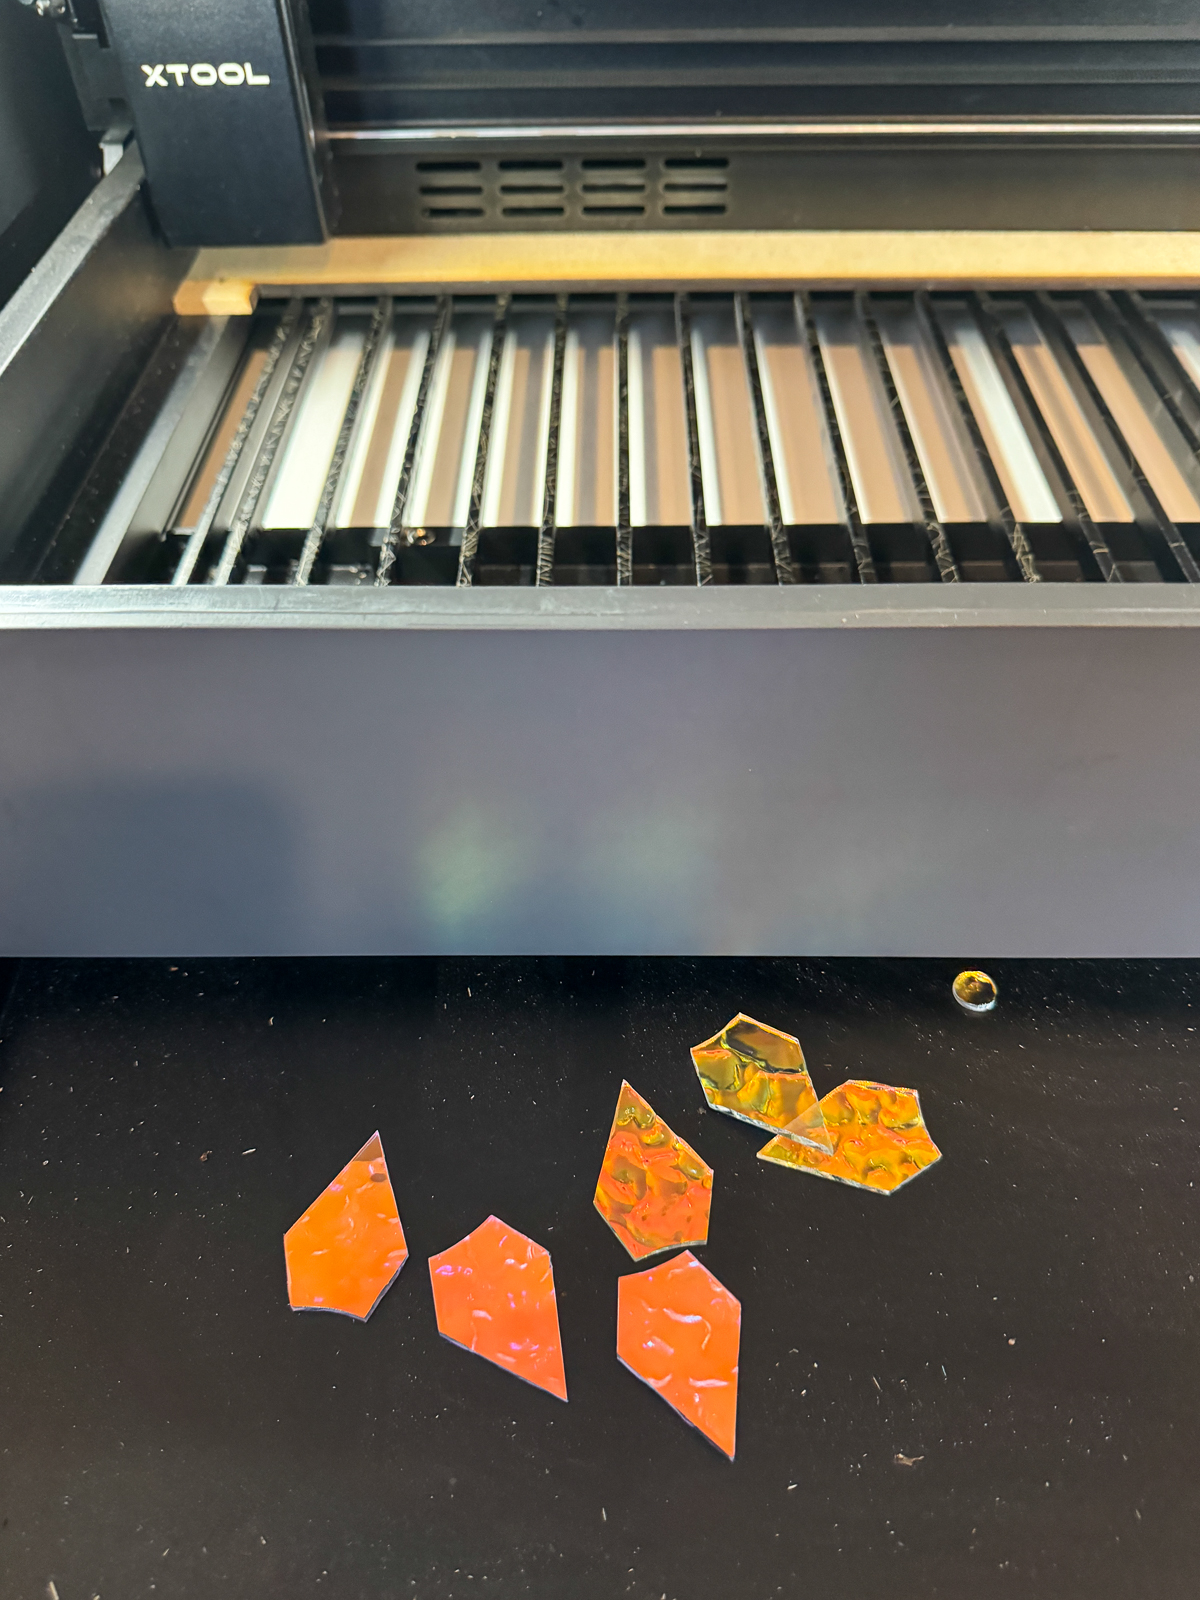
One issue to watch out for is when some of the small cutouts don't fall through all the way. I want to get the honeycomb panel to prevent these smaller pieces from getting caught on the slats and potentially blocking the laser head.


After each cut, pull out the tray at the bottom of the machine and remove all the pieces that fell through. If you leave them in the crumb tray, the laser will mark them on the next cut and you won't be able to use the scraps. I'll be making earrings with these later!

Add the string or hooks
Regular metal ornament hooks will rust outside, and are too small for these giant snowflake decorations. You can use large hooks like these to hang on the inside branches without having to start at the very tip.
I just added a loop of clear fishing line to the top of each snowflake. This will hold up better outside than regular twine, and they're almost invisible so it appears like the snowflakes are floating in midair.

Hang your outdoor snowflake decorations
I waited impatiently for the weather to clear up so I could hang up my new snowflake decorations. After a week of dreary rain, I finally got a sunny day!
I made the loops big enough to slip over the ends of the branches easily. Each one is set back from the tip of the branch so they don't fall off in a strong wind.
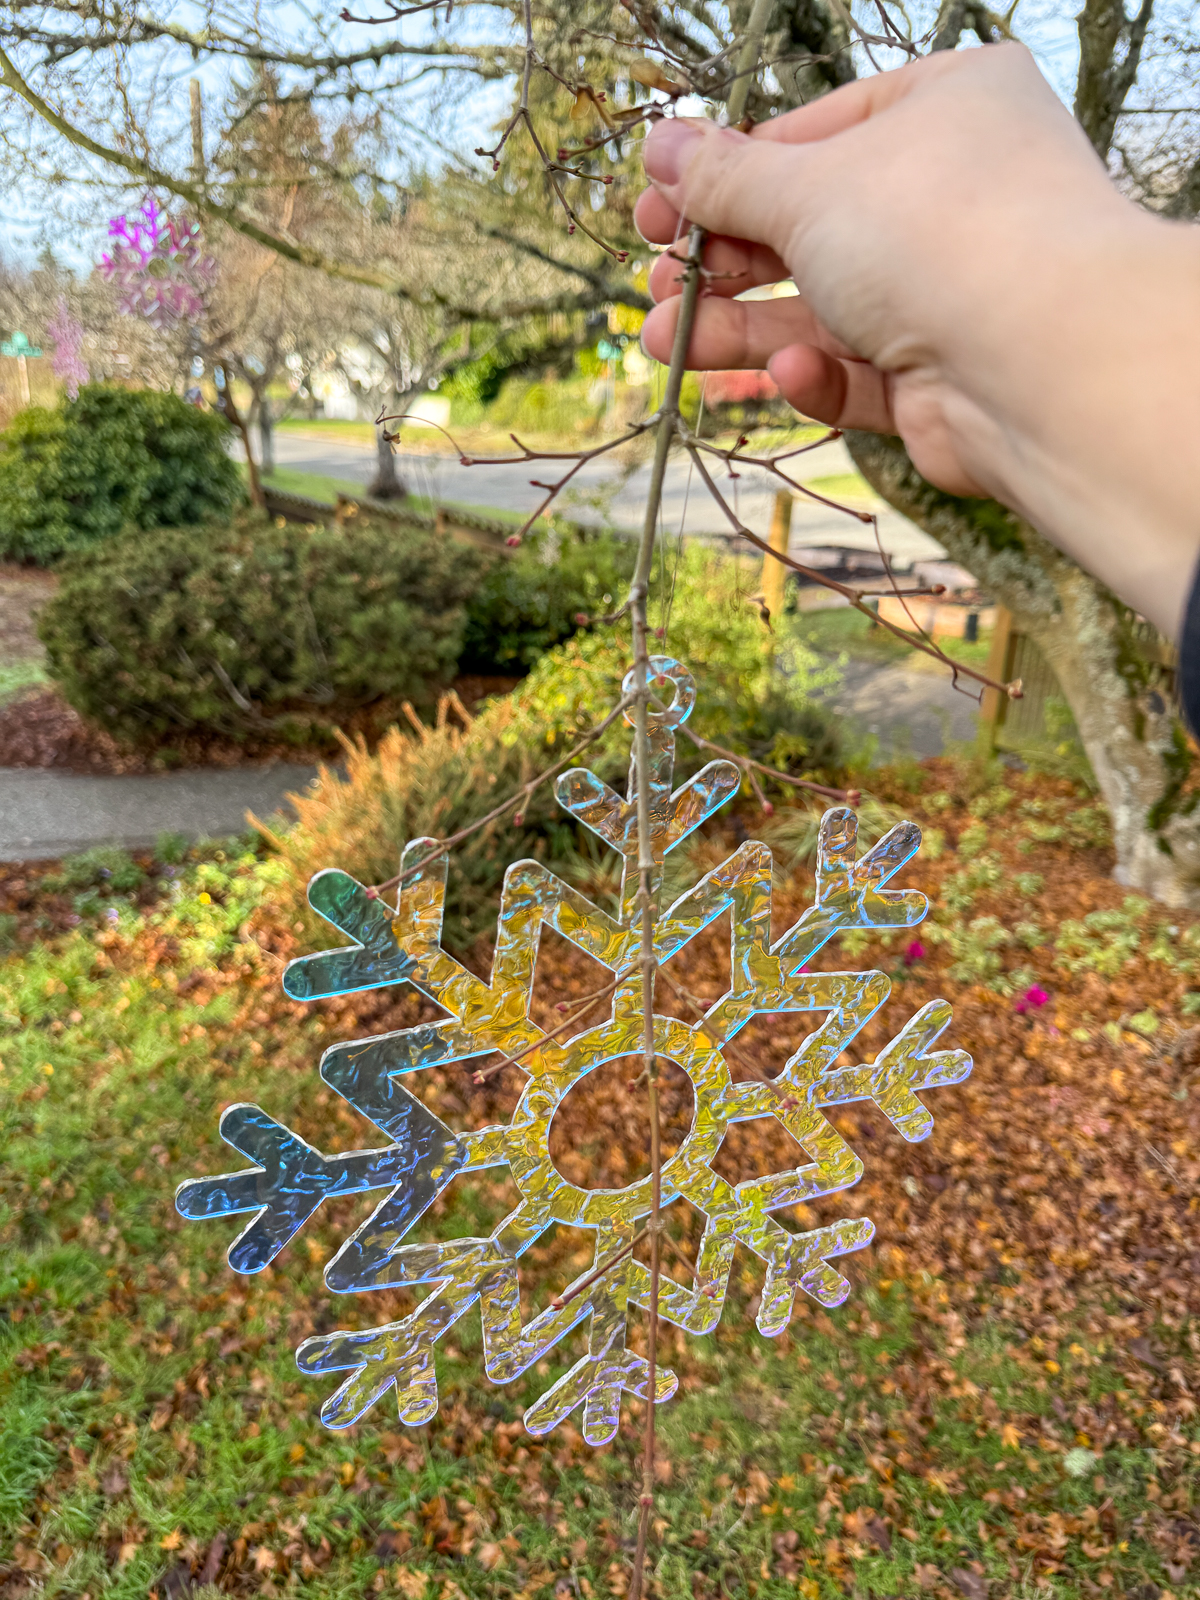
Unlike Christmas lights that are only on at night, these outdoor snowflakes sparkle all day! I love how they change color as they twist in the wind and reflect colored light around the garden.
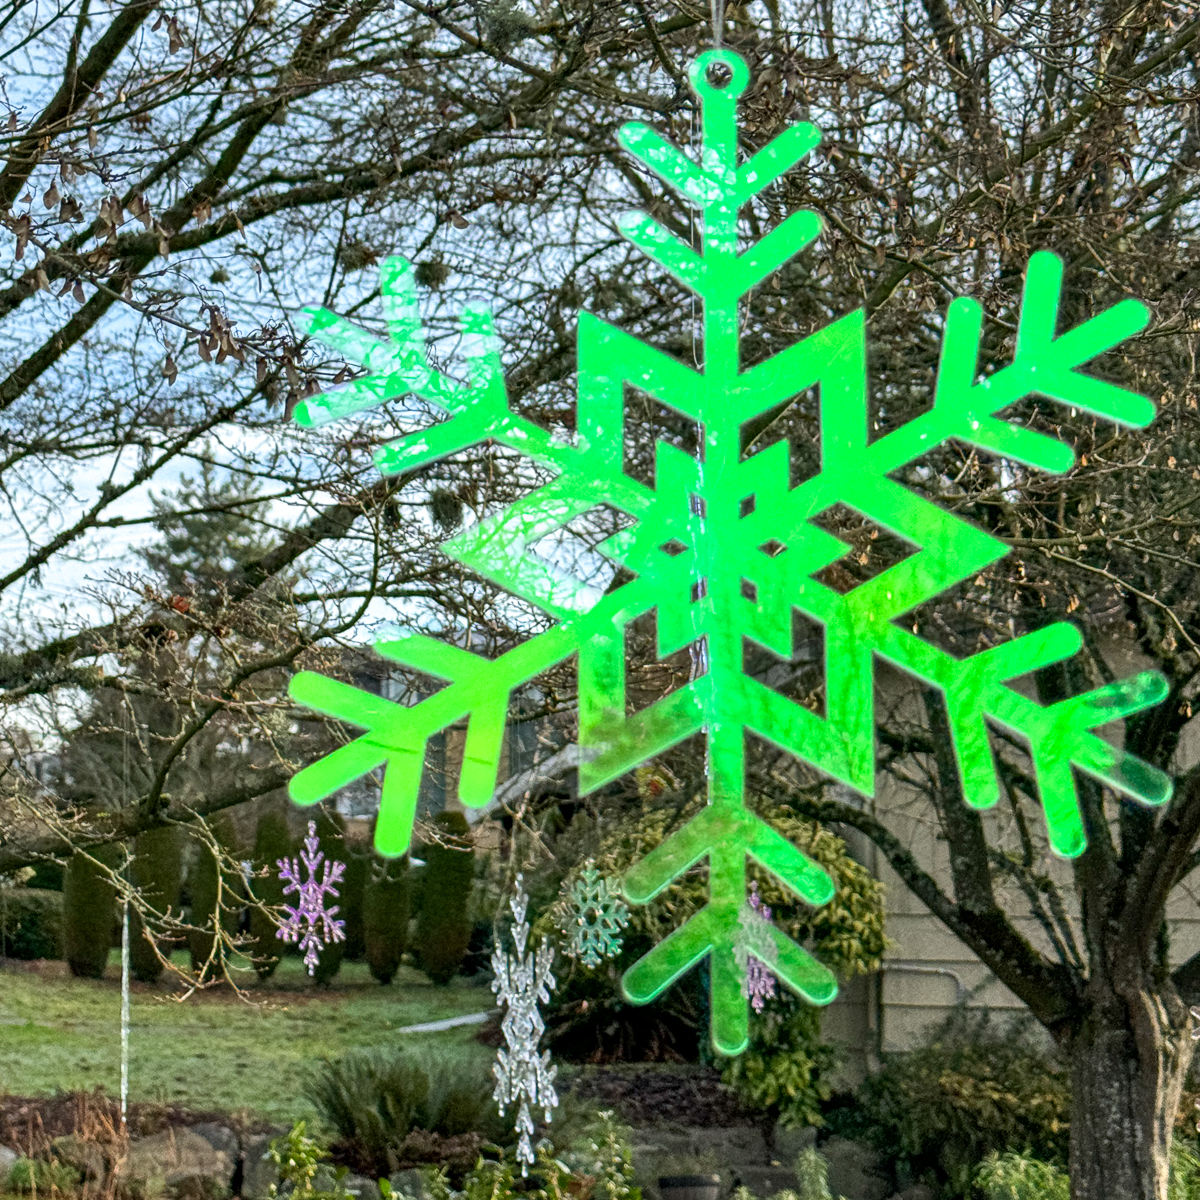
Best of all, these snowflake decorations can be left outside even after the holidays are over! We could all use some sparkle and shine in January when the Christmas lights come down and it's dark and dreary again.

Check out these other laser cutter projects!