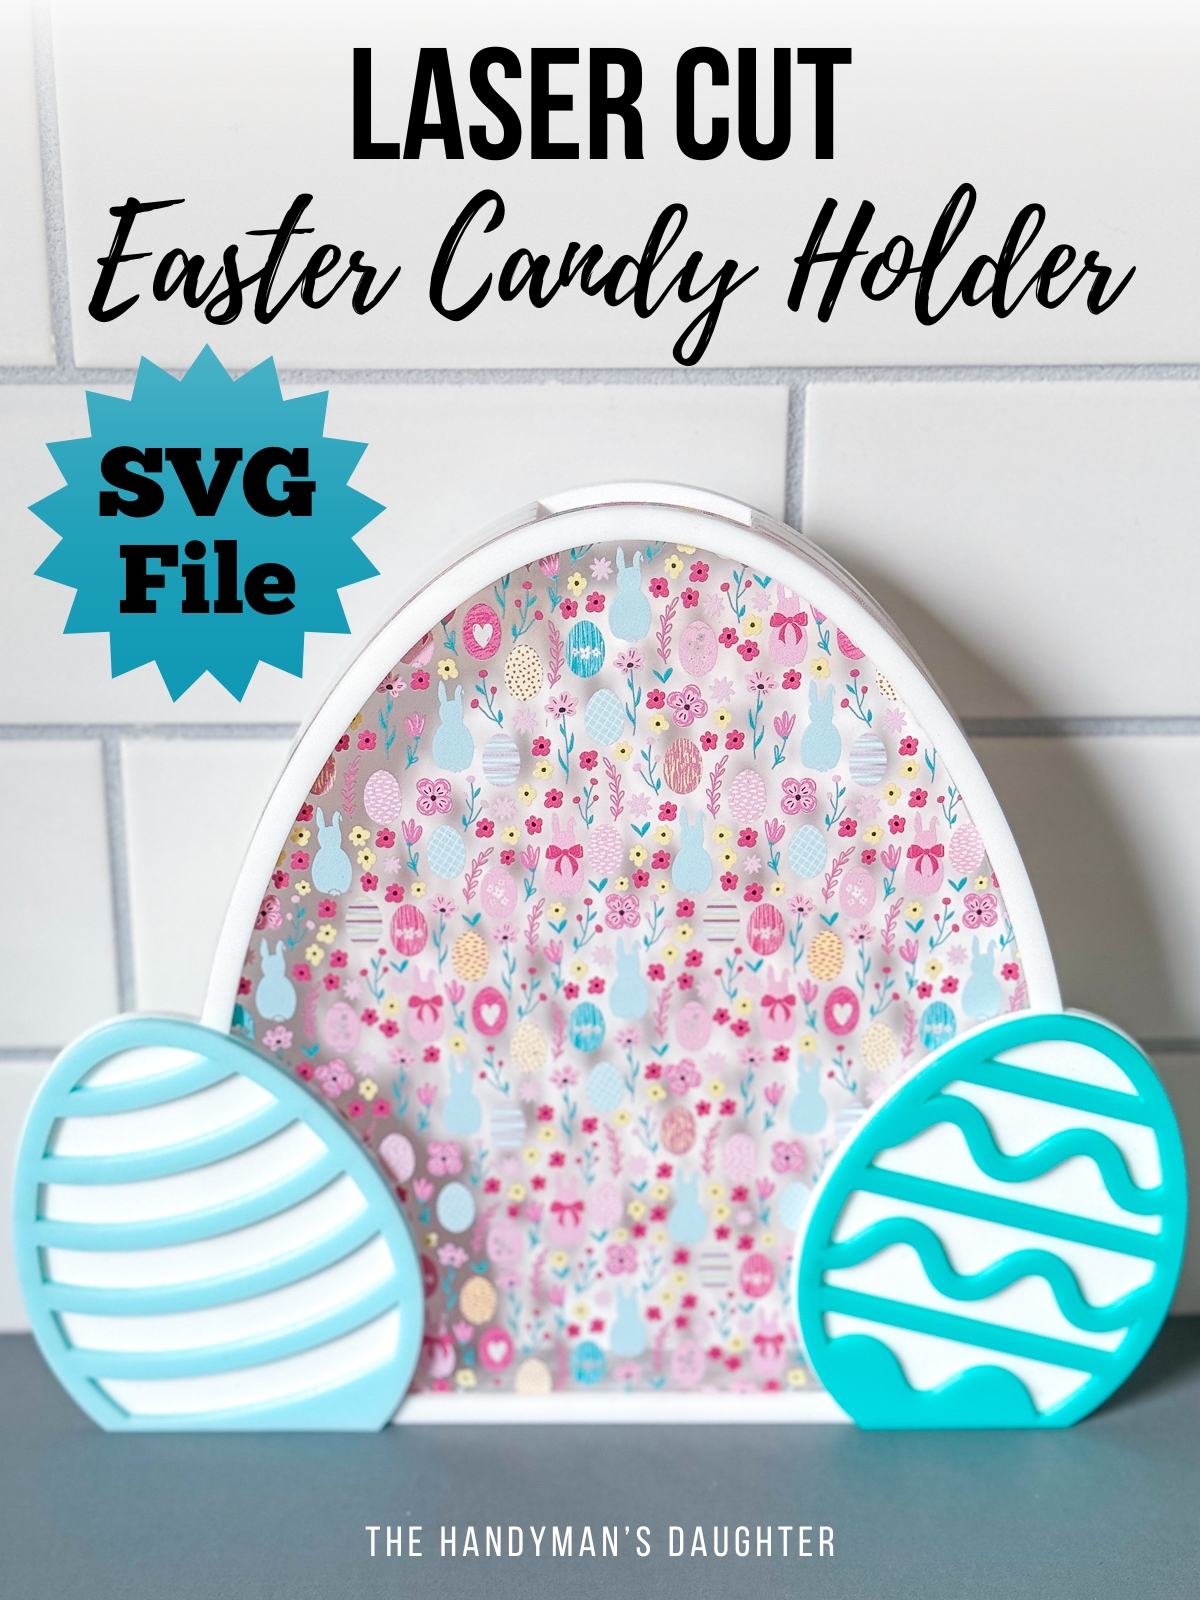
Learn how to make this adorable Easter candy holder with your laser! Download the SVG file and get started on this fun project today!
Out of all the holidays, Easter has the BEST candy! Cadbury eggs, Robin eggs, Peeps...yum! As soon as Valentine's Day is over, the store shelves are packed with these pastel colored treats.
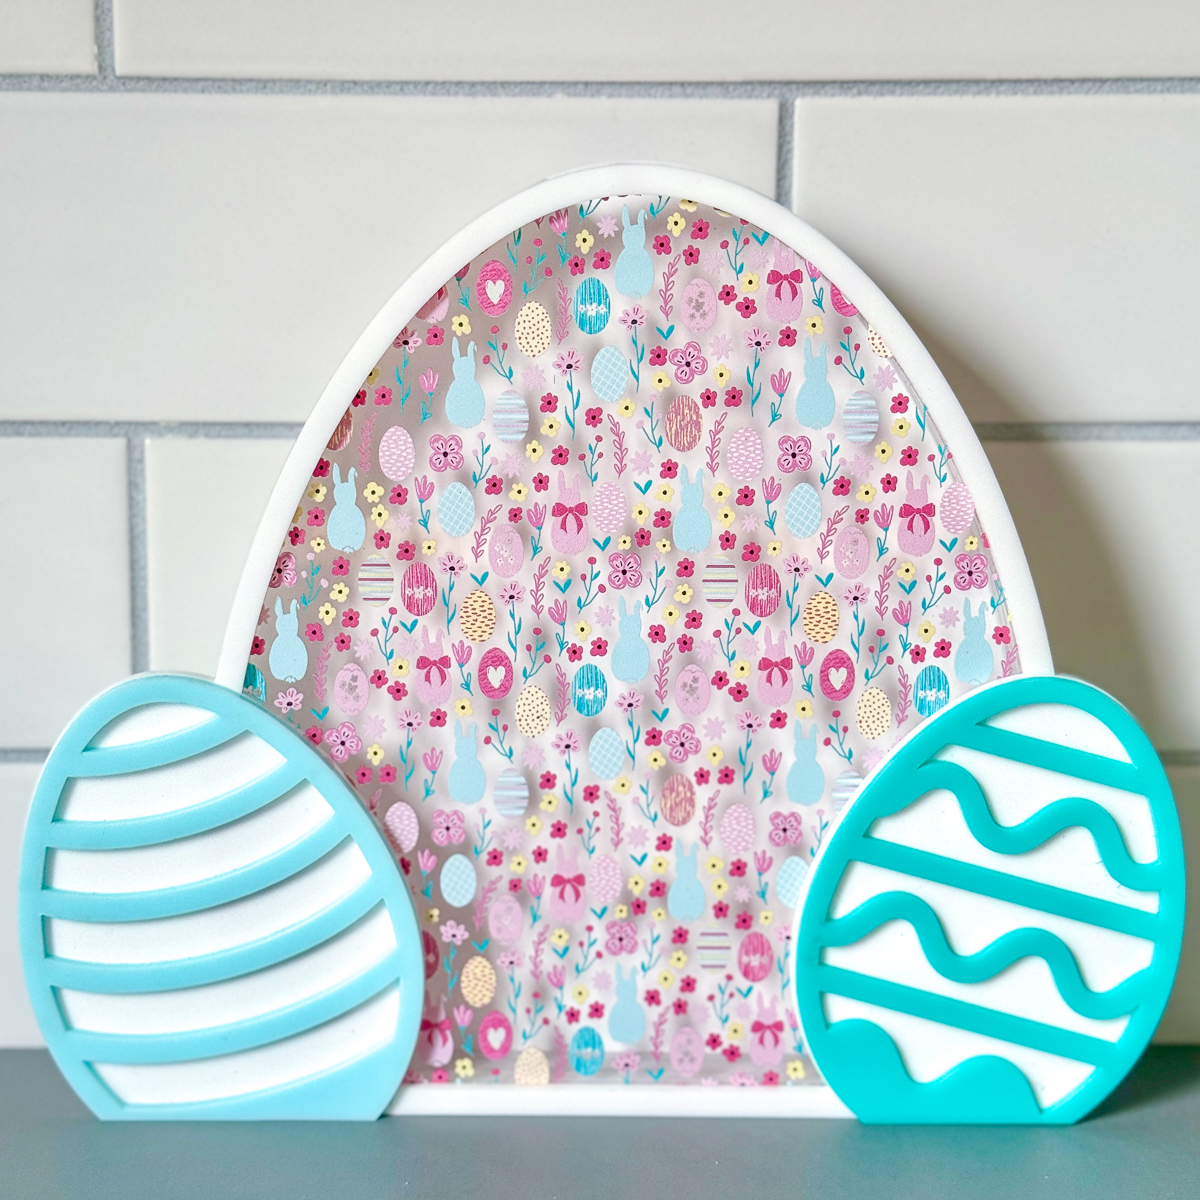
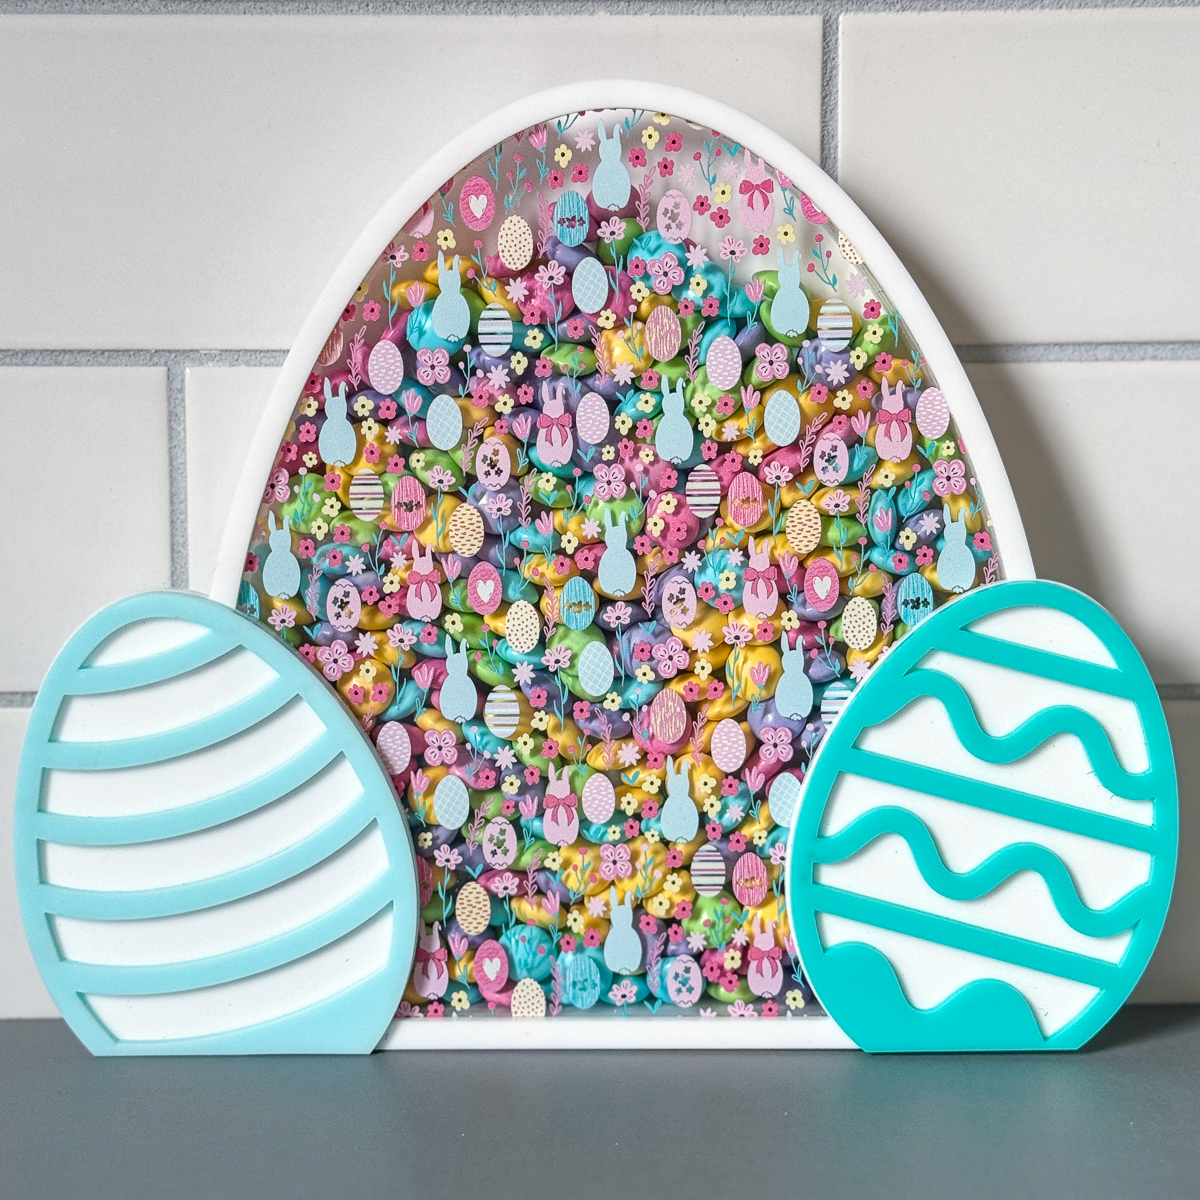
Instead of leaving all those colorful candies in the bag, I decided to put them on display! I used a similar design to my coin display, with a slot at the top to access the candy.
This candy holder is a cute alternative to a dish, and would make a great addition to an Easter basket too. Here's how I made it with my xTool P2 laser!
Don't have a laser, or looking to upgrade? Use the code VINETA100 for $100 off an xTool laser! Click here to check them out!
This post contains affiliate links for your convenience. Purchases made through these links may earn me a small commission at no additional cost to you. Please visit my disclosures page for more information.
Download the SVG file
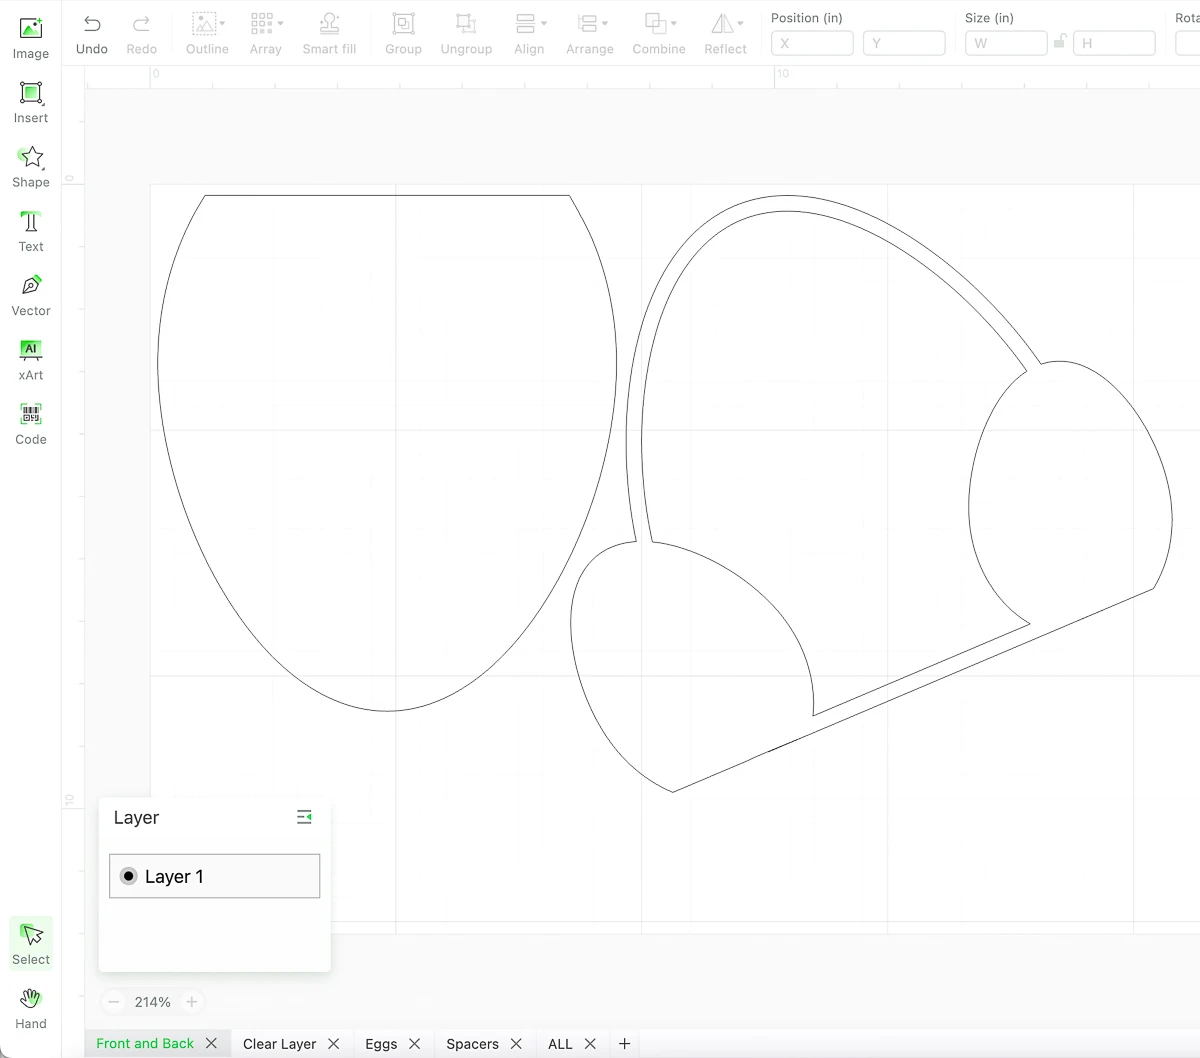
The SVG file for this Easter candy holder is available for purchase in my shop.
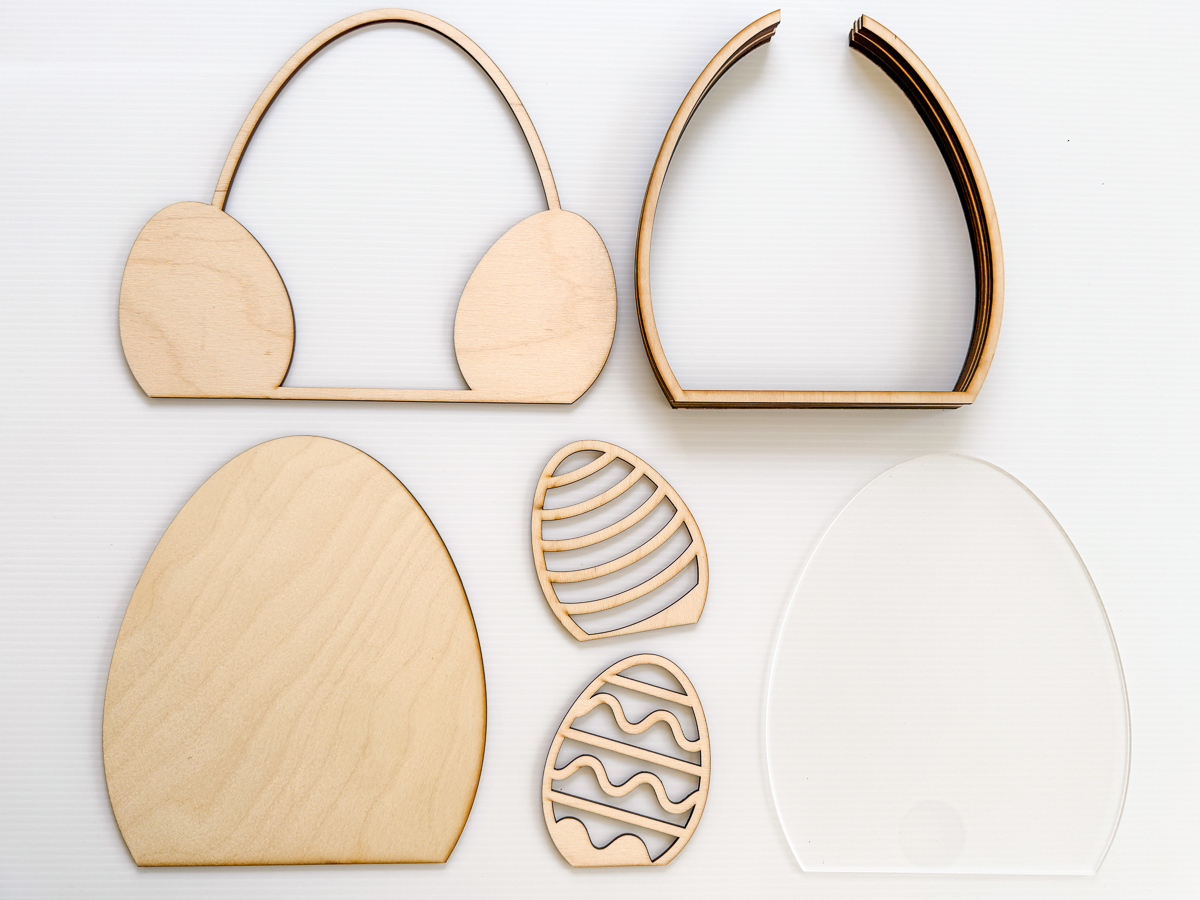
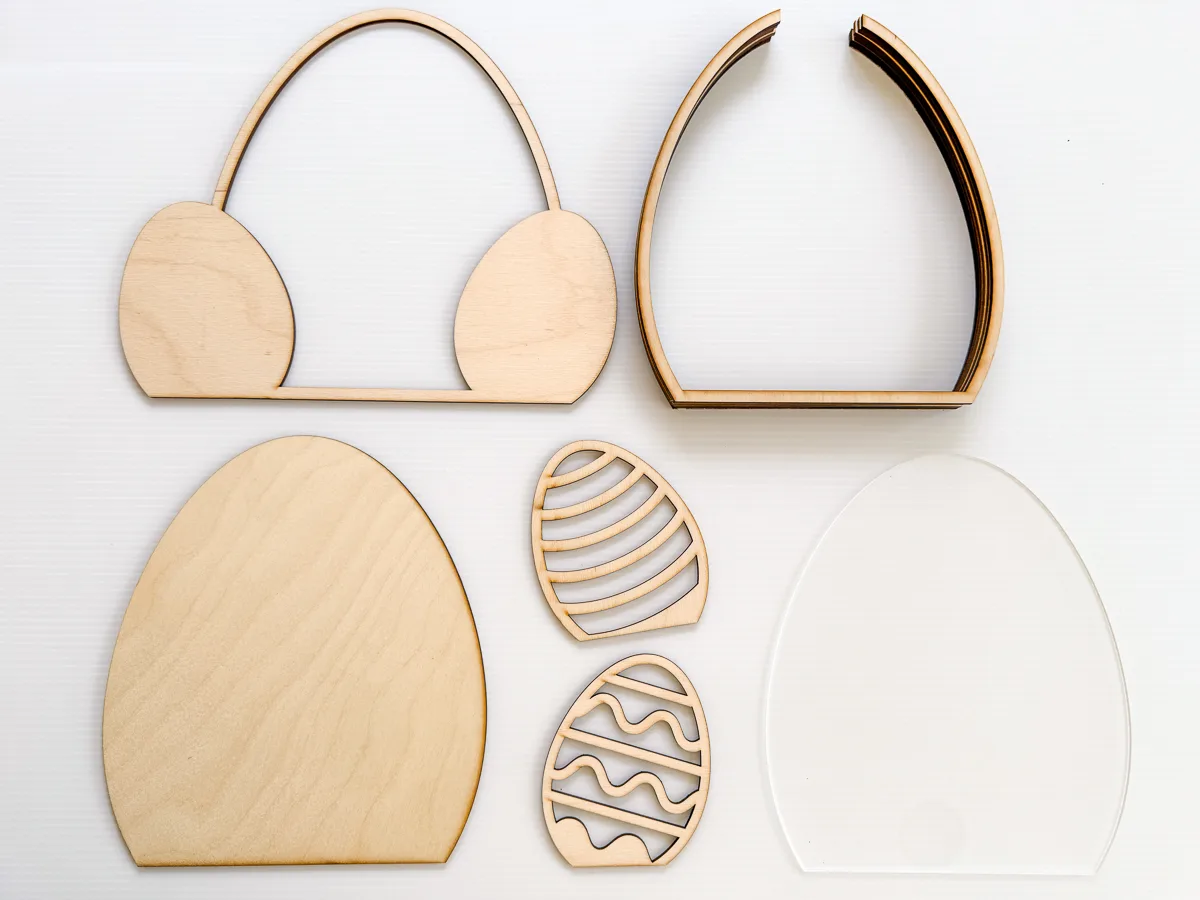
Once it's downloaded, I recommend sorting the different elements by material. In xTool Creative Space, I created separate canvases for the front and back, the clear layer, the spacers and the eggs.

Choose your materials
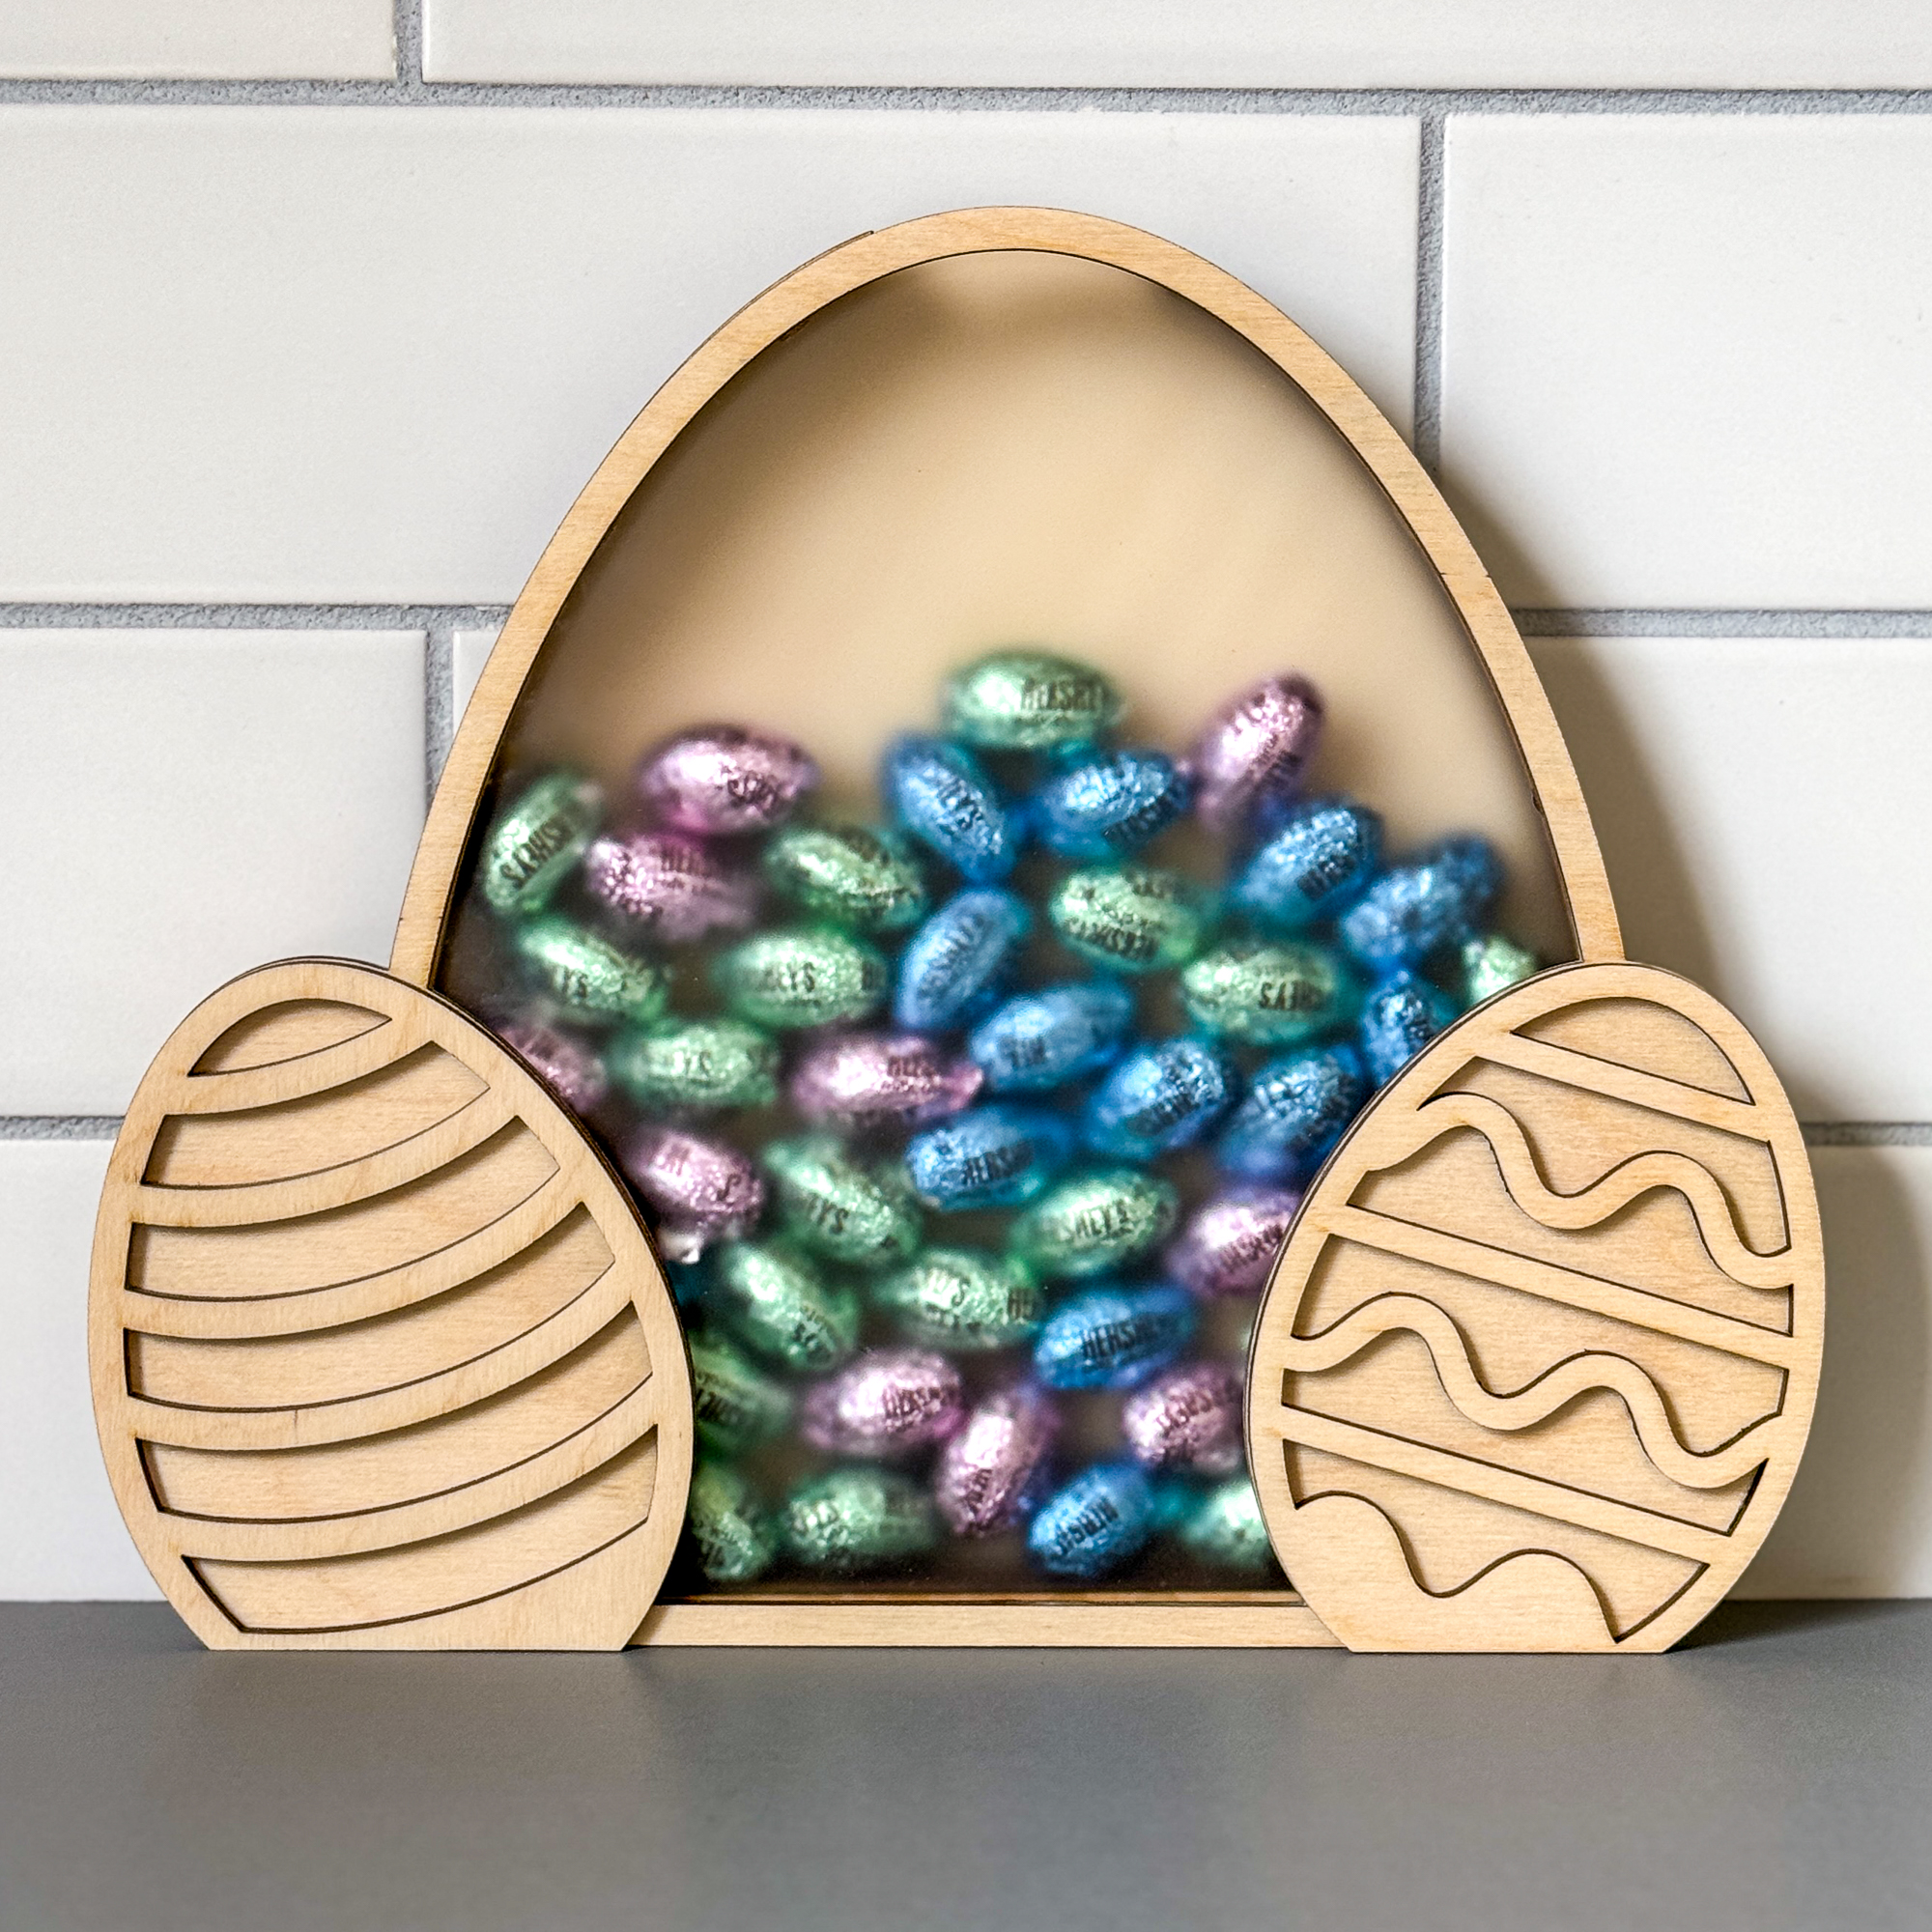
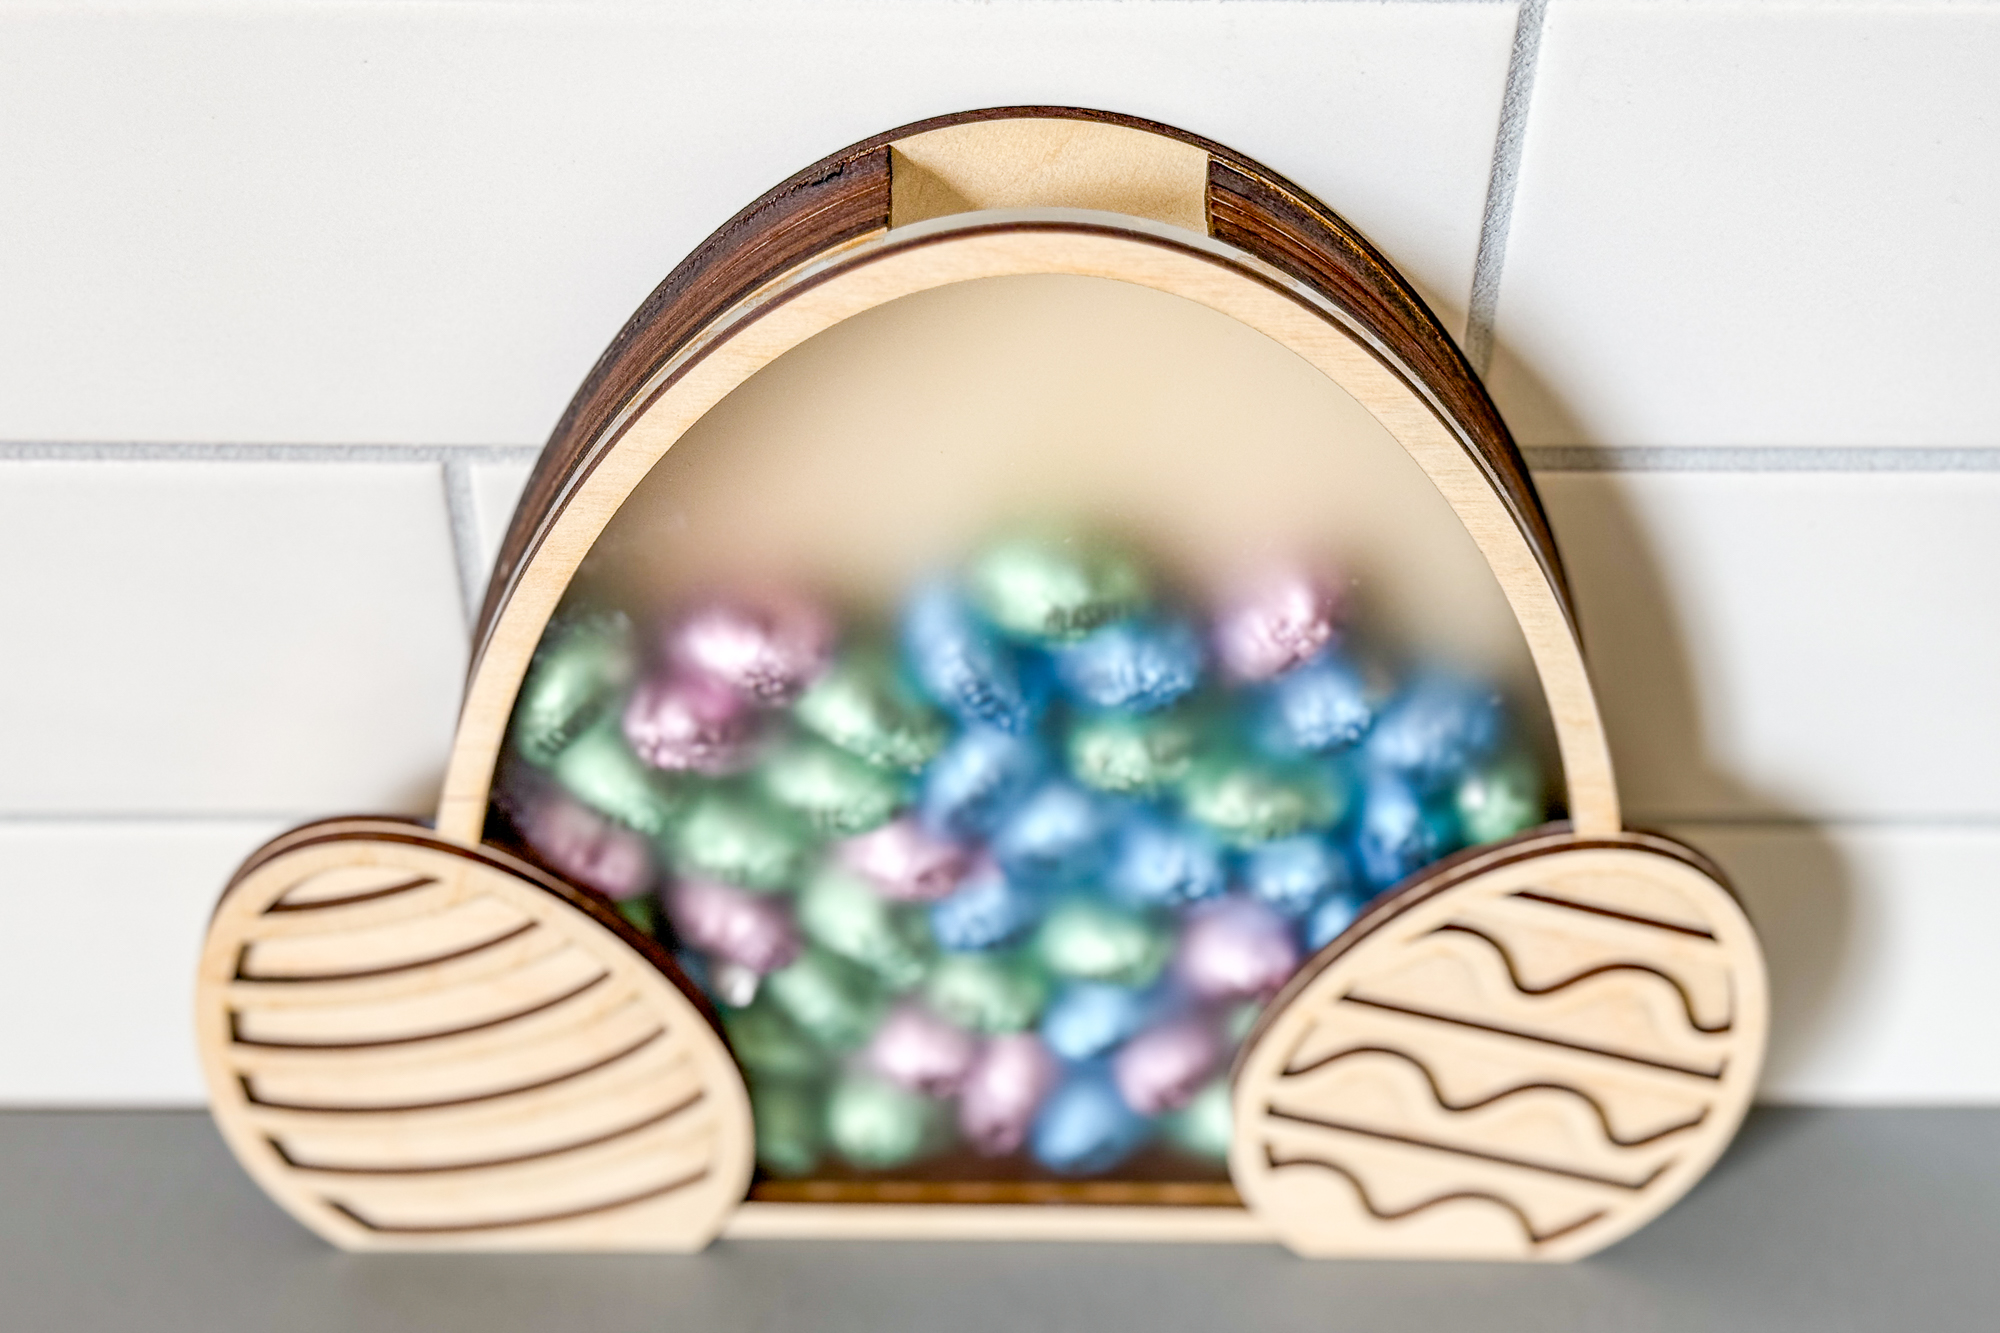
You can make this candy holder out of MDF, plywood or acrylic. I made a prototype out of ⅛" plywood first. I was able to use scrap pieces left over from previous laser projects for the entire test cut!

Keep in mind that if you have a diode laser like the xTool M1, you won't be able to cut clear acrylic. However, you can use clear flex from Smokey Hill Designs or cut out clear acetate mylar with scissors.
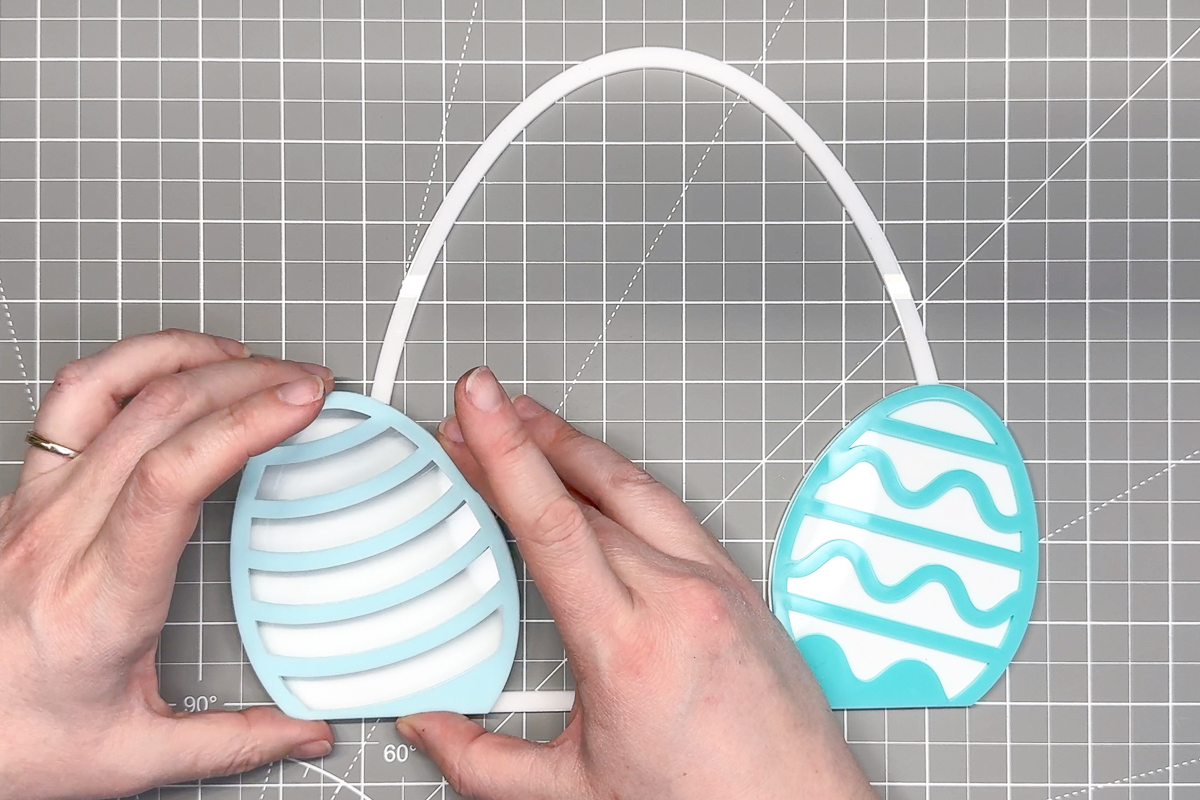
The final design was cut out of acrylic on the xTool P2 CO2 laser. I used white acrylic for most of it, with two shades of teal acrylic that xTool sent me for the egg decorations. The clear patterned acrylic is Smokey Hill Designs Easter Patternply.

Prepare your materials for cutting
Before you start cutting, decide on how many spacers you'll need. I found that four ⅛" spacers or two ¼" spacers works with smaller candy like M&Ms and jelly beans, while these Hershey eggs required six.
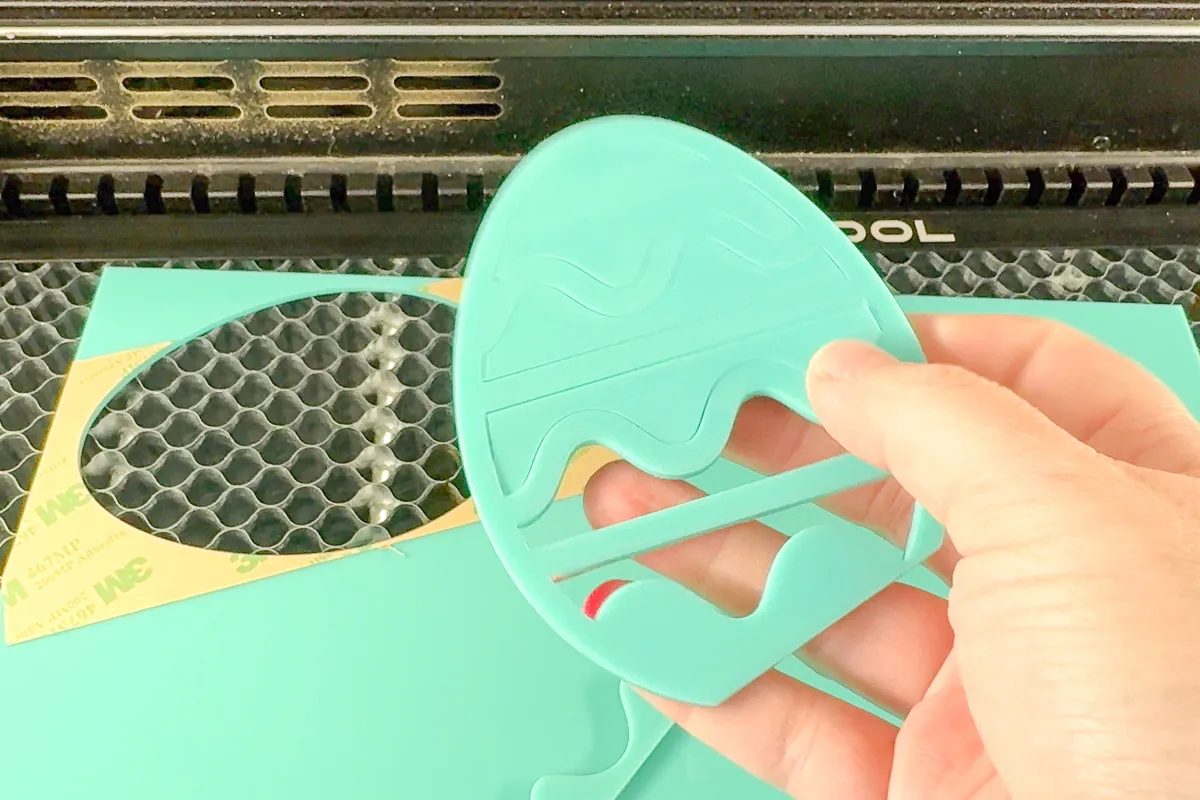
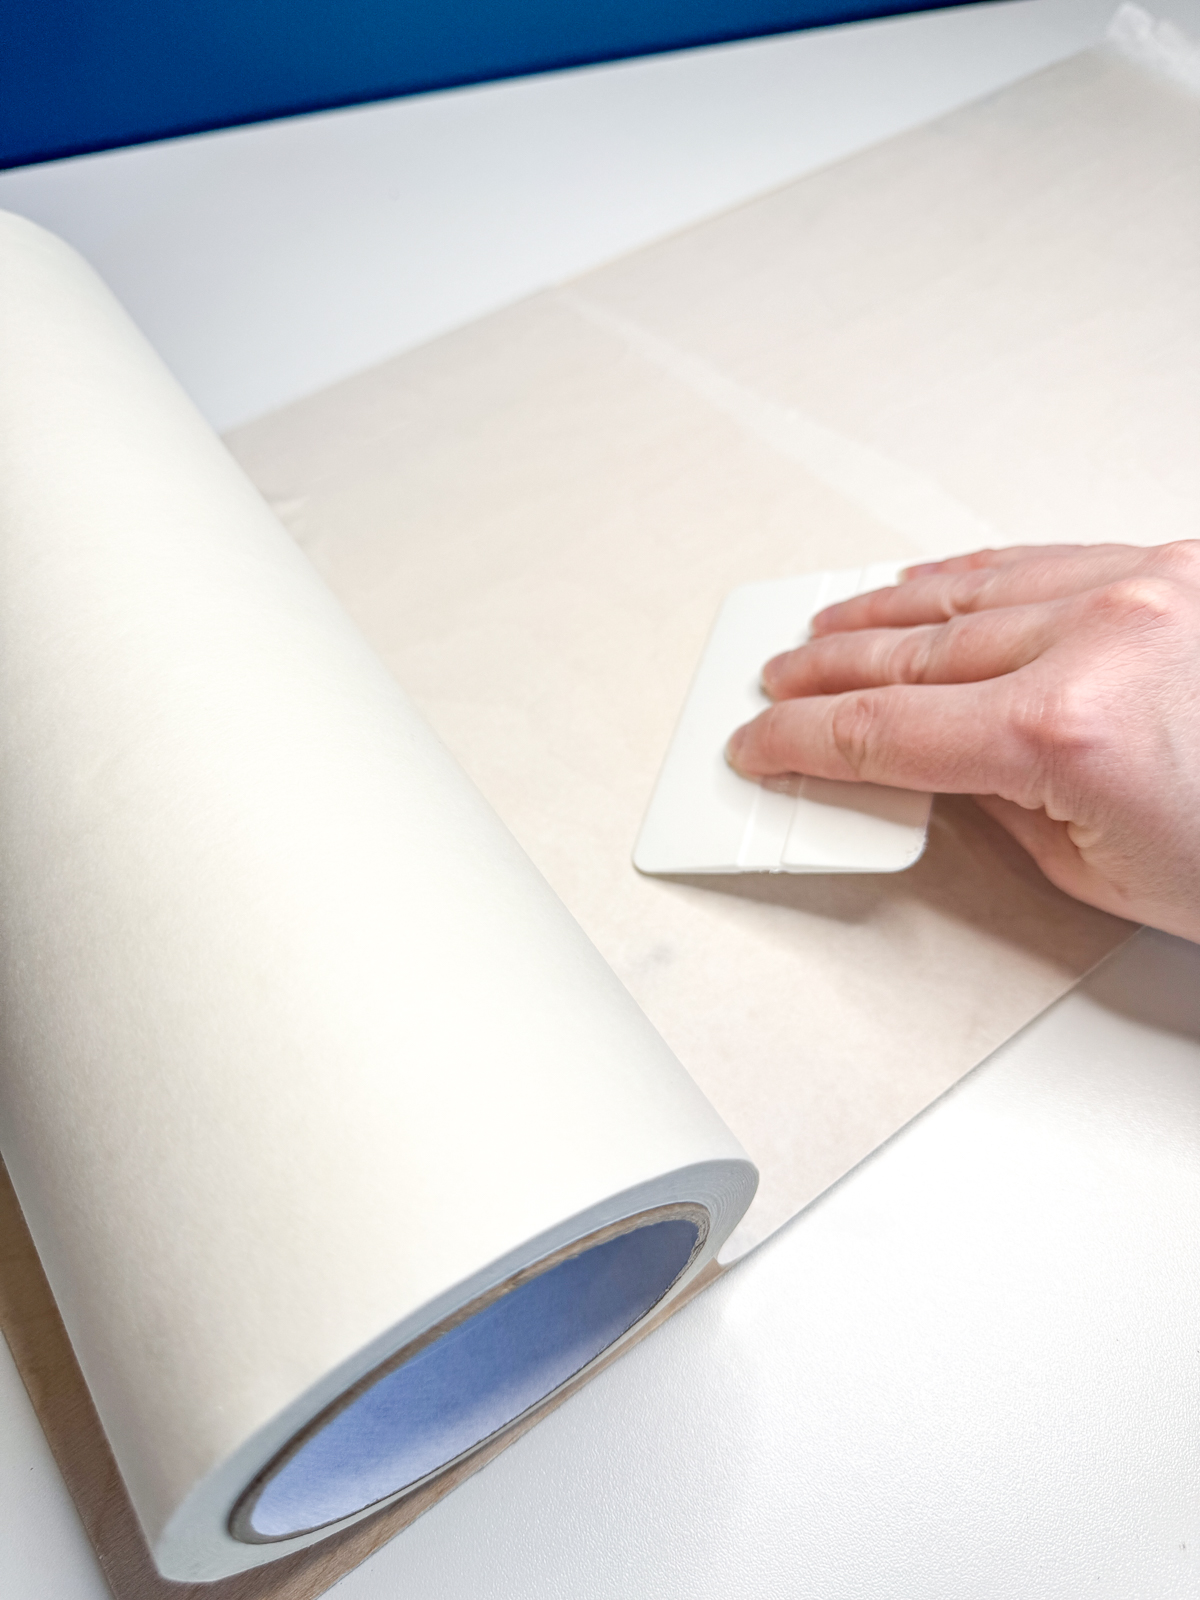
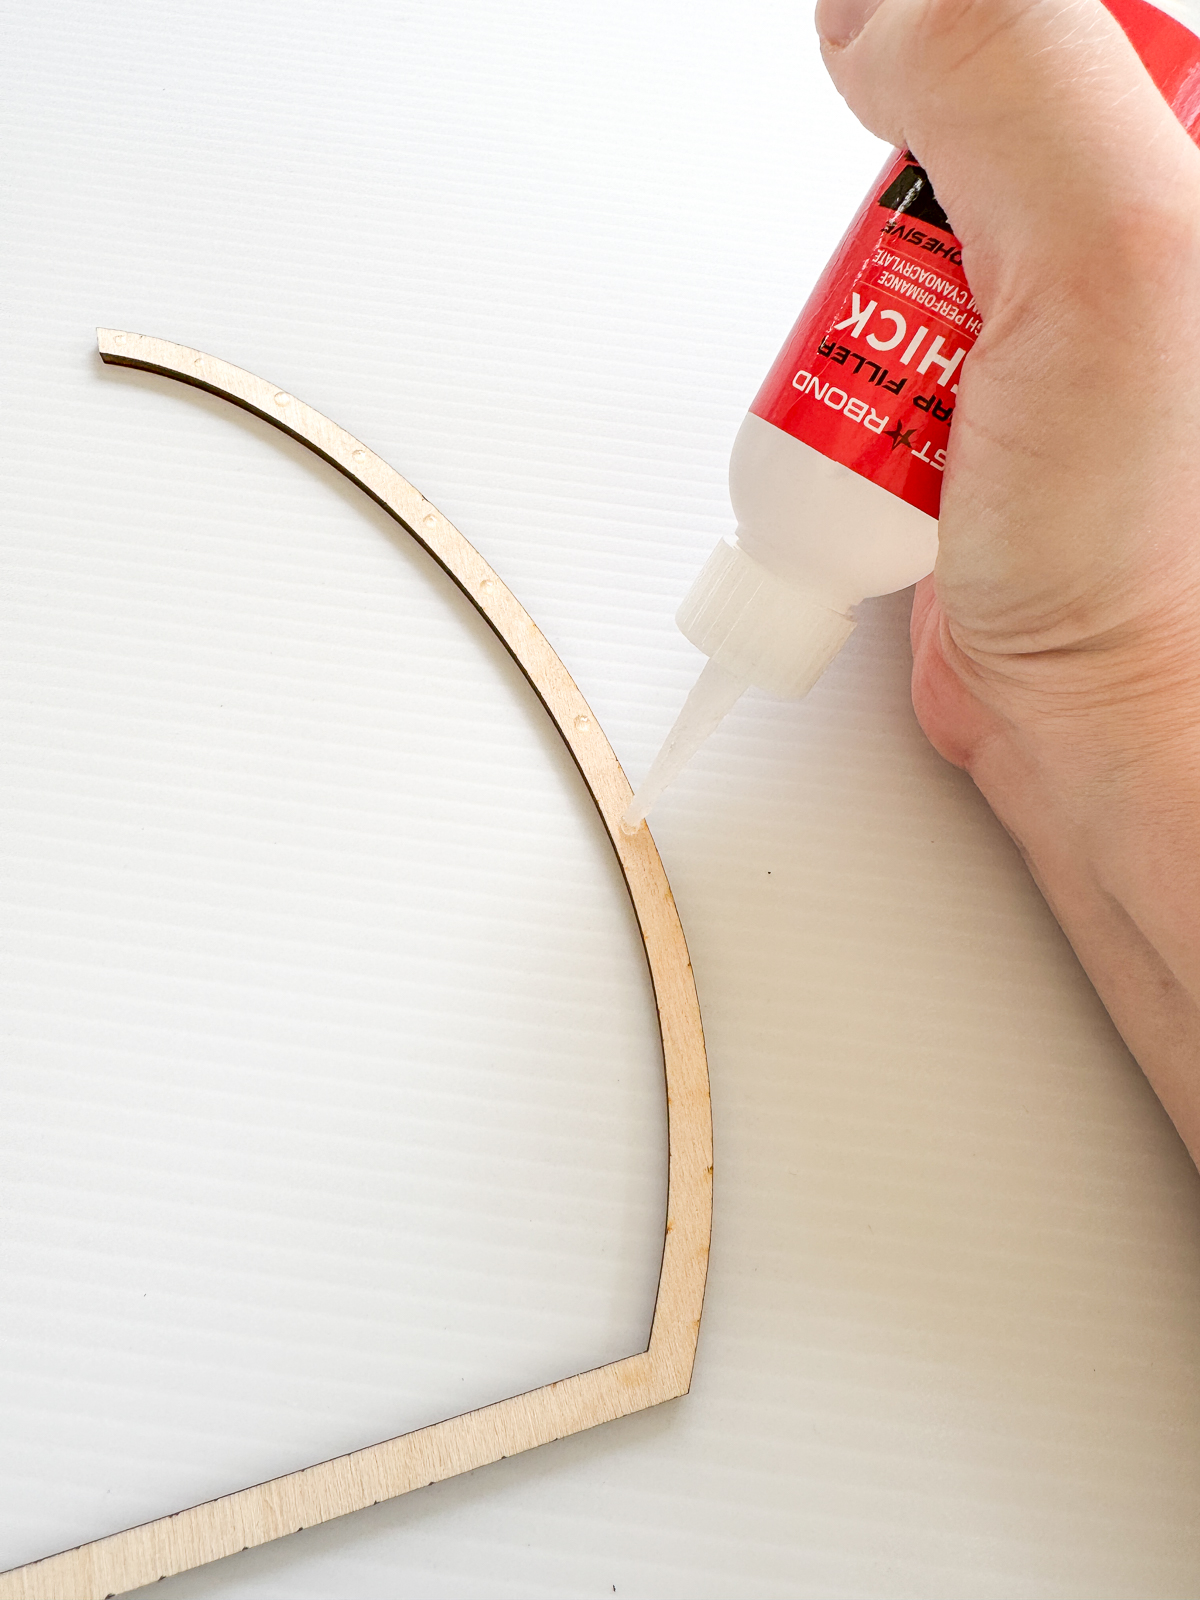
Also consider how you want to attach the pieces together. If you want to use 3M double sided adhesive, apply it to the back of the material before you start cutting. You can also use CA glue, but be careful not to drip any on the inside where it could touch the candy. It's nontoxic, but not food safe!
If you want to paint the boards before cutting them out, I recommend masking the painted surface to prevent the char from sticking to it.

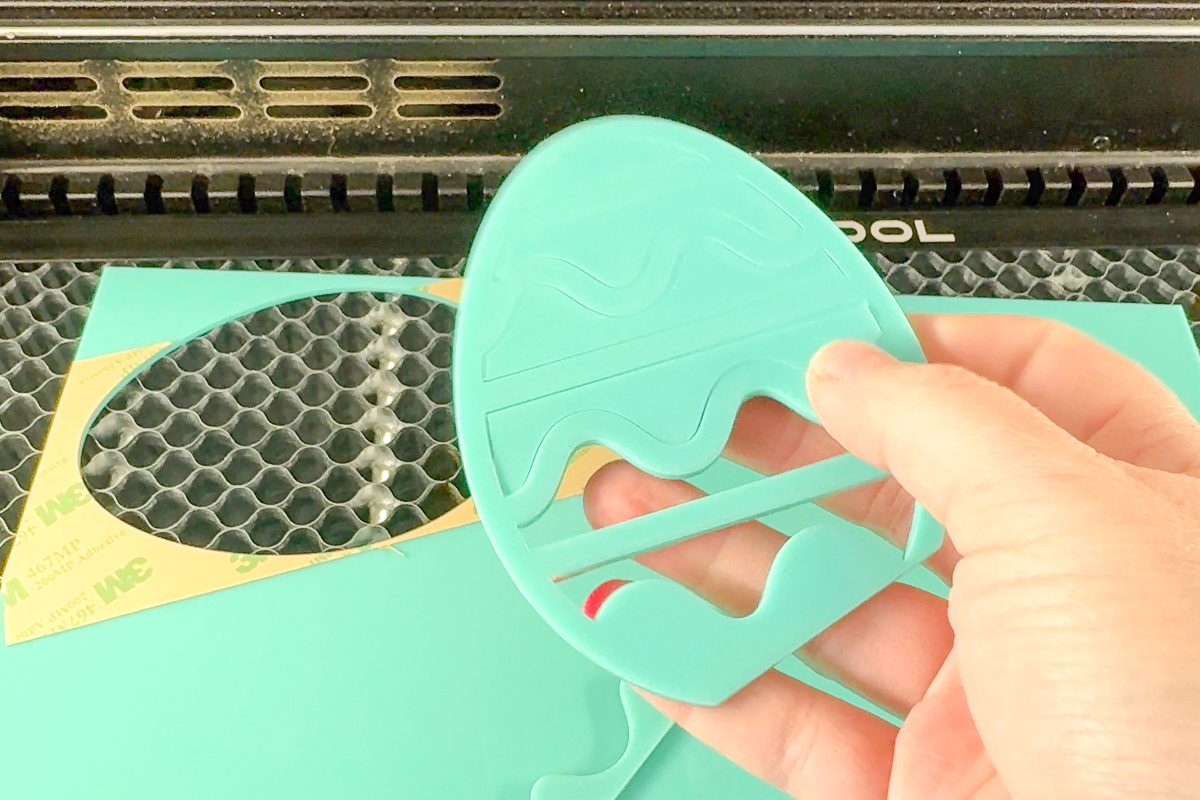
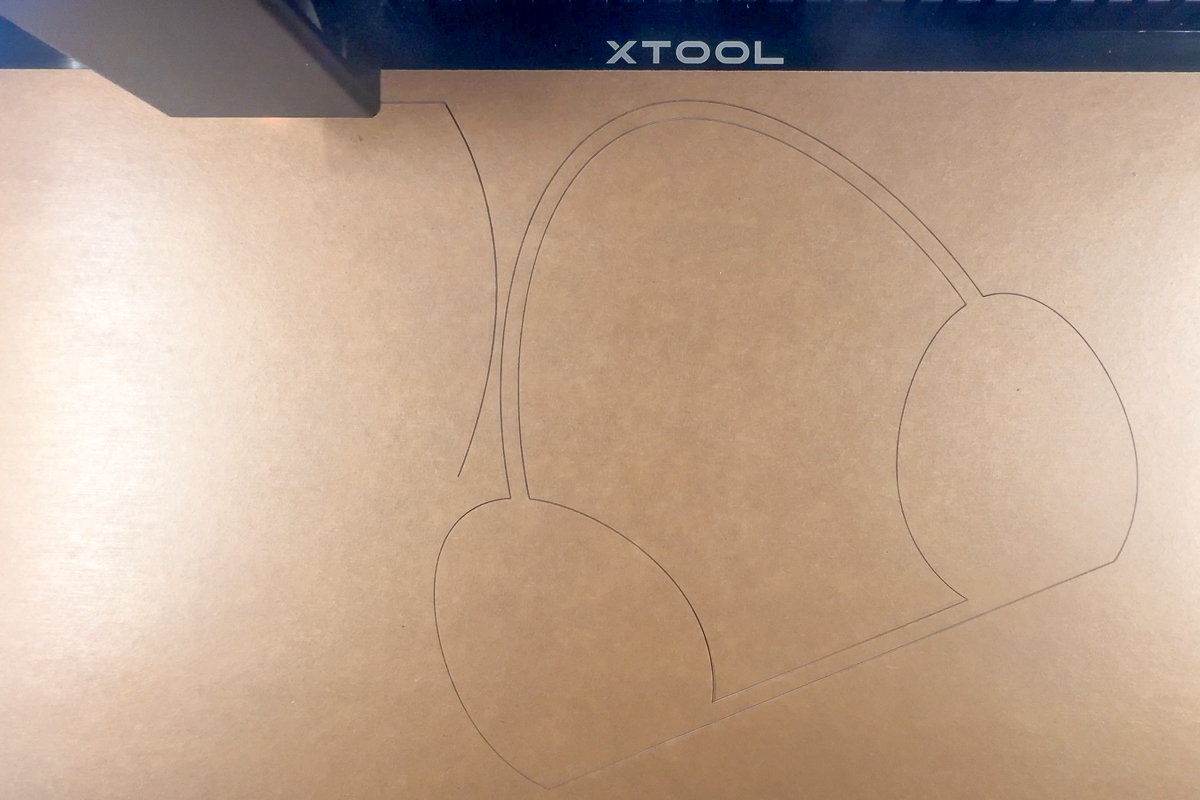
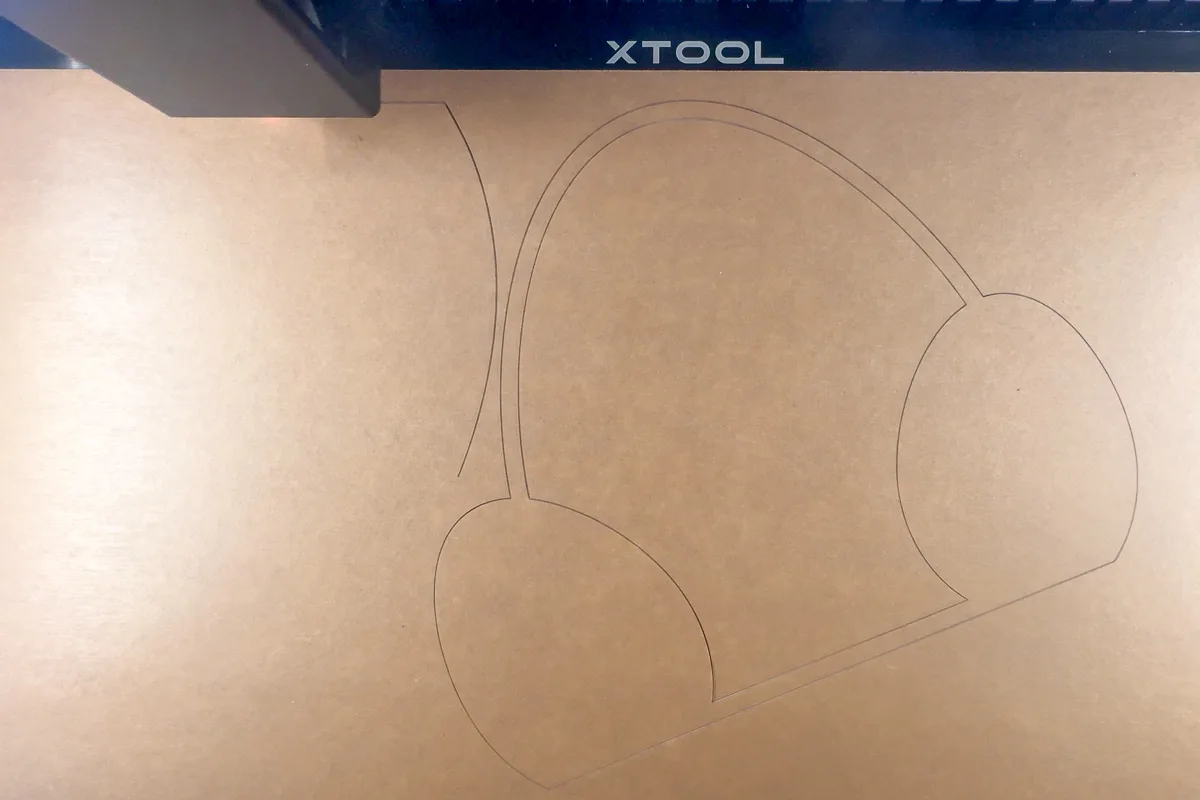
Cut the pieces with the laser
It only took a few minutes to cut out all the pieces with the xTool P2 CO2 laser. The most time consuming part was switching out the materials and figuring out the most efficient spacing.
If you make yours out of wood, you'll be able to nest the pieces more efficiently and waste less material.
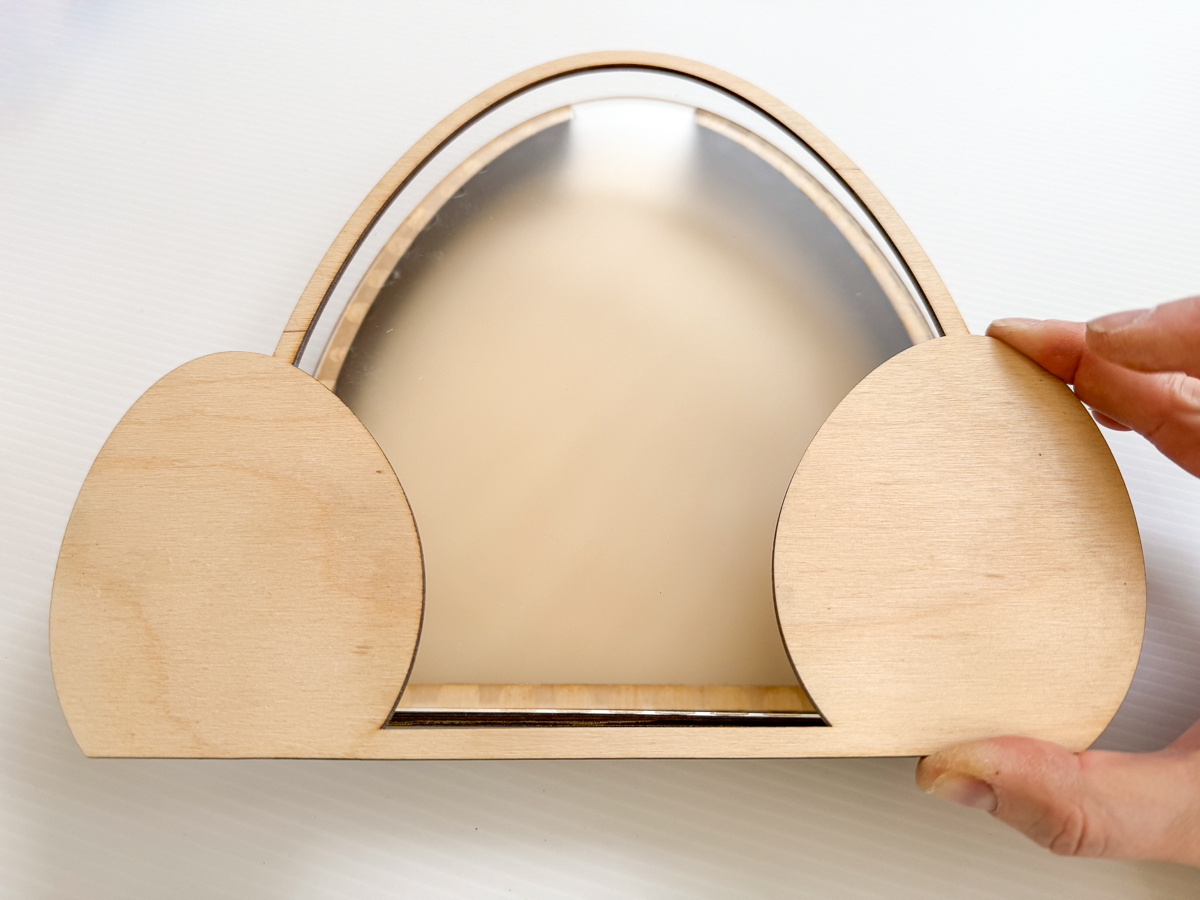
Assemble your Easter candy holder
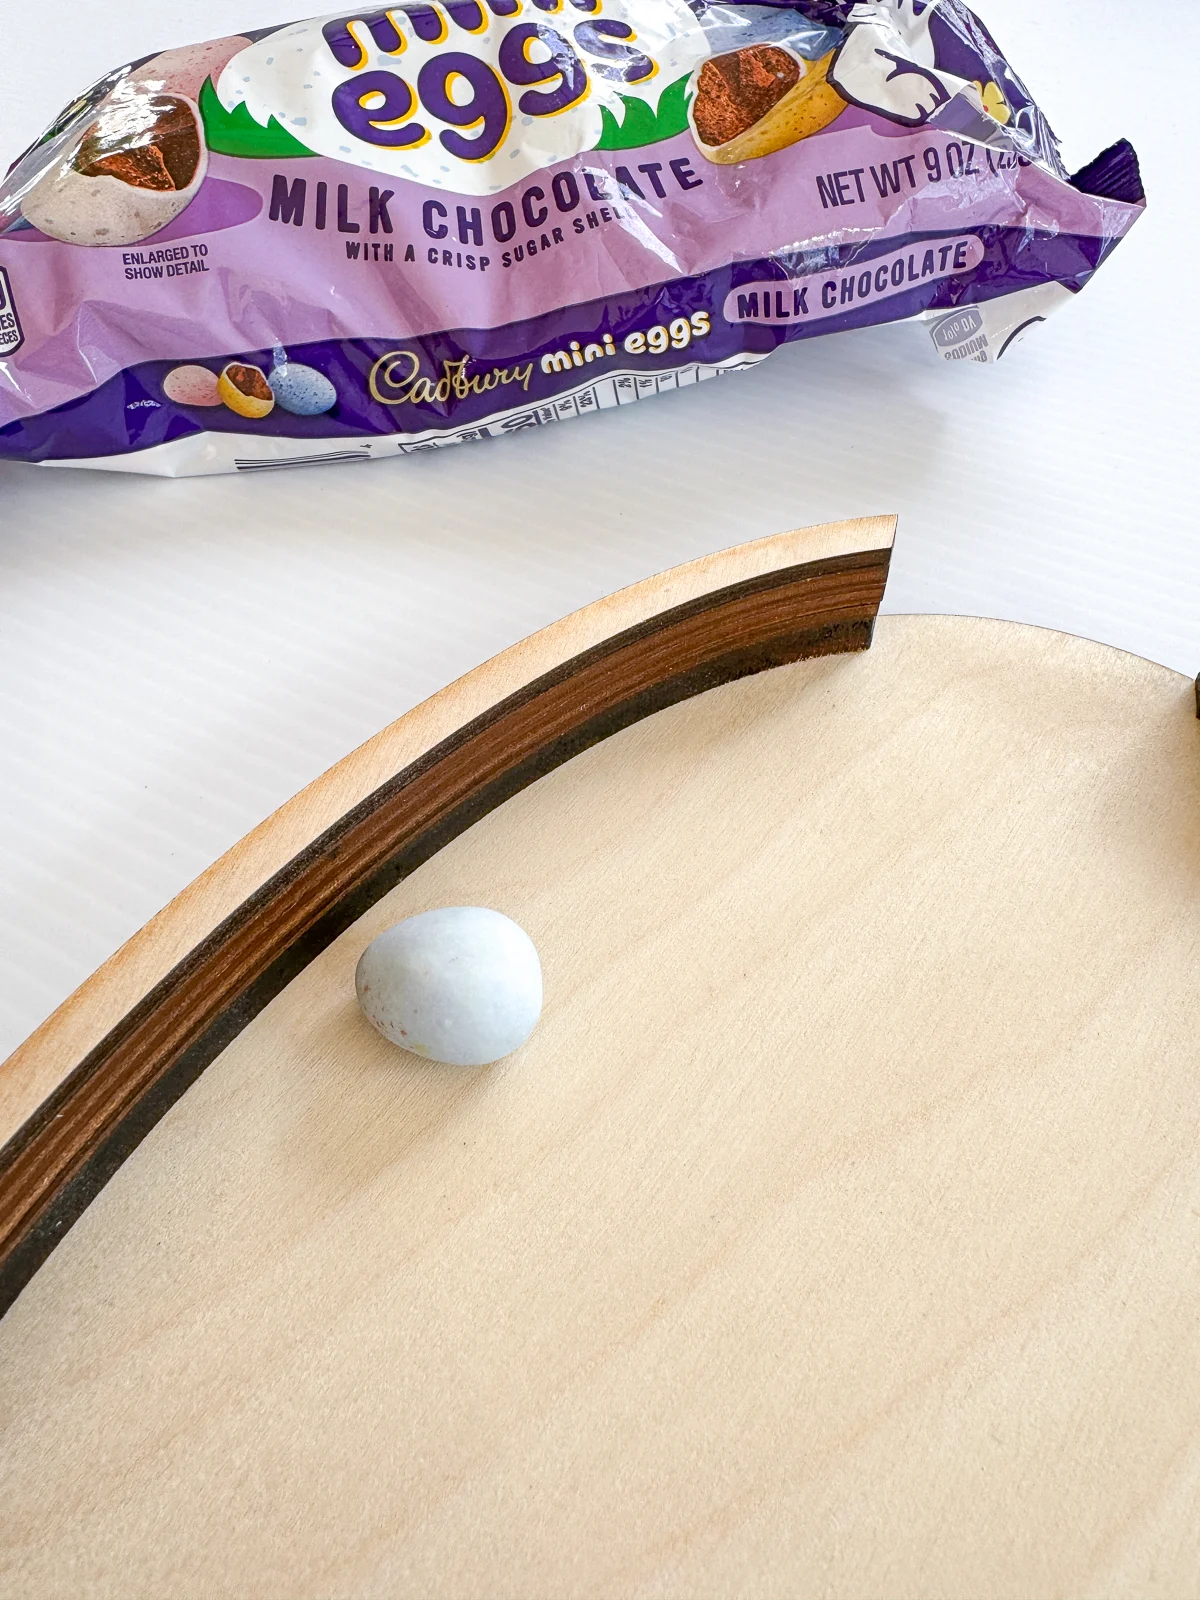
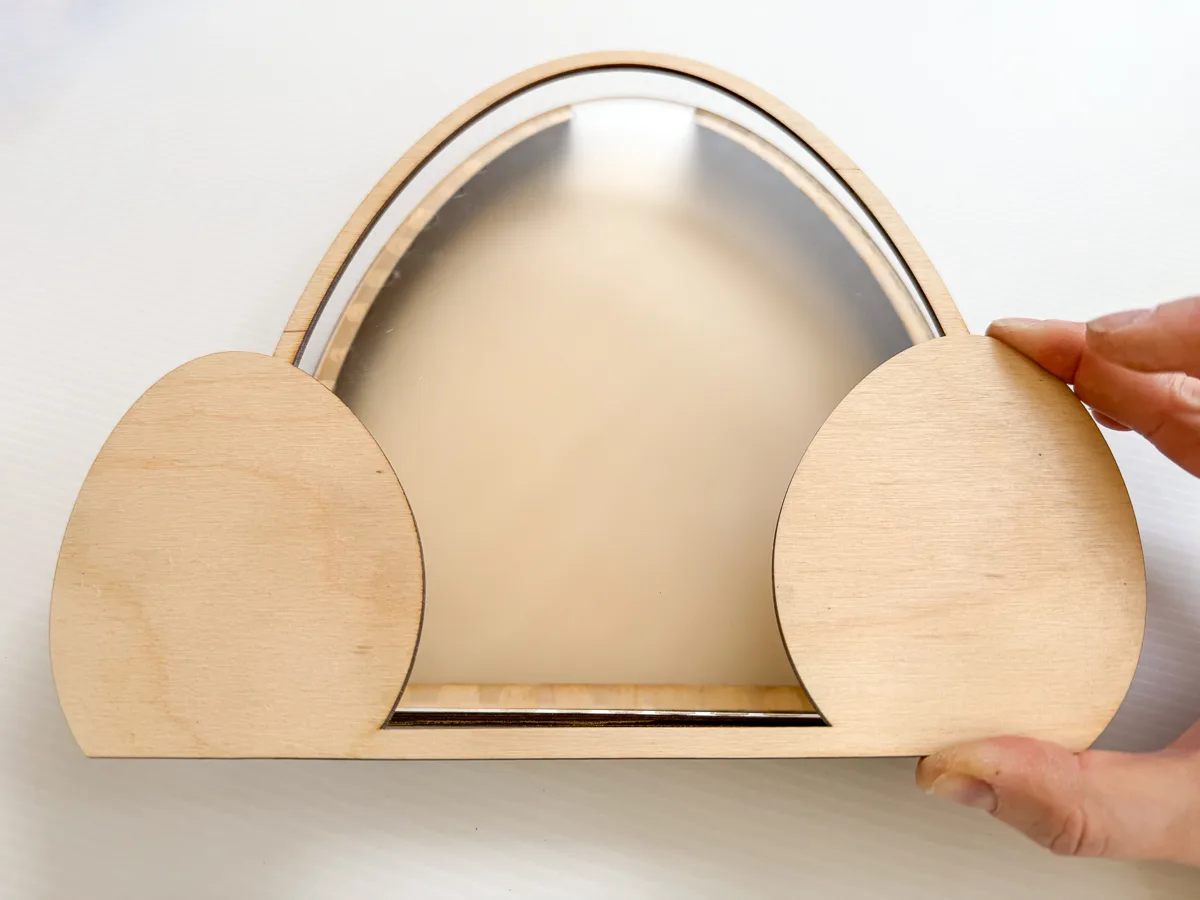
Sort all the cut pieces and do a dry run before you start assembly. I discovered that the top opening isn't quite symmetrical, so I made sure to keep all the spacers oriented the same way in the pile.
I'm using CA glue for the wood version. Apply small dots or a thin line of glue along the back of the first spacer.

Then carefully place it on the solid back piece, making sure the edges line up and no glue gets in the middle.

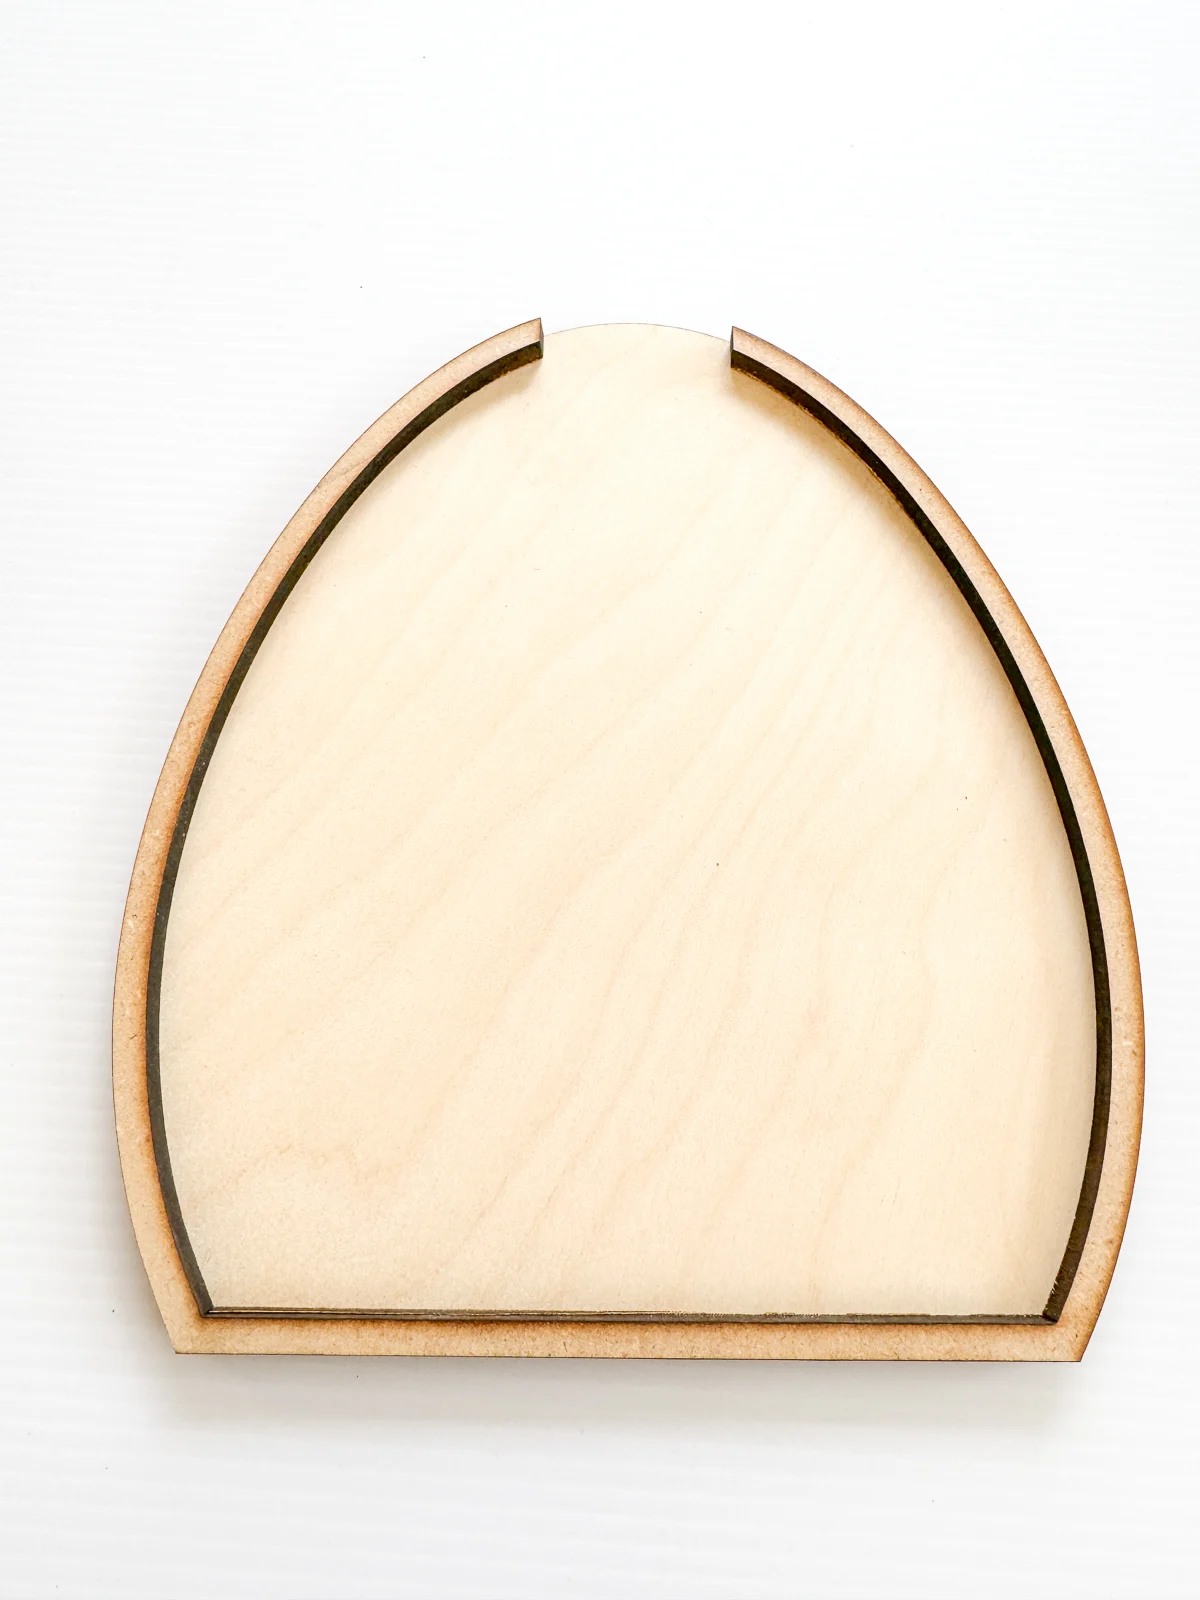
Continue gluing up spacer layers until you get the desired height. I used a Cadbury mini egg to check that it would fit inside (and then promptly popped it in my mouth!)

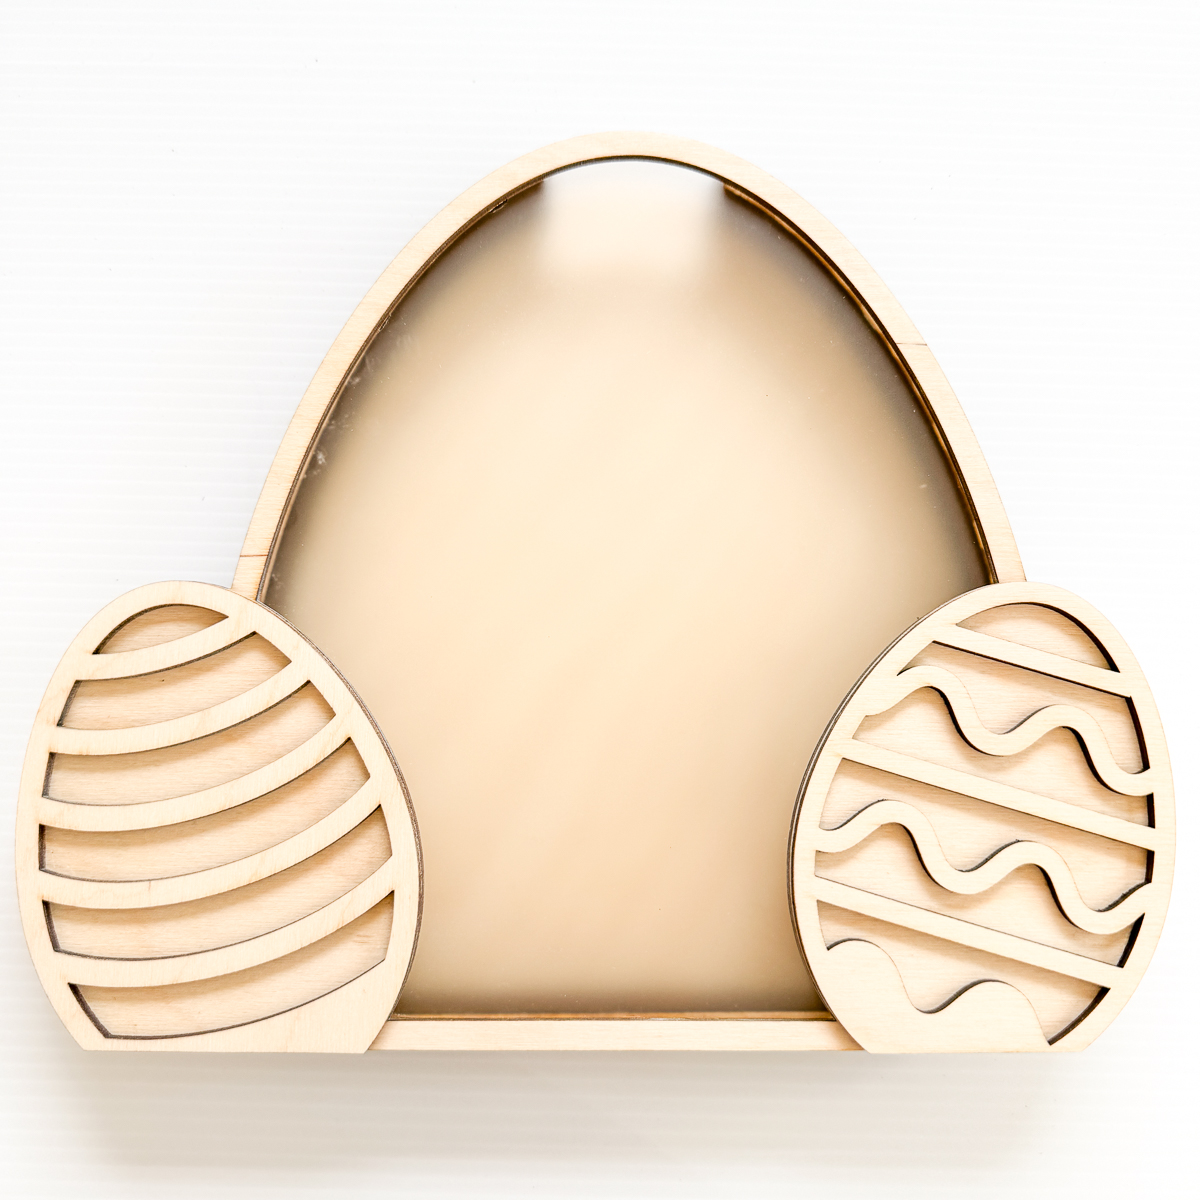
Next, add the clear acrylic layer. You can see that I smudged the glue a little on the left side, so I switched to wrapped candies in this one so food doesn't come in contact with the glue. I used 3M adhesive for the final acrylic version, so there's no glue on the inside.
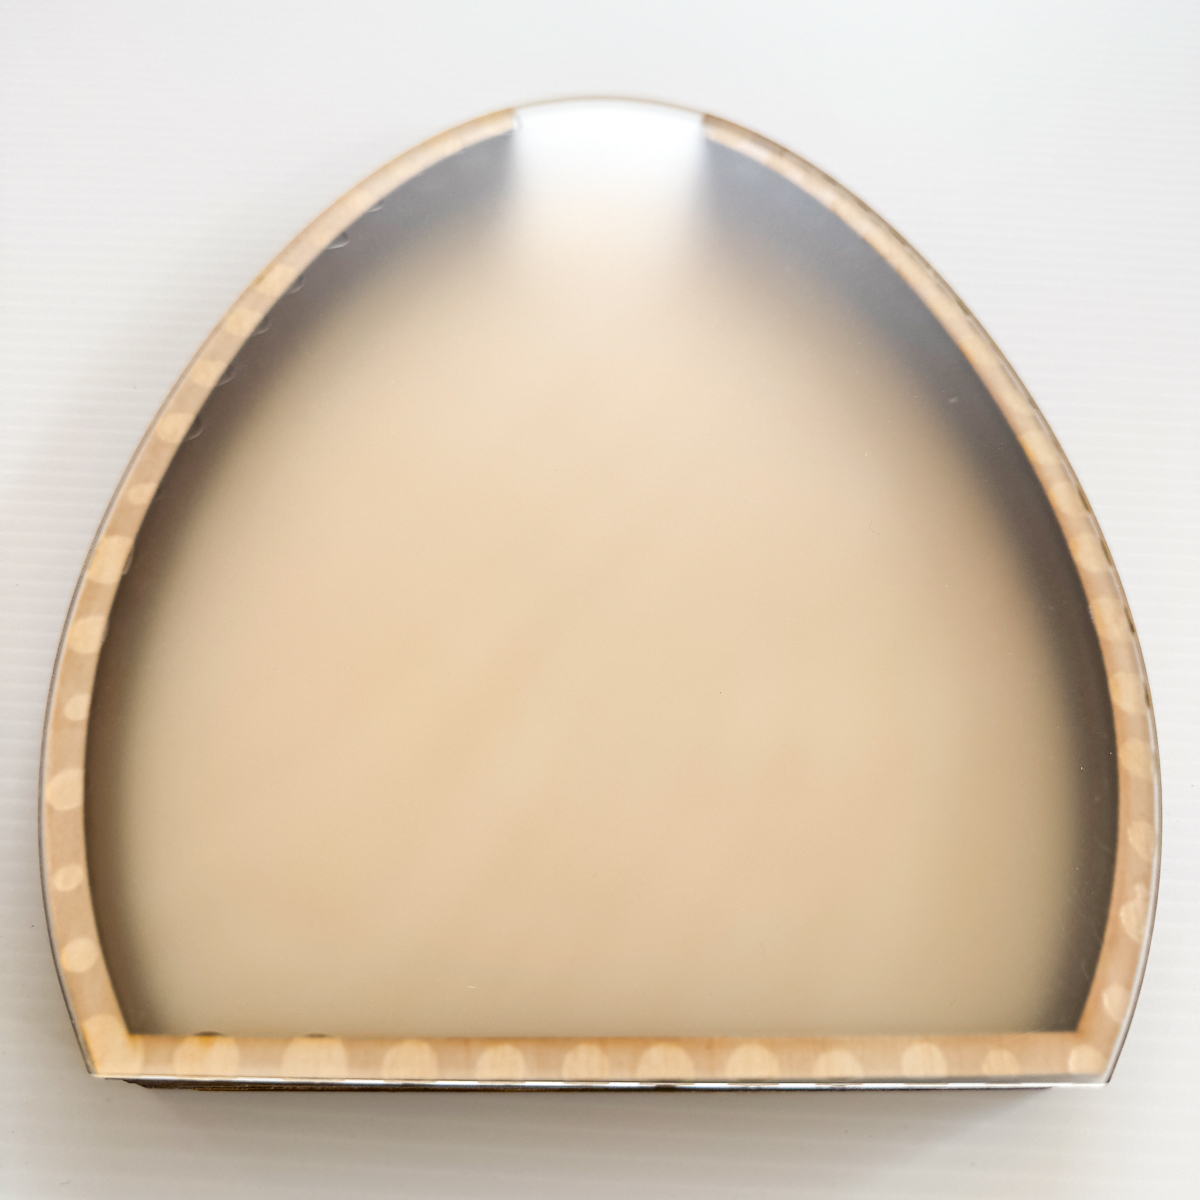
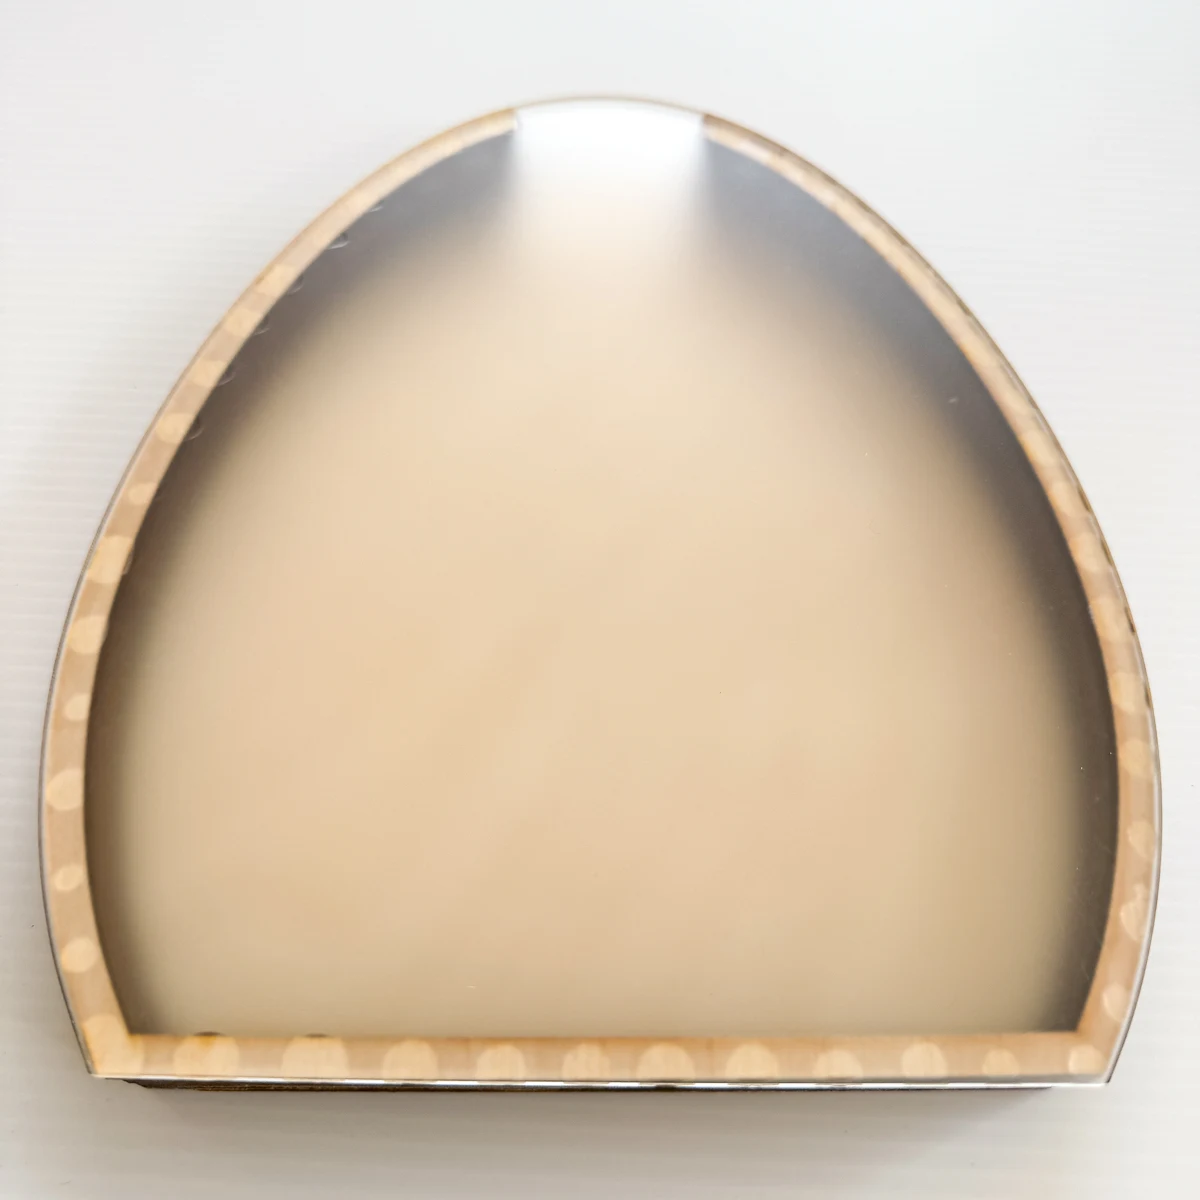
The top layer hides the glue dots and provides a backing for the decorative eggs. You can paint the frame and the background of the eggs two different colors, since the transition will be covered up in the next layer.
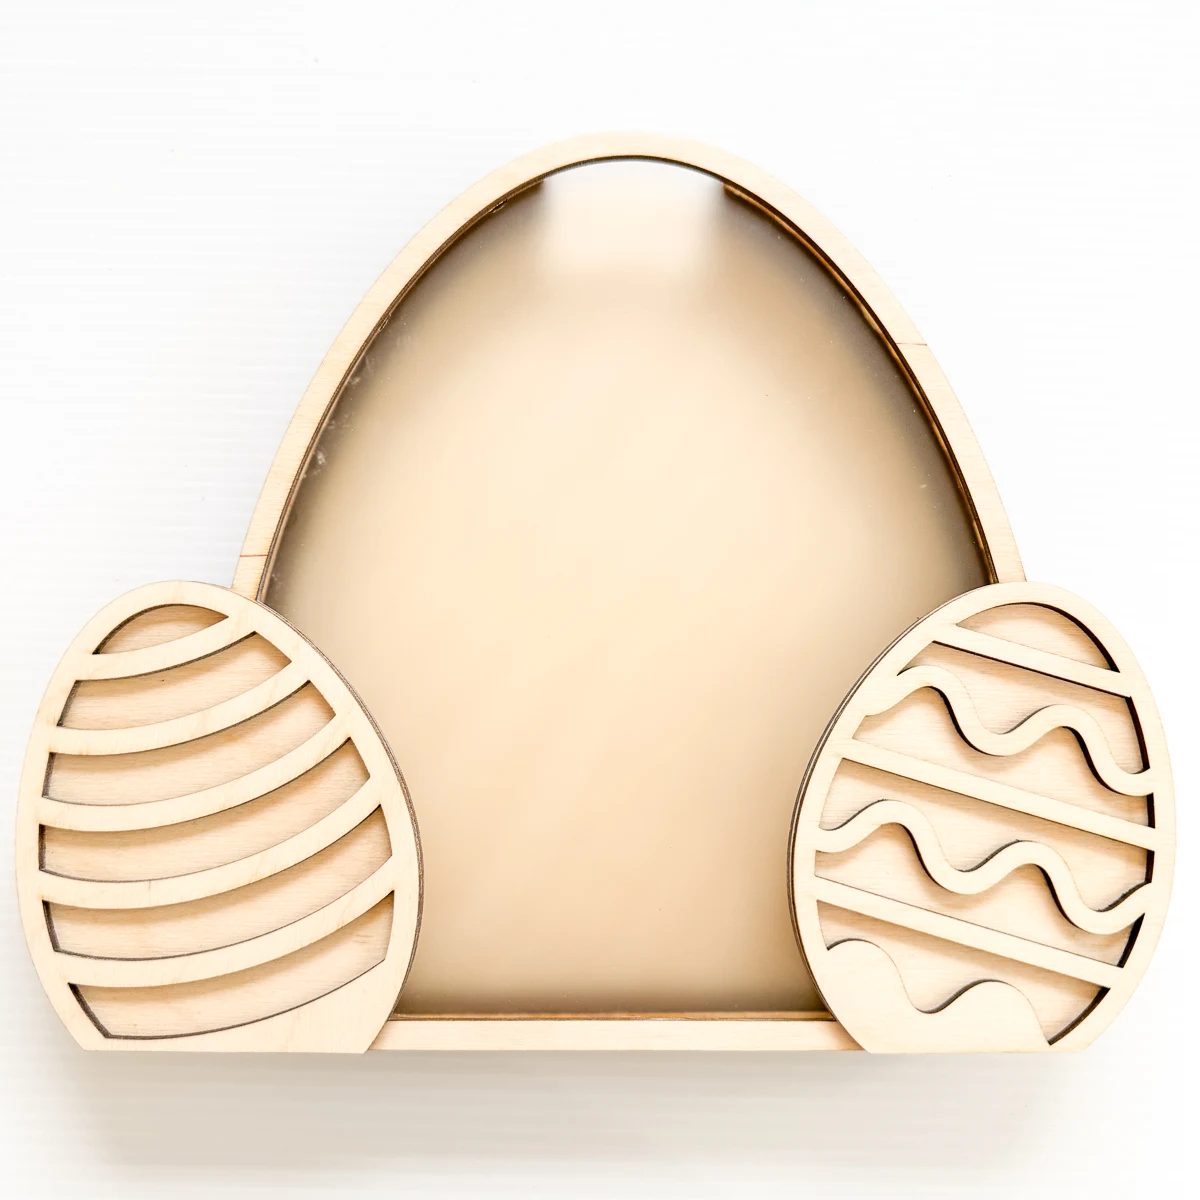
Finally, the two decorated eggs are glued on top!
The acrylic version was assembled the same way. But instead of glue, I just peeled off the paper backing from the 3M adhesive and stuck it into place! This stuff is more expensive, but it makes the process much quicker and cleaner.

Fill up your new Easter candy holder!
I was actually surprised by how much candy fits in these holders! It would take almost a bag and a half of the Hershey chocolate eggs to fill this one.


It took exactly one full bag of pastel M&Ms to fill up the acrylic version, and makes it even more colorful!

Just drop the candy in the top, and tip it over to grab a handful!

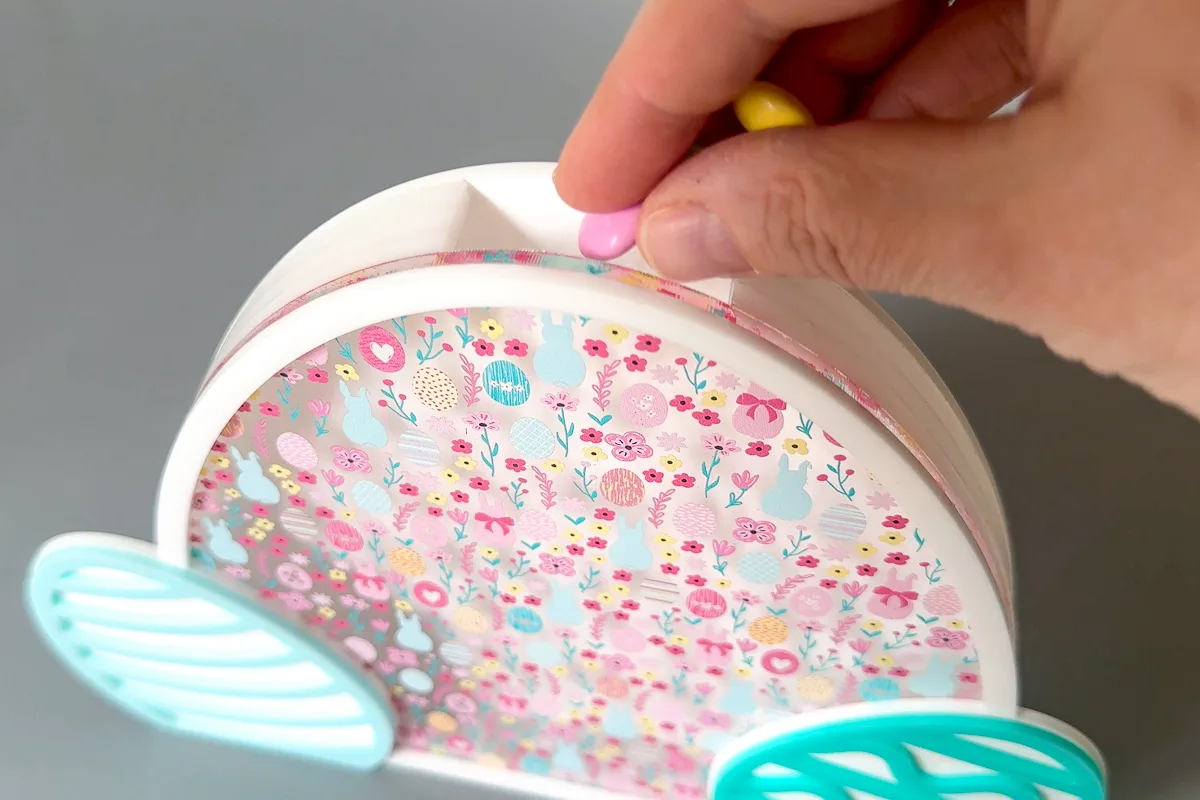
The clear front makes it easy to see when it's to refill. But I bet all that candy will be gone long before Easter!
Want to make your own? Buy the file in my shop and get cutting!
Check out these other laser project ideas!