Struggling to paint straight lines freehand? I'll show you how to paint straight lines between the wall and ceiling three different ways!
The worst part about painting a room is that dreaded transition between the wall and ceiling. You're up on a ladder, trying your best to create a straight line without falling off. Inevitably, the brush slips and you end up with paint on the ceiling! Gah!
There's a better way!
I'll show you three tricks for painting a straight line between the wall and ceiling, or between two walls of different colors. They take a little more prep time than cutting in freehand with a brush, but the results are much better!
This post contains affiliate links for your convenience. Purchases made through these links may earn me a small commission at no additional cost to you. Please visit my disclosures page for more information.
Method 1: Paint over the tape with the original color
There's nothing worse than taping off an entire room, only to find a surprise blob of paint underneath when you're done! That's because even the slightest gap between the tape and the wall will allow the new paint color to seep through.
But what if you seal those gaps with the original paint color first?
This trick only works if you still have the original paint stored somewhere in the house, or if you're painting the entire room at once. If you don't have any leftover paint, skip down to the second method below.
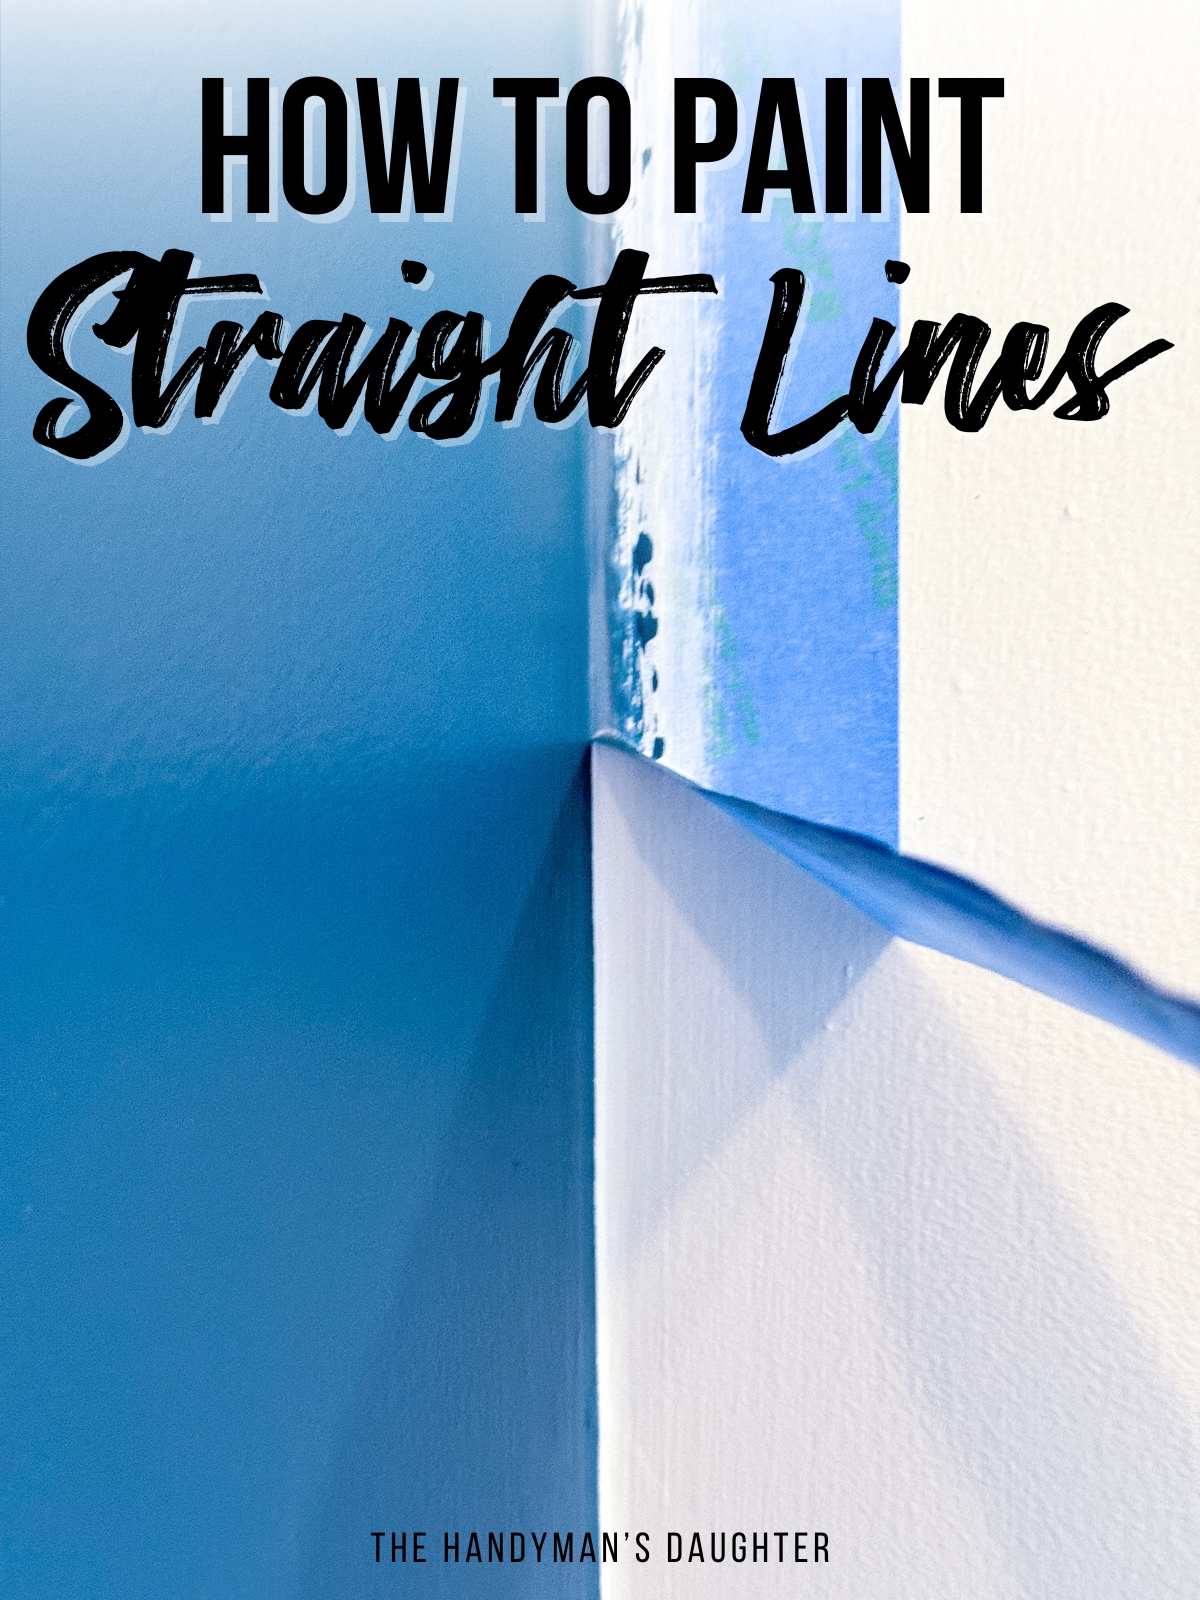
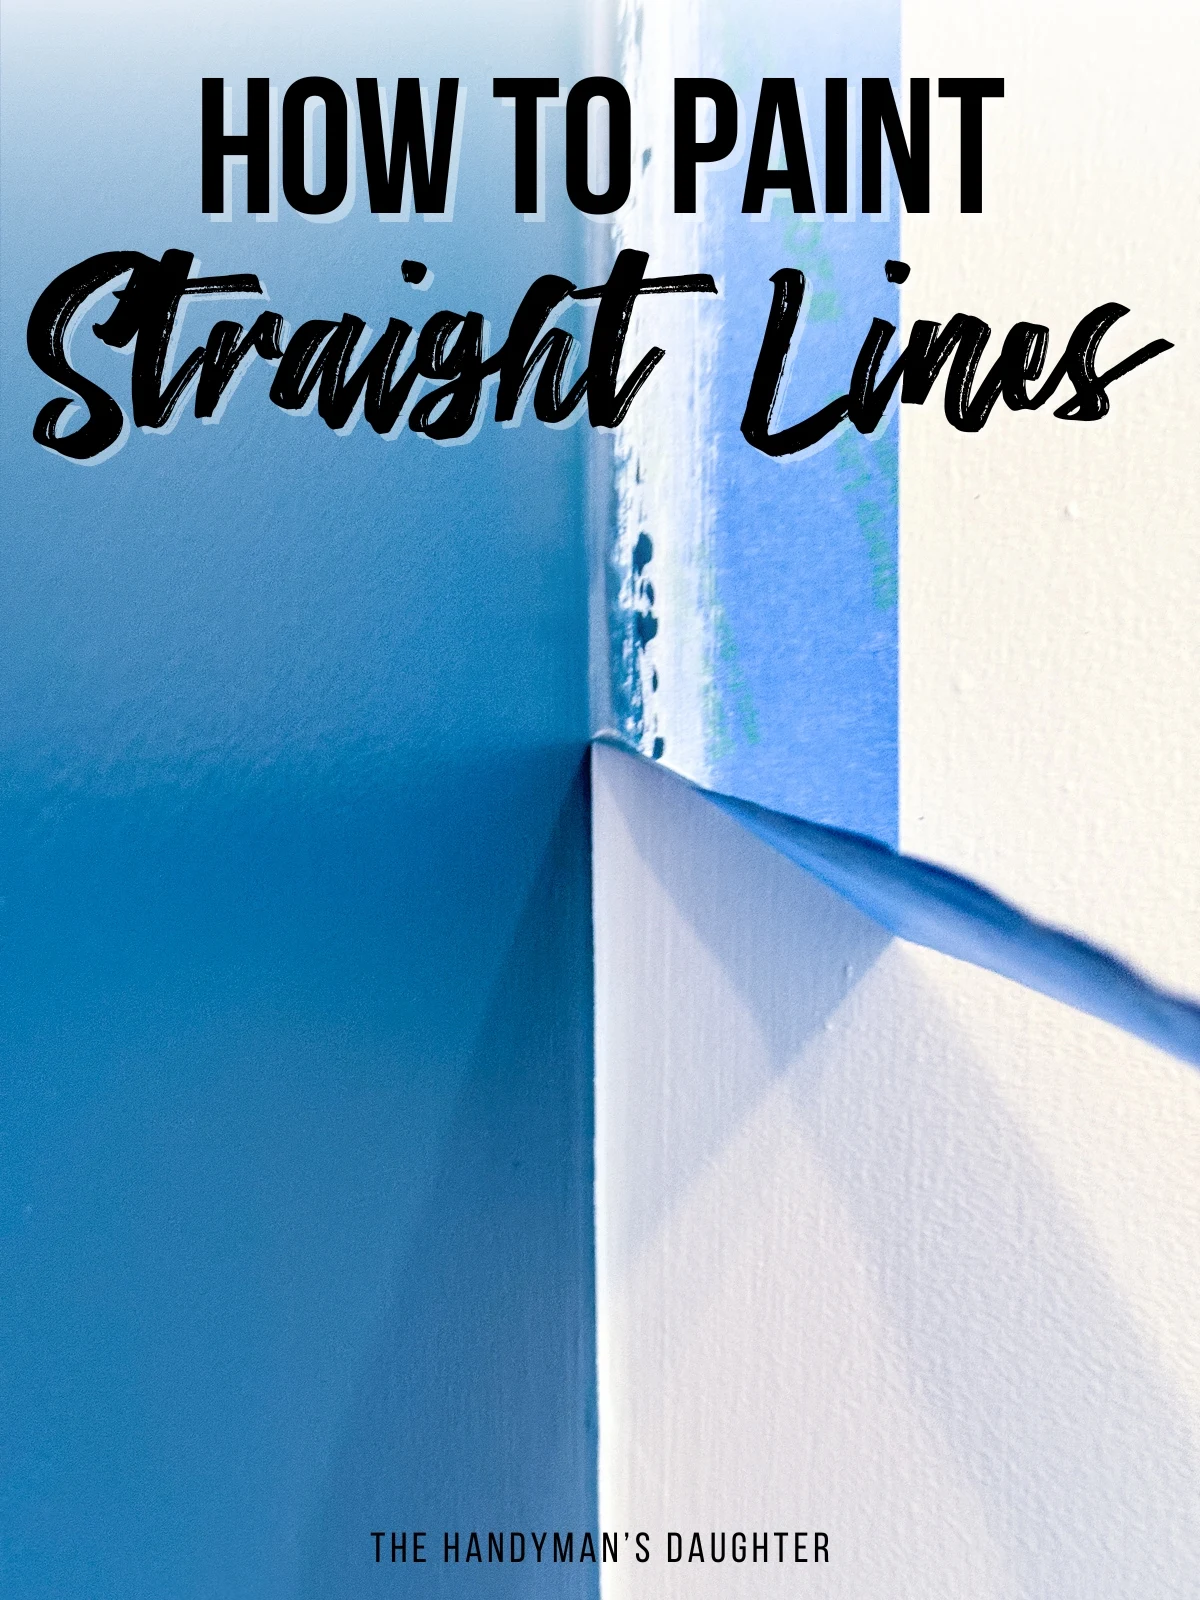
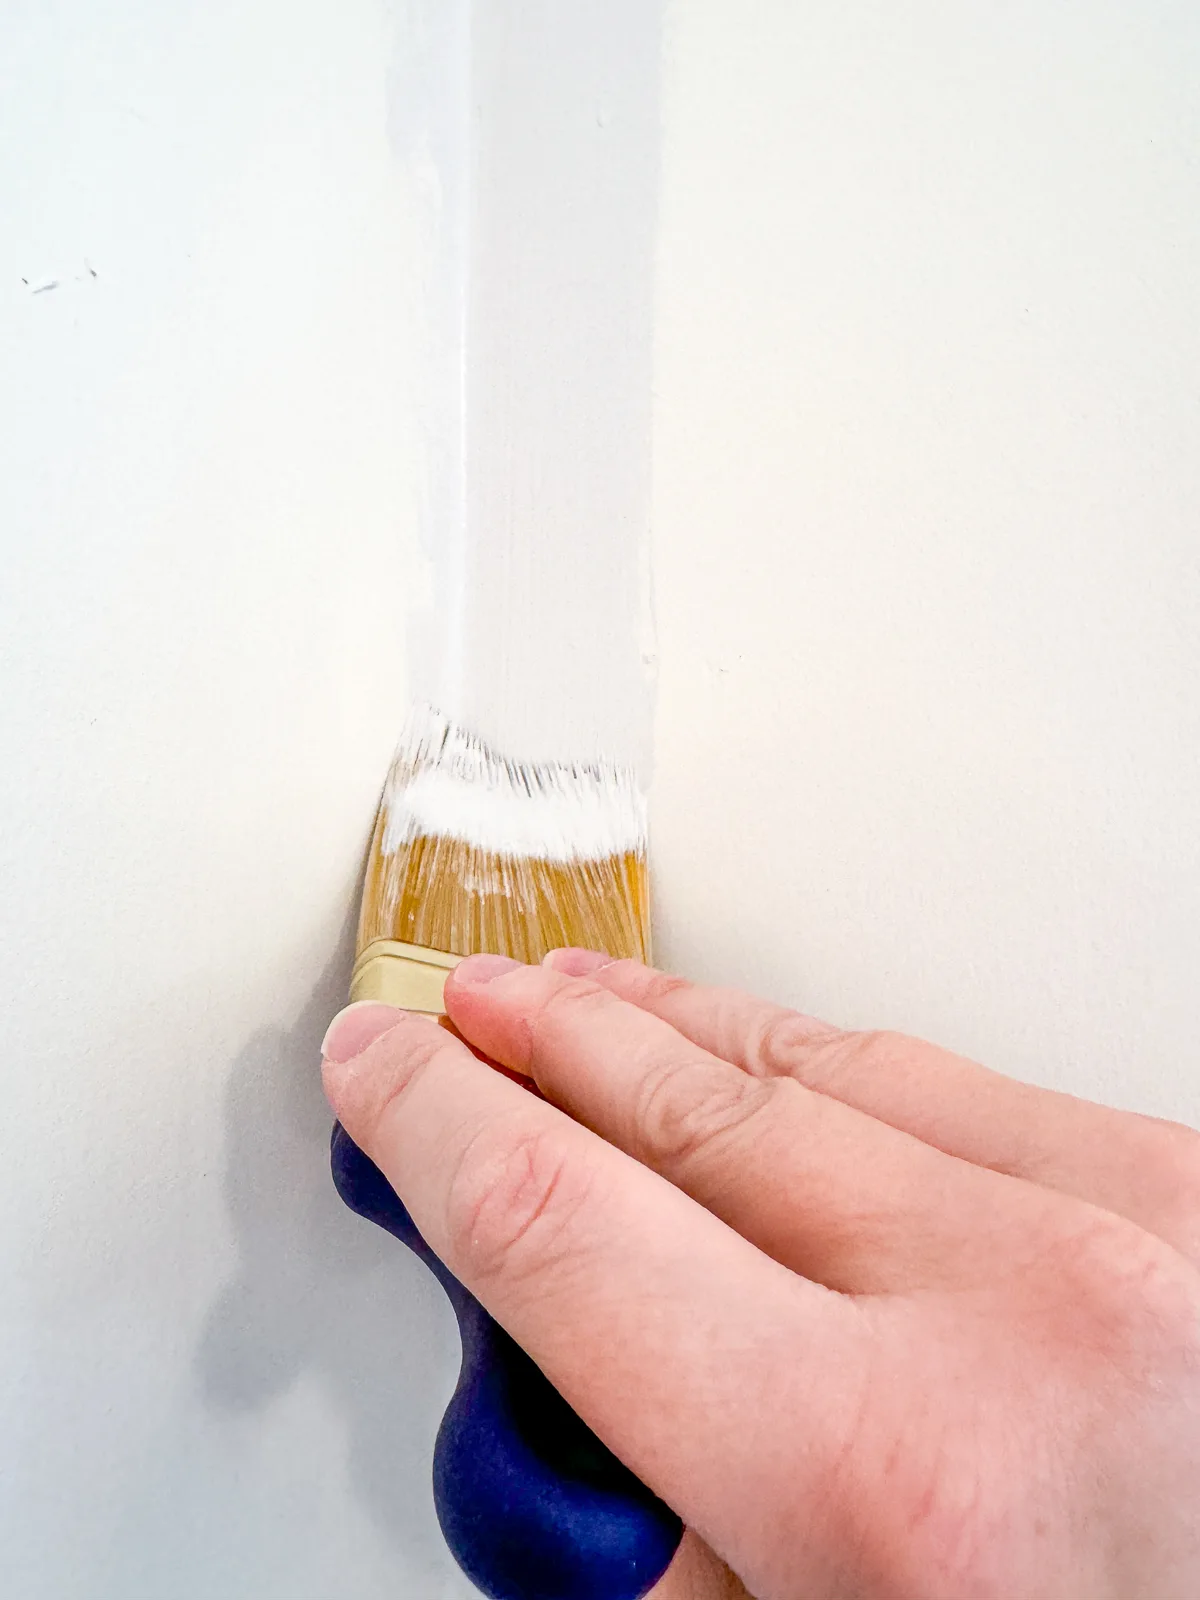
In this example, I'll show you how to paint a straight line between two colors. The accent wall is dark blue and the rest of the room light gray.
I'm starting with the lighter color because it's easier to paint over. Work it into the transition corner and onto the accent wall.

Finish painting the rest of the light colored wall or ceiling, and allow the paint to dry fully.
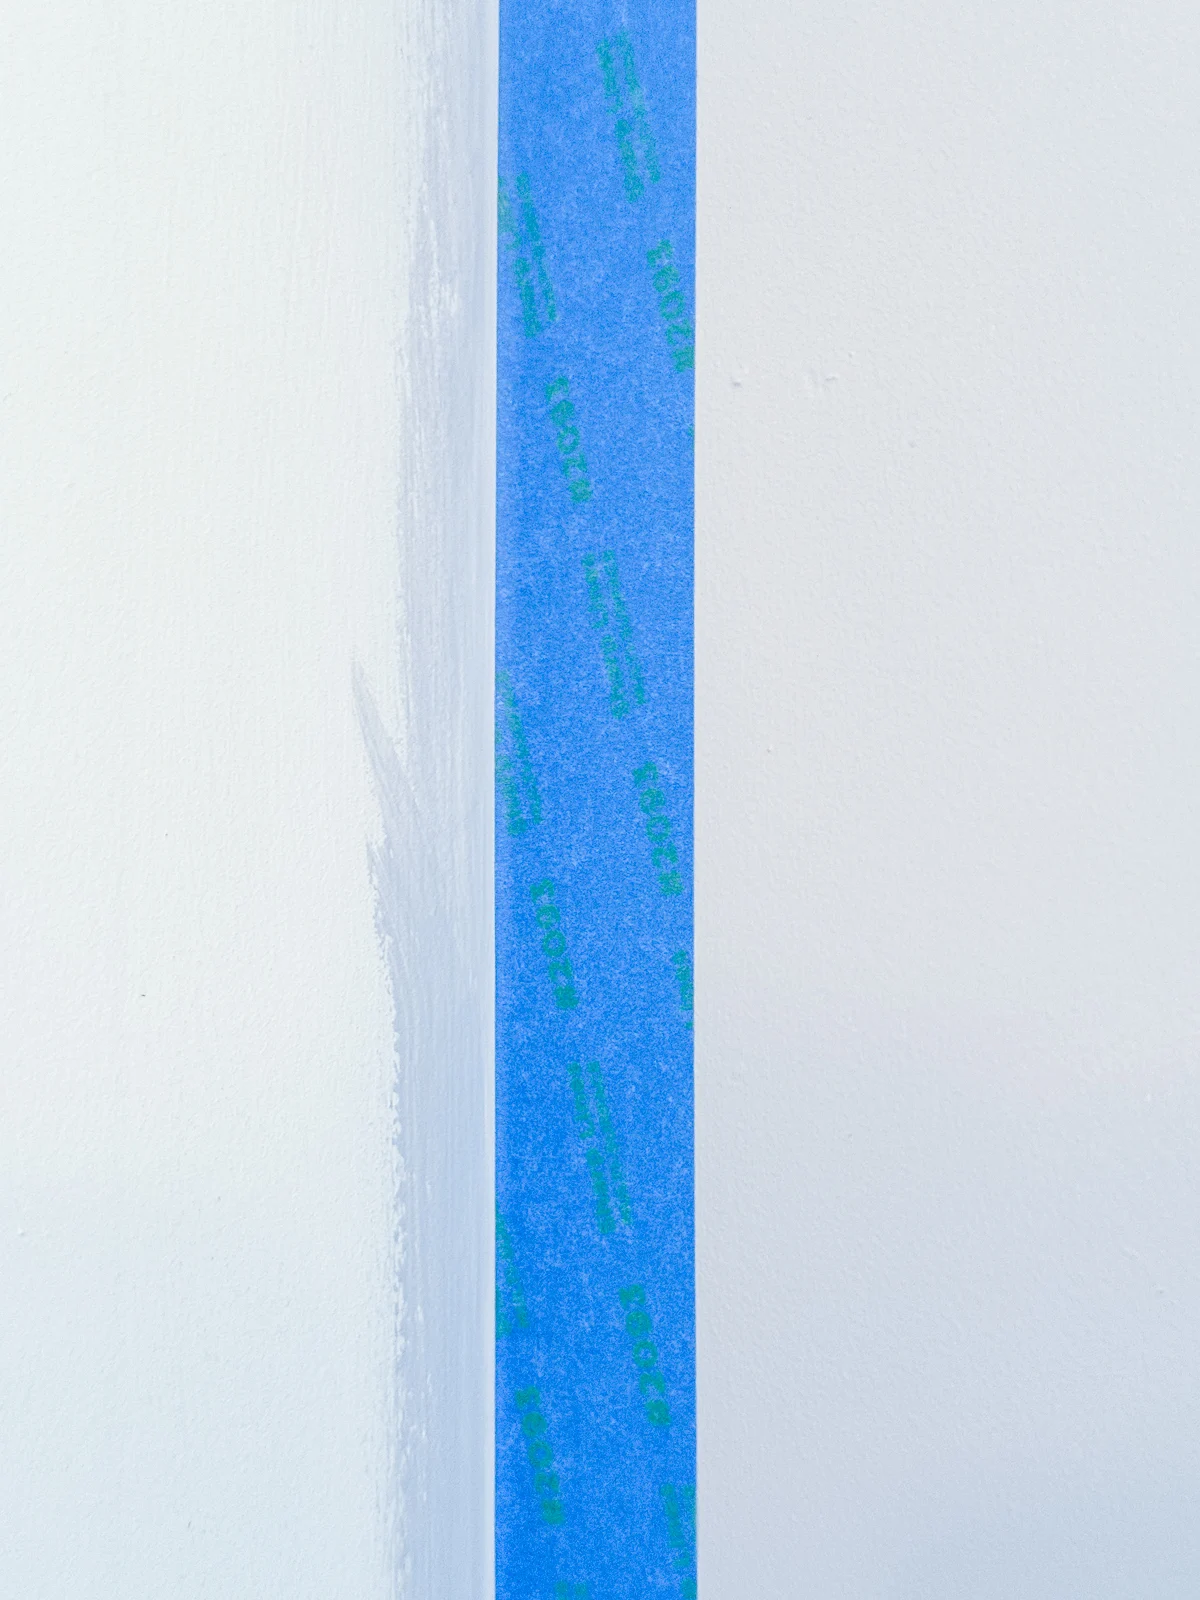
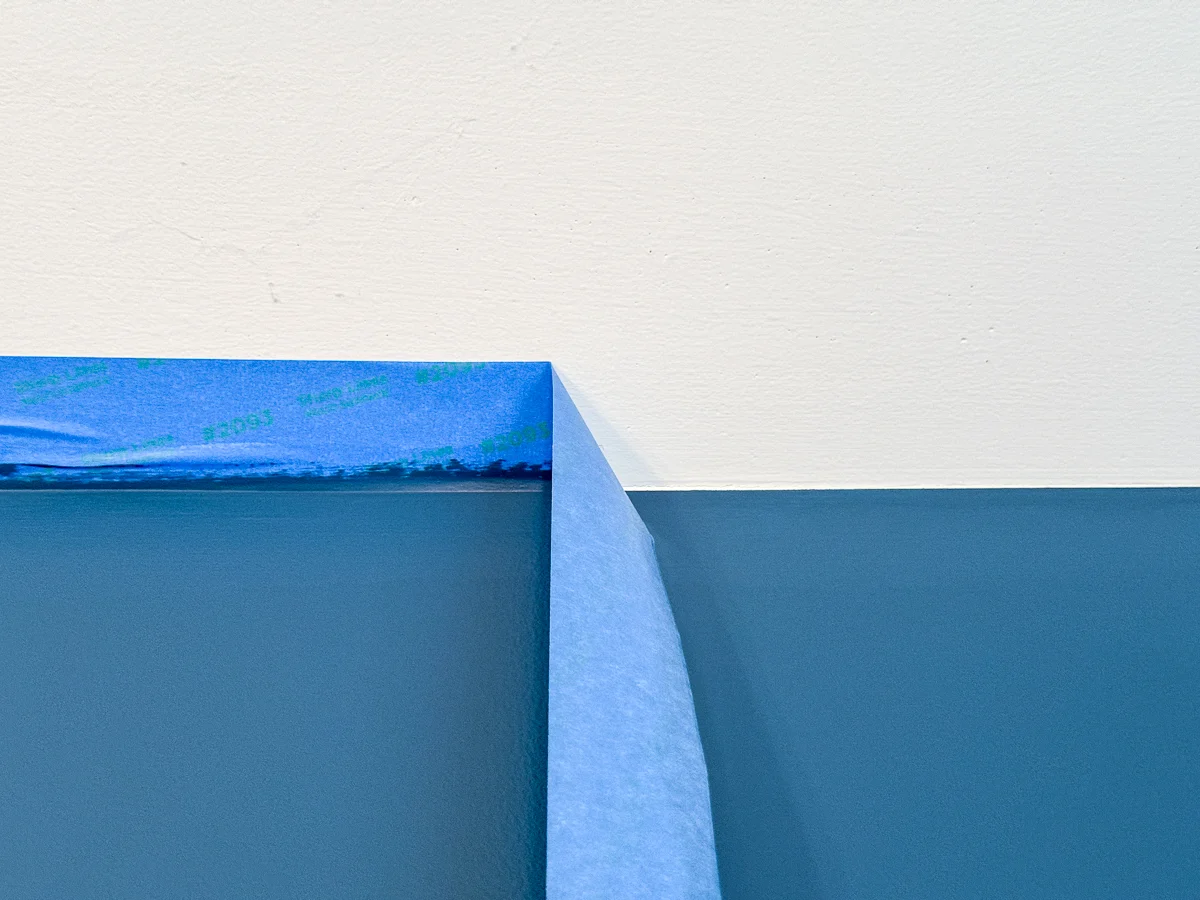
Apply a strip of painter's tape along the corner on the side you just painted (or the original color you want to keep). Press it firmly on the wall so it sticks properly.
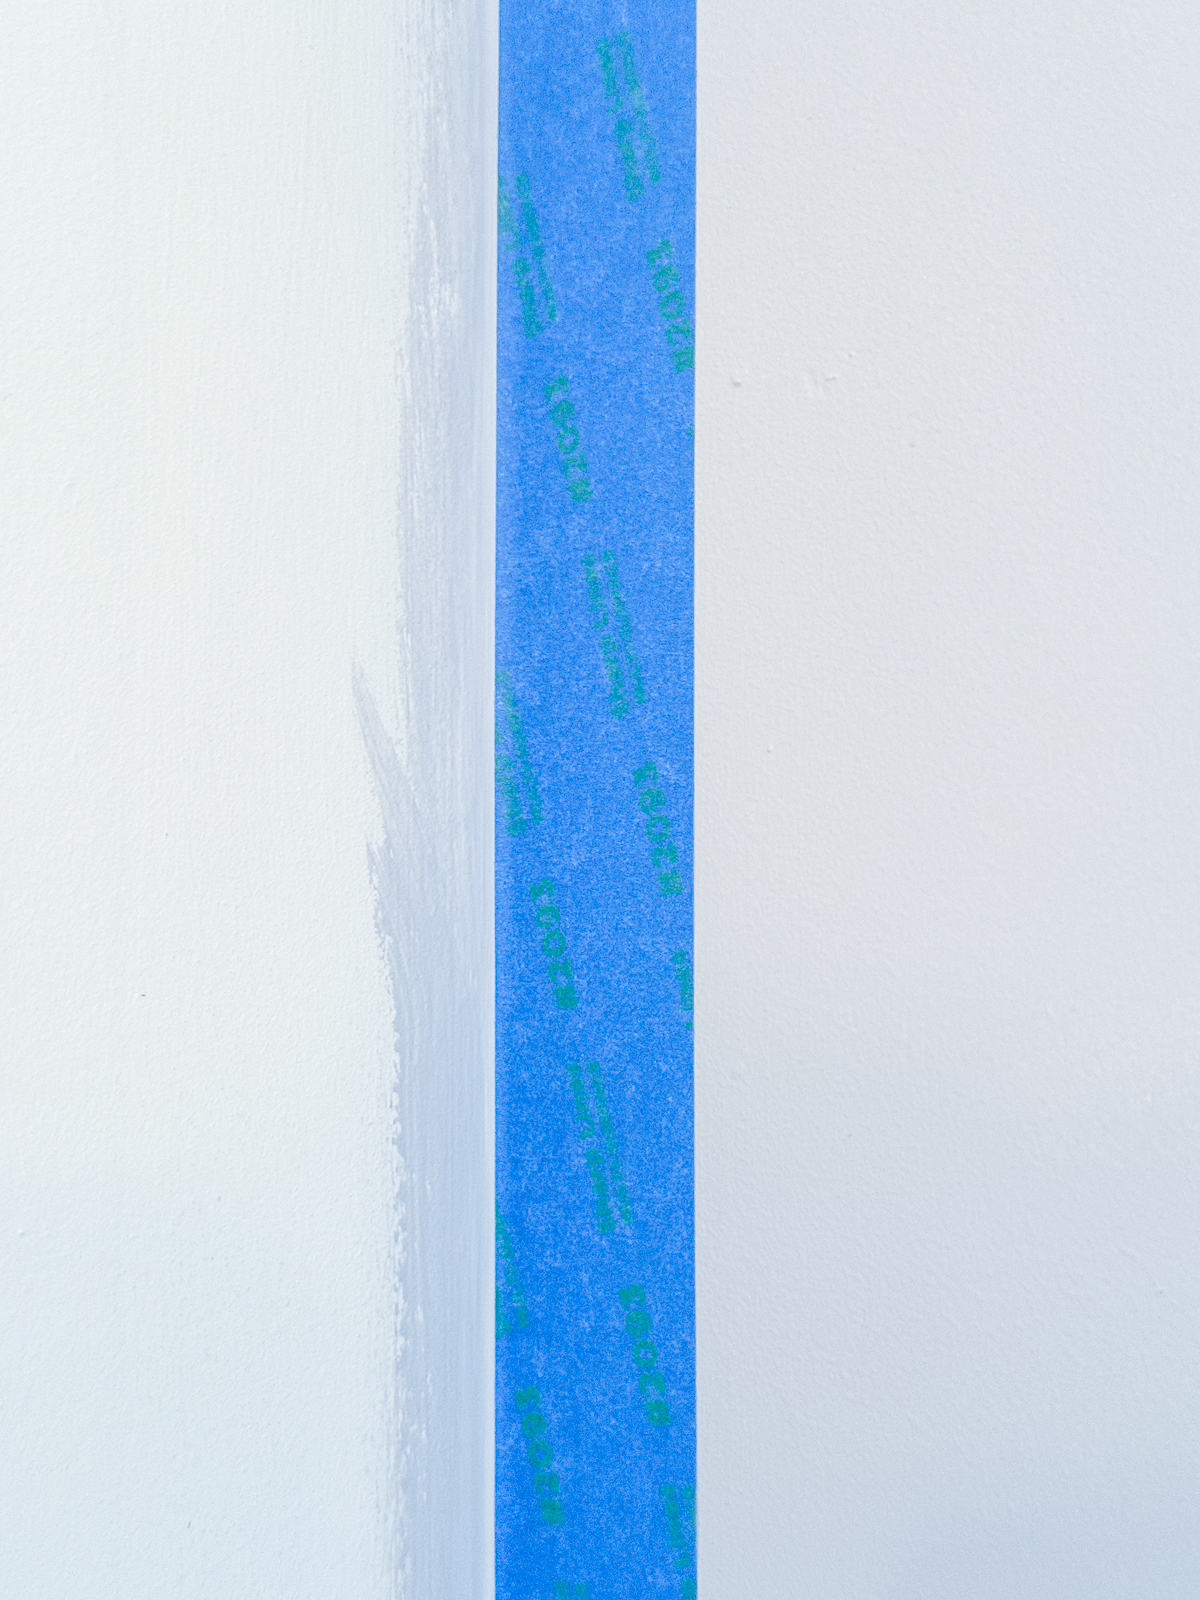
Now, paint over the edge of the tape at the corner with the SAME color paint as the wall behind the tape. This will seal any gaps under the painter's tape, and any drips that seep underneath will match the wall.

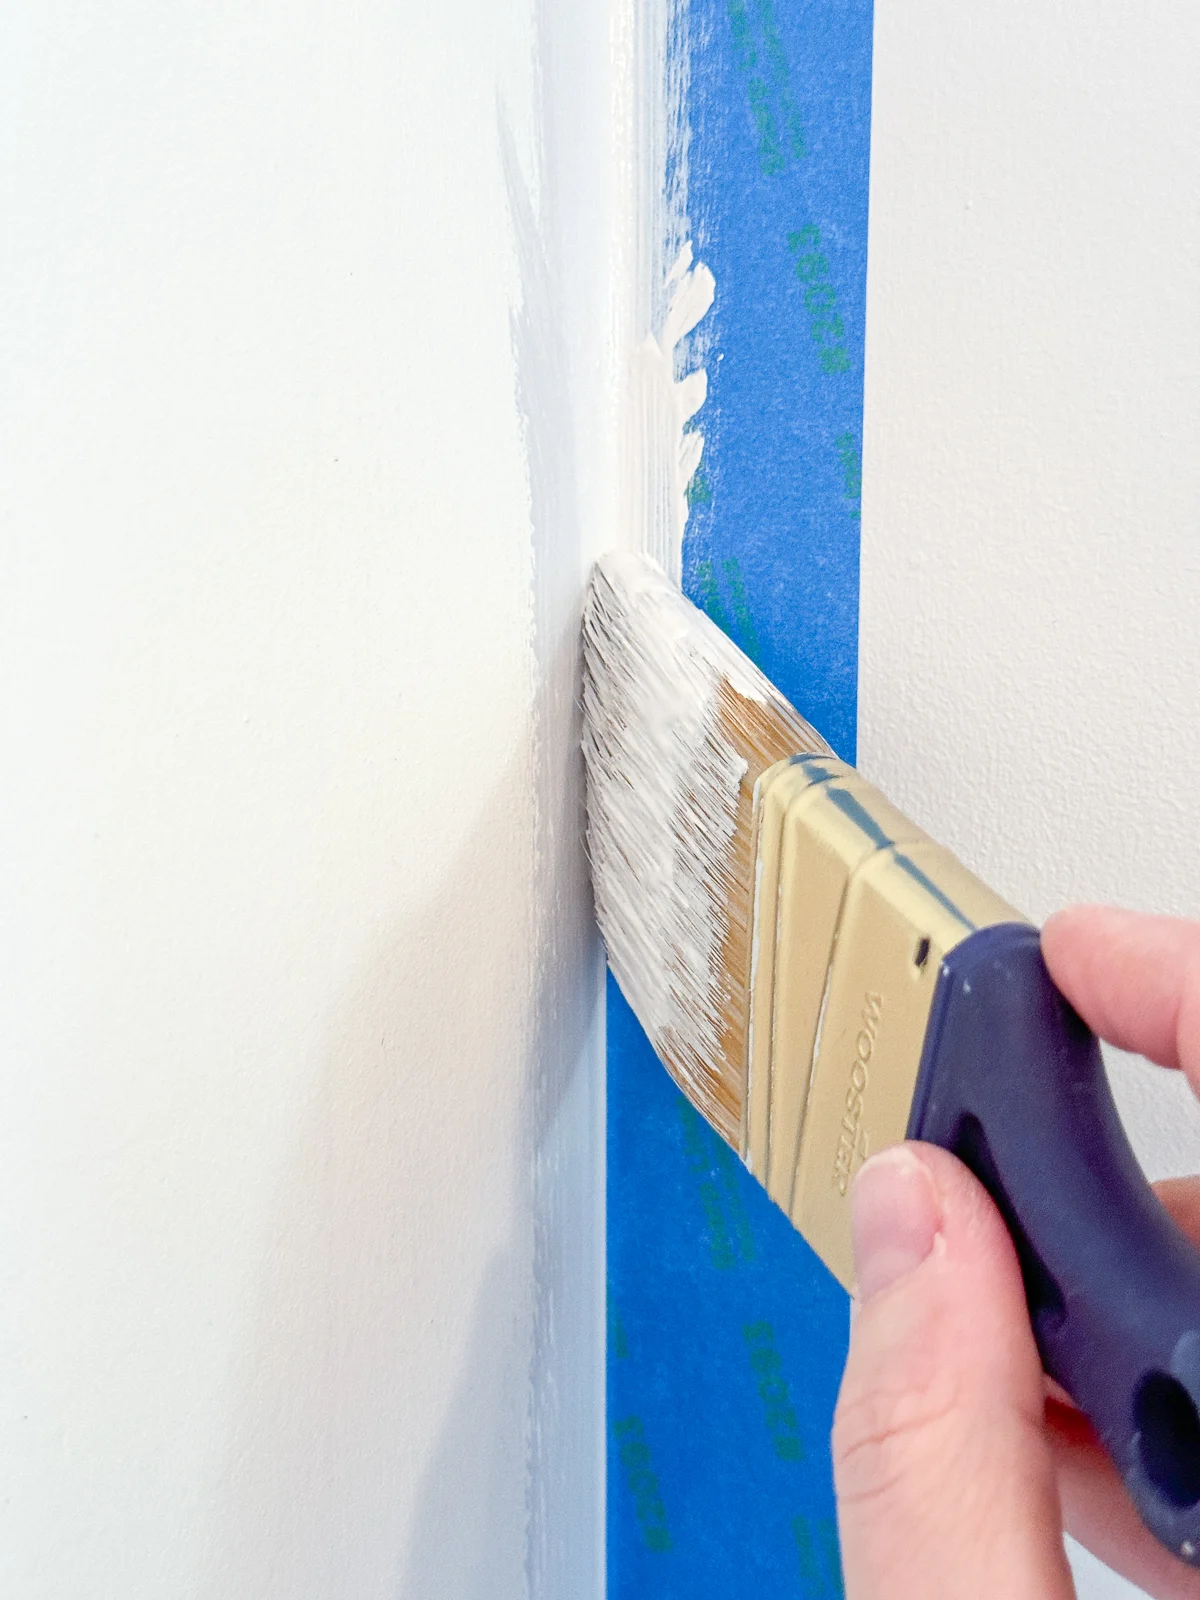
Allow the paint on the tape to dry. Then you can paint the new color on the wall.

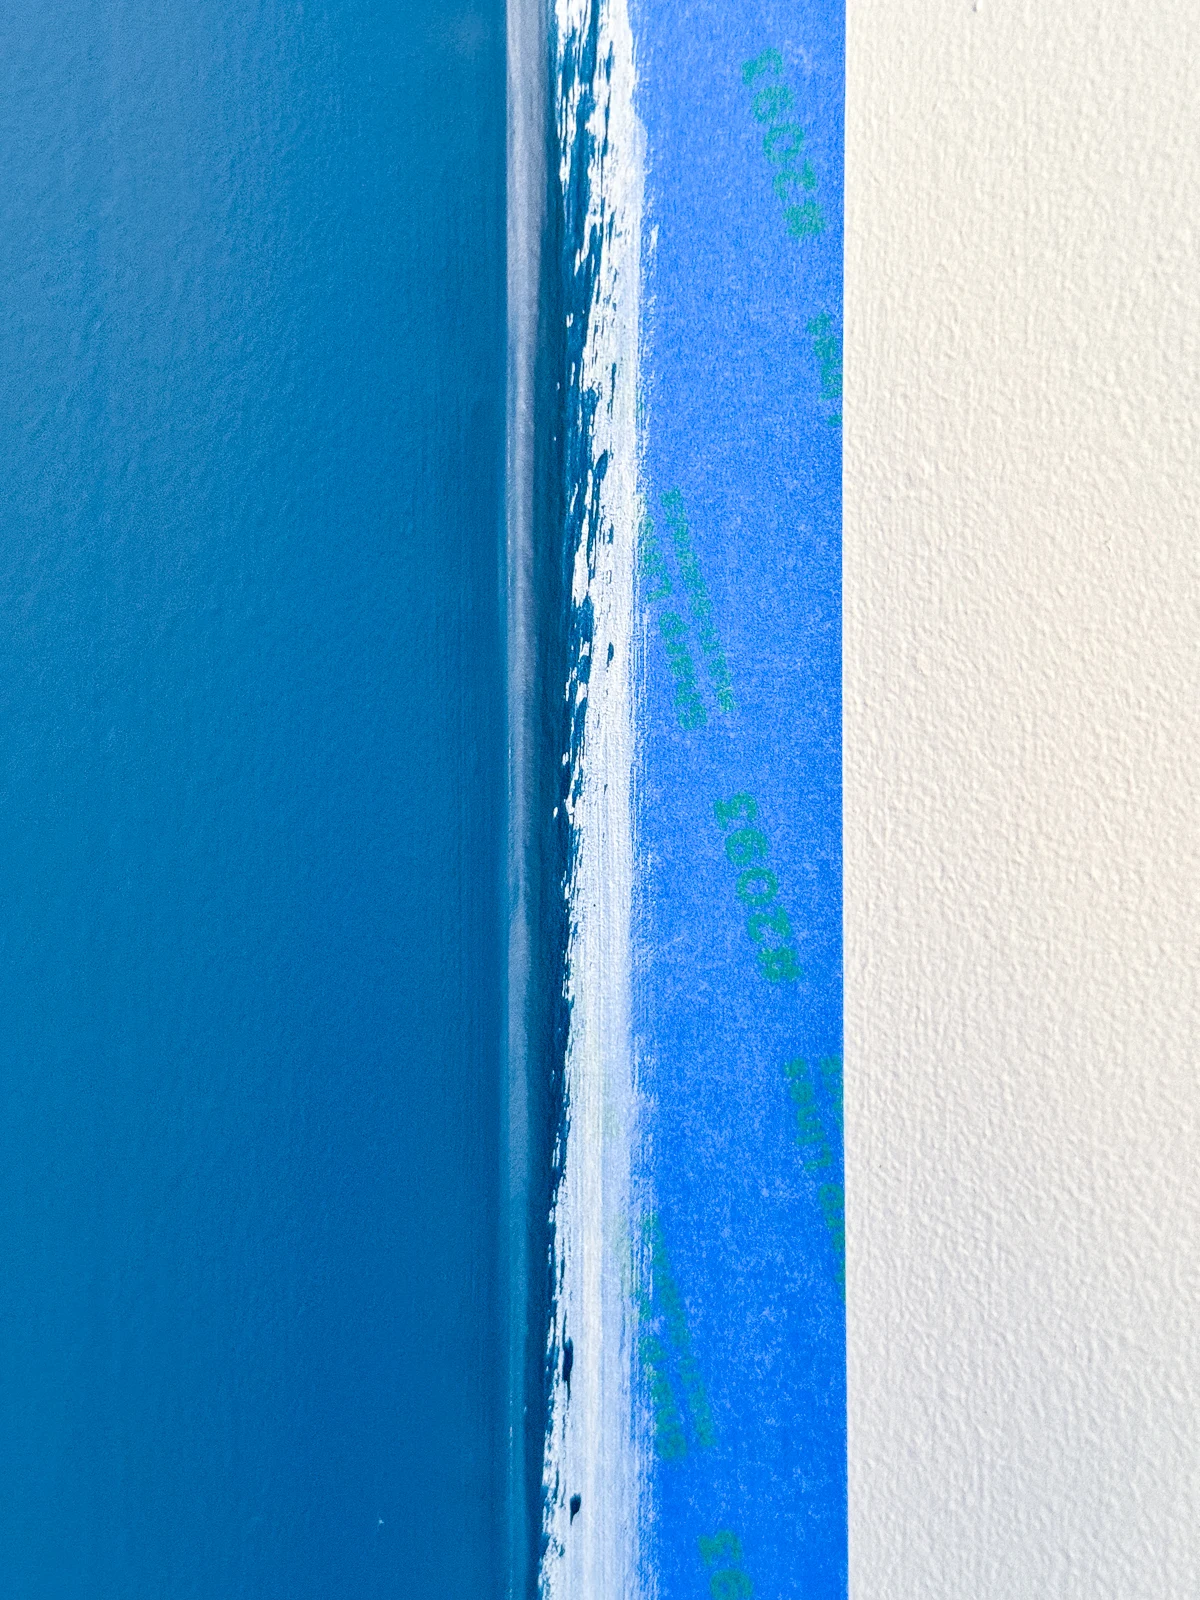
When you're finished, you can peel off the painter's tape to reveal a clean, straight line at the corner! Some people recommend taking off the tape while it's still slightly wet, but you already have a layer of dried paint on there, so it probably doesn't matter.

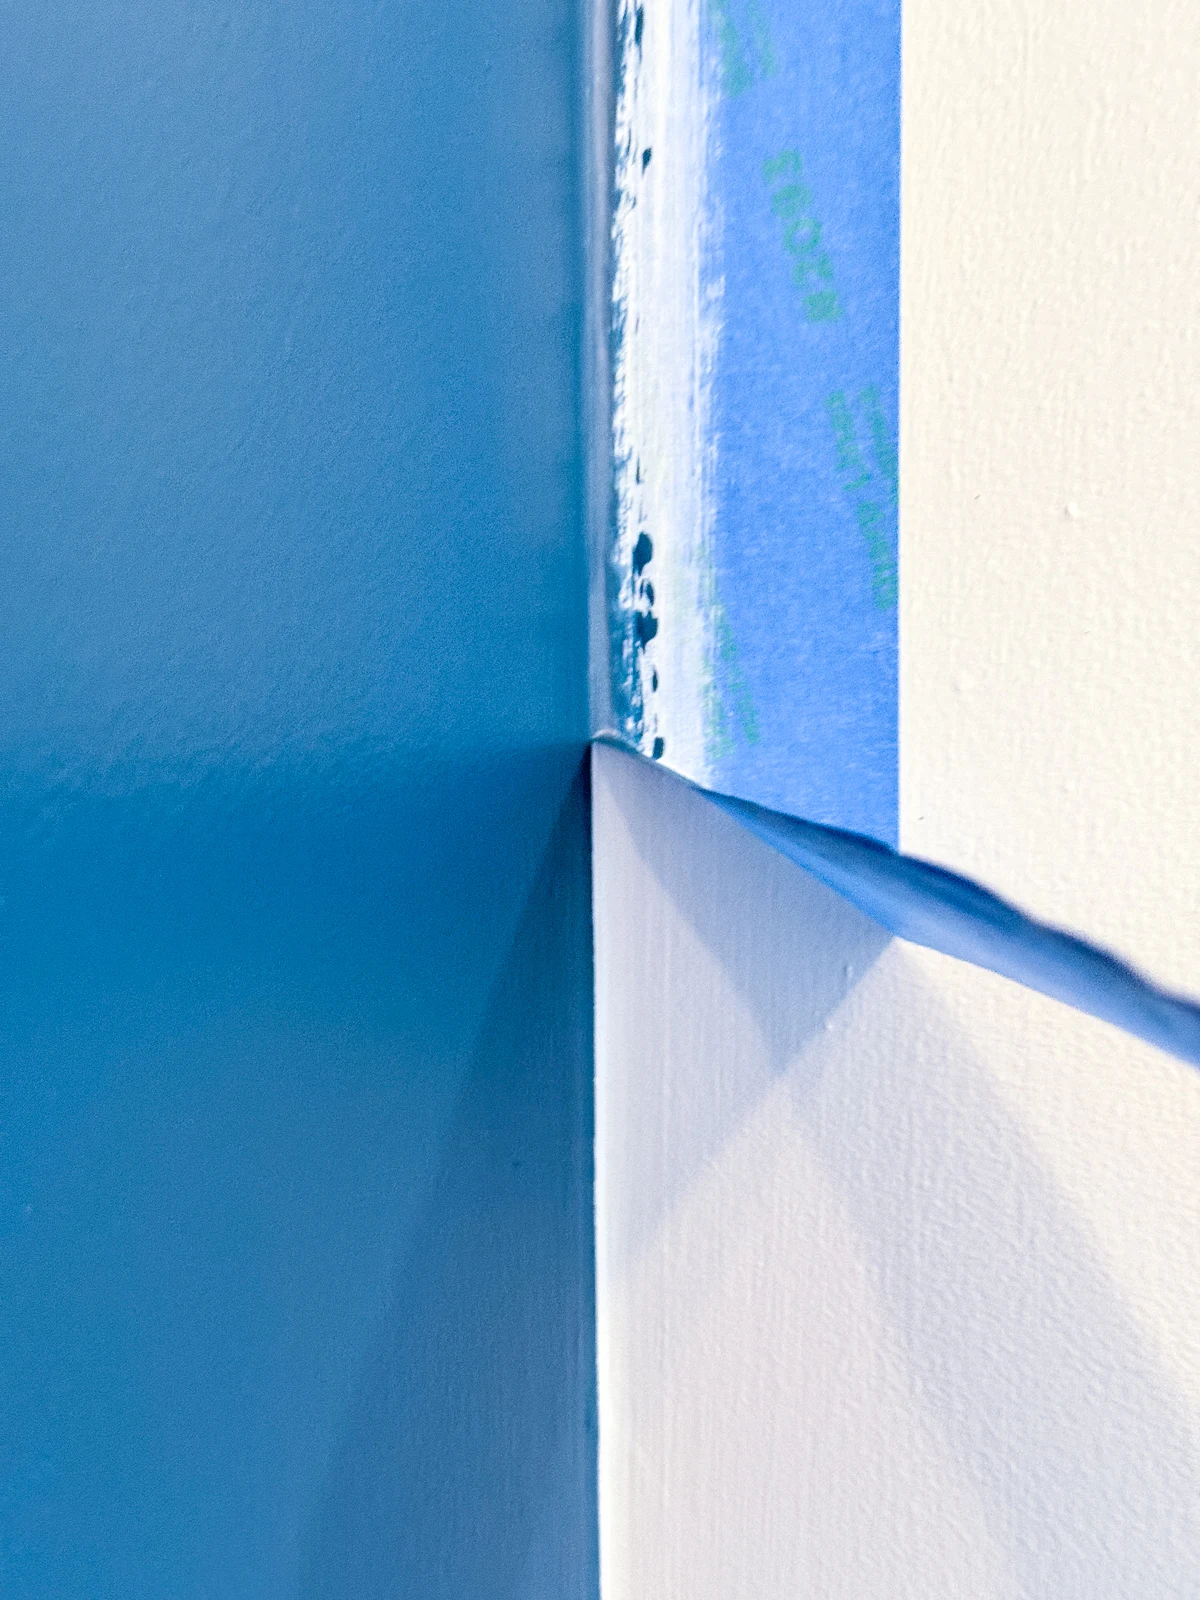
So satisfying!
Method 2: Apply a clear sealant over the tape
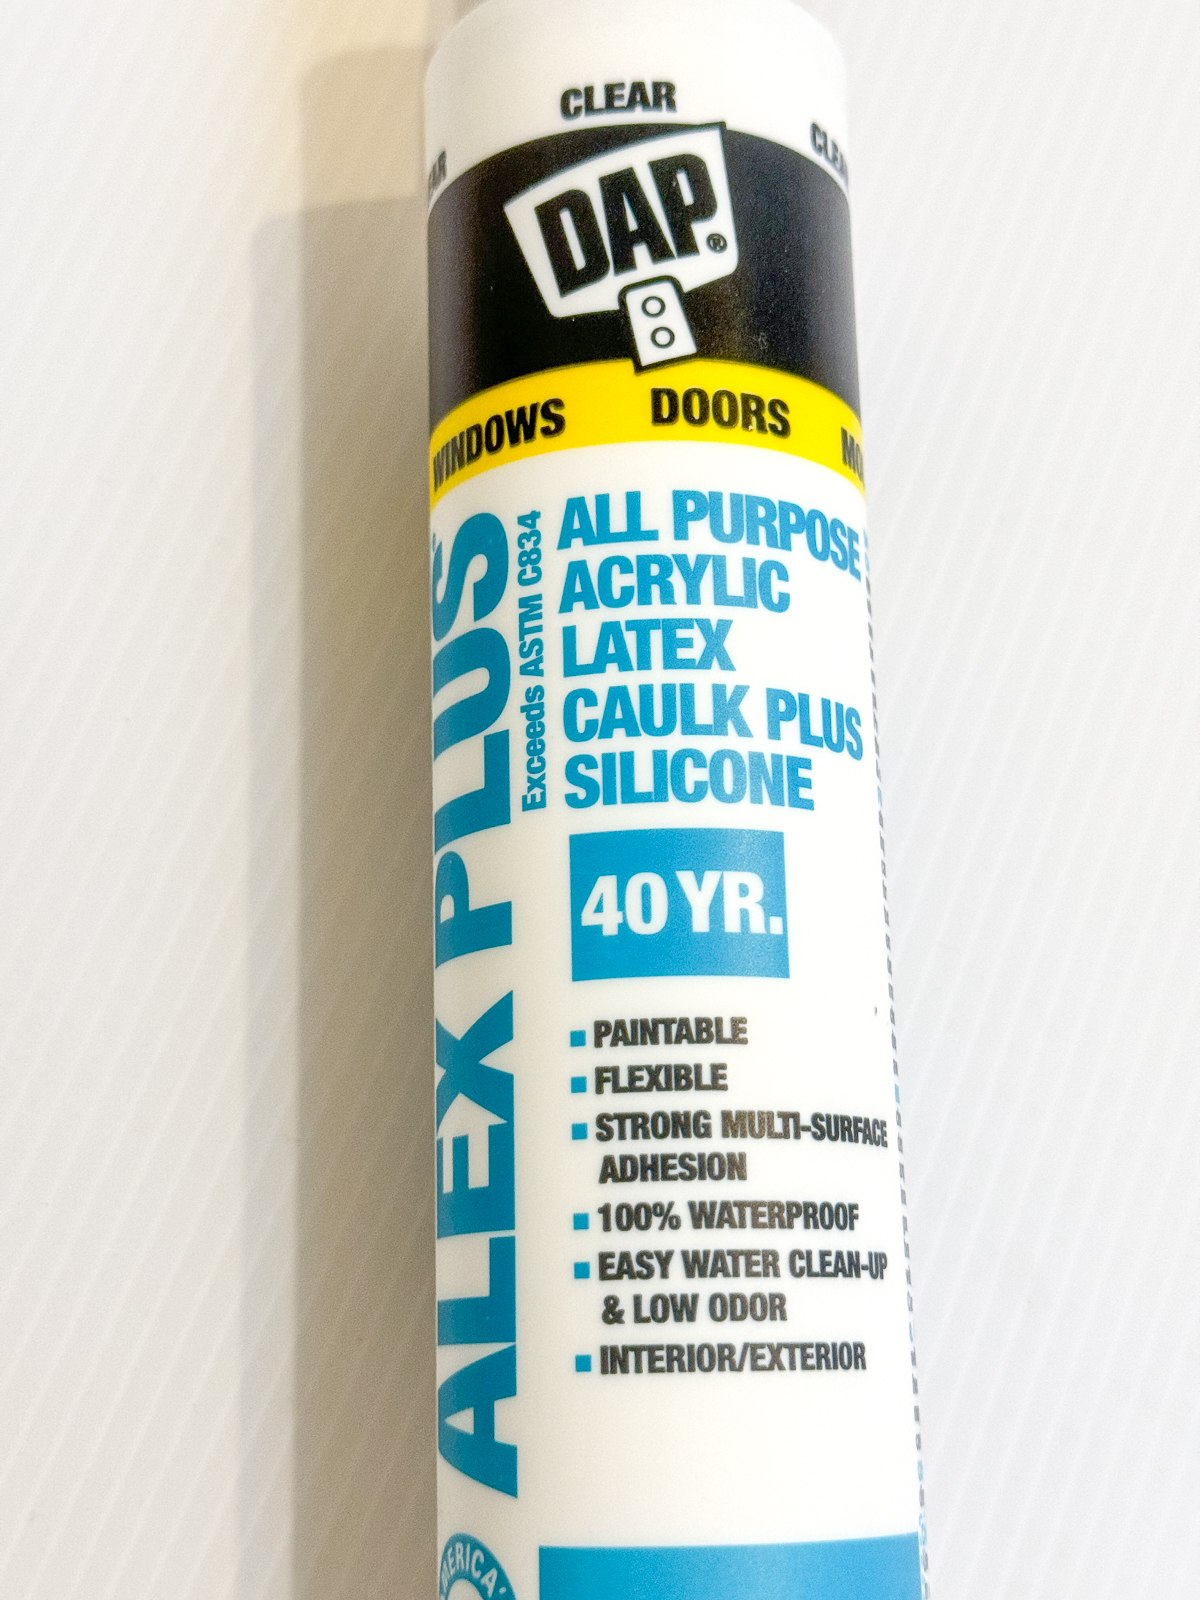
If you don't have any leftover paint of the original wall or ceiling color, you can seal the painter's tape with a clear, paintable layer instead.
Back when I published this article about how to paint textured walls, I used Frogtape's liquid sealer, which they don't make anymore. You can also use clear nail polish, paint masking fluid, or clear, paintable caulk. Just make sure it says "paintable" on the label!
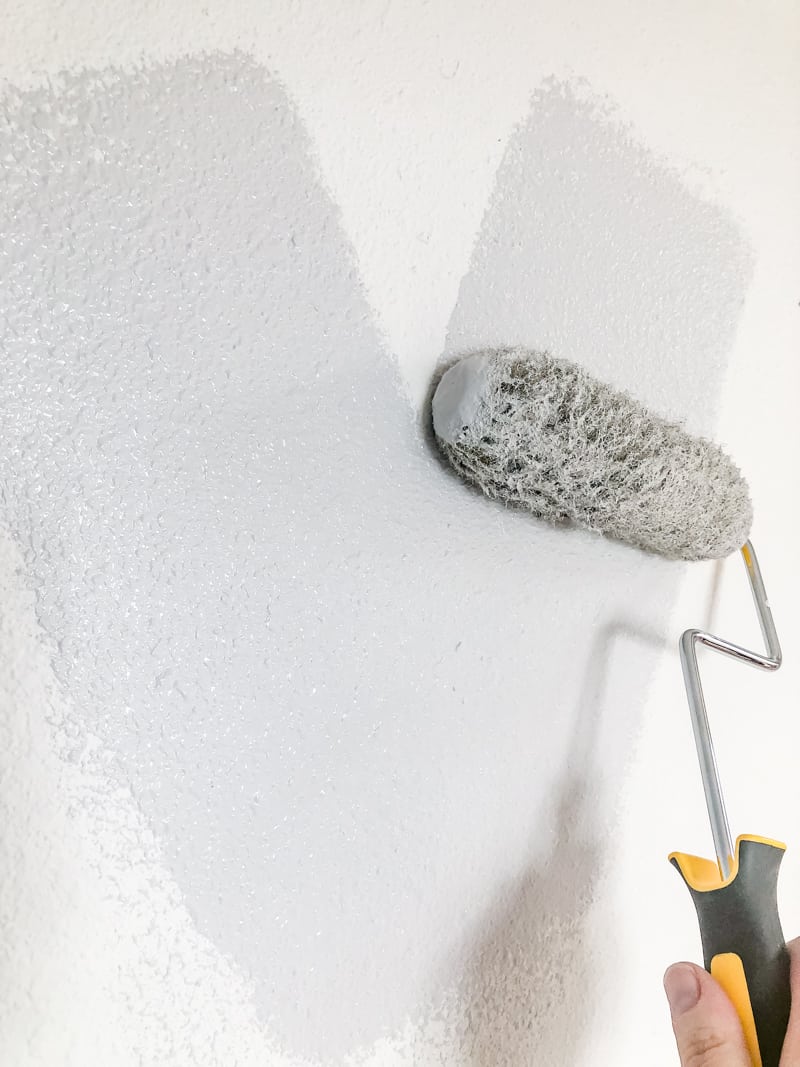
In this example, I want to paint a straight line between the accent wall and the angled ceiling. This type of transition is especially hard to paint freehand, because you don't have a 90 degree angle to follow and you want a sharp, straight line to make the accent wall pop.
Tape off the area you want to protect. Then apply your clear sealant over the edge and onto the wall to be painted. If you're using clear caulk, you'll want to use a caulk gun and smooth it out with your finger.

Allow the clear sealant to dry. Keep in mind that clear caulk may look white until it cures in a week or two, but you don't need to wait that long to paint over it.
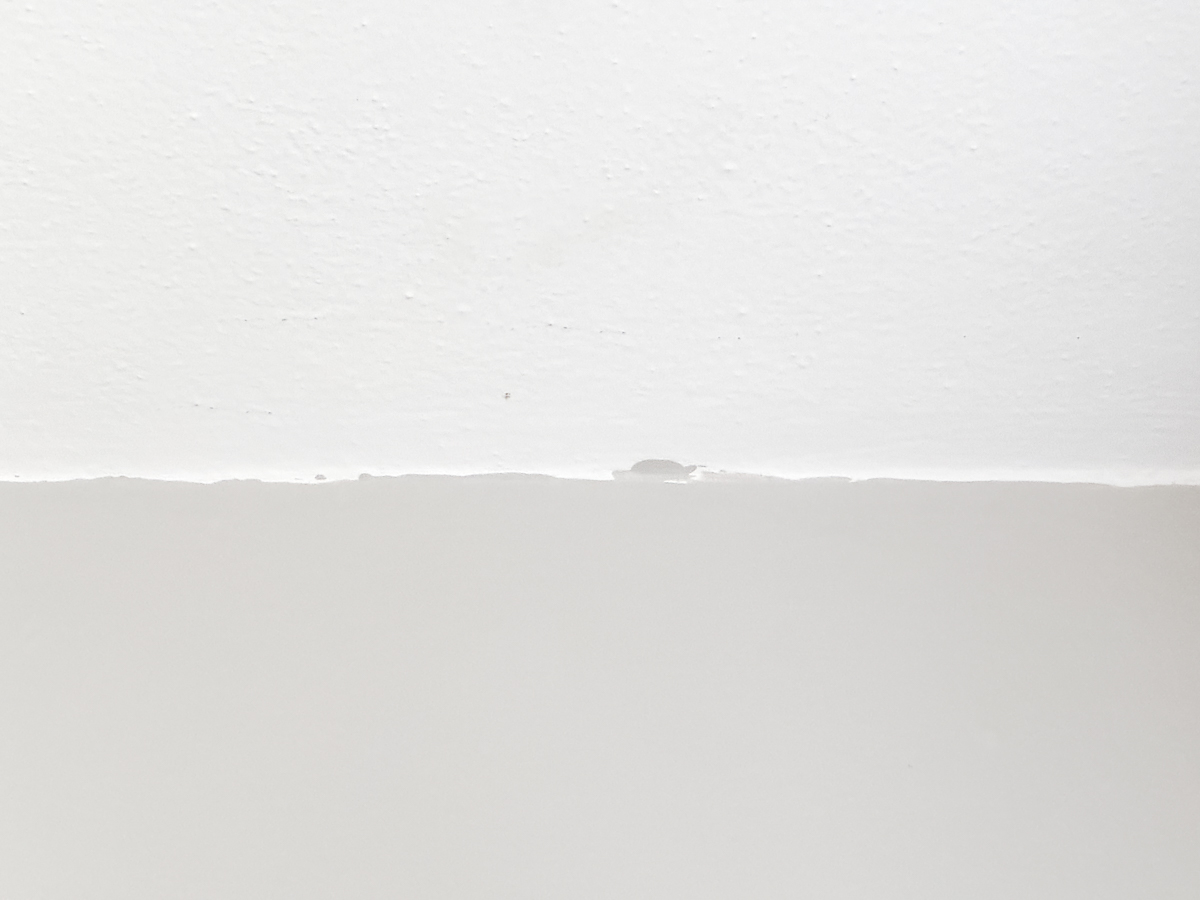
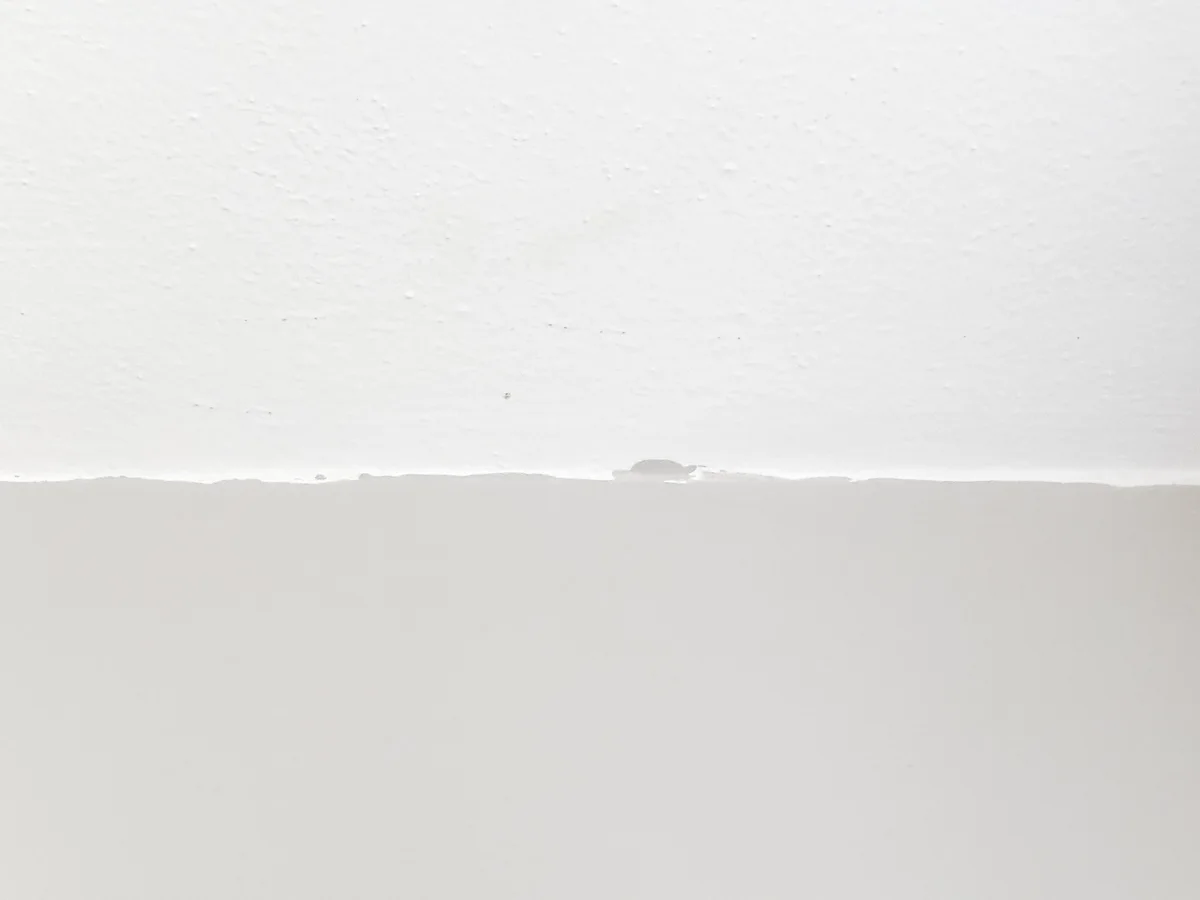
Paint the wall as normal, then peel off the tape to reveal a crisp, clean line at the ceiling!

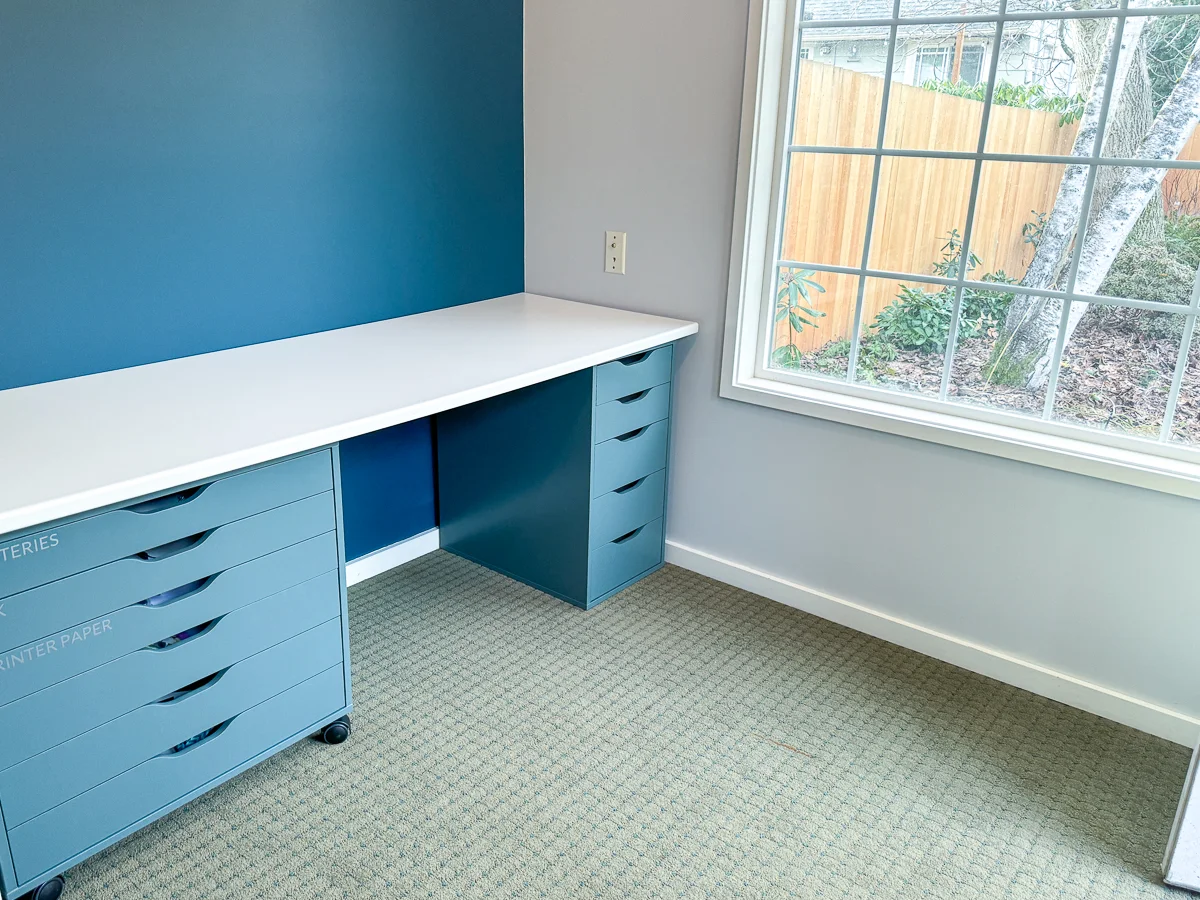
Now that the accent wall is painted, I can move my desk, laser cutter and 3D printer into this space!

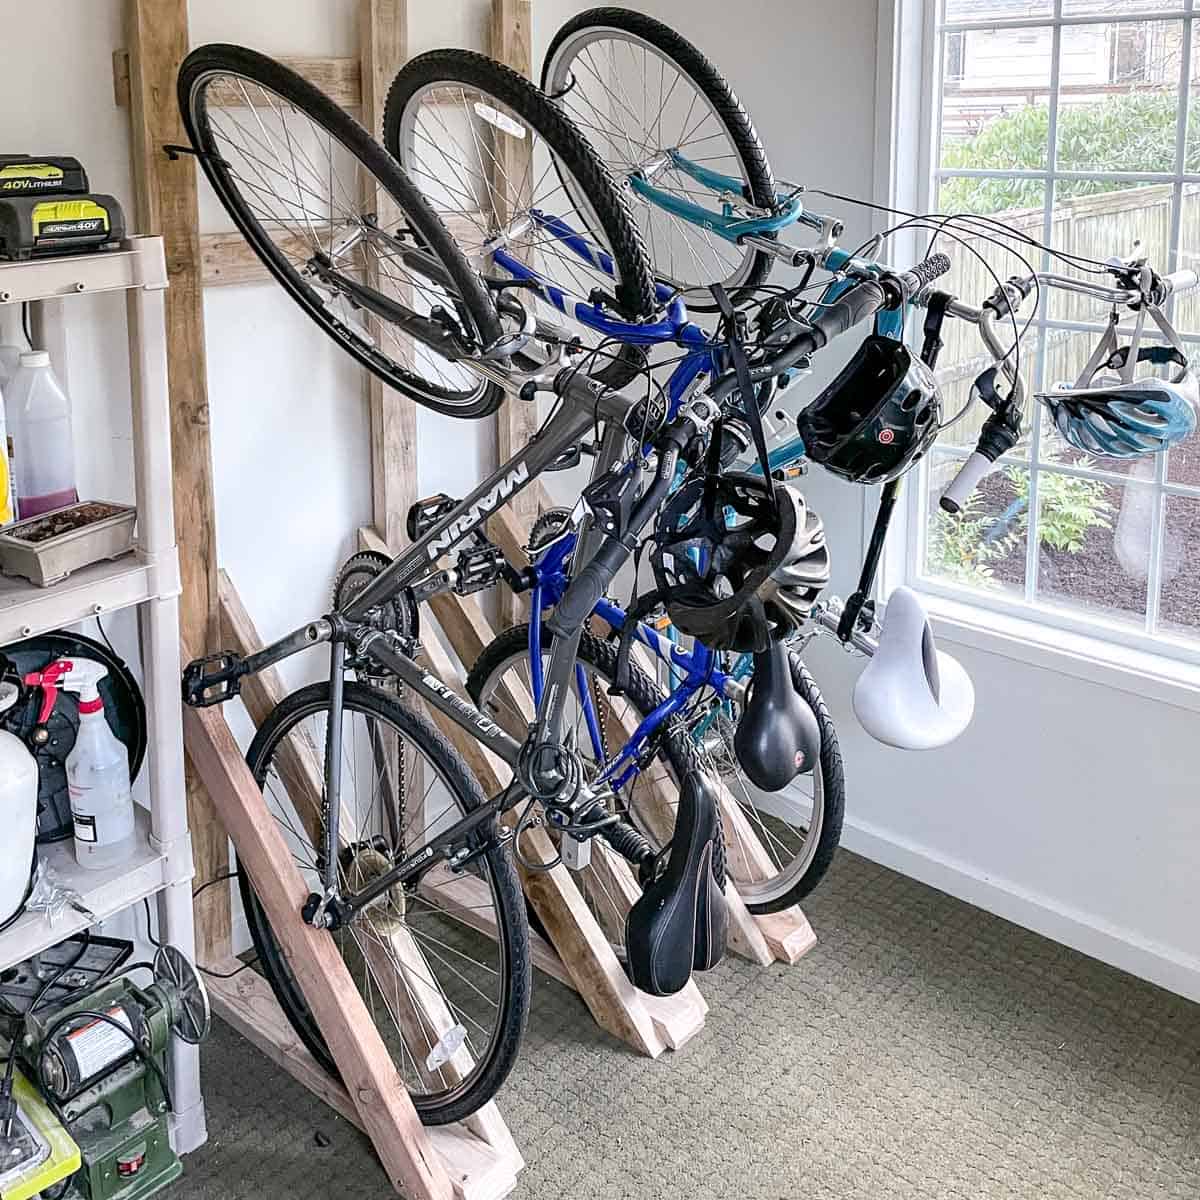
It's amazing how a little paint can make such a huge difference! We previously used this shed as storage for Christmas decorations and a bike rack. But even with the junk removed, it still felt like a shed.

With a fresh coat of paint, the dings and scuffs were covered up and it felt more like a room and less like a former storage space!
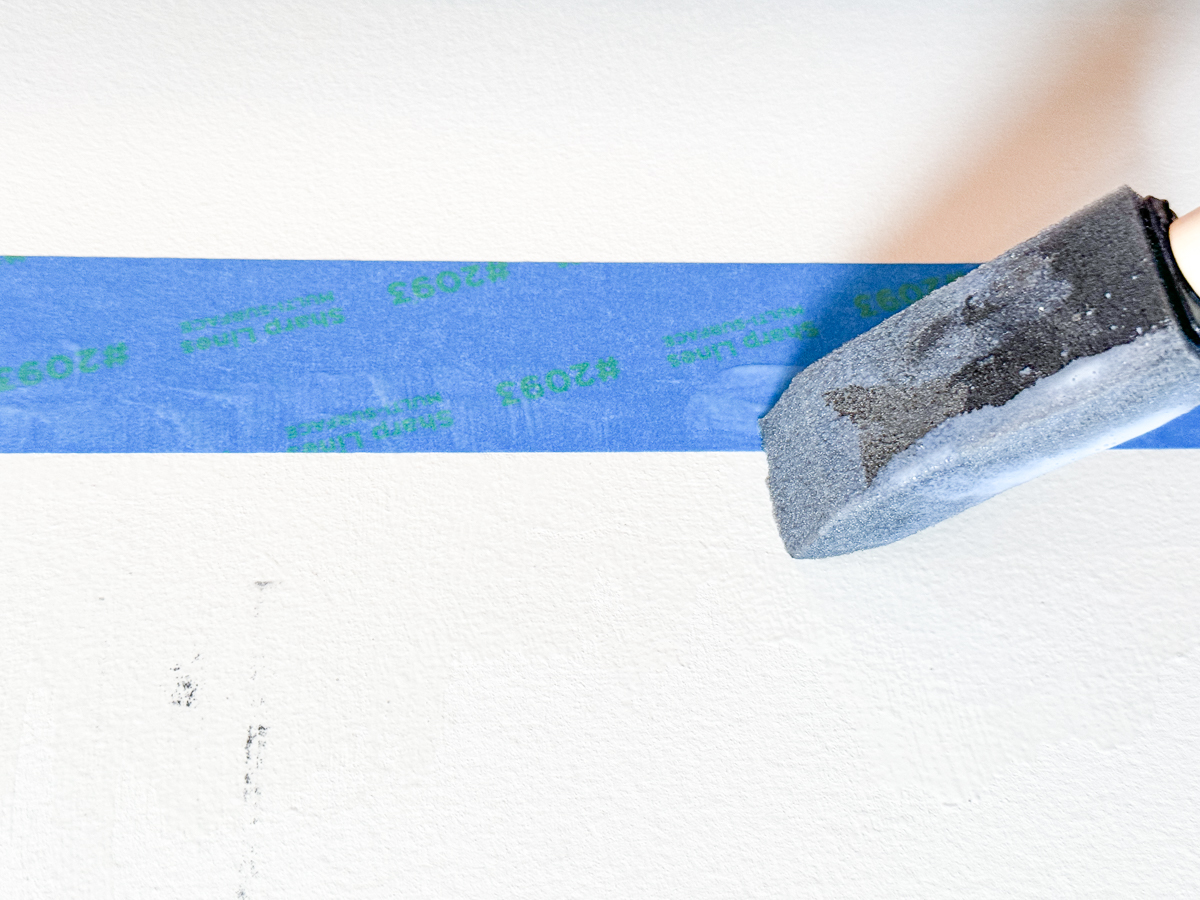
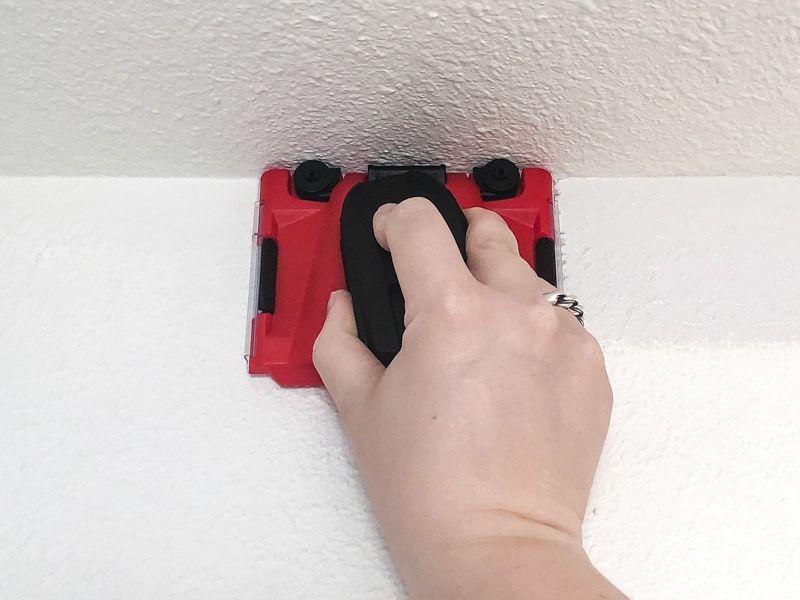
Method 3: Use an edging tool
This is my least favorite method, because there's a higher chance of messing up your straight lines. But it's a good option if you have really high ceilings and don't want to get on a ladder to tape off the corner!
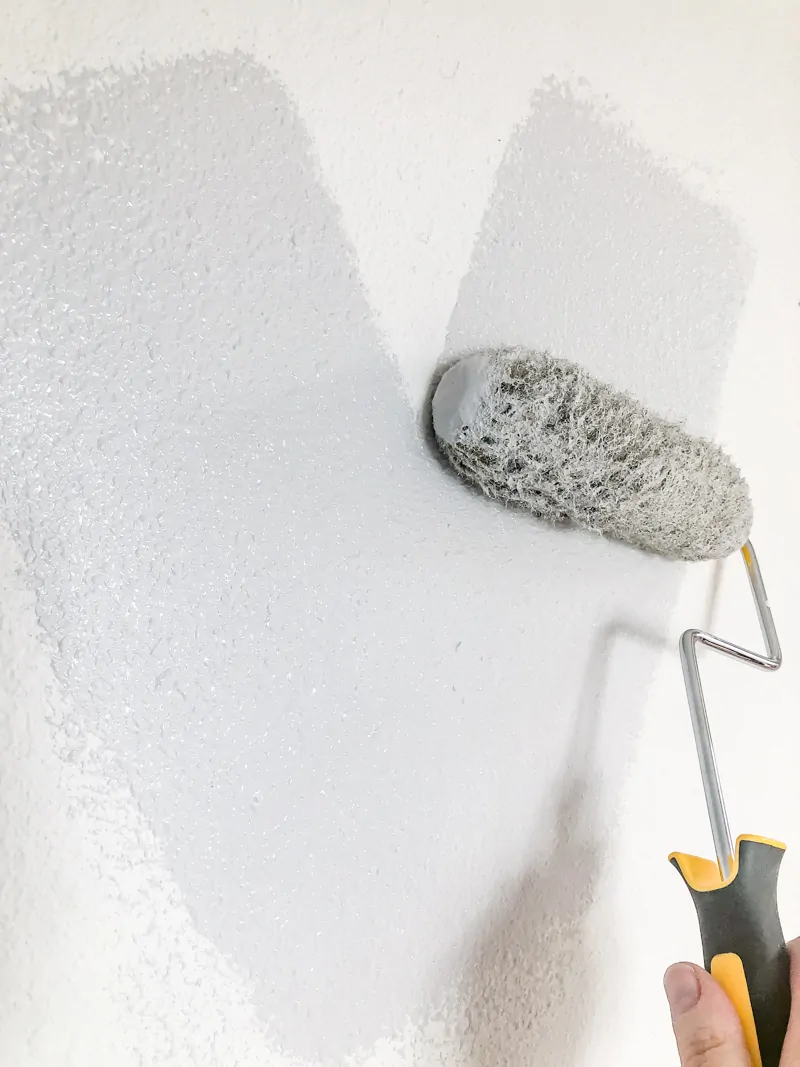
This paint edging tool uses little wheels to keep the pad away from the ceiling. Some models have a handle attachment, so you can reach the top of a tall wall easily.
The trick to getting a clean line with this type of edging tool is to keep paint off the wheels and top edge of the plastic. This model has a lever to lift the rollers away from the pad when loading it with paint.

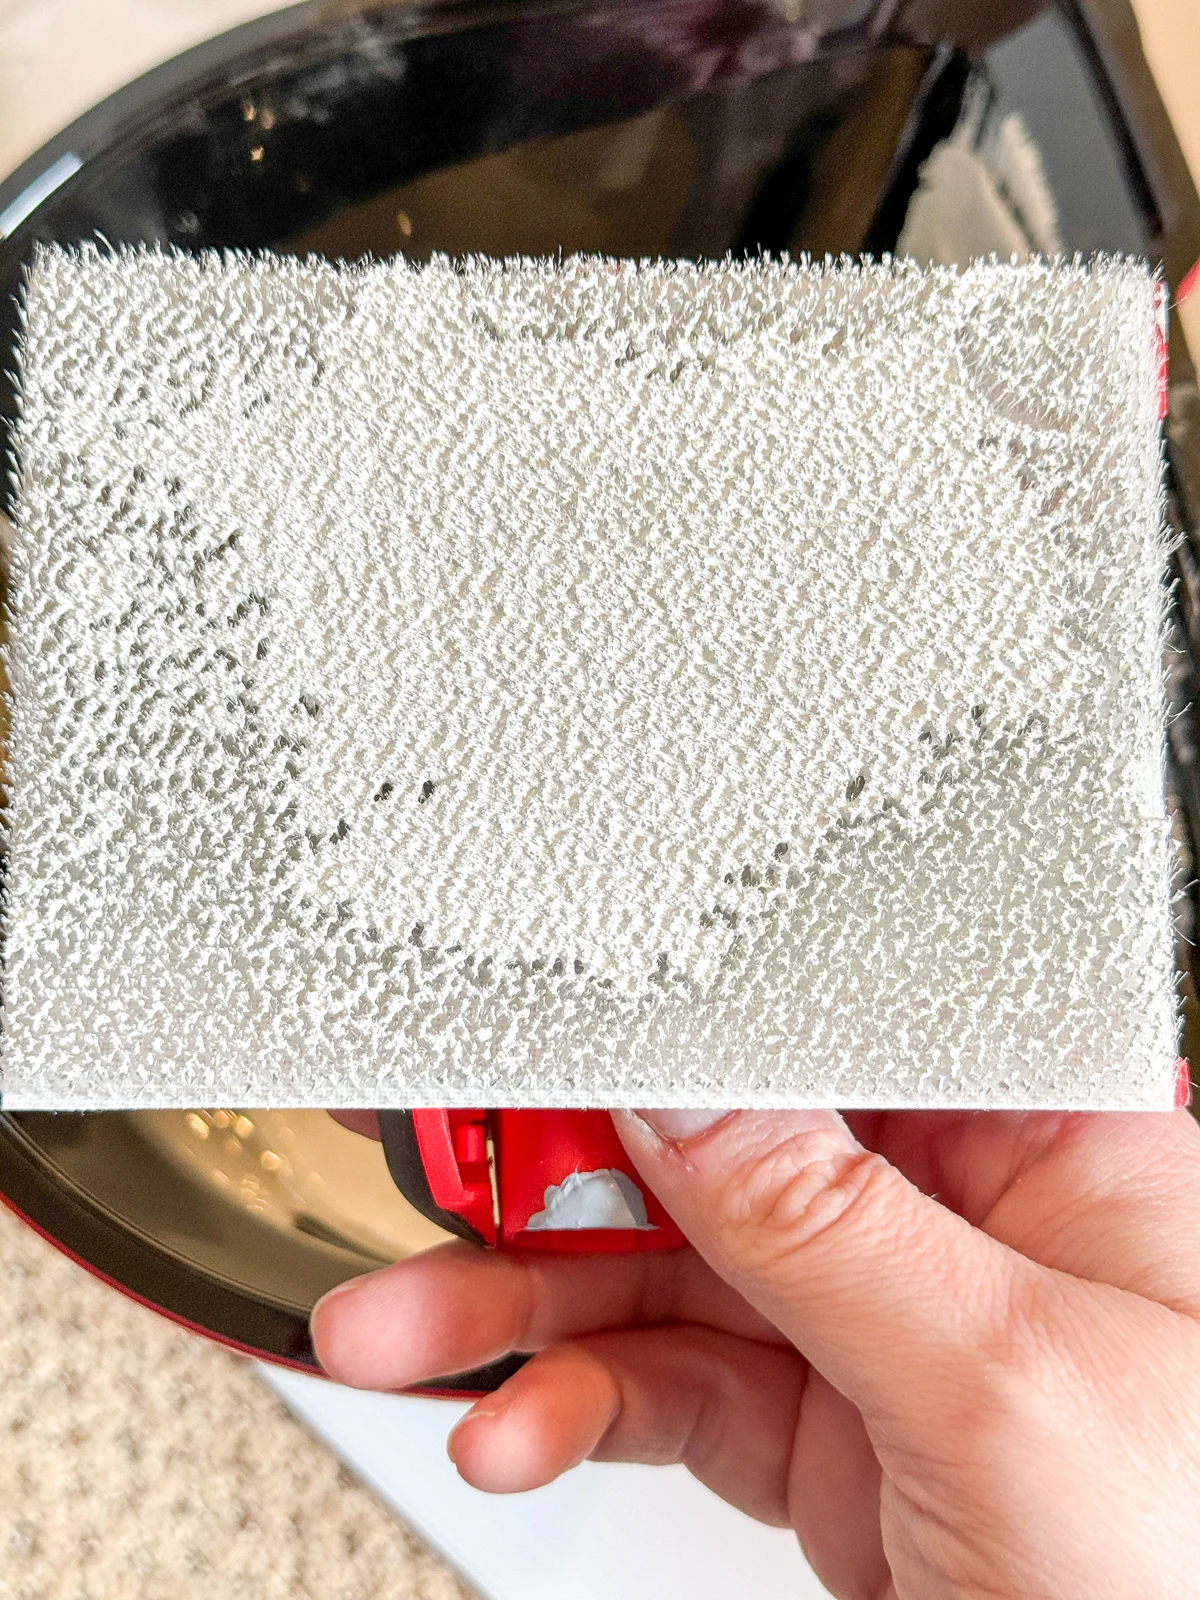
You don't want the pad to be dripping with paint. Just enough to coat the tips of the fibers is fine! I usually dip it carefully into a paint tray and wipe off the excess away from the rollers.
I find this edging tool most useful when dealing with heavily textured walls and ceilings like this one. Even with careful taping and sealing, you can still get some gaps with the other two methods if there's a particularly big blob of texture underneath.
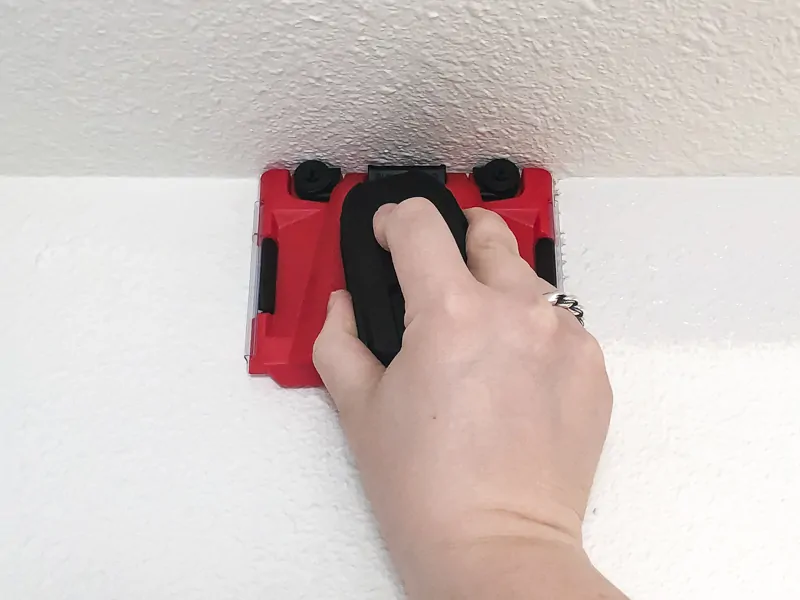
The pad leaves a wide margin at the ceiling so you can easily roll the rest of the paint onto the wall without splattering. Just slow down a bit when you get to the top of the wall and it should turn out great!
Do you have any other tips on how to paint straight lines? I'd love to hear them down in the comments below!
Check out these other painting tutorials!