Learn how to paint baseboards to freshen up your space! This tutorial covers how to clean them, caulk the seams and get a flawless finish!

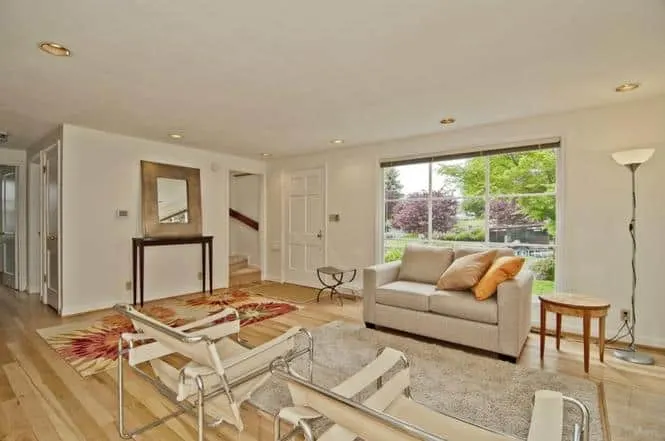
When we bought our house, everything was painted the same off-white color. The walls, the trim, the ceiling, the doors, EVERYTHING! Just look at the listing photo!

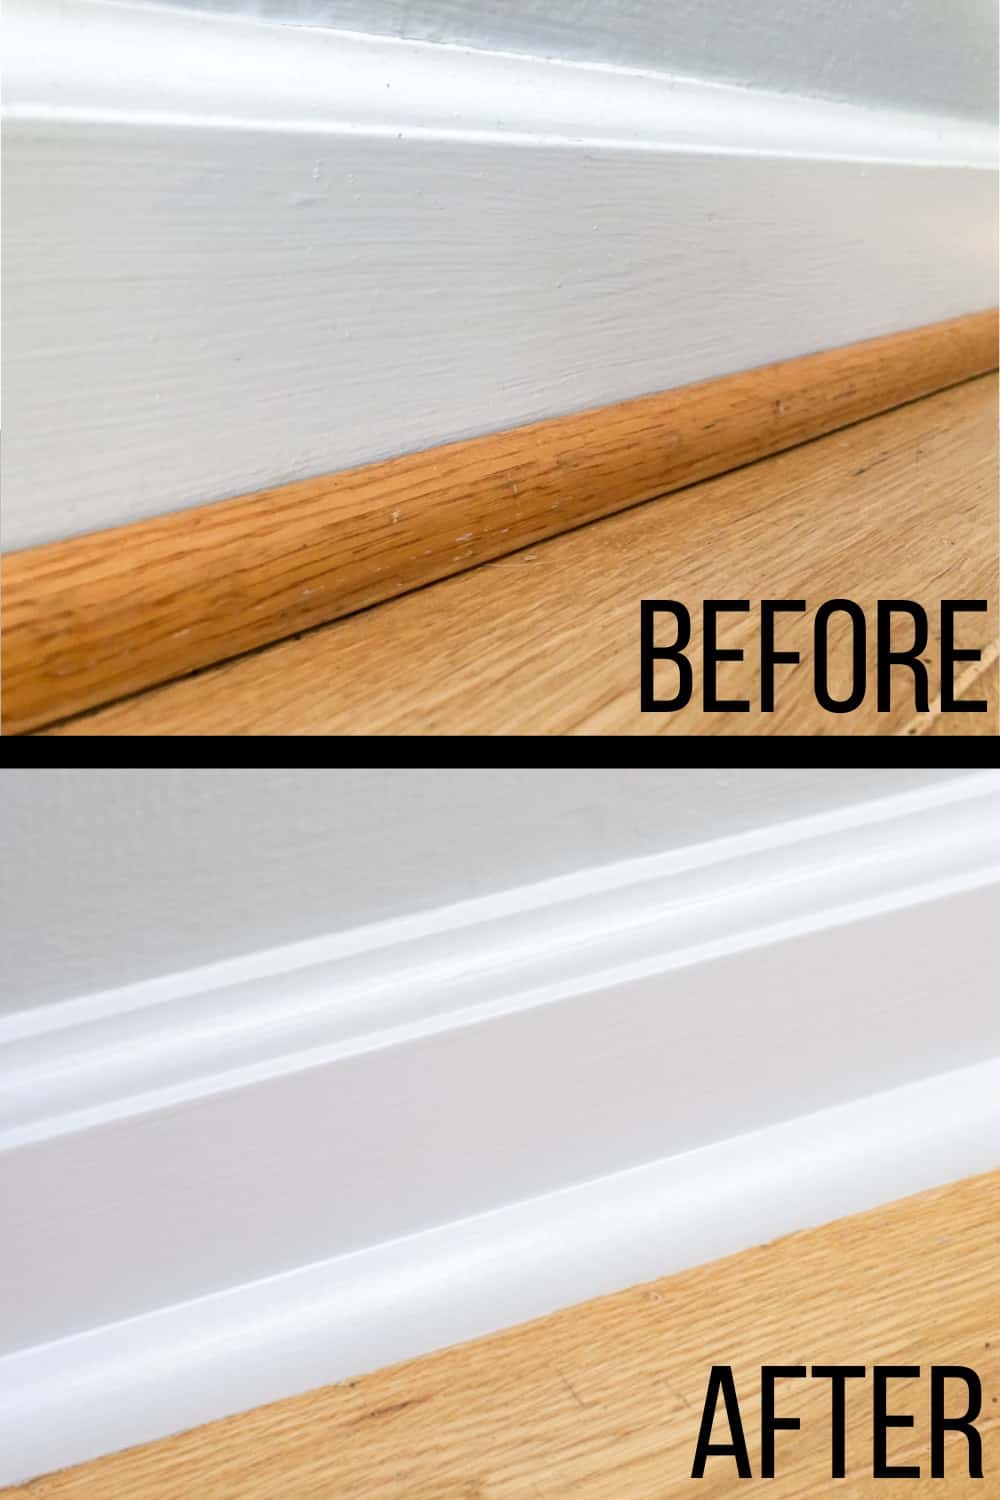
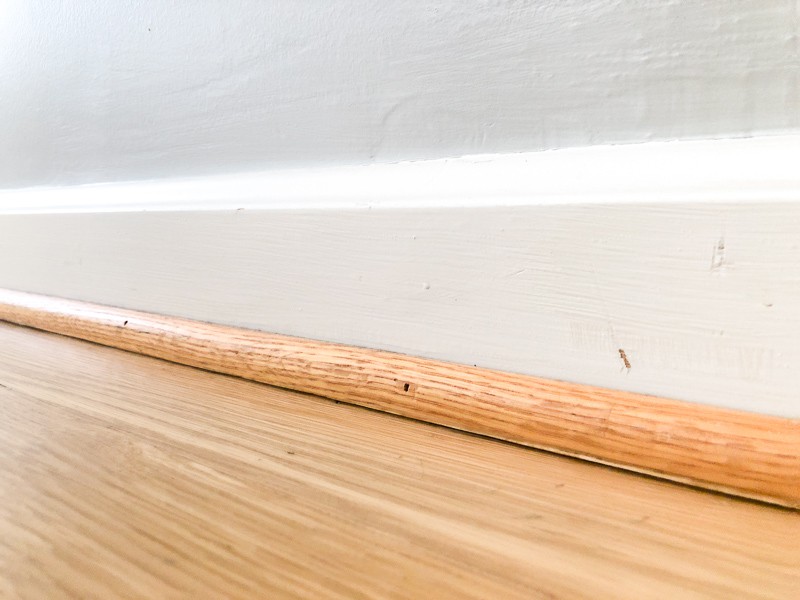
The first thing I did was paint the walls gray to neutralize some of that beige-ness. But it made the baseboards feel dingy and dirty. That oak quarter round trim wasn't helping, either.

Almost five years later, I'm finally painting the baseboards a crisp white to match the rest of our decor!
This post is sponsored by Handy Products and contains affiliate links for your convenience. Purchases made with these links may earn me a small commission at no additional cost to you.
Materials Needed
- Paint
- A high quality paint in a semi-gloss finish will last longer and be easier to clean. This is what I used.
- Painter's tape
- Drop cloth
- 2" angled sash paint brush
- Paint cup or tray
- I'm using the Handy Paint Pail and disposable liners by Handy Products.
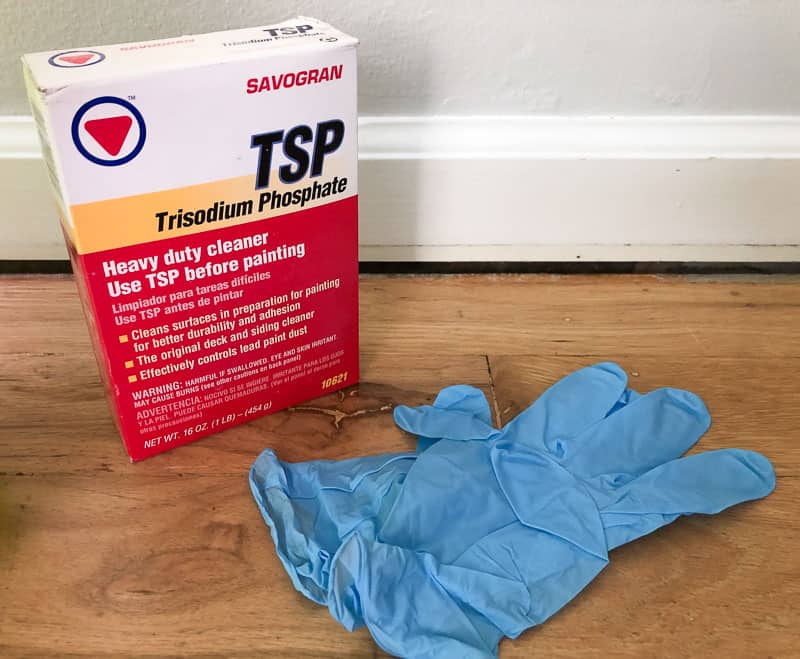
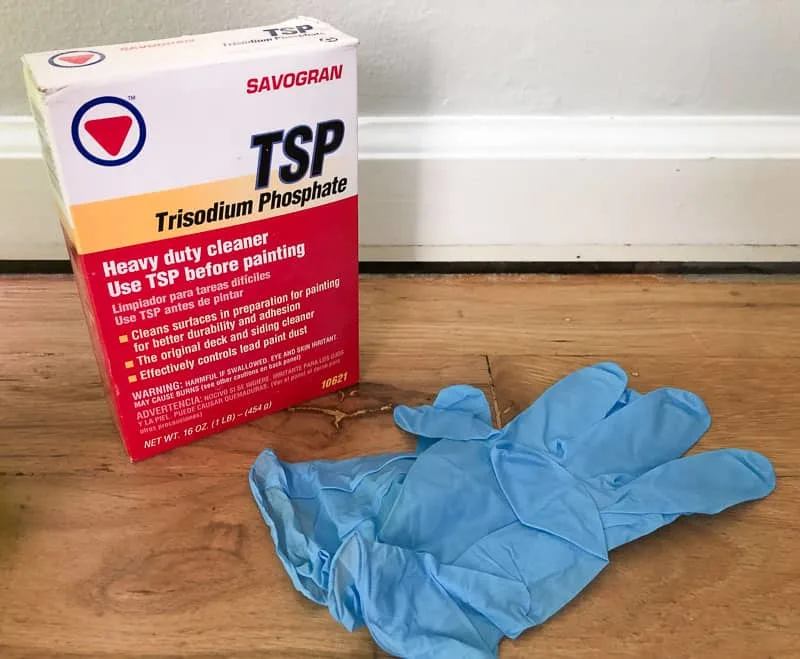
- Bucket of water mixed with TSP
- Sponge
- Latex gloves
- Caulk and caulk gun
- Spackle
- 5-in-1 painter's tool
- Spring loaded nail set tool
- Angled sanding sponge
Preparing Baseboards for Painting
The secret to perfectly painted baseboards is all about the preparation! Put in the effort to carefully clean, caulk and sand the surfaces before you crack open the paint can, and your finish will be flawless!
Clean the Baseboards
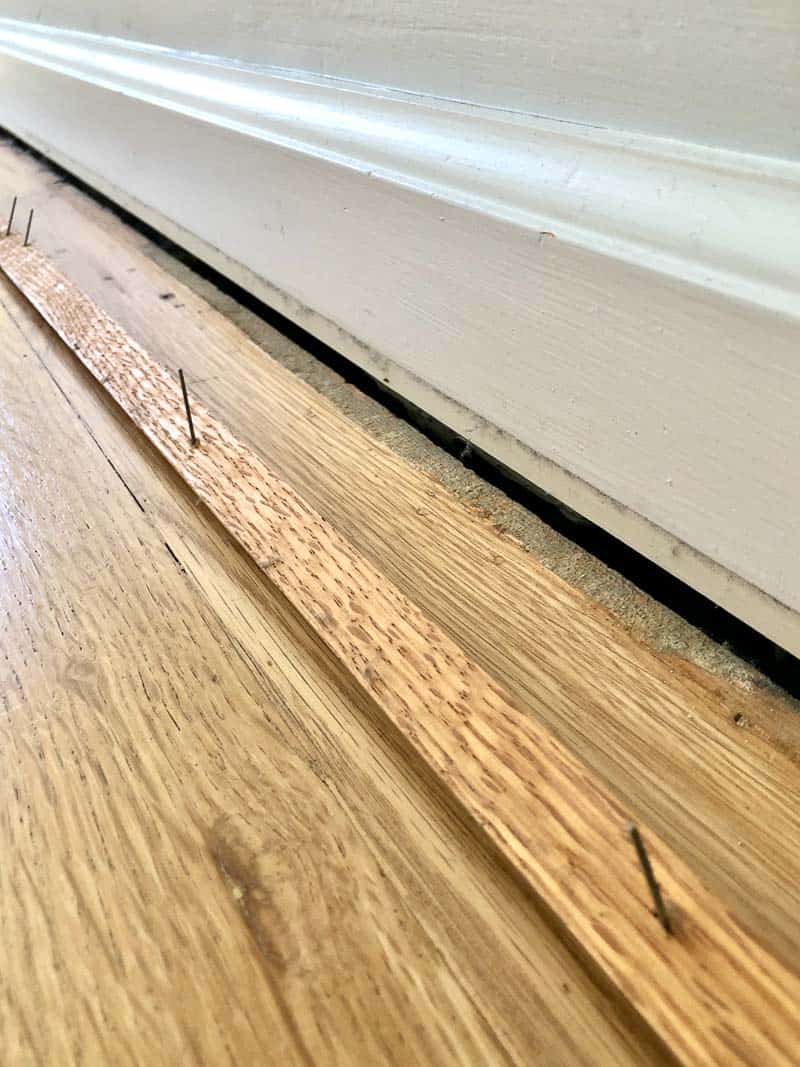
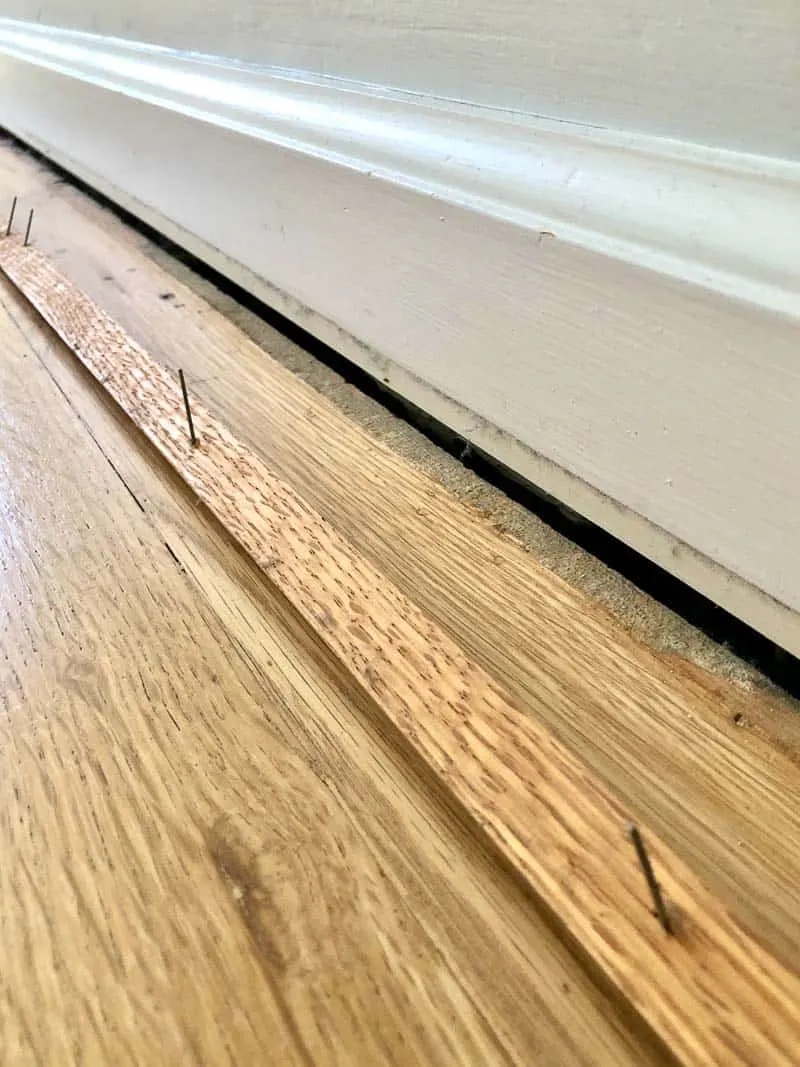
I removed the quarter round trim first and will replace it with pre-primed white trim. This will save myself the countless coats of paint necessary to cover up that ugly, damaged oak.
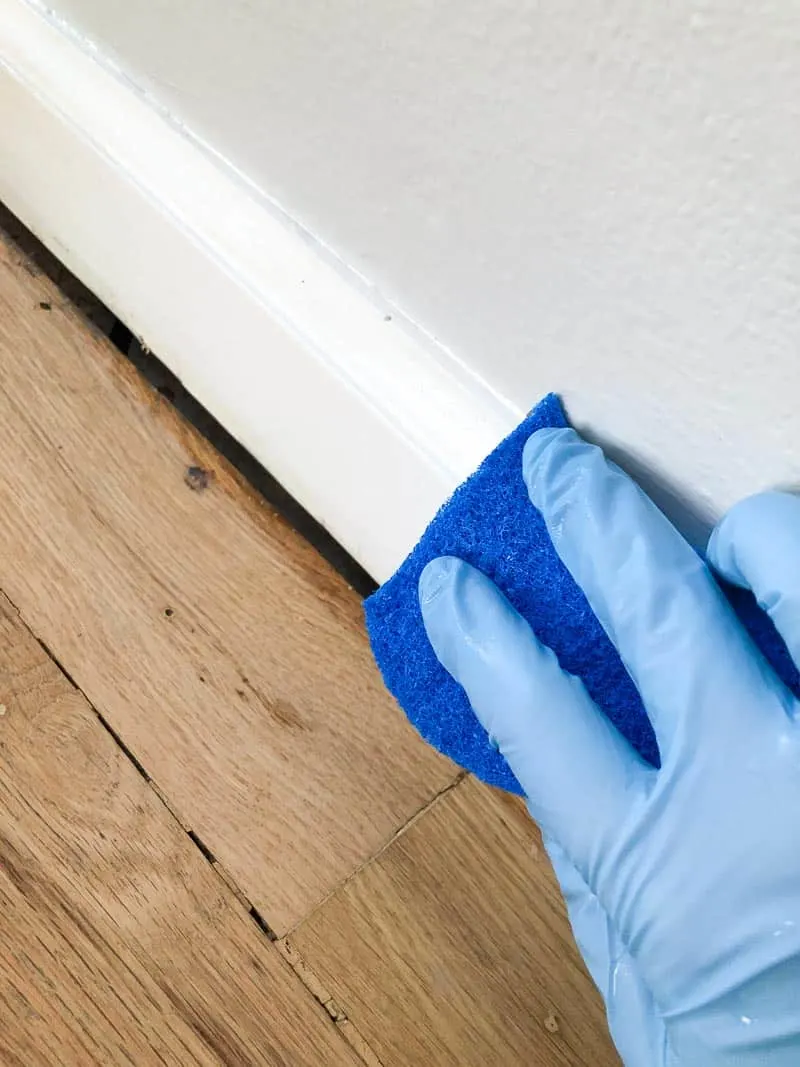
Fill a bucket with water, then mix in some TSP as indicated on the box. I use this stuff on anything that's hard to clean, like aluminum siding or wood paneling, and it works wonders on surfaces that will be painted. Just make sure you wear gloves, or it will suck the oils right out of your skin!
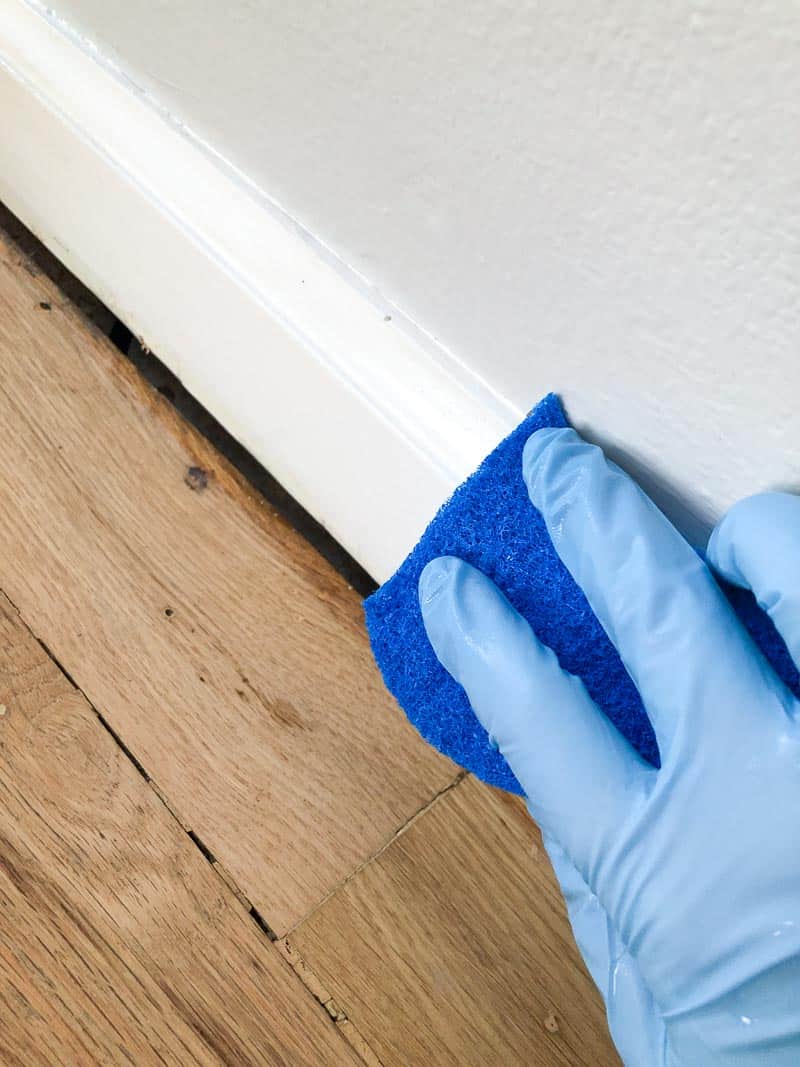
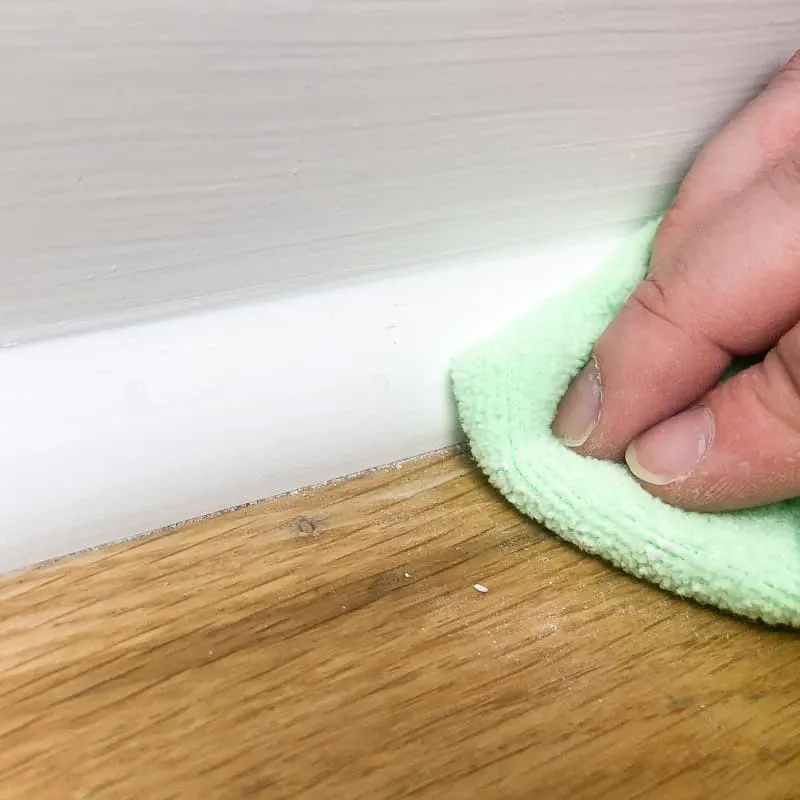
Dip a sponge into the TSP water, then use it to wipe down the baseboards, as well as the bottom of the wall. This will remove all the grime and allow the tape to adhere better to paint a crisp, clean line.
Are your hardwood floors looking dingy too? Check out this tutorial on how to deep clean hardwood floors to make them sparkle!
Set any Popped Nails
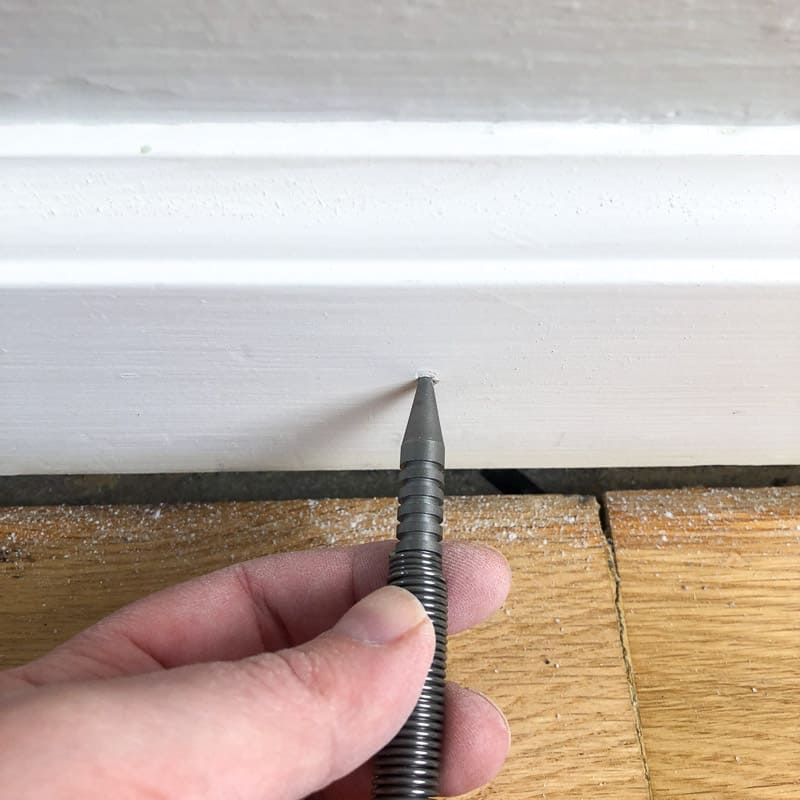
Our house was built in 1946, and I'm pretty sure these are the original baseboards. Over the years, some of the nails have popped out a bit, leaving these telltale bumps in the surface.

Sometimes it's just the paint that's raised up, so give it a quick sanding first. This one was definitely pulling out of the wall, so I used a nail set to force it back in. This one is spring loaded, so you just pull back and let go! It's great for tight spaces like this, where it would be difficult to swing a hammer.
Fill Holes with Spackle
Once the nails are recessed in the wood, fill the holes with spackling compound. Patch up any scratches or dents in the baseboards the same way. I just use my finger to smush it into the holes, leaving a little excess on the surface in case it shrinks. For larger areas, use a putty knife to smooth it out.

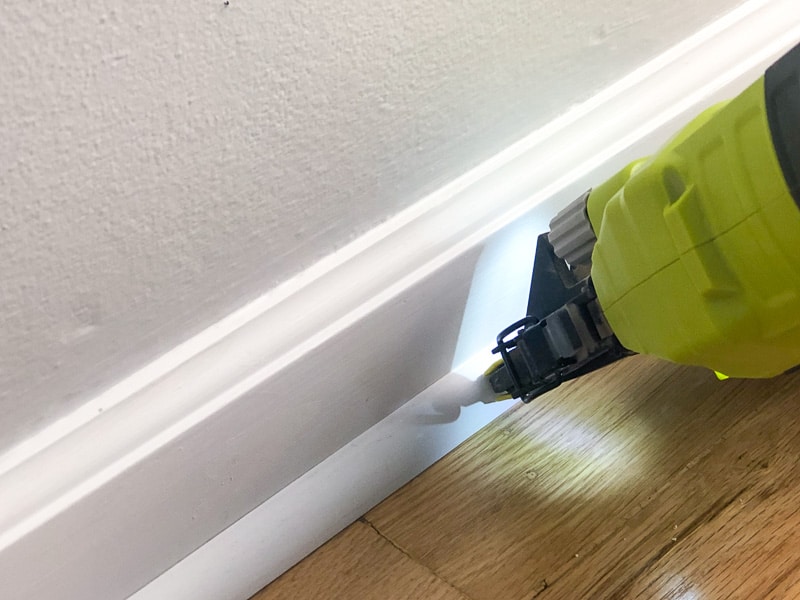
At this point, I also installed the quarter round trim with a brad nailer, so all those nail holes needed to be filled as well. Learn the difference between shoe molding and quarter round here!
You could nail the quarter round by hand with a hammer, but you need to use long, skinny nails that can be difficult to hit at the right angle. A brad nailer or finish nailer is much quicker and easier to use!

Sanding the Baseboards
Do you need to sand before painting baseboards? It really depends on what shape they're in. If yours are fairly new and have been painted before, you could probably get away with skipping this step. If they're unpainted wood baseboards, you'll need to sand to remove the polyurethane top coat first.
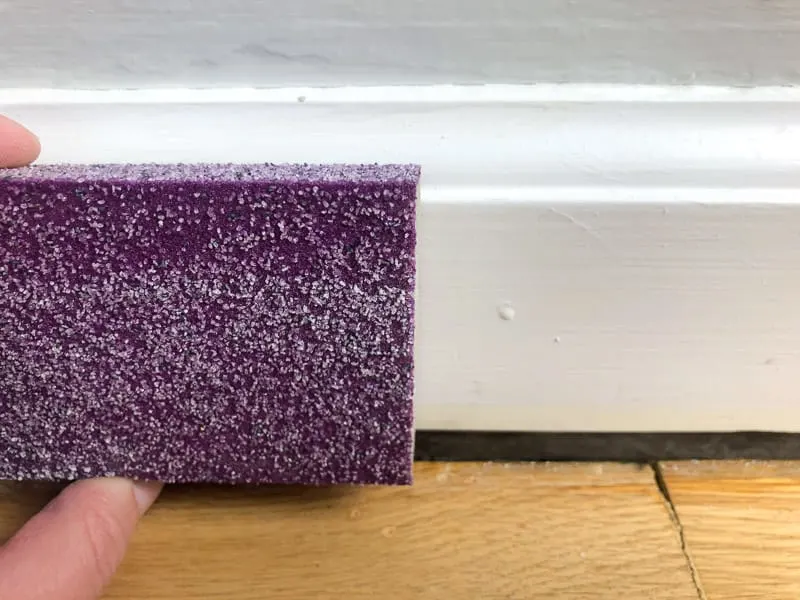
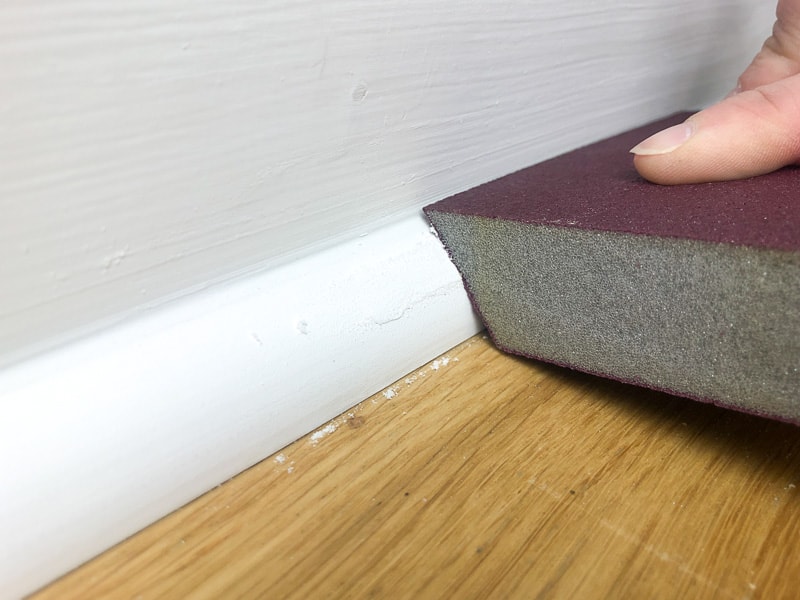
These old baseboards had layers of old paint drips on them, and lots of scratches and dents to smooth out, so I used an 80 grit sanding sponge to remove the large dings. Go up to 120 or 150 fine grit sandpaper to lightly scuff the rest of the surface for better adhesion.
I prefer to use these sanding sponges with angled corners for sanding baseboards, because there's an angle to match every surface! Use the pointed corner along the top edge and inside the grooves. Then use the angled side to sand the quarter round trim.

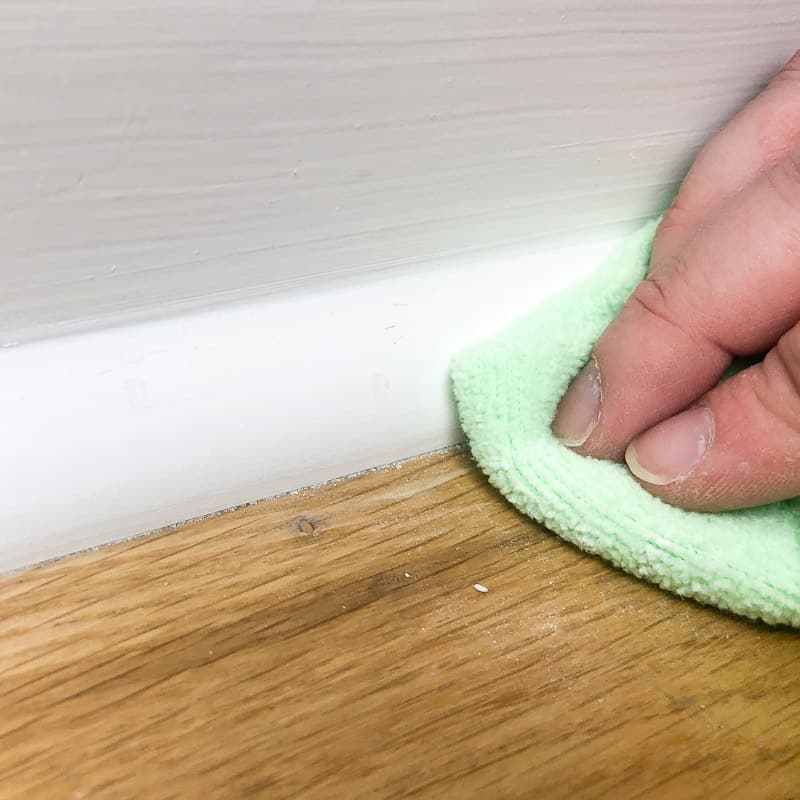
Finally, sand the flat surfaces. Then remove all the sanding dust thoroughly with a vacuum, then a microfiber cloth or damp rag. You don't want to leave any dust on the baseboards that could ruin your paint job!
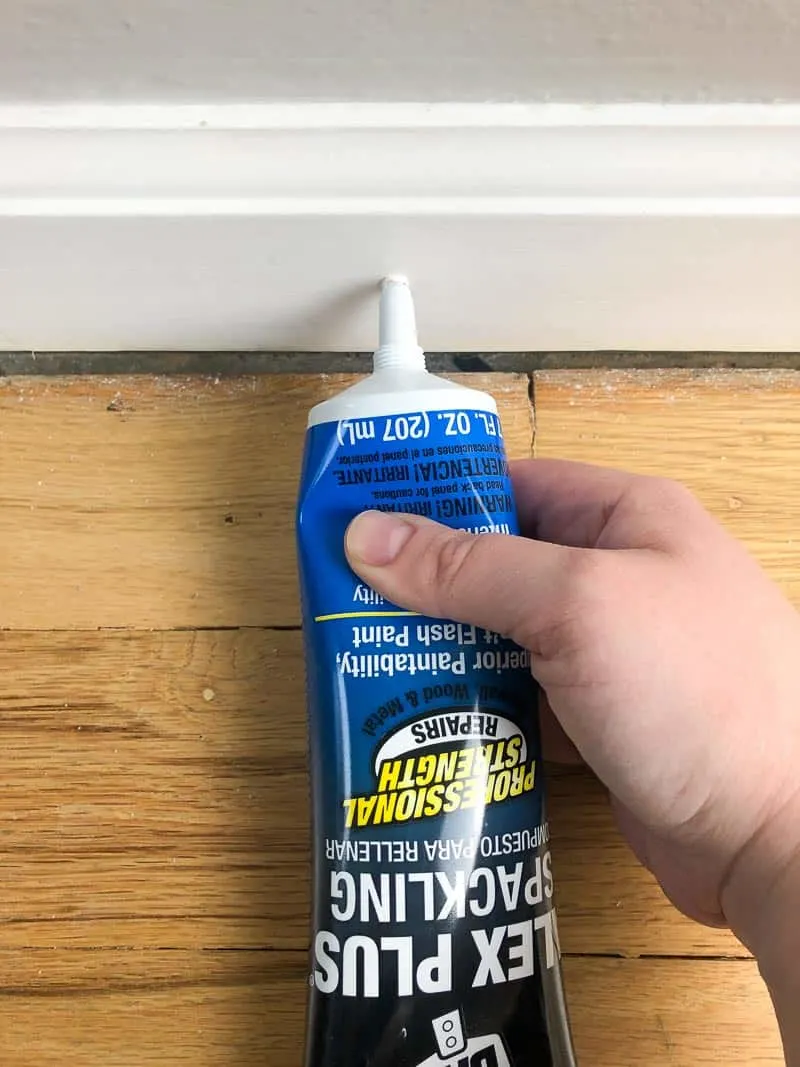
Caulk the baseboards before painting
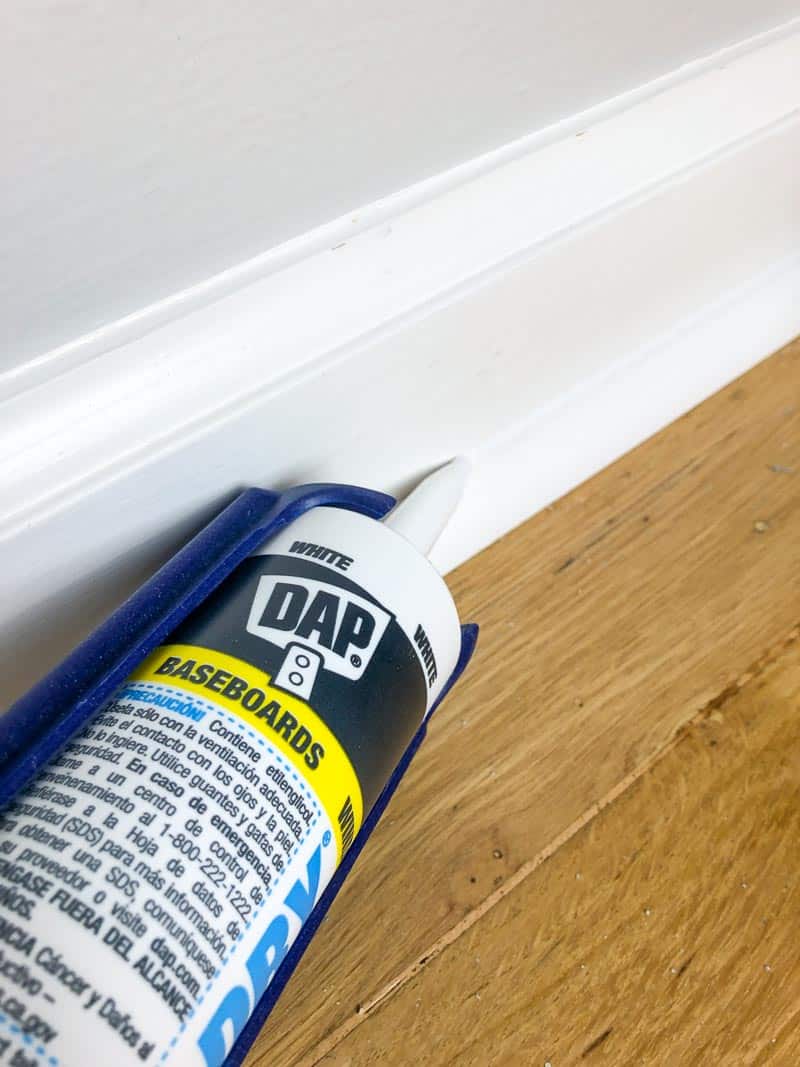
If you installed new baseboards or quarter round, you'll need to caulk the gaps before painting. You should also check the seams of old trim between the quarter round and the baseboards, and between the baseboards and the wall. If the caulk is cracked or missing, you need to apply a new bead.
Cut the very tip of the caulk tube at an angle, and use a caulk gun to run a thin bead down the seam.
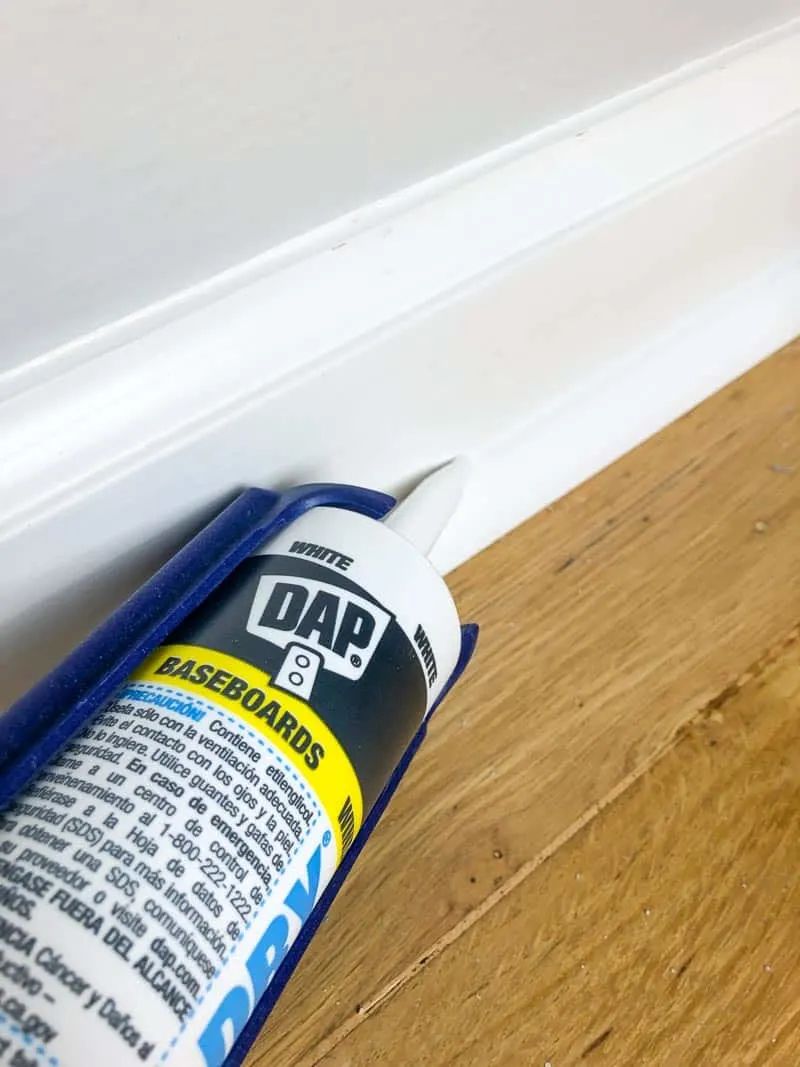
Then use a damp rag or paper towel wrapped over your finger to smooth it out and remove the excess.


Allow the caulk to dry for the amount of time indicated on the tube before you start painting.
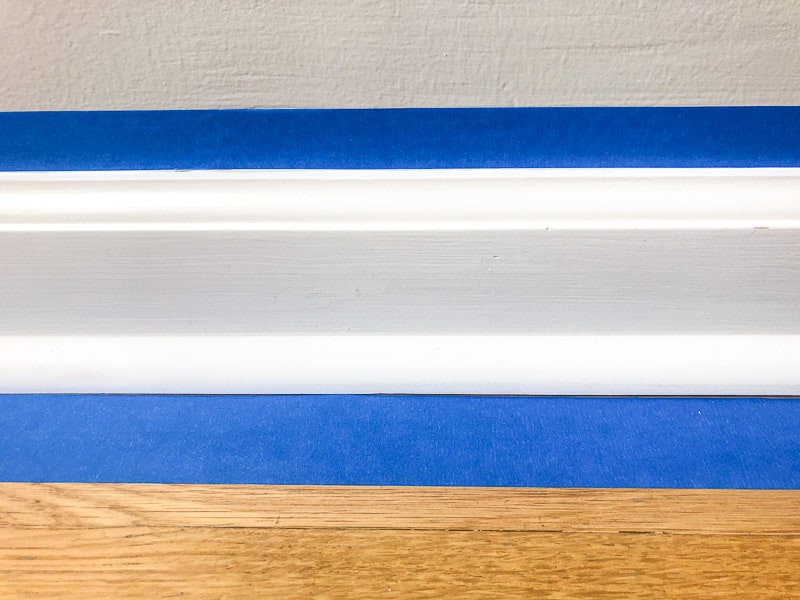
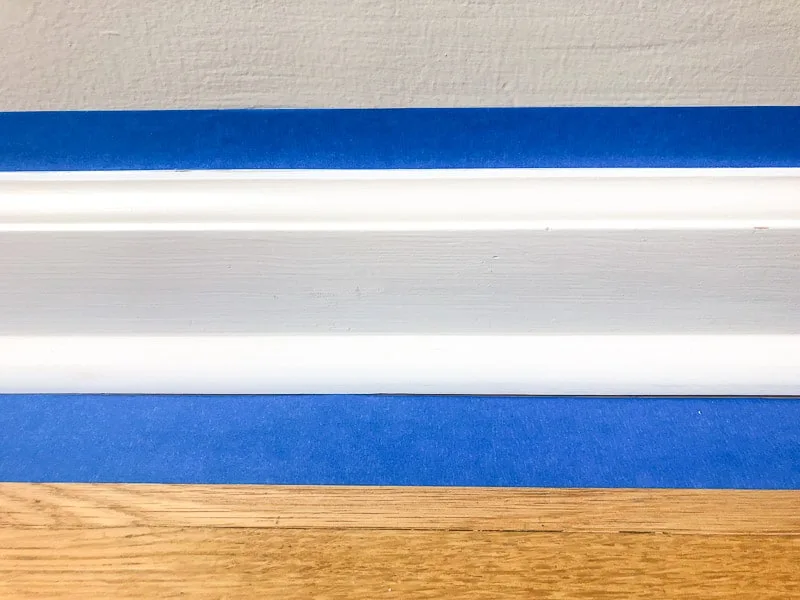
Tape Off the Floor and Wall
It's important to protect the floor from paint drips and stray brush marks, so I like to lay down a wide strip of painter's tape. If you have wall to wall carpet, you can use packing tape to compress the fibers along the wall trim.
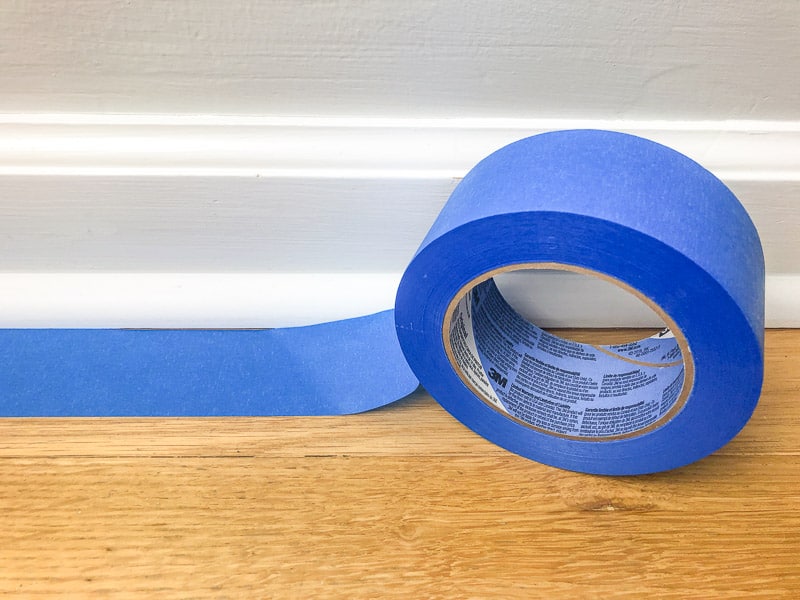

Some people prefer to free-hand paint the top edge of the trim, but I'm not one of those people! 🙂 Make sure that the tape is flat against the wall, not curling onto the trim.
If you plan to change the wall color as well, you don't have to worry about this step. Any paint on the wall will be covered up later on.
You might also want to lay down drop cloths or plastic sheeting to further protect the area if you're a particularly messy painter!
How to Paint Baseboards
Finally, it's time to start painting!
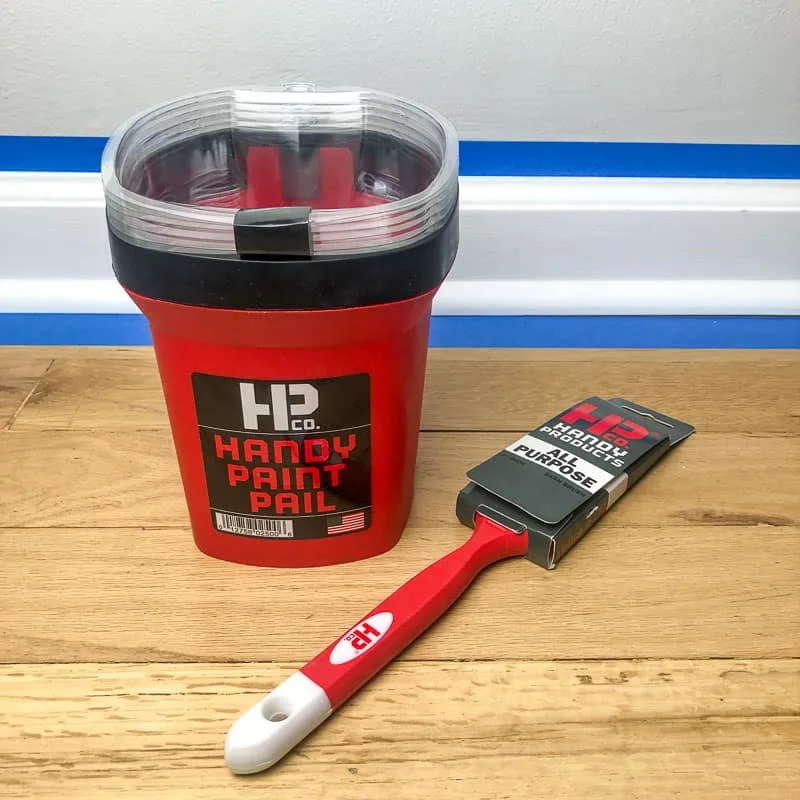
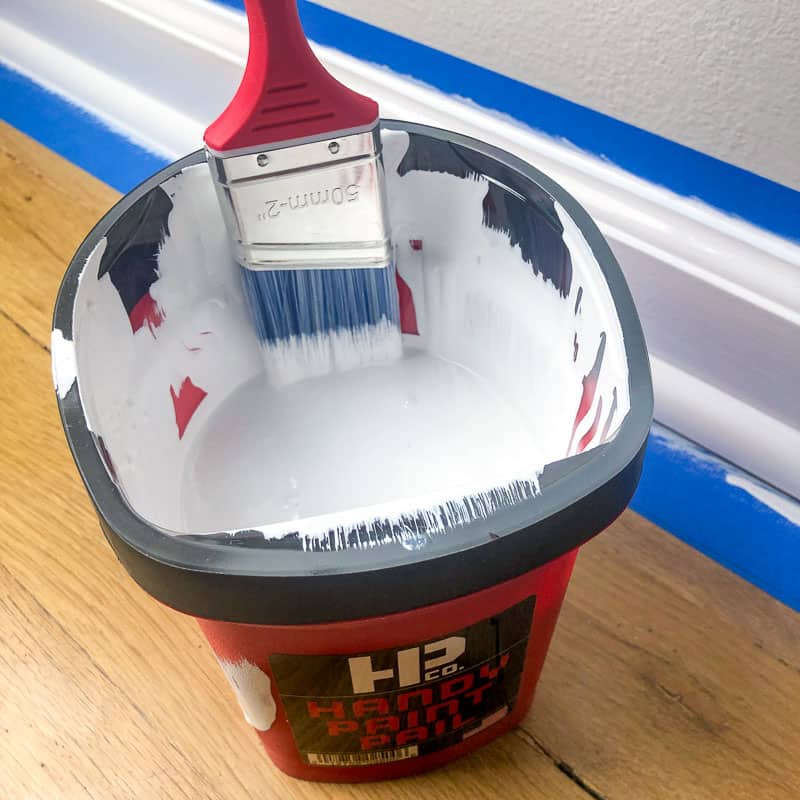
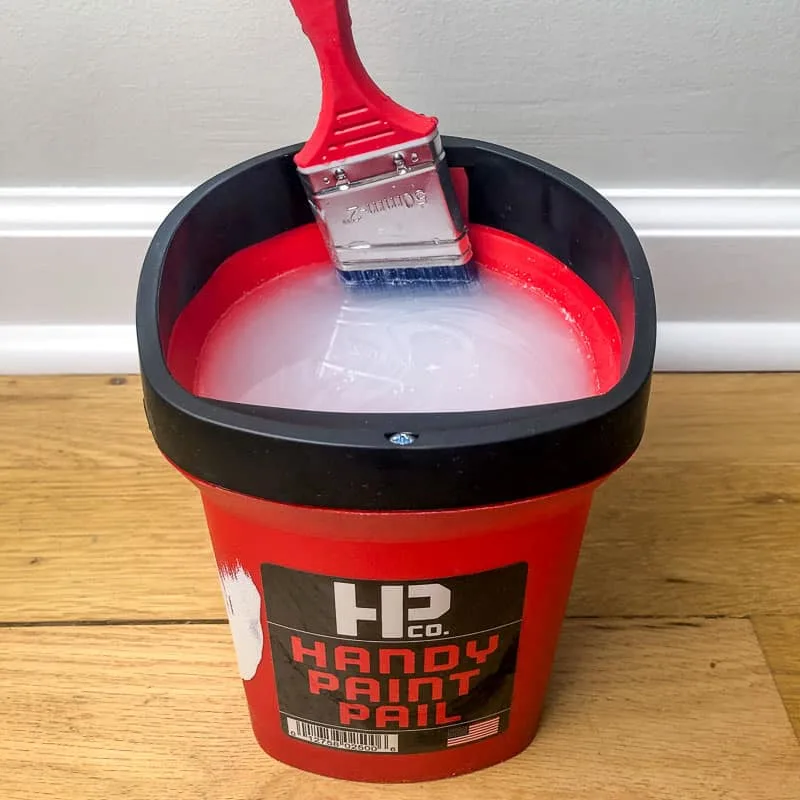
Grab a good quality angled brush and the Handy Paint Pail and disposable liners. If you've followed my blog for a while, you've no doubt seen me using Handy products in the past. They're one of my go-to painting tools for DIY projects for many reasons: easy clean up, ergonomic handle for comfort and a built in magnetic brush holder.
It's better to work in smaller batches of paint, so you don't introduce debris to the full can or let the surface dry out. Plus, it's much easier to handle than a full gallon!

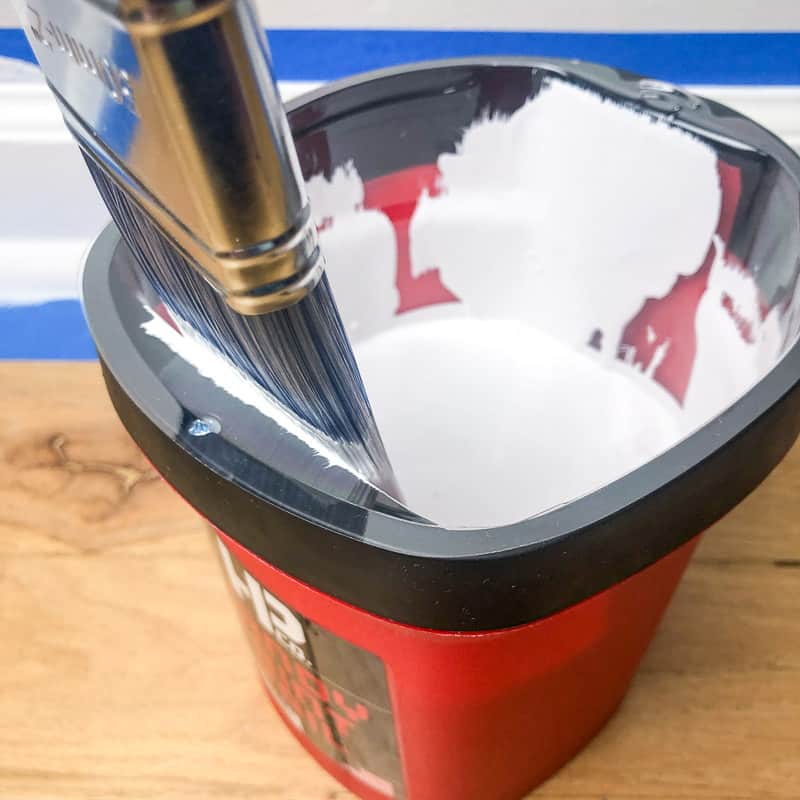
Pour enough paint into the pail for the section of trim you're working on, then close the lid on the can. I'm using Benjamin Moore Advance in Decorators White, which is my go-to white paint for the whole house.
Dip the bottom two inches of the brush in the paint, then wipe most of the excess off on the flat part of the pail. Only keep a minimal amount of paint on the brush to avoid creating drips.

Paint the Baseboard Parts in Order
Work in a single direction (usually from left to right if you're right-handed), and keep a "wet edge." This means that you should NOT touch the previously painted areas! Only paint on a wet edge to avoid lap marks.
Start at the top of the trim and work your way down, catching any drips along the way. I prefer to work in one foot sections, so I can concentrate on getting the first coat of paint on smoothly and prevent lap marks.
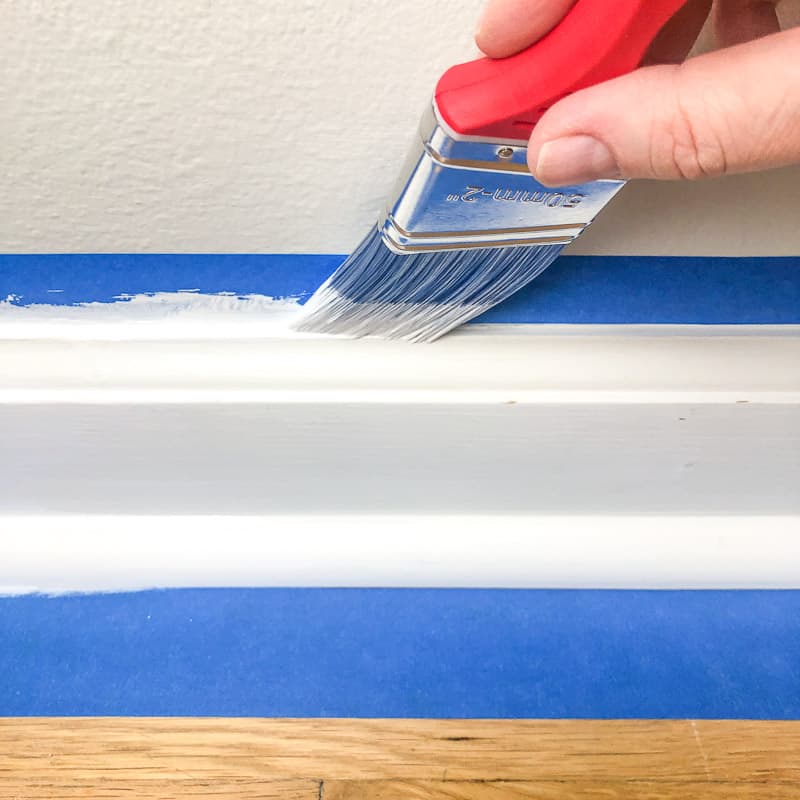
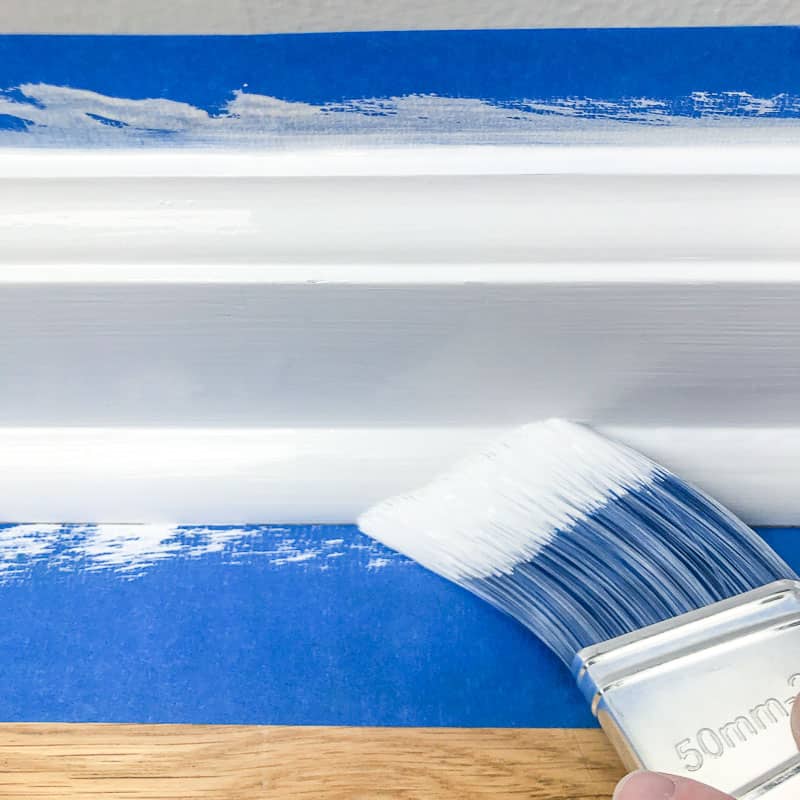
Use the angled brush to your advantage as you work. Run the tips of the bristles along the top edge first.

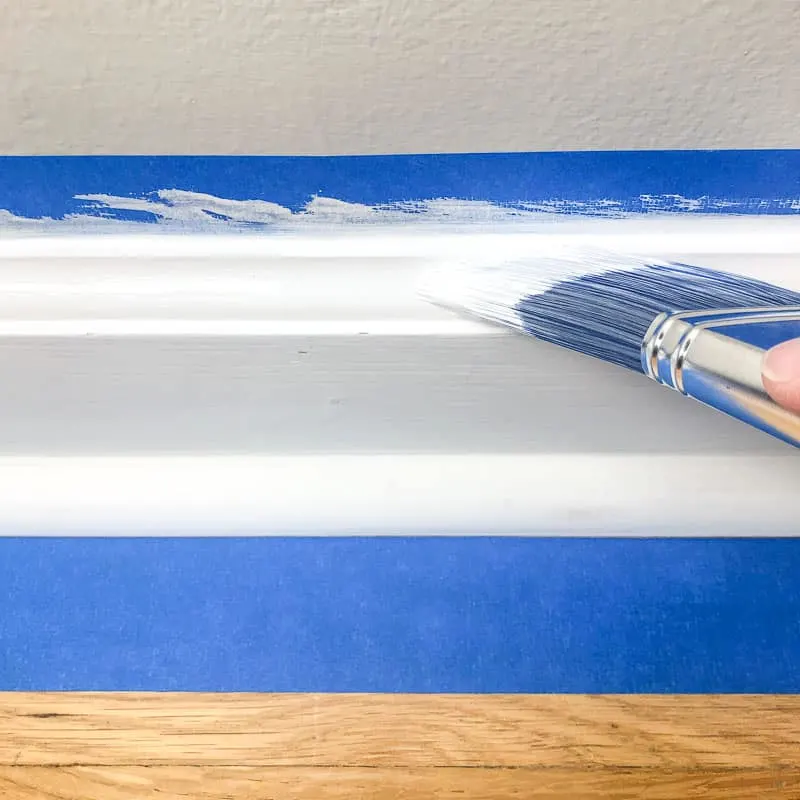
Then allow the bristles to spread out to coat the decorative details.

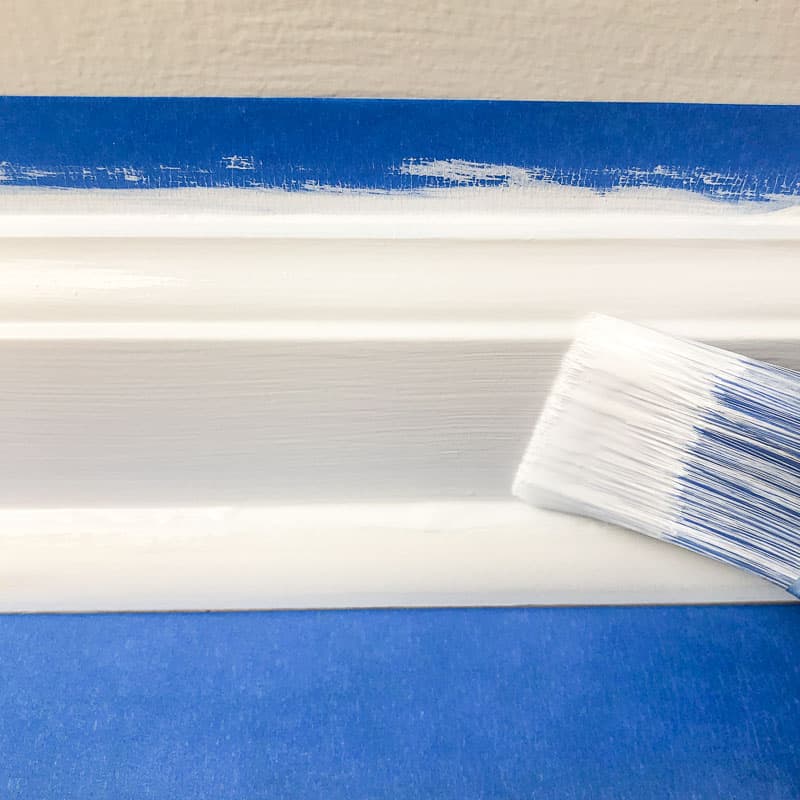
Use the full width of the brush to paint the flat section.
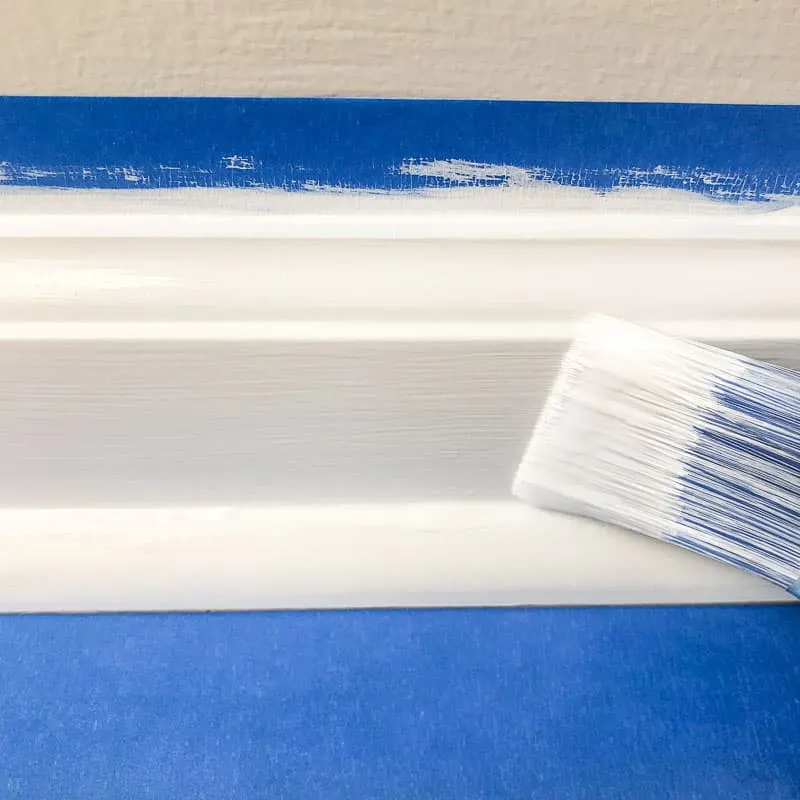
Then finally, angle your brush with the point down to paint the quarter round trim. If you have carpet, you may want to use a putty knife or paint shield to hold down the fibers.

Resist the temptation to go back over the areas you've already painted. Good quality paint is self-leveling, and those brush strokes will start to disappear as it dries. Only fix the obvious drips and blobs!
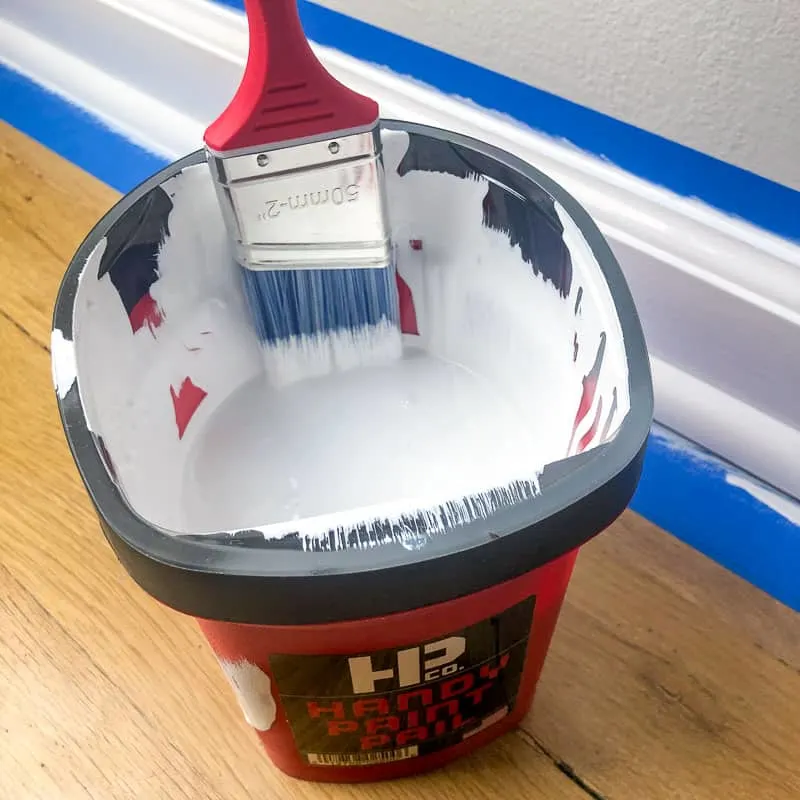
If you need to take a break, or move to another section of wall, the magnet on the Handy Paint Pail keeps your brush out of the paint so it doesn't get overloaded.
Check the dry time on the side of the paint can before applying a second coat. Since my baseboards were already semi-white and the quarter round was pre-primed, I only needed one coat!
Clean Up
After I paint, the rest of the room usually looks like a tornado hit! There's furniture pushed away from the walls, bits of painter's tape stuck to random surfaces, and all my tools are everywhere! But once everything is cleaned up, I'm always amazed at how much better the room looks.
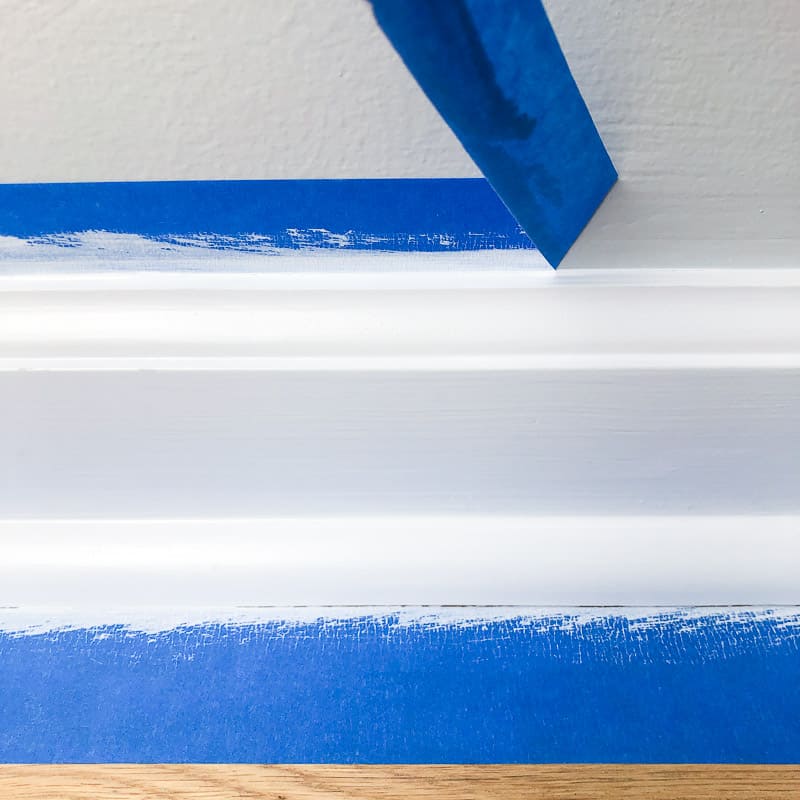
Remove the Tape While Wet
Many of the problems that come from using painter's tape occur because it was left on the wall too long. If the paint dries completely, it can peel up with the tape and create a big mess!
Pull up the tape at an angle, making sure it doesn't touch the drying paint.

Even if you're careful, sometimes paint can seep under the tape. This isn't a huge problem on the walls, where you can just paint over it. But the hardwood floor is another story!
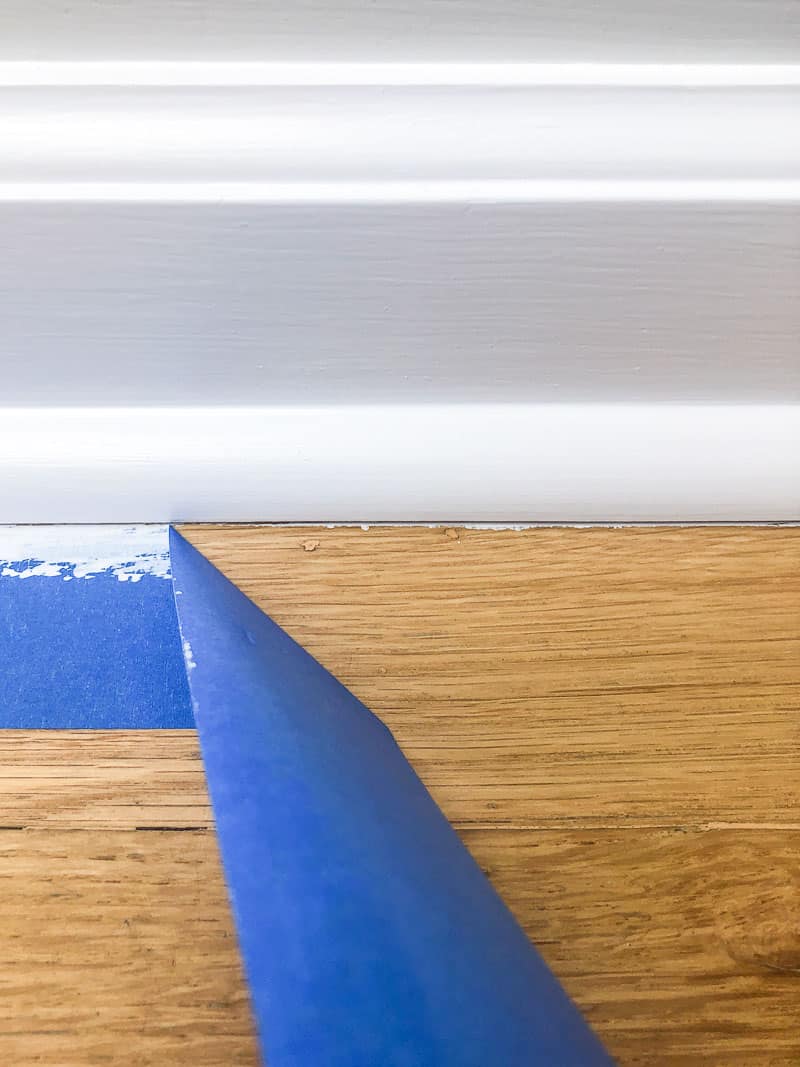

Luckily, I have a trick for that!
How to Remove Paint from Hardwood Floors
This trick only works if the paint is still a little wet, which is another reason why you should remove the tape sooner rather than later. It only works with water-based paint, so if you're using oil based paint, you'll have to use mineral spirits to clean up.
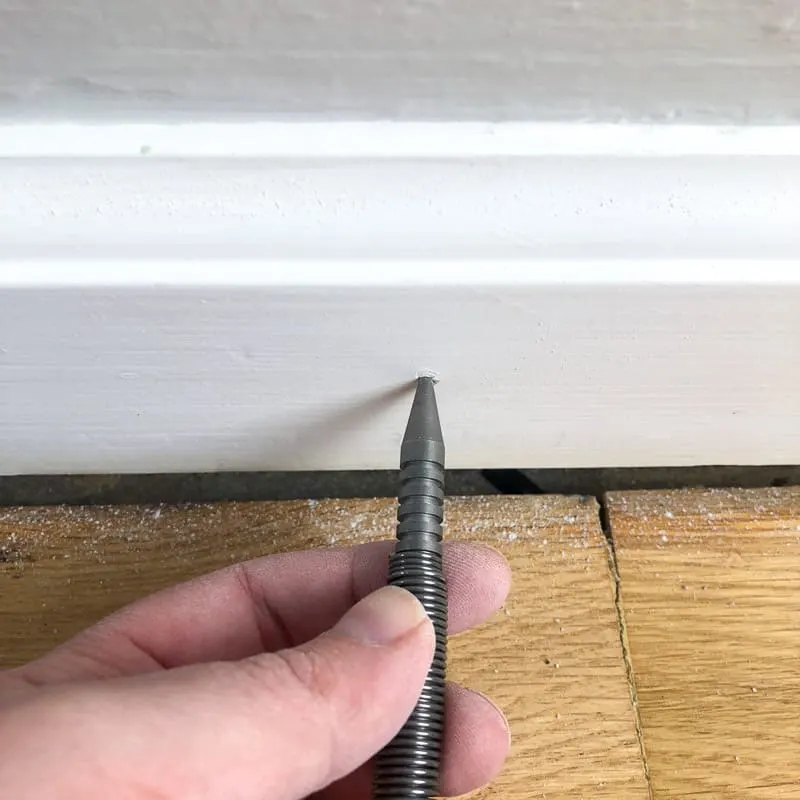
First, use the pointy edge of a 5-in-1 painter's tool to score the seam between the floor and the baseboards.
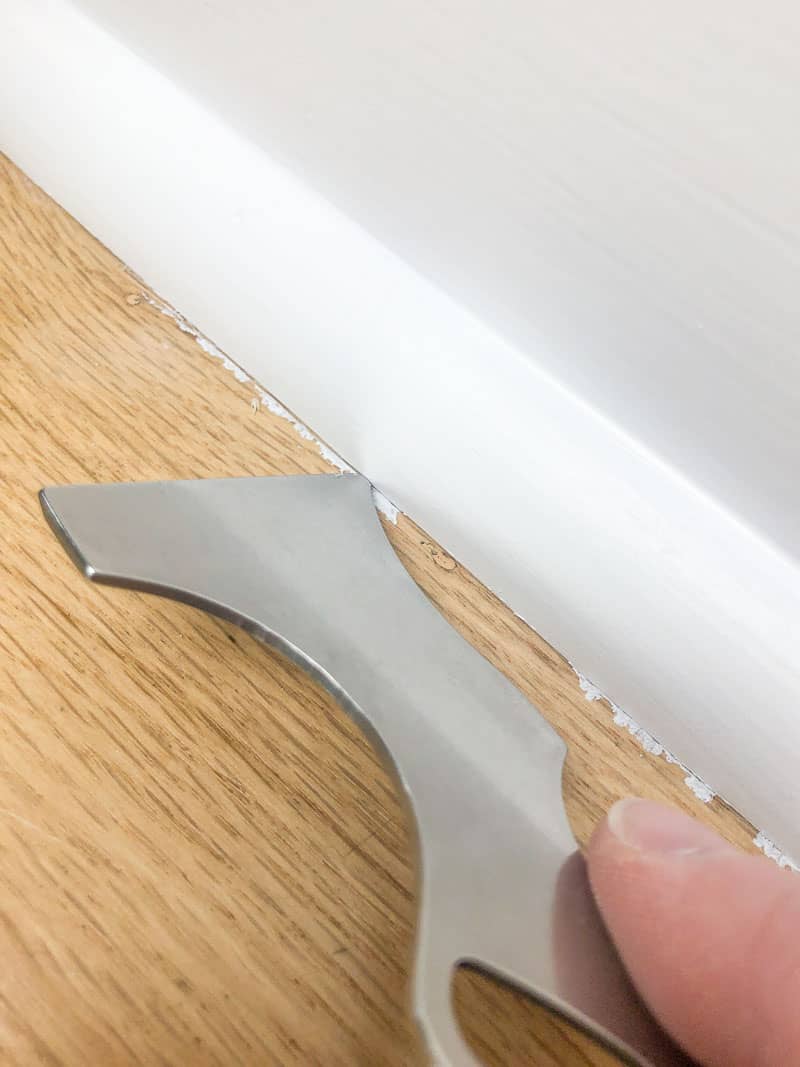
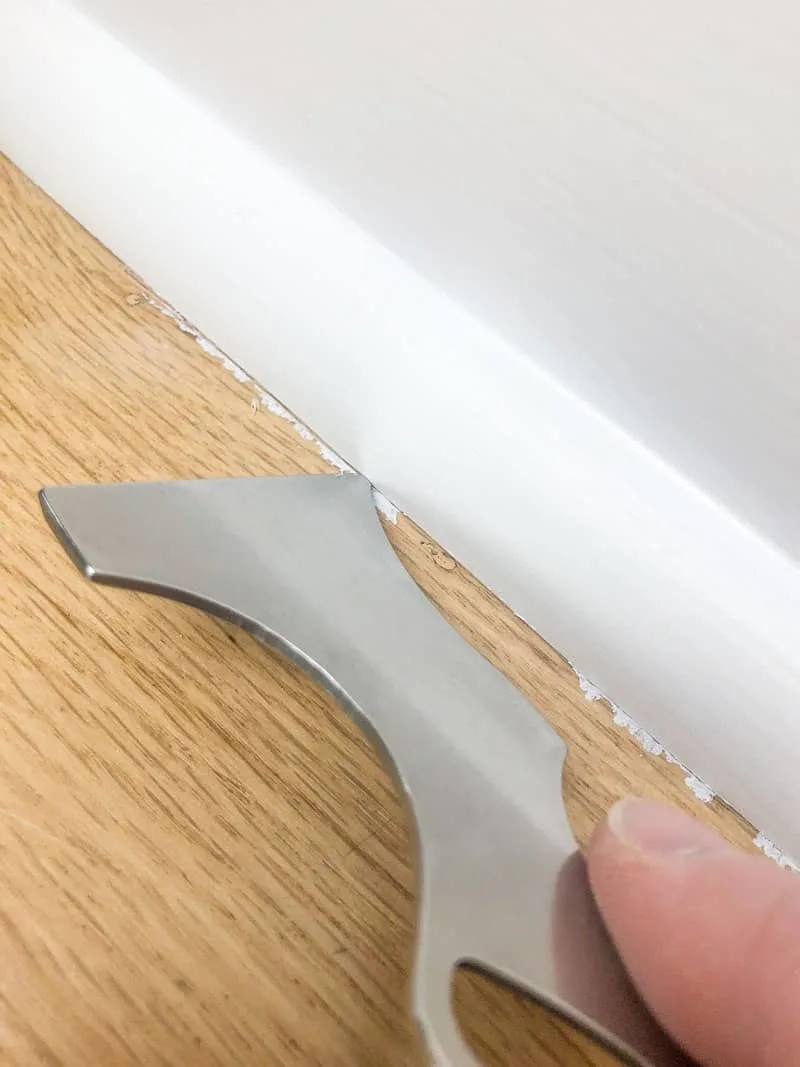
Now, fold up a damp paper towel and place it on the floor next to the paint you want to remove. Use the pointed end of the painter's tool to rub the paper towel over the paint. Make sure not to touch the painted baseboards!


The metal tool provides the force and precision you couldn't get from your fingertips alone. With a little elbow grease, you should be able to clean up the paint on the hardwood floor no problem!


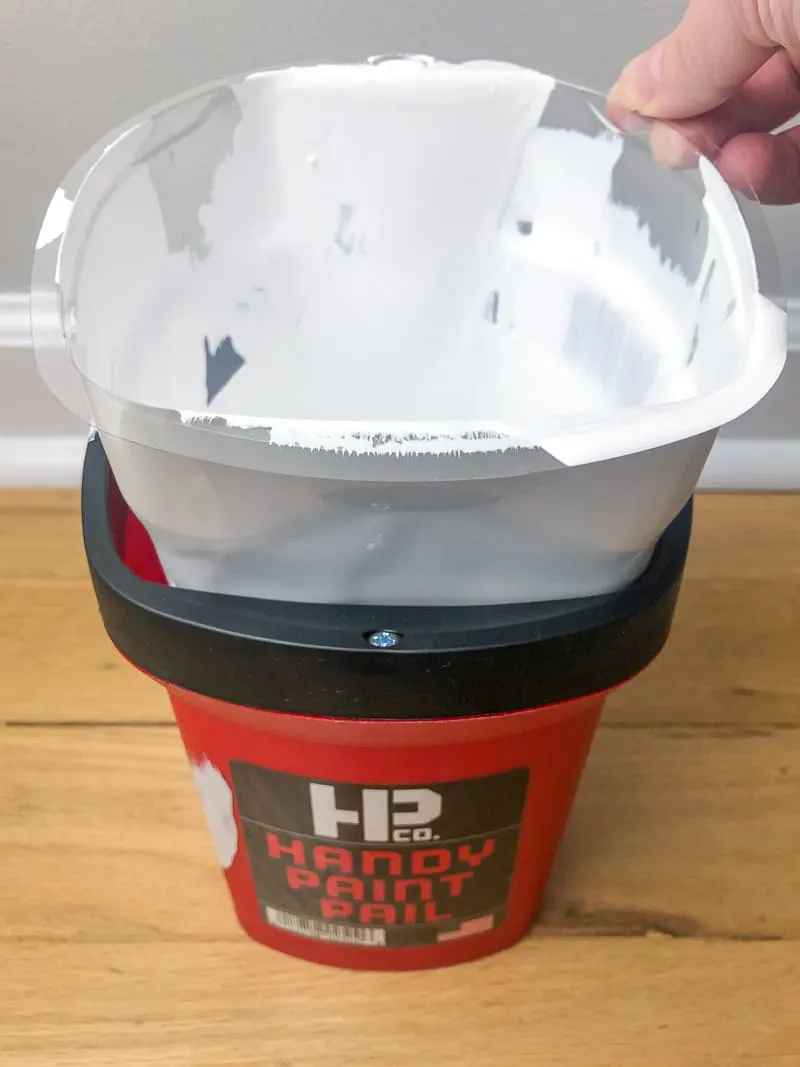
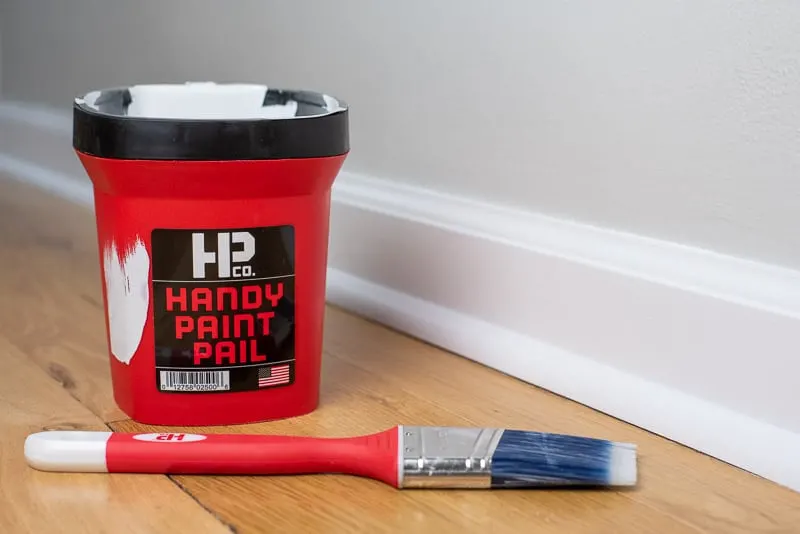
Clean the Paint Pail and Brush
This part is super easy if you used the disposable liners in the Handy Paint Pail. Just pull out the liner and toss it in the trash!

Rinse out the brush with running water, then attach it to the pail with the magnet. Fill the pail with soapy, warm water until it reaches the top of the bristles. Allow the brush to soak for a little while to make it easier to get out all the paint. Here's my top tips for cleaning paint brushes so you can use them over and over!

Enjoy your Newly Painted Baseboards!
It's amazing how such a small detail can make such a huge difference! Our baseboards went from dated and dingy to bright and clean!
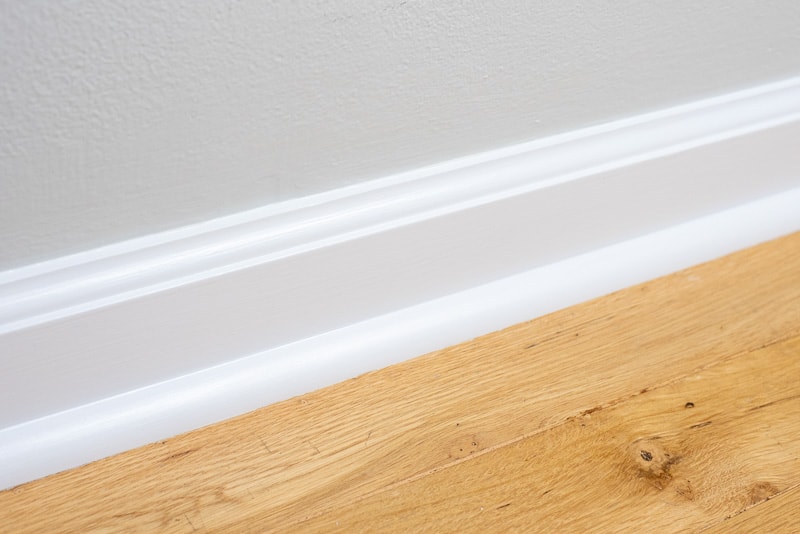
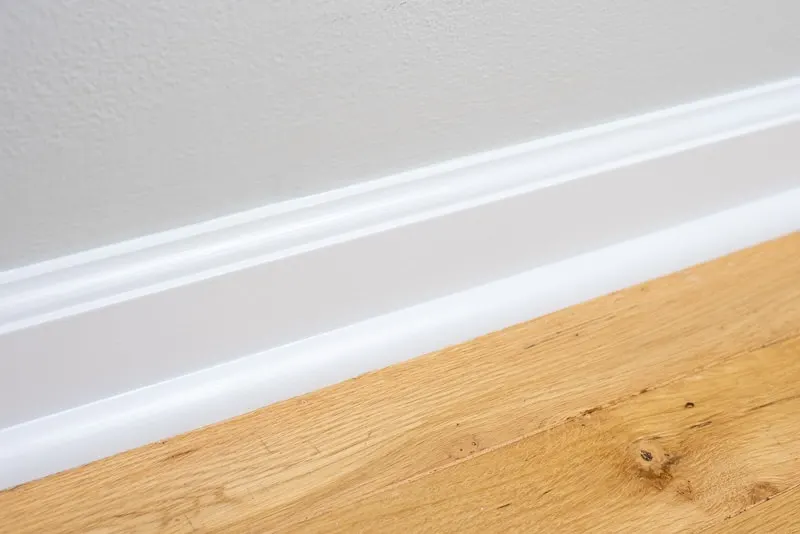
They feel more modern, even though they're almost exactly the same. I'm so glad I decided to replace the quarter round trim, and took the time to prep the existing baseboards. They almost look brand new!
A huge thank you goes out to Handy Products for sponsoring this project!

Check out these other painting tutorials!