Learn how to remove quarter round trim easily! This dated oak trim will be replaced with pre-primed quarter round for a fresh new look!
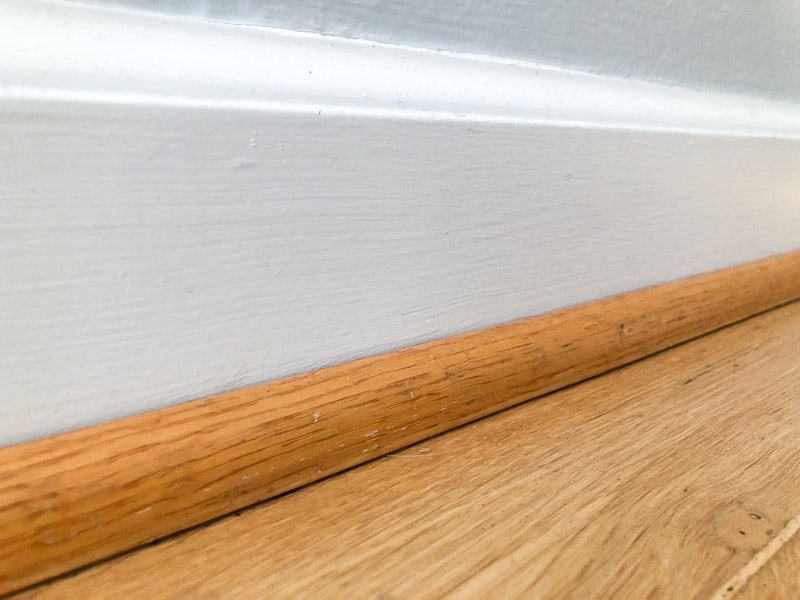
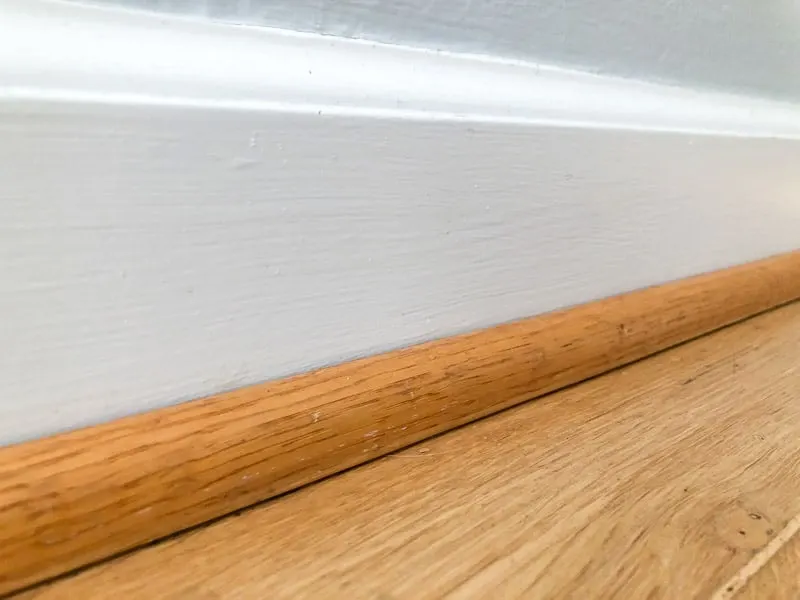
Since the day we bought our house, I've wanted to do something about this dated quarter round trim. It doesn't quite match the hardwood floors, and it certainly doesn't match the baseboards!
I learned my lesson about the tannins in oak when I painted my kitchen cabinets. It takes multiple coats of primer and paint to block the tannins from bleeding through the paint and turning everything orange!
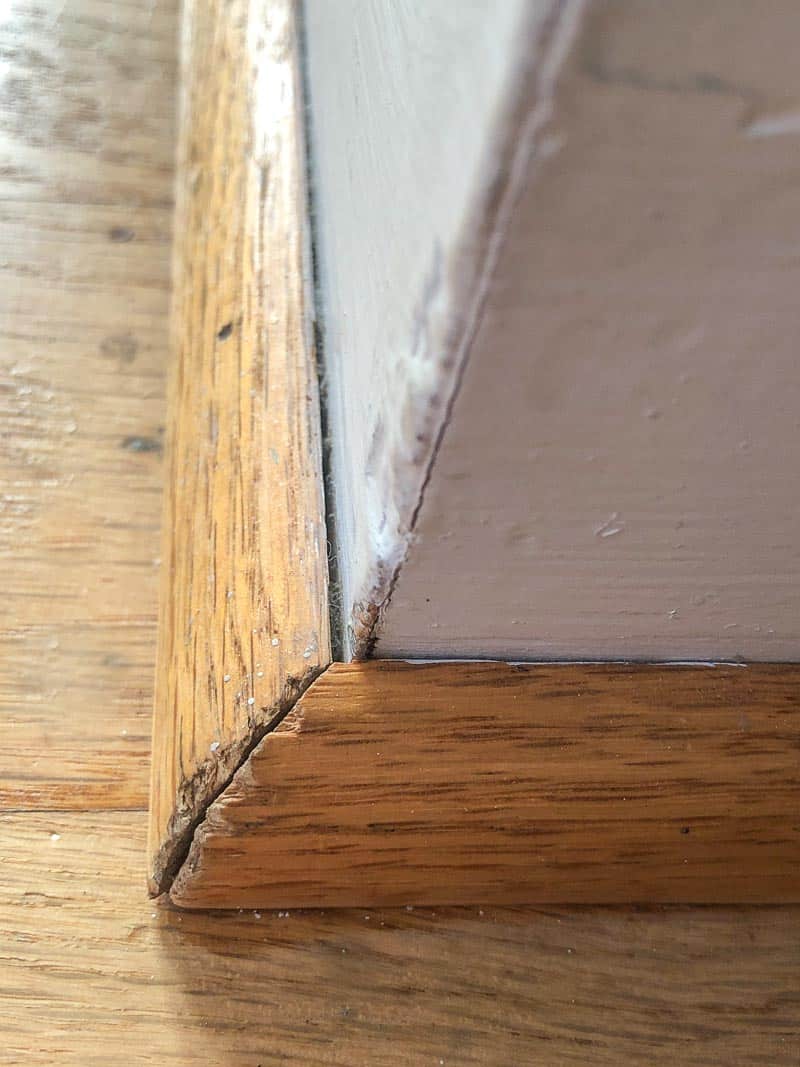
I'd rather not spend a week on the floor priming and painting that little bit of trim, especially when it's not in the greatest shape to begin with. The corners and edges are separating, and it's full of dents and scratches (the baseboards don't look much better, but that's a project for another day!)

So instead of going through all that back breaking work, I'm going to remove all the quarter round trim and replace it with a pre-primed version that will make finishing so much easier!
This post contains affiliate links for your convenience. Purchases made through these links may earn me a small commission at no additional cost to you. Please visit my disclosures page for more information.
What is Quarter Round?
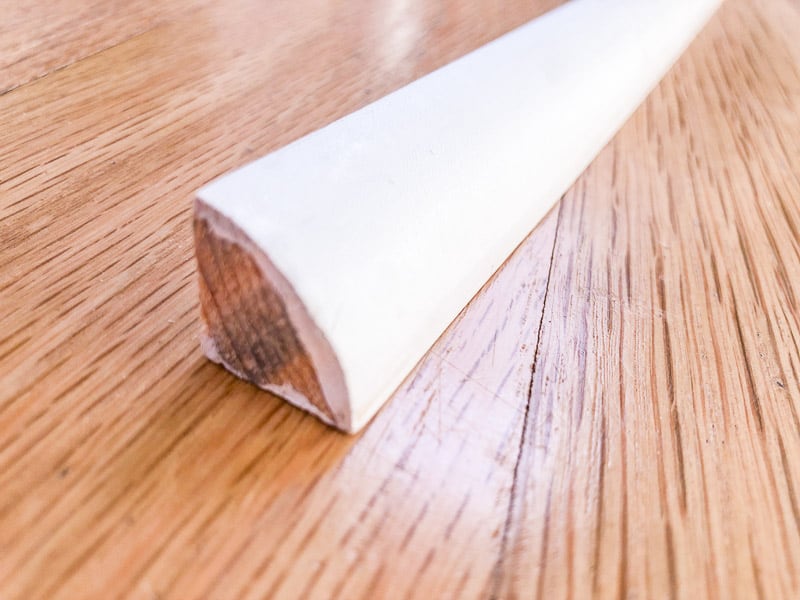
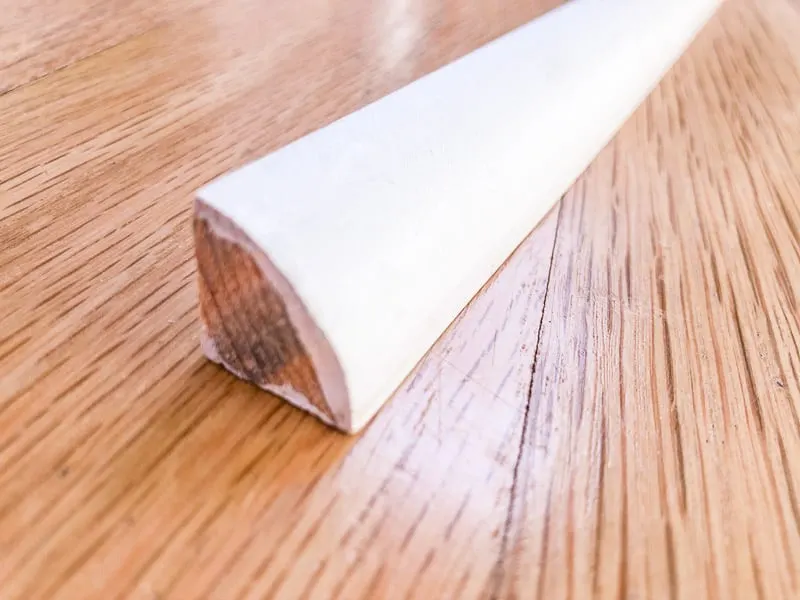
Quarter round is literally a quarter of a round dowel. It's used to hide the edges of a hardwood floor, and to close the gaps between the floor and the baseboards. It's flexible, so you can bend it slightly to line up with an uneven floor.
If you're refinishing your floors, you'll want to remove the quarter round trim to sand or strip off the old finish all the way to the edges. If done correctly, you can even replace the same trim once the floors are done!
Shoe Molding vs Quarter Round
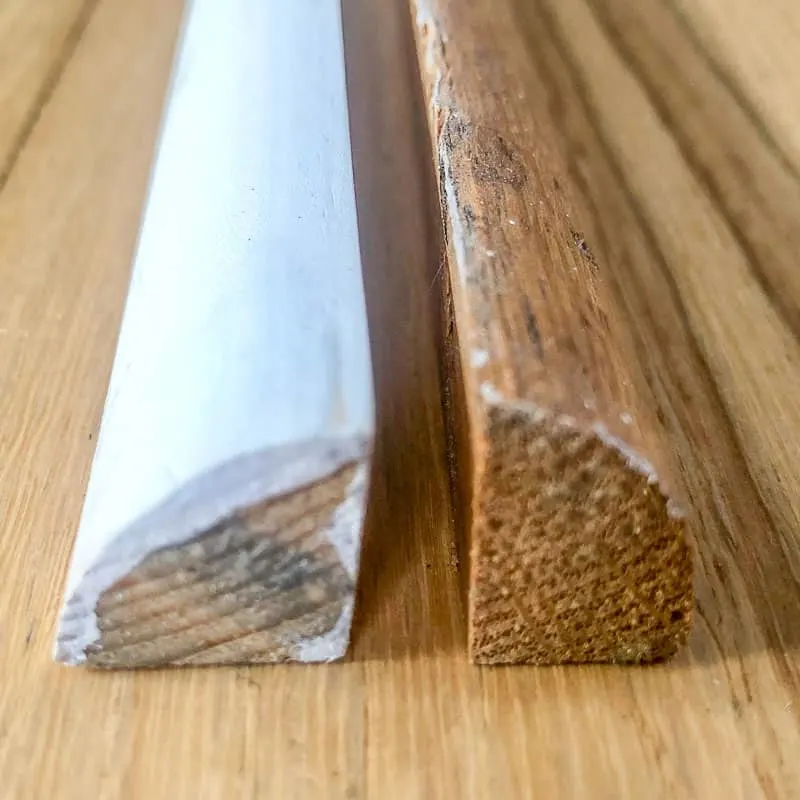
The trim I'm removing is actually shoe moulding, not quarter round. What's the difference between shoe molding vs quarter round? The difference is subtle, but it's important to ask for the right thing at the home improvement store!
Shoe moulding is typically narrower than quarter round trim. It will stick out into the room less, but also doesn't cover as much of a gap. You can see the difference between quarter round (on the left) and shoe moulding (on the right) when viewed from the end.

When I removed the shoe molding from our baseboards, I discovered that the floor underneath hadn't been refinished like the rest of the room. There was a thick layer of dark polyurethane left behind. This is why you remove the trim before refinishing the floors!
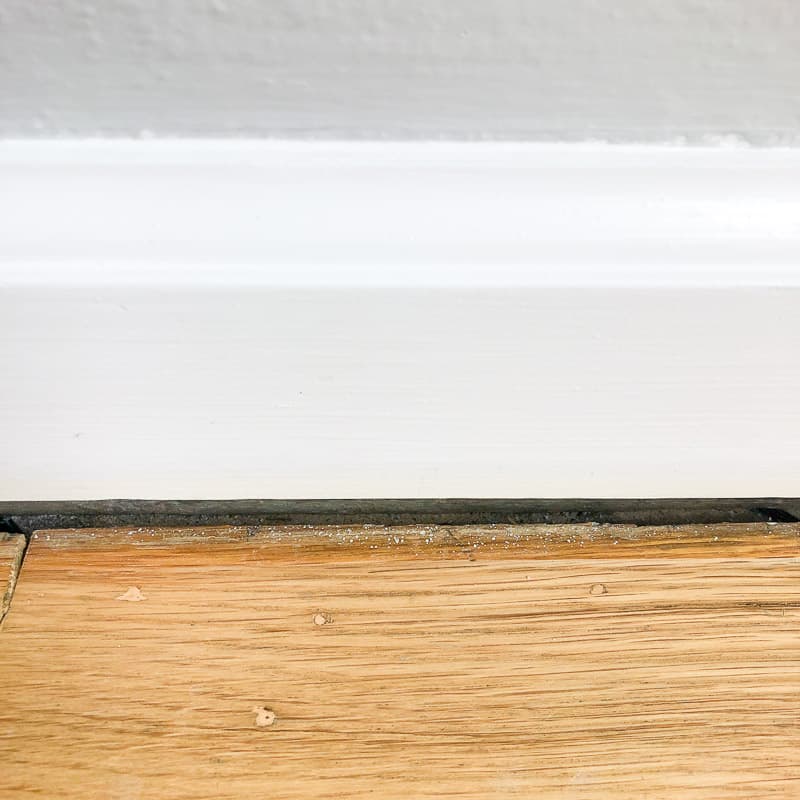
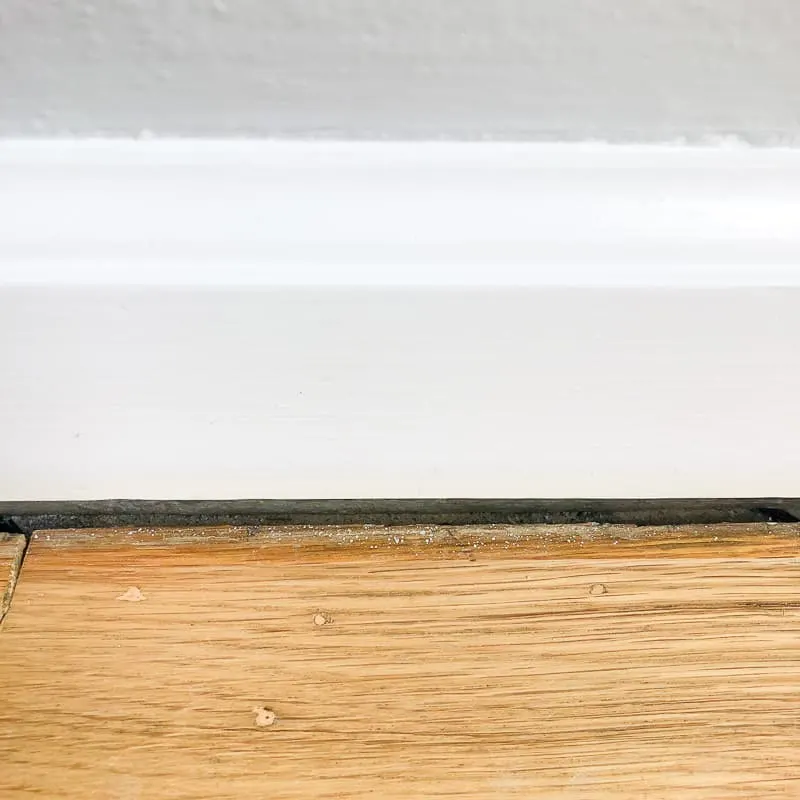
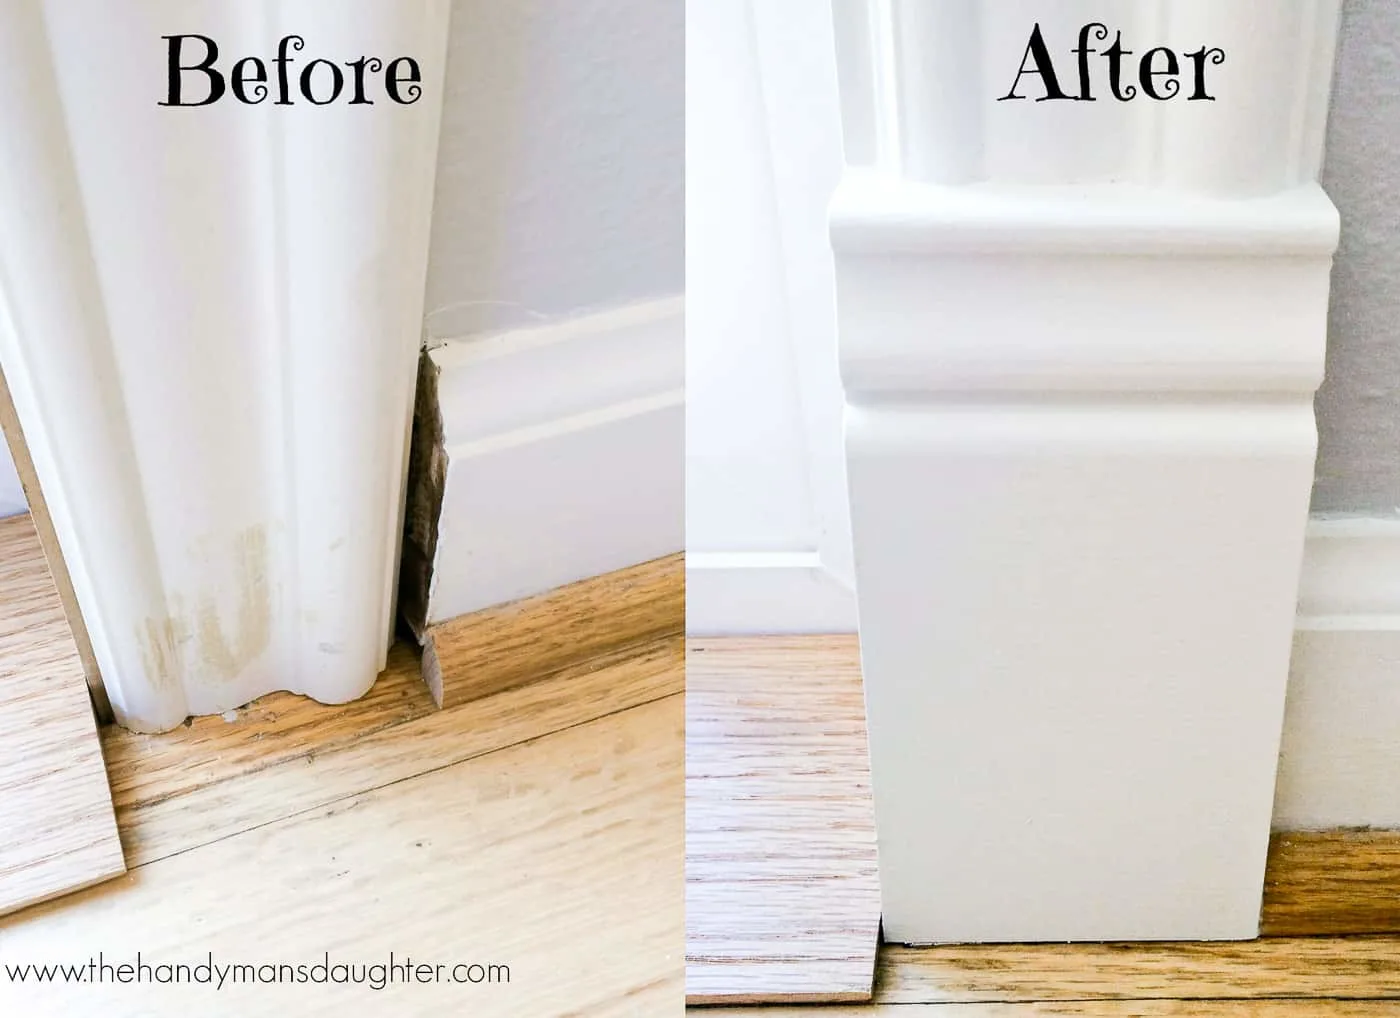
The old finish peeked out a bit from underneath the oak trim. I decided to replace the shoe molding with wider quarter round to cover up the old finish and create a cleaner transition between the floors and the baseboards. So much better!
Supplies Needed to Remove Quarter Round Trim
You only need a few tools to remove quarter round trim: a small flat pry bar, a metal putty knife, (I used this 5-in-1 painter's tool) and a nail puller. If your trim is caulked and painted, you'll also need a utility knife to break the seal between the quarter round and the baseboards.

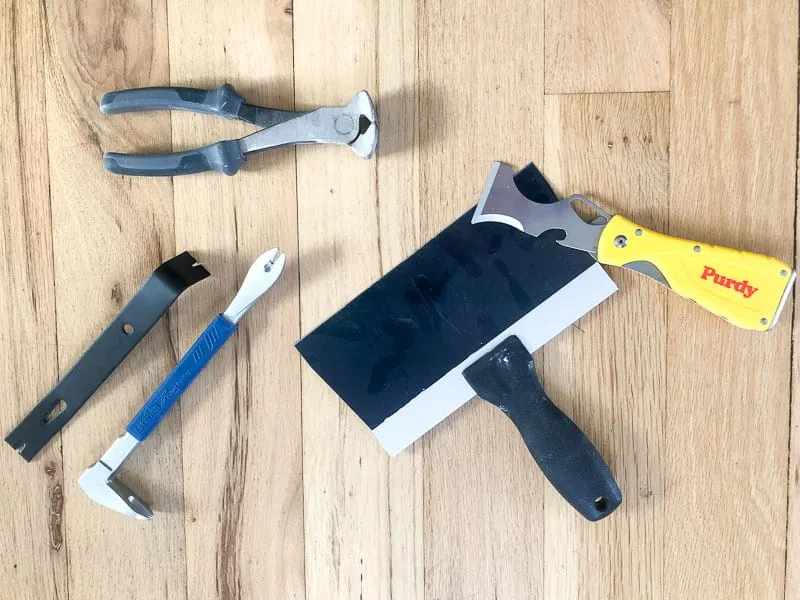
You should also wear safety glasses to protect your eyes from flying nails! Here are my recommendations.
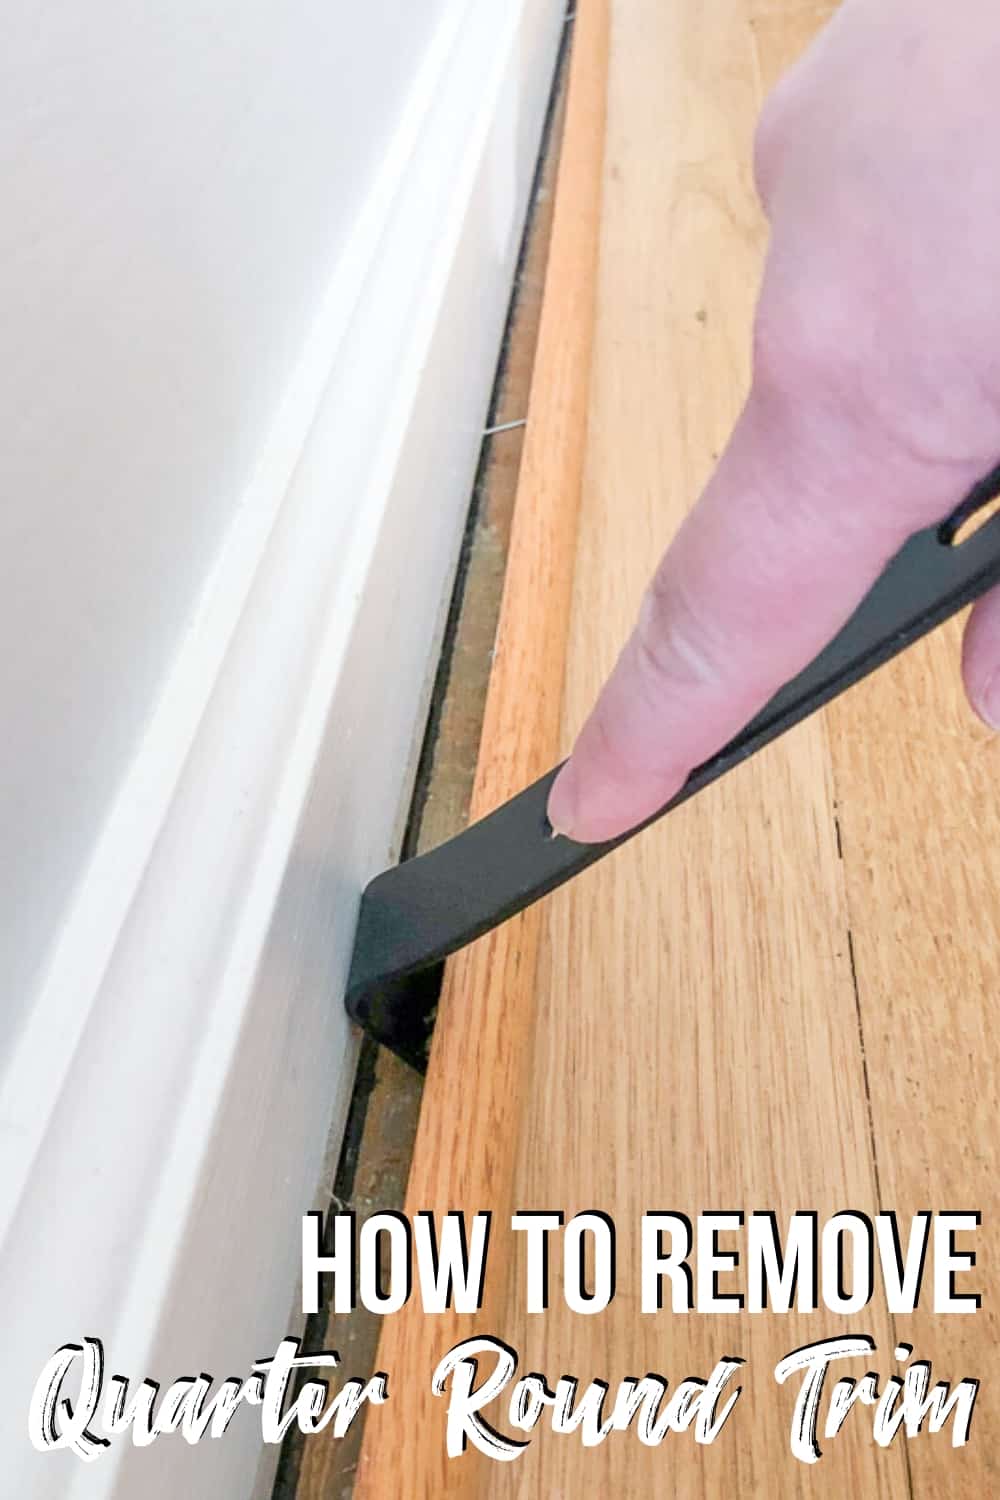
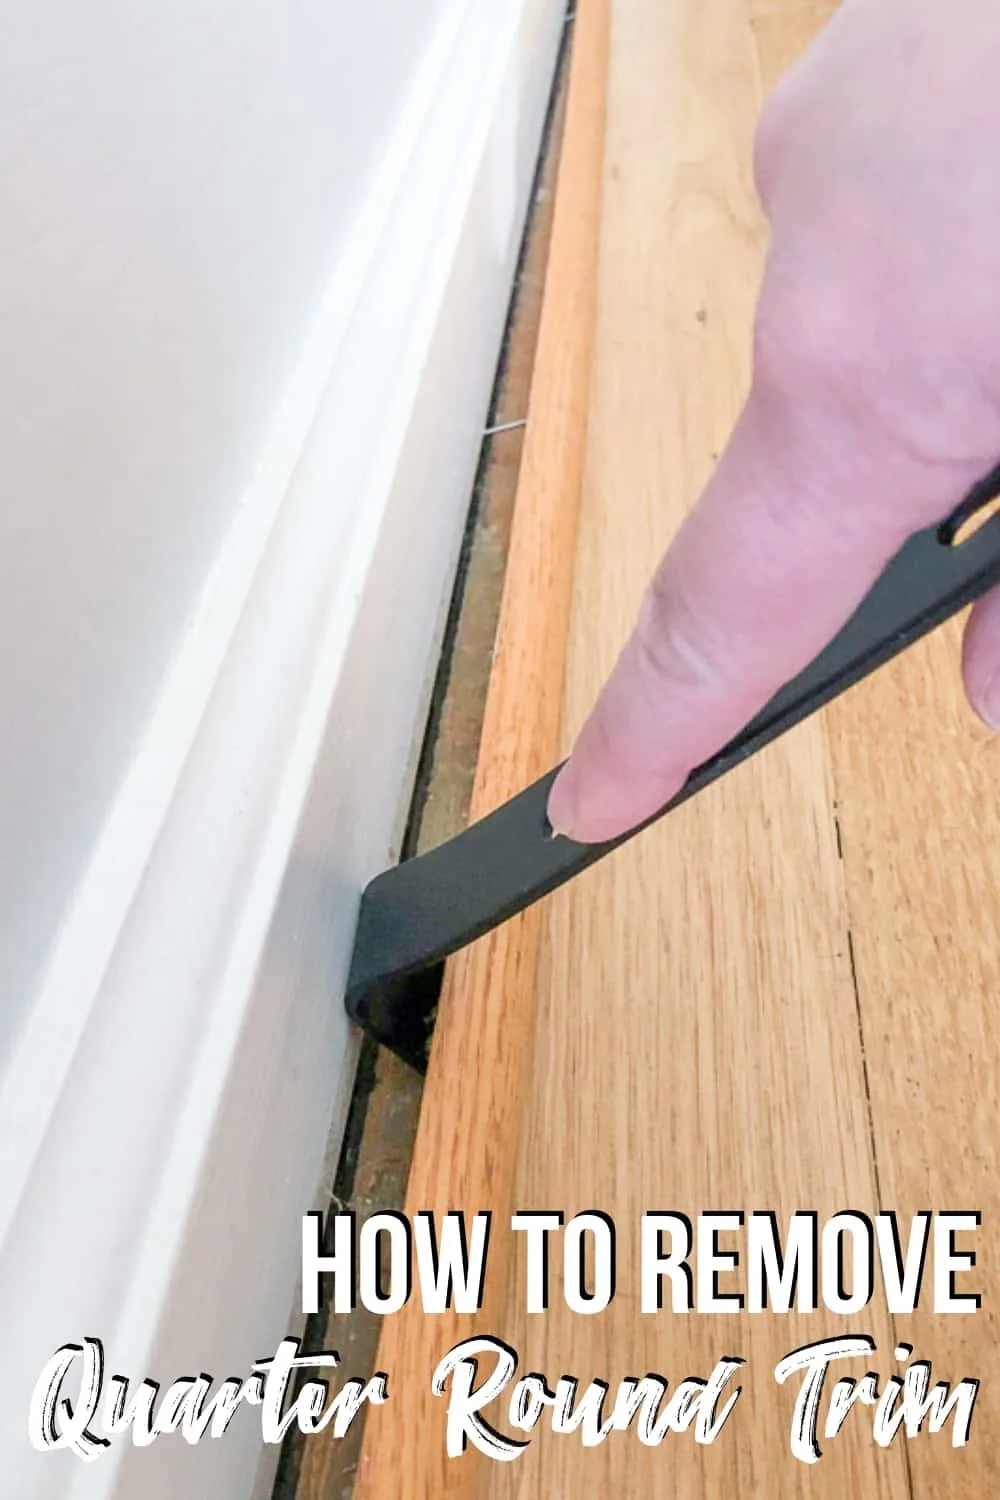
How to Remove Quarter Round Trim
Look for gaps
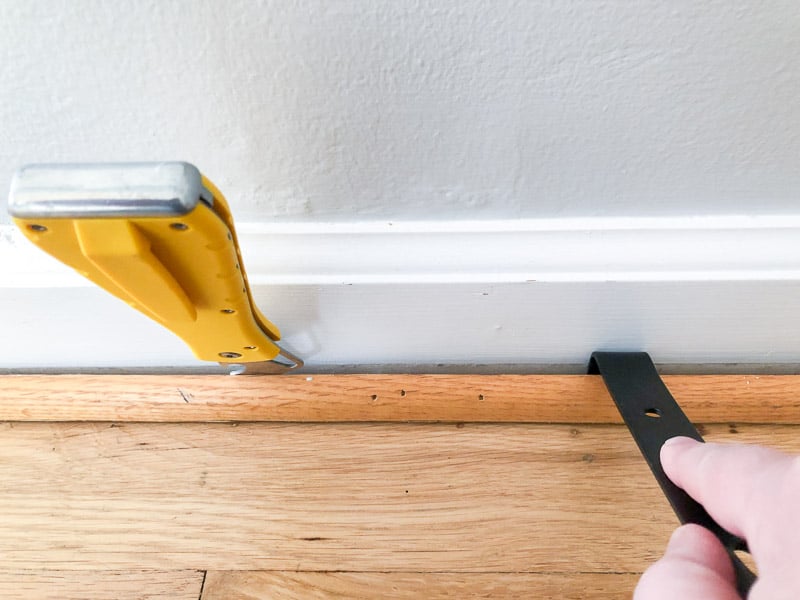
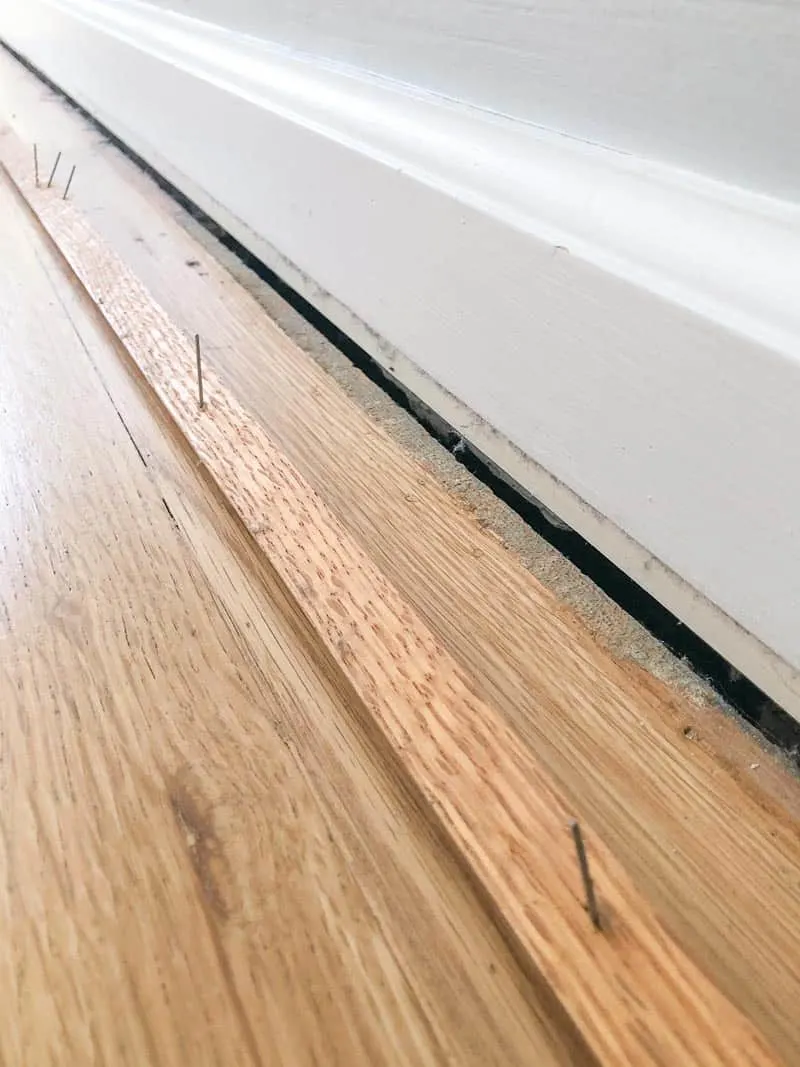
The hardest part of removing quarter round is finding a good starting point. The middle is usually a little loose compared to the ends, where there are more nails holding it in place.
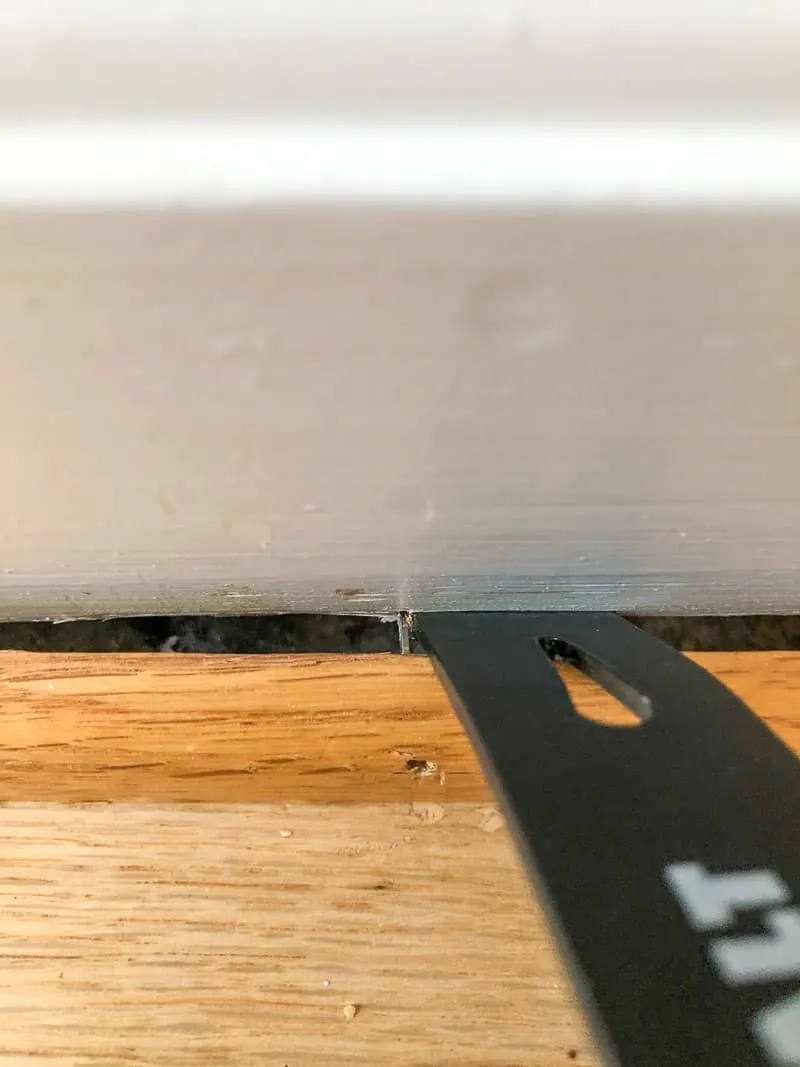
Look for gaps along the top where it meets the baseboards, or along the floor. Work the putty knife into those gaps and gently apply pressure against the wall.

Don't try to force the trim off right away. The wood might bend to the point of breaking or cracking, and you won't be able to reuse the trim later. Just create enough of a gap to fit the pry bar.
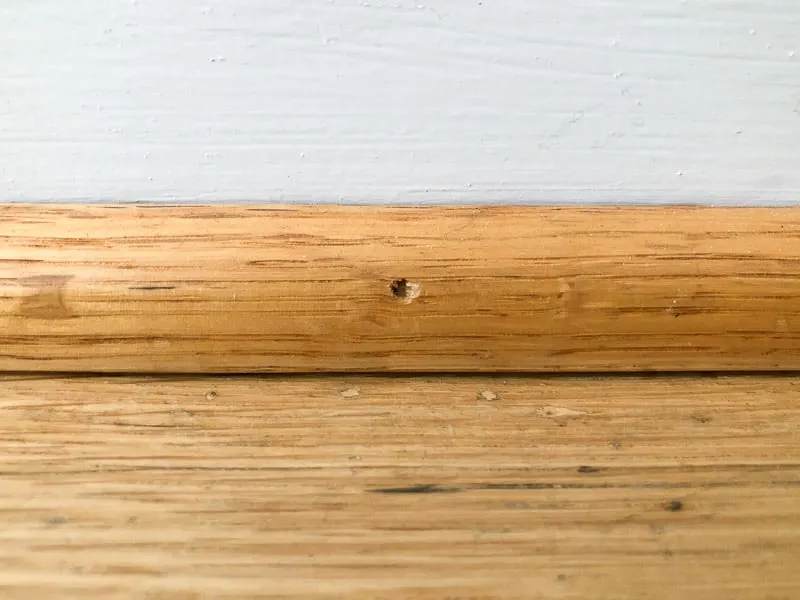
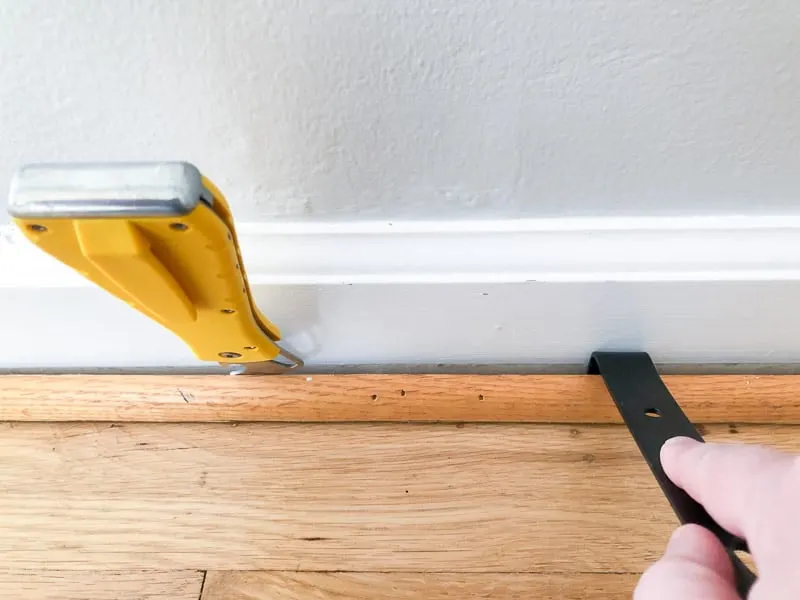
Find the Finish Nails
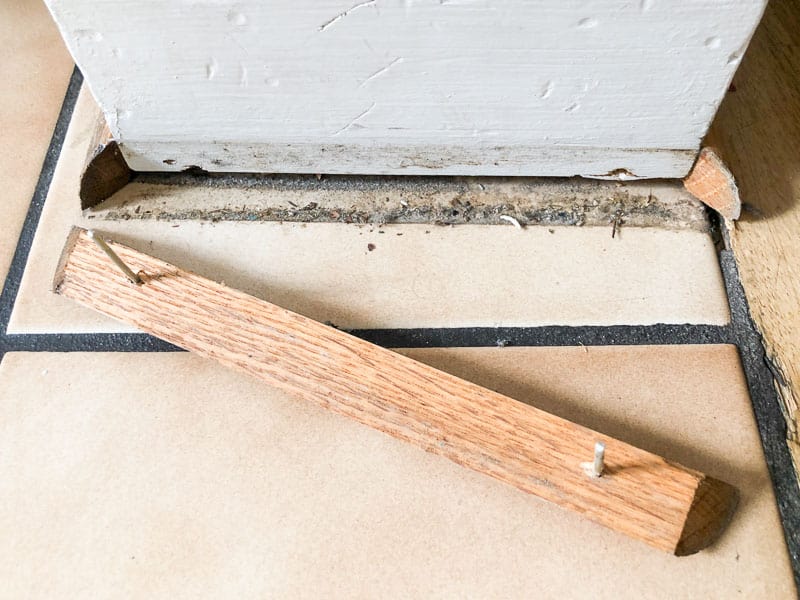
It's pretty obvious where the nails are in our quarter round trim. Just look for the little holes in the wood.
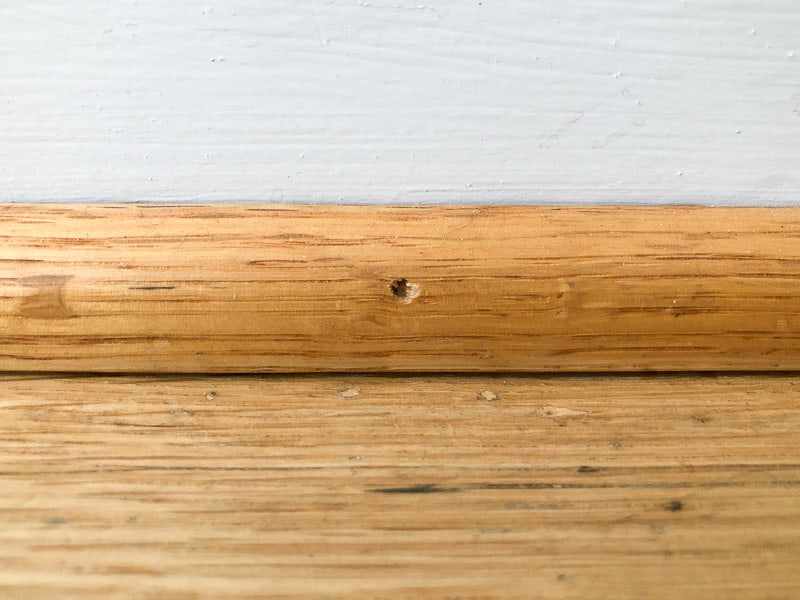
If your trim is painted, look for dimples or raised bumps. Over time, nails can work their way up, or wood filler can shrink, creating imperfections in the surface.
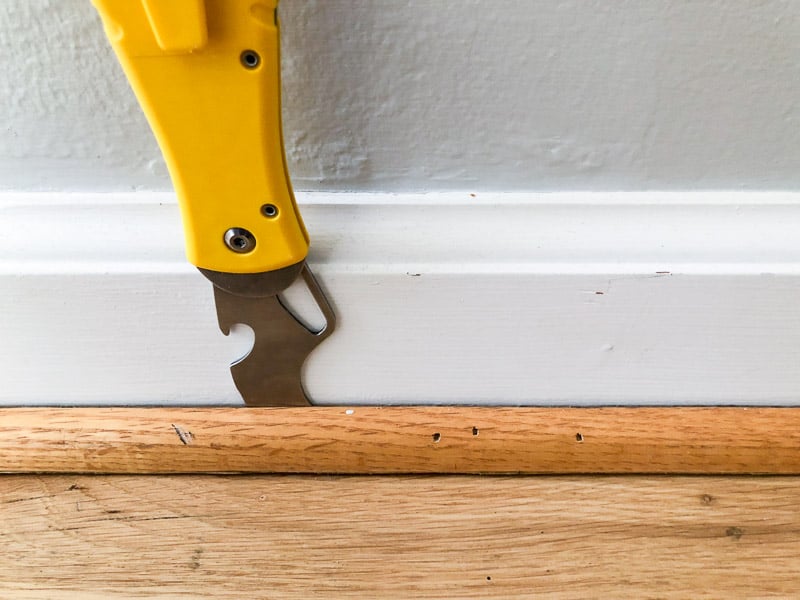
Slide your putty knife over to those nails, and insert the hooked end of the small pry bar into the gap near the nail.
Pry the Trim Away From the Wall at the Nails
If you try to pull the trim away from the wall far from the nails, the wood will bend and flex, making it more difficult to remove. It can also cause the nails to loosen from the trim and remain embedded in the floor or wall instead.
Use the resistance at the nails to your advantage. Place the curved end of the pry bar in the gap with the flat part of the head against the wall. Rock the pry bar upwards so the curve presses against the wall and the end pops out the nail.

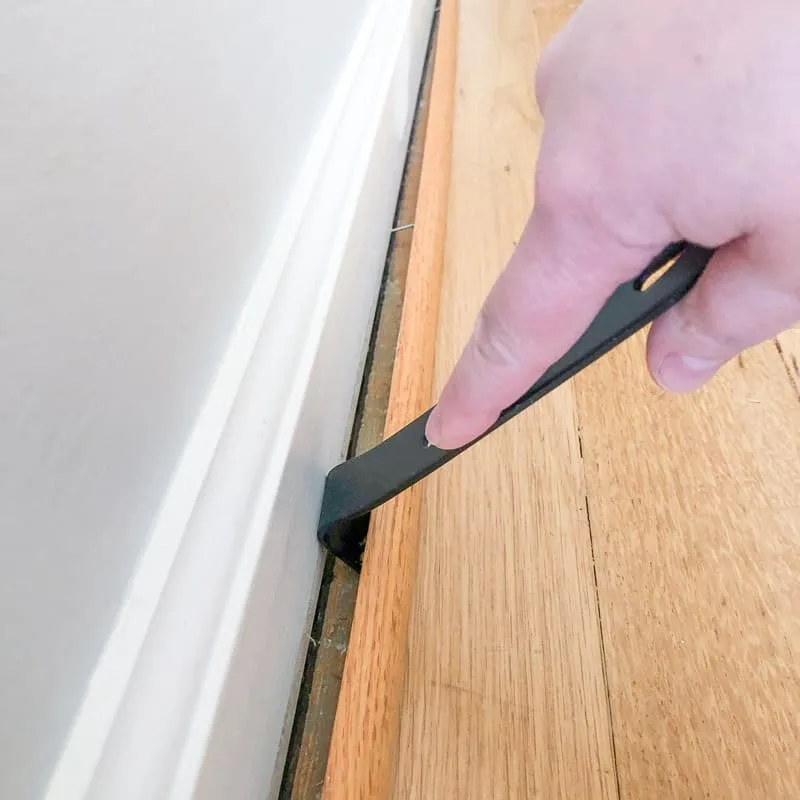
The flat end of the pry bar doesn't give you as much leverage, but can be useful for creating a larger gap.
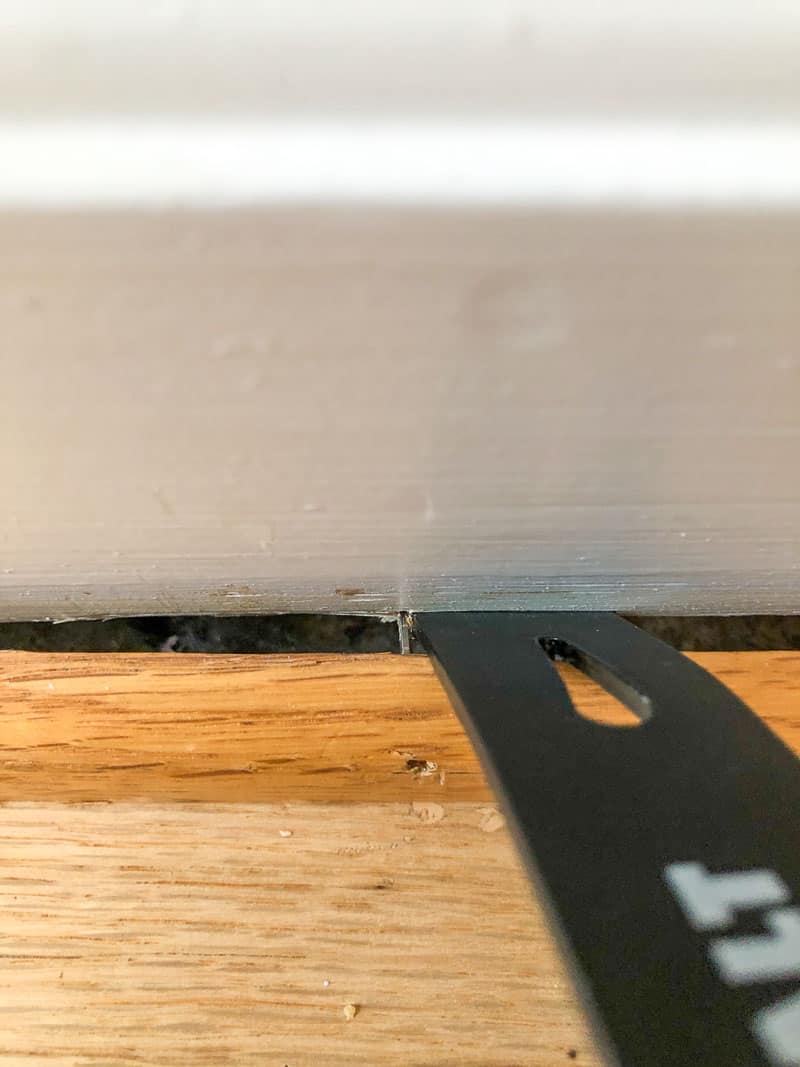
Work Your Way Down the Wall
Once you've created a decently sized gap, move down the wall. The ends of the quarter round will have more nails in it than the middle, so you'll need to do a little more wiggling to work it free.

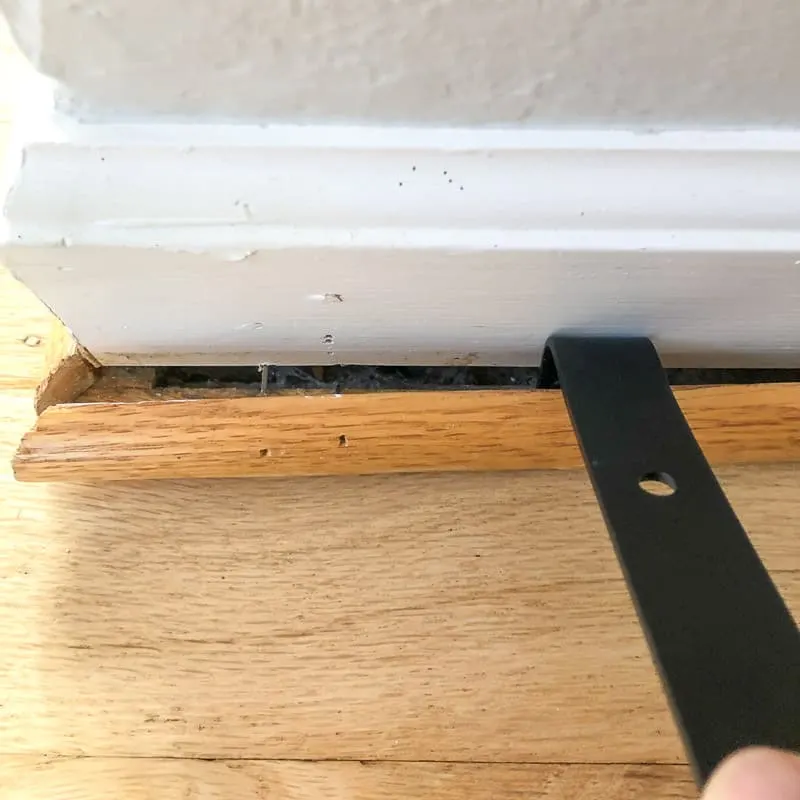
The short lengths between the doors and around corners proved to be the most difficult to remove, because they don't flex as much as the longer pieces. Be prepared for some serious gunk under there!

Once you get the hang of it, you'll be done in no time! It only took me an hour to remove all the quarter trim in the main rooms of our house.
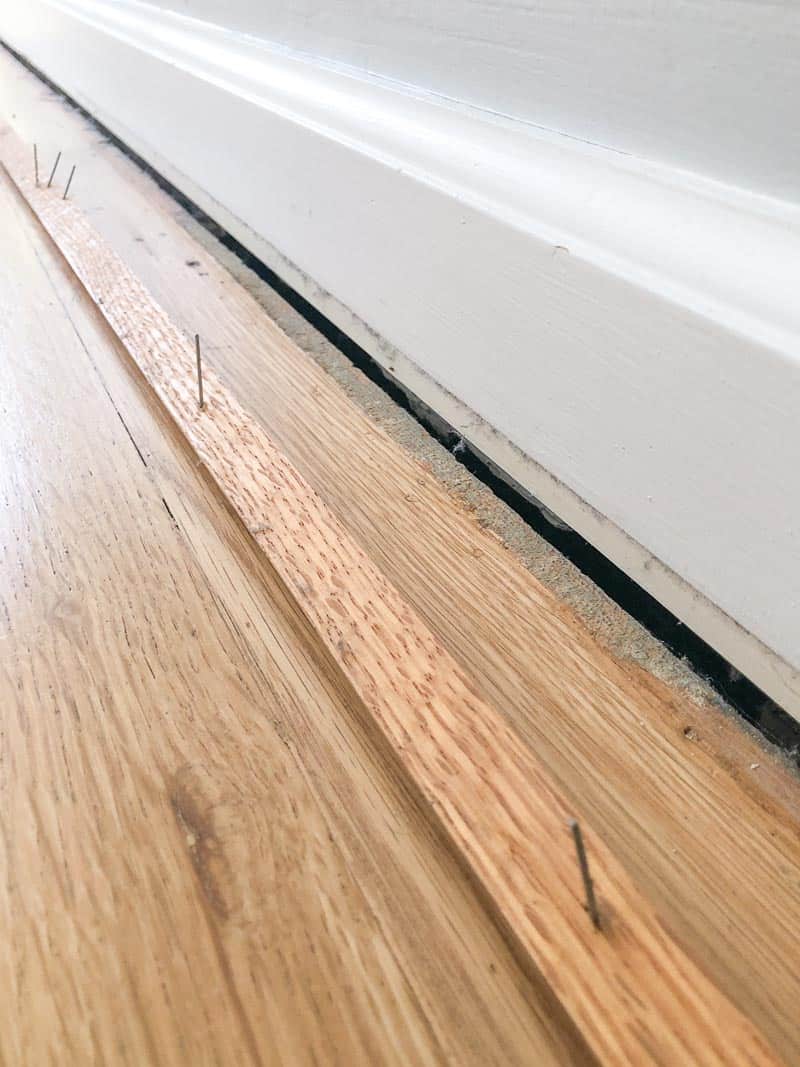
Remove the Nails
I'm throwing away the oak trim I removed, but if you plan to reuse yours, you'll need to remove the nails. You might also have a few nails still stuck in the wall that should be taken out immediately before someone scratches an ankle on them!


Invest in a nail puller if you plan to replace a lot of trim. It's soooo much easier than using the back of a hammer or pliers, especially on those little trim nails with a tiny head that seems impossible to grip! Just grab the nail between the teeth of the nail puller, close to the wall.
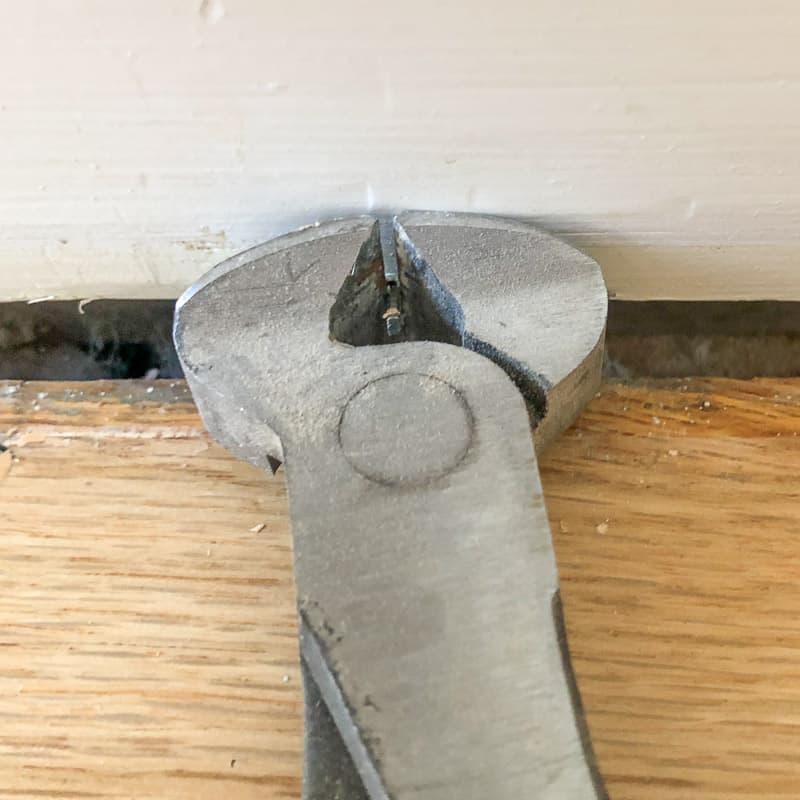

Close the teeth enough to get a good grip on the nail, but not so hard that you'll snip the nail in half! Rock the nail puller head to one side, pressing against the wall for leverage.

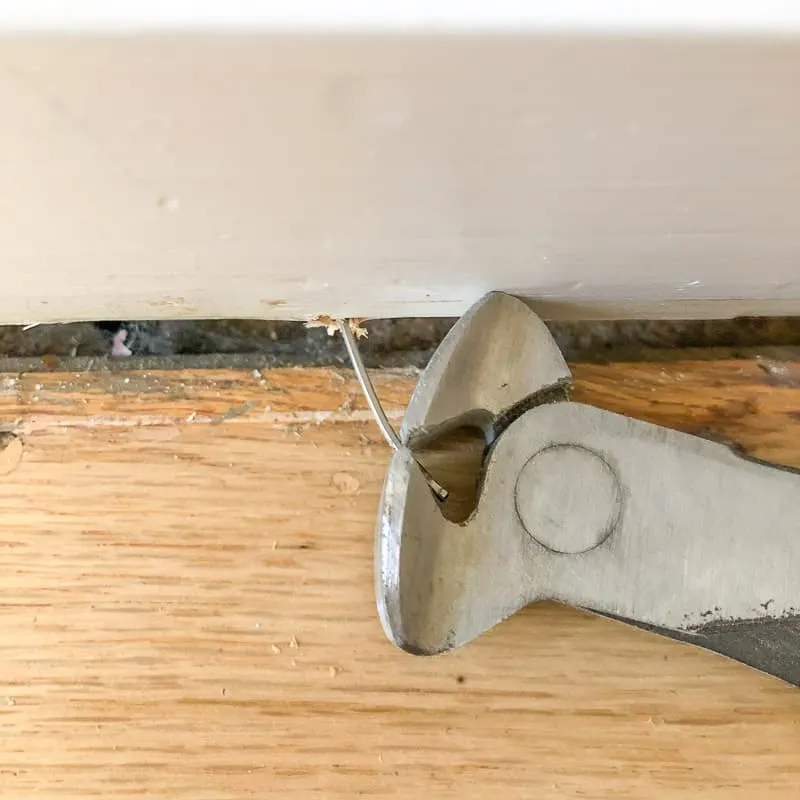
Keep rolling the nail puller to the side until the end of the nail pops out. If it's a particularly long one, you might need to grab it again closer to the wall and repeat the process.
Install the New Trim
Soon, I'll show you how to cut and install new quarter round trim to replace the old one. Then once it's all in place, check out my tips and tricks for painting baseboards for a flawless finish!
Struggling to figure out how to transition between the door trim and the baseboards? A plinth block might be the solution to your problem!

Check out these other home improvement tutorials!