Wood filler is great for hiding screws and gaps, but only if you use it correctly! Here's how to use wood filler for a flawless finish on your next project!

Wood filler is like a band-aid, used to fix boo boos in your projects. It can hide screws, cracks, holes, and gaps between boards. Best of all, it disappears under a coat of paint!
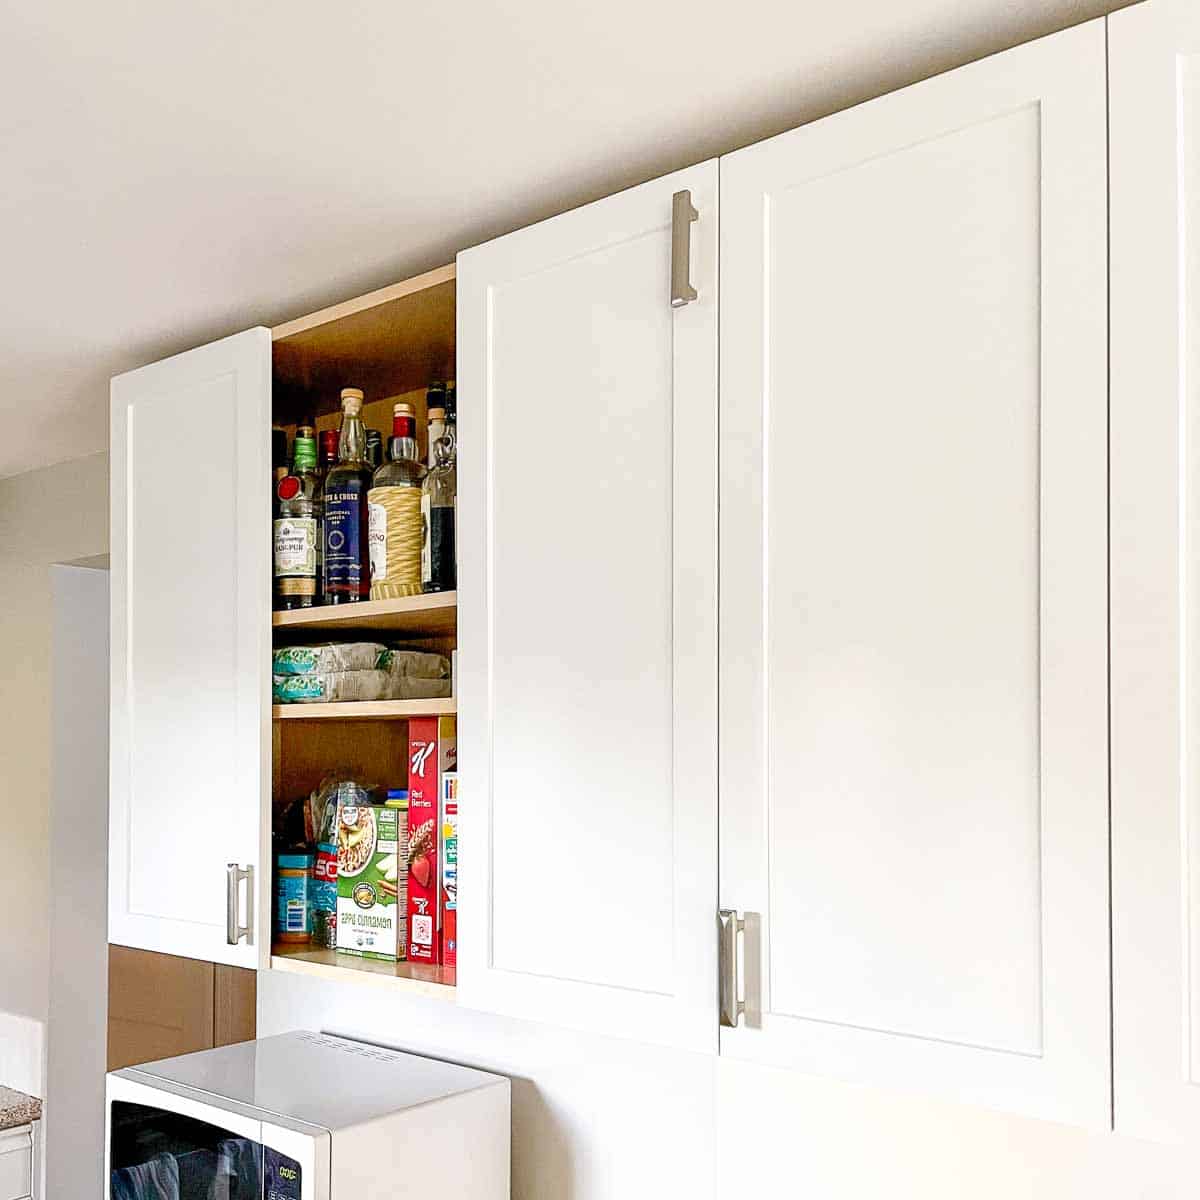
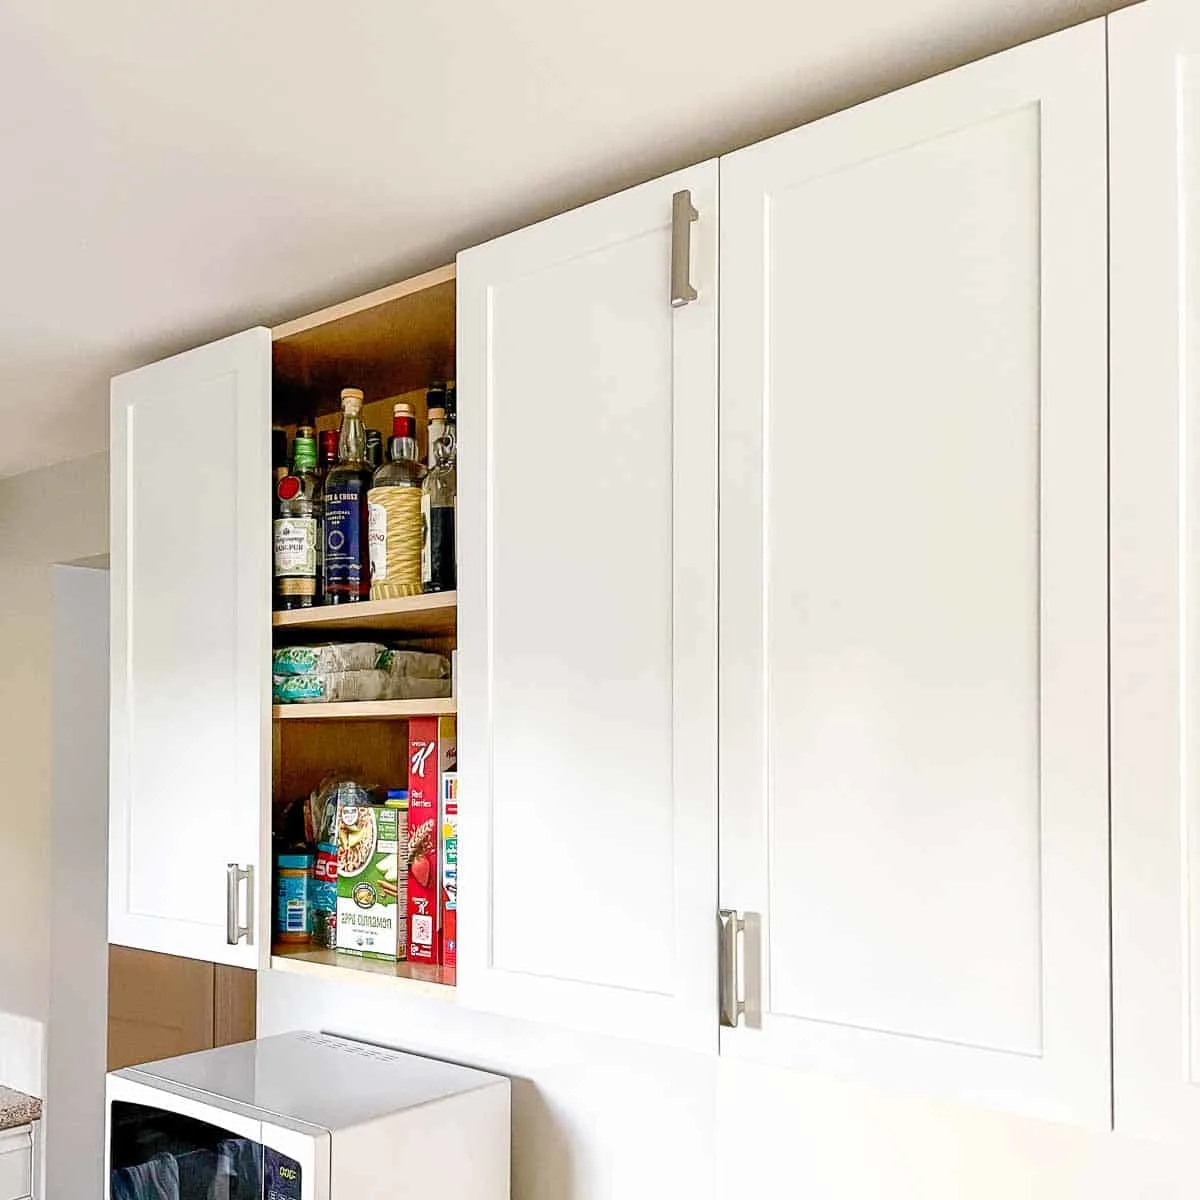
I've used wood filler to fix a multitude of mistakes, like when I drilled the hardware holes in my brand new Shaker cabinet doors in the wrong spot. Oops!
In this guide, we'll talk about how to use wood filler properly and how to get the best results!
This post contains affiliate links for your convenience. Purchases made through these links may earn me a small commission at no additional cost to you. Please visit my disclosures page for more information.
How to Apply Wood Filler
I always recommend reading the manufacturer's instructions before you start. This is to ensure you don't miss any important information, such as dry times. It will also alert you to any specific safety requirements, especially if there are solvents present that require proper ventilation.
Clean the area first
The last thing you want is for the filler to fall out because it didn't bond to the wood properly. If there is sanding dust, paint, rough edges, or oily residue, the wood filler will be more likely to fail.
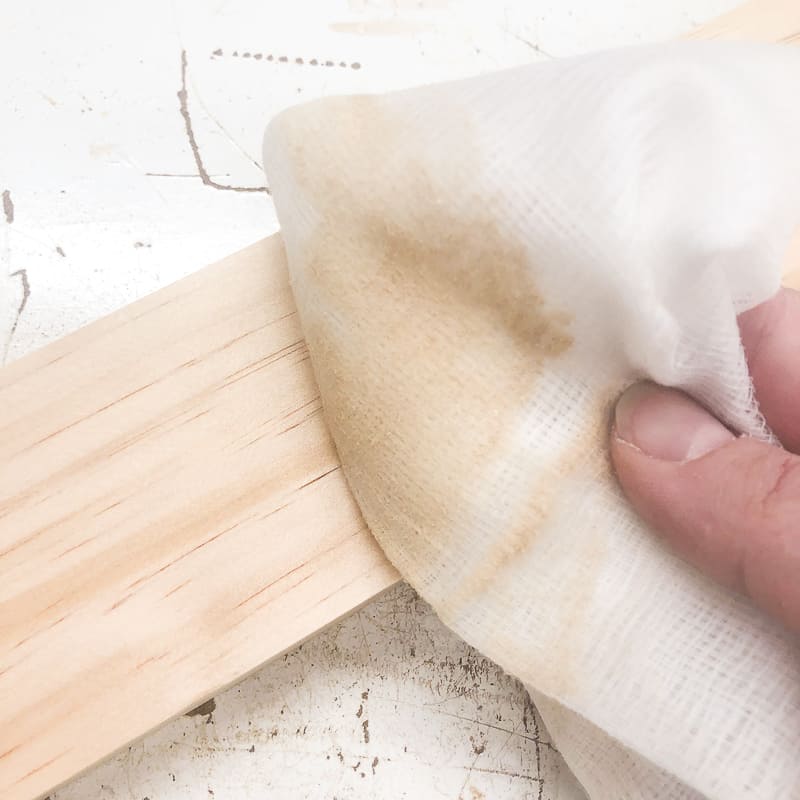
If your surface is already painted or stained, carefully sand away the finish around the immediate area to expose the bare wood underneath. Wood filler won't bond to the wood fibers if they're coated.
Fine dust can settle in the cracks you want to fill. Use a vacuum or a tack cloth to pull it away from the surface, instead of just moving it around with a brush or microfiber cloth.

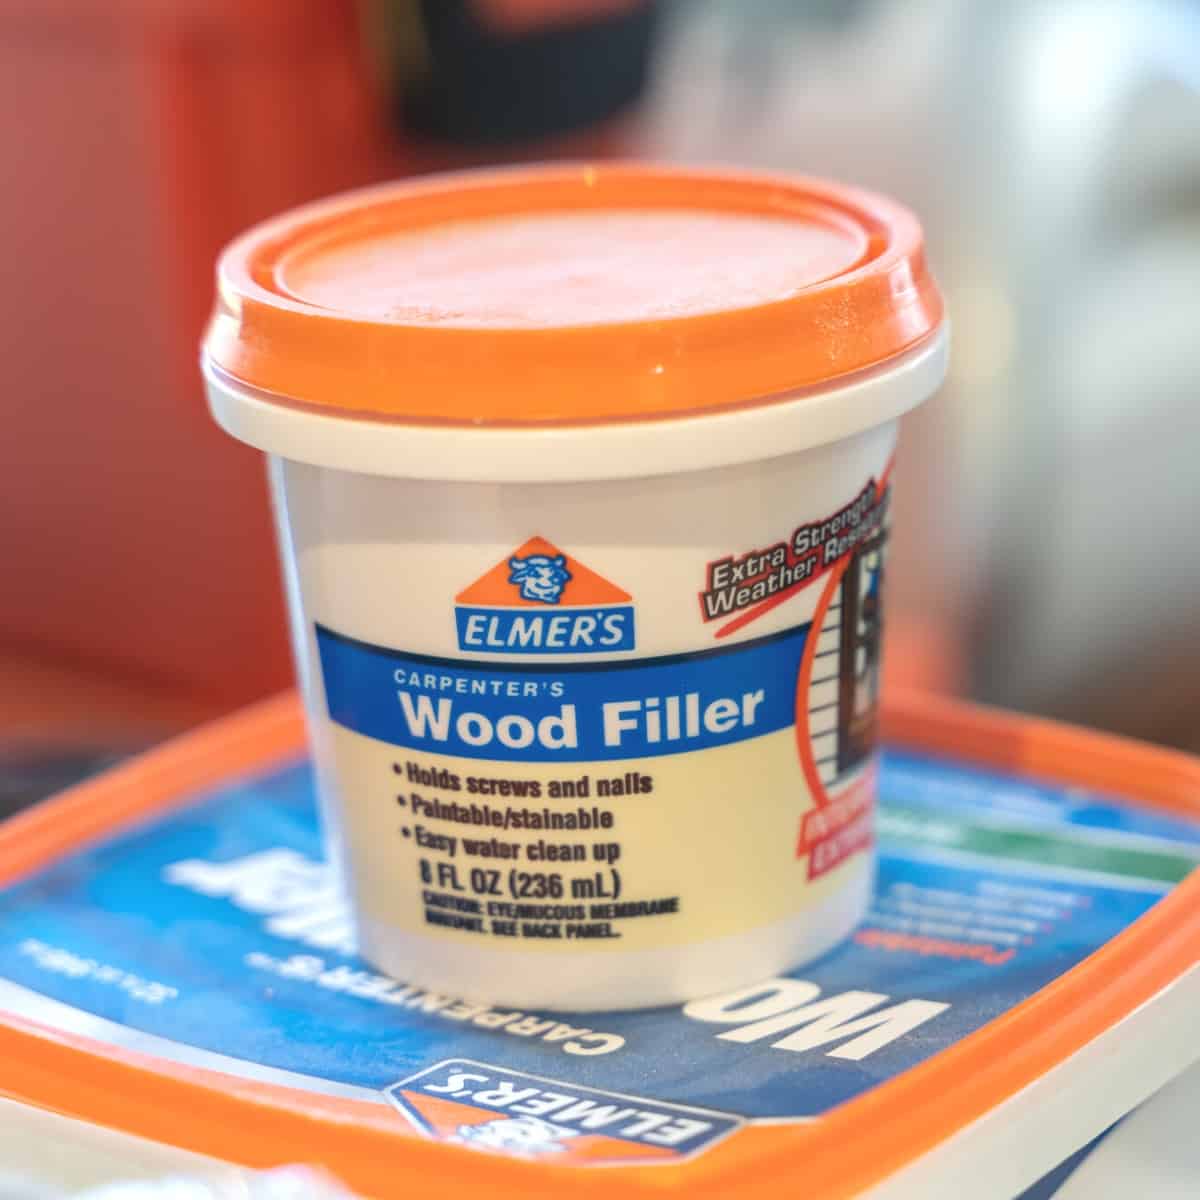
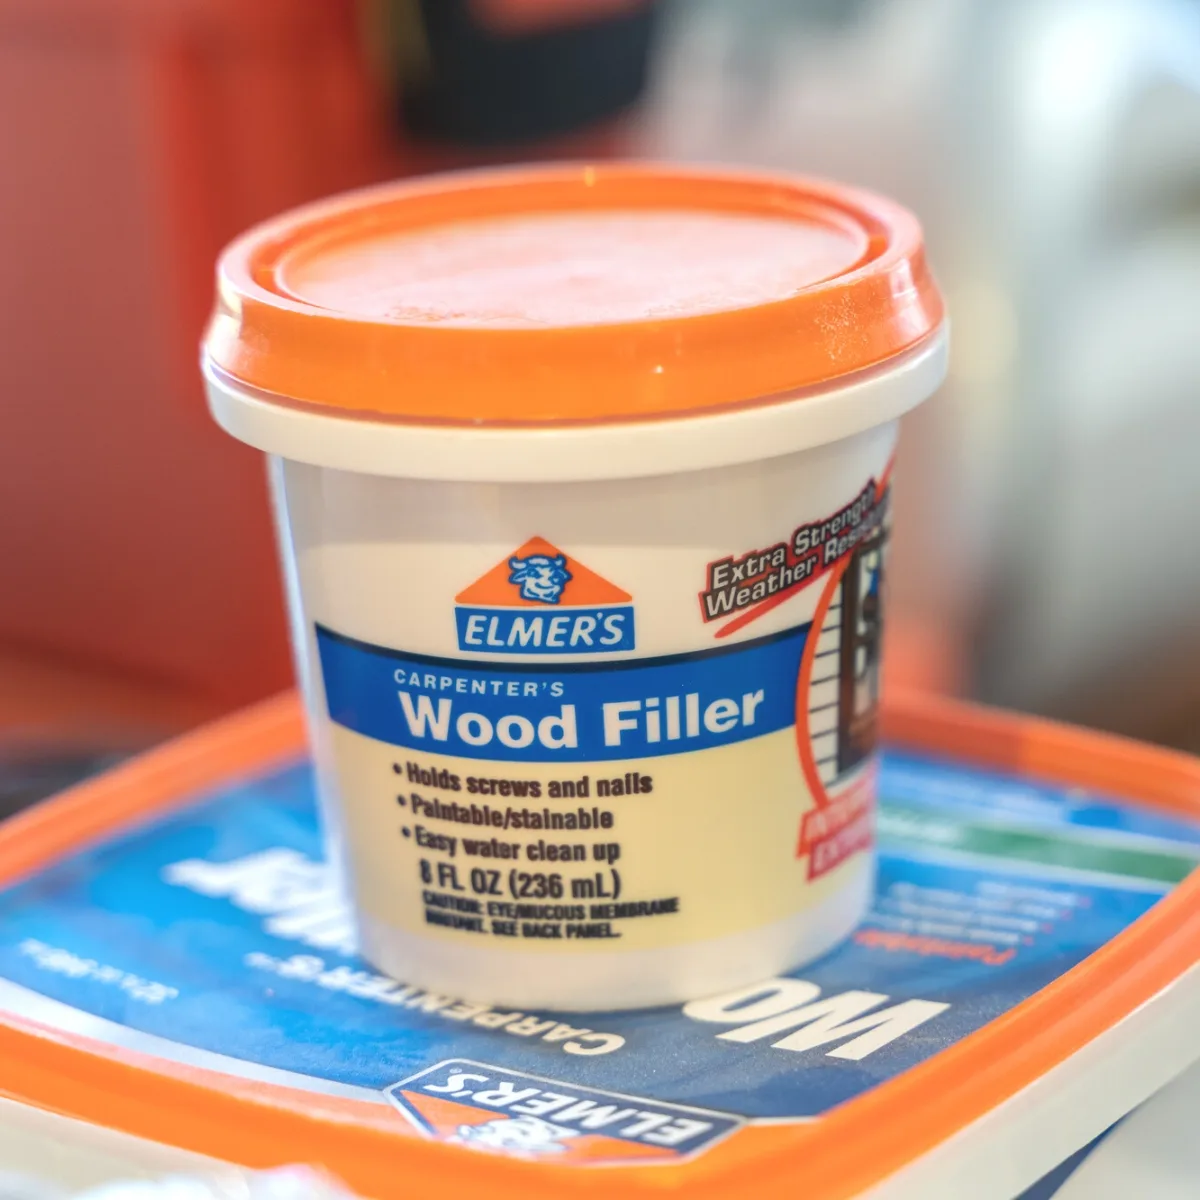
Choose the right wood filler for the job
I've explained the different types of wood filler and wood filler vs wood putty in previous articles. But the key is that most wood fillers are made to be applied on surfaces that have no wood stain or paint, and wood putty is usually reserved for finished projects that just need a quick touch-up.
Also, keep in mind that some two-part wood fillers or epoxy won't accept a stain, so you might have to paint instead.
Overfill your holes
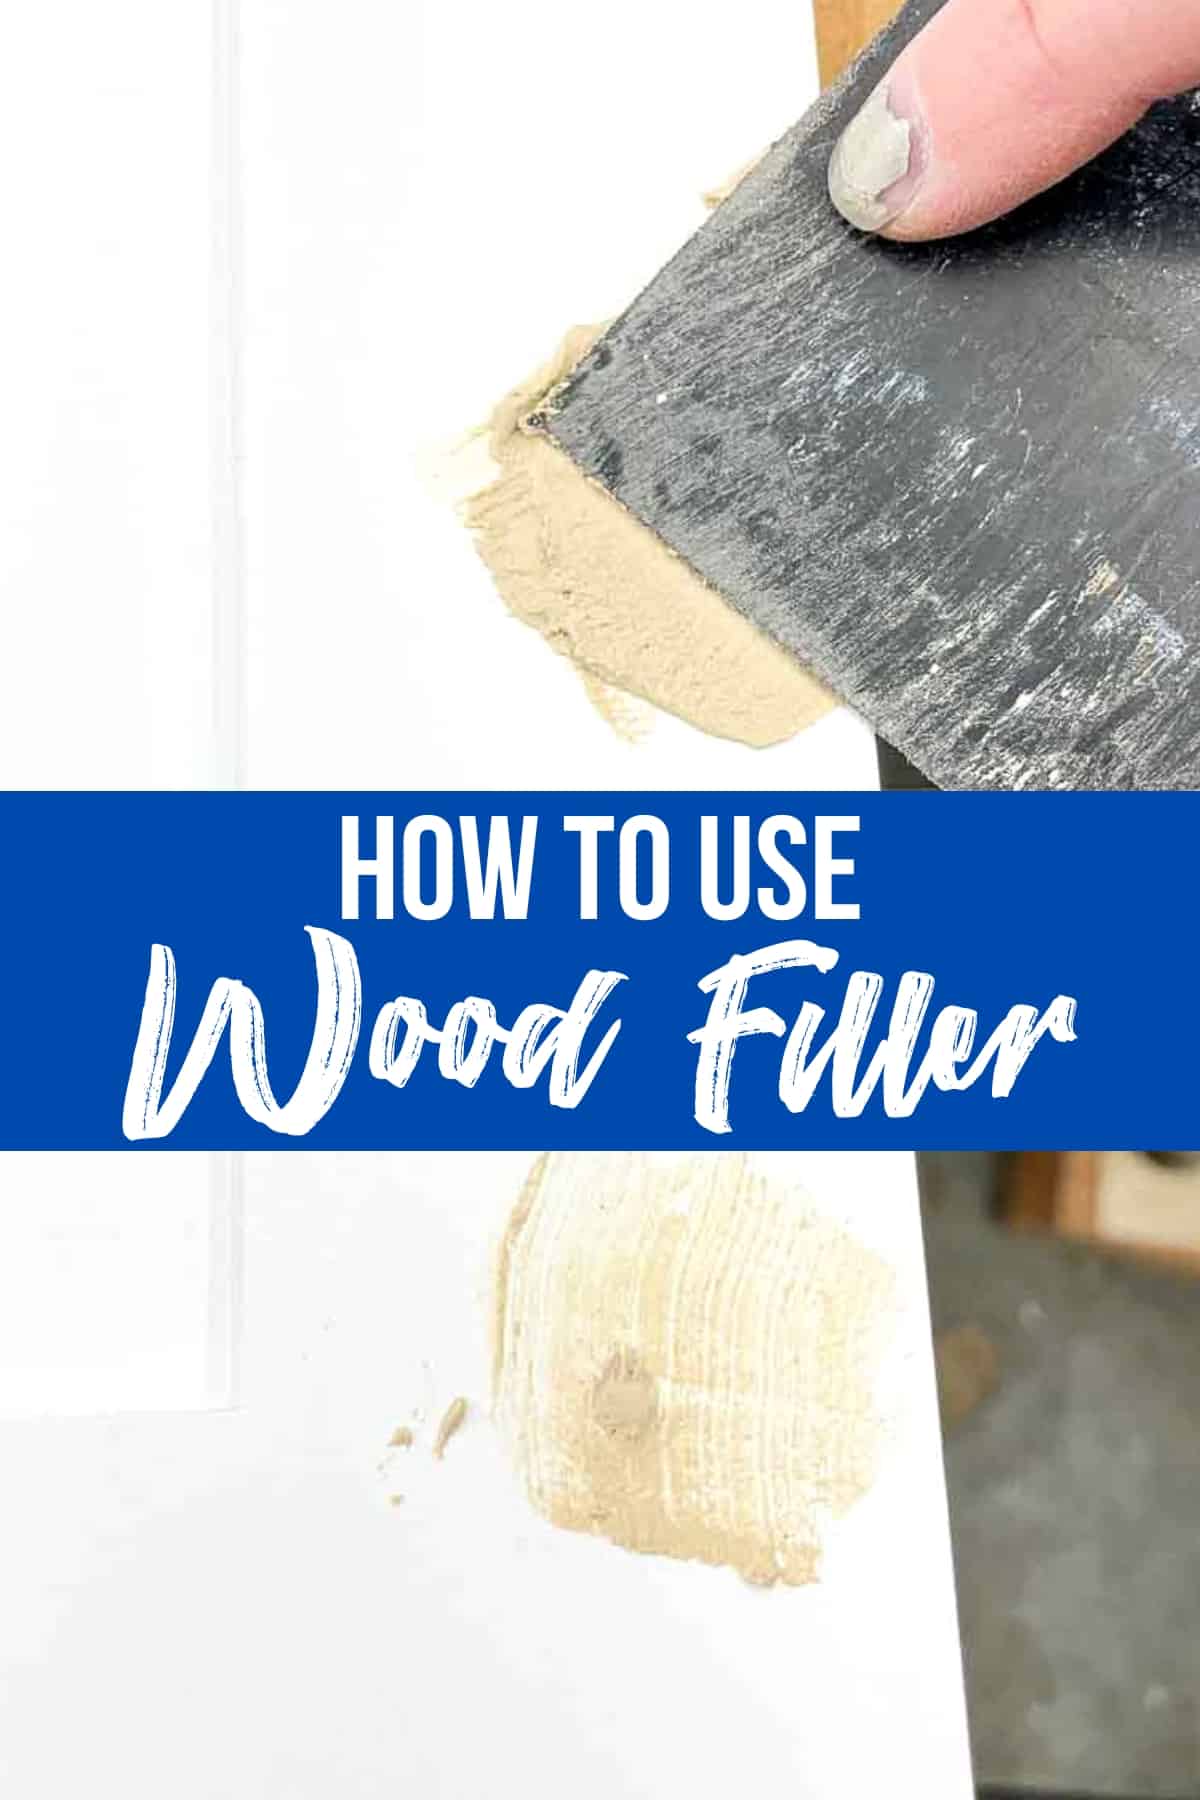
Now it's time to actually apply the wood filler! You can often use your finger on small nail holes, but using a putty knife will help you work it into the cracks and corners.
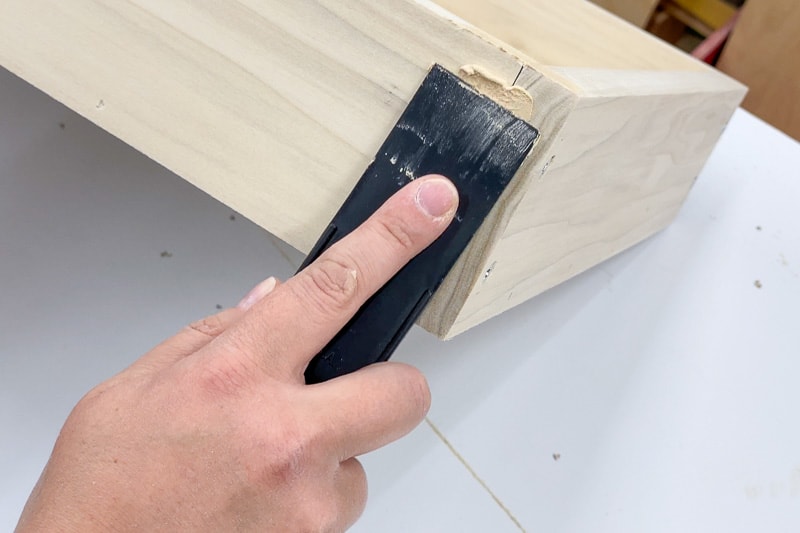

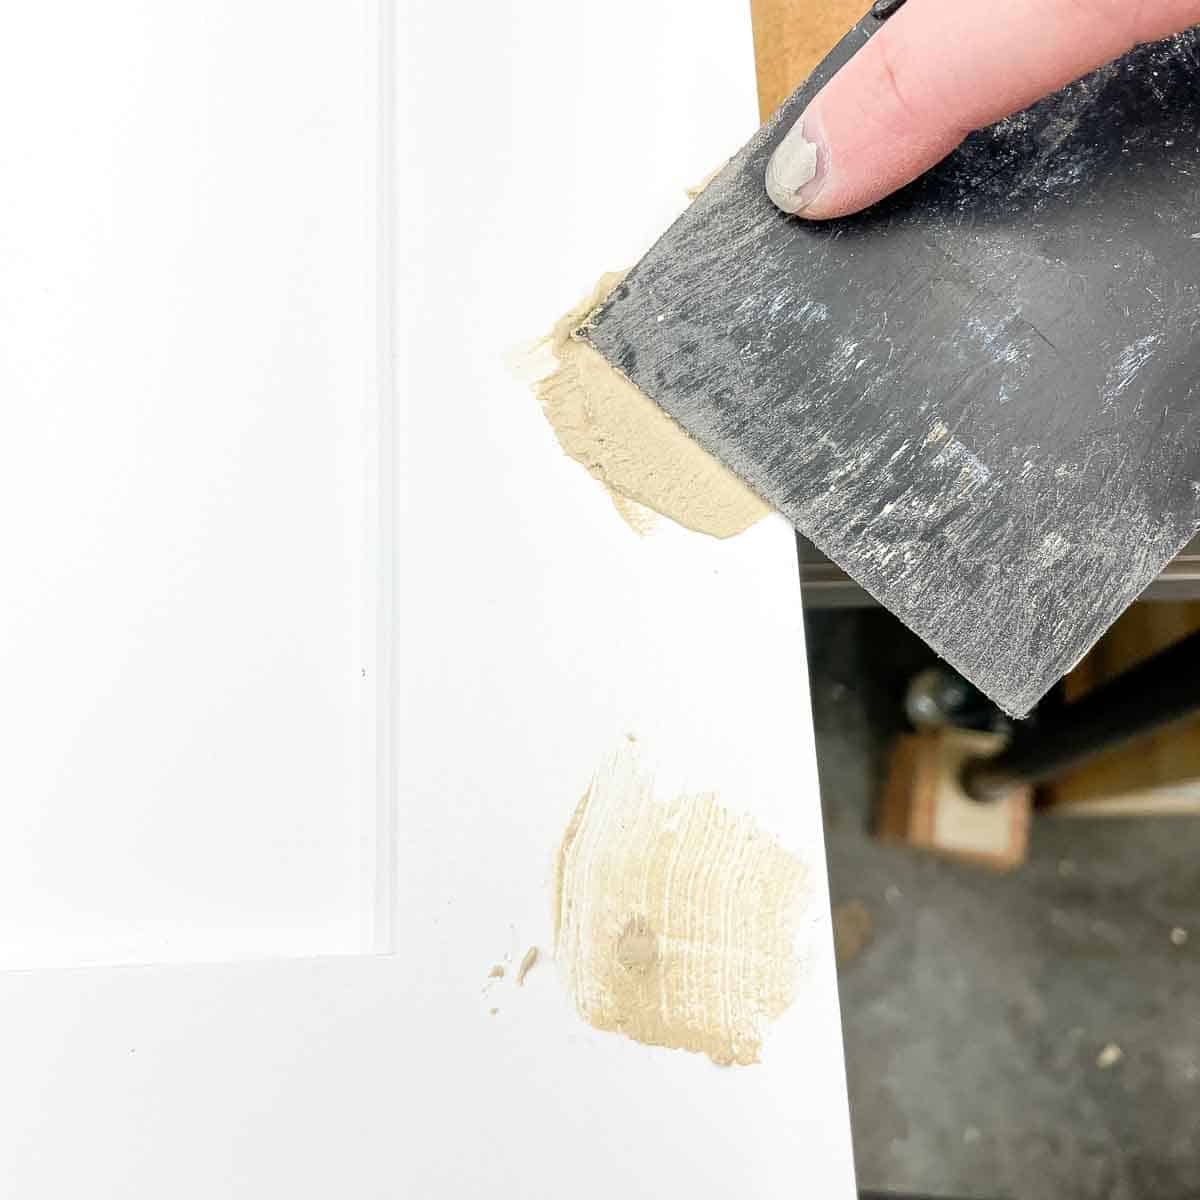
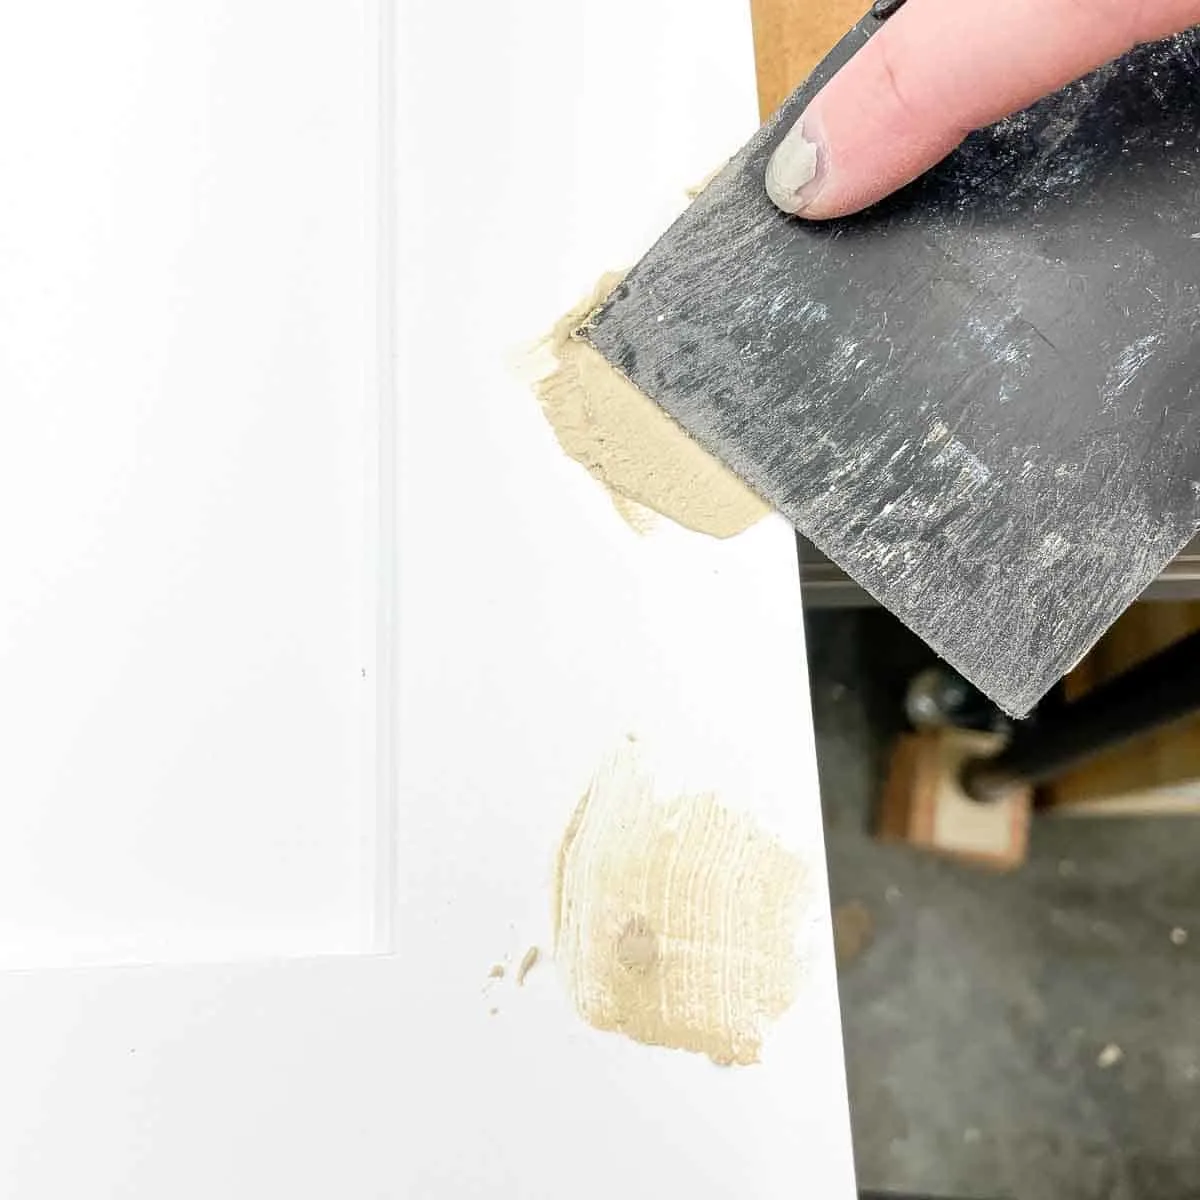
You don't want any gaps or air bubbles, so press the filler into the crack or hole, rather than just spreading it across. Overfill the holes slightly, so there's extra above the surface of the wood.
As it dries, the wood filler will shrink. If you scrape it flush when you apply it, you could be left with a divot that requires another coat. When you sand the surface smooth, having a little extra ensures you achieve a flat surface.
Let the wood filler fully dry
It can be tempting to move on with your project as soon as possible, but you won't get good results until that goop is rock hard. Typical dry time is one hour for small gaps and 2-6 hours for larger holes.
If you're unsure, you can buy wood filler that changes color as it dries. It goes on pink, and when it turns a natural wood color, you can safely start sanding. This is especially helpful for deep holes that may still be wet under the surface.


Sand the surface smooth
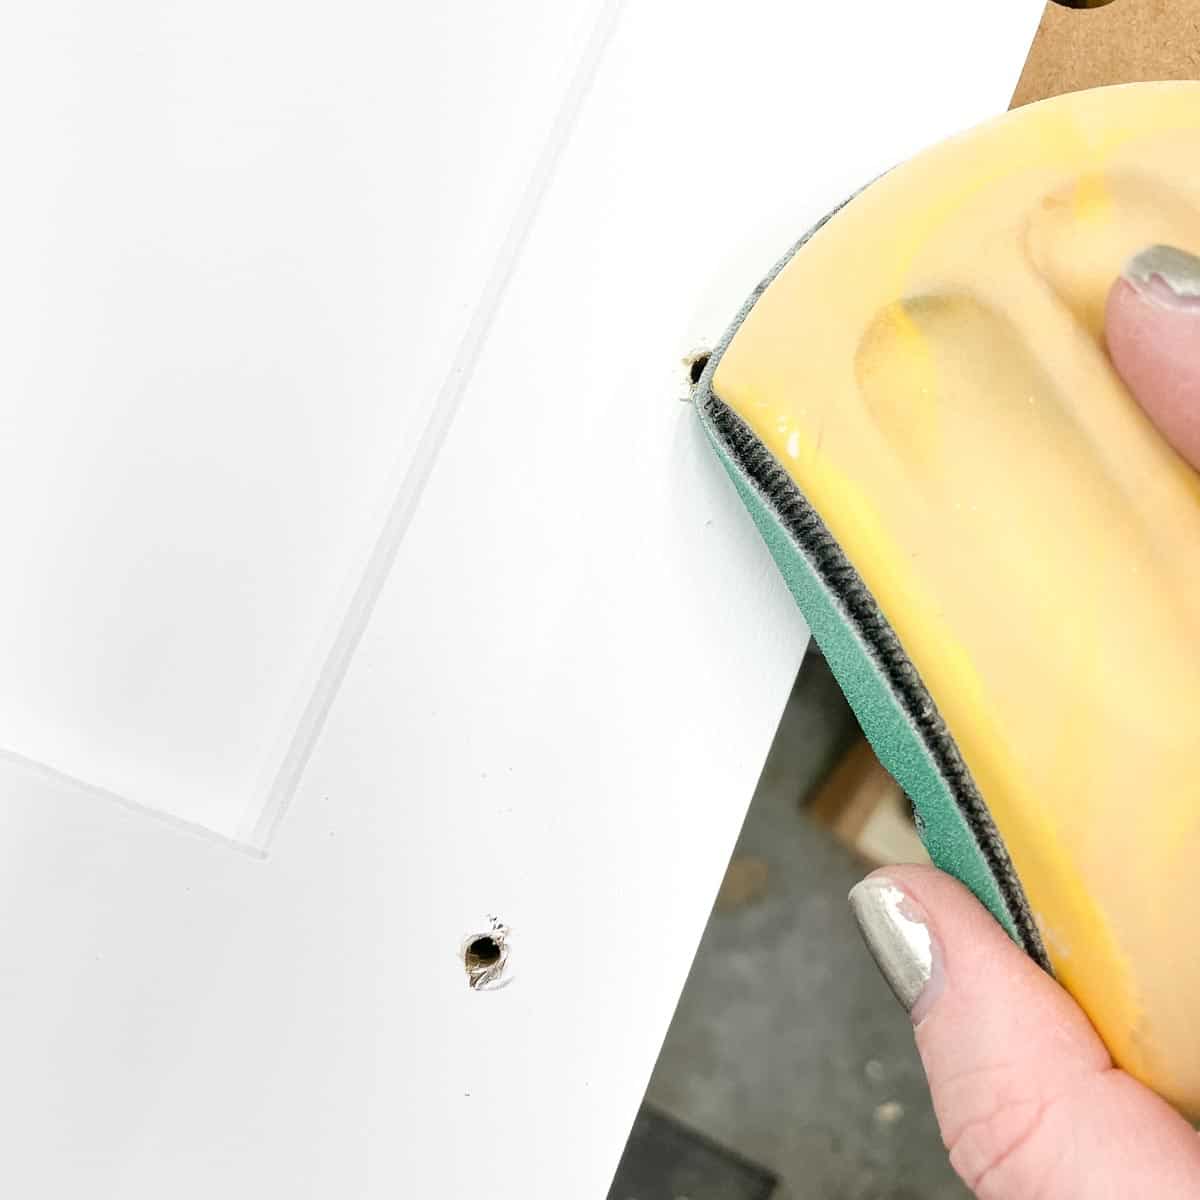
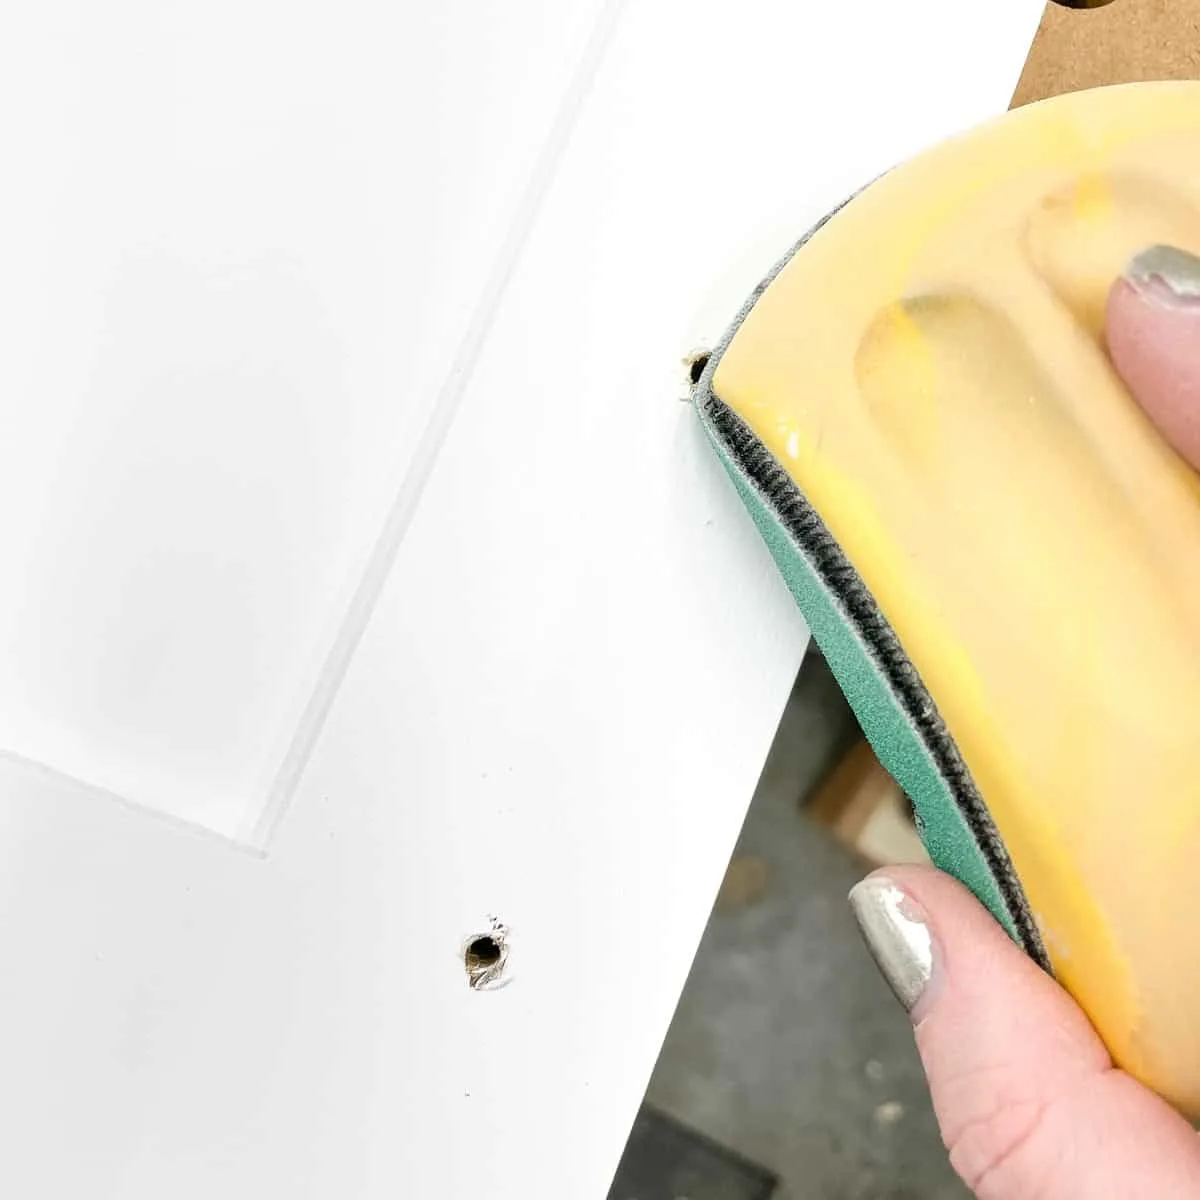
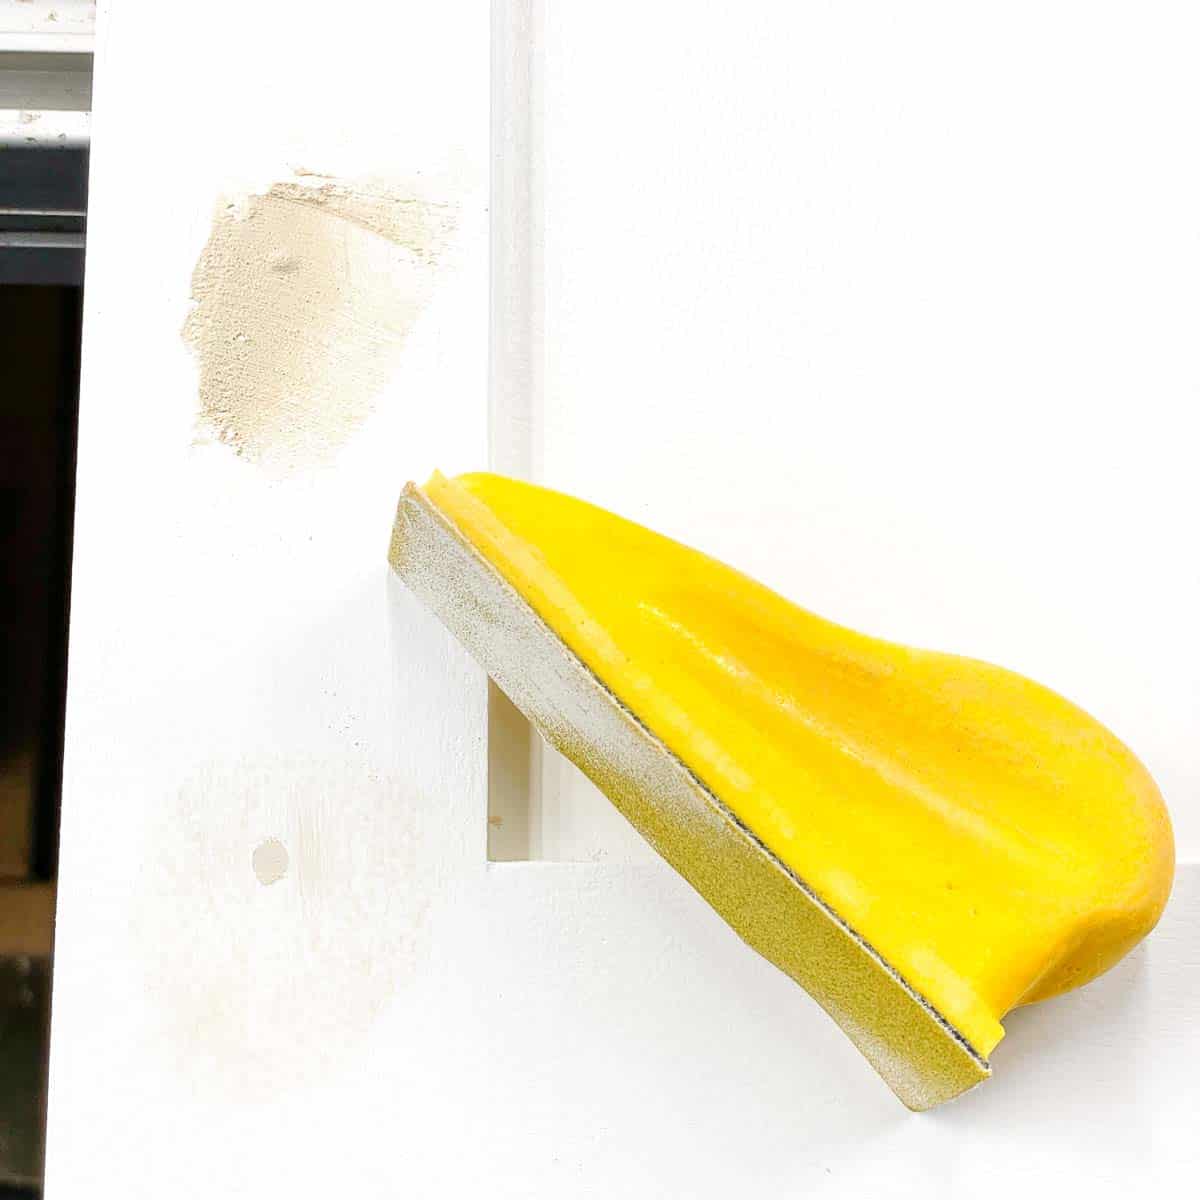
Once the wood filler has fully dried, use 150 to 220 grit sandpaper to sand it flat with the rest of the project. Lower grit sandpaper will show scratch marks in the wood filler, so start higher than you would for regular wood.
For smaller areas like filling cabinet door screw holes, I like to use these micro sanding blocks. It gives you more control, so you don't sand away too much paint in the surrounding area and create more work for yourself.

For larger areas, like a long seam between two raw wood boards, a random orbital sander hooked up to a shop vac is the best choice. Sanding wood filler can create a lot of fine dust, and you don't want to smear that dust all over the surface. The vacuum sucks away the dust as you create it!
Run your finger over the surface to see if you can feel any bumps or divots over the repaired area. It should feel smooth, without any difference between the filled hole and the surrounding wood. You may need to apply a second coat to get a flawless finish.
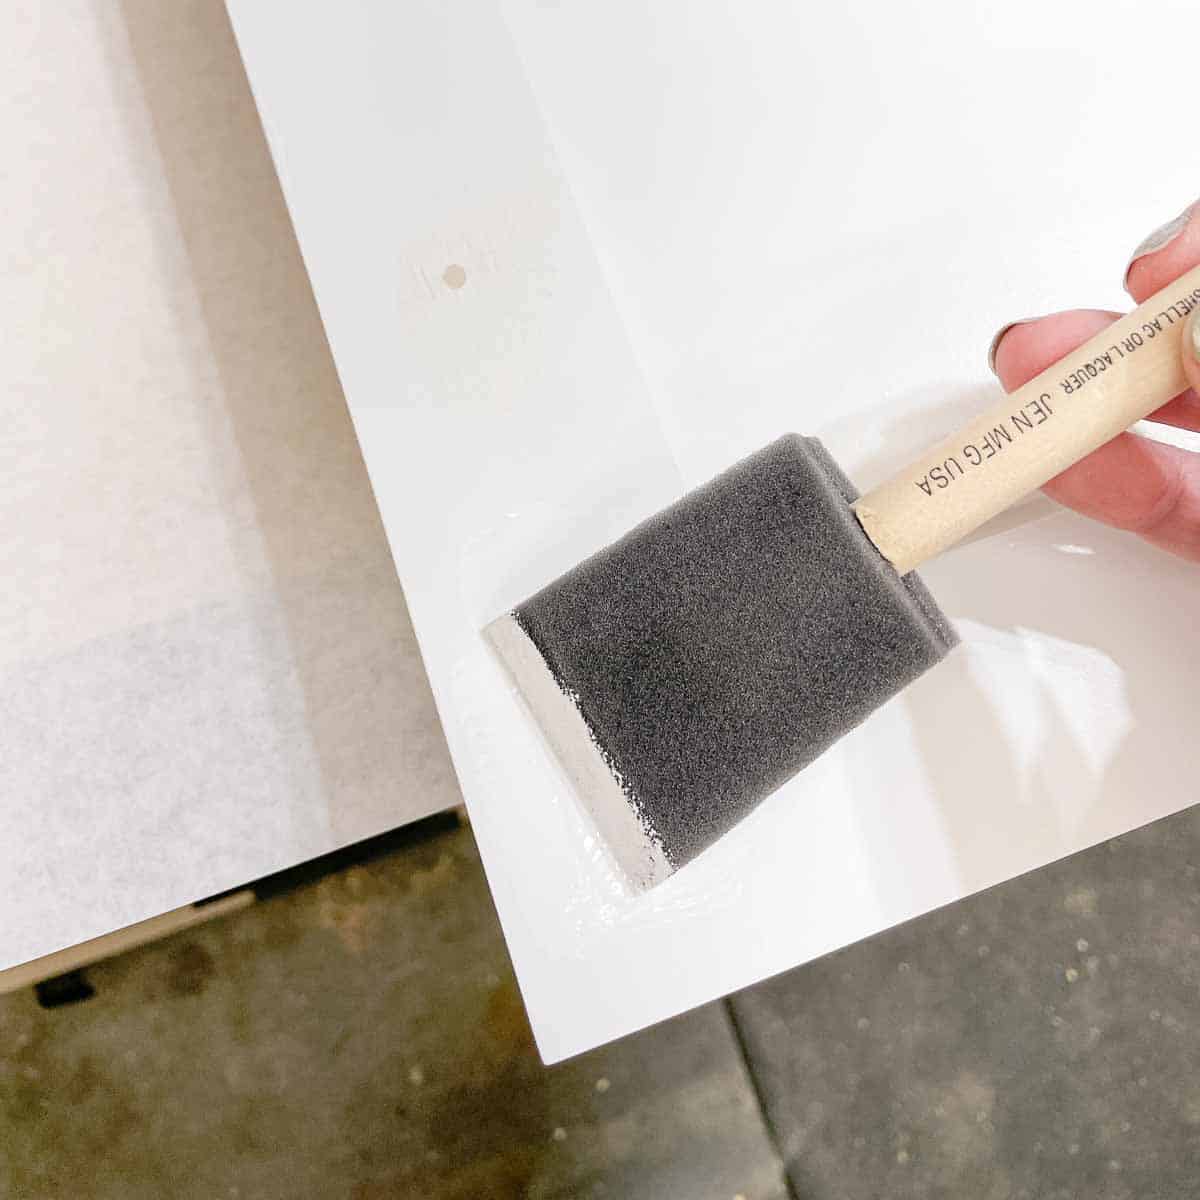
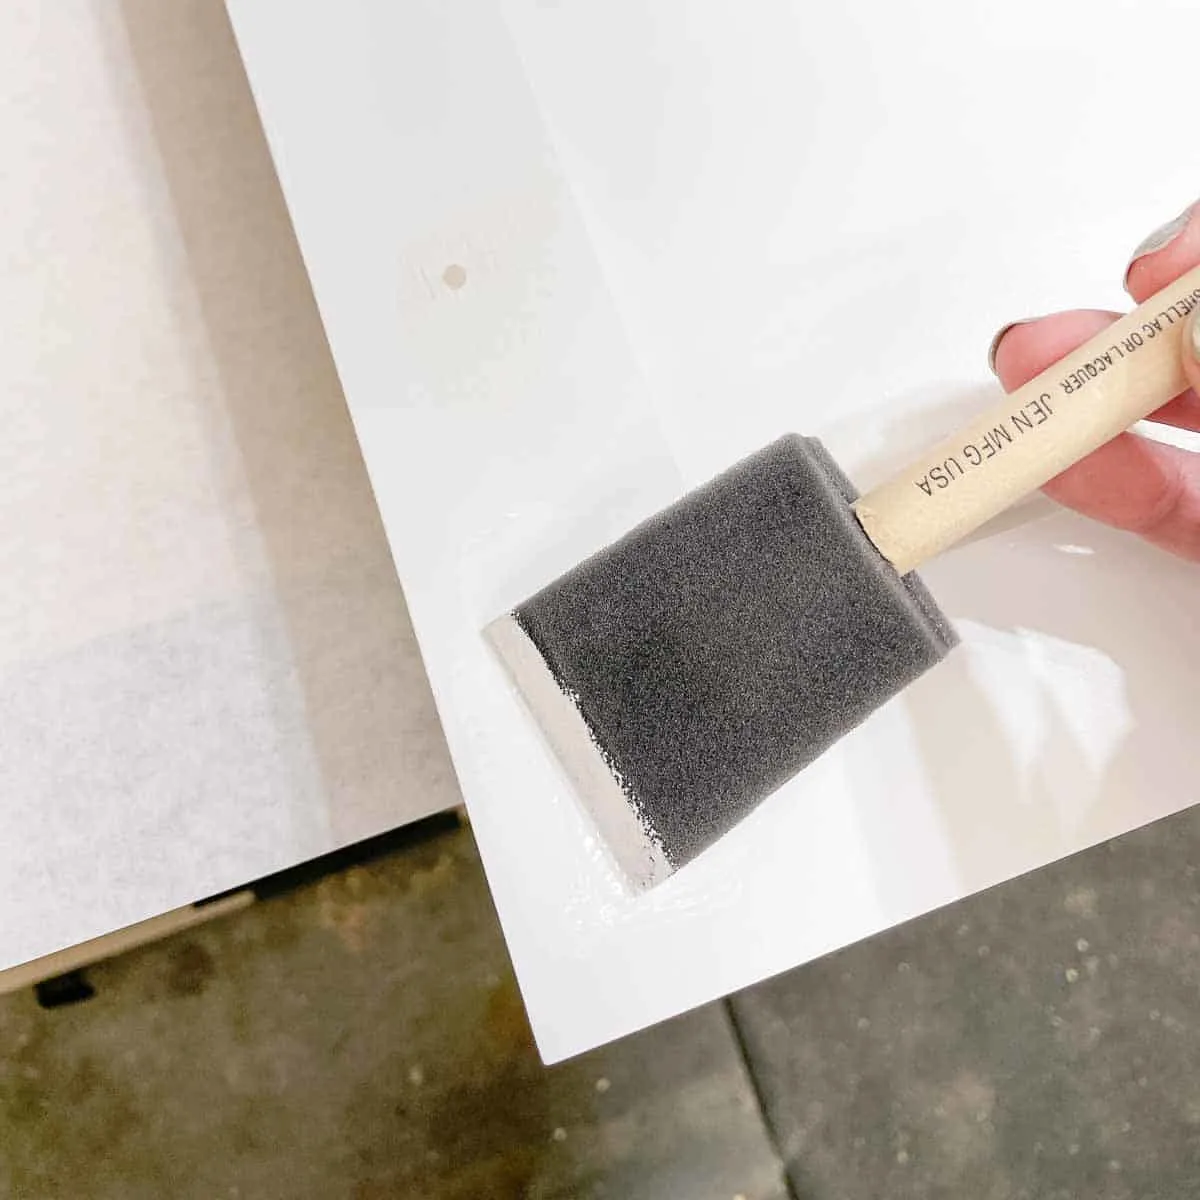
Paint or stain your project
Finally, all those holes and gaps are filled and you're ready for finish! I typically only use wood filler on projects that will be painted, because it all disappears under a coat of paint.
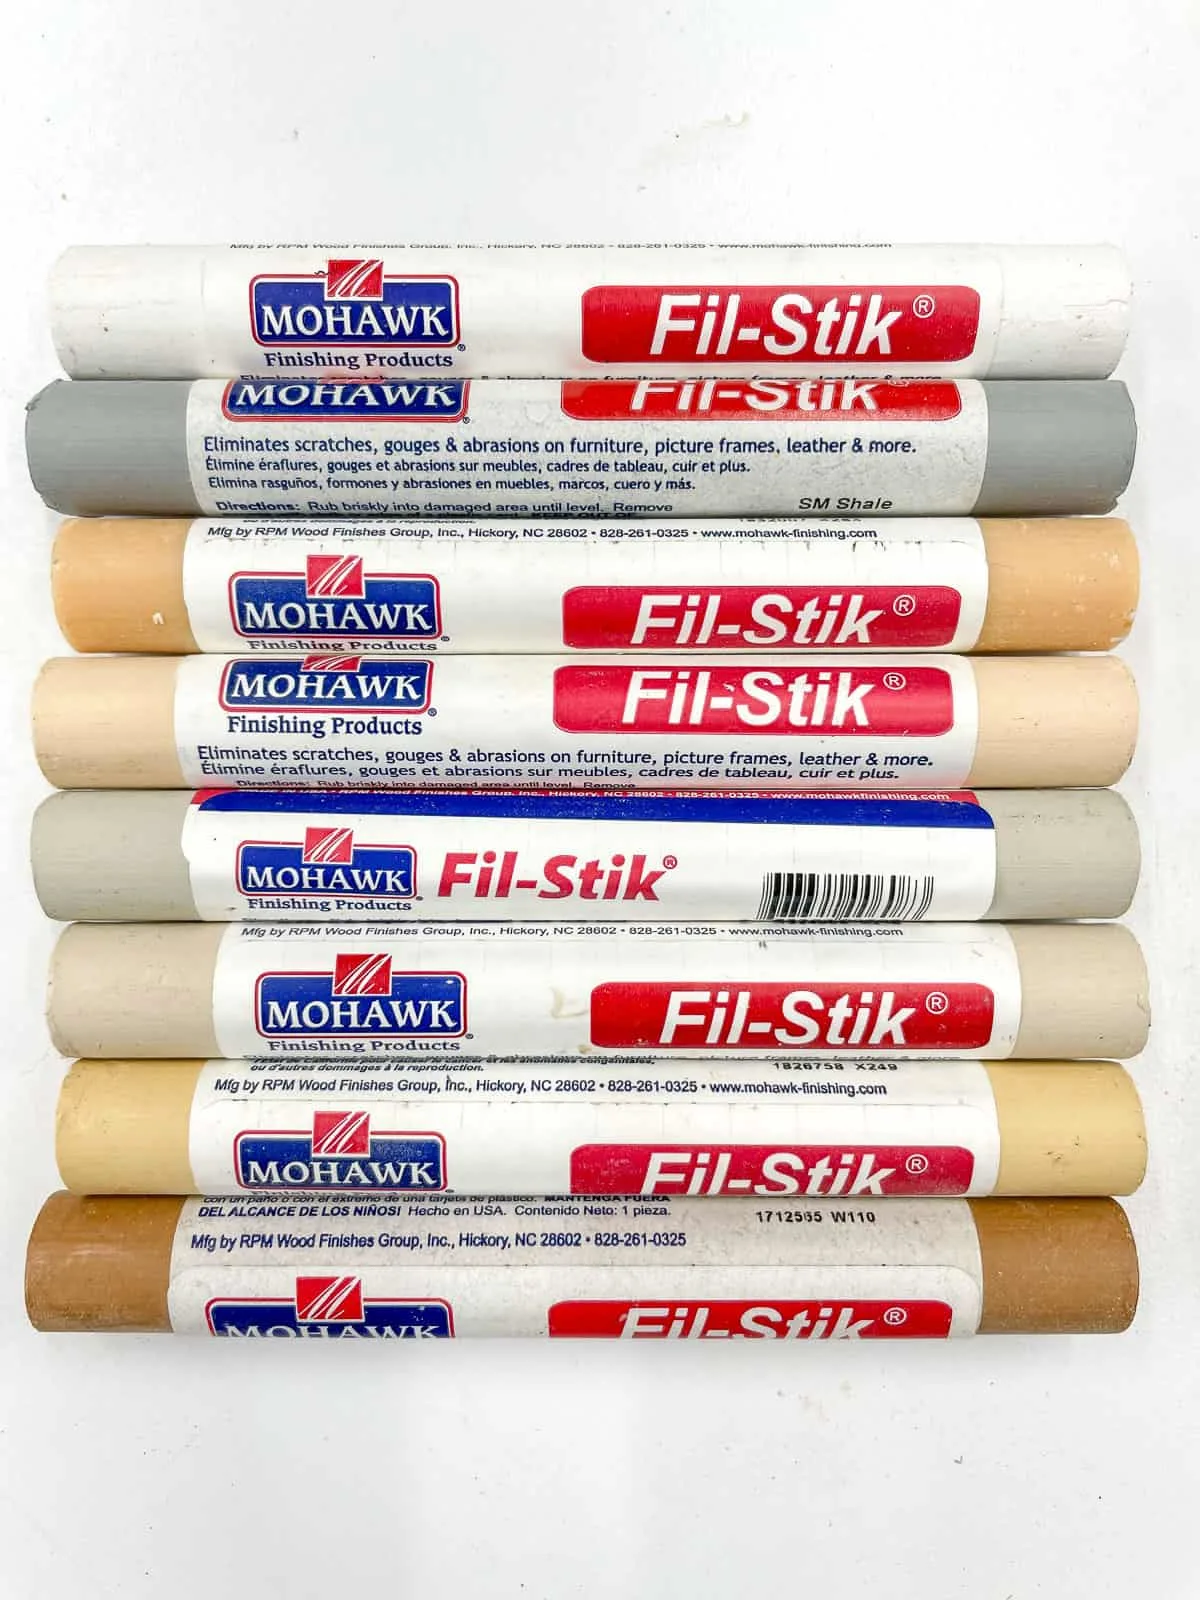
Even "stainable" wood fillers are pretty obvious, so I prefer these wood putty sticks instead. They come in a variety of colors to match your stain, and just rub into the cracks like a crayon!

Now that you know how to use wood filler to repair your mistakes, your woodworking projects will look professional even if you're a beginner! Check out these other tutorials for more tips and tricks!