Want to update your cabinet handles or drawer pulls, but the holes don't match up? Here's how to fill screw holes in cabinet doors easily!

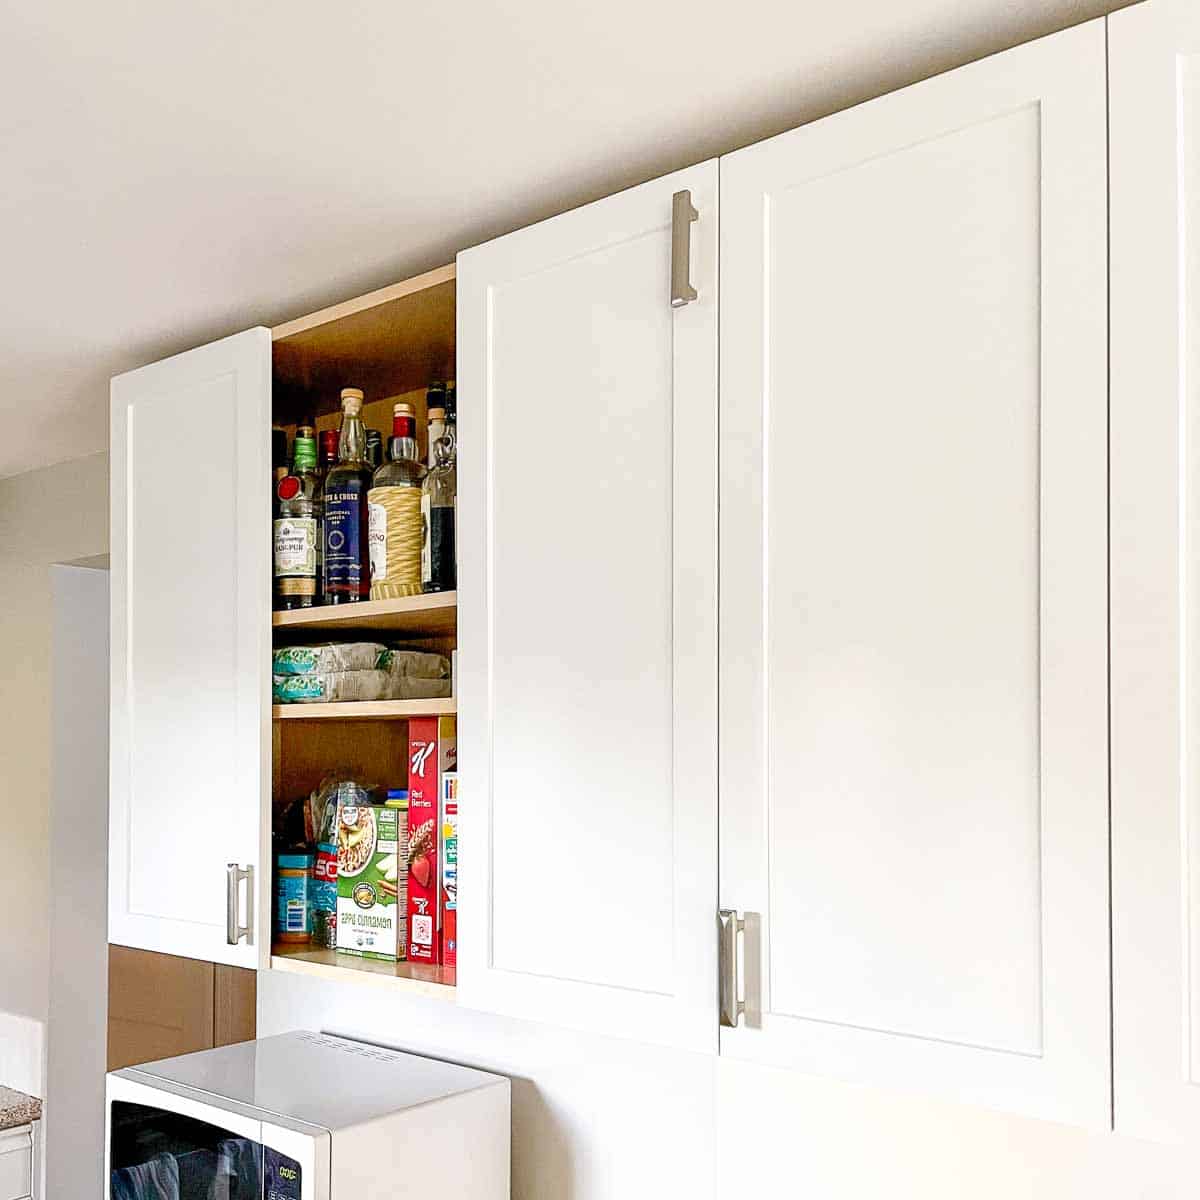
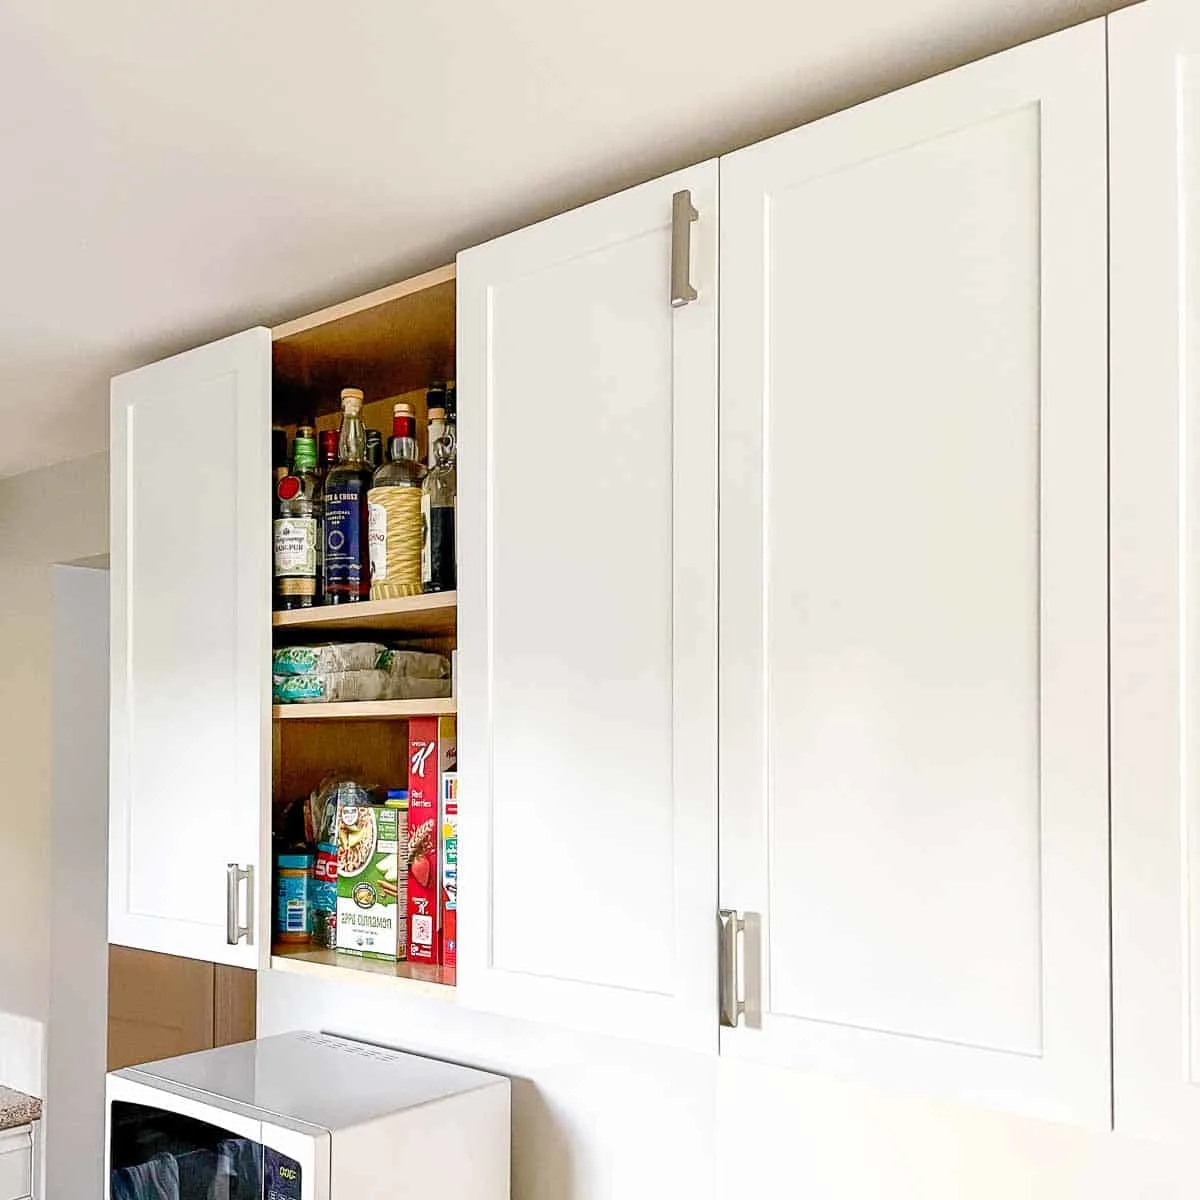
New cabinet hardware is a great way to give your kitchen or bathroom a fresh look without spending a fortune on a full remodel. But what if the old screw holes don't line up with the new door pulls?
Luckily, there's an easy fix! I'll show you how to fill screw holes in cabinet doors and make them disappear!
This post contains affiliate links for your convenience. Purchases made through these links may earn me a small commission at no additional cost to you. Please visit my disclosures page for more information.
Tips for Filling Holes in Cabinet Doors
I made a huge mistake when drilling the screw holes for my new DIY cabinet doors. I accidentally paired a larger door with a slightly smaller one that was meant for the adjacent cabinet. When I installed the door, the handle was on the top!
Luckily, I had just finished painting the doors and hadn't put my supplies away yet. It only took a few minutes to fix the problem (although I still had to wait a day for the paint to dry).
Do you have stained wood cabinet doors? Check out the video below for tips on filling screw holes in natural wood.
Remove the doors and unscrew the handles
It's much easier to work with the cabinet doors on a flat surface. Pop them off the hinges and place them on your work table. You can just drape a drop cloth over your dining table or set a few 2x4s across two sawhorses.
Use a screwdriver to back out the screws holding the pulls or knobs in place. I prefer to save all my old hardware for future projects, but you can also donate them to places like Habitat for Humanity if you don't want to keep them.
Sand the holes flat
If the original door hardware has been in place for years, there's probably some gunk surrounding the holes. In my case, there was just a bit of paint that pulled up when the screw was removed.
Use a sanding block with 120-150 grit sandpaper to smooth out the surface around the hole so it's flush with the surrounding wood on both sides of the door.
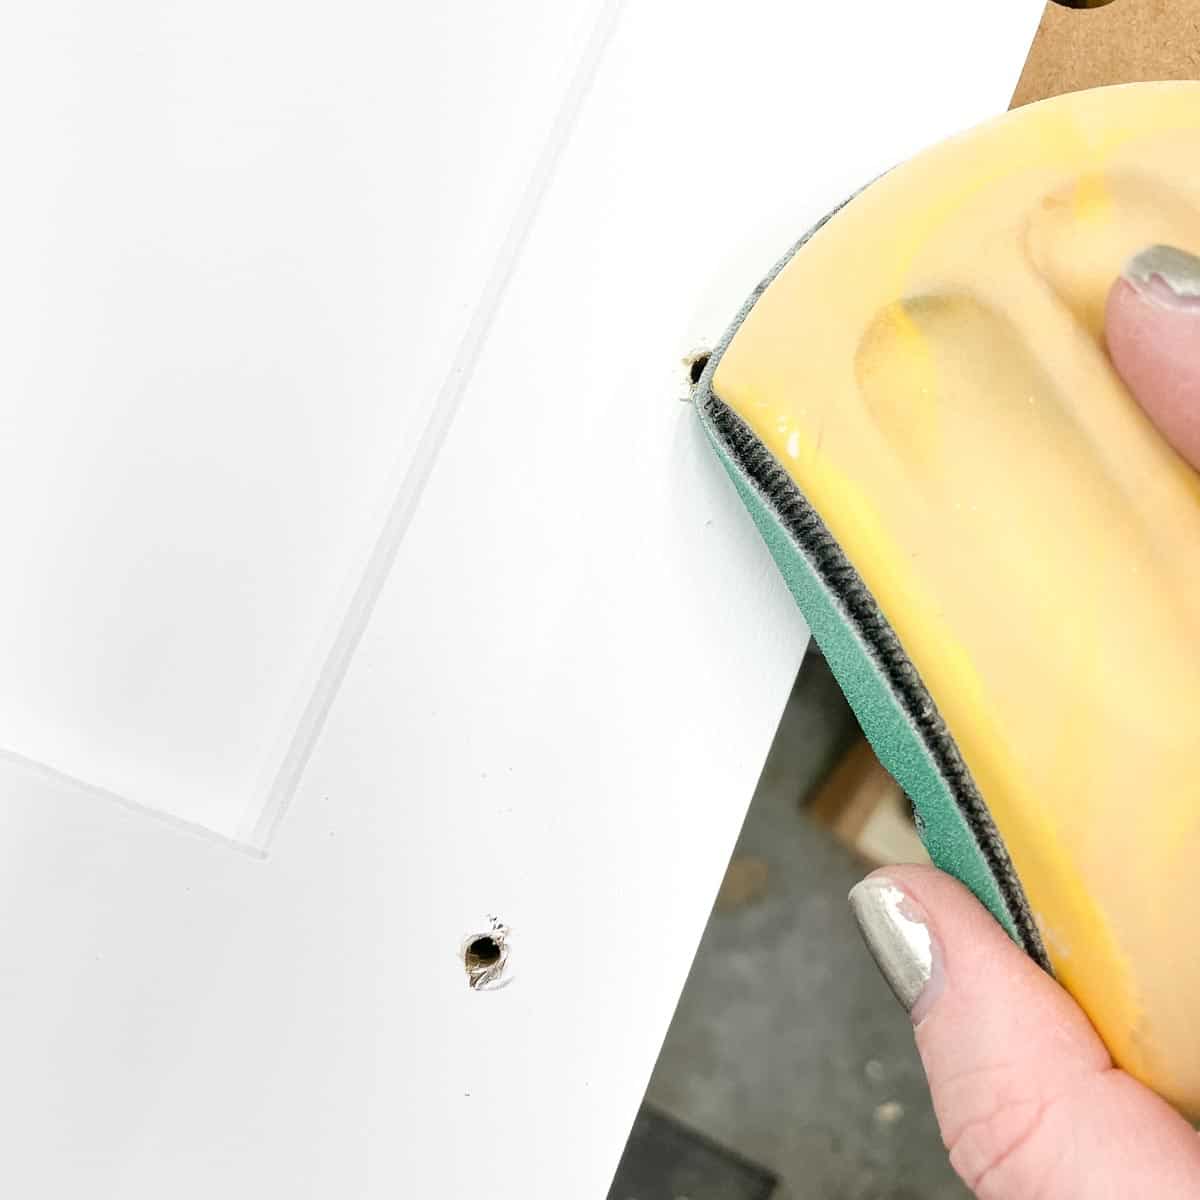
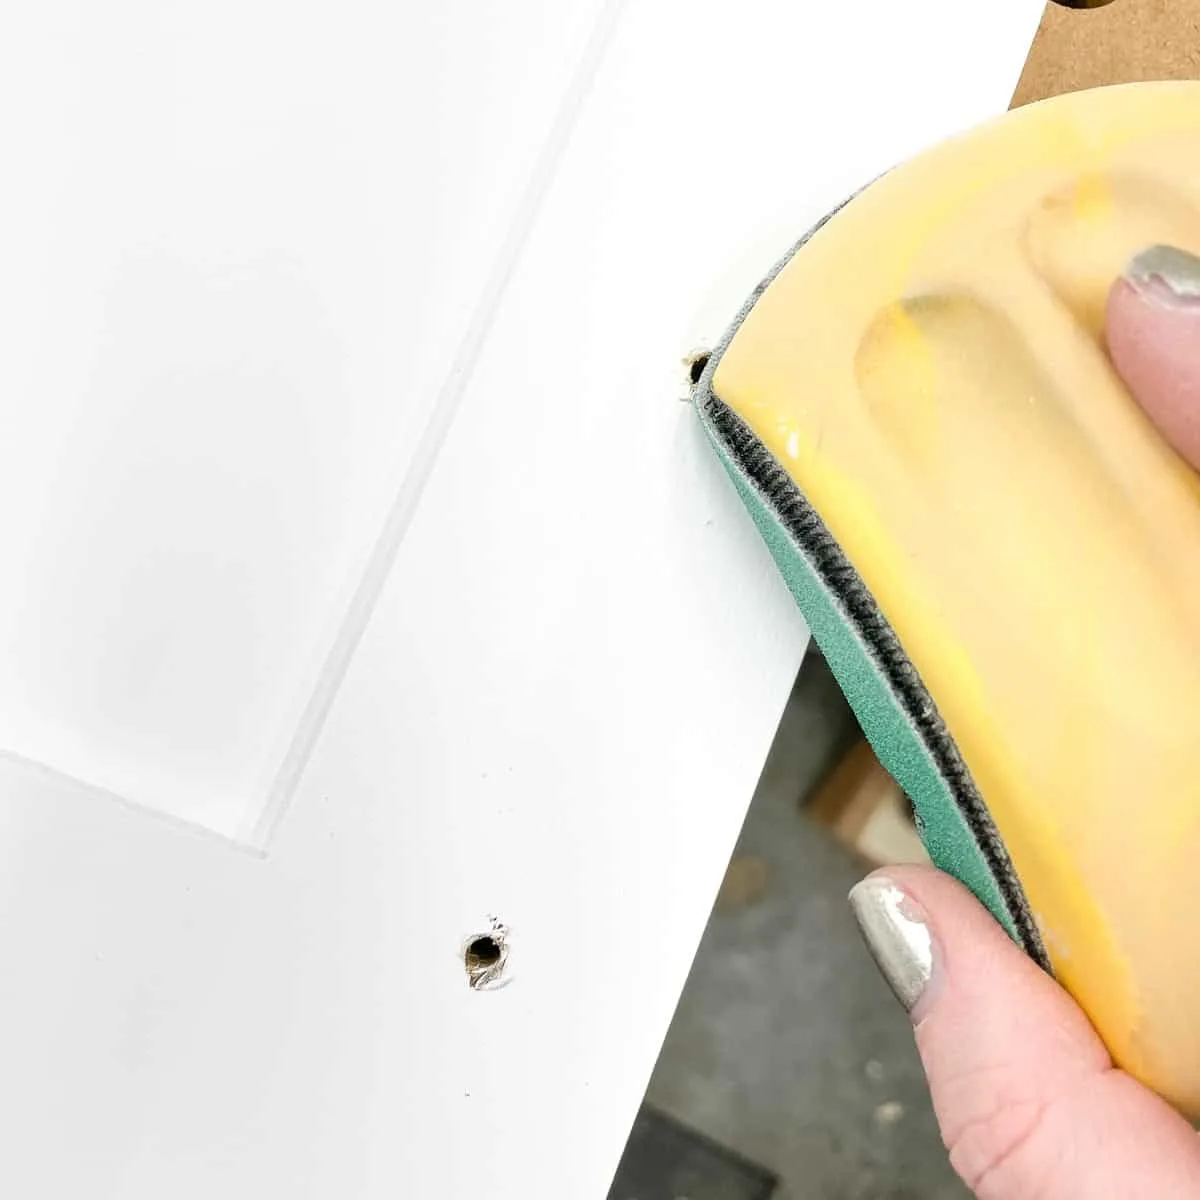
Wipe away all the dust and debris from the surface with a microfiber cloth or tack cloth.
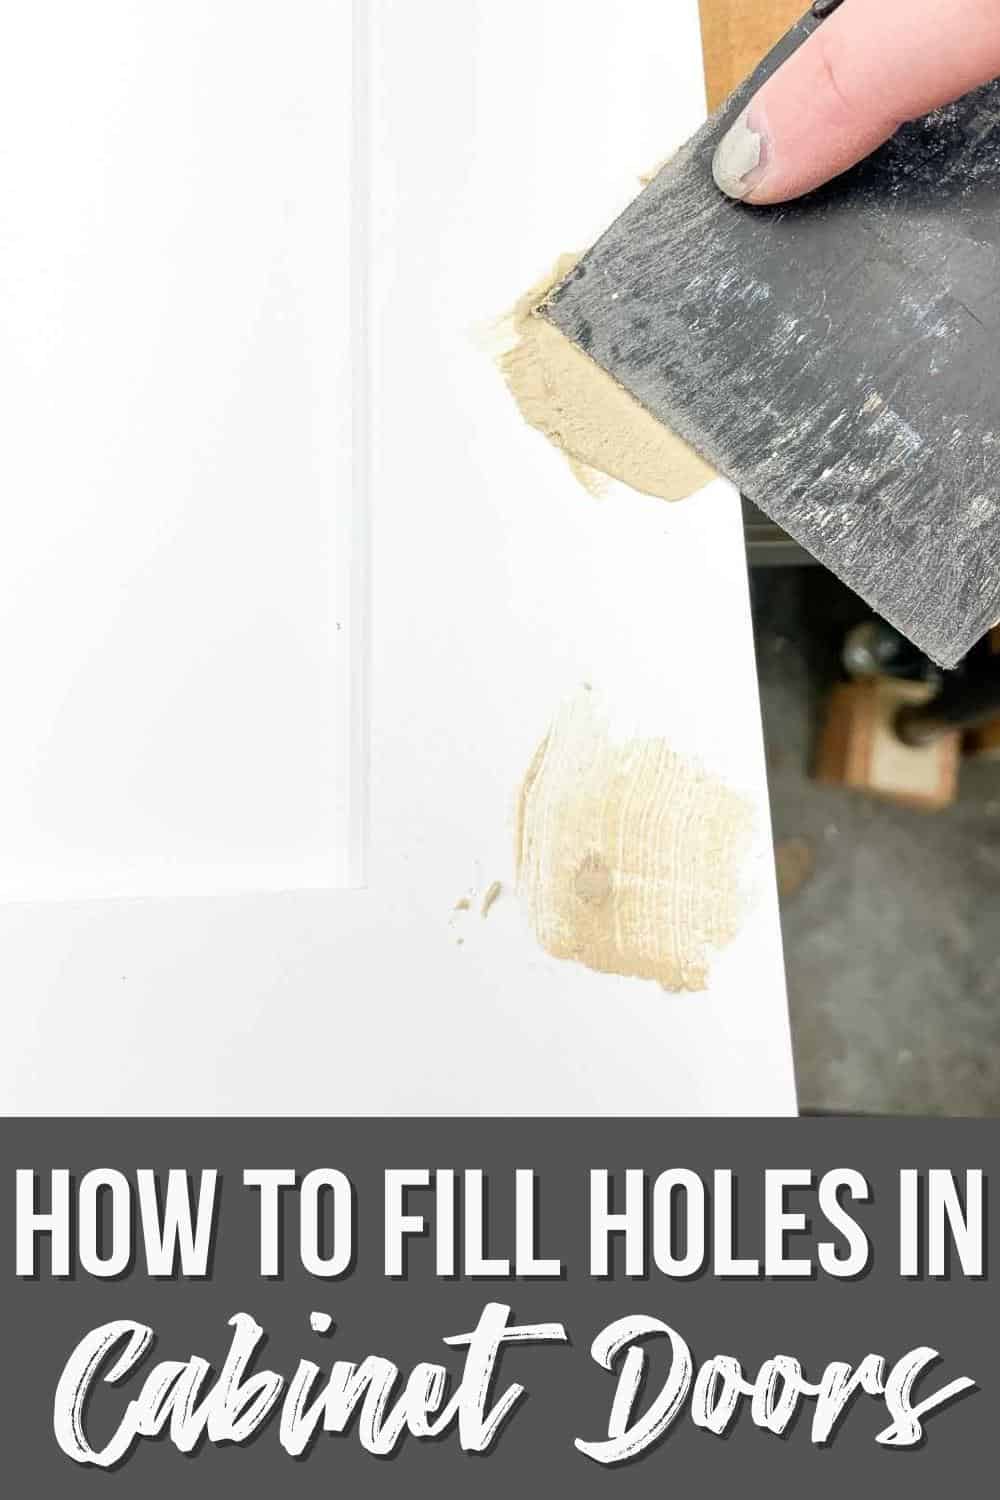
Fill both sides of the hole
Using a plastic putty knife, spread wood filler into the screw hole on both sides of the door. Overfill the hole slightly so you can sand it flush when it dries. Wood filler is better for painted surfaces than putty (yes, there's a difference!)
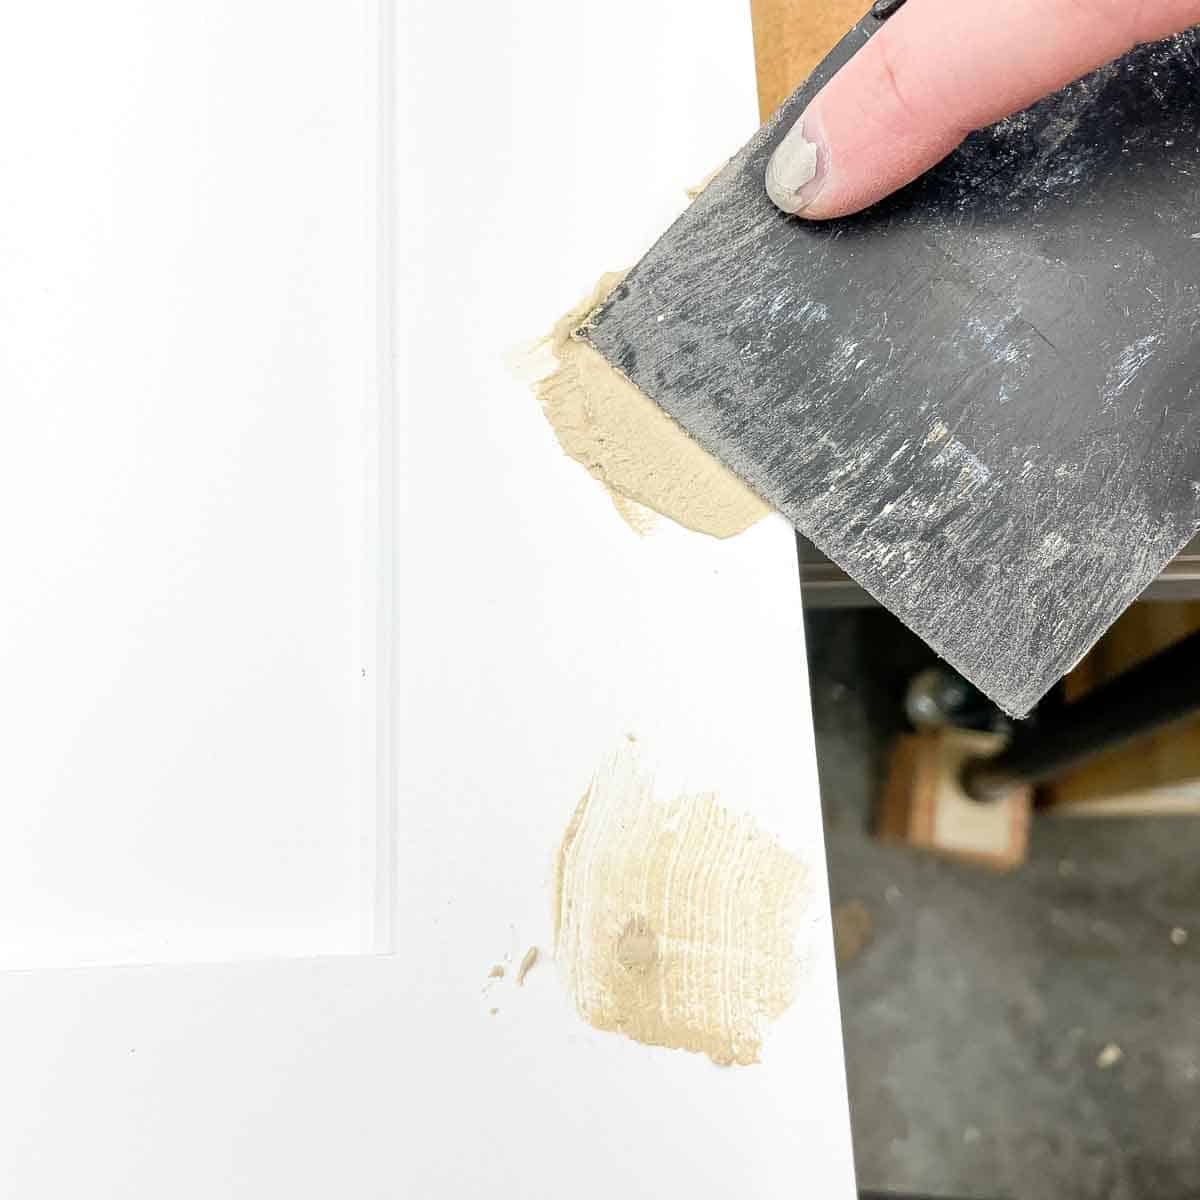
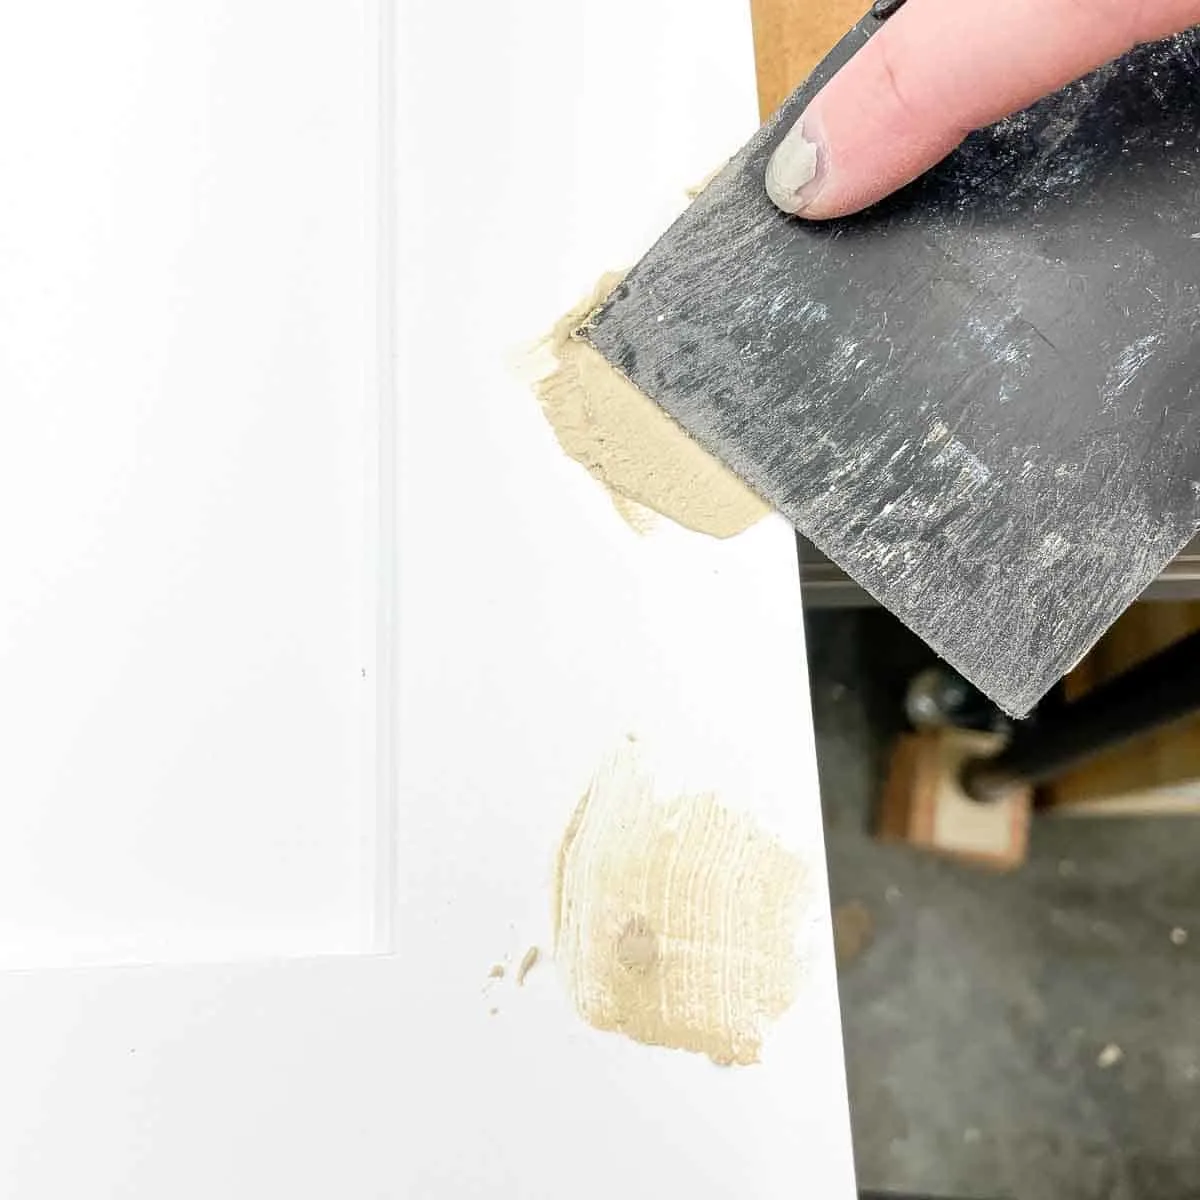
Allow the wood filler to dry for at least a few hours. I find that it sands better if I let it dry overnight, but sometimes I get impatient!
Sand the wood filler smooth
Once the wood filler is dry and hard, sand the surface smooth with 220 grit sandpaper. Move in random circles so you don't leave scratch marks that will show up through the paint later.
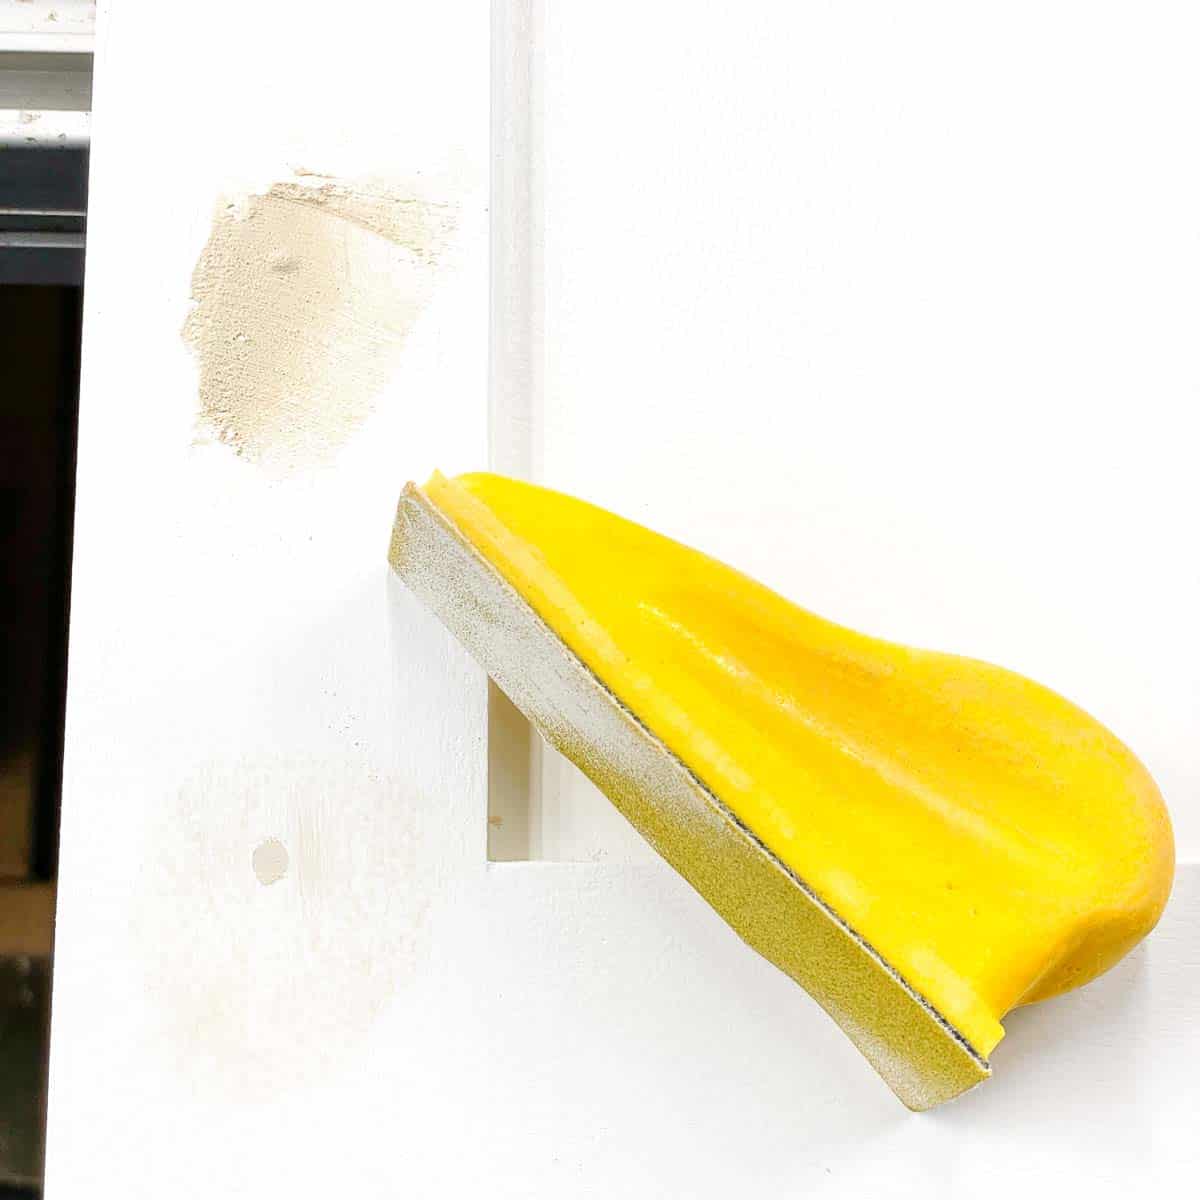

After sanding, feel the patched area with your finger. If you can detect any difference between the hole and the wood, apply a second layer of filler and repeat the process. Even the slightest dip in the surface will show up through the paint!
Paint over the holes
If you previously painted your cabinet doors yourself, use the same paint to touch up the filled screw holes. But what if you have no idea what color your doors are?
Don't worry! There's an easy solution! Take your cabinet door to your local home improvement store. The paint department has a machine that can scan the door and color match it perfectly! Be sure to match the sheen as well so you don't end up with a shiny or dull spot.
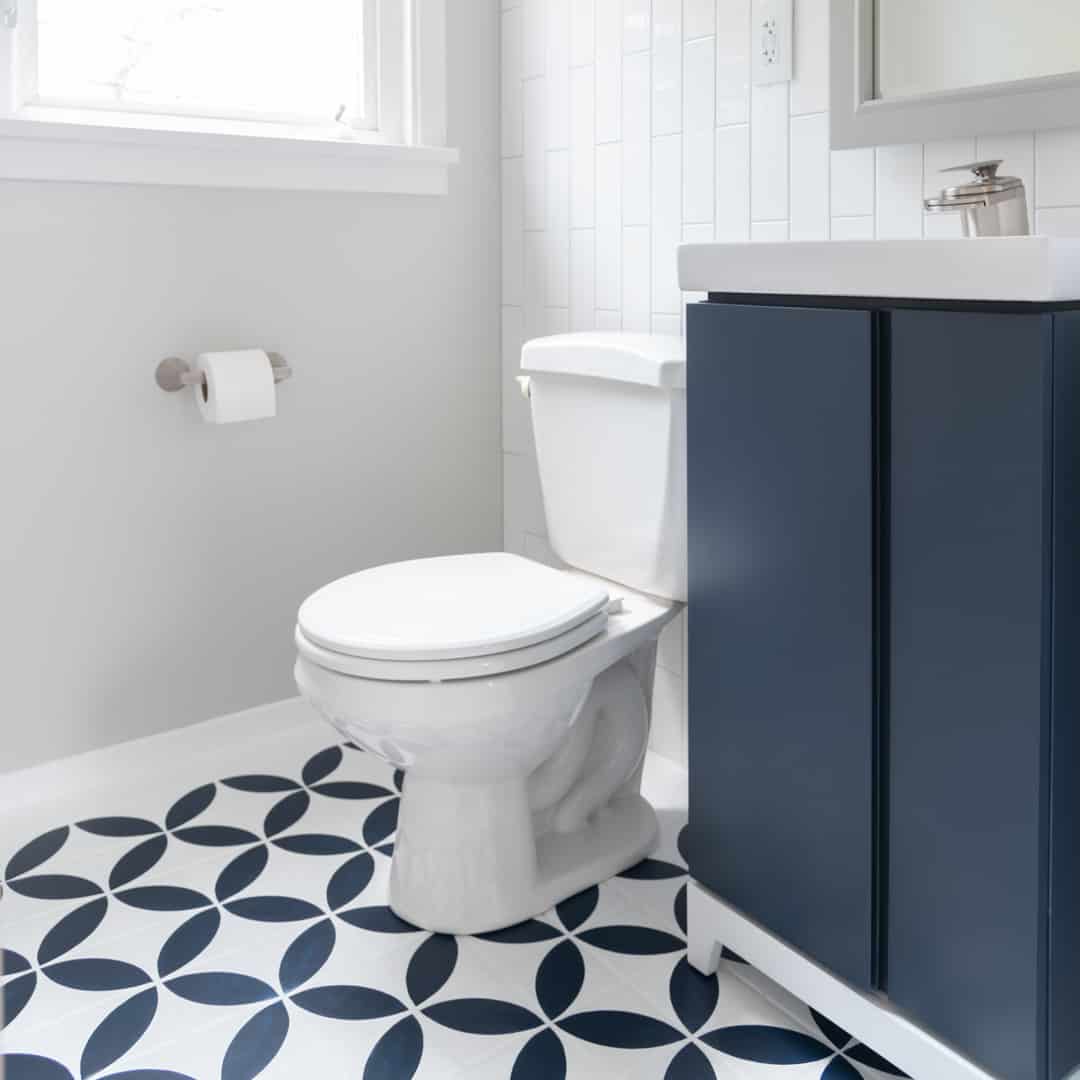
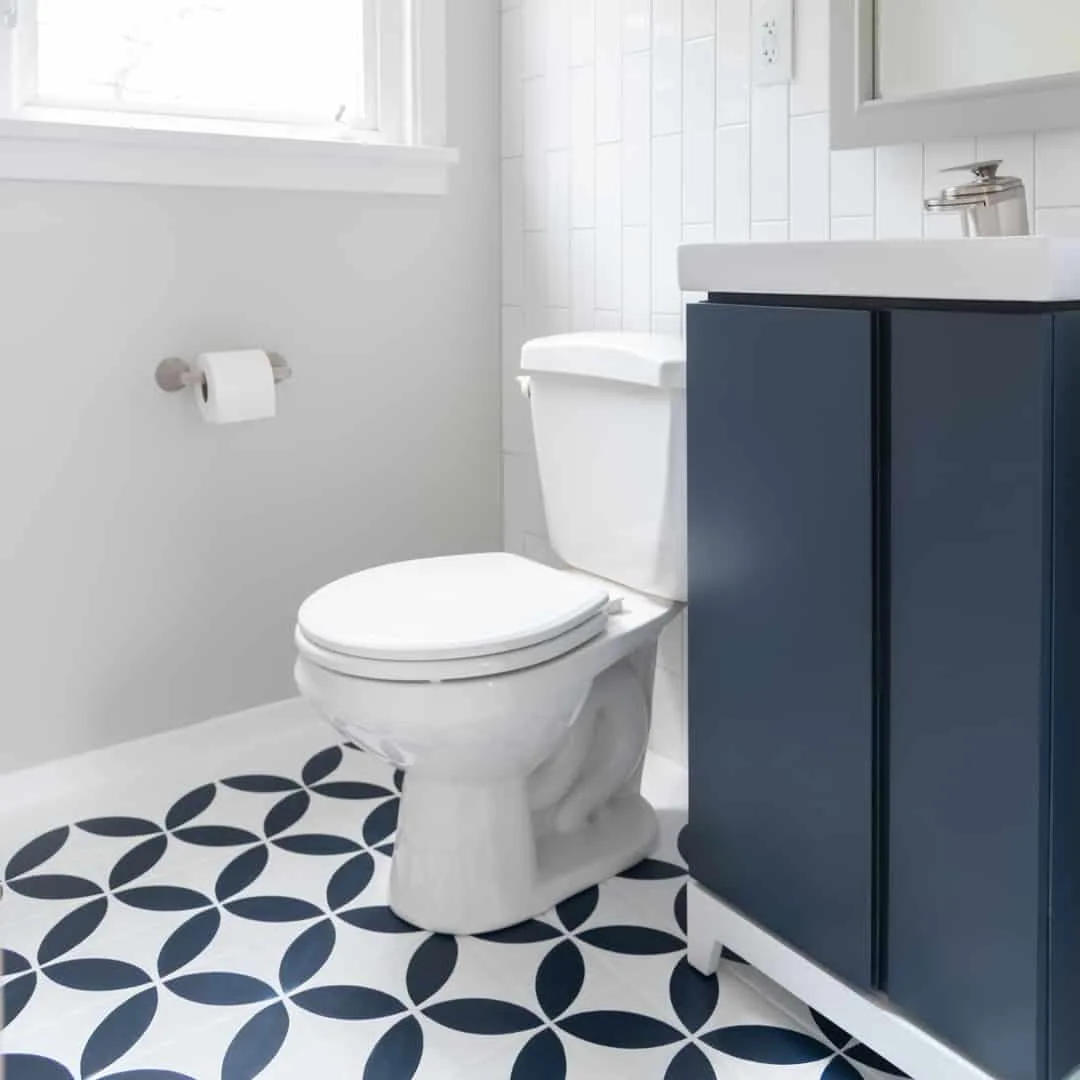
I used this trick when I painted a stencil on my bathroom floor. They were able to color match the vanity door and it turned out perfect!
You don't have to repaint the entire door. Just spread some paint over the old screw holes with a brush. Don't forget to paint the back too! You can do both sides at the same time by propping up the door on painter pyramids or hang the painted area off the workbench so you don't smudge the bottom.
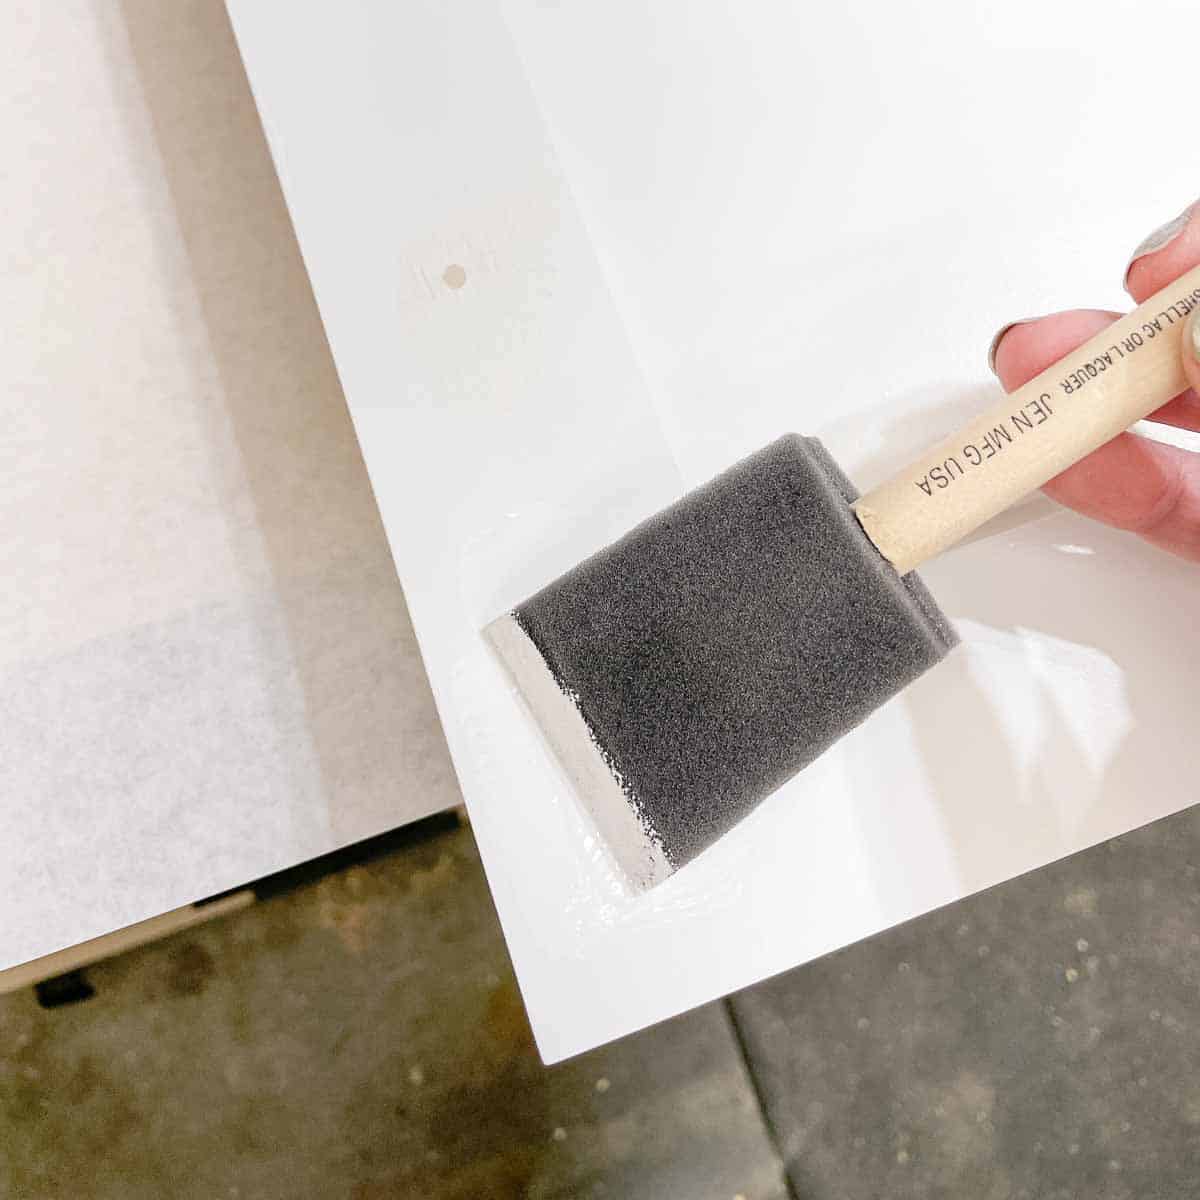
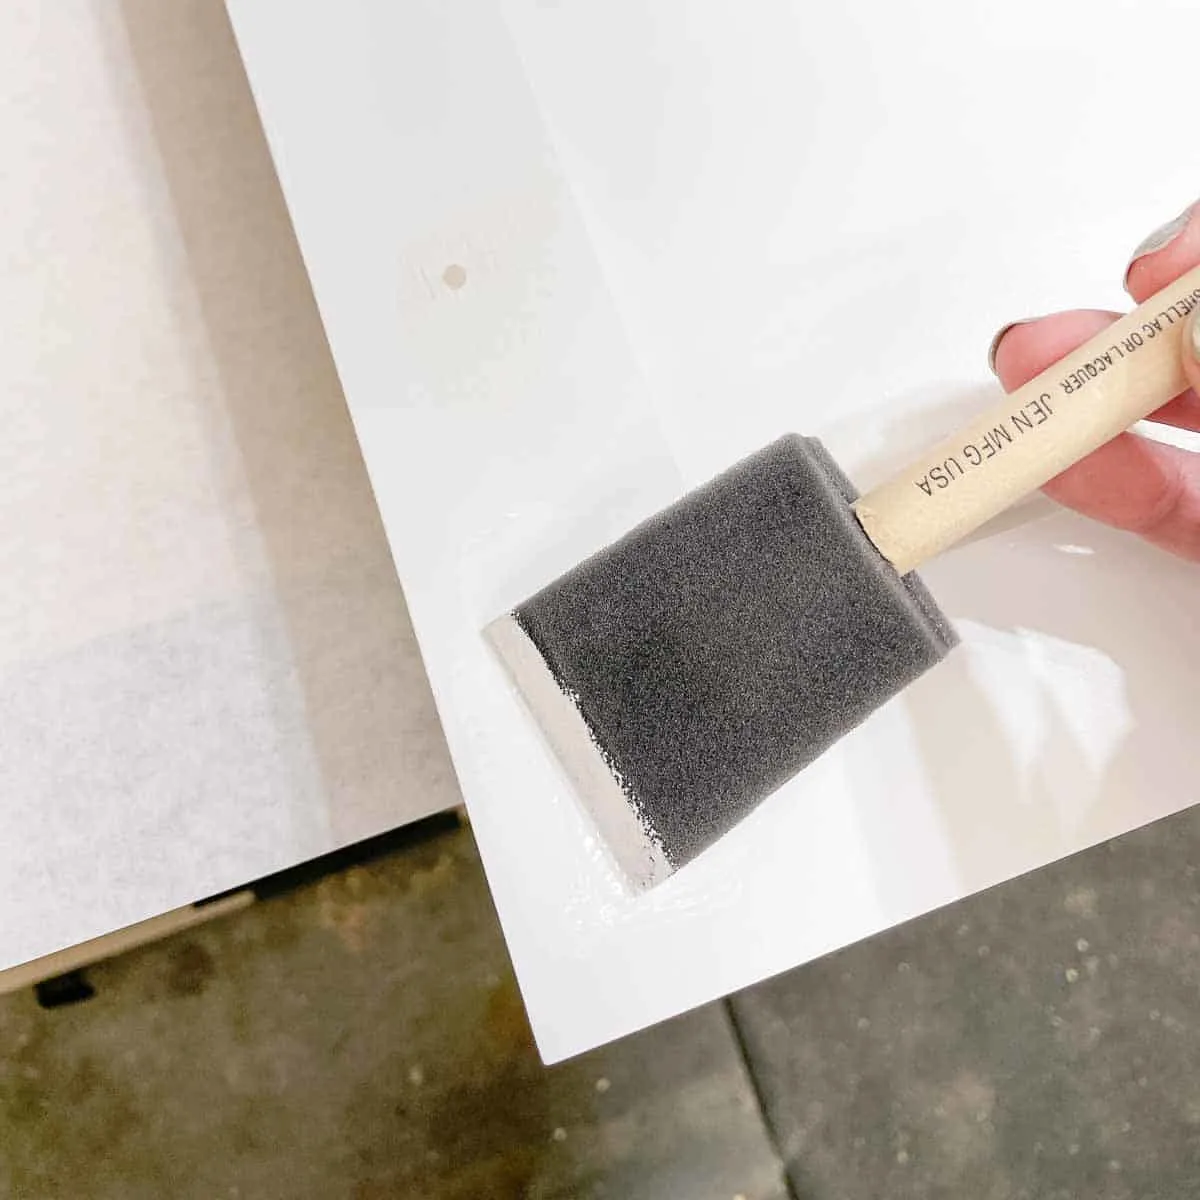
I prefer to smooth out the paint with a dry foam roller to remove any brush strokes. This helps the paint self-level faster and looks more like the sprayed-on factory finish.
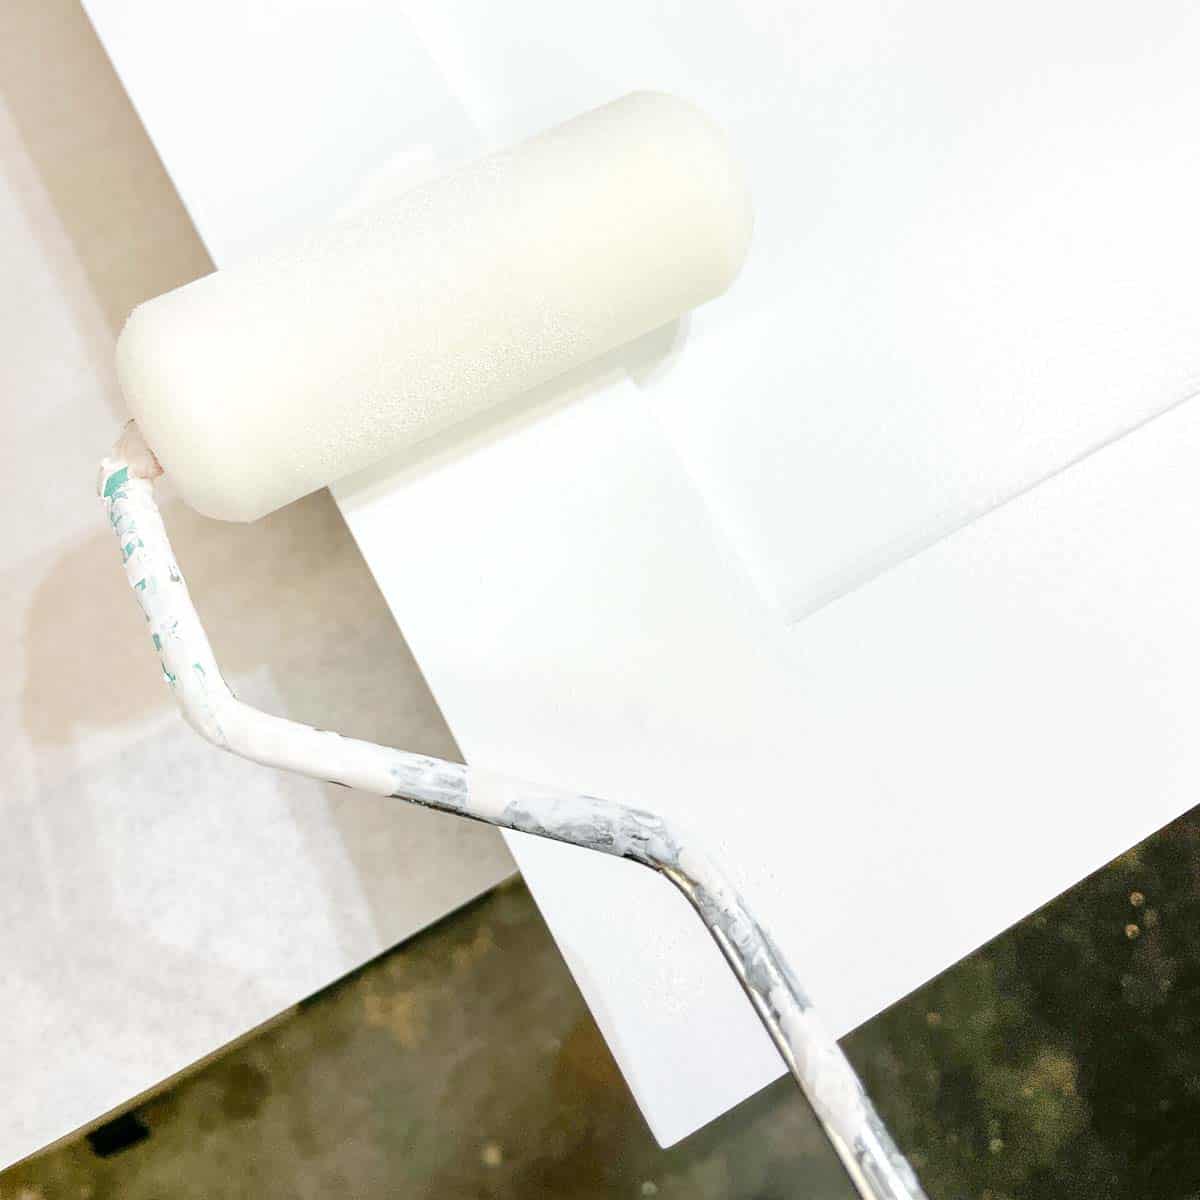
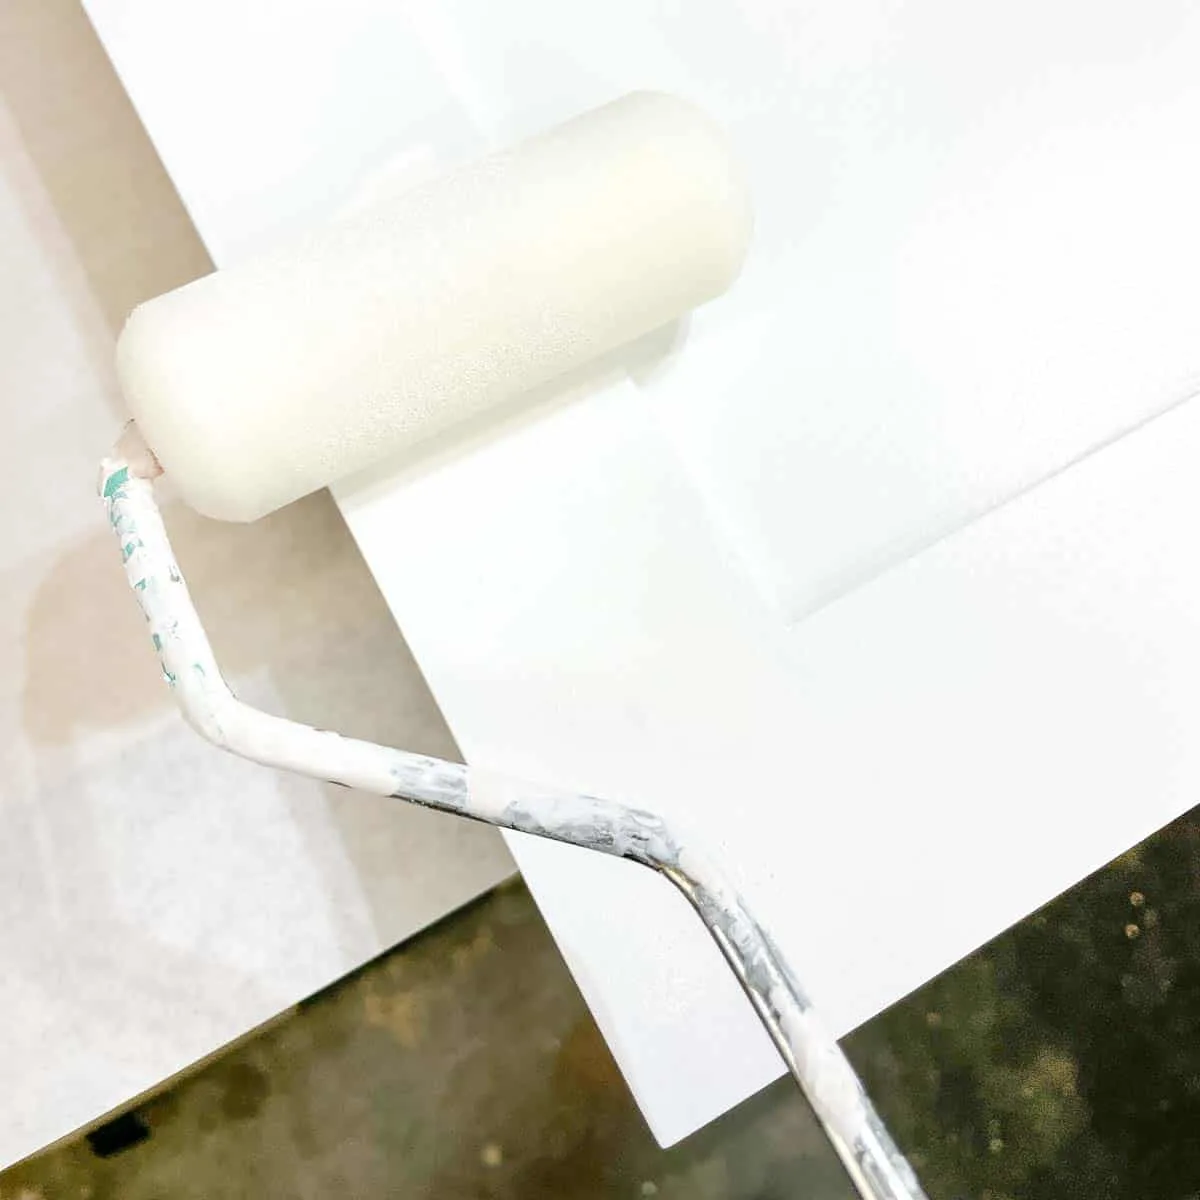
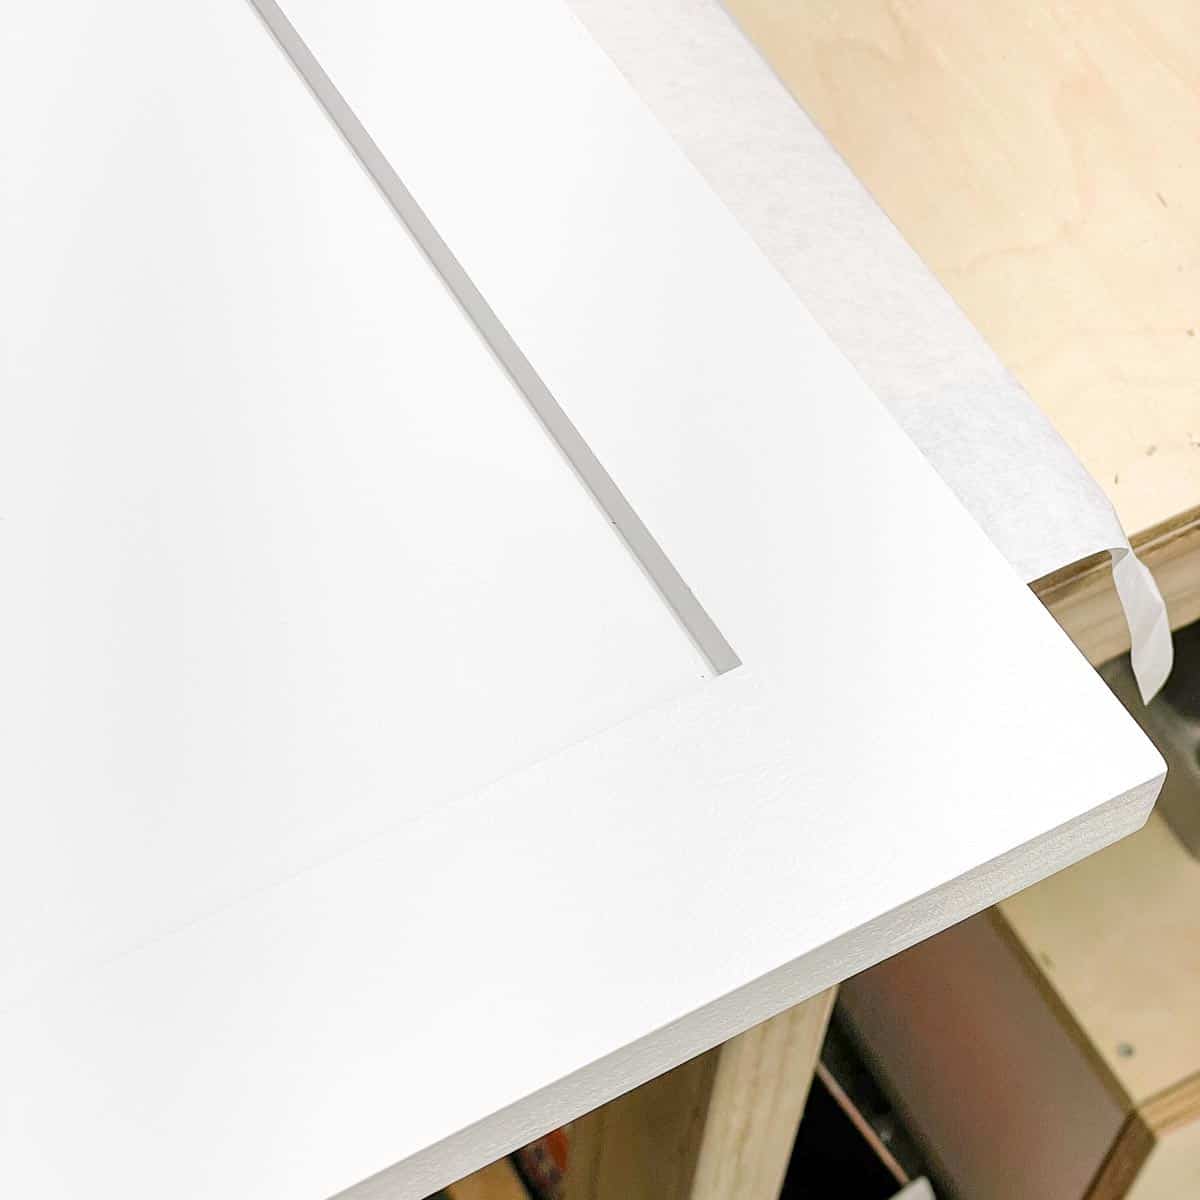
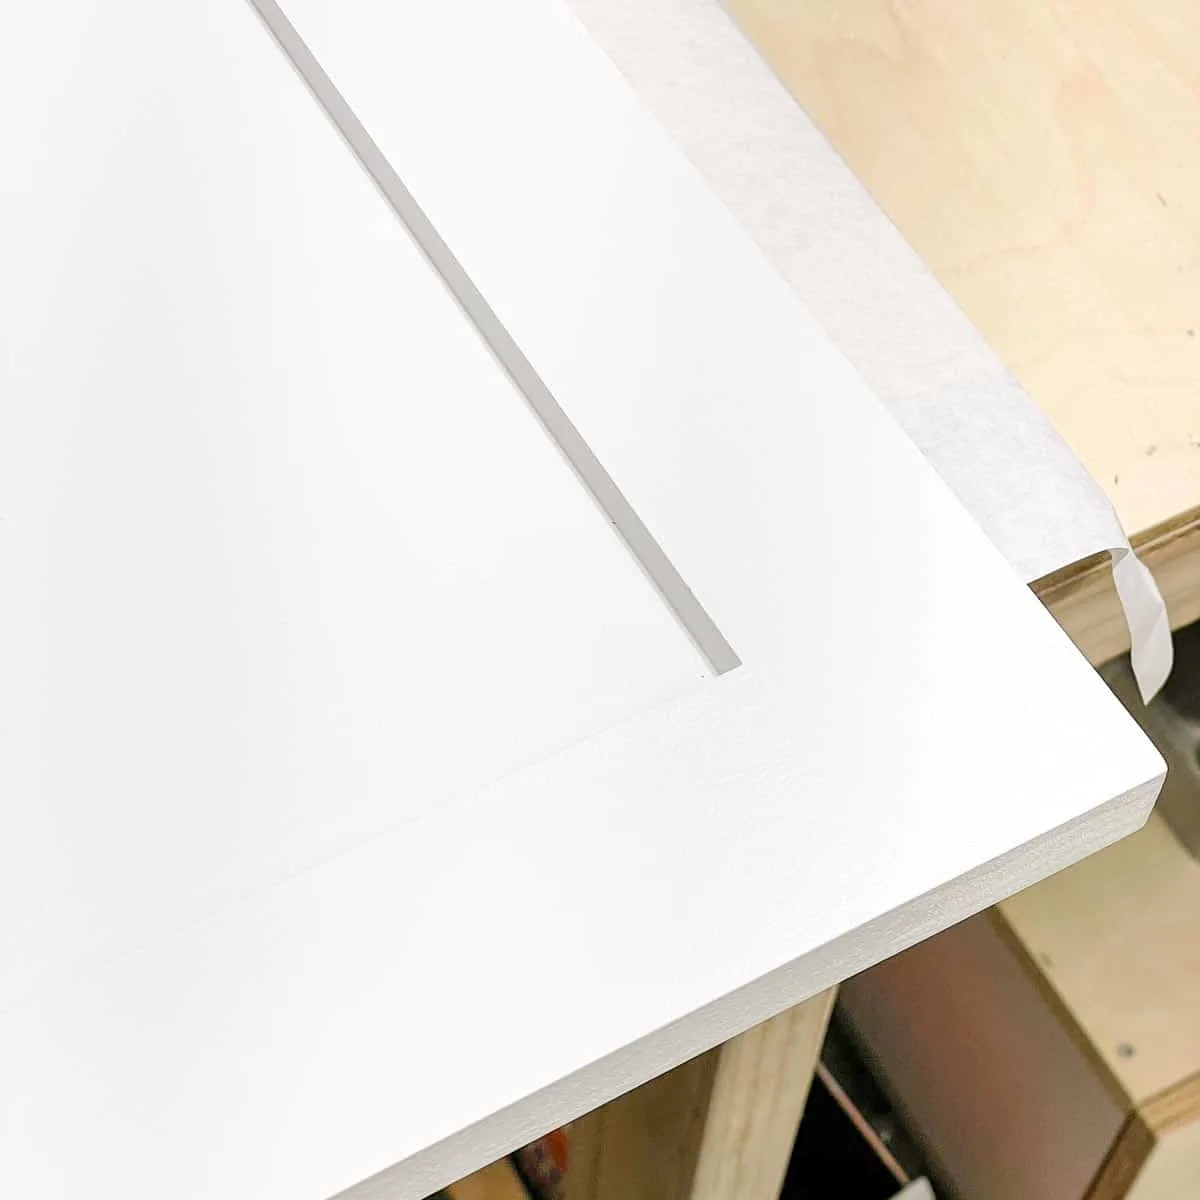
You can still see the wood filler through the first coat of paint, but don't try to add more layers while it's still wet! Check the label on the paint can for the appropriate recoat time and reapply when the paint is dry. It took me three coats to get it to the point where you couldn't see the screw holes anymore.
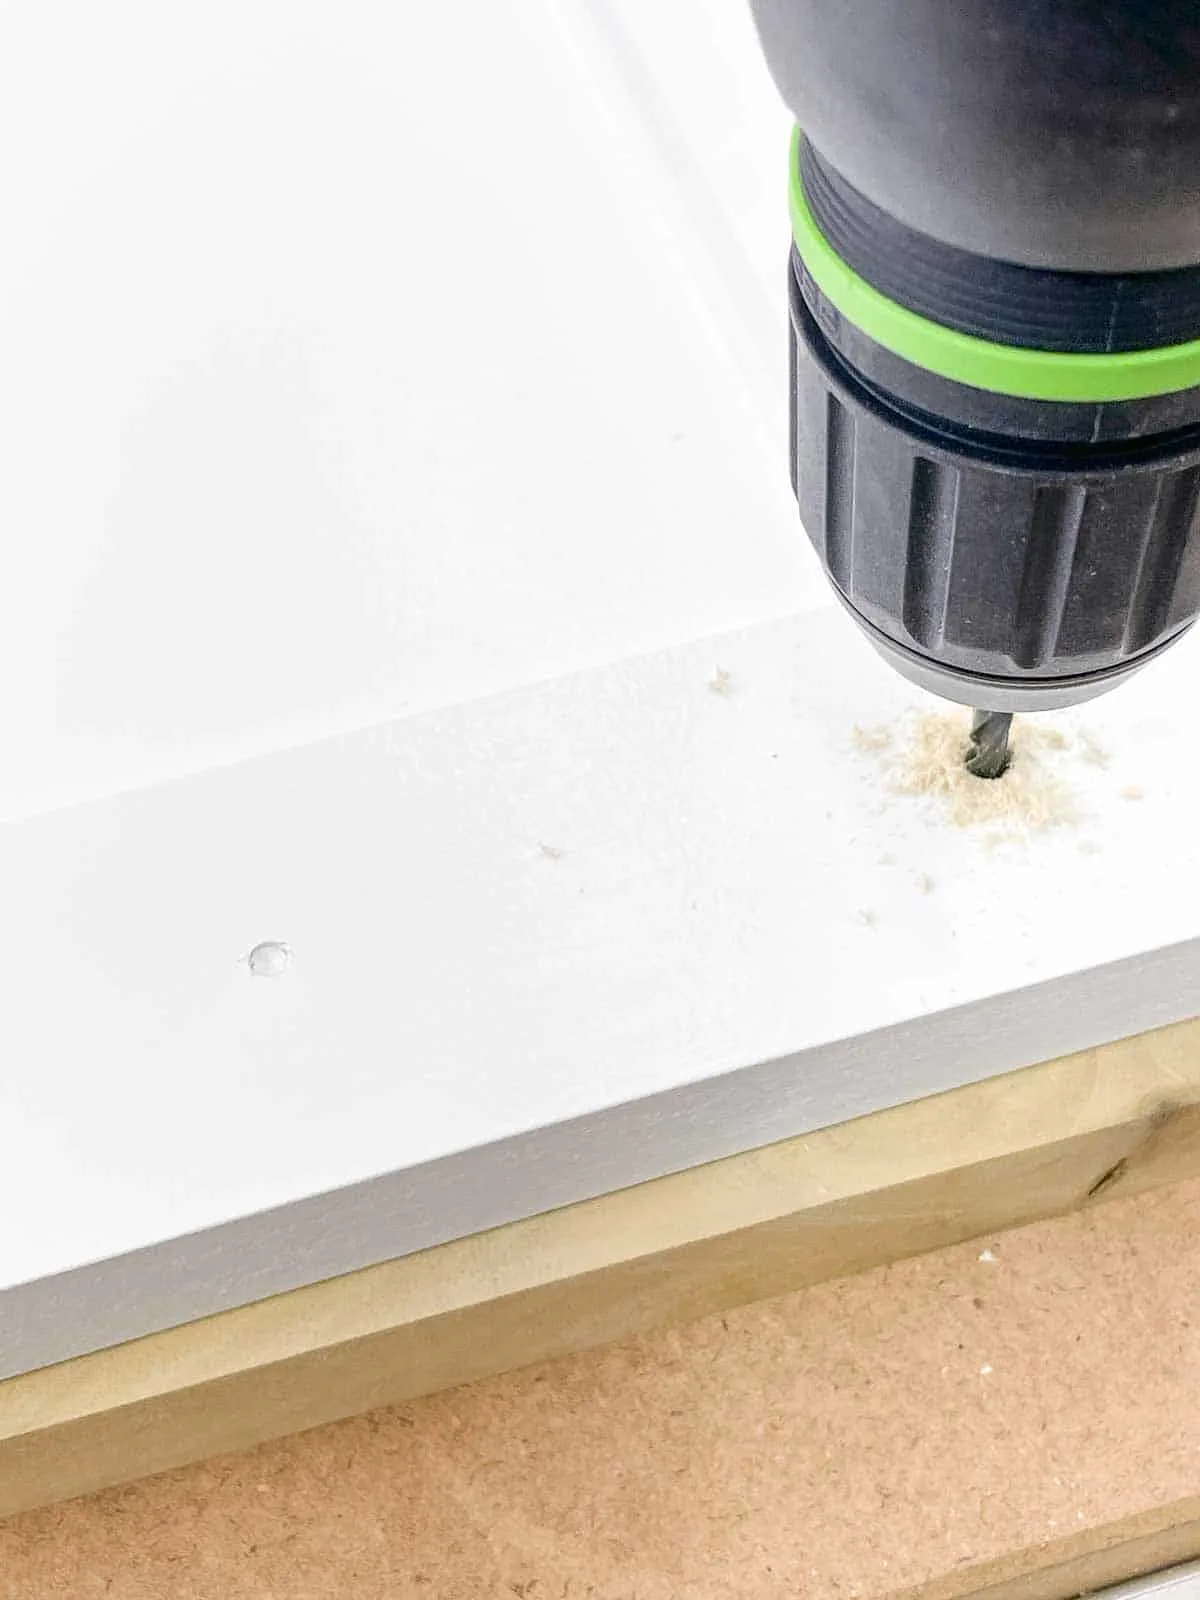
Drill the new handle holes
Now your cabinet doors are ready for new handles!
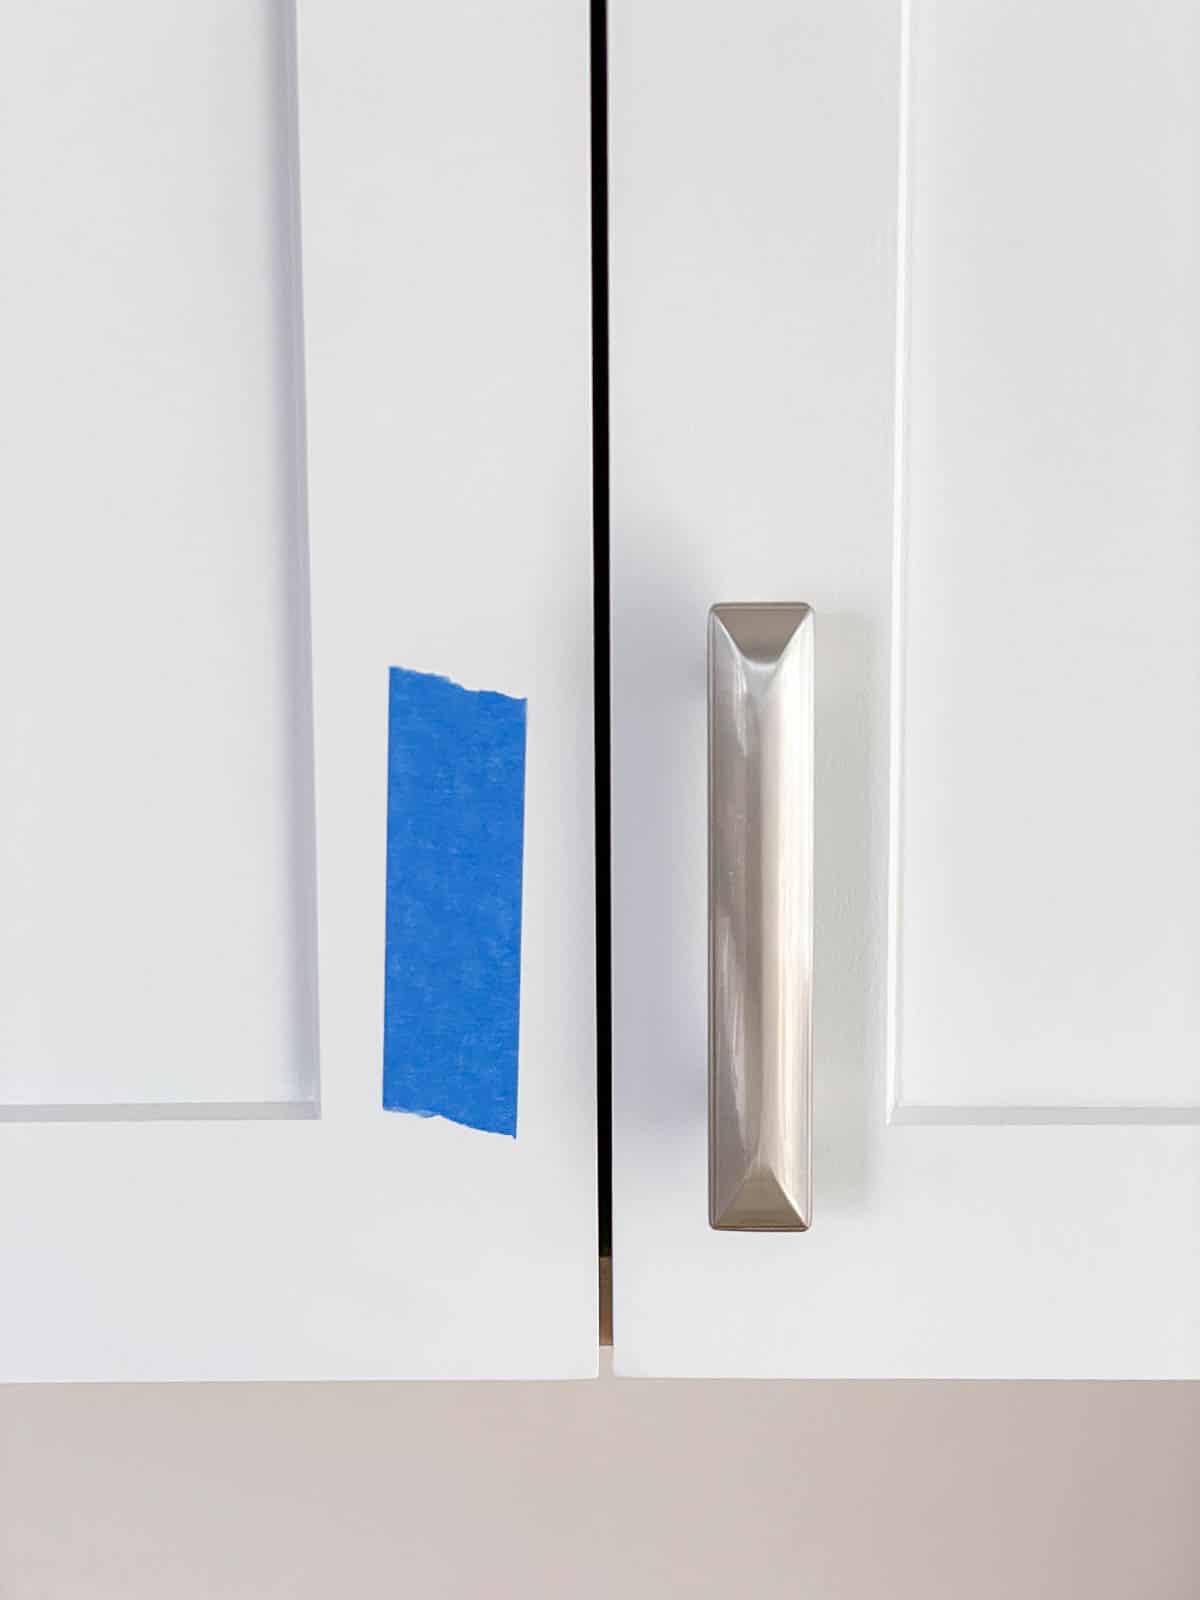
To avoid mixing them up yet again, I installed the doors on their hinges before drilling anything. Then I marked the new door handle locations with painter's tape.

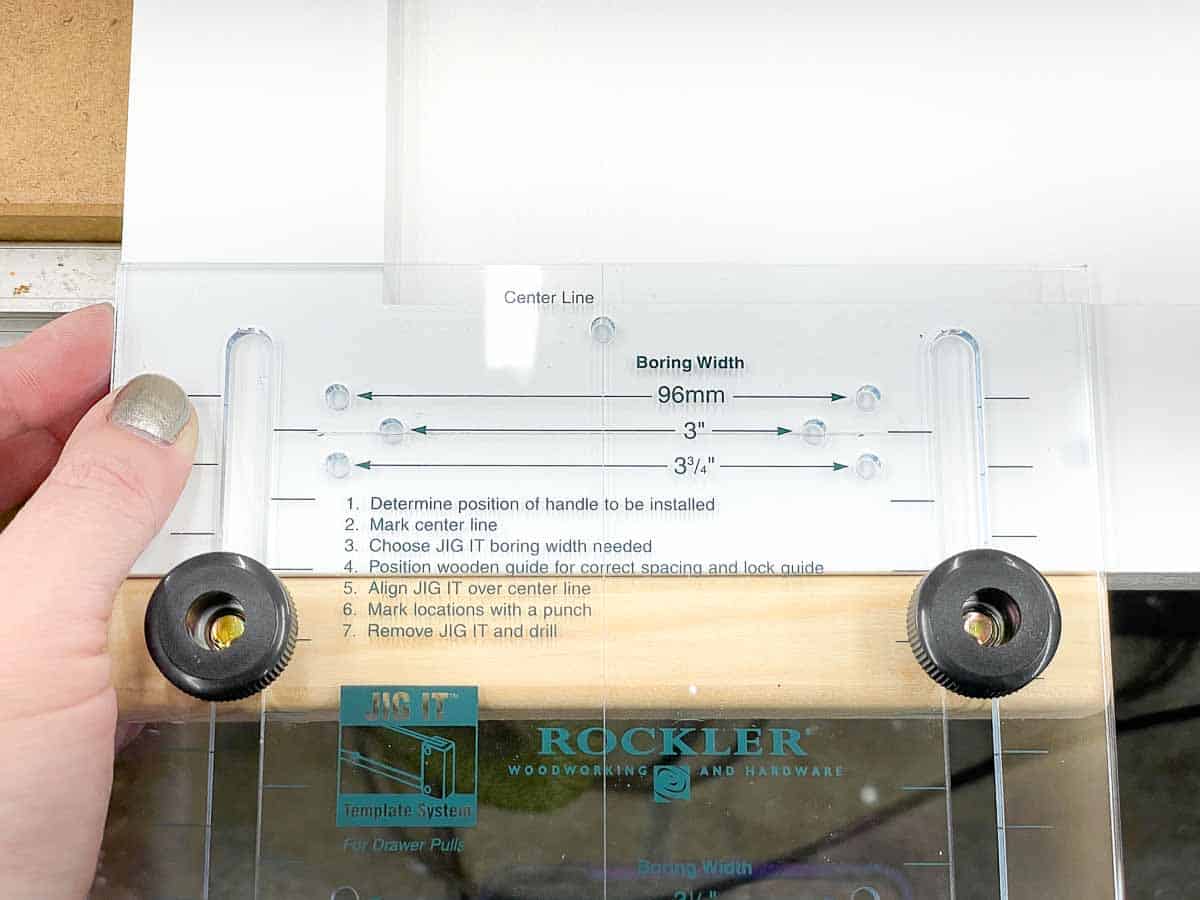
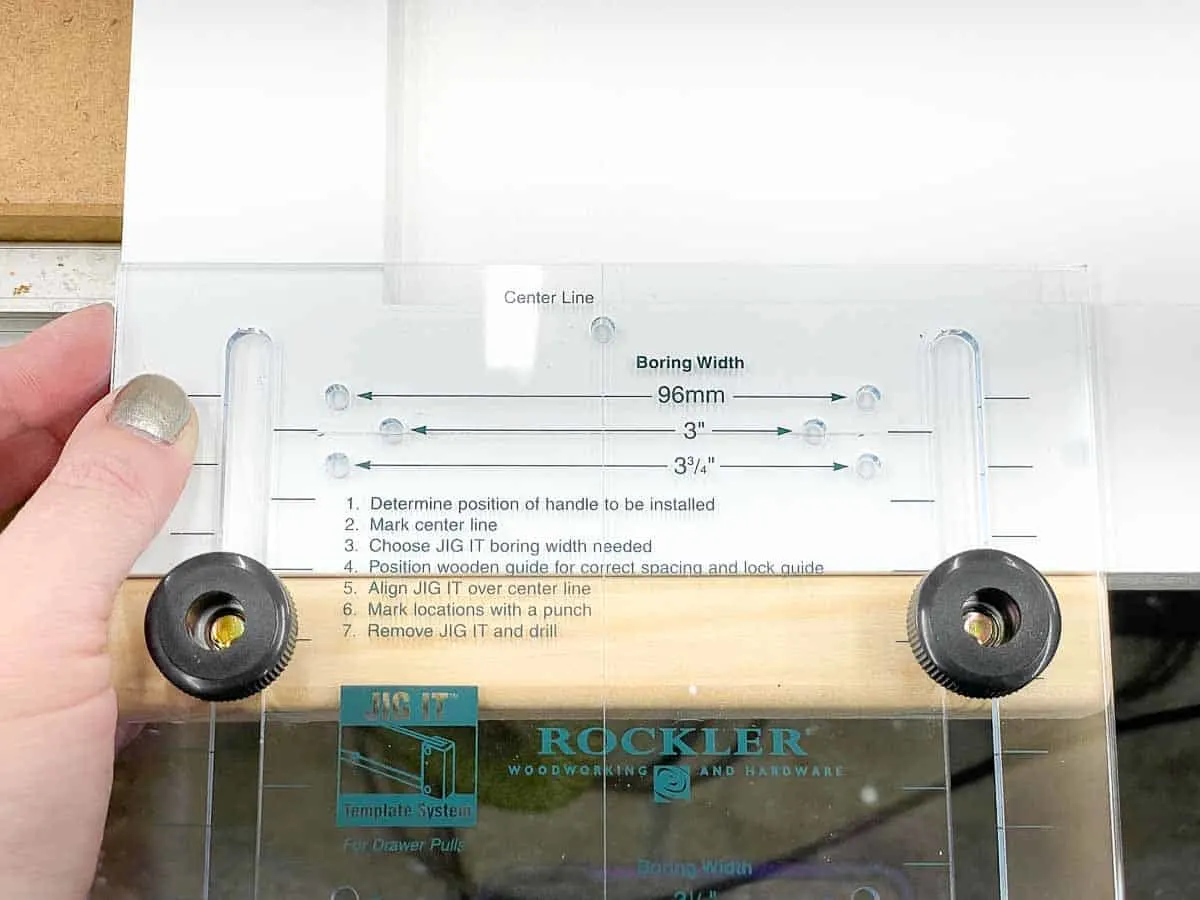
I recommend using a cabinet hardware jig to accurately mark the position of the new handles. Use the bottom of the door as a reference edge. I used a center hole punch to make a divot in each hole so the bit doesn't wander, but you could also just use a pencil.
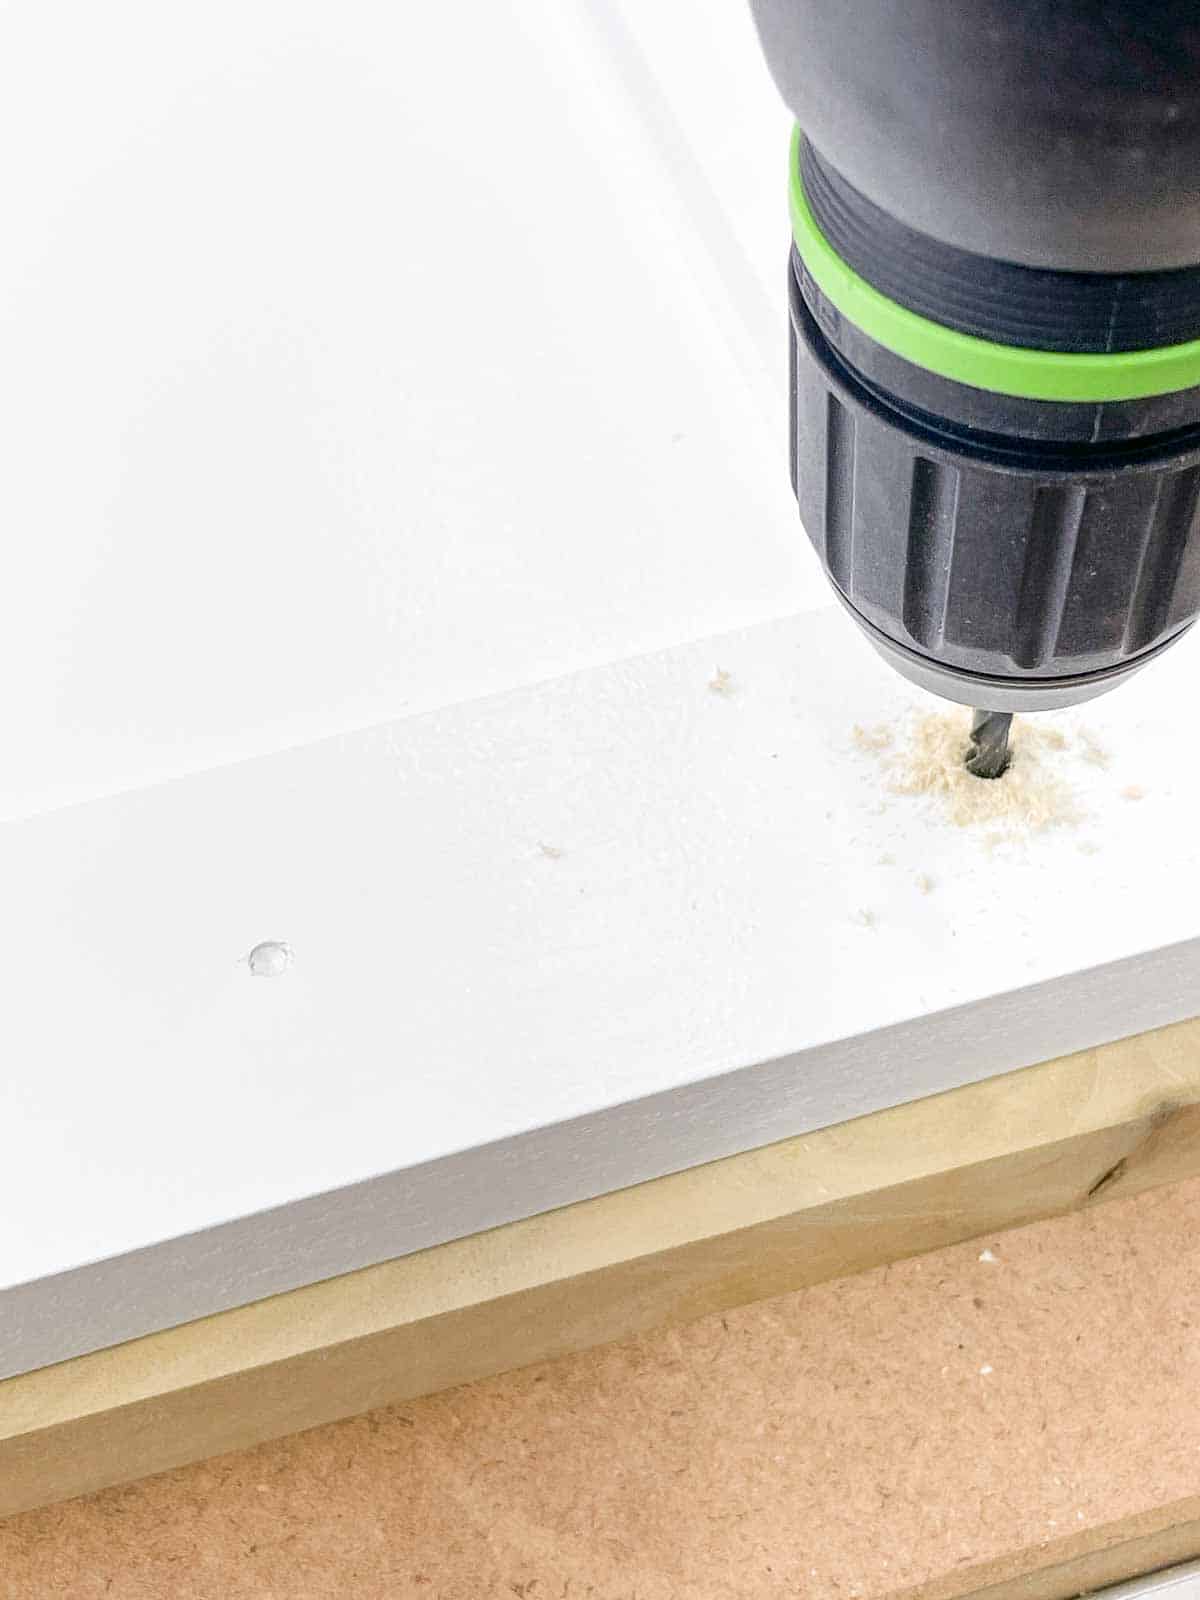
Use a drill bit that is the same size as the handle screws to make the holes. Drill from the front of the cabinet towards the back, and use a scrap piece of wood underneath to prevent tear out.
Install the new cabinet handles
Now you can attach the new cabinet handles! Just poke the screw through the hole in the back, and tighten them with a screwdriver.
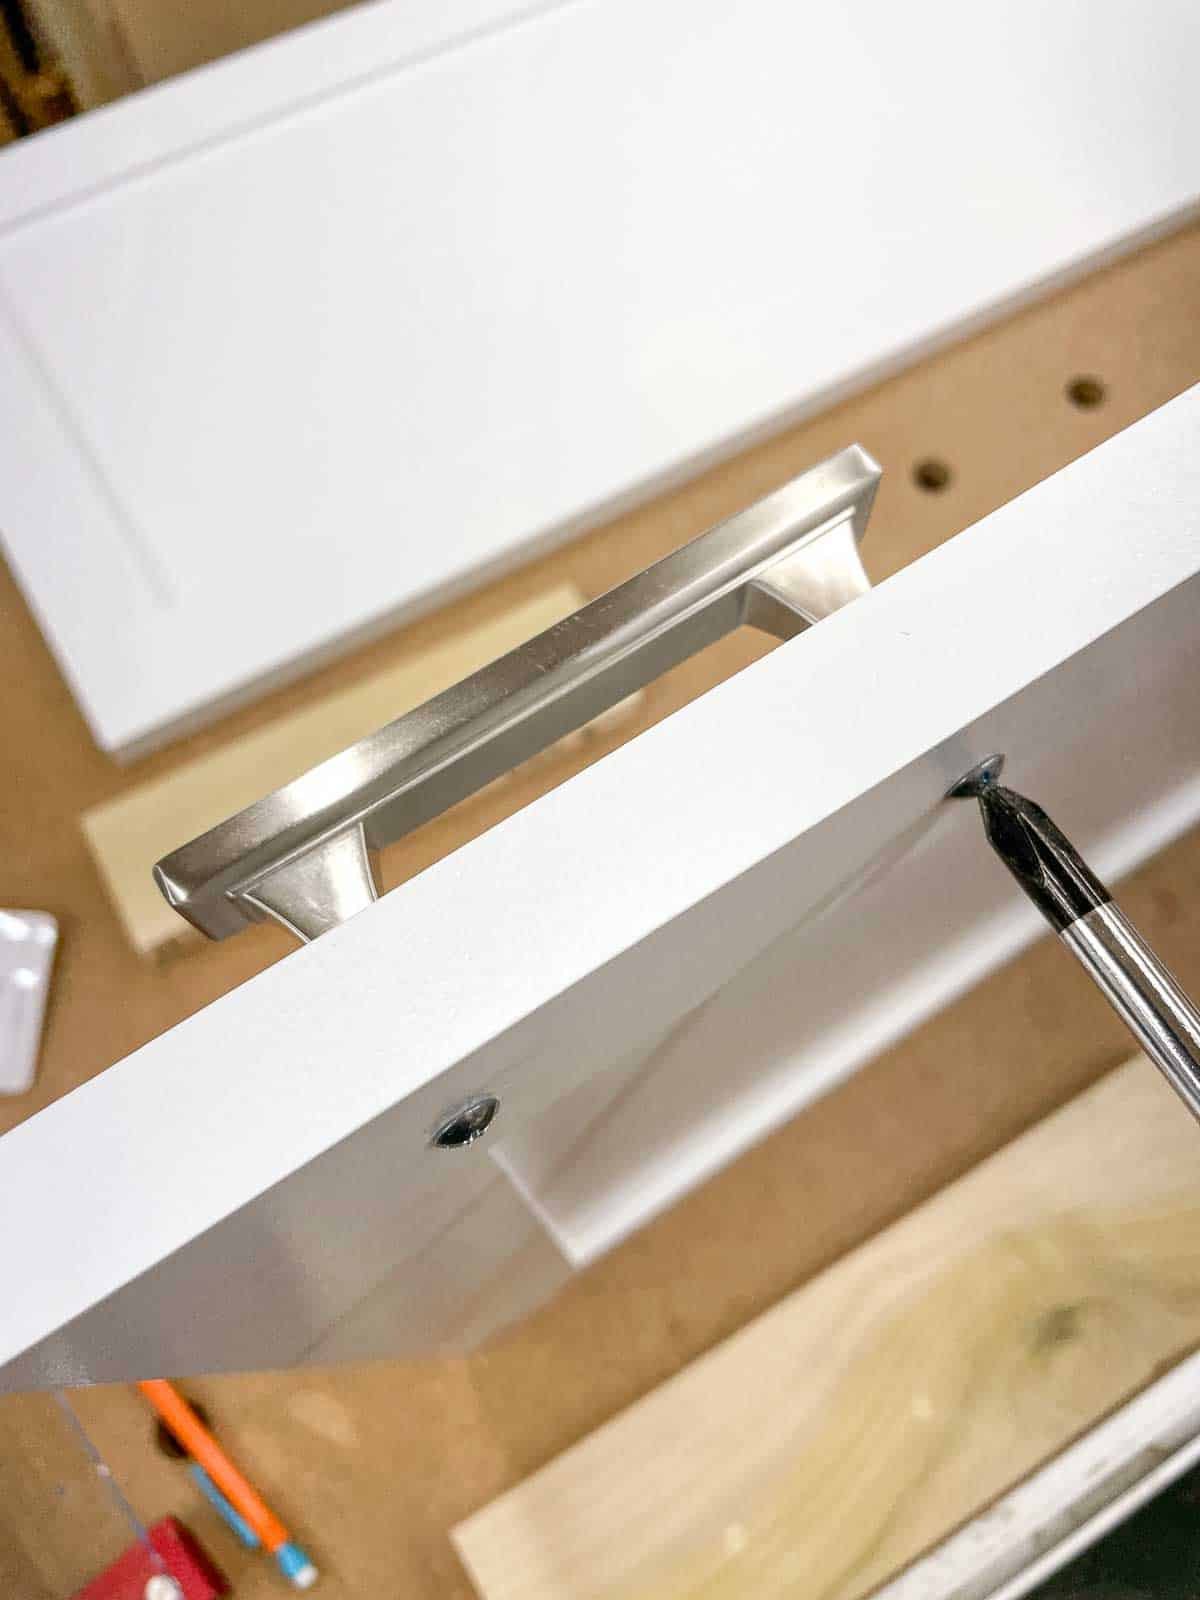

Now you can clip the doors back onto their hinges! You would never know that I completely messed up these handles earlier!
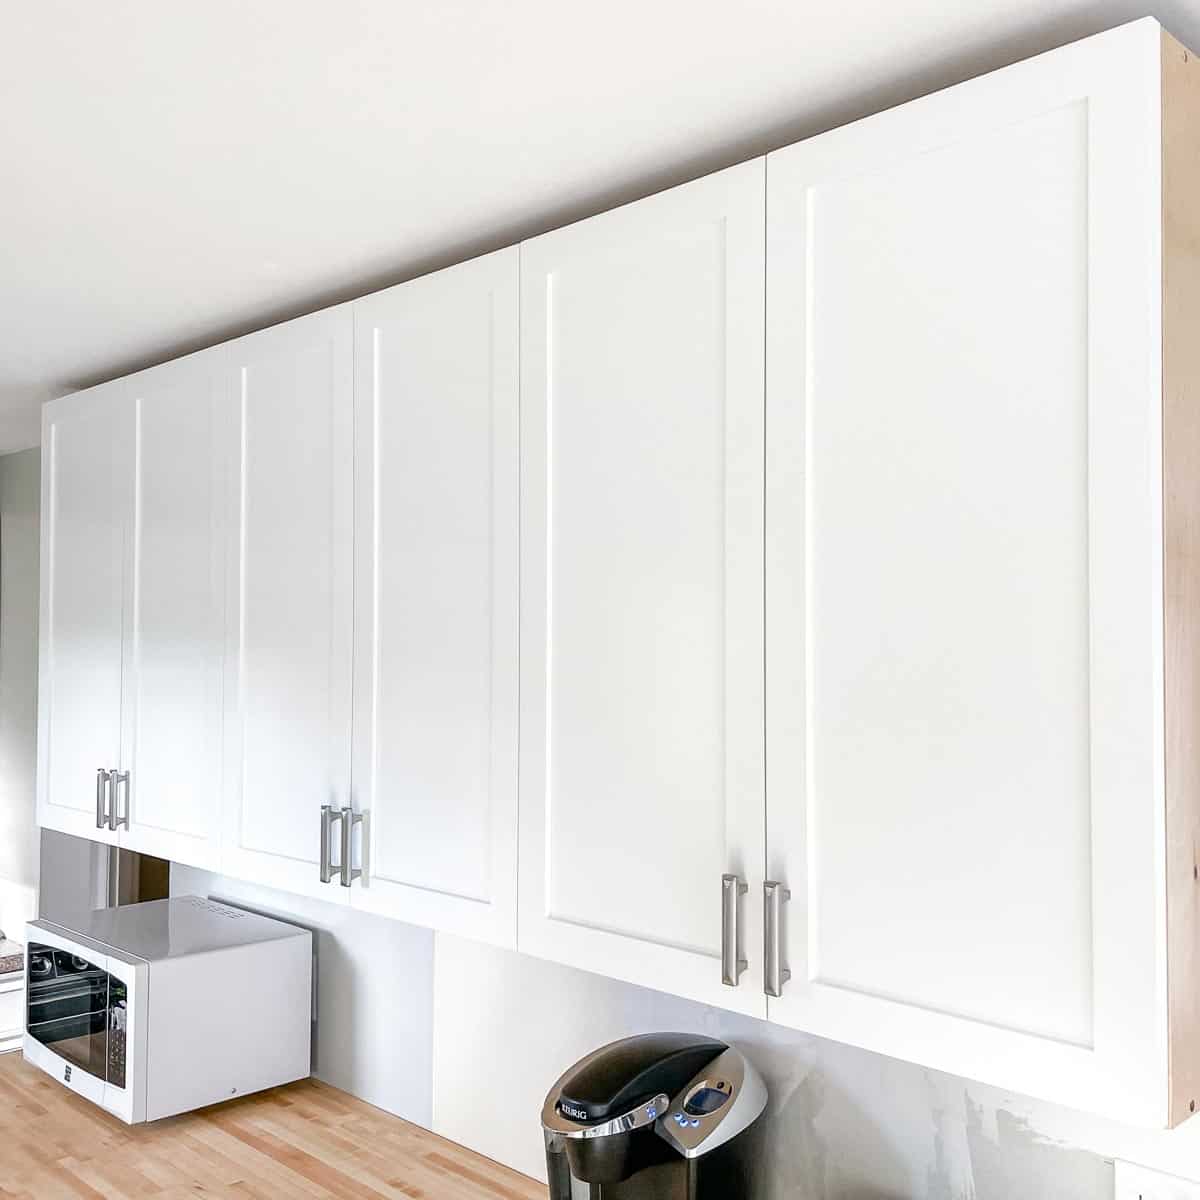
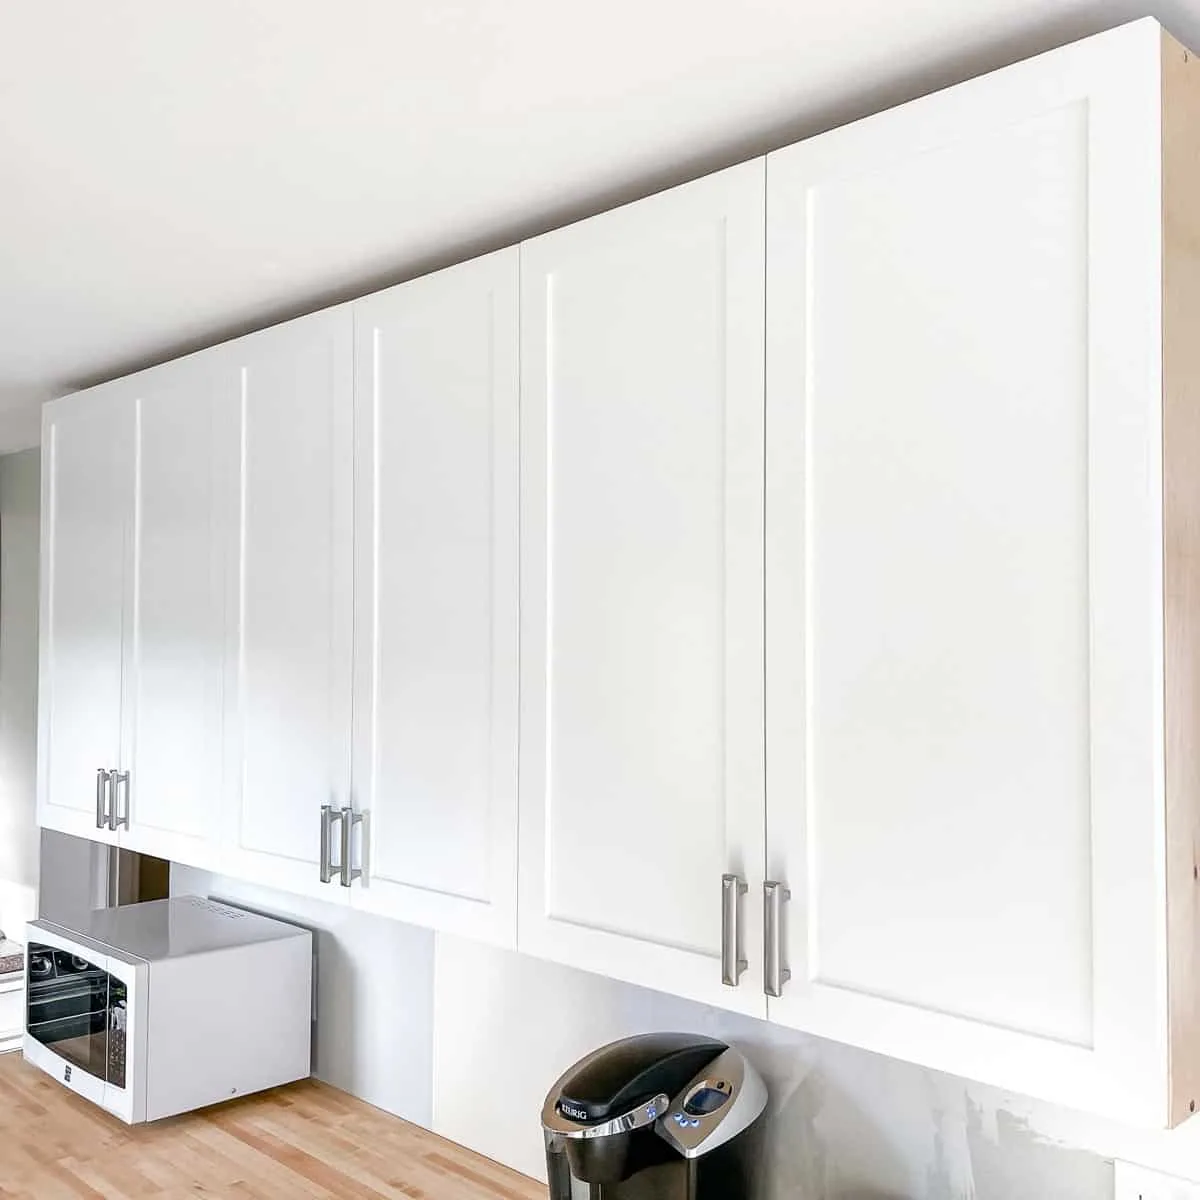
Now you know how to fill screw holes in cabinet doors! It's a really easy project to tackle in a weekend, and updating the handles will give your kitchen a whole new look with a variety of different types of cabinet doors!
Check out these other easy kitchen updates!
Darlene
Saturday 20th of November 2021
When this happens to me I call them "what was I thinking moments"!
Lexi
Saturday 20th of November 2021
I was tired of my 80’s kitchen cabinets and needed a project while I was stuck at home during the pandemic. I have the type of cabinets with the pull bar at the bottom. There was no hardware. Btw, I printed out your tutorial and it came in handy so thanks! But anywho, after I finally got through painting them all, I realized the holes I drilled were in the wrong spot! And this was for all the door sets. I felt so defeated. So, I say that all to say thank you for sharing. Glad I’m not alone. You did a great job patching the holes. Can’t even tell!
ColleenB. - TX.
Saturday 20th of November 2021
:} Ha, I'm sorry, I shouldn't laugh but when I seen your cabinet handle up that high; 'I thought; Boy, you must be one tall person to reach that cabinet handle.' There are times in our lives that you just gotta find humor in things, and I must say, you added a bit of humor for me today. I'm sure we all have at one time or another done some funny; mistakes along this line. I know I have.
Have an enjoyable weekend