This handy guide will teach you everything you need to know about different sandpaper grits, so you can choose the right one for your project!
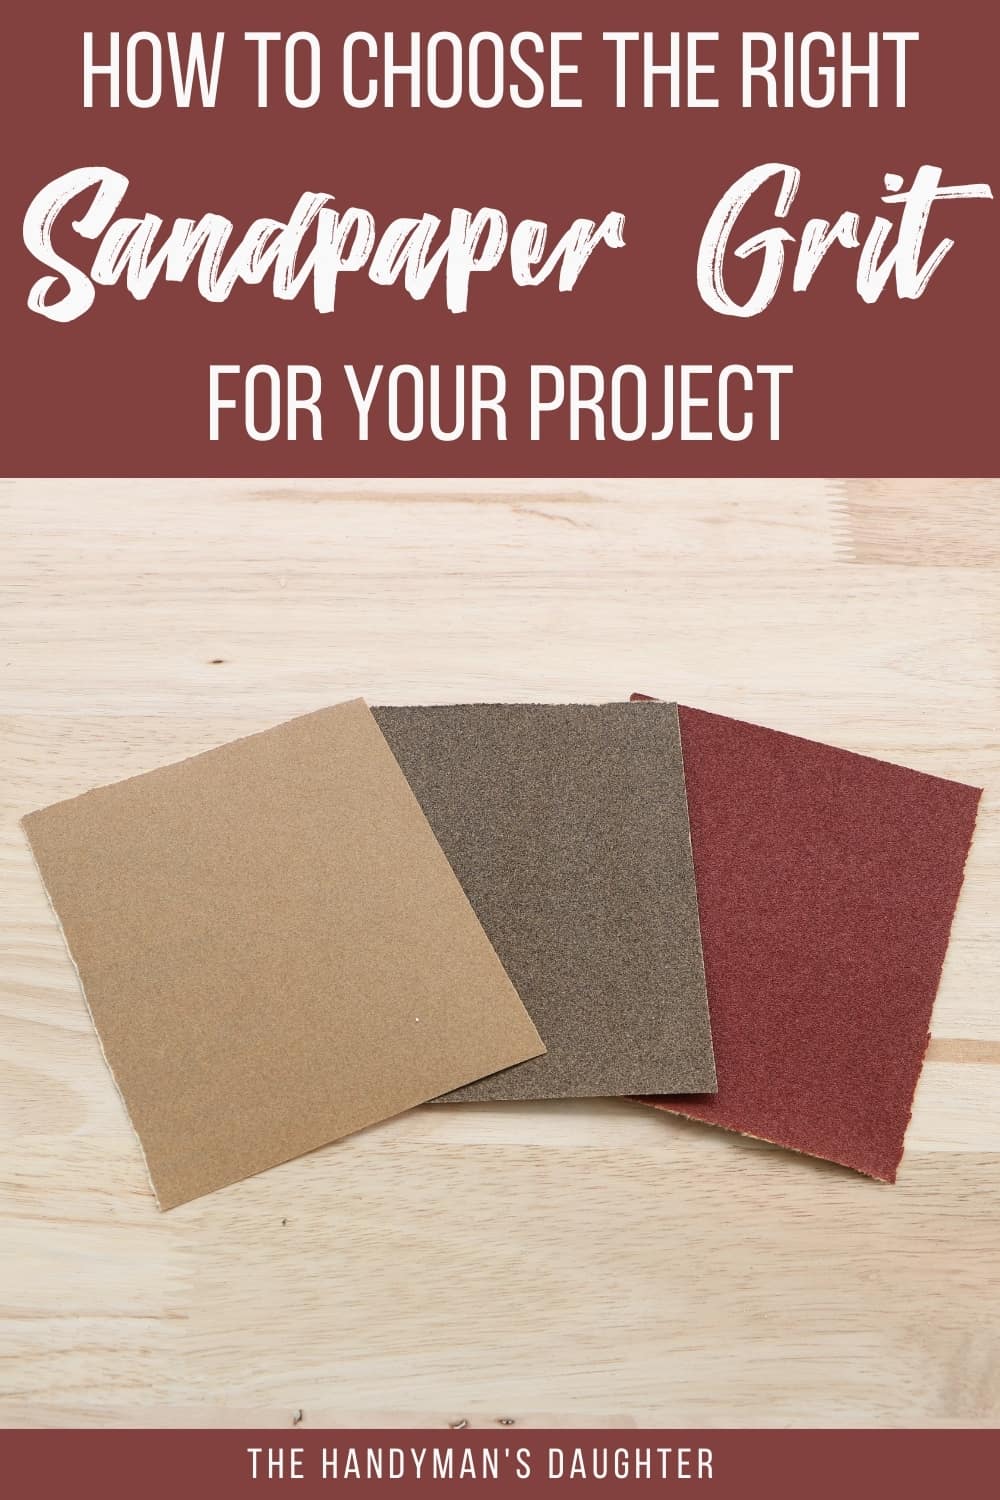
Expecting one type of sandpaper to perform all tasks equally will lead to disaster. If you don't do it right, you risk ruining a project that was almost complete! But what do all those numbers mean, and which ones should I use?
This article will take the mystery out of sandpaper grits so you can give your projects a smooth finish - figuratively and literally. Once you have your sandpaper sorted, check out this guide on sanding tools and how to use them properly.
This post contains affiliate links for your convenience. Purchases made through these links may earn me a small commission at no additional cost to you. Please visit my disclosures page for more information.
What is Sandpaper?
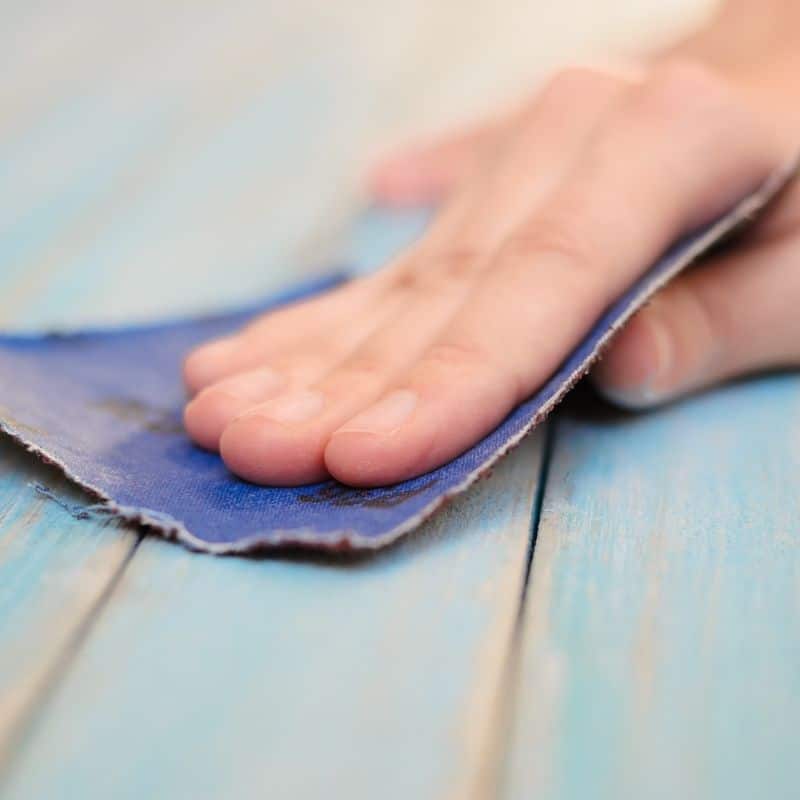
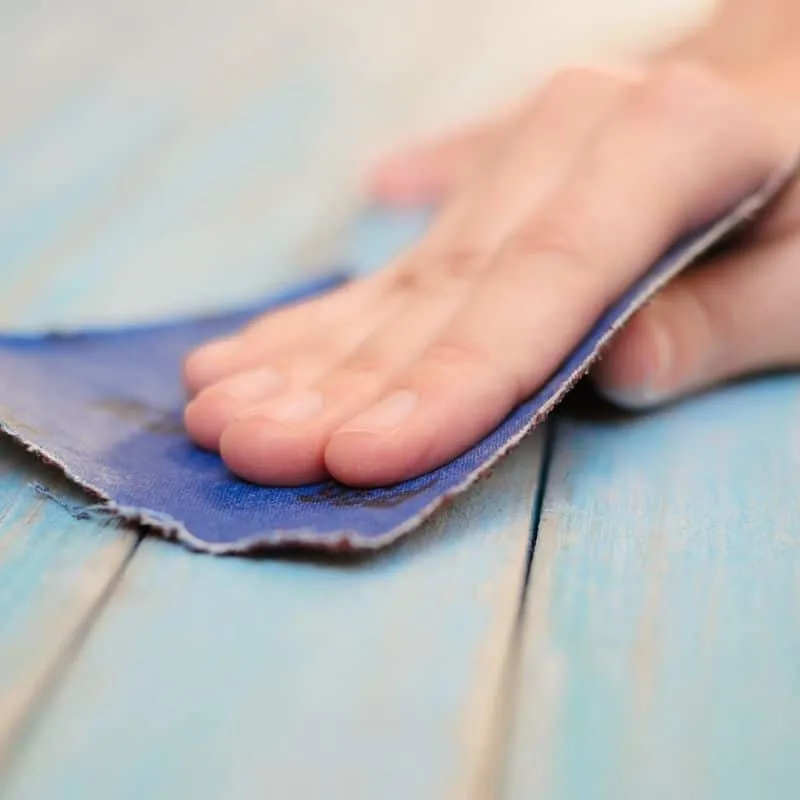
Sandpaper consists of a cloth or paper backing coated with various compounds. Believe it or not, manufacturers don't use real sand to make sandpaper!
Instead, factories use chemical or mineral compounds such as garnet, aluminum oxide, or silicon carbide as the "sand." If you're curious, here's a great video about how they make sandpaper.
What Do the Sandpaper Numbers Mean?
Basically, the lower the grit number, the rougher the sandpaper. There are less pieces of grit per inch, so the pieces have to be larger to cover the same area. Likewise, the higher the grit, the smoother the sandpaper and the less visible the grit will be.

Coarse sandpaper will leave scratches in the surface that will be polished away by higher grits. As you work your way up, the scratches become finer and less noticeable until you're left with a perfectly smooth surface!
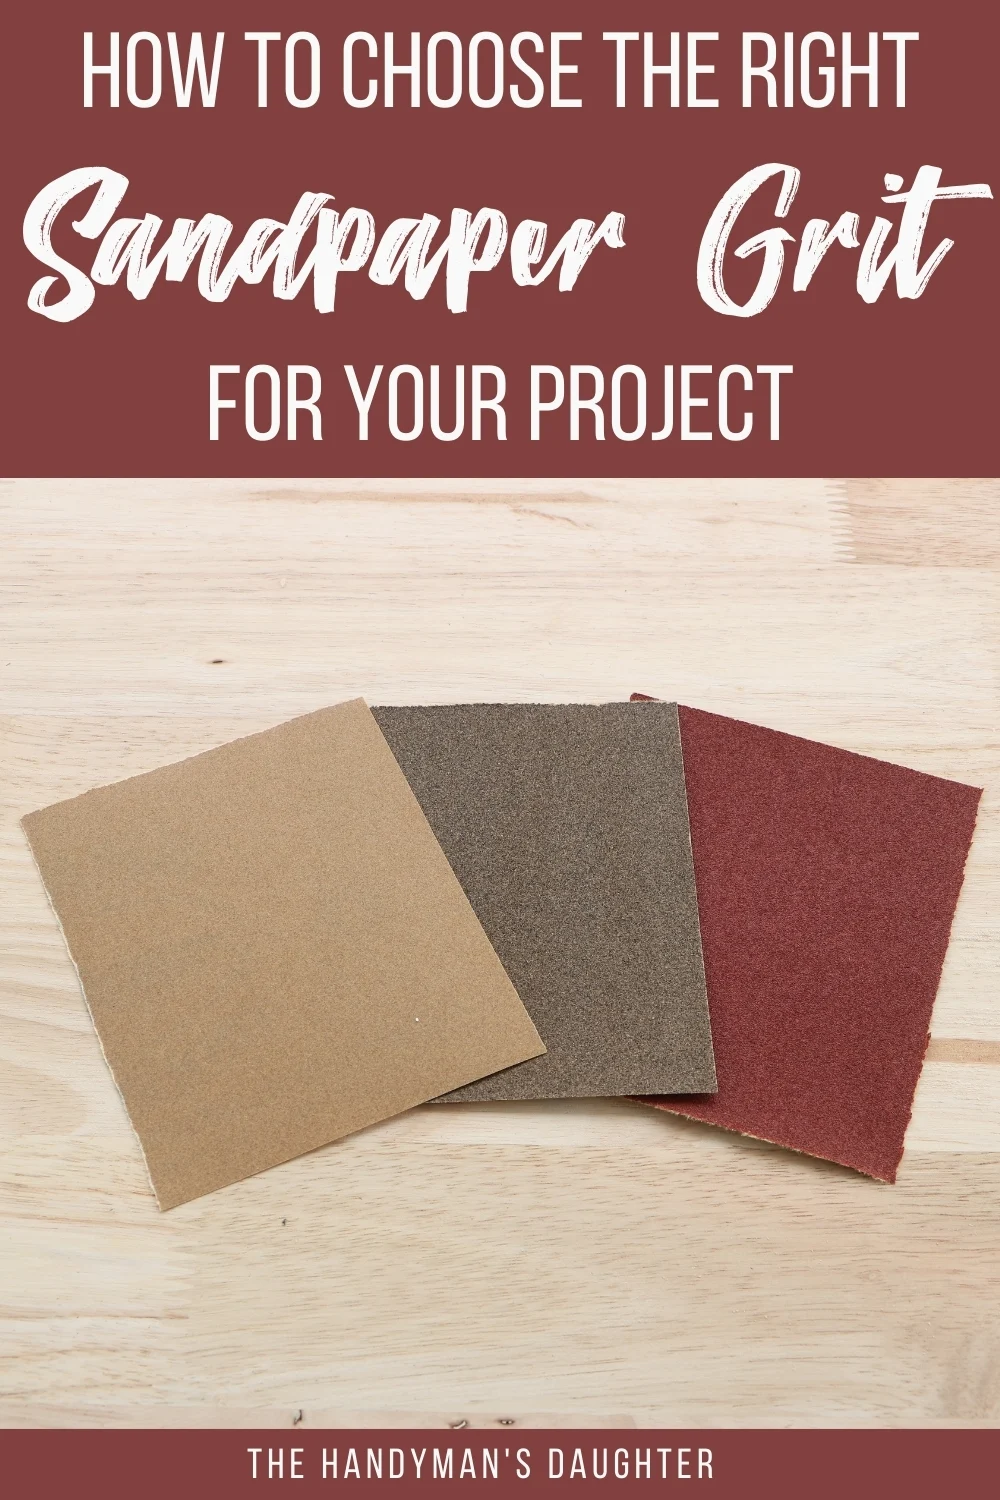
When to Switch Grits
Getting to know what grit to use and how long to use it is all part of the art of sanding. You may think you're going to spend hours working your way up the grit numbers, but it gets progressively faster with every switch!
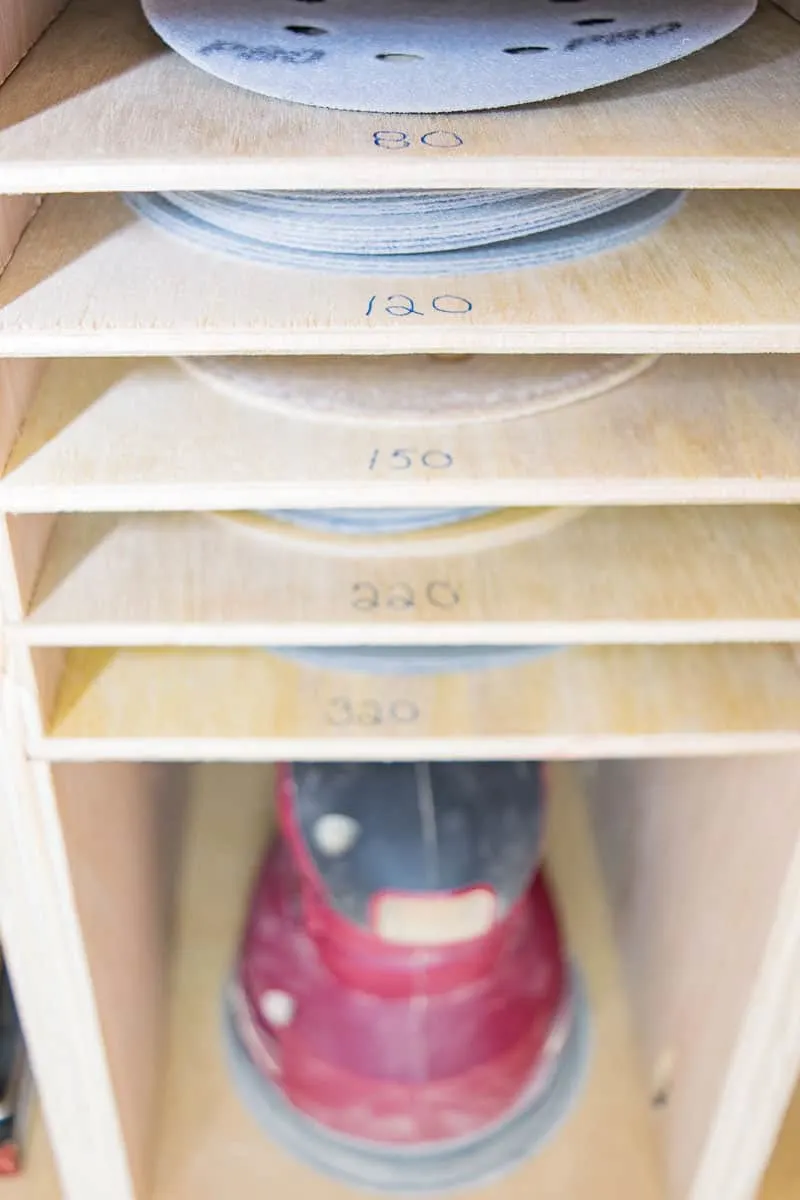
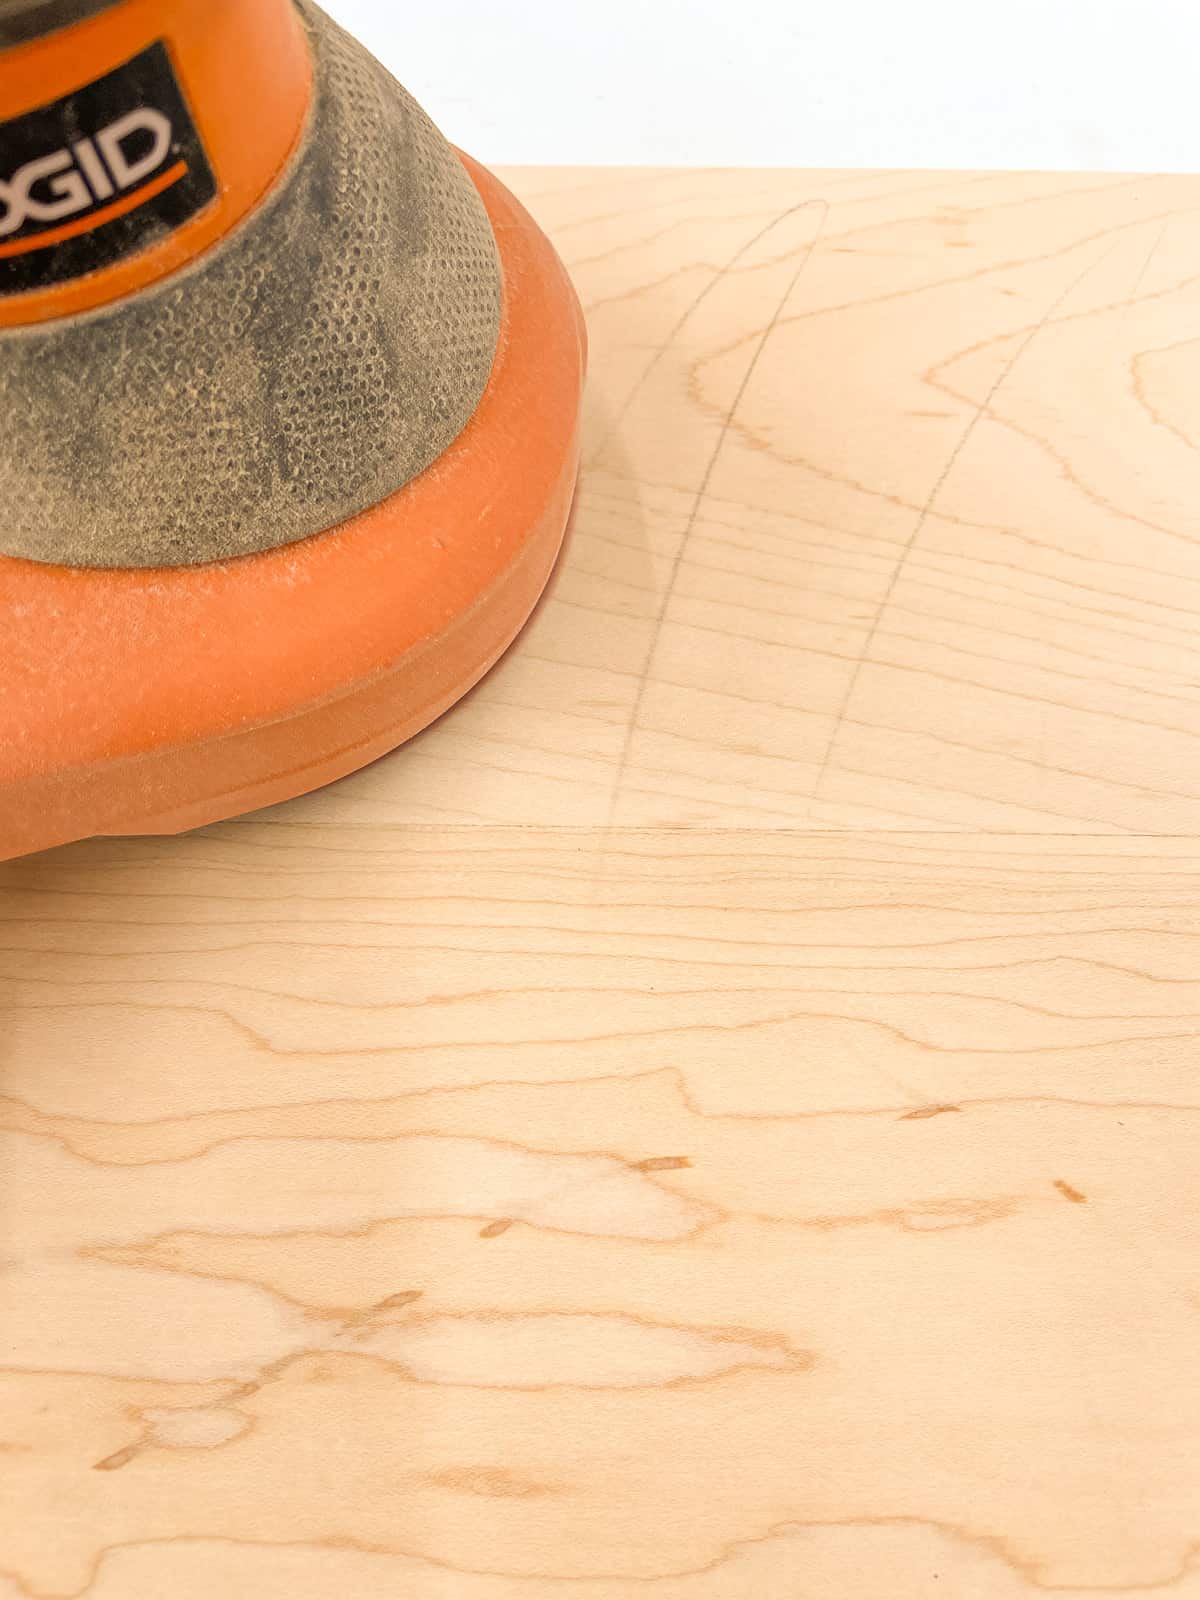
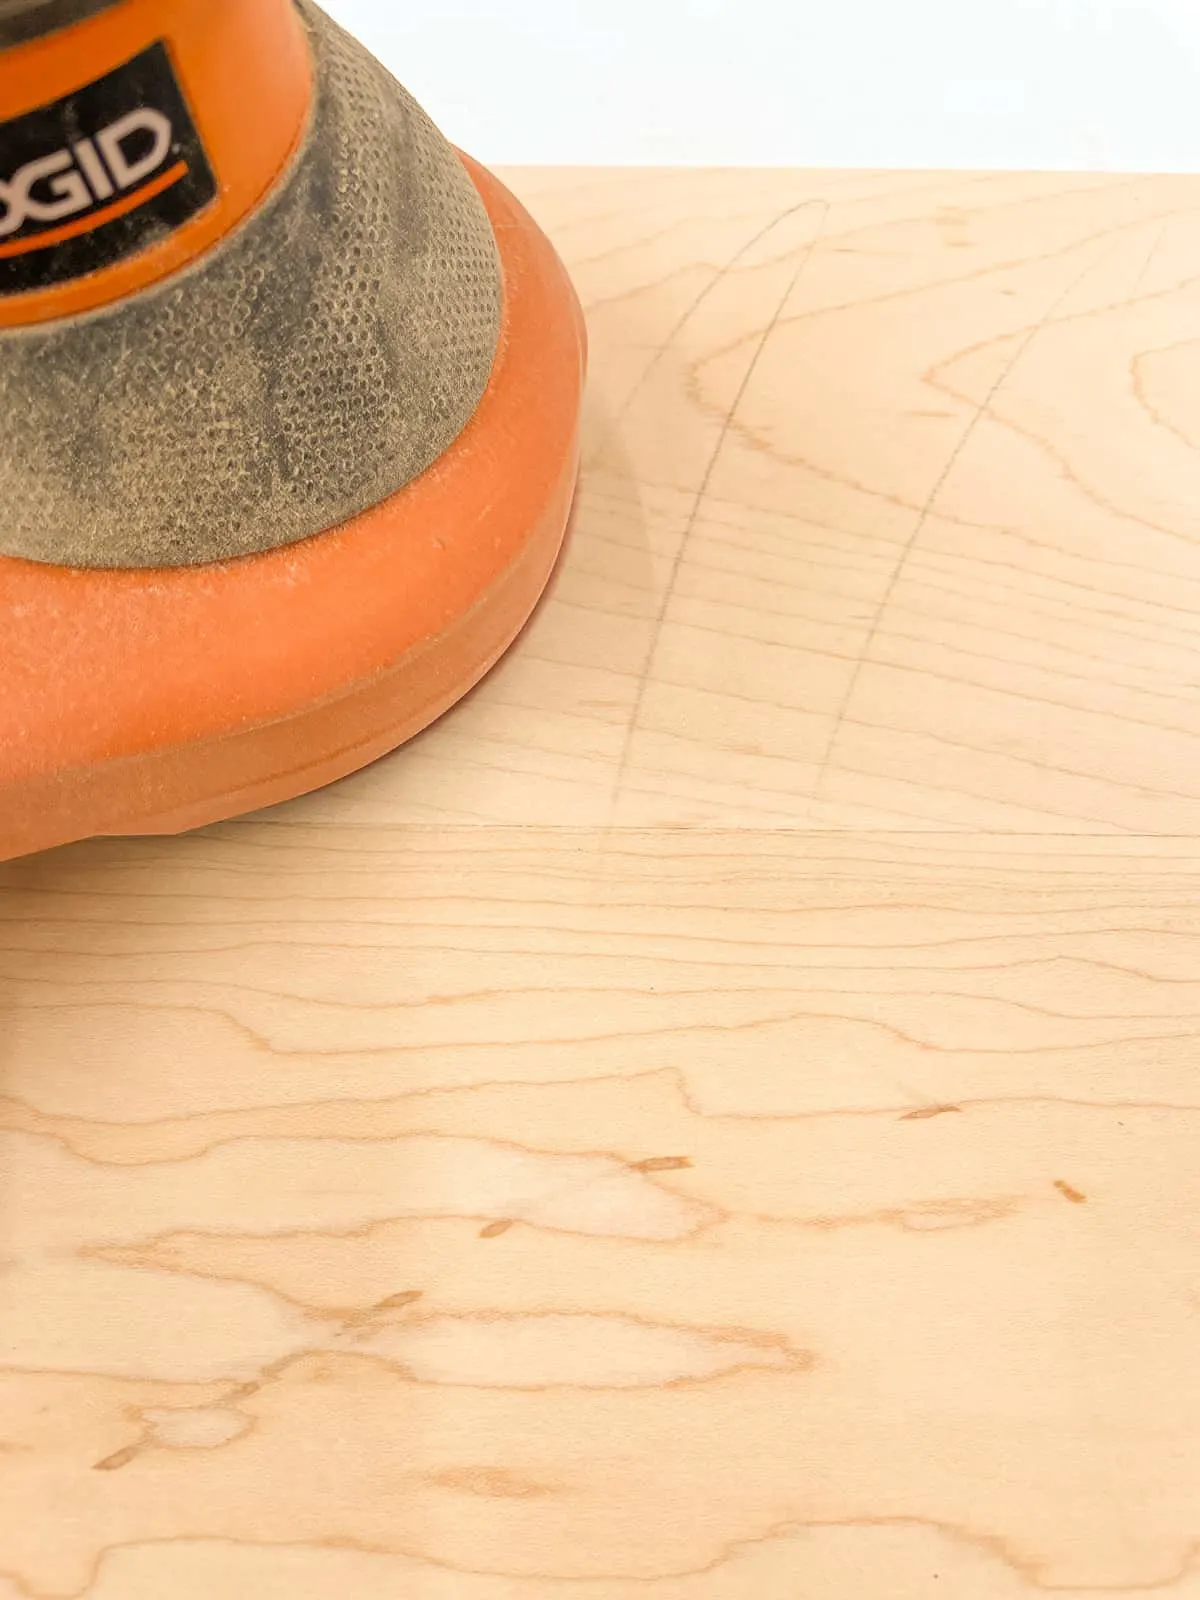
Start by drawing a light, squiggly line across the entire surface of the wood with a pencil. You don't need to go crazy, but it should mark every section evenly.

Now start sanding with a coarse sandpaper grit (80 is a good place to start) in a slow, methodical manner. Sand with the wood grain at a speed of about an inch per second. Don't put a lot of pressure down on the sander. Just let the spinning disc do all the work!
You'll start to see the pencil marks disappear in the higher spots, while they remain in the low sections. Don't try to remove the pencil marks from the low sections by sanding more! This will just make the low spots even lower than the rest of the board.
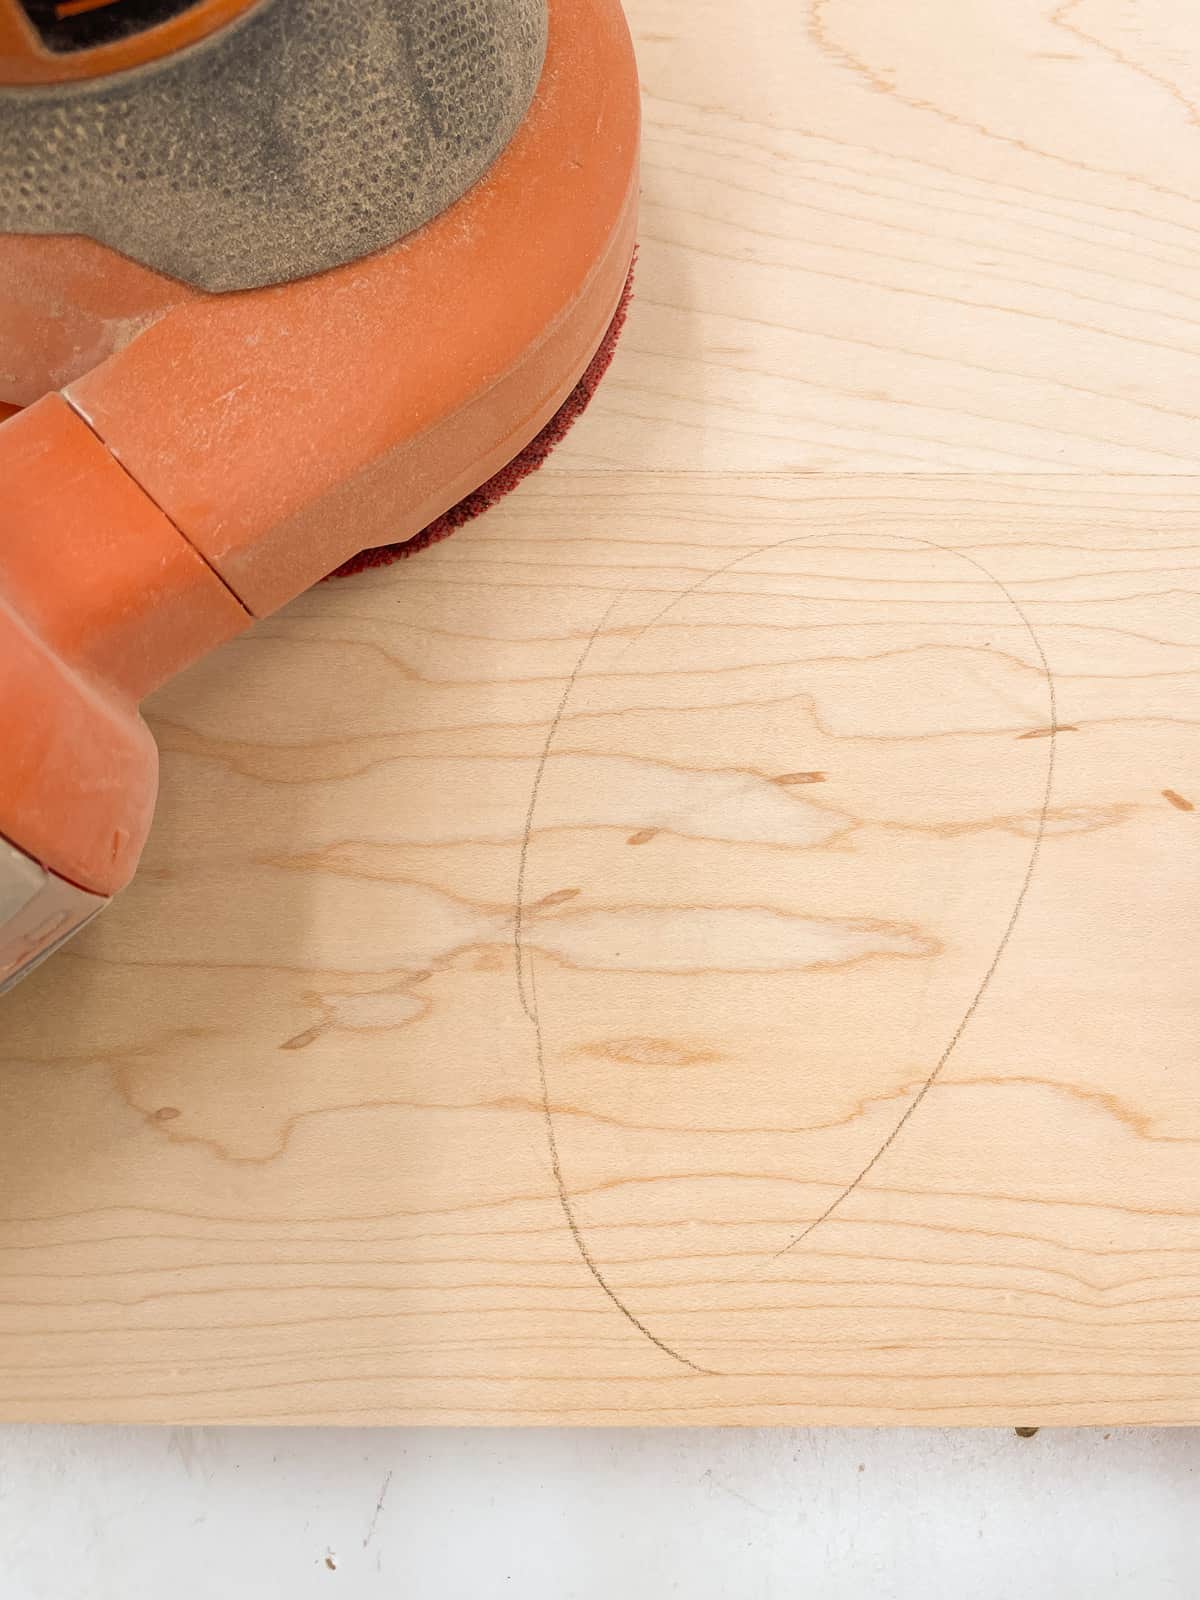

Instead, circle this low spot with a pencil, then draw more squiggle lines over the entire board. Go over the surface again with 80 grit sandpaper to bring the rest of the surface down to the low spot. It may take two or three rounds of pencil marks with the coarsest sandpaper to make the board flat.
Once all the pencil marks disappear on a single pass, it's time to switch to a medium grit sandpaper. You don't have to work through every grit, but a general rule of thumb is to never increase the grit by more than 50% each time. So if you start with 80 grit sandpaper, you can skip to 120 but not 150 or higher.
Repeat the pencil mark trick with each grit. You'll find that subsequent grits go by much faster than the first one! Once you get to the final sanding with fine grit sandpaper, remove all the dust and finish your project.
Sandpaper Grit Guide
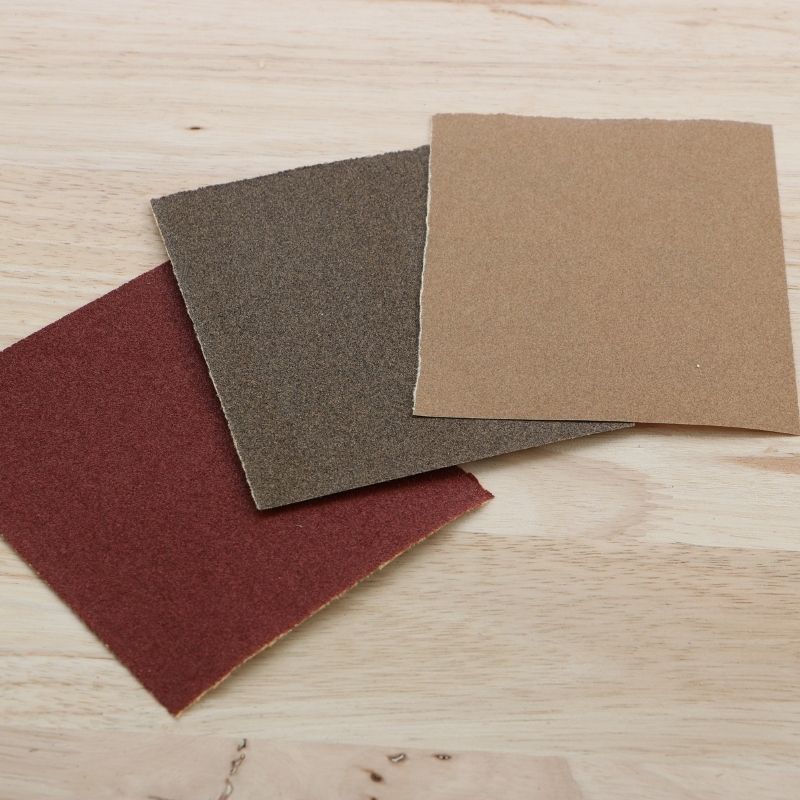

Now that we understand grit, the question is: what grit is right for my project?
Sandpaper Grit Chart
See the chart below for information on the most common sandpaper grits and which one to use for different types of projects. Note that the final pass means you should work your way up from lowest grit to the highest recommended for your project.
| Sandpaper Grit | Best Use |
| 80 | Honing raw wood or removing large amounts of material |
| 100 | Prepping for paint |
| 120 | Prepping for paint and stain |
| 150 | Final pass for oil-finish on hardwood |
| 180 | Final pass for water-finish on hardwood, oil-based on softwood |
| 220 | Final pass for water-based finish on softwood, drywall |
| 300+ | Use in-between coats of stain and paint; polishing |
Alright, let's jump into each of these projects in more detail.
Sandpaper for Refinishing
Giving old furniture new life with a fresh coat of paint or stain can be so rewarding! But getting that piece back to raw wood can be quite the task!
When I refinished my dining table, I used 60 grit sandpaper to remove the old clear coat and all those scratches to bring it back to bare wood. To save yourself some time, you may want to consider stripping old paint before sanding so you don't gum up multiple discs in the process.


If you're stripping wood of its current finish, start with a rough grit, even as low as 30 or 60 depending on how thick it is. Then, slowly work your way higher, following the recommendations below based on your new finish.
Sandpaper for Painted Projects
For sanding raw wood before painting, start at a low sanding grit, 80-100, and work your way up to 220 grit. This will create a super smooth surface so the paint can easily self-level for a mirror-like finish.
You should always start your painted project with primer, which will allow the paint to bond more easily to the surface and require less coats. After the primer has dried, sand the surface lightly with 220 grit or higher to remove brush strokes and knock down the raised grain. Trust me, you'll feel the difference instantly!
Make sure to remove any sanding dust before applying paint to your project. All those fine particles can clump up and ruin your paint job! You can use a microfiber cloth, a tack cloth or compressed air to clean it up.
Beware of times when an "ultra-smooth" surface could create a problem. When painting glass, you're sanding to rough up the surface instead of smoothing it out so the paint has something to hold onto!
Sandpaper for Stained Wood Projects
Here's an important tip for stained wood projects: the smoother you sand, the lighter the stain will be once it dries. The rougher the grit, the darker the stain. 220 grit will create a lighter finish, 120 grit will be darker.
Why?
Sanding closes up the pores of the wood, and finer grits close up the pores more tightly. Stain is absorbed into the wood surface, and won't penetrate as deeply when sanded to a higher grit.
The cut ends of the board will soak up more stain than the face, resulting in a darker color. To achieve a more even color, sand the end grain to a higher grit than the face to prevent as much stain from soaking in.

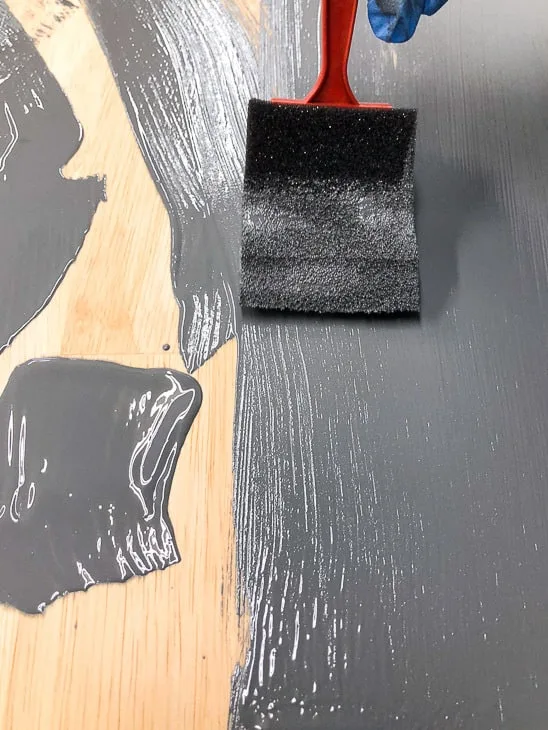
Some gel stains, like the gray wood stain above, specifically say on the can not to sand past 150 grit because the thicker gel can't absorb into the closed pores. When you wipe off the excess, you might find that you wiped away all the color!
Sandpaper for Clear Finish Wood Projects
For these projects, there are two main categories: Film-building finishes, like varnish, shellac, and lacquer, and oil-based finishes. Read the can carefully to see which kind you're using.

The first category steadily builds a film as you apply the coats. For this, you don't need to be overly smooth because the film itself will even out the texture. About 180 grit should be plenty!
On the other hand, oil-based finishes will need to be smoother, about 220 grit. The oil absorbs into the wood instead of sitting on top, so you want the wood to be smooth to the touch.
Sanding Between Coats of Finish or Paint
For many finishes, you'll want to do a light and even pass with 300+ grit sandpaper wrapped around a block or sanding sponge. This will remove any brush strokes or dust that settled on the finish while it dried.
This is especially important after the first coat of any water-based finish, whether it's paint, primer or stain. The water raises the grain of the wood, making all those little fibers stand up and feel rough to the touch. Just give it a quick sanding with 320 or 400 grit sandpaper to smooth it out, then remove the dust and apply subsequent coats.
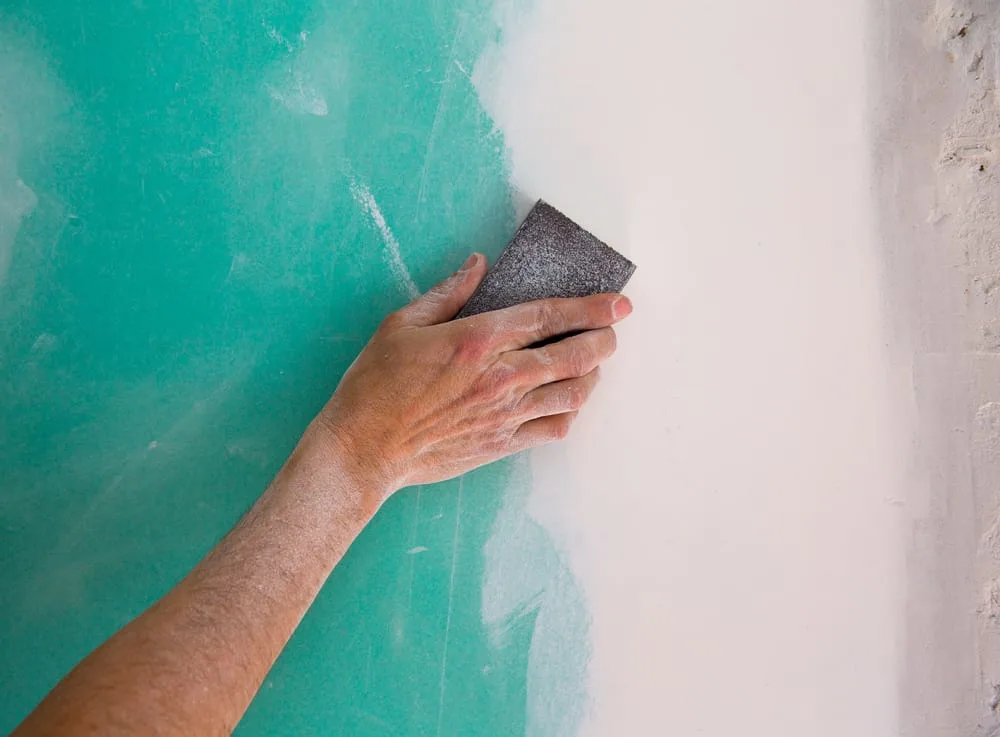
Sandpaper for Drywall
For sanding drywall, you'll want to start around 100 grit, work your way toward 180-220. This creates a LOT of dust, so make sure you have a vacuum nearby and seal off the room so the dust doesn't spread throughout the house. You can even buy vacuum sanders for drywall so the dust gets sucked up as it leaves the surface!
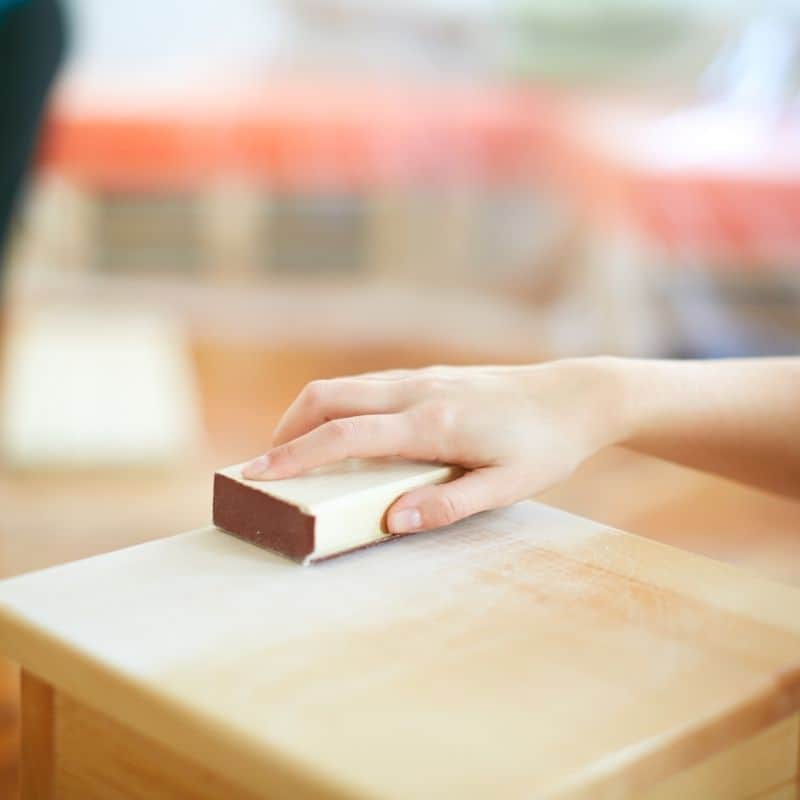
If you're repairing drywall, pay attention to the edges. You want to feather the edges for a perfectly flat finish so the repaired section blends into the rest of the wall. This may be easier with a hand sanding block so you can customize the pressure.

I hope this guide helped take some of the mystery out of sandpaper! Sanding is one of my least favorite tasks, but unfortunately it's one of the most important ones in woodworking. With the right surface preparation, your projects can go from homemade to high end!