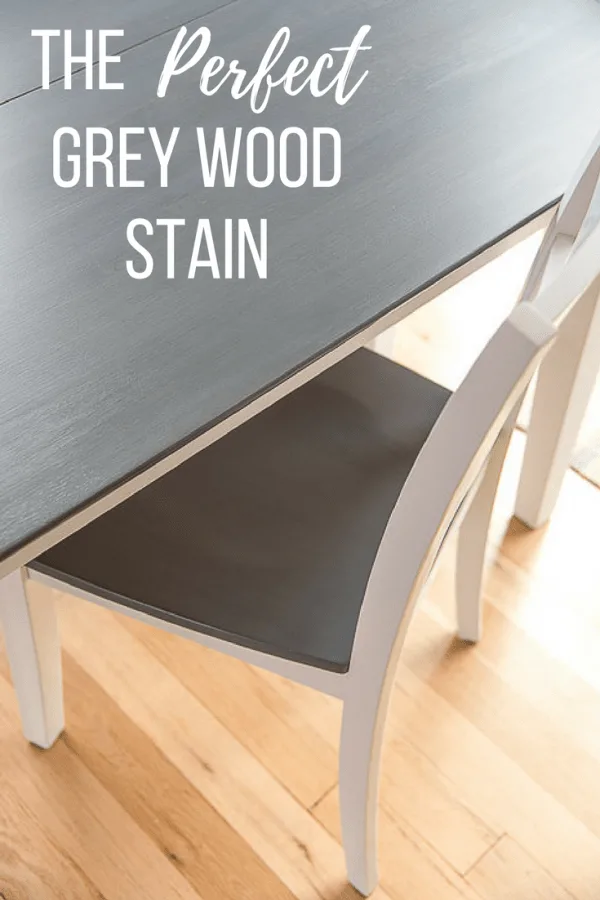
Looking for a grey wood stain that actually LOOKS grey? Check out how this grey stained wood table turned out with just one coat!

My hunt for the perfect grey wood stain has become an obsession lately. Colors that look promising on the can end up too light, too dark, too "weathered" or too brown. It's difficult to turn warm-colored wood a cool tone while still allowing the grain to show through.
I did a sample test of six different grey wood stain colors on various types of wood to help me decide! You can also see how these colors look on real furniture in this comparison of grey wood stain projects.
After lots of testing, I finally found the perfect grey stain color for this project! Our dated dining table now has a fresh, modern look that coordinates perfectly with the rest of our living space.
This post contains affiliate links for your convenience. Purchases made through these links may earn me a small commission at no additional cost to you. Please visit my disclosures page for more information.
This is our sad, abused dining table. We bought it off craigslist when we first moved to Seattle 12 years ago, and it miraculously survived my son's toddler years.
The colors don't coordinate with our new decor at all. And the top matches the floors a little too well, so it all blends together and looks very blah.
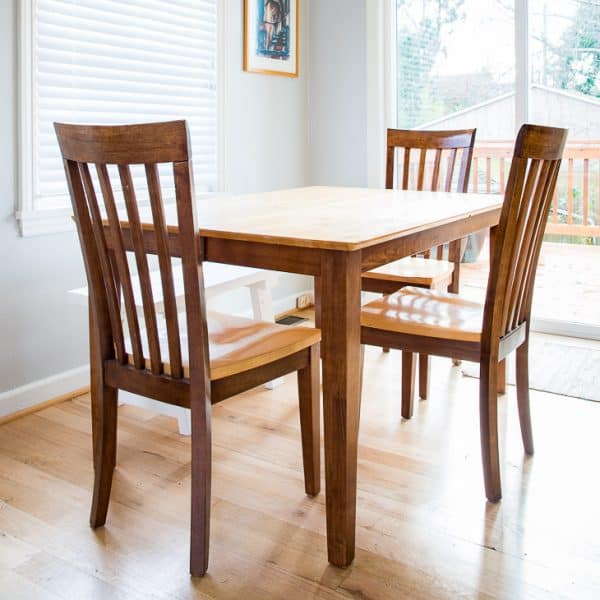

You can clearly identify where our son sits at the table, because the stain and finish have been wiped away after many, many cleanings. Honestly, the entire thing was pretty embarrassing!
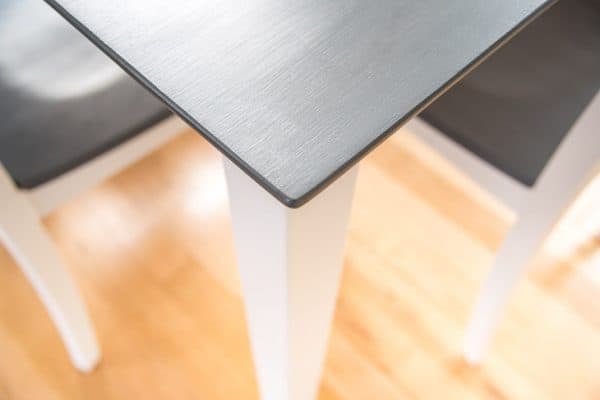
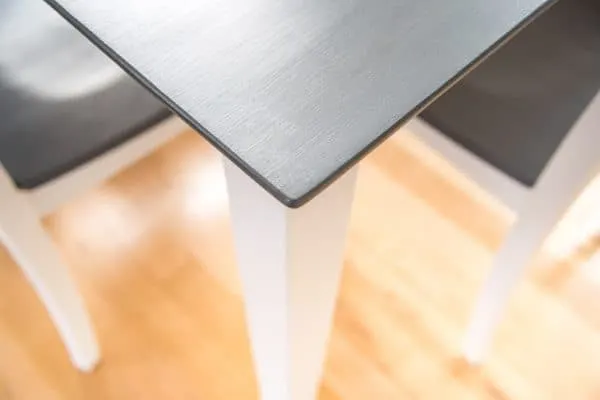
For all its faults, it's still a solid table that's perfectly sized for our small dining room. I also like the clean, simple look of the legs and the beveled edge of the table top.
Time to give it a fresh, new look!
Materials Needed
- Orbital sander
- Sandpaper discs in grits 80, 120 and 150
- Tack cloths
- General Finishes Grey Gel Stain
- Foam brushes
- Mineral spirits
- Disposable vinyl gloves
- Super fine sanding sponge
- General Finishes High Performance top coat
- Paint and urethane stripper (if necessary)
- You'll also need a plastic putty knife, rags and TSP if you're stripping the old finish.
- White paint and 4" paint rollers for base
- I used Decorator's White by Benjamin Moore.
How to Stain a Table Grey
Remove the old stain and finish
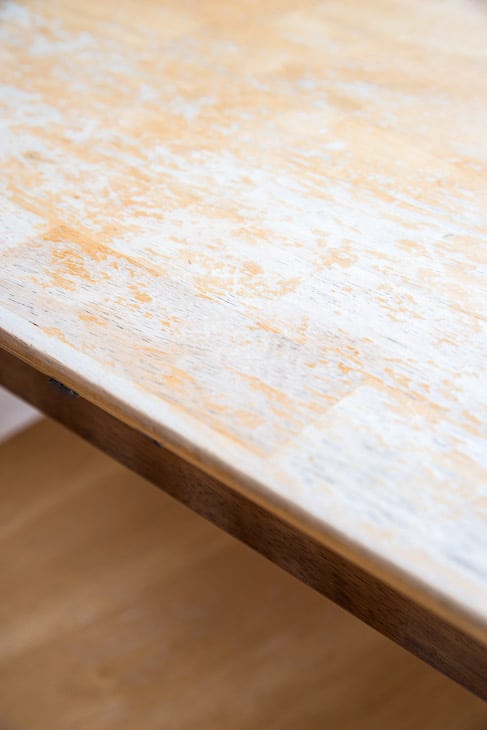
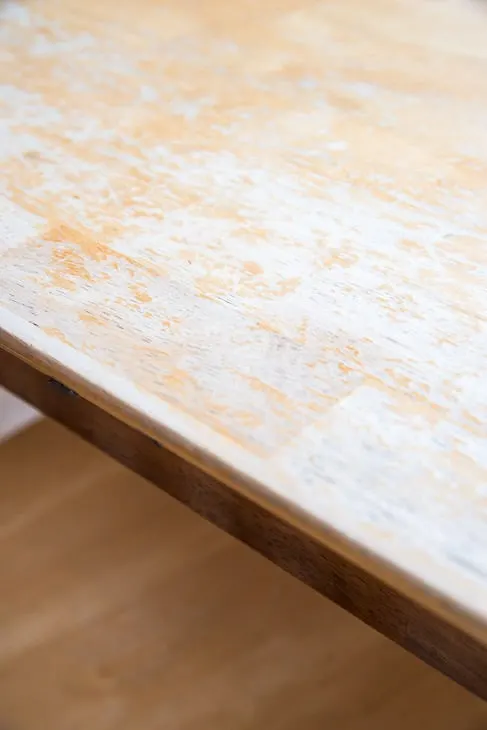
You need to remove all traces of your table's previous stain and finish first, or the new color will just sit on top like paint. There are two ways to tackle this task: sanding and stripping. You can get my in-depth tutorial on how to refinish a table here, or keep reading for a brief overview.
On the tabletop, I just sanded the old finish right off. It didn't take too long since it was already halfway gone anyway! Start with 80 grit sandpaper and work your way up to 150.
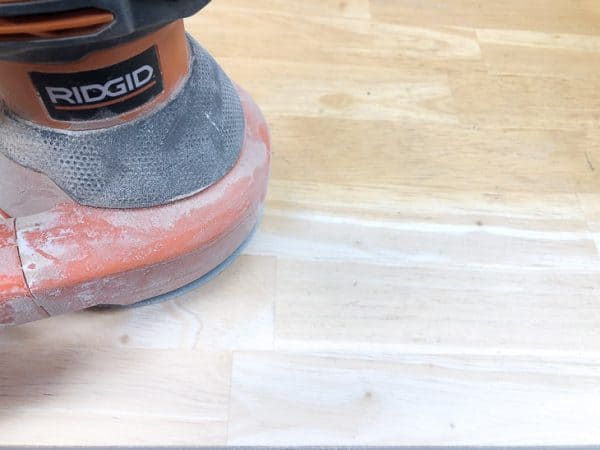
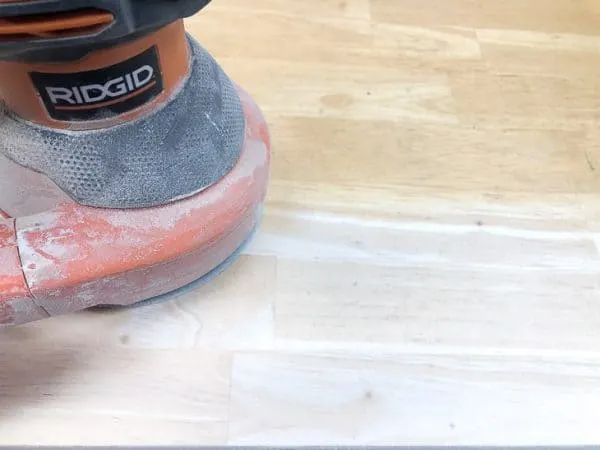
Don't go any higher than 150, or the wood stain won't be able to sink in properly. Just look at the difference!

The chairs were a different story. I decided to buy new ones instead of refinishing the old ones because a) I'm lazy and b) I didn't like them anyway.
But the new ones were white with a cherry finish on the seat. I needed to remove that factory finish before I could stain them to match the tabletop.
Apply the stripper to the entire surface at once with an old paint brush. Do NOT use a foam brush! I learned that the hard way, and the entire thing disintegrated! Leave it on for 10-15 minutes, then scrape off with a plastic putty knife.
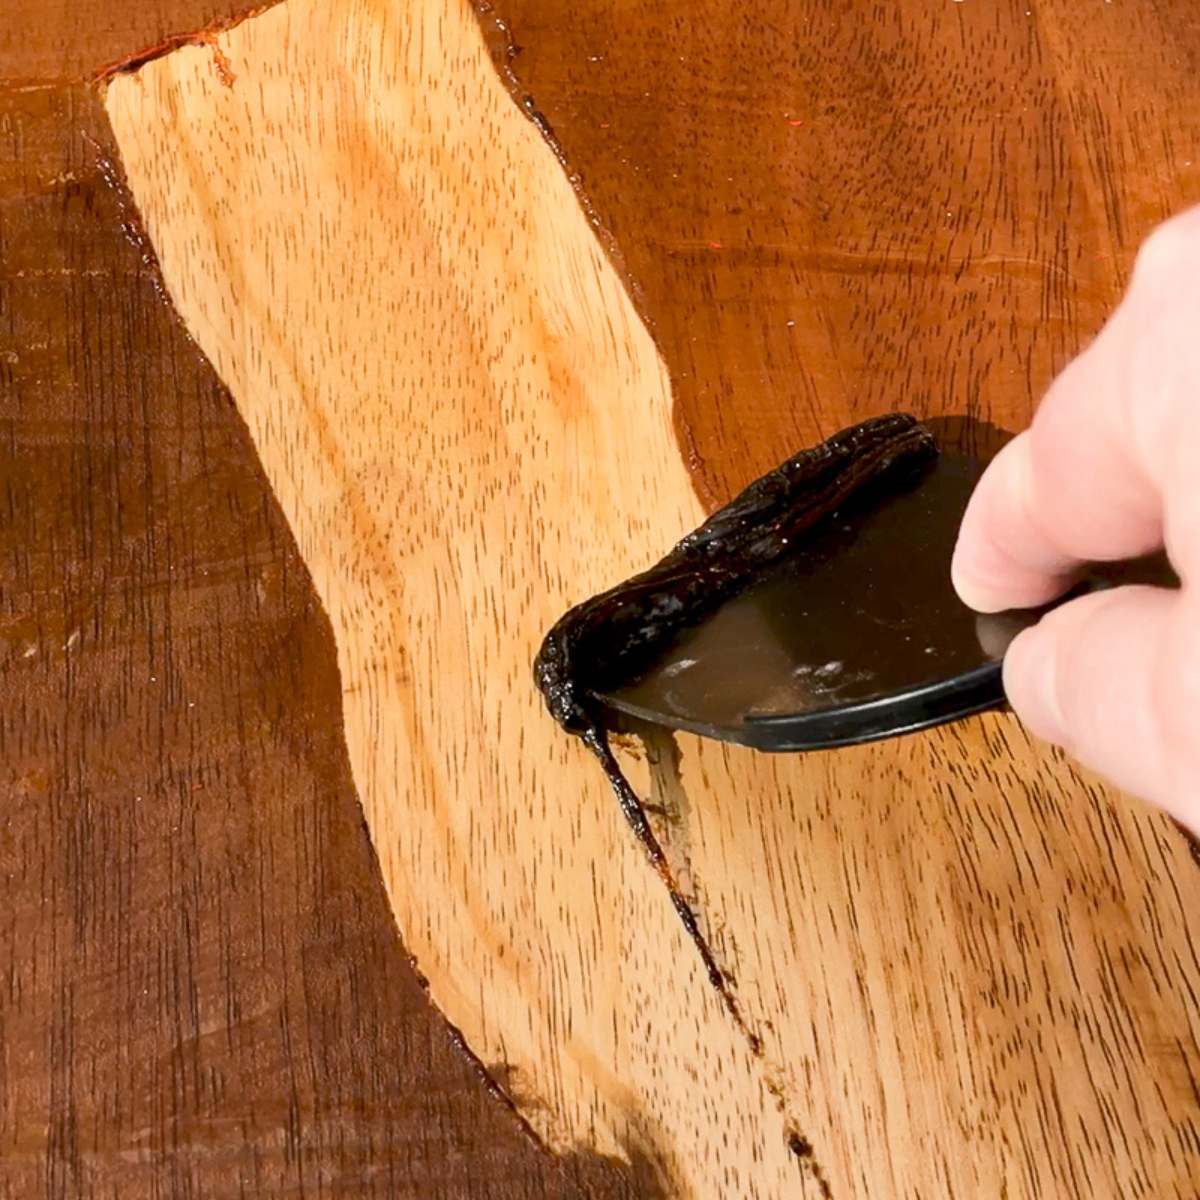
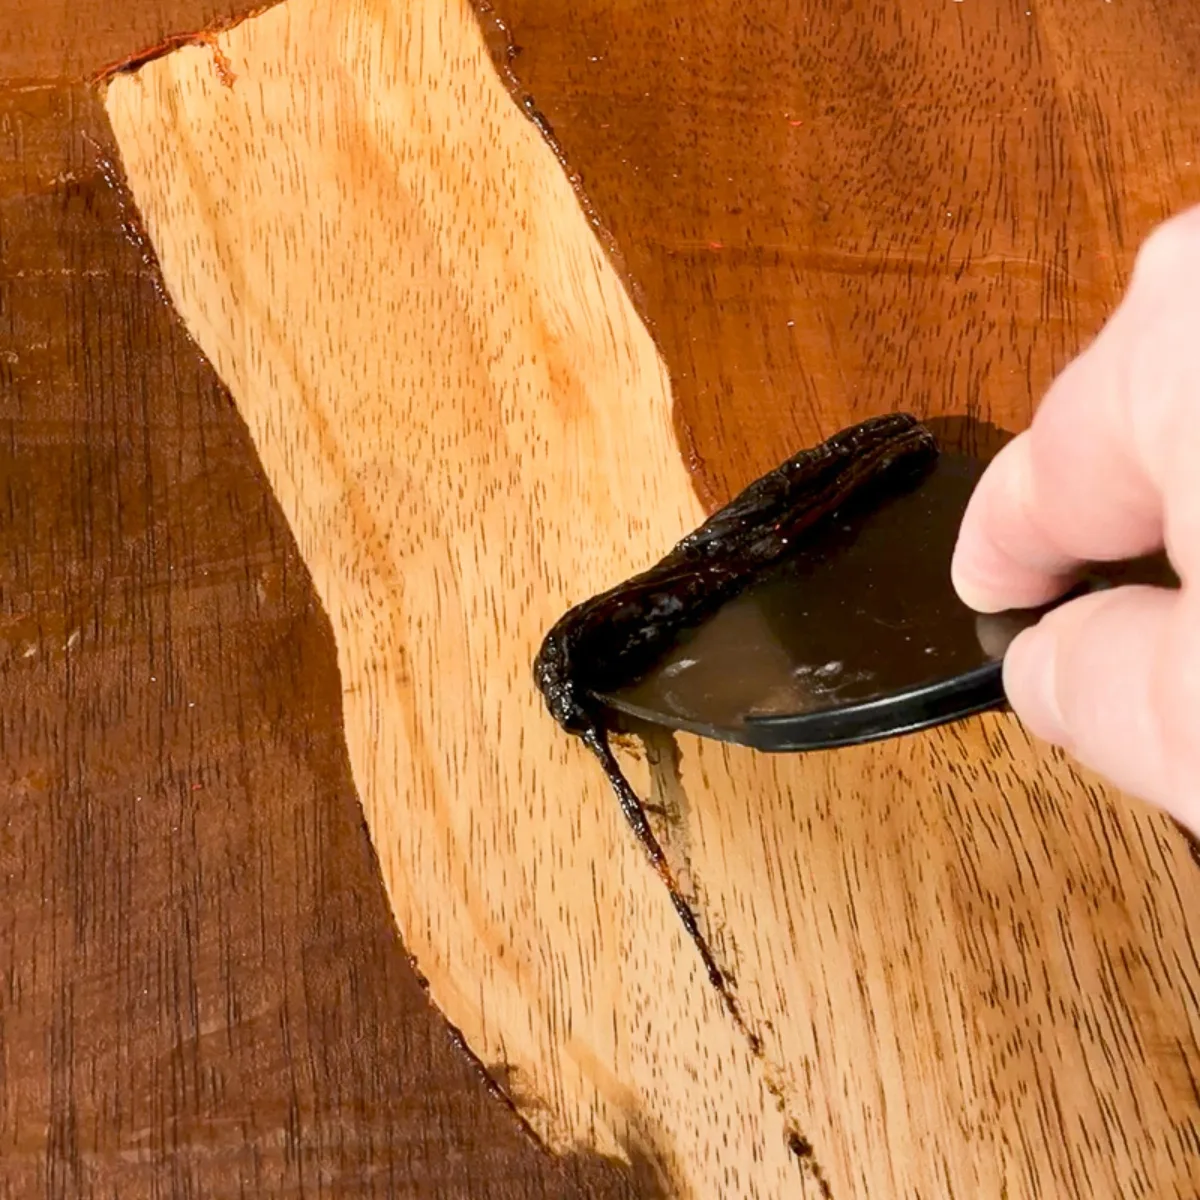
Once you've scraped away as much as you can, mix some TSP (a degreaser) into a bucket of water. Wipe off any residue with a rag, then allow the wood to dry.
Easy peasy!
Apply the grey wood stain
Now we're getting to the fun part! With the tabletop and chair seats ready to go, it was time to apply the grey wood stain.
I propped up both sides of the table with bench cookies. This allowed me to stain the sides and the small overhang underneath at the same time as the rest of the table.
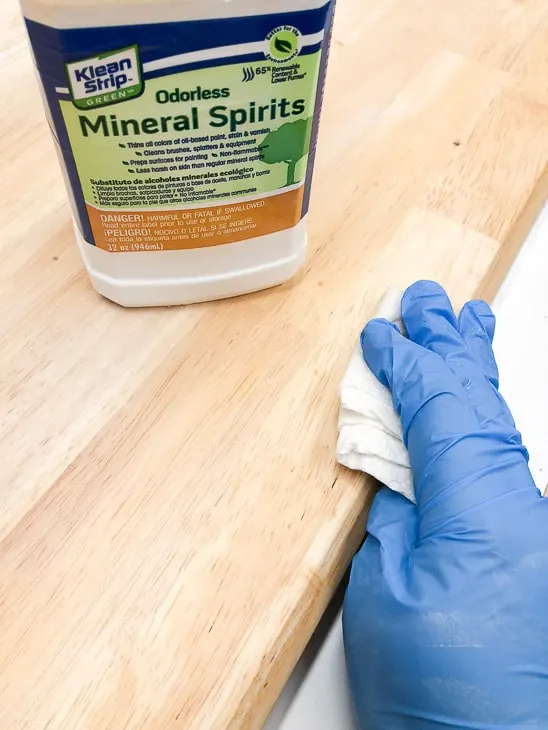
Wipe down the surface with mineral spirits. It will remove any last traces of dust, and allow the gel stain slide over the wood without lap marks.

Some wood species, like pine, can create a blotchy finish when stained. You can avoid the worst of it by applying wood conditioner over the surface first. This will even out the grain so it absorbs the stain evenly. Just make sure to use oil based wood conditioner with this oil based gel stain!
Now here's the great thing about gel stains . . . it's really hard to mess them up! It's one of the many differences between gel stain and oil stain that makes it more beginner friendly.
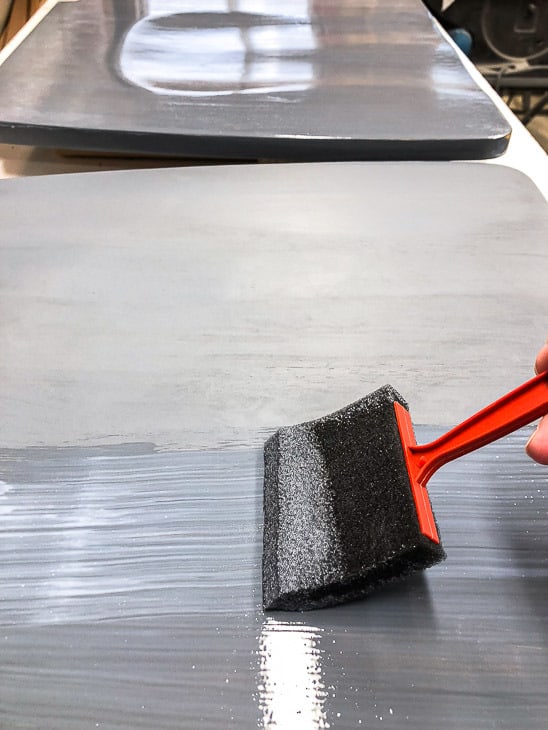
Just dip a foam brush into the grey wood stain and slap it all over the surface. This helps spread it out quickly. Trust me!
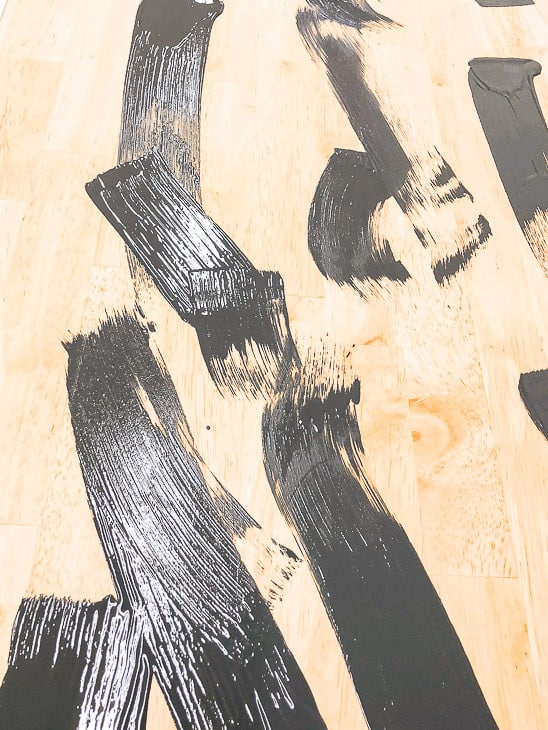

Now brush it over the entire top and sides. It doesn't matter if some spots are thicker than others, just make sure everything is covered.

Wait a few minutes, then use a paper towel or shop towel to wipe off any excess. Don't scrub it off, just a light pass with the grain of the wood will do.
Allow the stain to dry, then decide if you want to apply a second coat. Mine was just the right color after one application!
Apply a top coat over the stain
Wood stain is a color, not a protective finish. You need to apply a top coat to seal it in, otherwise it will wear off quickly.
Dining tables withstand a lot of abuse from repeated cleanings, so you want a top coat that will hold up. I used General Finishes High Performance top coat in the flat sheen.
Gel stain is oil-based, and the top coat is a water based product. I had to wait three days for the oil to fully dry before applying the top coat. If you use an oil-based top coat, like this wipe on gel top coat, you only need to wait 24 hours.
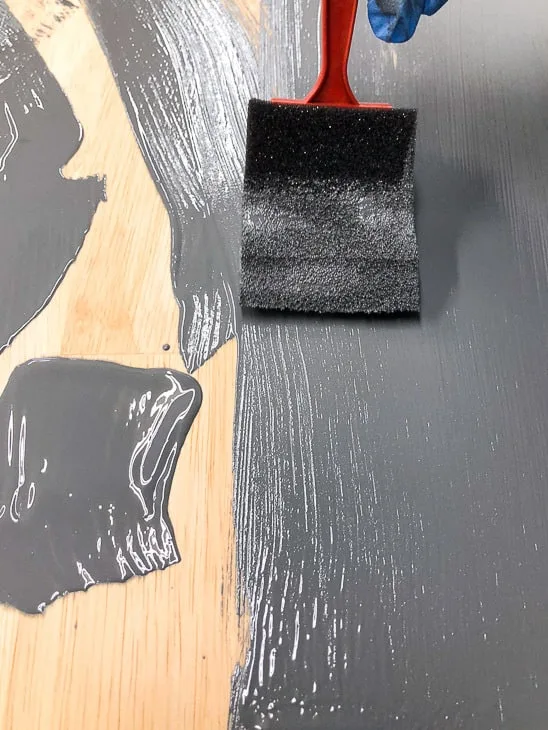
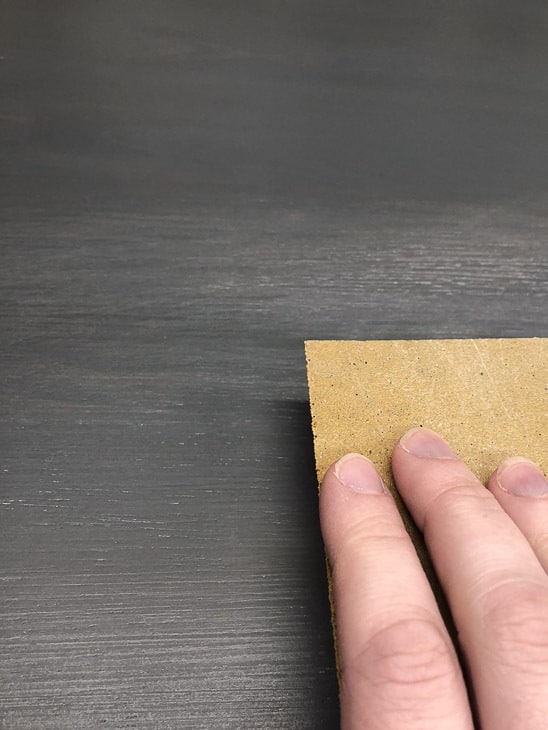
Pour some of the top coat onto a paper plate, and dip a wide foam brush into it. Lightly brush the top coat onto the surface of the table, being careful not to overbrush. Just apply it and move on. It goes on white but dries clear quickly.

Allow it to dry for at least two hours. Then give the top coat a quick sanding with a super fine sanding sponge to even out any brush strokes. Wipe off the sanding dust with a tack cloth before applying another layer of top coat. Repeat for a third coat.

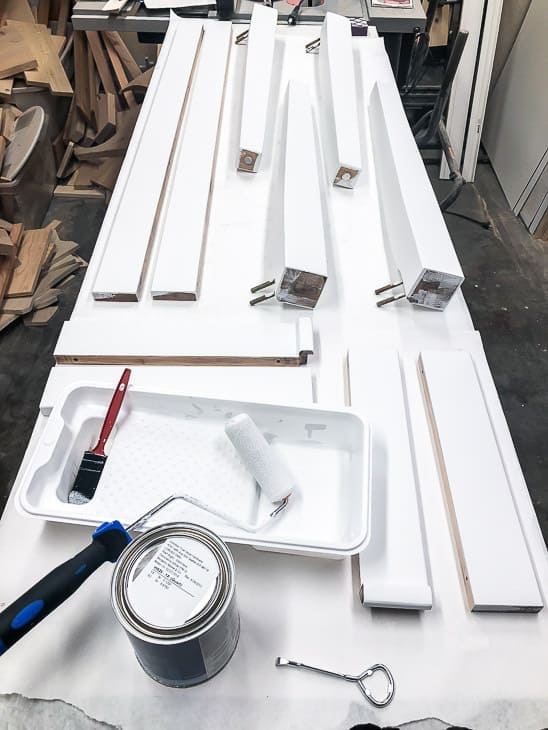
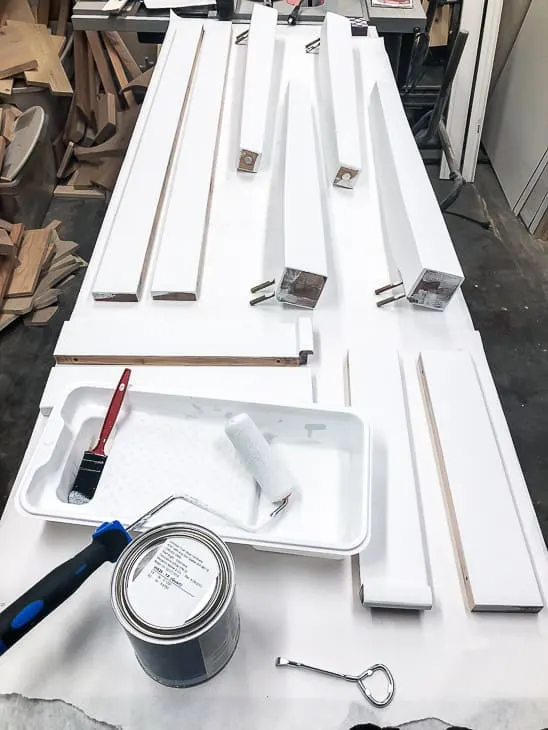
For a true rock-hard finish, wait a week before using the table. The top coat needs time to cure, and you don't want to ruin that gorgeous new grey wood stain! I moved the table top to a safe spot and worked on painting the legs and base.
Reassemble the table and chairs
As I put the table back together, I couldn't help but marvel over the difference. My old, ugly table was totally transformed!
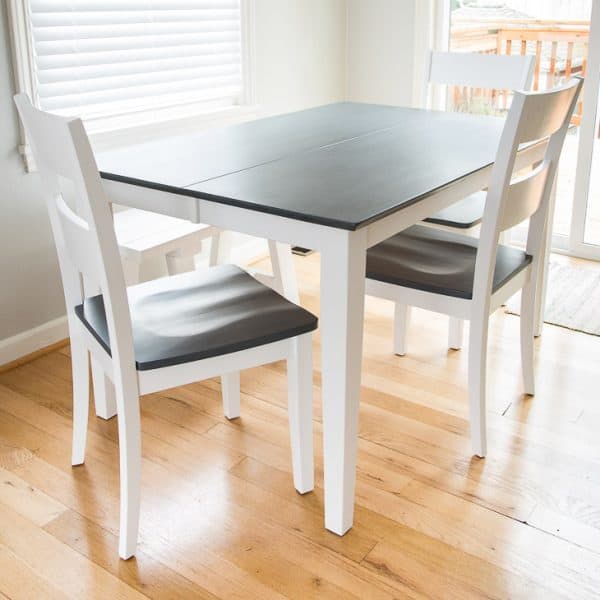
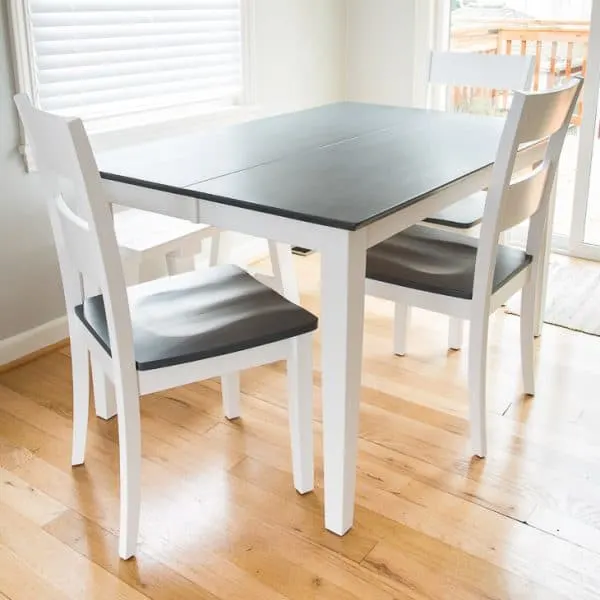
The new chairs create a perfect set with their grey stained seats.
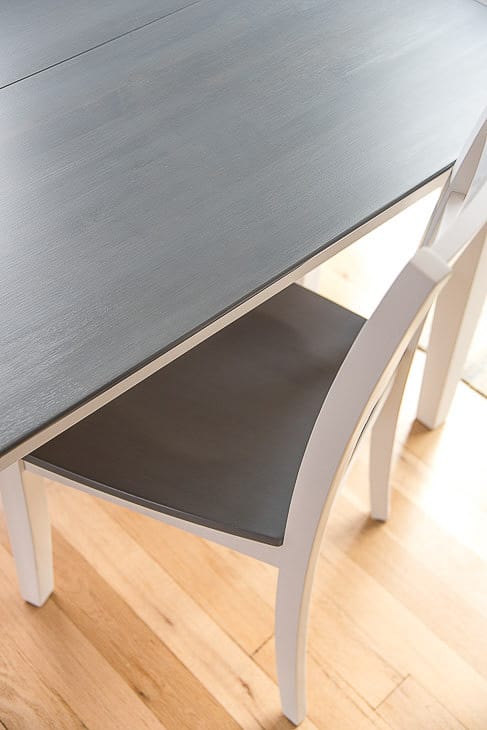

Even though the tabletop is darker than before, it actually feels lighter in the space because of the white base.
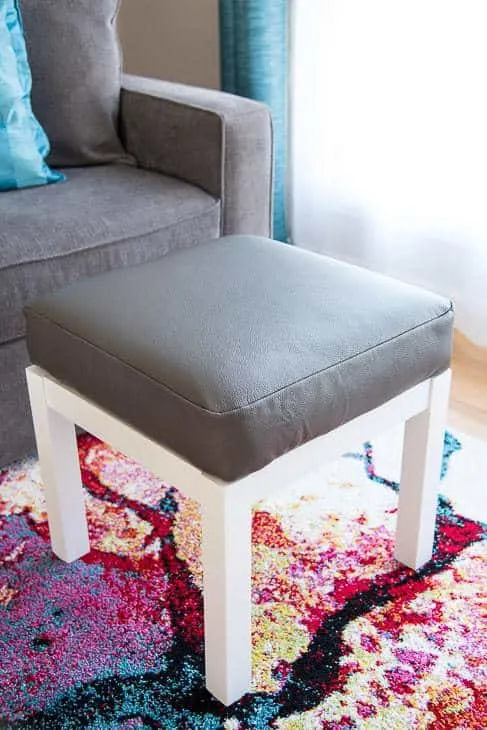
Now the living room flows seamlessly into the dining room, with dark grey pieces in both spaces. Even my new DIY ottoman matches perfectly!

Want to see more examples of this grey wood stain?
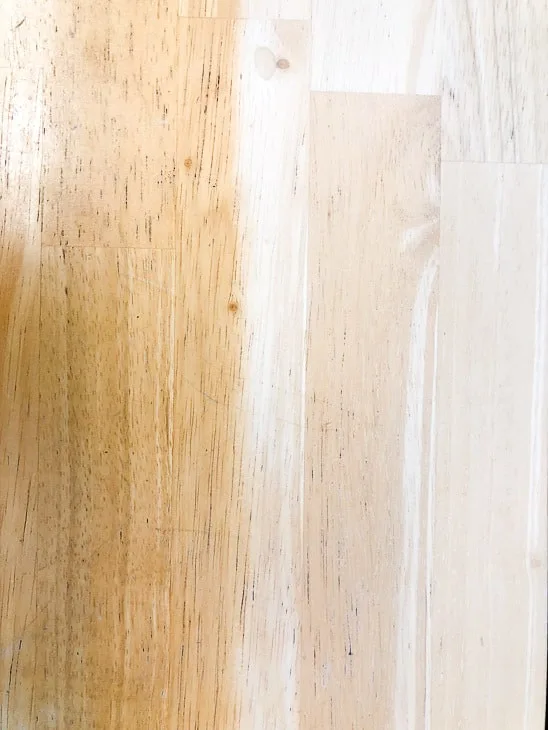
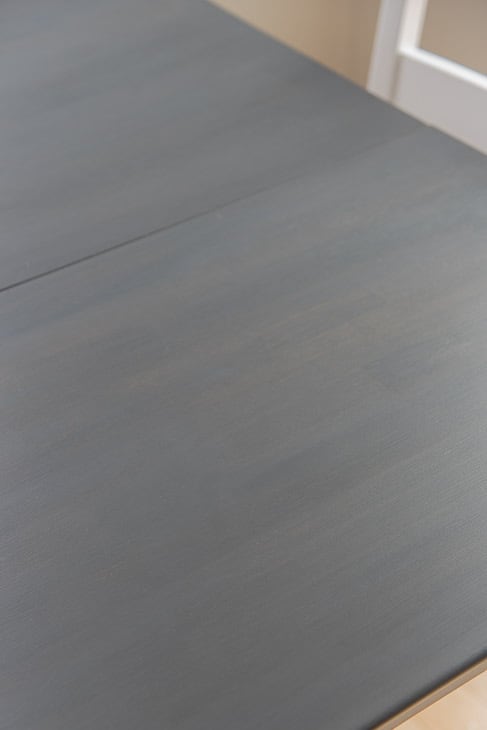
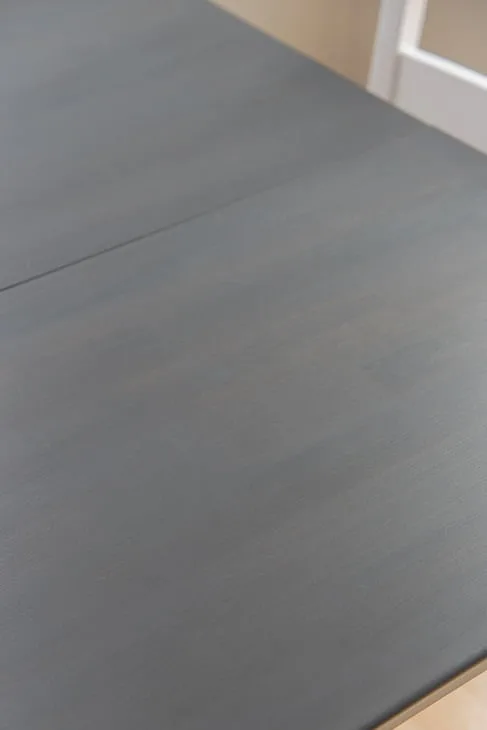
The species of wood and number of coats dramatically changes the color of this particular grey wood stain. My dining table is made of maple, and it turned out a true grey.
I edited this photo to turn down the highlights so you could see the color and grain better. You can still see the wood grain with one coat, but I'm guessing it would look more like paint with a second.
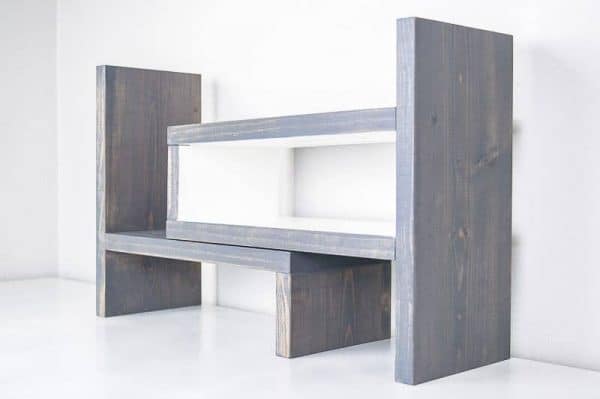
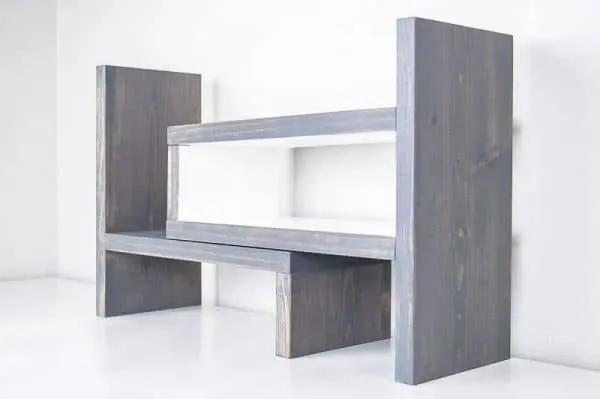
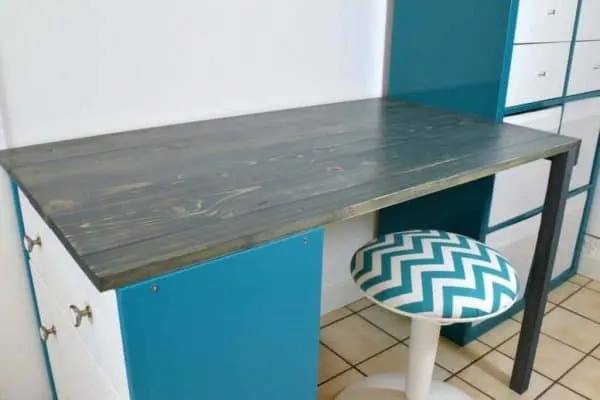
I've used it in several other pieces around the house as well. It takes on more of a blue tone when applied to pine, as you can see on my desktop organizer.
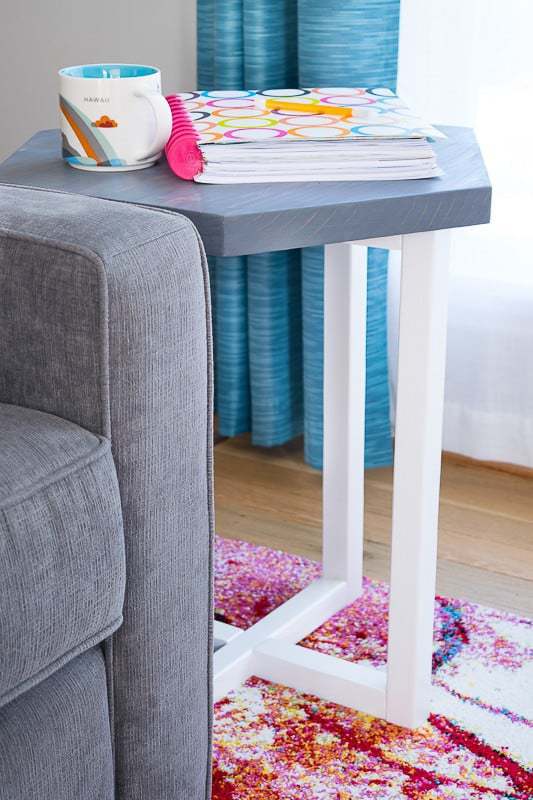
Two coats evens out the color, but still has a blue-ish tint on pine. You can see how that looks in my hexagon side table.

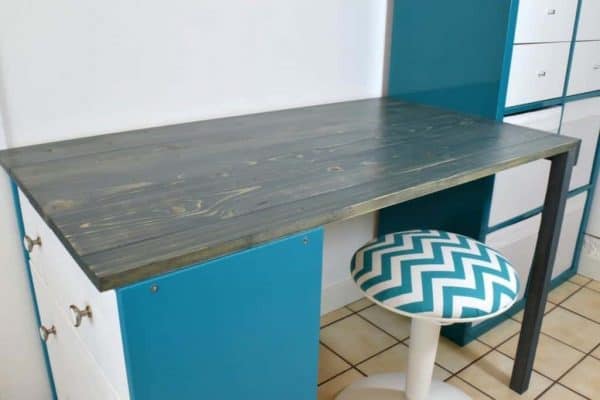
But I'd still prefer the blue tint of the General Finishes stain to the Minwax grey stain I used on this IKEA desk hack. It turned a weird shade of greenish grey that I'm not too fond of. Luckily, it's usually covered with clutter so I don't notice!
Check out these other staining and finishing tutorials!
Owen Carver
Saturday 24th of November 2018
These look amazing! I have a gray table I bought from RH that got damaged from a nail polish remover. This gives me some good ideas for how I could go about fixing it. Thank you!
Jaclyn
Wednesday 19th of September 2018
I have a table already like that and want to do this to a kitchencart to coordinate. How would i go about painting the cart white? Would I need a topcoat after as well?
Vineta
Thursday 20th of September 2018
White paint shouldn't need a topcoat, but I would sand it down a bit so it sticks to the cart better. If you stain the top, you'll need a topcoat.
Linda
Sunday 2nd of September 2018
Hi Love what you did. what do you think it would look like on mahogany?
Vineta
Tuesday 4th of September 2018
Good question! If you sand mahogany down to its natural color, it's a light brown that is slightly darker than the maple you see in this table. You might end up with a warmer gray than what I achieved, but two coats of stain might overcome the natural tint better. You can see this stain color on five different wood species (although not mahogany, unfortunately) in this post.
William E. Kessler
Monday 26th of March 2018
I really love the color and the designed used it turned out great and perfect!! Your tutorial is excellent and I think I will follow suit and make some of my furniture like this..Thanks for the inspiration!
Judy
Tuesday 13th of March 2018
The table looks fabulous. Love that color stain. I will be featuring this tonight at my Winter Blues Wednesday party that opens at 8pm EST. Please stop by and pick up an I've Been Featured button. Thanks. http://diybydesign.blogspot.com