This DIY candle lantern is made from scrap pieces of architectural trim from my fireplace remodel! It's easy to customize to coordinate with your home decor, and frames a tall pillar candle perfectly.
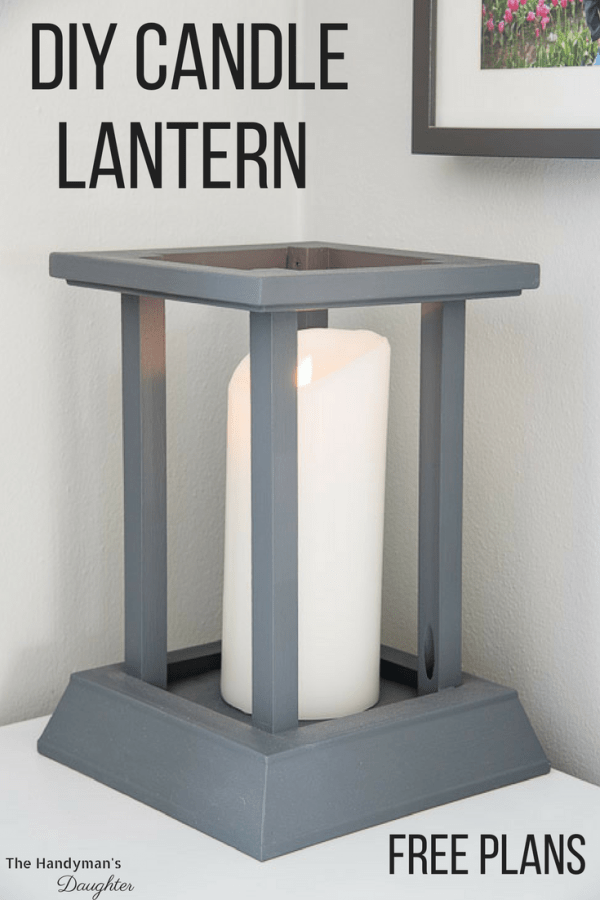
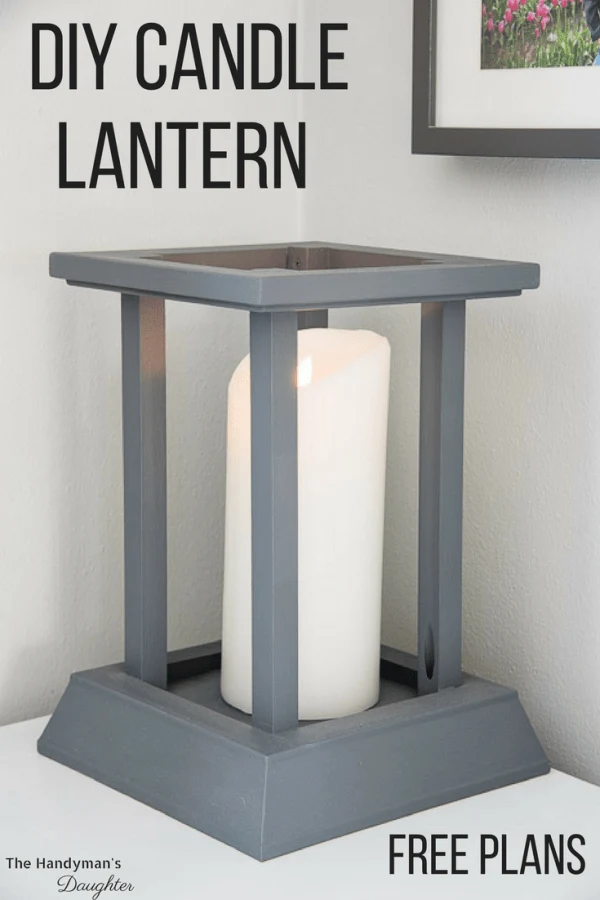
Candles make a home feel cozy, but a bare pillar candle can look too plain by itself. I took scrap pieces of trim from my fireplace remodel, and turned them into a DIY candle lantern that frames a flameless pillar candle perfectly! I've also included free woodworking plans for the same project using standard lumber, so you can make one yourself.
This post contains affiliate links for your convenience. Purchases made through these links may earn me a small commission at no additional cost to you. Please visit my disclosures page for more information.
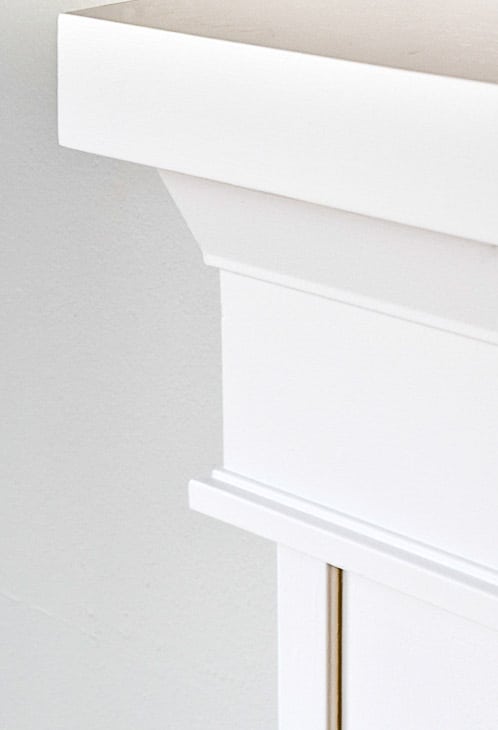
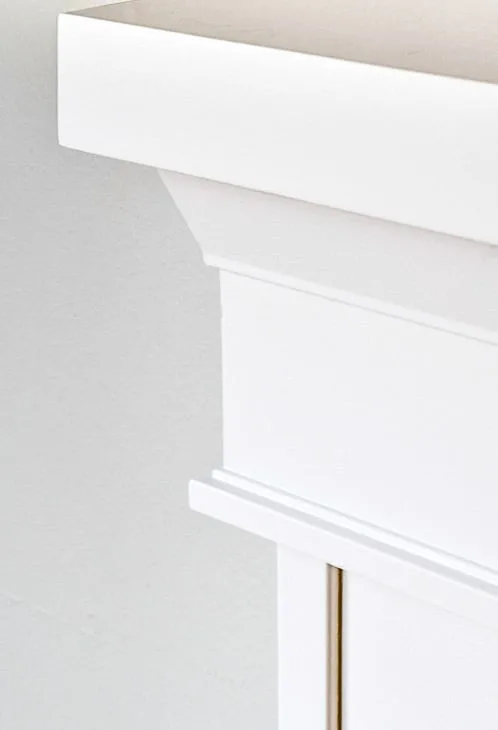
For this DIY candle lantern, I used a type of trim from Metrie called an architrave. It's typically installed on top of windows and doors for a bold architectural statement. But it was the perfect decorative element under my narrow fireplace mantel! I cut down the scraps of trim to utilize all the gorgeous details in my candle lantern.
Not quite what you were looking for? Check out these other DIY candle holder ideas!
Materials Needed for DIY Candle Lantern
- ¾" square wooden dowels
- Architectural trim
- Trim with a three square corners like this one works best for the base.
- The frame at the top can use ornate trim like this, or flat trim like this.
- In my free woodworking plans, I show how to create a similar look with standard lumber.
- Scrap wood for the inside of the base
- Brad nails
- Brad nail gun
- Countersink bit
- 1 ¼" pocket hole screws
- 1" wood screws
- Wood filler
- Wood glue
- Sandpaper
- Flameless pillar candle
- Pocket hole jig
- Check out my tutorials on how to use a Kreg jig, and how to use pocket holes if you're not familiar with this tool.
- Corner clamp (optional, but helpful!)
Instructions for DIY Candle Lantern
Before you begin, download the free woodworking plans for the candle lantern here! It has step by step instructions using standard lumber and trim so you can make your own.
Cut the Pieces
First, I cut the trim down into manageable pieces about 10 inches long.
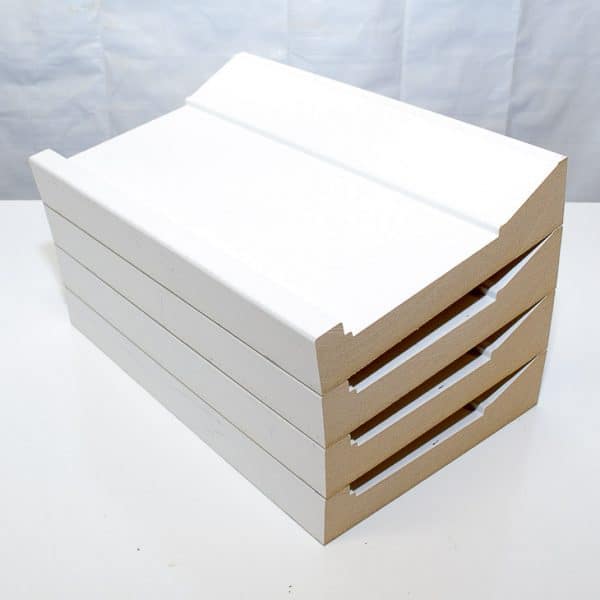
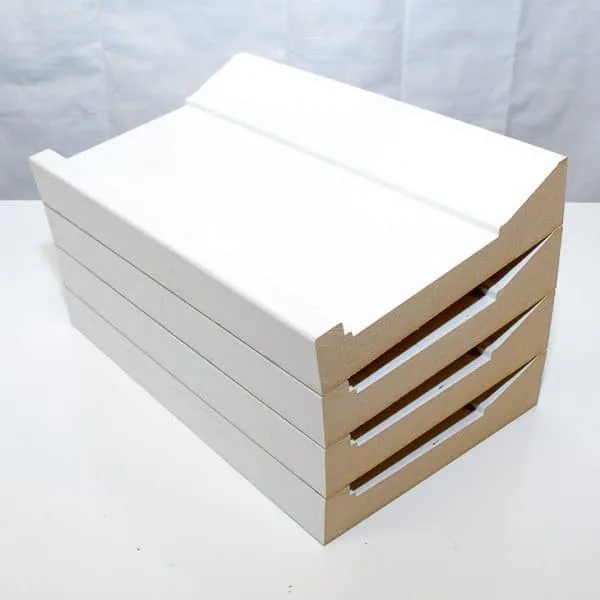
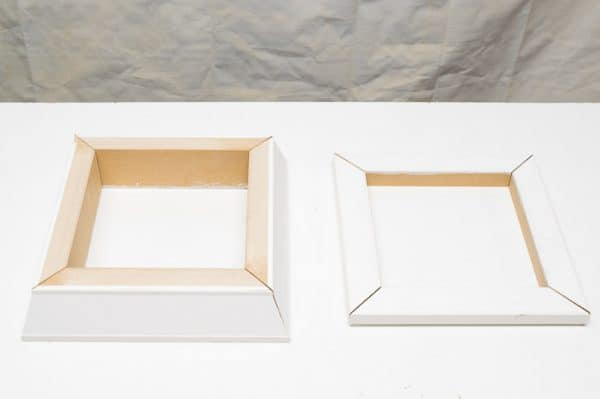
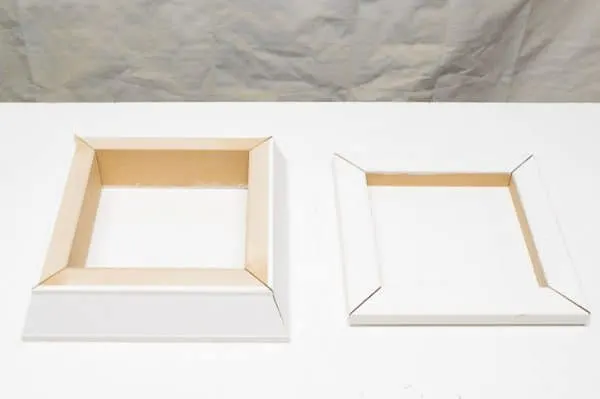
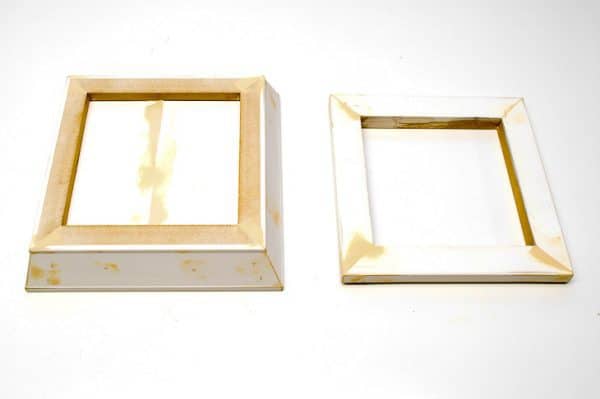
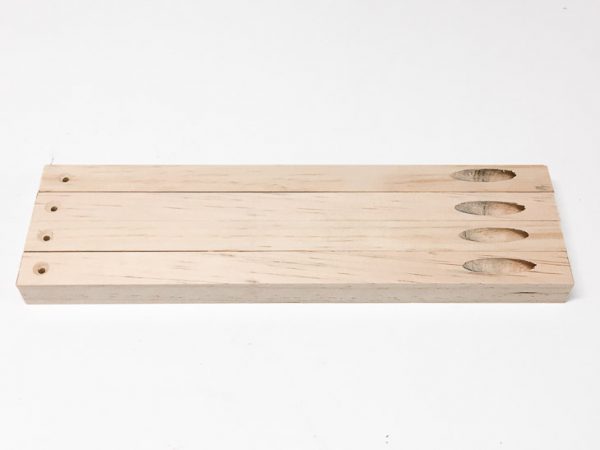
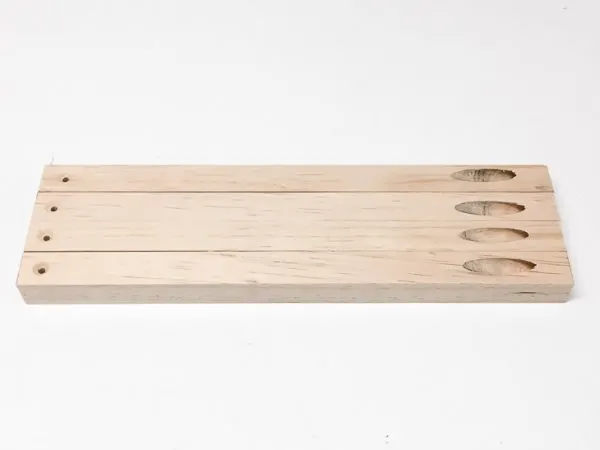
Then I cut the trim into three separate parts. Each part was used in my project, so all I needed to buy were the dowels for the pillars!

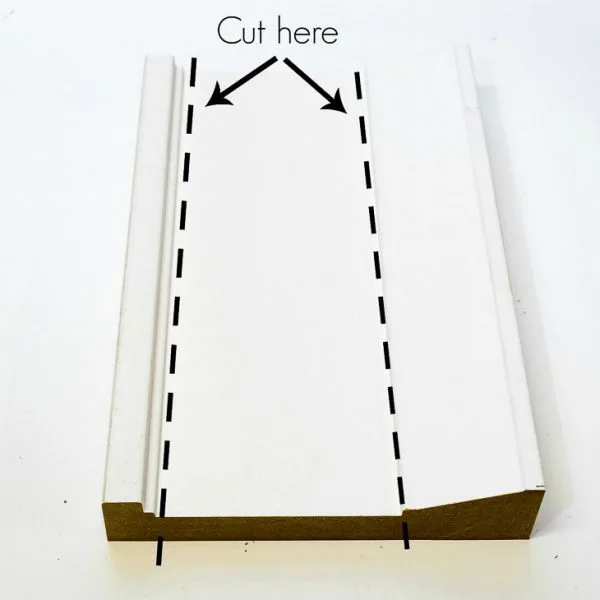
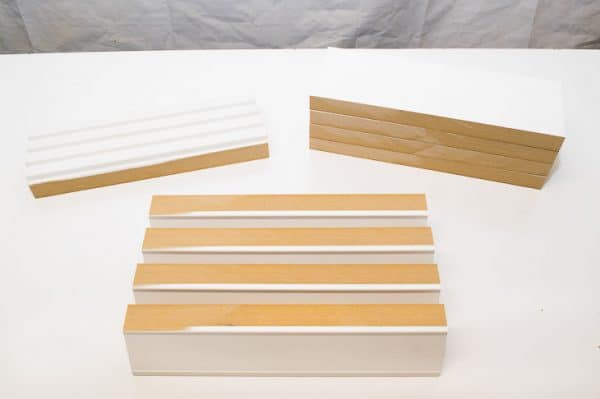
The angled part on the right will become the base, the square piece on the left will frame the top, and the middle section fills in the base.

You could use crown moulding for the base, flat trim around the top, and plywood for the bottom. Let the moulding aisle of the home improvement store inspire you!
Miter the corners of the base and top pieces to create two frames. The base is 9" square and the top is slightly smaller, but the interior dimensions are the same.
Build the Base
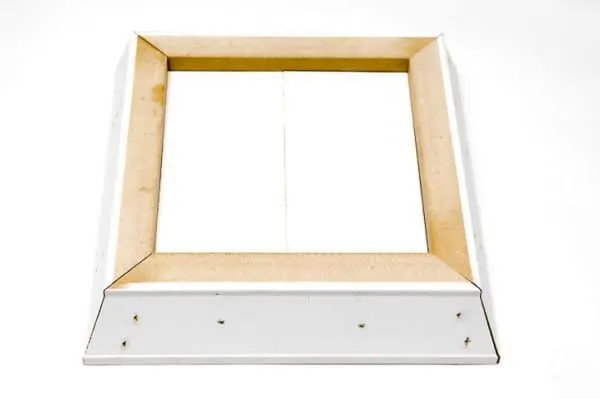
Apply wood glue to the ends of each of the base pieces. Attach the base frame pieces together with brad nails through each corner.
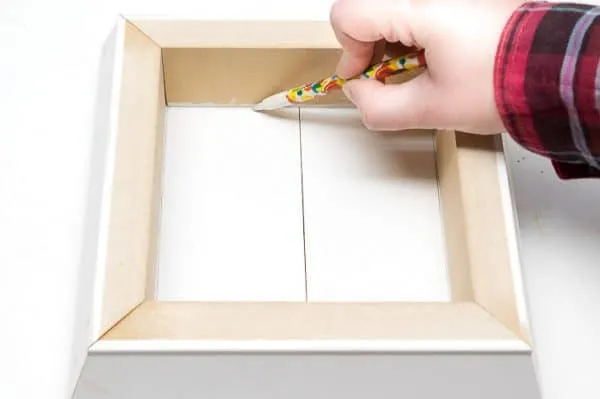
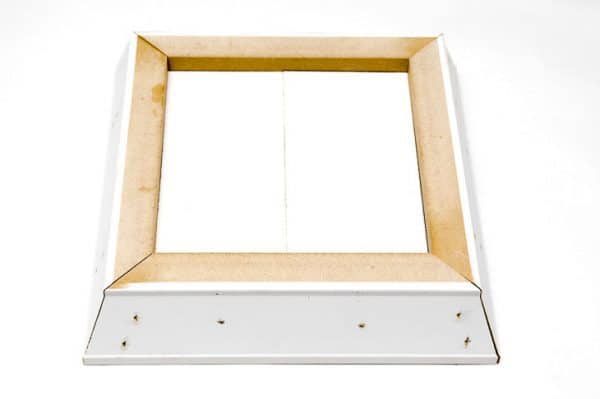
Place the base frame on top of a piece of plywood (I used the flat part of my architrave trim), and mark the inside edges. Cut the plywood to fit. You may want to use more than one layer of plywood, depending on how high you want your pillar candle to sit inside the lantern.

Nail through the sides to hold the center pieces in place. All those nail holes will be patched before painting.
Assemble the Top Frame
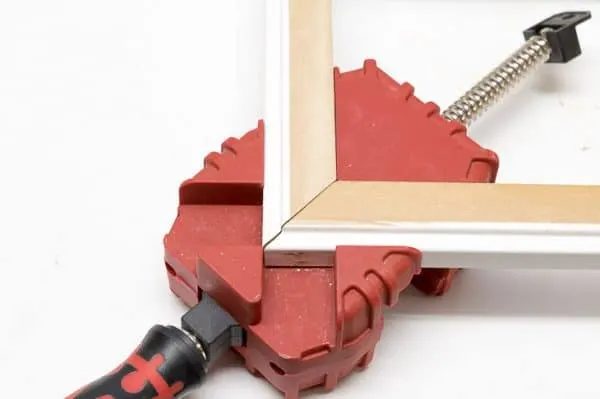
Apply wood glue to both ends of the smaller frame pieces, then nail them together with a brad nailer or finish nailer. I used a corner clamp to hold them in place while I joined them together.

Patch the holes and gaps with wood filler, then sand smooth when dry.

Assemble the Pillars
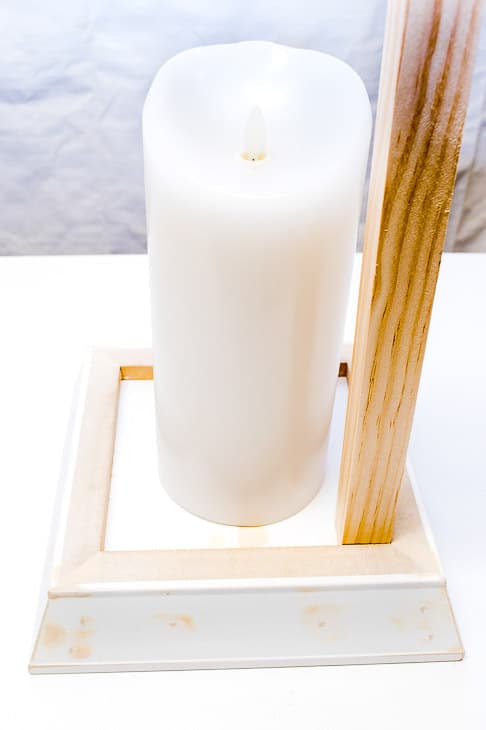
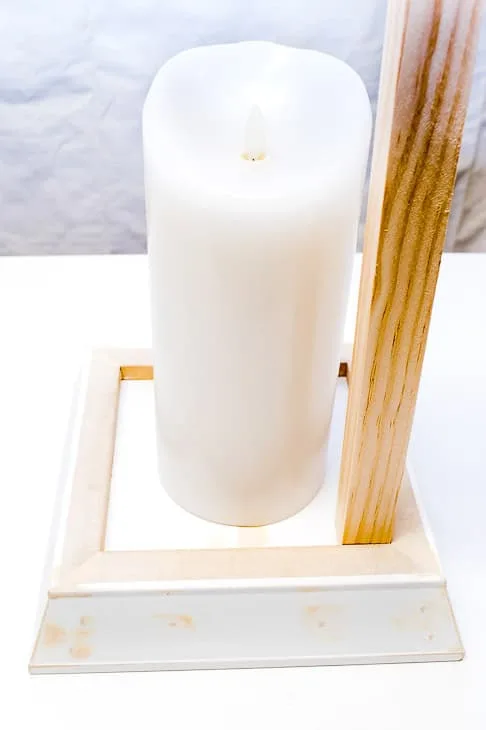
Place your flameless candle in the center to determine the height of the pillars. Mine are about 2 inches taller than the candle. Cut four square dowels to that dimension.
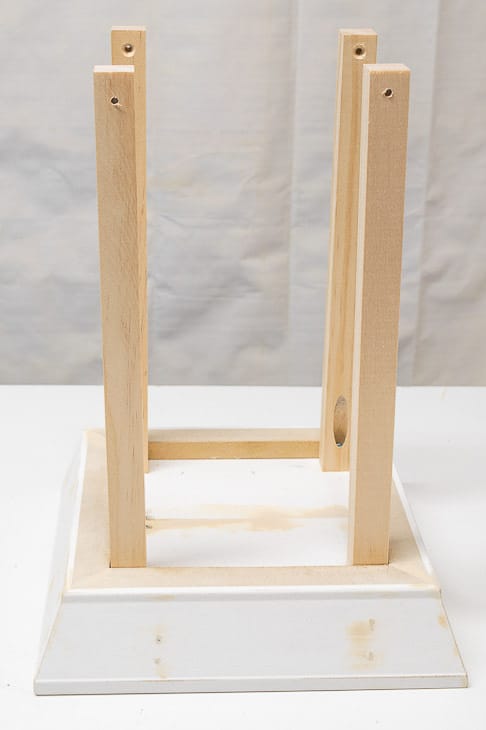
Predrill a hole in one end of each dowel with a countersink bit, and a pocket hole in the other end. Check out my posts on how to countersink screws, how to use a Kreg jig and how to use pocket holes if you're not familiar with these techniques.
Attach the pillars to the base with 1 ¼" pocket hole screws. You can fill these holes with plugs or wood filler if you prefer. Once I painted mine gray, they became a lot less noticeable.

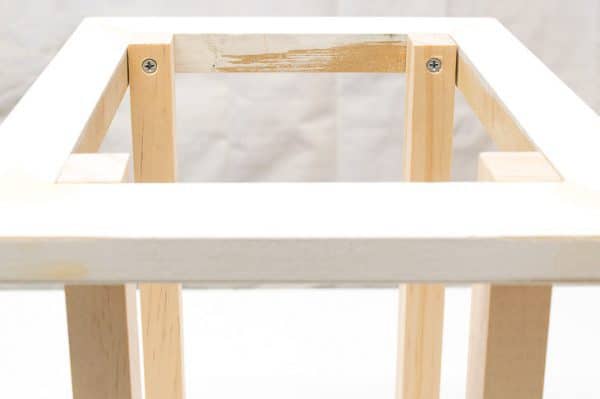
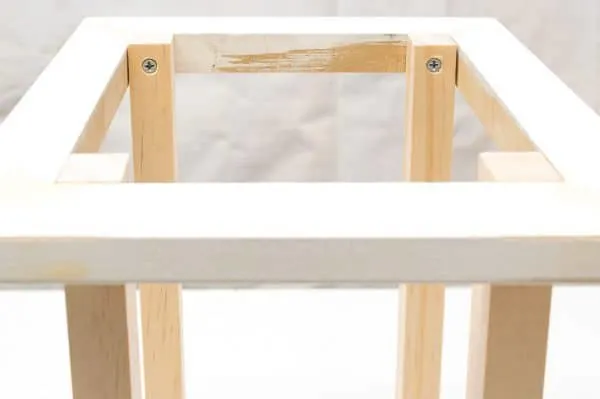
Attach the top frame to the top of the pillars with 1" screws, keeping the tops of the pillars flush with the top edge of the frame. You can apply wood filler over the screw holes and caulk the seams for a flawless finish.
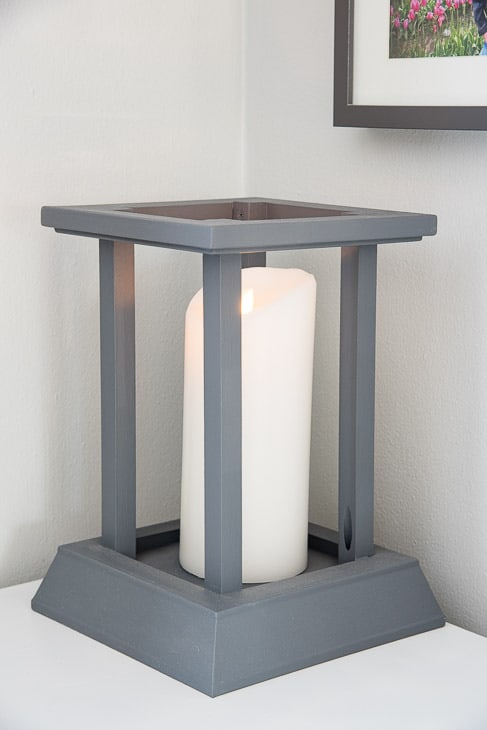
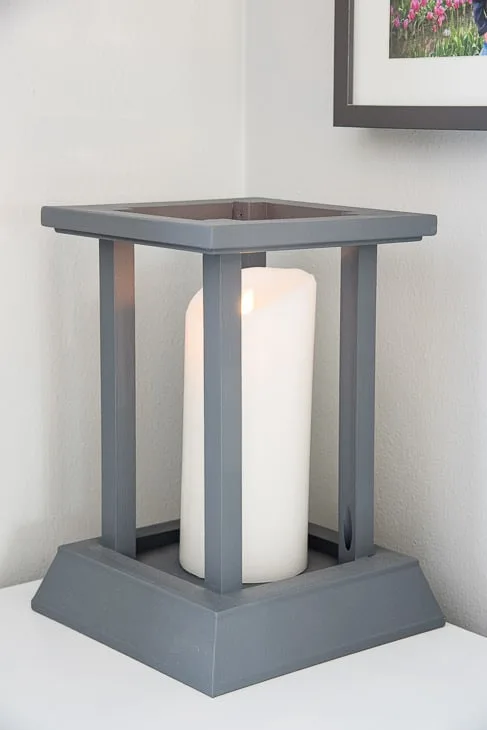
Paint Your DIY Candle Lantern and Display!
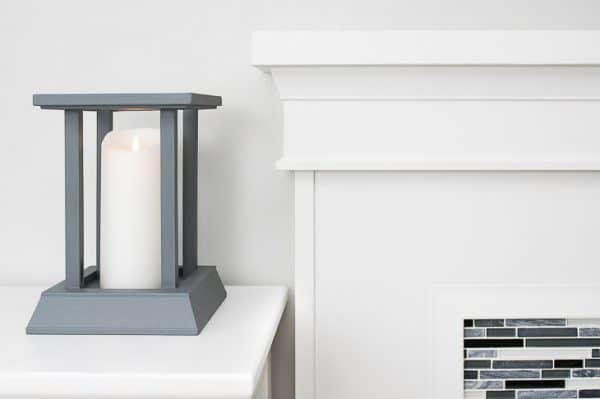
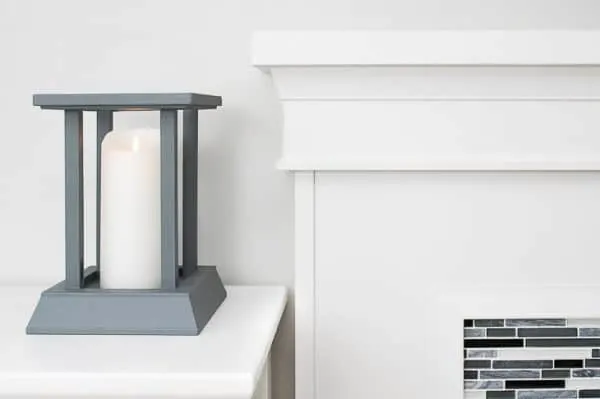
Primer helps cover up the wood filler and ensures a more even paint job. I used some leftover chalk mix paint from my bread box makeover, and it goes perfectly with the dark gray fireplace tile.
Even side by side, it's hard to tell I used the same trim! Deconstructing the architrave gave the lantern a completely different look from the mantel.
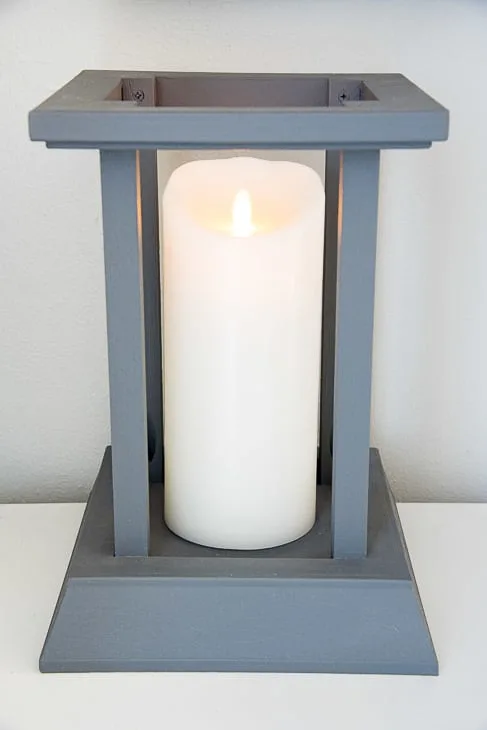
For safety reasons, I recommend using only flameless candles in your DIY candle lantern. Luminara flameless candles are so realistic, it fools my husband every time it turns on! They were developed for Disney's Haunted Mansion ride, and they're worth every penny!
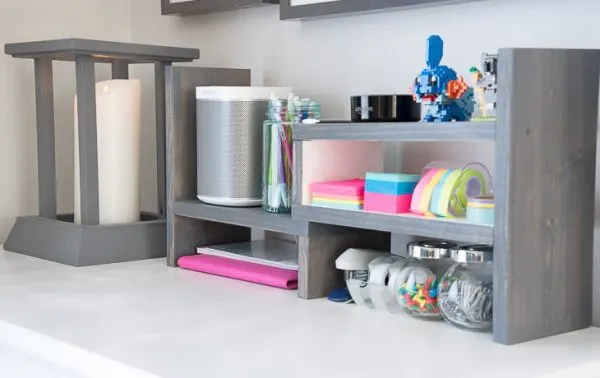
I keep my candle lantern next to my adjustable desktop organizer in the living room. The strong lines of both pieces complement each other nicely.

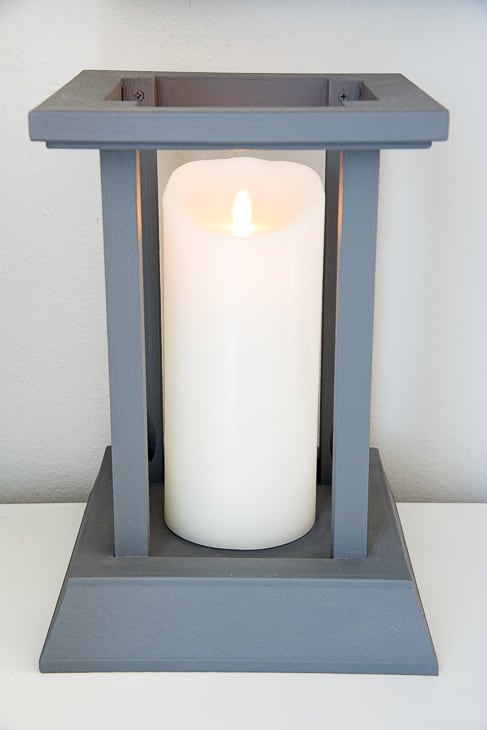
The lantern perfectly frames the candle and brightens up a dark corner of the living room!
Check out these other small woodworking projects!
Emily @DomesticDeadline.com
Tuesday 20th of March 2018
What a great idea! I always have scrap trim and wood around. Thanks for sharing at #HomeMattersParty
Theresa
Monday 19th of March 2018
Nice use of scrap wood. I love how the candle holder turned out. Thanks for sharing this at the Inspiration Spotlight party @DearCreatives Pinned & sharing
Kate | The Organized Dream
Tuesday 13th of March 2018
This lantern came out great! I love the modern look of it and the dark gray you chose is perfect!
Kate | The Organized Dream