Want to change up the look of your dining table? Refinishing a table is easier than you think, and can breathe new life into an old piece.

If you've ever spotted free furniture on the side of the road, or inherited an old piece, you know the dilemma. Is it worth the time and effort to fix it up? Do you refinish it, or do you paint over it? How do you remove the old finish so you can start fresh?
In most cases, it's easier than you think to refinish a table or chairs. With a little bit of knowledge and a lot of elbow grease, you can make that piece of furniture shine again!
This post contains affiliate links for your convenience. Purchases made through these links may earn me a small commission at no additional cost to you. Please visit my disclosures page for more information.
Is it Worth Refinishing?
Take a good look at your piece. Is it solid wood, veneer or laminate? Here's how to tell the difference!
You can refinish solid wood easily, and veneer if you're careful. Laminate is plastic, and can be painted, but not stained.
Two Methods for Refinishing a Table
There are two ways to refinish a table: sanding and stripping. I'll go over each method with the pros and cons of each one separately, so you can choose the right one for your project.
When to Sand
Sanding is the best method of the surface of your table is worn or damaged. Not only will it remove the old finish, but sanding will smooth it out and make it look like new! It's less messy than stripping off the finish, and easier for a beginner. The downside is that it takes longer and creates sanding dust.
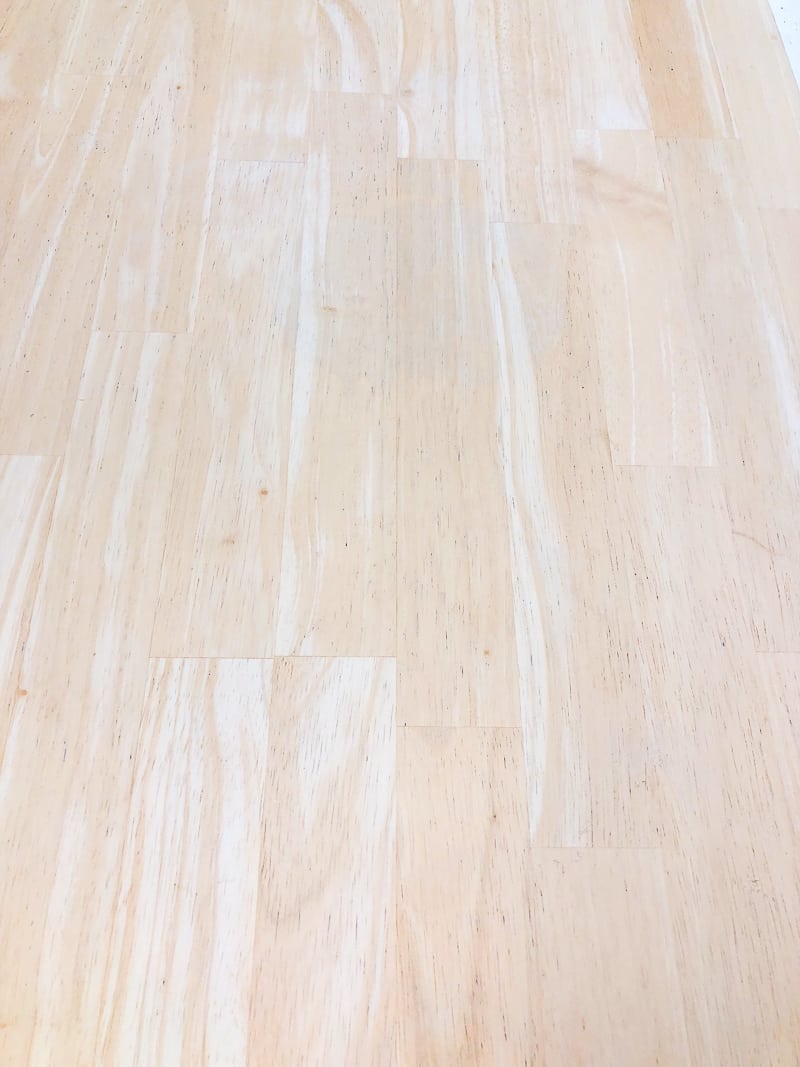
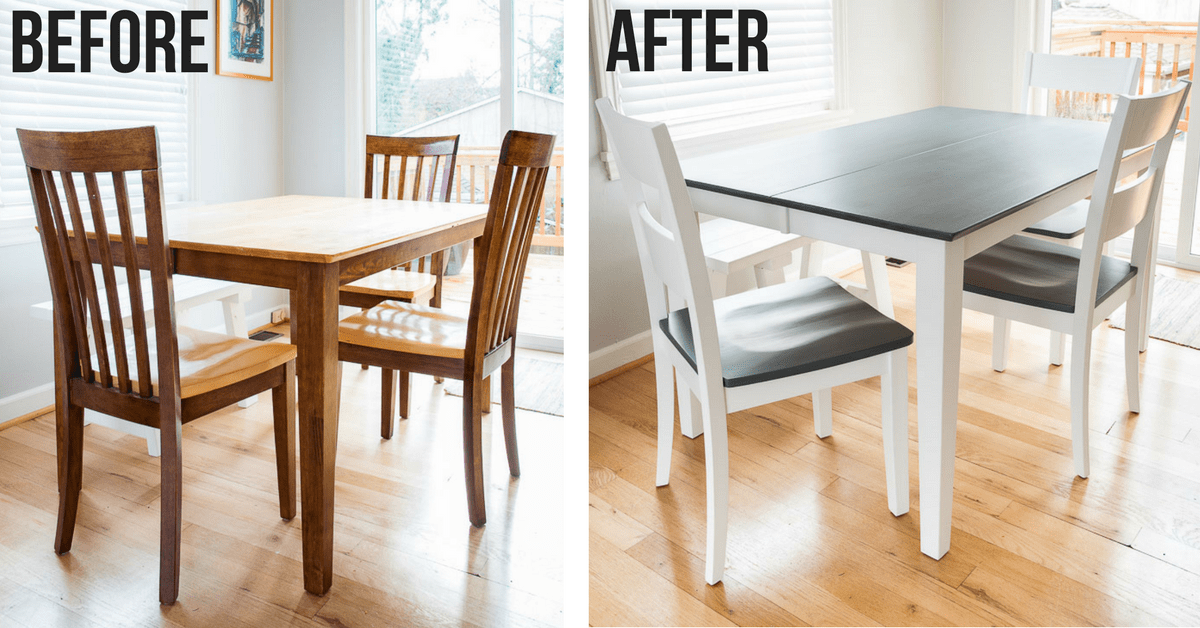
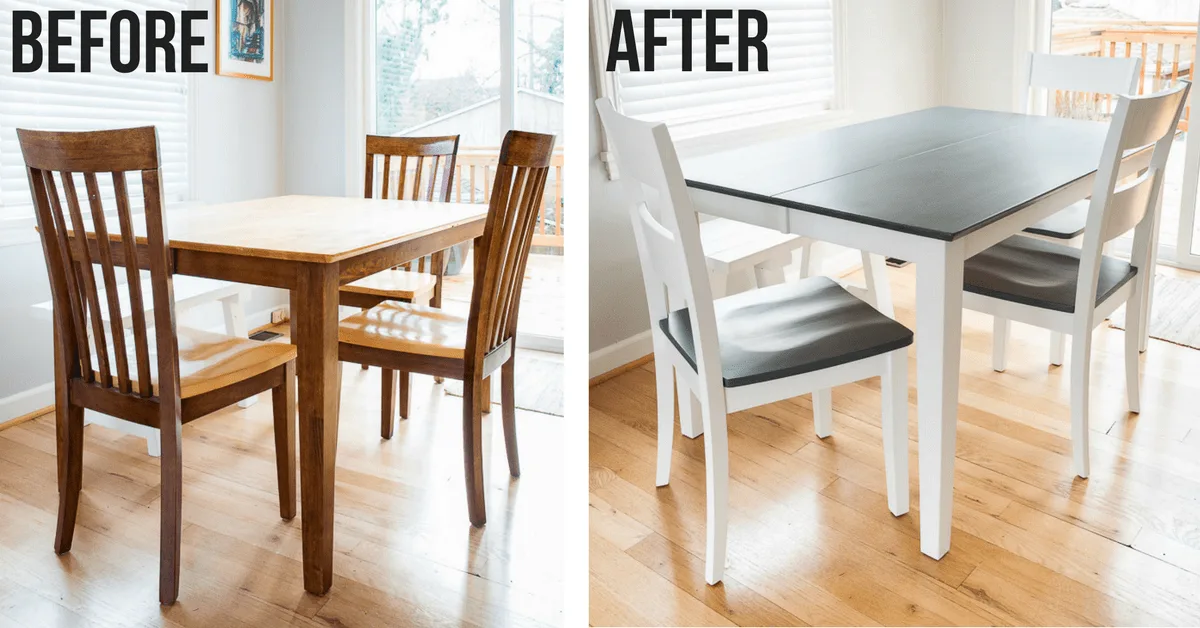
We bought this dining set off craigslist over 13 years ago. It was already used when we got it, and our son almost destroyed it as a toddler!


After years of wiping up kid messes, the surface of the table was pitted and damaged. The old finish had completely worn off in some spots, leaving the wood unprotected. See those foam stickers stuck to the edge? I wonder how those got there...
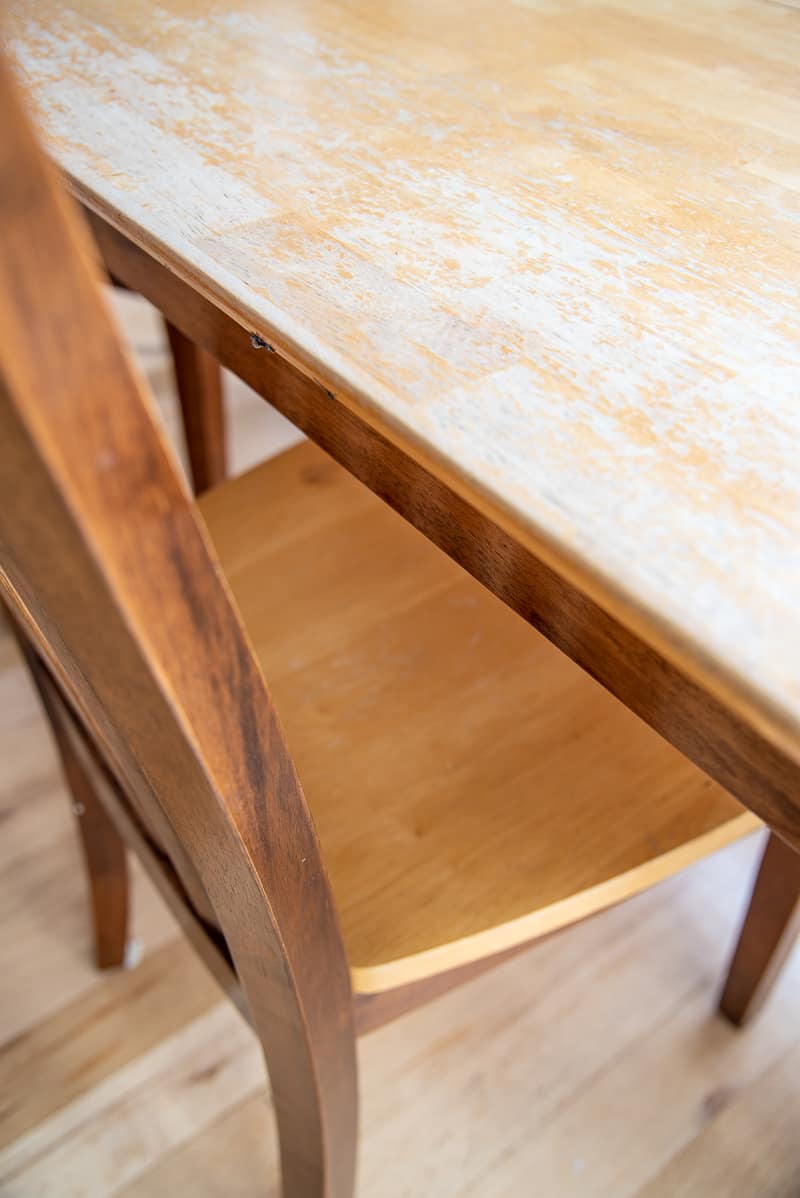

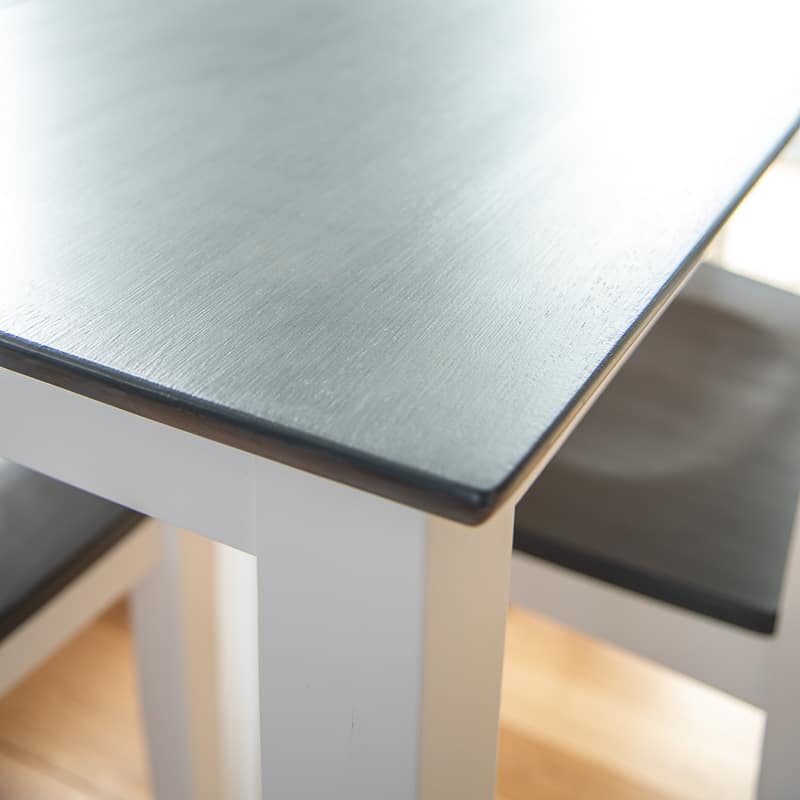
Until I get around to building a new table, this one will have to do. With a little work and my favorite gray wood stain, I knew I could refinish the table and give it a whole new look!
When to Strip
If the finish of your table is in good shape, but you want to change the color, stripping is your best option. It involves a chemical process for removing the old stain and top coat so you can start fresh without removing a layer of wood fibers.
This method is also recommended if your table has lots of decorative carving or details along the edges or legs. The stripper can dissolve the finish in all those crevices that would be impossible to reach with sandpaper.
In my case, I wanted a new style of chairs to go with my refinished dining table. I searched online for a set that would coordinate well with the two-toned look. I found ones that had the lines I liked, but the seats were the wrong stain color.
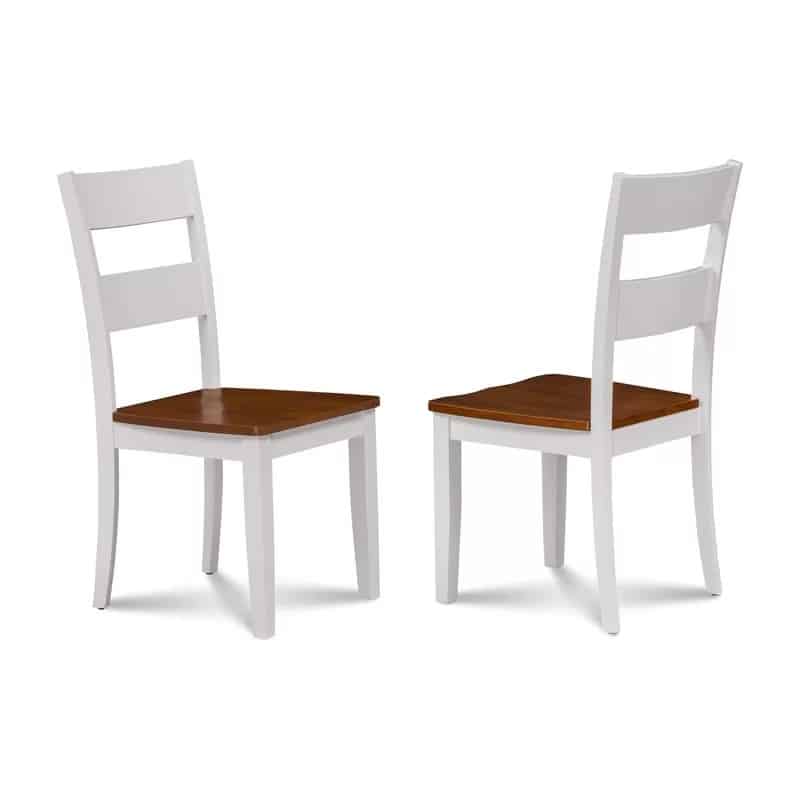
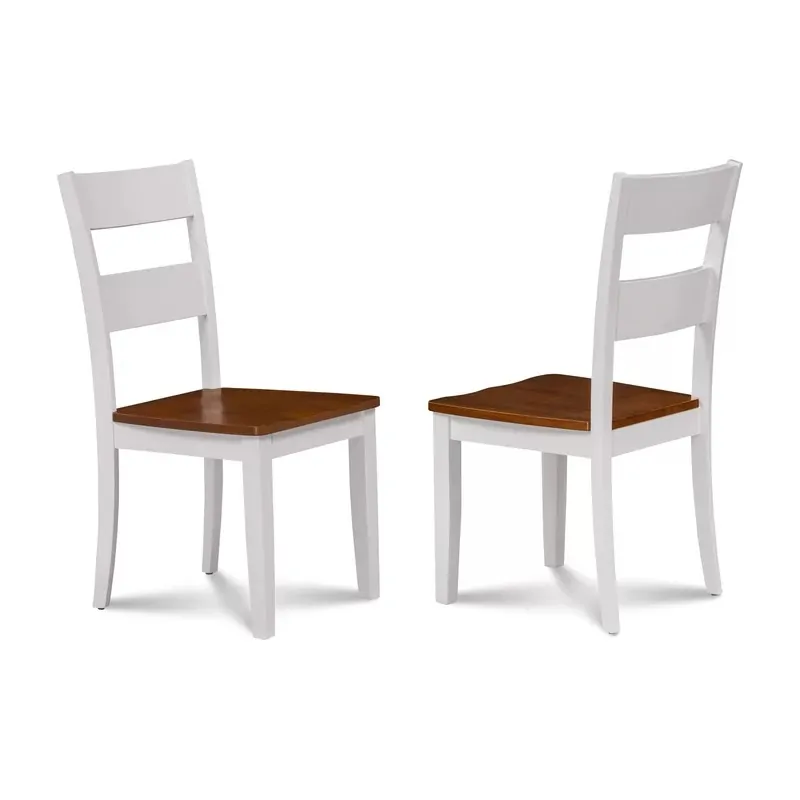
Since the chairs were brand new, there was no need to sand down the finish just to change the color. Paint and finish stripper did all that work in half the time!
How to Refinish a Table by Sanding
Start with Low Grit Sandpaper
The key to getting good color and coverage with the new stain is to get down to the raw wood. To do this, you need to remove all traces of the previous stain and smooth out the damaged surface with a sander.
Start with 80 grit sandpaper in a random orbit sander. Go slow so you don't leave whirls on the surface. Keep the sander in one area until the finish has been removed, then move slowly to the next. It was so satisfying to see the stains and scratches disappear, leaving fresh, clean wood behind.


Work up to 150 Grit Sandpaper
After you finish up with the 80 grit sandpaper, remove any sanding dust with a tack cloth. Those bigger particles will scratch the surface when you switch to the next grit, and they'll be obvious after staining! A tack cloth is just a mesh fabric with a waxy coating that picks up all those stray bits of dust you can't see.
Repeat the sanding process with 120 and 150 grit sandpaper. Go slow and make sure every inch has been touched. If you're using a gel wood stain like I did, don't go higher than 150 grit. The thicker stain can't penetrate the wood after the finer grits have closed up the pores.

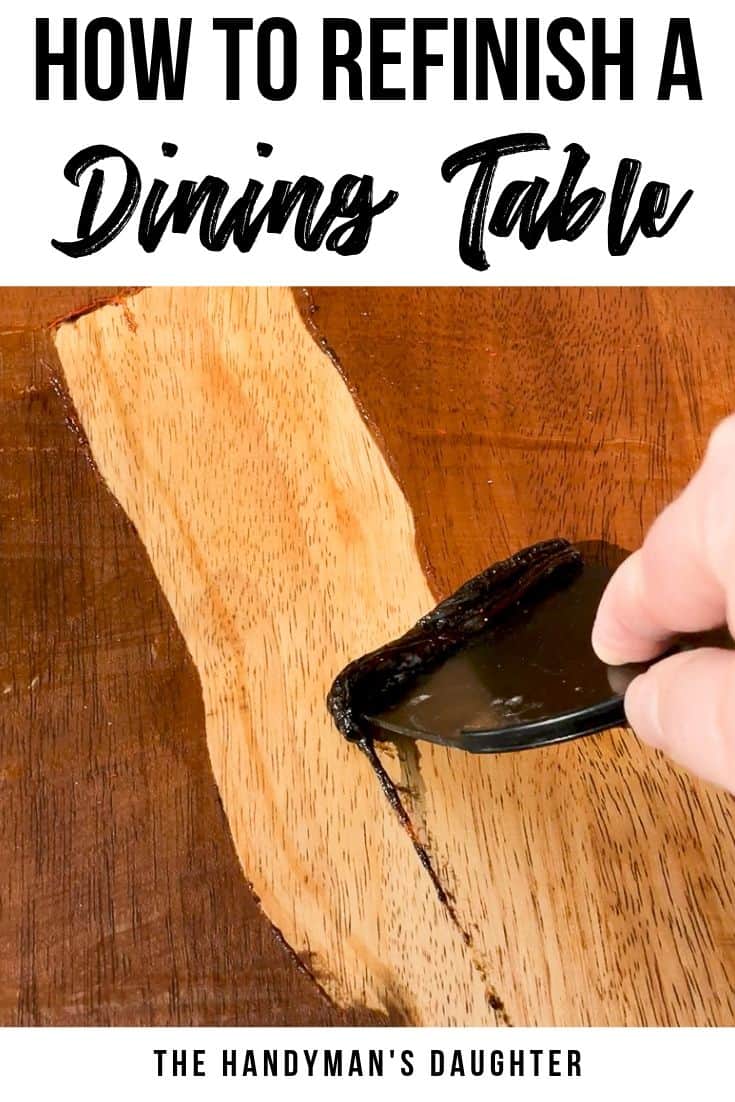
How to Refinish a Table with Stripper
Most paint and finish strippers are stinky stuff. I recommend using either Citristrip or (my favorite) Blue Bear instead. These two are made with natural ingredients, so there's minimal fumes.
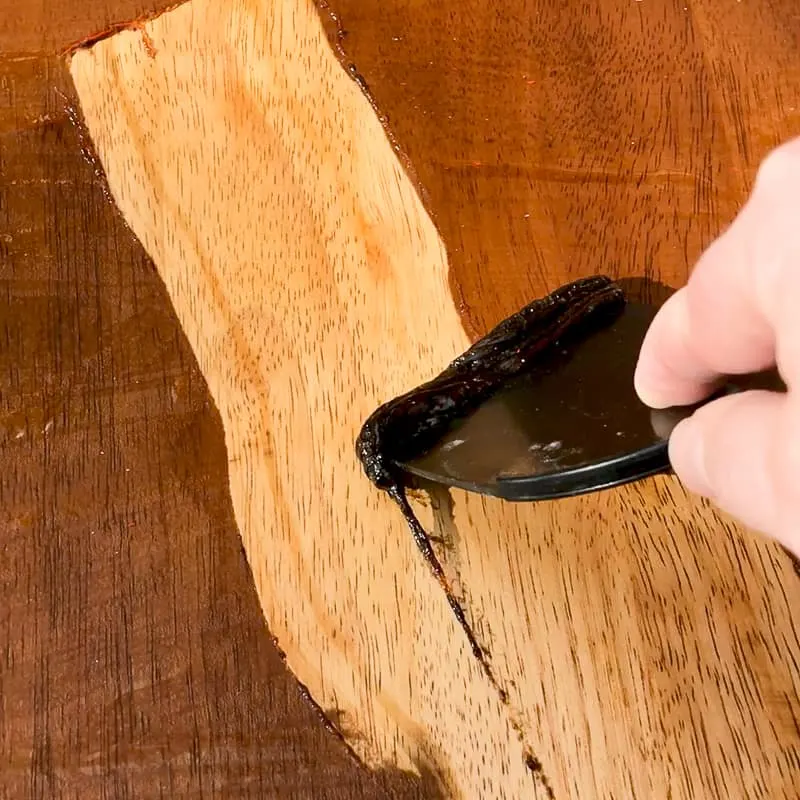
Apply the gel to the entire surface of the table with an old paint brush. Do NOT use a foam brush! The chemicals will cause it to disintegrate (ask me how I know!) Leave it on for 10-15 minutes, then scrape it all off with a plastic putty knife.

Try to remove as much of the gunk as you can with the putty knife. Then mix some TSP (a degreaser) into a bucket of water. Wipe off any residue with a rag, then allow the wood to dry. Then you can start staining!
Applying Stain
Once the wood is prepped and clean, it's time to add a new color! Gather up all your supplies before you start, because you need to work quickly to get the best results.
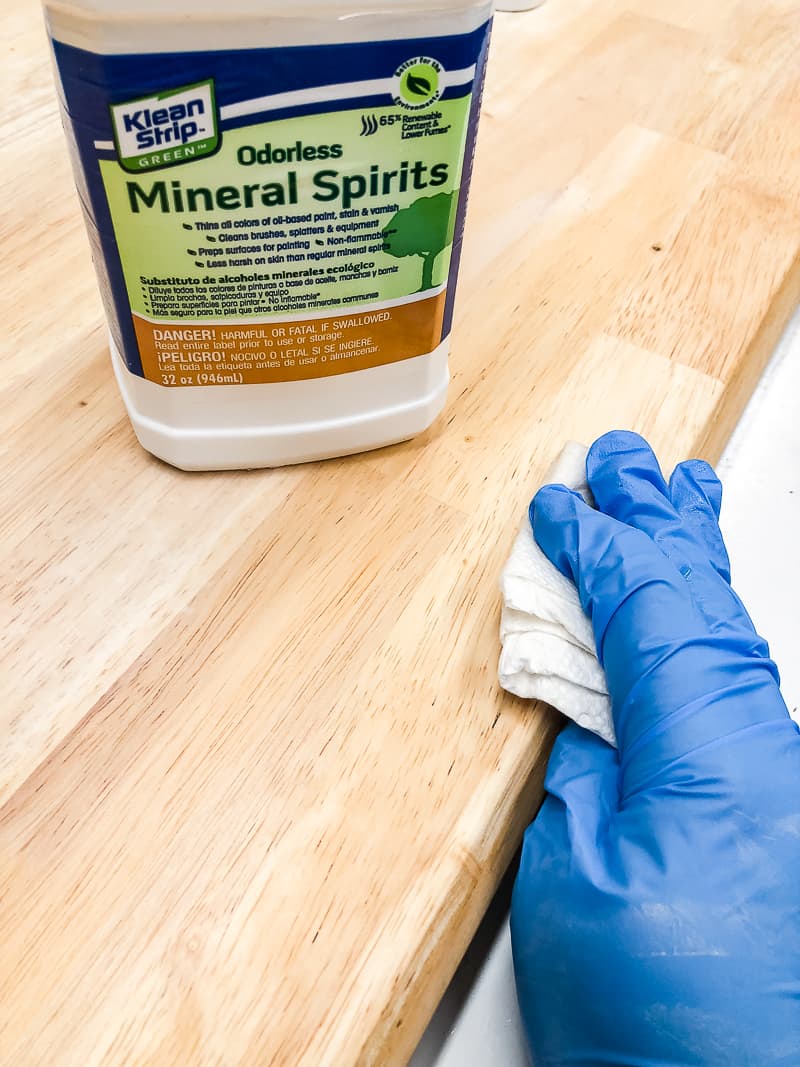
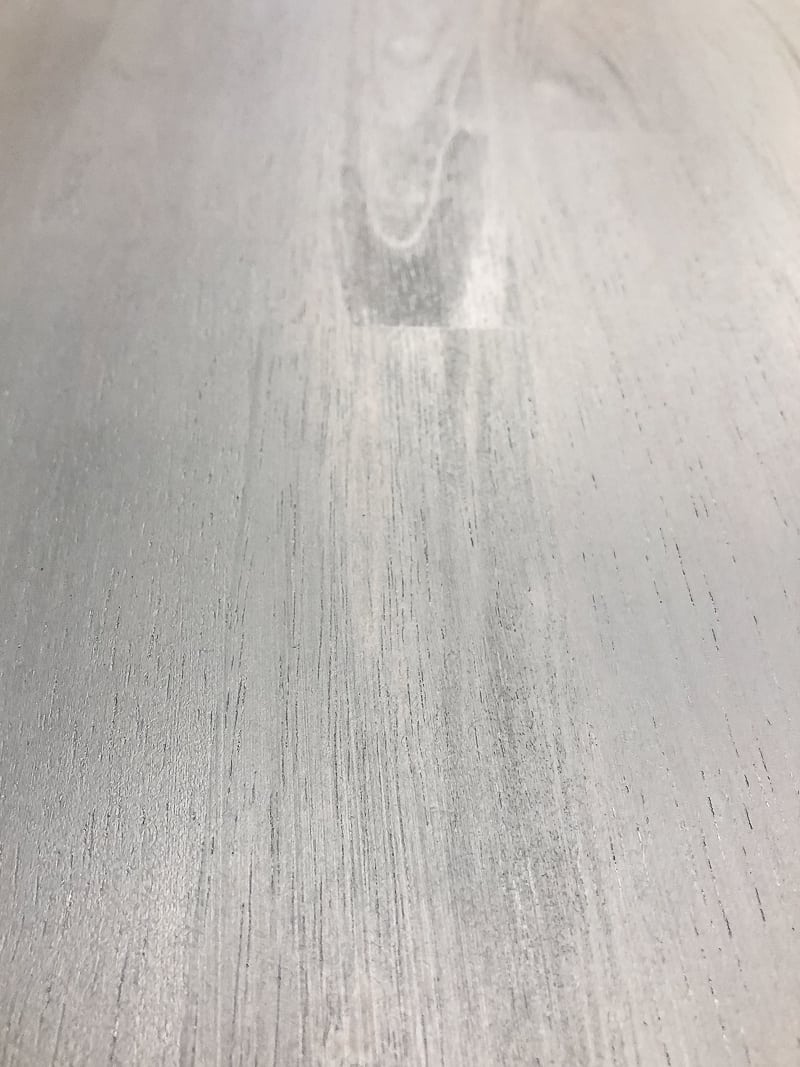
Start by wiping down the surface of the table with mineral spirits. This will clean up any dust that was left behind, and can help the wood absorb the stain more evenly.

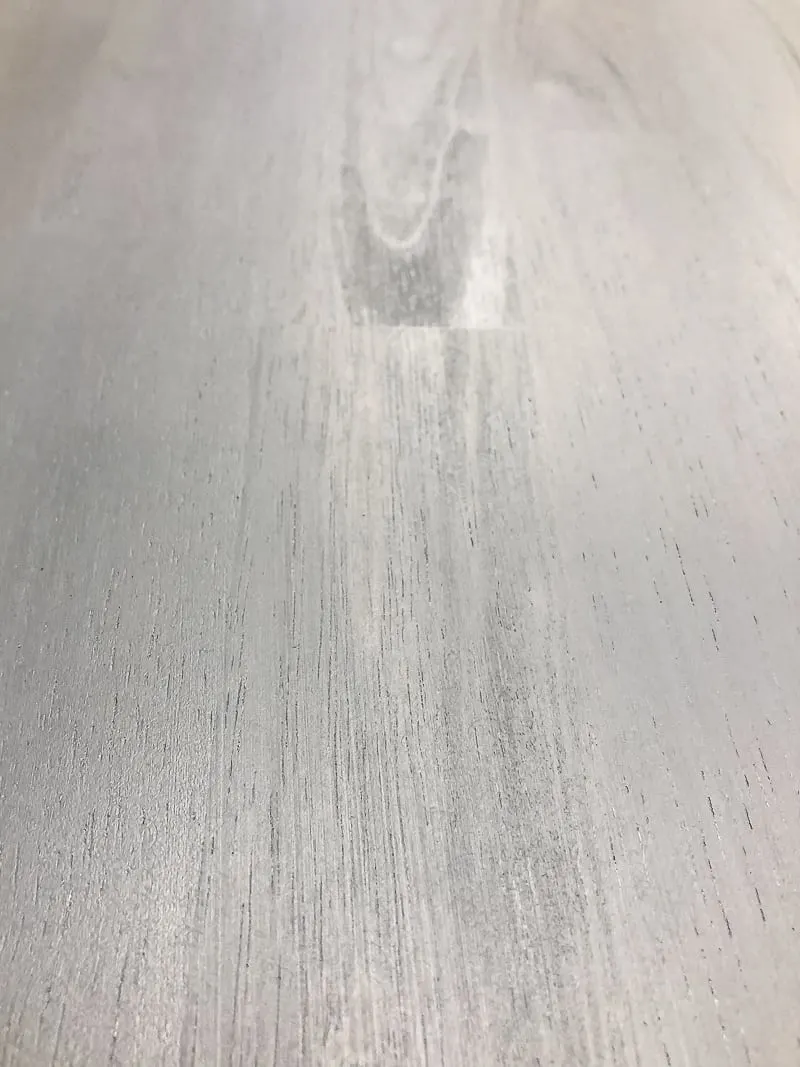
Gel stain is almost foolproof, so it's my go-to stain for most indoor wood projects. General Finishes gel stain goes on thick and is heavily pigmented, so you usually only need one coat! Just plop it on and smooth it out with a foam brush.

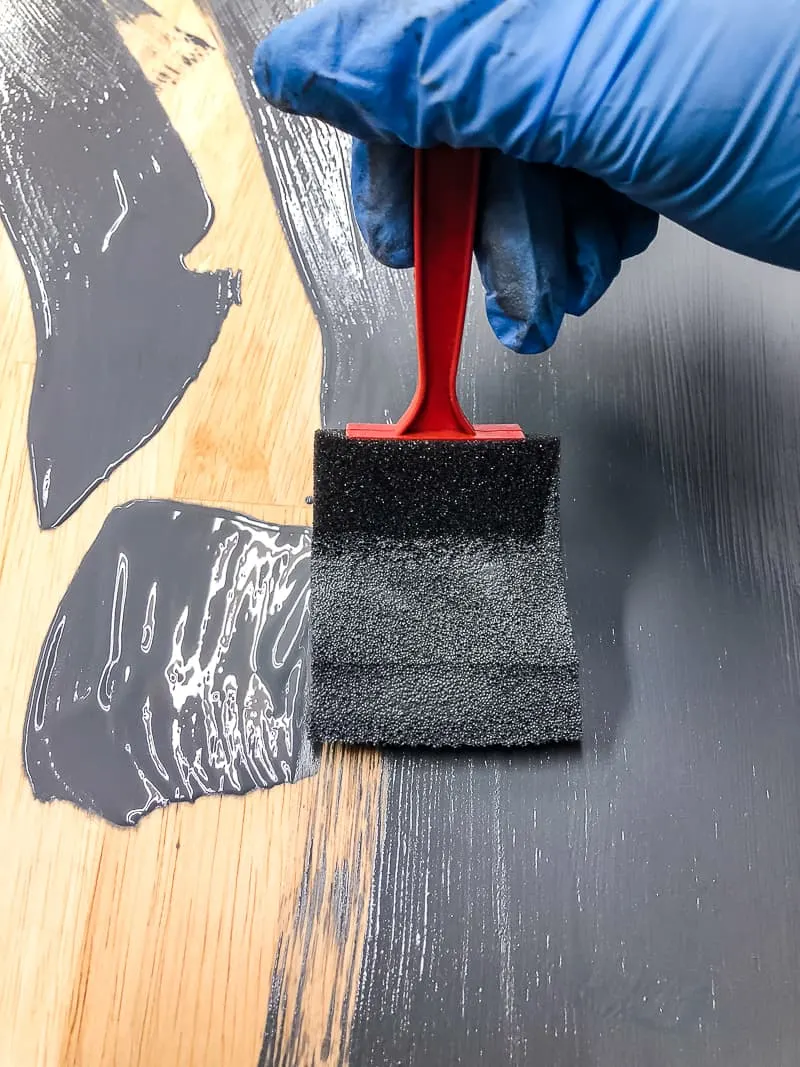
After allowing the gel stain to soak in for a few minutes, wipe off the excess with a paper towel or shop towel. Don't press too hard on the surface or you'll create streaks where the color has pulled up.
If the color isn't dark enough, or if it's splotchy, you may want to add a second coat of stain. Keep in mind, however, that the top coat will make the color darker and richer as well.
Apply Top Coat
Wood stain is a color, not surface protection! You need to apply a top coat to your refinished table to keep it looking great after repeated cleanings.
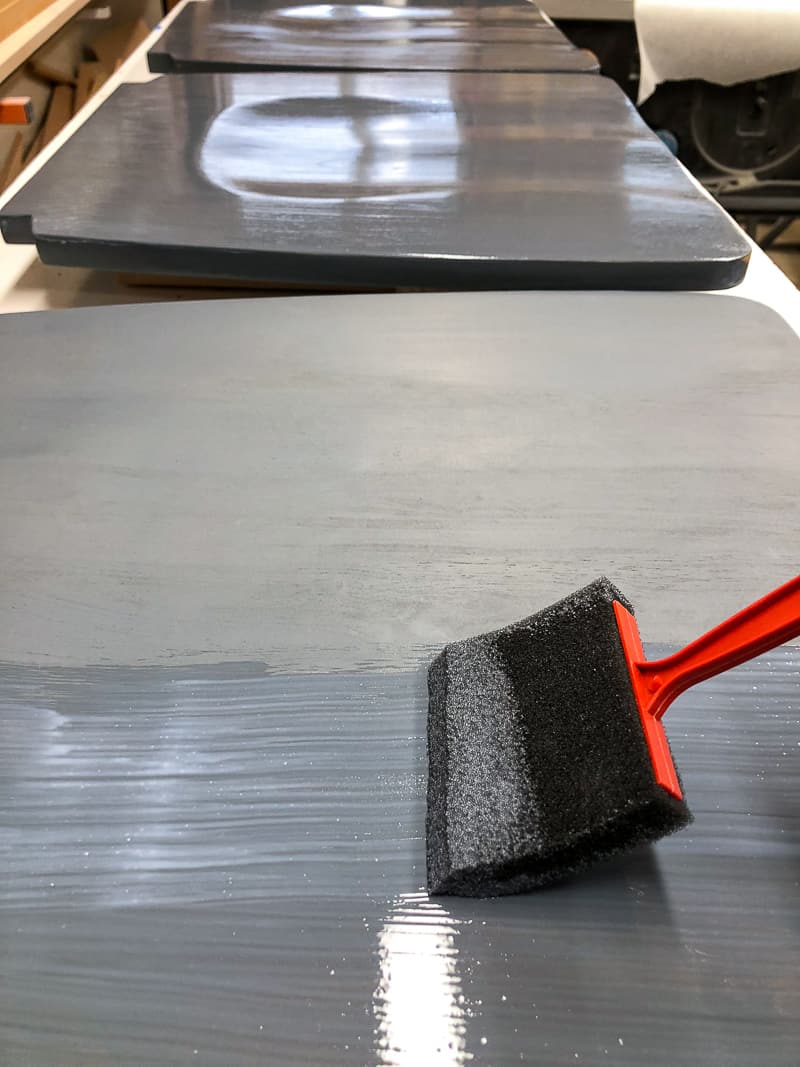
I used General Finishes High Performance top coat in the flat sheen, and it's held up perfectly! I didn't want anything too shiny to take away from the grain and color of the table, and this stuff fit the bill.
Pour some of the top coat onto a paper plate, and dip a wide foam brush into it. Lightly brush the top coat onto the surface of the table and chairs. It goes on white but dries clear quickly.

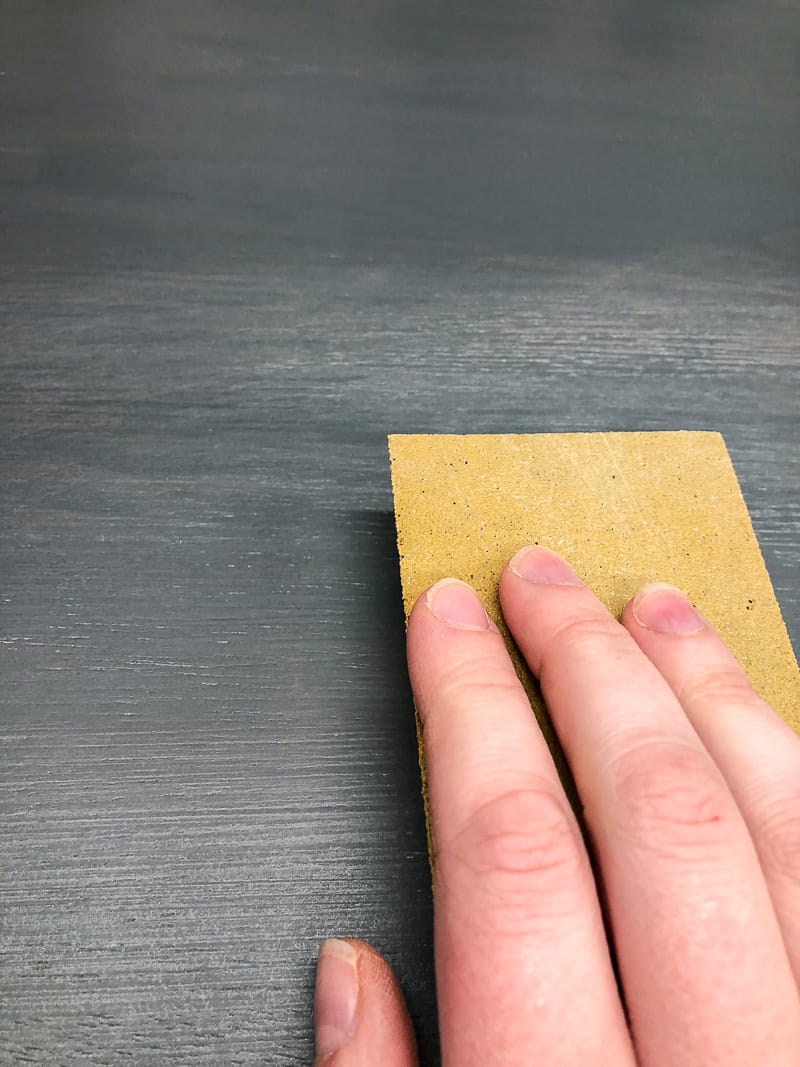
Allow the finish to dry for a few hours, then lightly sand with a fine grit sandpaper to remove any brush strokes. Wipe up the sanding dust with a tack cloth, then apply a second coat.

Allow your refinished table to cure for as many days as you can before using it. The longer the top coat has to dry, the harder the finish will be. I waited about a week before putting it through regular use!

As you can see, refinishing a table isn't as difficult as you might think! It can really transform a dull piece of furniture into something completely new!
Check out these other easy DIY project ideas!
Fiona
Thursday 8th of August 2019
Wow! Thank you for this great information! Definitely something I want to try!