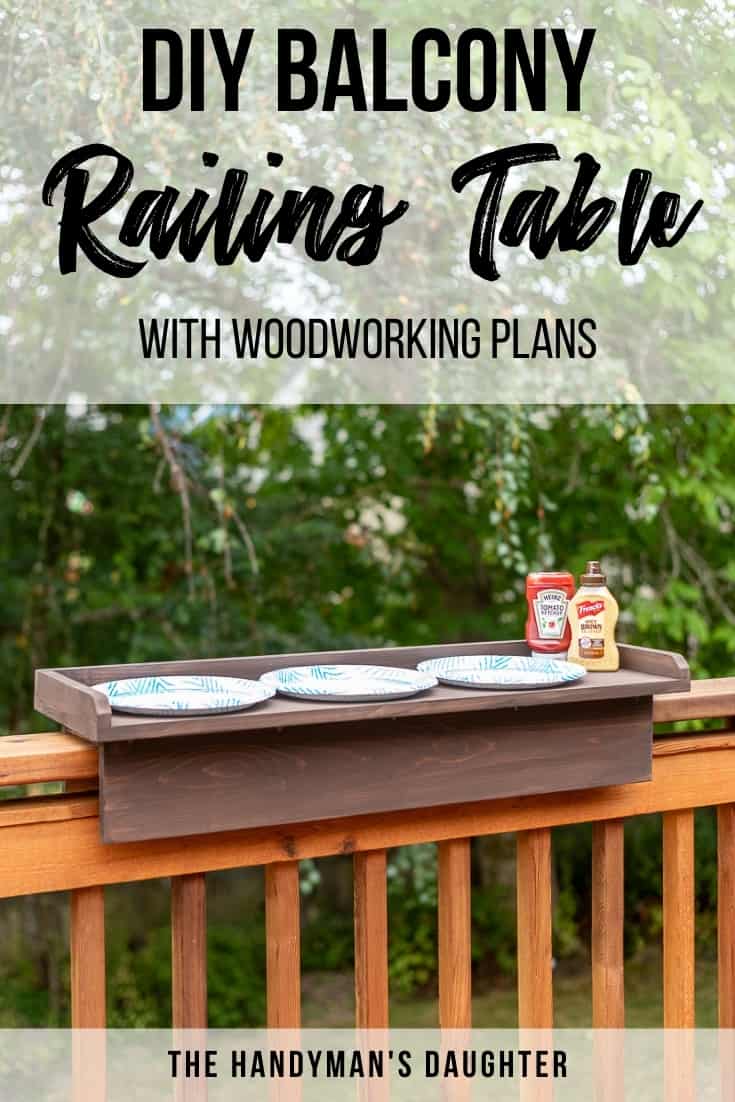
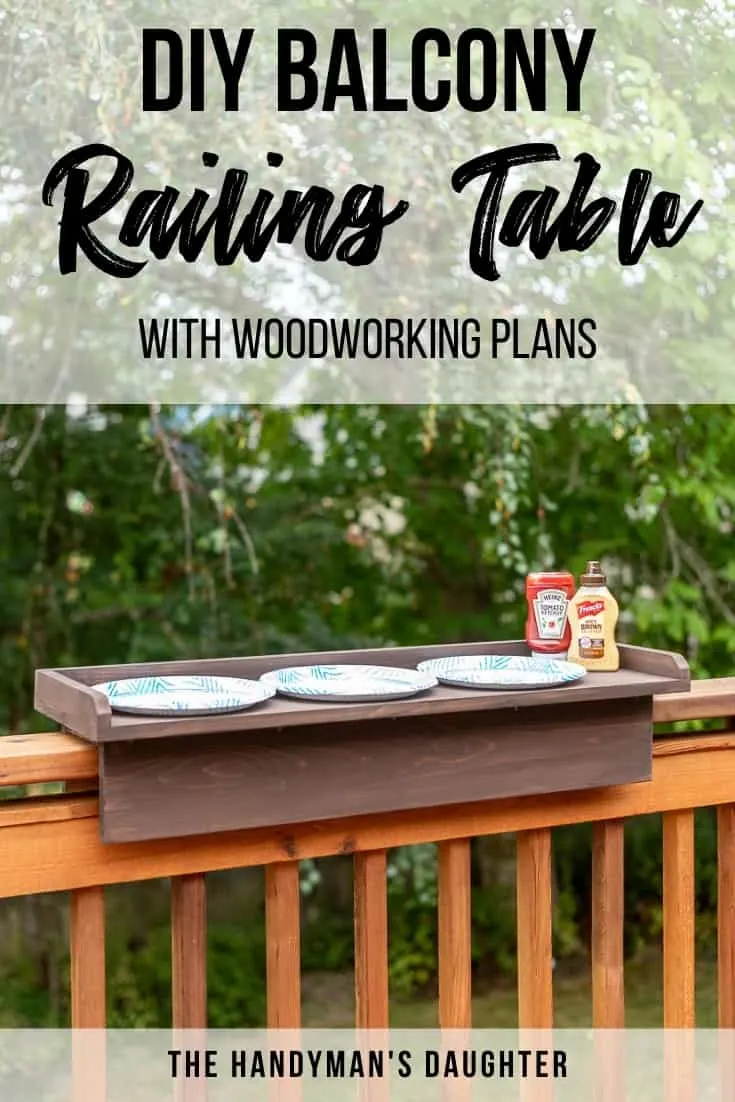
This DIY balcony railing table is genius! Add extra serving space near the grill or add an outdoor bar with this simple deck railing table!
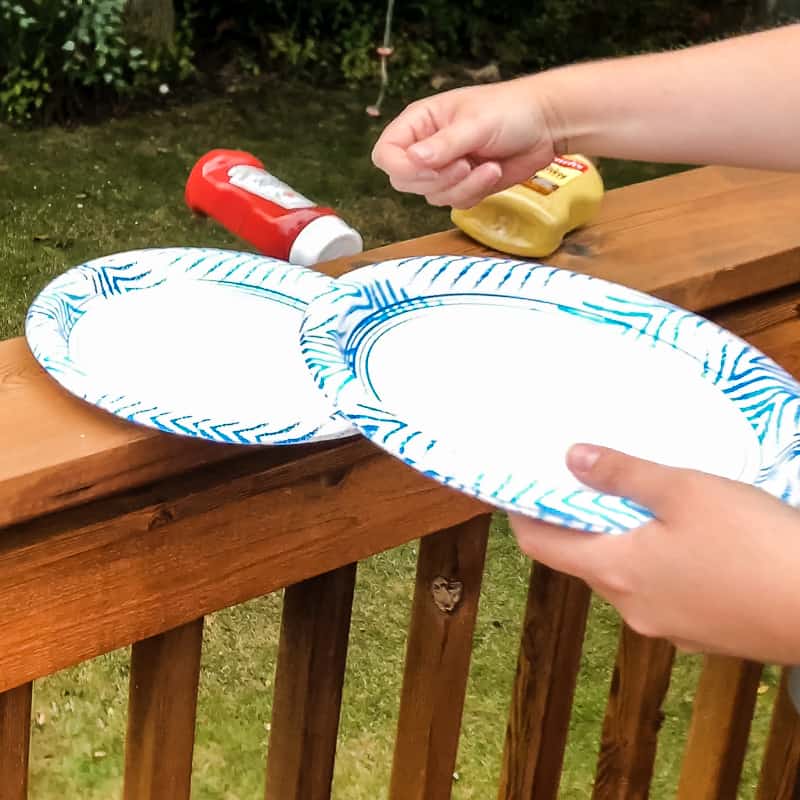
We love to grill in the summertime, but it's hard to juggle all those serving trays and condiments while you're cooking! There's not enough space for a grill station, and we've lost too many bottles of ketchup over the side of the deck when we balance them on the rail.

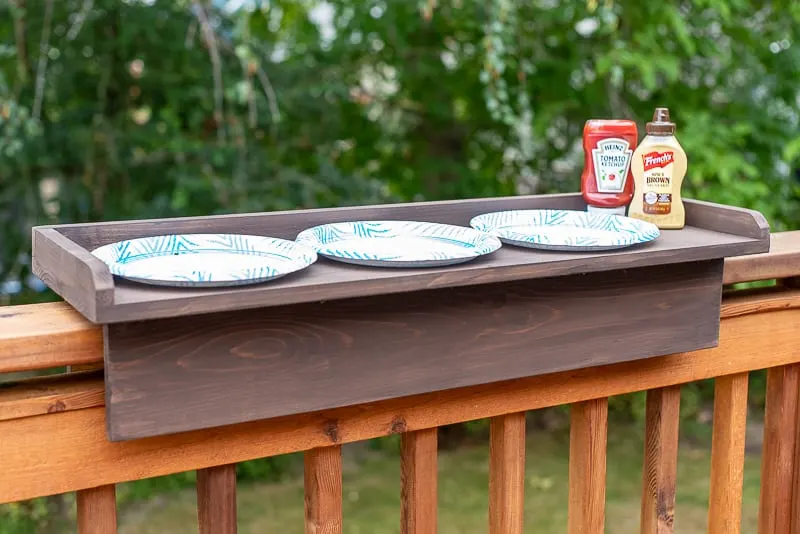
This easy-to-make deck rail table doubled the width of our existing railing, and adds a short lip to prevent things from toppling over the edge. We use it to set out plates, condiments or drinks for all our backyard barbecues!

It's also perfect for a balcony railing table where space is tight! Our old condo was cluttered with outdoor furniture, and this little railing table would have been the perfect replacement for an end table.
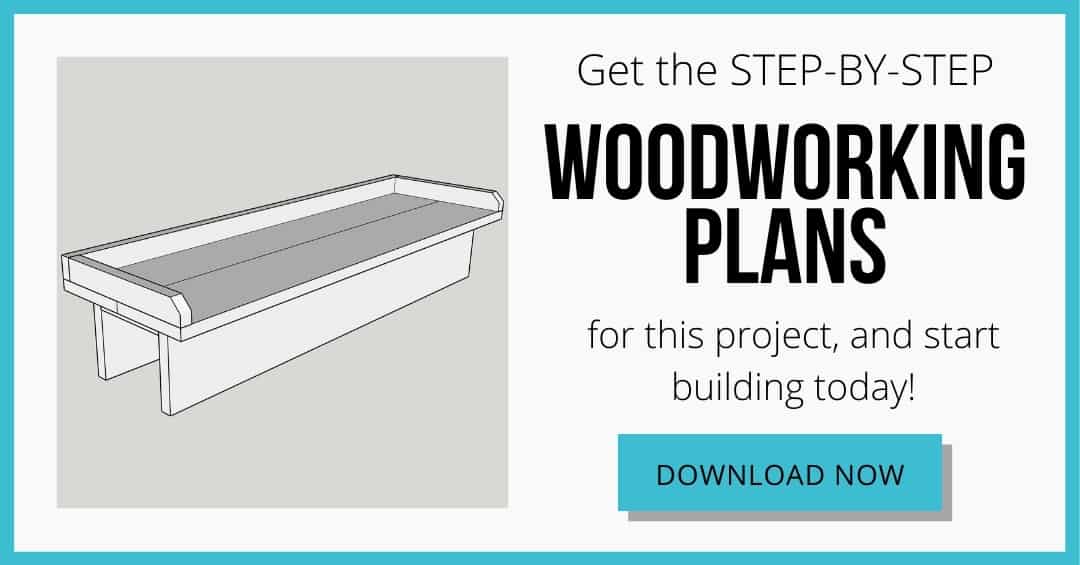
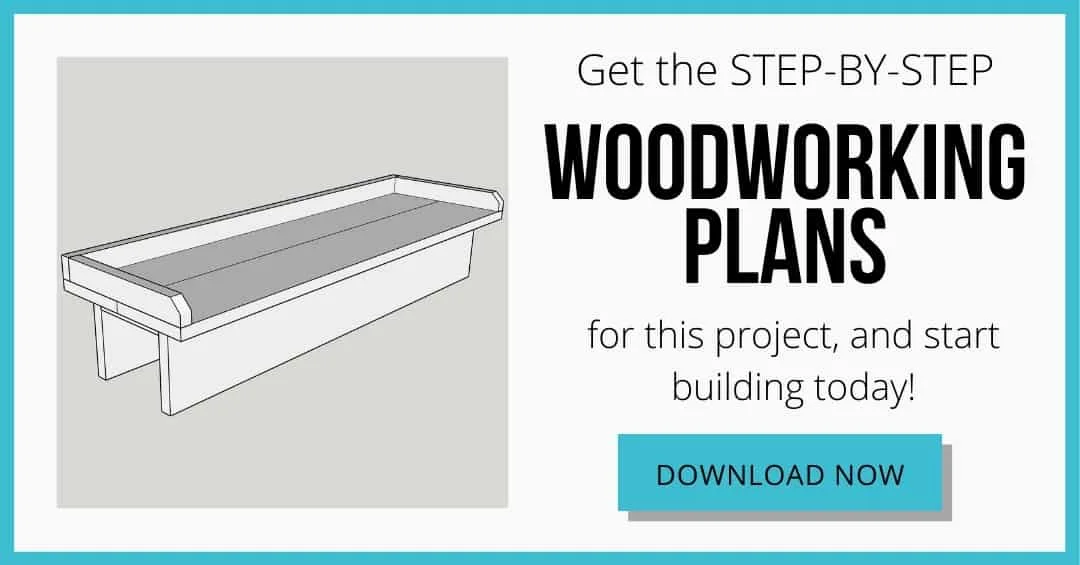
Download the woodworking plans to make your own balcony railing table by clicking the button below, then follow the tutorial and video for more details.
This post contains affiliate links for your convenience. Purchases made through these links may earn me a small commission at no additional cost to you. Please visit my disclosures page for more information.
Materials Needed for Deck Railing Table
- Two 1x6 boards
- I always use cedar for outdoor projects, but you could use pine if you plan to paint the table with exterior paint.
- One 1x2 board
- Pocket hole jig (optional)
- 1 ¼" exterior pocket hole screws (optional)
- 1 ¼" exterior wood screws with a flat head
- Clamps
- Countersink bit
- Exterior wood glue
- Exterior wood stain or paint
Video
Start by watching the video below so you can get an overview of the process. It's a really quick project you can make in just a few hours!
How to Make a Balcony Railing Table
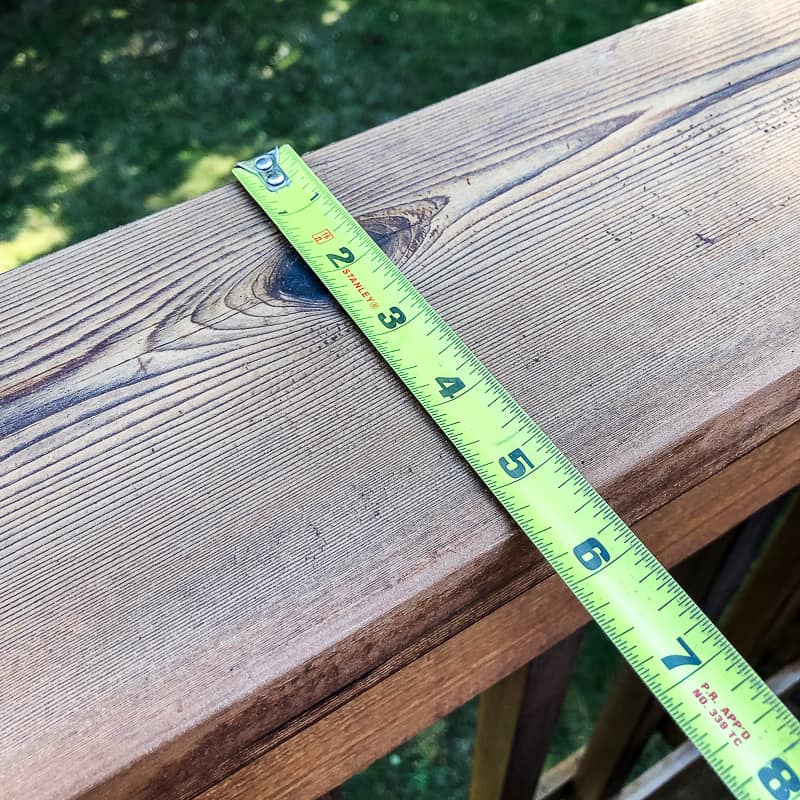
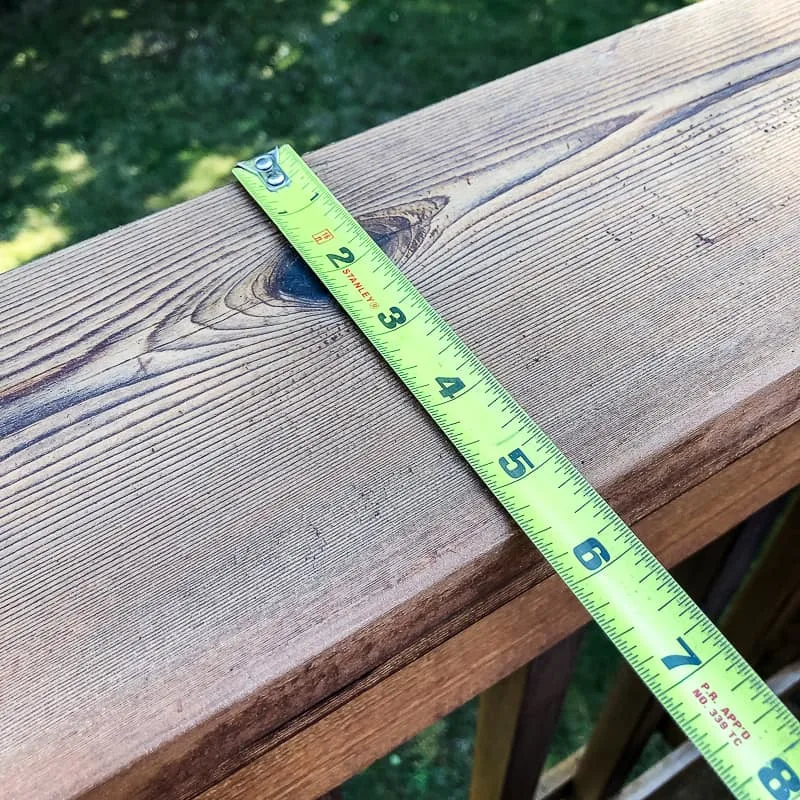
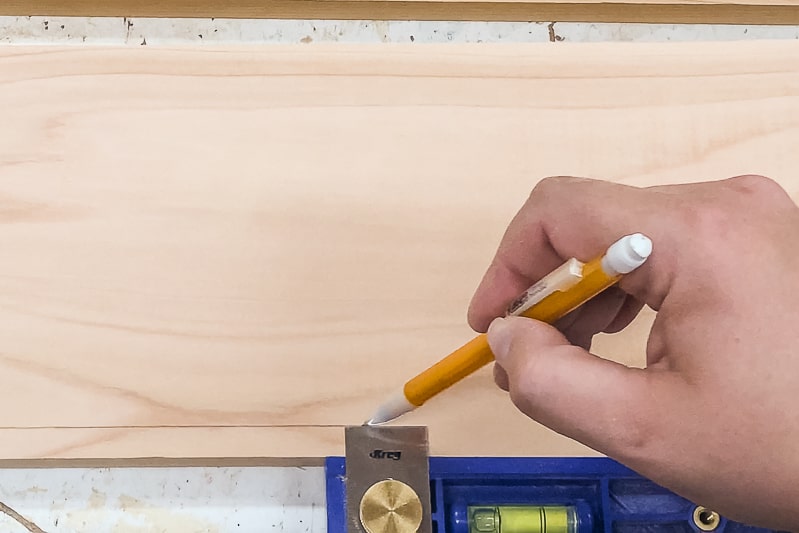
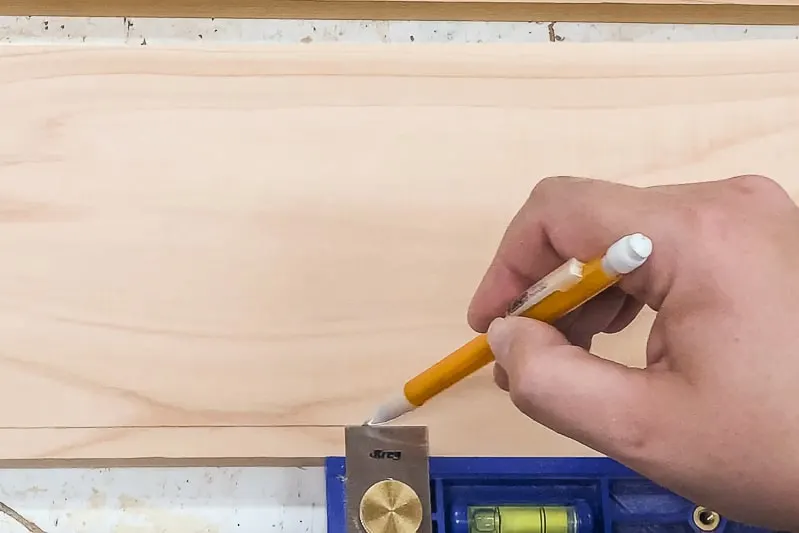
Measure the width of your existing railing
The key to keeping this table from falling over is that it fits tightly over the existing rail. Our railings are 5 ½" wide, so I used 1x6 boards (which are 5 ½" wide) for this project.
While you're at it, measure how long you want your railing table to be. I laid out three paper plates (since we're usually just cooking for the three of us), then measured how much space they took up.
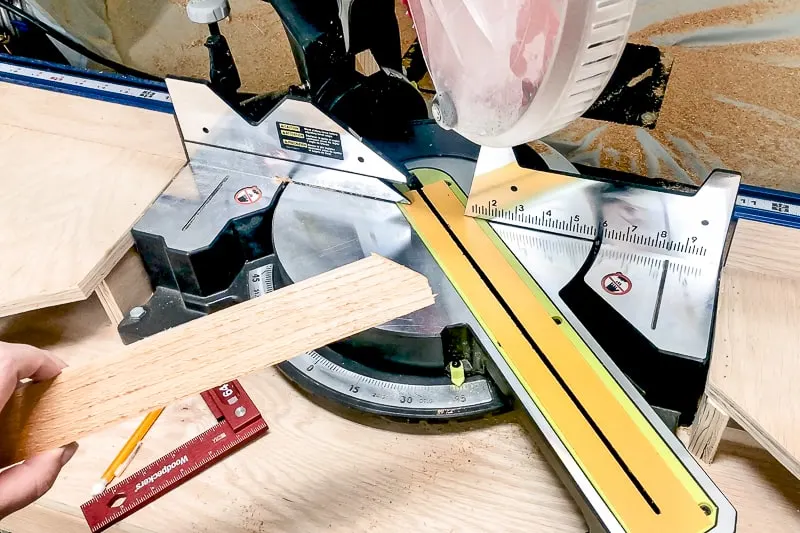
Cut the Boards to the Desired Length
Cut two 1x6 boards to your desired length, then cut three more that are a few inches shorter. The shorter boards will wrap around the deck railing, and will be sheltered from the rain by the table above. This will prevent those boards from warping and getting stuck on the railing!

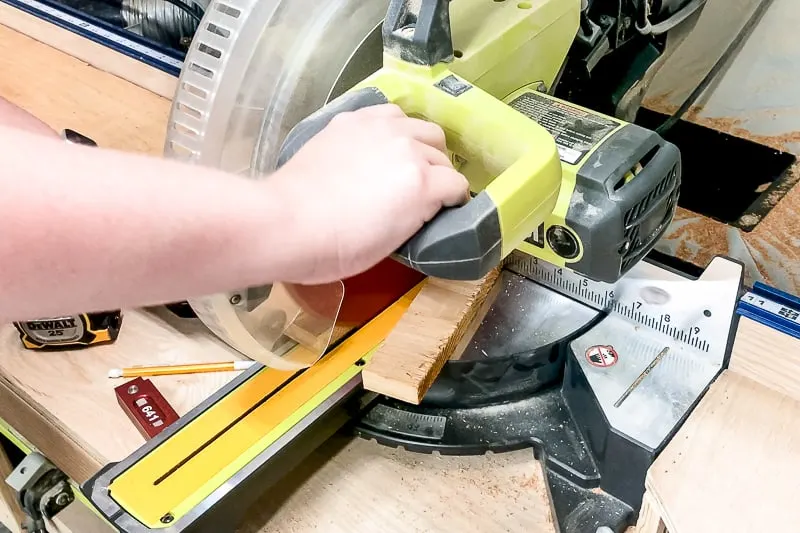
Don't have a miter saw? You can use a hand saw and a miter box for this project and get the same results!
Drill Pocket Holes (optional)
I used pocket holes to join the two longer boards for the table together along the edge, but it's not totally necessary. Exterior wood glue is enough to hold the pieces together. But if you have a pocket hole jig available, it doesn't hurt and will help keep everything aligned properly.

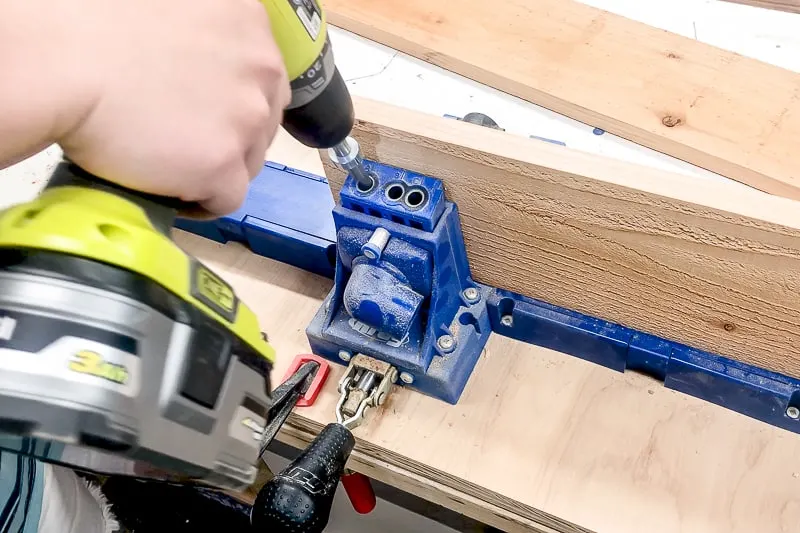
Add exterior wood glue to the long edge of one board, then screw the two longer boards together using 1 ¼" exterior pocket hole screws. These Bessey REVO clamps helped hold the boards flat and tight while the glue dried.

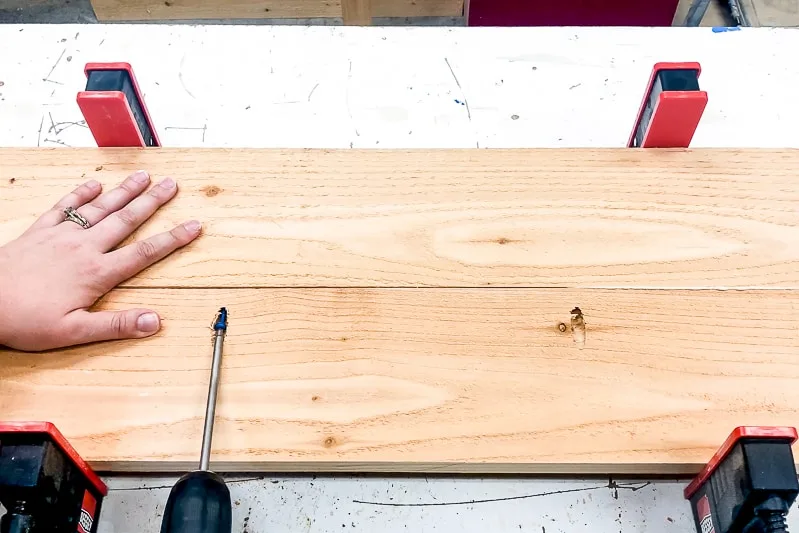
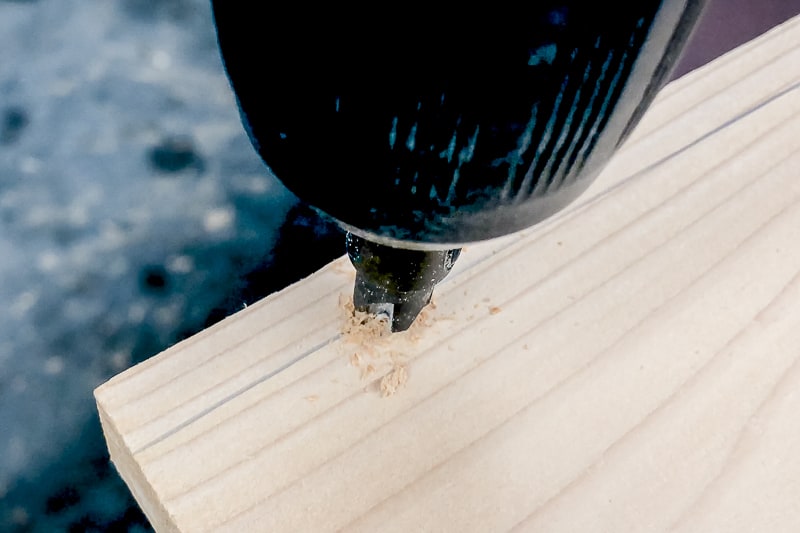
Predrill Countersink Holes
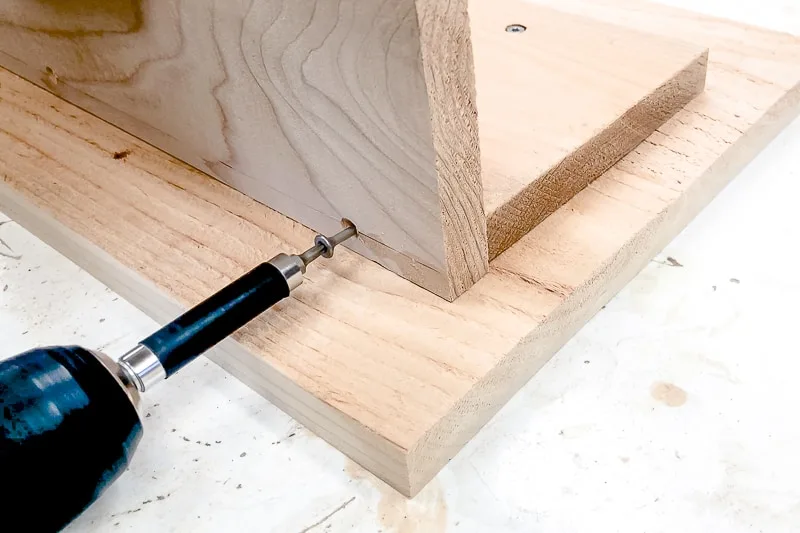
In order for the bottom board to sit flat on the balcony railing, you need to countersink the screws. Drill the countersink holes along both sides of one of the shorter boards so they will hit both of the table boards.

Then mark ⅜" down from one edge of the other two shorter boards, and drill countersink holes along that line. This will ensure that the screws hit dead center along the edge of the board.
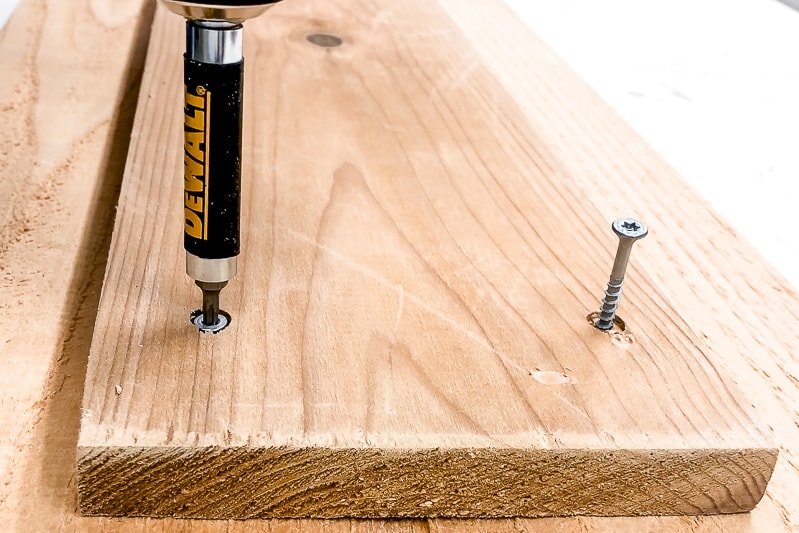
Finally, flip the two connected tabletop boards over and drill countersink holes ⅜" in along the bottom and two sides. This will attach the rim to the outside edge later on.

Attach the Bottom Boards
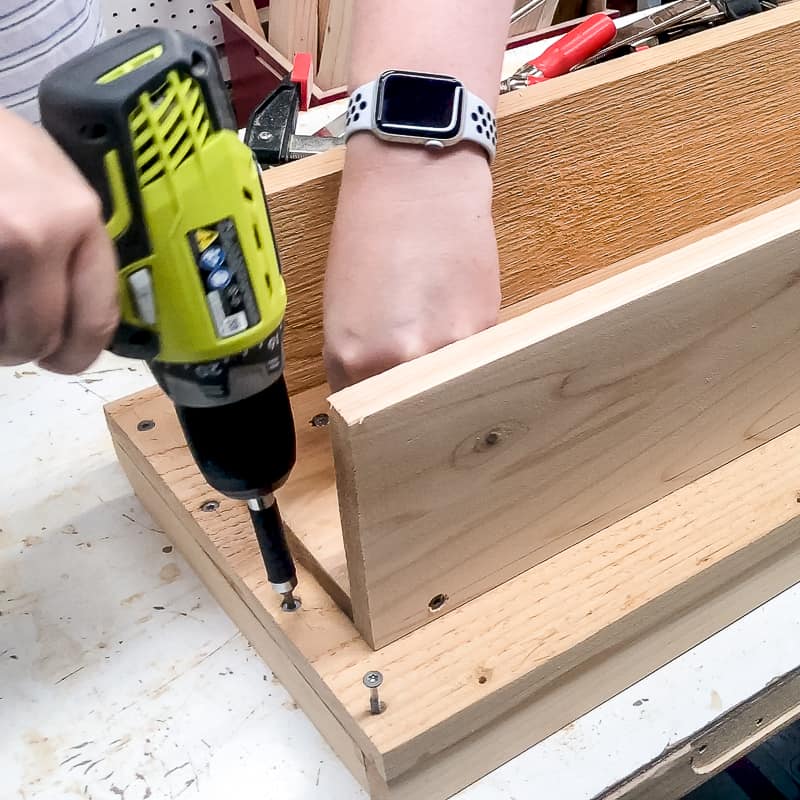
Apply wood glue to the bottom of the center board, then place it in the middle of the two joined boards. Use 1 ¼" exterior wood screws with a flat head to attach it.
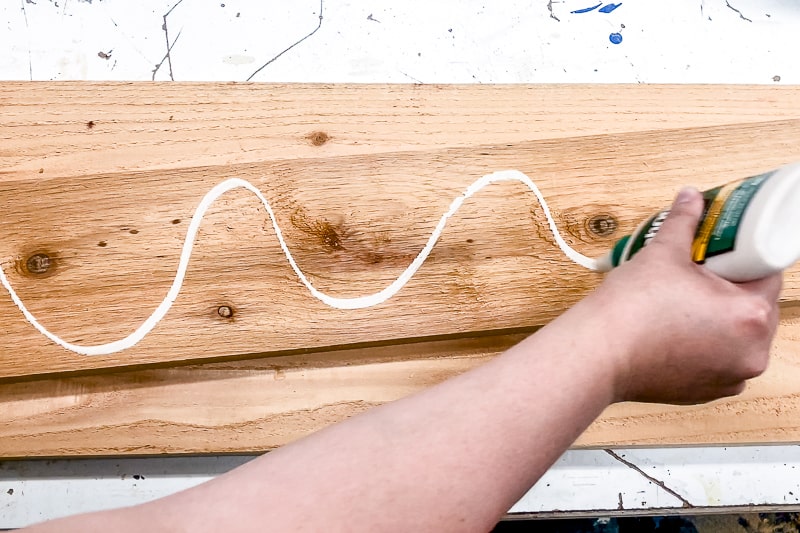

Next, run a line of glue along the edge of the board with the countersink holes. Stand the board on end against the center board and screw it into the sides. Repeat for the other side.

At this point, I took the railing tray up to the deck to test the fit. It should slide over the railing and fit snugly without tipping.
Attach the Rim
I added a rim around three sides to prevent things from falling off or blowing away in the wind. Our deck is 12 feet up, so anything that falls off the side is probably going to break!
Cut one 1x2 board to the same length as the tabletop, and two to the width of the tabletop minus ¾". If you want to get fancy, you can cut off the corners of the shorter pieces at a 45 degree angle and round them over with the sander.

Glue up the edge, then place the pieces around the three sides.
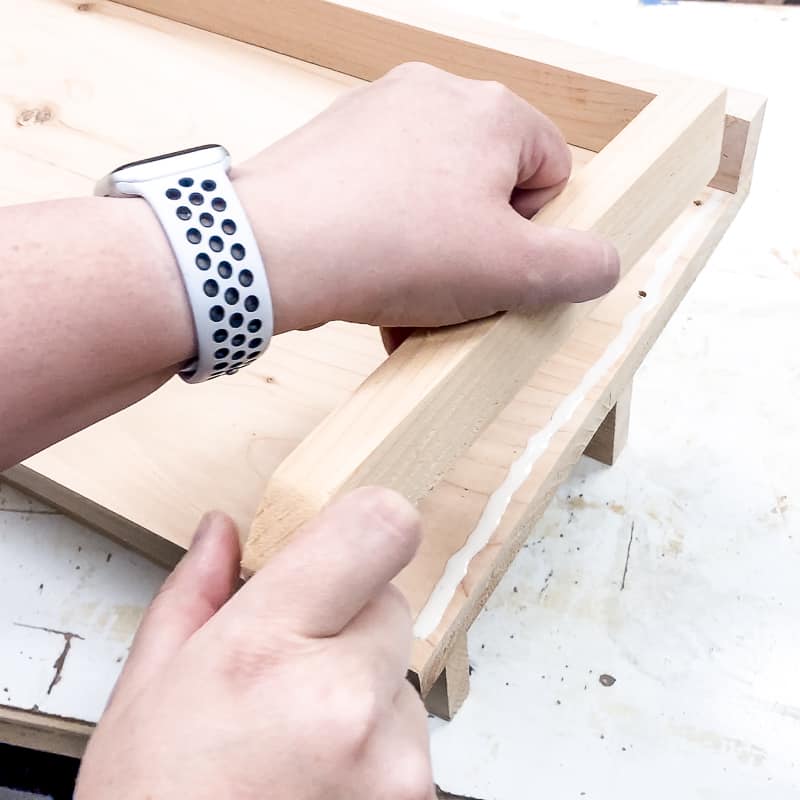

Clamp them in place and let them dry. This will set the pieces in place so you can screw them from underneath without shifting.
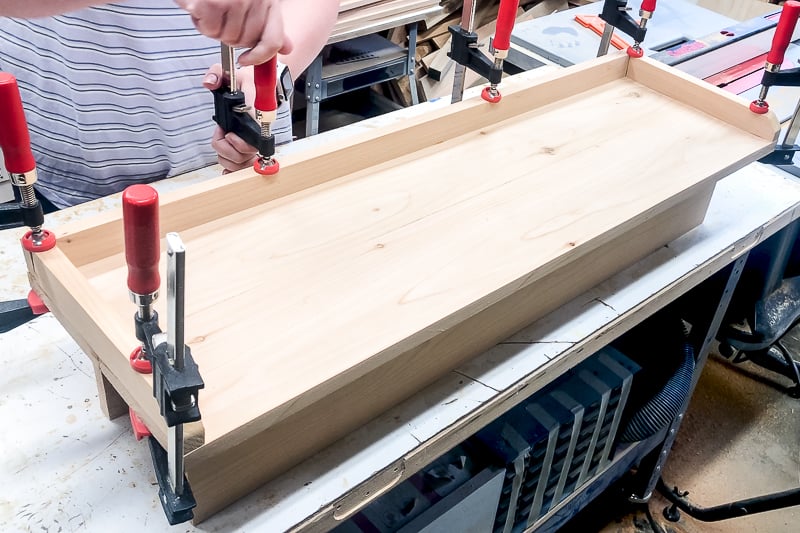

Now flip it over and screw the rim in place through the countersink holes with 1 ¼" exterior wood screws.

Apply paint or stain
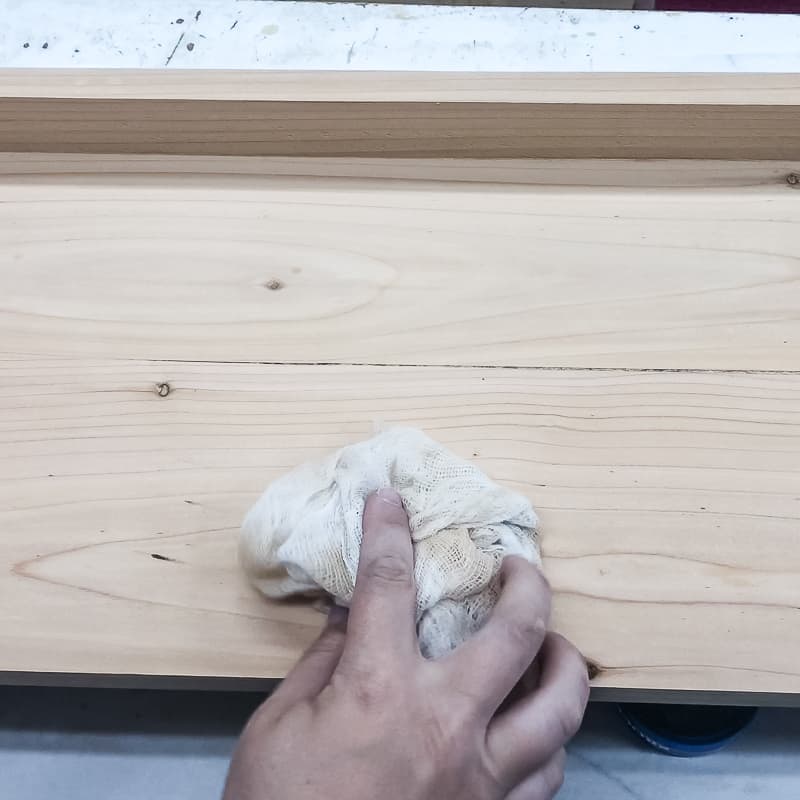
Give everything a good sanding, then remove the dust with a tack cloth.

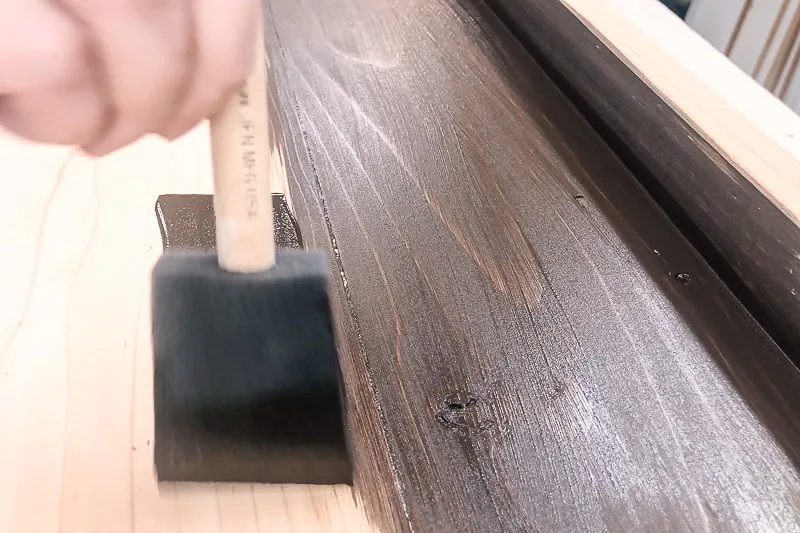
I had some exterior stain left over from the deck railing planters I built a few weeks ago, so I decided to use the same color for this project. Use a foam brush to apply the stain to all the surfaces except the inside where it comes in contact with the railing. Our railing is a lighter color than the tray, and I didn't want the color to rub off.

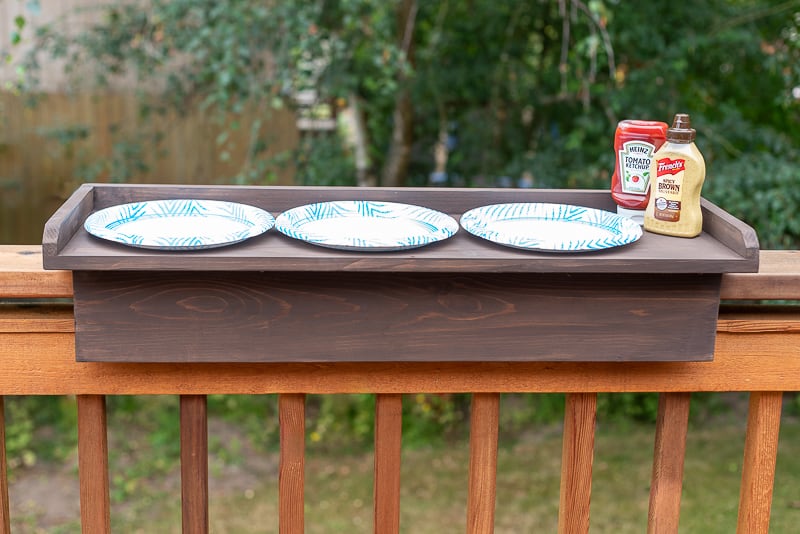
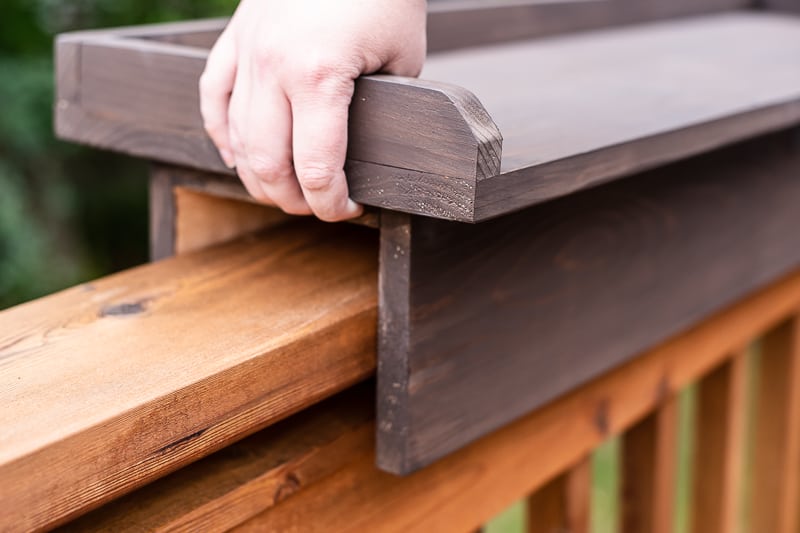
Slide on your new Deck Railing Table!
The beauty of this design is that it just slides right over the railing without any hardware needed to keep it in place!

It's perfect next to the grill for setting out plates and condiments, and keeps our son away from the hot flames when he grabs his dinner.

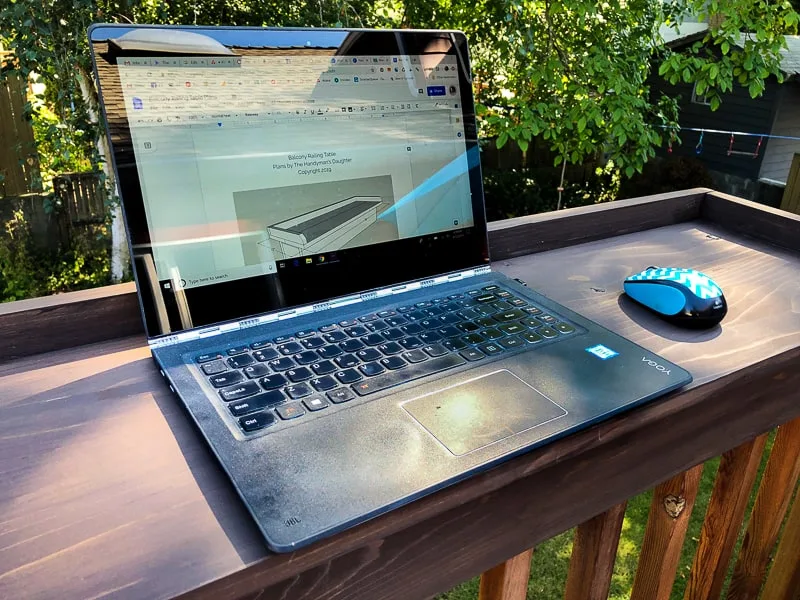
It would also work great as a balcony bar or outdoor office space!

Don't forget to download the woodworking plans for this project by clicking the image below!
Check out these other easy outdoor project ideas!