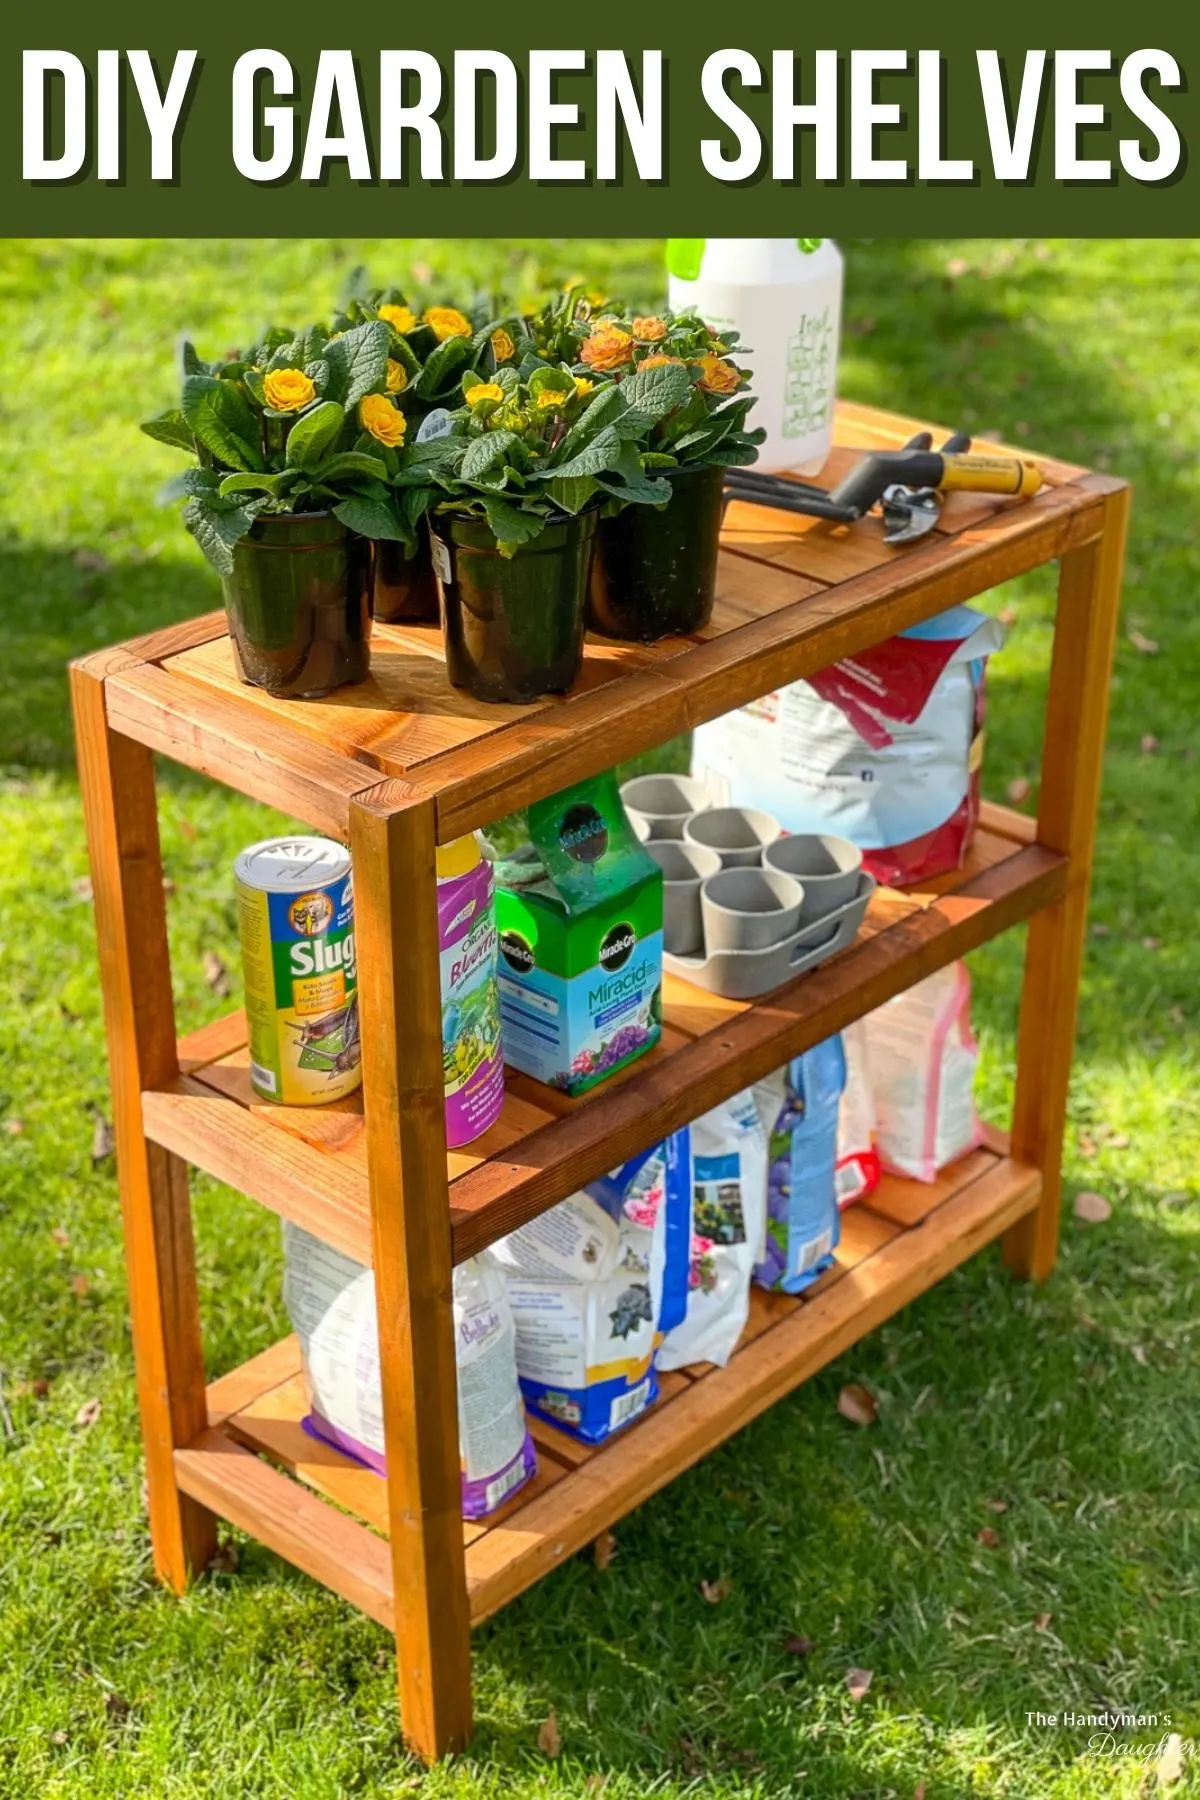
Need a little extra storage space outside? These DIY outdoor shelves are easy to make, and are perfect for plants and gardening supplies!

As my gardening hobby grows, it seems like the supplies I need multiply exponentially! You'd think between the mini greenhouse, potting bench and hanging garden tool organizer I've made, I'd have plenty of storage space!
But as I collect more specialized fertilizers and potting soils, I end up using them once, then forgetting about them. I wanted to create a centralized location in our garden shed to keep them out of the rain (and away from critters).
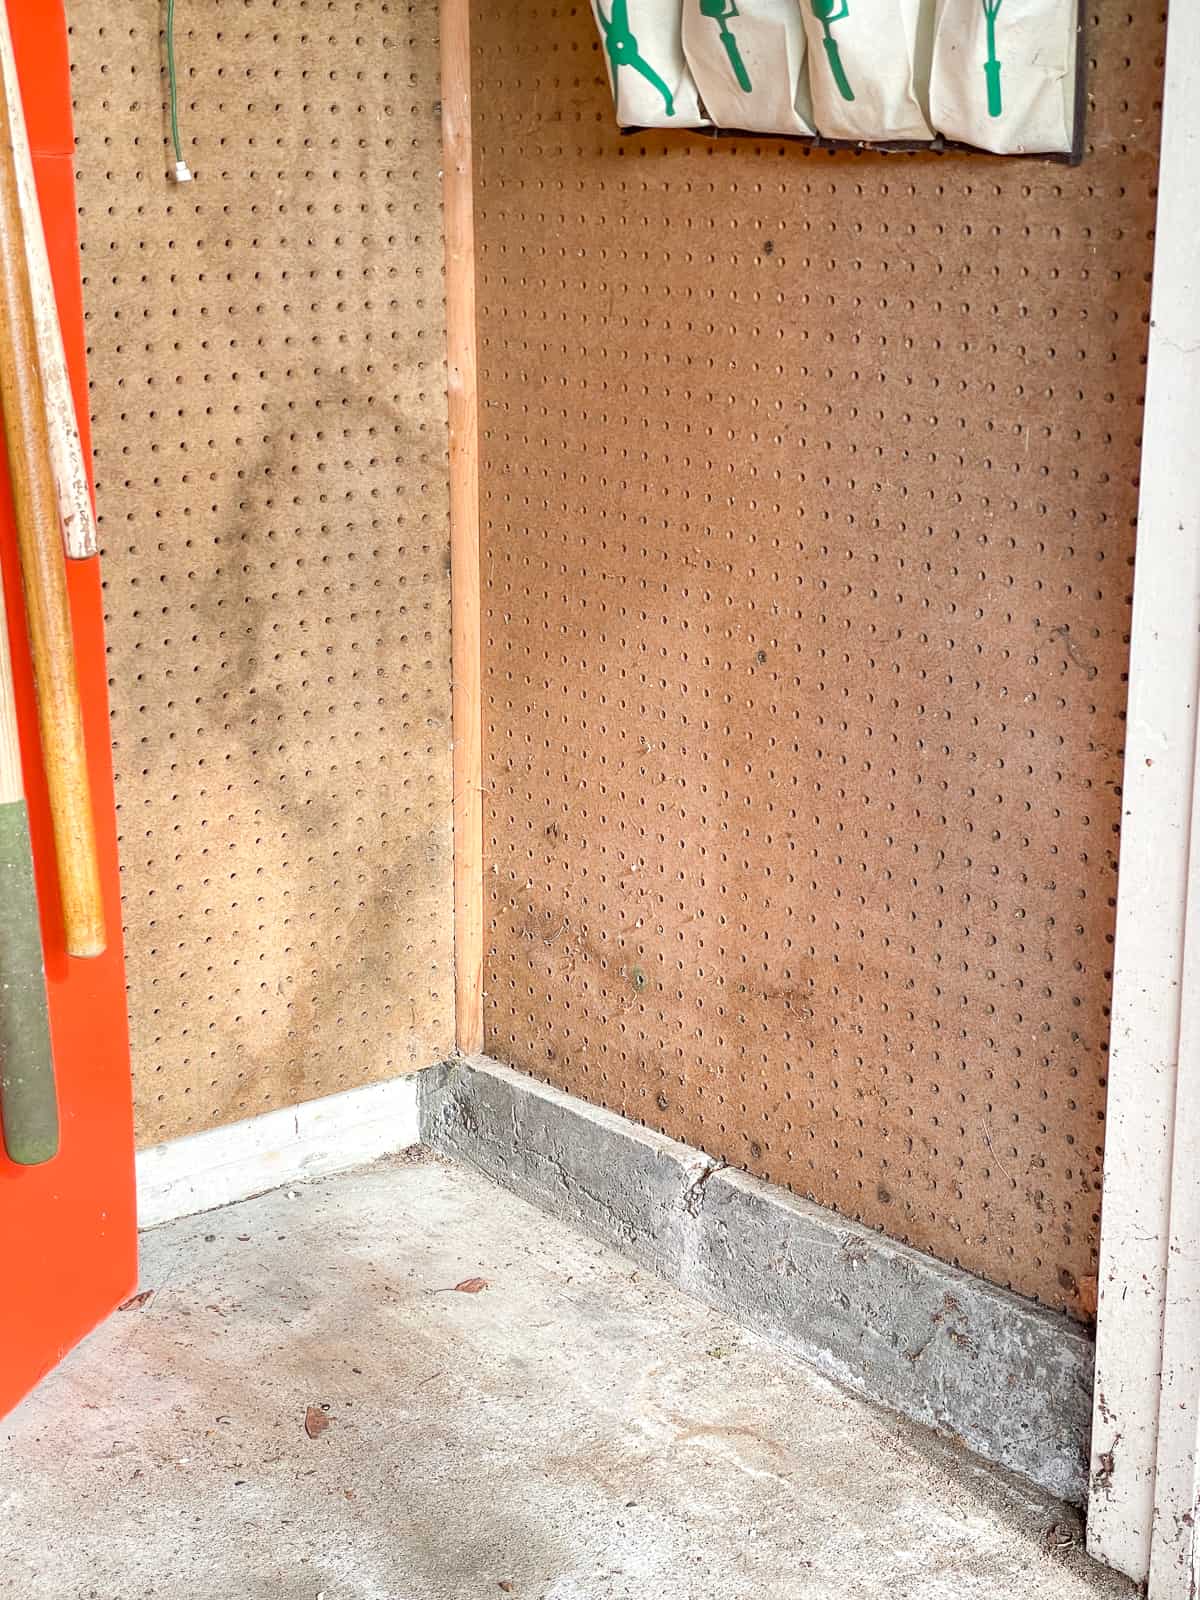
This spot ends up getting cluttered with pots and tools, so I wanted to make a set of outdoor shelves to make better use of the small space. It would also make a great plant shelf for a balcony or patio!
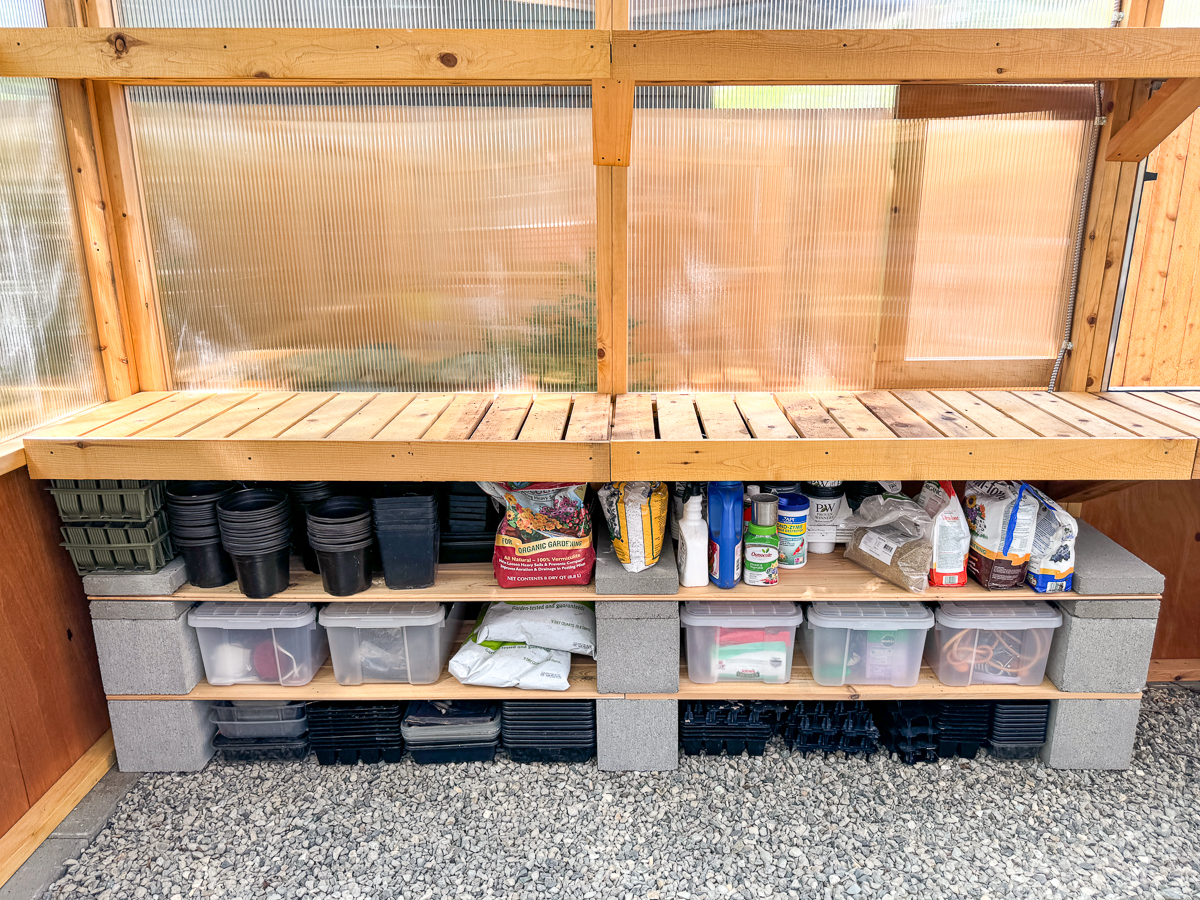
All you need are a few boards and some basic tools! Want even easier project that doesn't require any power tools? Check out these DIY cinder block shelves instead!

This post contains affiliate links for your convenience. Purchases made through these links may earn me a small commission at no additional cost to you. Please visit my disclosures page for more information.
Materials needed for DIY outdoor plant shelf
- Three 2x2 boards (preferably cedar or pressure treated lumber)
- Three 1x6 fence pickets
- Three 1x1 garden stakes (or cut strips from the fence pickets)
- Pocket hole jig
- 2 ½" exterior pocket hole screws
- Waterproof wood glue like Titebond III
- 1 ¼" brad nails and brad nailer
- Exterior wood stain or paint
How to Make Garden Shelves
Download the woodworking plans
You can download the outdoor shelves plans by clicking the button below! The printable plans include a cut list, step by step detailed instructions with 3D models, and a handy checklist to keep you on track.

If you're looking for taller shelves, check out the plans for my mini greenhouse instead. It has the same construction, and you could easily cut off the top of the legs to match the height of the top shelf if you don't want the angled part.
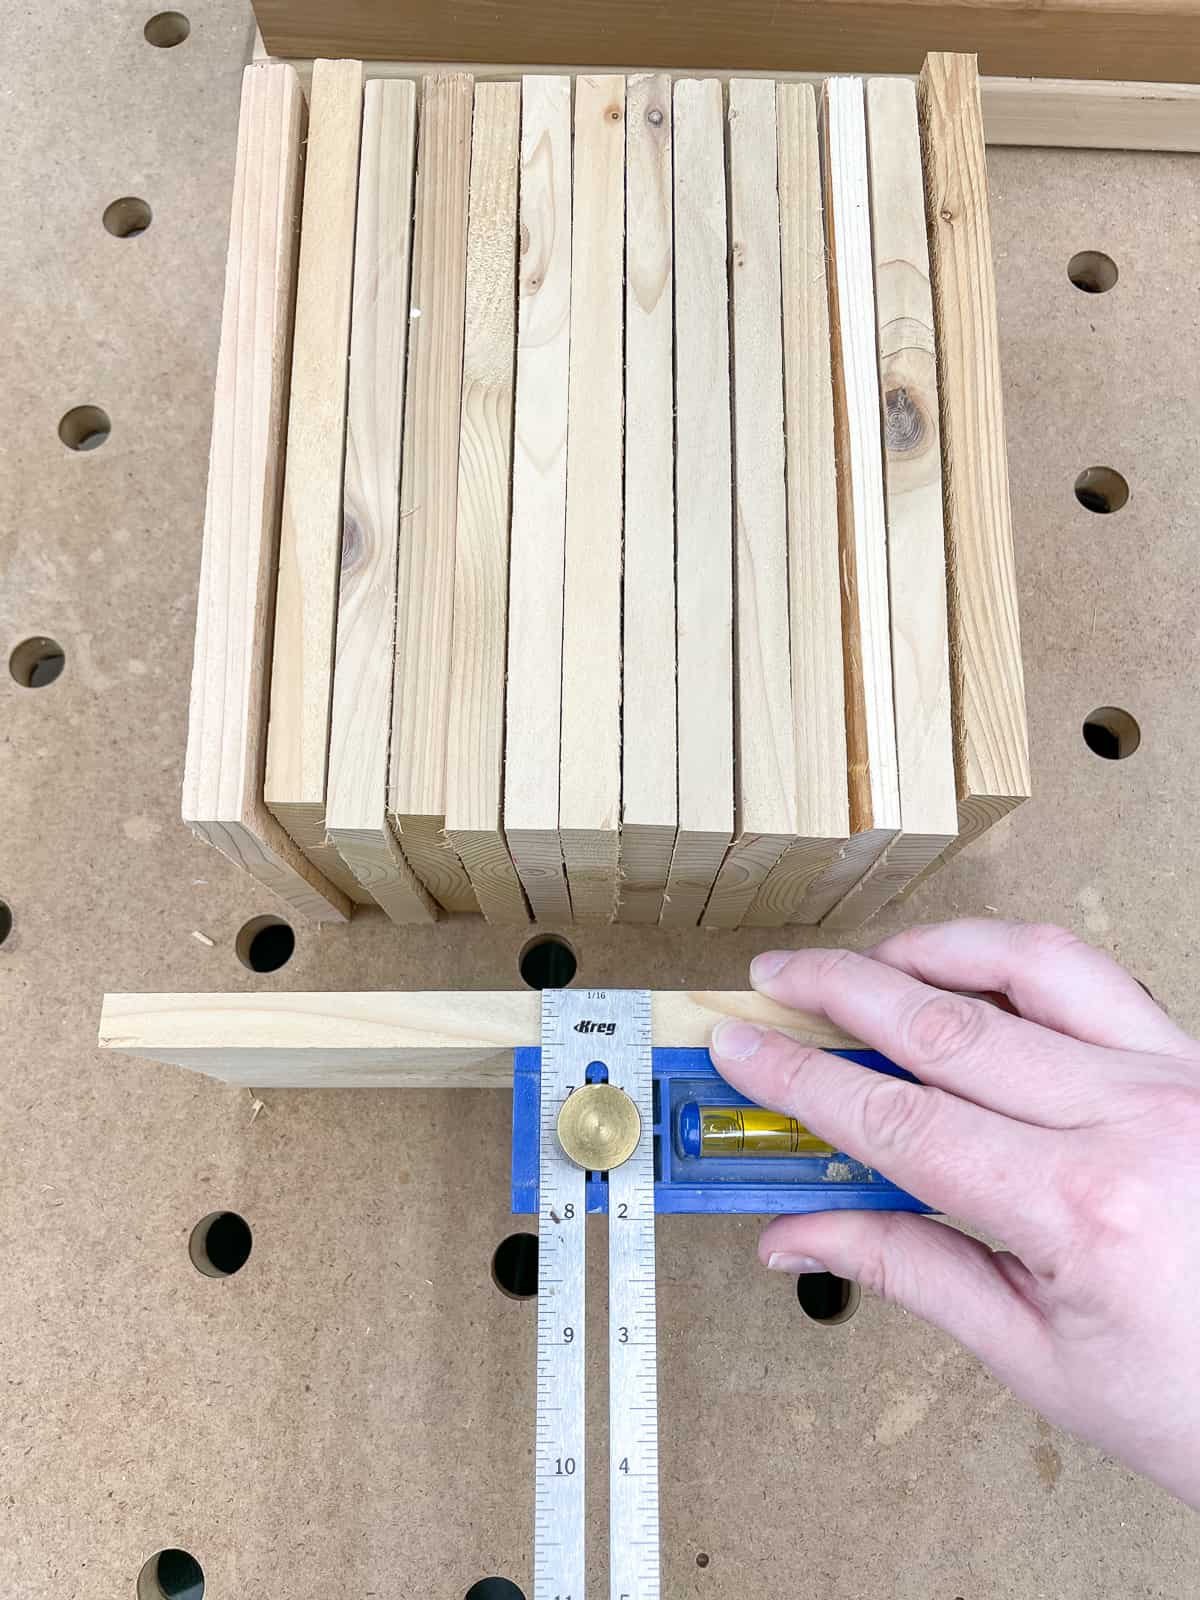
Cut all the wood pieces
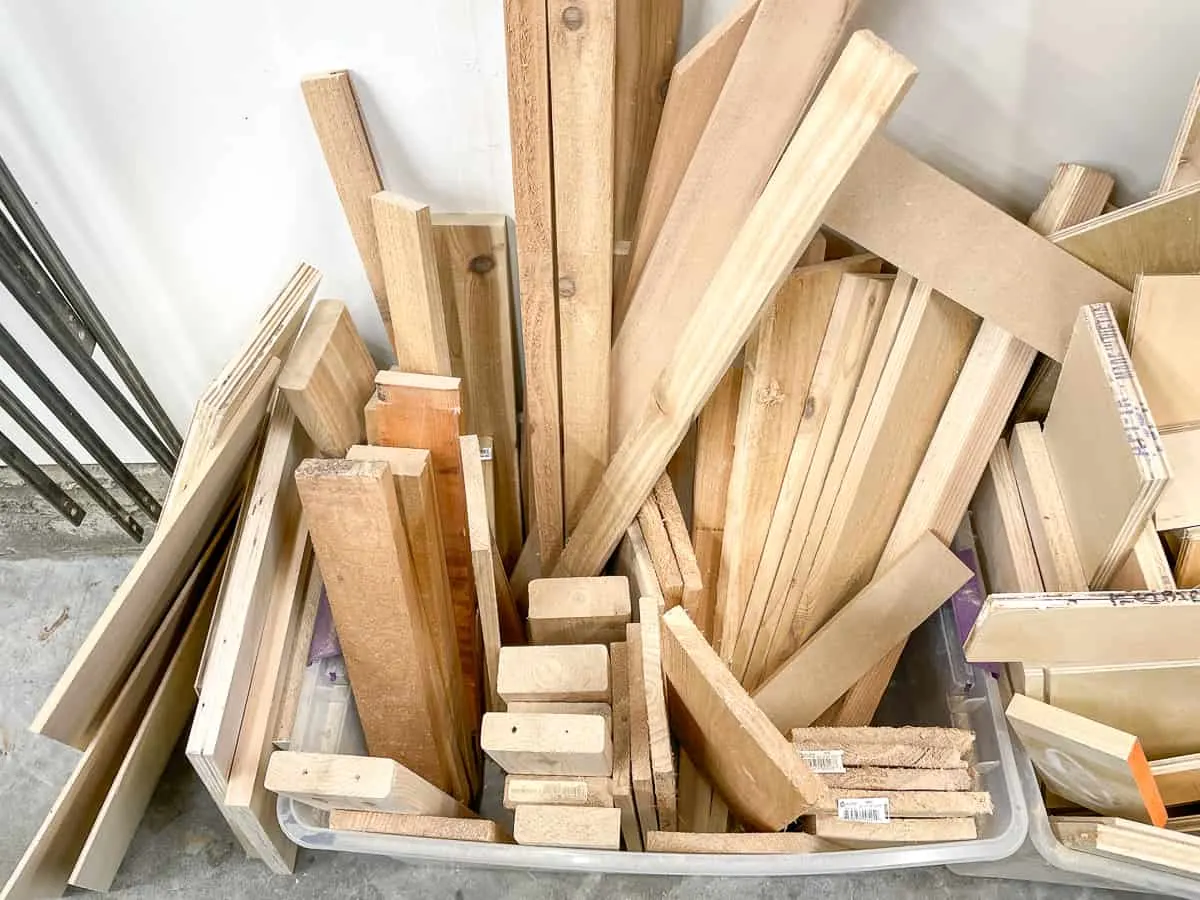
I dug around in my scrap wood bin and lumber rack, and found enough pieces to make this entire plant shelf for free! Some of the pieces are pressure treated lumber and others are cedar, so you'll see a mix of those in the photos.

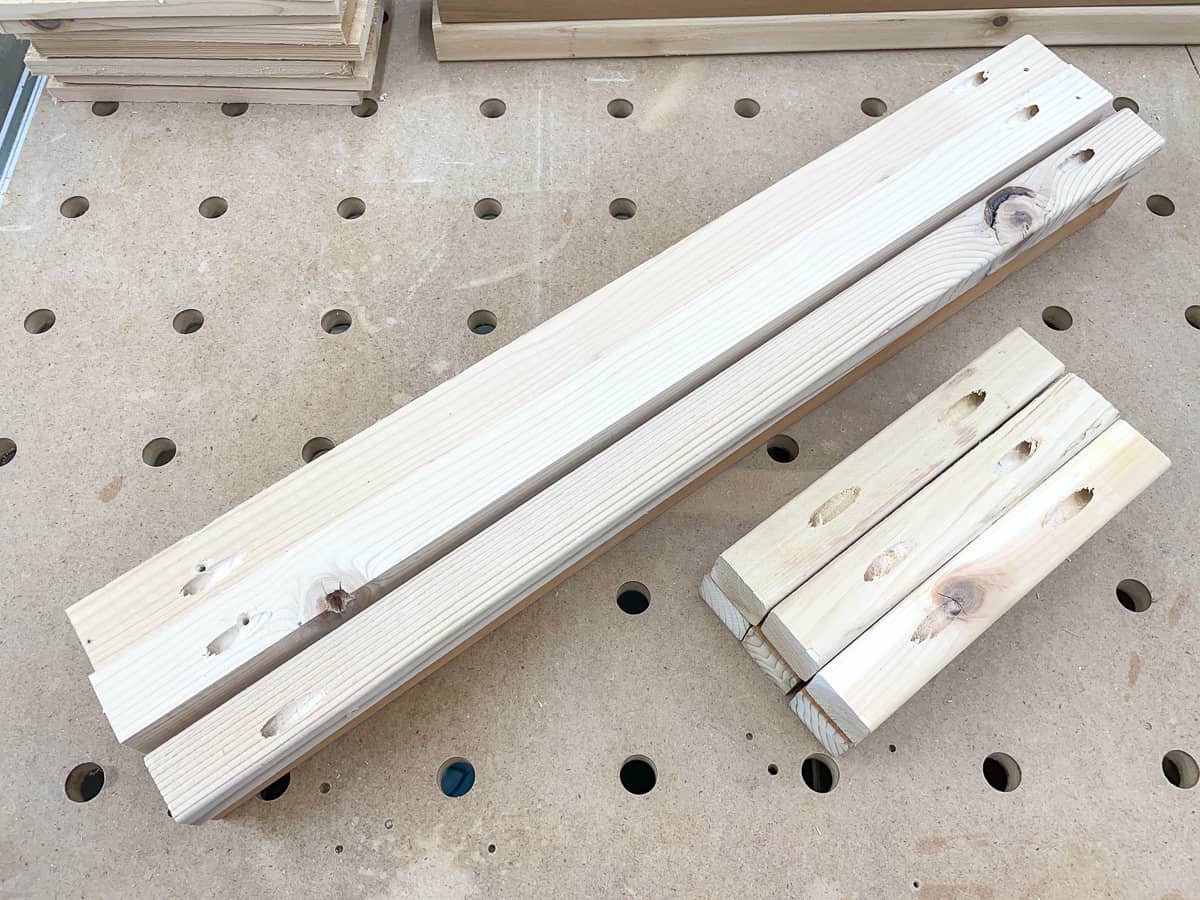
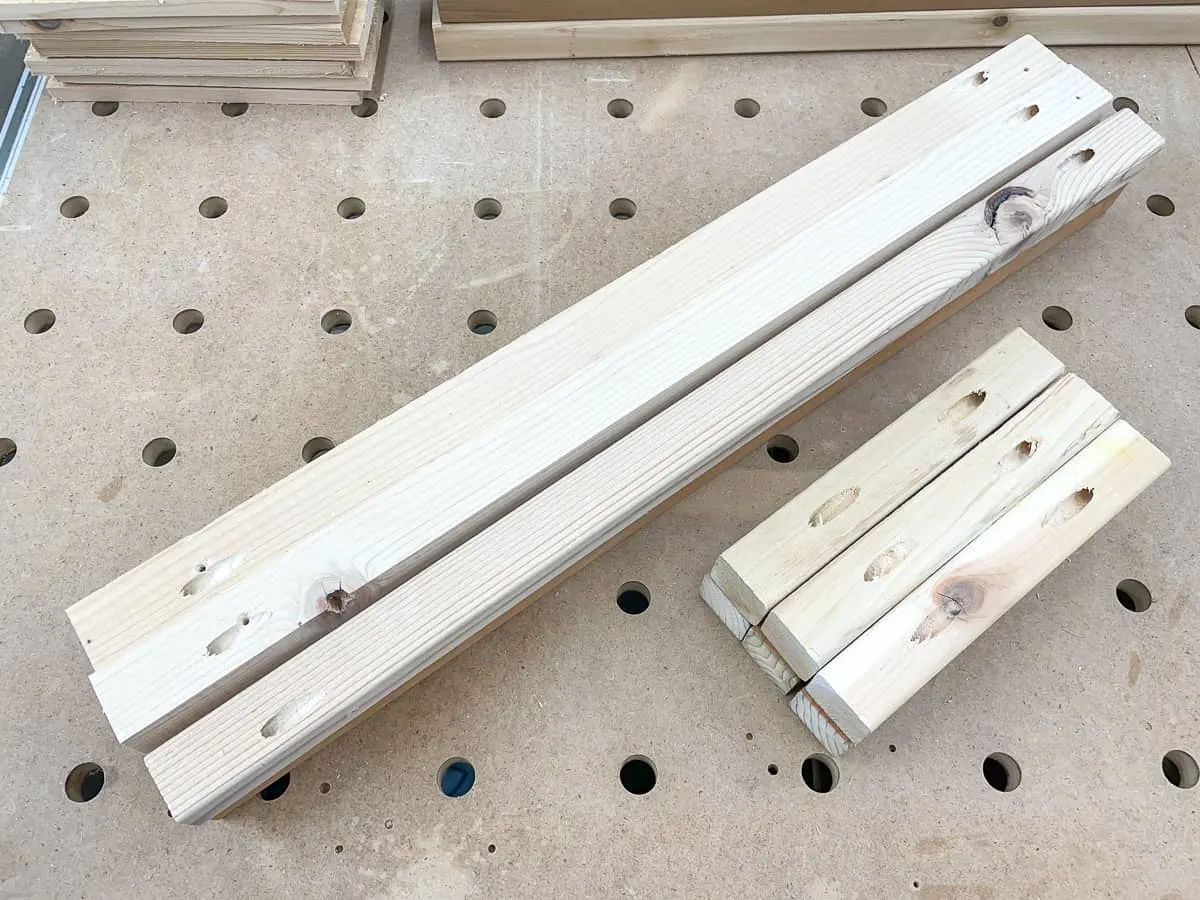
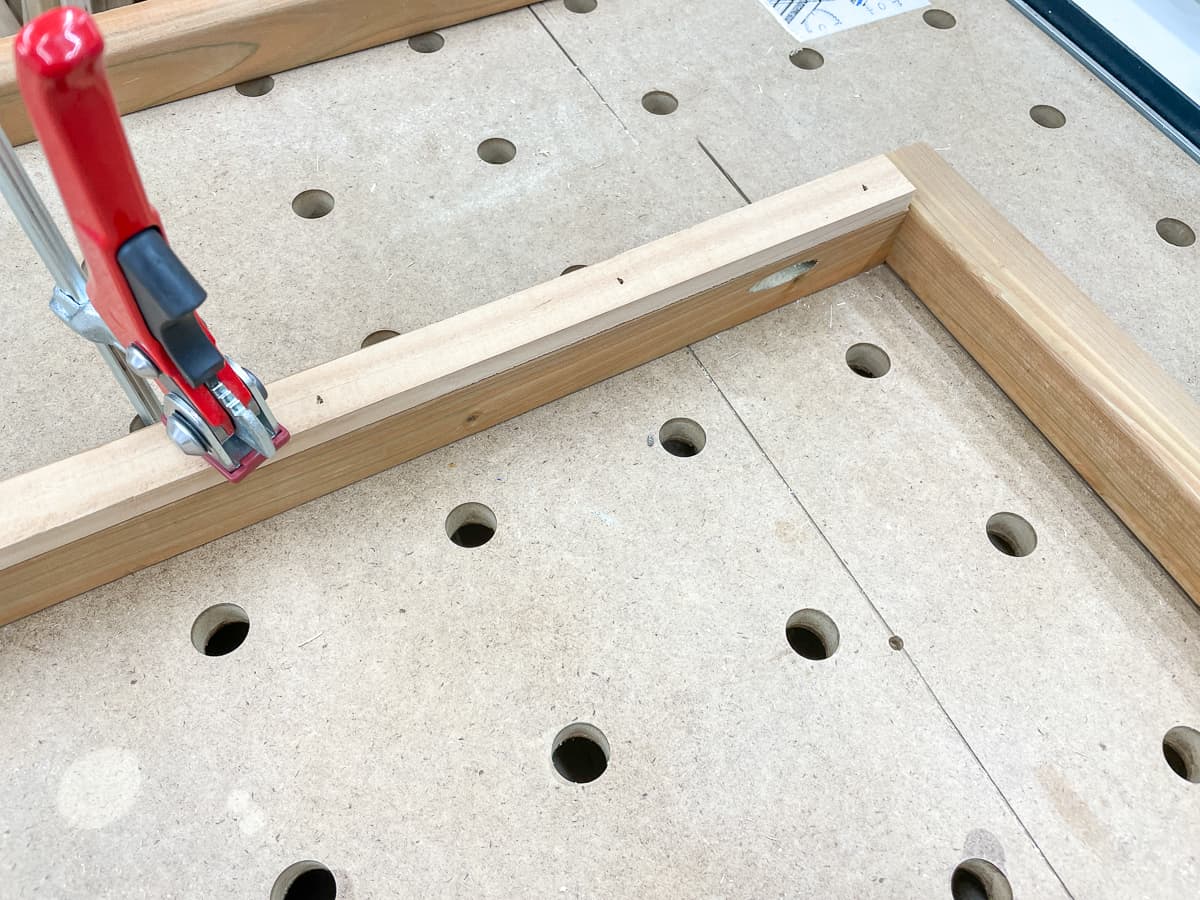
Cut the 2x2 boards according to the list in the plans. Then drill pocket holes in both ends of each of all the shelf pieces. You can learn more about how to use a Kreg jig here.
I prefer to drill just one hole per end in a narrow 2x2, and offset it to one side on the longer pieces, so the screws don't hit each other inside the legs.
Fence pickets can have pretty rough edges, so I like to trim off ¼" from each side at the table saw to clean them up. You can leave them full width, but you'll need to sand the edges so they all fit within the frame.
Finally, I cut six thin strips from a fence picket for the cleats that will hold the shelf slats in place. You can also use these square garden stakes instead.
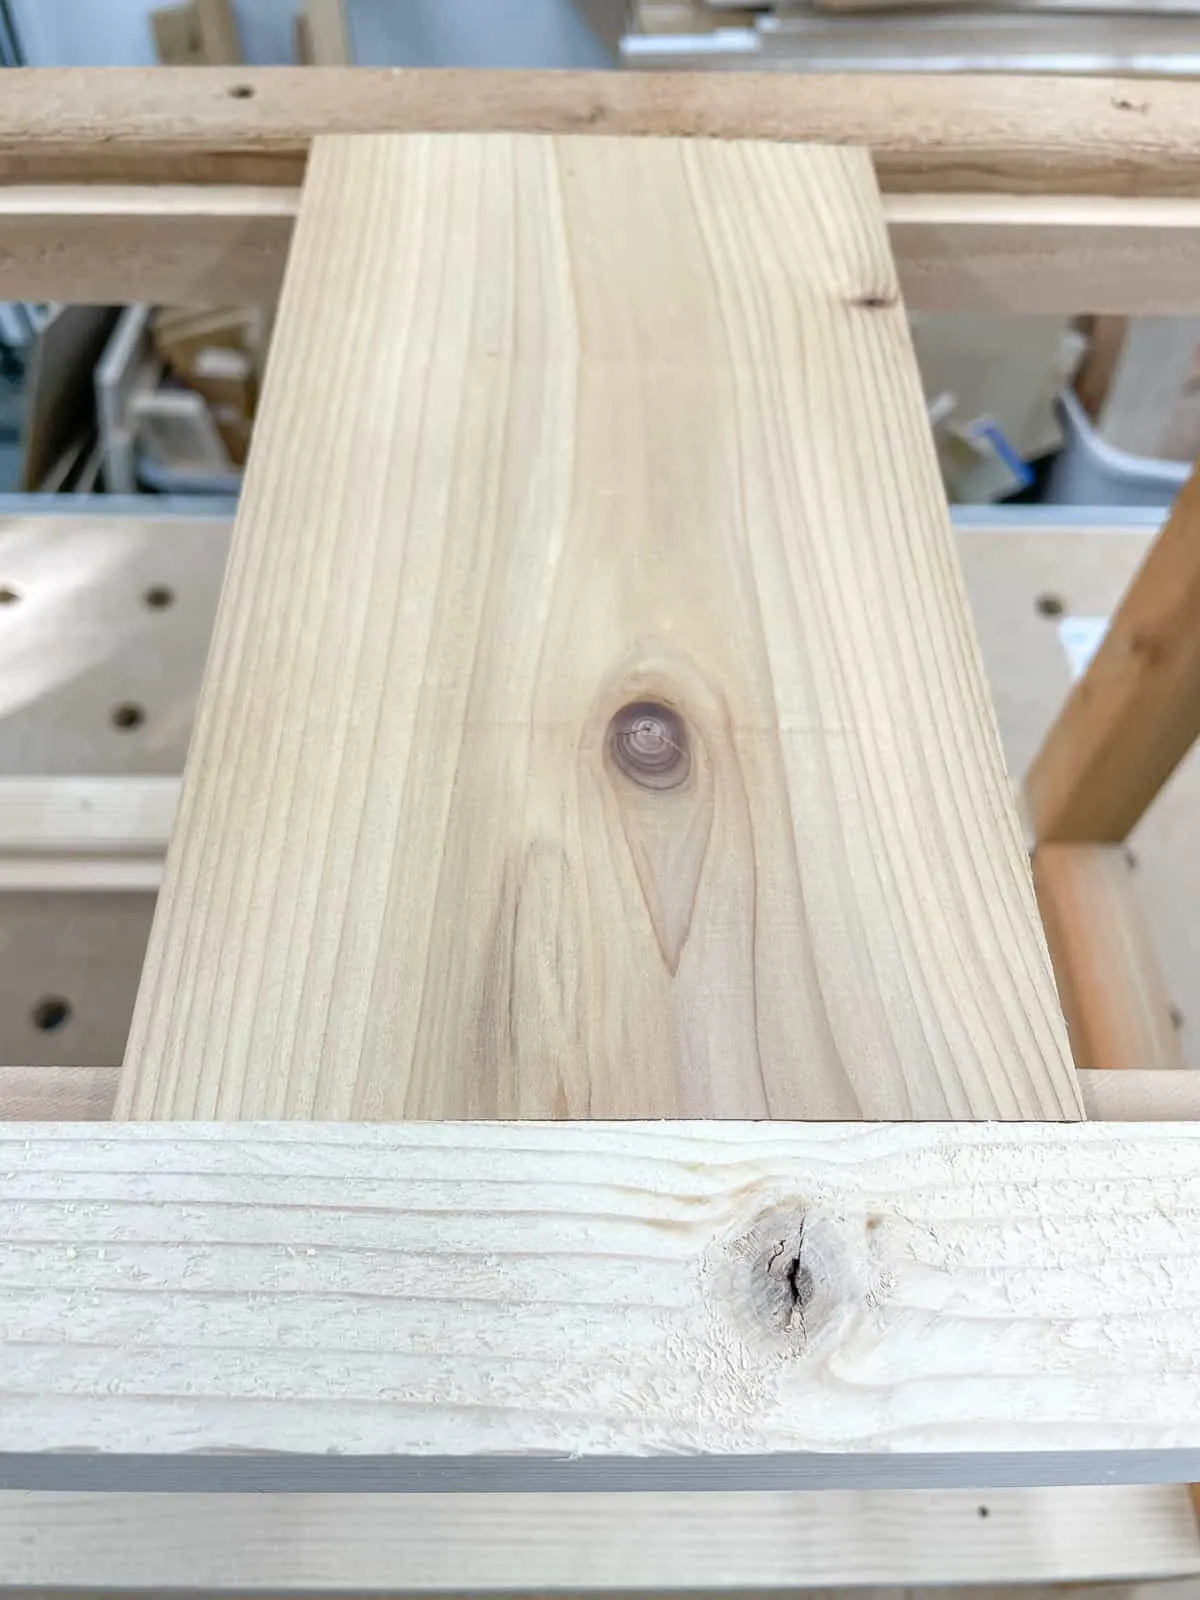
Attach the cleats
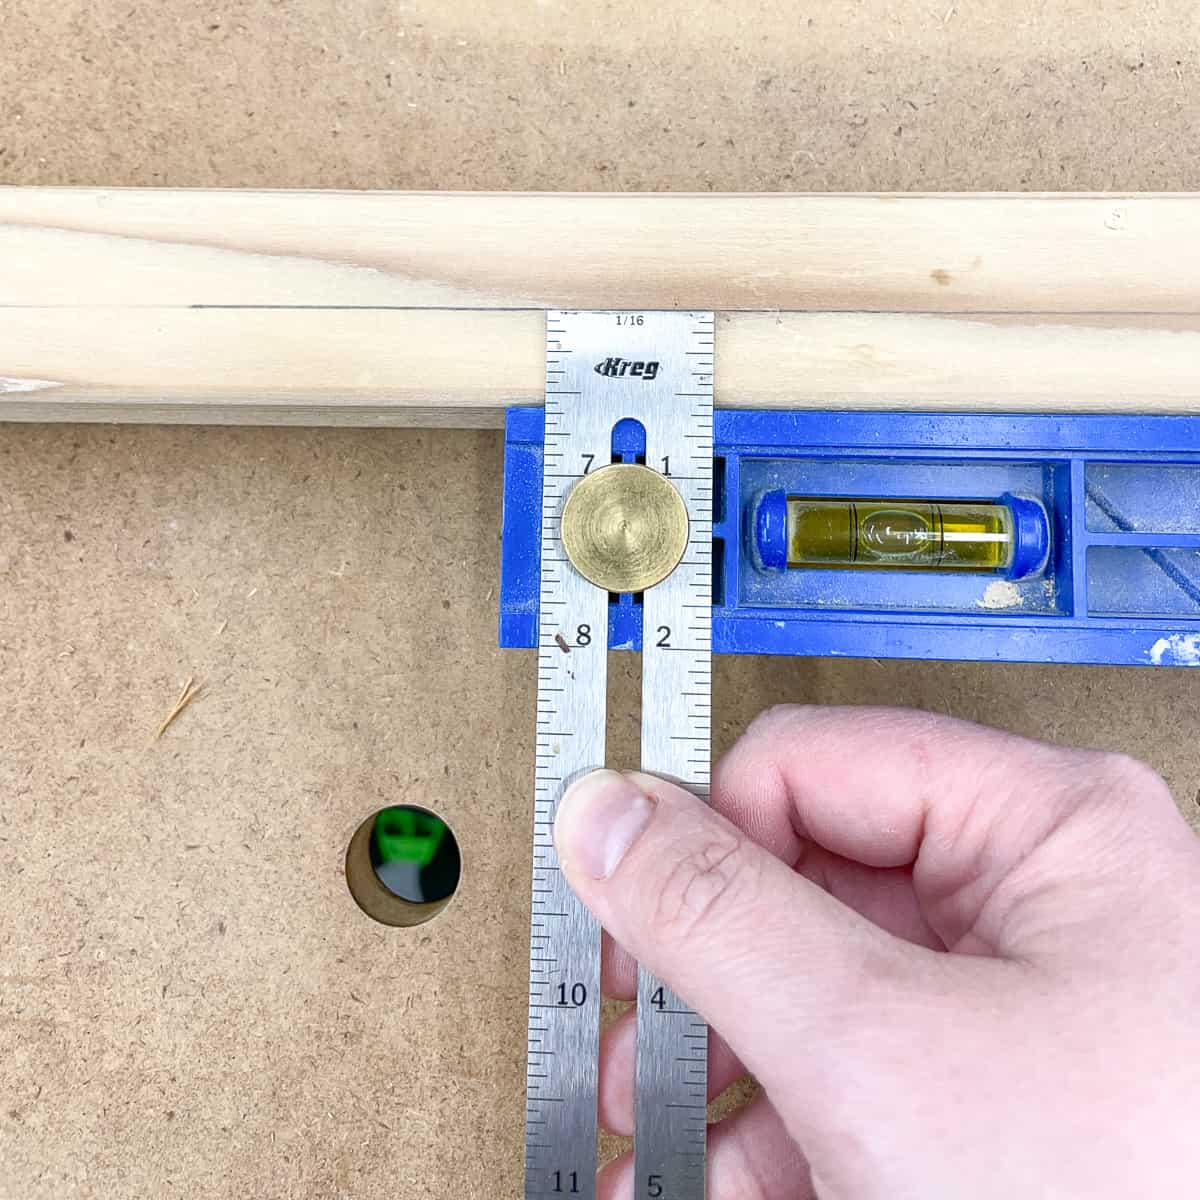
Measure the thickness of your shelf slats. The thickness can vary between boards, so choose the biggest one. It's better to have the slats slightly below the frame, rather than sticking up above it.

Transfer that measurement to one side of the longer shelf frame pieces. Make sure your markings on a side adjacent to the one with the pocket holes.

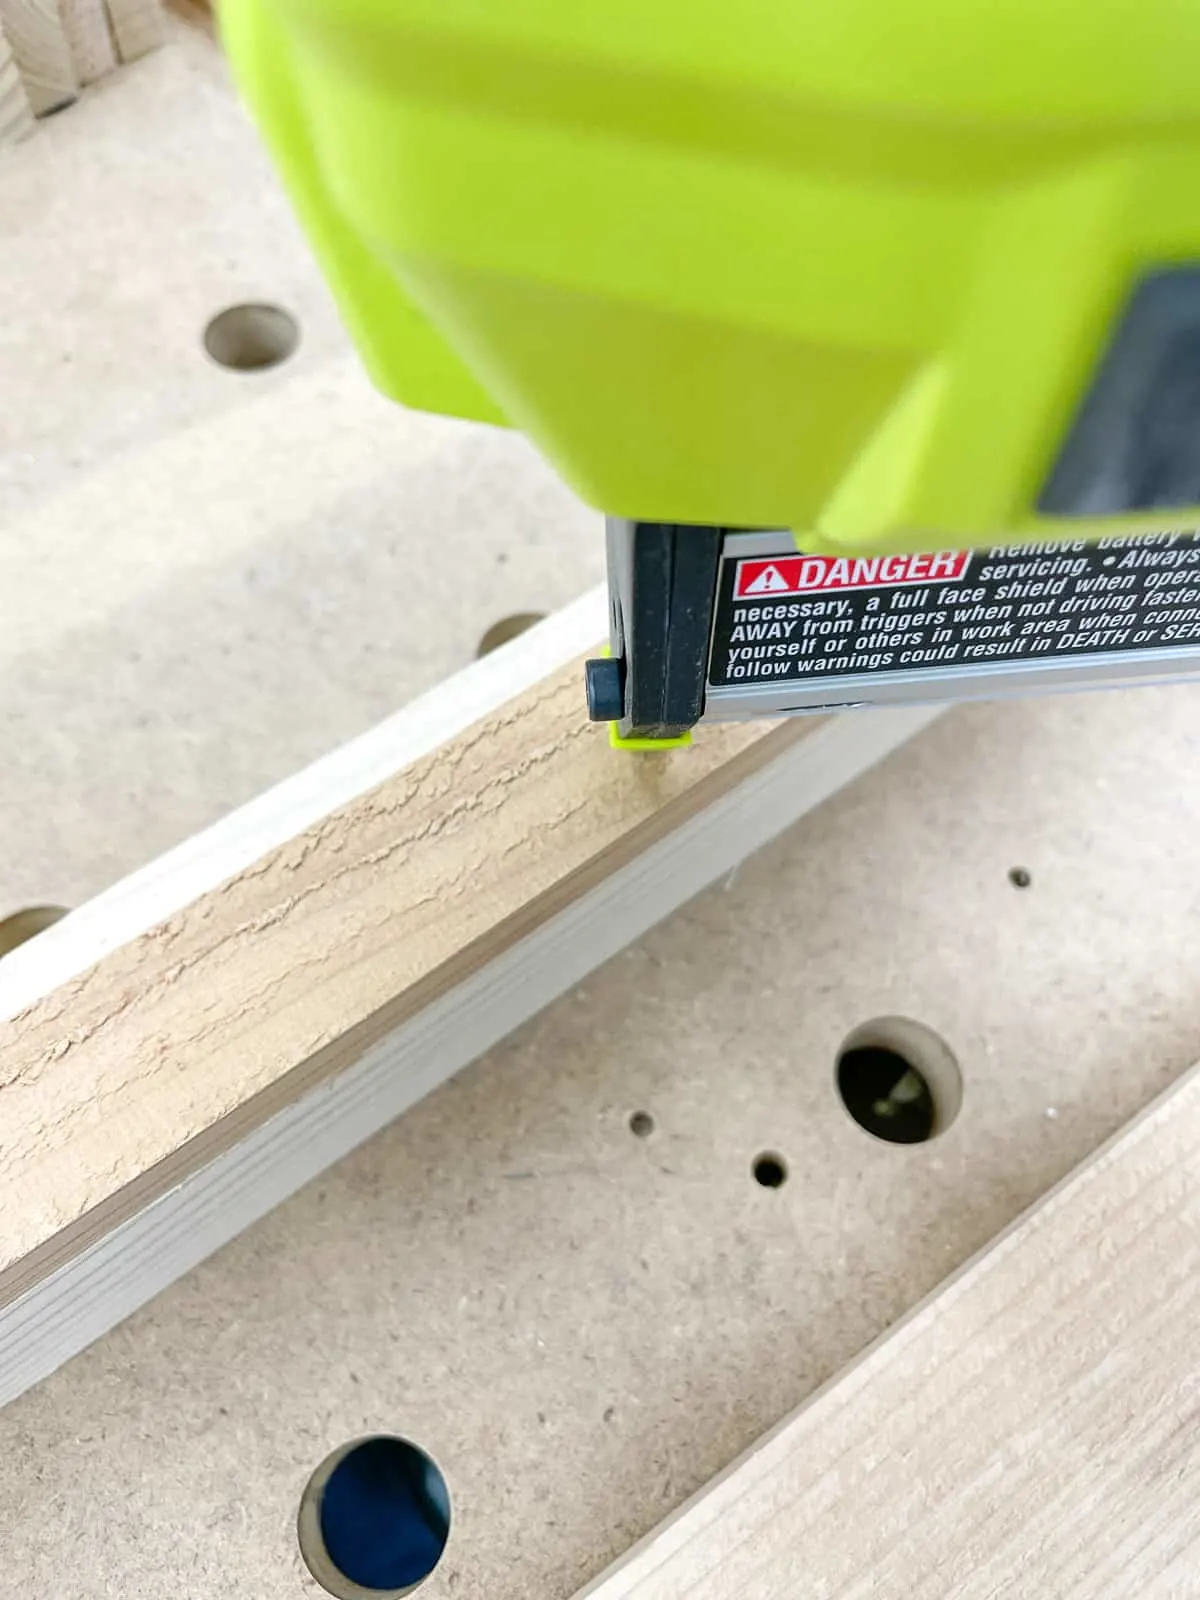
Add waterproof glue to the back of the cleat, and line up the top edge with your markings. Then use a brad nailer to tack it into place. You can also use wood screws, but make sure to drill pilot holes first so you don't split the wood.

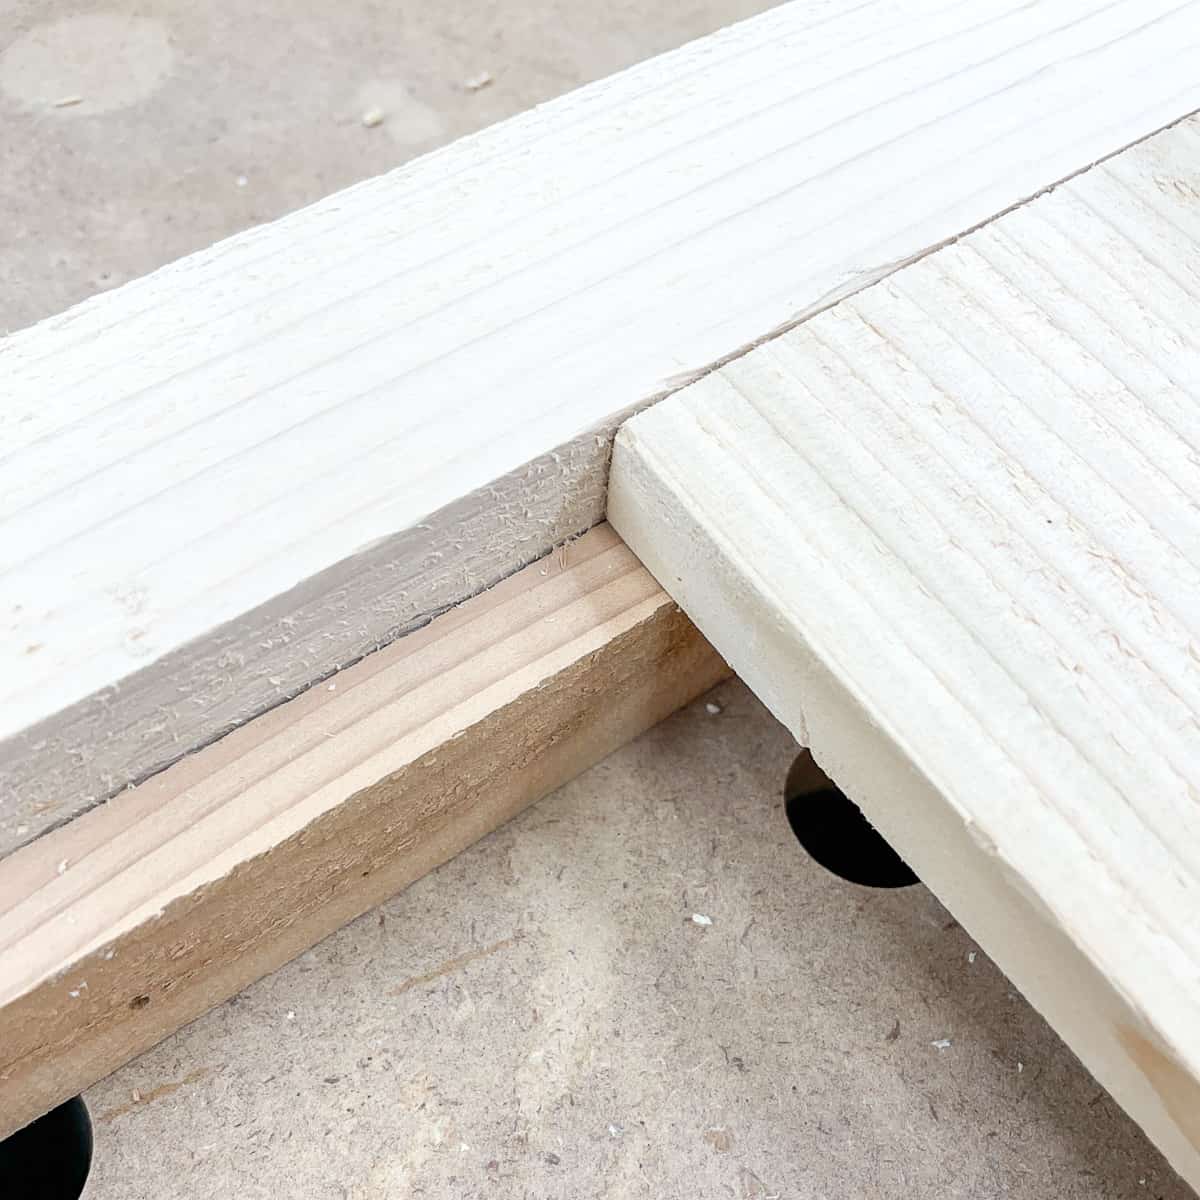
The shelf slats will sit on top of the cleat, so the tops are flush with each other.

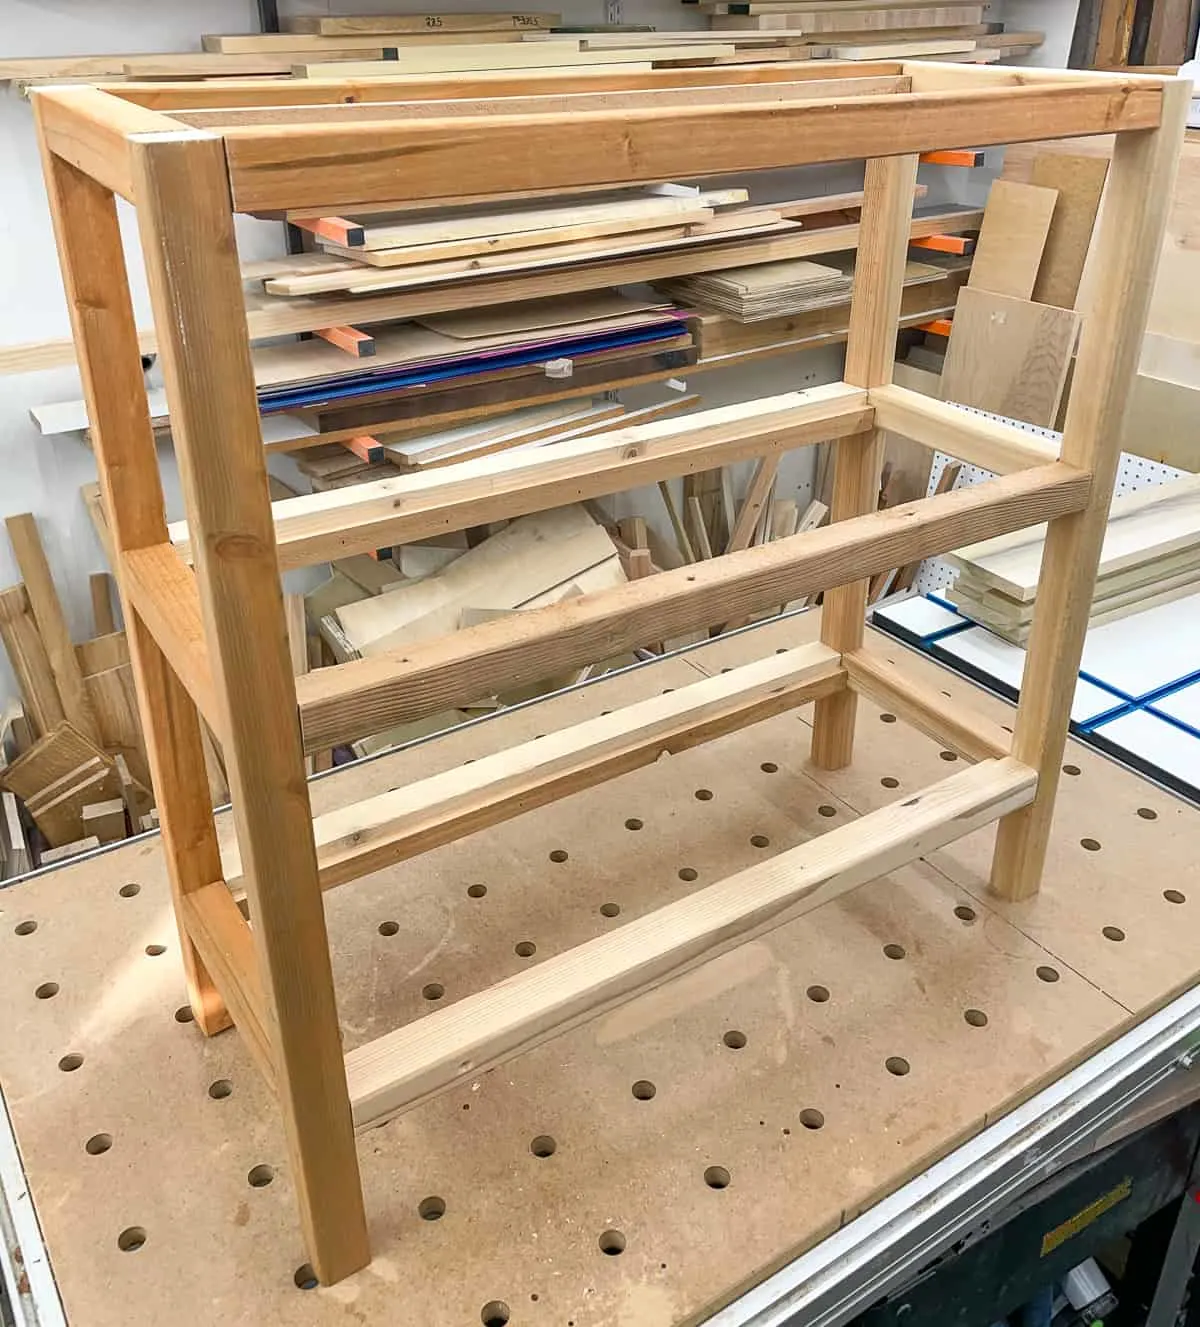
Assemble the shelf frame
Attach the first piece with the cleat to the top of the legs with exterior wood glue and 2 ½" exterior pocket hole screws. The pocket holes should be facing down towards the bottom of the legs, with the cleat facing out.

Measure and mark the position for the next shelf, and attach it the same way. Then repeat for the bottom shelf. Make sure to check for square as you go, so you don't end up with crooked shelves!
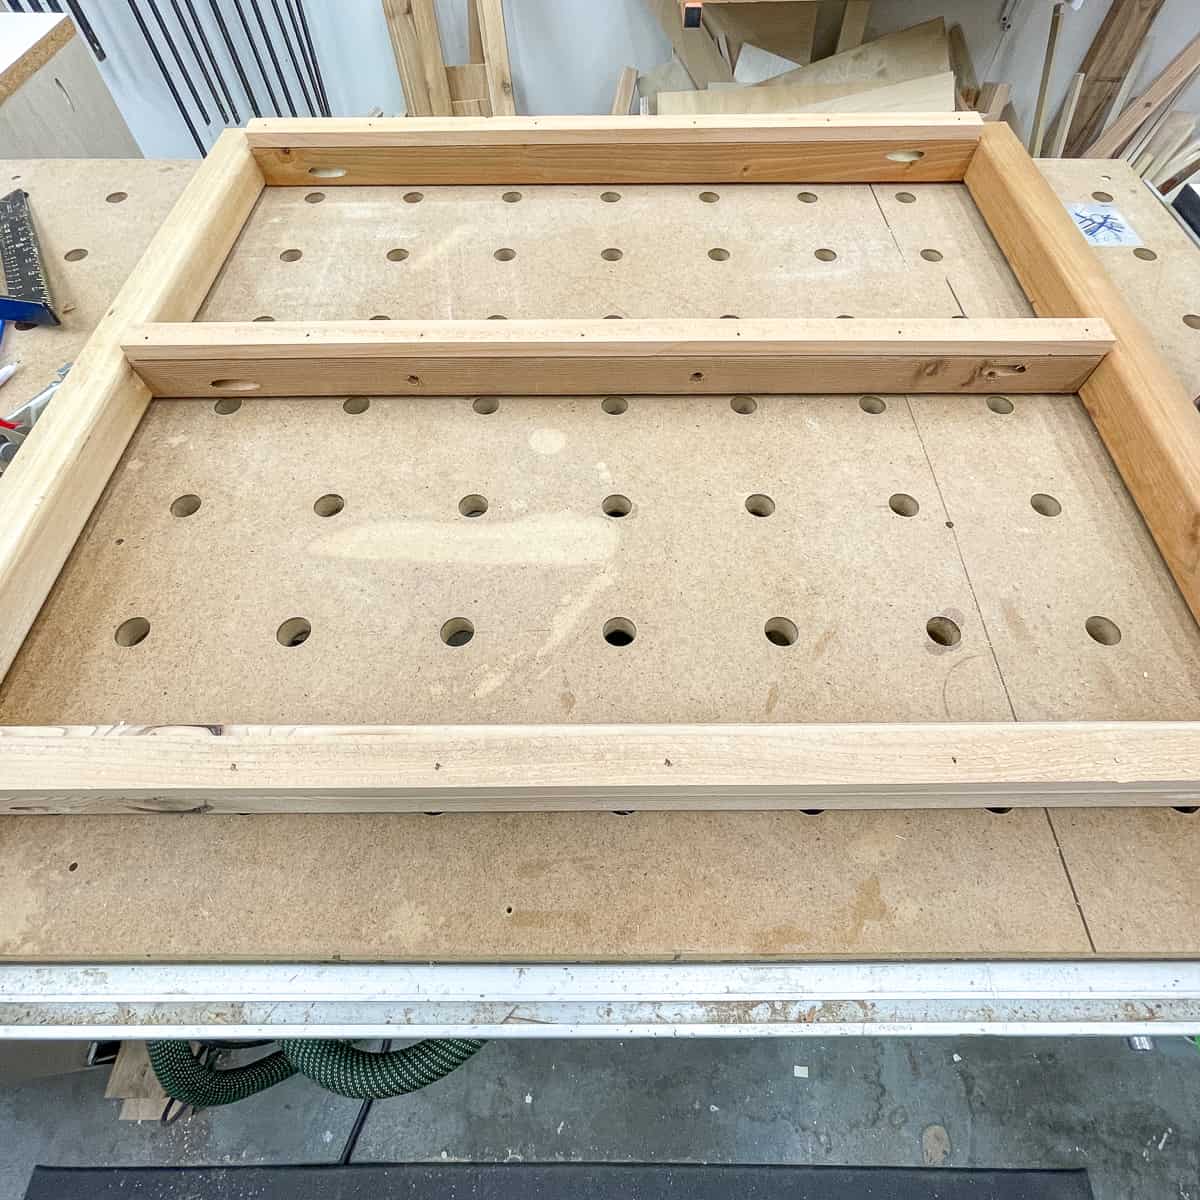
Assemble a second set of legs the same way. Then attach the shorter frame pieces at each junction with more pocket hole screws.

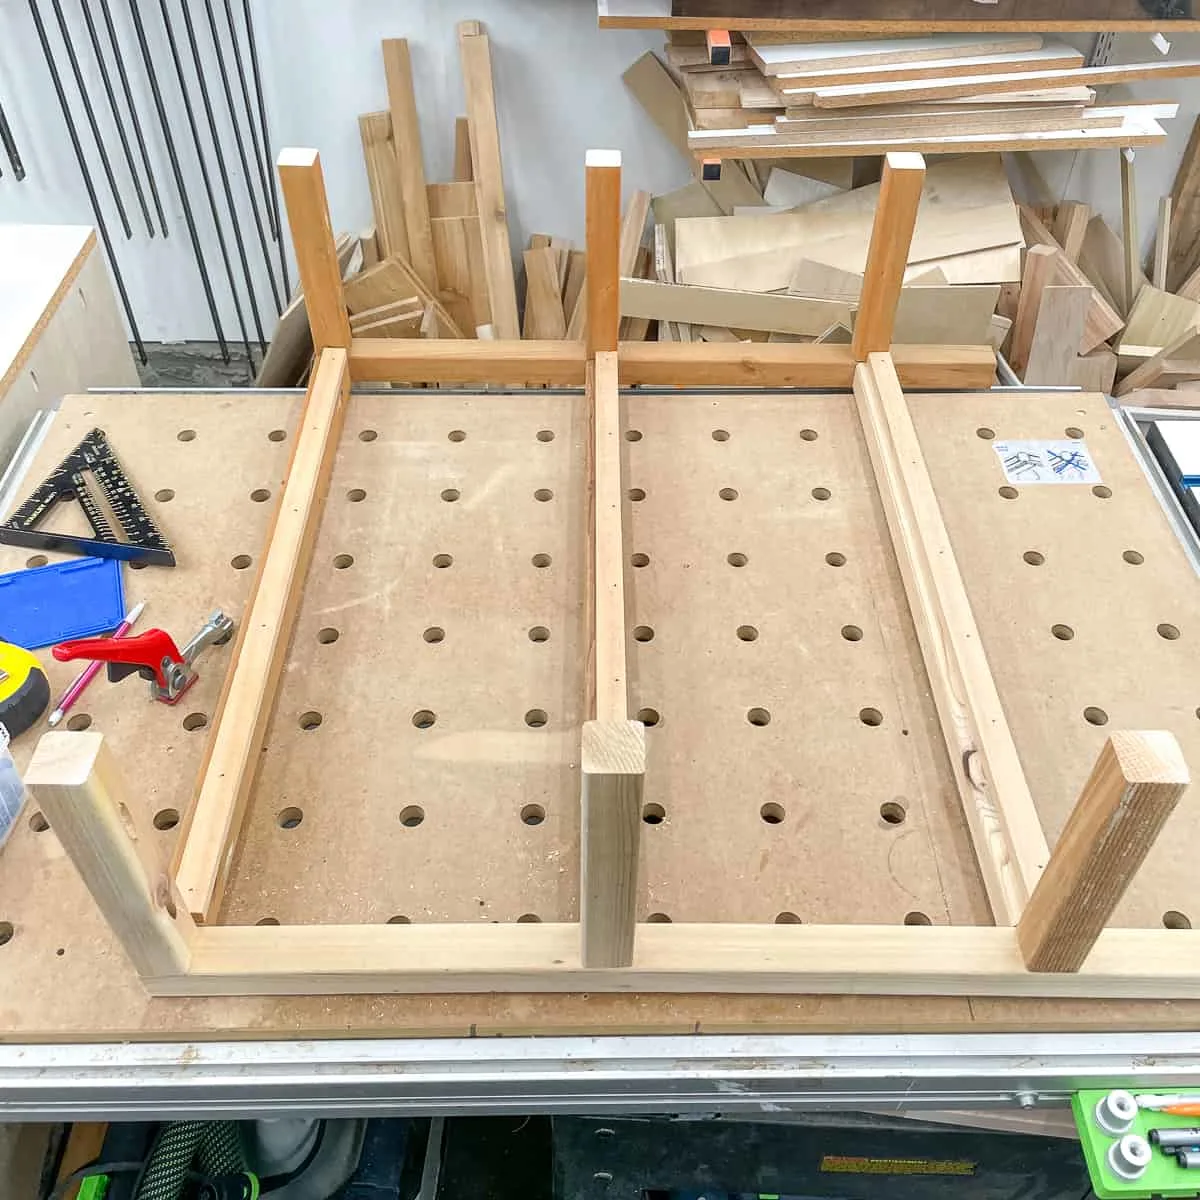
Finally, assemble the two sets of legs together. You may need to use a right angle drill attachment to get into those tighter spots.

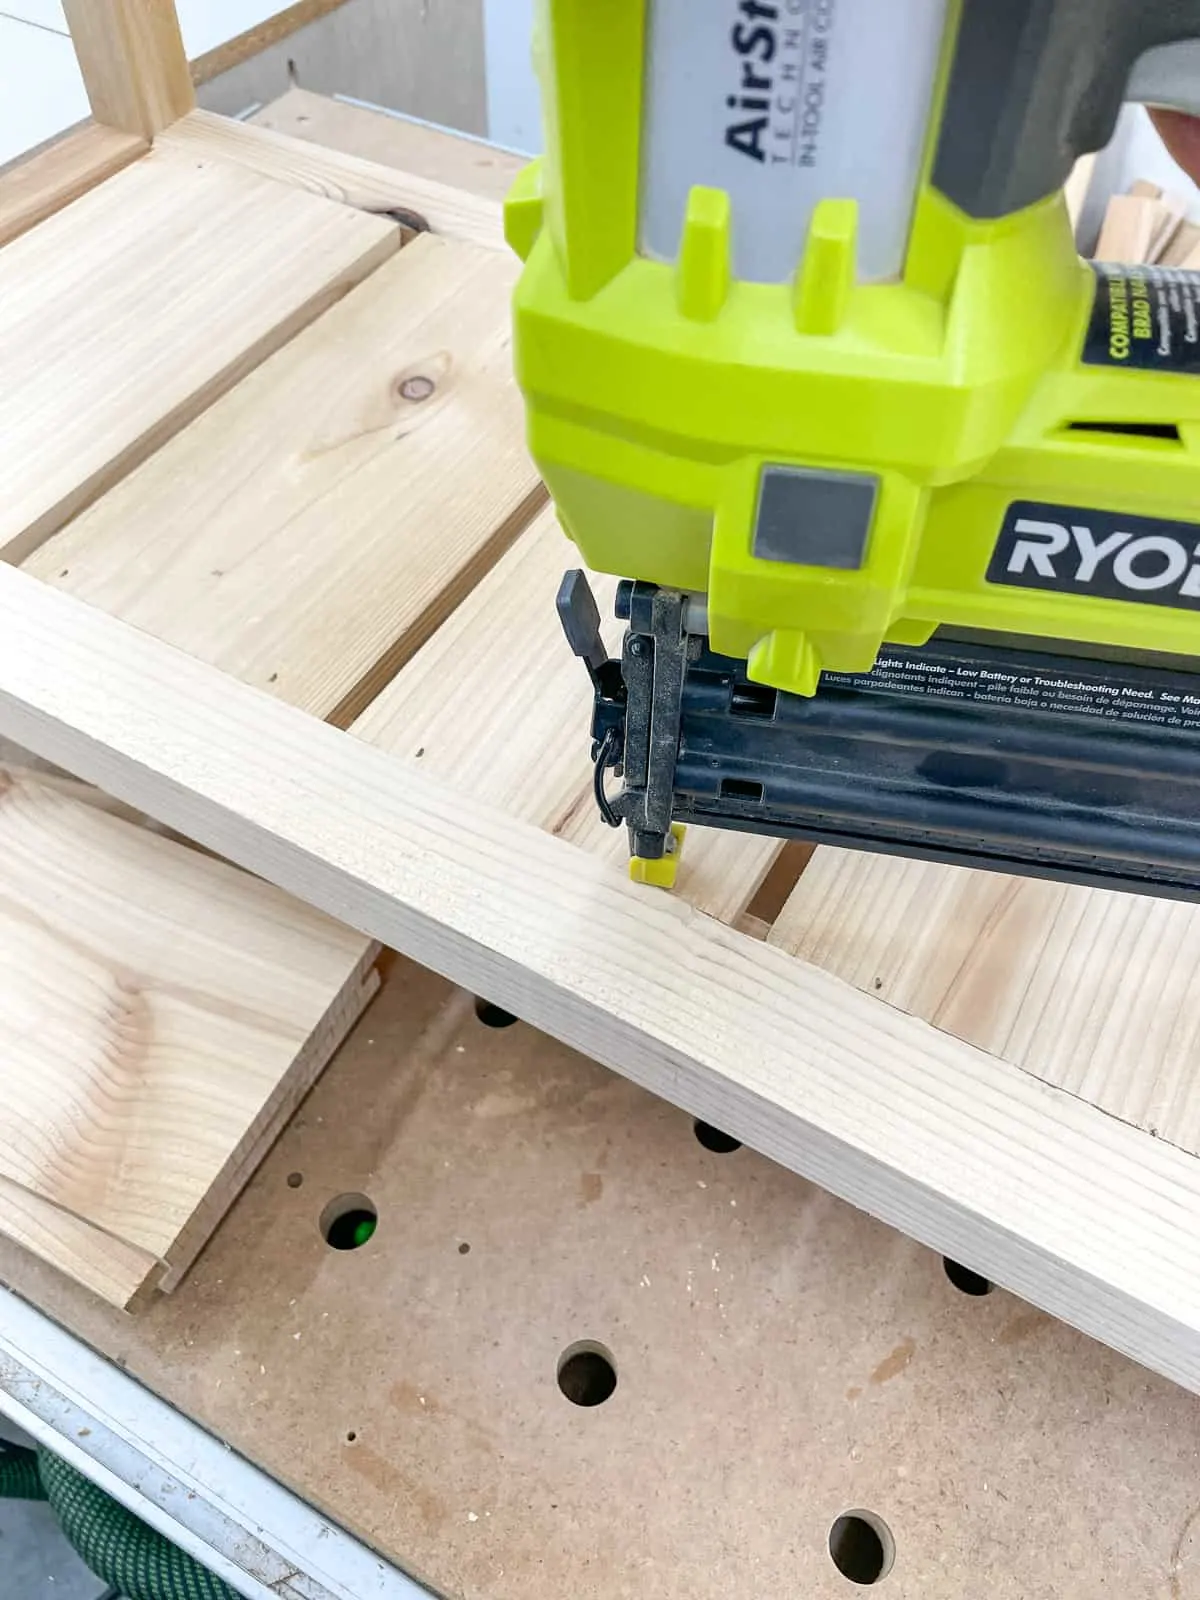
Attach the shelf slats
Start with the bottom shelf and work your way up, so you have more room to work. Place the shelf slats onto the cleats to test the fit. Some may be a bit tight, so trim off a tiny bit with the miter saw to sneak up on the fit.

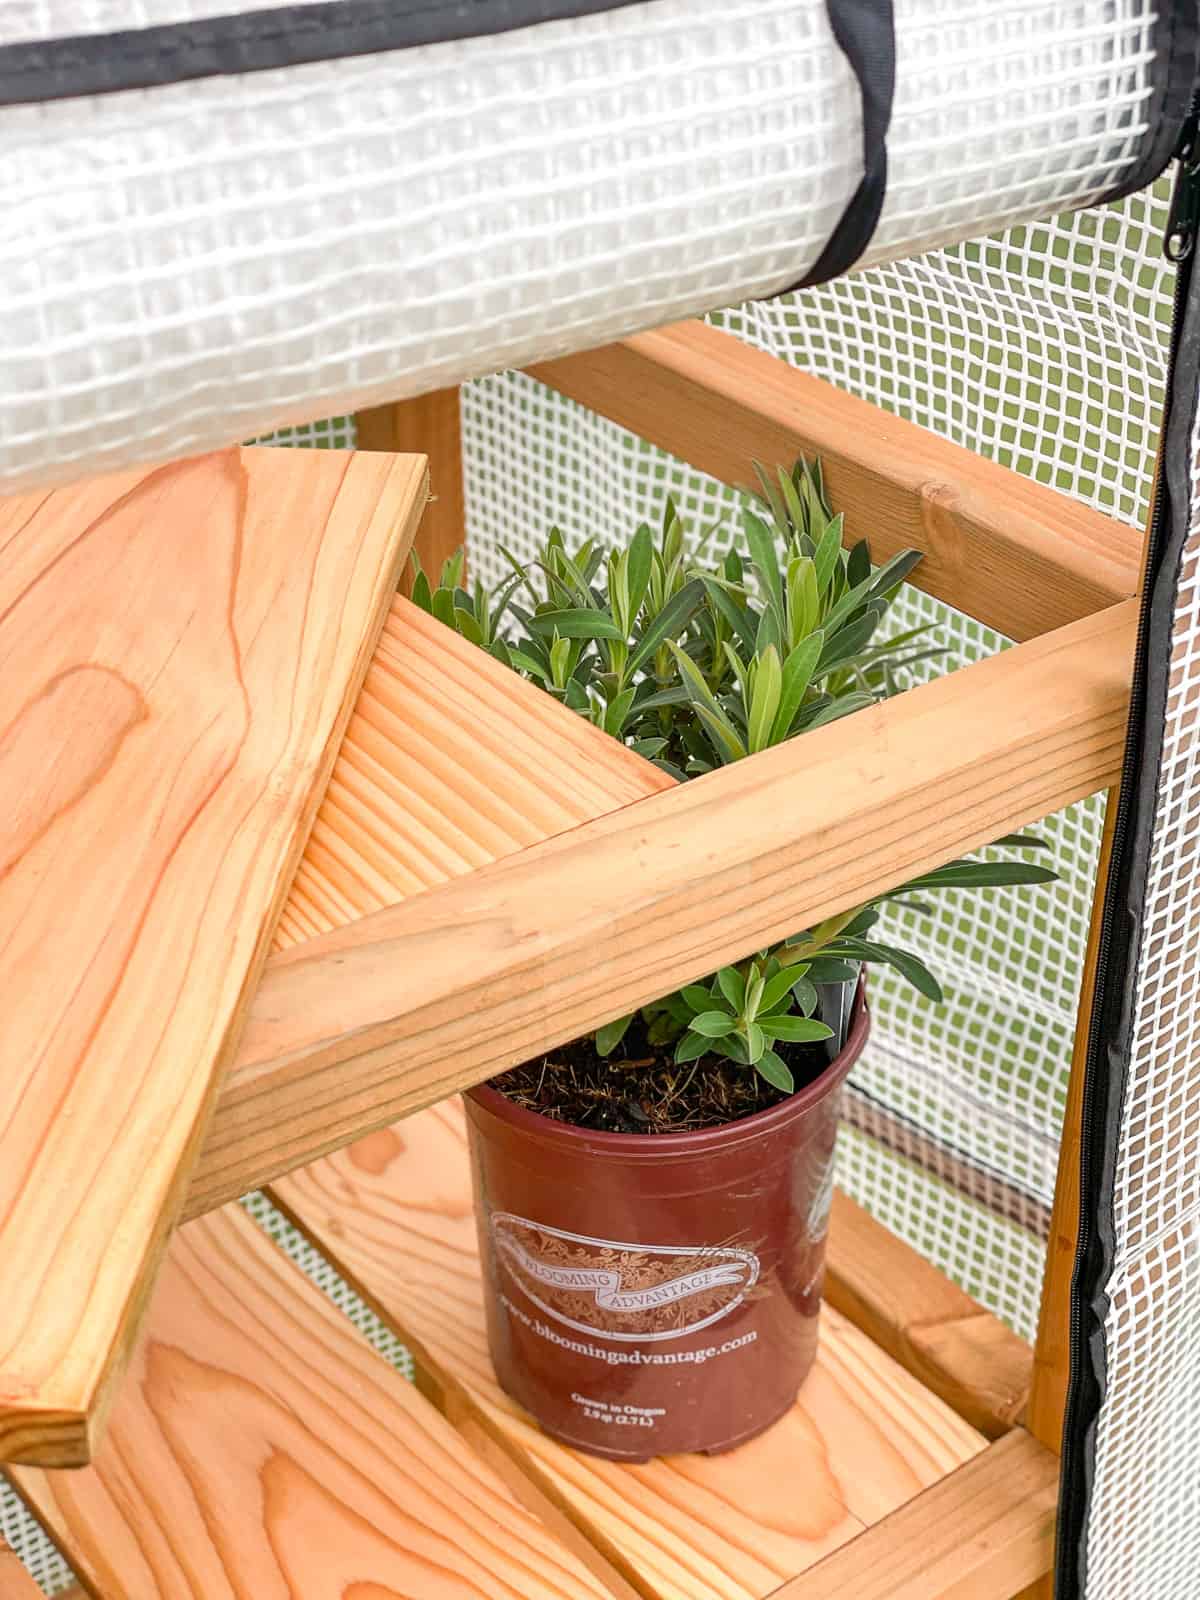
If you're using these shelves for potted plants, you may want to leave the slats loose on the cleats. This will allow you to remove them if necessary if the plant grows too tall for the shelf. I did this for my mini greenhouse, and it worked out great!

Since I'm using these shelves for storage rather than growing plants, I nailed mine down with 1 ¼" brad nails.

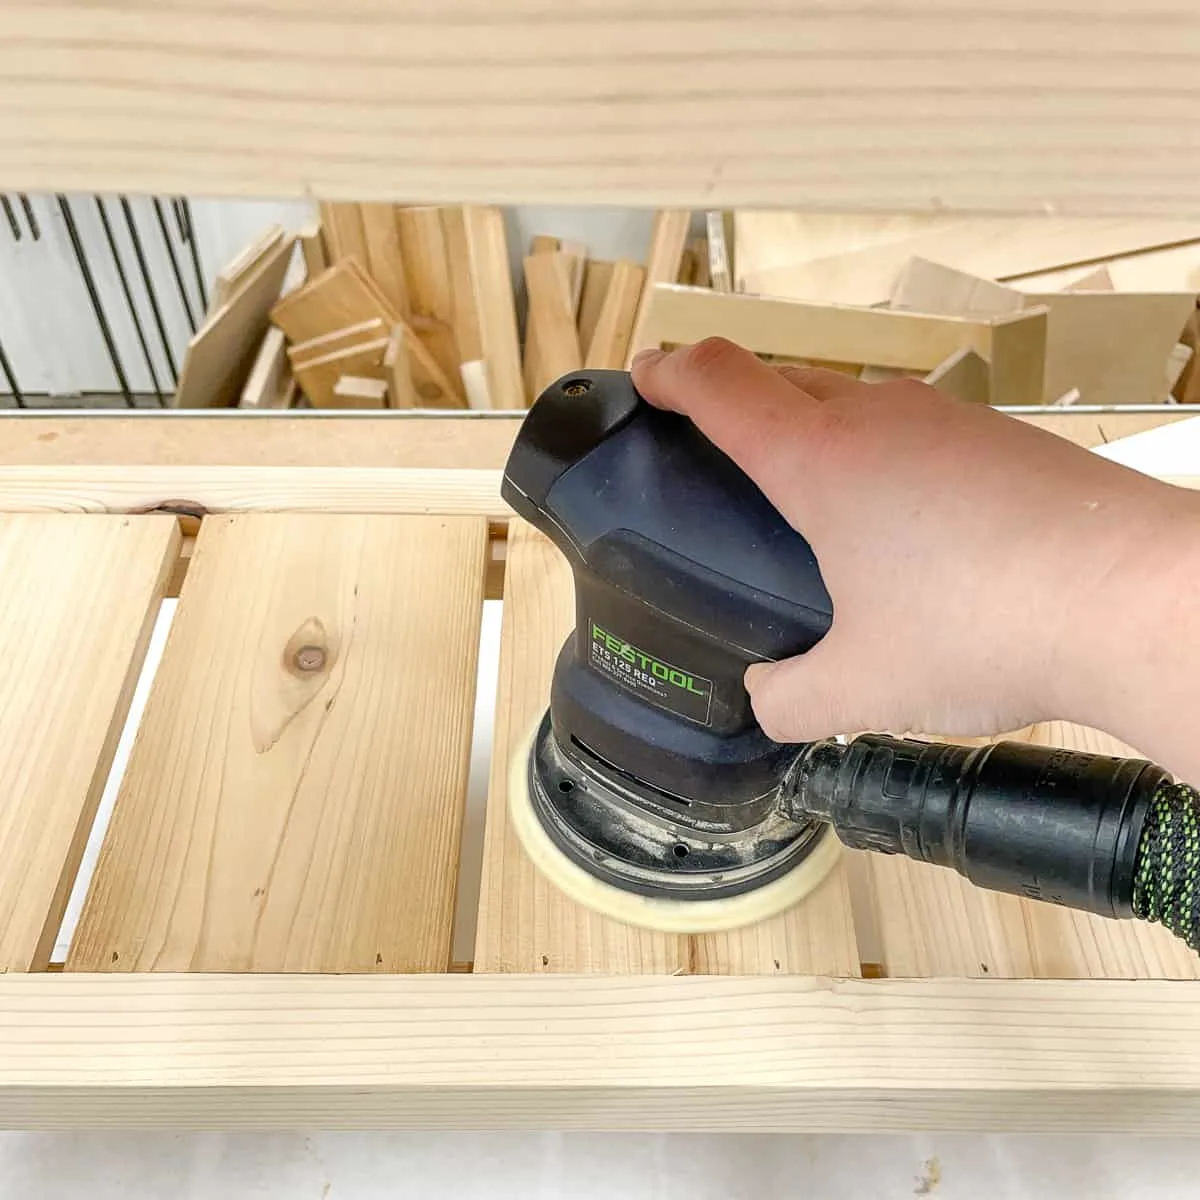
Sand and finish
Now it's time for the finishing touches! Give all the surfaces a good sanding, paying special attention to the slats. If any of them sit above the frame, you can sand them down flush.

I had a can of Ready Seal deck stain in Pecan in my workshop, and it just happens to match the color of the pressure treated lumber I used perfectly! Now it doesn't look like a random mix of wood anymore!
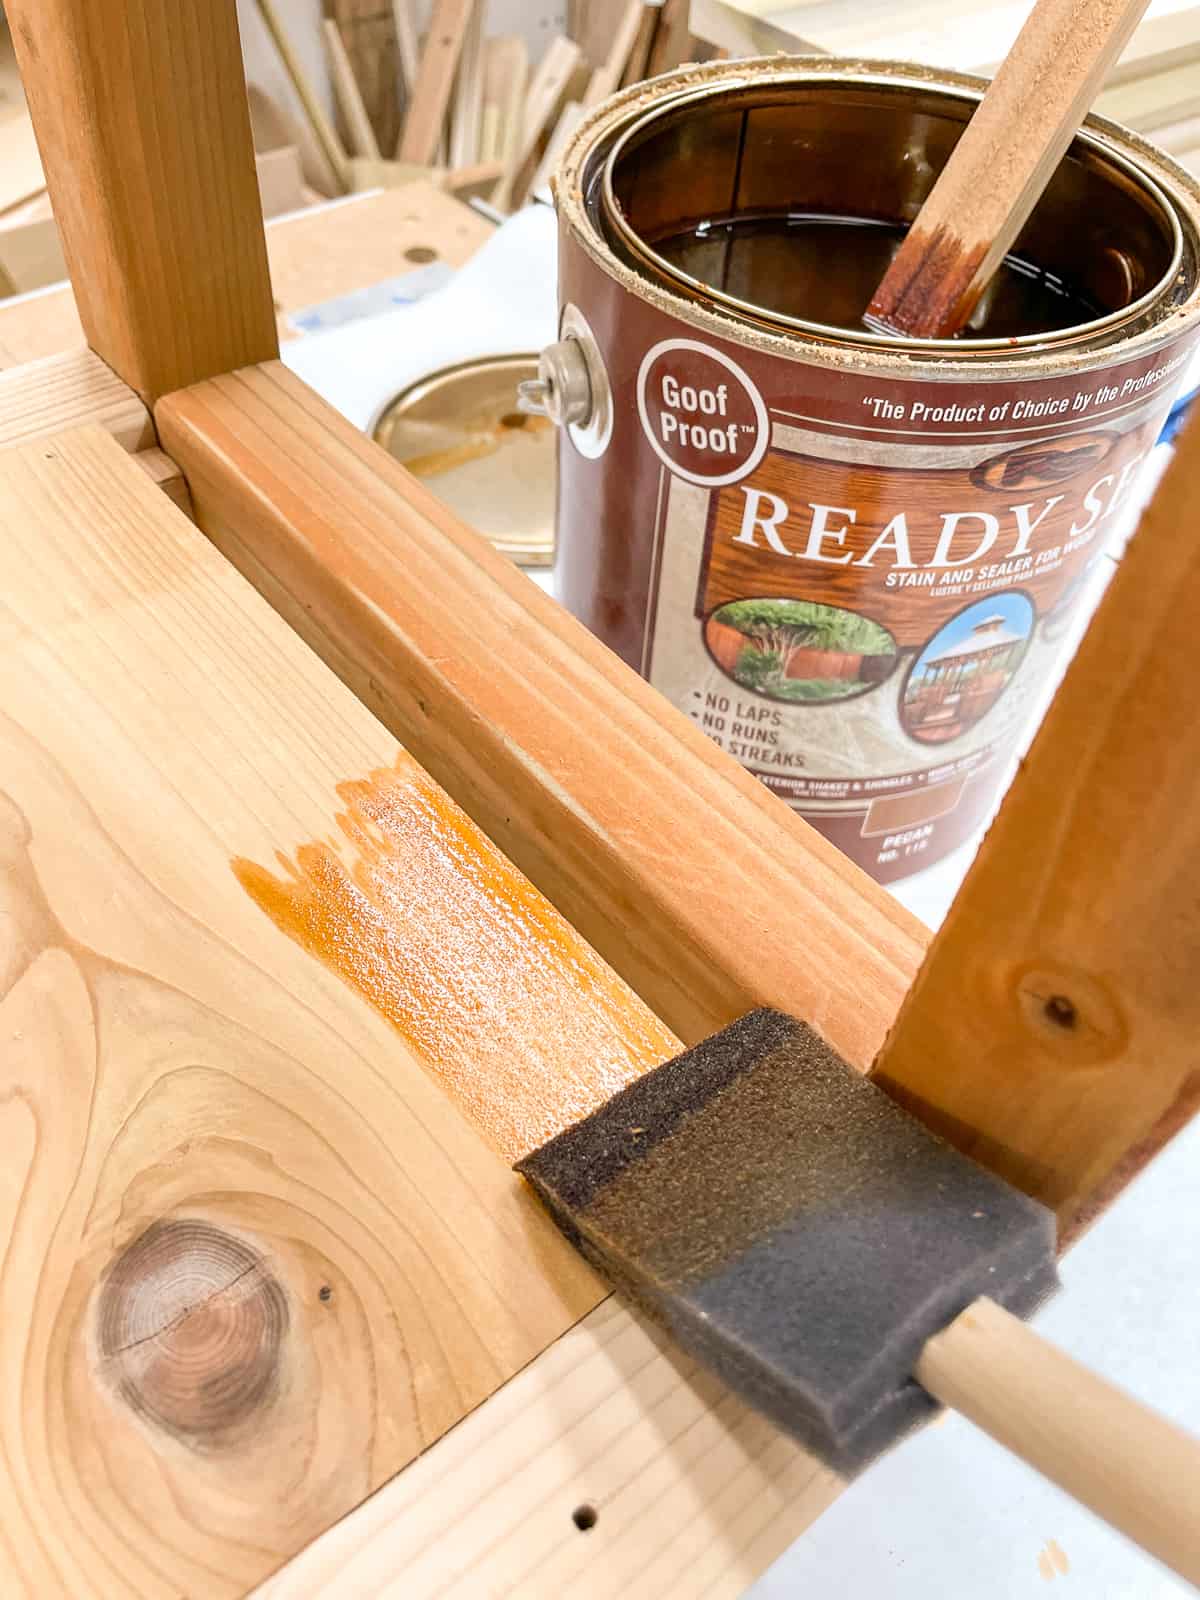

Any exterior wood stain or paint will do. Make sure to get between the slats too!
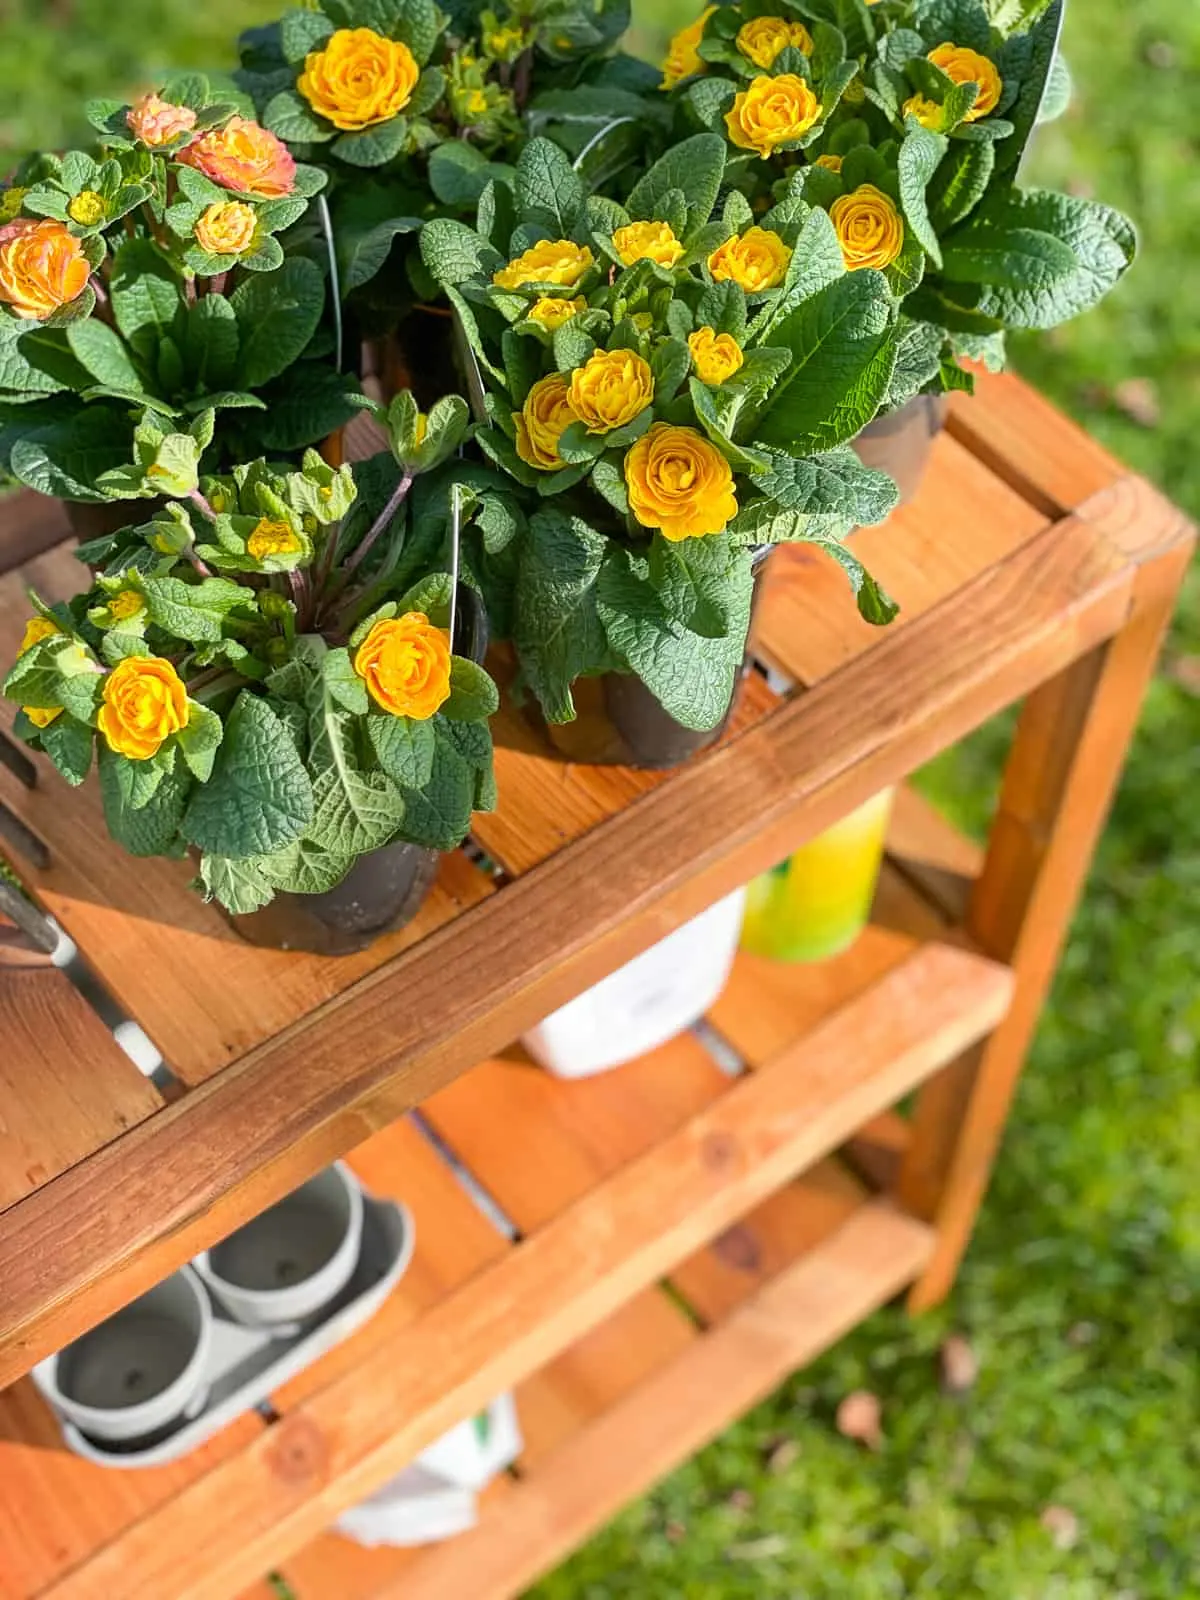
Display your potted plants on your new garden shelves!
I couldn't wait to get these shelves outside and loaded up!
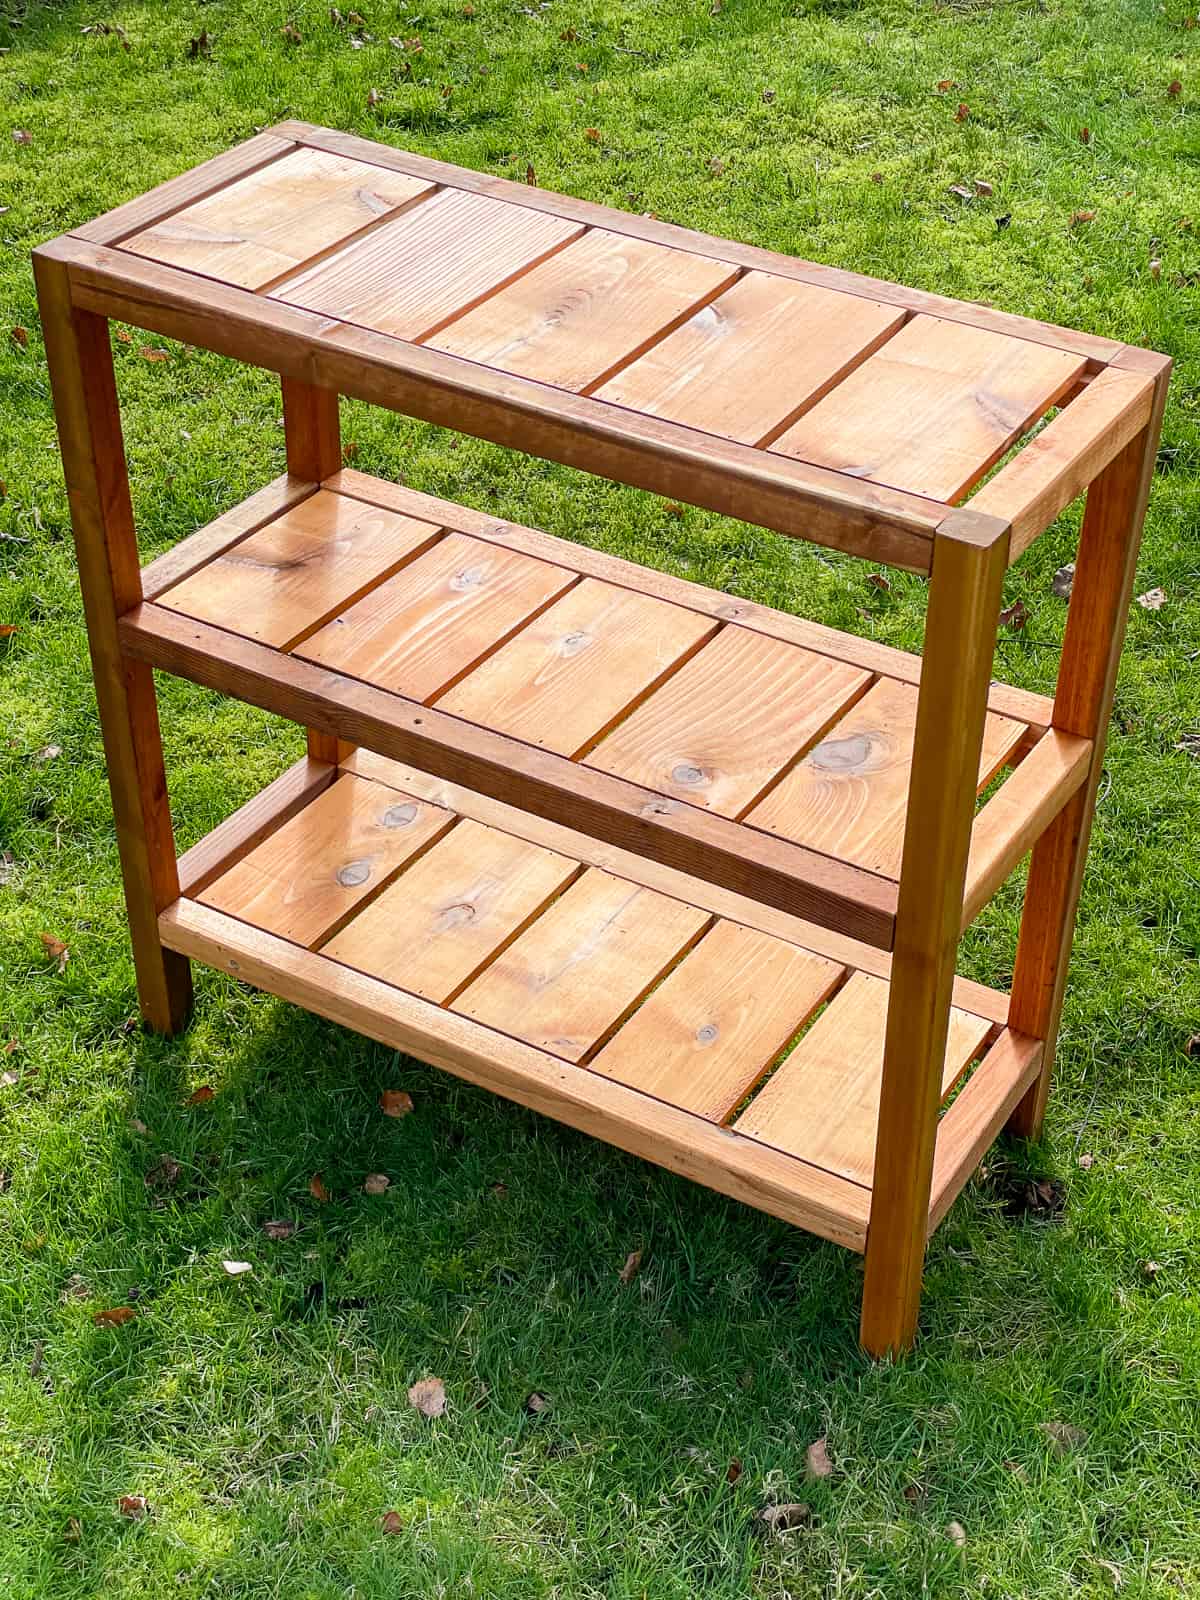

It seems like such a shame to hide these little outdoor shelves away in my garden shed! I'm debating building a second one to display potted plants on our deck. You could also build an indoor version and paint it to match your decor!
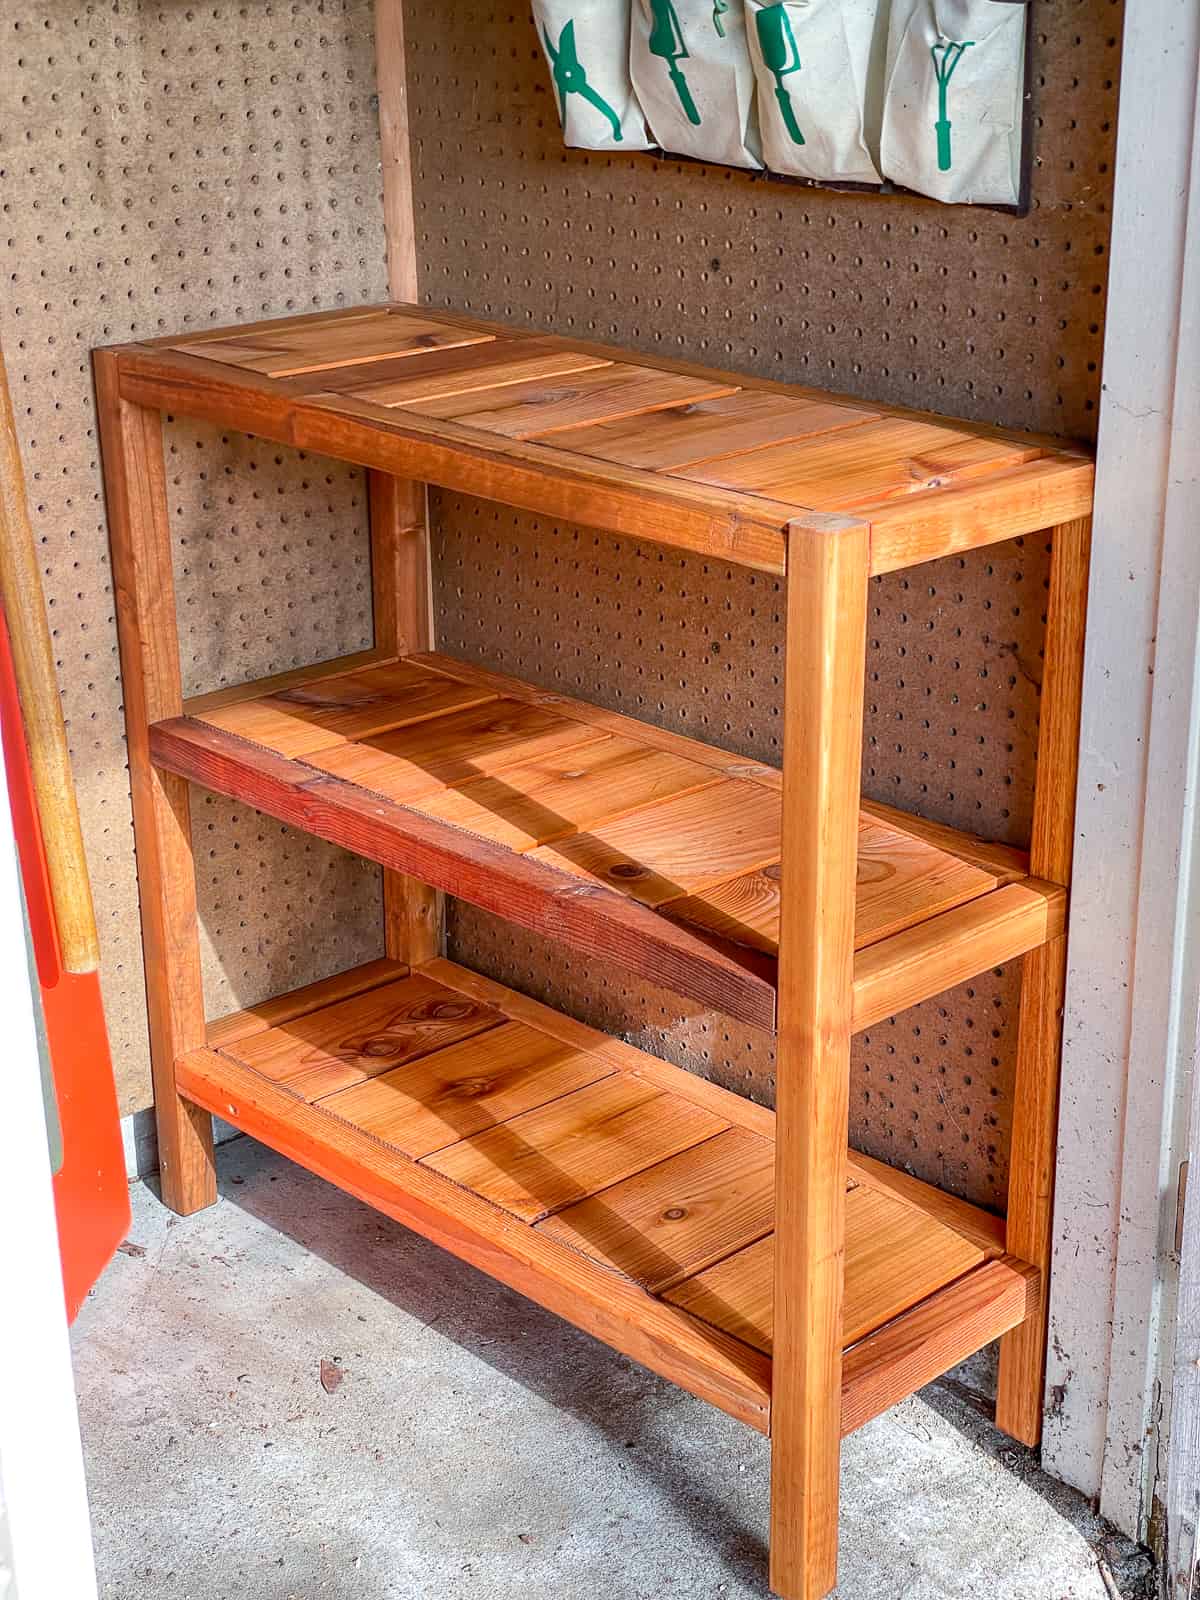

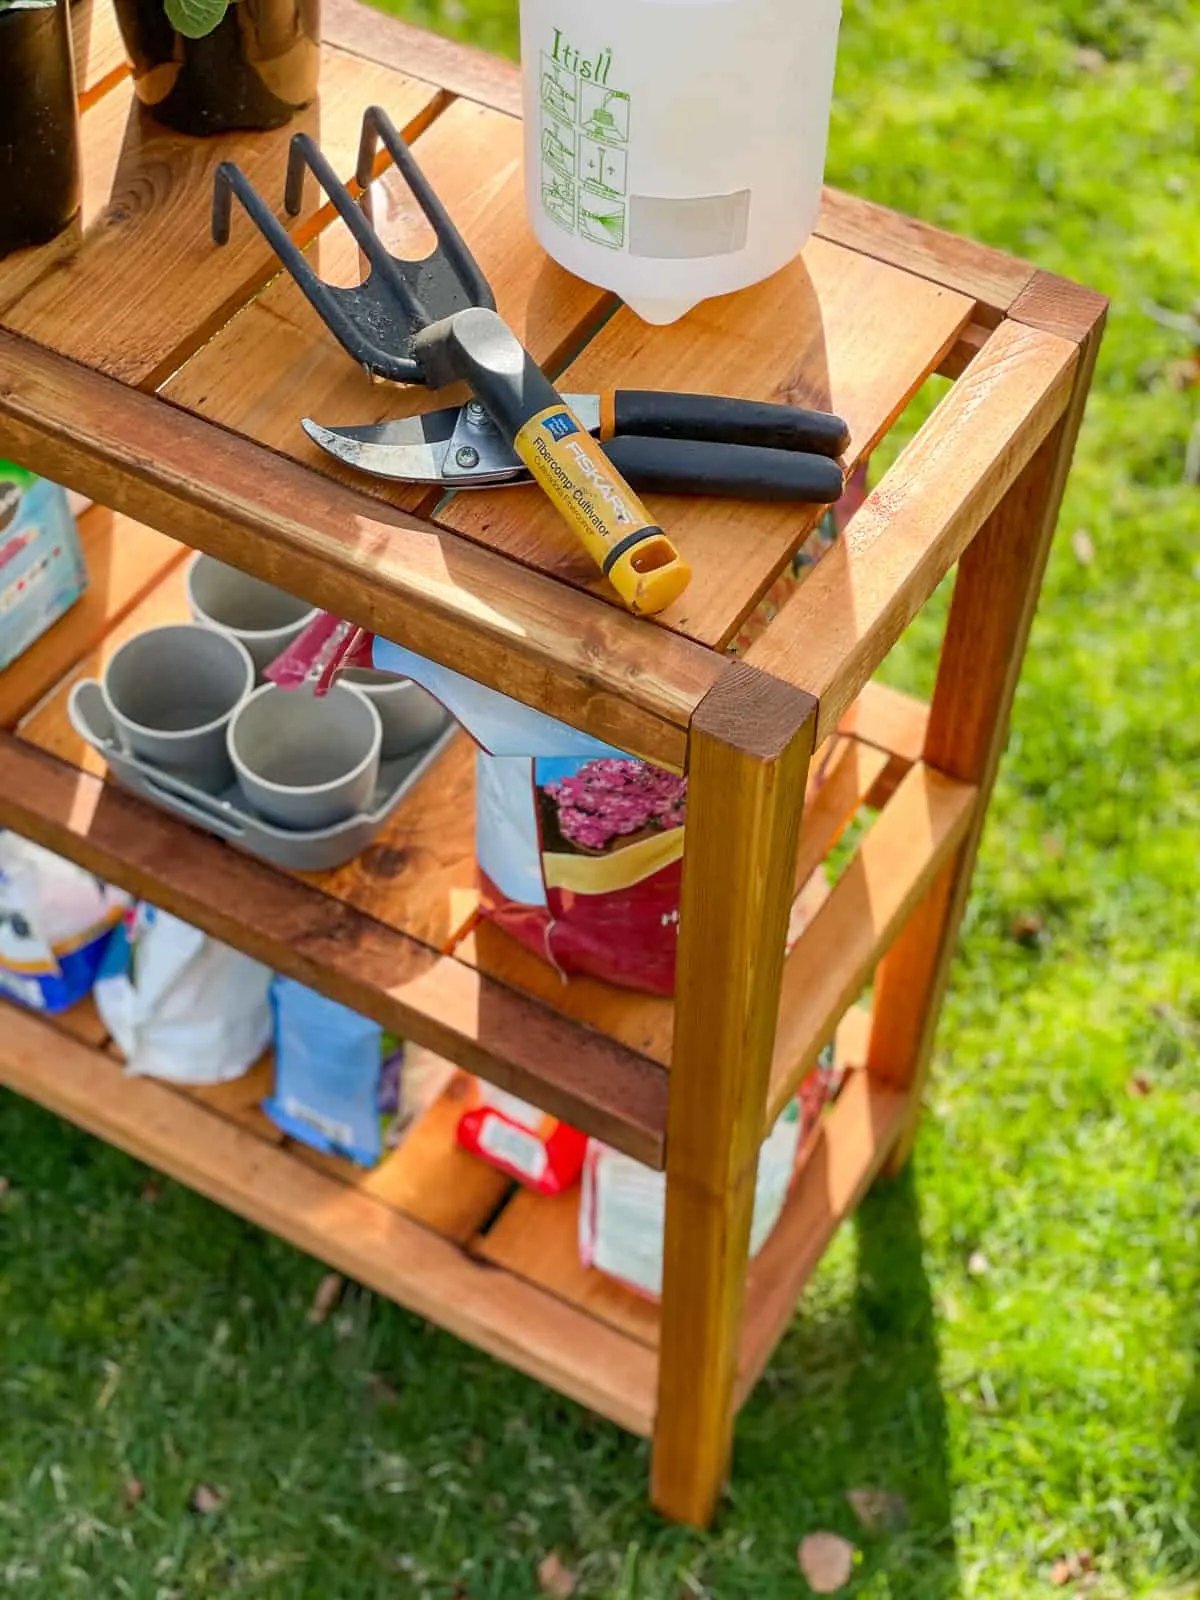
These plant shelves are perfect size for all those bags of specialized fertilizer and soil, so I can just grab the one I need for my garden.


I'm always searching for my pruners and other hand tools, so having a designated drop zone for them will make them easier to find.

I couldn't resist buying a few small plants to start off my spring gardening early. I can't wait to start seeing color outside again!

Don't forget to download the woodworking plans for these DIY outdoor shelves and build your own today!
Check out these other outdoor garden projects!
Sinea
Friday 18th of February 2022
Oh my goodness, I love these shelves!
Leslie
Saturday 12th of February 2022
I just love your posts!! You are very talented!
Vineta Jackson
Sunday 13th of February 2022
Aw, thank you so much!