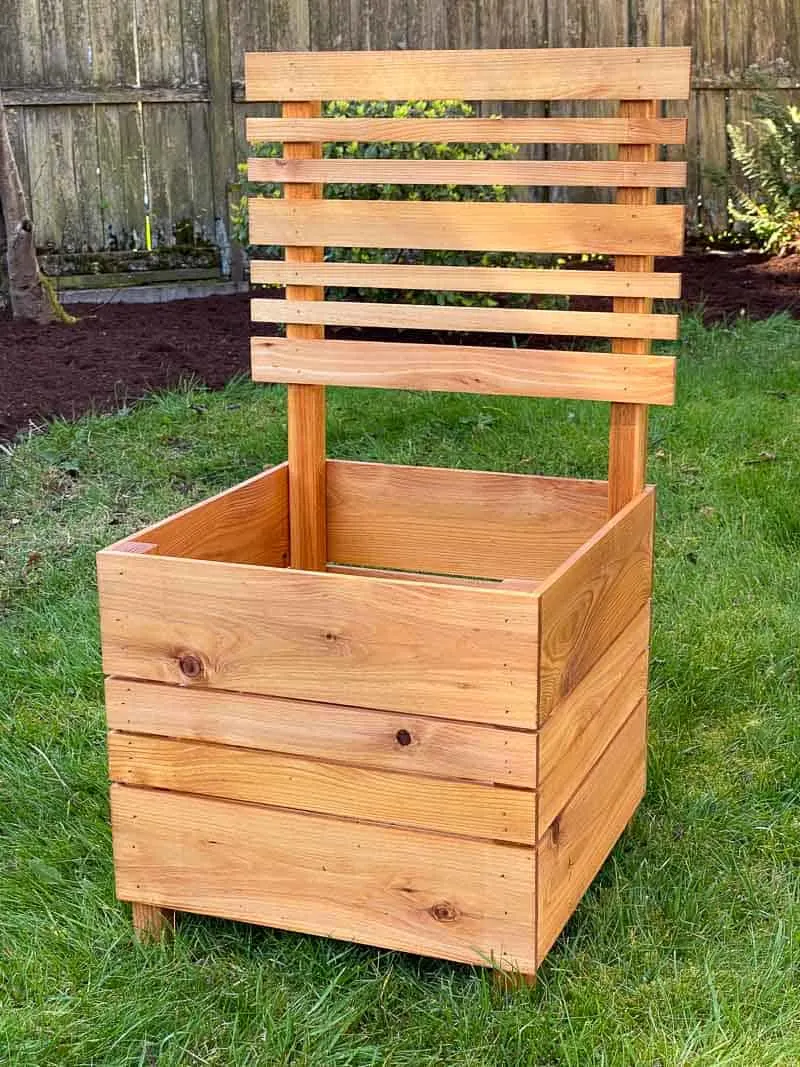
Grow lots of plants in a compact space with this DIY outdoor plant stand! It features two large planter boxes, shelves for pots, and an arbor on top for beautiful hanging baskets!

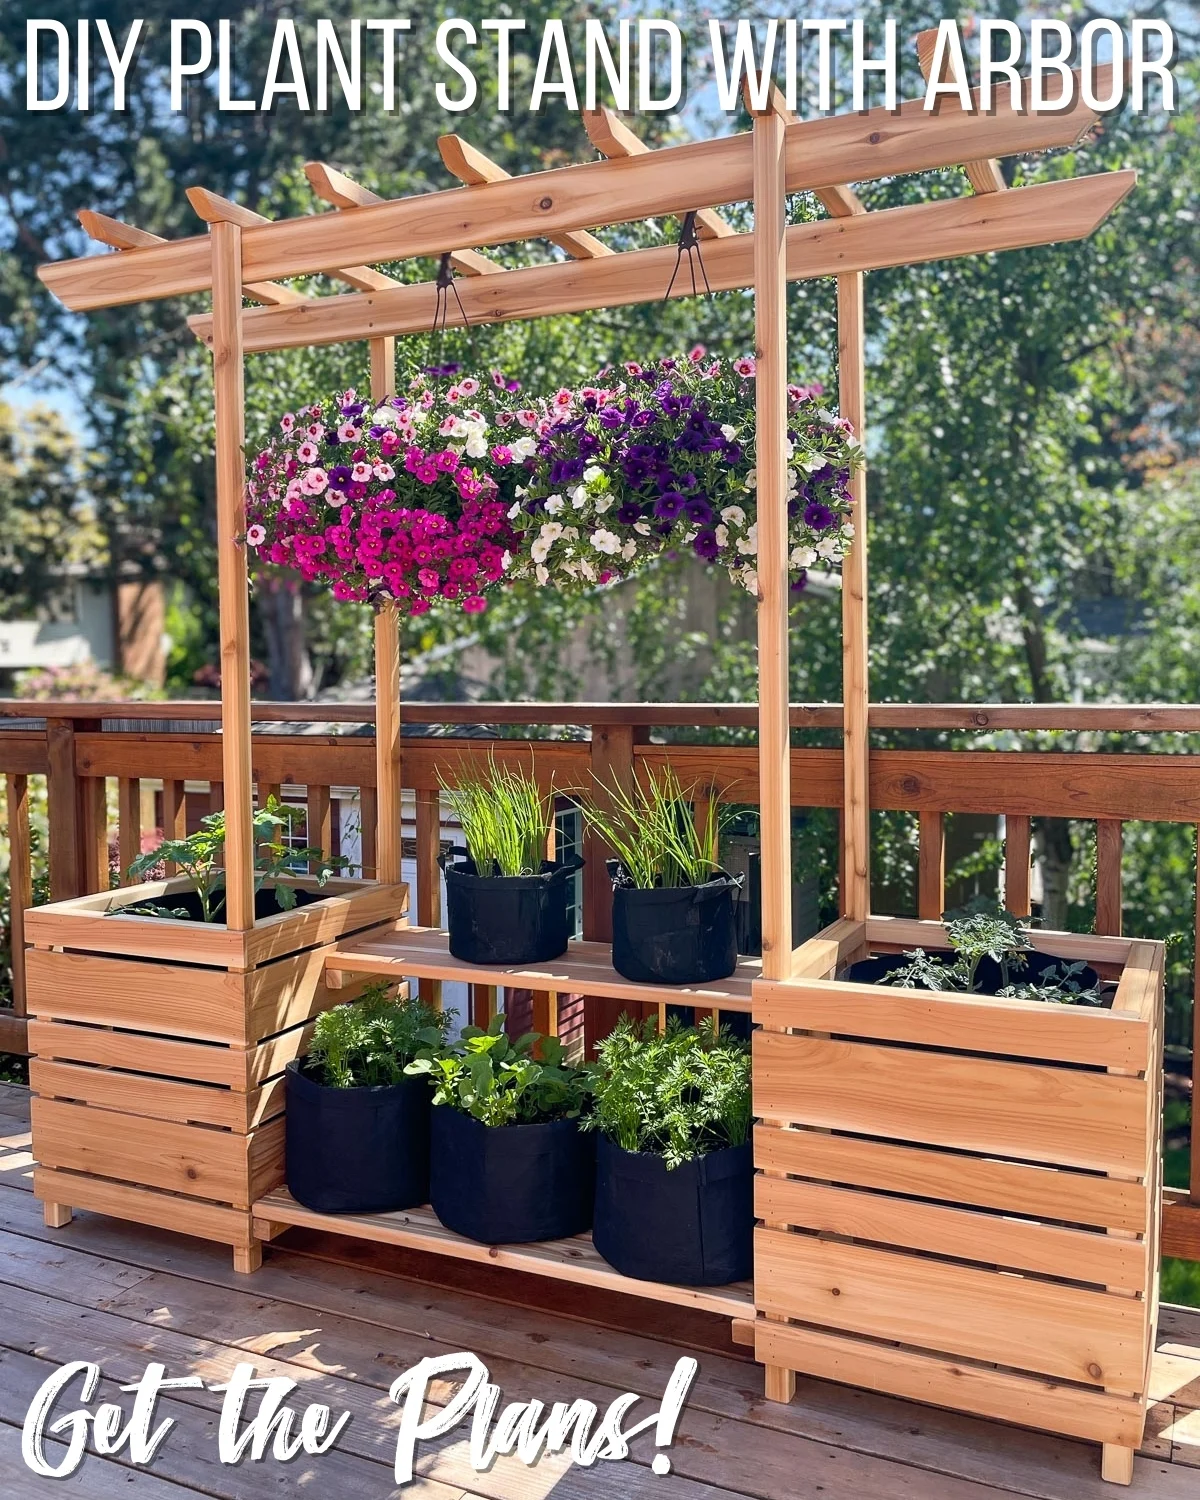
After building a strawberry planter a few weeks ago, I've been pondering how to grow more food from the comfort of our deck. This spot gets full sun, and is otherwise wasted space. I designed this plant stand to take advantage of every inch, and also create a bit of privacy.
The arbor gives me a reason to finally buy those beautiful hanging baskets I always see at the nursery in spring! You could easily hang four baskets, but I'll be growing tomatoes on a string from the outer rungs.
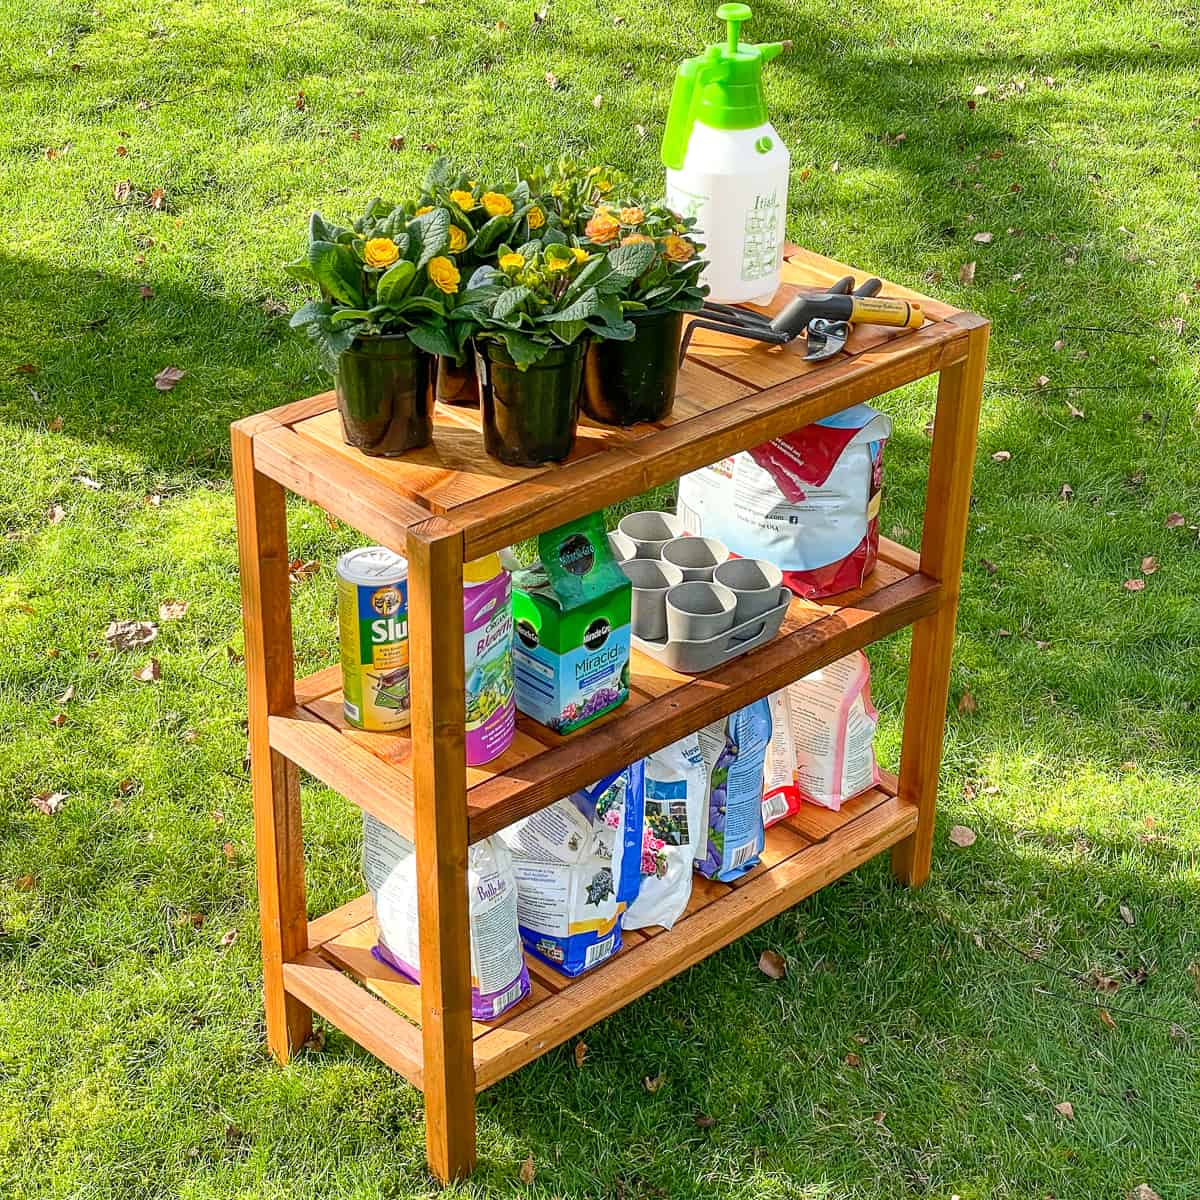
Don't have the space for this project? These smaller DIY outdoor shelves might be just what you need!

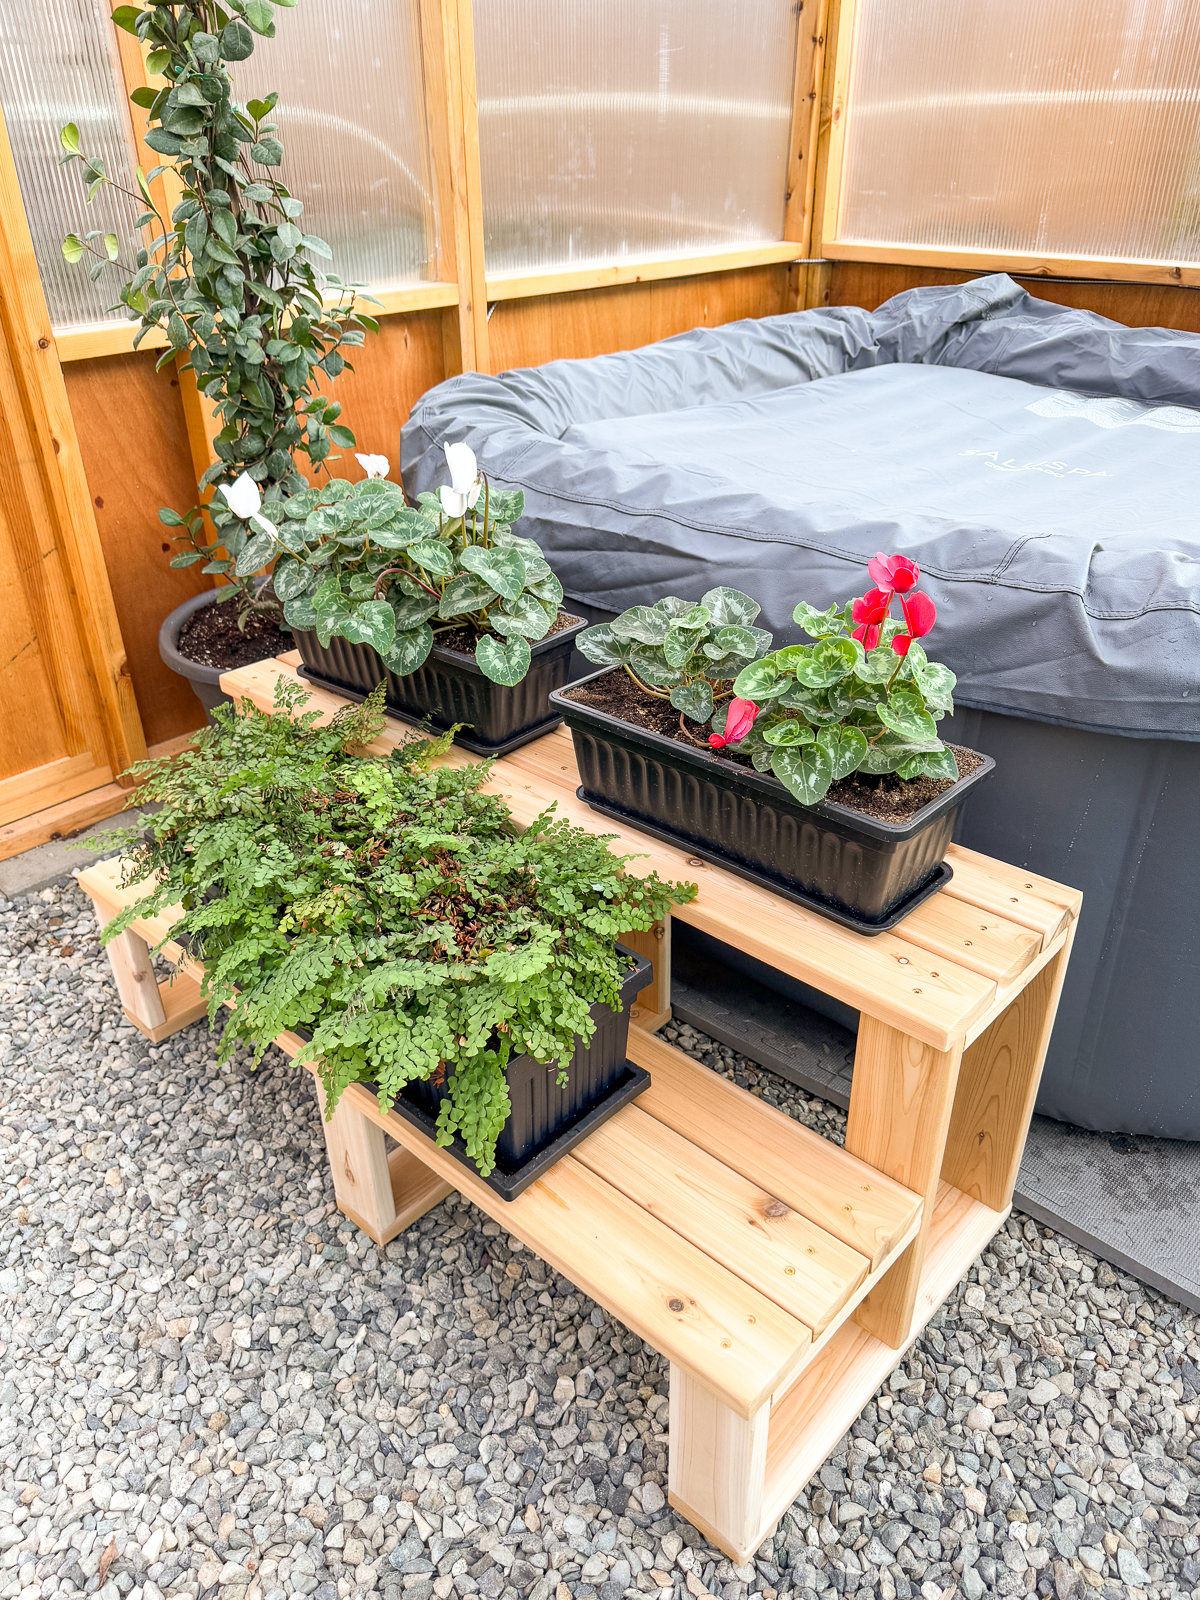
Maybe you have a hot tub that doesn't get used often? Make these DIY hot tub steps that double as a plant stand!

Not quite what you were looking for? Check out these other DIY plant stand ideas, including my DIY hairpin leg plant stand that fits into a small corner!
Here's how to make your own outdoor plant stand!
This post contains affiliate links for your convenience. Purchases made through these links may earn me a small commission at no additional cost to you. Please visit my disclosures page for more information.
Materials Needed
- 2x2 boards (cedar or pressure treated)
- 1x4 boards (cedar or pressure treated)
- I used 5/4 cedar deck boards, which are thicker than regular 1x4s.
- 1x6 fence pickets (cedar or pressure treated)
- Pocket hole jig
- 2 ½" exterior pocket hole screws
- 1 ¾" exterior wood screws
- 3" exterior wood screws
- Exterior wood glue
- Brad nailer and 1 ¼" brad nails
- Exterior wood finish
- I used Total Boat Halcyon Clear Marine Varnish to protect the wood while keeping the natural color of the cedar.
How to Make an Outdoor Plant Stand
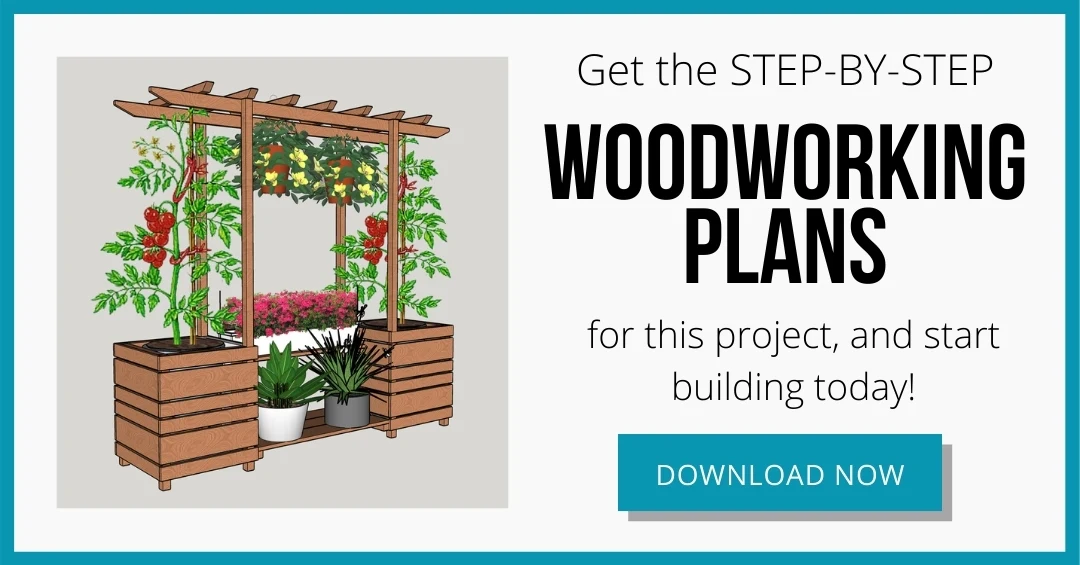
Download the Woodworking Plans
Before you start, download the woodworking plans for this outdoor plant stand by clicking the box below. These printable plans include a cut list, 3D models of each step, and detailed instructions in a checklist format so you can keep track of your progress!

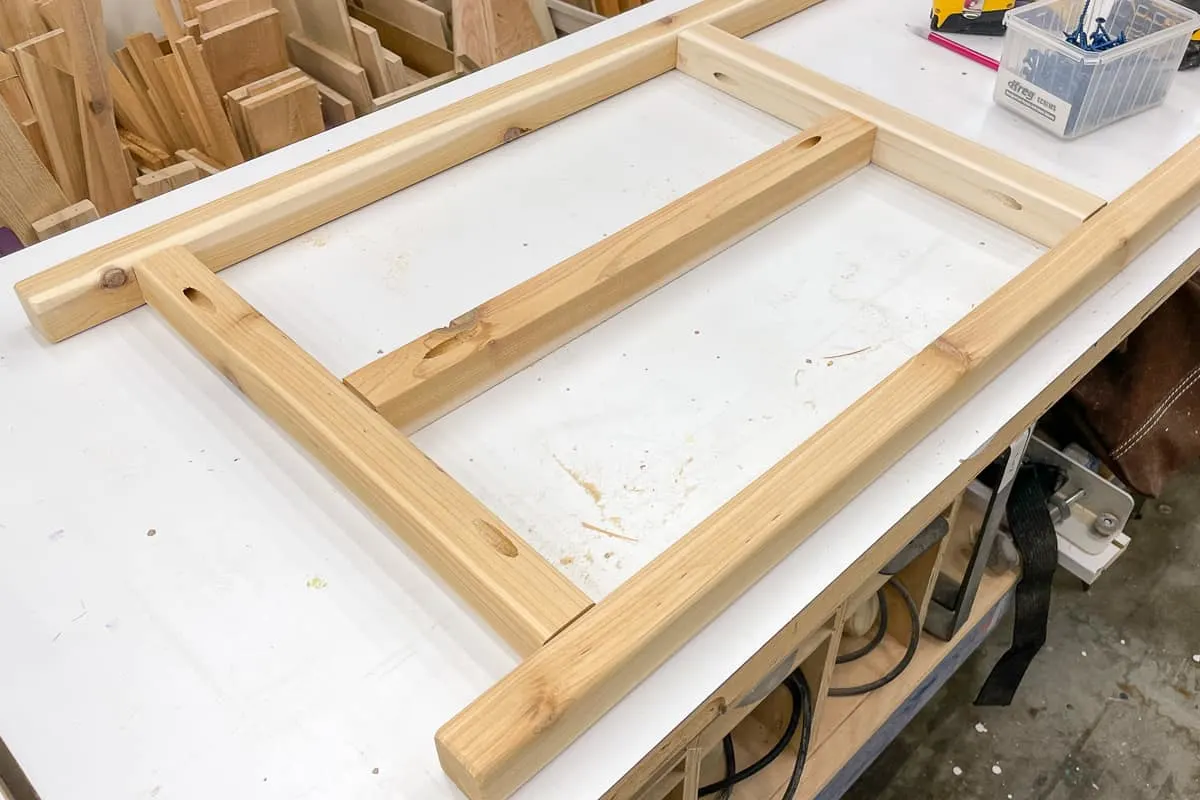
Build the Frames
The frames for the boxes on either side of the stand are very similar to the planter box with a trellis I built last year. I just made everything bigger!

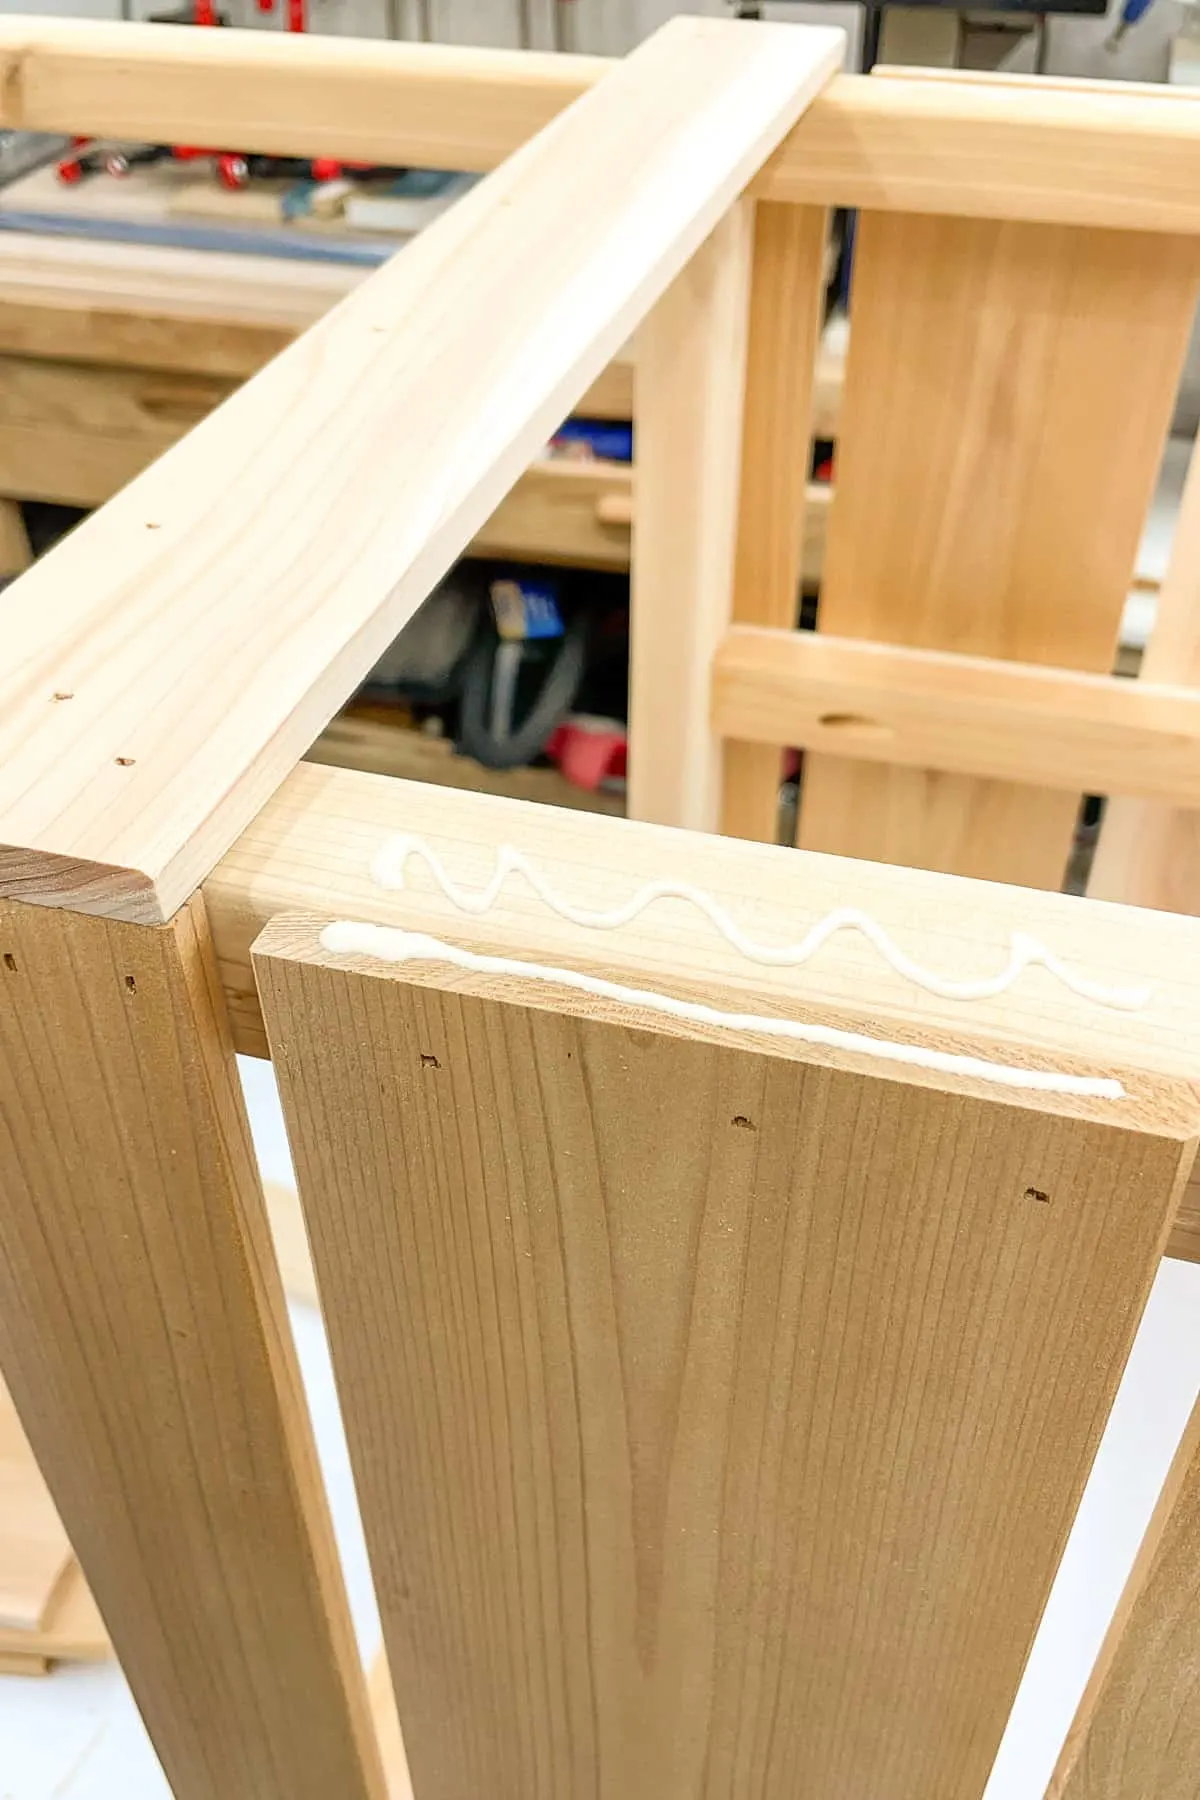
Drill offset pocket holes in both ends of the top and bottom pieces of the frame. This way, the screws won't intersect in the narrow 2x2 boards. Then attach these pieces to the legs with 2 ½" pocket hole screws and wood glue.
One side will have really tall legs to support the arbor. This part of the frame will also hold the shelves, so it needs an extra piece in the middle.

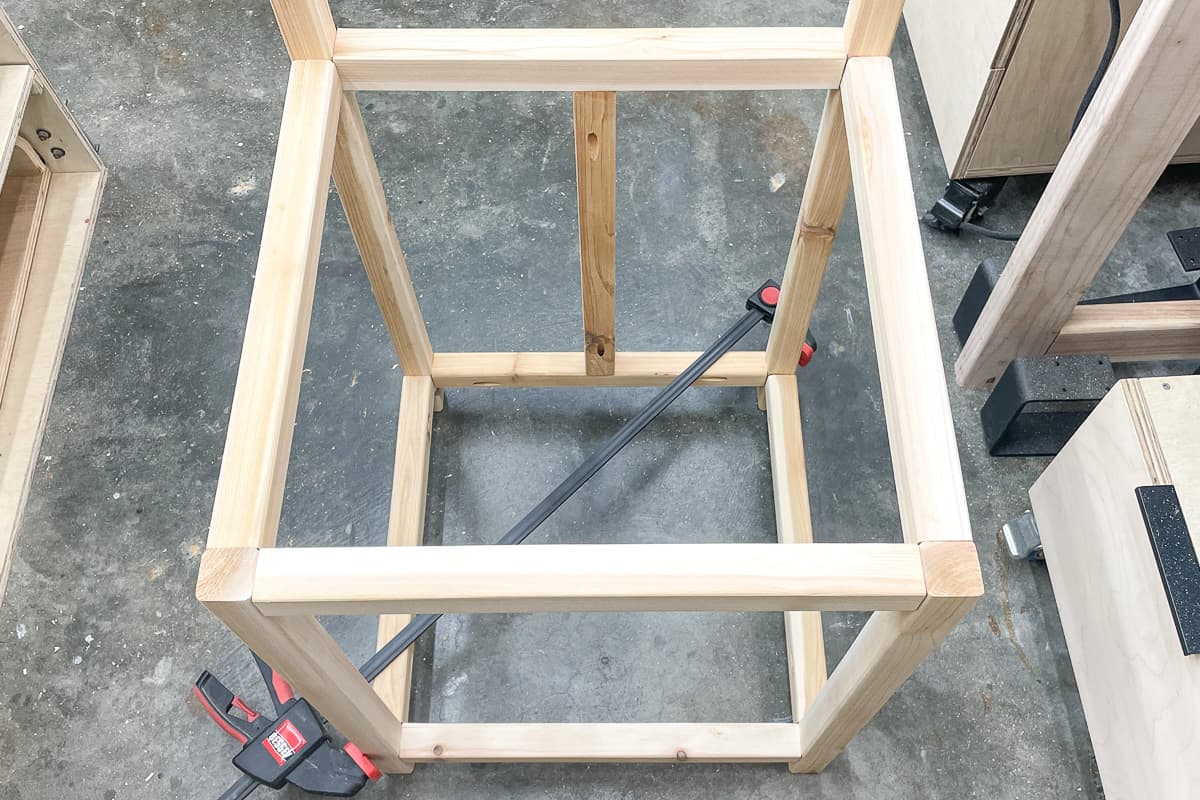
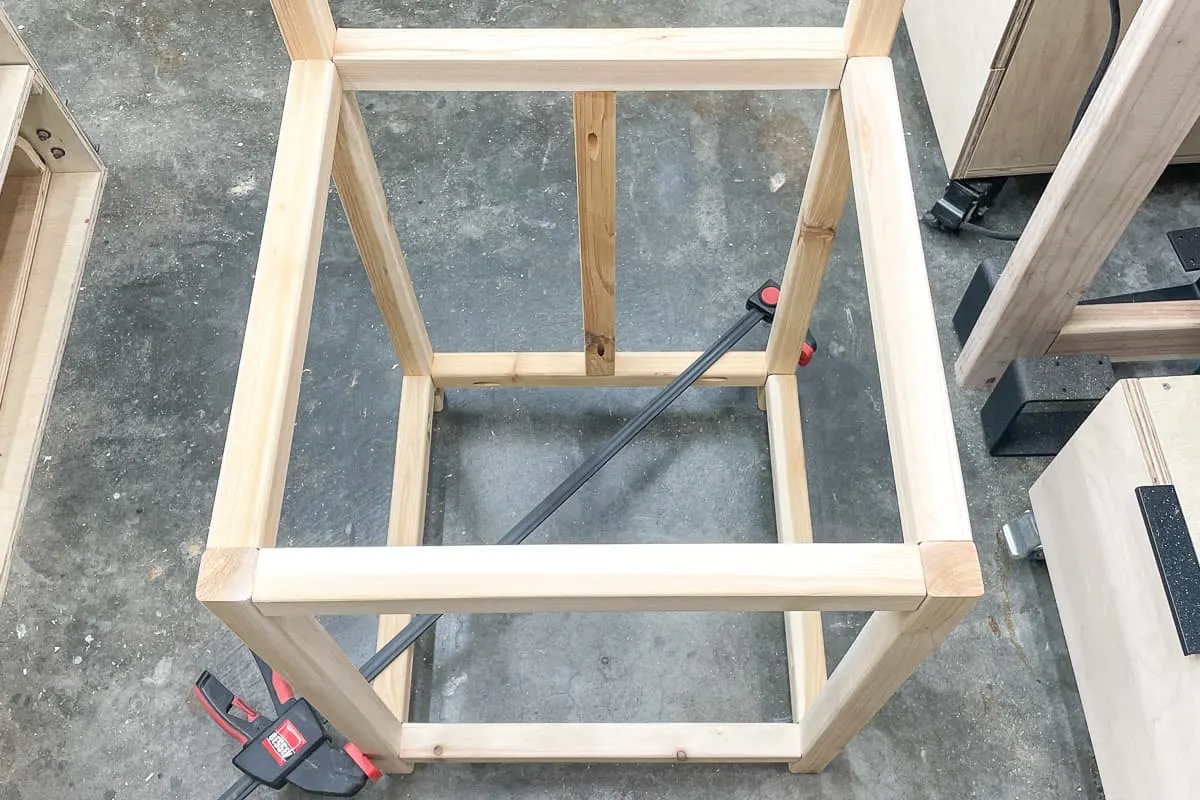
Once the four sides are assembled, connect them together with the remaining frame pieces to form two boxes.
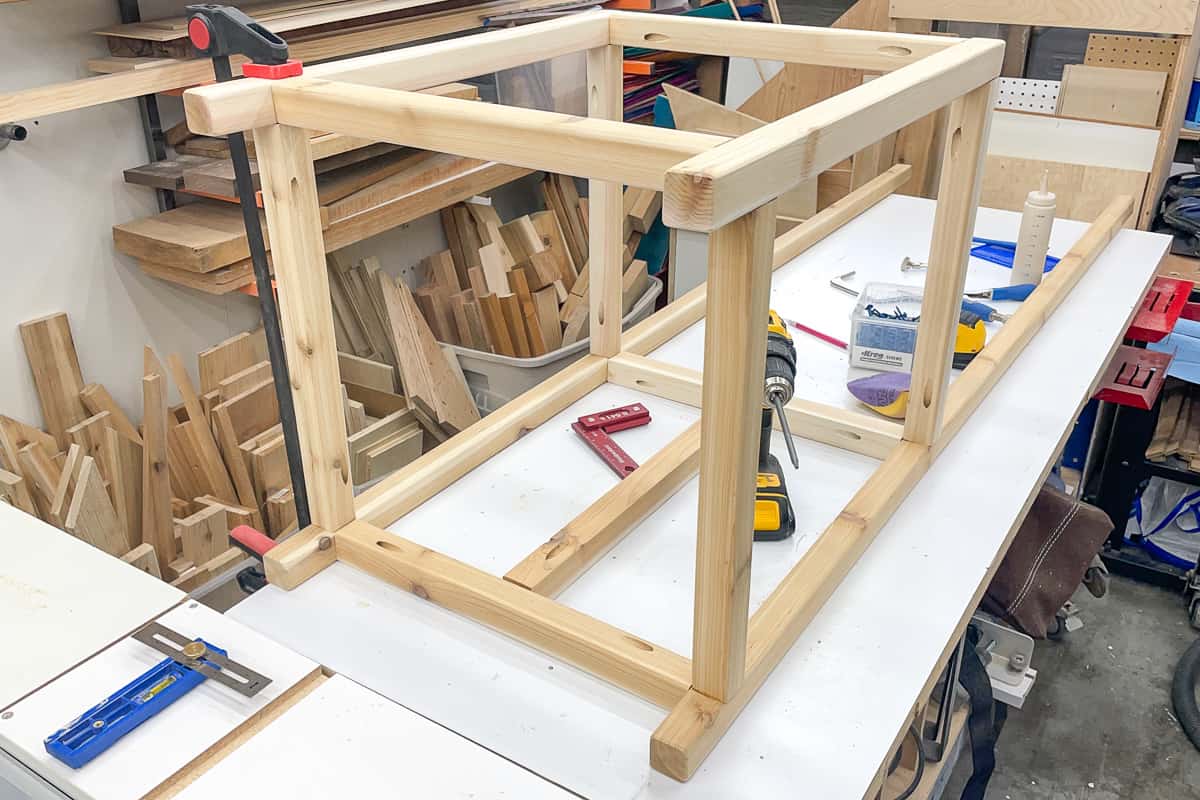
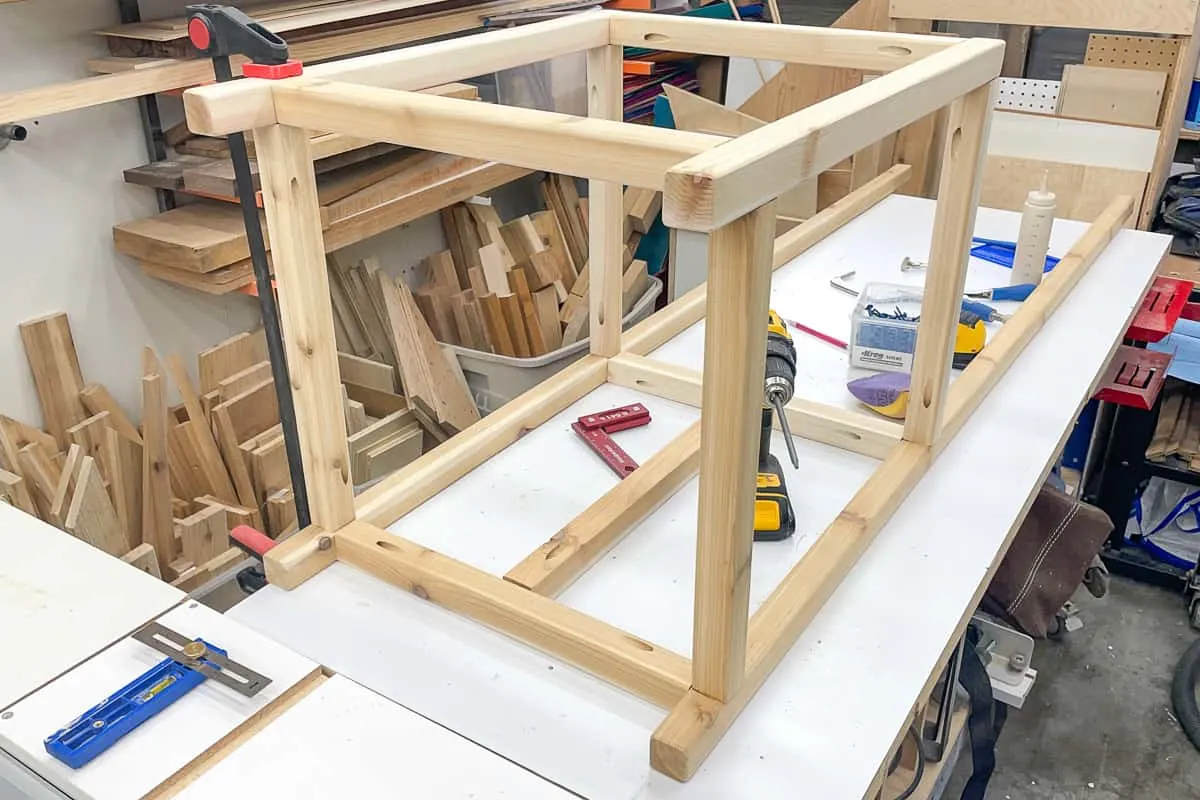
Make sure you check for square by measuring the diagonal in both directions to see if they match. Mine were a little off, so I used a long clamp across the opposing corners to force it to stay square while the glue dried.
Prepare the Fence Pickets
I've used this pattern of wide and thin slats on lots of other outdoor projects, like this umbrella stand side table and my outdoor coffee table. Using the same style throughout the yard helps tie everything together!
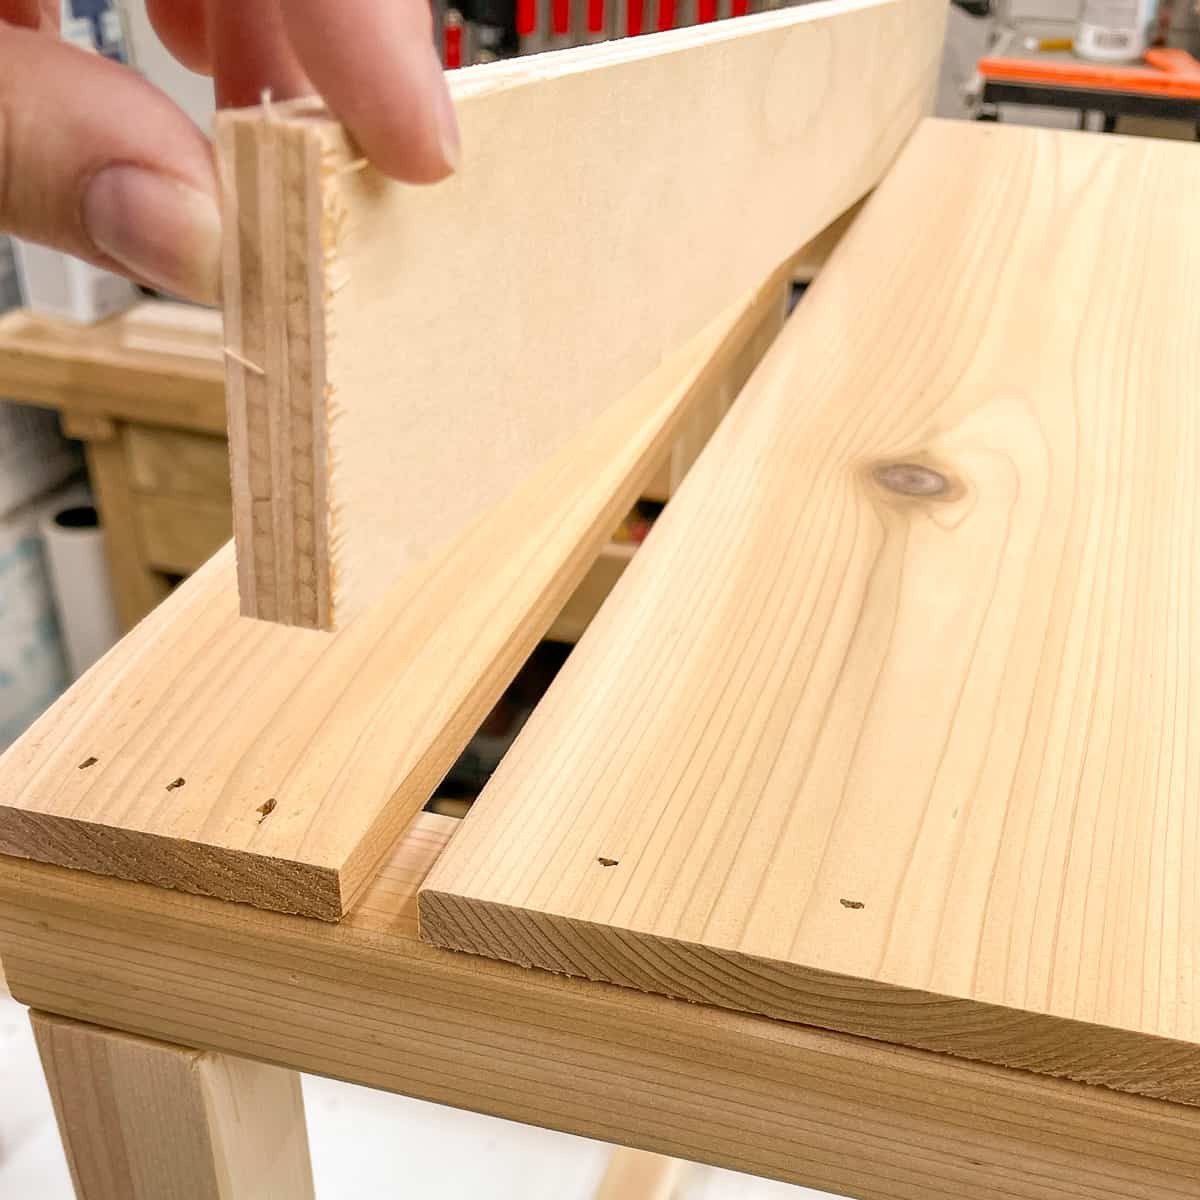
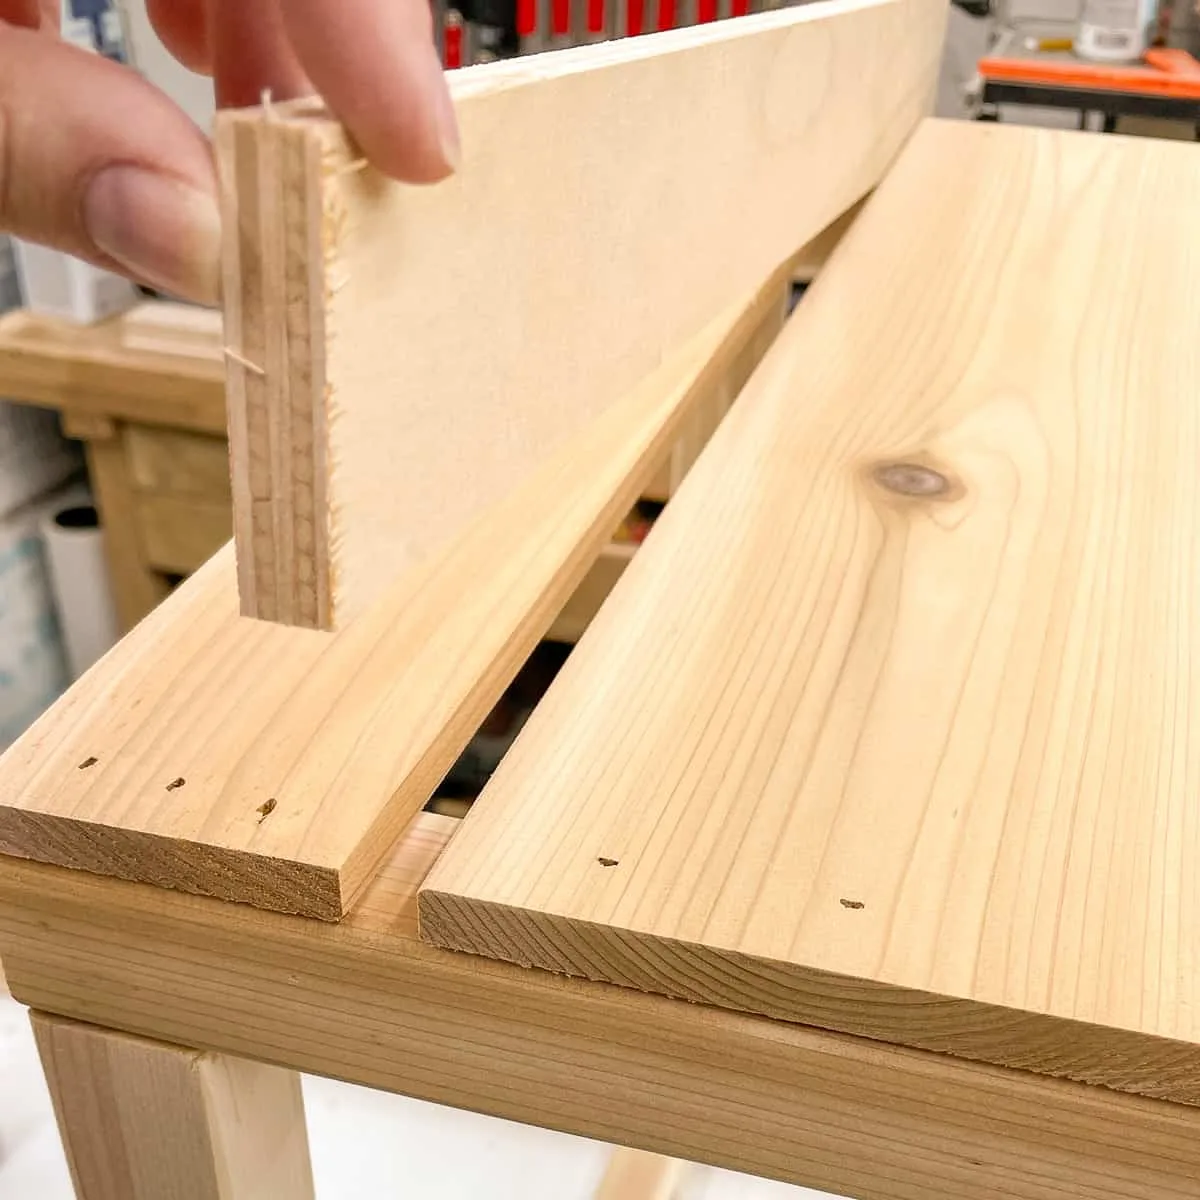
I like to use cedar fence pickets for the cladding, because it's cheap and rot-resistant. The boards are pretty rough, though, so I always take the time to clean them up with the jointer and planer before assembly. Check out my tutorial on how to use a jointer and a planer to create perfectly flat and square boards for more info.

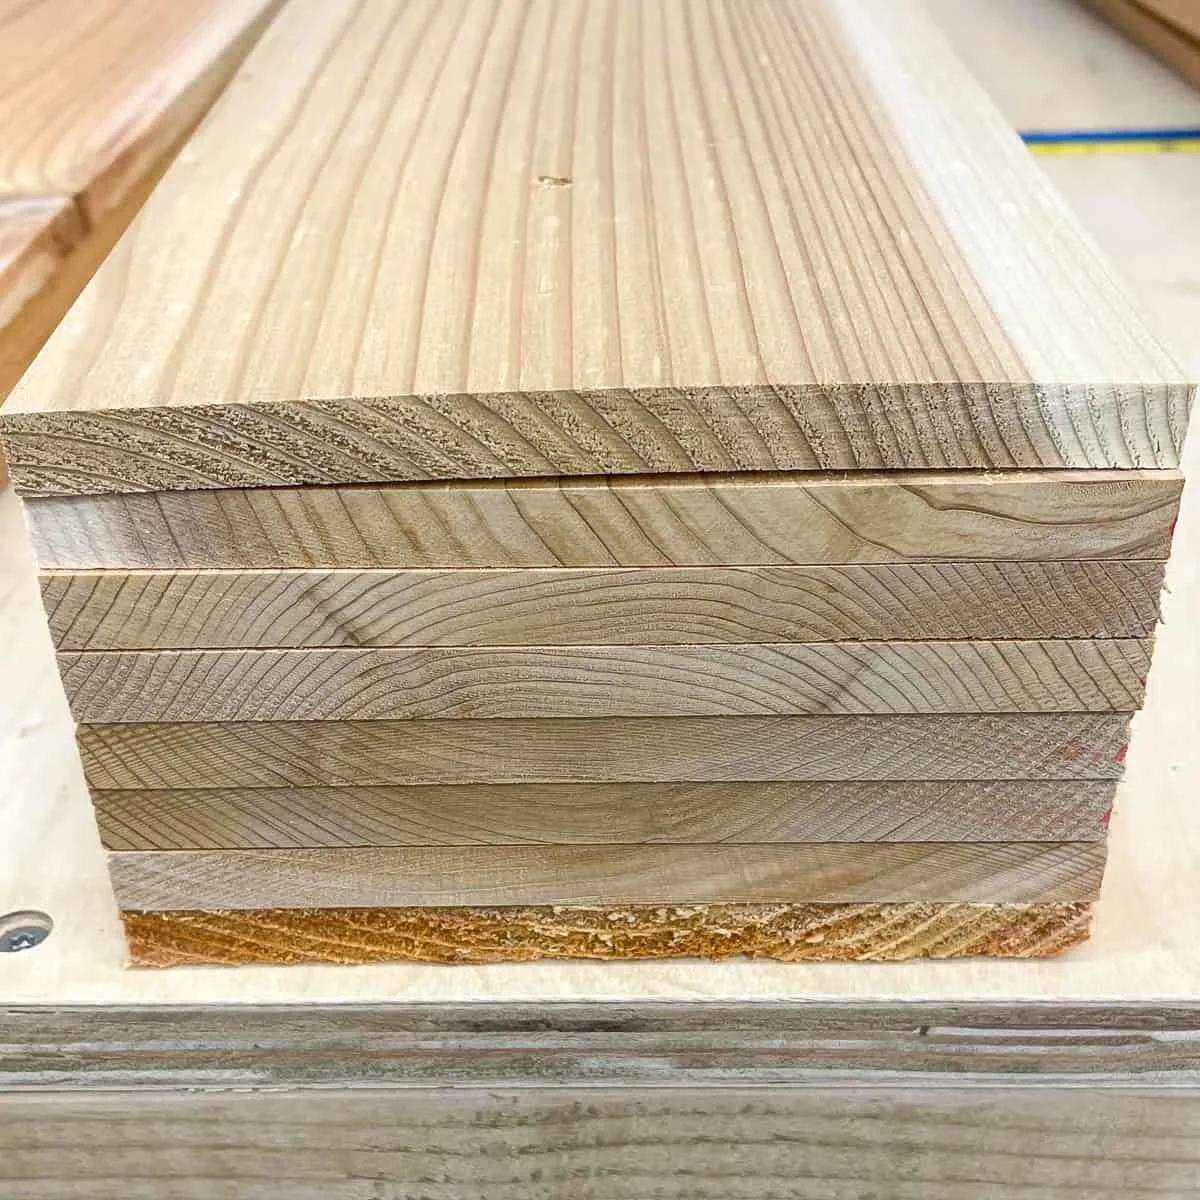
This milling process is totally optional, and you can just sand them instead. You might notice that some of your boards will "potato chip" like the top one in the stack above. I set those pieces aside to cut into the thinner strips, since they're easier to bend back into shape.
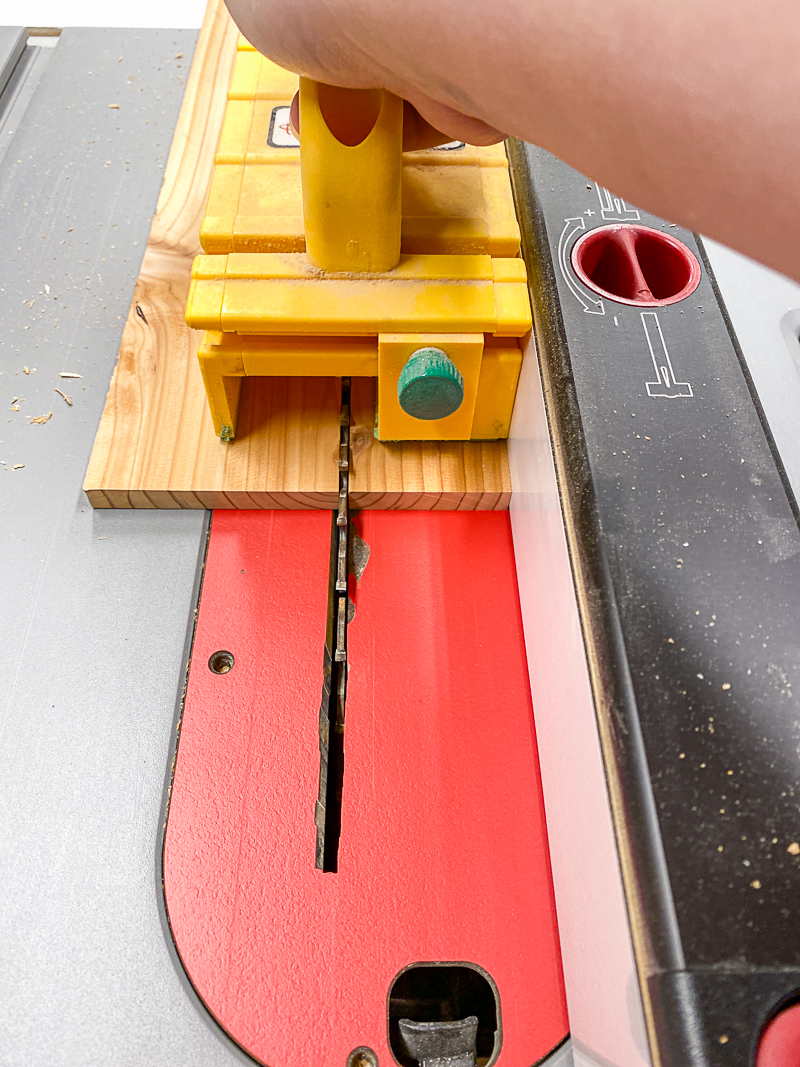
Once all the slats are smooth and flat, cut them down to size. If you don't have a table saw, you can leave them full width and just cut them to length with a circular saw, miter saw or even by hand with a miter box. You can find the instructions for both variations in the woodworking plans.

Attach the Cladding
Start attaching the cladding to the sides of the planter box first, so the exposed ends will be covered up later. These slats should be the exact width of the planter box, so the ends are flush with the outside edge.
To get even spacing without measuring, use a spacer. Just a scrap piece of ½" plywood or a fence picket will do. Place the spacer next to the top strip, and hold the next piece tight to it as you nail it down. Then remove the spacer and repeat all the way down the side!
Use exterior wood glue wherever the slat meets the frame. Brad nails can work themselves loose as the wood expands and contracts with the seasons, resulting in slats that sag or fall off. I learned this the hard way with the fenced in area under our deck stairs!

Cut the front and back pieces so they cover the full width of the sides, including the attached slats. Then line up the top and bottom of each slat and nail it into place with a brad nailer or finish nailer.
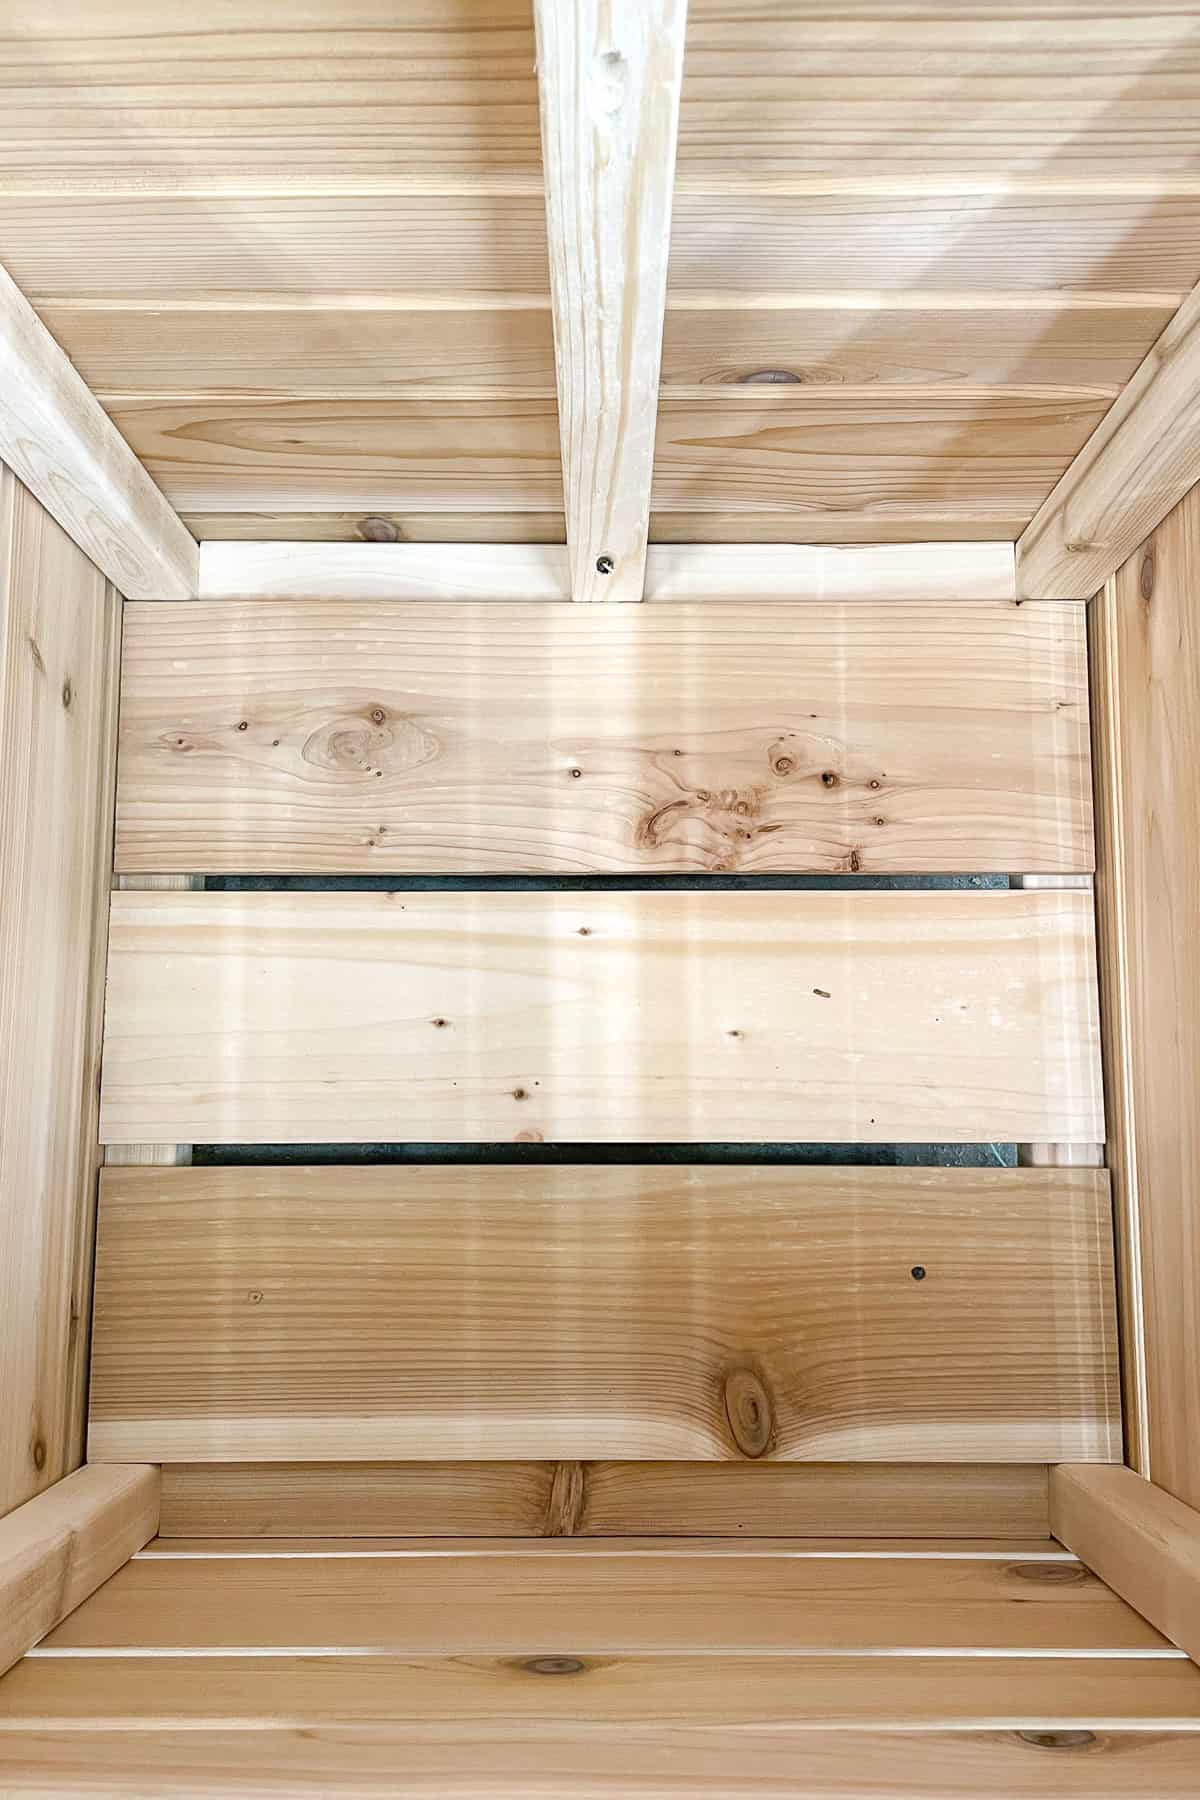
Insert the Bottom Pieces
I saved the rejects from the cladding for the bottom of the planter boxes. These pieces just rest on the frame without nailing them down. This makes it so much easier to clean out the box at the end of the season!

Apply Finish to Completed Planter Boxes
Before taking the planter boxes outside, I gave them a few coats of finish to protect the wood. I'm using Total Boat Halcyon Clear Marine Varnish, which brings out the beautiful grain of the cedar without changing the color much.

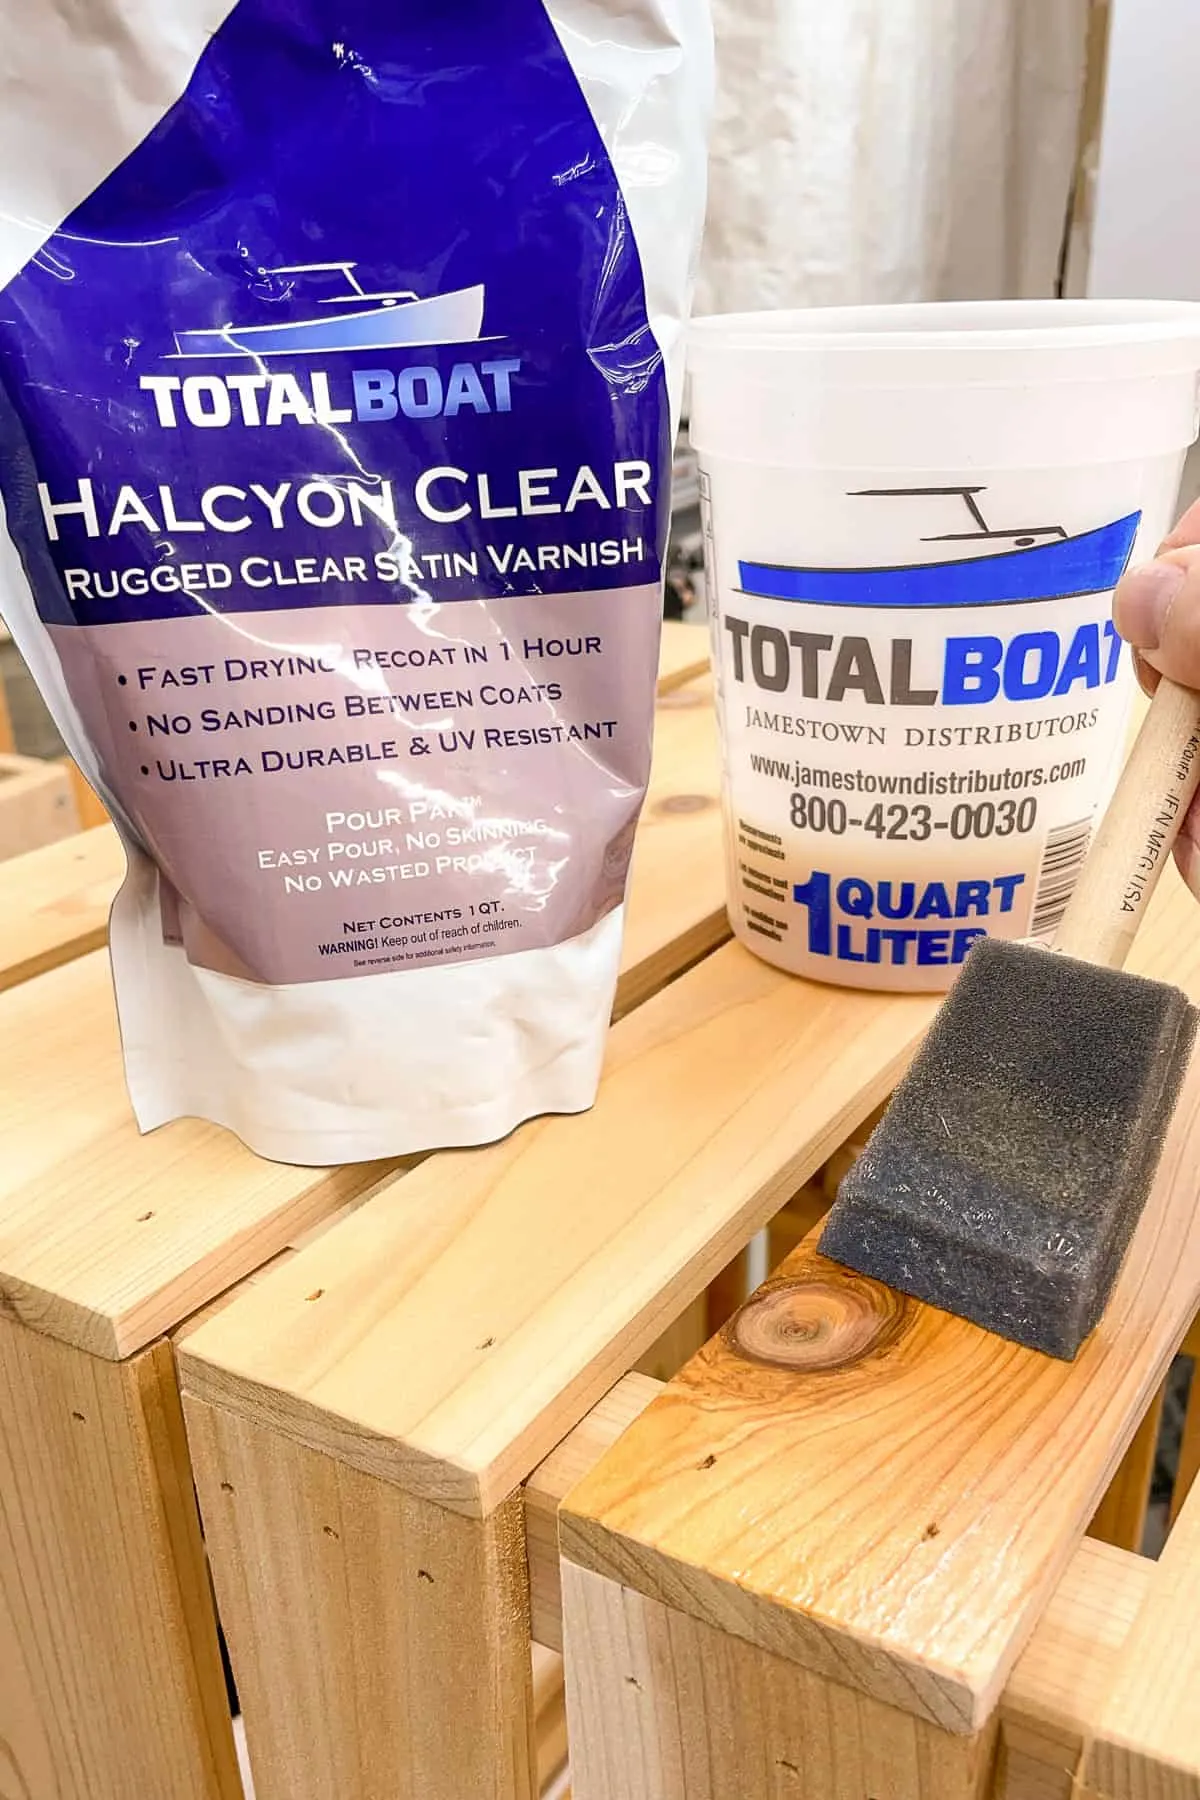
You can wait until the entire plant stand is assembled before applying the finish, but I found it easier to do it as I finished each section. Luckily, this varnish dries in an hour, so I didn't have to wait long before moving on to the next step!
Prepare the Shelves
Once the finish dried, I took the two planter boxes out to the deck so I could decide how long to make the shelves. Arrange them so that the tall legs are facing towards each other in the middle.


I already potted up the vegetable starts into grow bags, so I based my measurements for the shelves on the width of three large pots. You can learn more about the pros and cons of grow bags here.

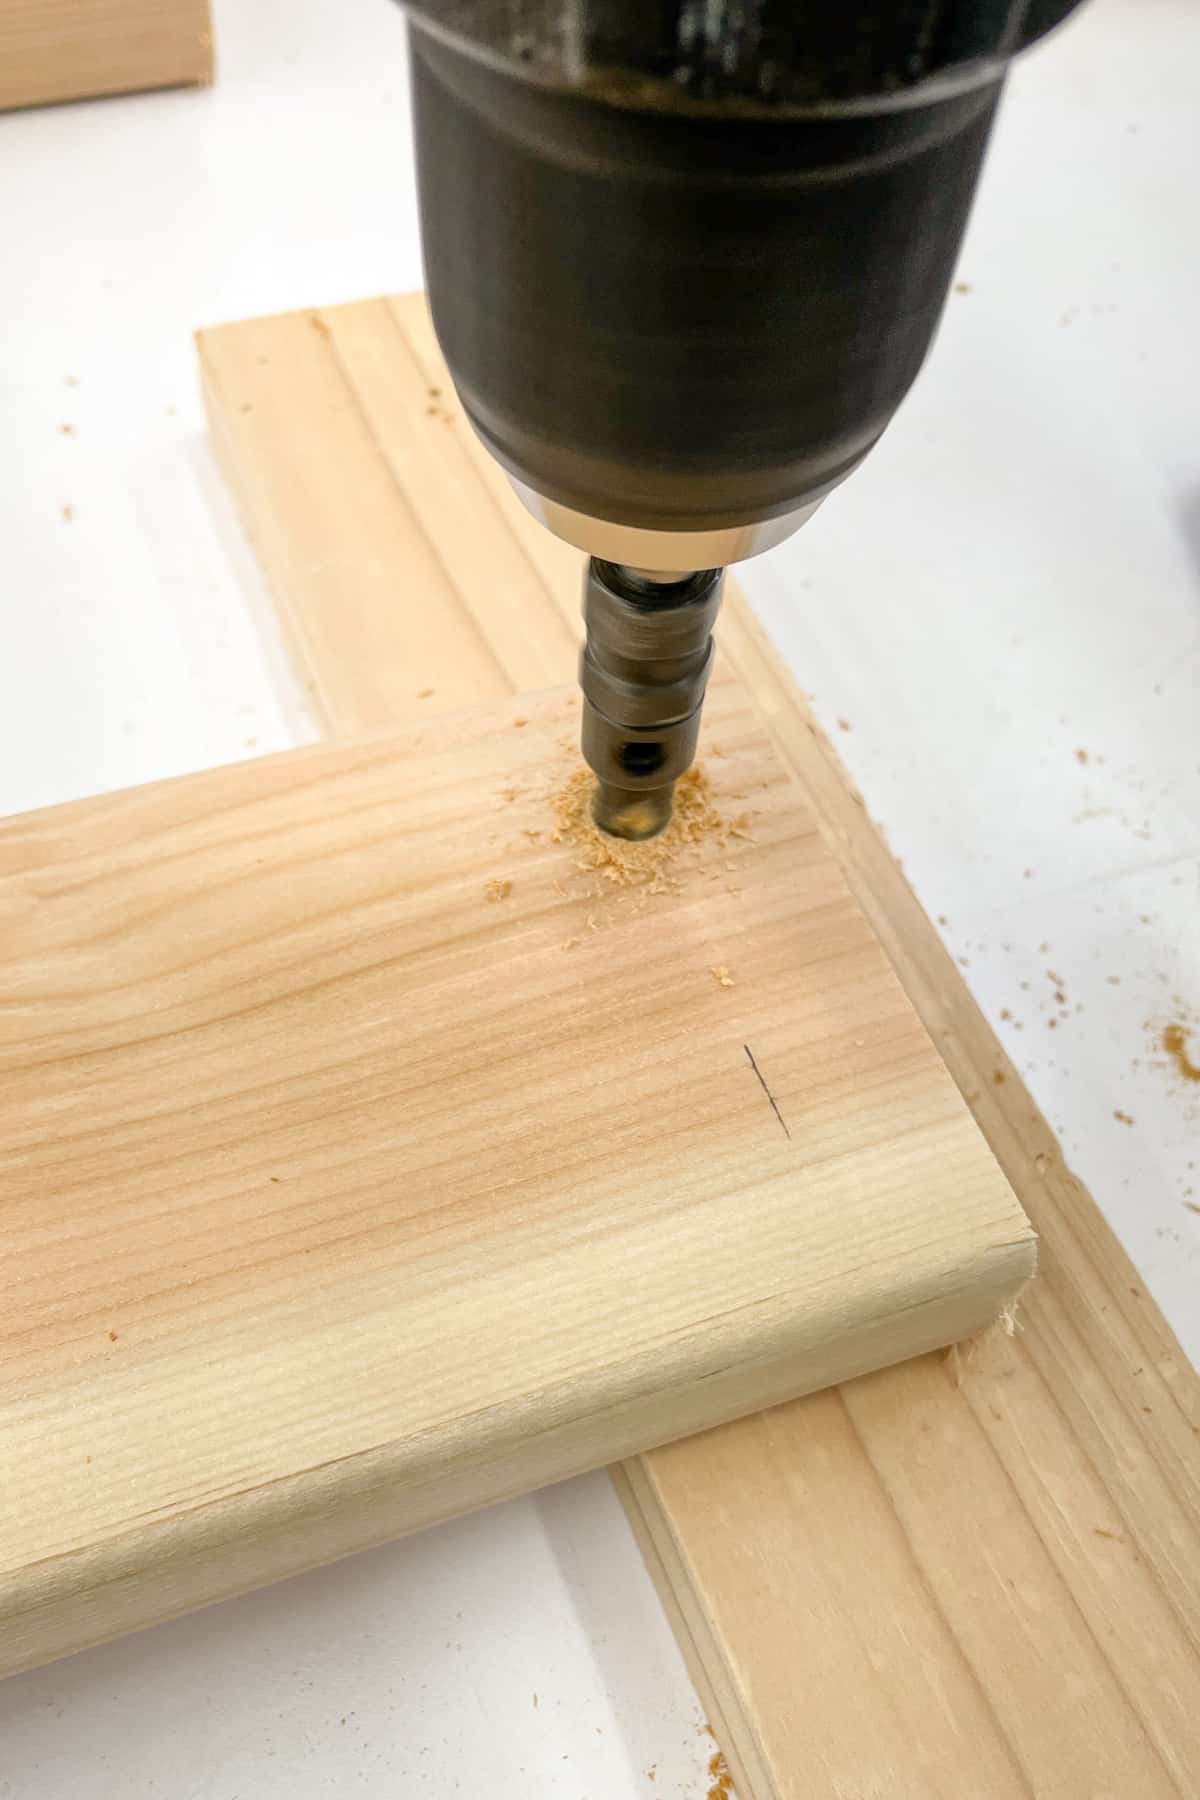
The shelves will rest on a bracket on either side of the planter boxes. I marked where each screw will land on the bracket, and drilled countersink holes for the screws.

Then I gave all the shelves a good sanding, then removed the dust and applied a few coats of the same finish to all the boards.
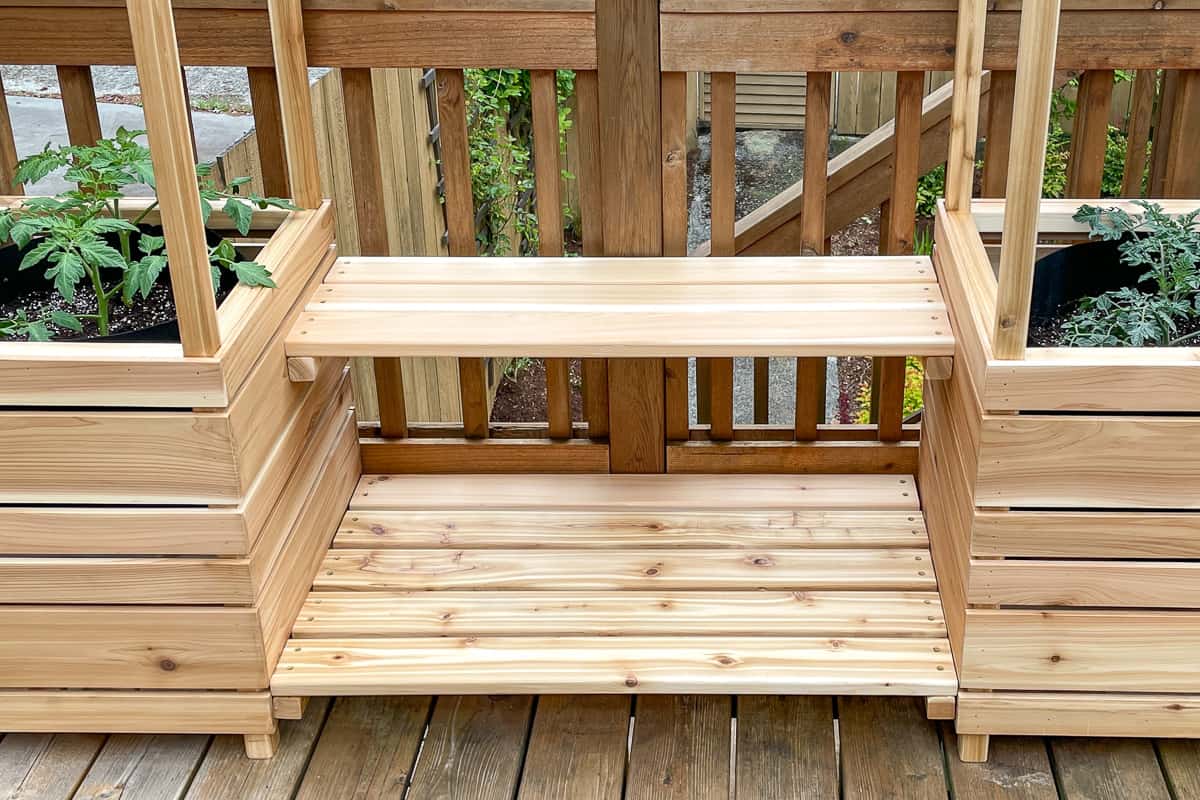
Attach the Planter Shelves
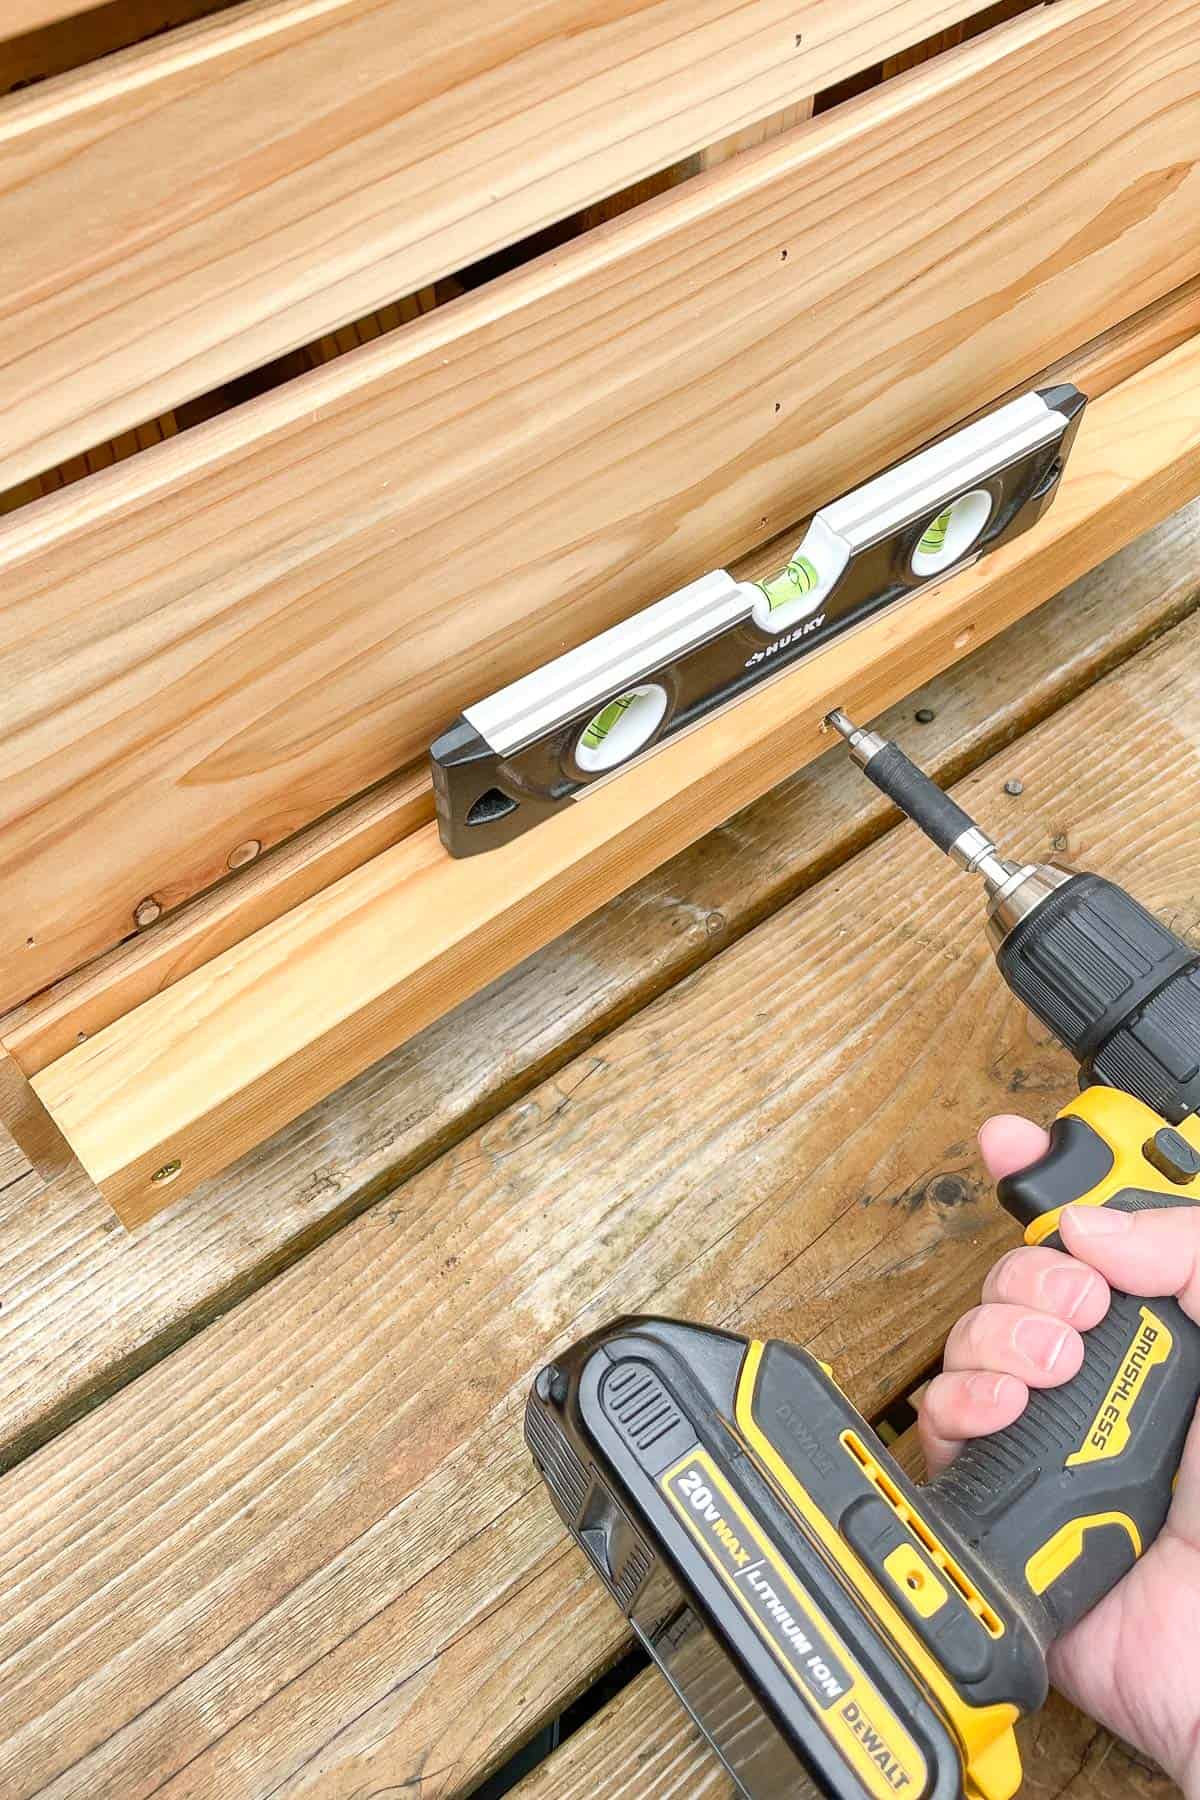
The bottom shelf support spans the full width of the planter boxes, and lines up with the bottom of the interior frame. Screw the bracket into the frame with 3" exterior wood screws, using a level to make sure it's straight.

The top shelf spans from that extra middle piece of the frame to the back. (Please ignore our dirty deck! It's time to stain it again, but I haven't gotten around to it yet.)
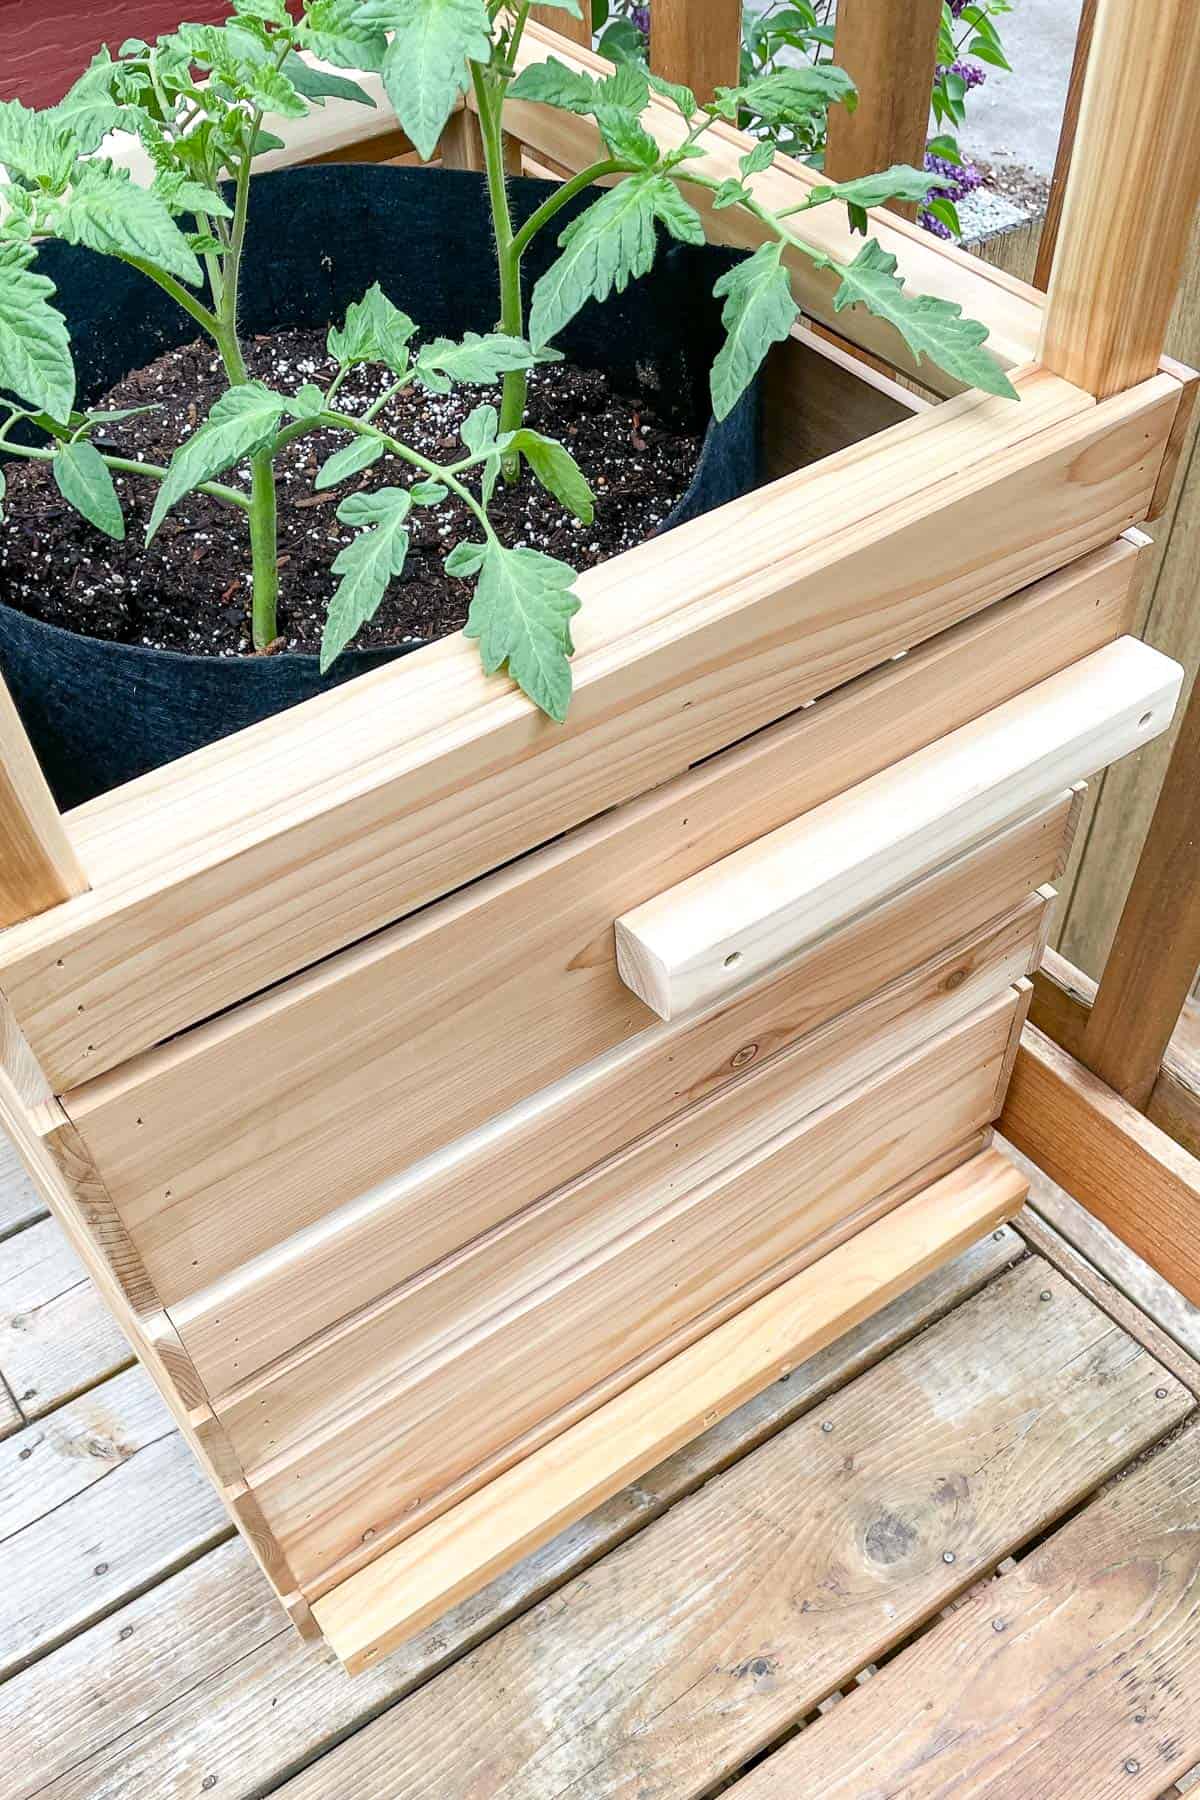

Place the shelf boards on the brackets, and screw them into place with 1 ¾" exterior wood screws. I used the same spacer as before to keep everything consistent.

Assemble the Arbor
The top of the plant stand features an arbor that will allow you to hang baskets or bird feeders above the shelves. You can totally skip the arbor altogether, and just cut all four legs to the same height.
I assembled the arbor as one piece, then attached the entire thing to the tall uprights. First, cut the corners off the 1x4 horizontal pieces at a 45 degree angle for a nice decorative detail.
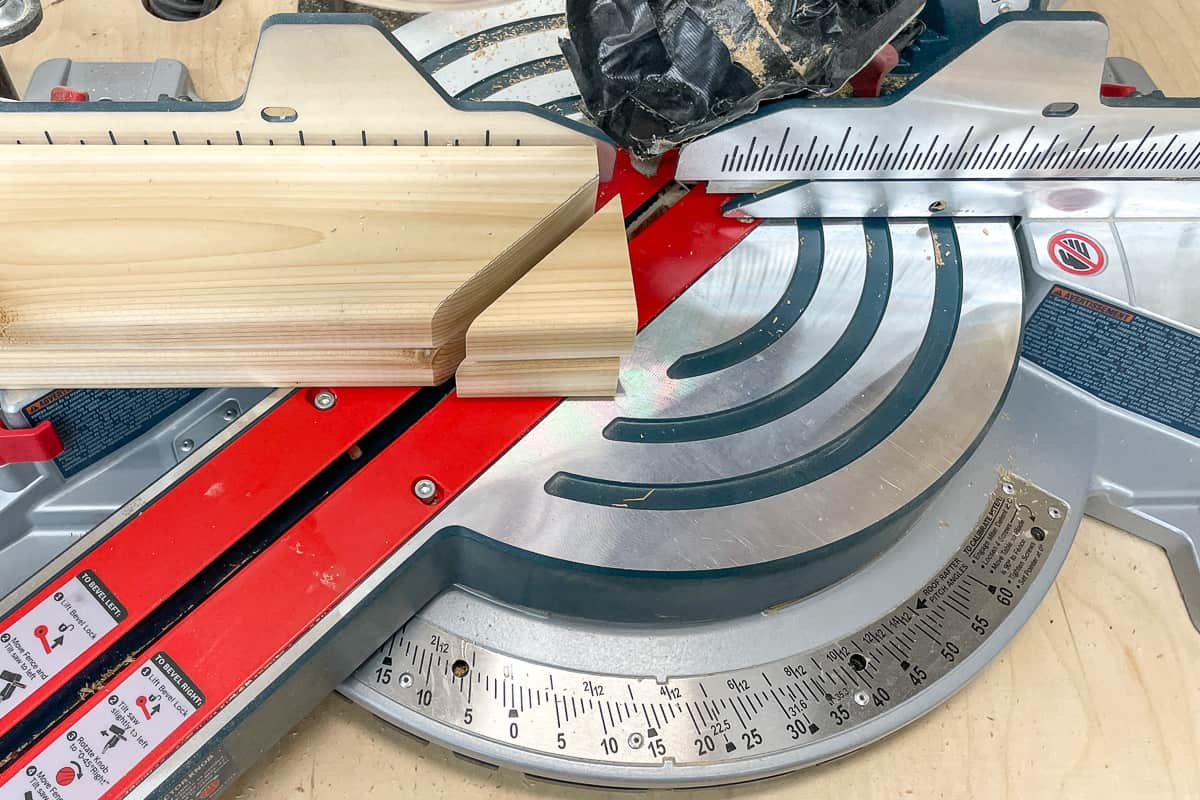

The top cross supports are made from 2x2s with the corners cut at a 45 degree angle. My miter saw stop block made it really quick and easy to trim each piece without any measuring! I just had to clamp a little scrap of wood to one side so the point lined up correctly.

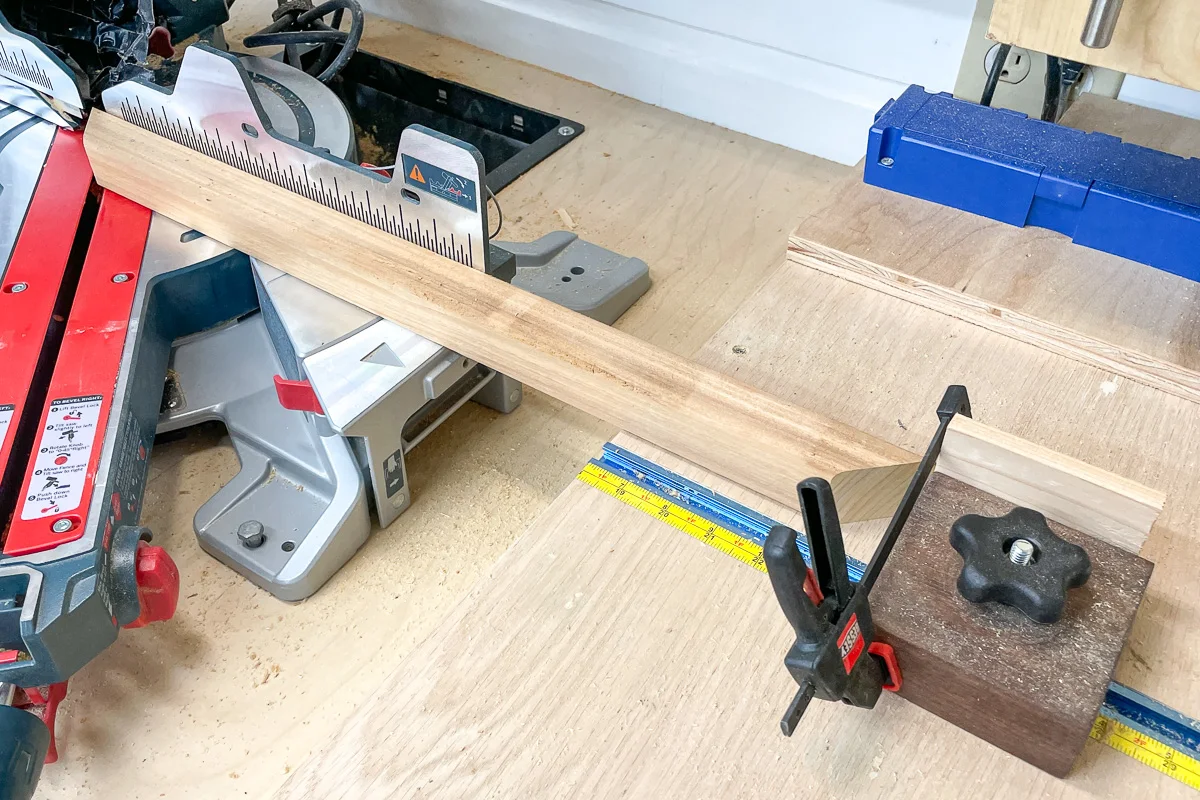
Set the long 1x4 pieces on their edge with the pointed end on top. I cut a scrap piece of 2x2 to use as a spacer between the two boards to keep them aligned. Then I marked the position for each cross piece, drilled a countersink hole, then screwed them into place with 3" exterior wood screws.
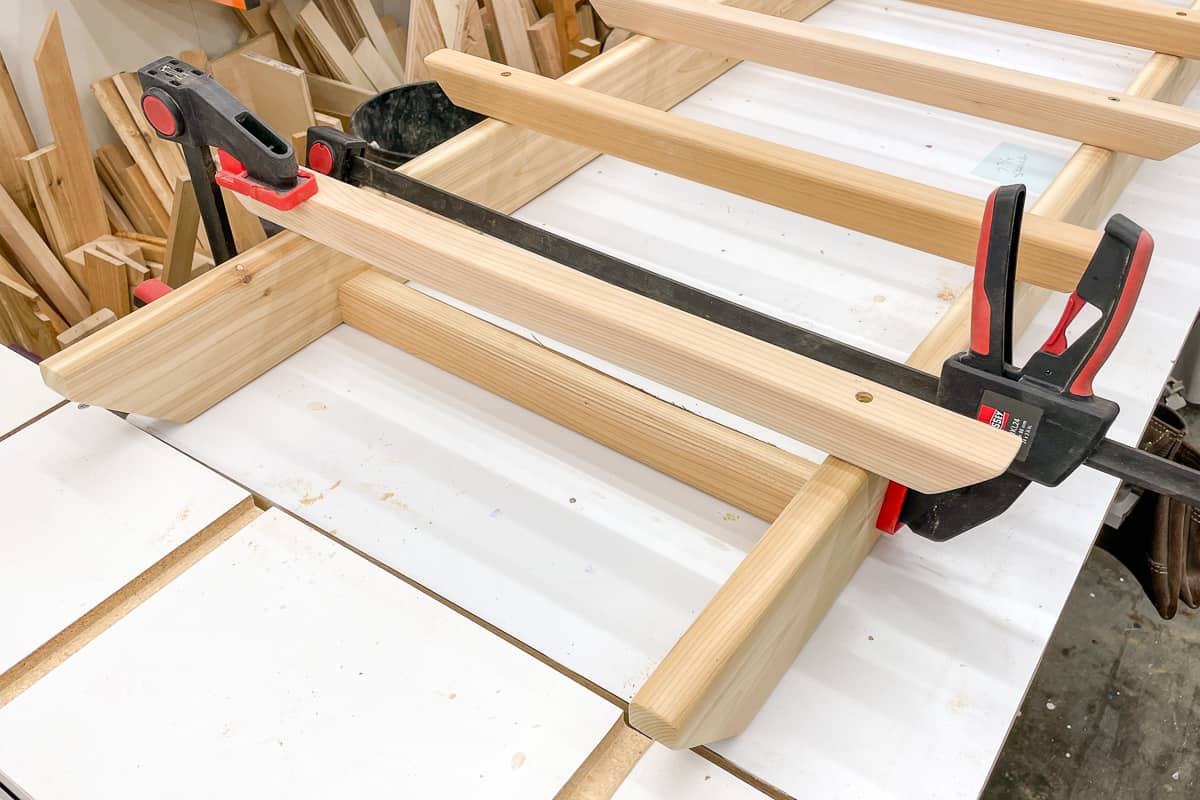
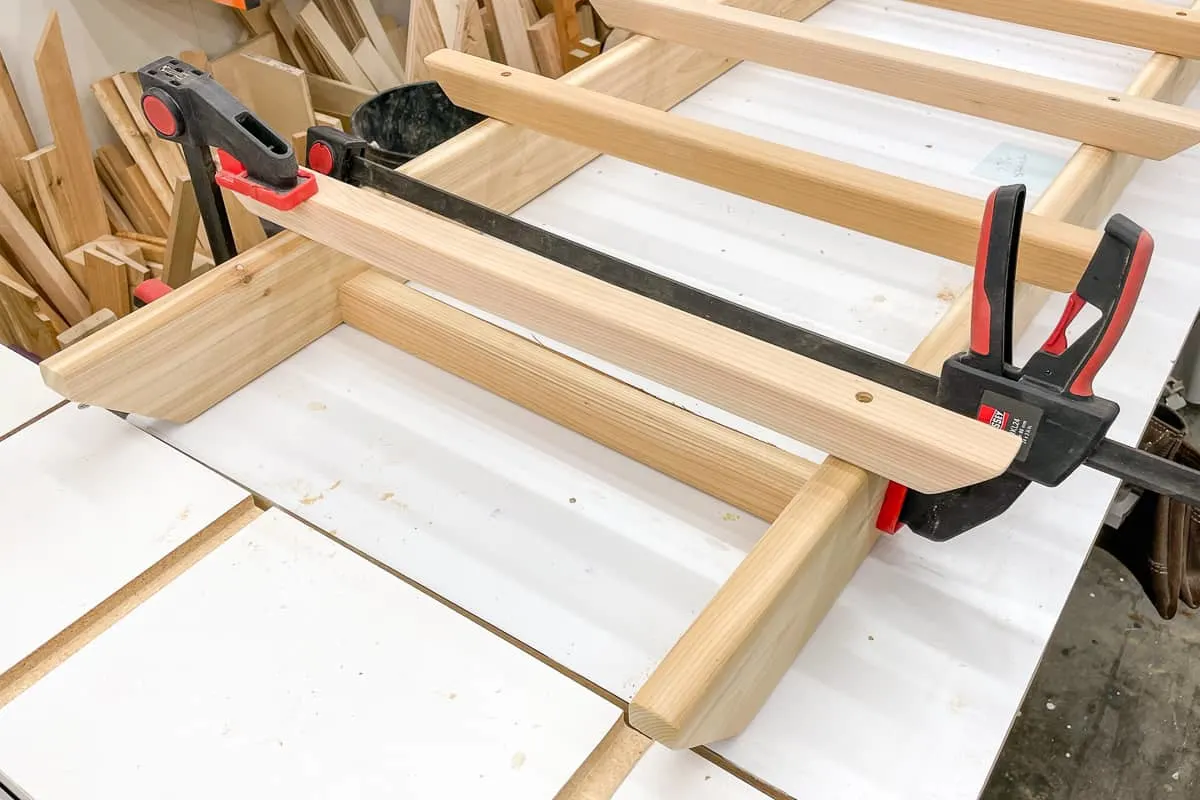
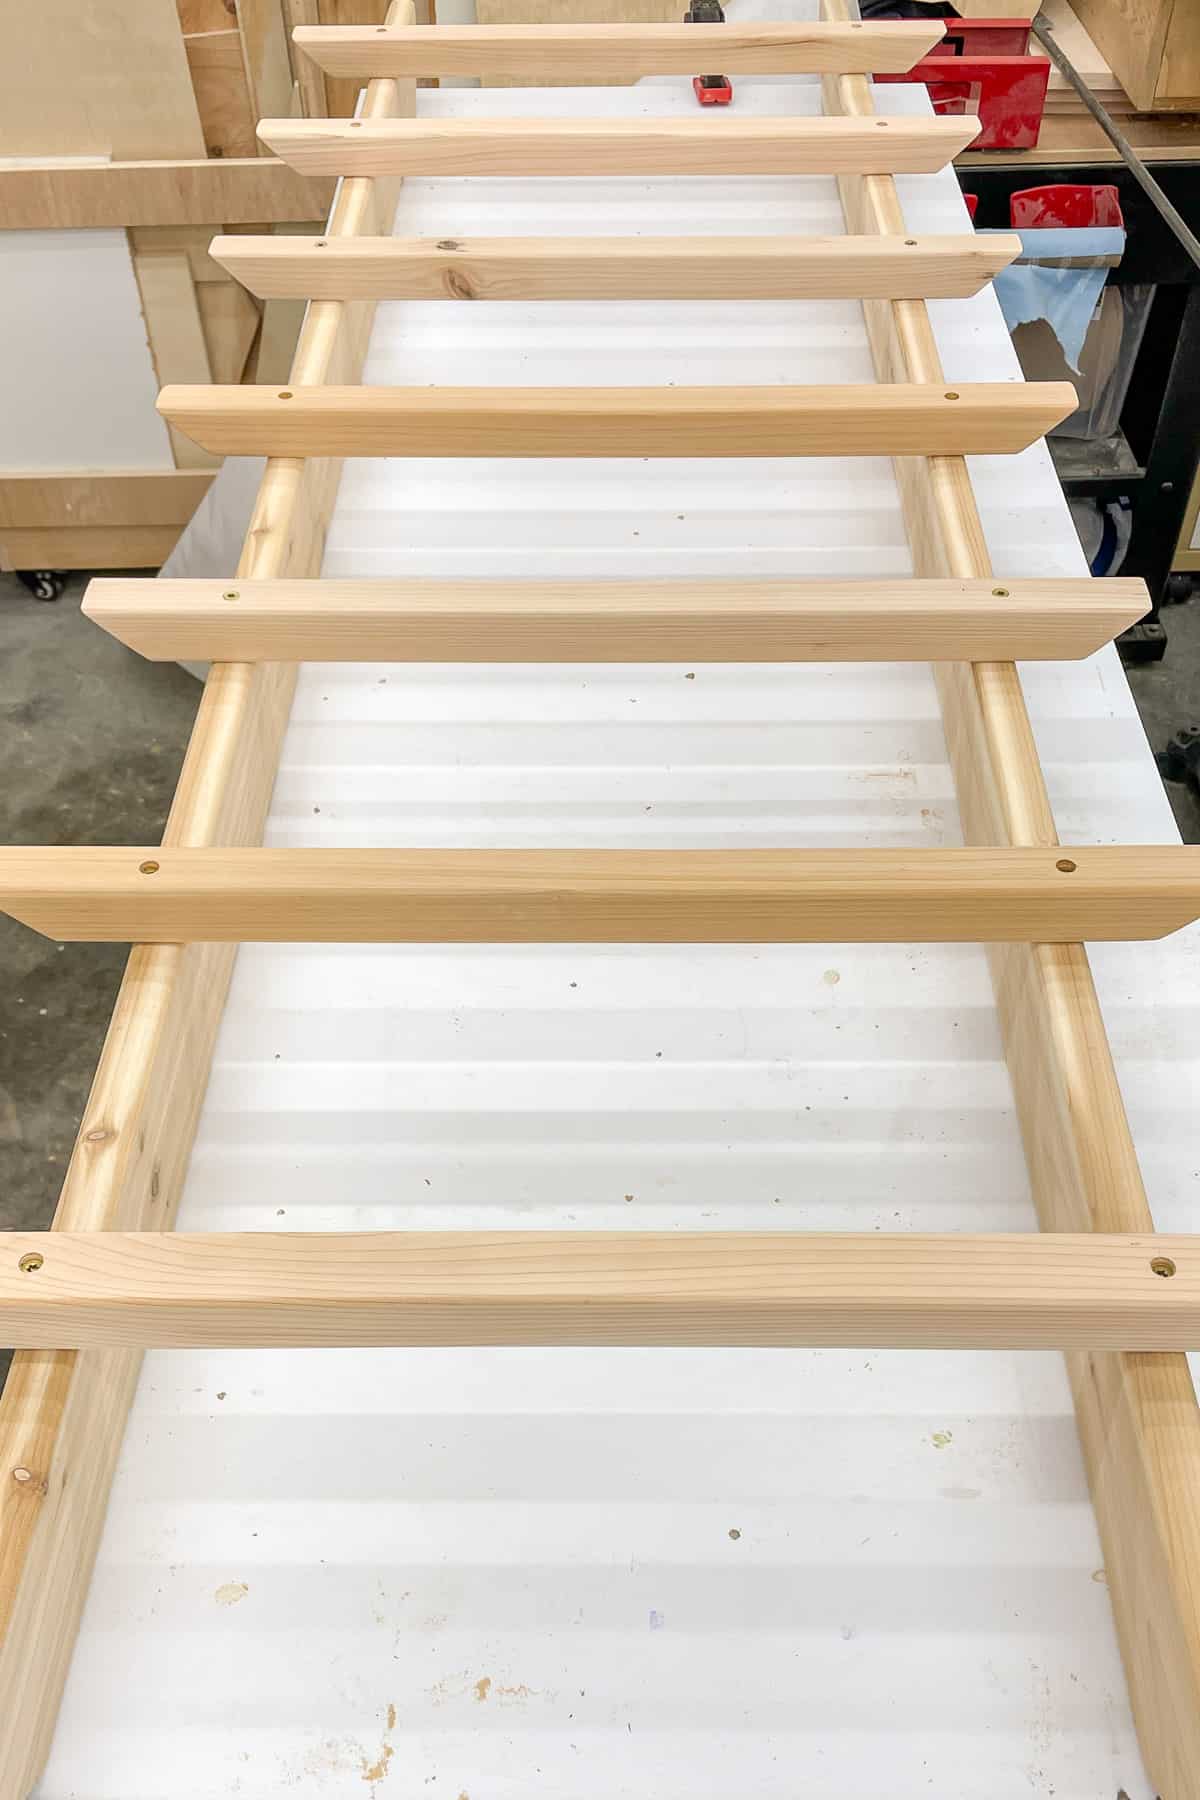
Attach the middle rung first, then work your way out to the ends. The spacer in the middle kept the two long boards parallel to each other.

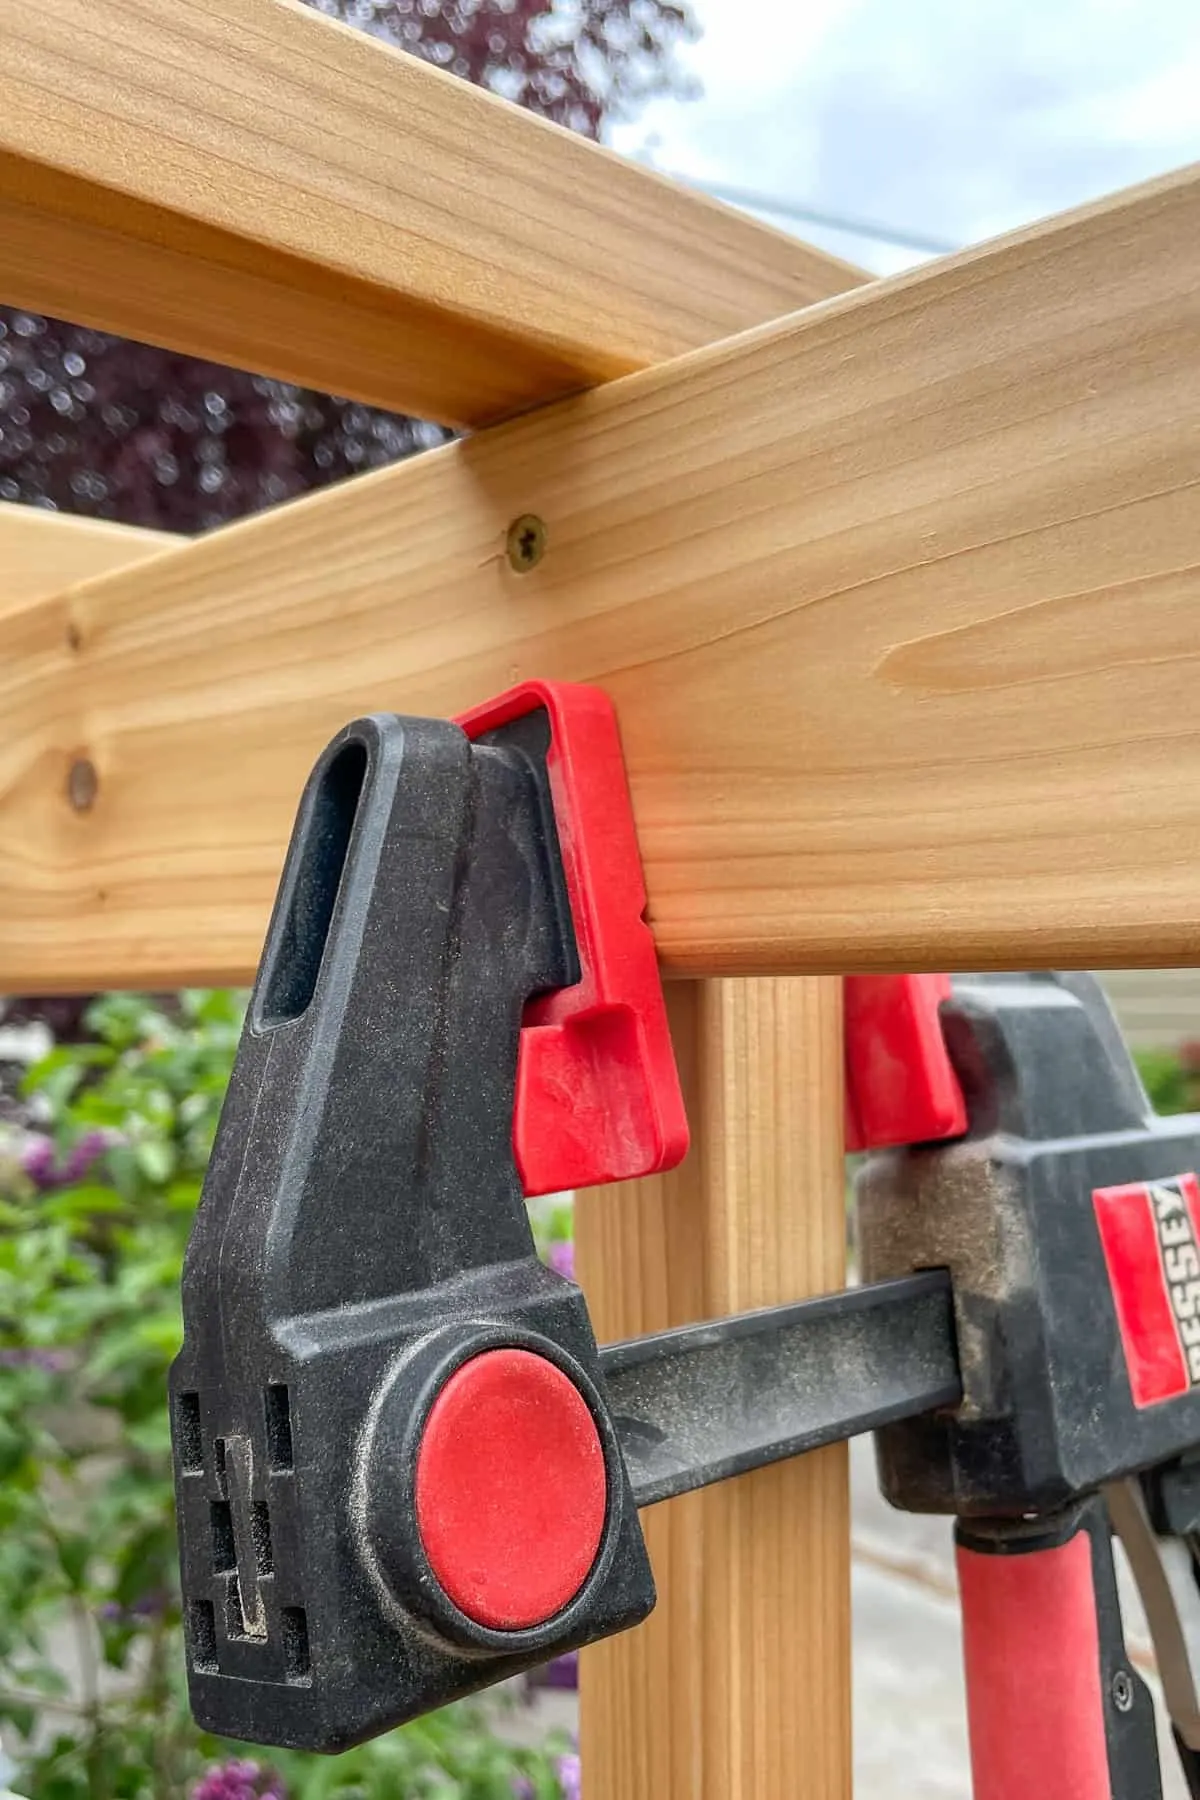
After applying a few coats of finish, I brought the arbor outside for final assembly. The long boards fit inside the vertical uprights, with two cross supports that sit on top. Rest the arbor on top of the tall legs and clamp it into place. Then attach the arbor to the plant stand with 1 ¾" exterior wood screws from the inside.

Place your Pots and Hanging Baskets
I was so excited to finally get this outdoor plant stand all loaded up! It turned out even better than I imagined!
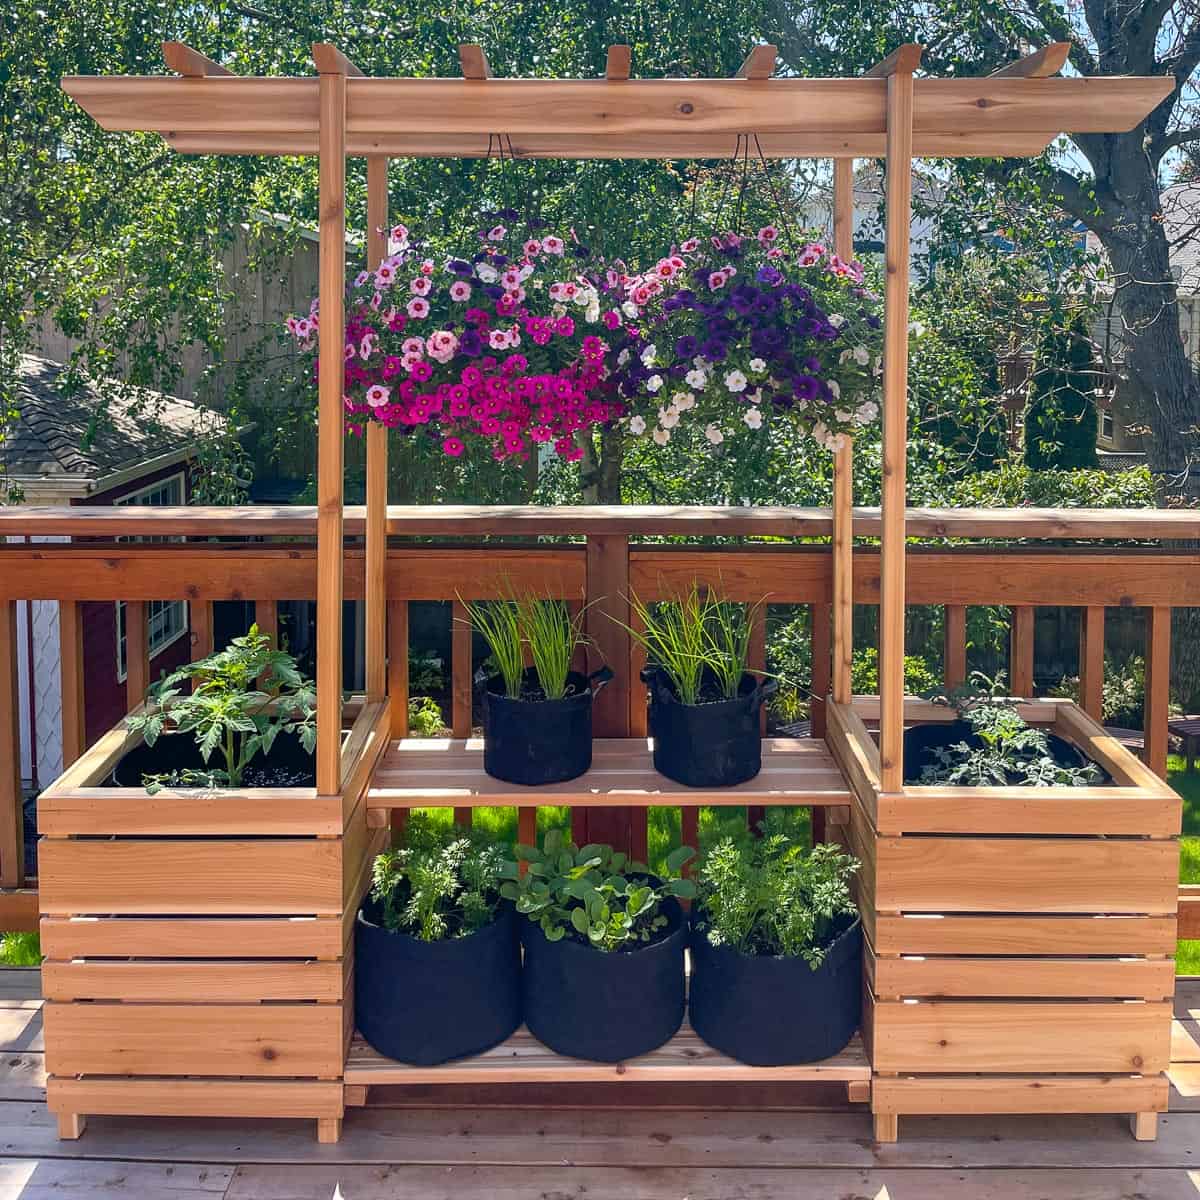

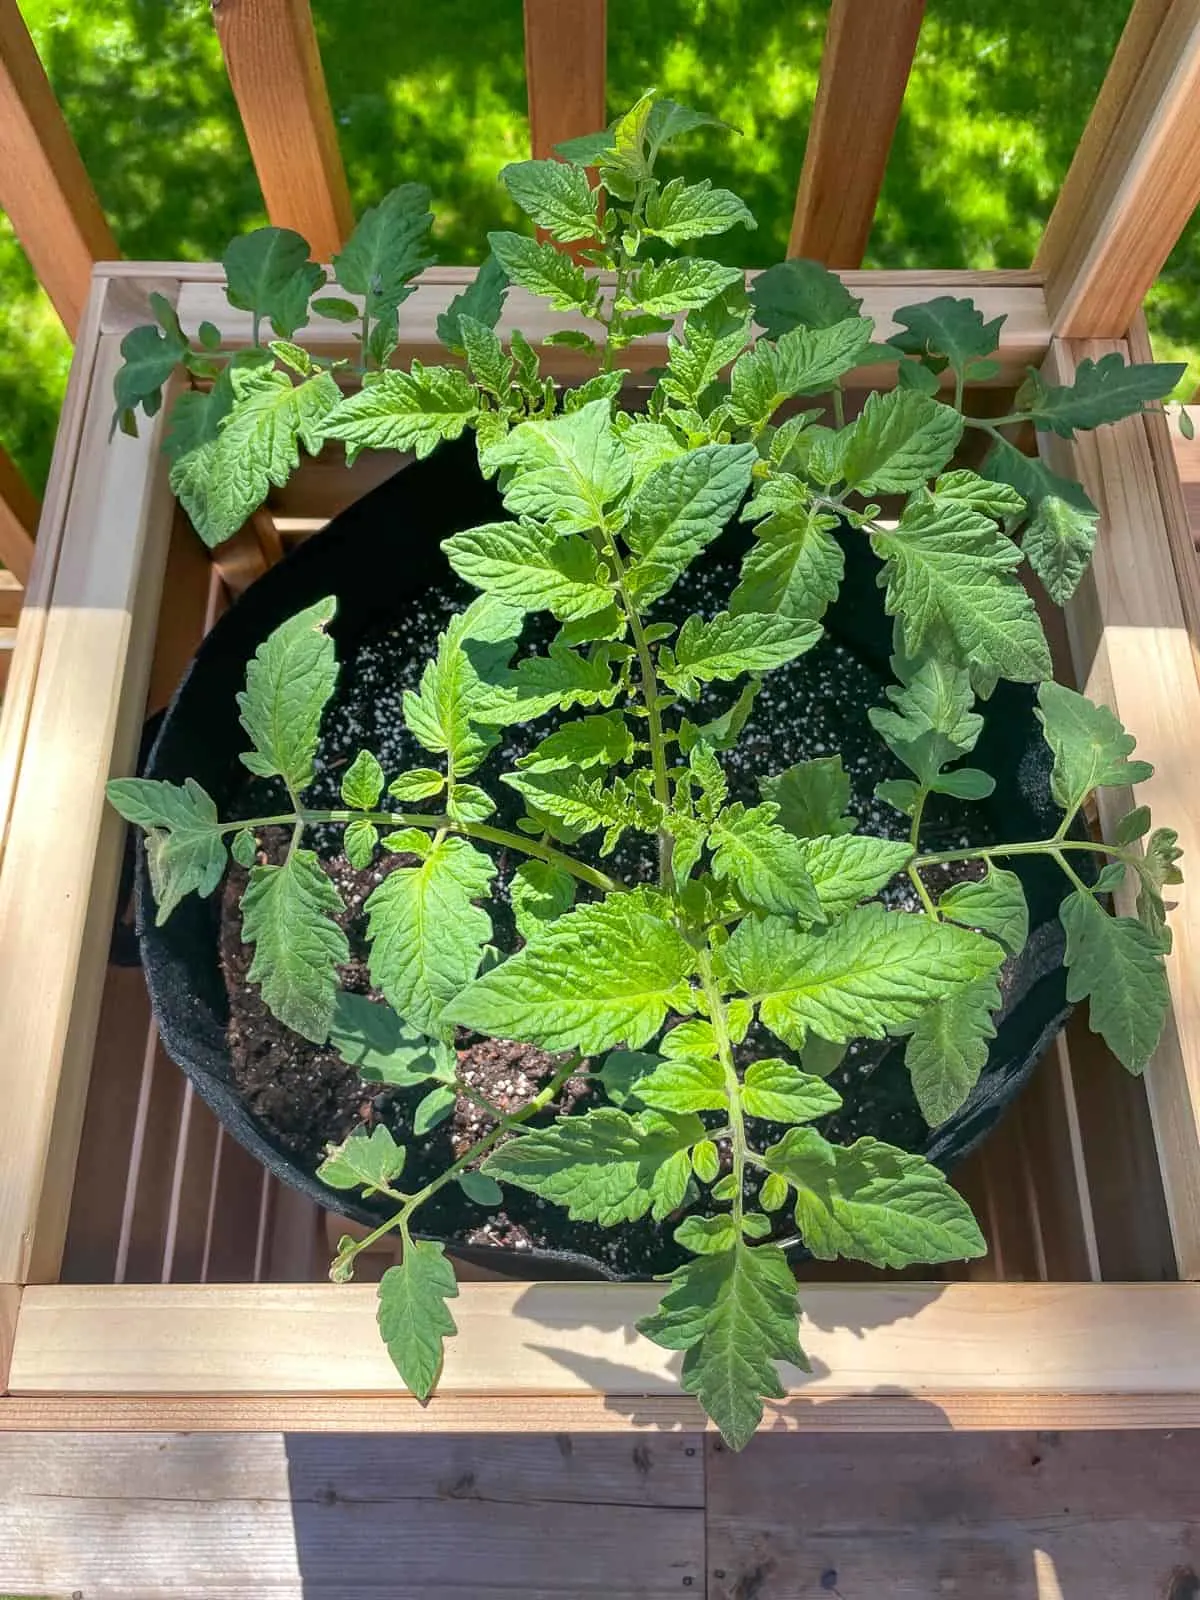
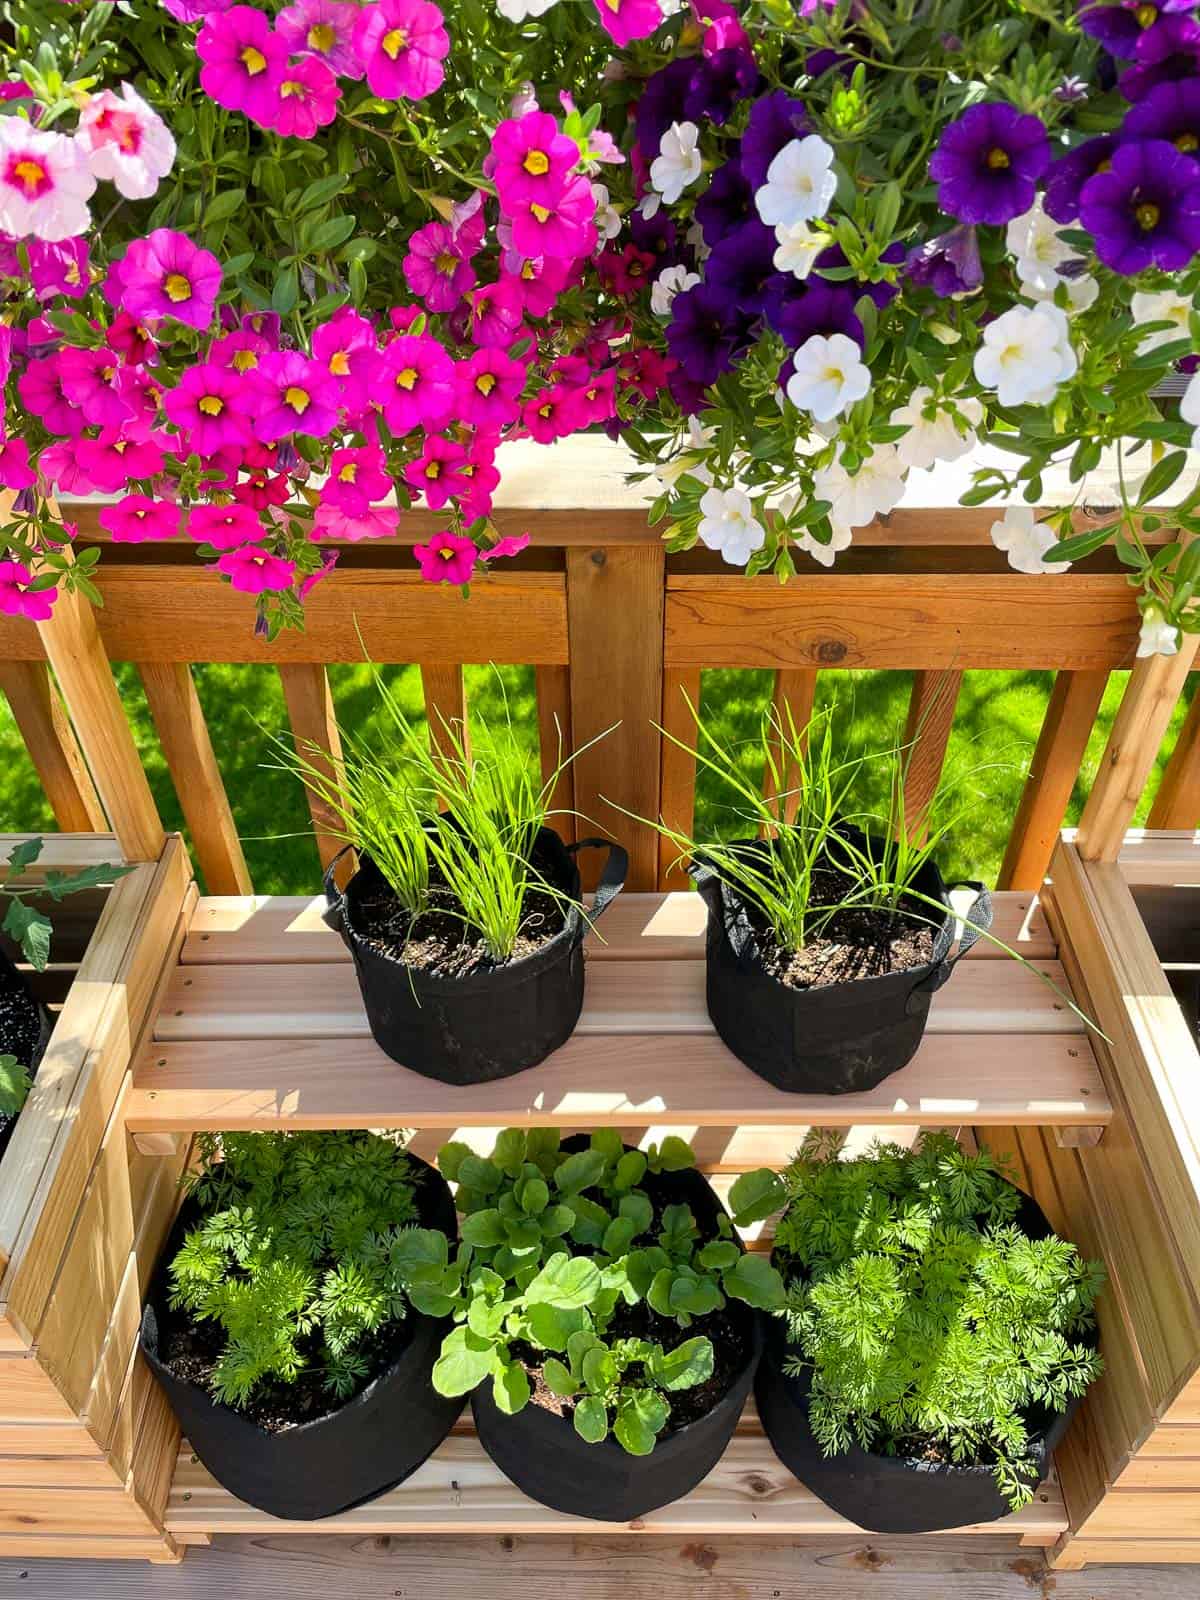
Tomatoes are in 10 gallon grow bags, which are hidden inside the large planter boxes. When they get a little bigger, I'll train them to grow up a string tied to the arbor above. This is a lot less bulky than the DIY wooden tomato cage I built for the other side of the deck, and it's easy to take down at the end of the season.

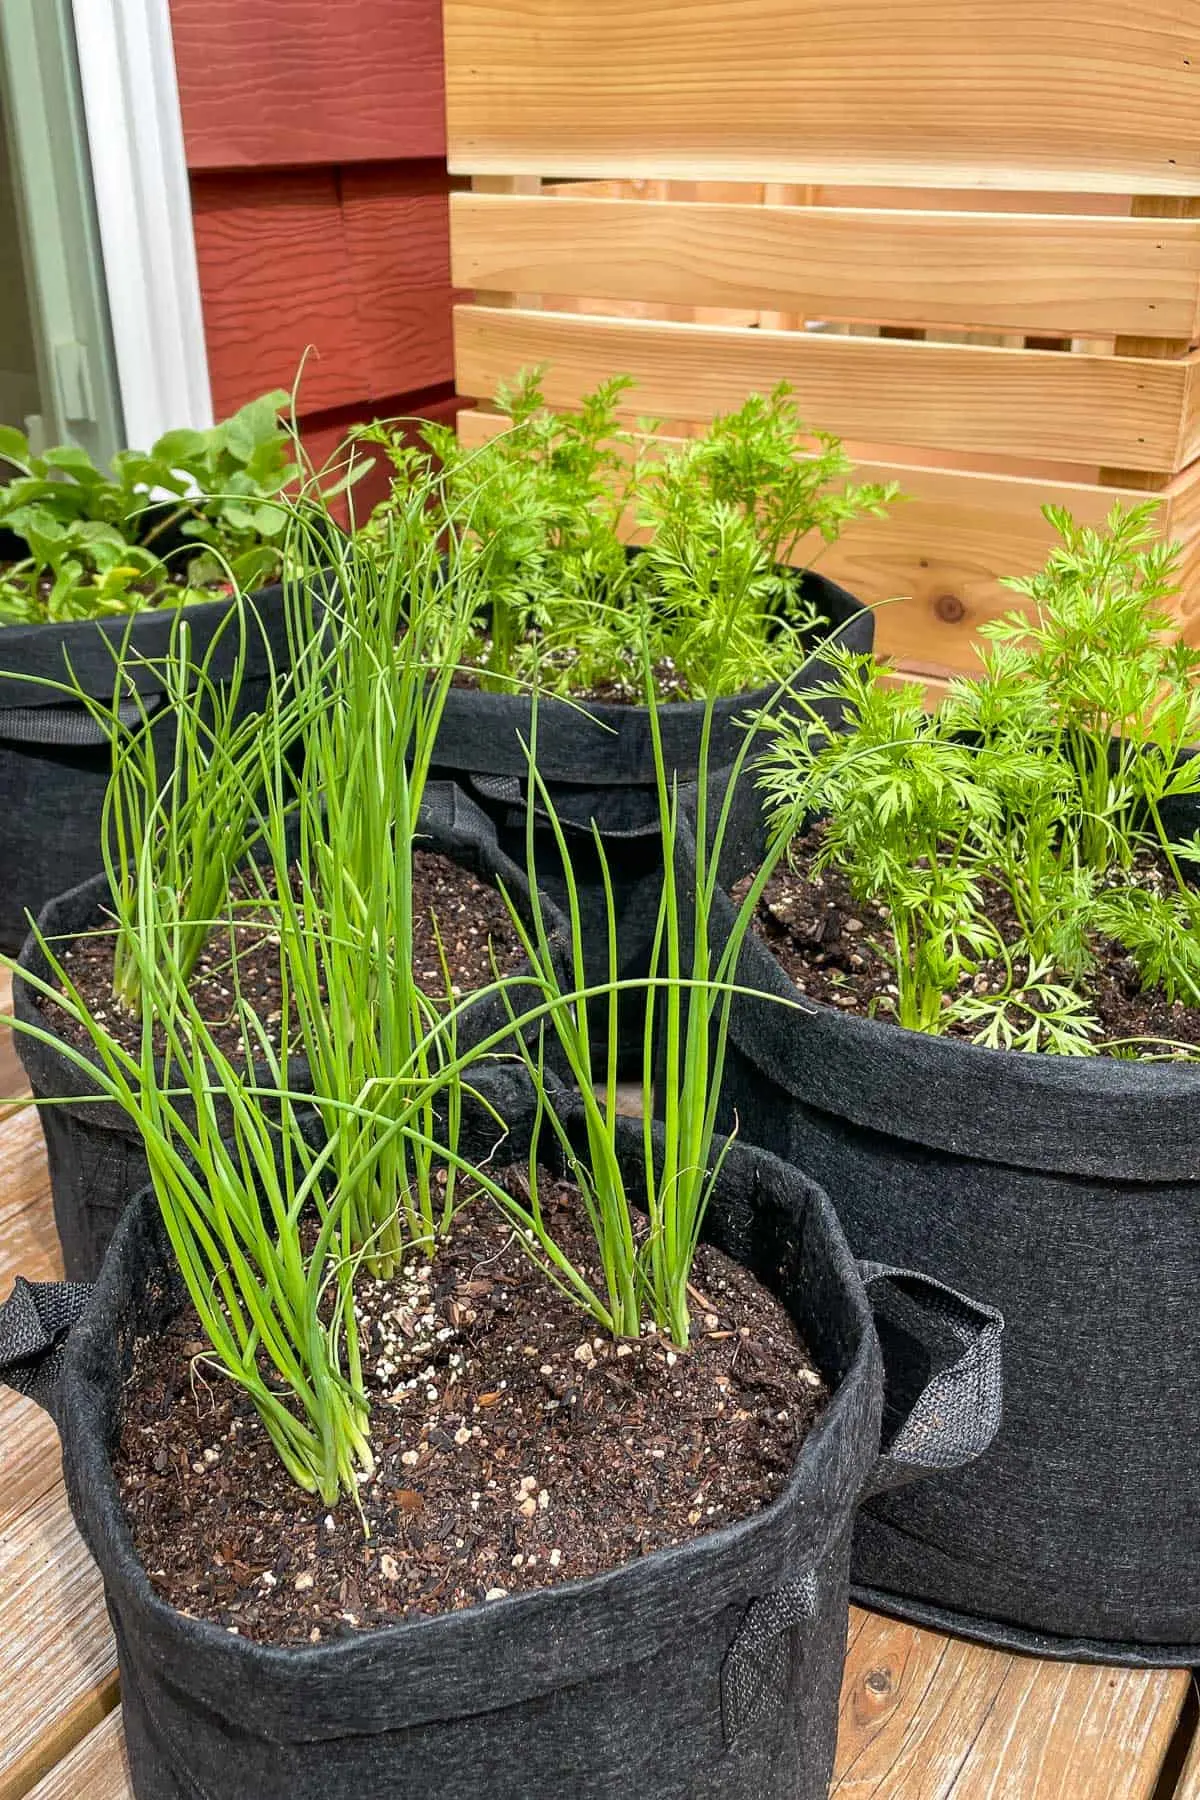
Right now, I have carrots, radishes and green onions growing in 2 gallon and 5 gallon grow bags on the shelves. I started some basil from seed this spring, and they're growing quite happily in my DIY mini greenhouse. Soon they'll be ready for a spot on the shelf!


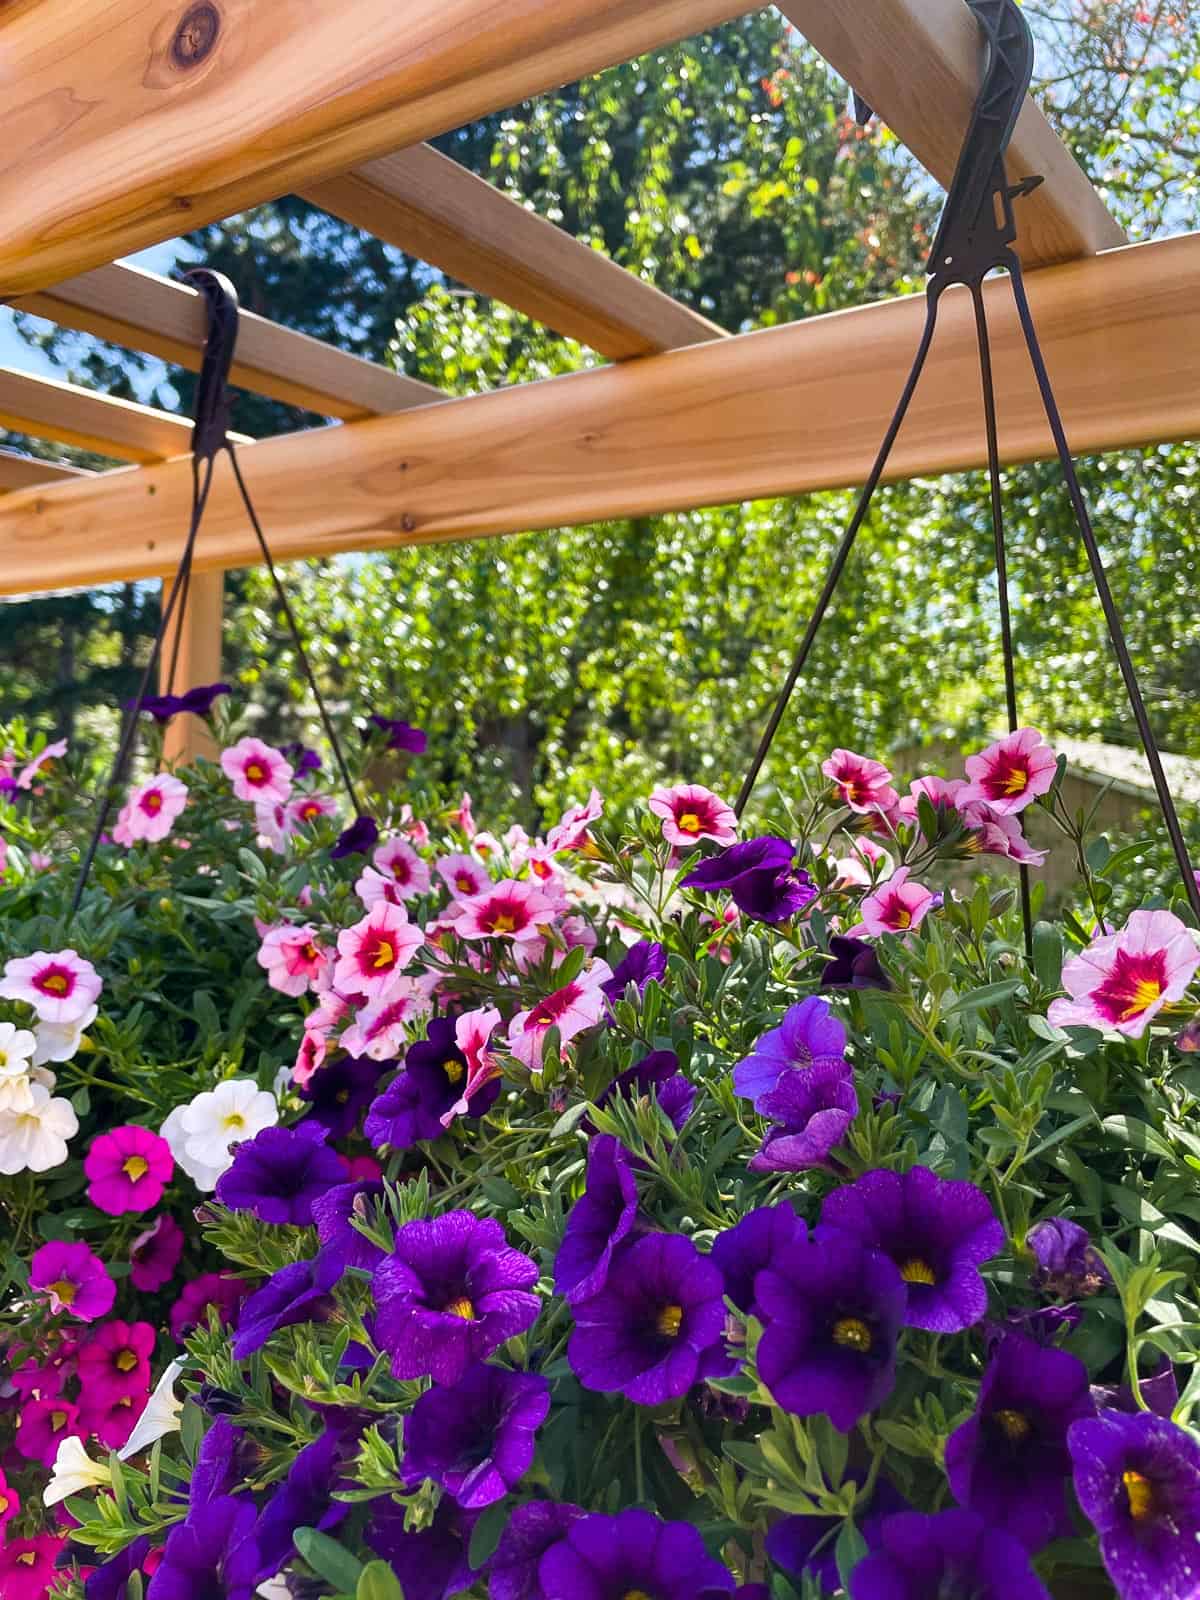
The hanging baskets fill in the center beautifully! They're right at eye level, so it's really easy to deadhead the spent flowers and keep them blooming all summer long.
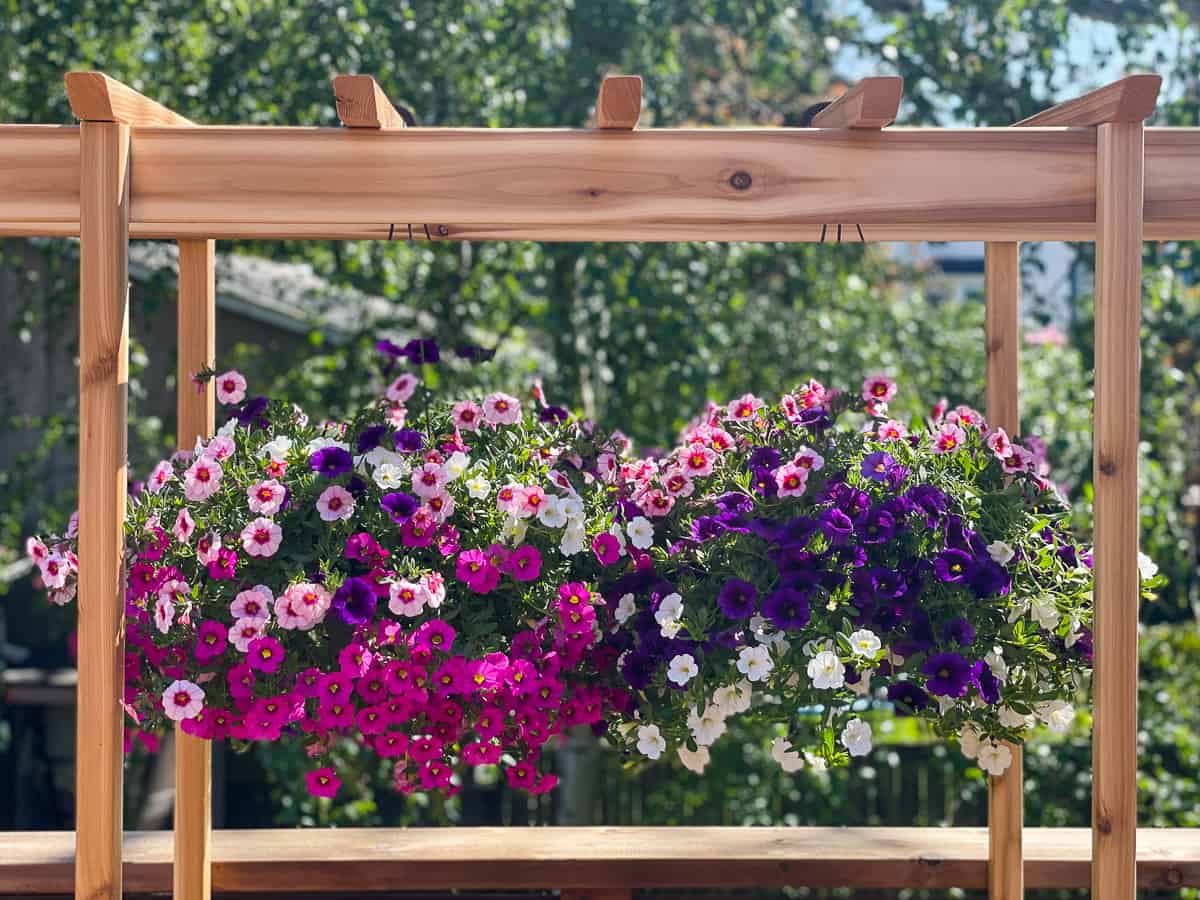

The baskets hook right over the arbor slats, and you could easily fit four of this size across the entire span. I plan to add drip irrigation to all these plants so I never have to worry about watering again!

This stand creates a gorgeous privacy screen on our deck, and gives us plenty of space to grow vegetables without a back-breaking raised bed. Who says you can't have flowers and produce in the same planter? 🙂

Want to make your own? Download the plans for this DIY outdoor plant stand and get building!
Check out these other plant project ideas!
Jayne
Tuesday 18th of May 2021
This DIY planter stand with an arbour is gorgeous! Thanks for sharing the tutorial!