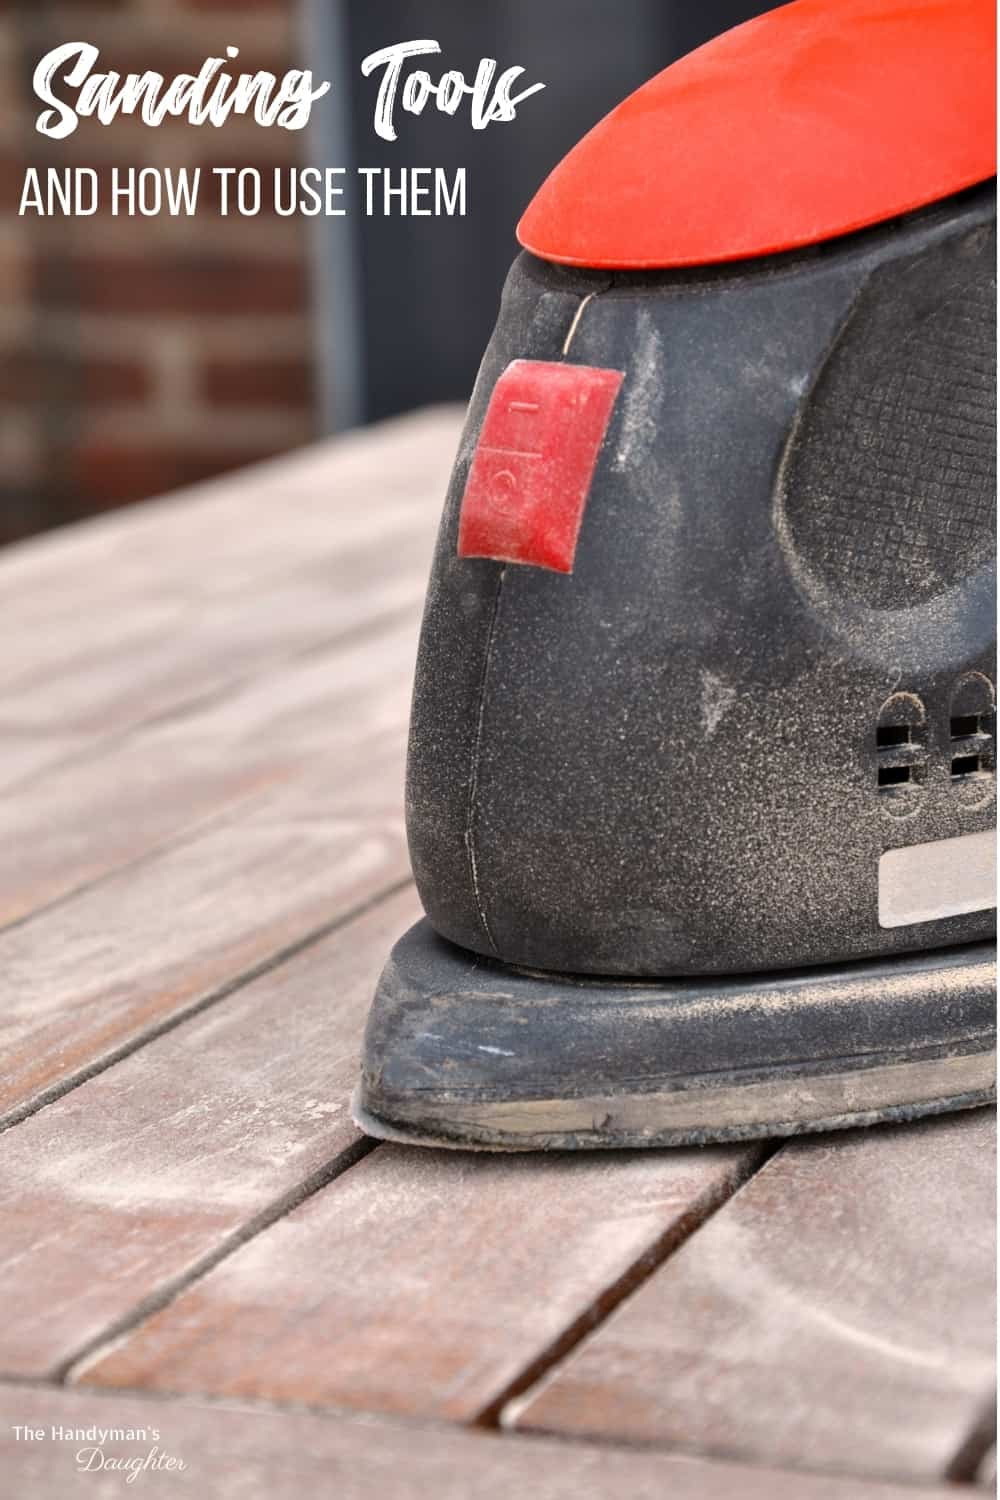
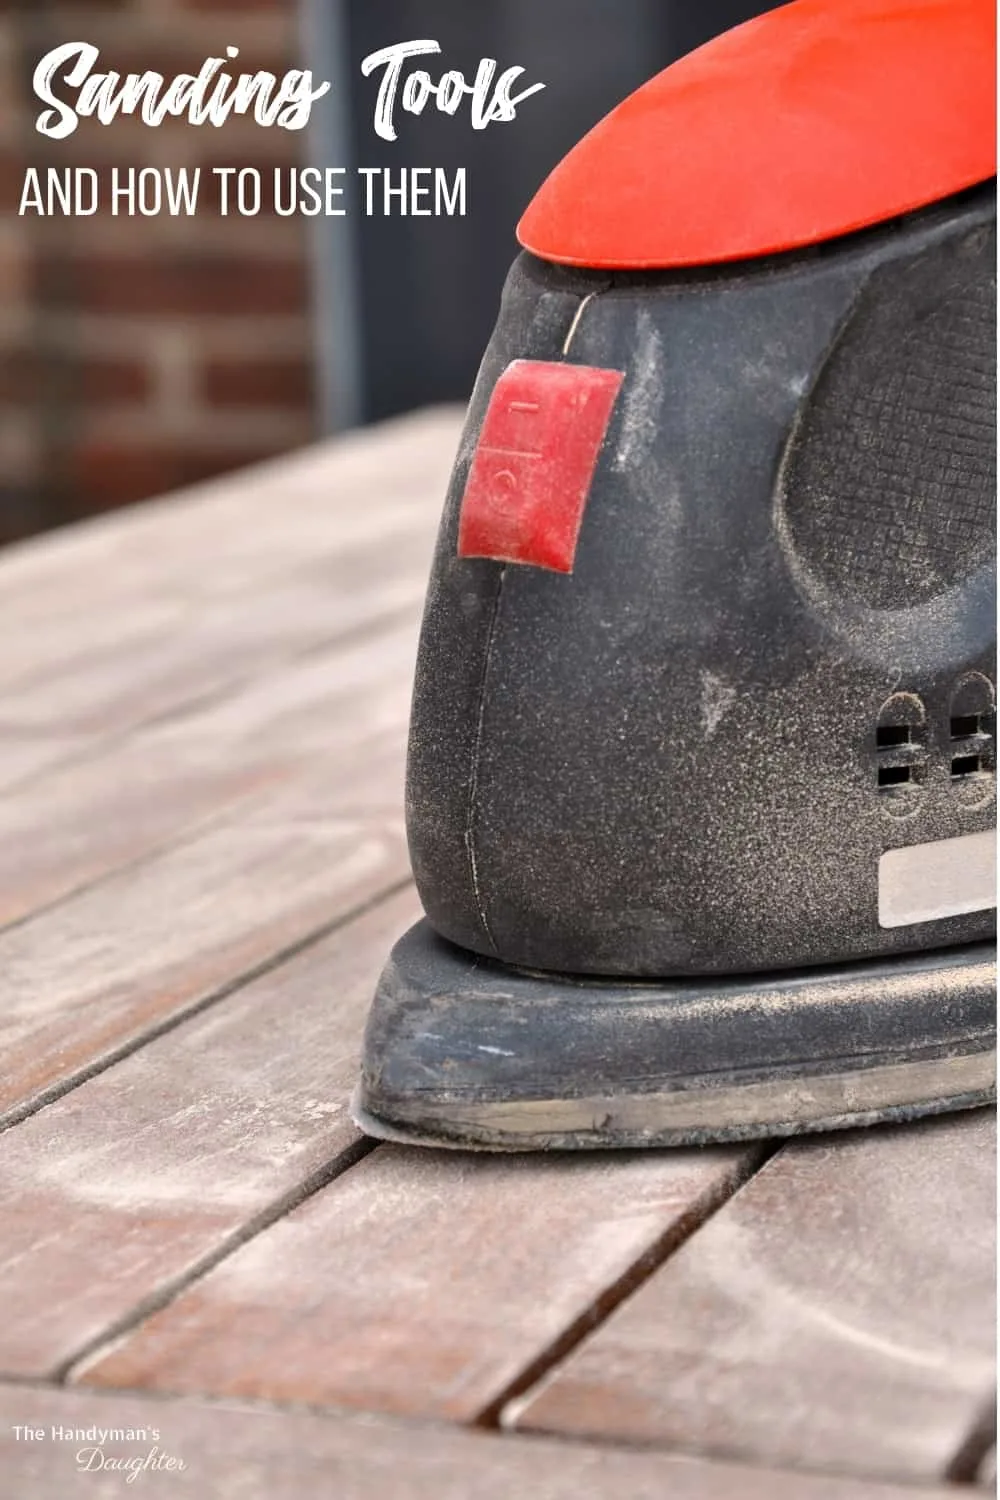
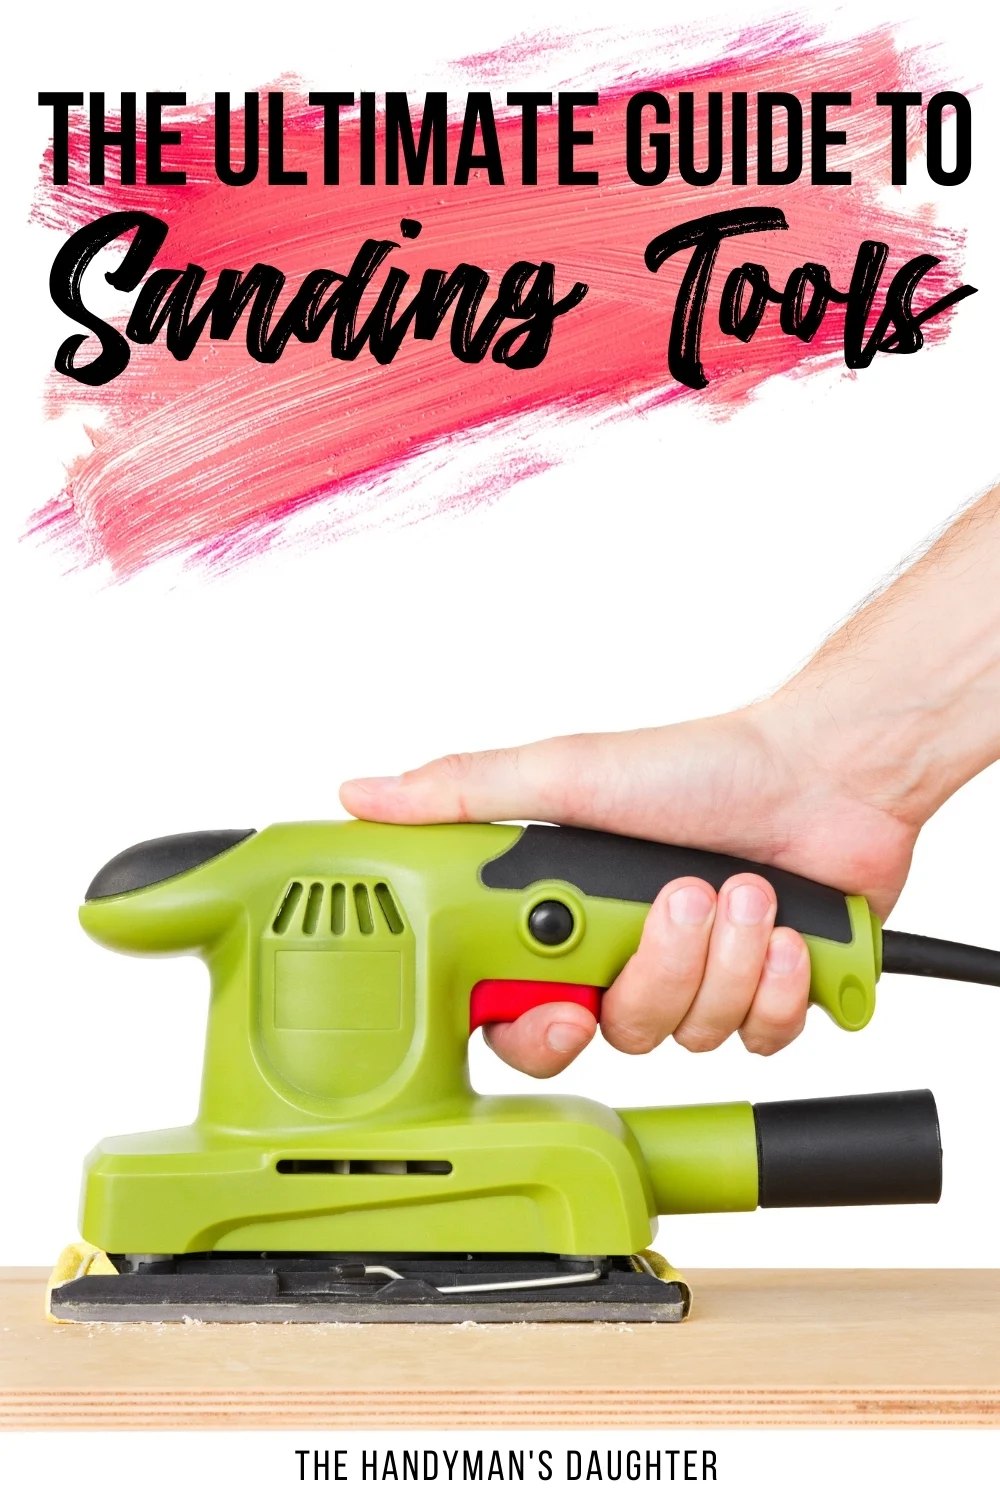
Using the right sanding tools can make or break your project! I'll show you how and when to use each type of sander to get the best results.

There's nothing better than running your hand over a perfectly sanded wood surface. But it takes a lot of work to get that buttery smooth texture!
After you've decided which sandpaper grits you need, your next step is to figure out which sanding tool is best for the job. In this article, I'll go over all the different tools and machines used for sanding. They all do the same job a little differently, and some are better than others!
This post contains affiliate links for your convenience. Purchases made through these links may earn me a small commission at no additional cost to you. Please visit my disclosures page for more information.
Sanding Block
Hand sanding is the cheapest way to get a smooth surface on your DIY projects, but it's also the slowest. Uneven pressure that can create unsightly grooves and scratches on larger surfaces. But for smaller areas that need a lighter touch, hand sanding is the way to go.
That's where sanding blocks come into play!


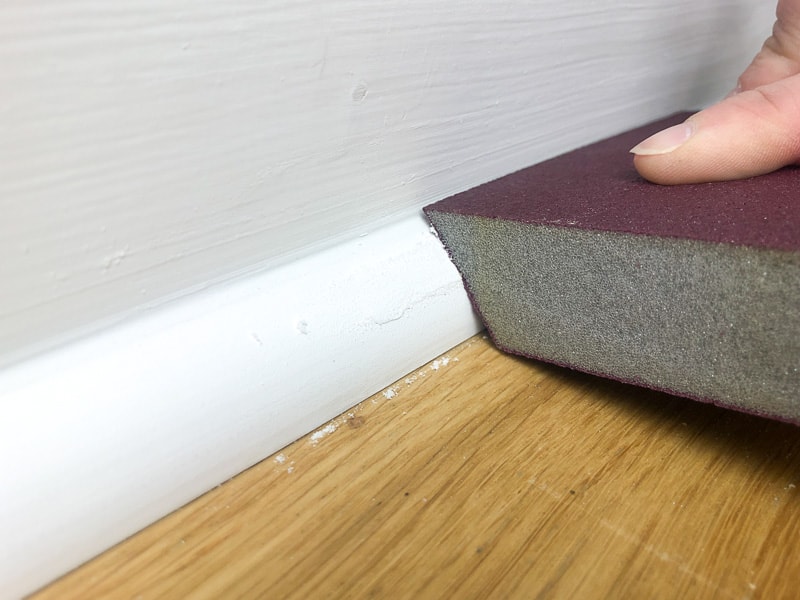
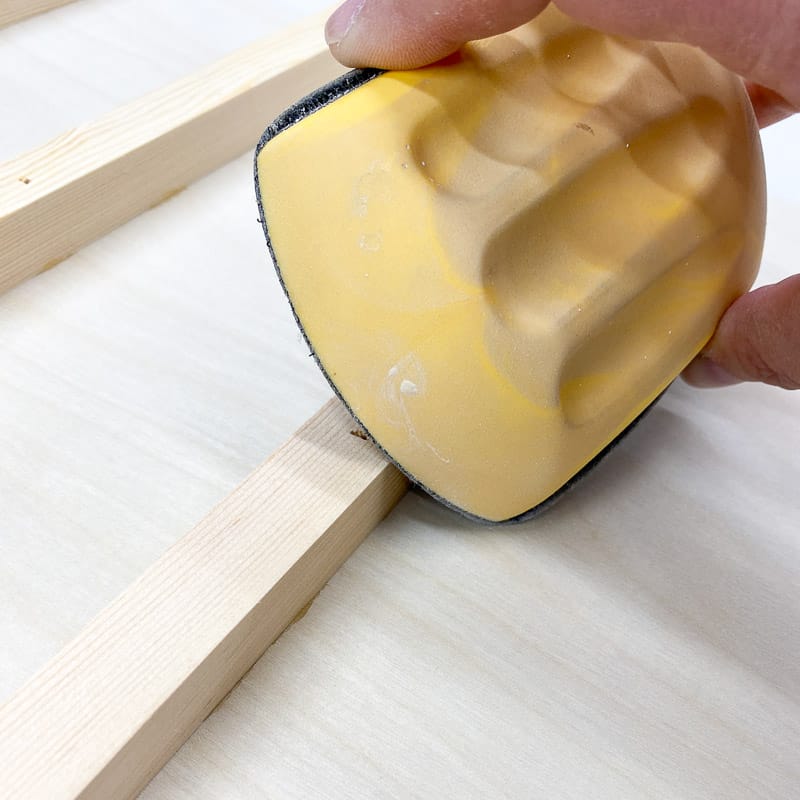
A sanding block can be a square piece of foam, a pre-coated sanding sponge, or even a small wood chunk. The idea is to create a uniform surface that applies even pressure to your project.
Sanding sponges with angled edges are great for getting into cracks and grooves that a regular sander can't reach. They have a bit of give, so you can even use them on curved surfaces like these painted baseboards.

I really like these computer mouse shaped sanding blocks, because they use the same hook and loop sanding discs as the random orbital sander and feel comfortable in the hand.
They're are perfect for breaking the corners on a finished project before painting or staining. Those crisp cut edges can be so sharp that they can draw blood if you scratch yourself on them! Just run a sanding block lightly along the corners at an angle to make it smooth to the touch.

I always use a high grit sanding pad to hand sand between coats of clear finish. It's less aggressive than a power sander, so it doesn't sand the finish away completely. These are mainly used for buffing the surface to remove brush strokes or dust that settled in the finish as it dried.
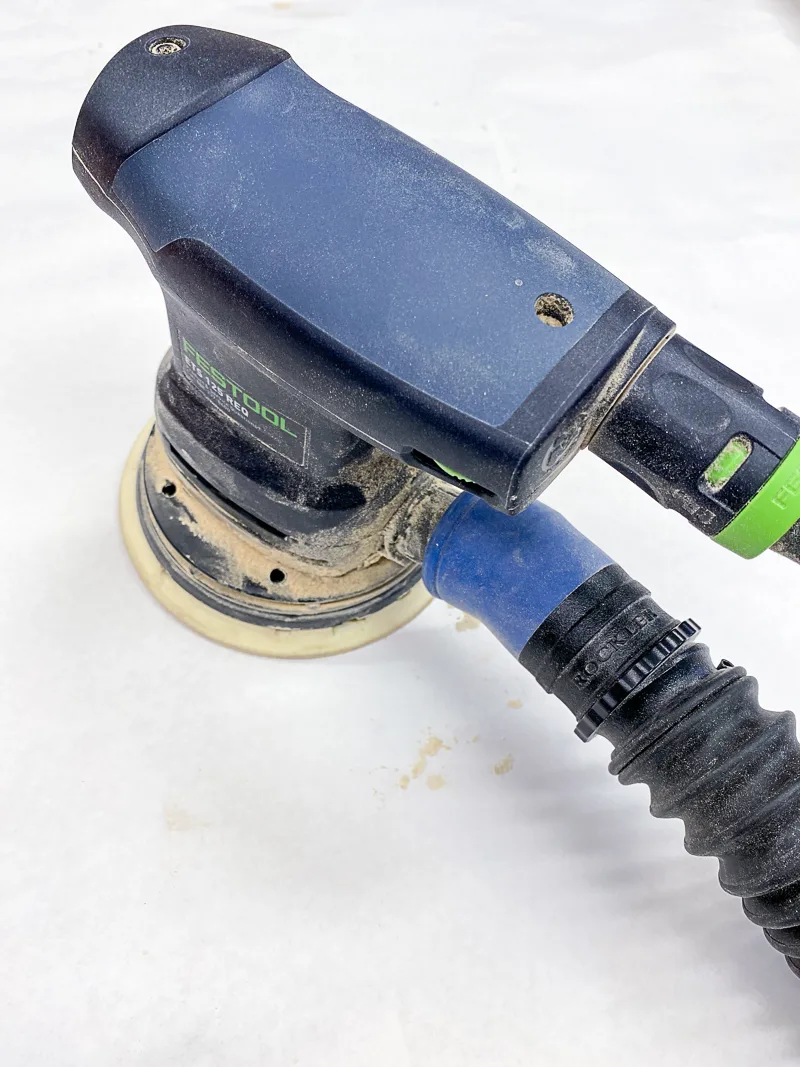
Random Orbital Sander
The random orbital sander will typically have circular sanding pads attached to specialty sandpaper in a Velcro-like fashion. This sander does what its name implies: sands your project in a random circular pattern.
Why is this important?
Well, the random patterns made by these sanders will give you a project free of ugly circles and squiggly sanding lines. The ability to rapidly and cleanly sand large, flat surfaces makes this my go-to sander.


Some models have attachments to allow the random orbital sander to function as an edging sander as well. It keeps the tool at a 90 degree angle so you don't accidentally round over the corners or create an unwanted angle.
When choosing a random orbital sander, you'll want to keep two factors in mind: dust collection and comfort.
Dust Collection
Sanding is a messy job, but with good dust collection, all that sawdust is whisked away into a shop vac before it goes into your lungs. The cloth bag that comes with most random orbit sanders isn't sufficient for trapping the finest particles that can do the most damage.
Not only is dust collection better for your health, it also creates a better finish! If you're sanding over loose sawdust, you'll be creating more scratches and more work for yourself. By removing the dust as you create it, you'll finish the job sooner and with a smoother finish.
If your sander has a weirdly shaped dust port that won't fit on your shop vac hose, you can use these adapters that can form to most profiles.

Comfort
After a long sanding session, you may feel like your hand is vibrating even after the power sander is turned off! Higher end tools have vibration dampening that prevents this sensation, which means you can work longer with less discomfort.
Also consider the shape of the handle at the top of the sander. Try out a few different models at the store to see which one fits your hand best. I've found that large, round grips make my hand sore after a while, versus a straighter grip that I can comfortably wrap my entire hand around.


You can learn more about how to choose the right random orbital sander for you in my woodworking tools guide. You're going to be spending a lot of time holding this tool, so it's worth spending a little more to make the experience less painful!
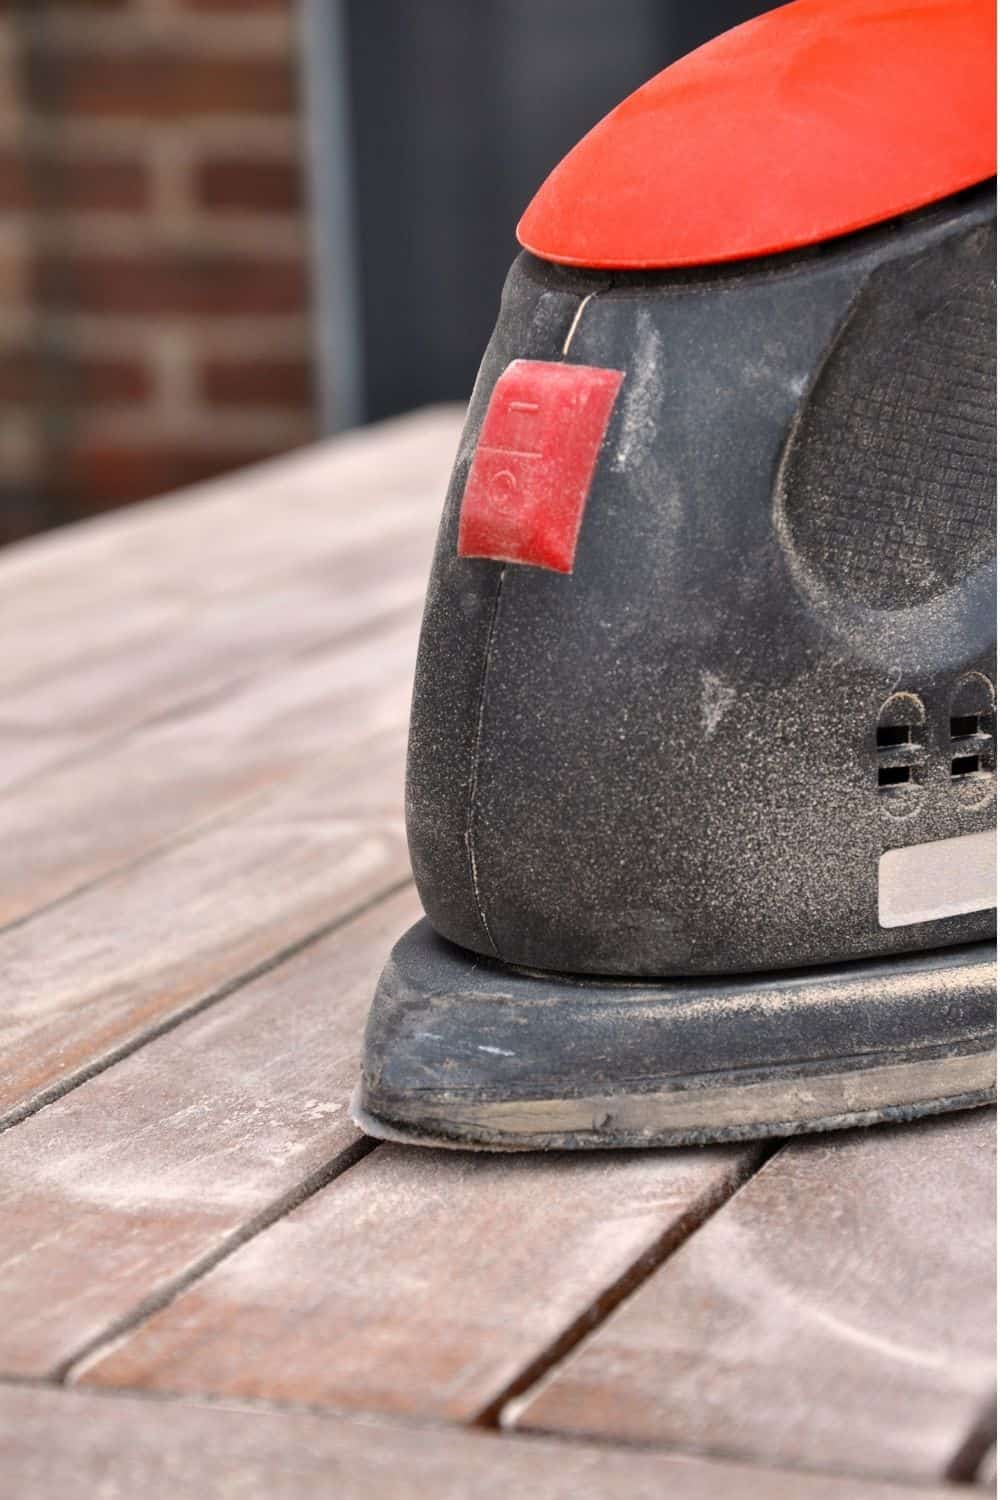
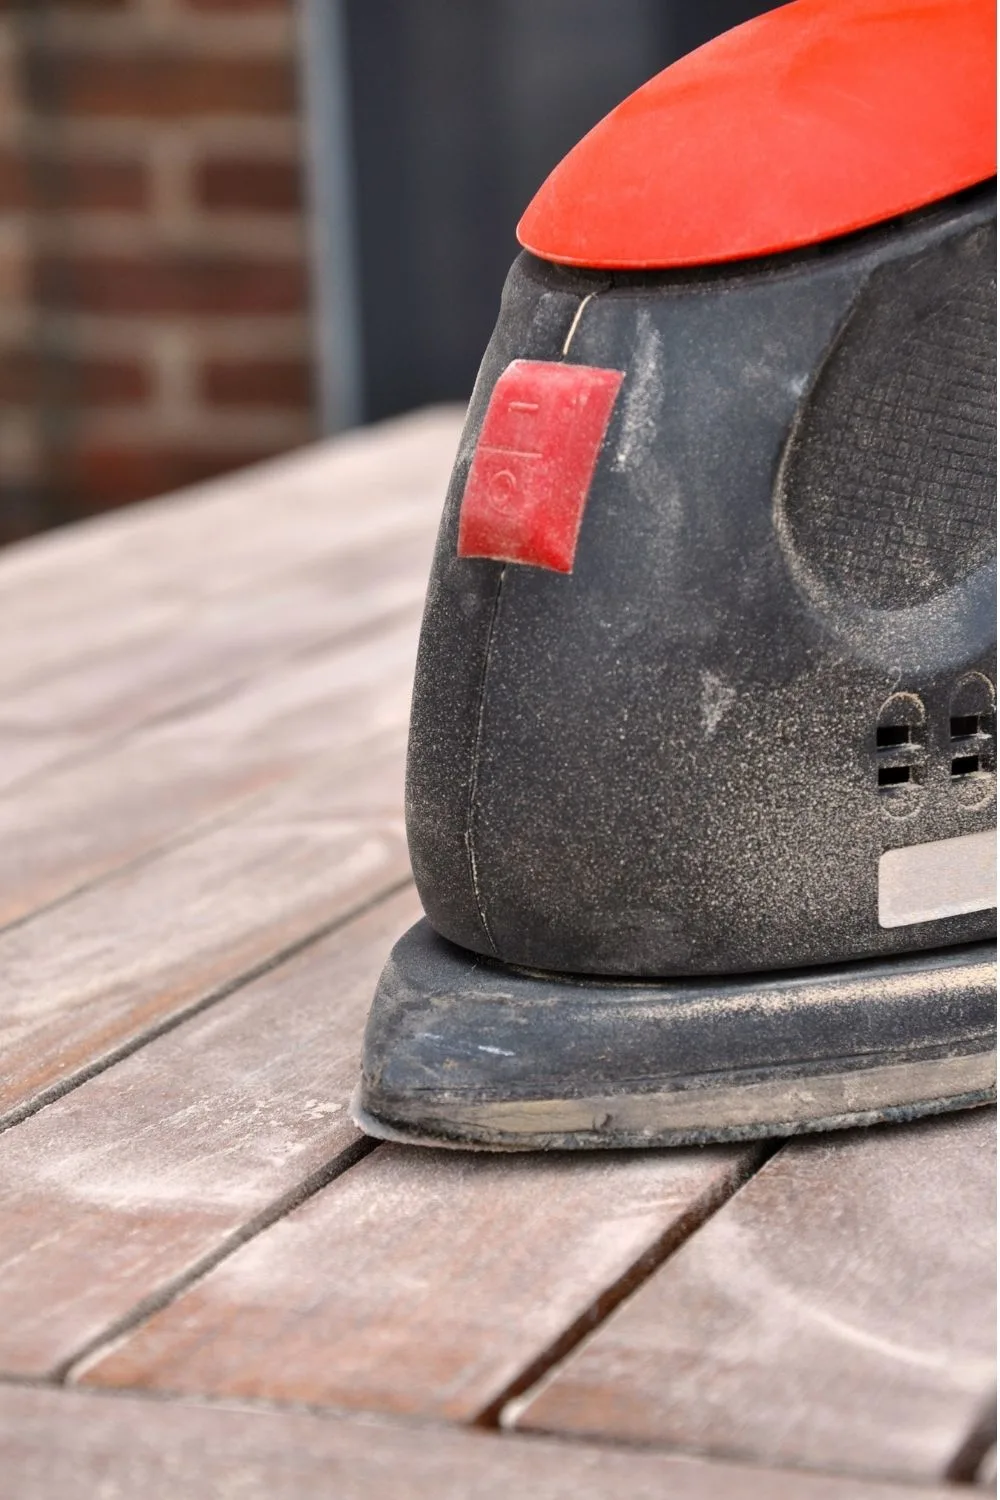
Palm Sander
The palm sander, also known as a sheet sander, may look similar to the random orbital sander, but gives very different results. Typically, a palm sander uses a square pad that vibrates or moves back and forth to remove wood from the surface.
Because it lacks randomness in the sanding pattern, the palm sander is prone to leaving scratches and marks on your finished project. I typically only use mine when sanding rough wood like these fence pickets, because sheets of ultra low sandpaper grits are cheaper and easier to find than the round discs.

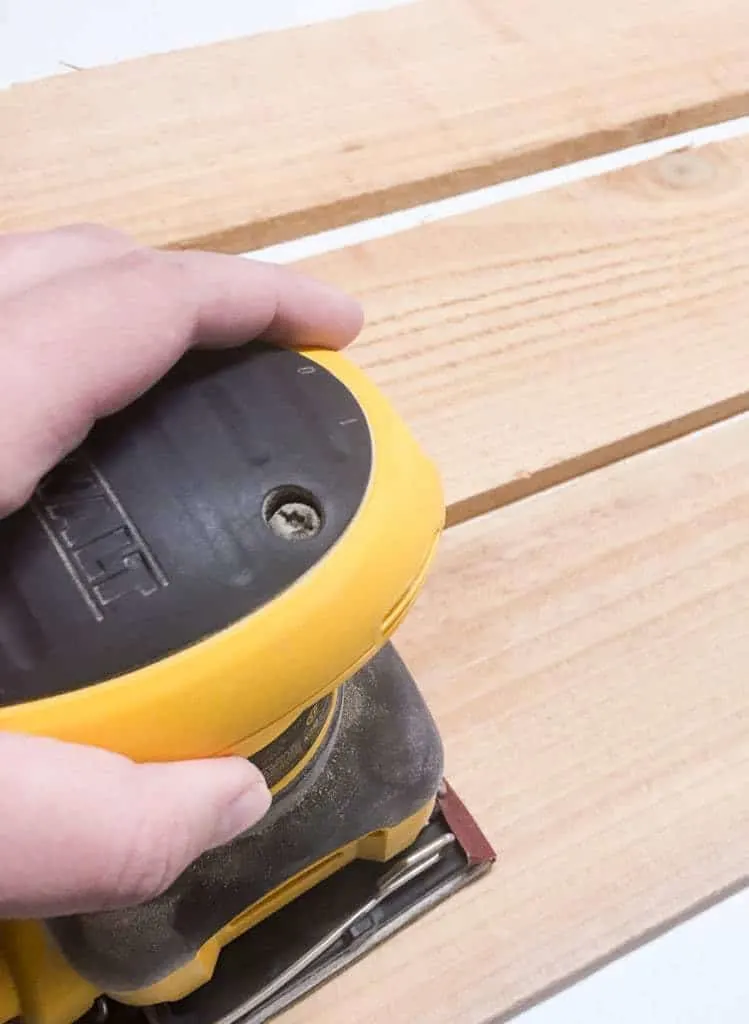
When you're using a palm sander, make sure to only sand with the grain of the wood to avoid scratches across the surface. Once you've finished removing the rough surface, switch to a random orbital sander for the rest of the project.
Belt Sander
Think of the belt sander like a treadmill. This tool uses a sanding belt to smooth a rough surface. Belt sanders are good for projects that need some serious power sanding, because they typically only use grits up to 120.
You can get handheld belt sanders that you move across the surface of the wood, or benchtop belt sanders with a platform to rest the wood on top of. I installed my benchtop belt sander on a mixer lift in this tool stand, so it's easily accessible when I need it but quickly glides under the workbench when I'm done!
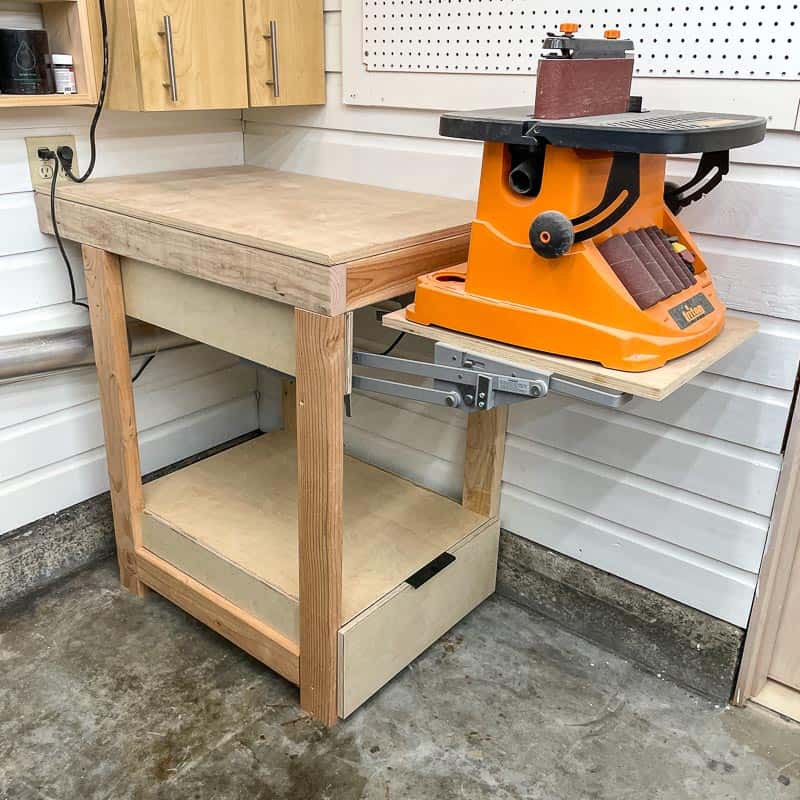

Handheld belt sanders are best for flattening and smoothing a wide surface, like a wood slab or a painted door. Benchtop belt sanders are better for sanding edges down to the cut line or smoothing uneven joints.


Oscillating Spindle Sander
Often, you'll find a benchtop belt sander with an oscillating spindle sander attachment option. Mine comes with various spindle sizes that spin and move up and down simultaneously.
The spindle sander is great for tight spots and curves. You can use it to sand the inside of a circle by placing the wood over the spindle. If you make wooden toys or other small objects with lots of curves, this is a great sanding tool to have!
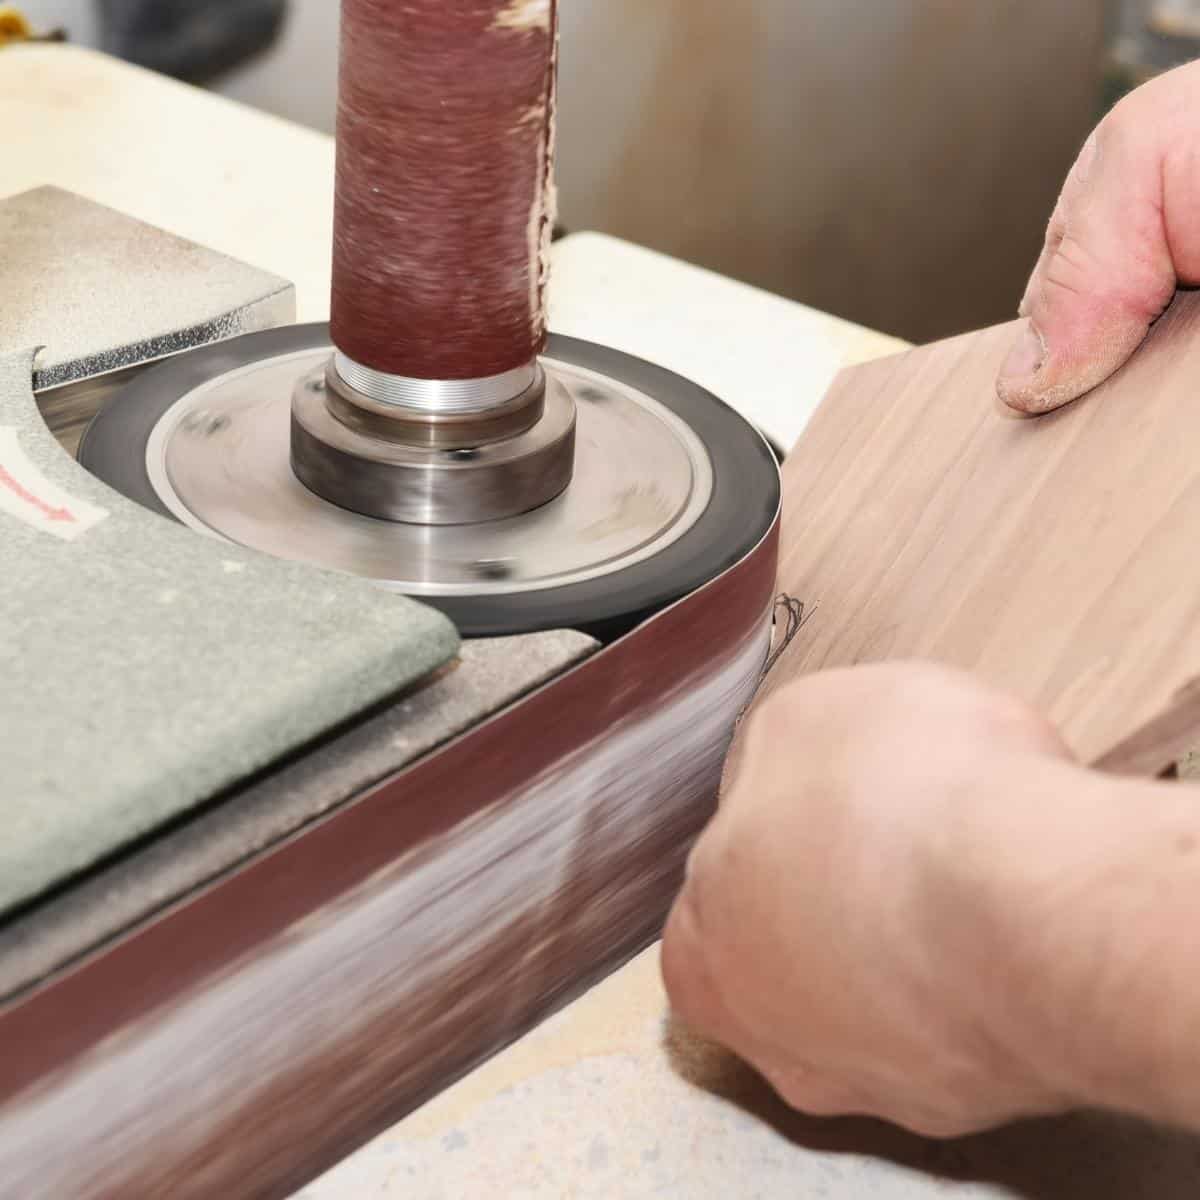
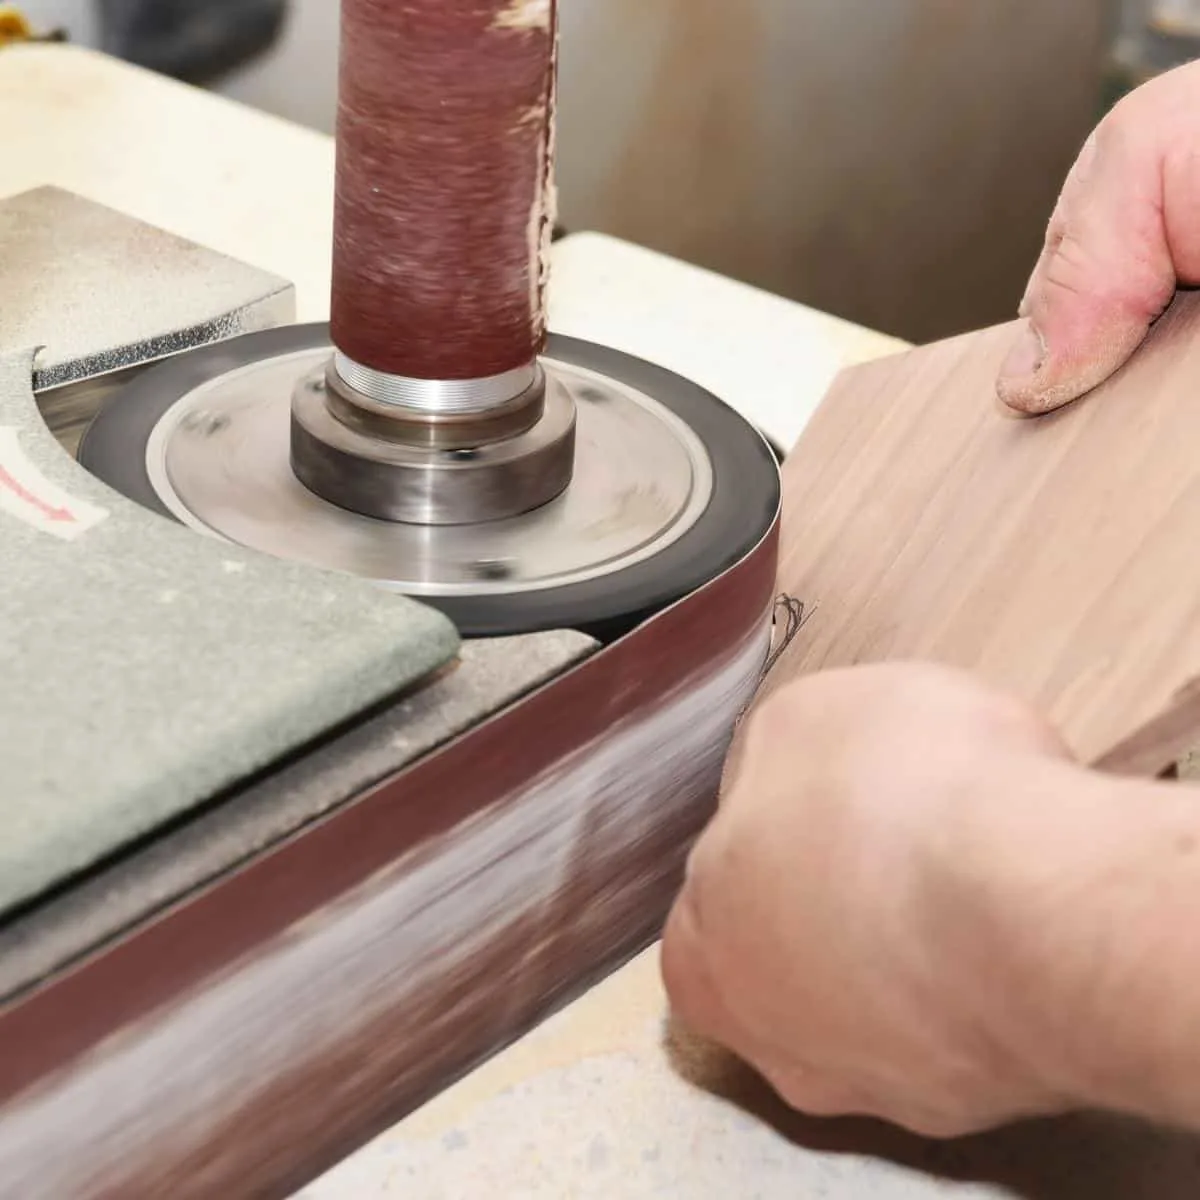
Disc Sander
A disc sander is a benchtop sanding tool with a large vertical spinning disc of sandpaper and a platform for your wood to rest on. It's mainly used for sanding up to a line when cutting would be difficult.
You can make your own disc sander with a small motor and scrap wood! Check out the video below for a great tutorial.
Drum Sander
A drum sander is a larger version of a belt sander, but you feed the wood into the tool rather than running the tool over the wood by hand. It works similarly to a thickness planer, with rollers overhead that push the wood past the rotating drum of sandpaper. You can set the height to get exactly the thickness you need for your project.
Drum sanders are really expensive and come their own stand because they're so large and heavy. They're best used for sanding multiple pieces to the exact same thickness, such as cabinet doors or face frames. You can try to build your own, like the one shown in the video below.
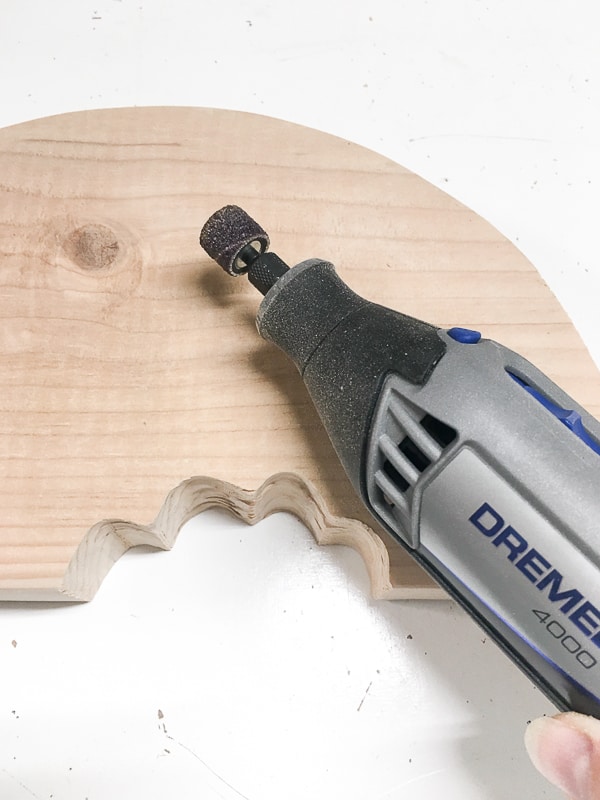
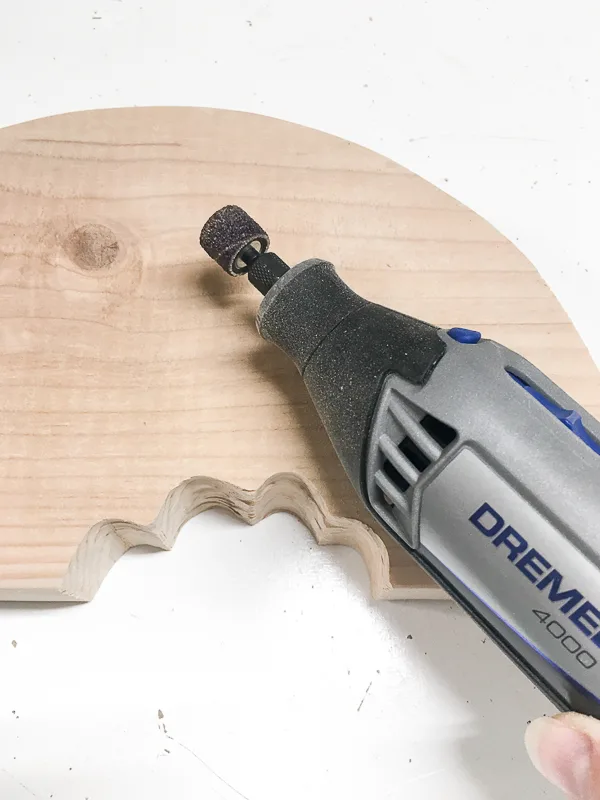
Detail Sander
The random orbital sander, belt sander, and palm sander all have their place; however, tight corners aren't one of them. For the nooks and crannies, you'll need a detail sander. These come in a variety of forms for different jobs.
You can use a Dremel with a sanding attachment to get into tight spaces or inside circles like the "bite" on this wooden watermelon decoration.
For something a little bigger, you can get these drum sanding attachments for your drill. This is great for smoothing out cut circles in wood, like the hole in these cornhole boards.
For inside corners, I like to use a corner cat sander. The pointed tip makes it easy to get all the way to the edge in cabinets and shelves. Mine is also a random orbital sander, so I can use it over the entire surface without risking those dreaded scratch marks.
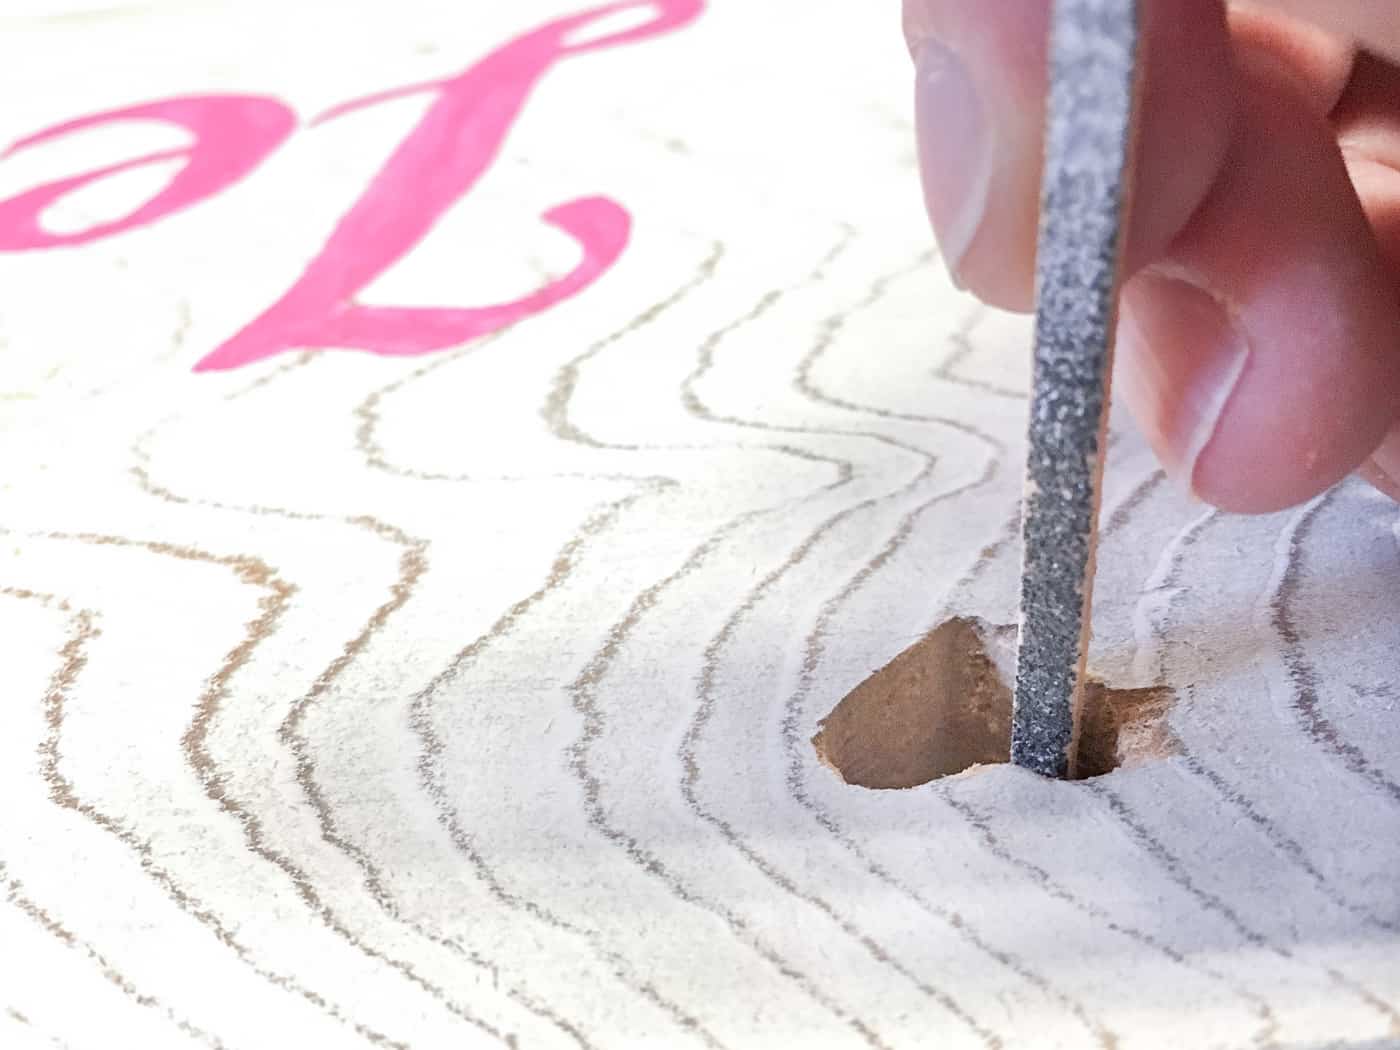
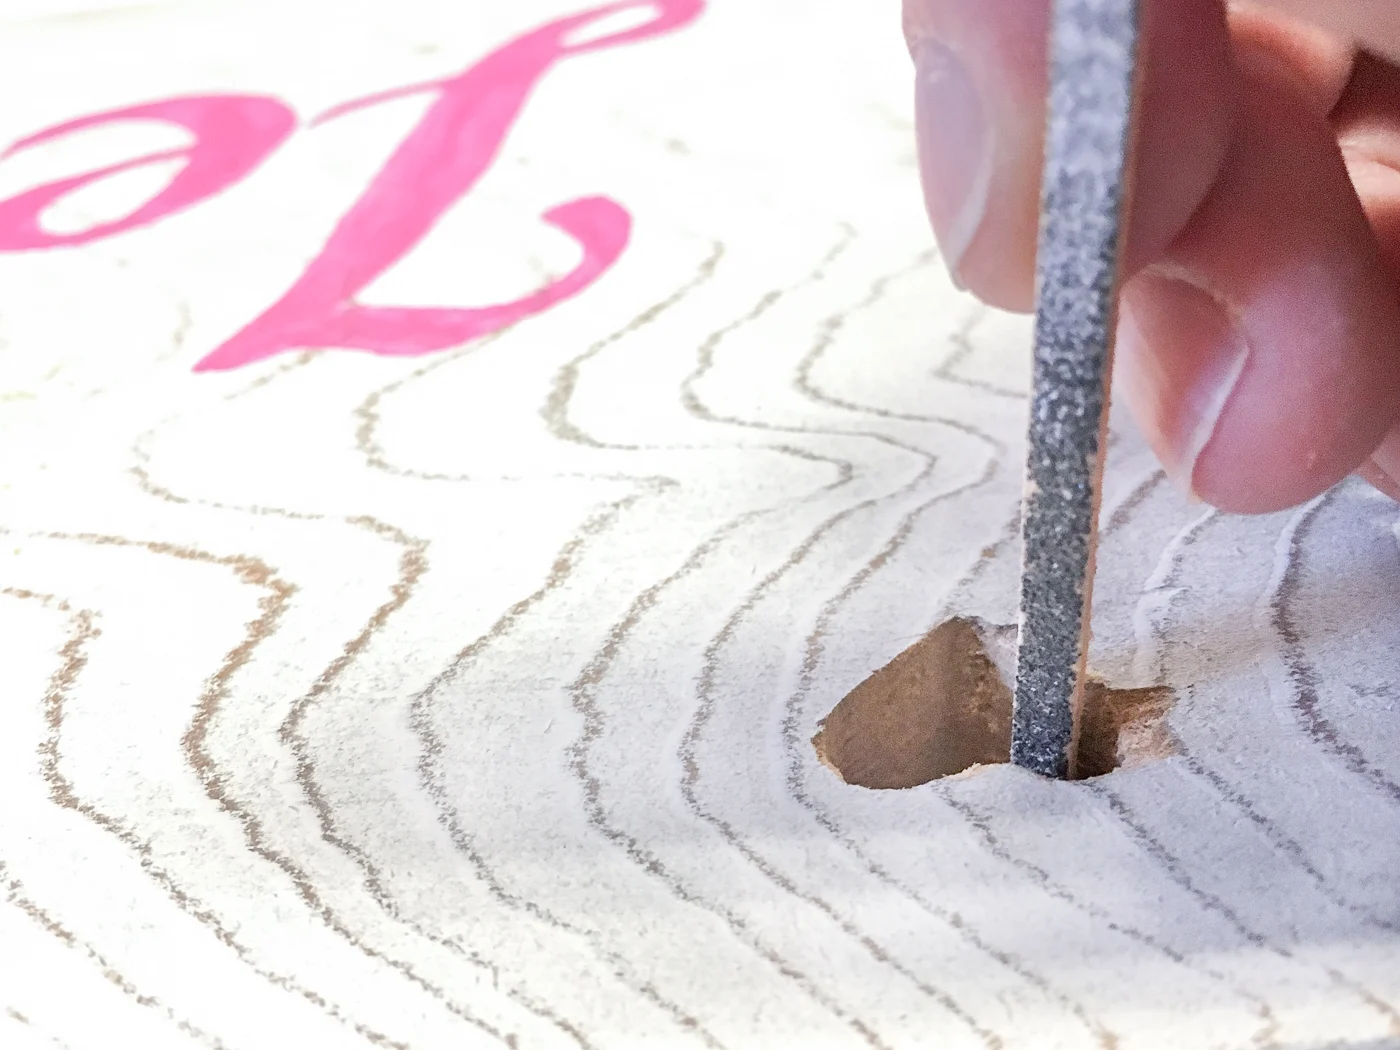
If you have a really tiny area to sand, you can simply glue some sandpaper to a paint stir stick and use it to clean up your edges. I also keep these sanding twigs on hand for cleaning up holes in wood.
Hopefully this article has cleared up some of the confusion about the different types of sanding tools and when to use them! I recommend starting off with a sanding block and a random orbital sander, then collecting the others as you need them.
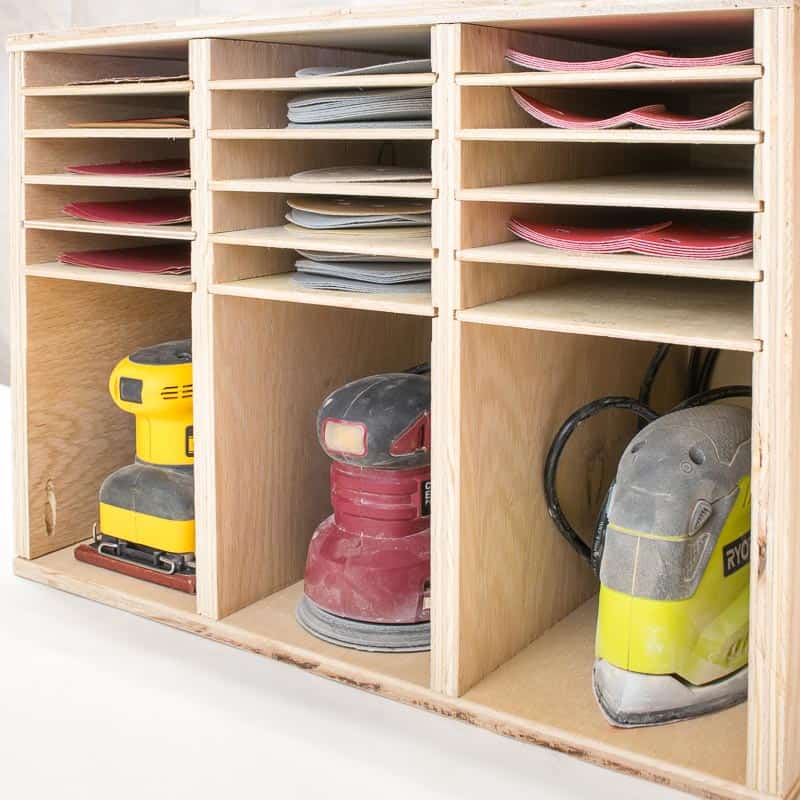
As your assortment of sanders grows, keep them organized in this DIY sander and sandpaper storage box! It helps keep all the different tools with their matching sandpaper, and stores away neatly on a shelf. You can get the woodworking plans for this project here.

Check out these other woodworking tutorials!