Create perfect circles with this simple band saw circle cutting jig! This adjustable design can make wooden circles of any diameter easily!
There are a lot of different ways to cut a circle in wood. One of the easiest methods is with a band saw. The narrow blade is perfectly suited for navigating curves, but trying to follow a line freehand can be tricky!
But with this simple band saw circle cutting jig, you can make repeatable cuts at any diameter just by moving the pivot pin! You'll get perfect circles every time, without the wobbly edges and imperfections of freehand cutting.
Best of all, you can make this jig just with scrap wood you probably already have laying around the workshop! I whipped up my version in less than an hour, and had a 12" diameter circle cut out of 1 ½" hard maple butcher block in minutes!
This post contains affiliate links for your convenience. Purchases made through these links may earn me a small commission at no additional cost to you. Please visit my disclosures page for more information.
Materials Required
- Plywood or melamine board (approximately 12" x 18")
- Scrap of 1x2 lumber
- Straight shelf pin
- Brad point drill bit the same diameter as the shelf pin
- CA glue and accelerator spray
- Brad nailer or pin nailer with 1 ¼" nails
- Square
How to make a bandsaw circle jig
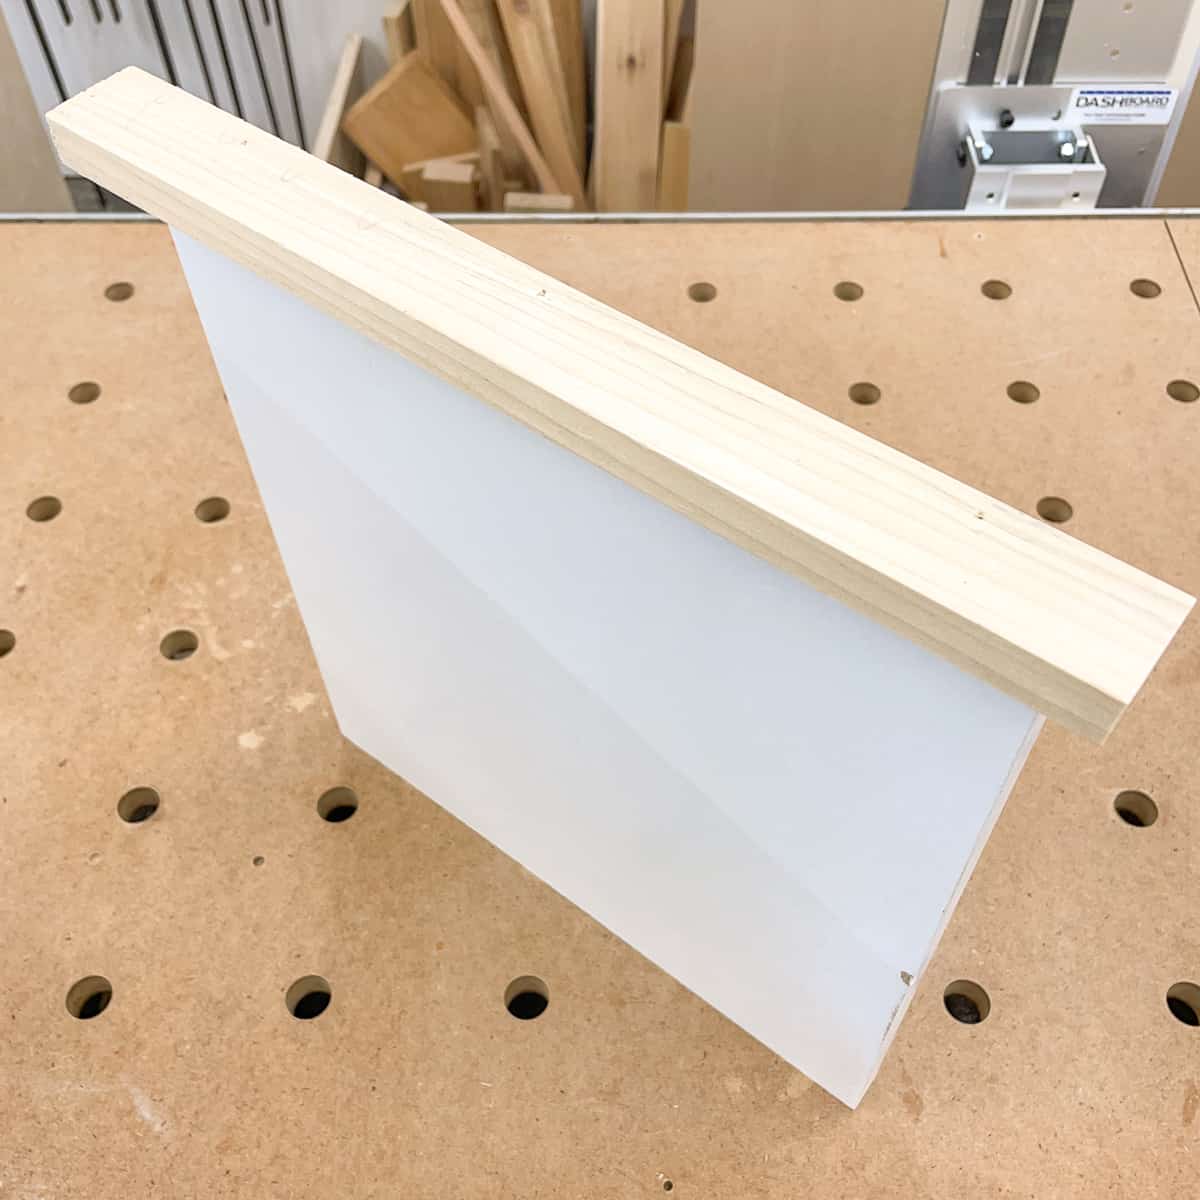
Cut the platform and attach a back stop
The size of your platform will depend on the size of your bandsaw table, as well as how big of a circle you want to make. Cut the platform to fit the width of the bandsaw table, and as long as you want the radius of your circle to be, plus 3 inches.
My Rikon bandsaw is pretty small, and I needed a 12" diameter circle for the hairpin leg plant stand I'm planning to make. I scrounged around my scrap wood storage and dug up a piece of melamine that was about 12" x 18" and a scrap of 1x2 poplar that was about 12" long. Melamine is preferable, since the slick surface will allow the circle to rotate smoothly with less friction.
The 1x2 is attached to the back of the platform with wood glue and brad nails. The top edge should be flush on one side, and stick out ¾" on the other.

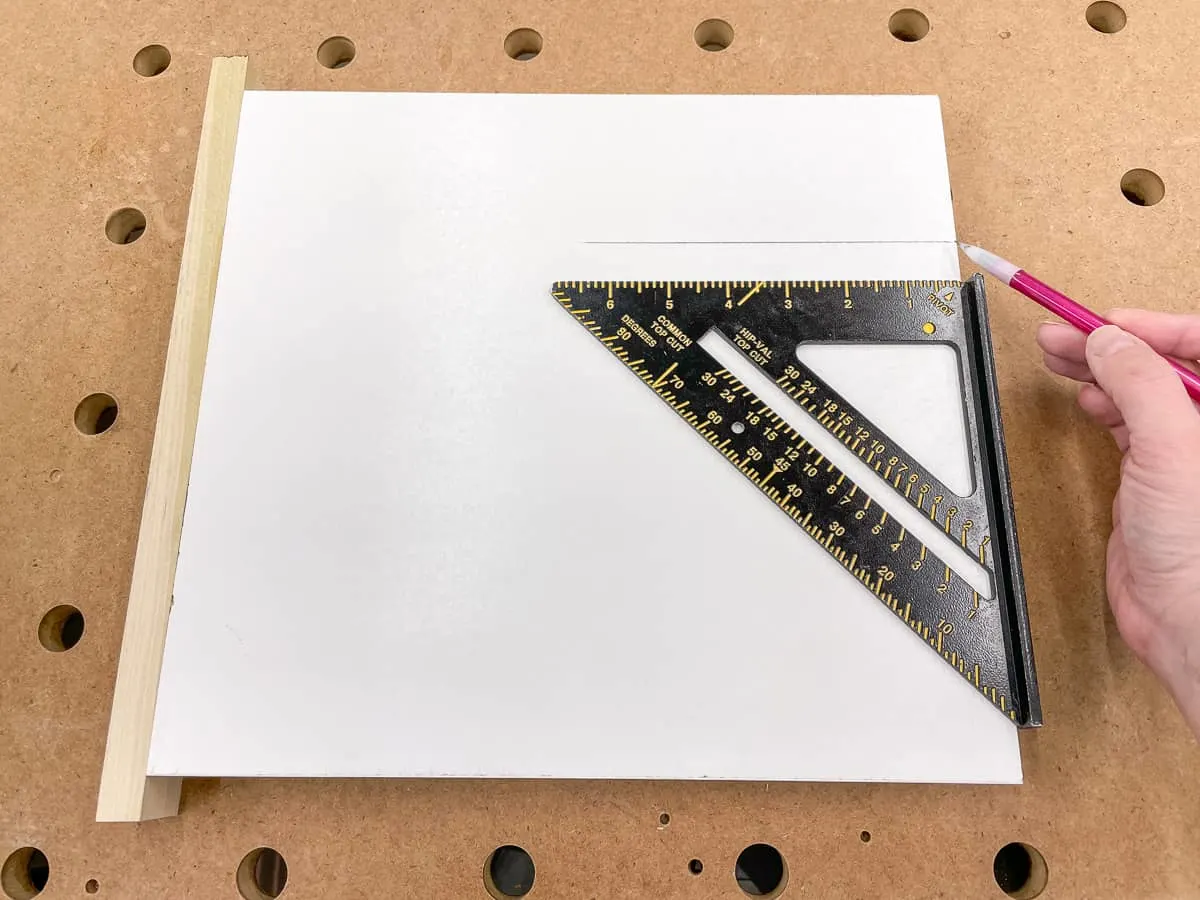
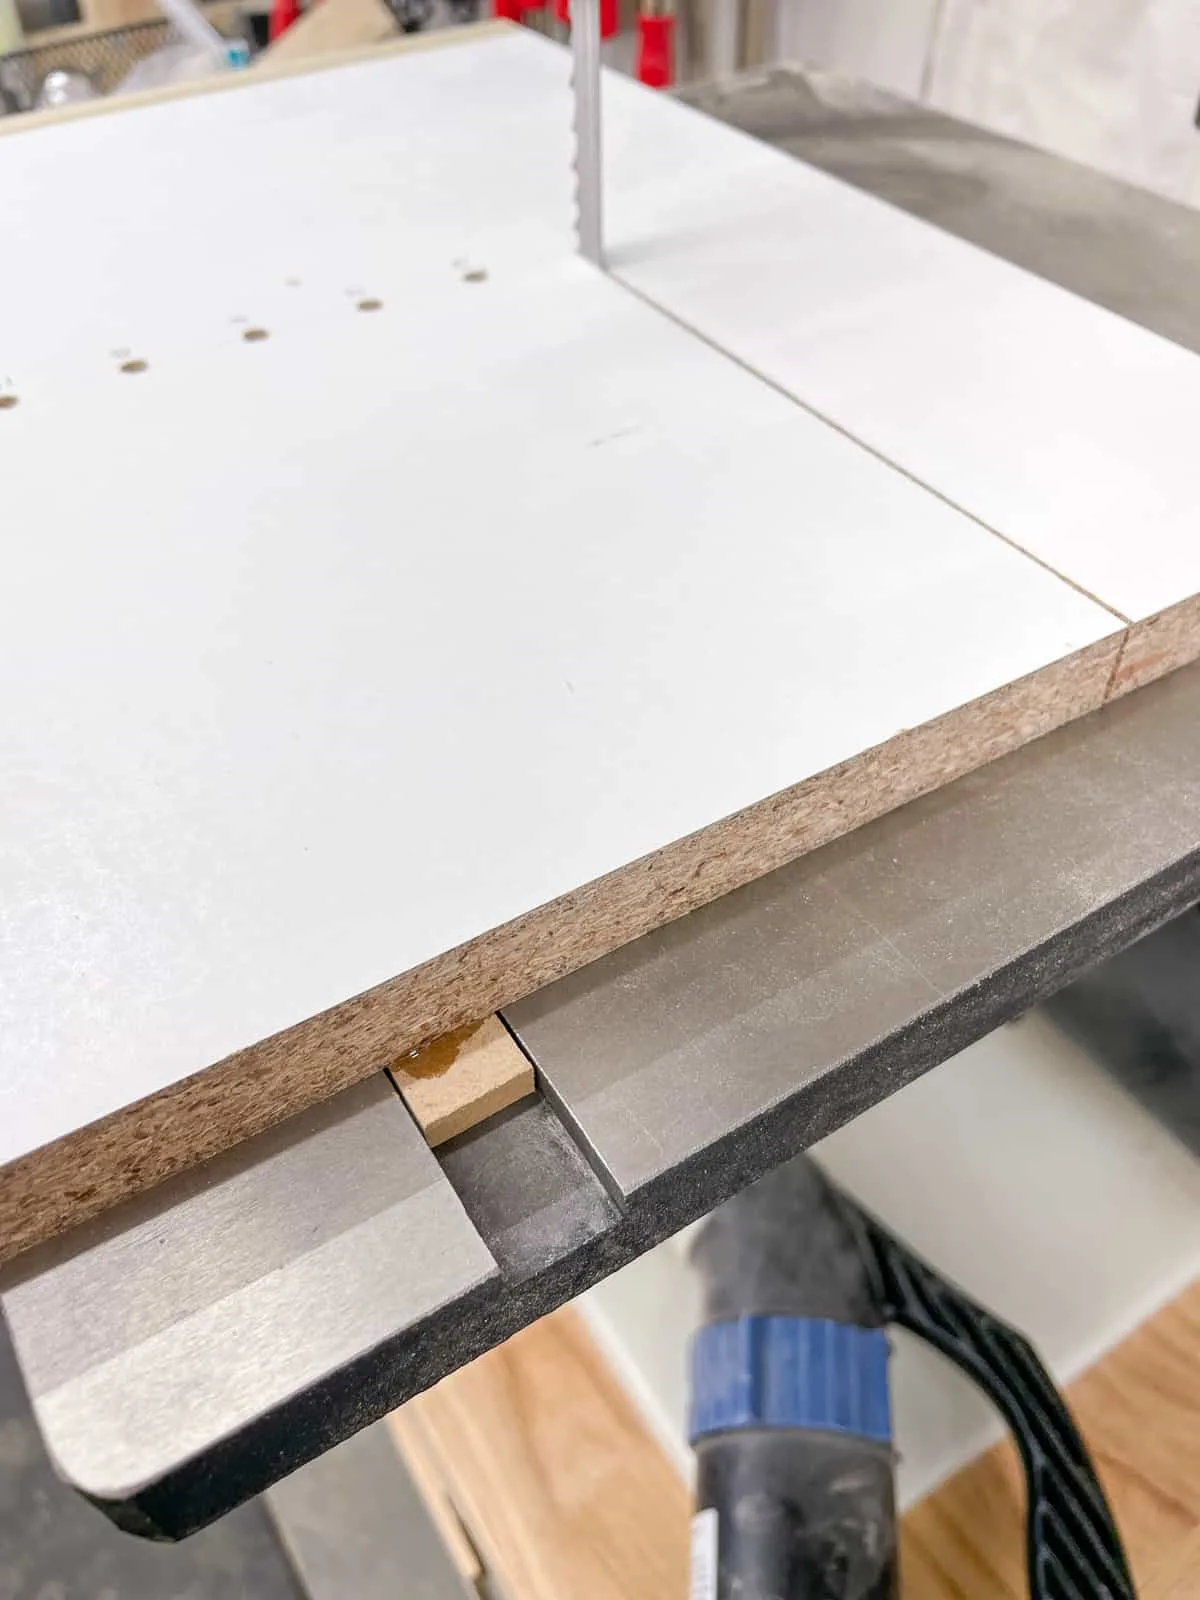
Cut the zero clearance slot
The zero clearance slot will prevent tearout on the underside of your circle and give you a cleaner cut. The blade will slide into the slot and stop when the back of the platform hits the band saw table edge.
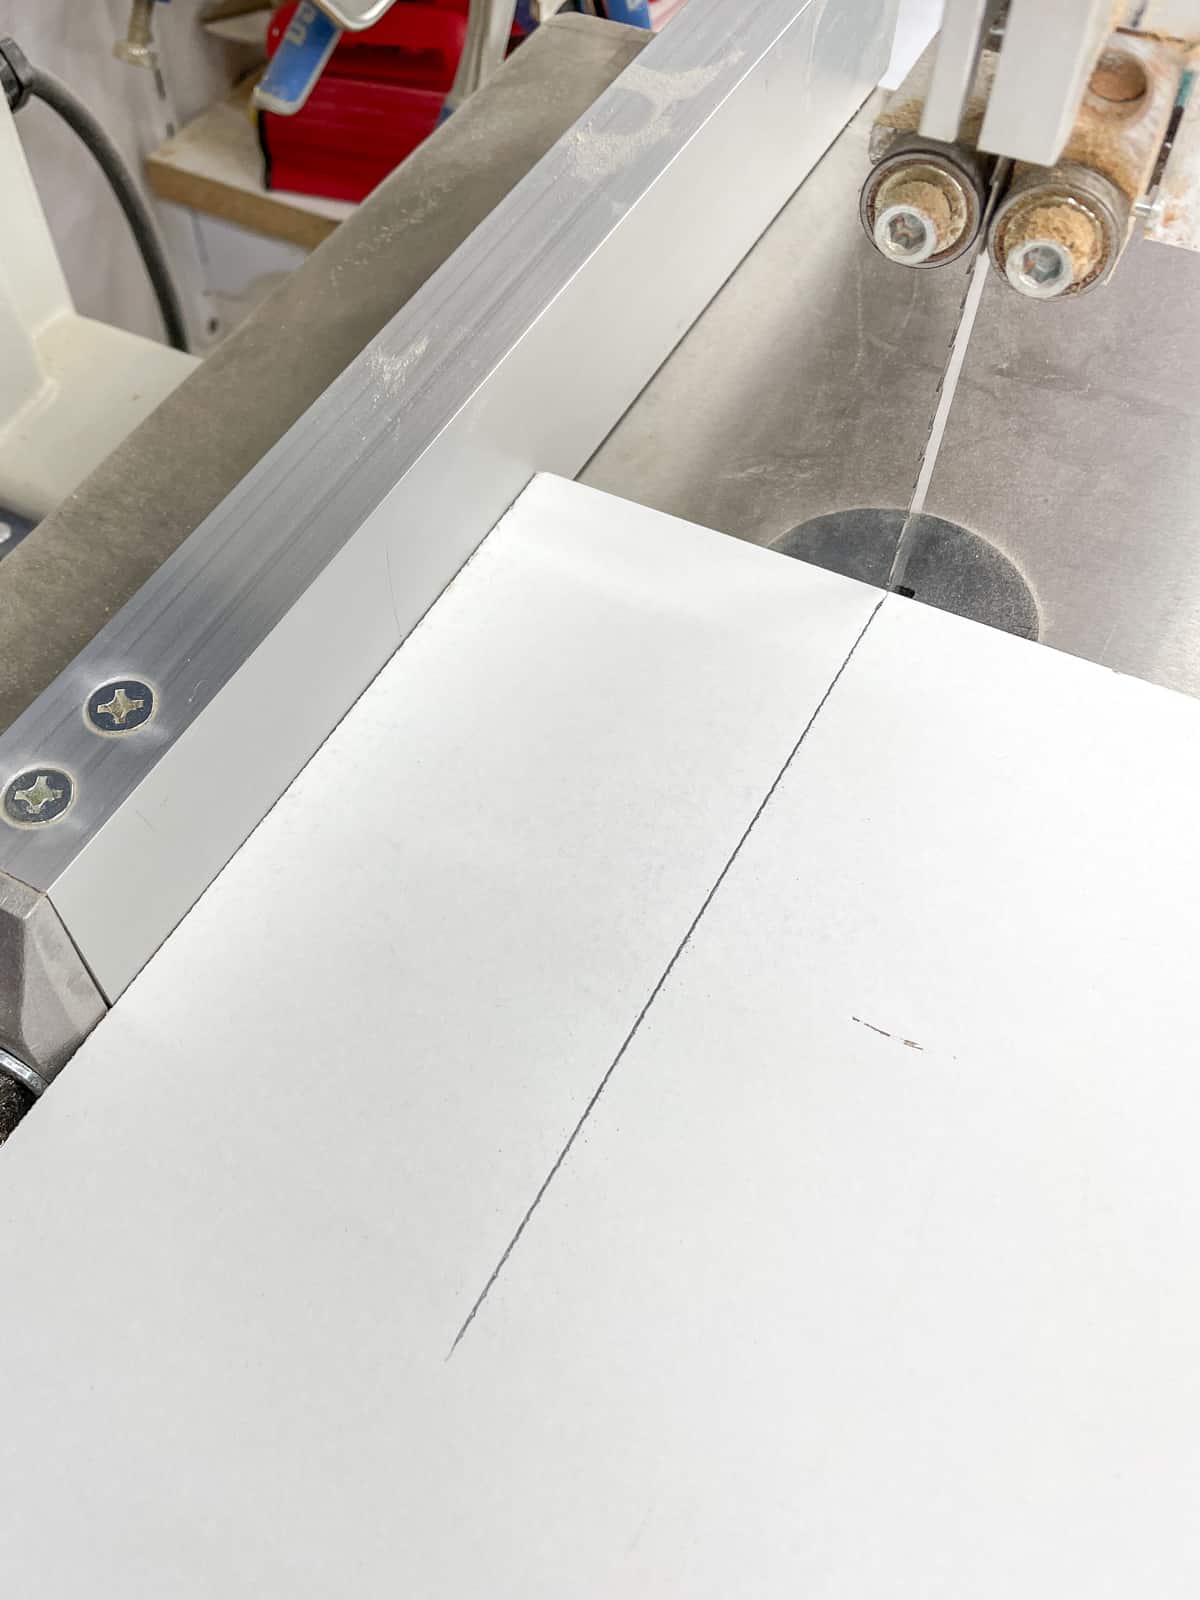
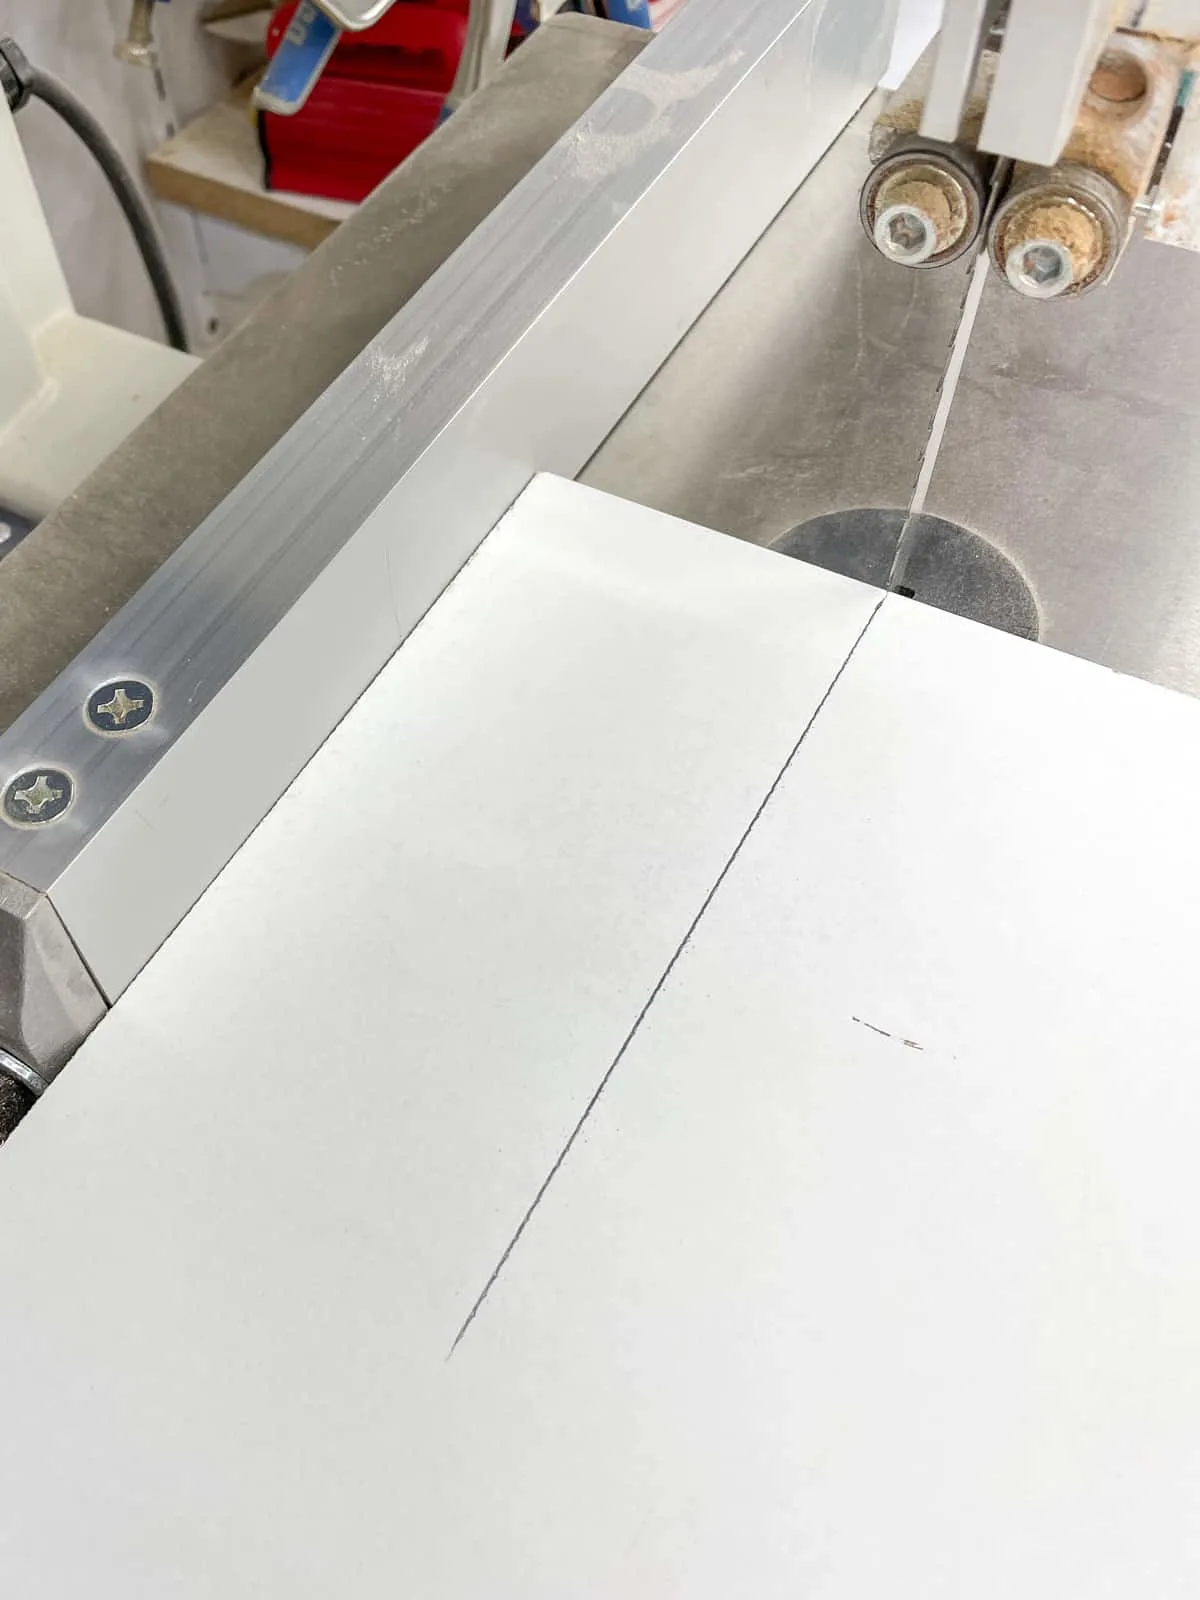
Measure 3 inches in from one edge of the platform, and mark a line with a square.

Set your band saw fence to 3 inches, and make sure the blade lines up with your mark.
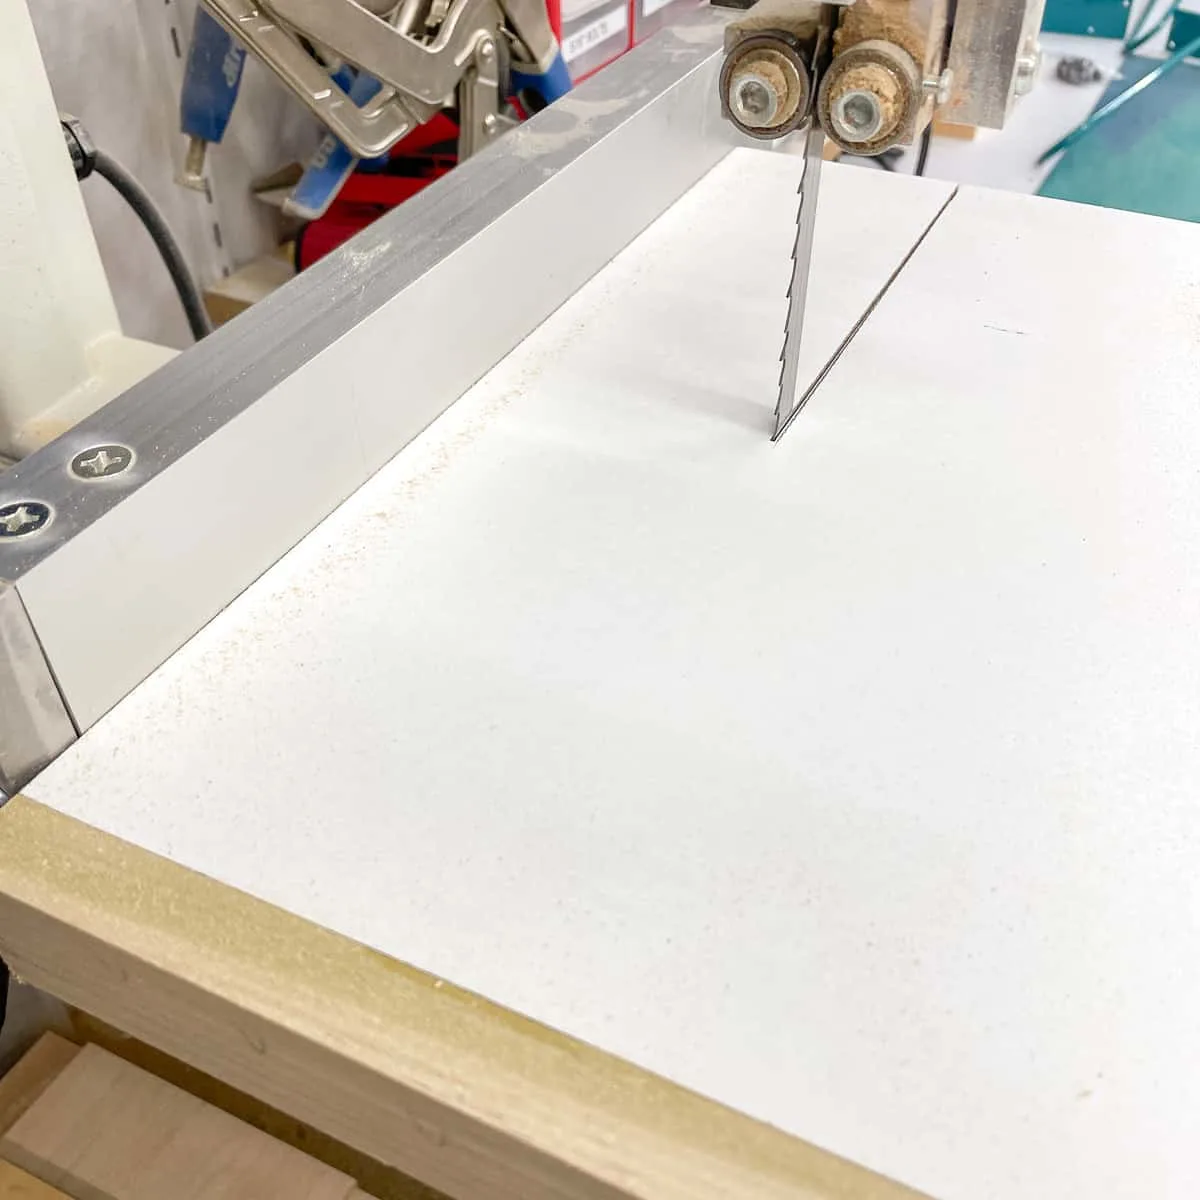
Turn on the band saw, and push the platform along the fence until the stop hits the table. Then you can turn off the saw and remove the platform.

Drill the pivot pin holes
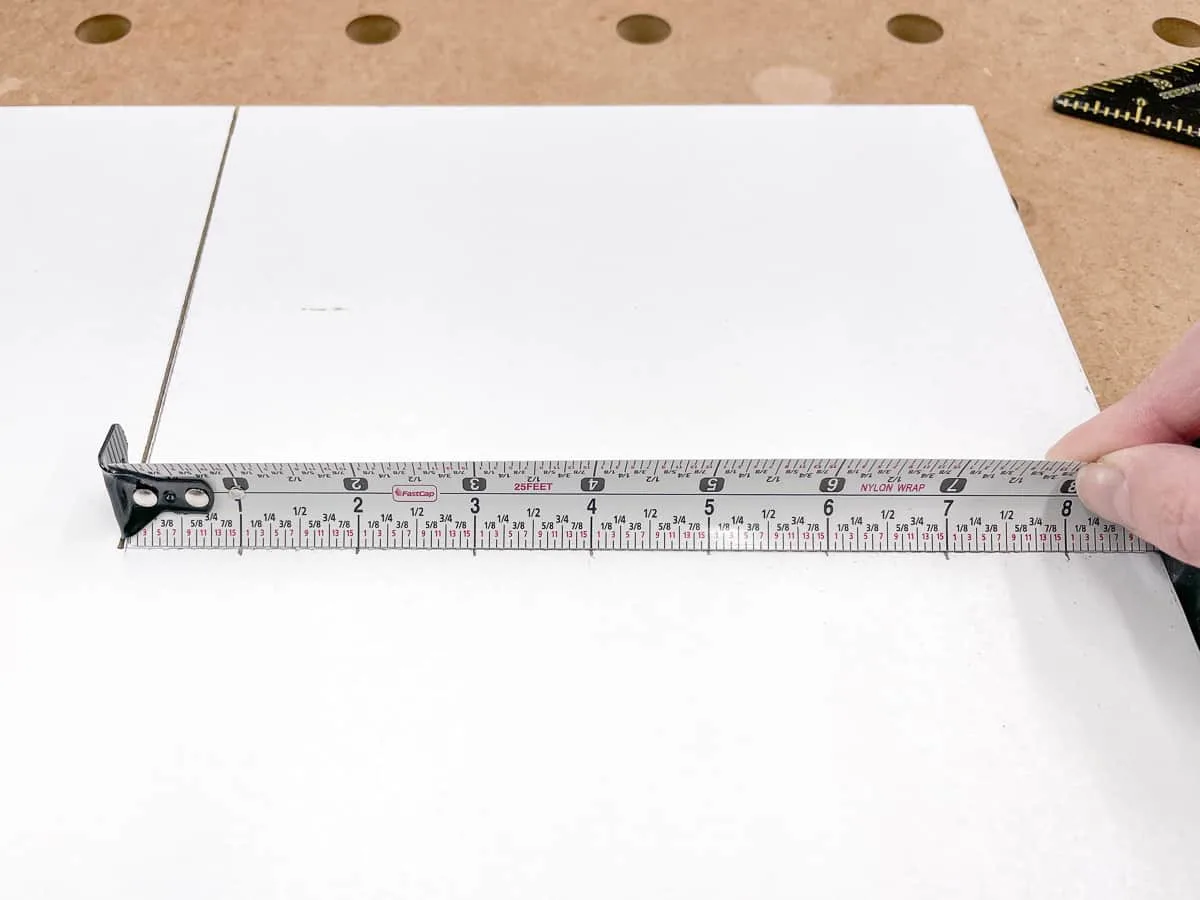
Now that you know where the blade will be, you can mark out the pivot points for your circle. Stick the tab of your measuring tape into the slot, and draw a mark at one inch intervals (or whatever dimension you want to use).

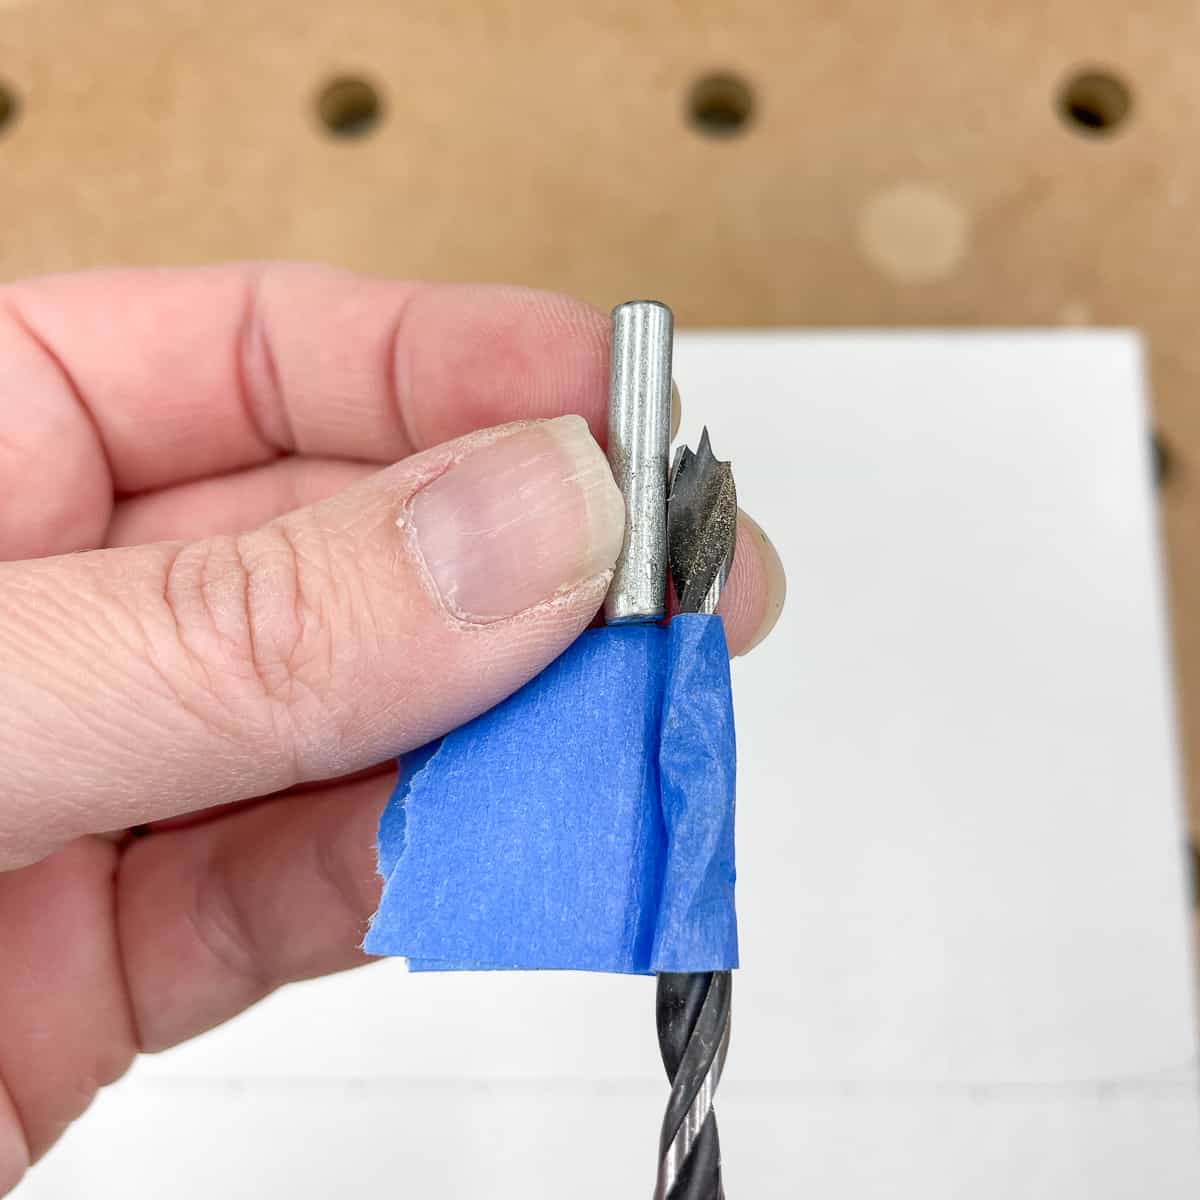
A brad point drill bit is preferred for these holes, because it won't wander on the slick surface and create inaccurate measurements. The drill bit should be the same diameter as your straight shelf pin. Use painter's tape to mark the halfway point of the shelf pin so you don't drill too far down.

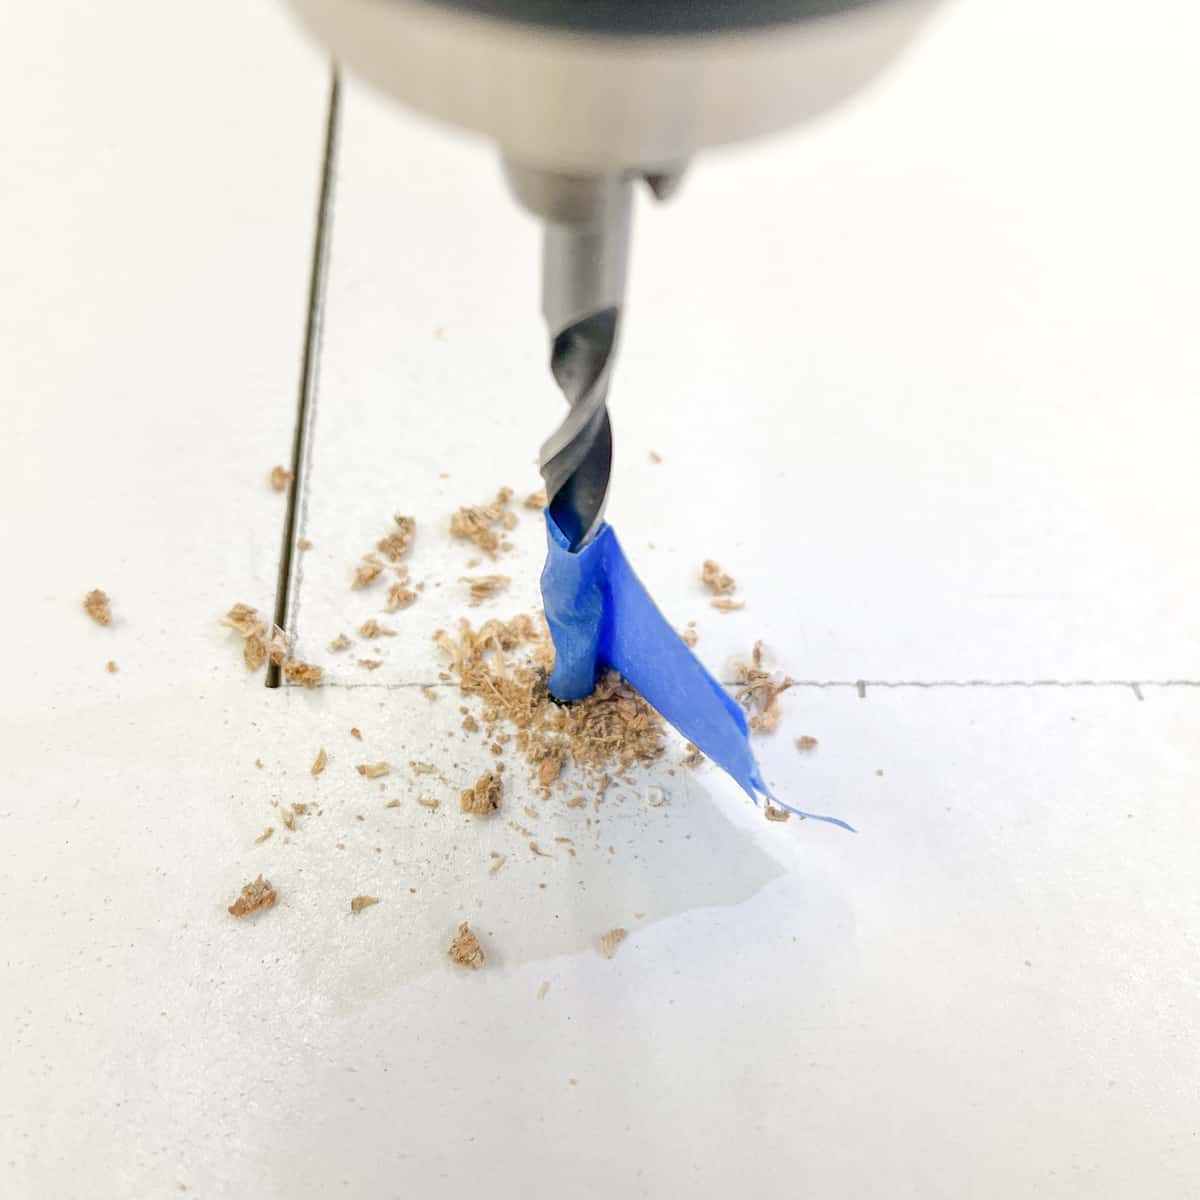
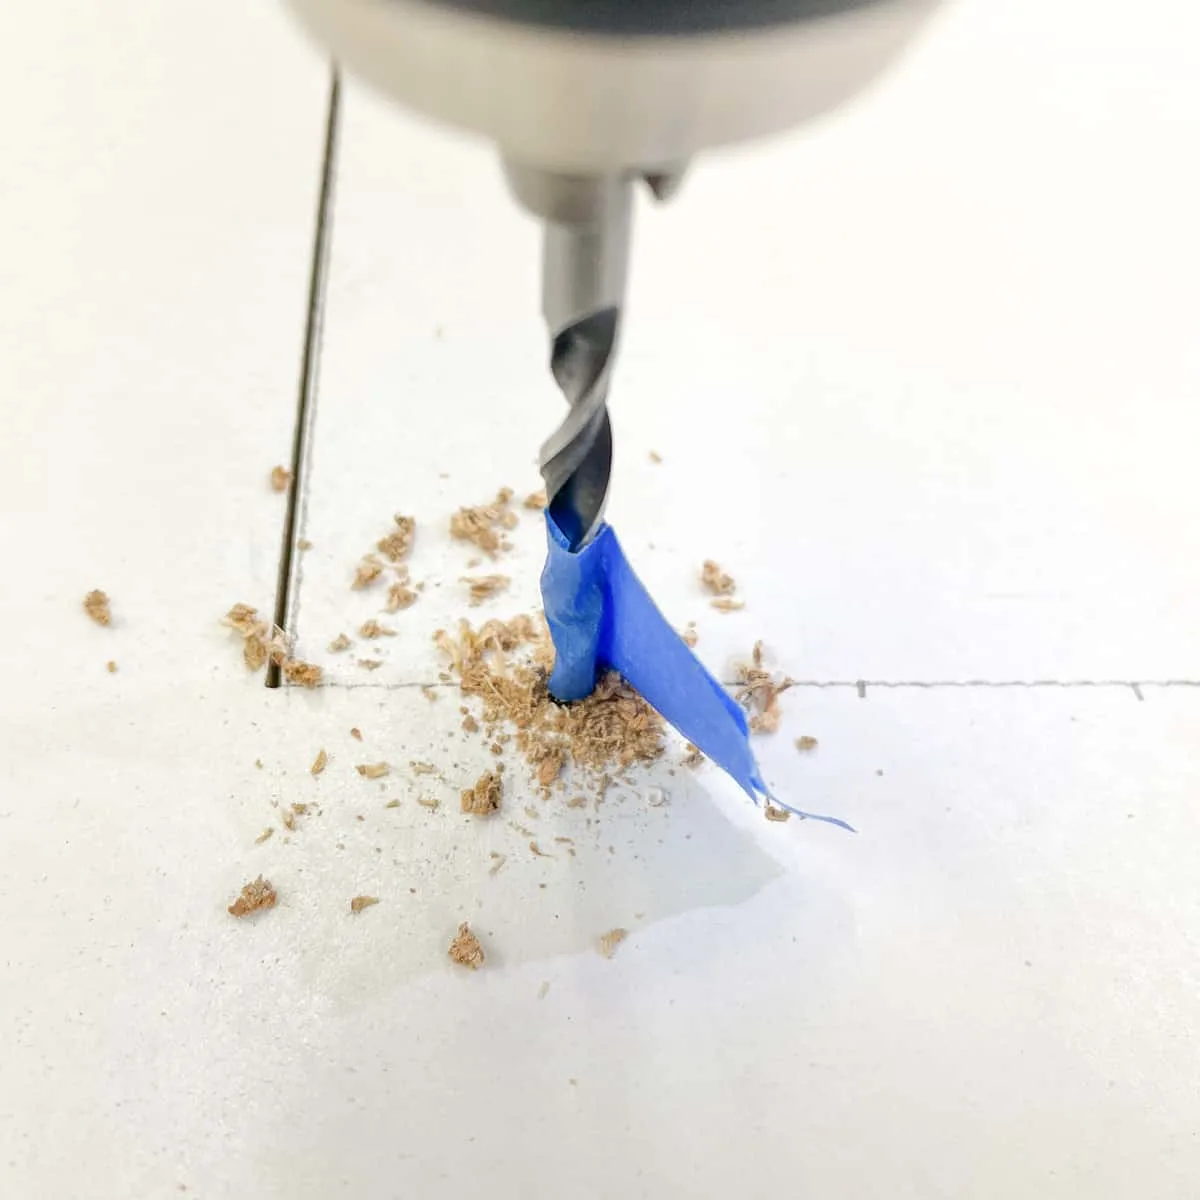
Drill a hole at each pivot point on the platform, stopping when the tape flag brushes away the sawdust. You could also use a drill press with a depth stop for this step.
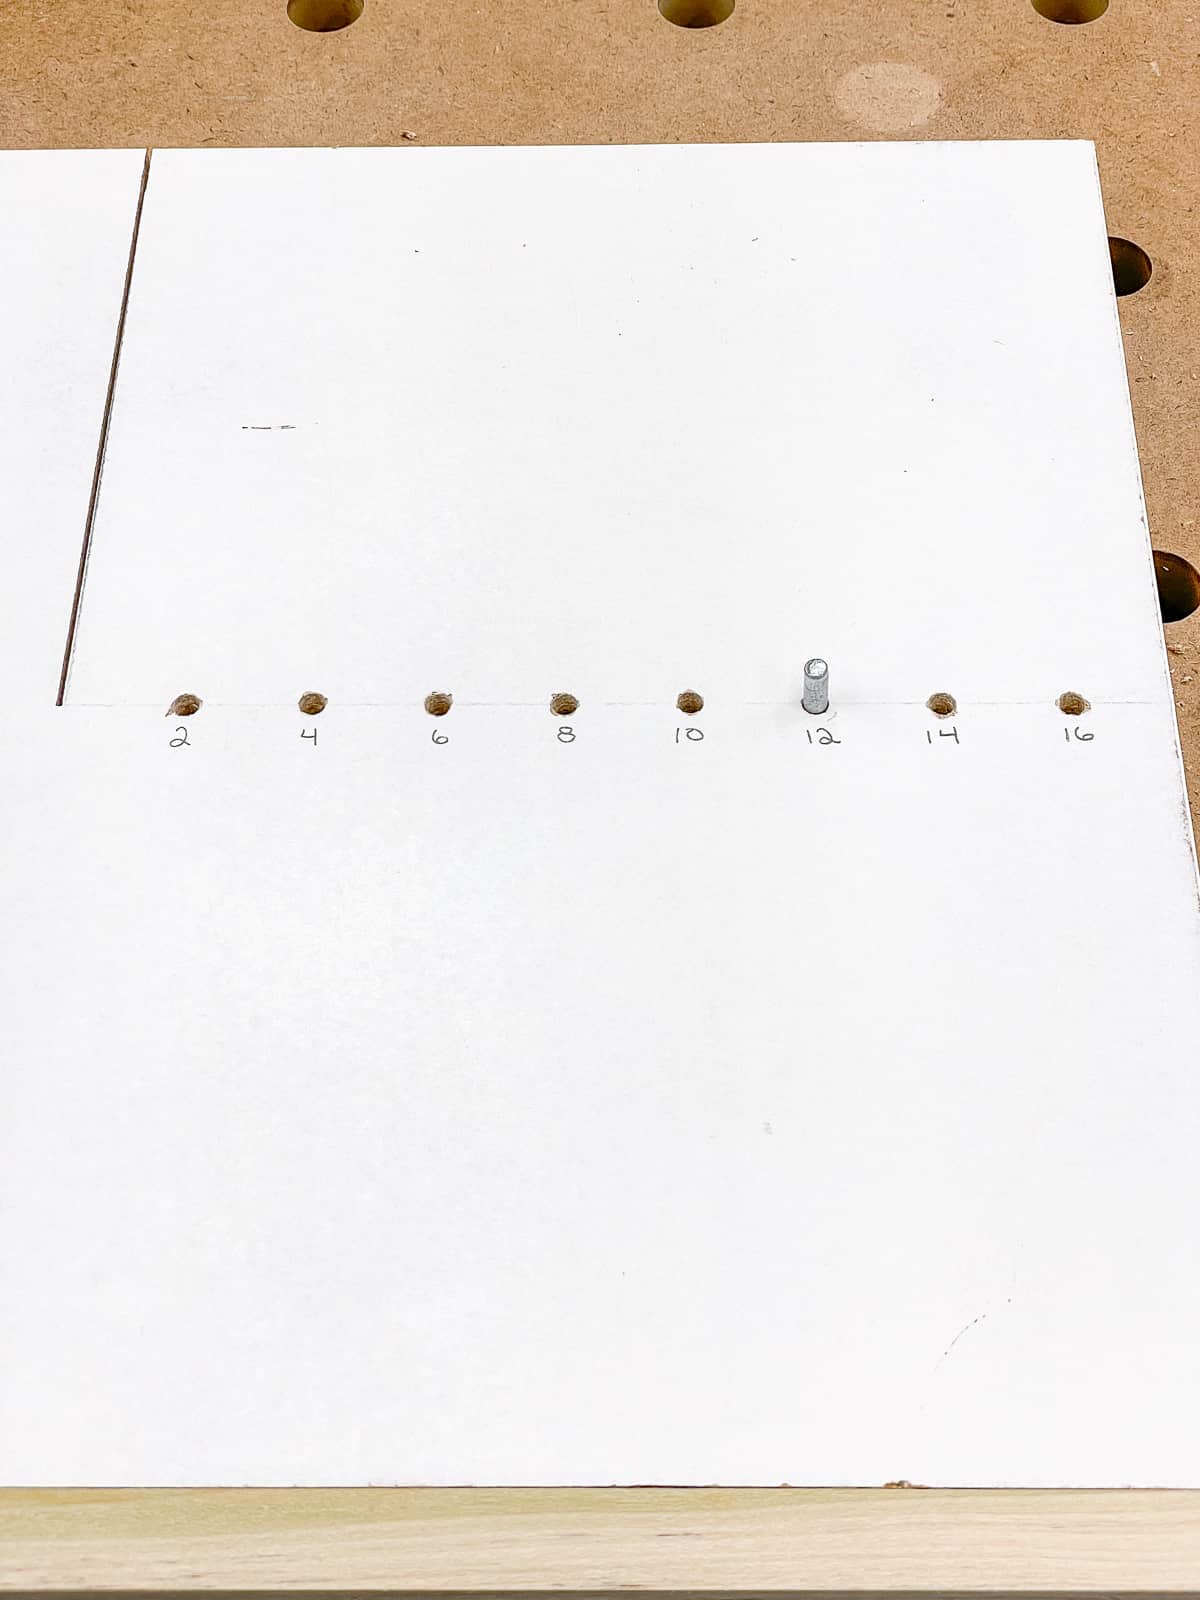
Label each hole with the diameter of the circle it will create. Remember that the pin will be in the center of the circle, so 1" from the blade will create a 2" circle. Test the fit to make sure the pin sits snug and straight in the holes.

Attach the runner
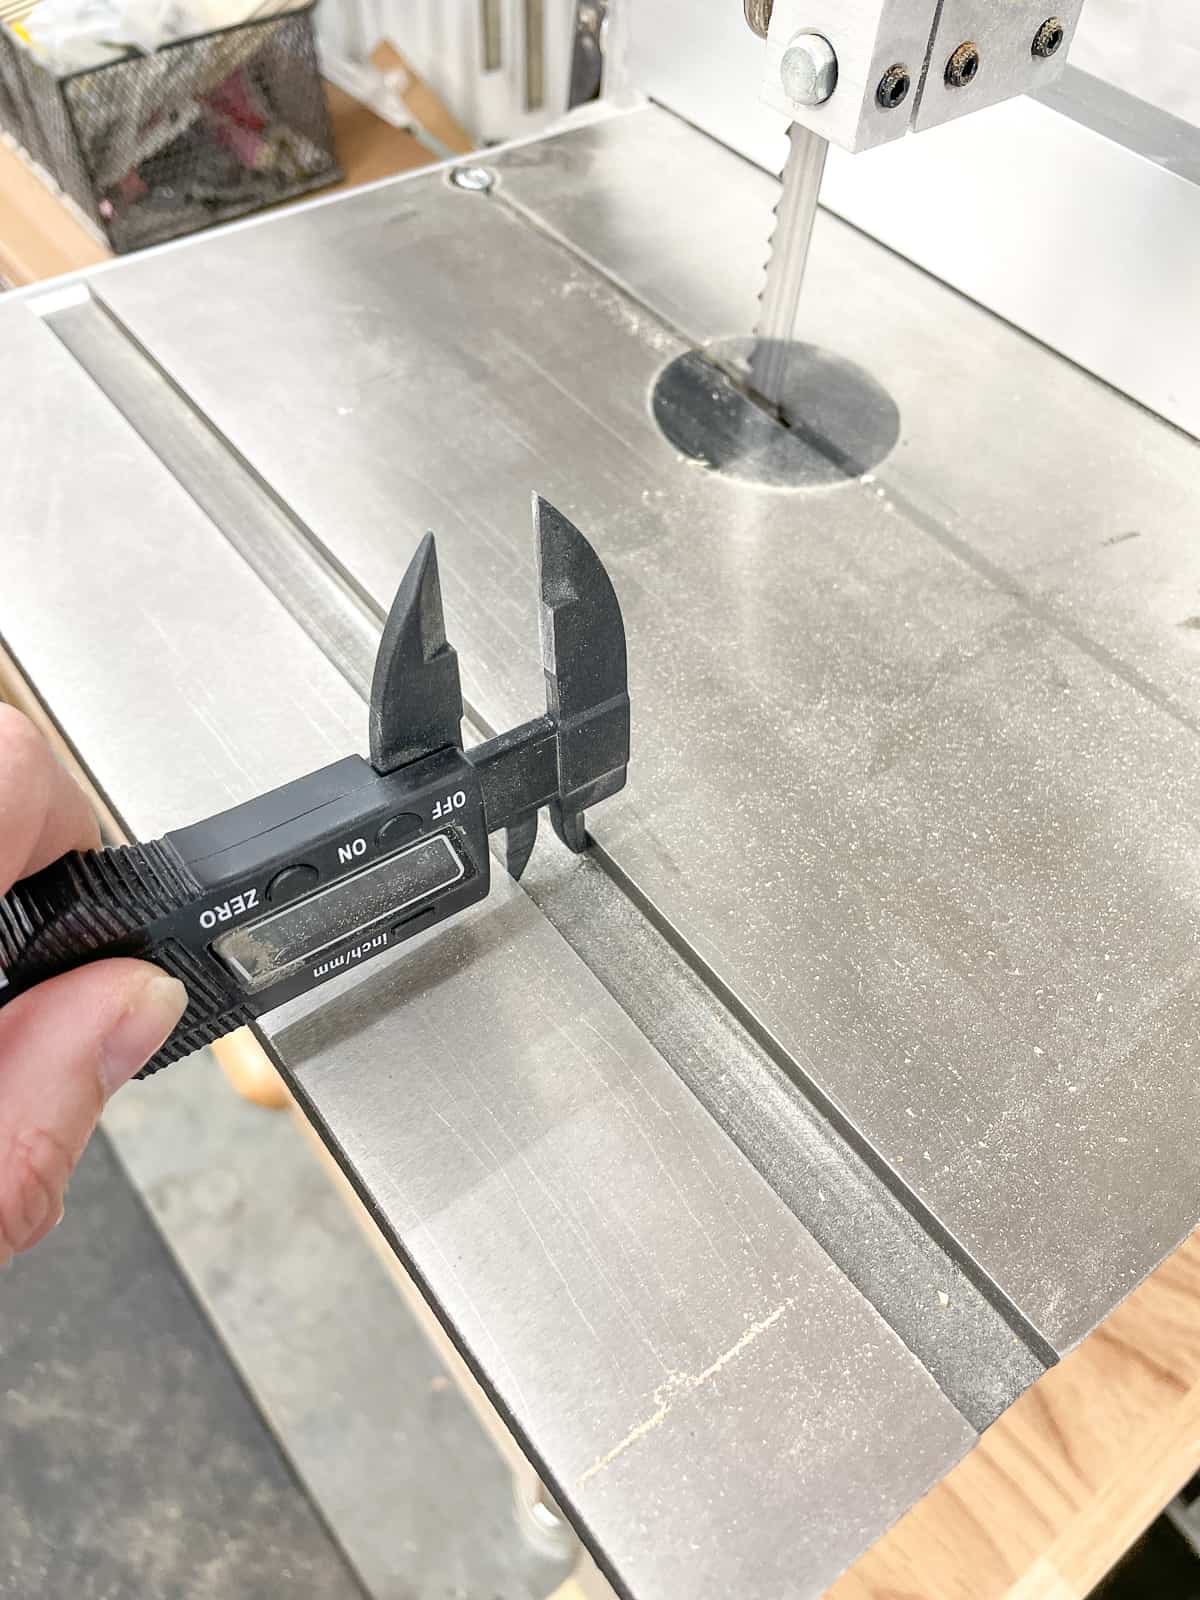
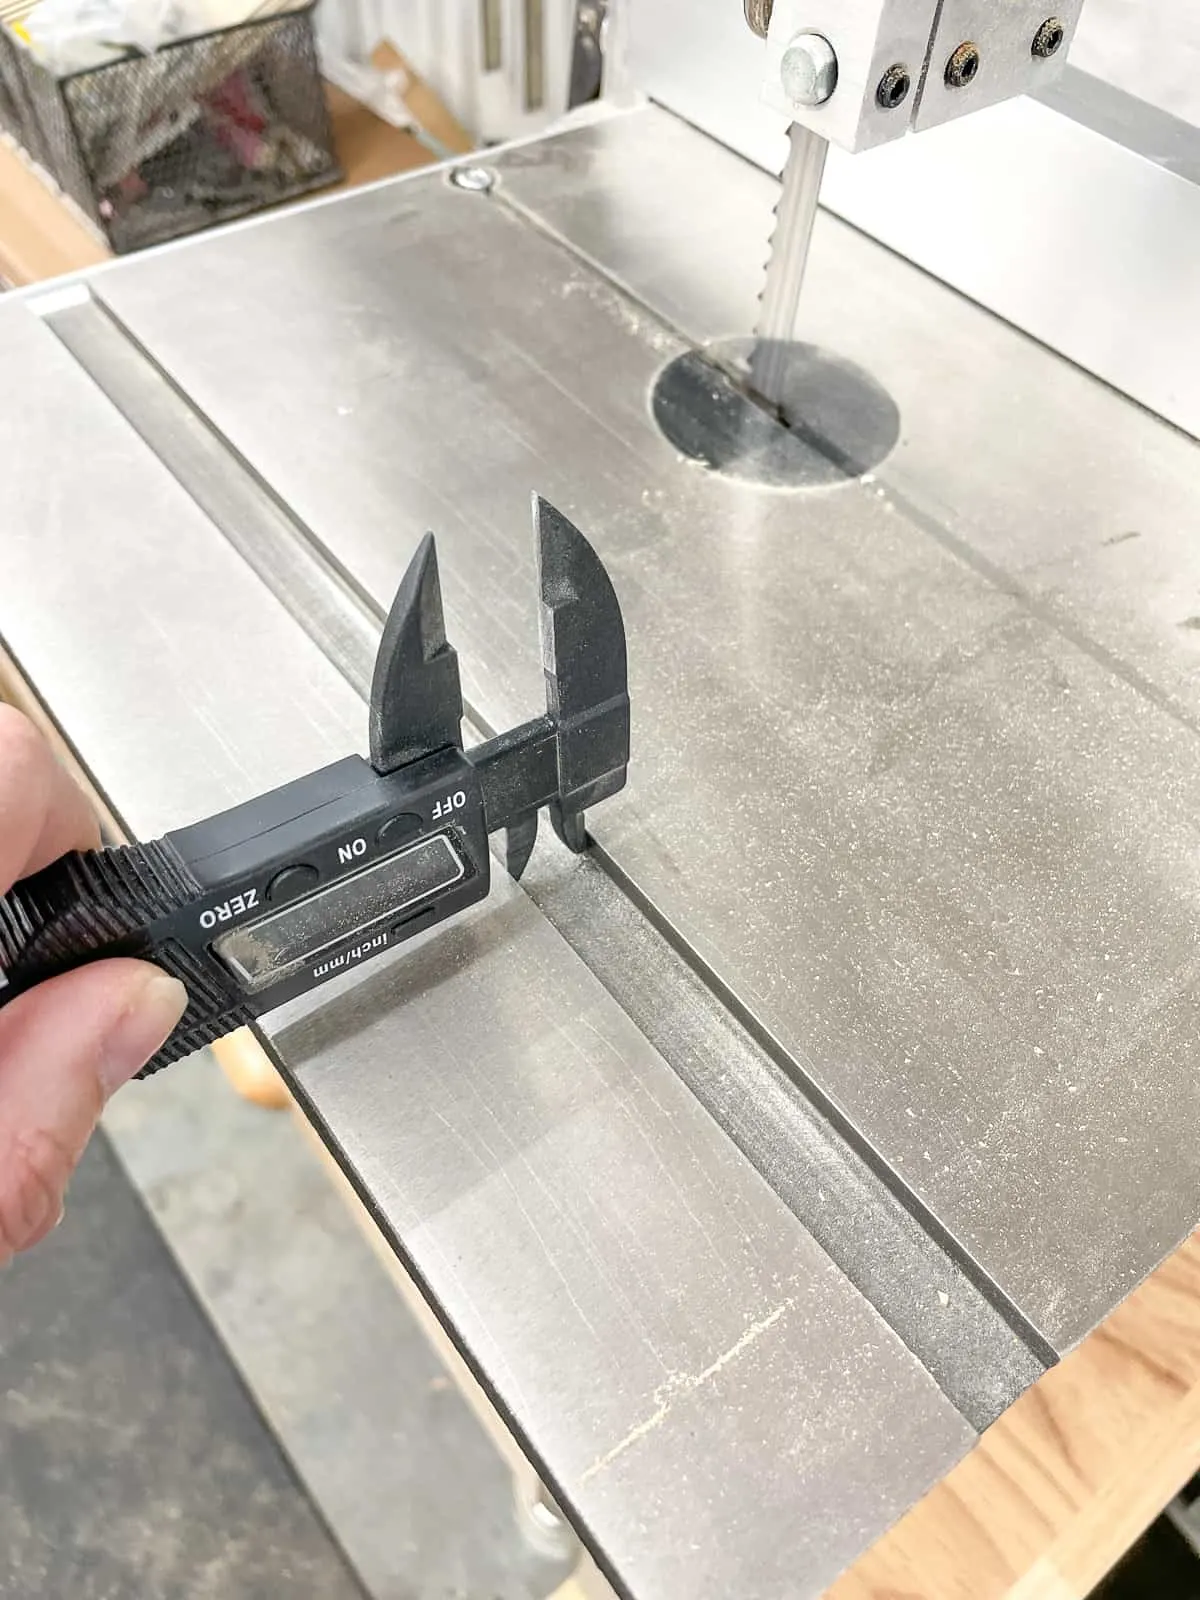
The runner will sit in the miter slot on the band saw table and prevent the jig from turning along with the circle. I used calipers to measure the inside of the slot, but a regular measuring tape would do. Make sure to measure the depth of the slot as well.
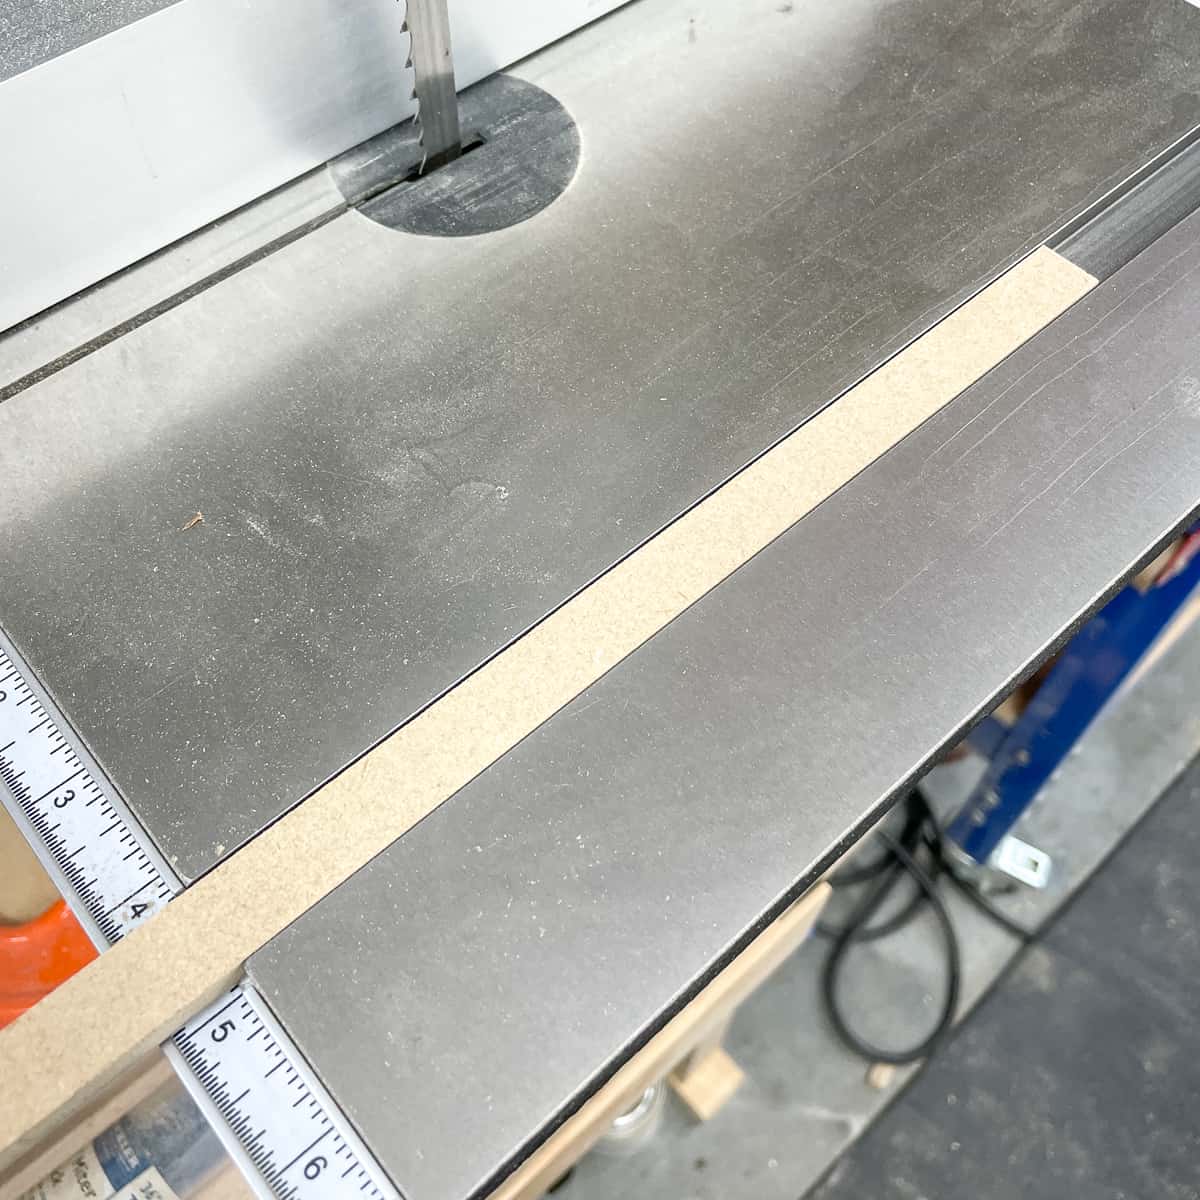
Cut a strip of wood to the same dimensions as the slot. I used ¼" MDF because it was the perfect thickness and I was in a rush, but hardwood is a much better choice. The runner should slide smoothly in the groove without any side to side movement.

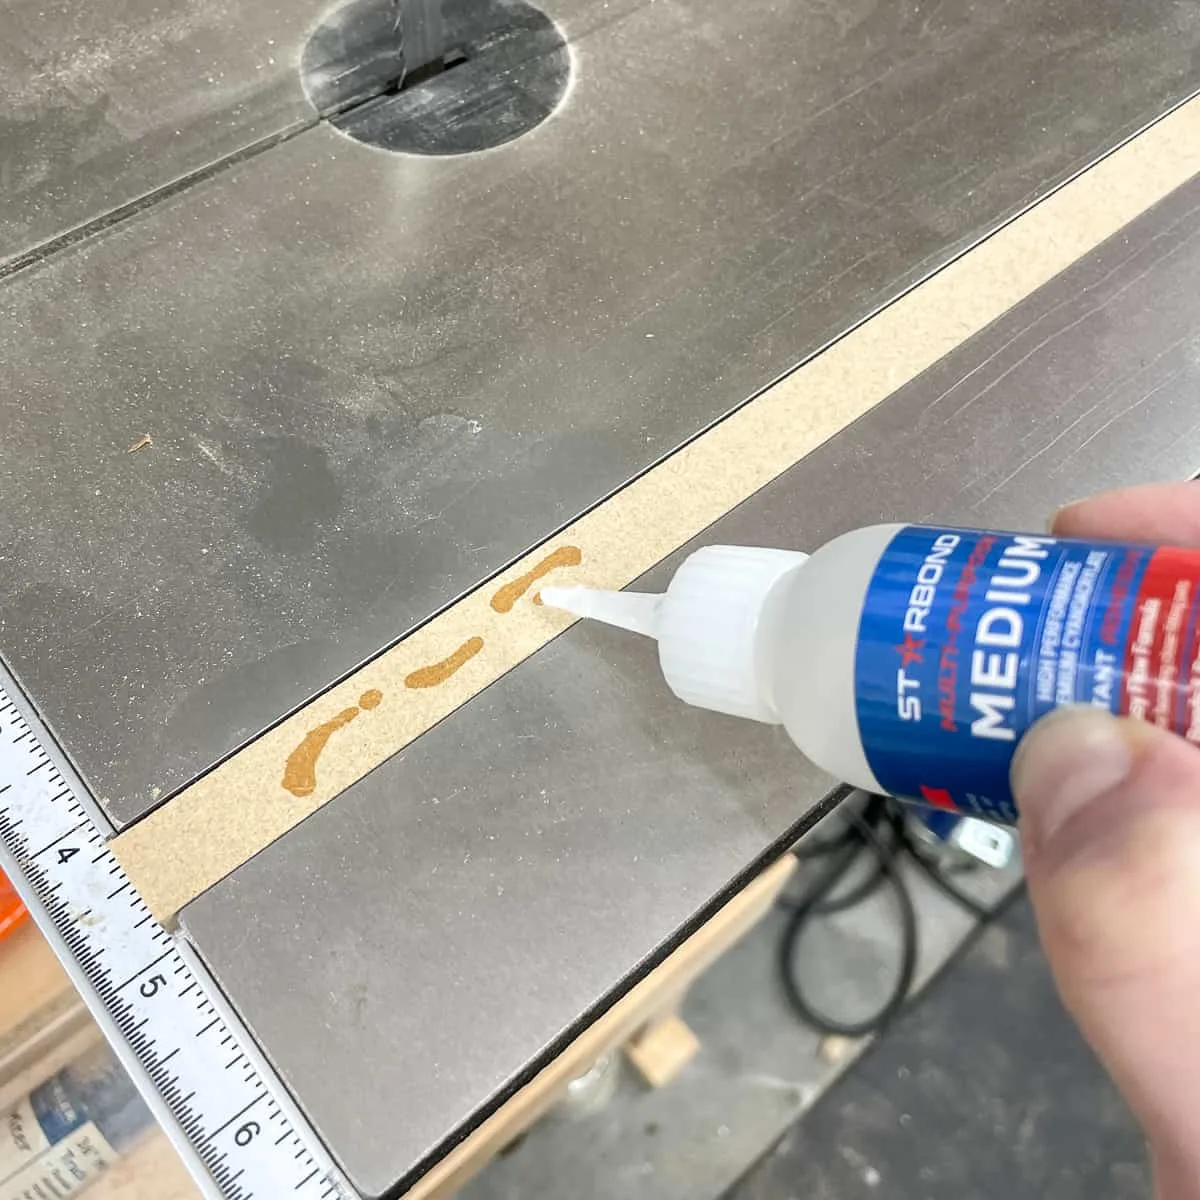
Apply a few dabs of CA glue to the top of the runner, and spray CA glue accelerator on the underside of the bandsaw circle jig.

Slide the blade into the slot of the jig, without the platform touching the band saw table. When the glue touches the accelerator, they will instantly bond, so make sure to keep the two halves apart until you have everything aligned!
When the blade is at the end of the slot and the back stop is against the table, carefully lower the platform down onto the glued up runner.

Carefully pull the jig back out and check that the runner is square to the edge. Mine was a little crooked the first time, so I pried it off, flipped it over and tried again.


Once it's in the correct place, you can attach it more firmly with brad nails.
Drill the pivot pin hole for the wooden circle
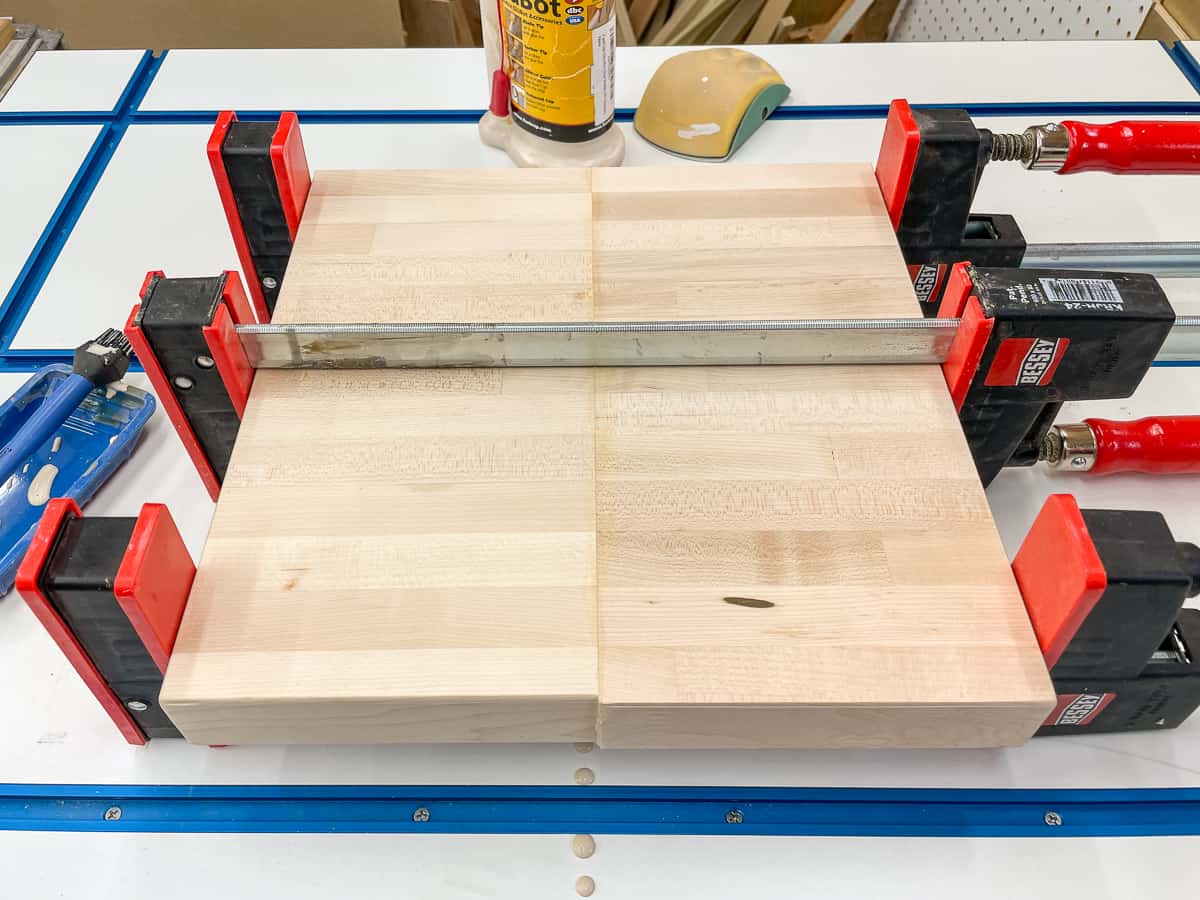
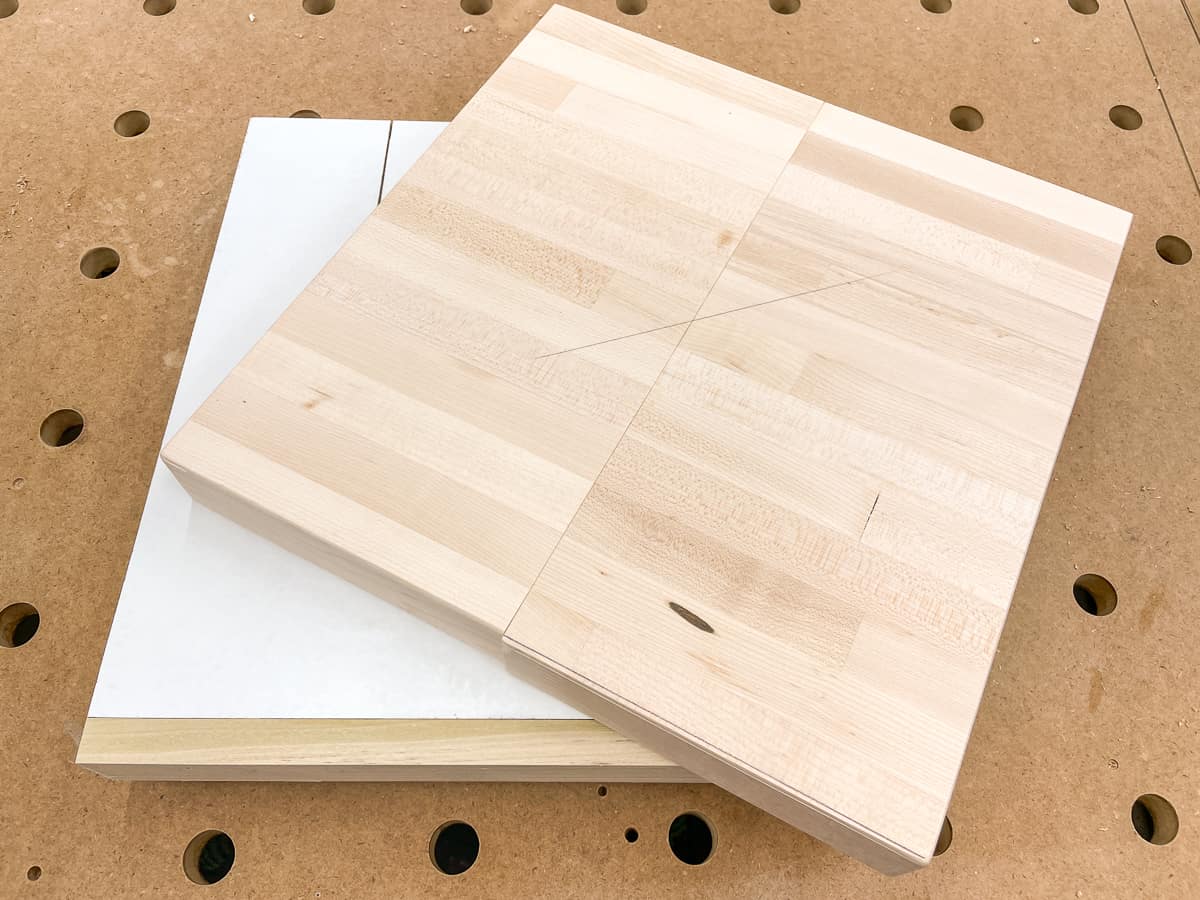
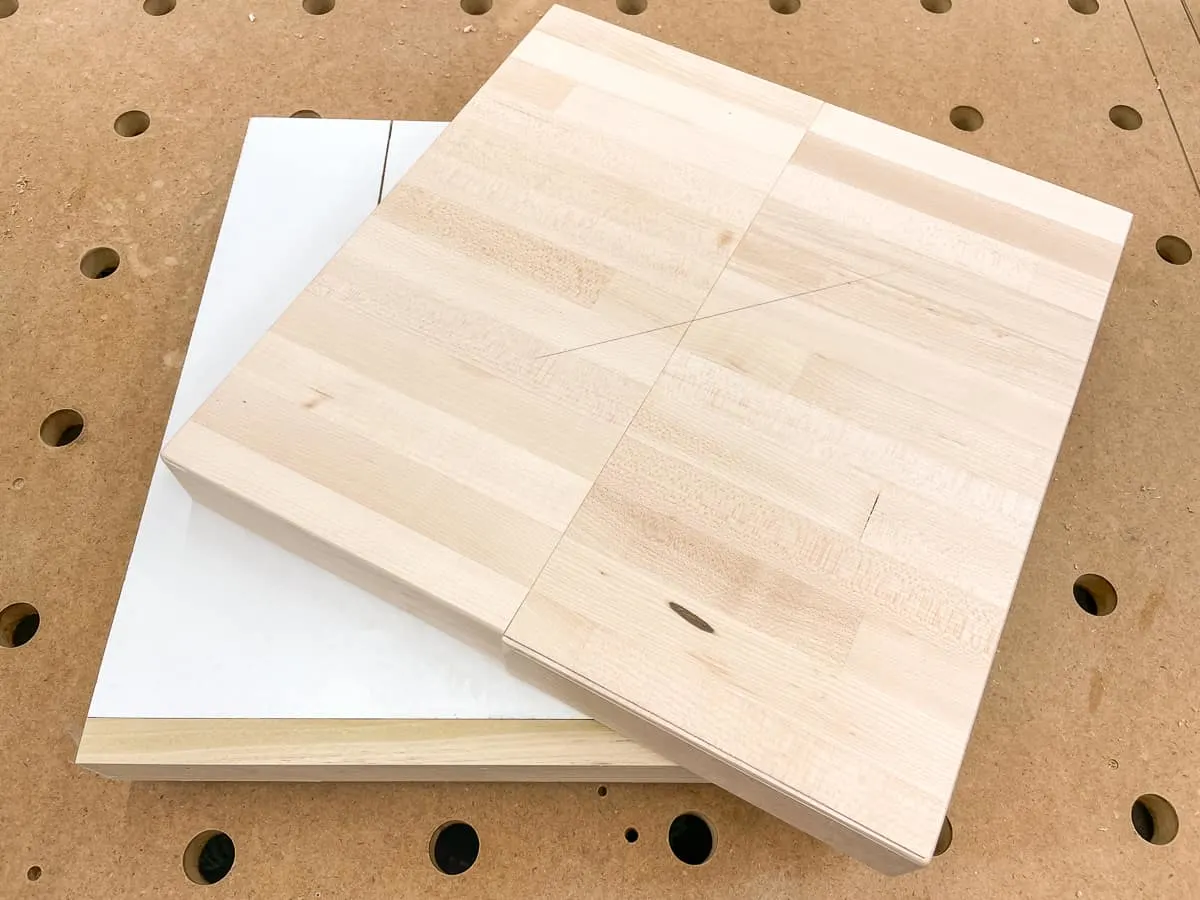
I had a narrow strip of maple left over from our butcherblock countertop laying around the shop that was perfect for a small wooden circle. I cut it in half and glued the two halves together to form a square approximately 12" x 12".

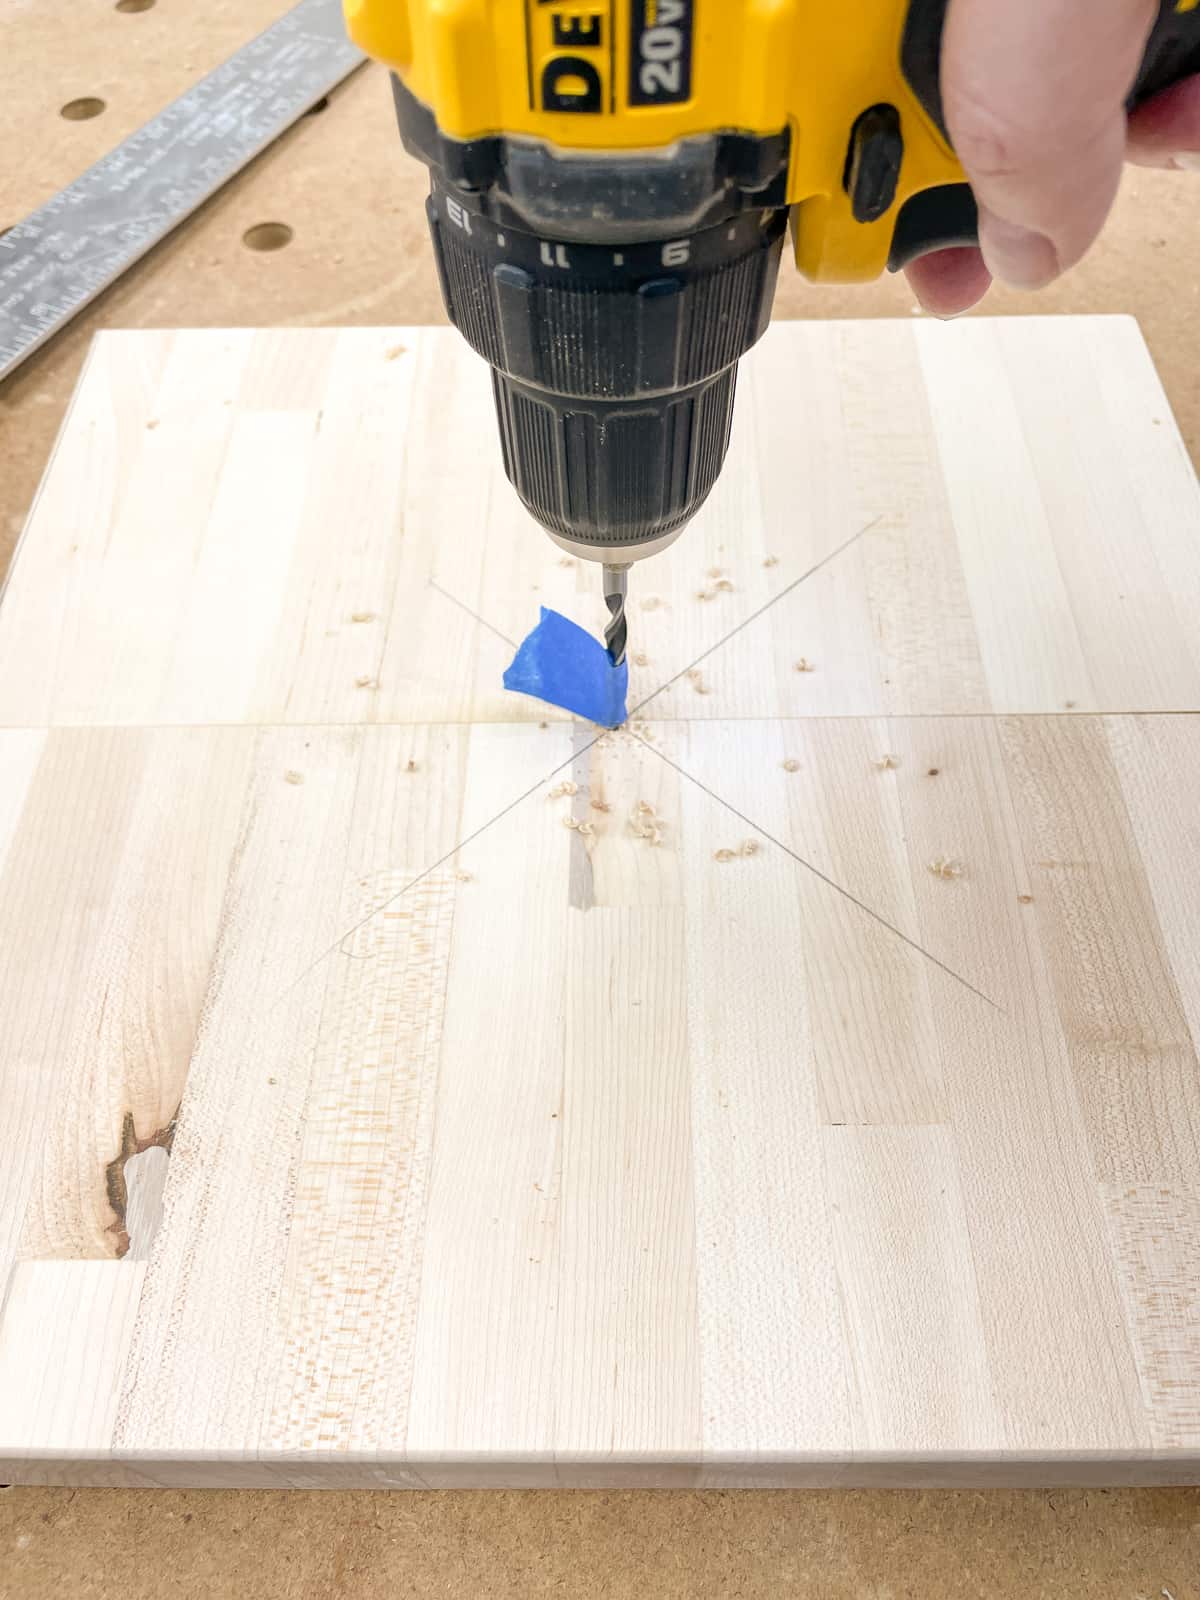
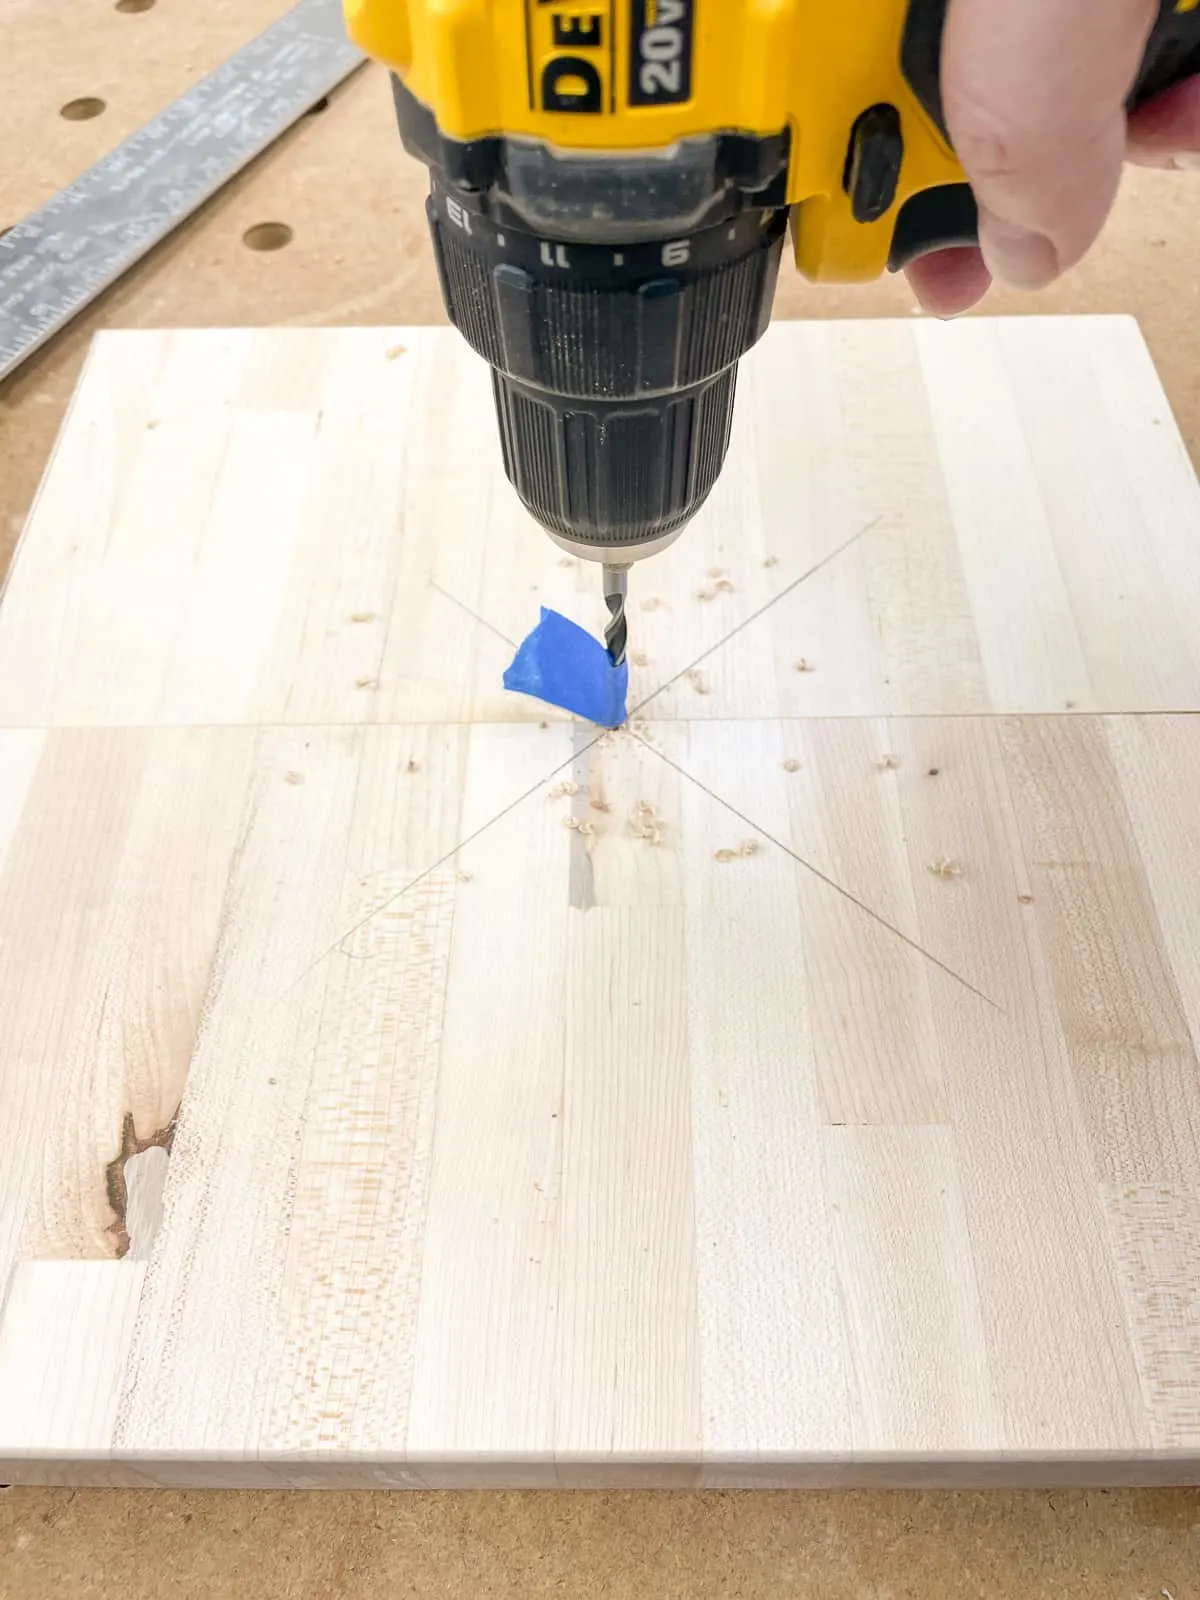
To find the center, draw diagonal lines from corner to corner. Where they meet, drill a hole with the same drill bit you used for the bandsaw circle jig pivot points. Make sure to do this on the underside where the hole won't be seen.
Place the shelf pin into the hole in the jig that matches the diameter you want to cut. Then place the wood onto the pin at the hole in the middle.
Cut out the circle at the band saw
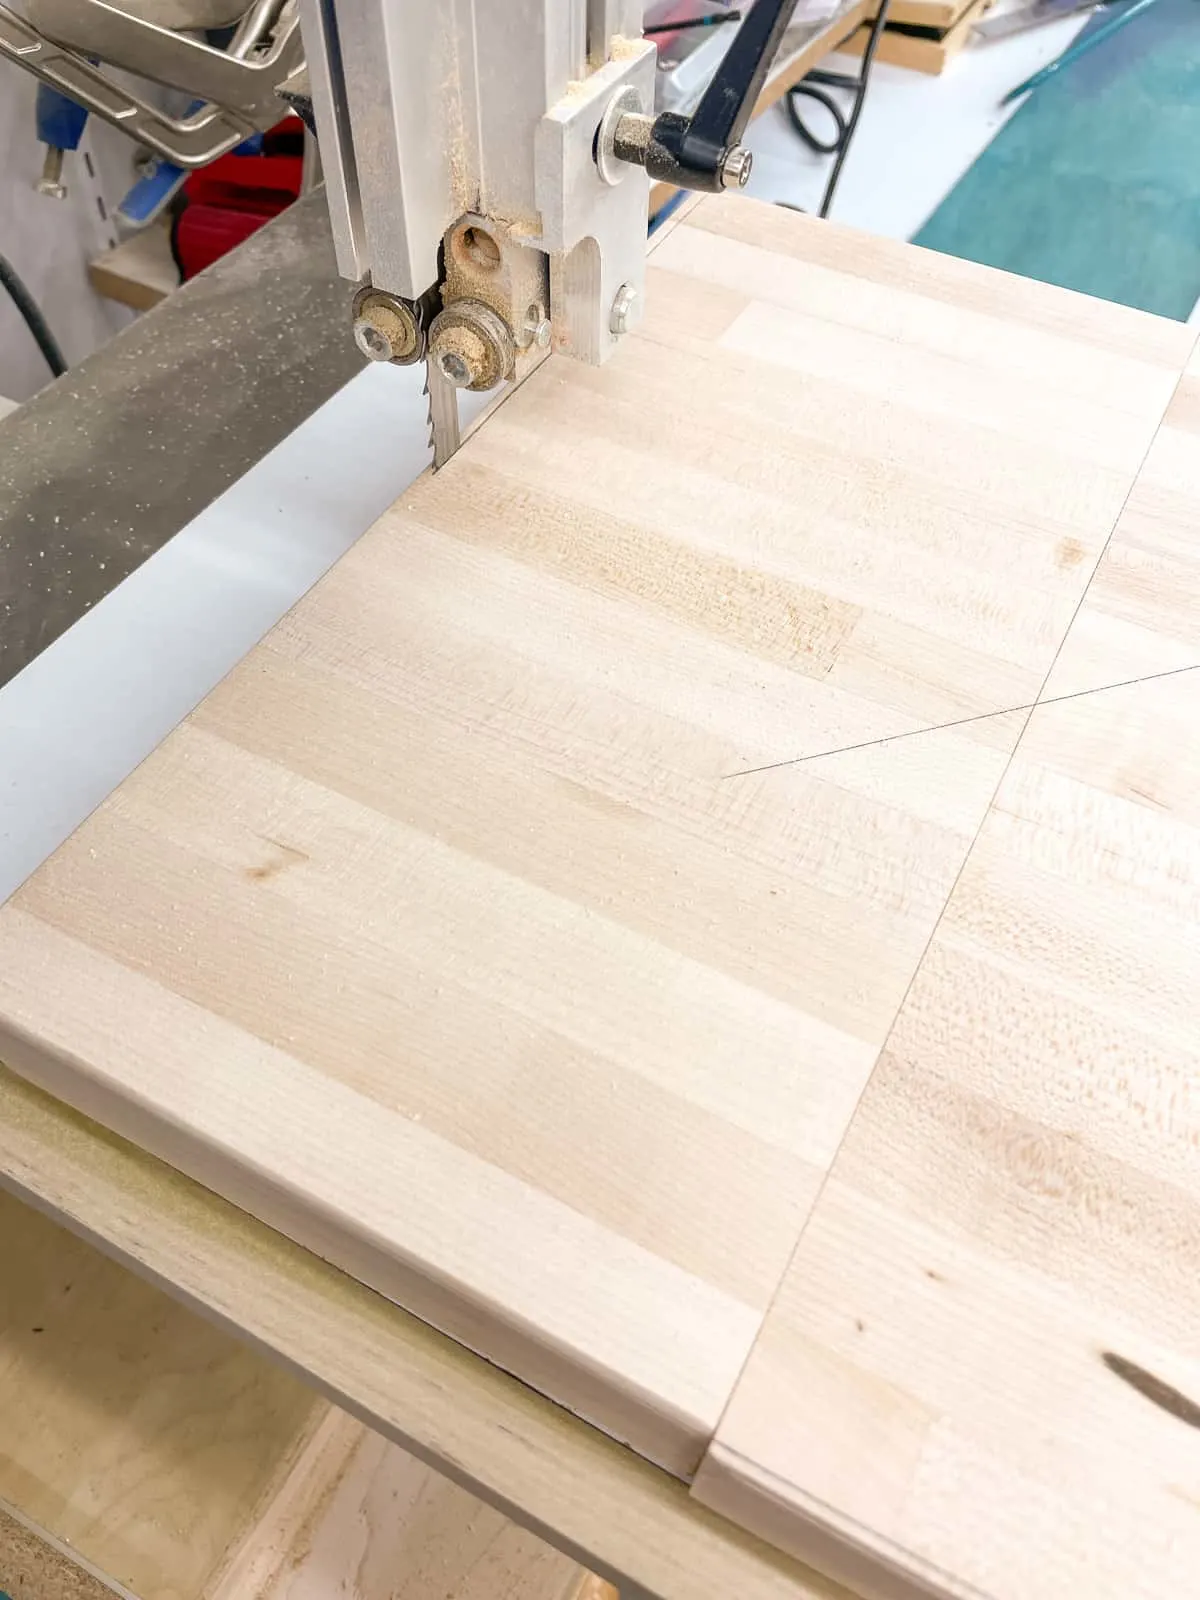
Slide the circle cutting jig with the wood on top onto the band saw table with the runner in the slot. Keep the cut straight until the stop under the platform hits the edge of the table.

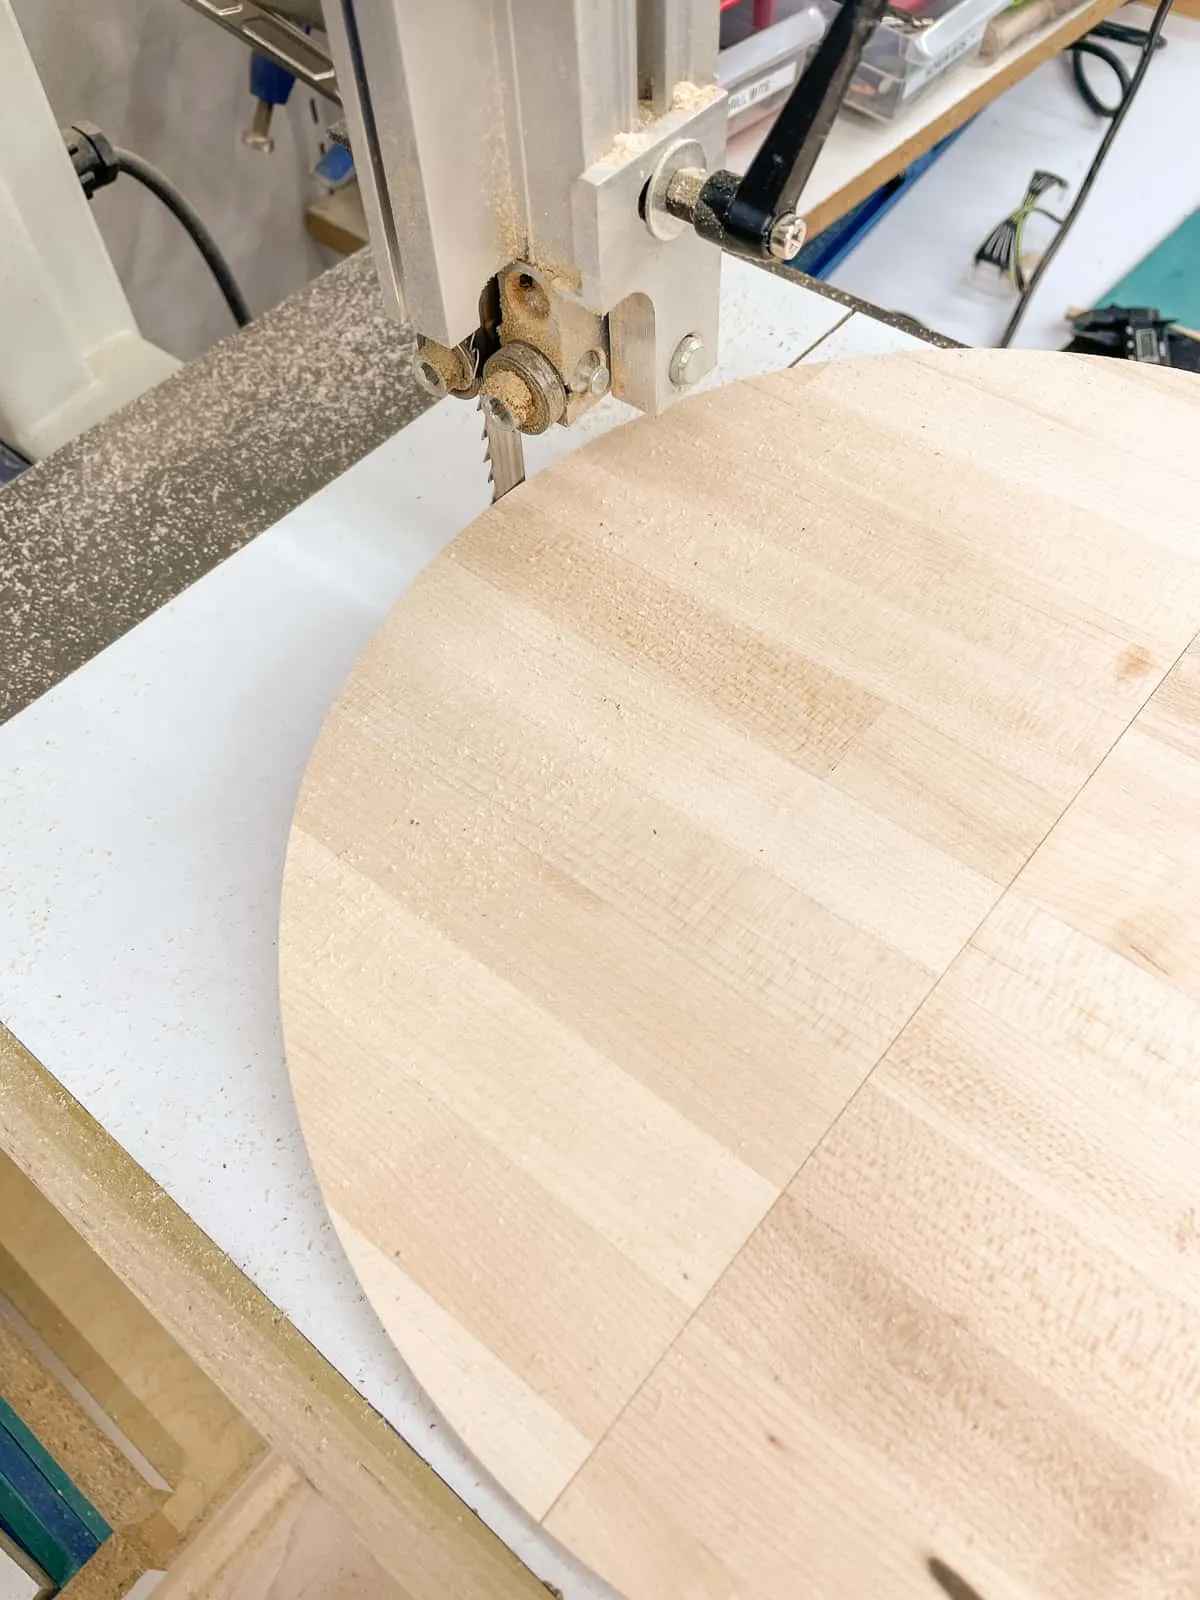
Slowly rotate the board on the pin into the blade. This hard maple was almost too much for my tiny band saw, but as long as I kept a slow pace and didn't force the wood through, it didn't bog down too much.

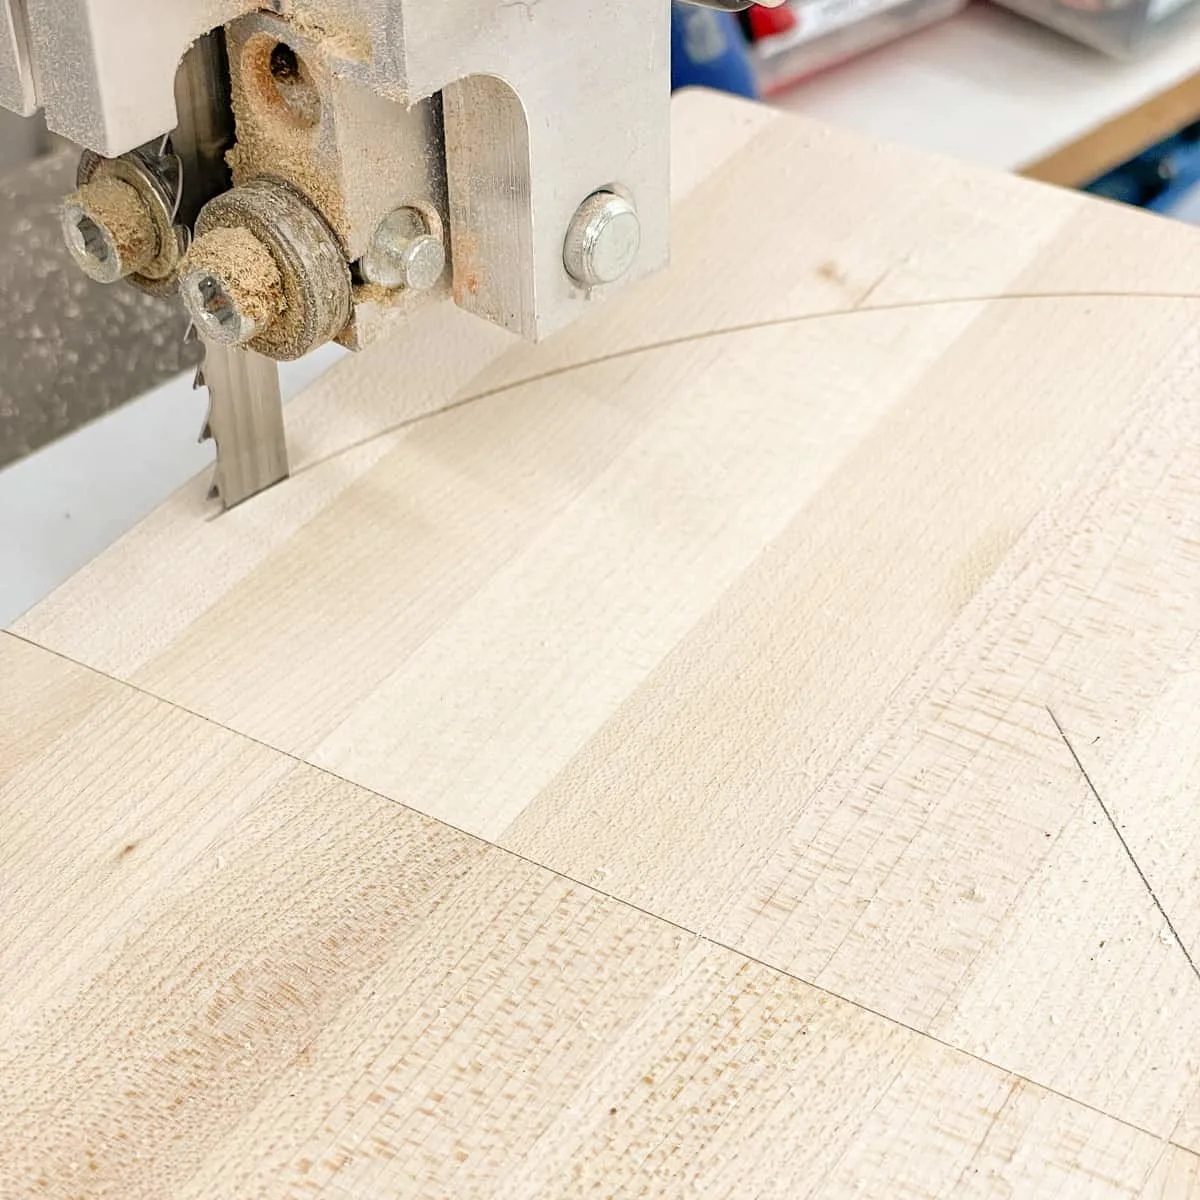
Keep turning the wood on the pin until you cut a complete circle. I was pretty impressed with how clean it came out!

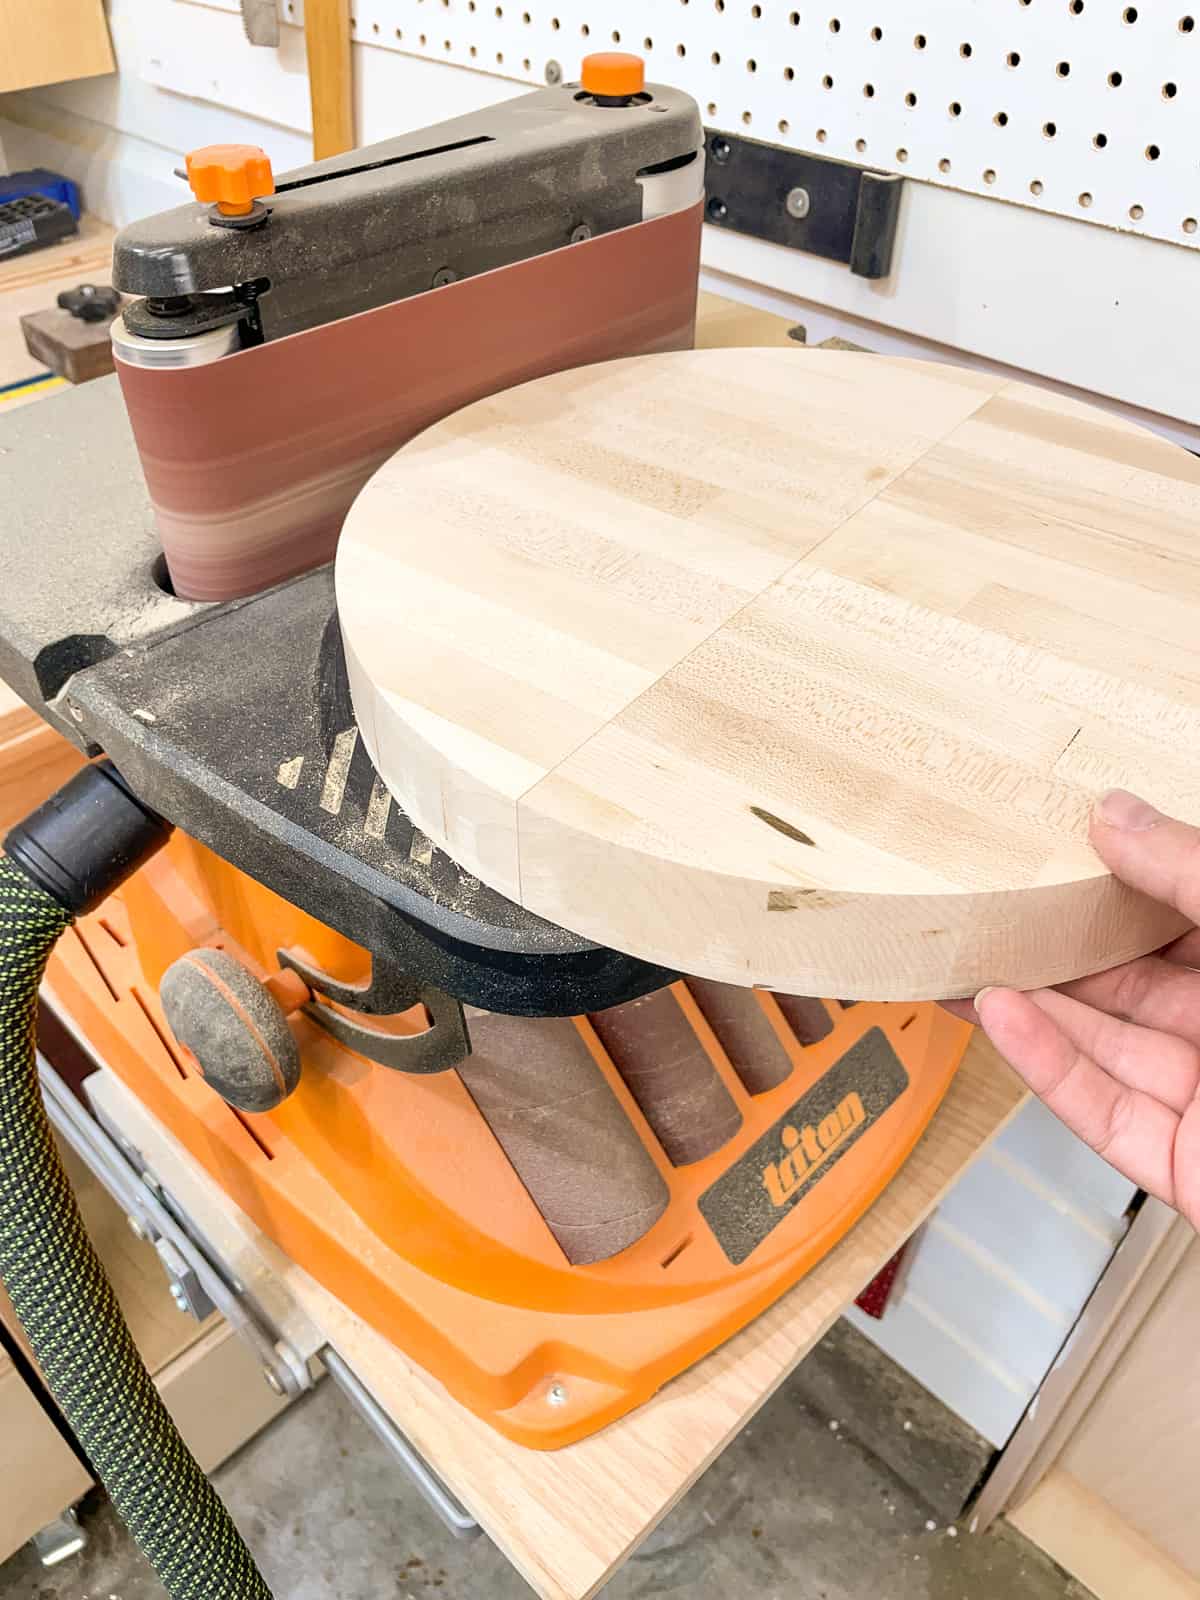
With a little sanding, I was able to get all the blade marks and burning off the edge for a perfect circle! Just make sure not to sand too long in one place, or you'll get a flat spot.

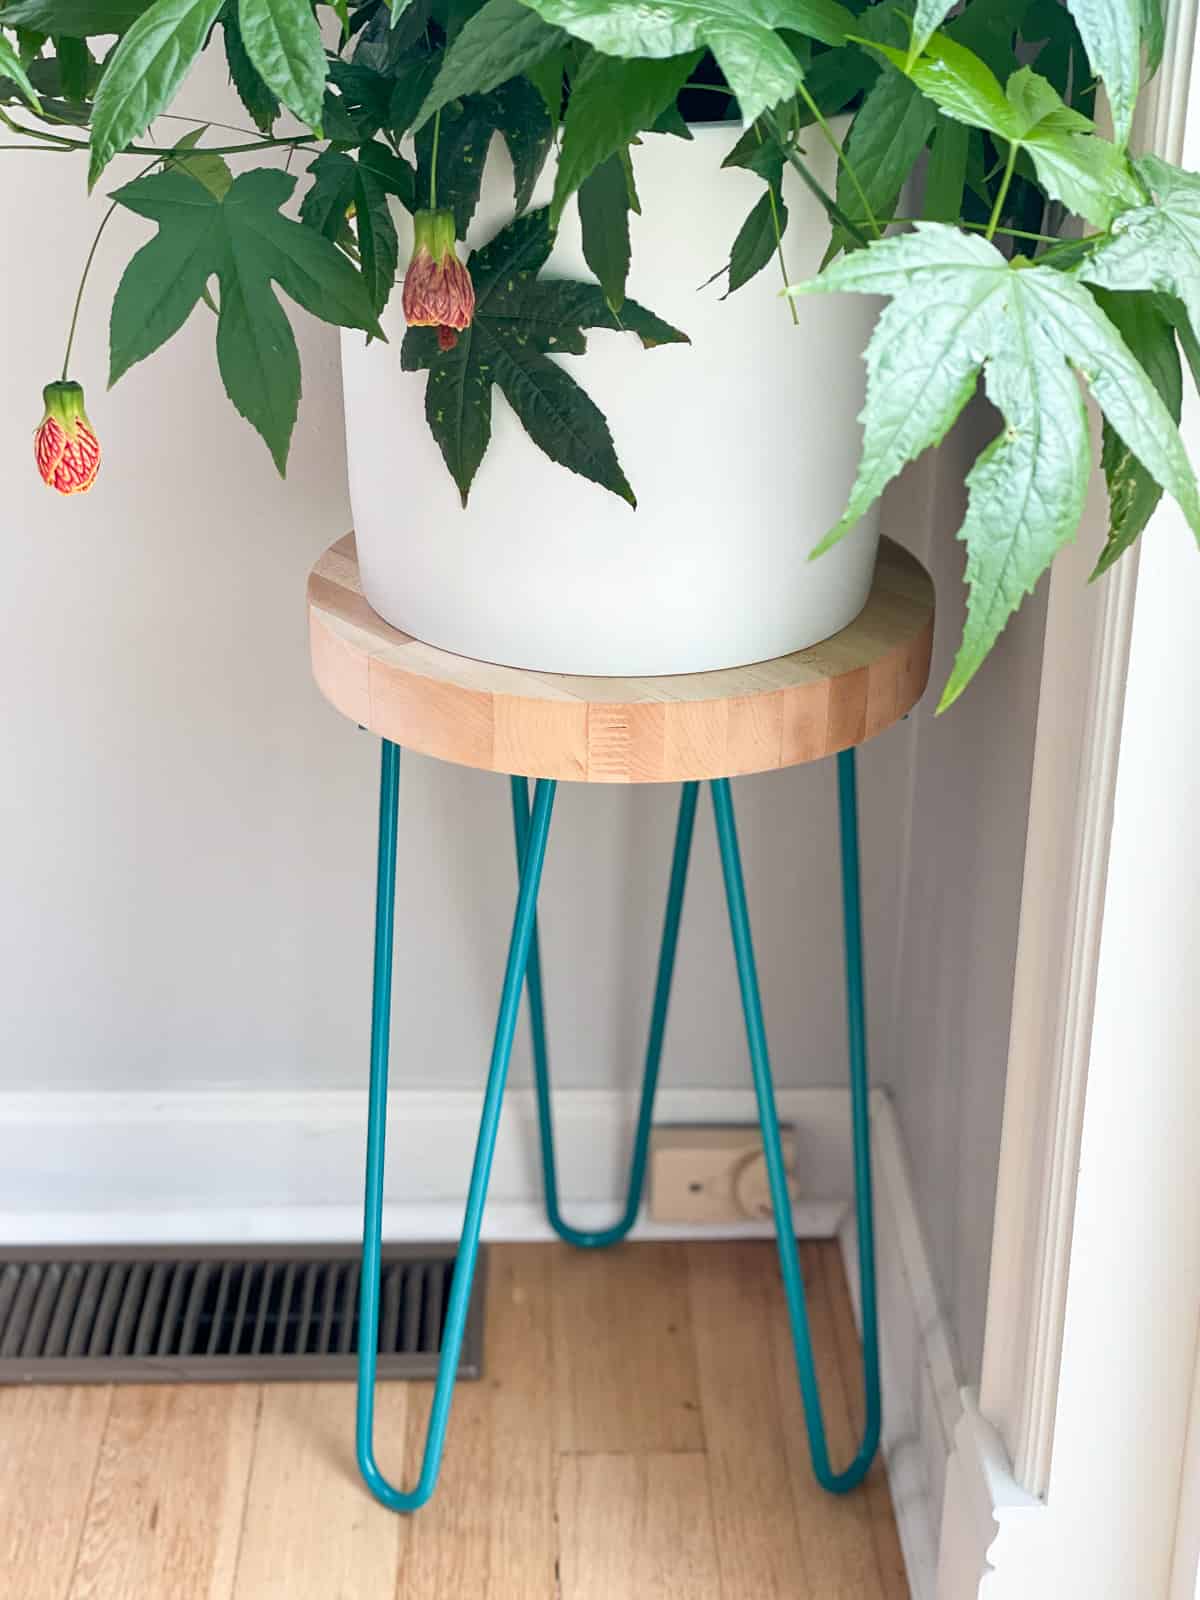
Now I have a perfectly circular top for my plant stand!

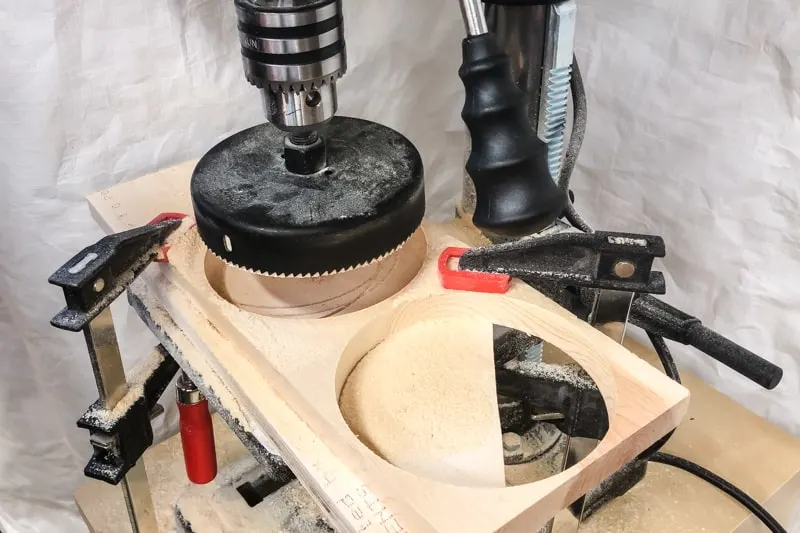
I wish I had this band saw circle cutting jig back when I made all those dots for my son's Lego table! The hole saw was such a pain to use (literally, the metal was really hot!) and the cuts weren't nearly as clean.

What will you use your circle cutting jig for? I'd love to hear about your project in the comments below!
Check out these other woodworking jigs!