What's the difference between countersink vs counterbore? How do you make these holes in wood, and why? Find the answers here!
Does your woodworking project call for countersinking screws? Or maybe the instructions recommend that you drill counterbore holes instead. What the heck does that mean?
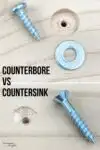
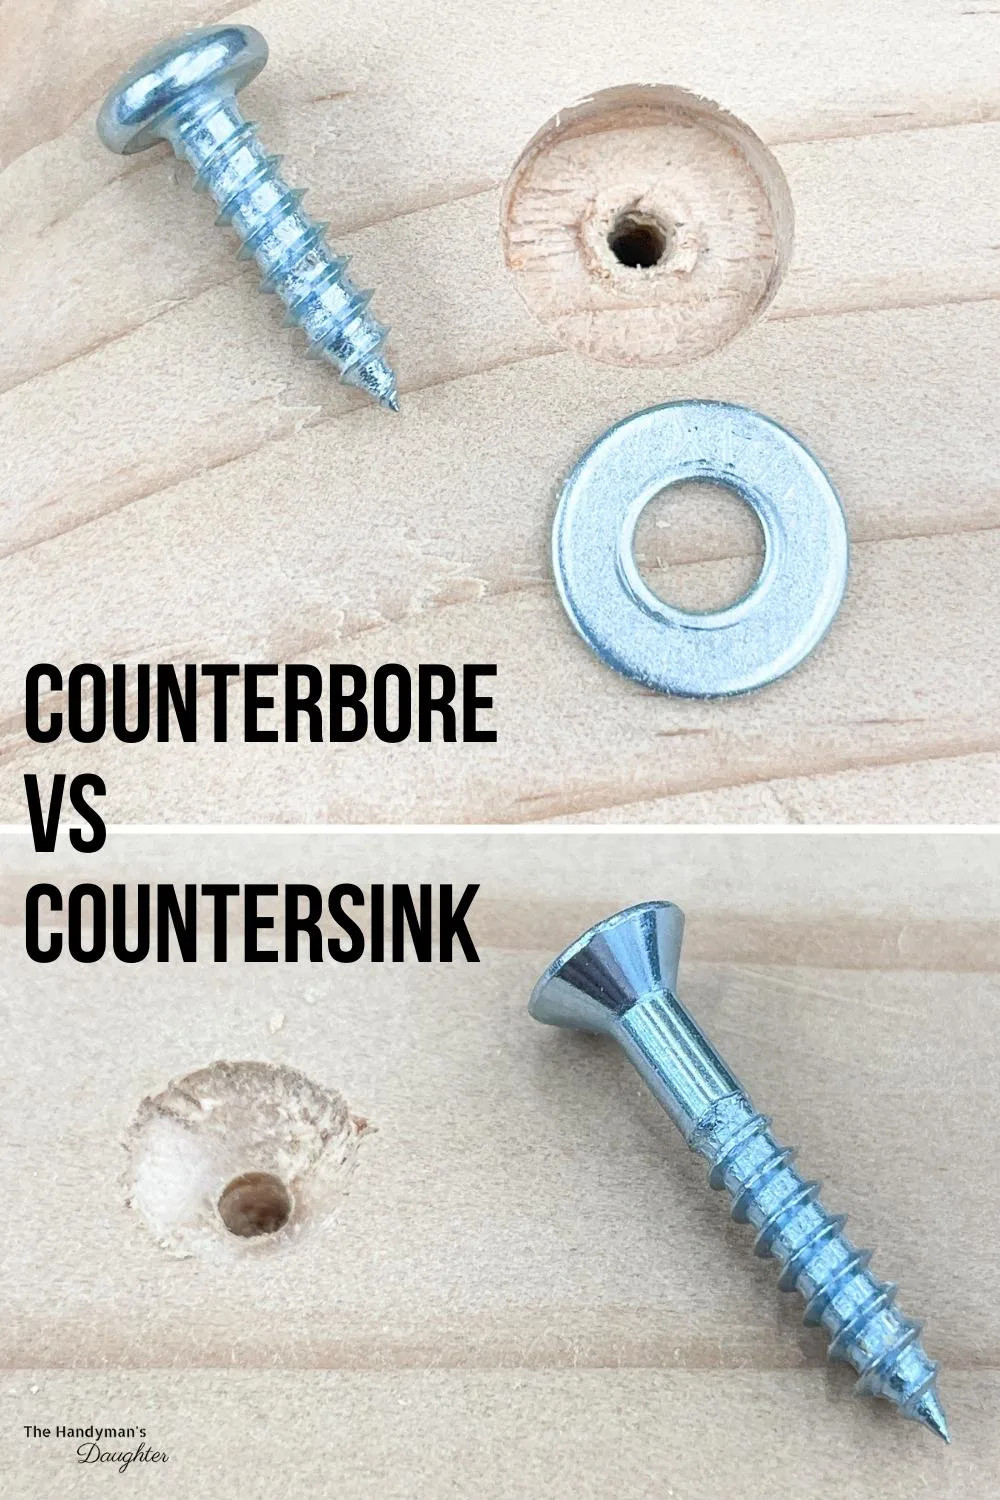
A countersink hole is an angled or conical hole that allows you to drop the head of the screw below the surface of the wood. A counterbore hole is a cylindrical hole with a flat bottom that can be used to hide screws or bolts deeper inside the wood.
These two techniques are quite similar, but not necessarily interchangeable. Though learning how to countersink and counterbore screws can seem like a small thing, it's details like this that really make a project look professional!
This post contains affiliate links for your convenience. Purchases made through these links may earn me a small commission at no additional cost to you. Please visit my disclosures page for more information.
What is the difference between countersink and counterbore?
Before jumping too far ahead, let's understand the basic differences and similarities between countersink and counterbore holes.
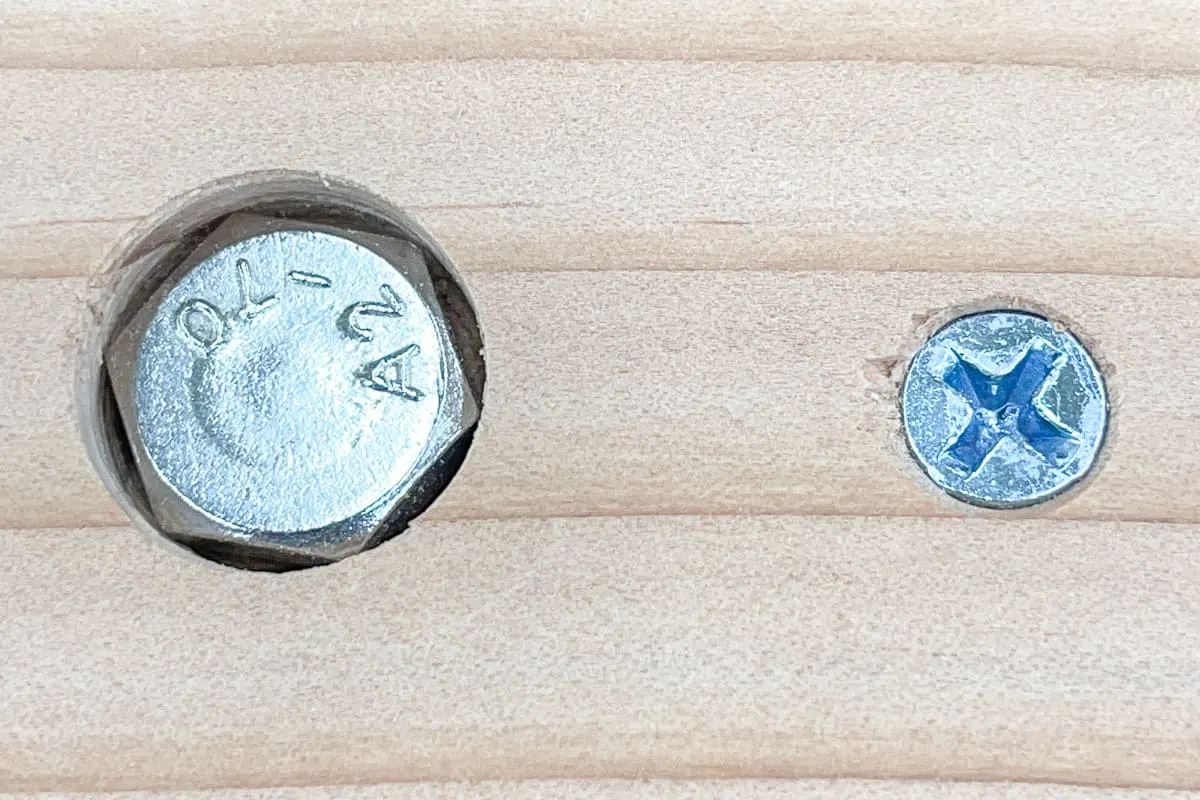
- Woodworkers use countersinking to hide flat head screws at or just below the surface of the wood.
- Counterboring is used for hiding the head of a bolt or socket head cap screw.
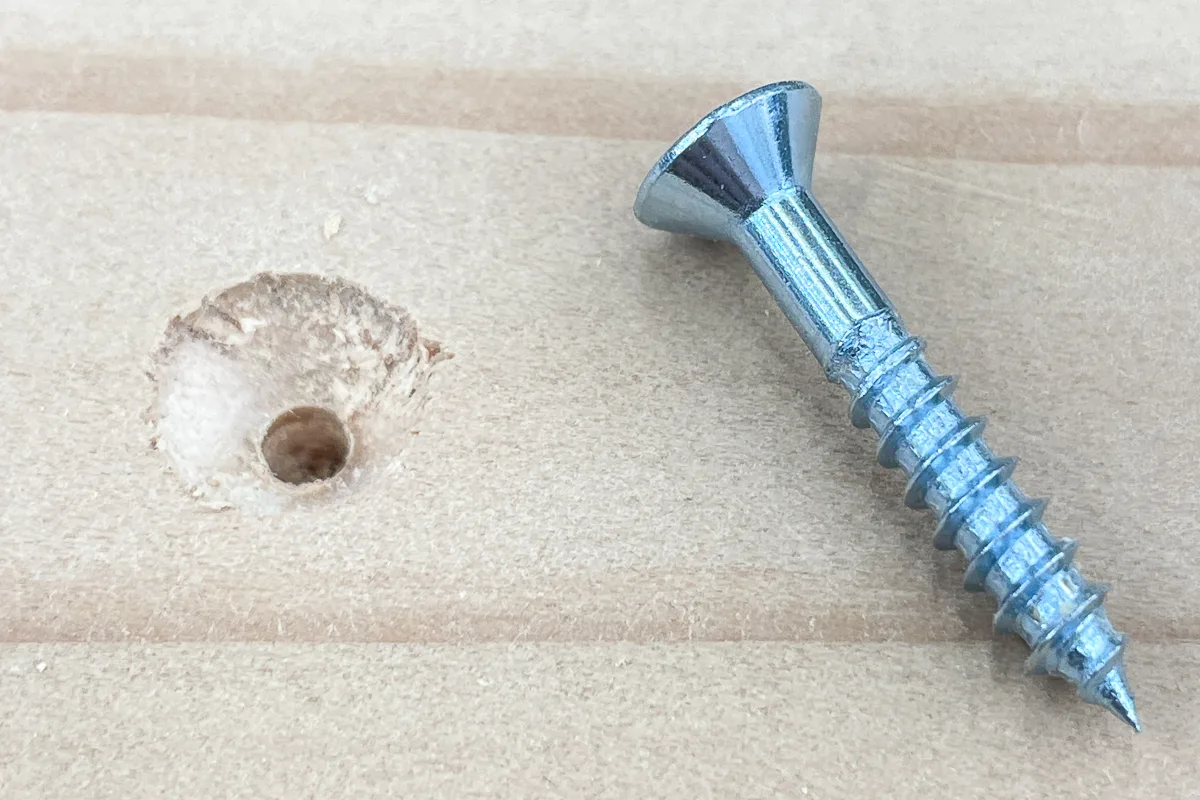
- Countersinking creates a funnel shape that matches the screw head's conical bottom.
- Counterboring creates a flat surface that matches the flat underside of bolts and some types of wood screws.
- You can use a counterbore to join two thick boards together without having to use a really long screw.
- Countersinking and counterboring both require different, specialized bits. However, there are ways to improvise if needed.
- Both countersinking and counterboring give your projects a clean look.
- By reducing stress on the fibers of wood, both these methods can increase the holding power of your joints.
What is countersinking?
Countersinking is a technique used to create a conical hole for a screw head to sit flush or below the surface of the wood. You can then easily hide the screw with a wood filler or a plug.
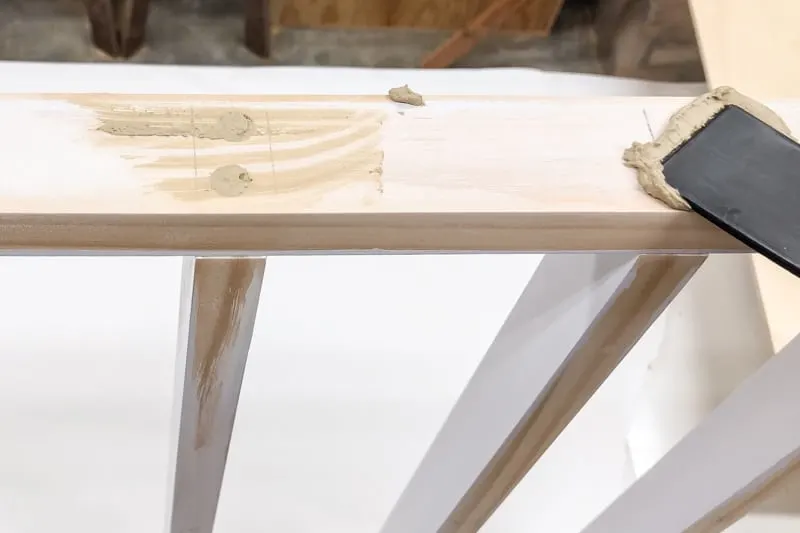
Basically, countersinking is taking your predrilling one step further. Instead of just predrilling for the thread of the screw, you’re predrilling for the screw head as well.
Though countersinking makes your project look more professional, it has several other purposes.
- Strength. When you drive a screw without countersinking, it's easy to overtighten a screw. Overtightening creates tension within the wood, damaging the fibers.
- Prevent splitting. It can be so frustrating you drive a screw near the end of a board and the wood splits! Predrilling and countersinking greatly reduce the chances of splitting a board.
- Reduce wandering screws. Countersinking ensures that the screws go where you want them to, guiding the head to the right spot. Also, countersinking allows you to visualize the screw placement beforehand.
When should I countersink screws?
Anytime you drive screws, you should consider drilling countersink holes first. It gives a more finished appearance, so even amateur woodworking projects look more professional. In fact, countersinking your screws should be the standard.
At the very least, you should countersink screws when you don't want the head protruding above the surface of the wood. This could be for aesthetic reasons, or because the head will interfere with another step in the assembly process.
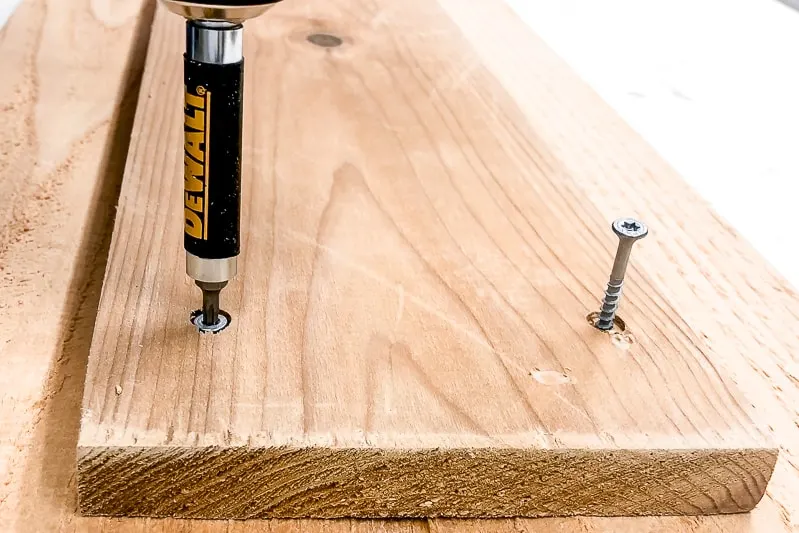
Here are several times you don't need to countersink:
- Rough construction. If you're just building a temporary brace, then you don't need to take the time to countersink.
- Self countersinking screws. Some screws will countersink themselves. They have a special conical head with teeth underneath, so the hole created by the head will fit perfectly! However, these are much more expensive than regular wood screws.
How do I countersink?
If you have countersinking bits for your drill, then the process isn't difficult. Here are several things to keep in mind.
- Safety. Wear those safety glasses when using the drill. Small drill bits are not immune to snapping and flying towards an eye.
- Bit selection. Use a countersink bit that matches the internal (non-threaded) diameter of your screw. Then, using a hex wrench, adjust the collar to match the length of the screw.
- Drill. Carefully drill in your desired location. Once the upper portion of the bit (the cone-shaped portion doing the countersinking) reaches the wood, note how deep you want the hole to be. Test the fit periodically with your screws.
- Drive your screw. Carefully drive your screw, so it rests neatly within the countersunk area.
- Fill. You have a few options to cover the hole if desired. Wood filler or putty will do the job, but you can also use a plug.
If you don't have a set of countersinking drill bits, there are a few tricks for accomplishing this task without them. I cover all these techniques in detail in my guide on how to countersink a screw.
Frequently Asked Questions about Countersinking
Do you have to countersink screws?
Countersinking is a good habit, as it reduces splitting and makes your project look better. But it's not a required practice in most cases, so you can skip it if you want.
Are countersunk screws stronger?
Yes, countersinking creates a stronger joint. The screws themselves aren't stronger, but they hold a sturdier joint because the wood fibers aren't under stress.
What is a countersink tool?
The countersink tool is another term for countersink bits. Typically these tools are coupled together with a straight drill bit for predrilling the screw hole, but you can also purchase the countersink tool that creates the angled hole separately. They can be used in a handheld drill or a drill press.
What is counterboring?
Counterboring is similar to countersinking. Some people might use the terms interchangeably. With that said, there are technical differences between the two methods.
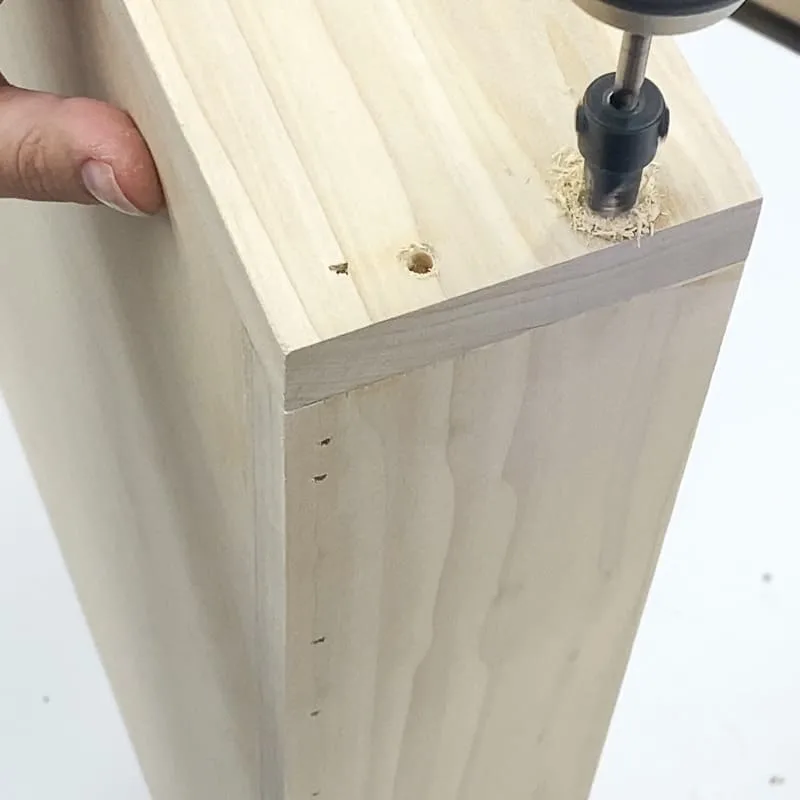
Counterboring creates a cylindrical hole with a flat bottom. The head of the screw or bolt sits on the bottom of the hole, with the top of the fastener below the surface of the wood.
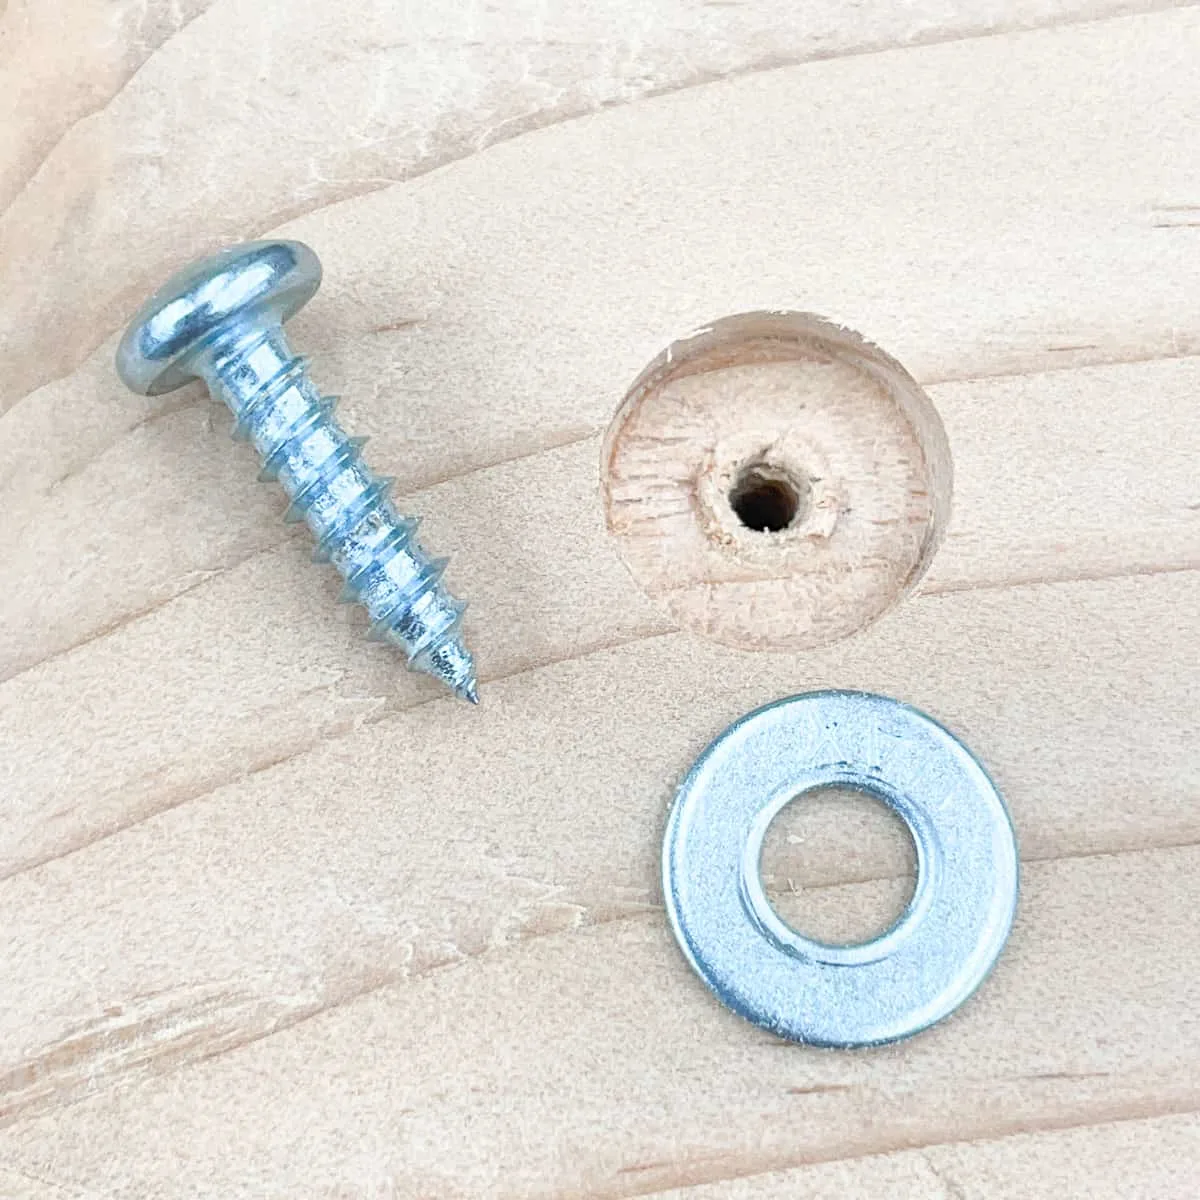
Where countersinking is often used for screws, counterboring is a method often used for securing bolts. It is also used in conjunction with a washer to prevent a pan head screw from getting pulled into the wood.
When should I counterbore?
Just like countersinking, you can use counterboring on many projects. Here are a few ideas:
- Swing sets and play equipment. If you have a wooden swing set, counterboring allows easy placement of large bolts and prevents the heads from sticking out and scratching someone as they run by.
- Flat bottom screws. If you have screws with a flat undersurface, you should use the counterbore method. This will match the screw, giving you the best look and hold.
- Screws with washers. If you need to use a washer to prevent the screw head from being pulled into the wood, you should drill a counterbore that can accommodate the diameter of the washer.
- If you want to disassemble. Counterboring is a good option for furniture you may want to disassemble in the future, such as a large bed.
- Avoiding extra long screws. If you're joining a wide board to a smaller one, you would need a screw that passes completely through the width of the first and partway through the second. To avoiding using screws longer than 3", you can drill a counterbore partway through the wider board first.
How do I counterbore?
Let's go over some guidelines for counterboring. Just like anything in the workshop, there are multiple ways to perform this task. Use these steps to get you on the right track.
- Safety. Don't forget - safety glasses are super important when working with any power tool.
- Choose your bit. For counterboring, woodworkers often use a bit called a Forstner bit. Unlike countersinking bits, Forstner bits leave a flat bottom. While you could use a spade bit, you won't get the same clean finish.
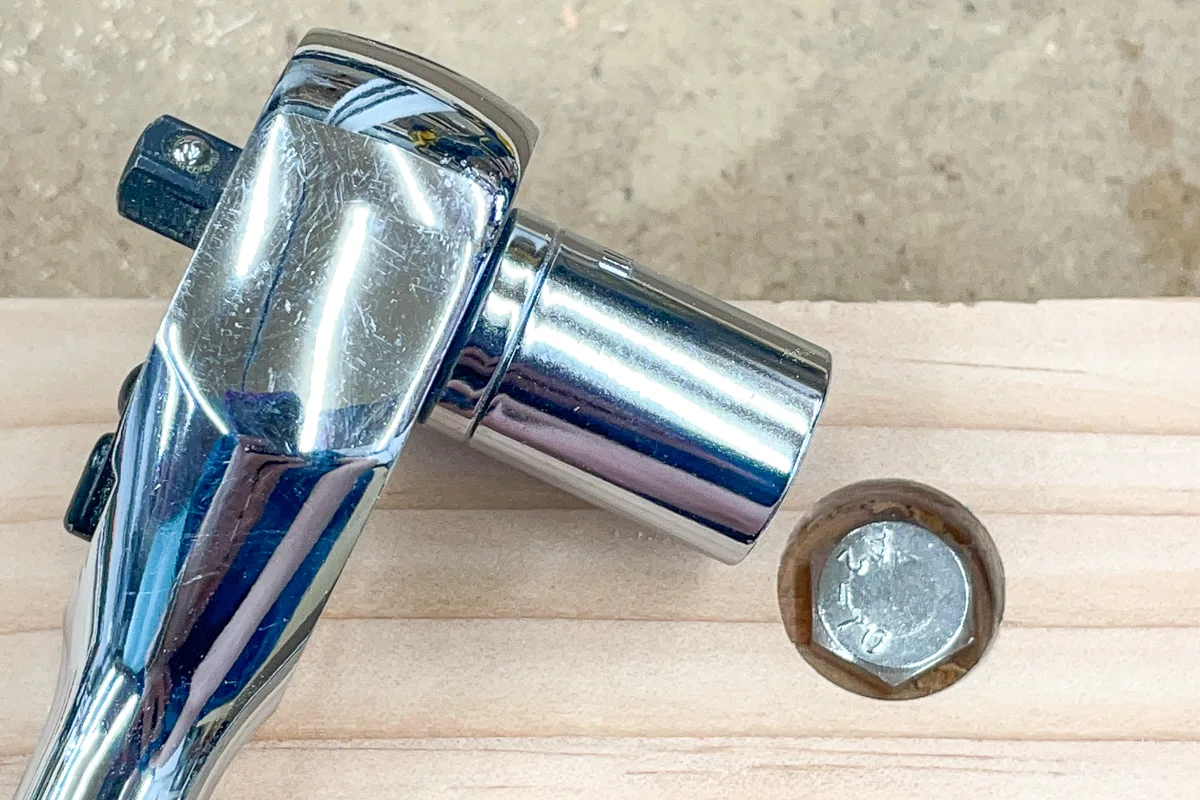
- Choose your size. You want the size of your bit to be larger than the head of the bolt or screw. Also, if you need to use a socket wrench to secure it, be sure the hole is large enough to accommodate the tool.
- Counterbore first. Unlike countersinking, where you often drill the pilot hole first, starting with the counterbore often gives you a more precise pilot hole.
- Drill the pilot hole. Most Forstner bits have a small center point that will leave a shallow hole. You can use this to guide your pilot hole. Just like countersinking, mark your drill bit with a collar or some tape. You don't want to over drill and go right through the wood!
Here's a quick video that explains counterboring in more depth, and how you use them with carriage bolts.
Frequently Asked Questions about Counterboring
What's the difference between counterbore and spotface?
A spotface is basically a shallow counterbore. This technique is more common in metalwork than woodworking.
What is the process of chamfering?
Chamfering adds an angle to the top of the hole to remove the sharp edge. Like spotfacing, this is more common in metalwork, but can also be used for wood. For instance, if you have a large counterbore, you might chamfer the edge of the hole to reduce the risk of splinters.
Which is better: countersink or counterbore?
One isn't necessarily better than the other. Both serve a different purpose. However, for those who are primarily woodworkers, countersinking will probably be a more commonly used technique.
Check out these other woodworking tutorials!

