Turn that boring, flat fence into a living wall of vines and flowers with this easy DIY clematis trellis made from cedar slats!

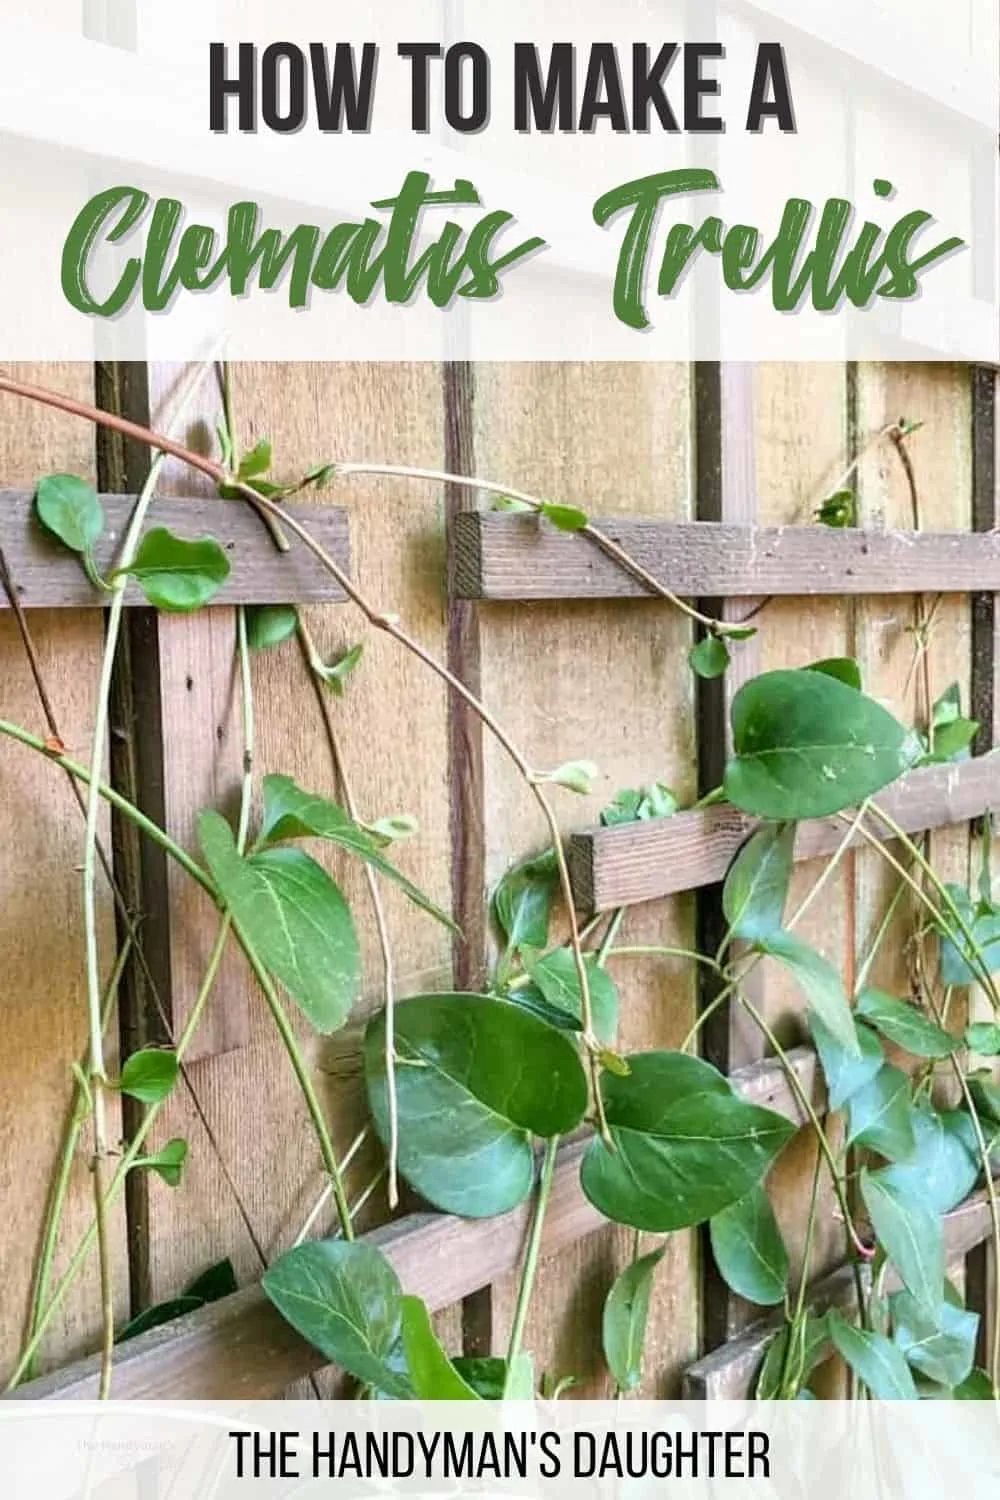
Our tall fence provides plenty of privacy in our backyard, but isn't exactly pretty. One side of the yard sports a trio of DIY garden trellises I built last year, and it worked out so well, I was inspired to create another one! This clematis trellis helps hide the fence behind a wall of greenery and flowers for just a few dollars!
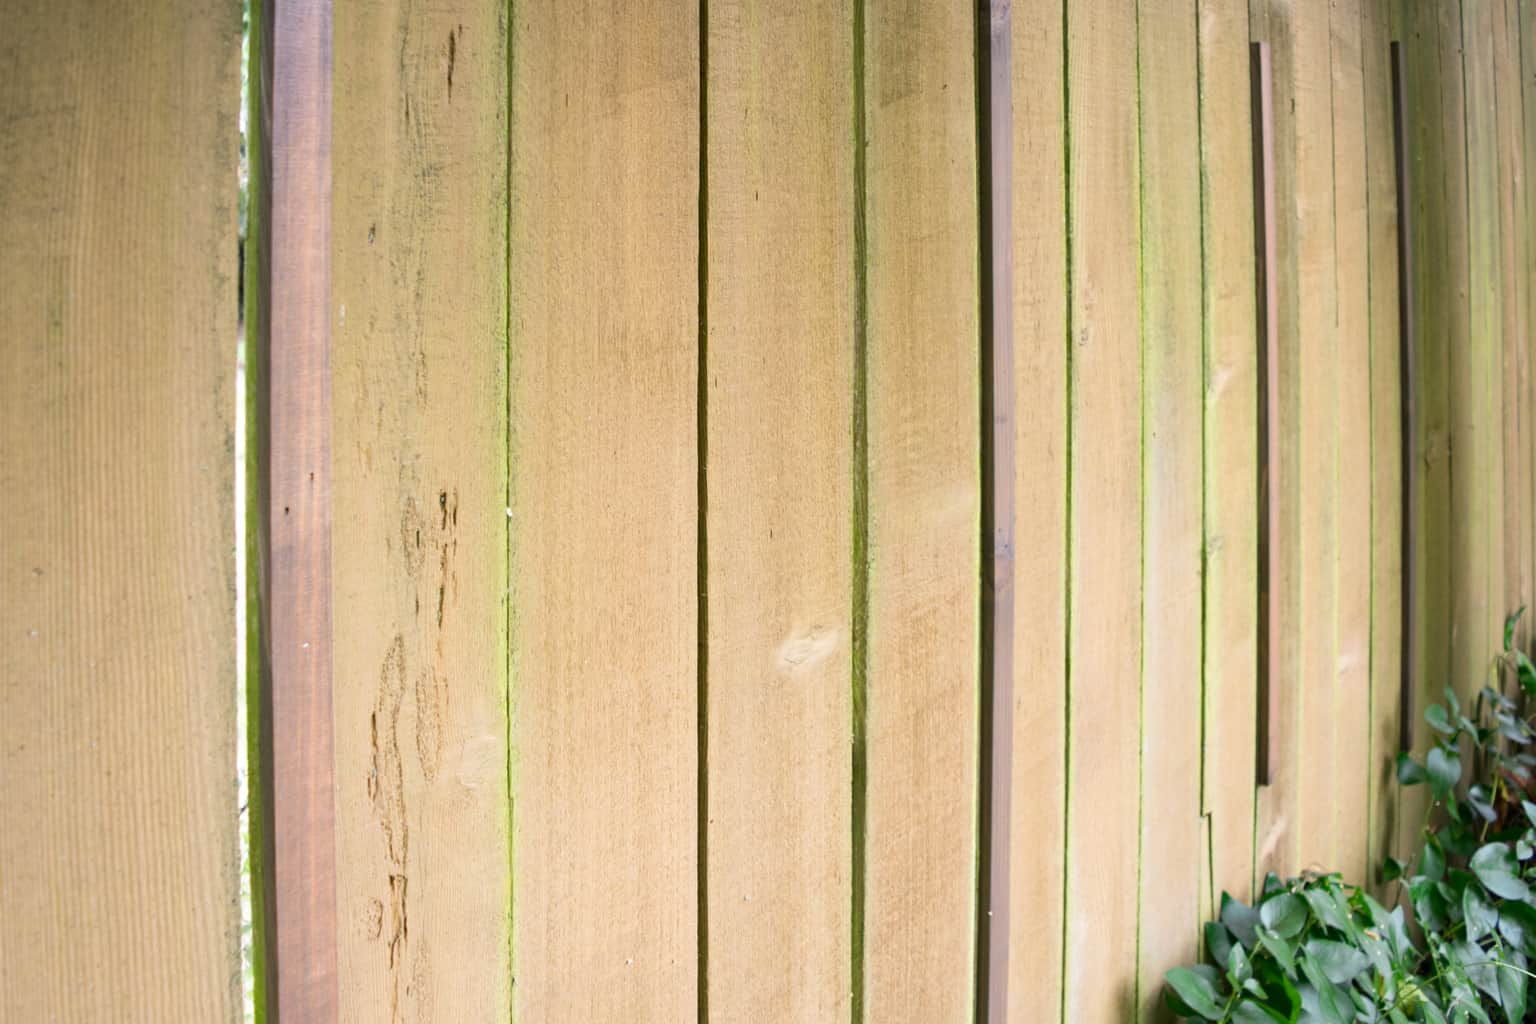
This clematis vine has thrived along the base of the fence for years. The previous owner planted it without giving it anything to climb, so it functions more as a ground cover. Without support, the vine just sits in a pile on the ground!

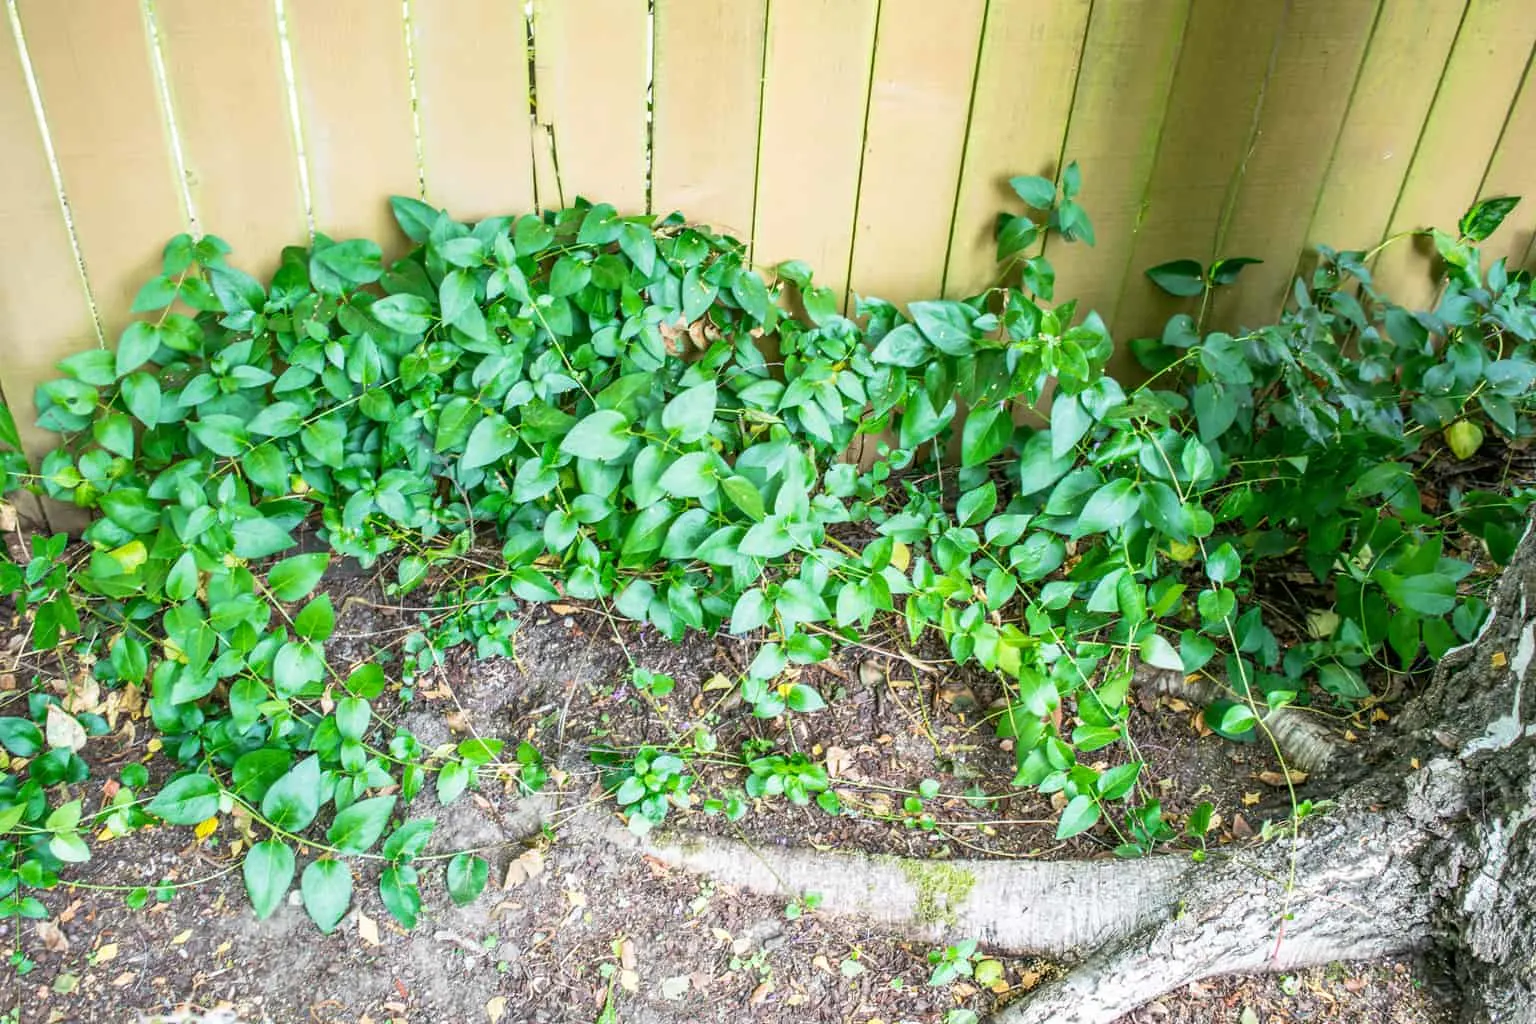
This trellis will allow the Clematis to spread out and reach for the sun, and hopefully give us more blooms! You can change up the design to suit your style, or try one of these other DIY arbor and trellis ideas!
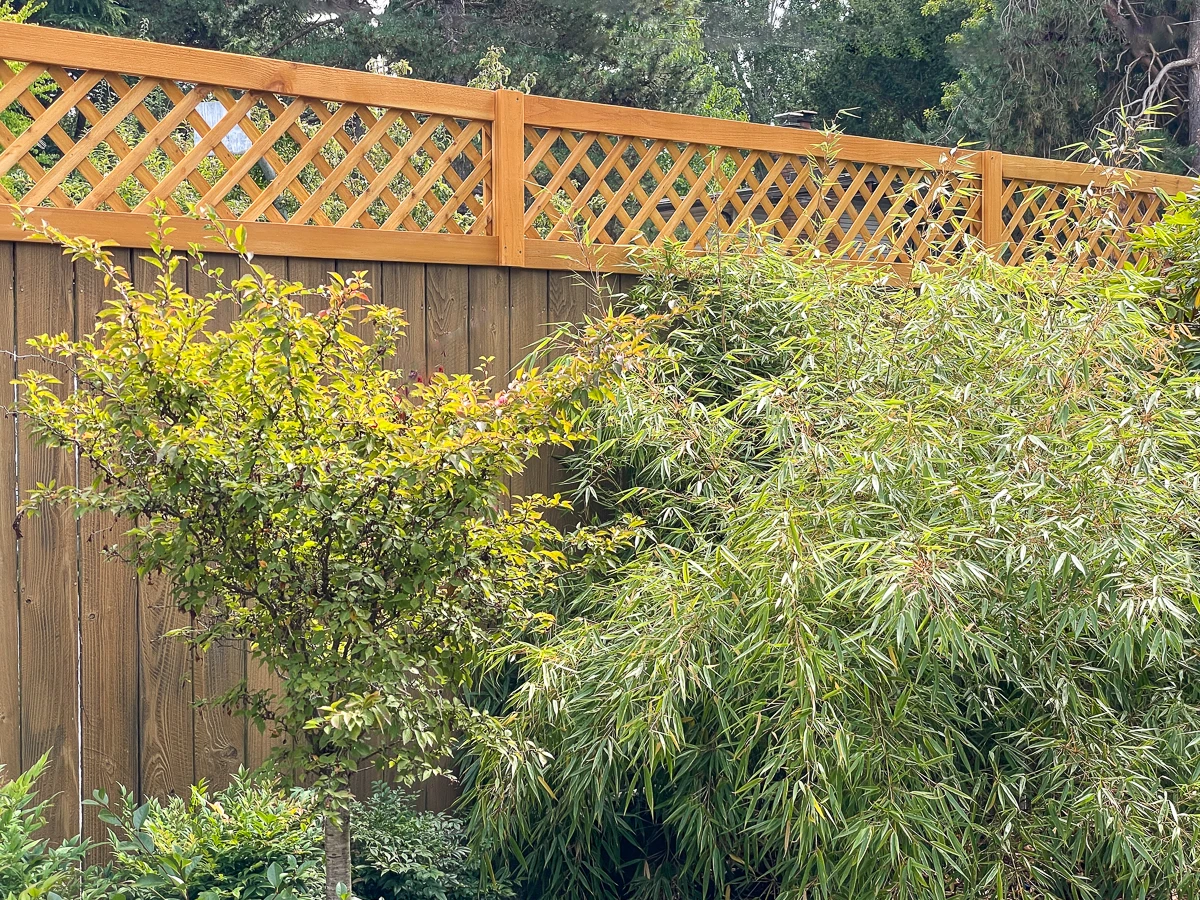
Want to add a trellis to the top of your fence? Check out this project!

This post contains affiliate links for your convenience. Purchases made through these links may earn me a small commission at no additional cost to you. Please visit my disclosures page for more information.
Materials needed for clematis trellis
- Cedar fence pickets
- I ripped 6" wide pickets into 1 ½" strips, but you can also use 1 x 2 cedar boards.
- Sander and sandpaper
- Exterior wood stain
- Brad nailer or hammer
- The Ryobi Airstrike brad nailer is my personal favorite tool!
- 1 ¼" brad nails
- Level
- Scrap of 1 x 4 board to use for spacer
How to make a clematis trellis
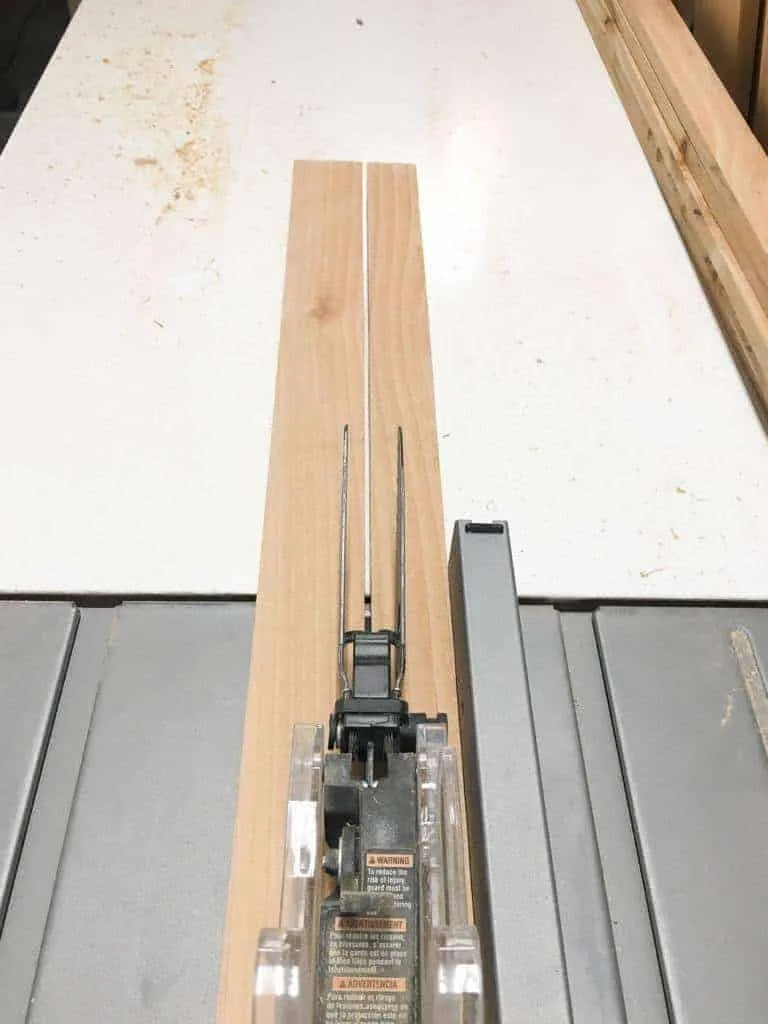
Cut the slats
If you're using 6" wide cedar pickets, rip them down into 1 ½" wide strips lengthwise. Don't have a table saw? Just use precut 1 x 2 cedar boards or lattice!

Then, cut the 1 ½" wide strips into shorter pieces. You don't even need a power saw for this. A miter box with a hand saw will make quick work of the cedar strips. Mine vary in length between 16"and 30", so I can mix them up for a more random effect.
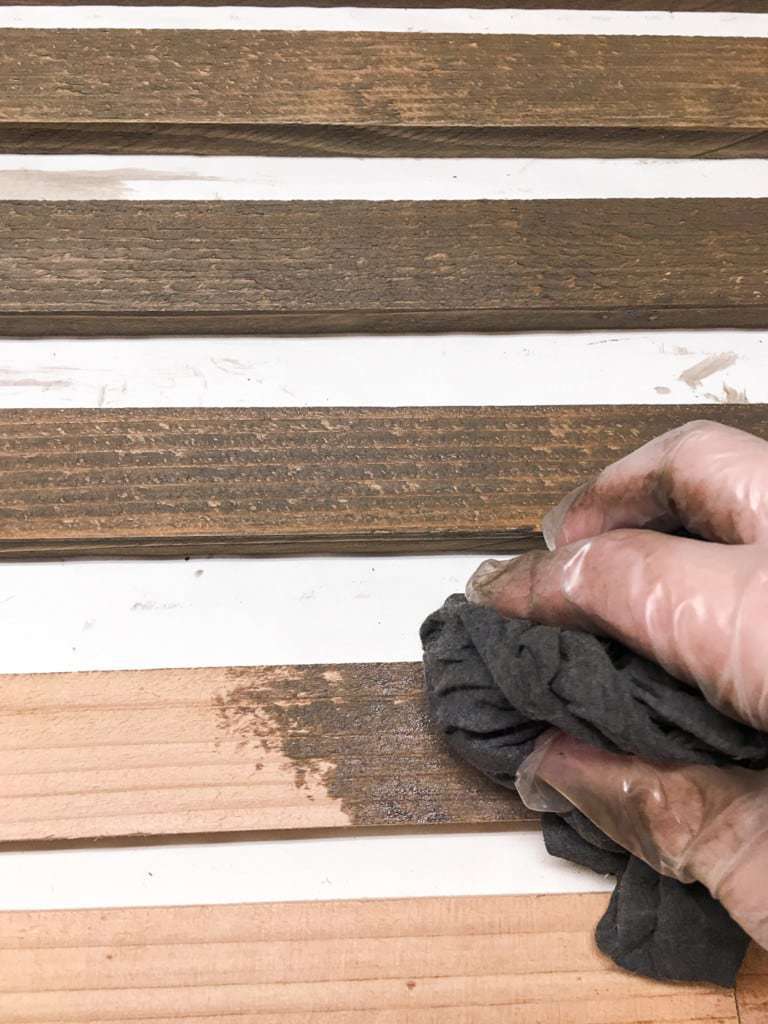
Sand and stain the slats
Give each piece a light sanding to remove splinters, but don't remove all the texture. The clematis vines need something to grip onto! Just 80 or 120 grit sandpaper should be plenty.
Stain each piece with exterior stain before starting assembly. I used Behr's waterproofing exterior stain in Coffee to match the outdoor loveseat and sofa I made for our deck.

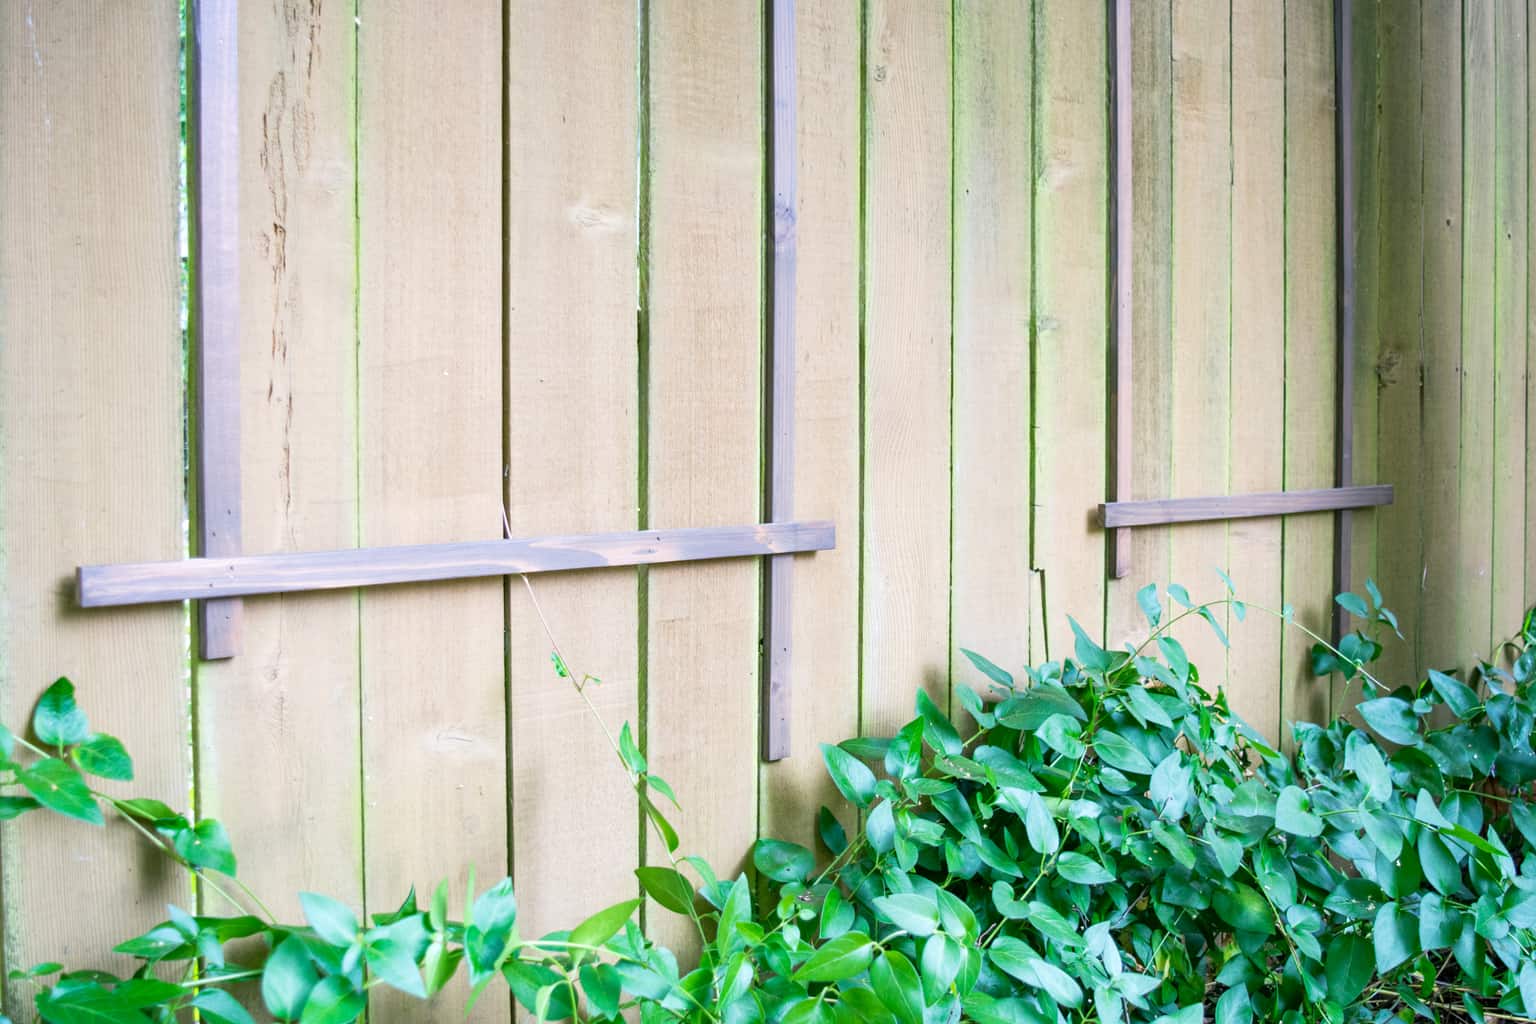
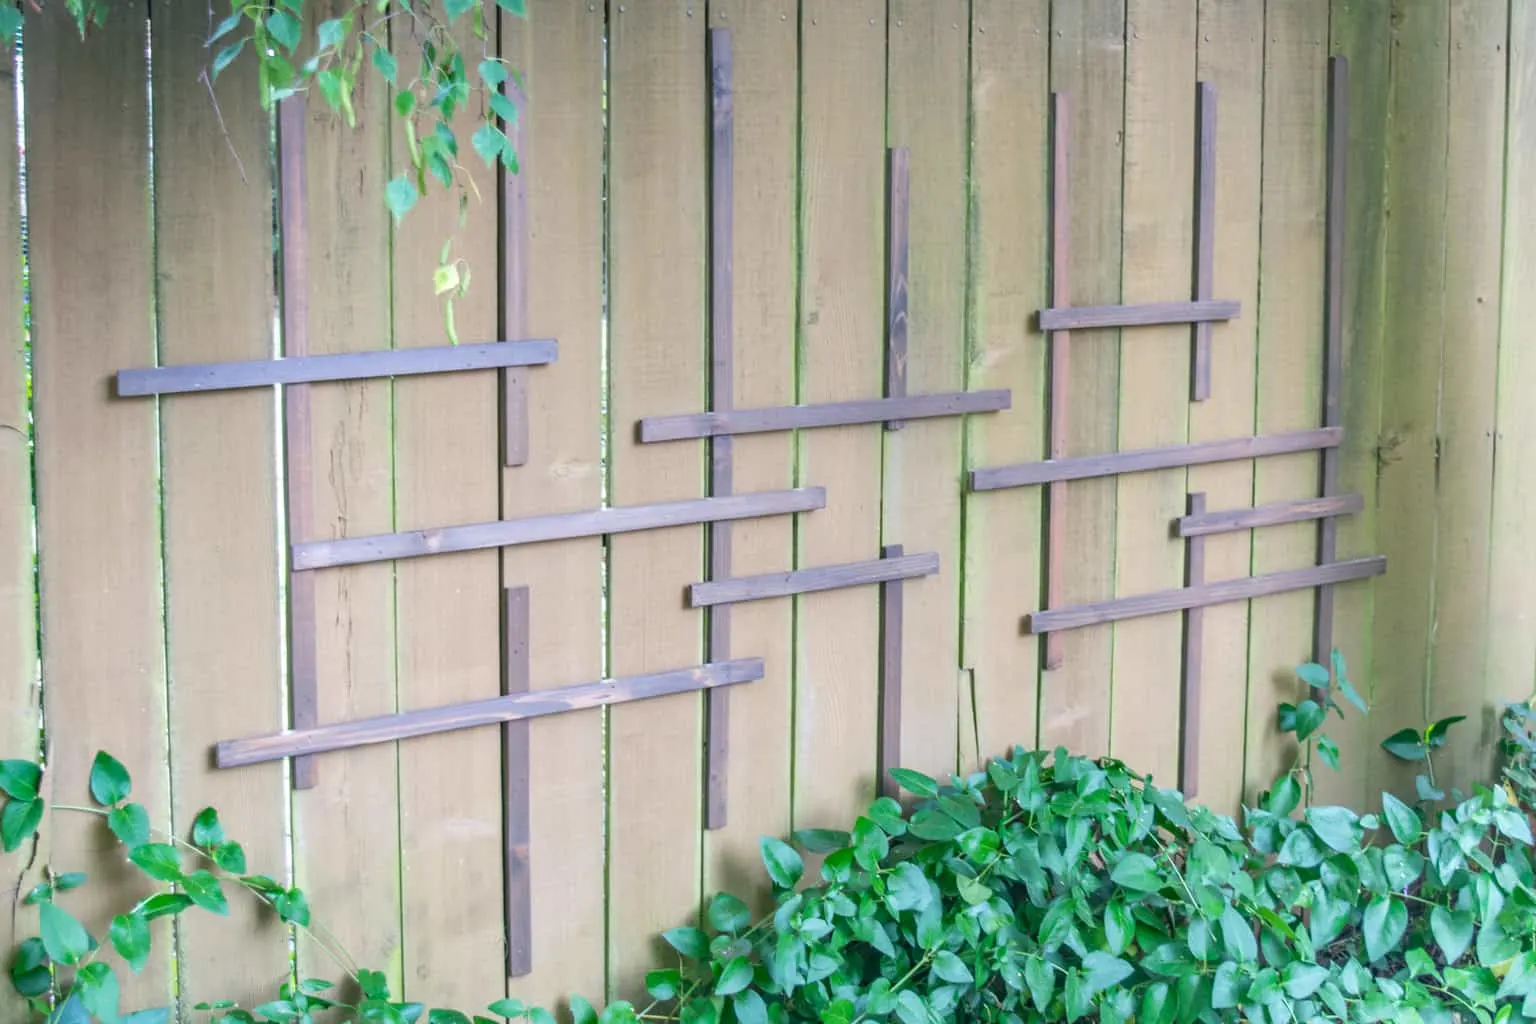
Attach the vertical slats to fence
Before you start slapping slats up on the wall, think about the overall look of your trellis. I was going for a more random, yet evenly spaced design that filled out the area without overpowering it. You could go for a more structured look with regular grid pattern, or go crazy with haphazard slats everywhere!

Attach the longest pieces vertically and evenly spaced along your fence with brad nails. These slats hold the rest of the clematis trellis off the fence surface, so the vines can wind their way underneath and work their way up. You may want to double up on these slats and attach one on top of the other so the vines have more room to grow underneath.
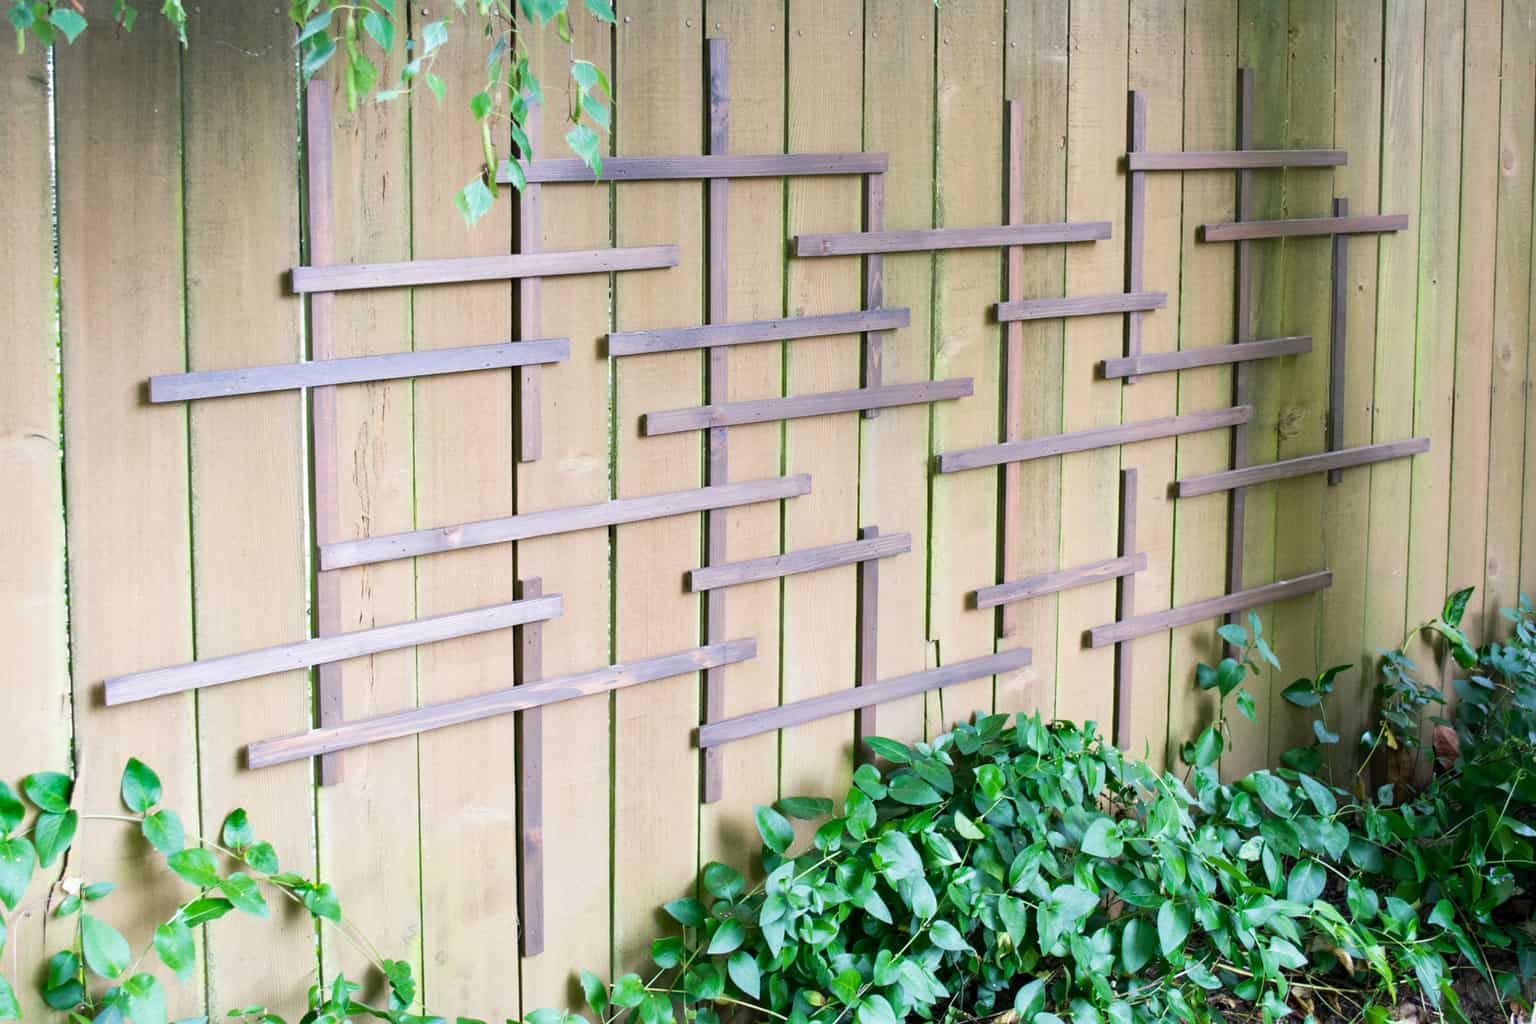
Add horizontal slats
First, pick a few longer pieces to go across the bottom horizontally. Nail one end to the vertical support. Then use the level to make sure it's straight before securing the other end in place.

Use the 1 x 4 spacer to keep the spacing between horizontal pieces consistent and to speed up installation. I love not having to reach for the measuring tape and level every time!
Decide on the placement of the next slat, then place the spacer on top of the piece underneath. Add the new slat on top of the spacer and nail into place. Then remove the spacer and use it to hold up the next one!

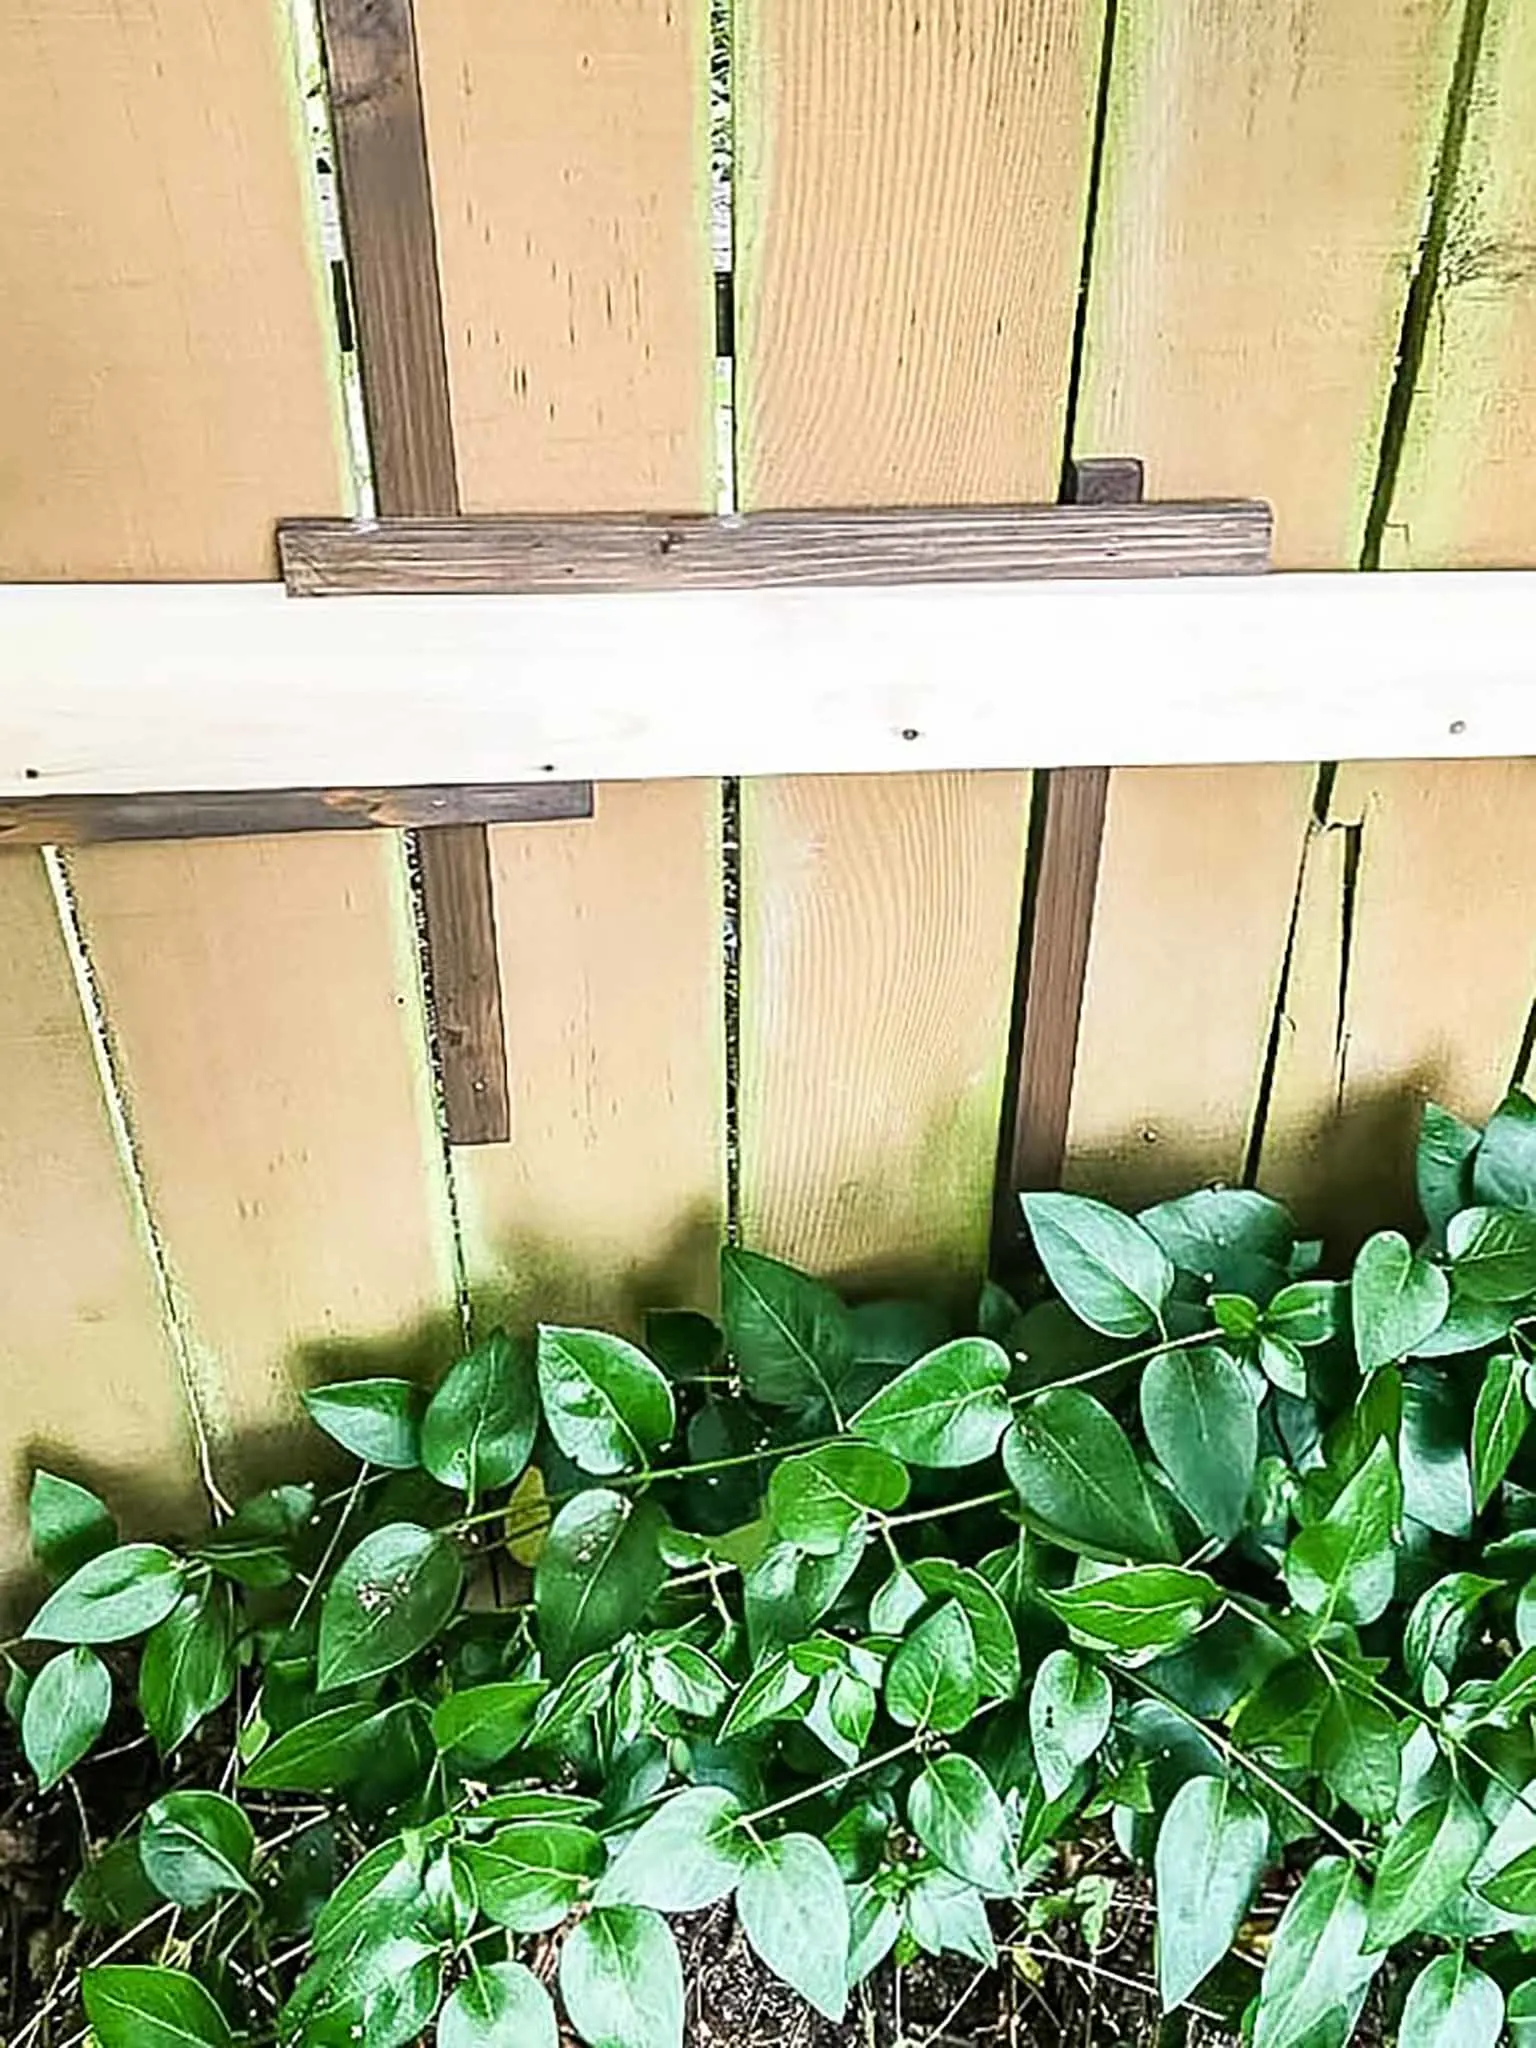
Randomly place more horizontal pieces as you work your way up the fence, making sure each slat is attached to at least two vertical supports. If the gap between two verticals is too wide, add a few shorter ones in between.

As you work, step back and review your overall design. Make sure the spacing is consistent and the gaps between the horizontal pieces aren't too big for the vines to reach. Pull off pieces and move them around if it's not looking how you'd like. I went through a few different variations before I settled on this one!

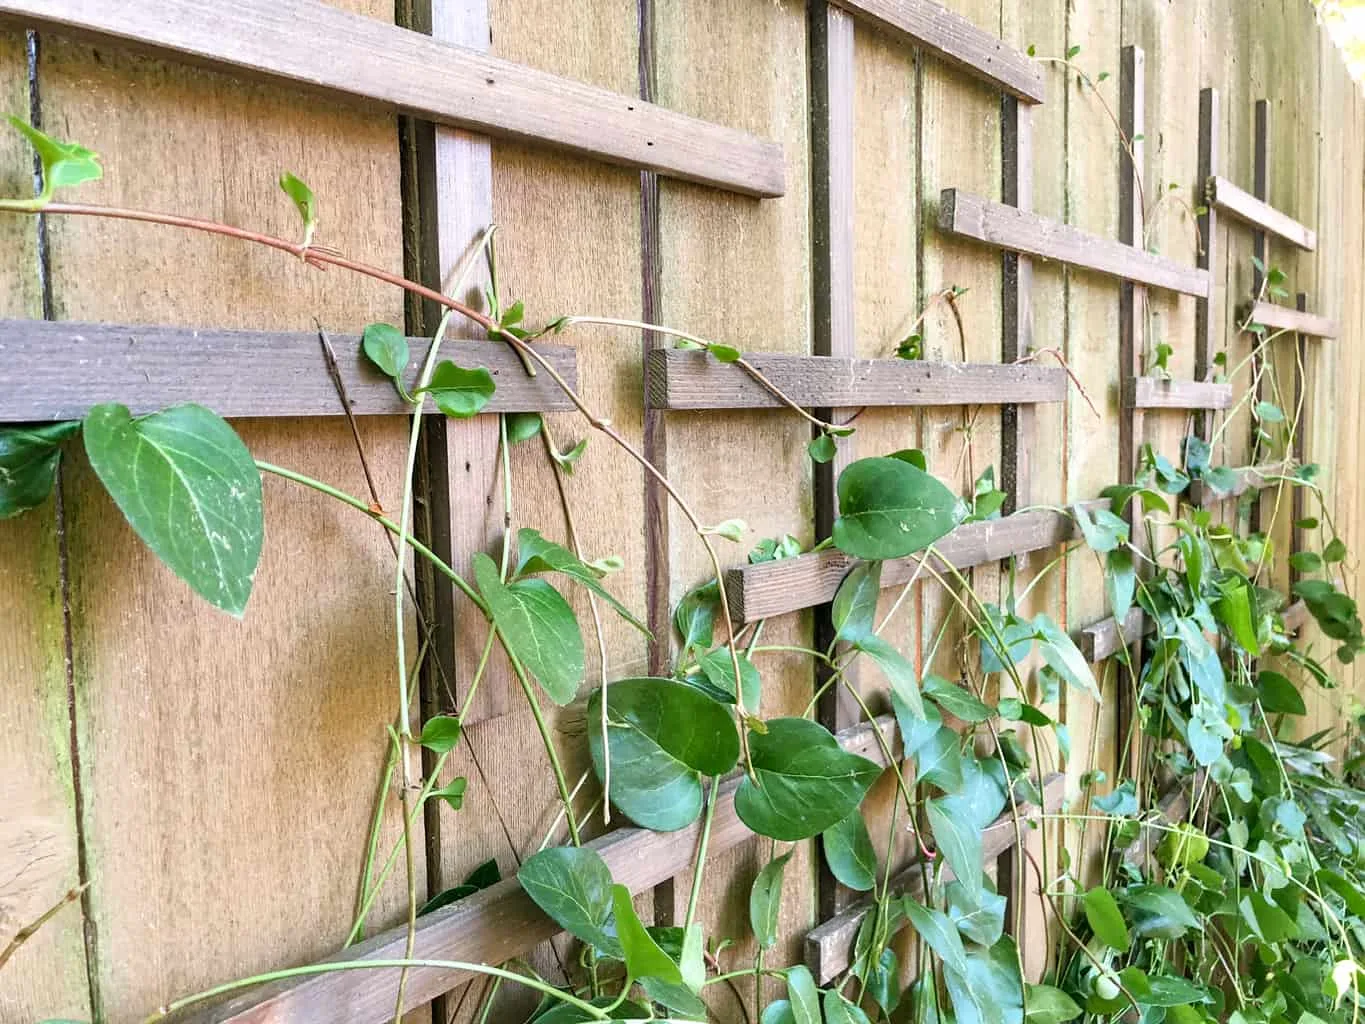
Weave vines through the trellis
It took a little effort to pull apart that giant mass of vines and weave them through the trellis slats! A double layer of vertical slats would have made this process a little easier, because I stripped a few leaves off the vine trying to slip them underneath.
Starting from scratch with new vines? Here's how to choose the best plants for your trellis! New plants will be shorter at first, but you can try using trellis ties to keep them in place. Clematis grows quickly, so the entire wall will soon be covered in blooms!
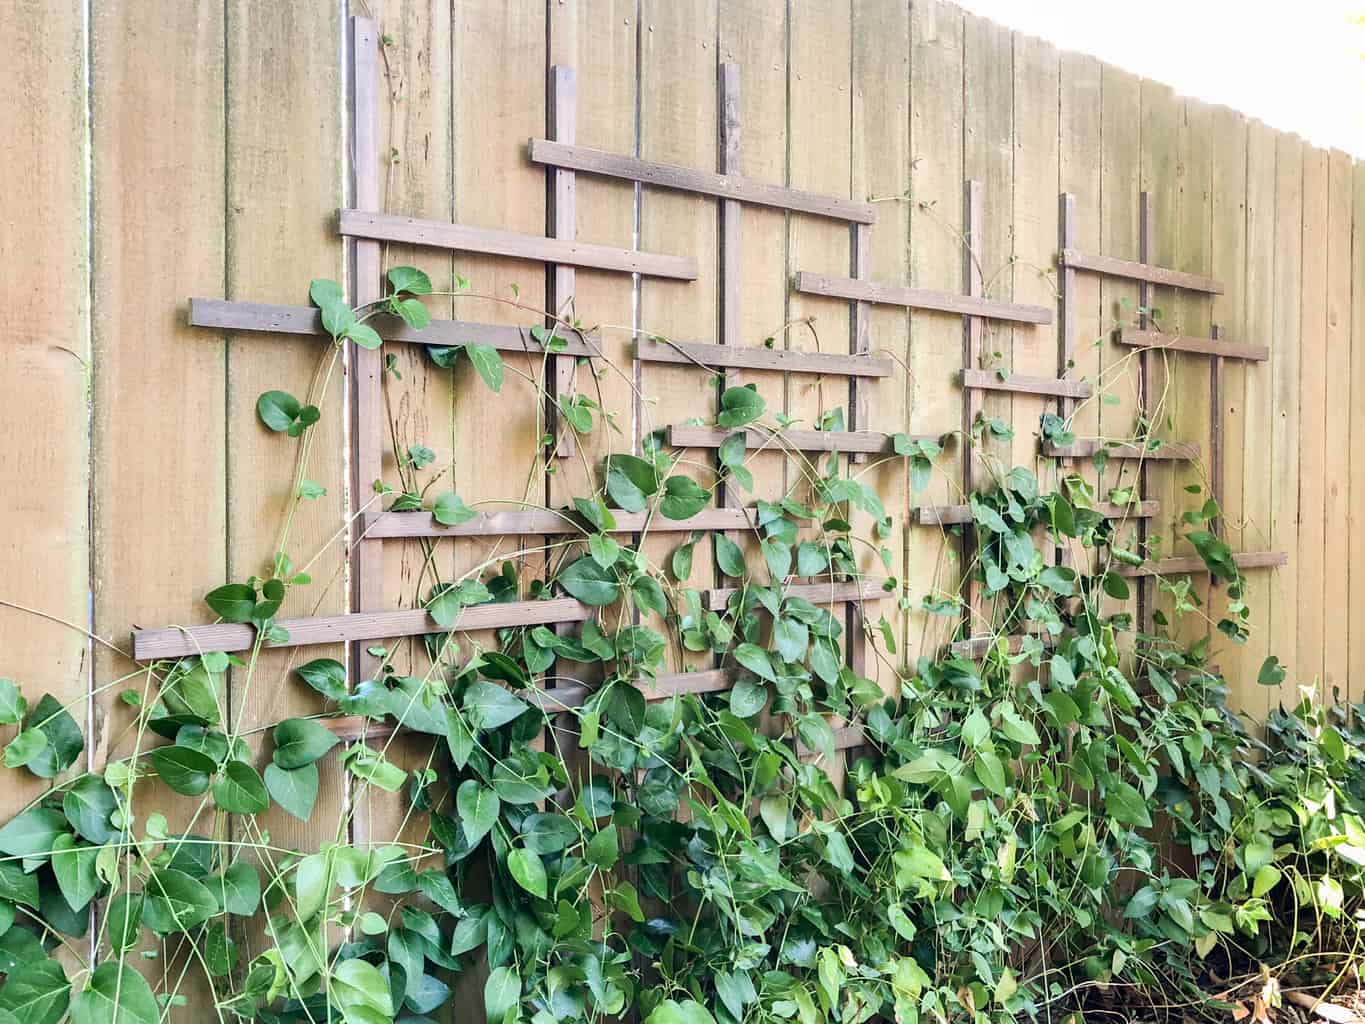

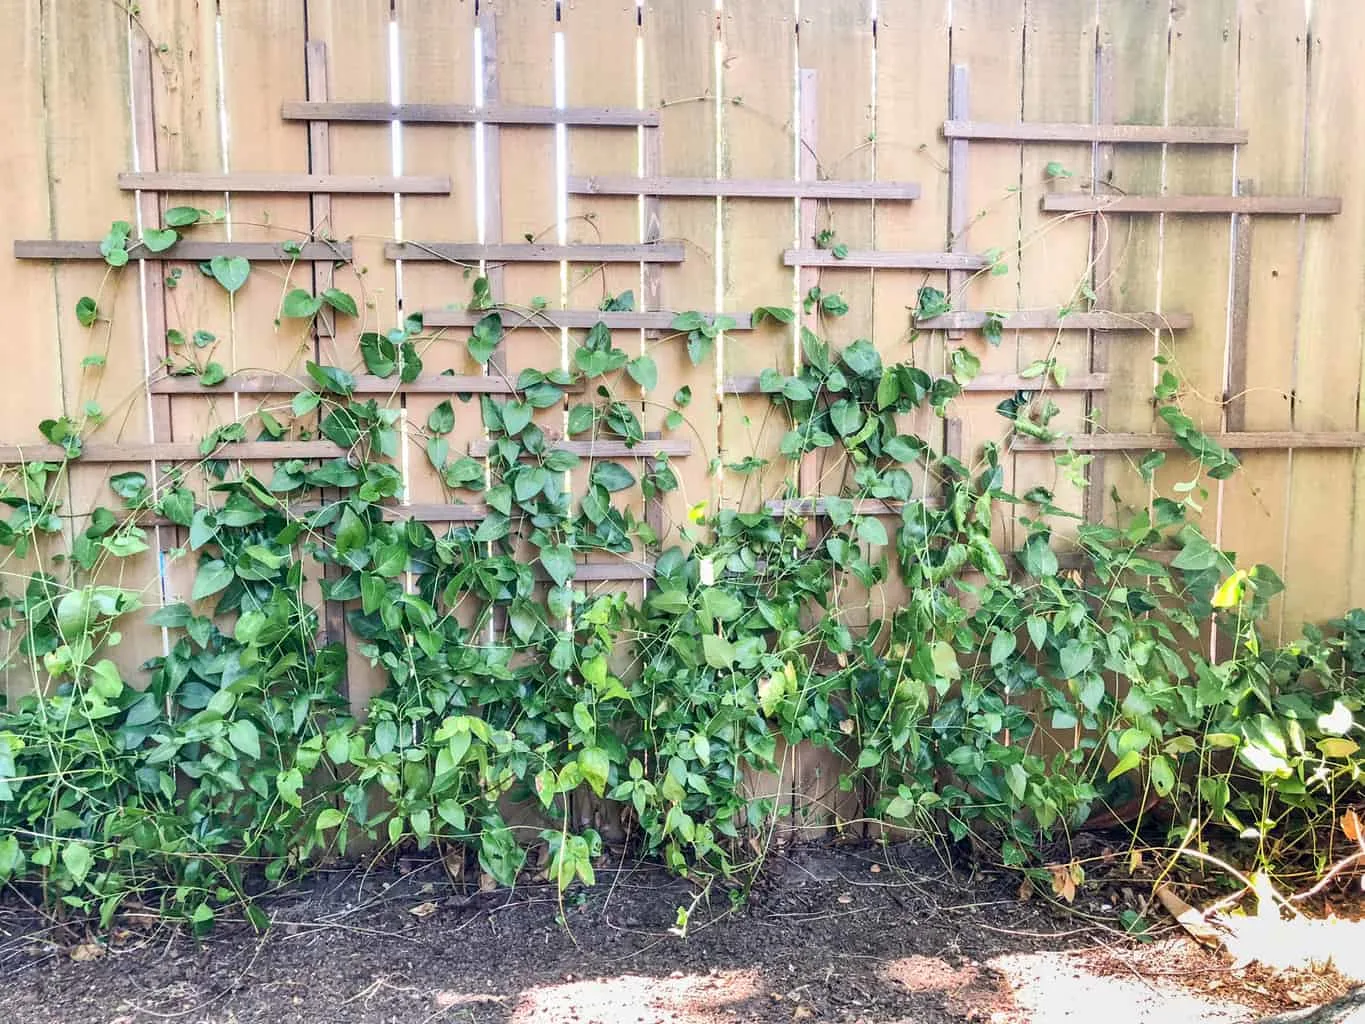
Now this plant has room to spread and grow, instead of laying in a heap on the ground.

After I got most of the vines up on the fence, I pruned away the ones that were heading in the wrong direction or too far away from the fence. I gained back over a foot of space in the garden bed! I'm slowly reclaiming all the overgrown garden areas of the yard!

This area gets a lot of shade, especially in the afternoon when the sun goes behind the fence. I plan to add Fuchsia, Astilbe and a few ferns I divided to fill in the reclaimed space. These are some of my favorite flowering plants for shade gardens! I can't wait to see it all filled in and blooming!
EDITED TO ADD: I recently replaced the fence pickets in this area of the backyard, and it looks so much better! Check out the before and after photos in the tutorial!
Check out these other fence tutorials!
Jann Olson
Tuesday 21st of August 2018
Our fence is vinyl, but I use ladders and trellis's for things to grow up. It really helps soften the starkness of the vinyl. Love this trellis idea! Thanks for sharing with SYC. hugs, Jann
Donna @ Modern on Monticello
Monday 20th of August 2018
This is a great project. We built a privacy fence this year and I have been looking for ways to make our side of the fence pretty. Thanks for sharing at #HomeMattersParty
Nikki Gwin
Thursday 16th of August 2018
Hi Vineta! I love your trellis. I have been wanting to plant an autumn clematis but haven't done so yet because I don't have anything for it to grow on. Thanks for the inspiration. Your trellis is one of my features on next weeks OVER THE MOON LINK PARTY which goes live on Sunday evening at 5pm central. Please stop by to see your feature and link up again! :) gwingal