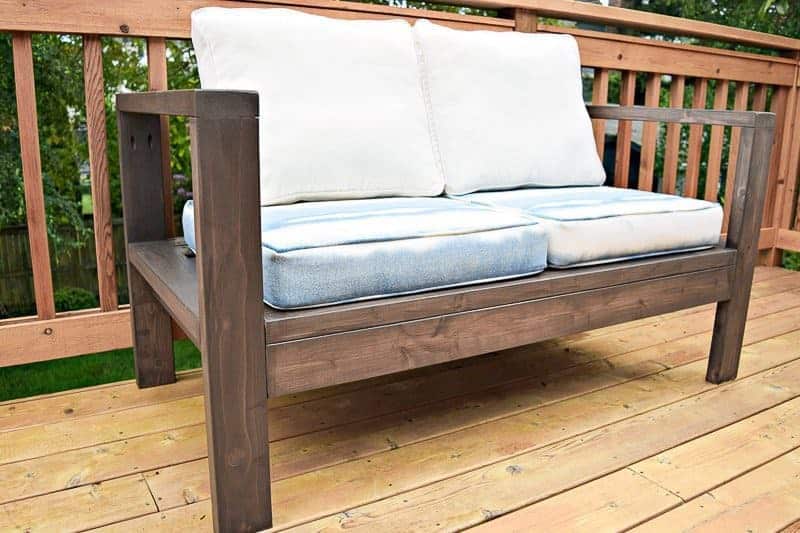
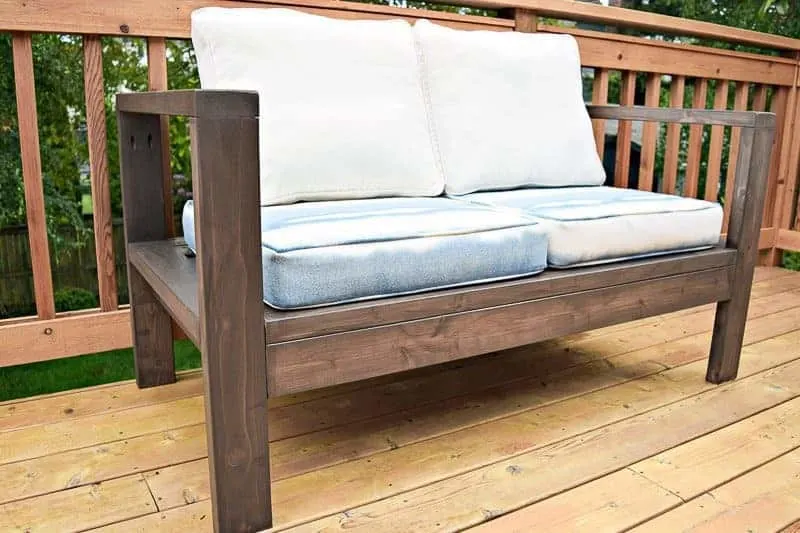
Outdoor furniture is expensive, unless you build your own outdoor couch and loveseat! This set was less than $200 in lumber and will last forever.

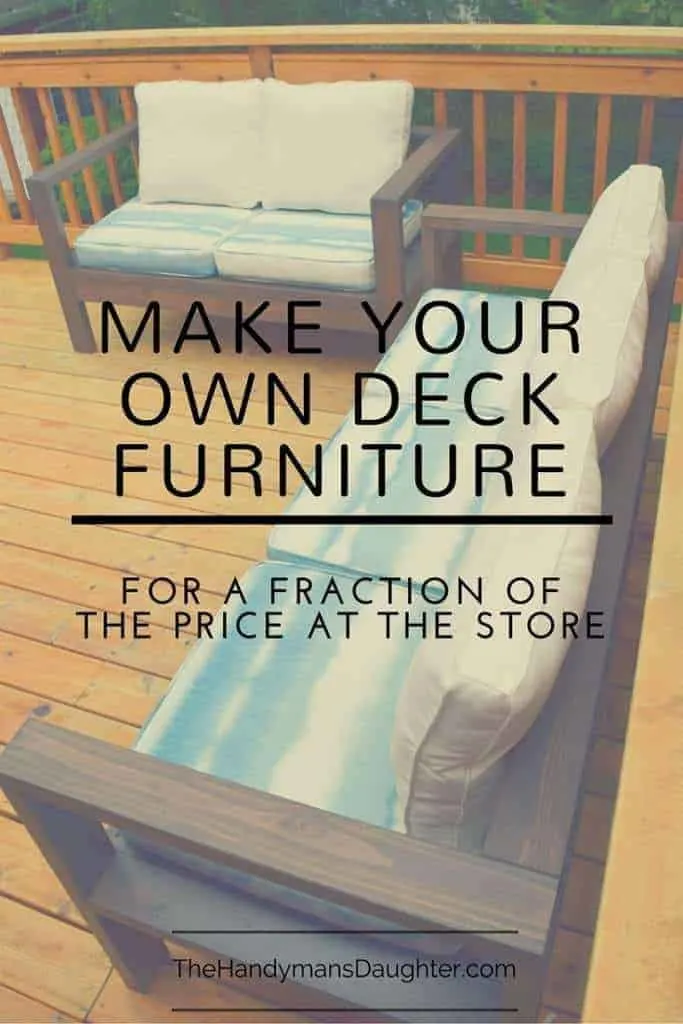
There's nothing better than relaxing on our deck with a good book, listening to the leaves rustling in the breeze. But outdoor furniture is so expensive, we've put off buying it for the last two summers.
I started doing some research, and found five options for outdoor sofas I was considering building for our deck. In the end, I went with the first one on my list, with plans by Ana White.
The video that goes along with this build shows just how quick and easy this outdoor sofa is to make, which instantly crowned it the winner.
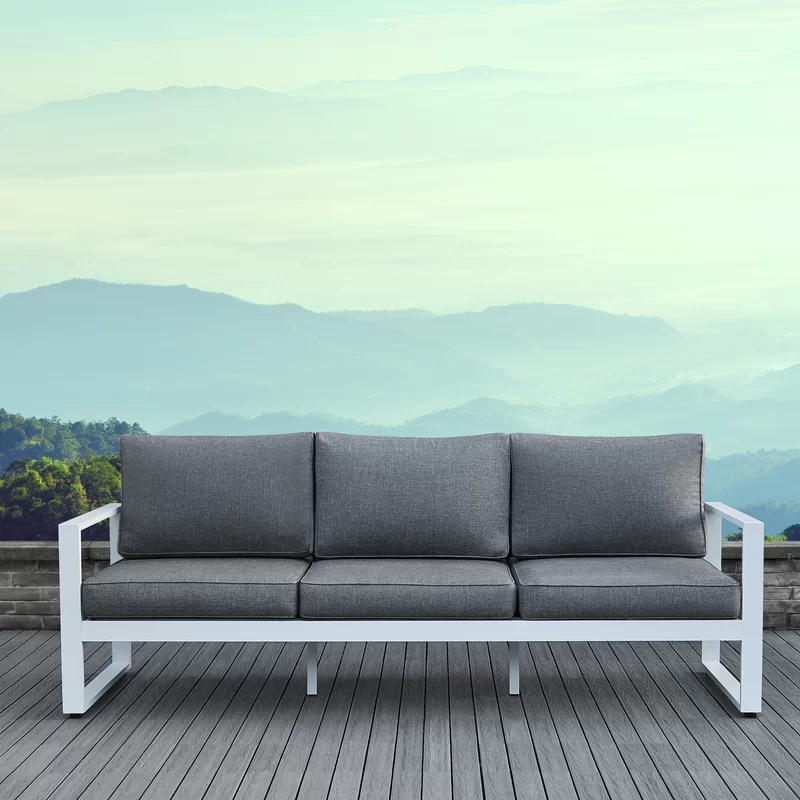
I also loved the simple design and modern lines, which are almost identical to this one I found at Wayfair. But you can build your own for a fraction of the cost!

This post contains affiliate links for your convenience. Purchases made through these links may earn me a small commission at no additional cost to you. Please visit my disclosures page for more information.
How to Build Your Own Outdoor Loveseat and Sofa
Download the free woodworking plans
Ana White's plans called for 24" x 24" cushions, but the ones I had were 22" x 22", so I had to do a little math to customize my dimensions. You can get the free woodworking plans for this DIY outdoor loveseat here.
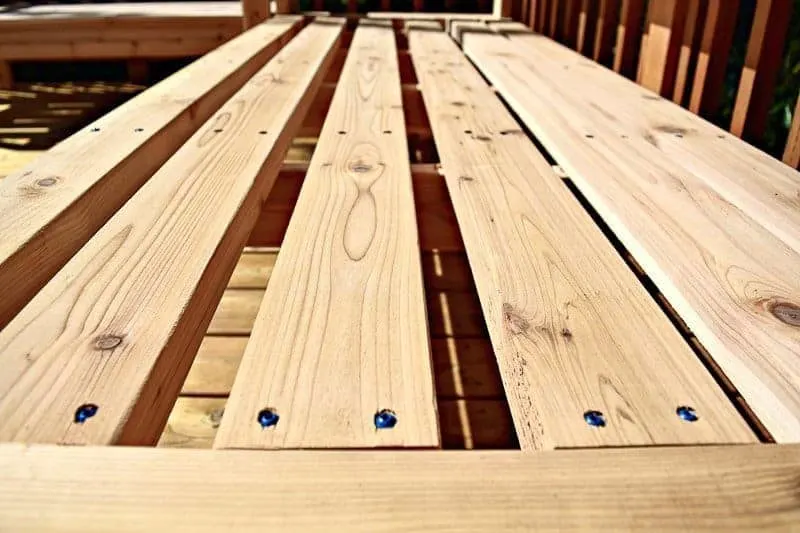
Choose your lumber wisely
All the wood used for this project are 2x4 cedar boards, which are rot resistant and will hold up to the Seattle rainy season. You can also use pressure treated lumber if cedar isn't available in your area. I have a detailed comparison of cedar vs pressure treated lumber if you can't decide!
Unless your outdoor furniture will be completely protected from the elements, I don't recommend using 2x4 pine boards for this project. You don't want to put all that effort into building an entire outdoor seating area, just to have it rot away!
Drill pocket holes
One change I made to the original plans was to use pocket holes whenever possible to increase the strength of the joints. It took a little extra time, but these couches are rock solid and will take plenty of abuse!


Use the right screws
I used weather resistant Blue-Kote Kreg screws for the entire project (even when I wasn't using pocket holes), so they won't rust in the rain.

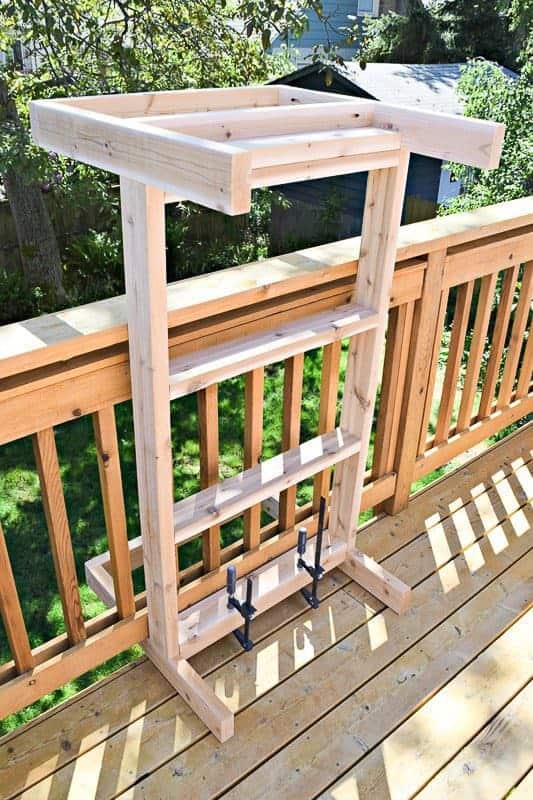
Assemble the sofa frame
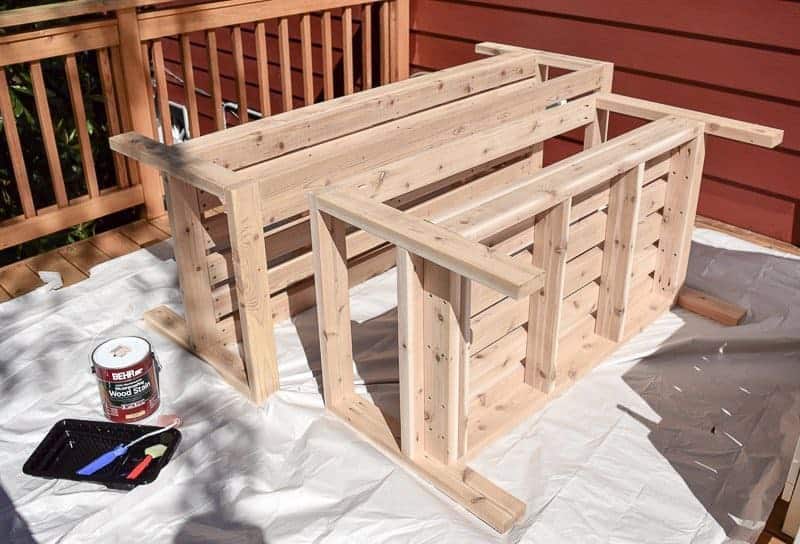
I assembled the base and legs of the DIY outdoor loveseat and sofa in my workshop, then brought them up to the deck to put them together. Since I was by myself, I employed a little bit of help from my deck railing to hold the pieces upright for me.
I clamped the base to the leg, which fit perfectly under my deck railing and held it in place while I attached the two pieces.

Apply outdoor stain or finish
After both the outdoor loveseat and sofa were assembled, it was time to stain. I tested out a few different samples on scrap cedar to help me decide which one would look best with the cushions.
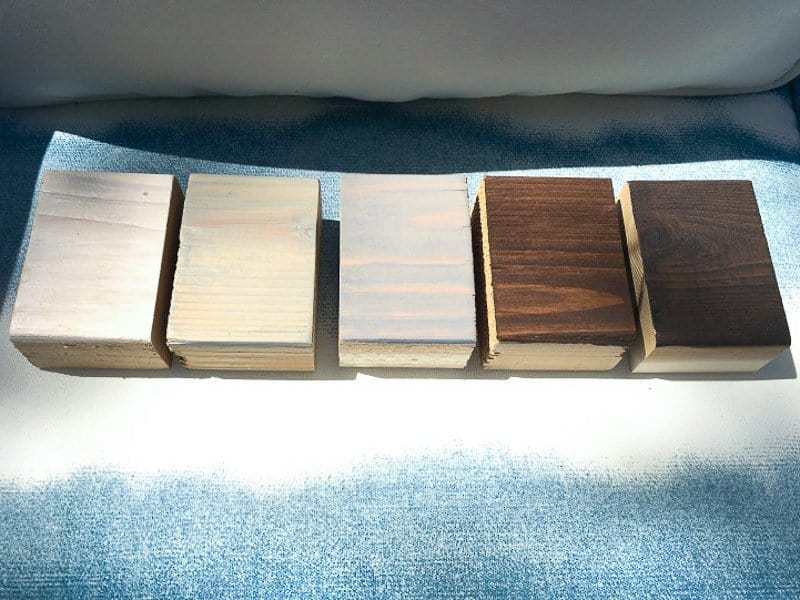
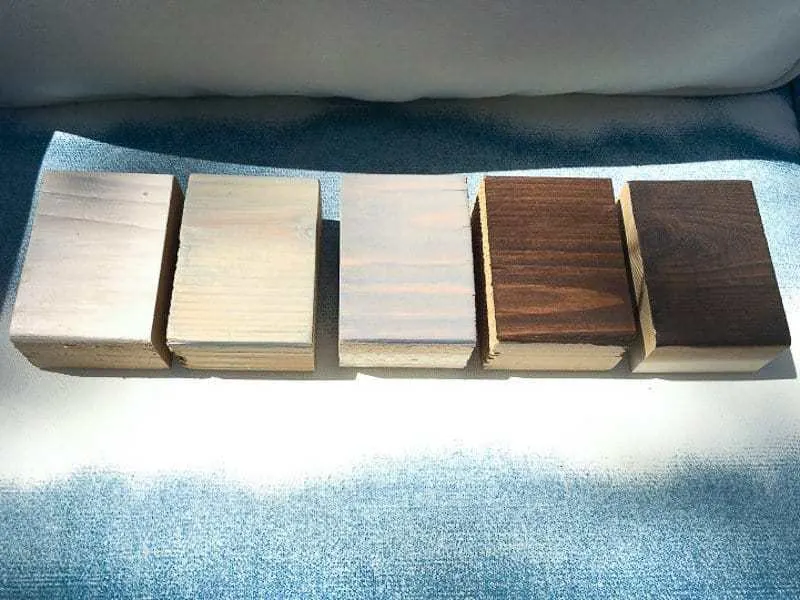
In the end, I chose the darkest color, Behr semi-transparent exterior stain in Coffee. Don't be alarmed if the stain in the can looks gray! I was worried that they had tinted it the wrong color at the store, but after testing the color on a scrap piece of cedar, it was perfect.
I put down a tarp to protect the deck, and got to work. This step took longer than building them!

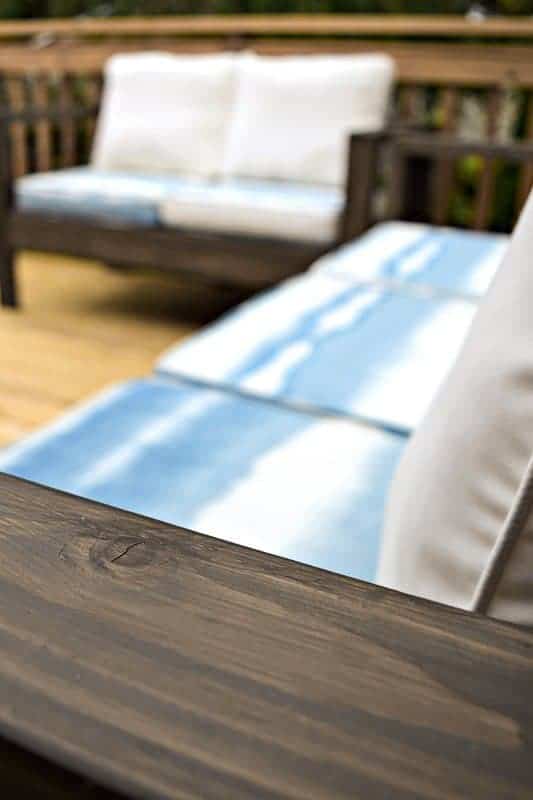
Two coats later, I had a rich dark espresso brown color that contrasted nicely with the light colored cushions.

Finding cushions for your outdoor loveseat and sofa
Speaking of cushions, they can cost more than the rest of this project put together, so it pays to shop around! I bought these on clearance over the winter from a Pier 1 that was going out of business. Inexpensive cushions can be found at places like Target, World Market or even Amazon.
Don't pass up a good deal on clearance or yard sale cushions because the print is crazy or the fabric is stained! You can change up the cover or make new ones using a tutorial like this one. You could even make your own cushions with outdoor upholstery foam like these.

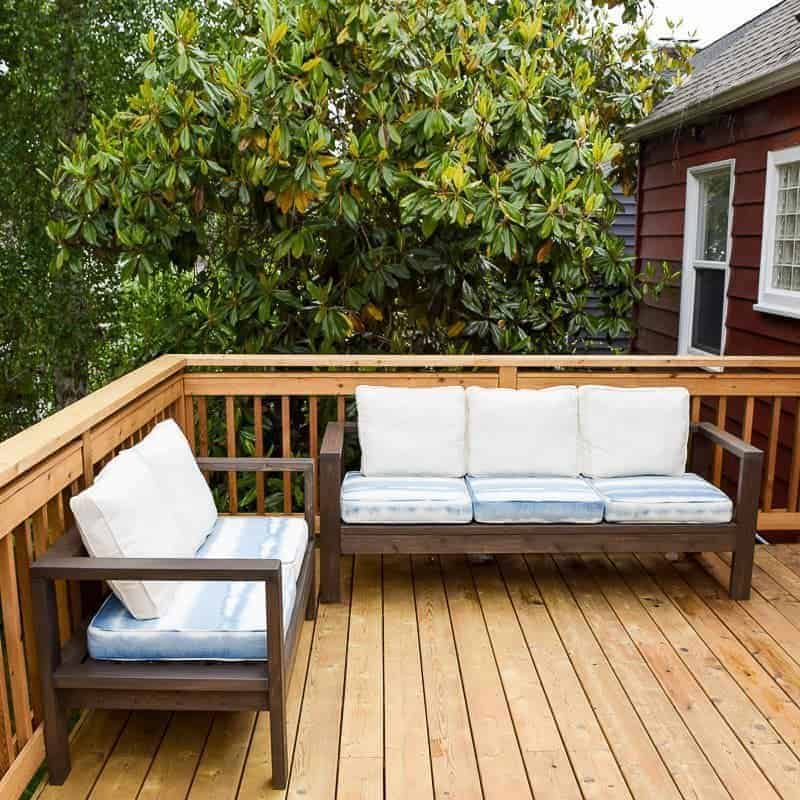

Add a few cute throw pillows like these, and you've got the perfect outdoor retreat!
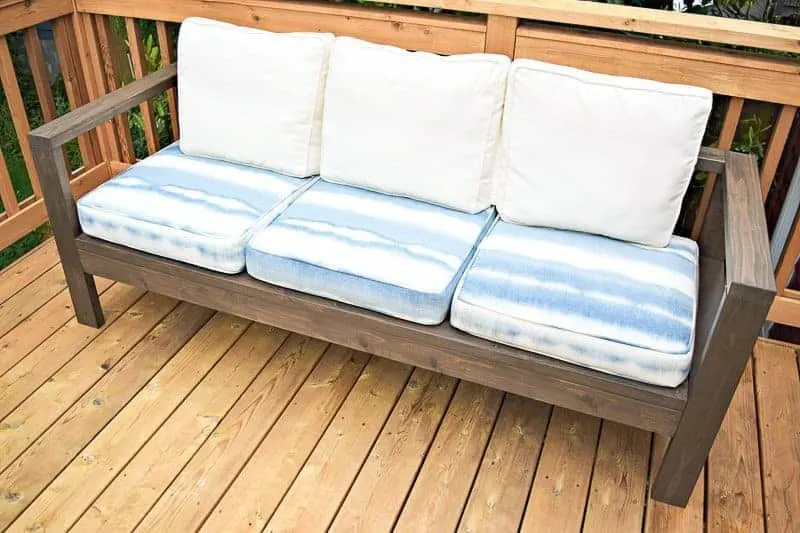
Don't let the cost of outdoor furniture keep you from enjoying your deck or patio! The lumber, screws and stain for both these pieces added up to less than $200. It took about 4 hours to build my own outdoor sofa from start to finish, and the loveseat went even faster.
Staining them both took another day, and I could have saved even more time if I had stained the boards before assembly. You could easily finish this project in a weekend and spend the whole summer relaxing on your new outdoor furniture!
Check out these other outdoor furniture ideas!
Chas
Thursday 10th of May 2018
I featured you this week on To Grandma's House We Go :)
Kat
Friday 27th of July 2018
Would you might sharing an update on how these are holding up to the elements? I have a friend who made an outdoor table and bench and within a year it is cracking and warped and looks terrible. What do you recommend sealing it with?
Sherry
Wednesday 9th of May 2018
That looks great! Thanks for sharing at Home Sweet Home!
Mother of 3
Sunday 6th of May 2018
That is lovely! I have been looking for a bench to put under out window where the kids playground used to be. Pinned.
Audra @ Renewed Projects
Thursday 3rd of May 2018
You can't go wrong with anything named coffee! The color is amazingly beautiful! Great job!
Chas
Thursday 3rd of May 2018
I love this!!! This is something I have been looking for. Pinned. Thanks for sharing on To Grandma's House We Go!