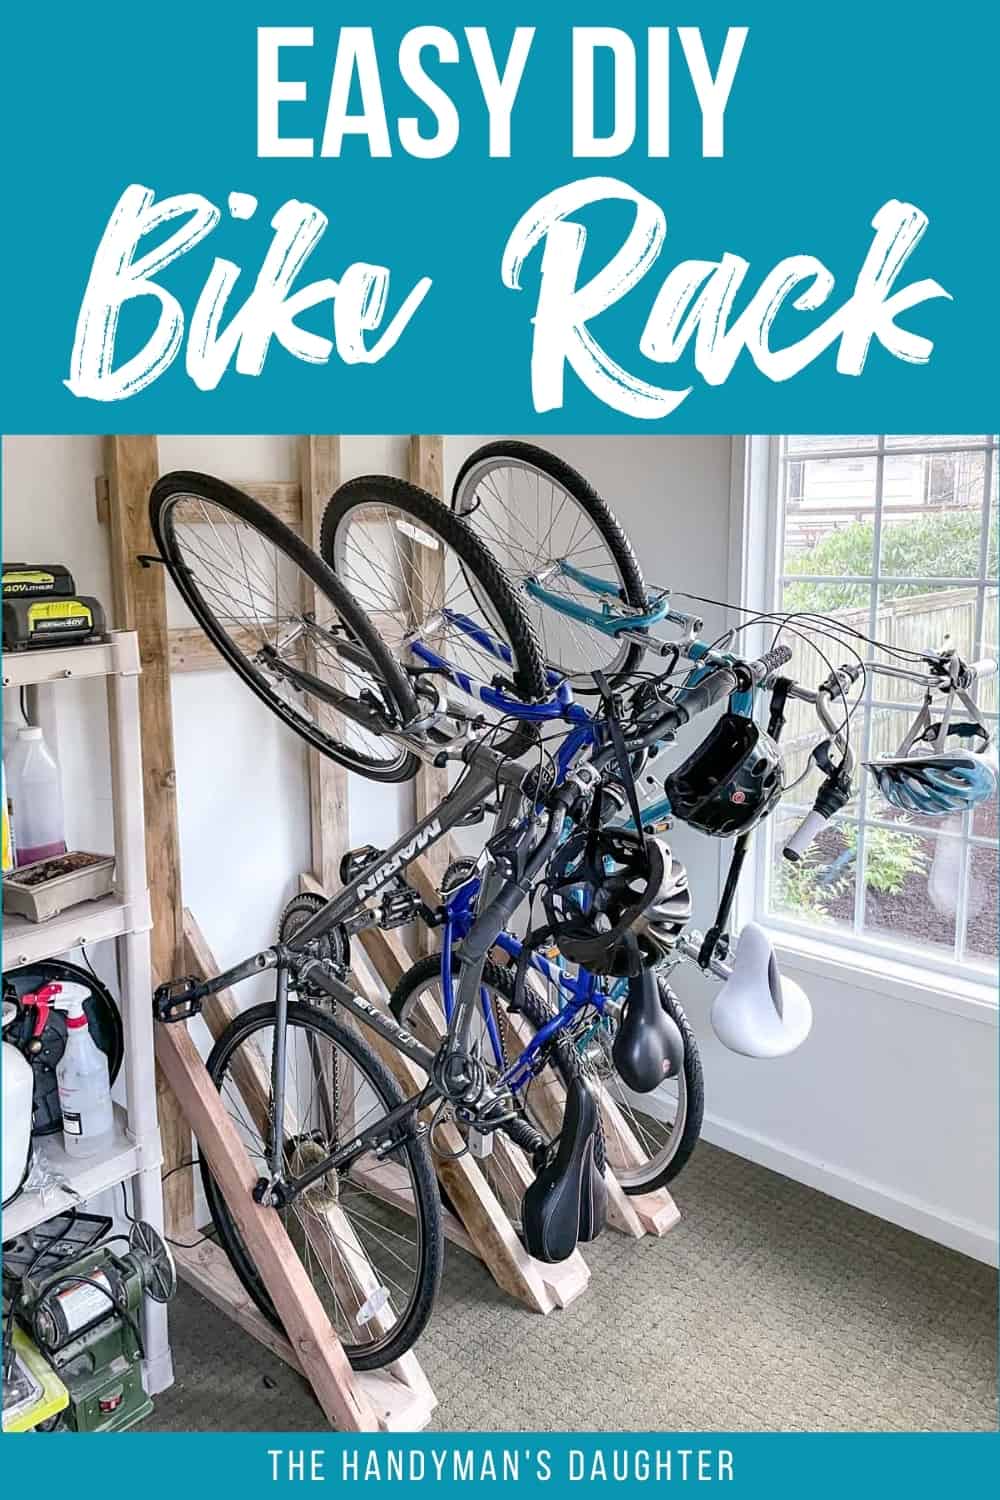
Save floor space in your garage with this wooden bike rack build! Hang several bikes vertically on the wall with this quick and easy project.

We don't have a garage, so we store all our lawn care tools, camping gear, seasonal decorations and bikes in our backyard shed. But it's gotten so cluttered, we can't even reach the storage shelves to grab what we need!
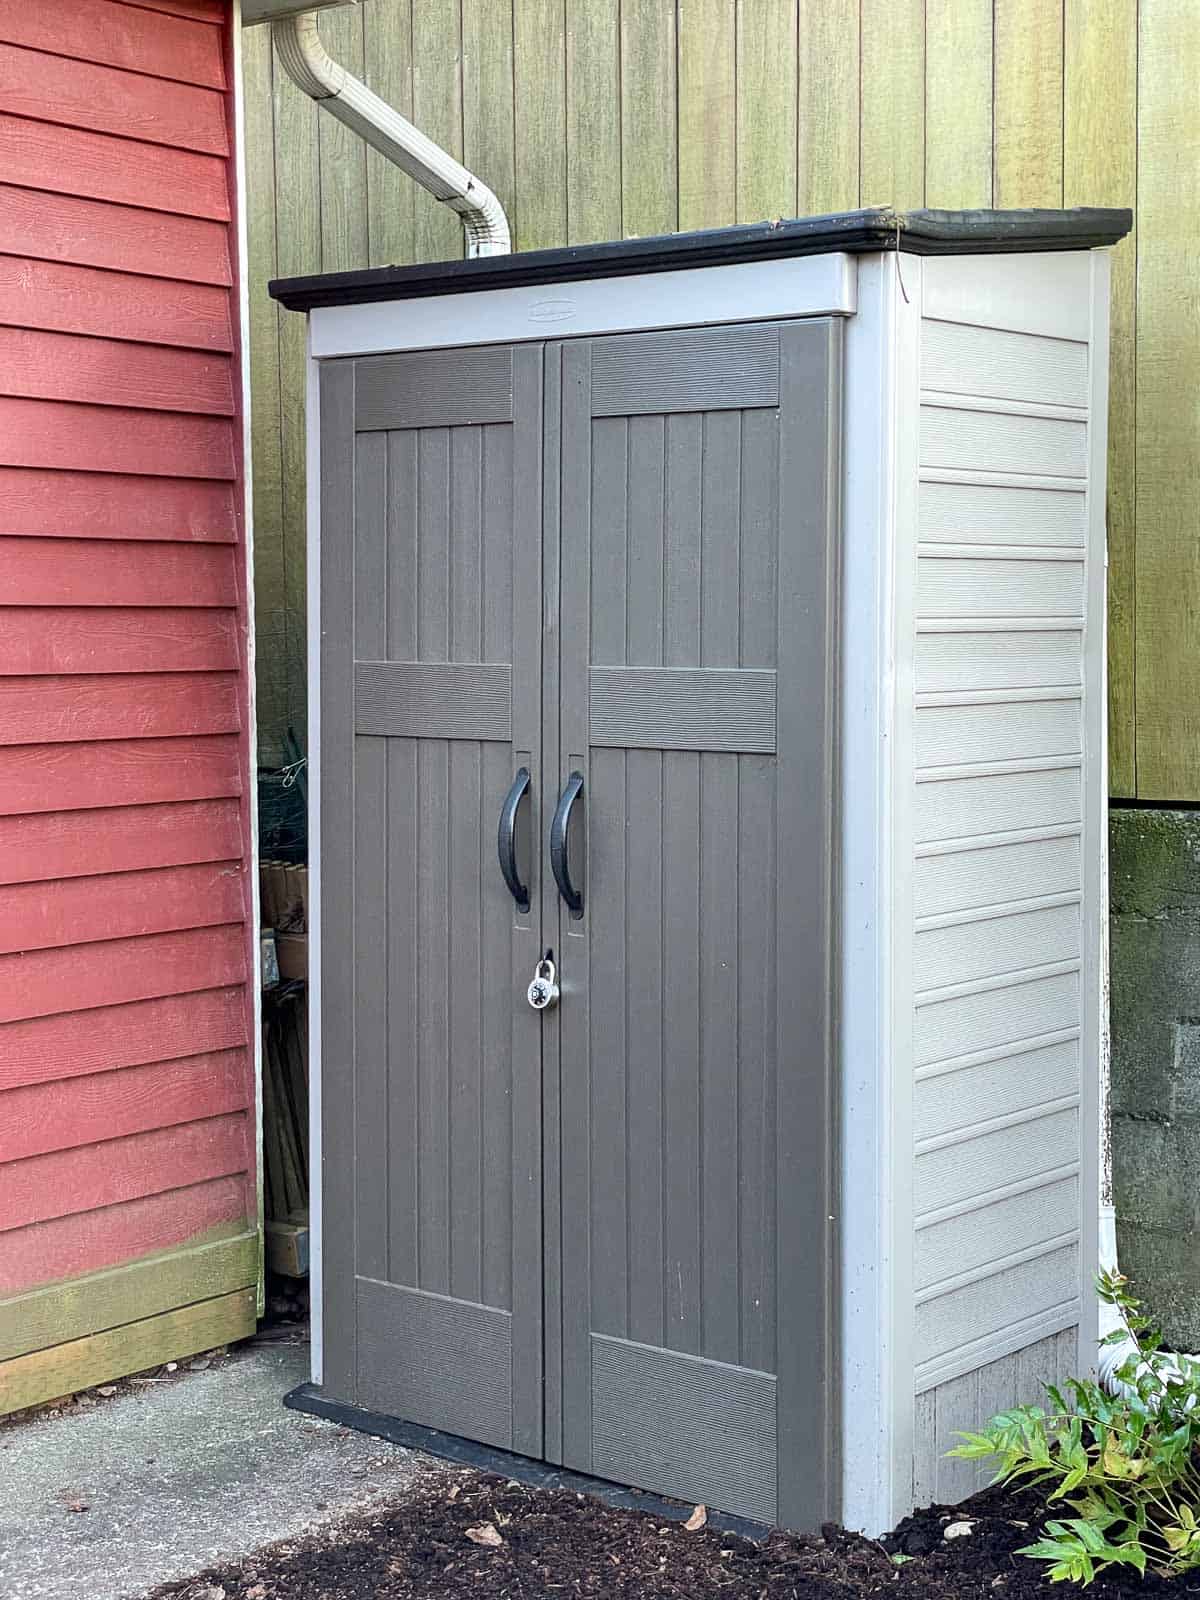
I was tired of cleaning up all the leaves and grass clippings from the carpeted floor (it was marketed as an "artist studio" when we bought the house). So we bought a small plastic shed to move all the yard tools outside.

With the entryway clear and the garden tool storage rack removed, it was time to create a better bike storage solution. I designed this really simple DIY vertical bike rack to take advantage of the four feet of empty wall space directly across from the door.
Now we can just walk our bikes into the shed and hook the front wheel onto the wall! The shed is much more accessible now that we don't have to weave our way through a jumble of handlebars and pedals just to get to the shelves.

Not quite what you were looking for? Check out these other DIY bike rack ideas for more inspiration!
This post contains affiliate links for your convenience. Purchases made through these links may earn me a small commission at no additional cost to you. Please visit my disclosures page for more information.
I used reclaimed 2x4 boards from a neighbor's renovation, and they've been sitting in a pile outside all winter. It took longer to sand the off grime than it took to complete this DIY bike rack build, so you could easily make your own rack in less than an hour. If you get the wood cut for you at the store, the only tool you'll need is a drill!
Materials Needed for DIY Bike Rack
- Two 8 foot 2x4 boards per bicycle, plus one extra for the wall
- 3" construction screws
- Miter saw, circular saw or miter box
- Bicycle hooks
- Level
- Stud finder
- Drill
- Speed square
- Clamps
How to Build a Bike Rack
Before you begin, download the free woodworking plans here. You'll get simple step-by-step instructions with clear 3D models to help you complete this project successfully!
Measure your bikes first
Our bikes have a variety of different tire sizes and lengths, from my son's smaller one to my huge beach cruiser. Take note of these measurements for each bicycle:
- The full length from tire to tire
- Wheel diameter
- Handle bar width
- Distance from the front of the tire to the handlebars
You'll want to make the bike rack tall enough to accommodate the longest bicycle, with enough room between them so the handle bars and pedals don't get tangled. I positioned the two adult bikes on the ends, with the smaller kids bike in the middle.
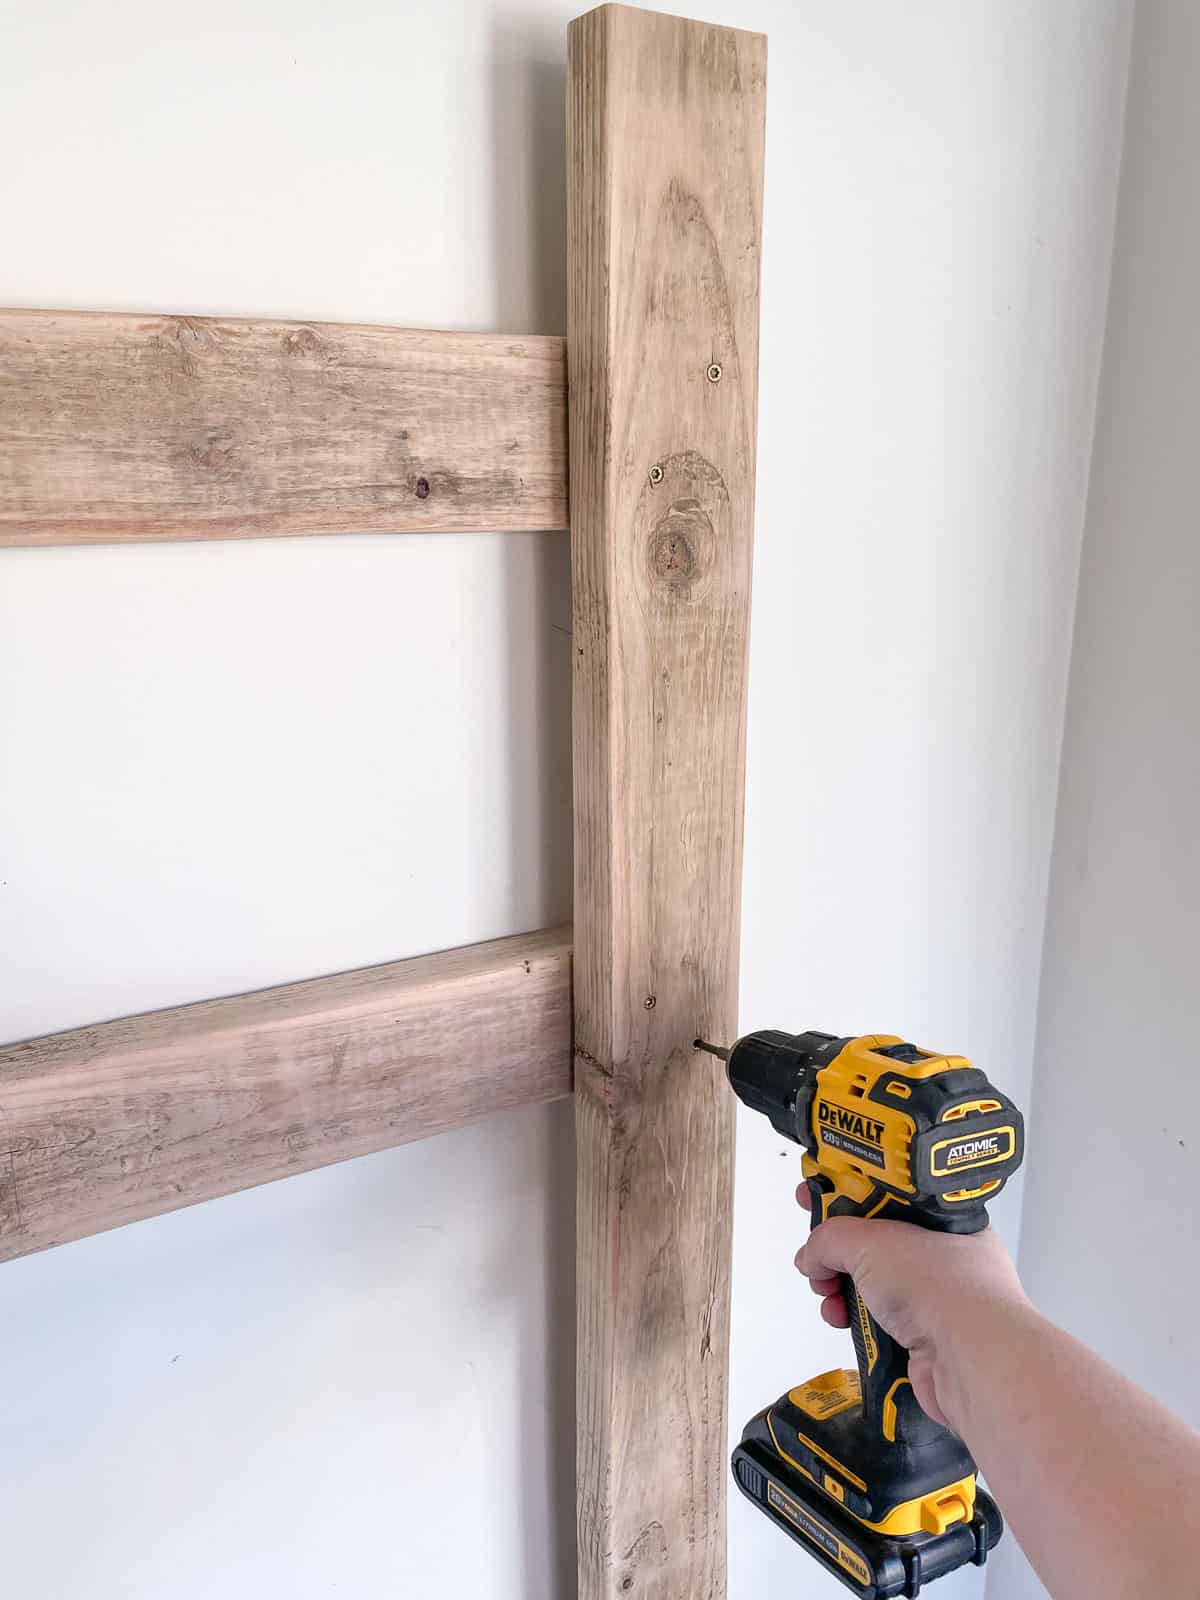
Attach the horizontal back pieces to the studs
Once you've decided how wide your bike area will be, cut two 2x4 pieces down to that size. Mine are 36" long. These horizontal pieces will screw right into the studs in the wall, and the vertical racks will attach to these supports.
Locate the studs with a stud finder (or use one of these techniques if you don't have one), and mark their location on the wall. If you can't find any studs in a convenient spot, you'll need to use heavy duty wall anchors like toggle bolts that won't pull out of the wall accidentally.
To determine the height, I just held the tallest and shortest bike vertically and marked where the tire hit the wall. Make sure these boards will hit at least two studs, or use drywall anchors.
Mount the two horizontal boards to the wall with two screws per stud. Make sure to check for level as you go, and countersink the screws below the surface of the wood.
Assemble the vertical bike stands
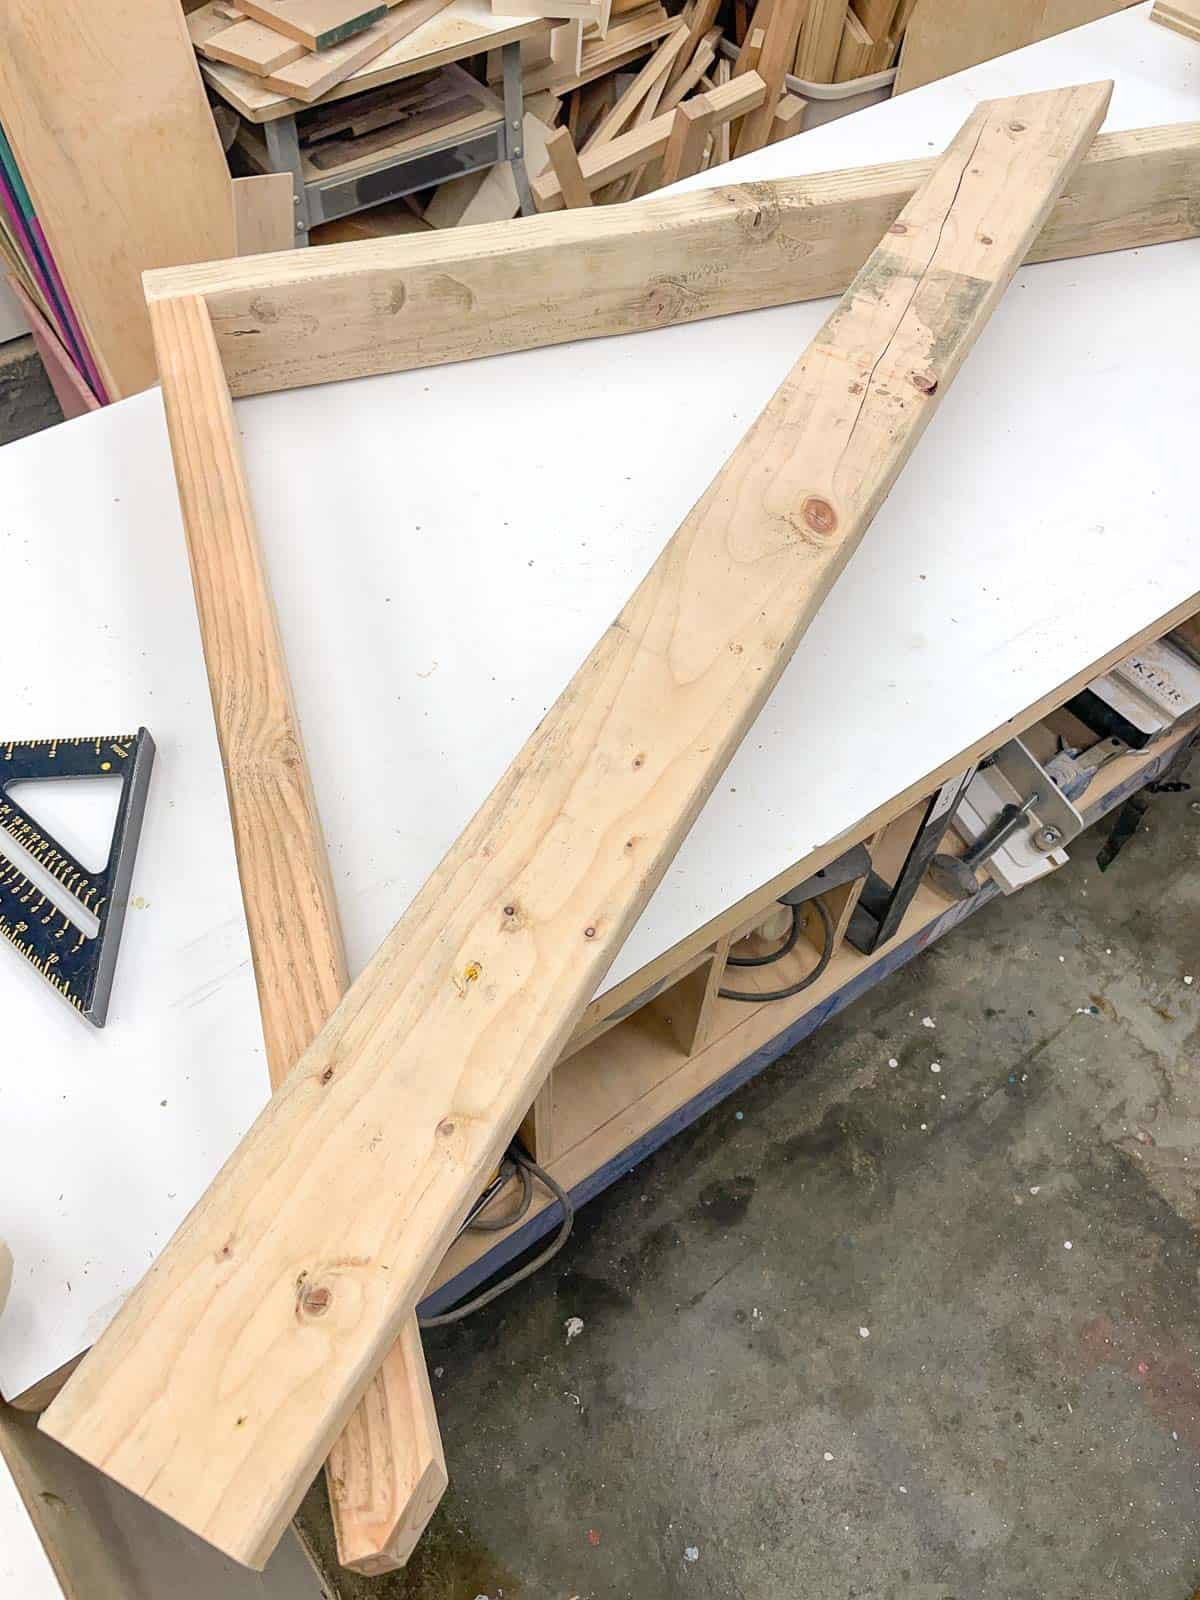
Cut the two pieces that form the L shape of the rack first. I trimmed the corner off the top of the floor piece so it would be easier to roll the back wheel into place.
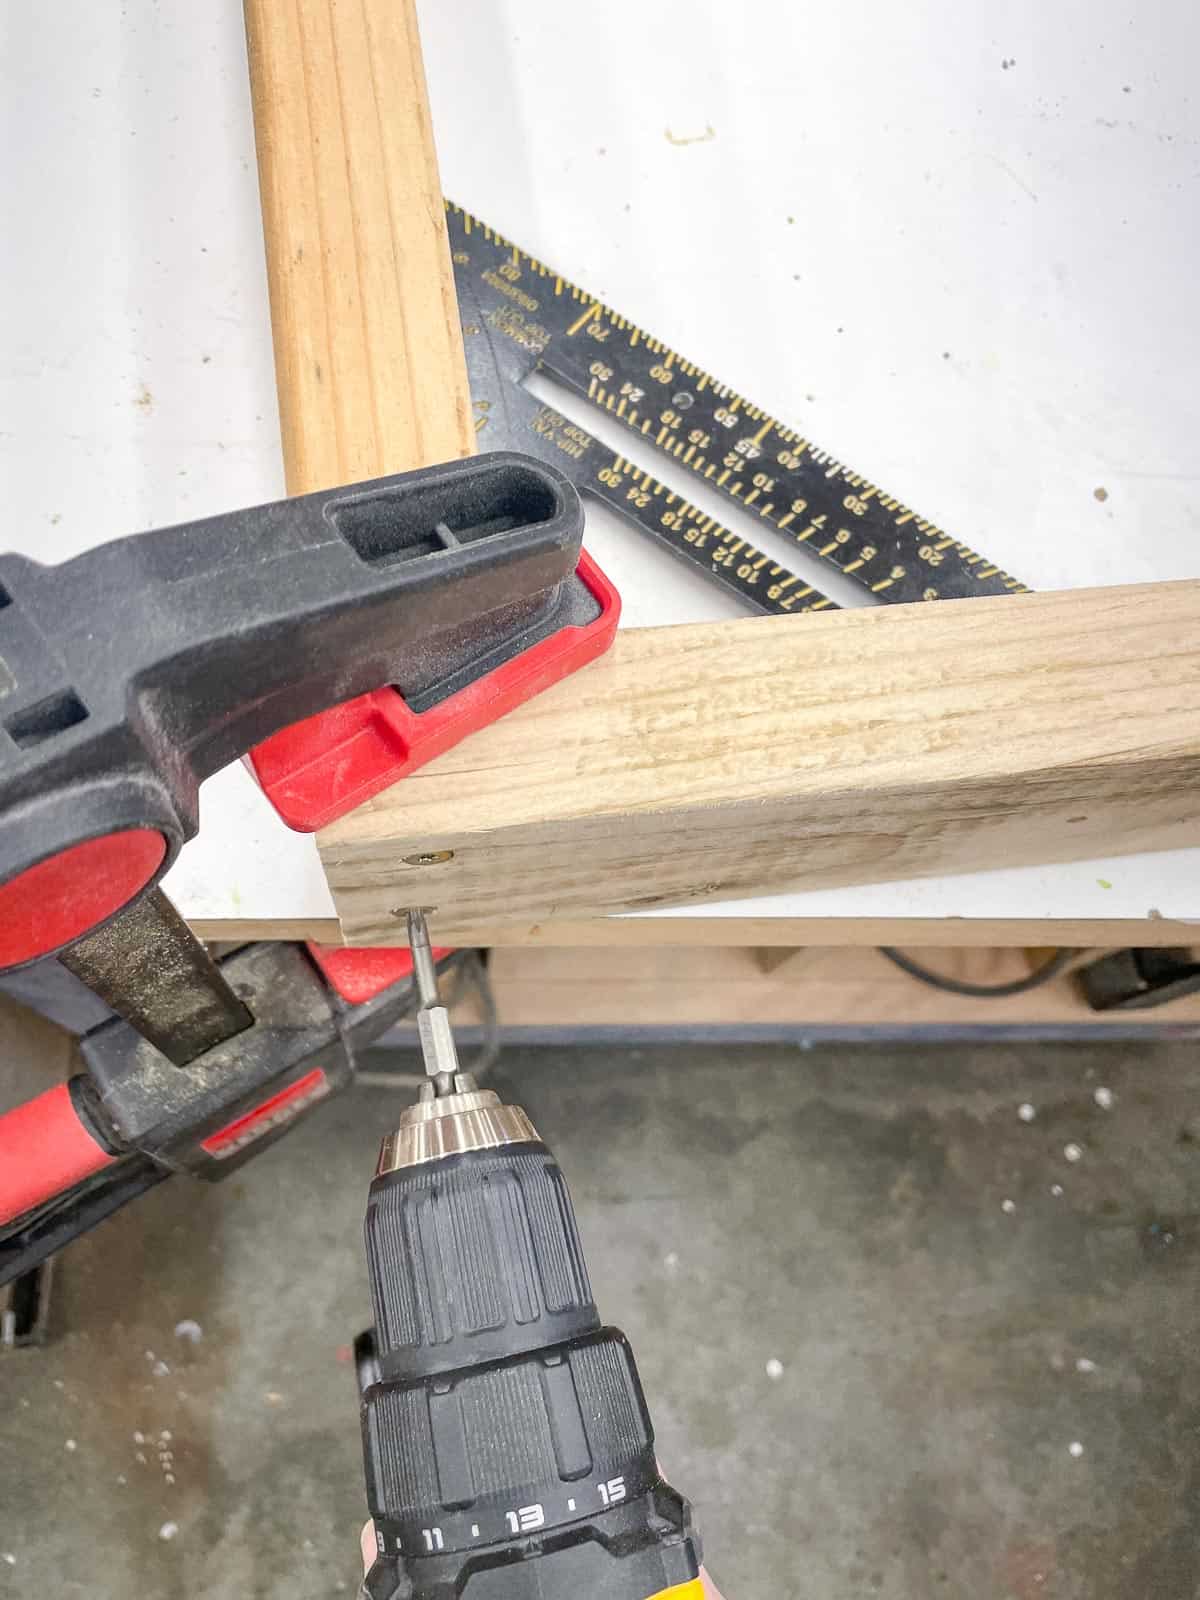
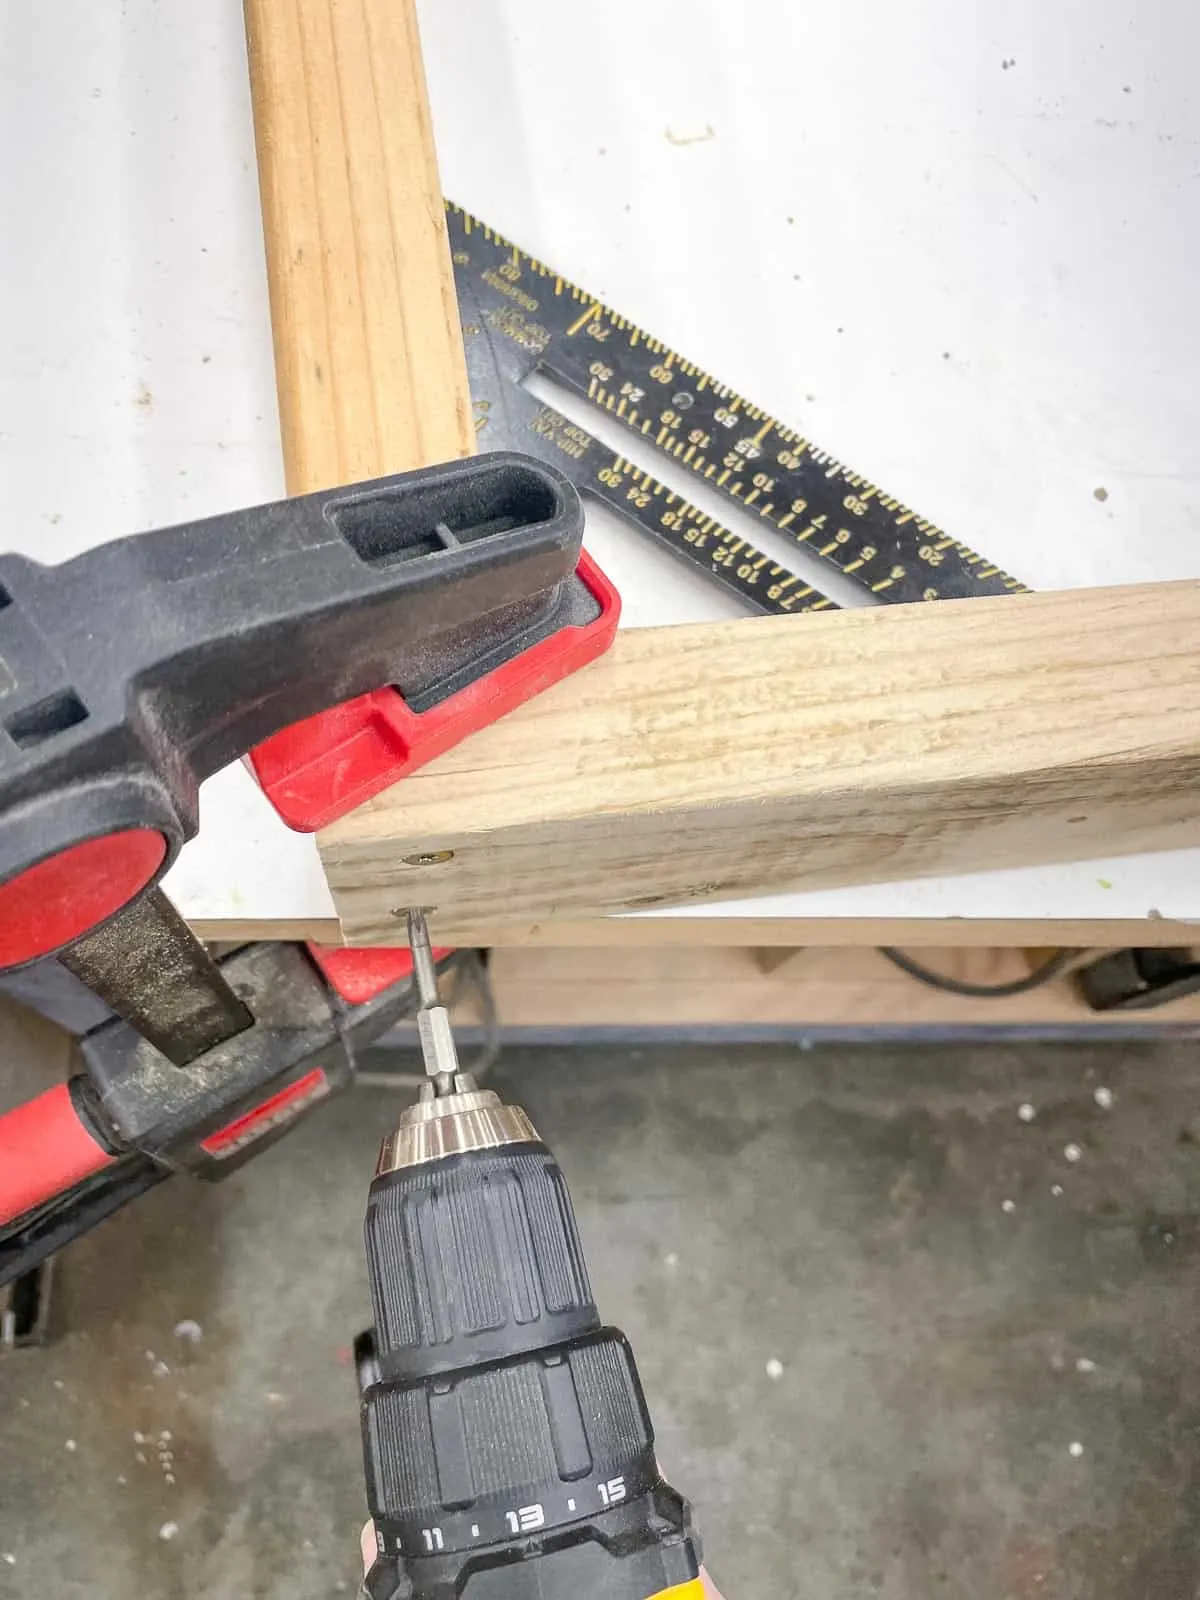
Attach the bottom floor piece to the long vertical piece with 3" construction screws. Check to make sure they're at a 90 degree angle to each other with a speed square or combination square.
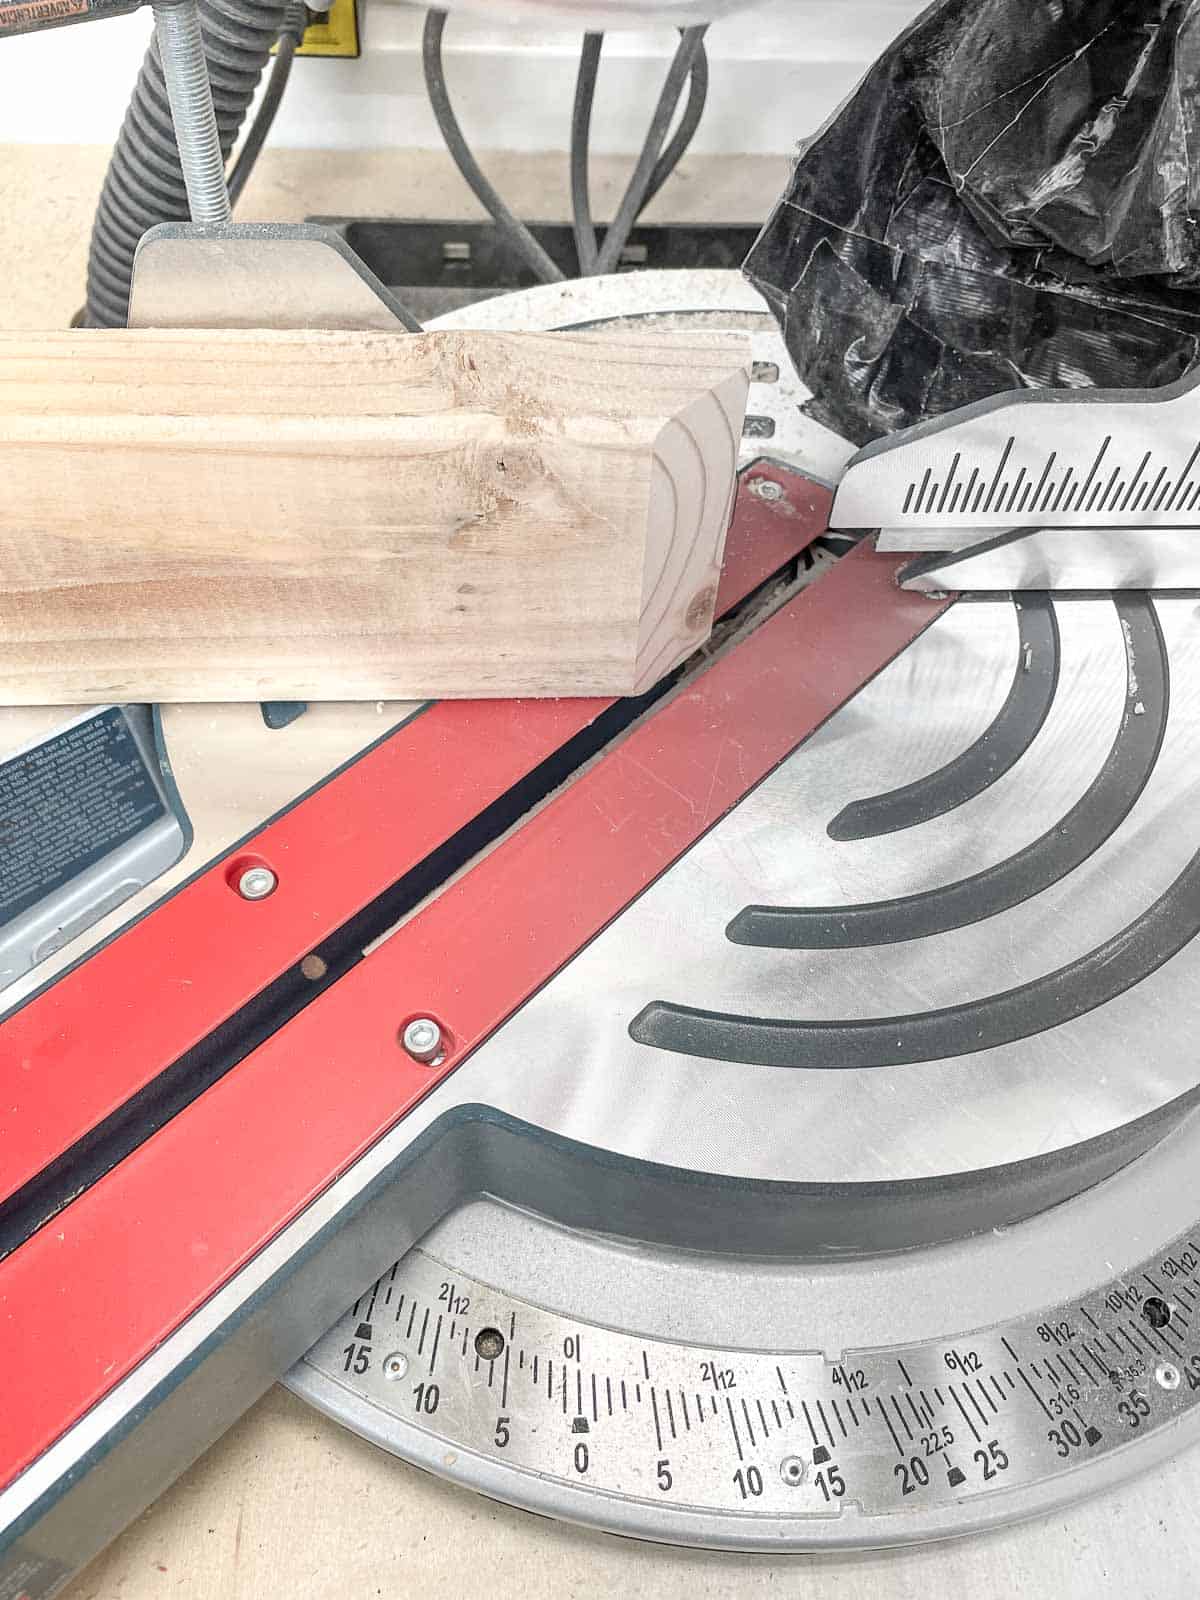
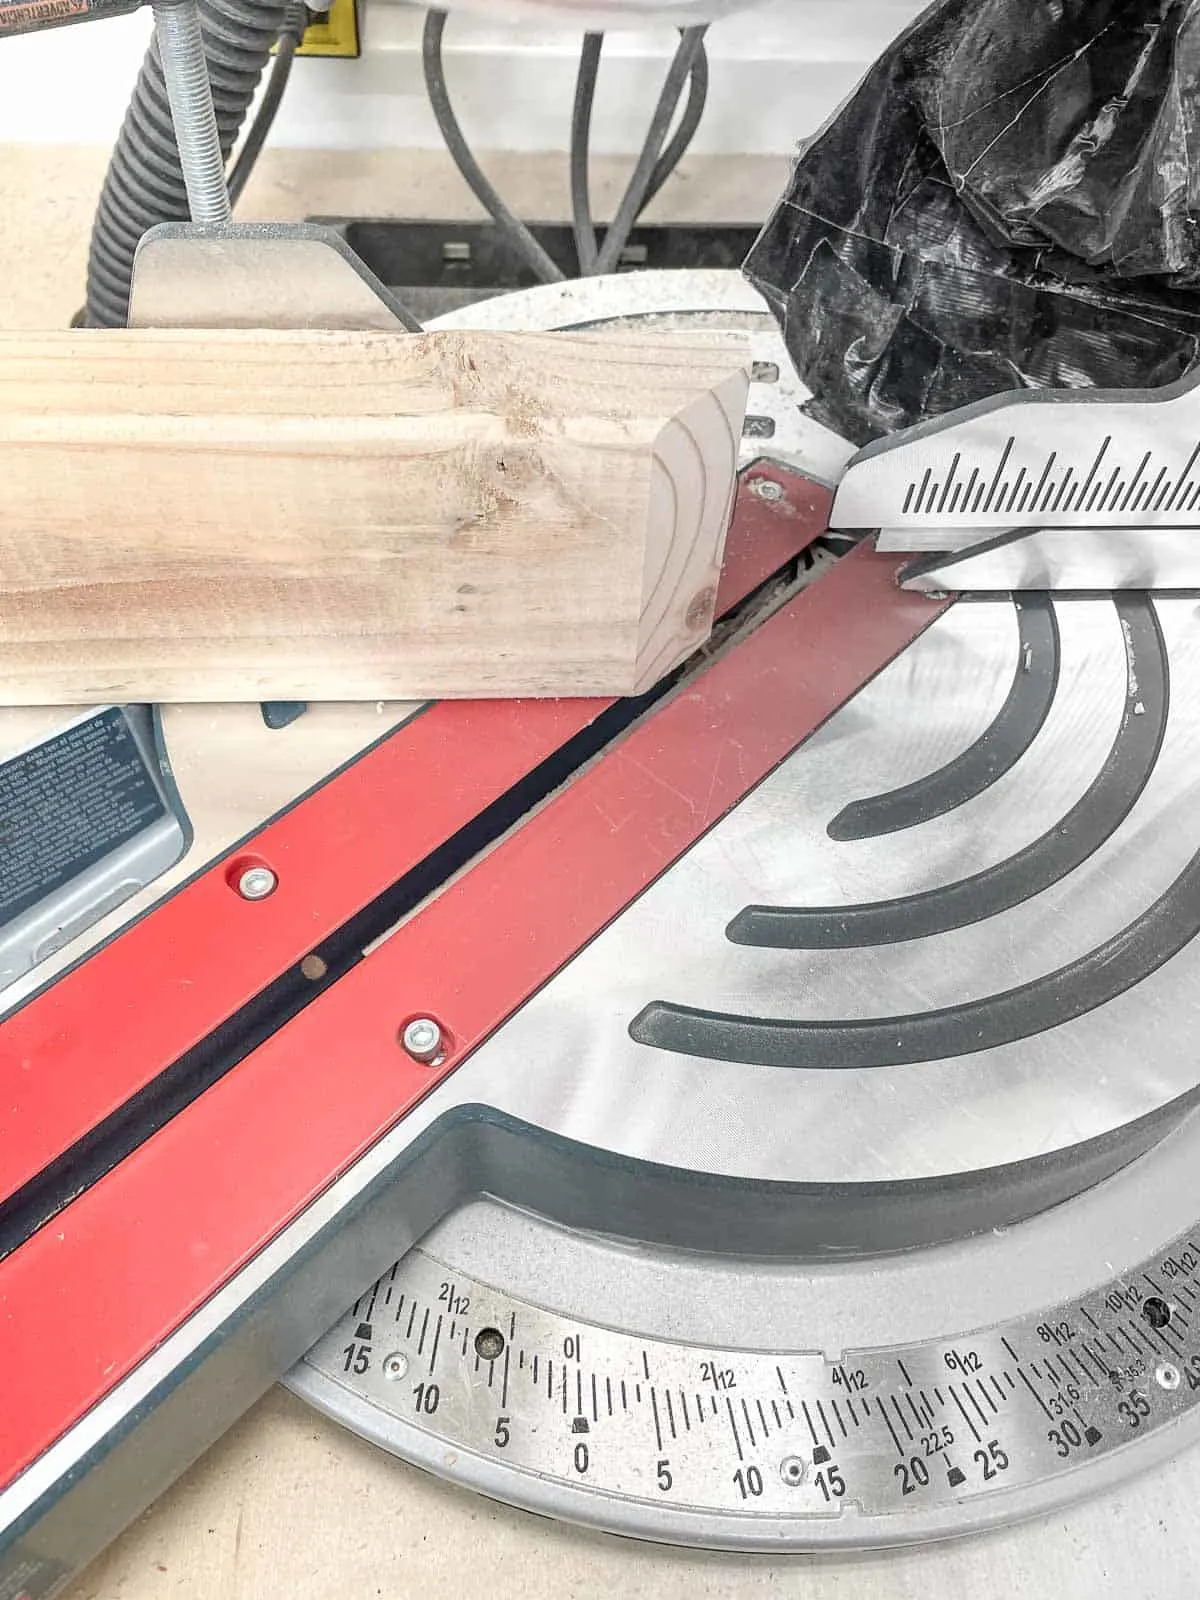
The diagonal support pieces will help stabilize the bottom wheel and keep it from turning into the other bikes. I cut one end at a 45 degree angle at the miter saw, then held that end flush with the vertical piece until I found the right height.

Mark where the diagonal piece meets the bottom, then cut the second 45 degree angle at that line. Use that board as a template to mark the rest of the boards. I needed six angled pieces for three bike racks.
Clamp the diagonal piece in place, making sure the cut ends are flush with the back and bottom edge of the frame. Then attach both ends with 3" screws. You may want to pre drill the holes so it doesn't split the wood.
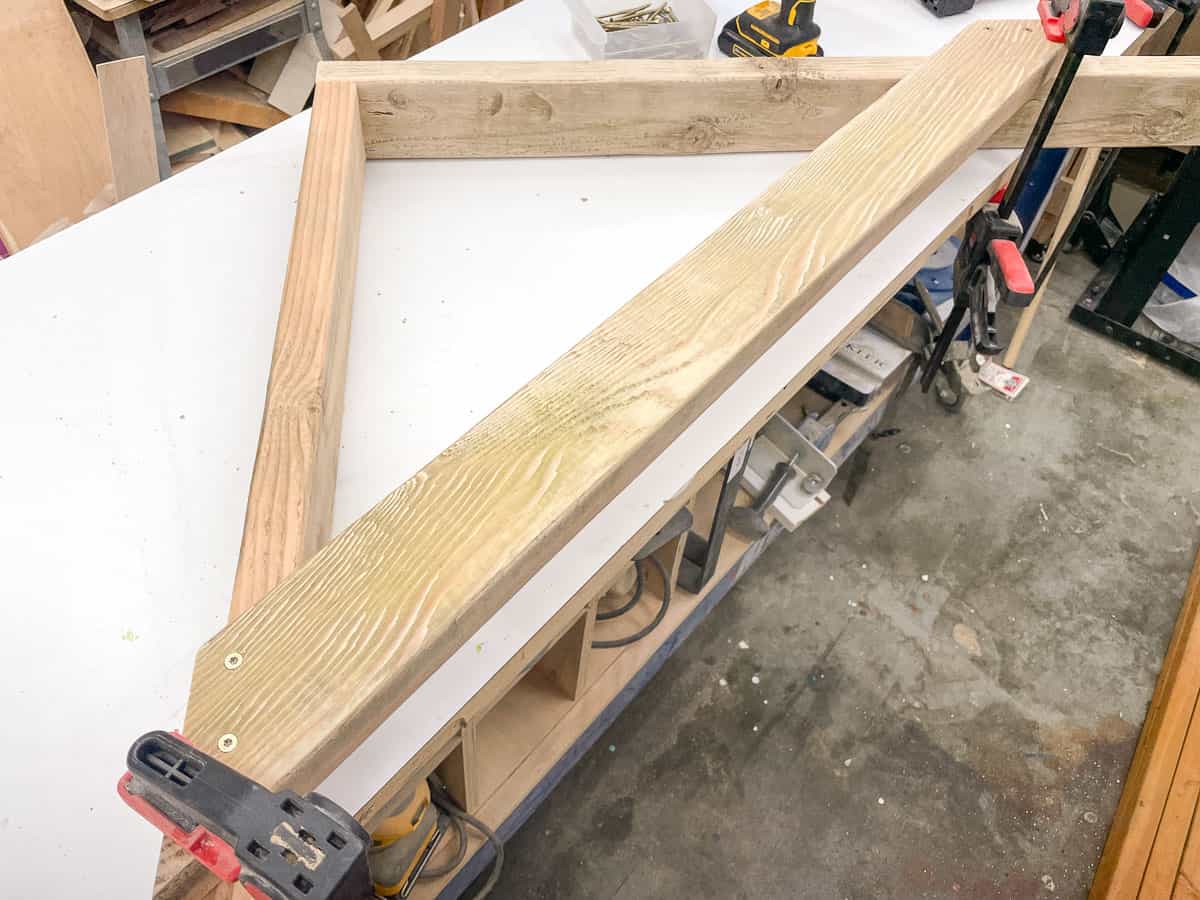
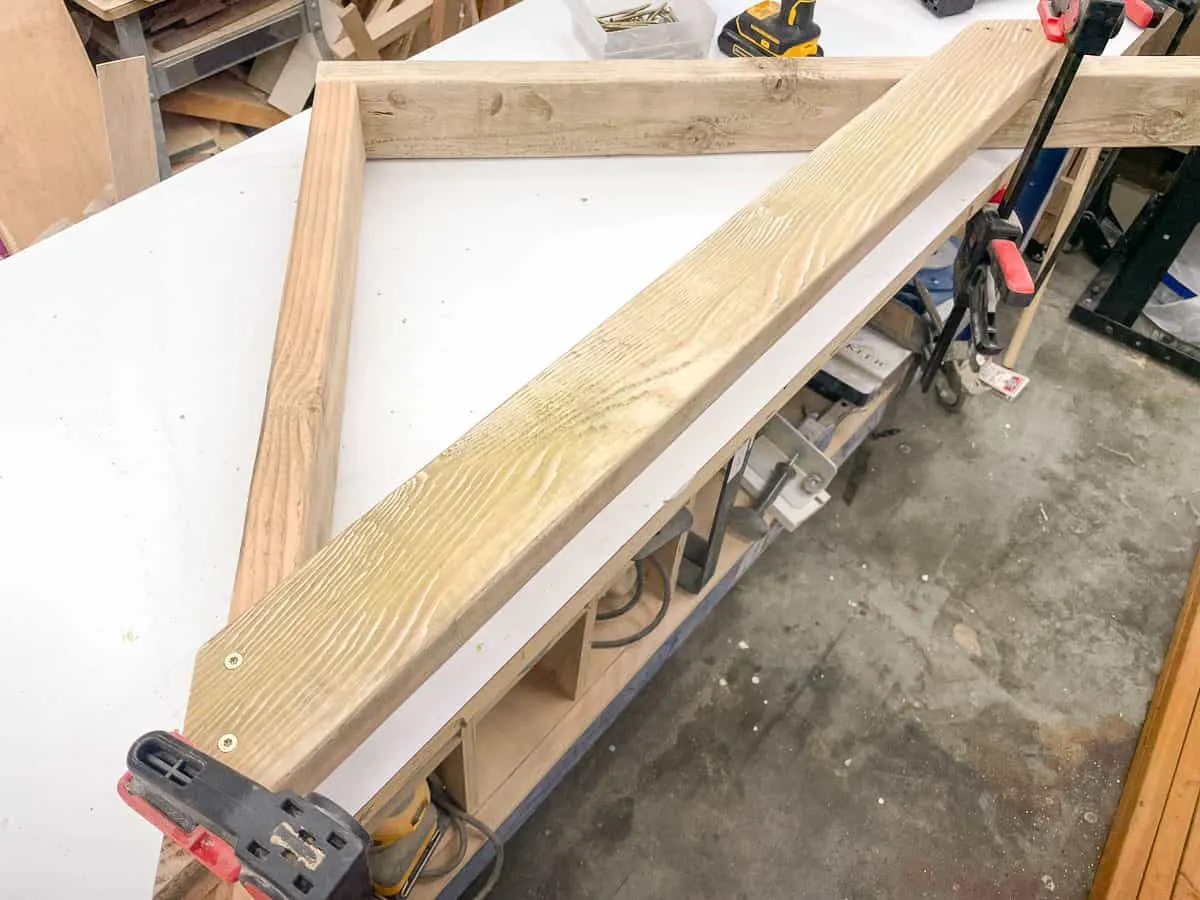
Flip the whole thing over and repeat the process for the other side. I was able to assemble all three bike racks in less than half an hour!


Attach the vertical bike rack to the horizontal supports
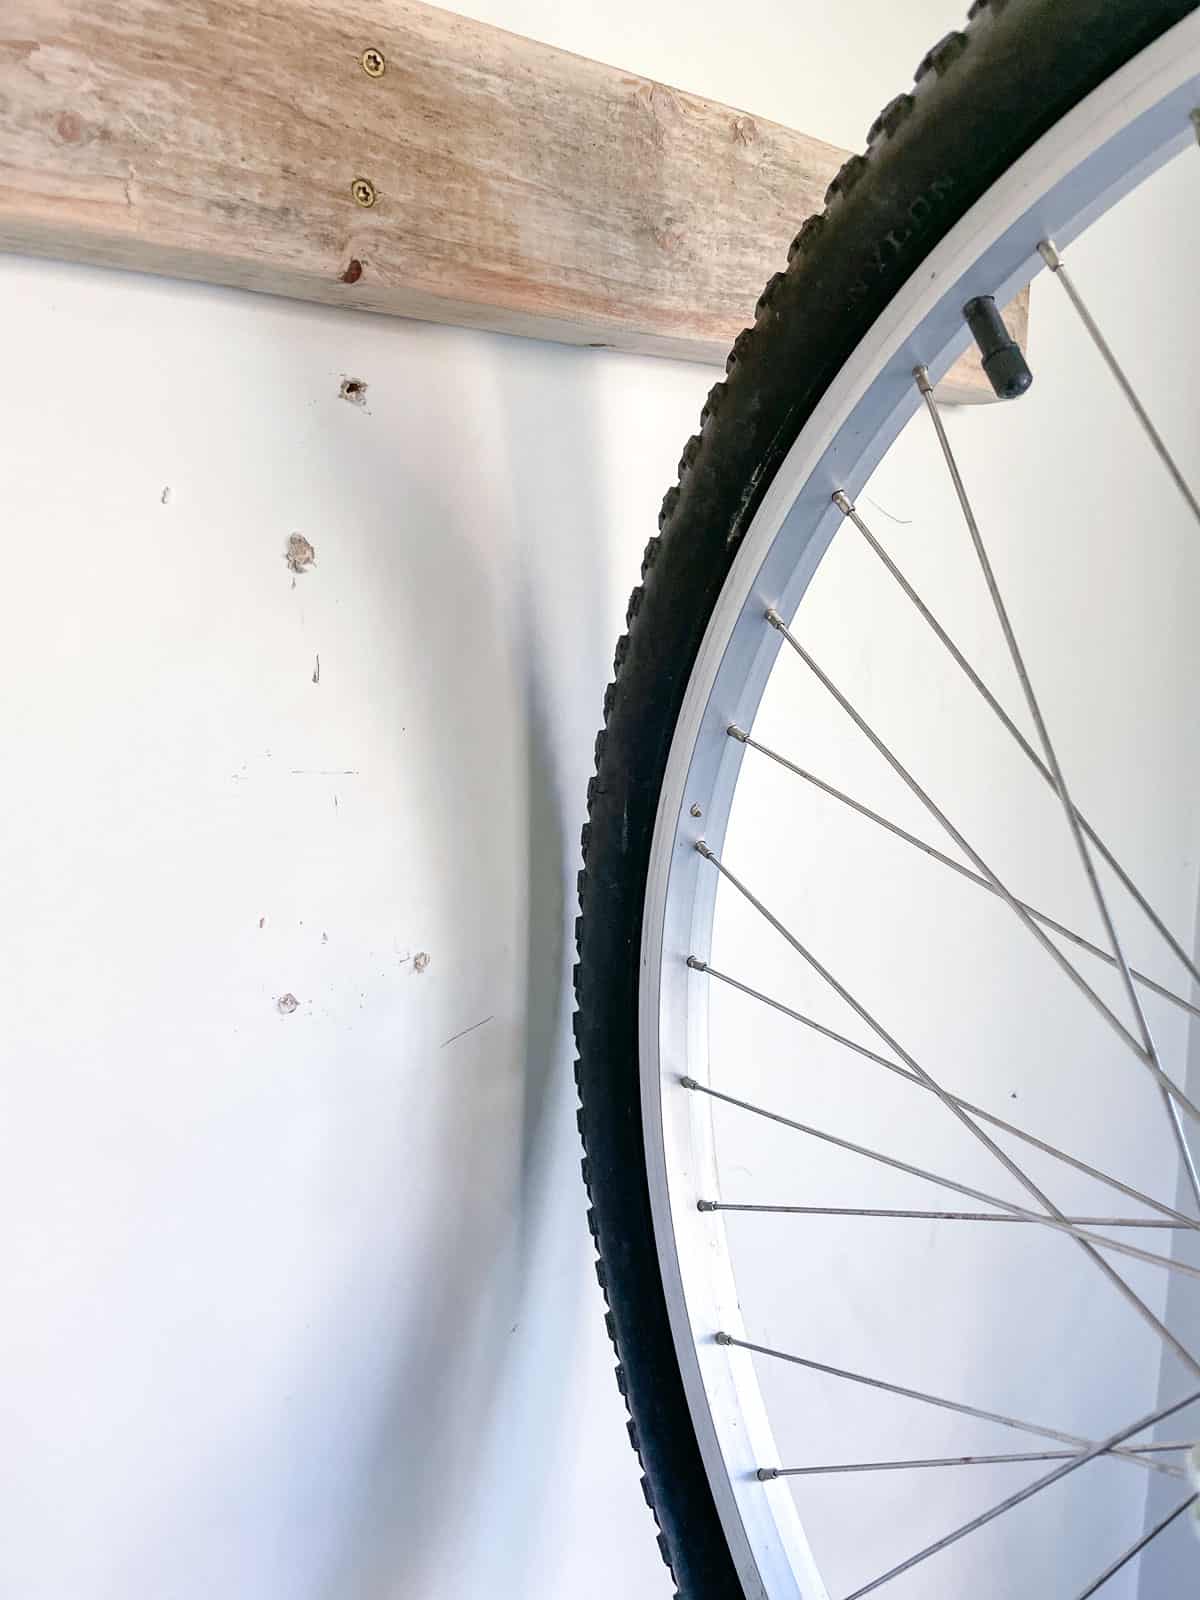
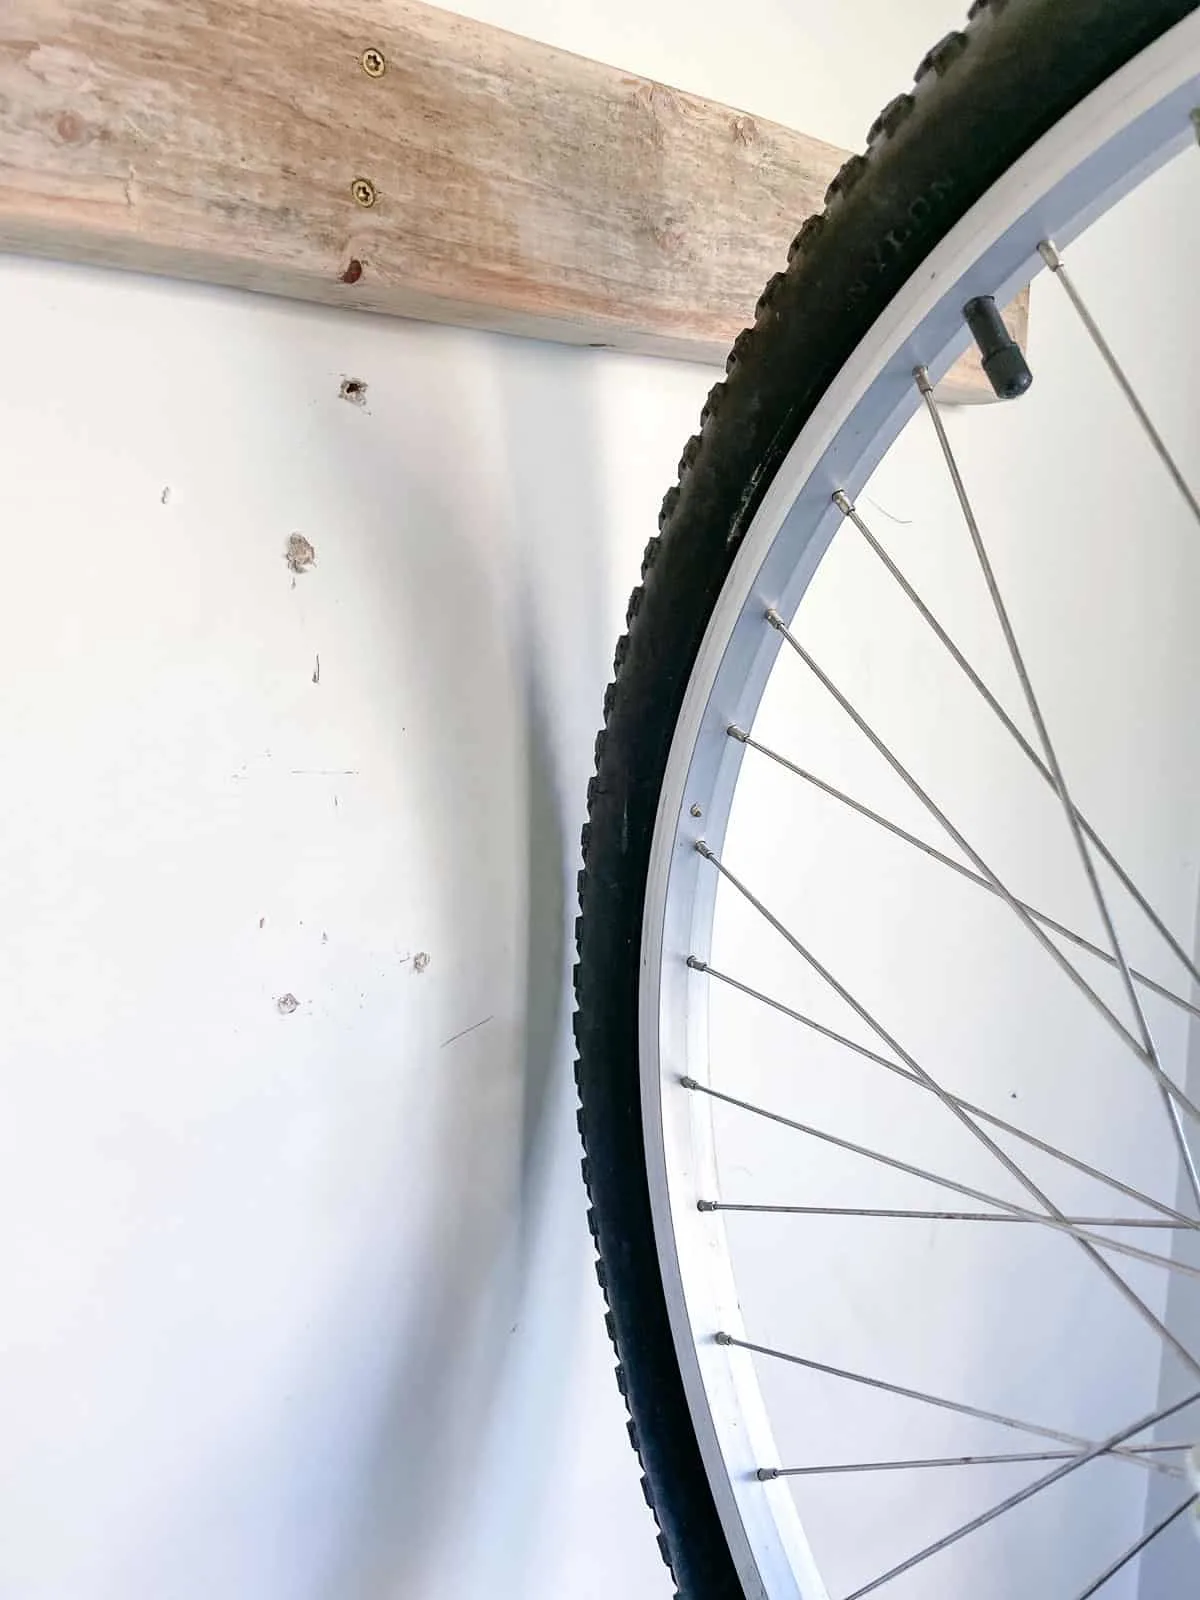
Place the wooden bike rack up against the horizontal supports, and check that it's straight with a level. Then screw it into place on both wall boards with two screws.

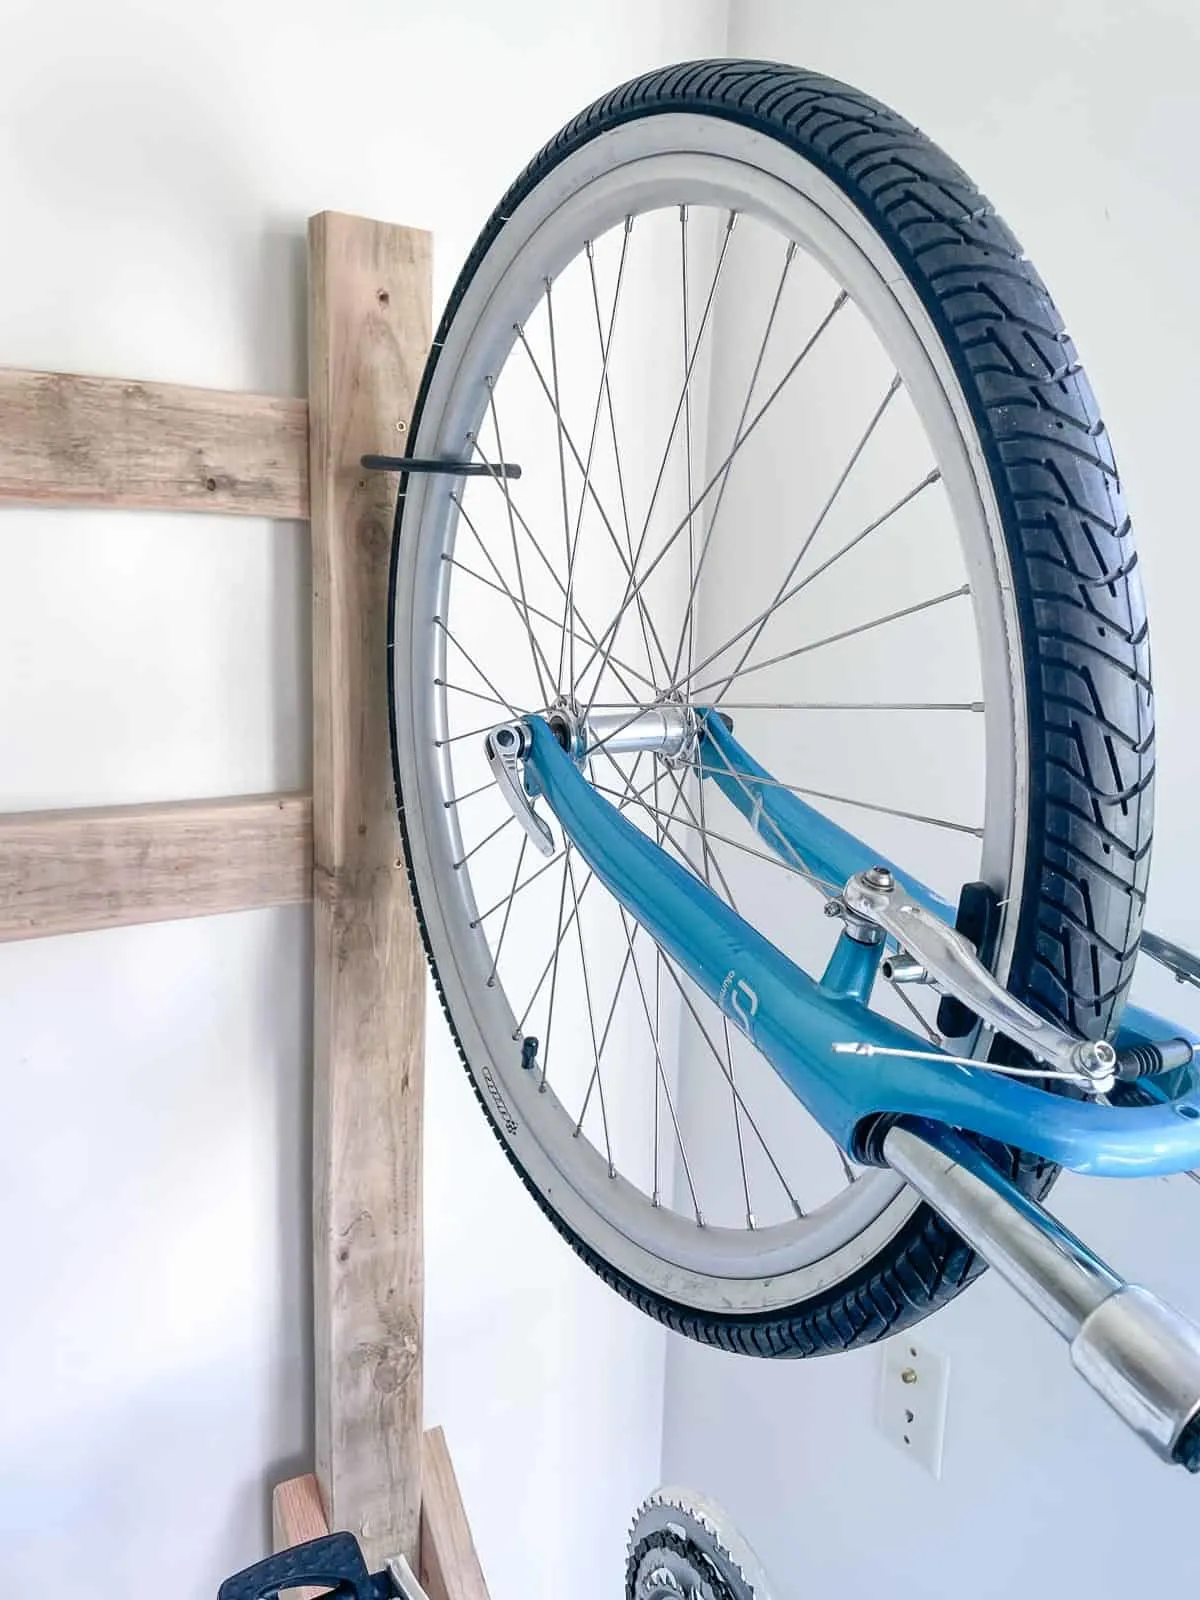
Roll the bike into the rack, and mark where you want the hook to go. Use a drill bit that's the same diameter as the shaft of the hook to pre drill a hole, then screw it into place.

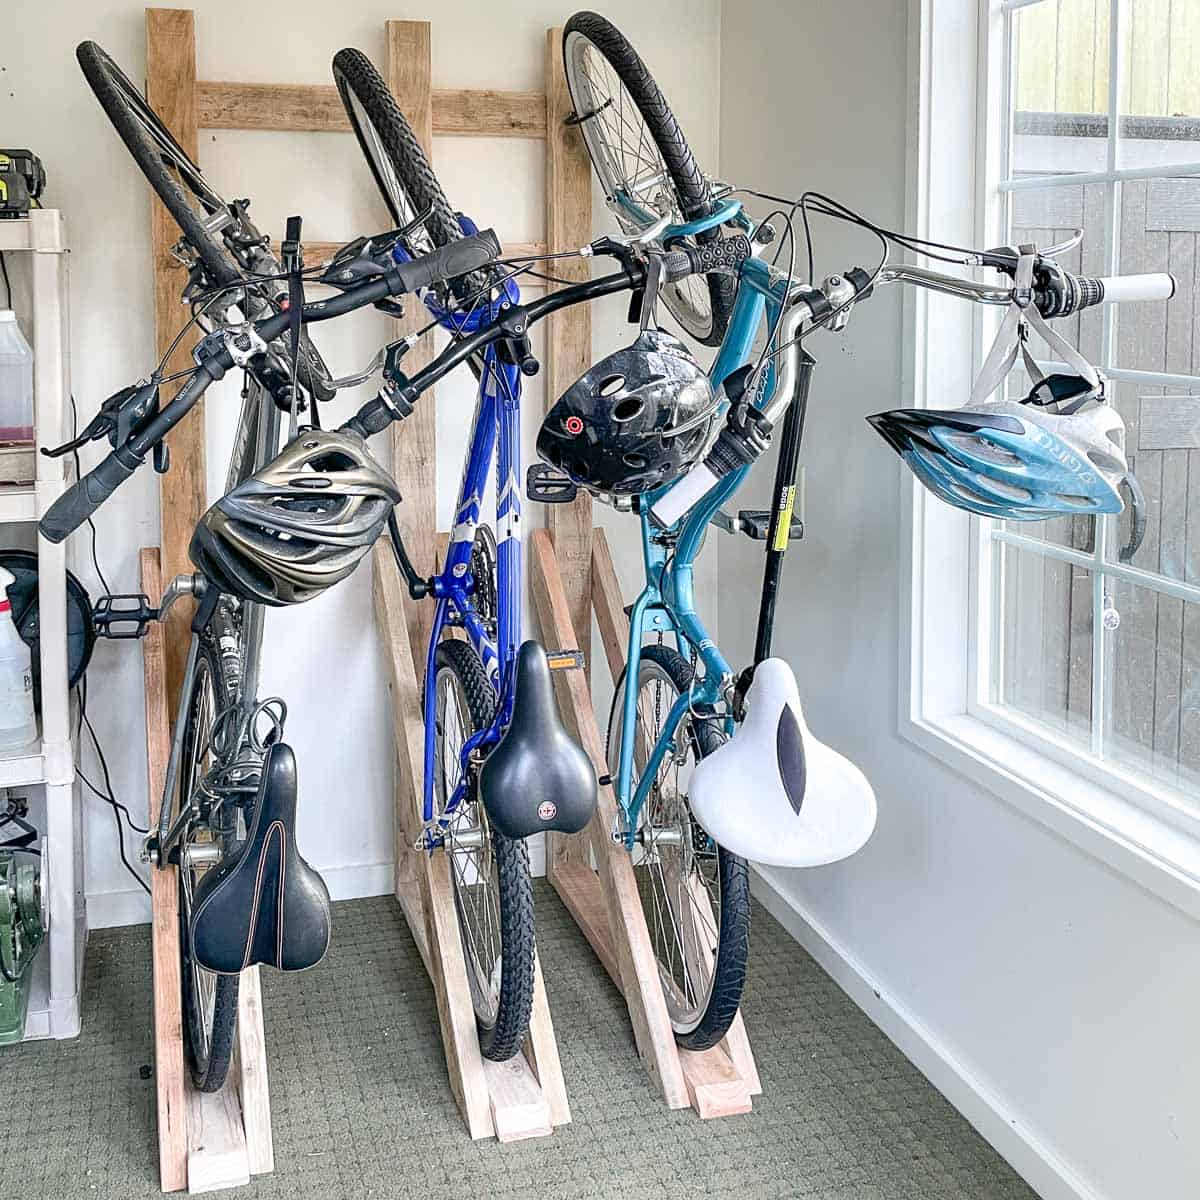
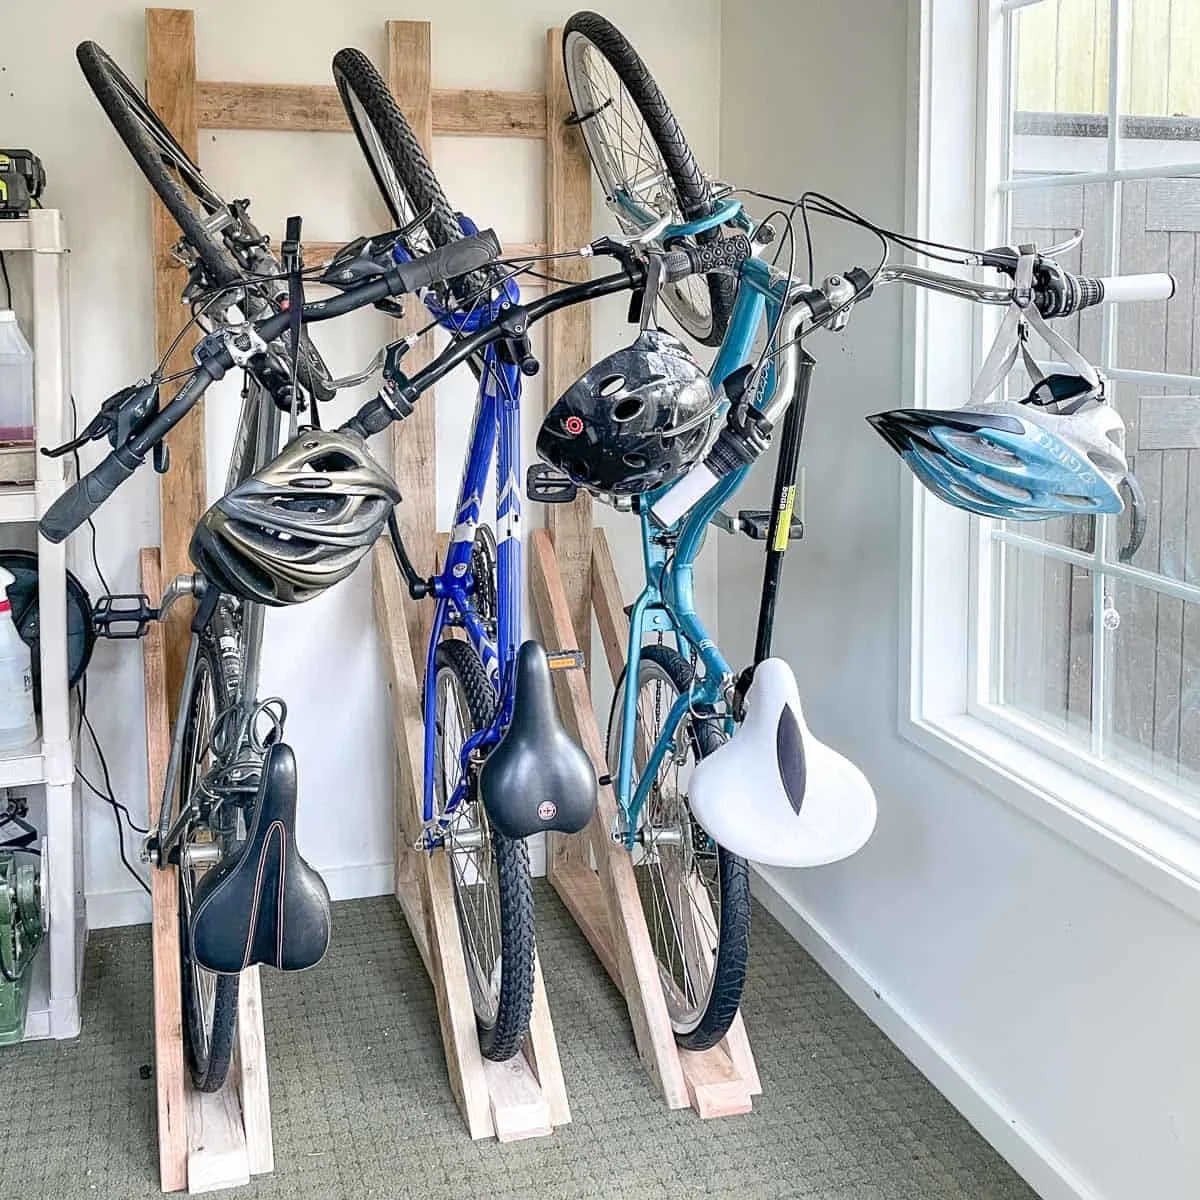
Hang your bikes on the wall
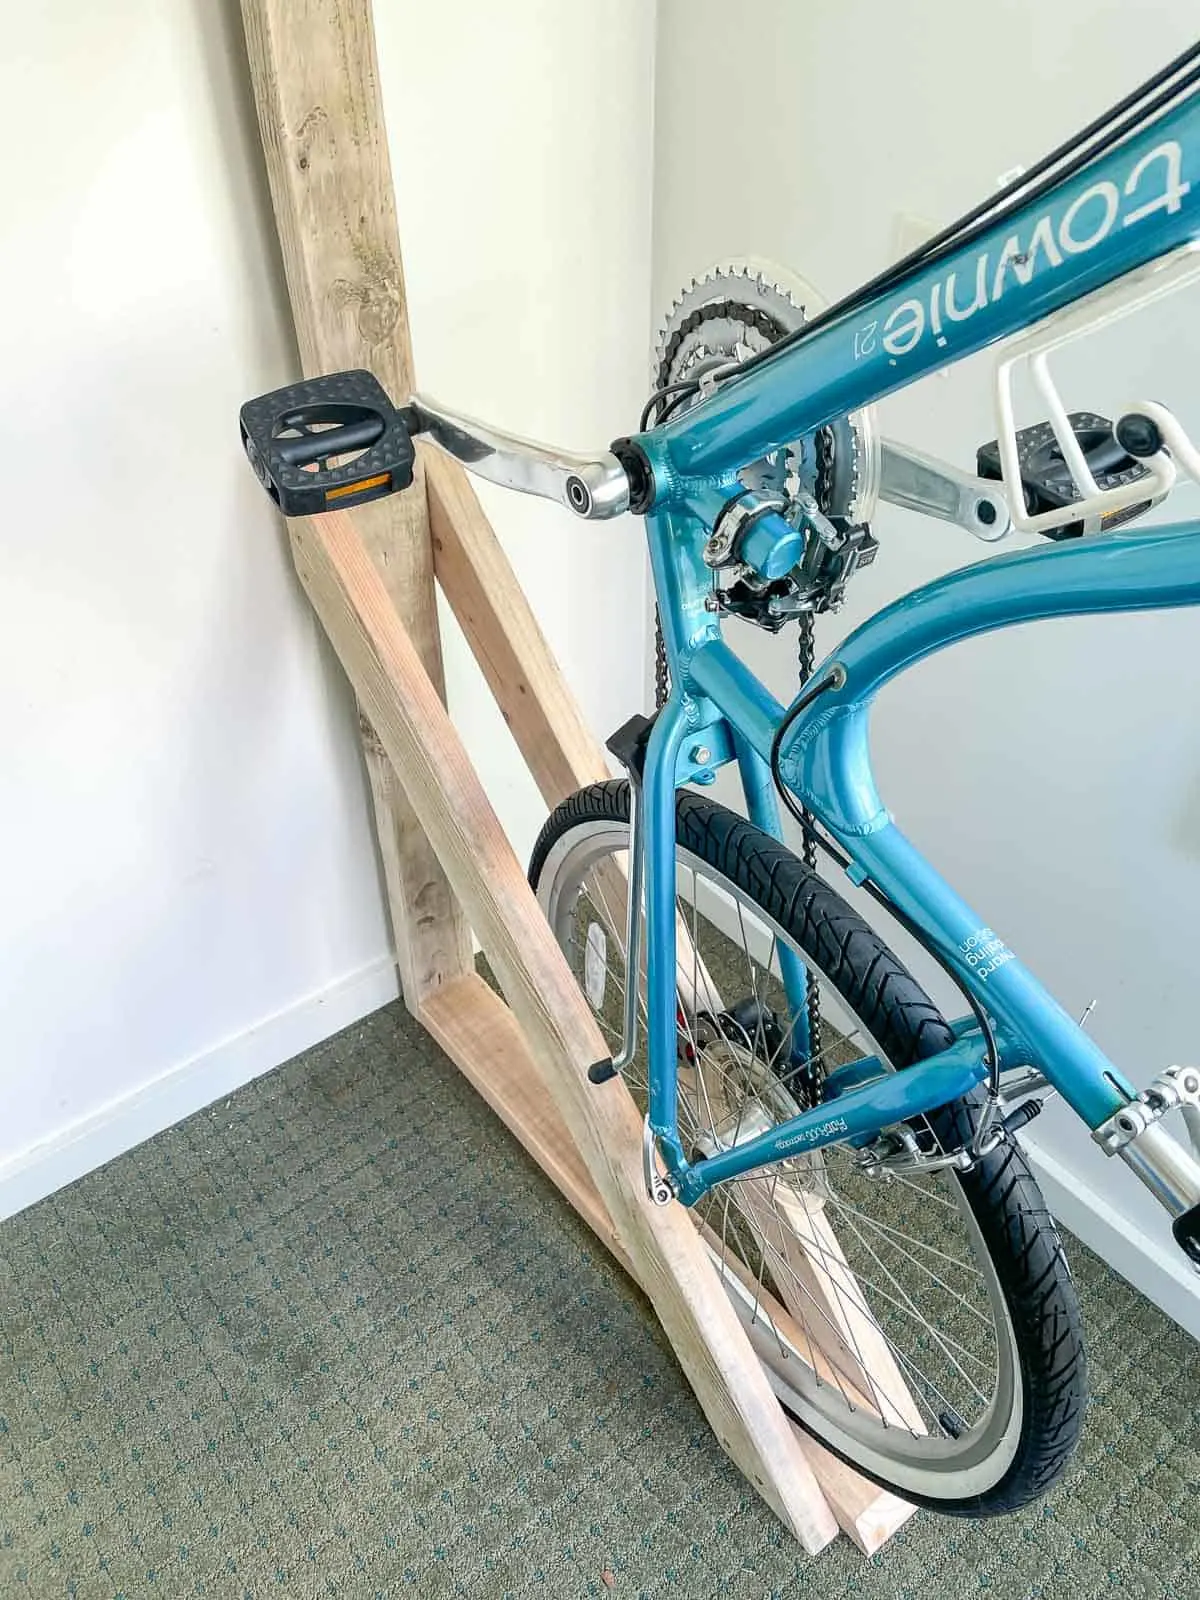
Once I had the first bike on the hook, I realized that the gears on the bottom wheel prevent it from rolling all the way to the wall. You could solve this problem by cutting the diagonal pieces shorter, but it wouldn't give as much support to the wheel. I left it as is, and it works just fine!

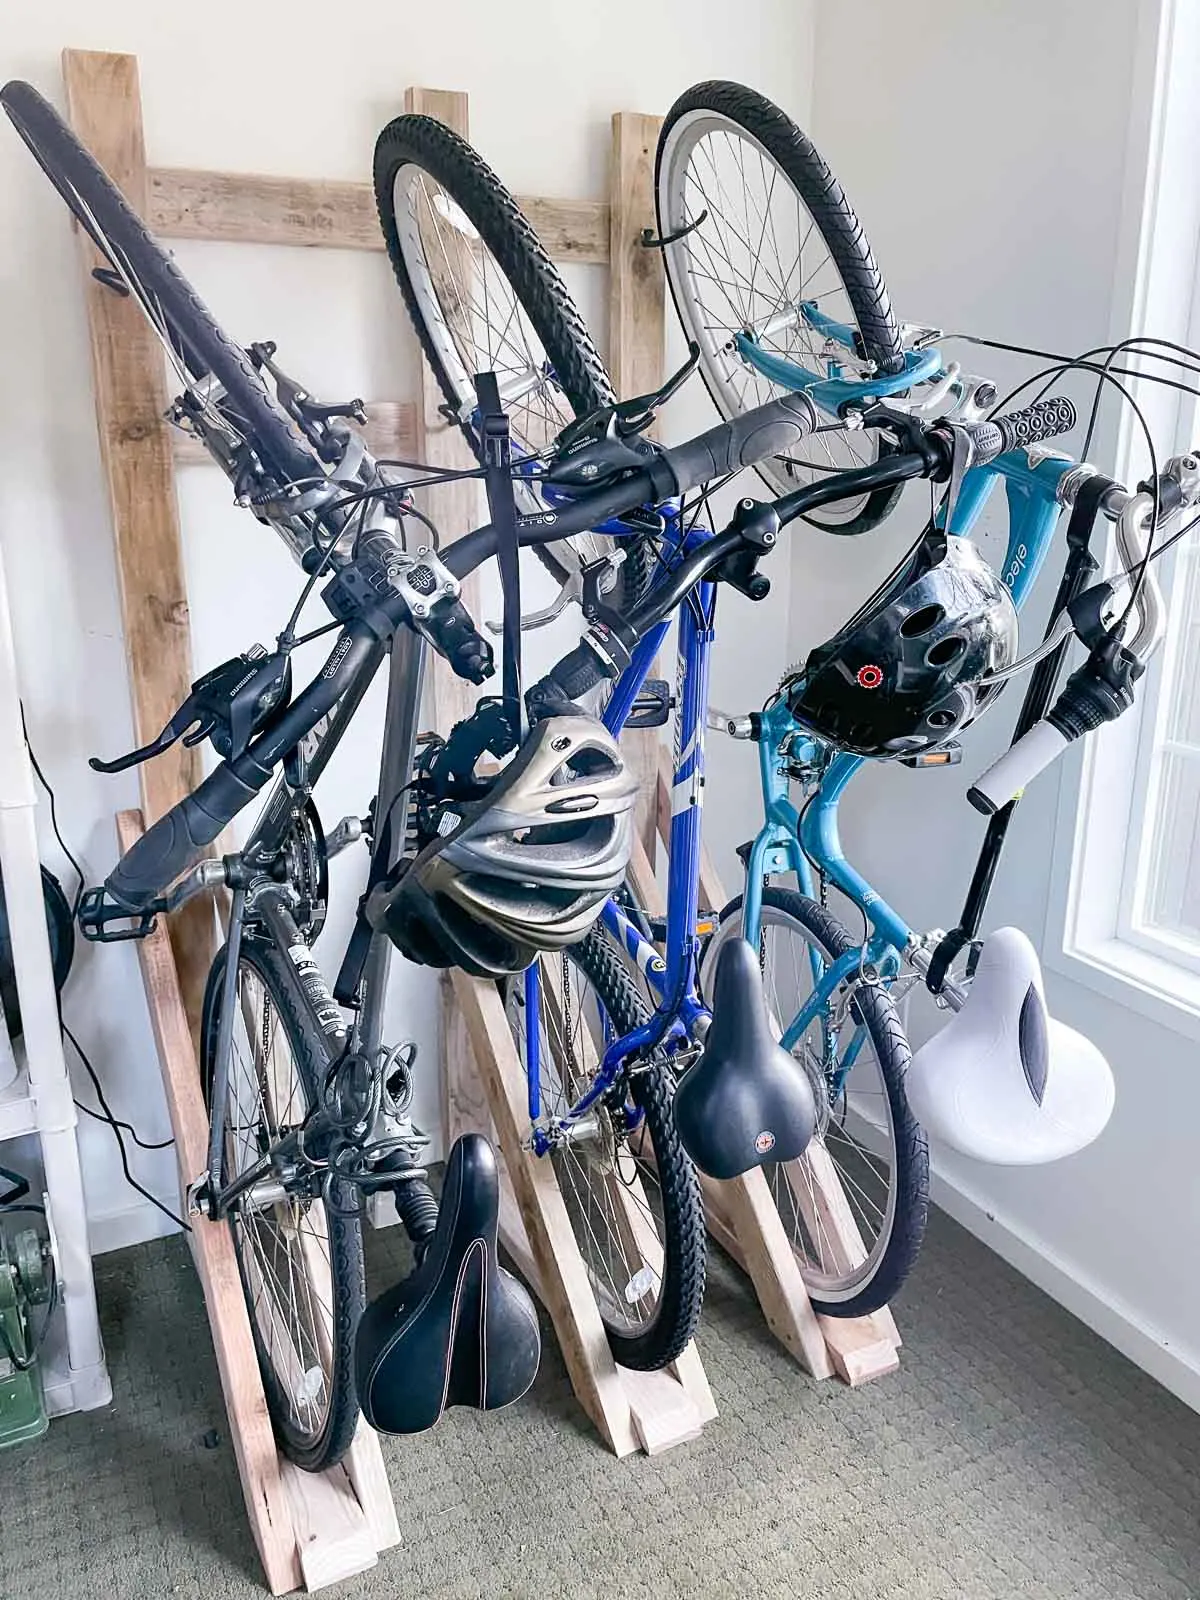
My son's bike handles are lower than my beach cruiser's, but about the same height as my husband's, so I mounted my son's rack closer to mine so they wouldn't hit each other. Tilting the handlebars slightly also helps keep them separated.
You could add more hooks for helmet storage and bike accessories, but I decided to hang each one from the handlebars instead. Now there's no excuse not to wear it!
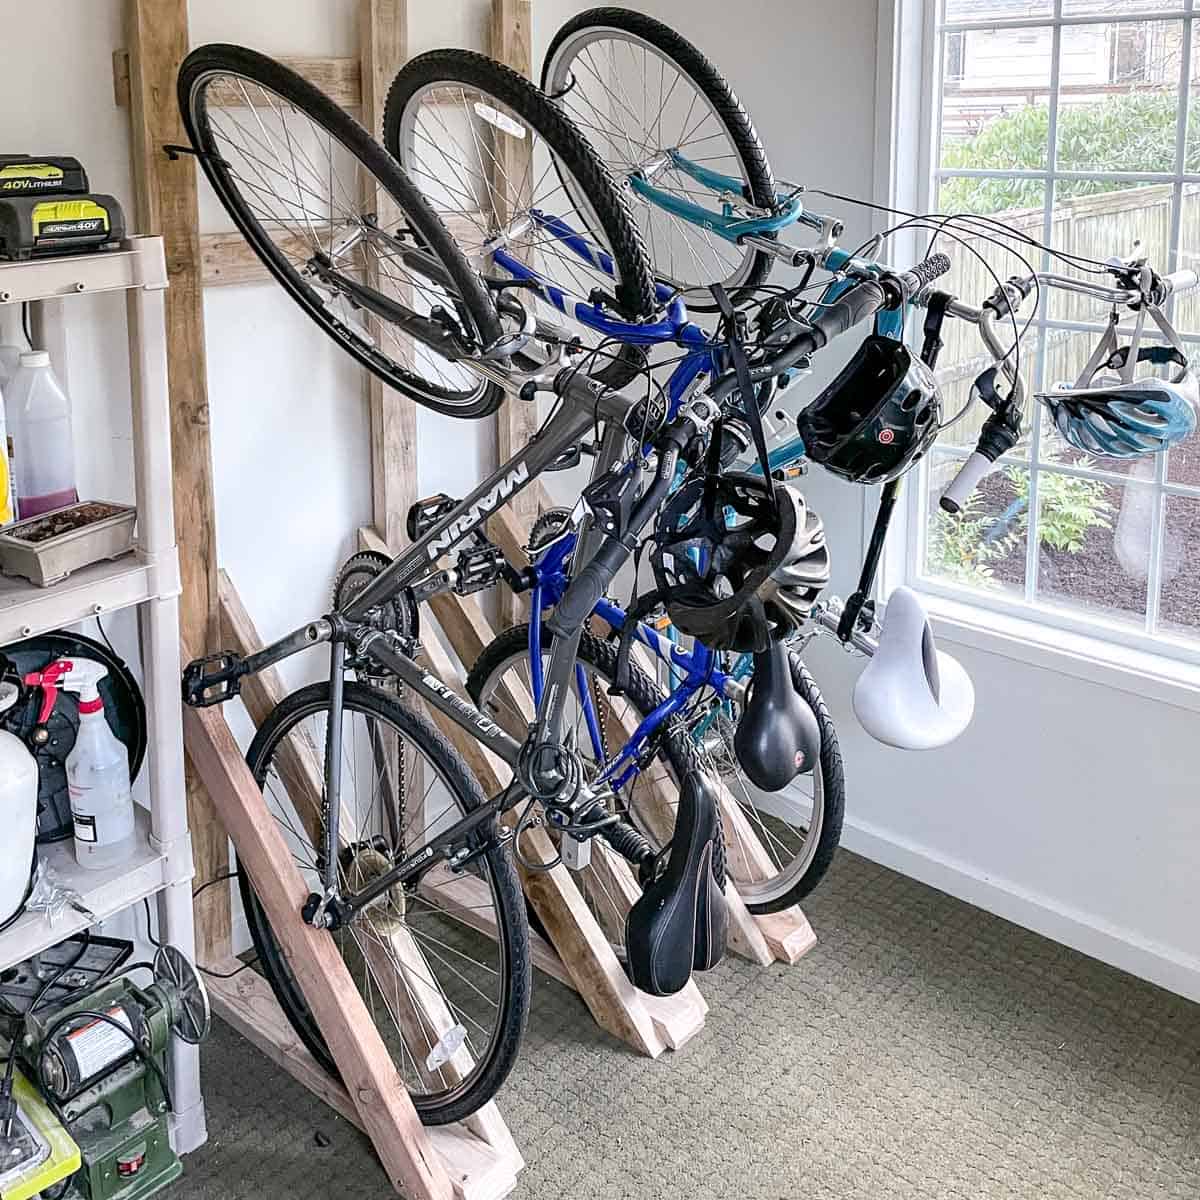

I'm so happy to finally have a good bike storage solution for our shed! Since they're all in the same row, they take up way less space, and it's much easier to extract one bike and roll it out the door.
This DIY bike rack will work for most bikes, and you could use it for a single bike, or make it long enough for everyone in the family! You could even make a smaller version for scooters!
Check out these other easy home improvement projects!