Turn those unfinished shed or garage walls into tons of storage! This super easy project can be completed in an hour or two, and creates between the studs shelves in an otherwise wasted space.

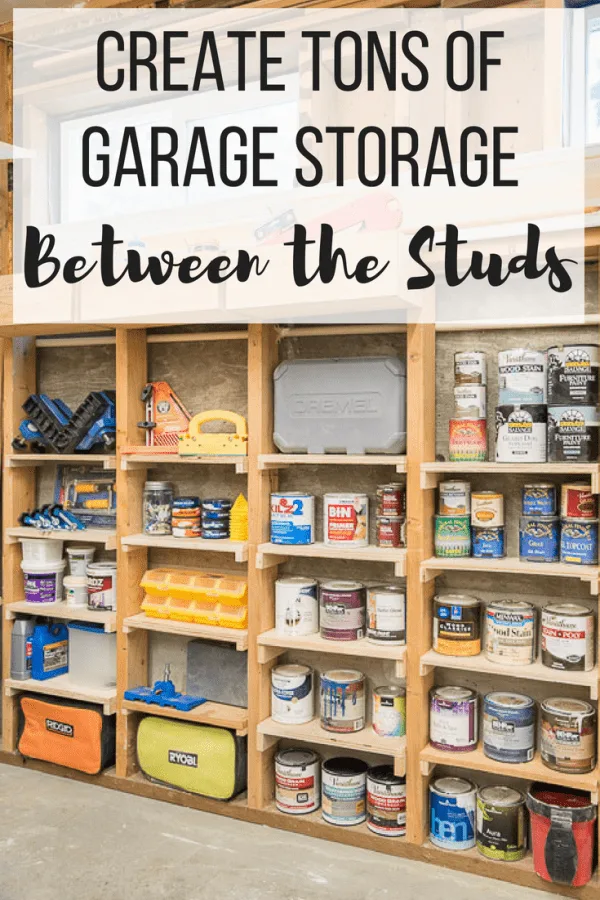
It occurs to me that I haven't done a Workshop Wednesday in ages! My workshop was a disaster after my bathroom remodel, and I was struggling to find places to put all the tools I had used. There's one wall of exposed studs in the shop, and these between the studs shelves take advantage of every inch of space!
This post contains affiliate links for your convenience. Purchases made through these links may earn me a small commission at no additional cost to you. Please visit my disclosures page for more information.
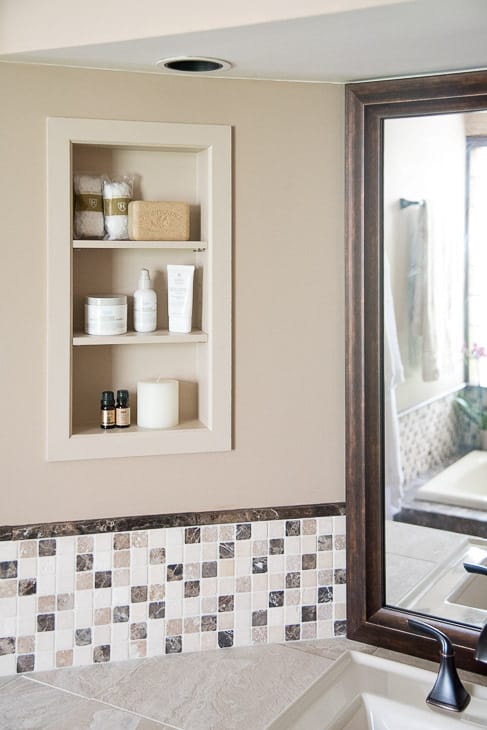
This simple workshop storage solution was inspired by my recessed bathroom shelves project. The shallow space doesn't seem like much, but it makes a huge difference!

They're also similar to these DIY closet shelves that use the same type of brackets on the sides.


I'm always trying out new workshop storage ideas to get my tools more organized. If there's a designated home for something, it's more likely to end up back there when I'm done using it!
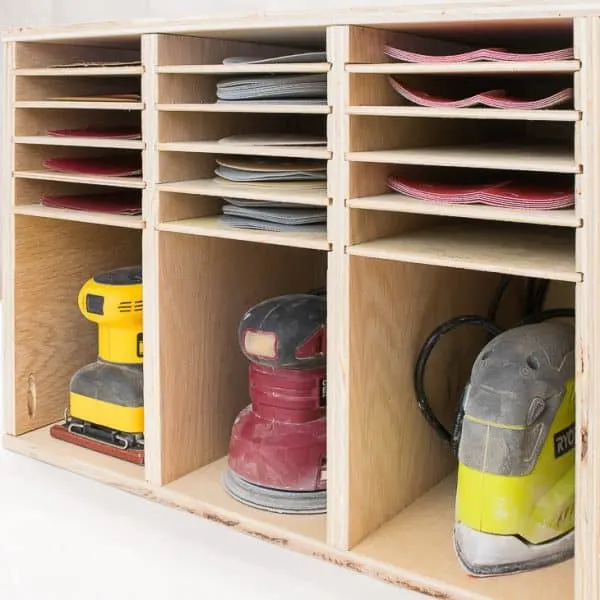
My sander and sandpaper storage rack is a prime example of this. I've never had to search for my sanders or sandpaper, because it's always in the same spot! You can get the plans in my free woodworking plans library.

This wall with exposed studs is the last area of the workshop that hasn't been utilized for storage. It was once the garage door, but the slope is too steep to get a car in here without scraping the bottom. The previous owner filled it in with concrete to make a parking pad outside instead. The studs fill half the wall with windows above.

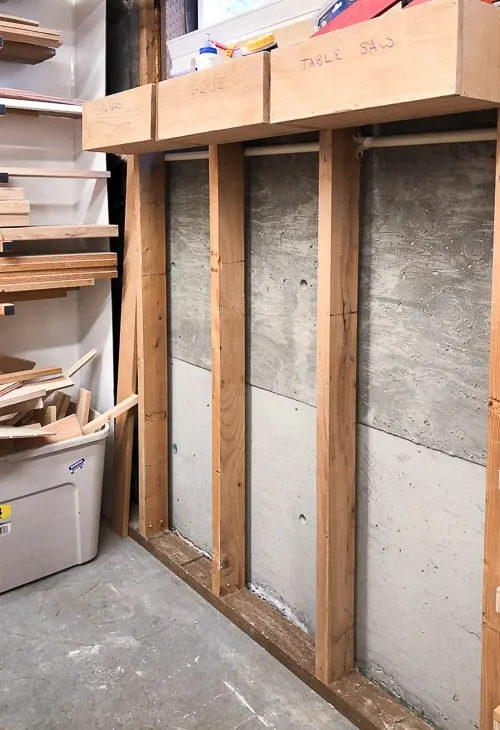
Time to create some between the studs shelves so the space doesn't get hidden away again!
Materials Needed for Between the Studs Shelves
- ½" or ¾" plywood
- I used a mix of plywood and 1 x 6 boards.
- 1 x 2 board
- Any type of saw (miter saw, jigsaw, table saw, circular saw)
- Brad nailer (I love my Ryobi Airstrike brad nailer!)
- You could also go the hammer and nails route, but the brad nailer is faster and easier.
- 1 ¼" brad nails
- Small level
Don't forget your safety gear when woodworking! Here are my recommendations for safety glasses and ear protection. No excuses!
How to Make Between the Studs Shelves
Take Careful Measurements First
Before you start cutting, take a few measurements of your wall. While studs are supposed to be 16" apart on center, they aren't always exact. Measure the space between the studs and from back to front. I took advantage of the space between the studs and the concrete wall to make my shelves a little deeper.
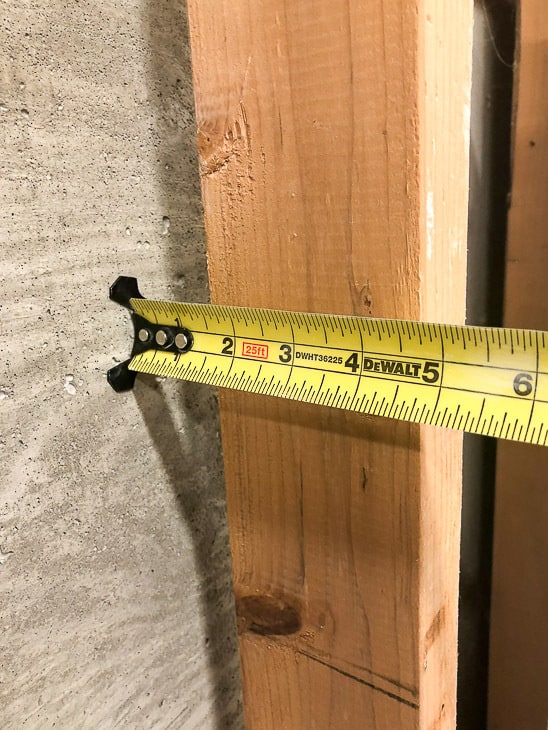

If protruding shelves won't get in the way, you can add an extra inch or two to the depth of your shelves in the front. A 1 x 6 board provides plenty of space without sticking out too far from the wall.
Cut Shelves to Size
I dug around in my scrap pile for any board or piece of plywood that might work. There are a lot of oddly-shaped plywood pieces left over from projects like my rocket bookshelf, and I was happy to finally use them up!
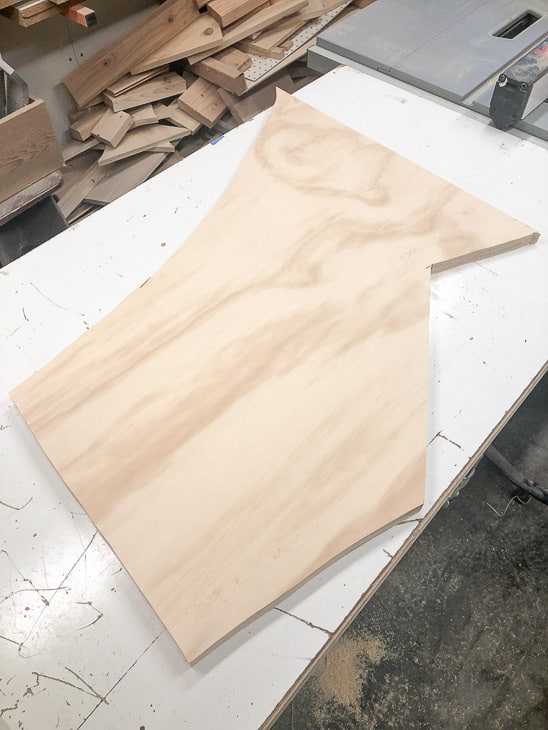

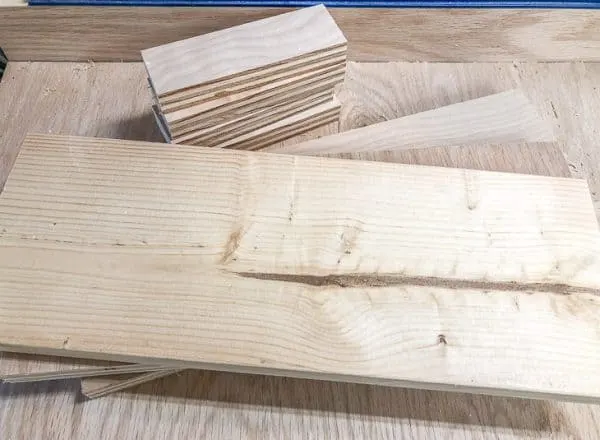
Cut your shelves to the dimensions you measured earlier, minus a tiny bit so they can slide in between the studs easily. Mine varied from 14 ¼" to 14 ¾" wide, depending on which section of studs they would go in. All my shelves are 5 ½" deep.
At the same time, cut 5 ½" long pieces of scrap plywood or 1 x 2 board for the supports. I just eyeballed the width, using the end cuts from the shelves.

Install Shelf Supports
Decide on the spacing of your shelves before you start installing them. Mine are 8" apart, leaving extra space at the top shelf for taller items.
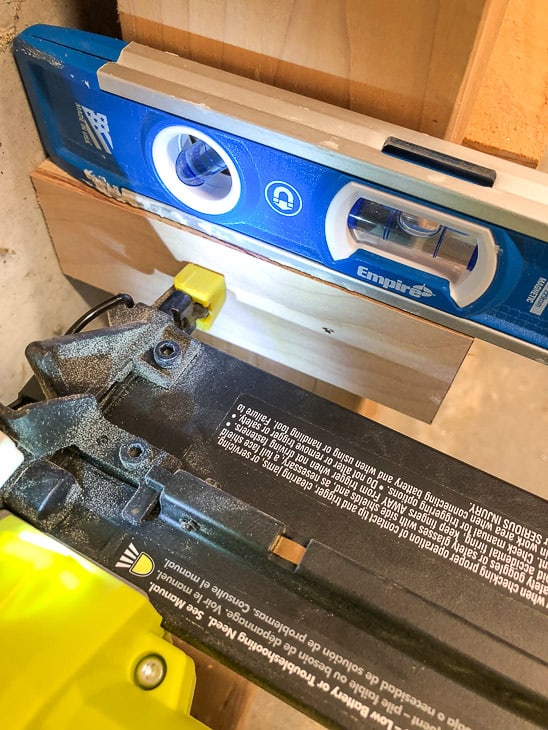
Measuring from the bottom, mark the spot for your first shelf. Line up the top edge of the shelf support bracket with that mark, and attach it to the stud with just one nail.
The support bracket should be able to pivot slightly on the nail. Place a small level on top of the bracket, and adjust it until it's perfectly horizontal.
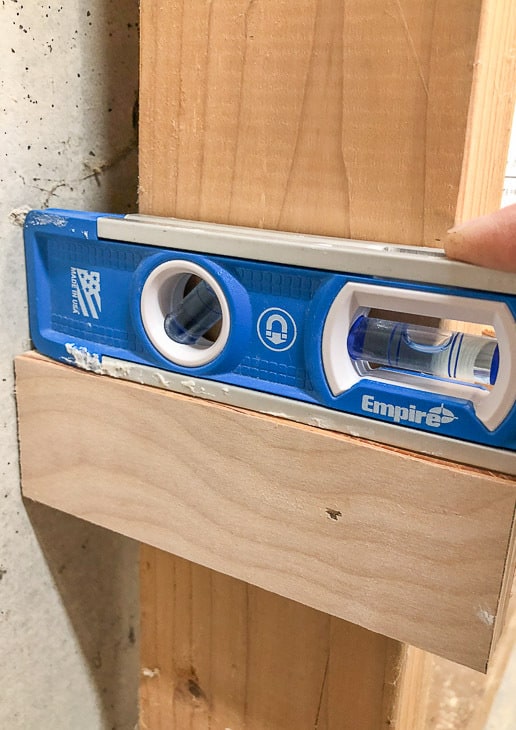

Then add more nails to hold the bracket in place. This is where the brad nailer comes in handy, because you can use it with one hand while you keep the bracket steady with the other!

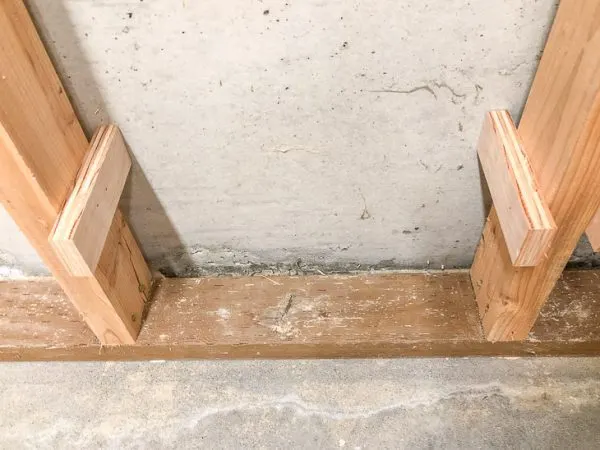
Repeat for the other shelf bracket, making sure the tops of both pieces are parallel.

Attach the shelf to the support brackets
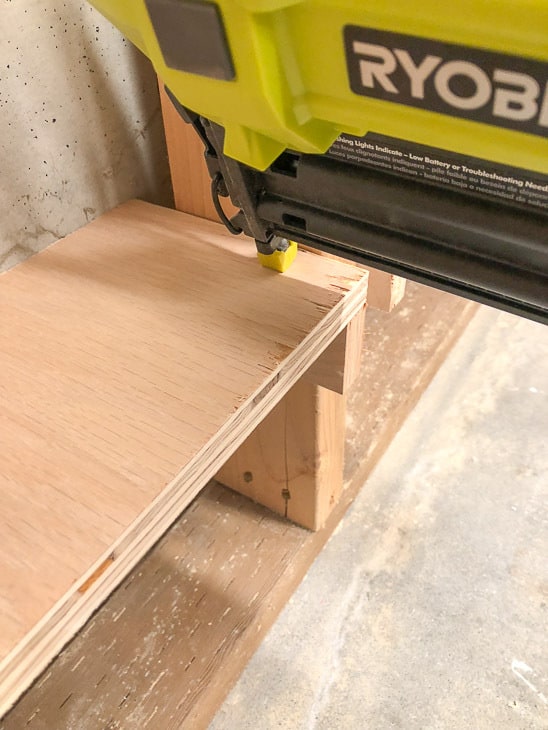
Finally, slide the shelf in place on top of the brackets. If it's a snug fit, tap it into place with a hammer. I nailed the shelves to the brackets for extra security, but if they're a tight fit, they should be fine.

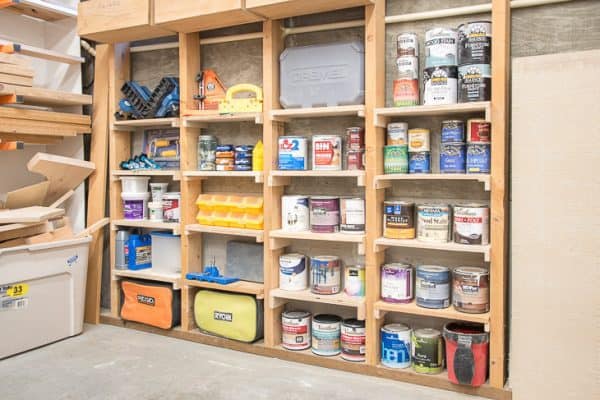
Load up your between the studs shelves!
These shelves definitely aren't pretty, but they get the job done! I excitedly started grabbing random stuff to load them up after I got a few shelves done.

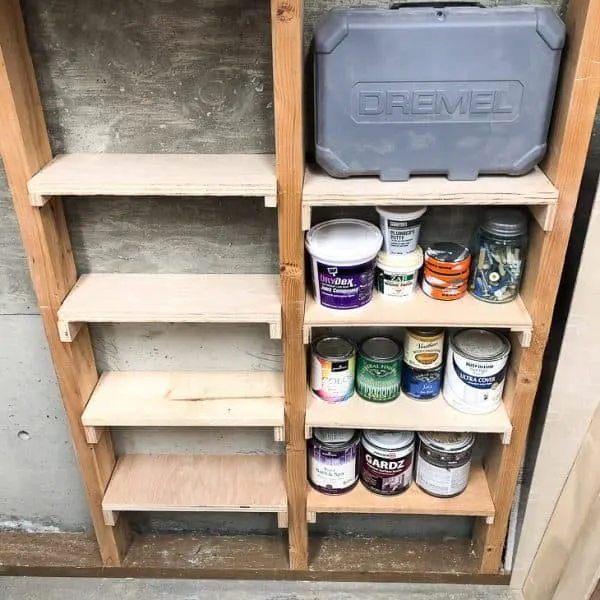
All my quart sized paint and stain cans fit perfectly with room for more (most of the pint sized samples are stored in a wooden box with custom box dividers). My Dremel case finally has a home, after being shuffled from place to place around the workshop.
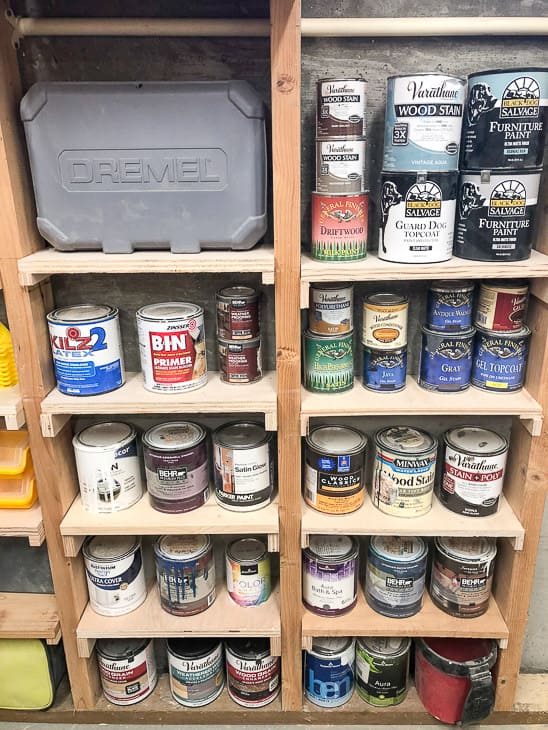
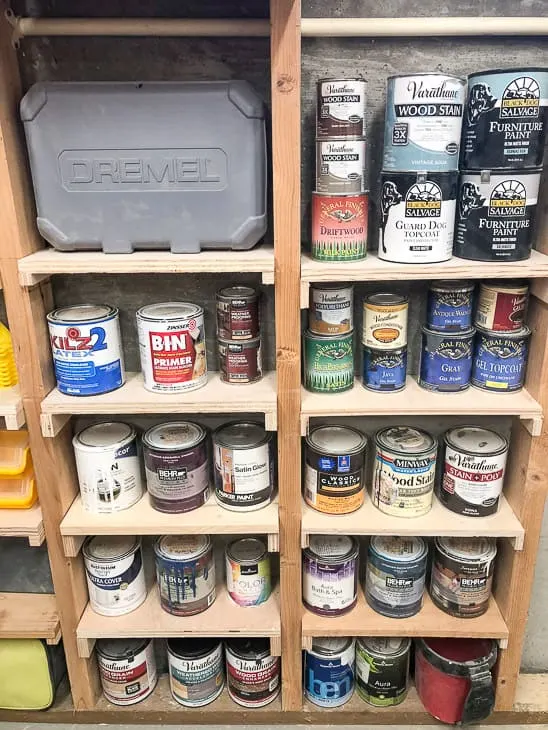
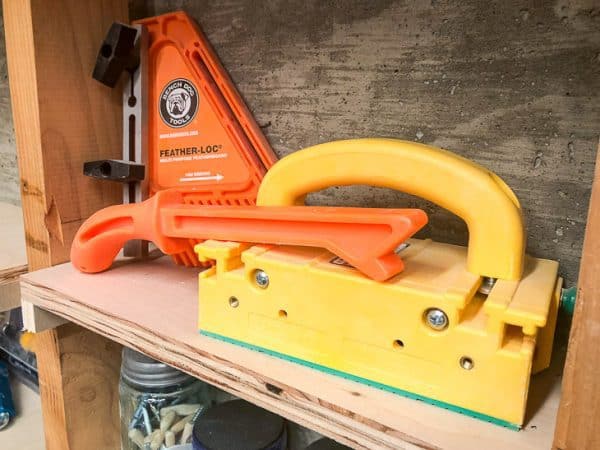
Table saw push sticks and the life-changing Grr-ripper are within arm's reach of the table saw.

I was truly surprised by how much I could fit on these small shelves. Why didn't I build these sooner?!?

Want to build even more storage? Try these easy storage shelves! You can find the free woodworking plans here.

Thursday 1st of November 2018
Very informative..if I could turn back time instead of being a Hairdresser and a Tour Bus owner, i would be a carpenter..love using my wits as well as my hands. Thanks.
Shirley
Monday 3rd of September 2018
My garage workshop is an absolute mess! It is so packed full that I can’t even work in there anymore. I have looked at numerous ways of trying to get more storage but it never works in the end as there is seriously no room to add more shelving. Your idea is totally BRILLIANT! I can’t believe I didn’t think of this before. Actually I may have but hubby usually has certain ways he wants things but at this point...oh well..deal with what we can do now! Lol
Audra @ Renewed Projects
Sunday 3rd of June 2018
Way to work with what you have! And a great way to store all those small containers of stain and sealer without taking up value shelf space on a traditional shelving unit.
Gilda
Tuesday 18th of September 2018
i love your idea. What about those of us who live in areas where we get below freezing temps in winter? Could we put insulation between the studs and attach 2"x2" strps of wood to the studs to allow for the space it takes up? (We wouldn't want our liquids to freeze.)