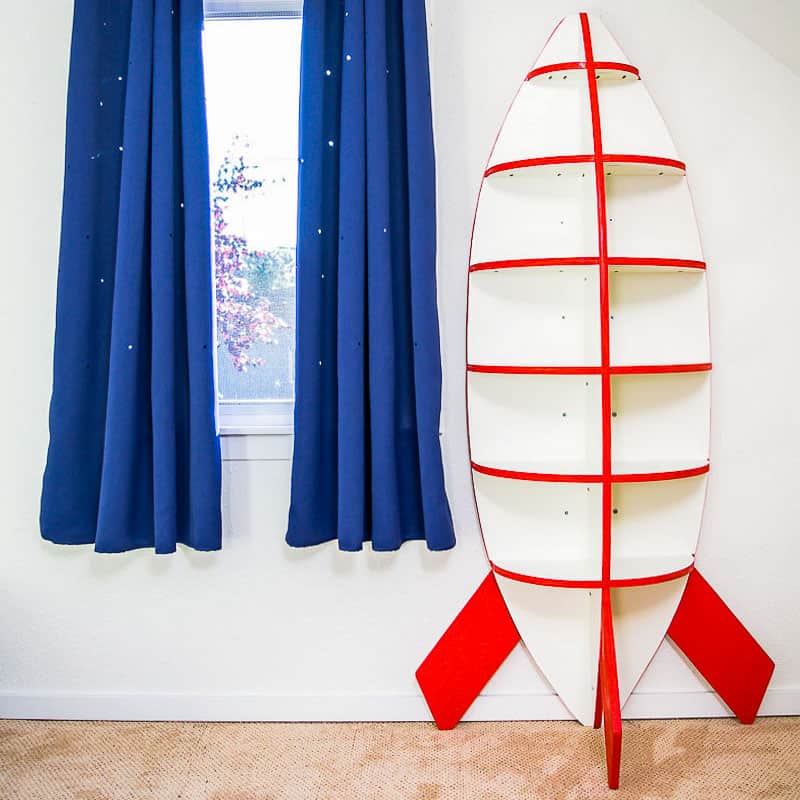
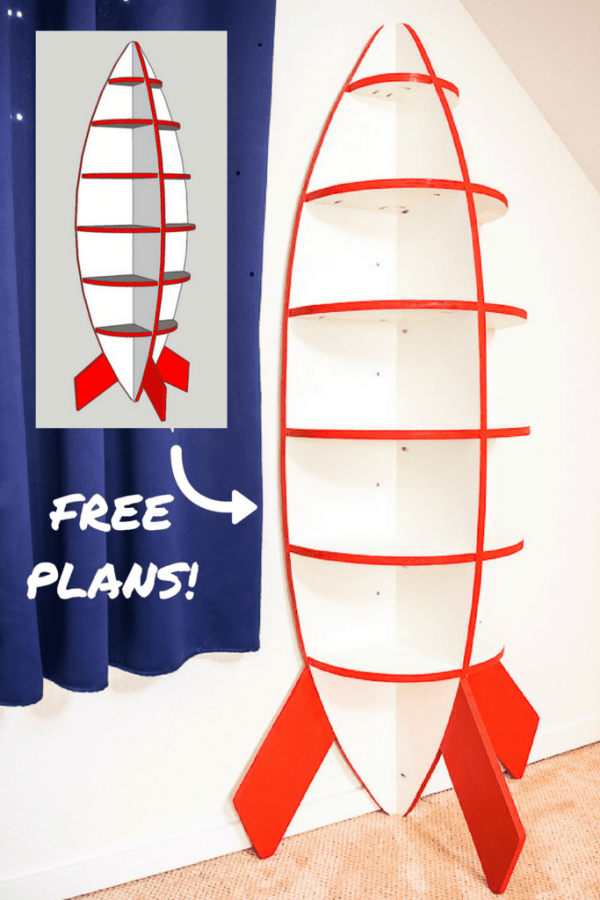
This DIY rocket bookshelf is perfect for a space themed bedroom! The compact design fits into tight spaces and is attached directly to the wall. Best of all, it's made from a single sheet of plywood!
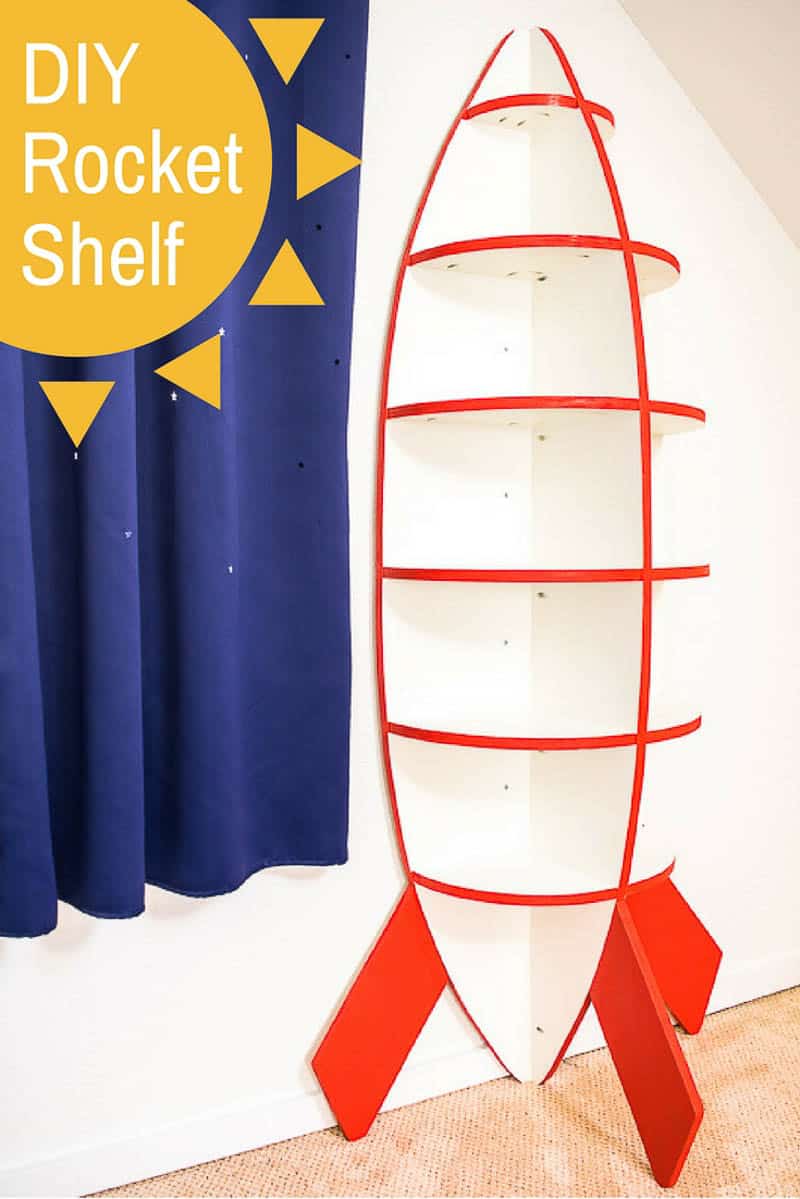
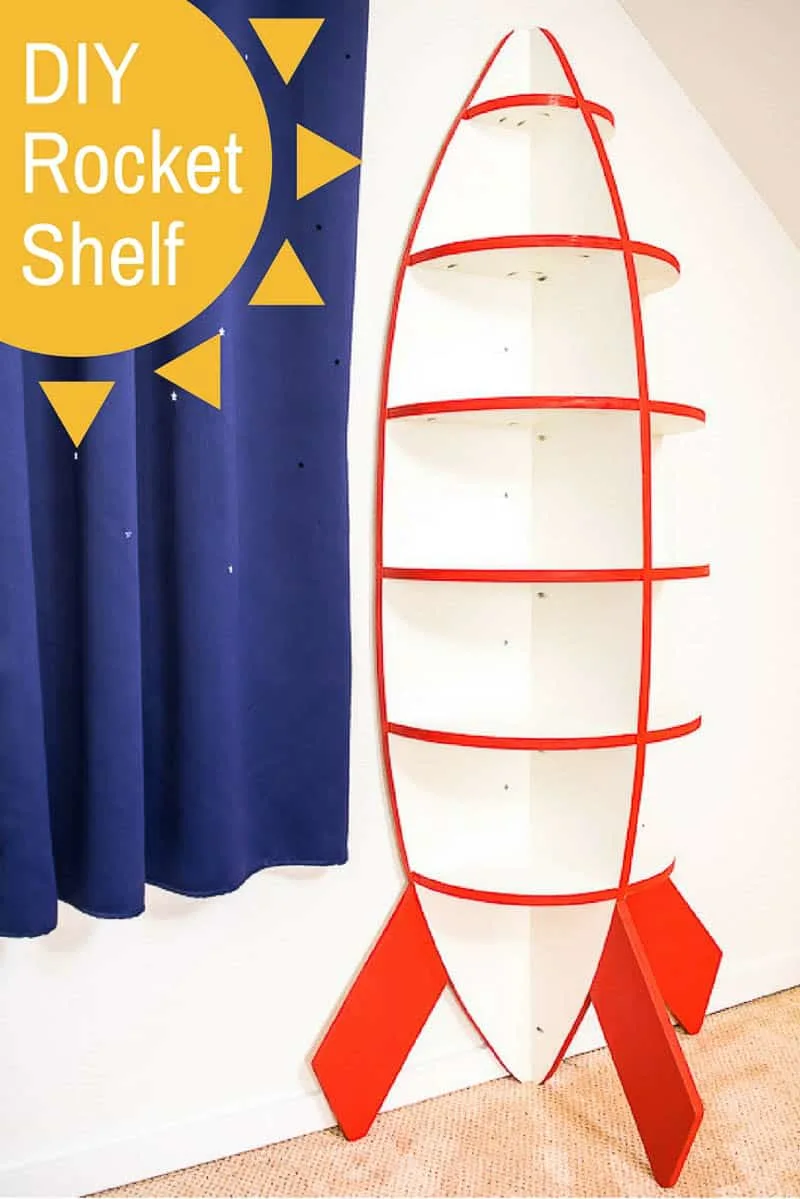
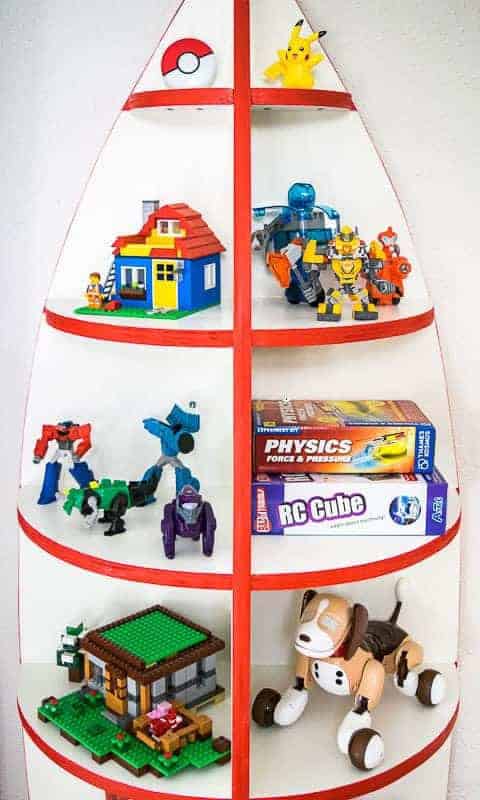
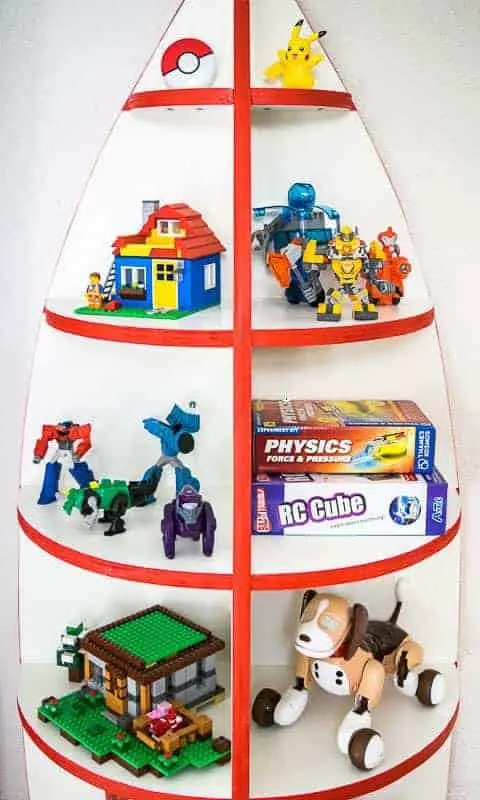
Our son has always loved space and rockets, so it seemed like a no-brainer to build him this rocket bookshelf. The small shelves are perfect for displaying his favorite toys!
While it looks like the entire piece is balanced on the rocket fins, it's actually attached to the wall to prevent it from tipping over. Since it's made with a single sheet of plywood, the entire project will cost you less than $50! Let's get building!
Check out these other creative woodworking projects for kids too!
This post contains affiliate links for your convenience. Purchases made through these links may earn me a small commission at no additional cost to you. Please visit my disclosures page for more information.
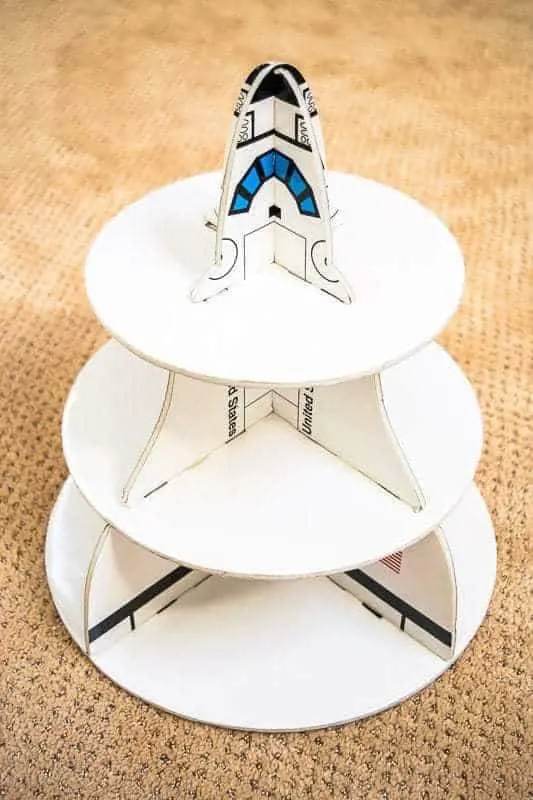
The inspiration for this rocket bookshelf came from a cupcake stand we used at our son's birthday party a few years ago. We kept it as a decoration for his space themed bedroom!

Materials Needed
- 4' x 8' sheet of ¾" plywood
- Kreg Jig (I use this one, but this one will do the job too!)
- Check out my post on how to use a Kreg Jig to help you decide which one is right for you.
- 1 ¼" pocket hole screws
- 3" screws (for attaching to the wall)
- Beam compass
- Square
- Jigsaw
- Sander and sandpaper
- Painter's tape
- Paint
- I had white paint from a previous project, and bought a sample size of Behr's 100 MPH red paint for the accents.
Don't forget your safety gear when woodworking! Here are my recommendations for safety glasses and ear protection. No excuses!
How to Make a Rocket Bookshelf
Download the free woodworking plans here!
Cut the pieces out of plywood
Start by cutting the plywood down to a slightly more manageable 6' x 4' piece. Mark a line halfway down the six foot long side, and 24 inches out from the edge. This will be the widest point of the rocket.
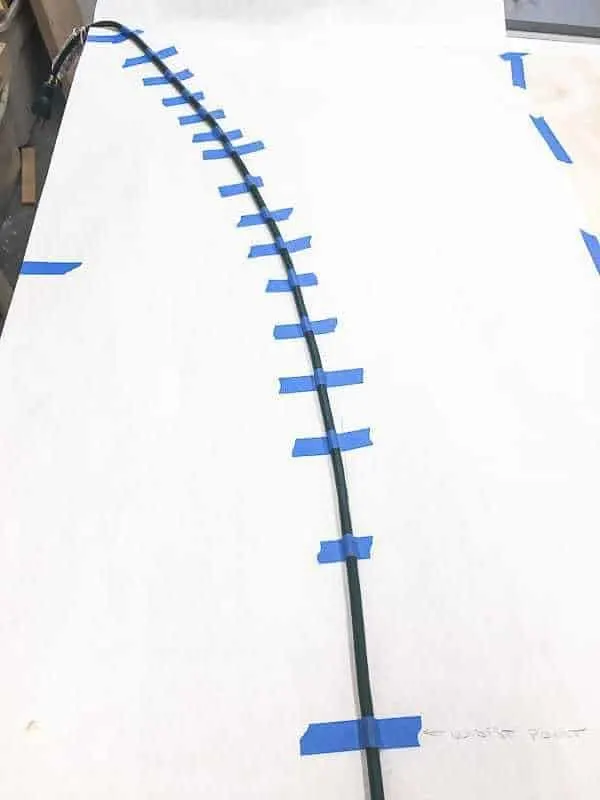
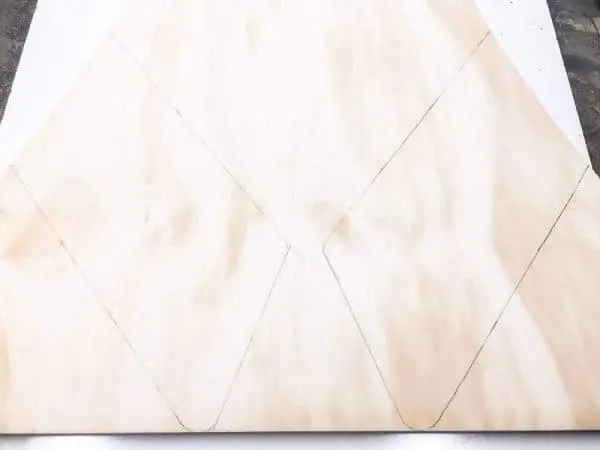
Get out a 6 foot long sheet of paper (you can just tape printer paper together) to sketch out a template for the rocket bookshelf. I laid out my design with an extension cord to make it easier to visualize. Once you get the curve for one quarter of the rocket the way you want it, you'll copy it to create a symmetrical shape.

Fold the paper in half and trace the curve onto the bottom half. Now the top and bottom will be identical! Cut out the shape, then trace it onto the plywood. Flip it over to trace the other half. Then trace half once more along the other long edge for the center piece.
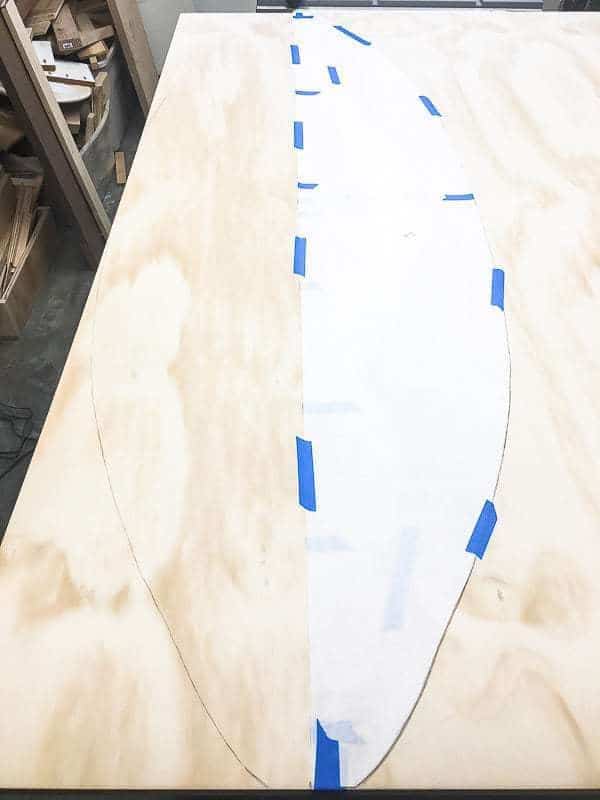

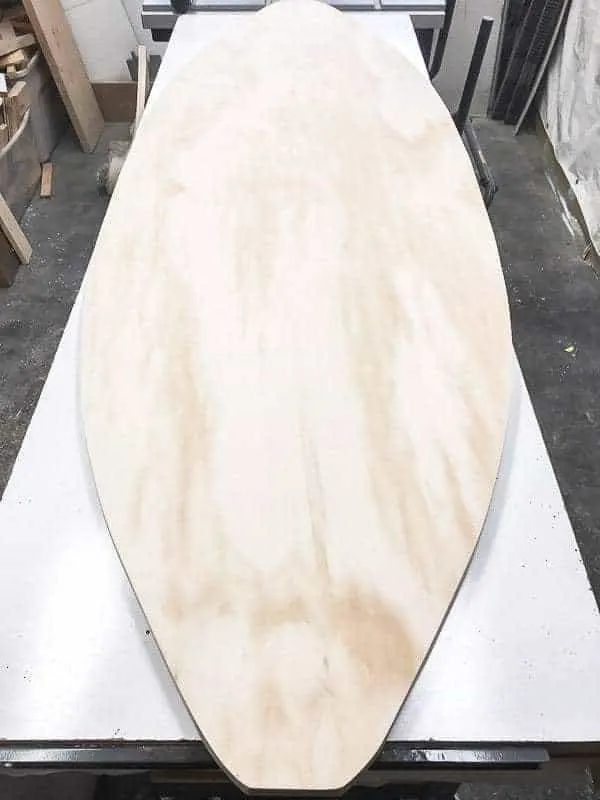
Cut out the body of the rocket bookshelf and the half piece with a jigsaw.

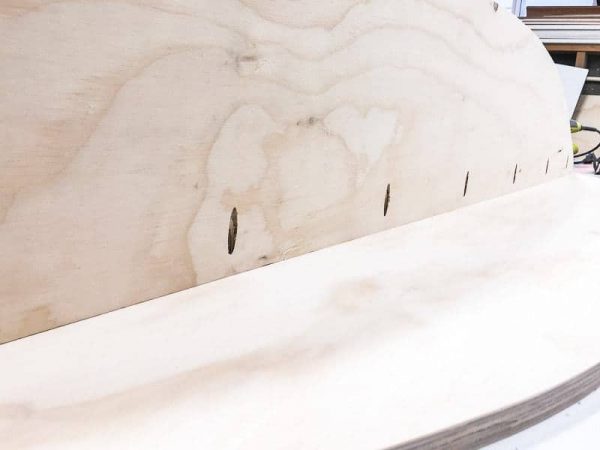
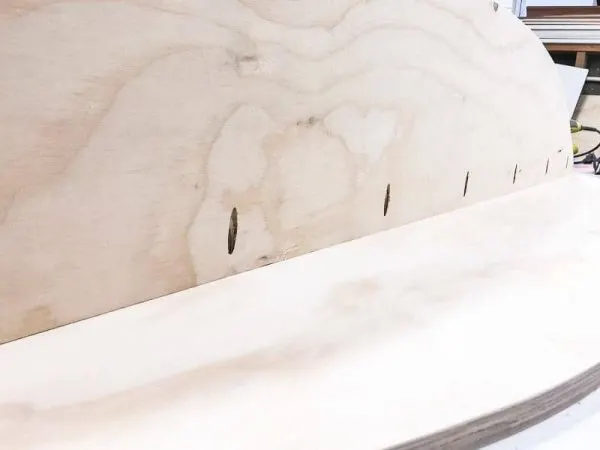
Drill pocket holes along the straight side of the half rocket piece, and attach it to the center of the full rocket with 1 ¼" pocket hole screws.
Find the midpoint of the rocket, and measure the distance from the center piece to the outside edge. This will be the size of the middle shelf. From there, mark the spots for the remaining shelves (I spaced mine 9" apart) and measure for those shelves as well.
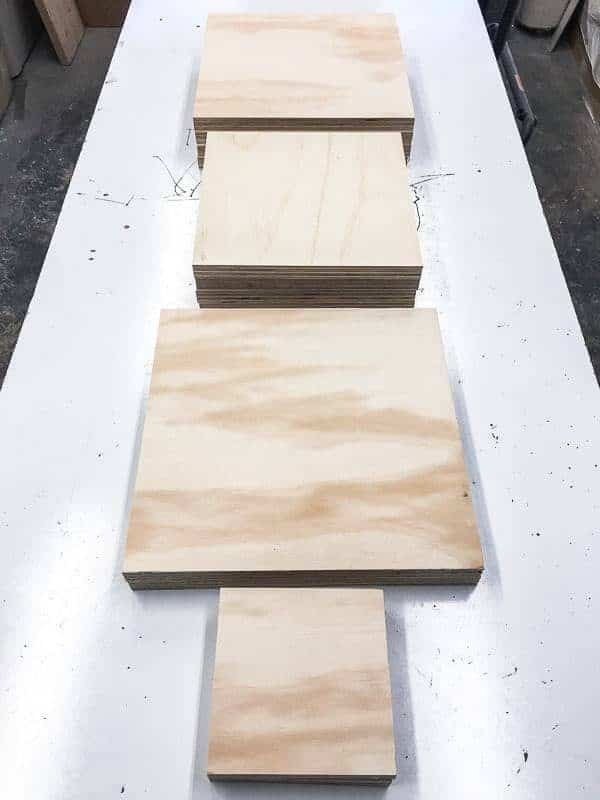
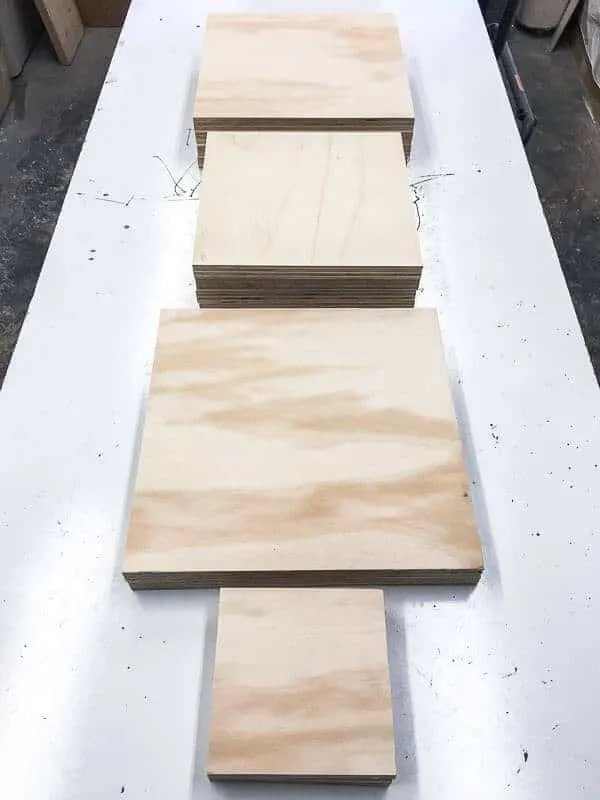
With the remaining 2' x 4' sheet of plywood, cut out squares according to your measurements. Your curve will be different from mine, but just as reference, mine are as follows:
- 2 @ 11 ¼" x 11 ¼" (center shelf)
- 4 @ 10 ⅞" x 10 ⅞"
- 4 @ 9 ¼" x 9 ¼"
- 2 @ 5" x 5" (top shelf)
Using a beam compass, draw a quarter circle on each square of plywood.
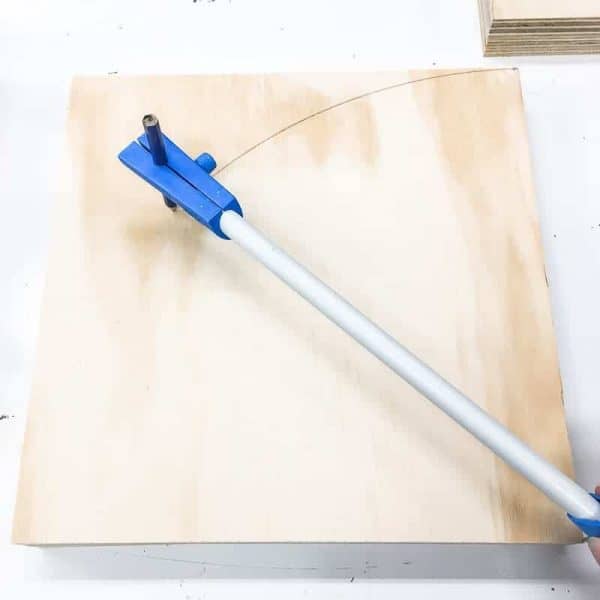

Then cut them out with a jigsaw.
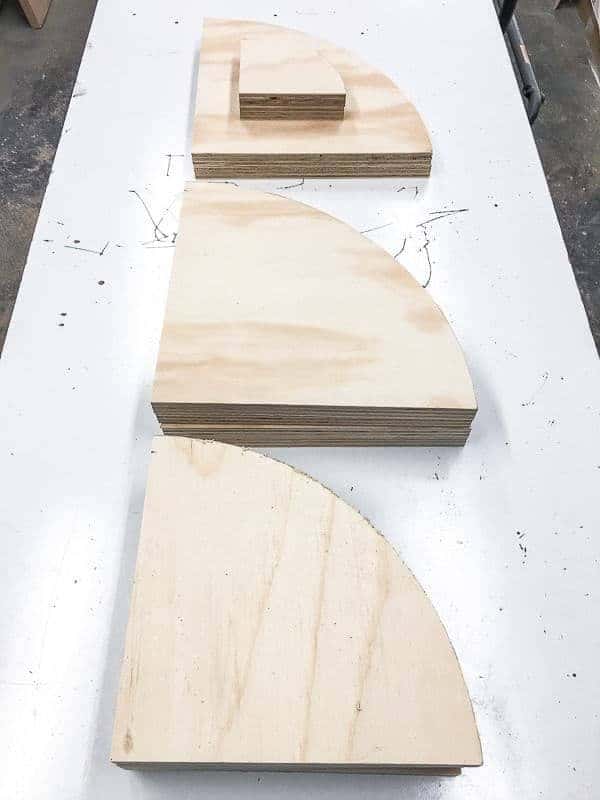
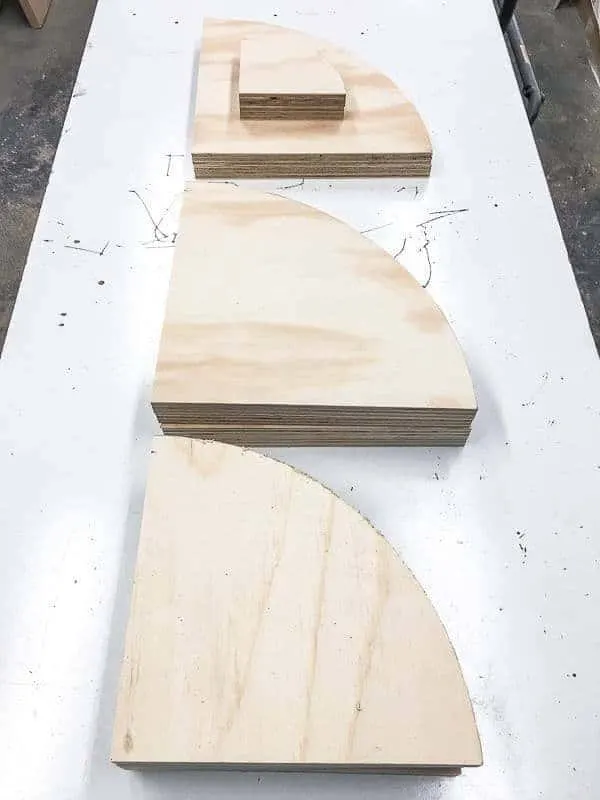
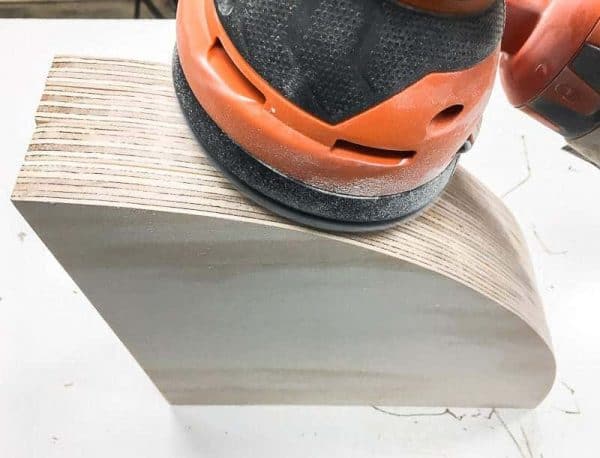
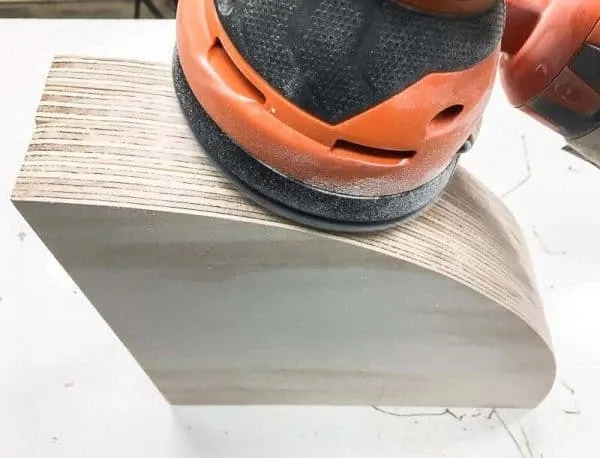
Stack the same size pieces together and sand the edges smooth. This way they stay the same size even if you go a little crazy with the sanding.
Attach the shelves and fins
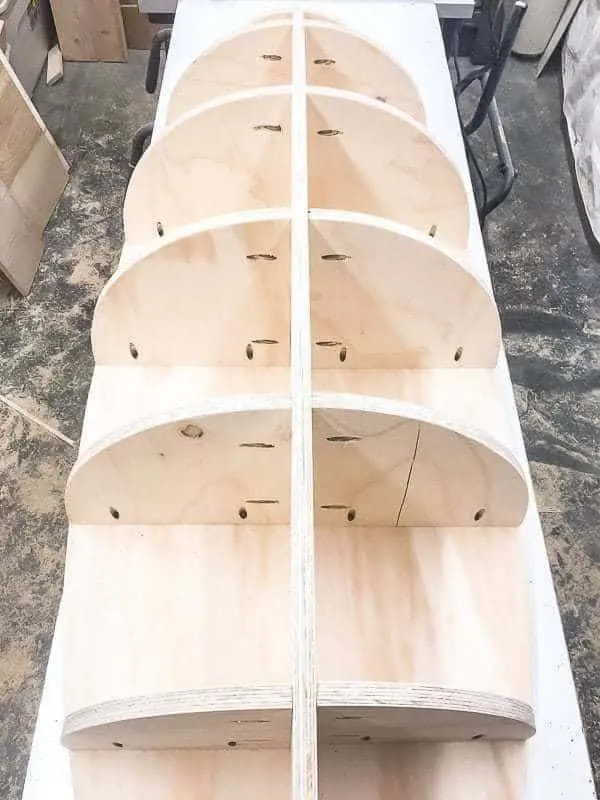
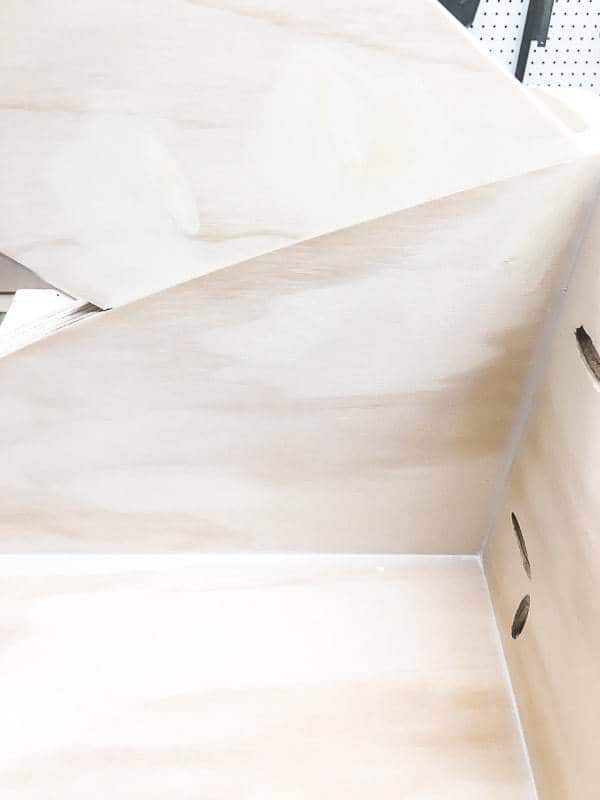
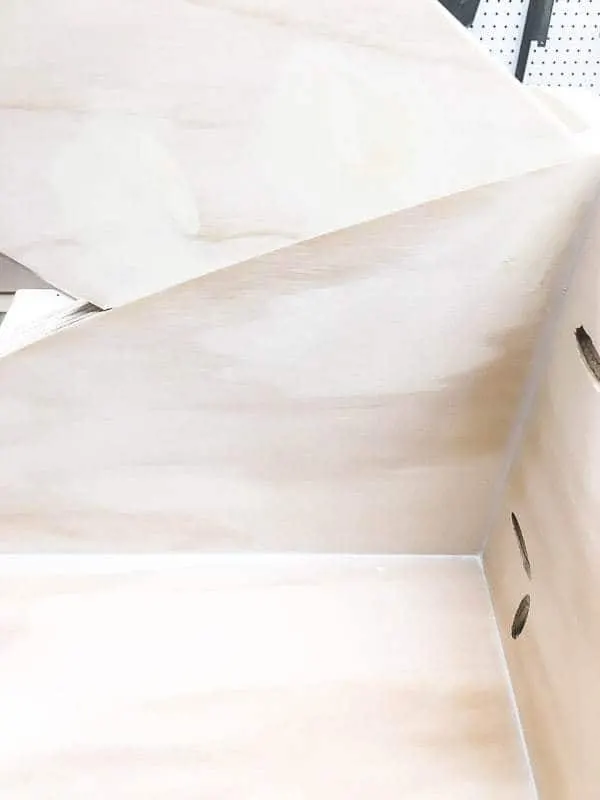
Drill pocket holes into the straight sides of each shelf. Make sure to stagger the holes slightly so the screws don't hit each other in the center.
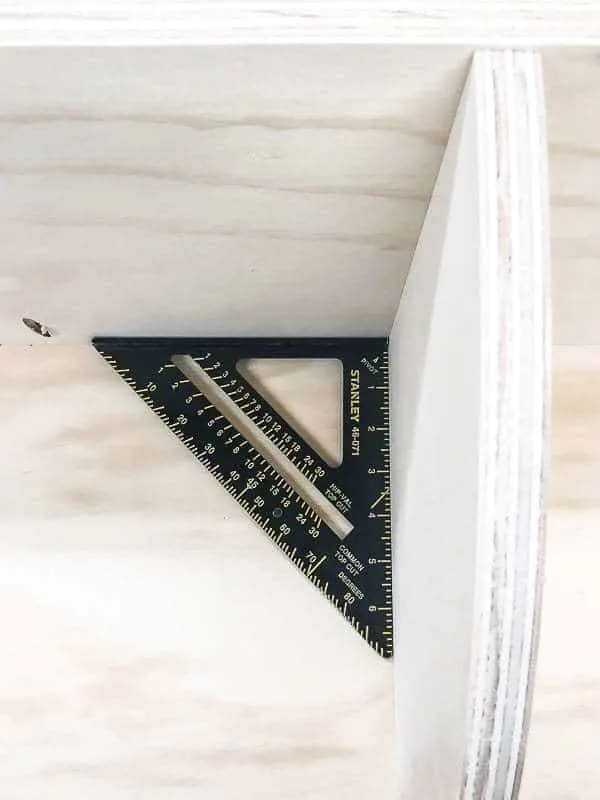
Line up the center shelves on each side of the center board. Use your square to check that everything is straight.
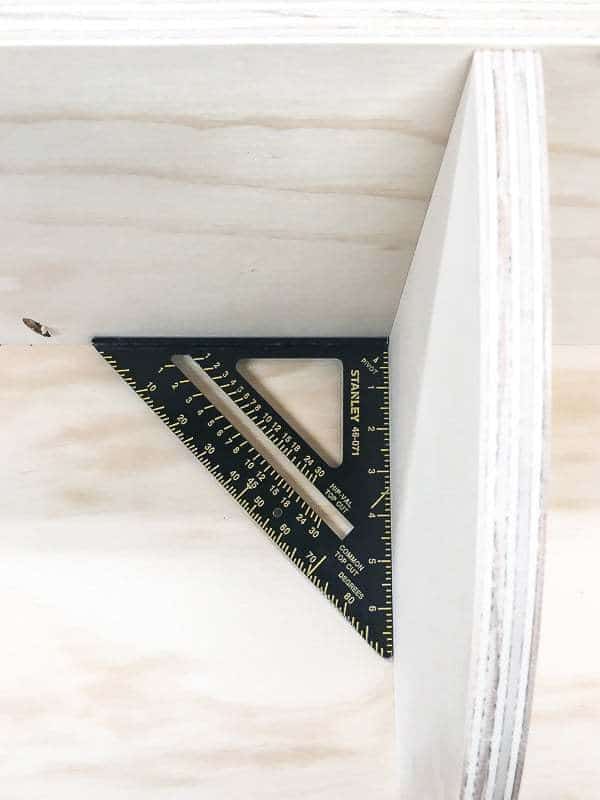
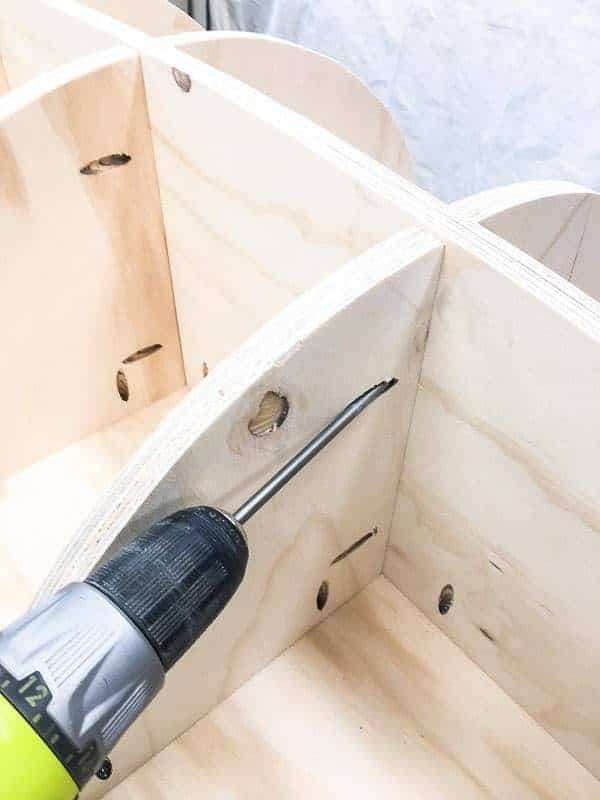
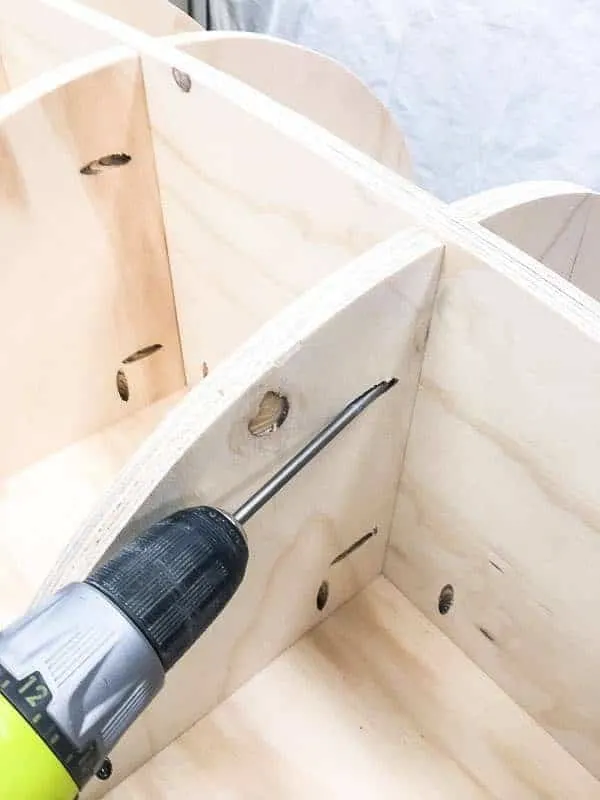
Attach each shelf to the body with 1 ¼" pocket hole screws.
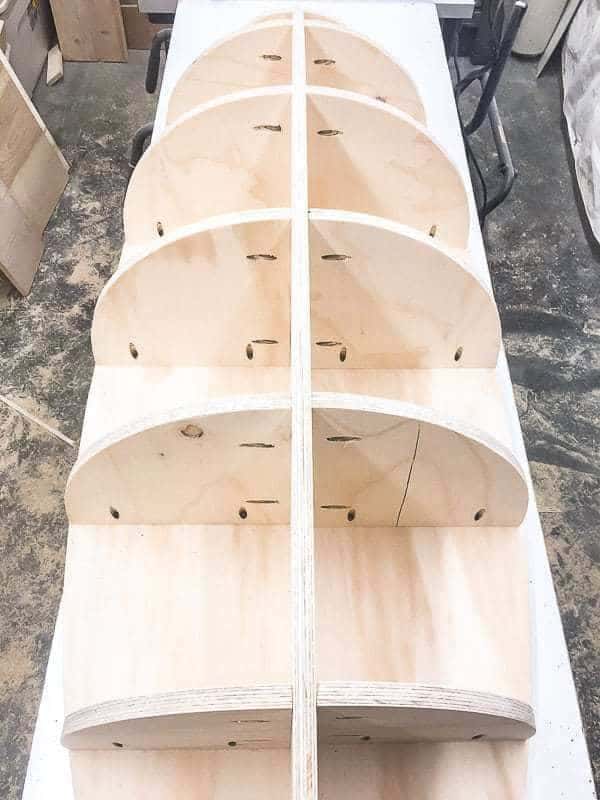
My shelves are spaced 9" apart. I left off the bottom ones so they didn't interfere with the fins.
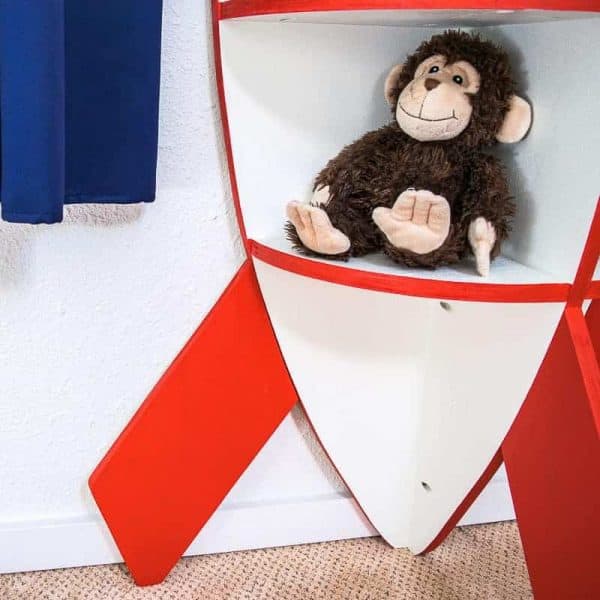
To create the fins at the bottom of the rocket bookshelf, I traced the outside edge of this multi-angle template tool at the largest setting.
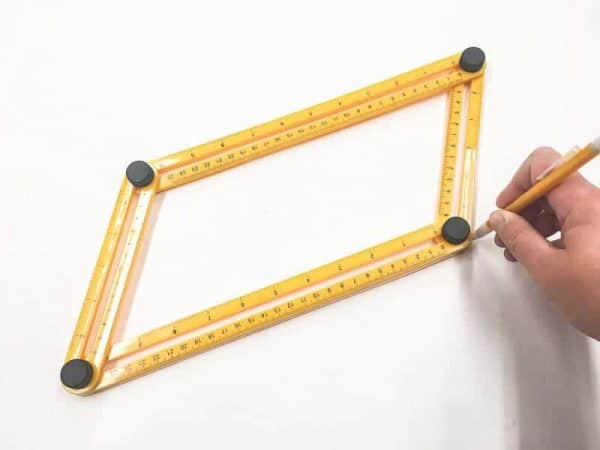

Copy the template onto the leftover plywood. Use the curve of the cut out rocket body so the angles will match up when you attach them together.

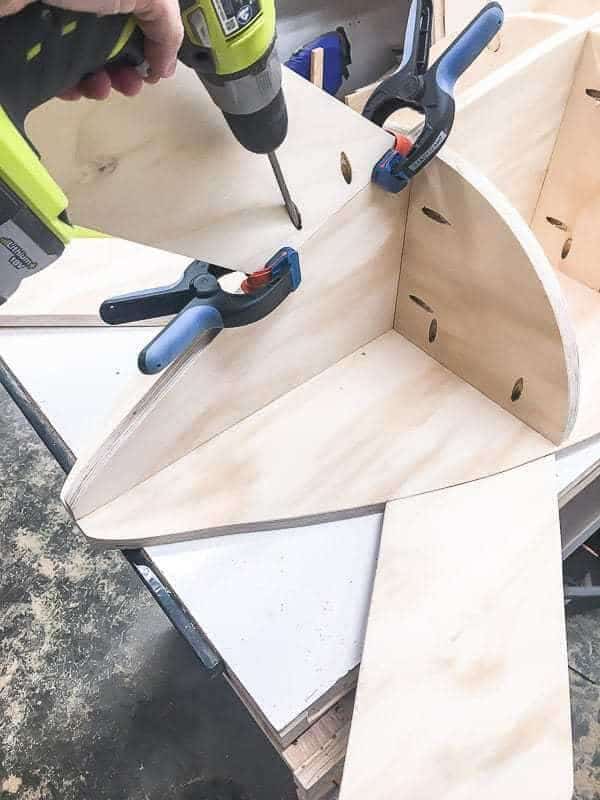
Cut them out with the jigsaw, then attach them to the main body with pocket hole screws. I used band clamps to hold the edges flush. Please note that the weight of the rocket bookshelf will NOT rest on these fins, so don't worry if they're a little loose. You could use mending plates to connect these pieces for more strength and stability.

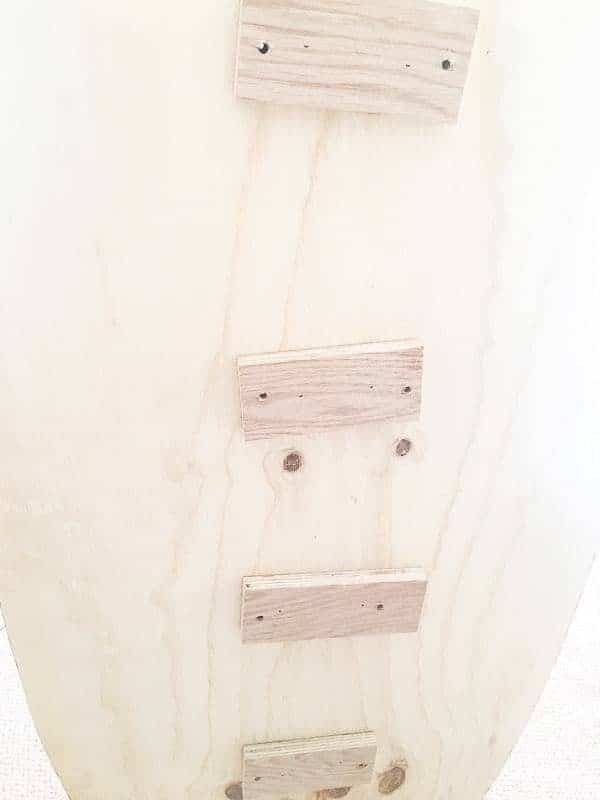
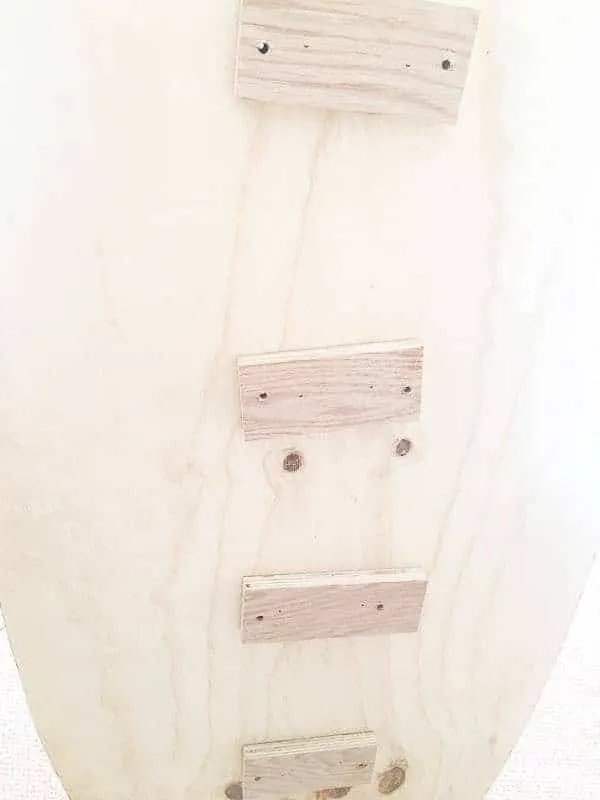
Determine where you want to attach the bookshelf to the wall, making sure there's at least one stud behind it. Drill pilot holes into the back.
Paint the rocket bookshelf
If the visible pocket holes bother you, hide them with wood filler before painting. I covered up the most prominent ones, but left the ones under the shelves. You can also caulk the seams for a polished finish.
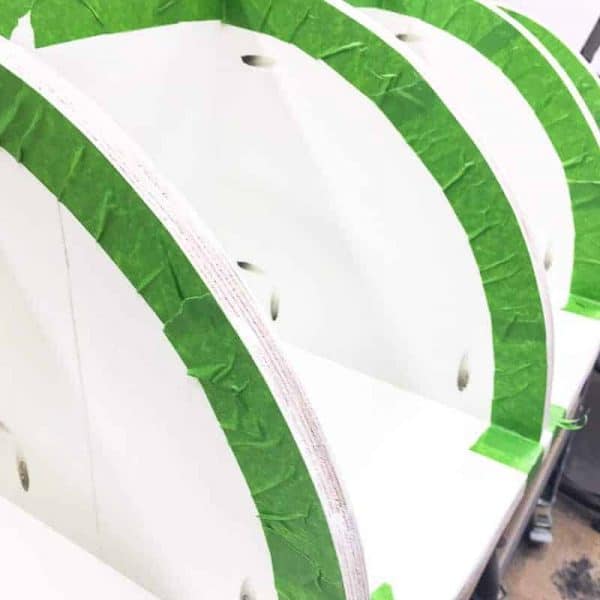
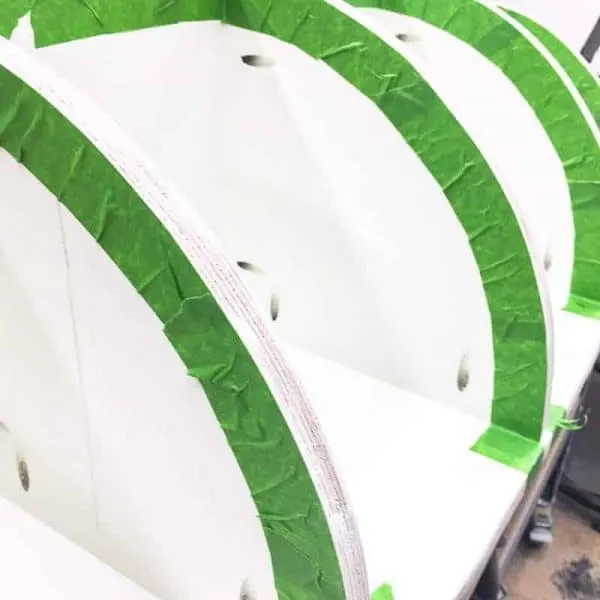
Paint the entire rocket bookshelf white except the plywood edges and fins. Then, tape off the unpainted parts and paint them red. It takes patience to tape off those curves, but trust me, it's easier than trying to paint it free-hand!
Attach Rocket Bookshelf to Wall
This rocket bookshelf is tall and skinny, and the fins aren't meant to support the weight of the entire piece. For safety, I recommend attaching it directly to the wall.
I wanted the rocket fins to rest on the floor, but the baseboards would get in the way. To mount it away from the wall, I used scrap pieces of plywood to act as a spacer.
Attach the rocket bookshelf to the studs with 3" long screws. On the other side, which doesn't hit a stud, I used wall anchors.

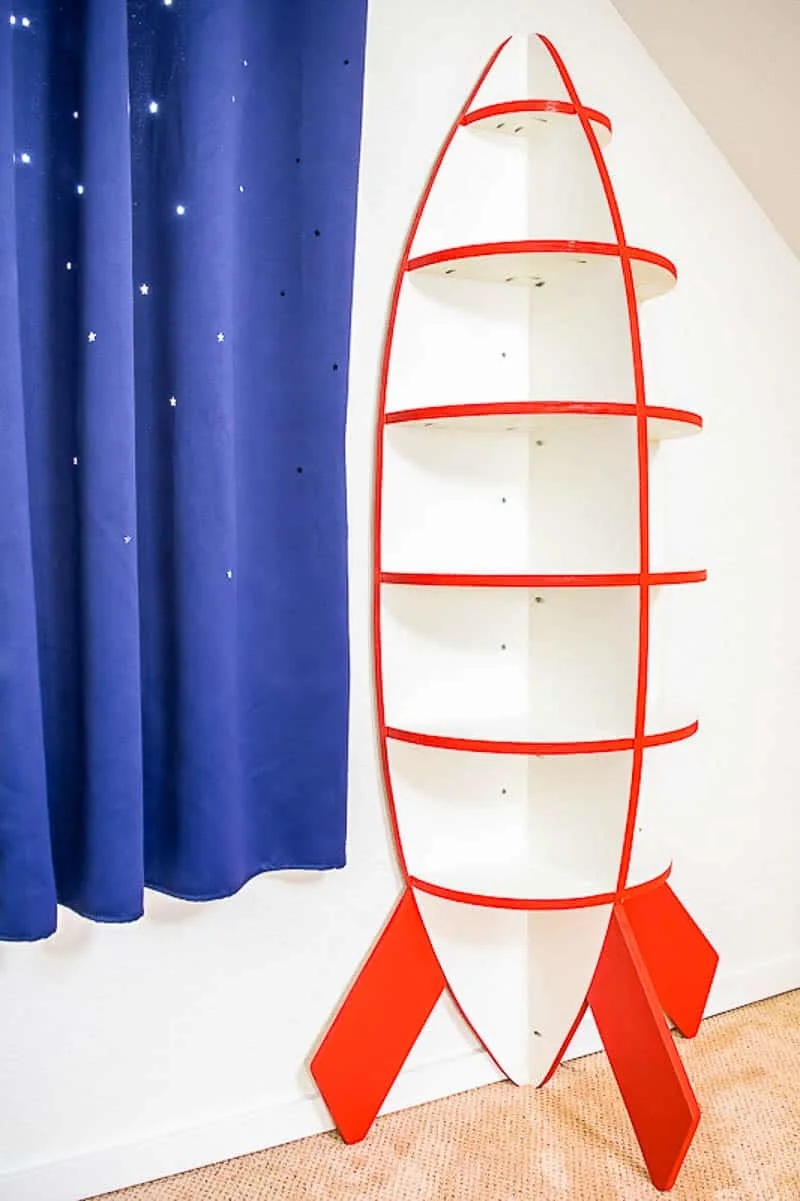

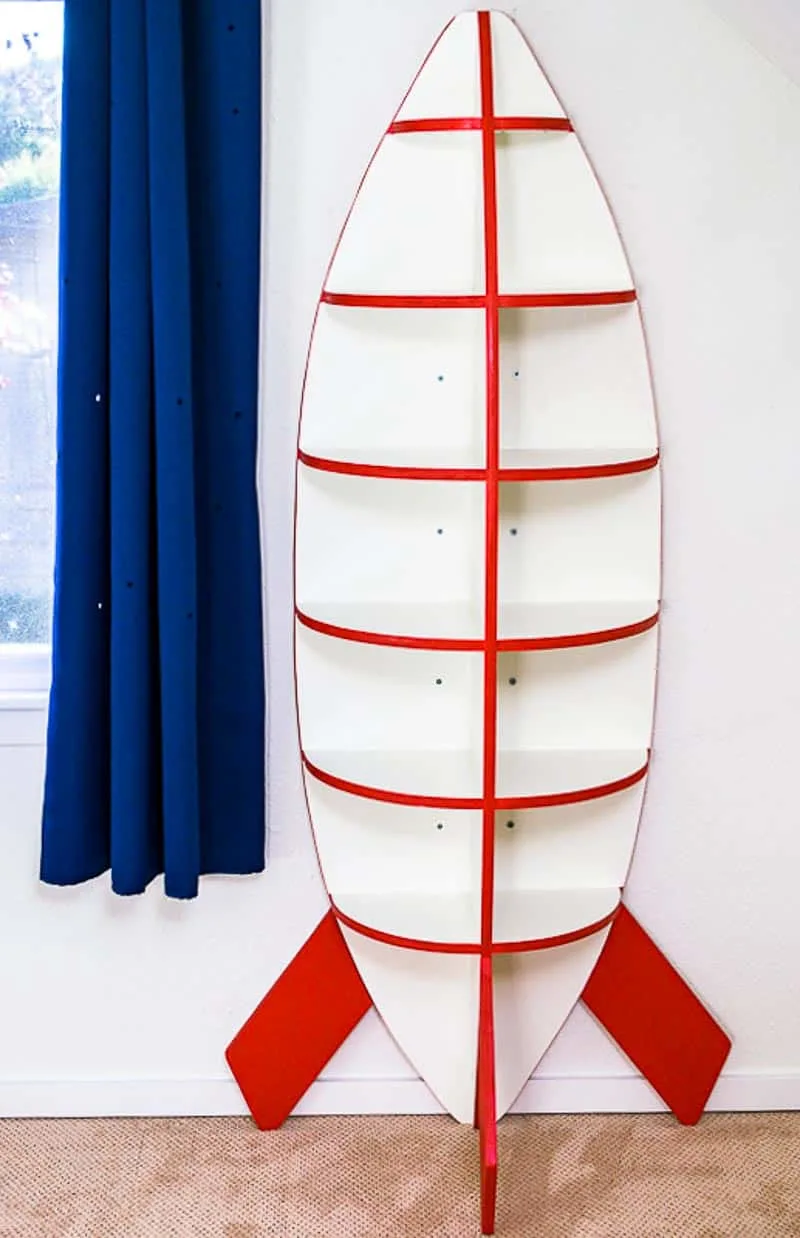

Isn't this the cutest? The shelves are just the right size for displaying all our son's favorite toys.

Add these awesome star curtains to finish off the perfect space themed bedroom. The sun shining through the cut outs makes it look like twinkling stars!


Jann Olson
Monday 14th of May 2018
This is so creative! What little boy wouldn't love it? Thanks for sharing with SYC. hugs, Jann
creativejewishmom/sara
Monday 7th of May 2018
wow, really fabulous! thanks so much for sharing on craft schooling Sunday!
Jane @SustainMyCraftHabit
Saturday 7th of October 2017
This is a dream for any kid's room. Seriously, my space-loving husband would want this in our bedroom LOL. Thank you so much for sharing. Have pinned it to come back to!
Vineta
Saturday 7th of October 2017
I'm sure you could pull it off in your bedroom! ;) Thanks for pinning!
Theresa
Wednesday 4th of October 2017
Such a cool idea! I know a few kids that would love this! Thanks for sharing at the Inspiration Spotlight party @DearCreatives Pinned & sharing.
Natasha
Wednesday 4th of October 2017
What a great idea to sand all the like pieces together! I don't know why I haven't thought of that before - I recently ended up with some things that aren't quite the same because of sanding.