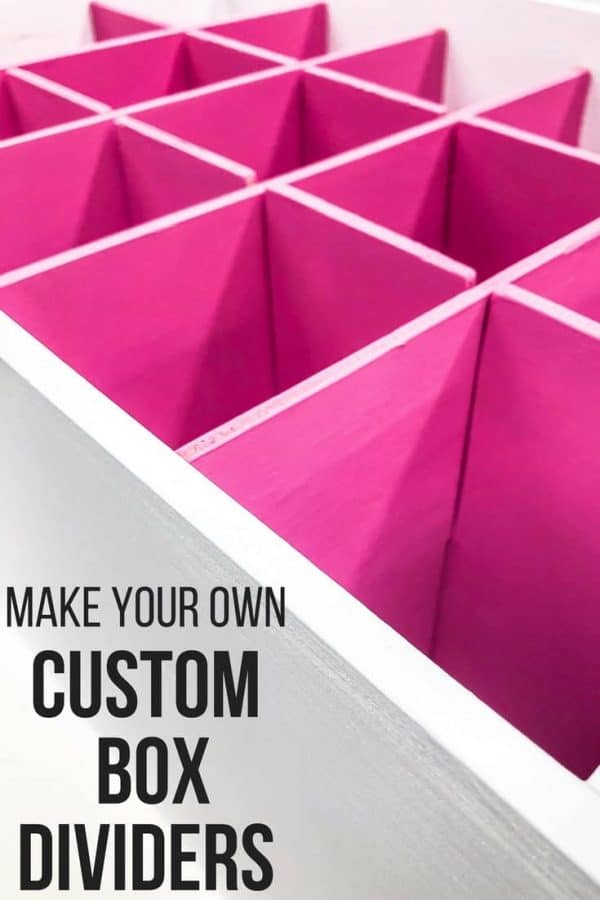
Get the most storage possible out of your crates or boxes! These simple box dividers are made of ¼" plywood, and can be custom fit to store anything you can think of!

Crates and boxes are great for storage, but sometimes you want things a bit more organized. I have an entire bin full of paint samples and spray paint, and it's become a chore to go through them all. By separating them all with these simple plywood box dividers and marking the lid with a dab of paint, I can easily find the one I want!
This post contains affiliate links for your convenience. Purchases made through these links may earn me a small commission at no additional cost to you. Please visit my disclosures page for more information.
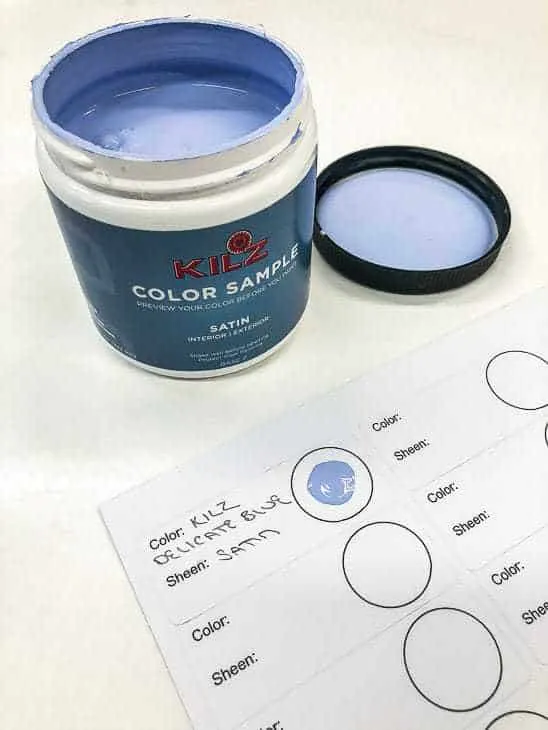
Last month, Kilz asked me if I would like to try out their new Complete Coat paint + primer. I'm all about making painting quicker and easier! They sent me a wooden box full of samples and brushes, with the challenge to create something amazing. Challenge accepted!
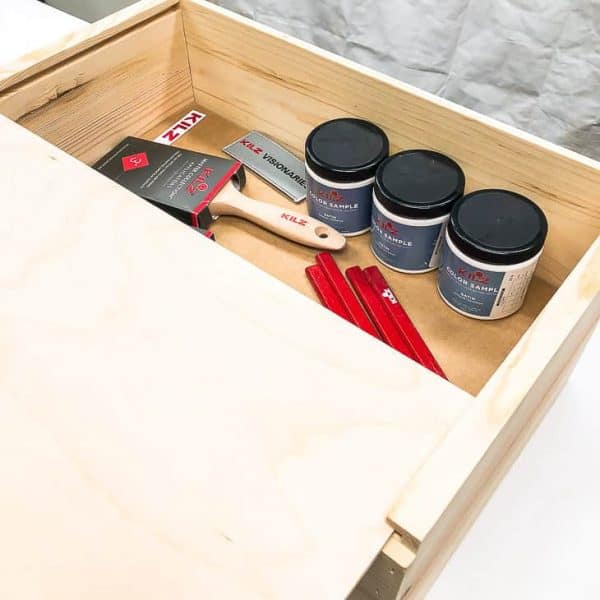
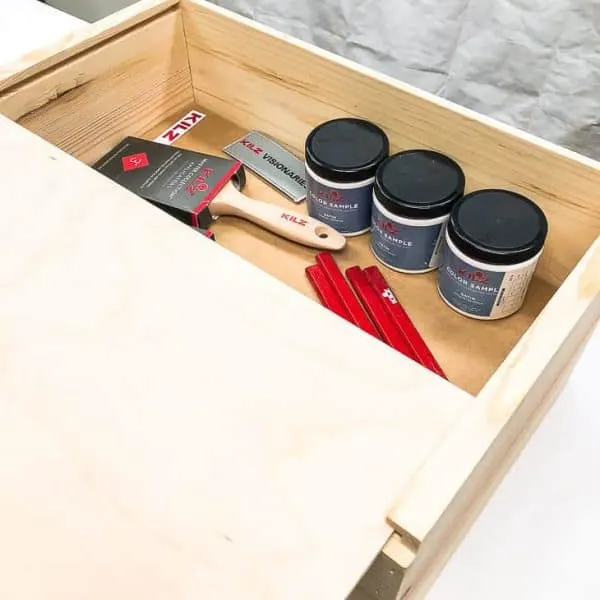
Seeing the paint samples in the box gave me the idea to create these box dividers. Whenever I'm painting a room or a project, I always try out a few different colors before I commit. The ones that aren't chosen are tossed in the lower bins of my IKEA Kallax desk, never to be seen again.
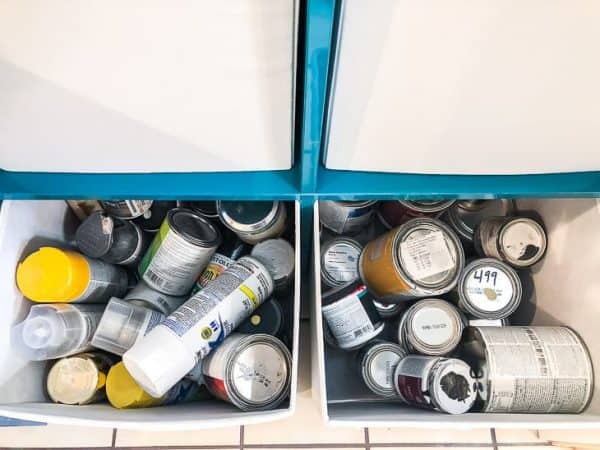

I'm always looking for easy ways to create more workshop storage. Right now, I'm focusing on items that I tend to collect multiples of, like paint, scrap wood and clamps. This paint storage box will help free up some space and get me organized!
Materials Needed for Wood Box Dividers
- Wood box or crate of any size
- ¼" plywood
- You can get your plywood cut into strips at the store, or even buy 4" x 12" strips on Amazon if you're not comfortable cutting them yourself.
- Measuring tape
- Clamps
- Jigsaw
- Sandpaper
- Paint
- Painter's tape (optional)
- Address labels (optional)
How to Make Wooden Box Dividers
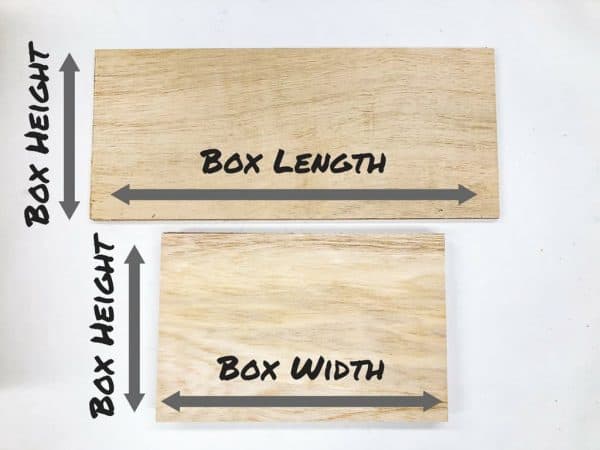
Measure the box
Measure the interior dimensions of your crate or box. Mine is 12" wide x 18" long x 8" deep. Cut a strip of plywood to slightly less than the depth of the box. I had some ¼" thick plywood strips left over from a previous project, and they just happened to be 7 ¾" wide! Score!
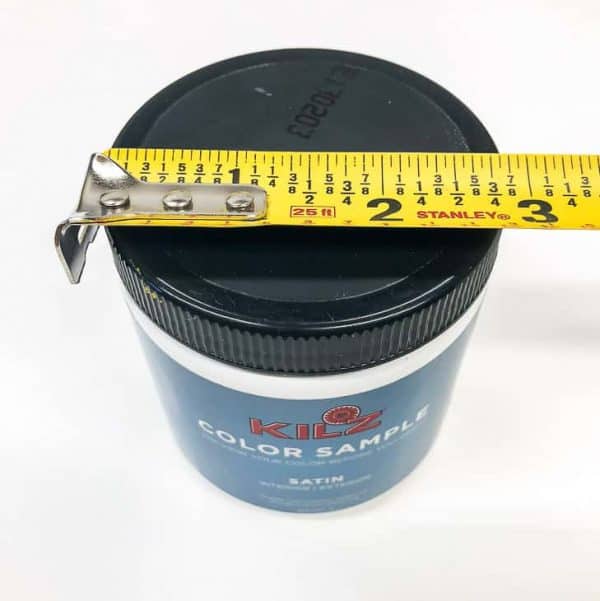
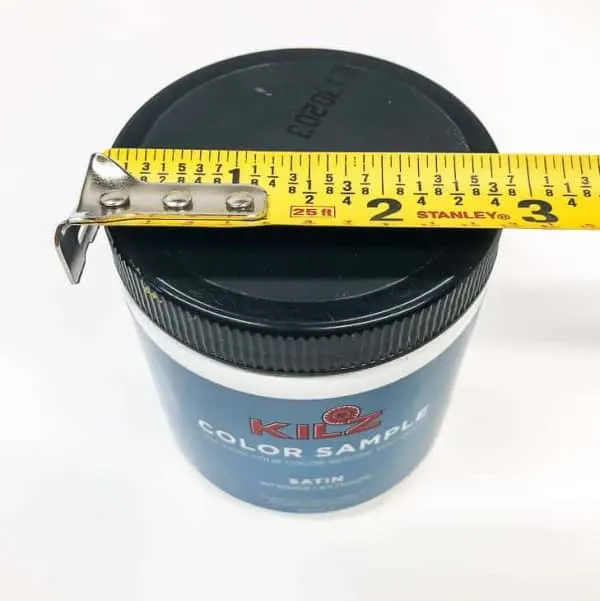
Next, measure the diameter of whatever you plan to store in the box. Paint samples are typically 3" across. If your items vary in size, either base your measurements on the largest one, or change up your spacing to custom fit everything.
Add at least ½" to that measurement to allow enough room for your hand to reach into each compartment. I decided to make mine 3 ¾" apart, which is enough to evenly space five compartments down the 18" side. The 12" side is divided into three compartments 4" apart.
If you have trouble visualizing how they'll be spaced out, try sketching it out in pencil on the bottom of the box! No one will see it, and you can paint over later.
Cut the plywood dividers
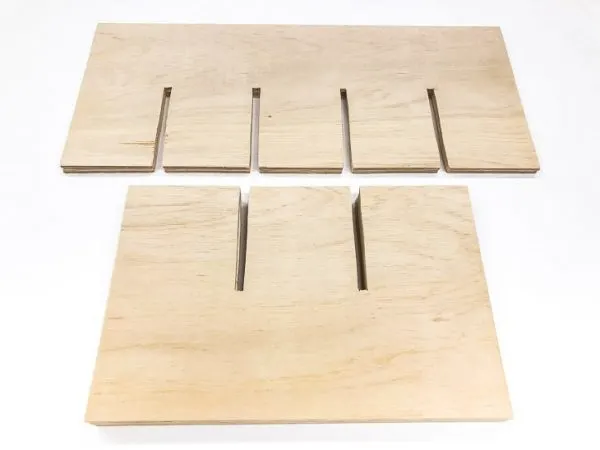
I cut four pieces to 12" long (the width of the box), and two pieces 18" long (the length of the box).

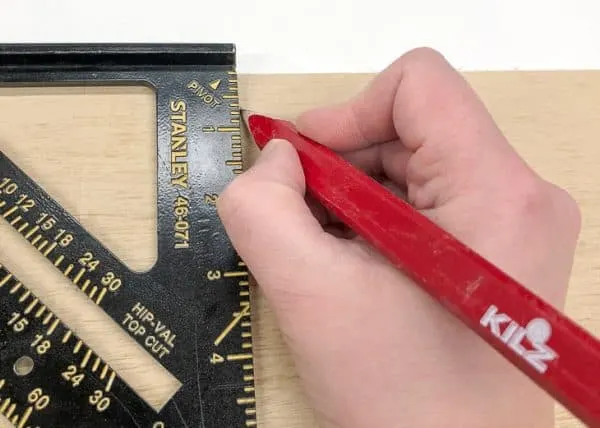
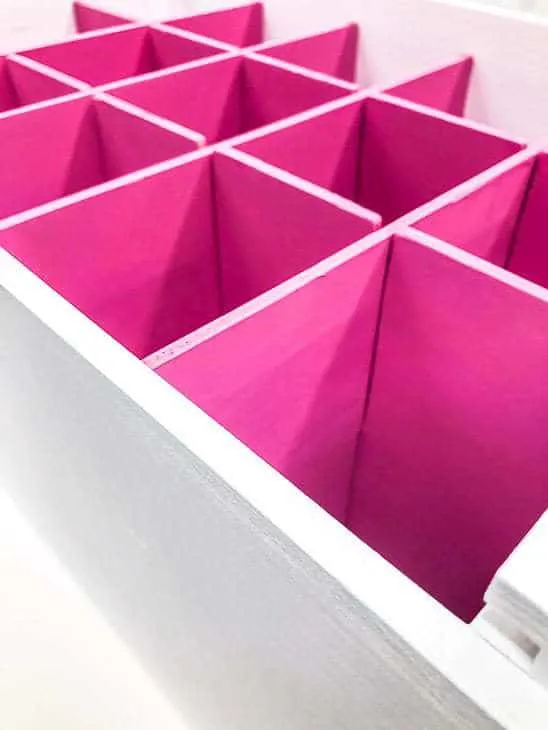
At each spot where two box dividers cross, you need to cut a notch halfway up the height dimension of the board. When these notches cross each other, they'll fit together snugly in the box. Mark the spacing along each plywood strip, then draw a line halfway up the height.

Stack the 12" strips together, with the markings on top. Clamp the stack to the workbench and cut on both sides of the line (not down the line) with the jigsaw. This should leave you with a notch about ¼" wide.

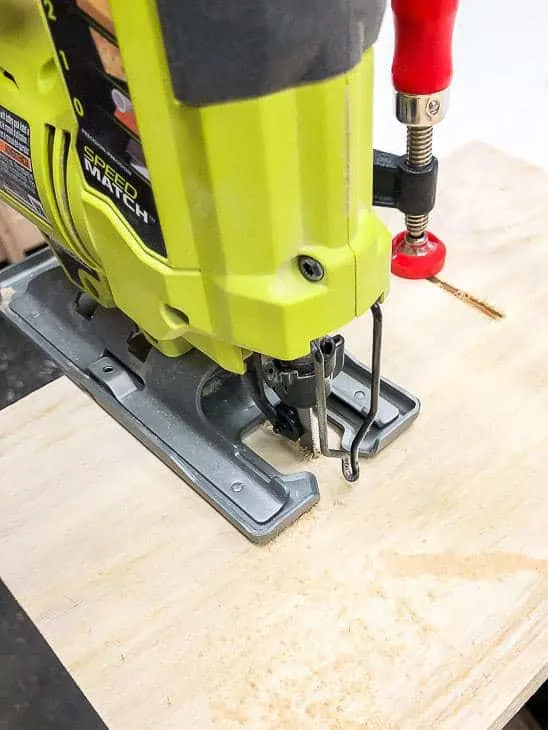
Repeat for the 18" pieces. Sand the edges of the notches until you can slide a piece of ¼" plywood into each one easily. Your finished box dividers should look like this.

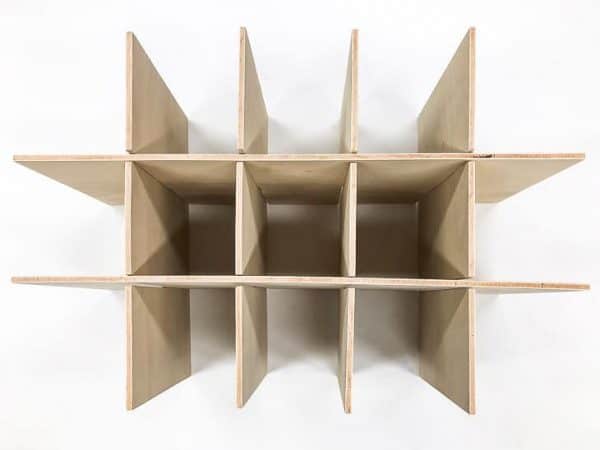
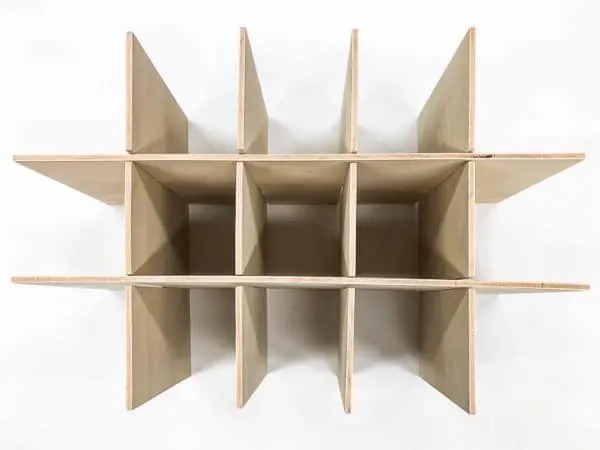
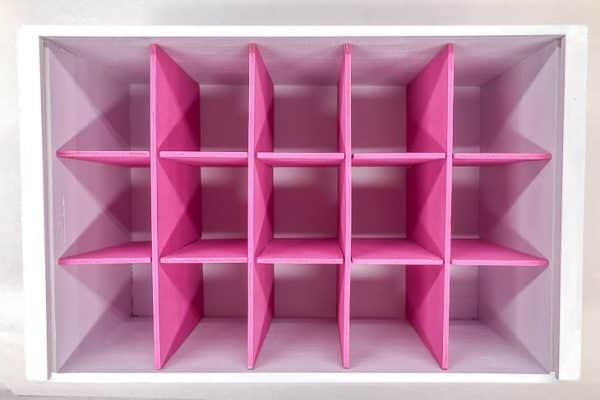
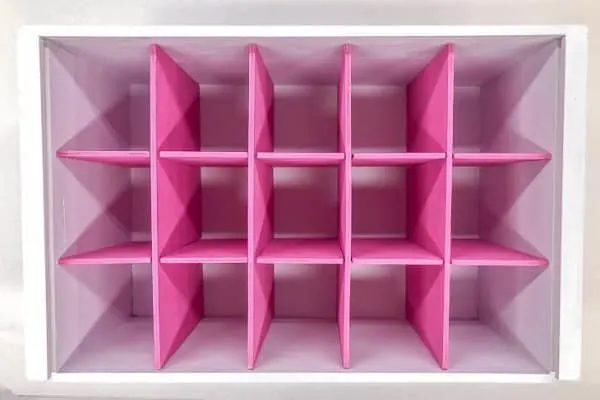
Slide the notches together to form a grid, then test the fit in the box.
Paint the box and dividers
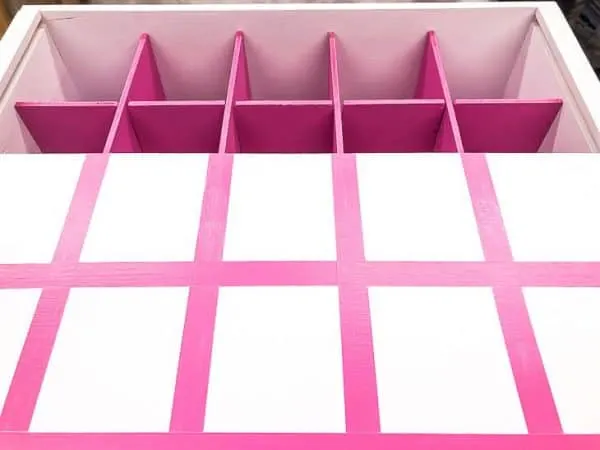
I painted the entire box white and the box dividers bright pink for a fun splash of color inside. Kilz Complete Coat had great coverage with just two coats on raw wood!

Add Labels to the Lid
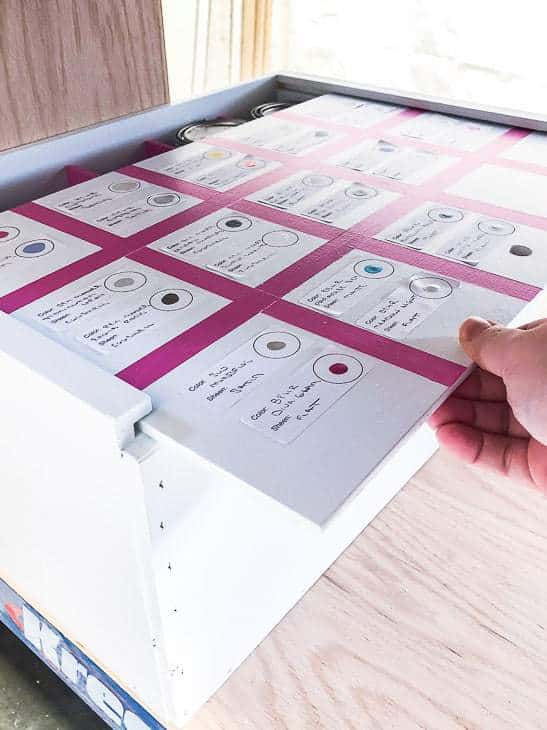
This box came with a lid that slides into a groove in the top. I wanted to be able to see at a glance all the colors I had available, without removing all the paint samples every time. I used painter's tape to create a grid on the lid that matched the box dividers inside.
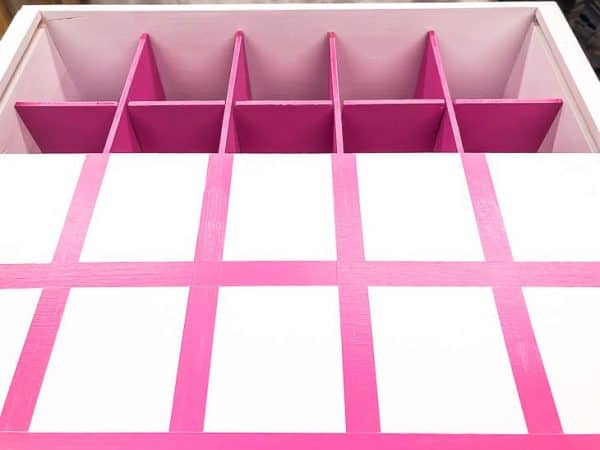
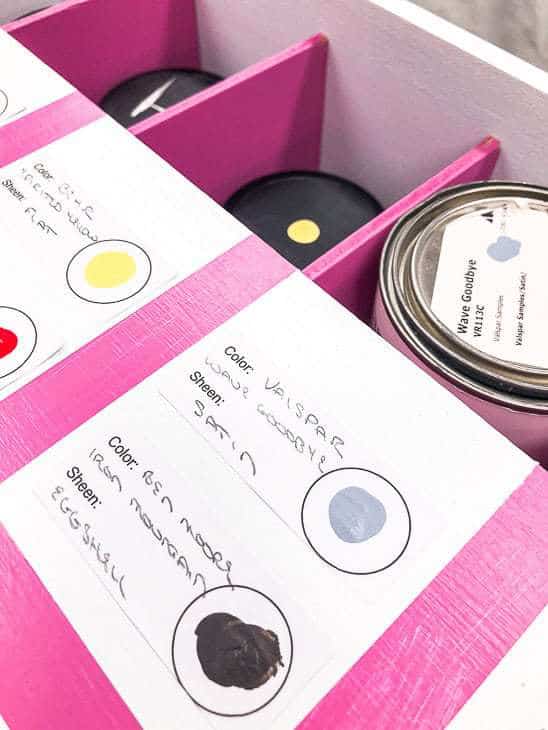
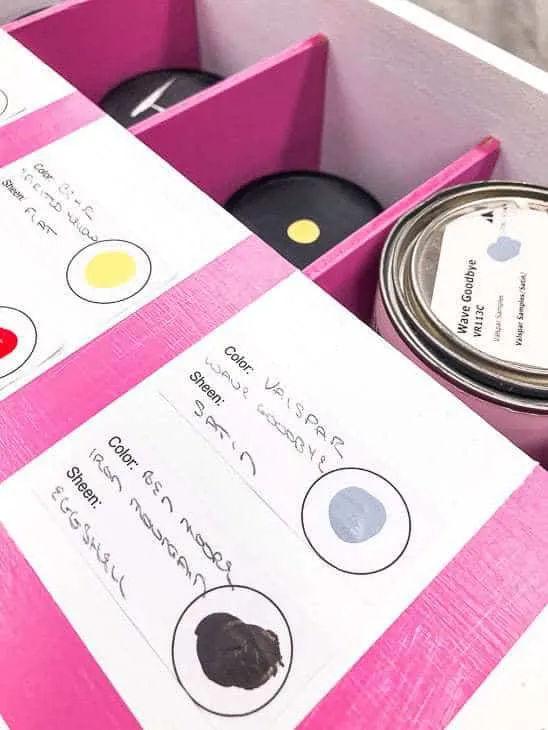
These removable address labels are marked with each color name and sheen, as well as a dab of paint.

Now I can see at a glance which colors I have, so hopefully I'll use them up! I'll replace the labels with new ones as my supply is depleted and as I buy additional colors.
The box is exactly the same width as the shelf of my Kreg workbench, and it fits perfectly right next to my sandpaper storage box and nail gun organizer. It's great to have all these paint colors at my fingertips!

Check out these other organizing ideas!
Susan
Wednesday 7th of March 2018
This came out great. Really like the added touch you did with the paint color address labels. I never would have thought of that, and probably would have lost the lid at some point from putting it on and off all the time.
Vineta
Wednesday 7th of March 2018
Thanks Susan! The labels really help keep everything organized. Otherwise, I'd be taking out every paint sample to check the color every time I wanted to paint something!
Tracy Albiero
Wednesday 7th of March 2018
What a useful post!!! I need to share this with my husband! I can see these dividers being so helpful in many spots in our house.
Vineta
Wednesday 7th of March 2018
They're super helpful! I plan to make some for a few of our kitchen drawers that end up a jumble of junk!
Kathryn Griffin
Sunday 4th of March 2018
Wow! Nothing like pretty and functional! Such a great tutorial! Thanks for sharing. Feel free to share this at my Make it Pretty Monday party at The Dedicated House. The party will go live at 8:00am CST tomorrow. http://www.thededicatedhouse.com Hope to see you at the shindig. Have a great week ahead! Toodles, Kathryn @TheDedicatedHouse
DIY Home Sweet Home
Wednesday 14th of February 2018
Thank you for the simple tutorial!! I love the pop of pink you used on the inside.