Get all your woodworking clamps organized with these DIY clamp rack ideas! Store parallel clamps, quick clamps and spring clamps on simple wall mounted racks to keep them easily accessible yet out of the way.


A woodworker can never have enough clamps, and it can be difficult to keep them all organized in a small workshop! You'll want to store these essential tools within arm's reach so you can grab them quickly when you're assembling a project.
So today I'm sharing how I made the three clamp storage racks I have on the walls of my workshop. Most of these projects can be made with scrap wood, so they're basically free!
This post contains affiliate links for your convenience. Purchases made through these links may earn me a small commission at no additional cost to you. Please visit my disclosures page for more information.
Quick Clamp Rack
You may have noticed this wall of Bessey quick clamps in the background of some of my workshop photos. Bessey has been a sponsor of this website for a few years now, and they've generously provided me with most of the clamps I use in the shop. These are the ones I reach for the most!
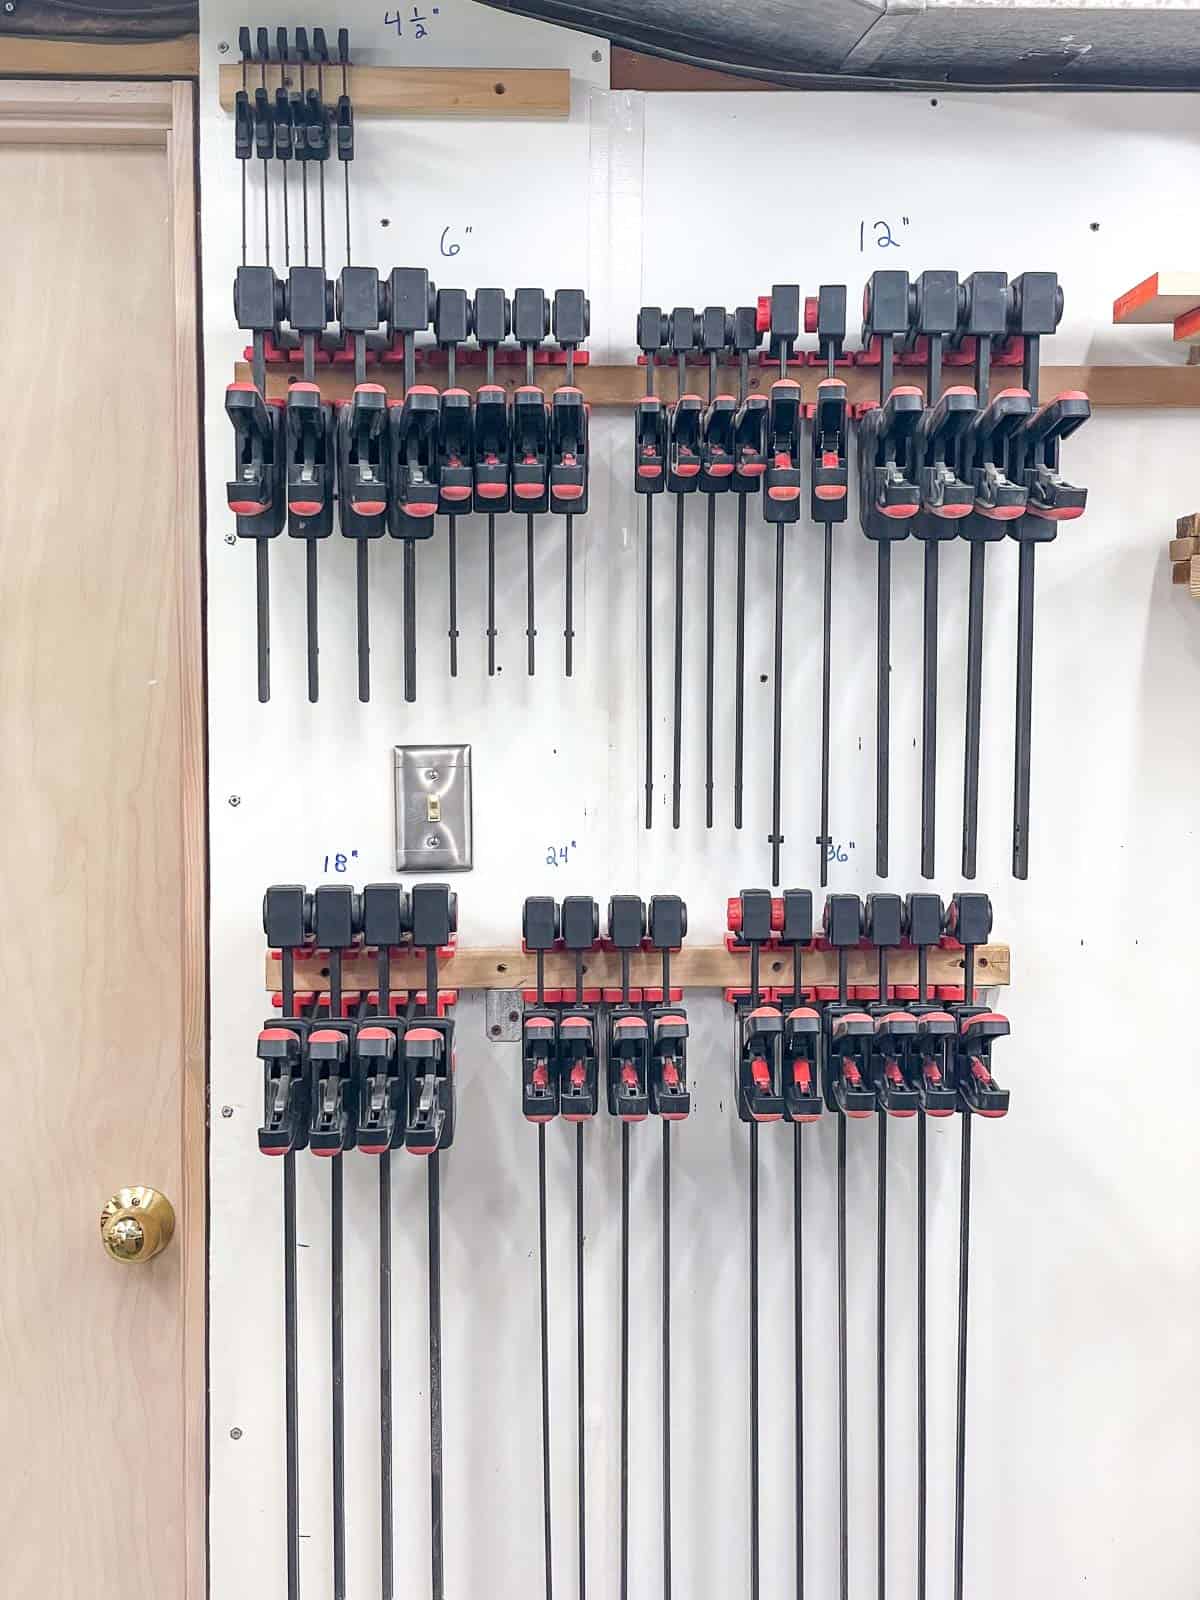

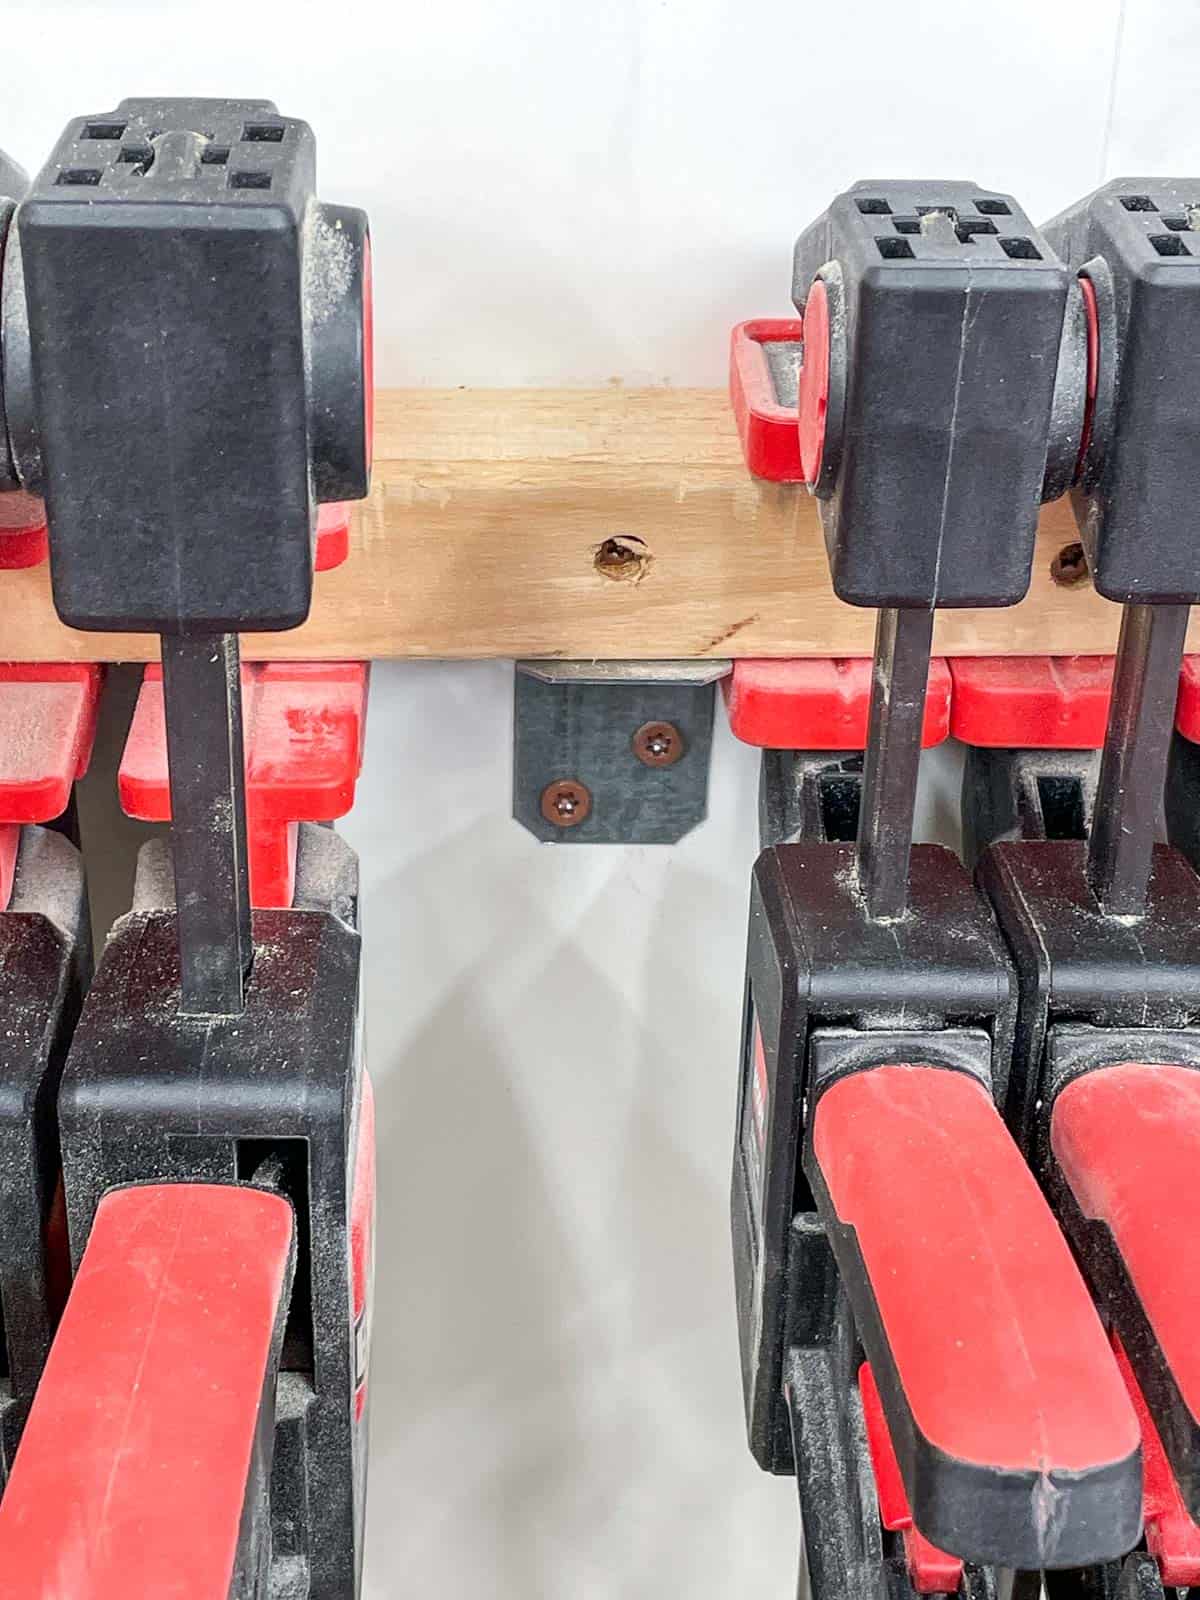
This quick clamp rack is super simple, but works great! It's just a 2x2 board screwed directly into the wood paneling. Attach it to the studs or use a hollow wall anchor like toggle bolts if you don't have paneling like I do. I also added a couple of L brackets underneath to help support the weight of all those clamps, but it's not really necessary.

I try to keep the clamps organized by size, so I know exactly which one I need to grab for my project. The whiteboard wall behind the rack makes it easy to label the size right above each section.
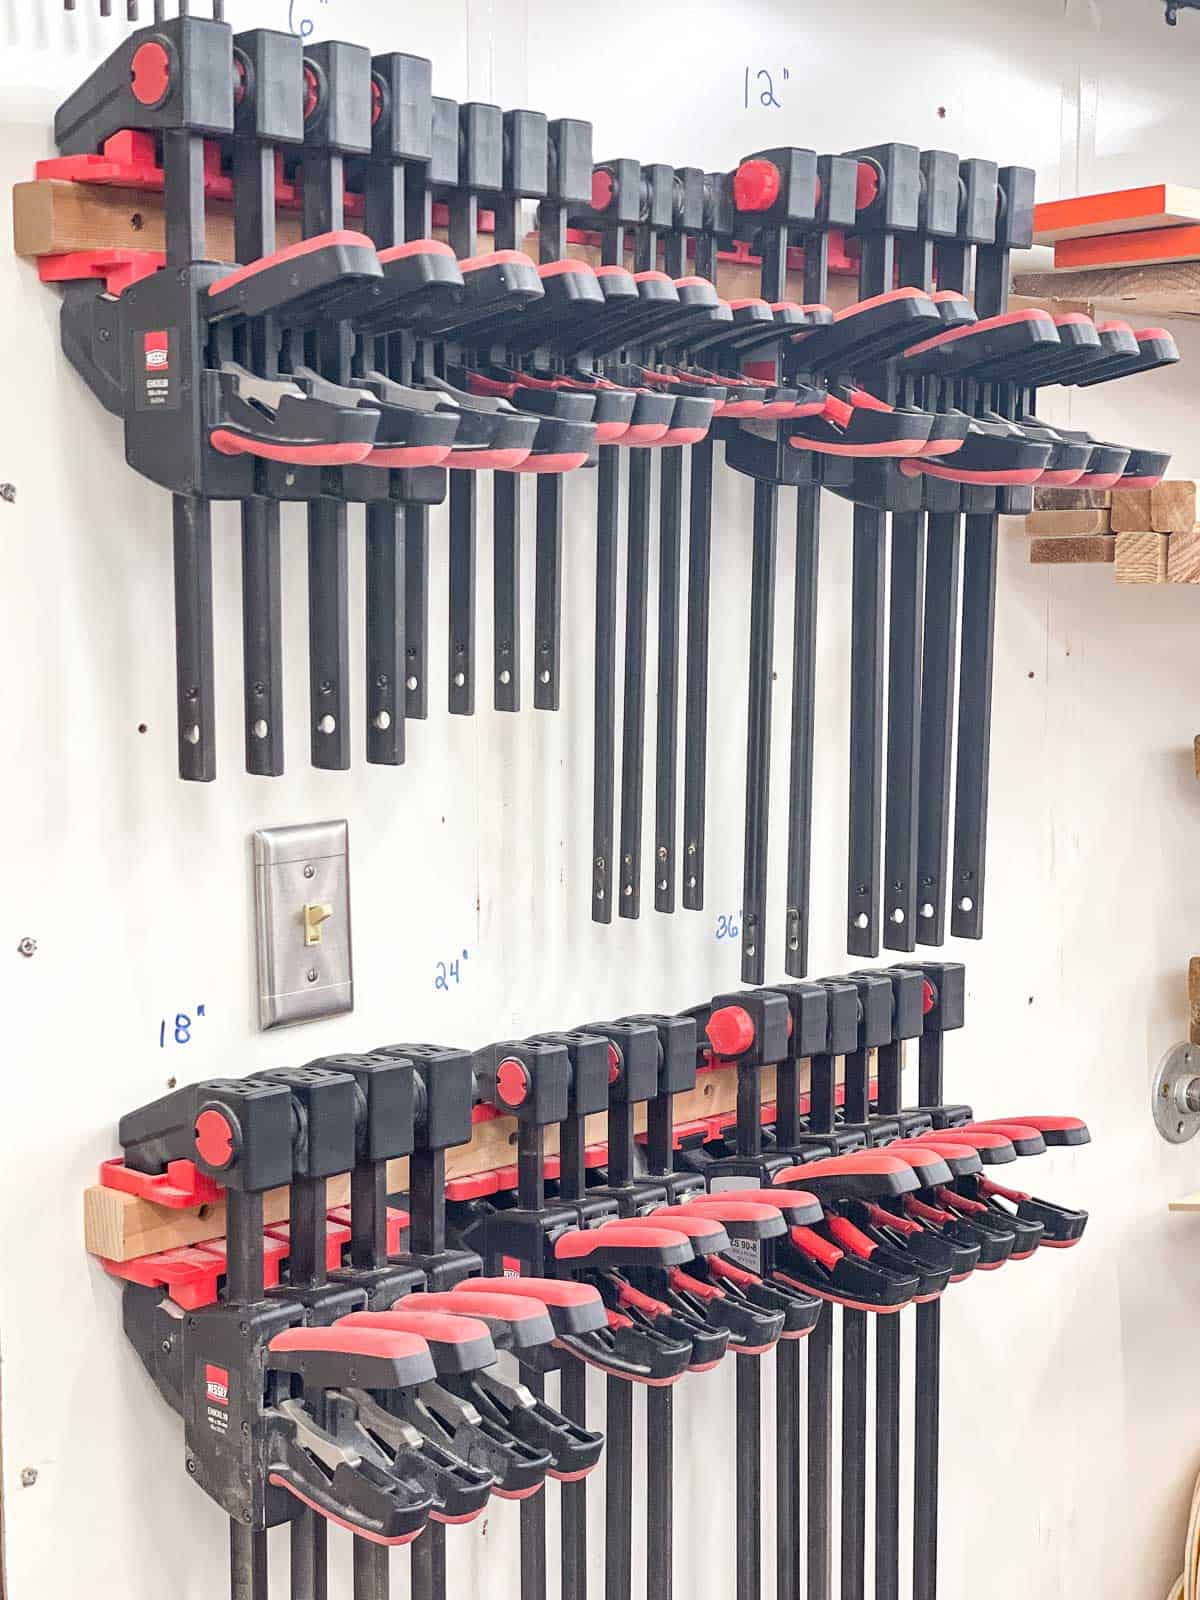
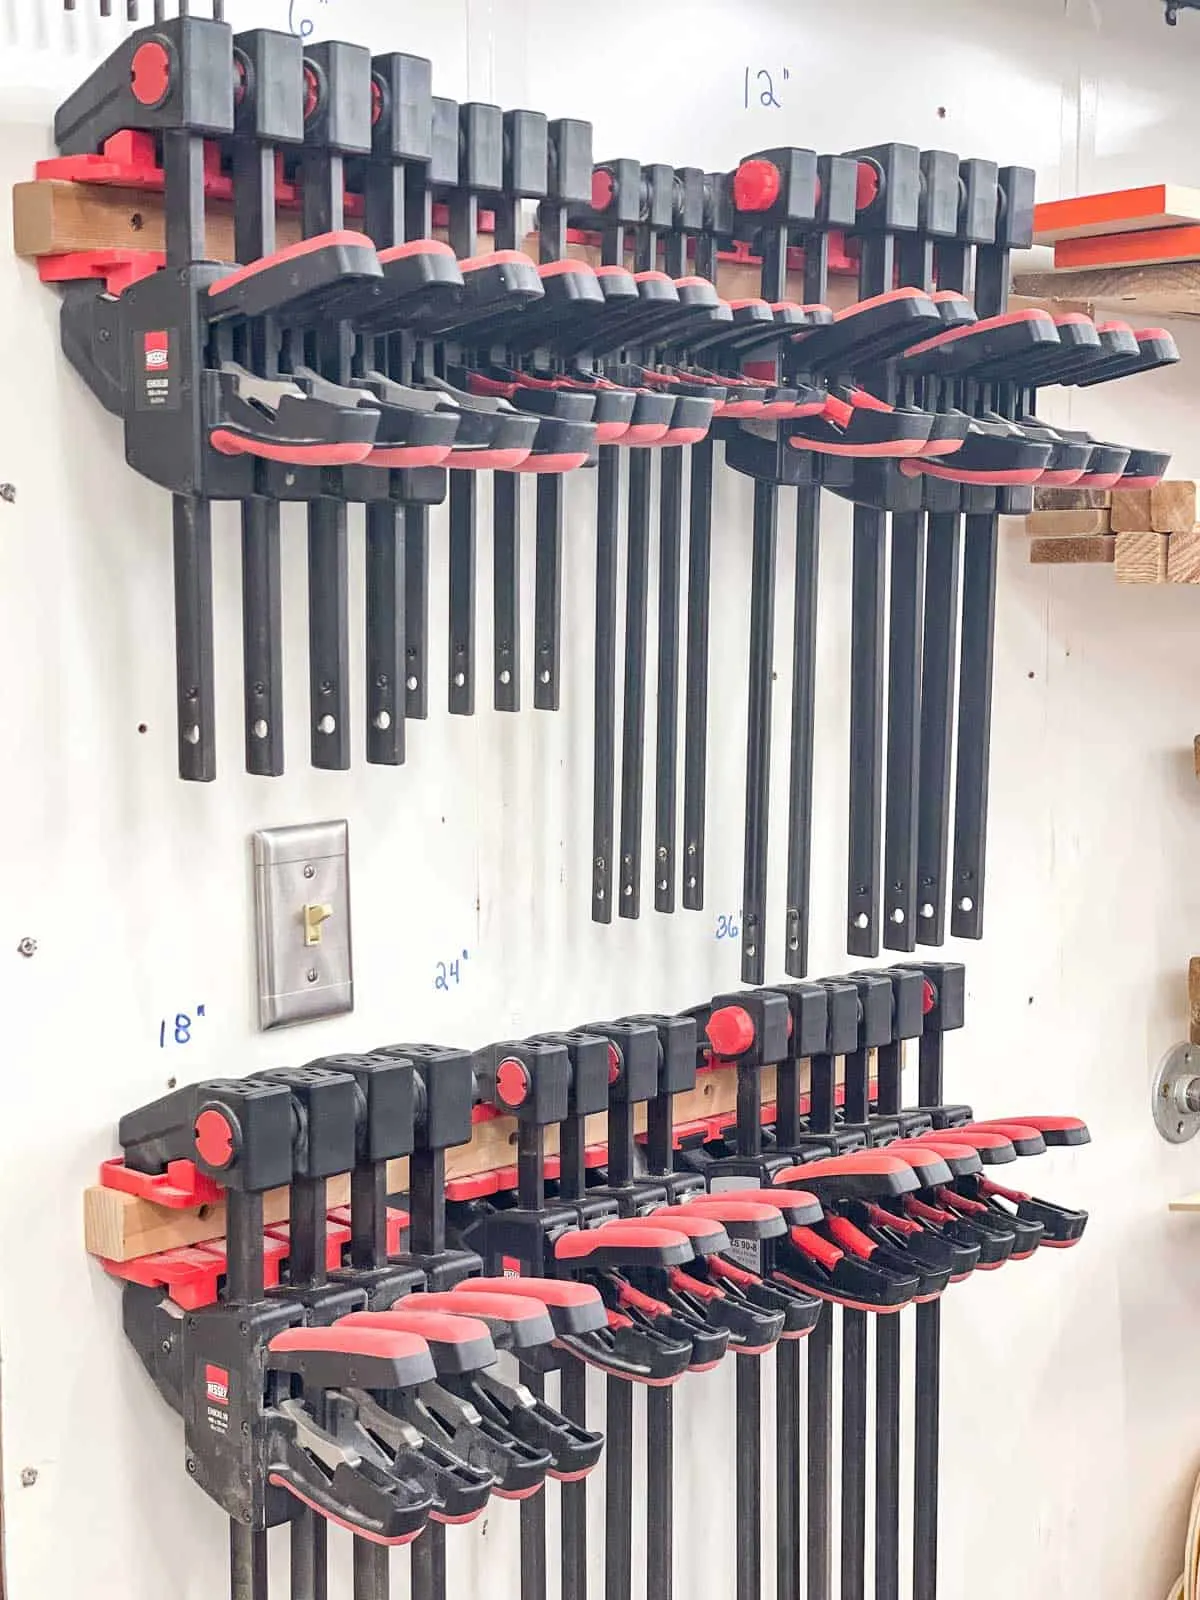
The quick clamps pop off the wall with a push of the release button on the handles, and clamp back in place with a few squeezes. Check out the video below to see it in action!
Parallel Clamp Rack
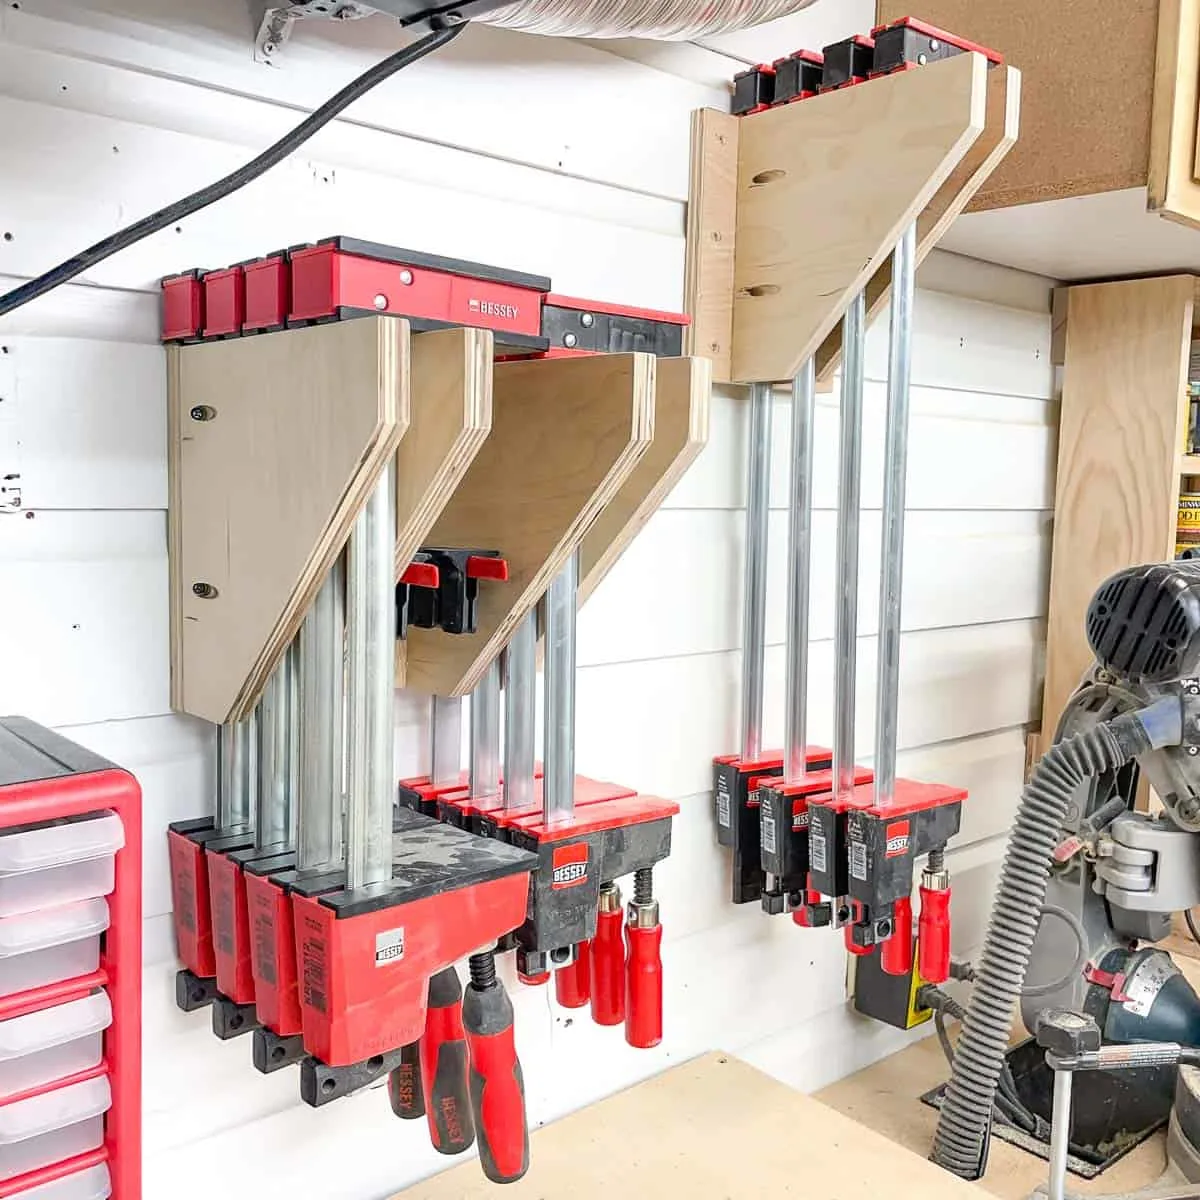
Parallel clamps are great for assembling larger panels out of solid wood. I had a few different sizes of Bessey REVO clamps that were laying around in piles around the workshop, so I made these simple parallel clamp racks to mount to the wall behind my new miter saw station.

I rummaged around in my scrap wood lumber cart until I found enough plywood scraps to make three racks. You'll need about 9" x 24" of ¾" plywood for each one. Here's how to make it!
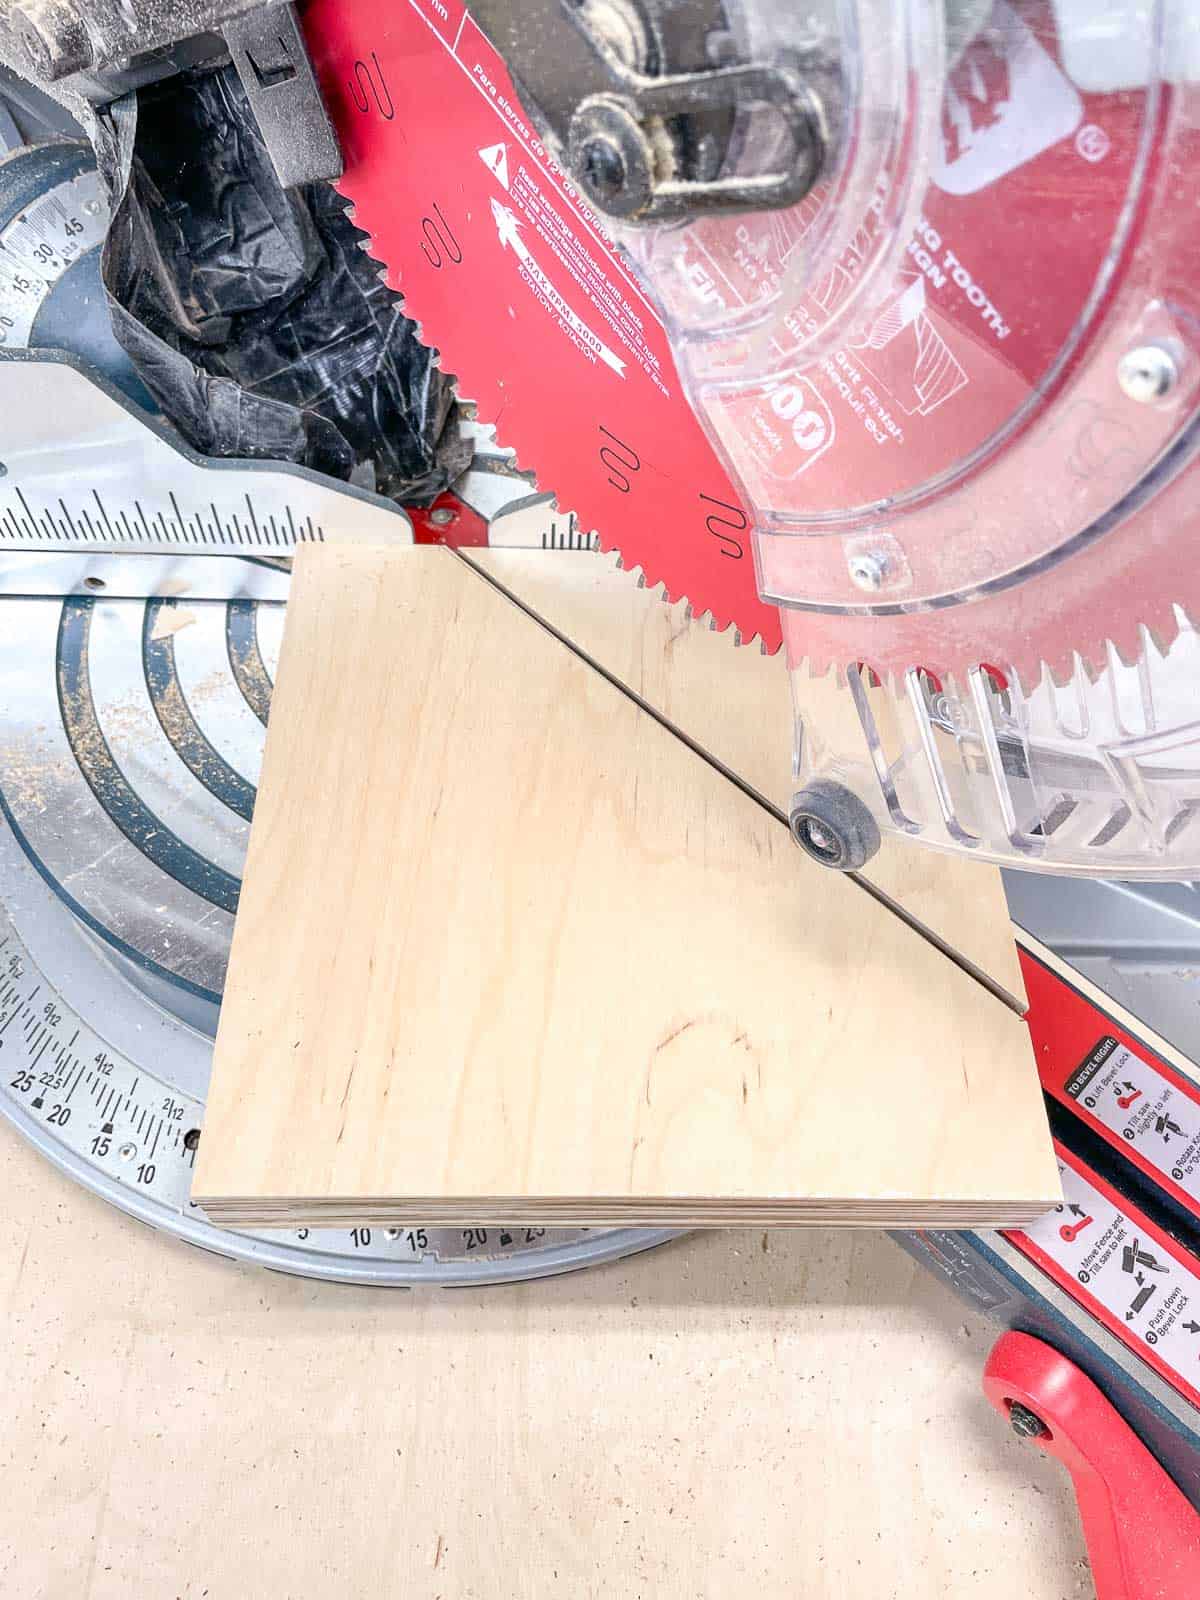
Cut the Plywood Pieces
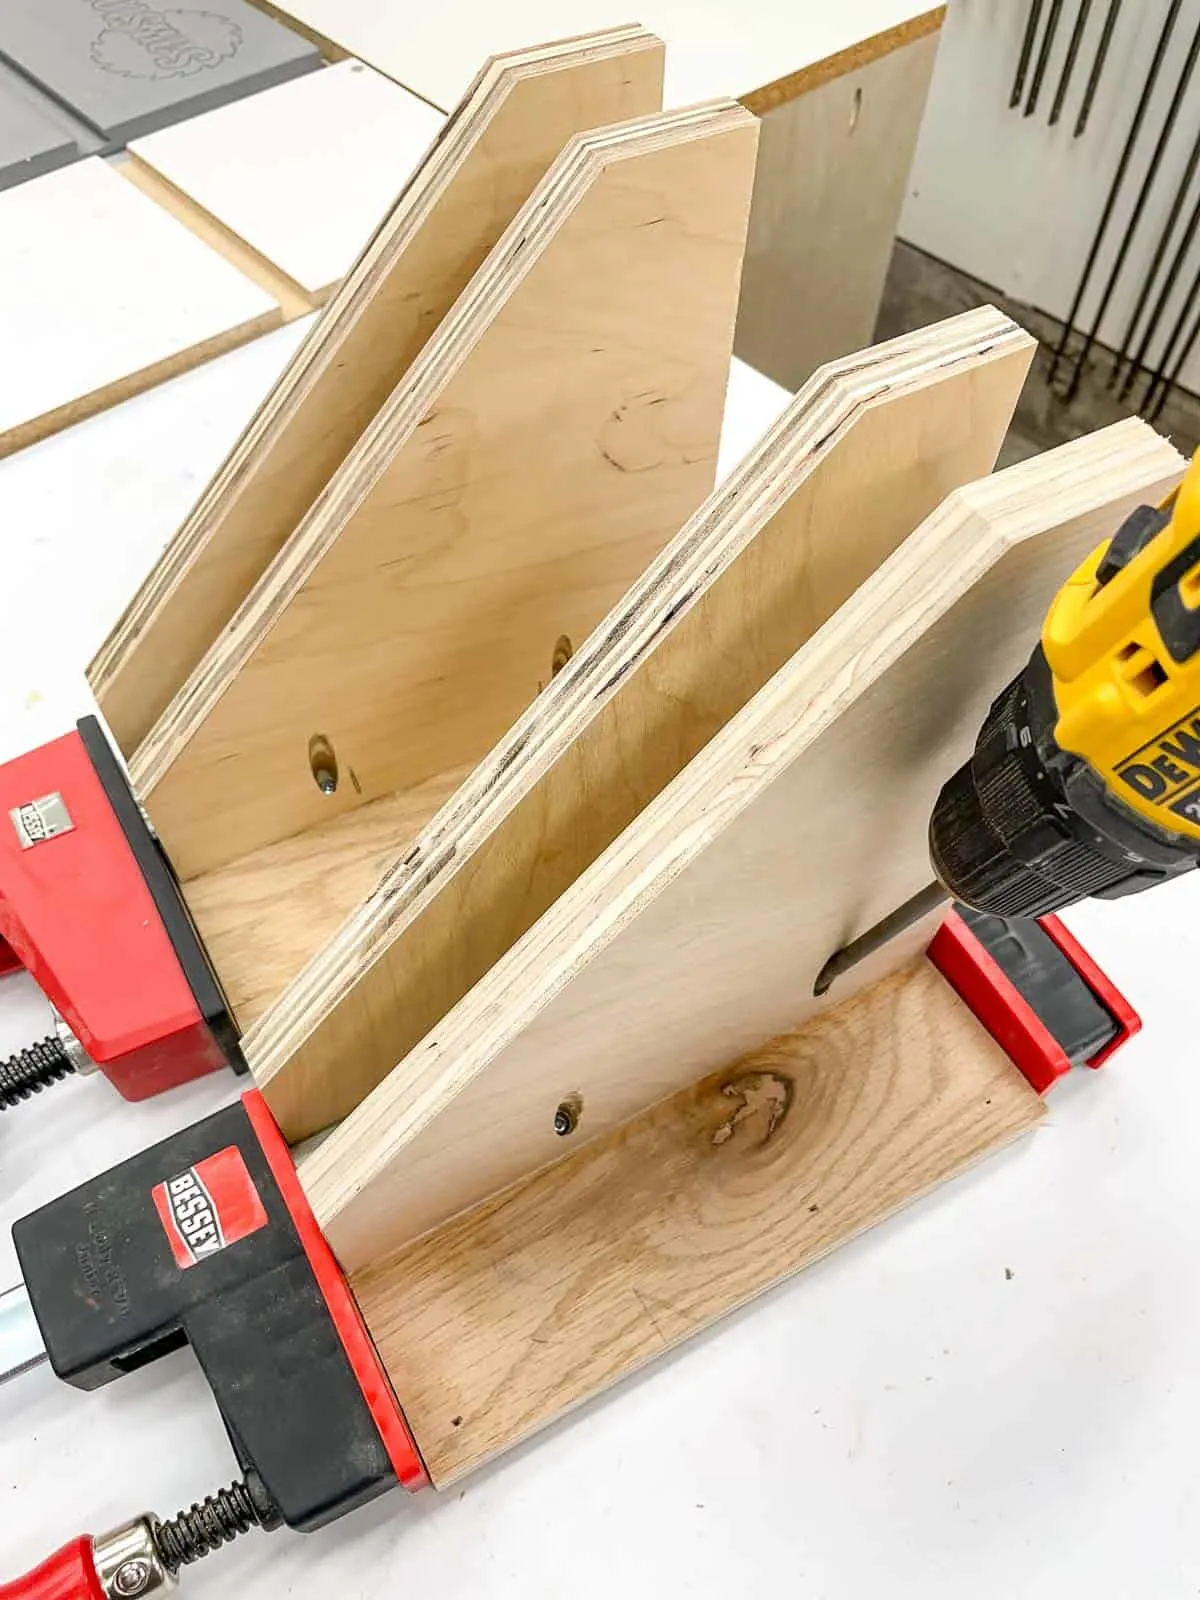
Cut all the plywood down into 9" x 9" squares (you'll need two per rack). Then measure and mark 2" up on the right side and 2" in on the top. Connect the two points with a ruler and draw a line. Set your miter saw to 45 degrees, and cut off the corner at your mark.

You'll also need a back for the clamp rack. Use the clamps as a guide to see how wide to make the slot between the two brackets. Add a couple inches on either side to give yourself a spot to screw the rack into the wall.
I made one double and one single clamp rack, to take advantage of the space under the duct. The back on the double brackets is 9" x 12" and the single is 9" x 8". If your walls aren't wood like mine, you may want to make yours a little over 16" wide so you can mount it on two studs.
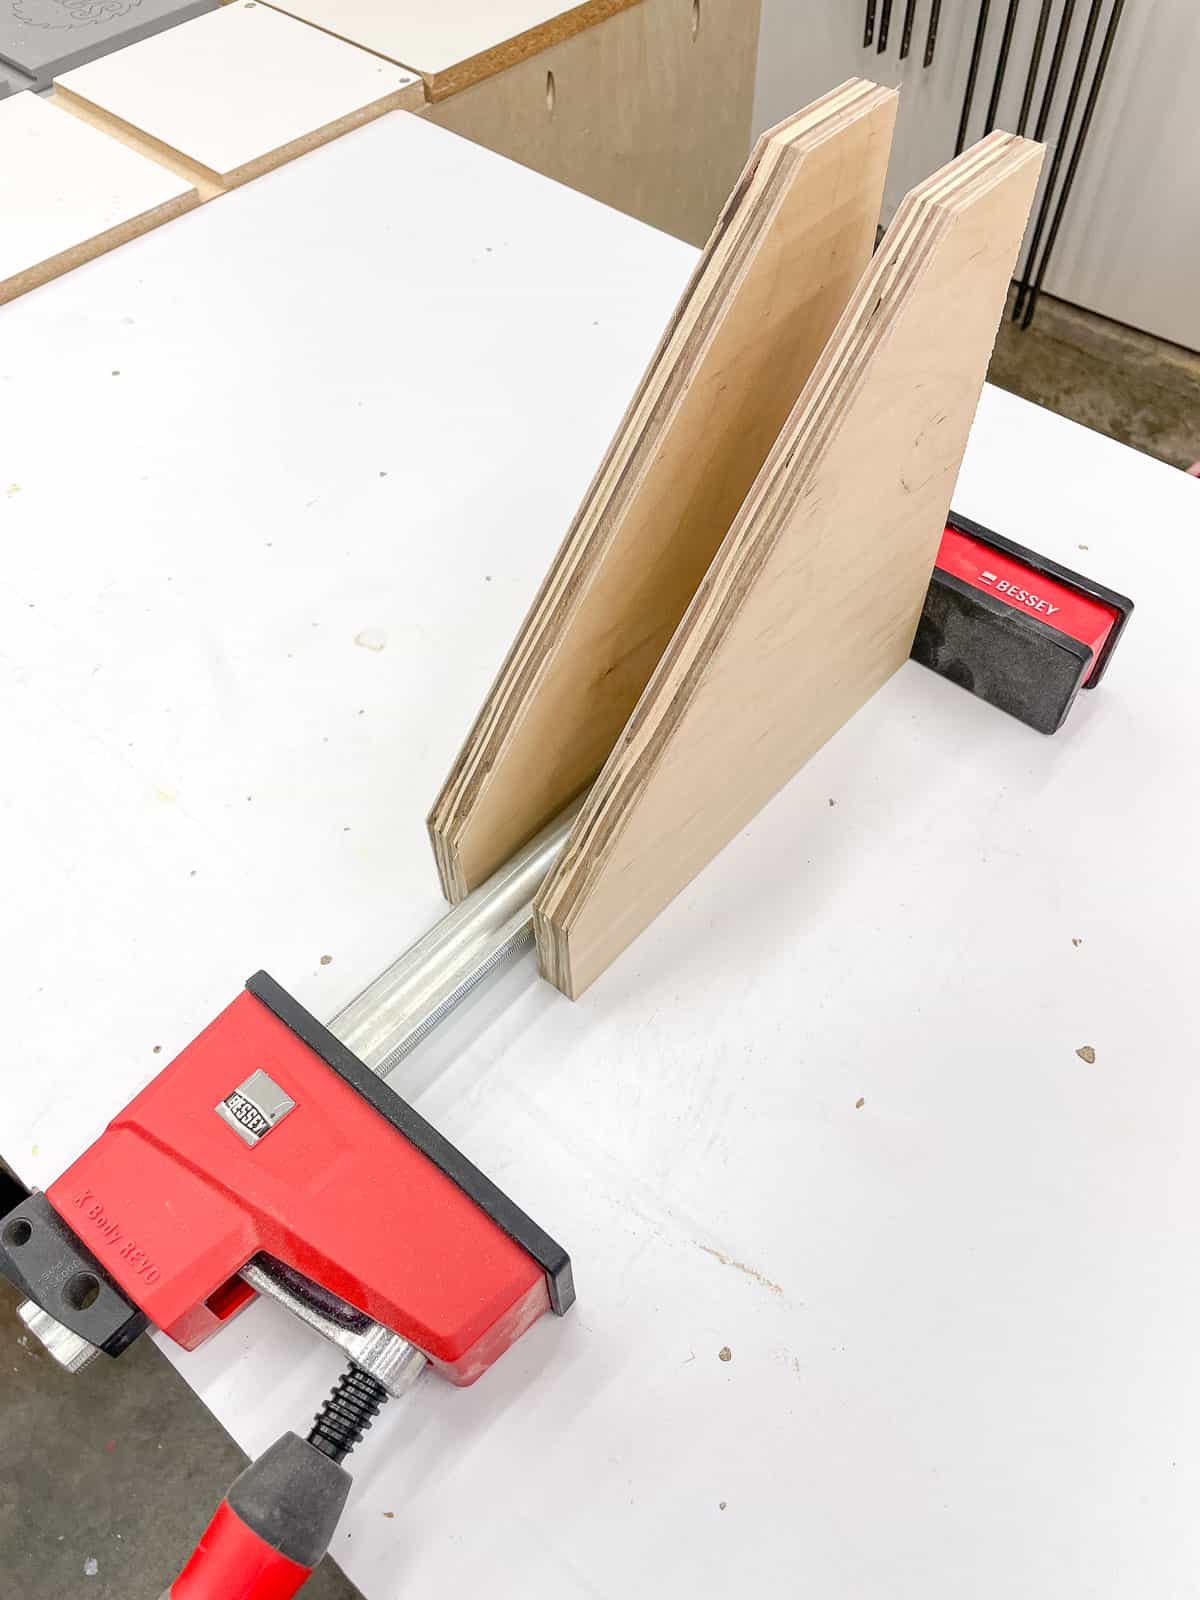
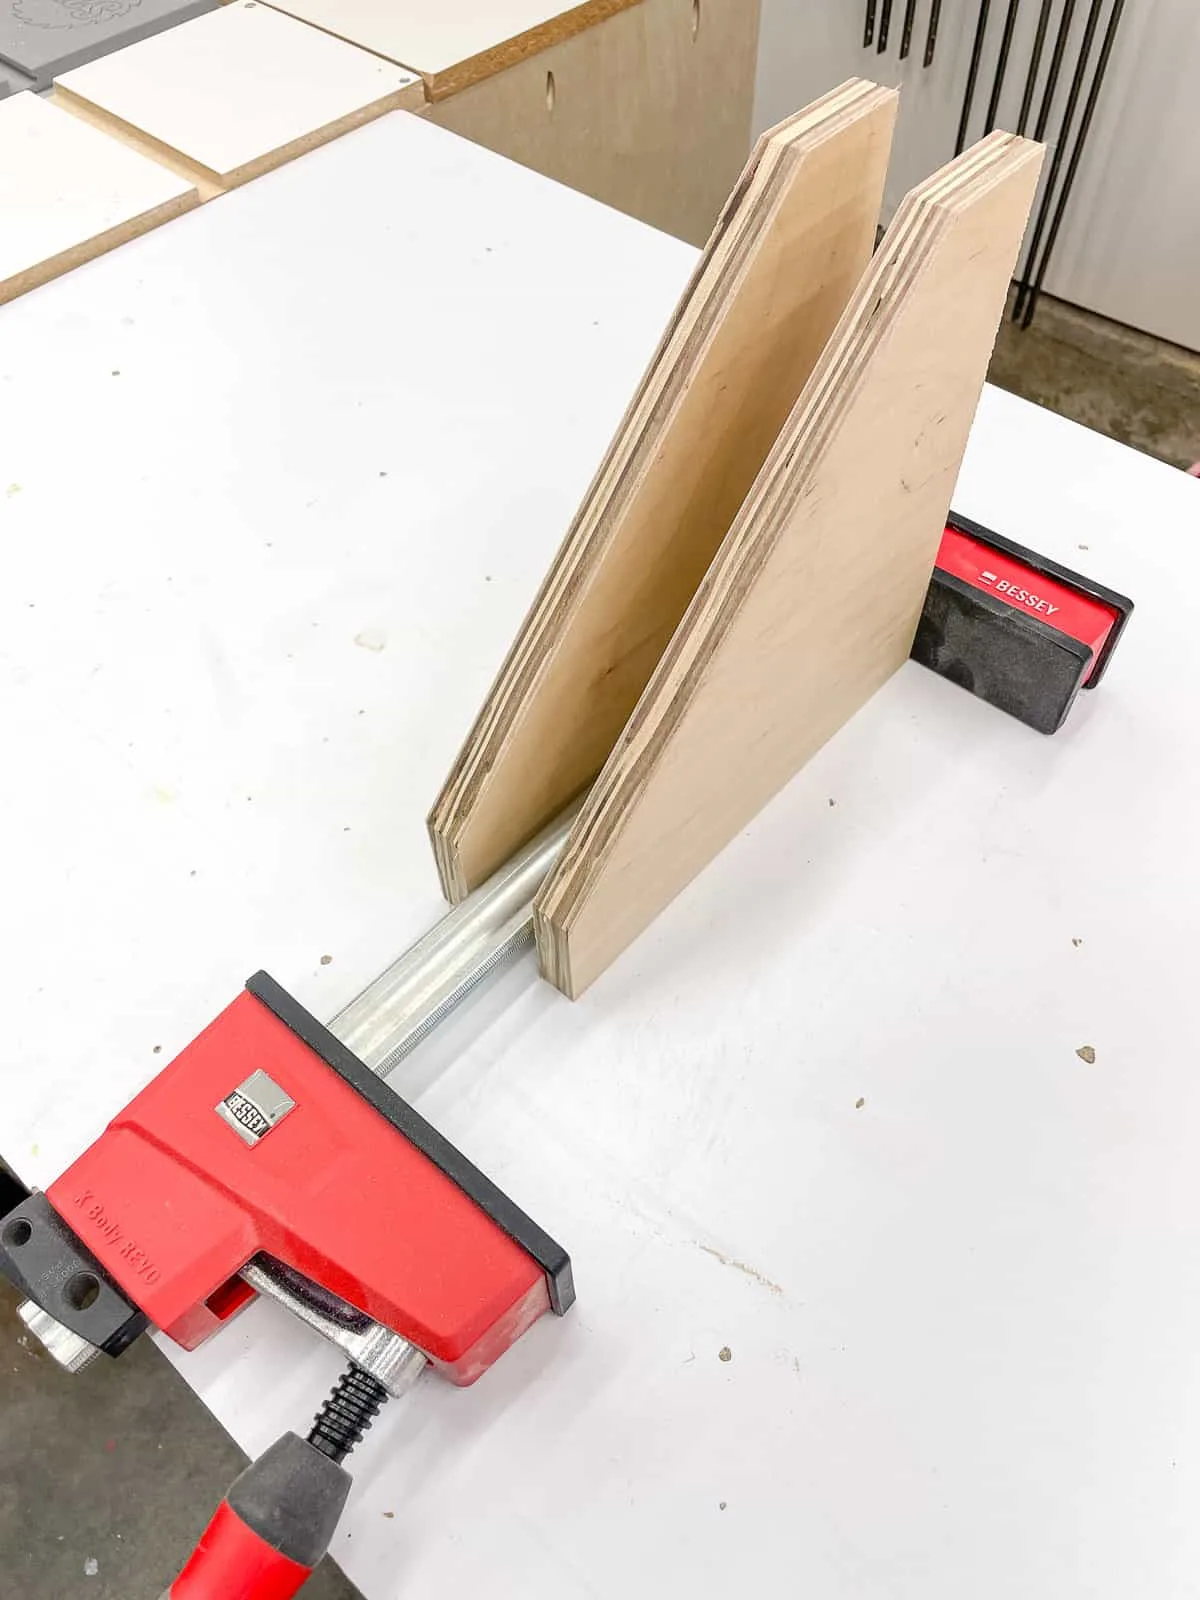
Assemble the Clamp Rack
Drill pocket holes on the outside of each of the angled brackets where they'll meet the back. Then attach them with wood glue and 1 ¼" pocket hole screws, using the clamps to determine the spacing.

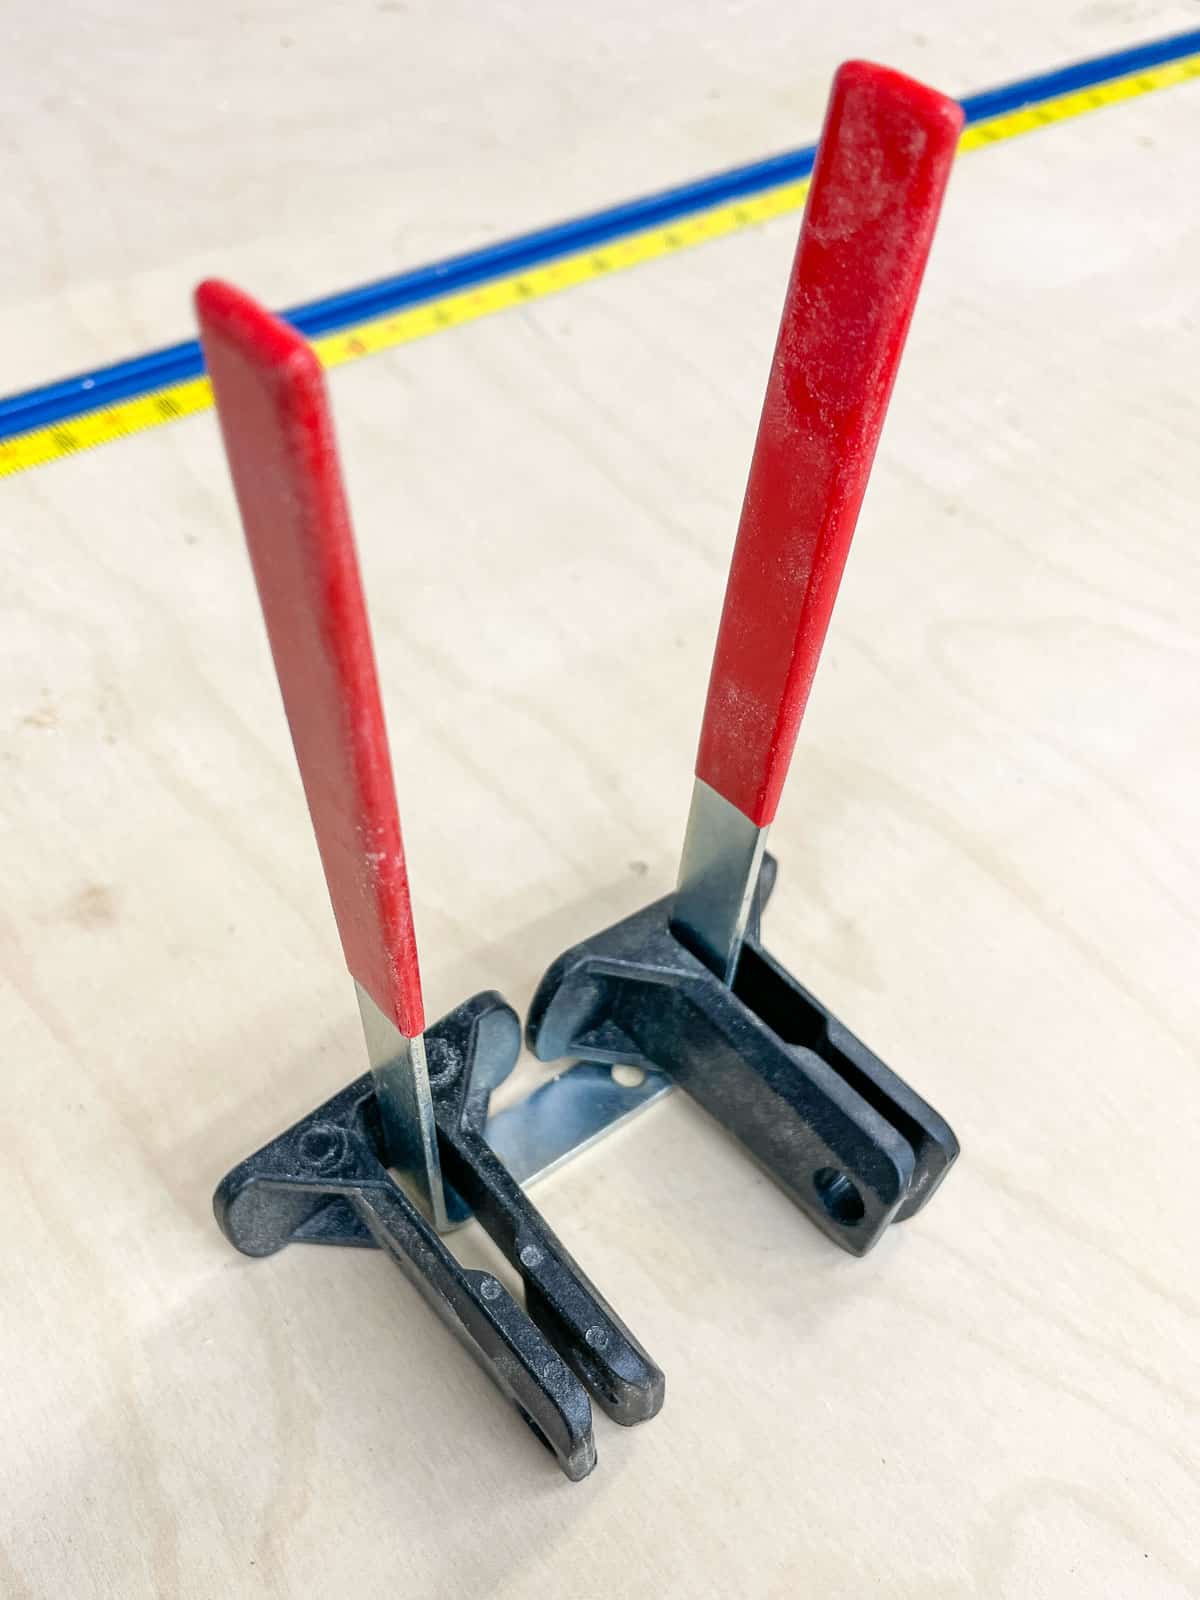
The Bessey REVO clamps also come with these little clip-on risers to hold the wood above the metal rails. The long two prong hook from this set fits them perfectly! I mounted it between the two sets of brackets so I won't forget to use them anymore.

Mount the Clamp Rack to the Wall
After predrilling countersink holes along both sides of the clamp rack, I just screwed it into the wall. Use a level to make sure it's straight!
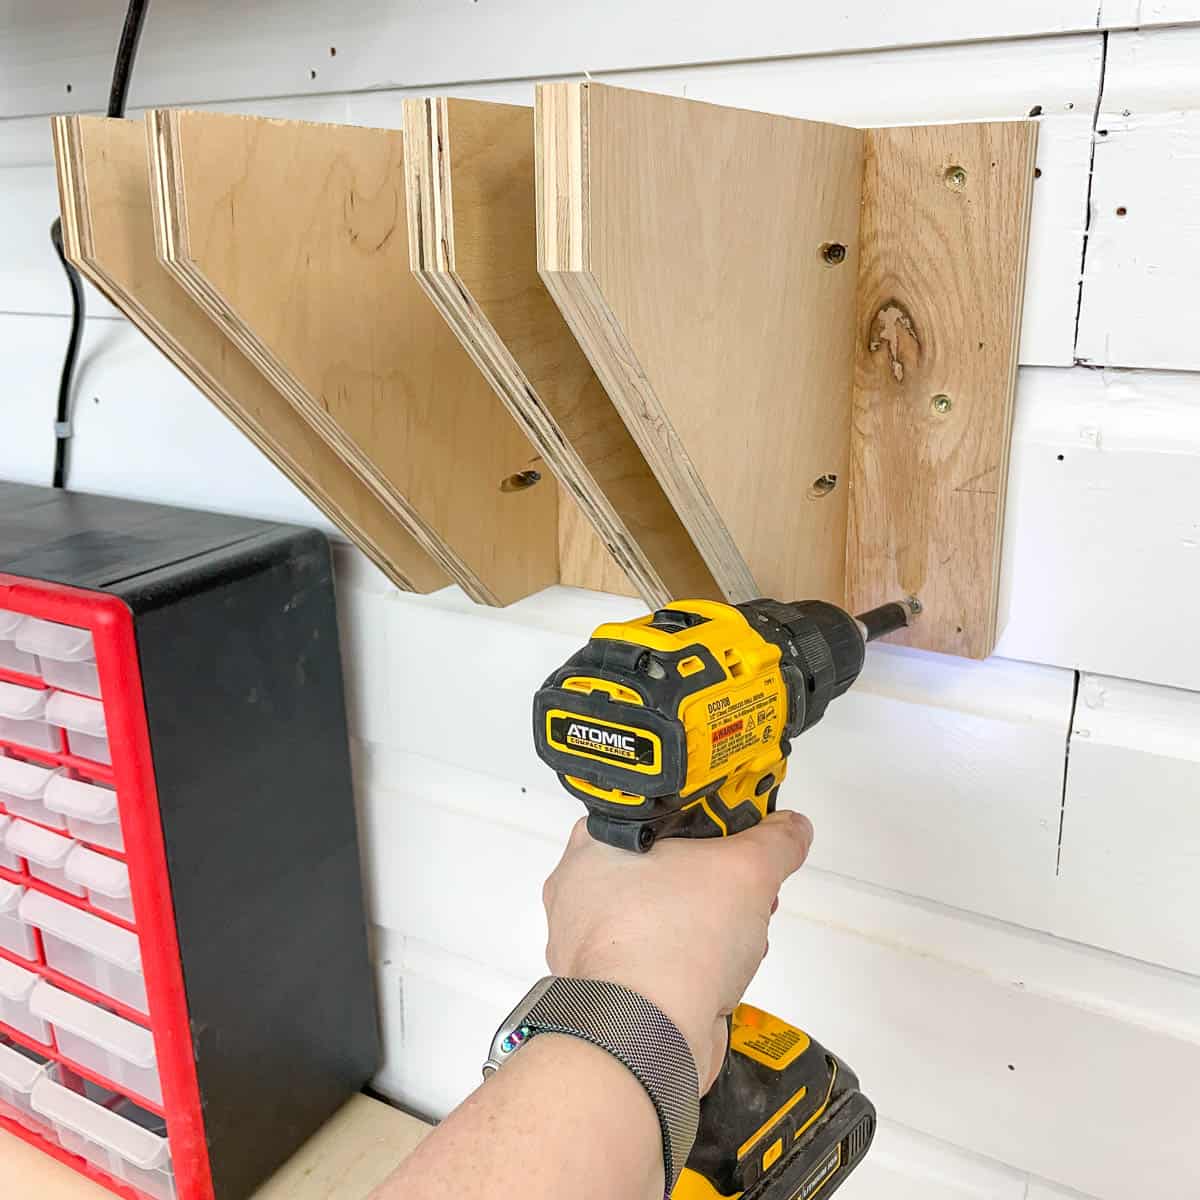

If you have drywall, use a stud finder to locate a solid anchor point first. If there aren't any studs (or just one), use heavy duty drywall anchors to make sure it stays securely in place.
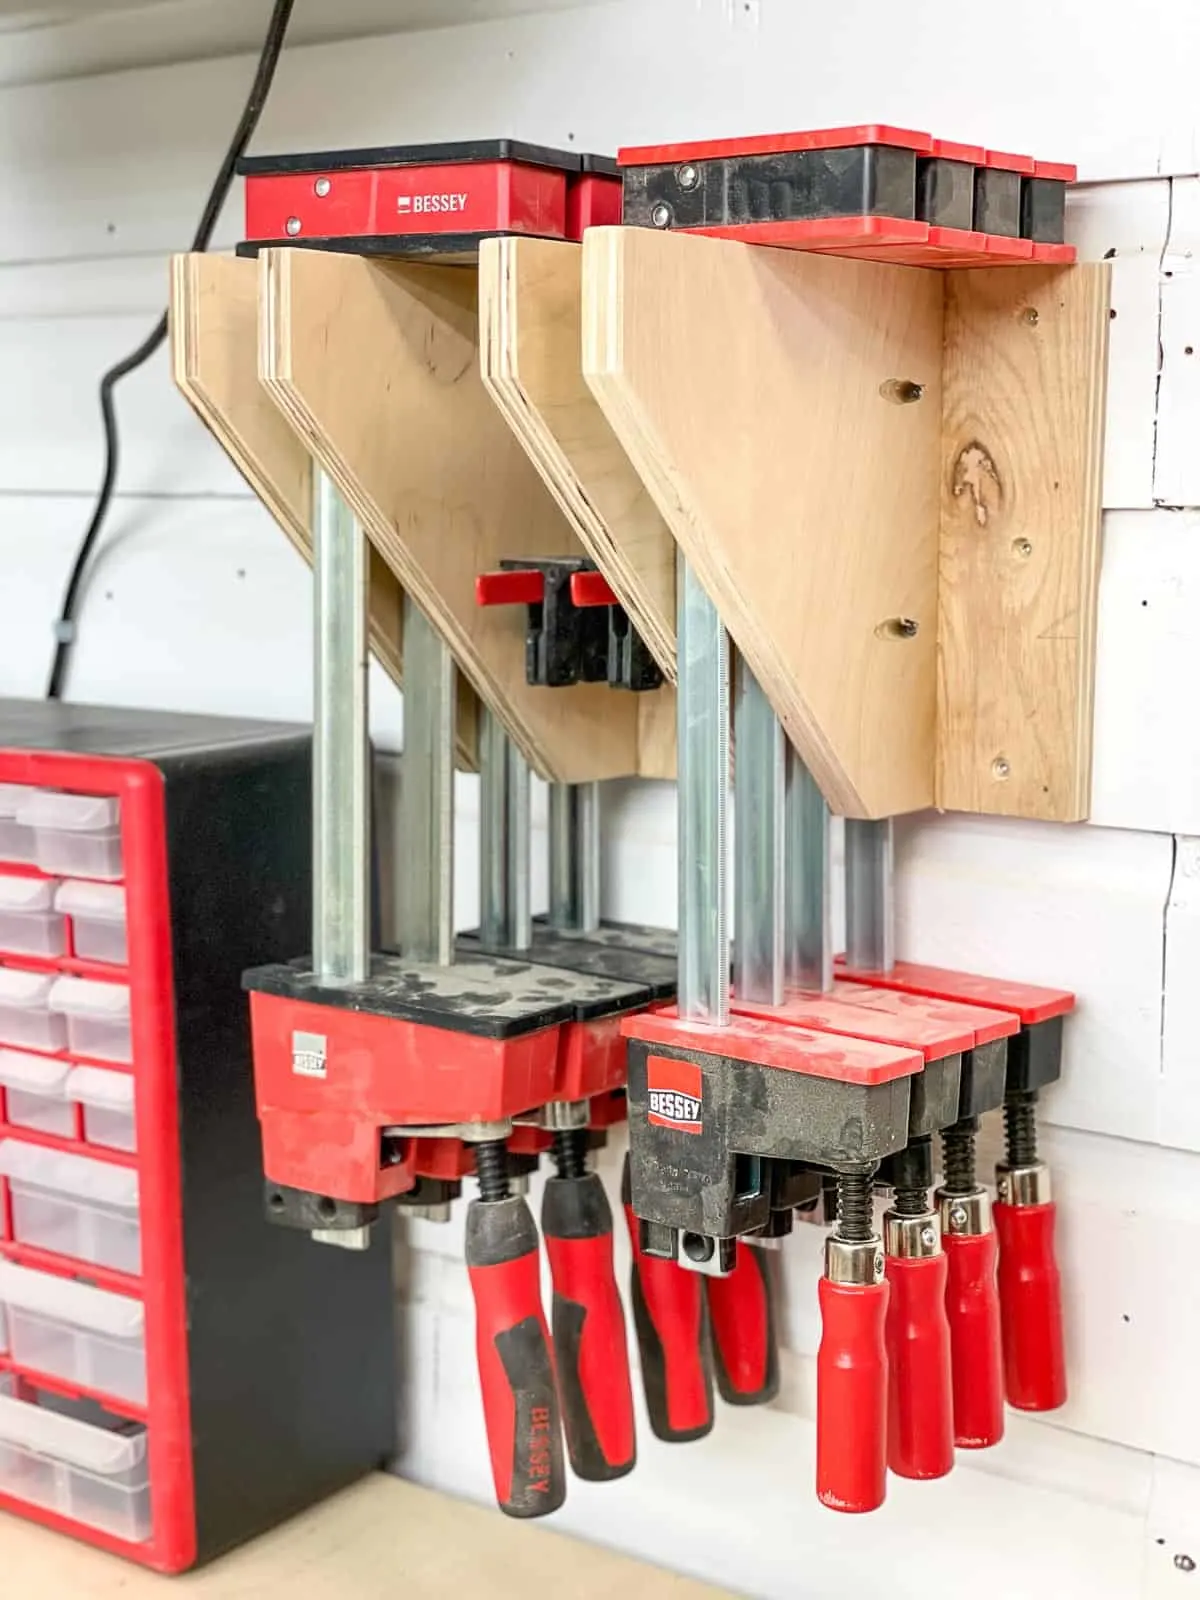
Now you can load it up with all your parallel clamps! I love how the clamps match the small parts organizer perfectly! If it looks familiar, you might have seen it over my son's Lego table a few years ago. We've changed the room a lot since then, and I stole them for the workshop since he wasn't using them anymore.

Spring Clamp Rack
Spring clamps are great for smaller projects where you just need to apply some pressure while the glue dries. I used to have all of these spring clamps in a drawer, but the rubber handles kept catching and preventing it from opening. This simple spring clamp rack frees up a drawer and takes up way less space!
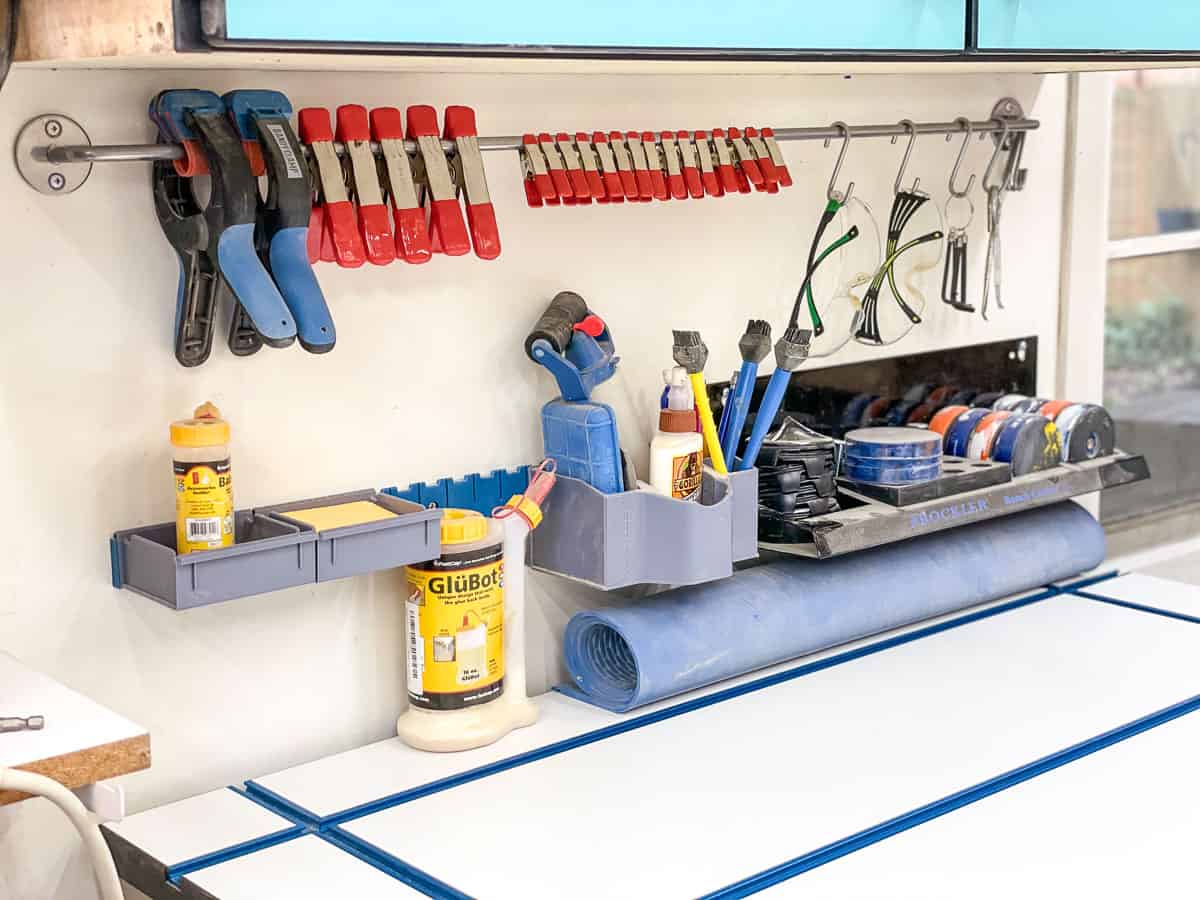

It's just a kitchen rail used for hanging cooking utensils from S hooks. Mine came from IKEA, but you can find a similar product here. I mounted mine under a cabinet above my T-track table, and kept the S hooks for frequently used items like safety glasses and paint can openers.

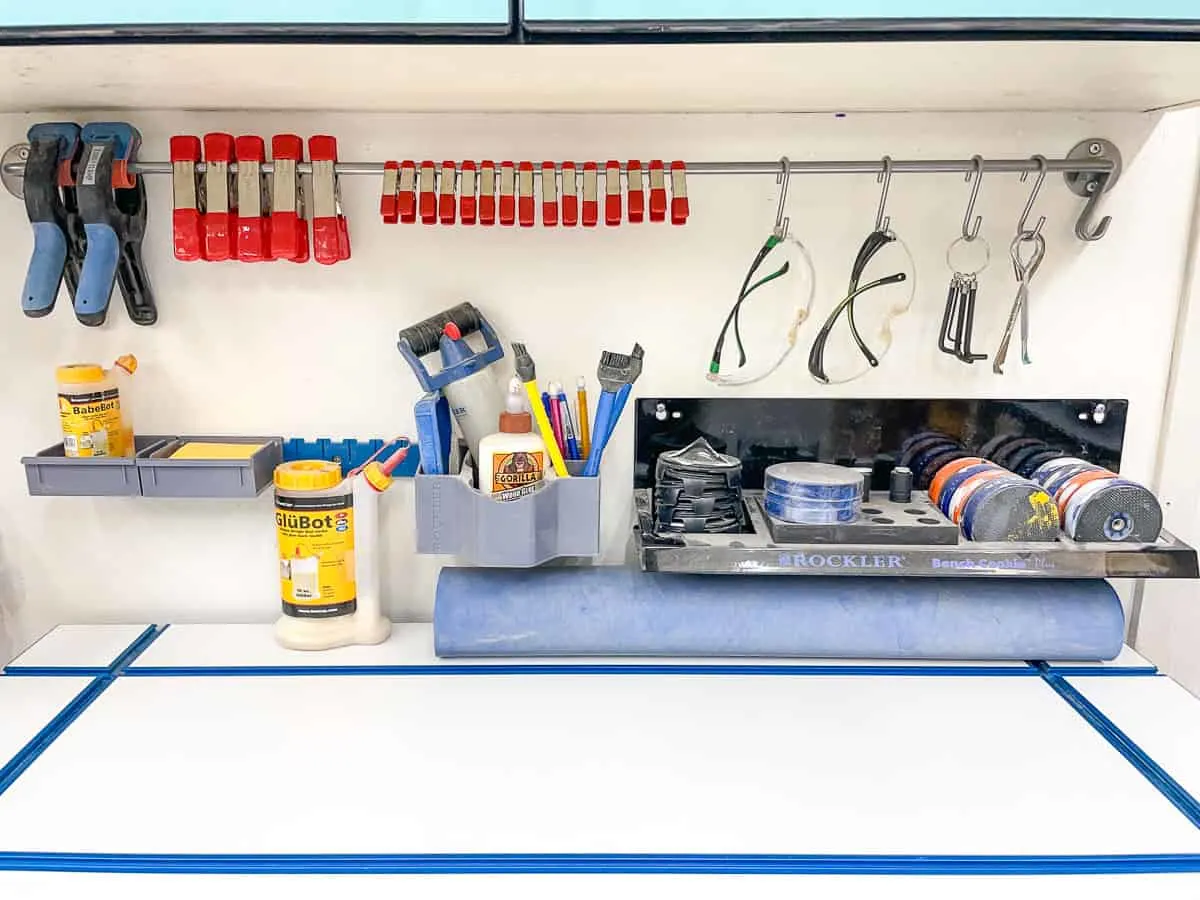
You could make your own using scrap wood and a dowel, similar to this one from my friend Shara at Woodshop Diaries. I was planning to build one until I discovered this rail buried in our storage shelves! I knew I was saving it for something! 😉
With all your clamps neatly stored, you're well on your way to your dream workshop! Don't forget to check out the rest of my workshop projects for more ways to get organized!
Check out these other tool storage ideas!
Linda at Mixed Kreations
Thursday 11th of March 2021
Wow-what great ideas and so simple! We really need to get our garage in order plus I need ideas for my workshop. Thanks so much for these! Pinning!