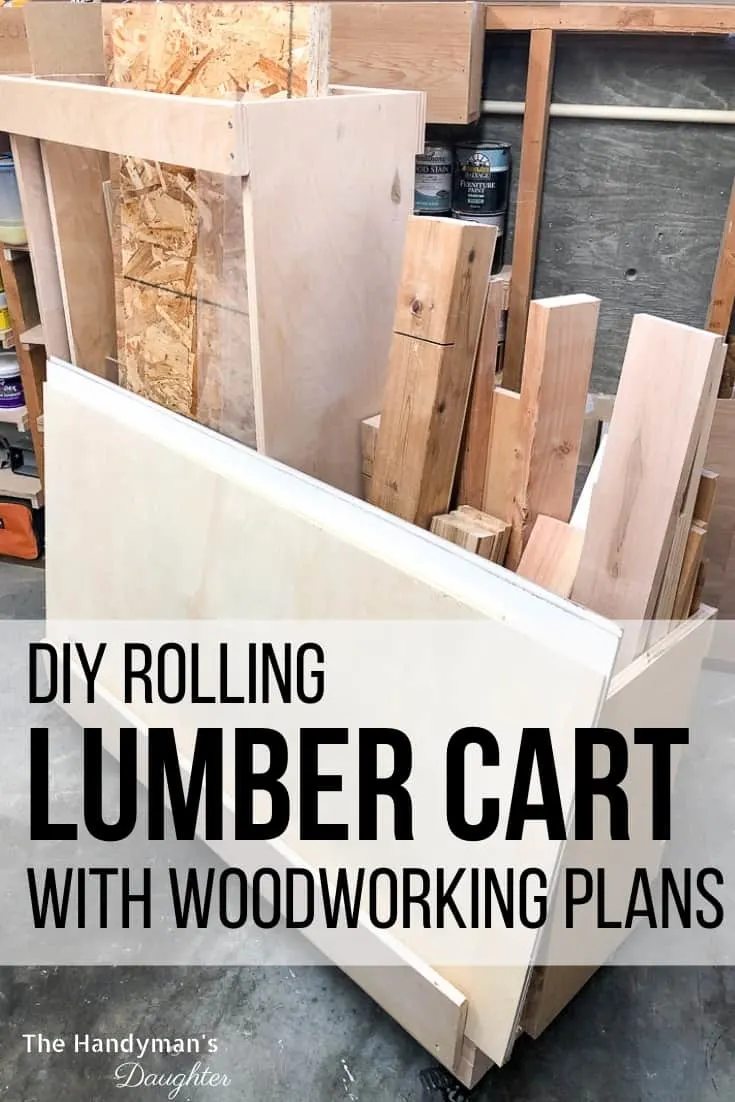
Use your scrap wood to make this scrap wood storage cart! This compact rolling lumber cart will keep your scrap lumber and plywood organized!

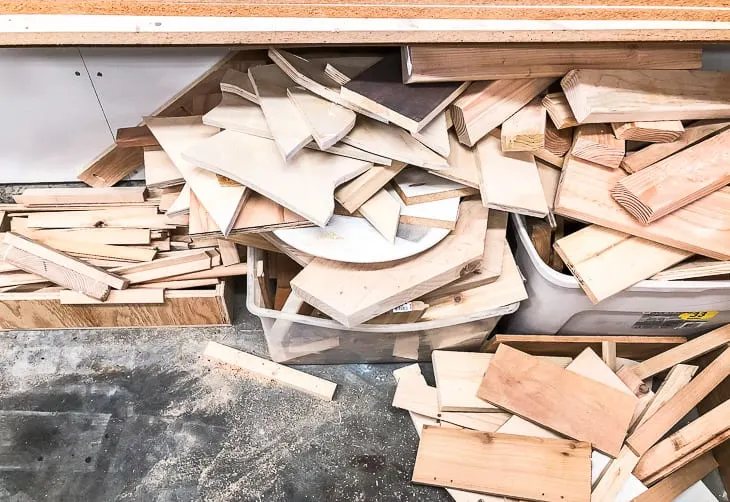
In a small workshop, scrap wood storage can become a huge problem! I had a full lumber rack on the wall, two plastic bins overflowing with small offcuts, and plywood stacked up in the corner! A box of tile keeps them all from falling over... 🙂
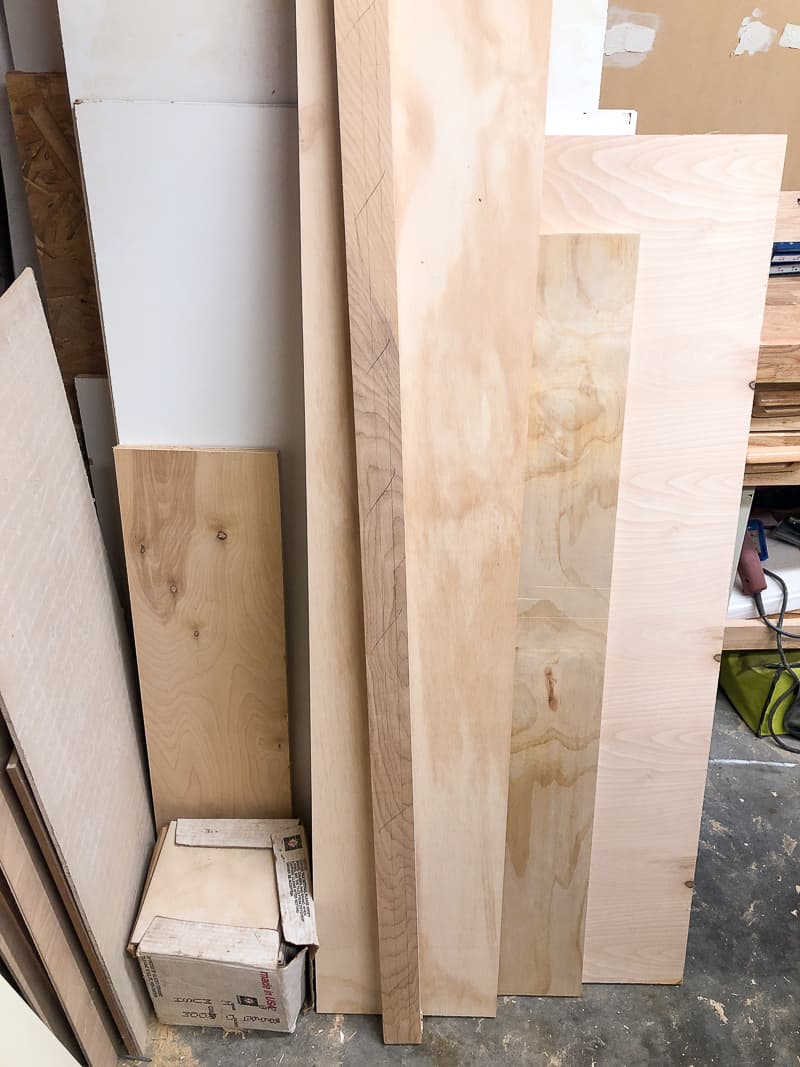
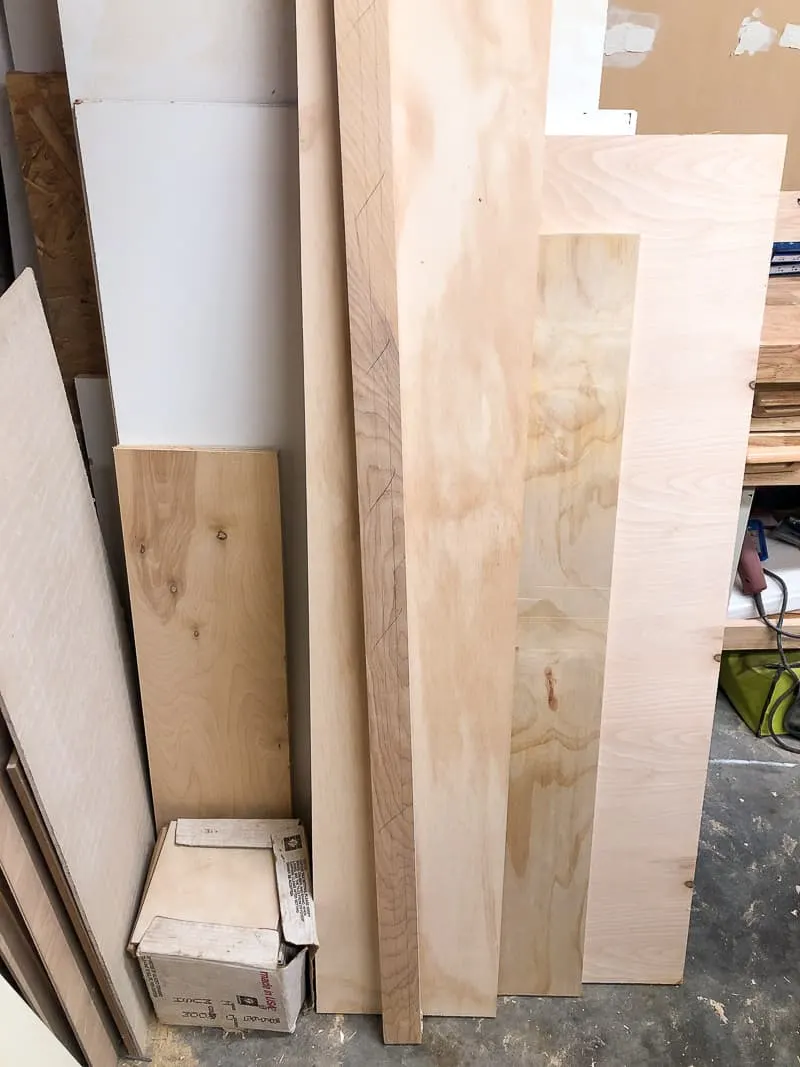
Most of the plywood pieces were narrow boards that weren't much use for anything, but I held onto them anyway. And I'm glad I did, because I turned them into the perfect rolling lumber cart!


Before you start, take an inventory of ALL your scrap wood. After sorting through all the pieces, I found enough to build this entire lumber cart without buying a thing! I set aside a few other pieces for some scrap wood projects I have in mind later.

You can customize the dimensions to fit your space or scrap wood collection. I have a small shop, so I kept it compact and put it on casters to make it mobile. If you're looking for a different layout or size for your cart, check out these other lumber storage ideas!
Here's what you'll need to make your own rolling lumber cart!
Materials Needed for Lumber Cart
- One sheet of ¾" plywood (or use scraps!)
- Two 2x4 boards for the base frame
- Countersink bit
- Pocket hole jig
- 1 ¼" flat head screws
- 1 ¼" pocket hole screws
- 2 ½" pocket hole screws
- Clamps
- 2" casters
- Drill
- Miter saw or circular saw
- Table saw or circular saw
How to Make a Rolling Lumber Cart
Download the Woodworking Plans
Before you begin, grab the plans for this lumber cart by clicking the button below. It has the cut list and diagrams with dimensions in a convenient PDF format you can print off and bring to your own workshop!


Assemble the Base
Cut the 2x4 pieces for the base according to the cut list in the plans. I had a full 2x4 on the lumber rack for the longer sides, then scrounged around in the scrap pile for shorter pieces to use as the cross supports.
You can either use pocket holes to assemble the base, or just screw it together with 3" wood screws through the sides.

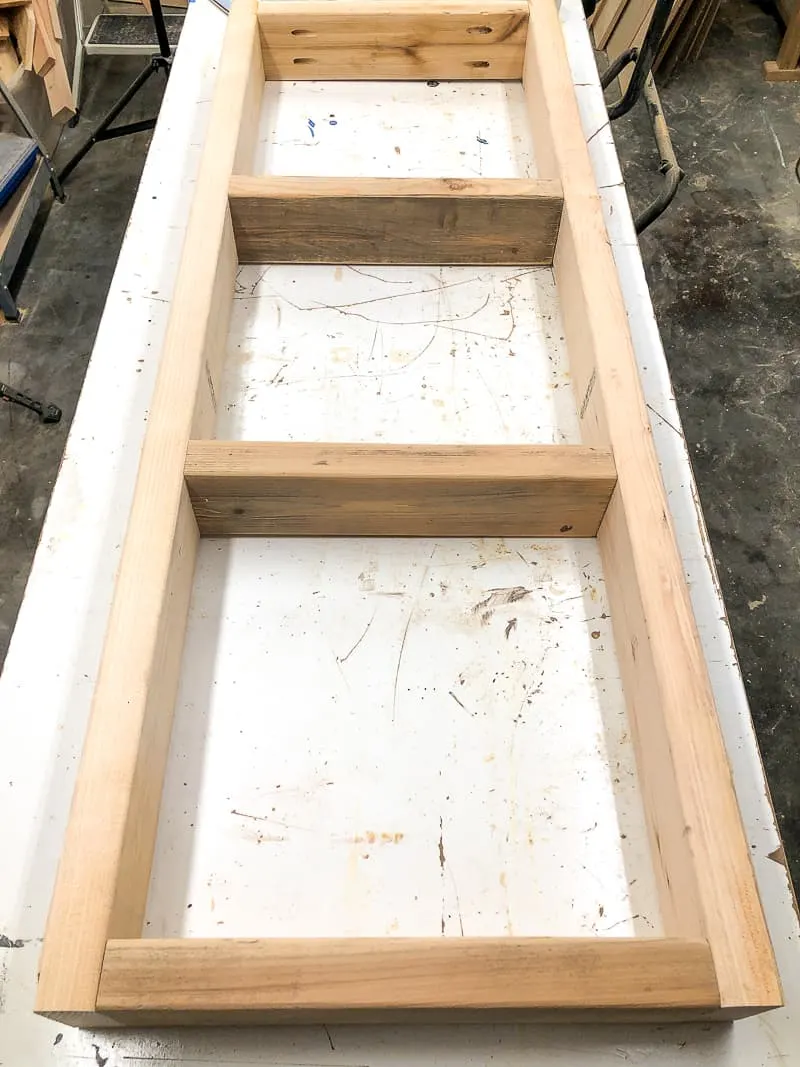
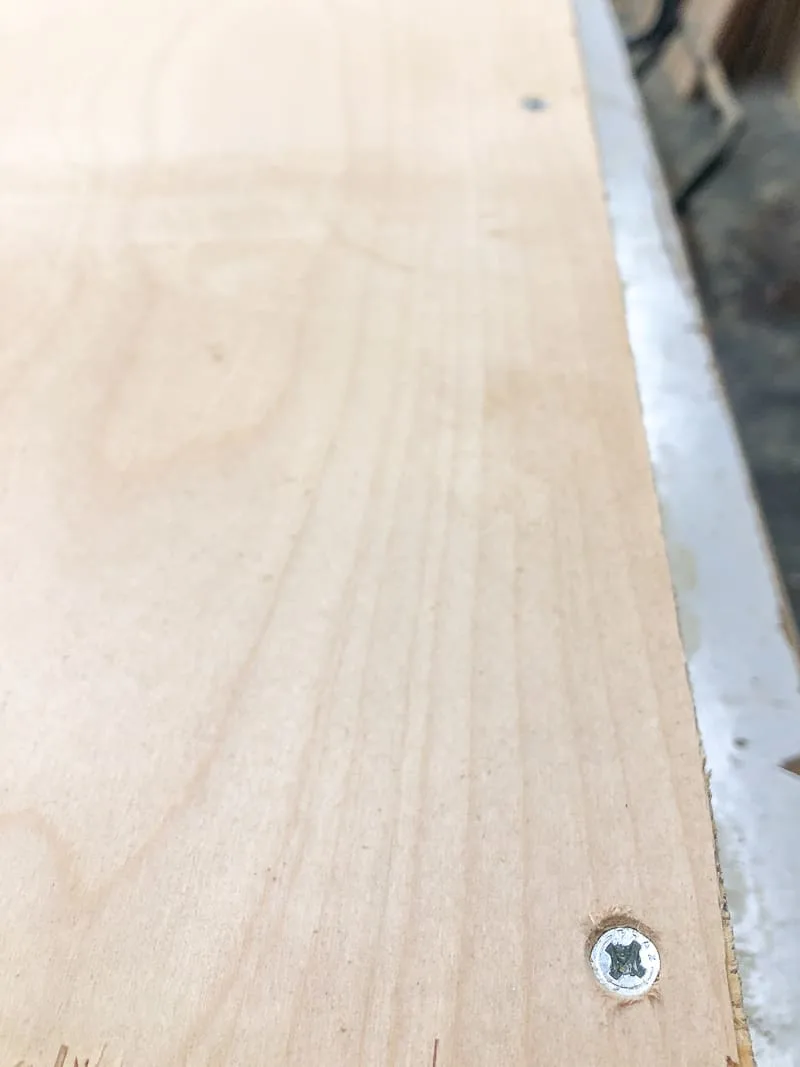
Cut a piece of plywood to fit on top of the base frame. Countersink the screws so the heads don't gouge the edges of the wood when you slide it out.

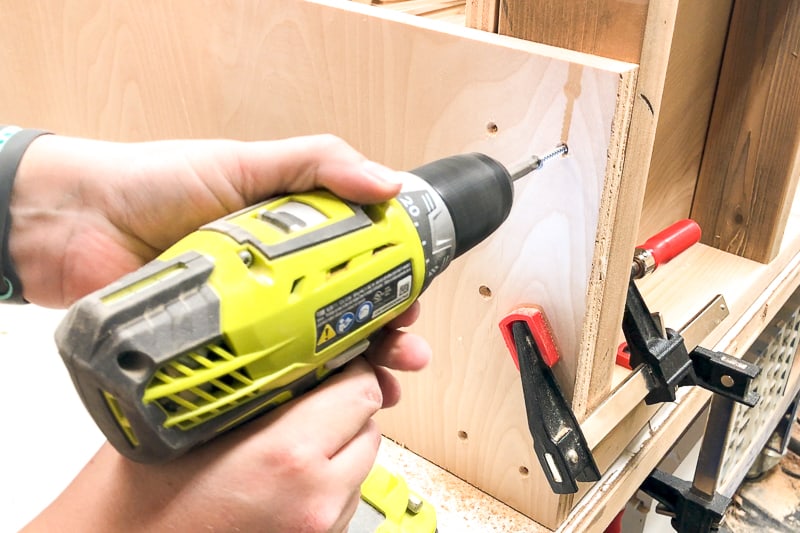
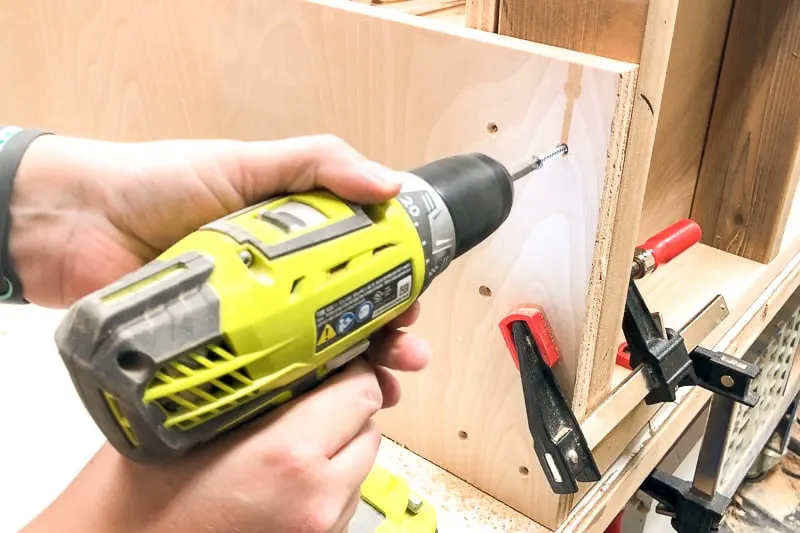
Attach Sides to Base
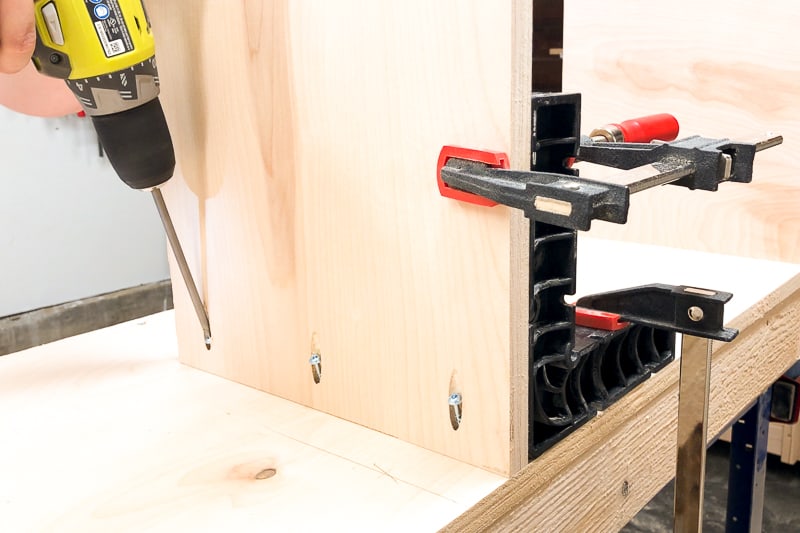
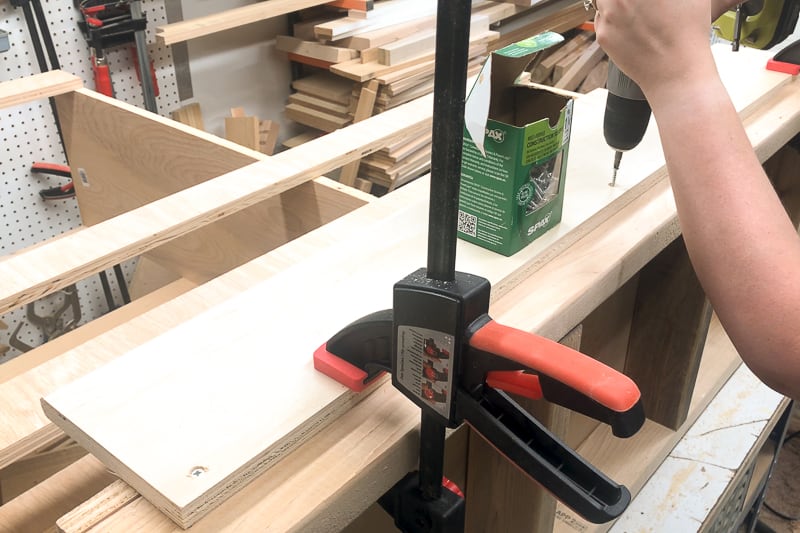
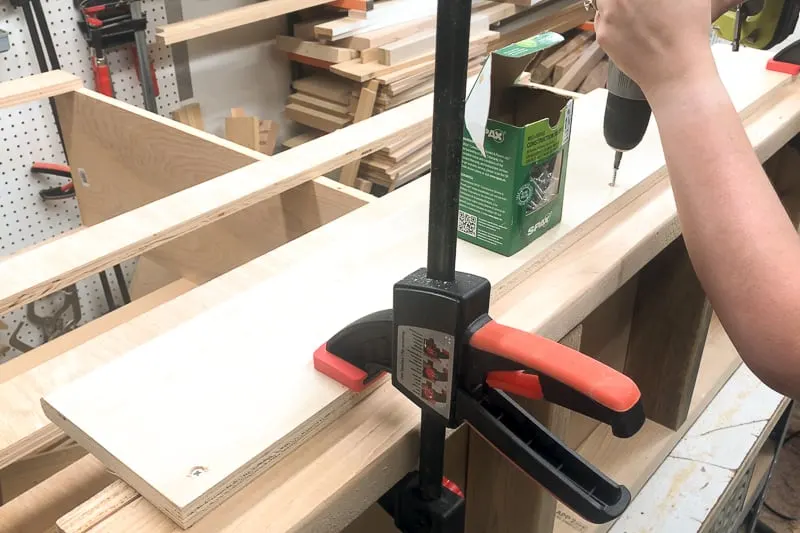
Clamp the sides to the base, keeping the bottom and back edges flush. One of my sides is 4 feet tall and the other is 2 feet, so I can store different sizes of scrap wood. The shorter side will fit perfectly under the bins that I already have screwed to the wall!
Drill countersink holes through the sides where they align with the 2x4 base, then screw them in place with 1 ¼" screws.
Attach the Center Divider
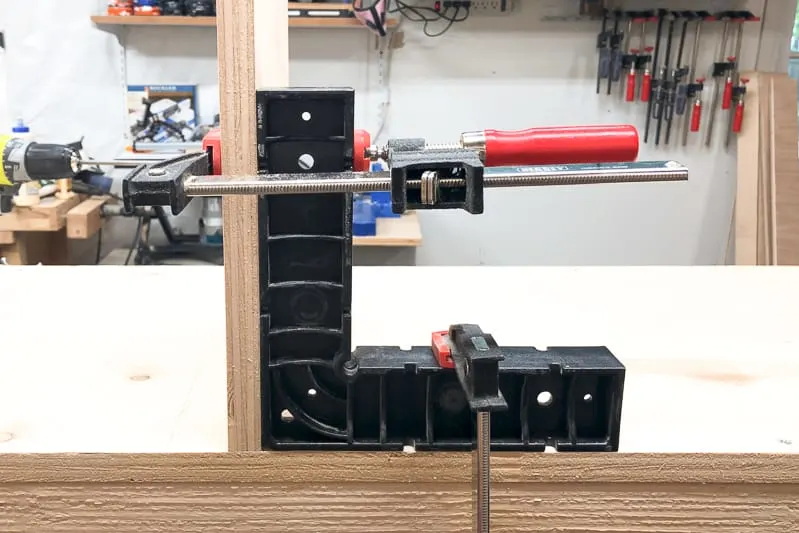
Drill pocket holes along the bottom of the center divider, then attach it to the base with 1 ¼" pocket hole screws.

It helps to have a corner clamp like this one to hold the divider upright while you screw it into place.

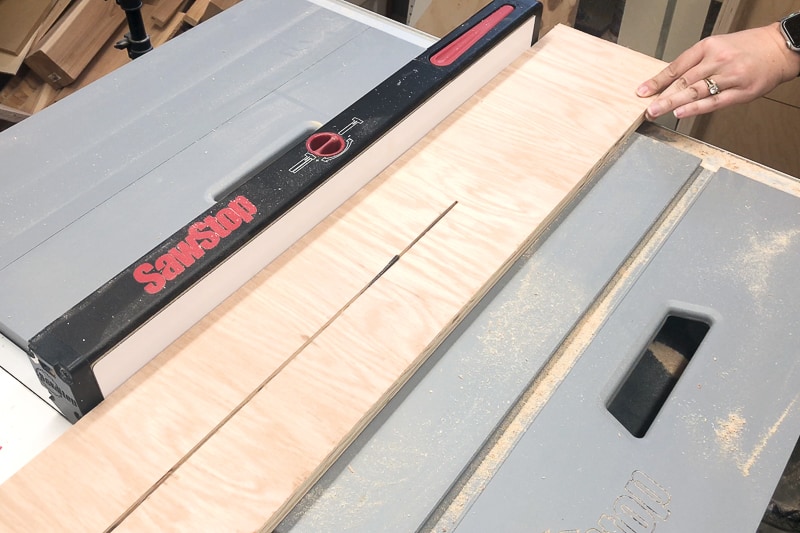
Cut and Attach Slats
I used whatever thin strips of plywood I had left to make the slats for the front and back of the lumber cart. You could also use 1x4 boards for this step.

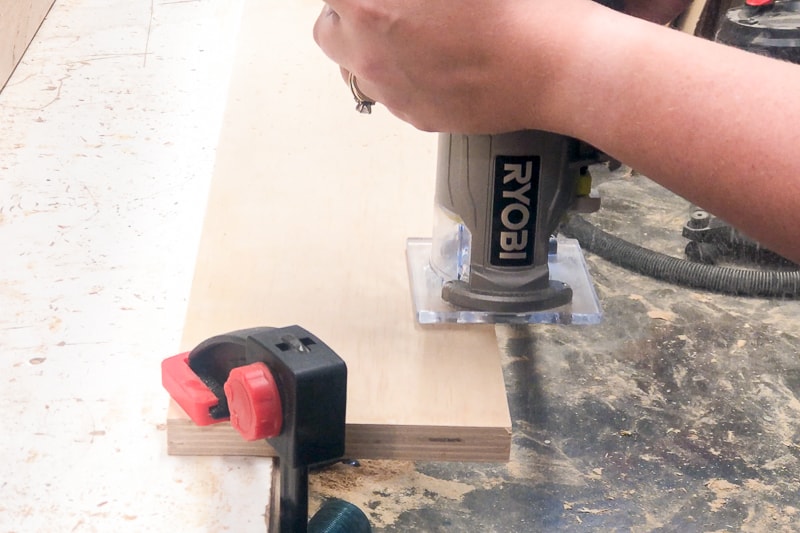
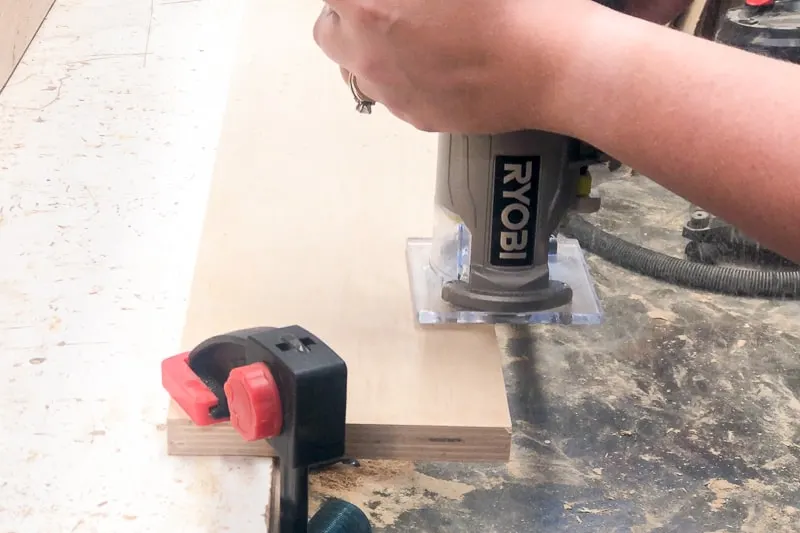
I used a trim router to round over the top edges of the slats. This will prevent scratches in the wood when the pieces get pulled out of the plywood cart or if they lean against the edge for a long time. It also prevents my hands from getting splinters when I roll the cart around!
I used the brad nailer to attach the slats temporarily, then added countersink screws afterwards. You could also use clamps to hold the slats in place while you screw them on.


Attach the Front Edge board
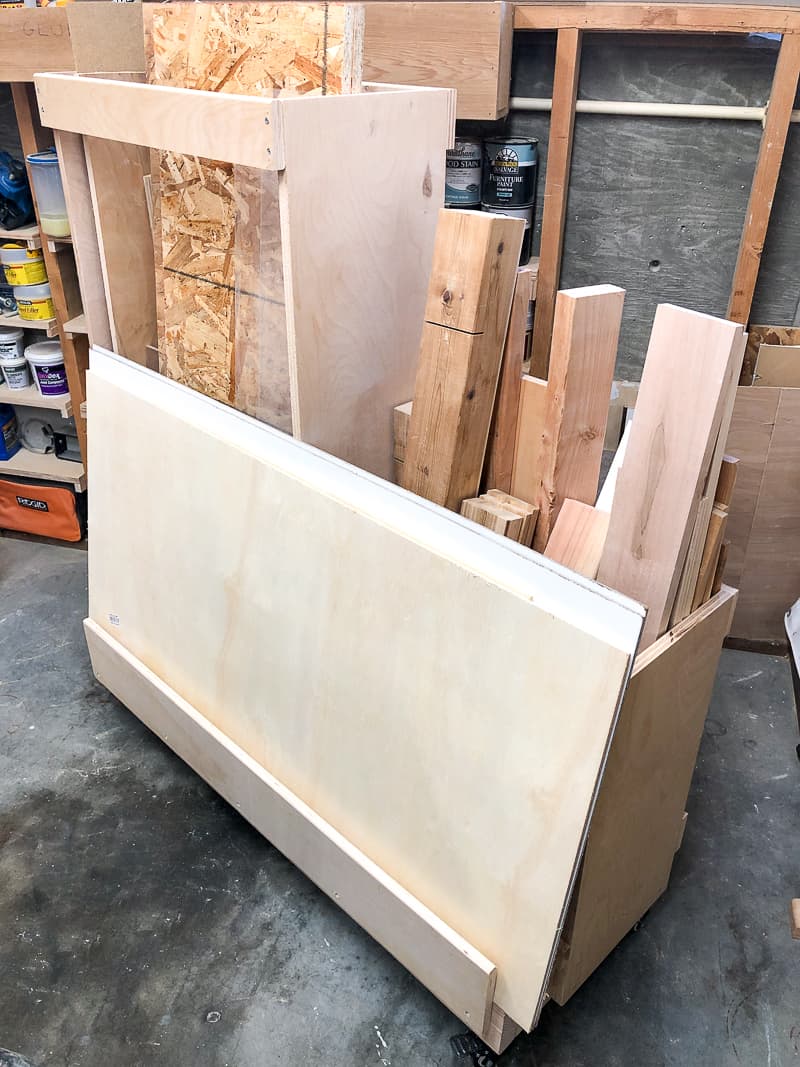
Most of the scrap lumber will be stored vertically in the two bins, but I also wanted to store wider or longer pieces horizontally. That's why I left a few extra inches on the front for plywood storage.
To prevent these horizontal pieces from falling off the front, attach a board to the front that sticks up a few inches from the base.
Add Casters for a Rolling Lumber Cart
If you plan to leave your scrap wood in one spot all the time, you can skip this step. But I wanted a rolling lumber cart that I could wheel out of the way when I needed to access the space behind it. These 2" casters work great!
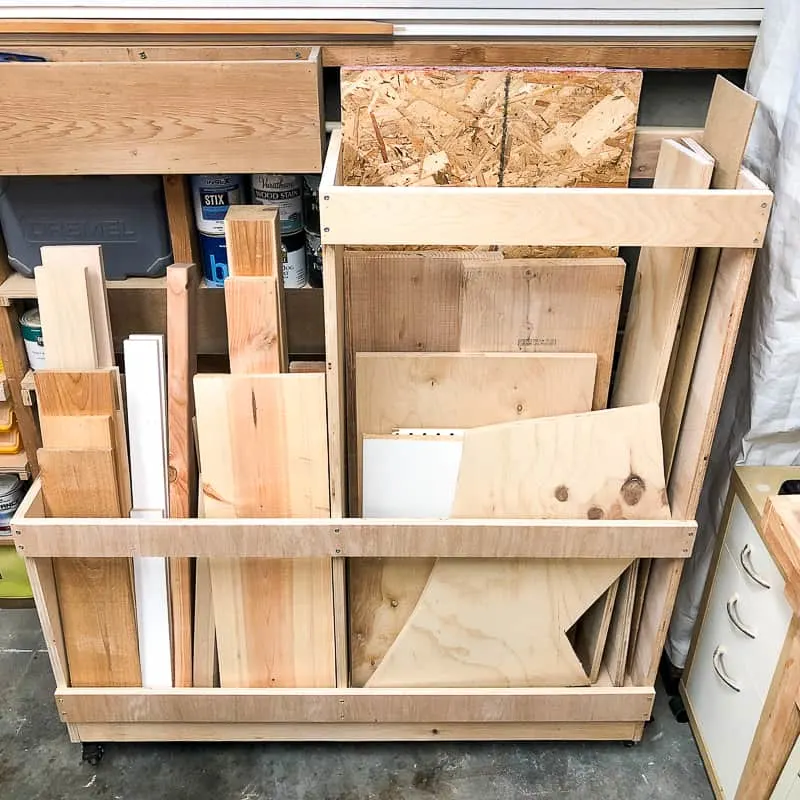
Load up your new lumber cart!
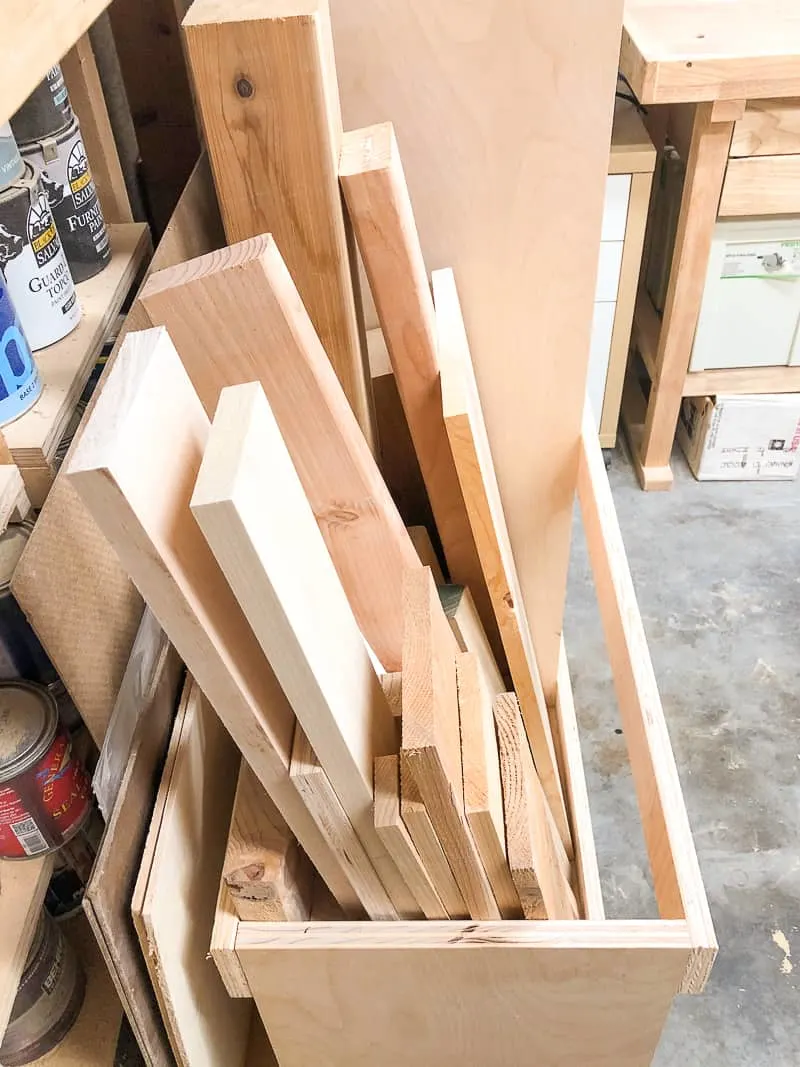
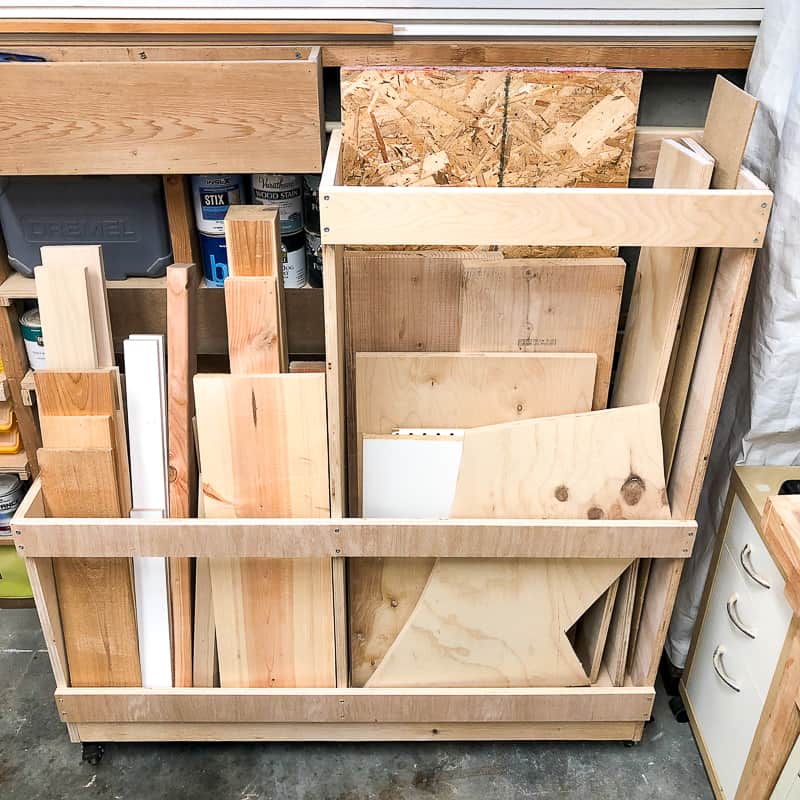
It felt so good to get all my scrap wood up off the floor and into this plywood cart! I sorted the pieces by height and width to make it easier to spot the one I need when I'm building a new project.
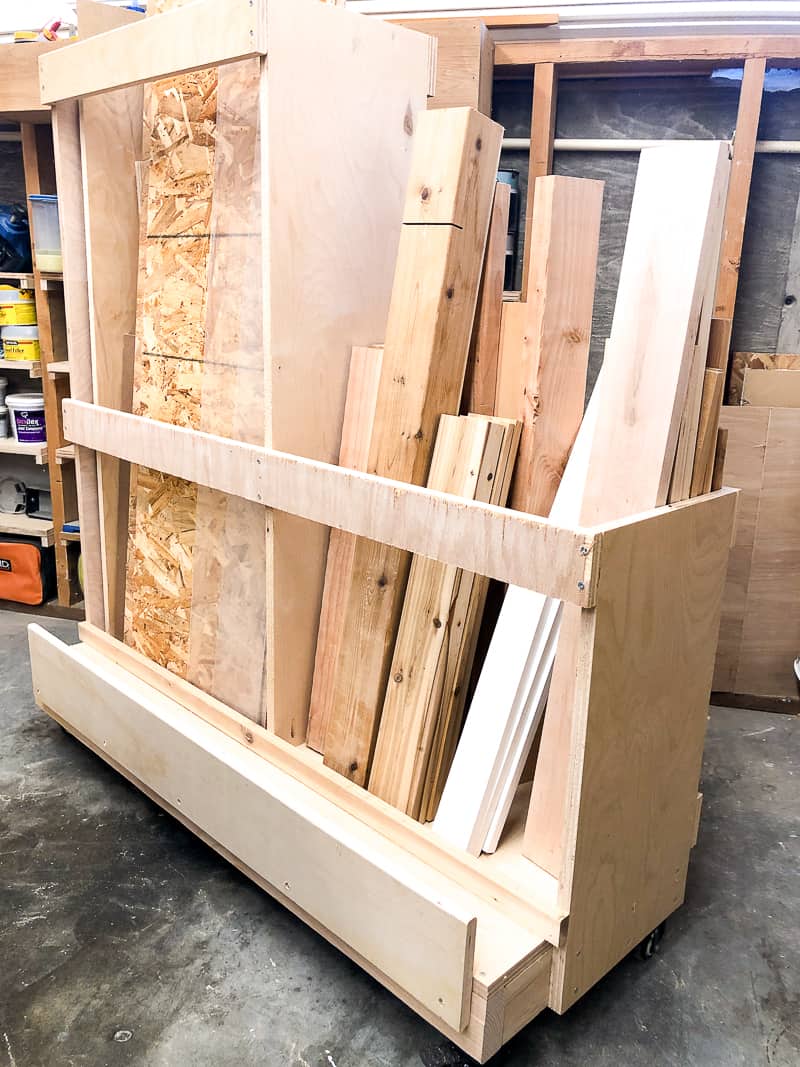

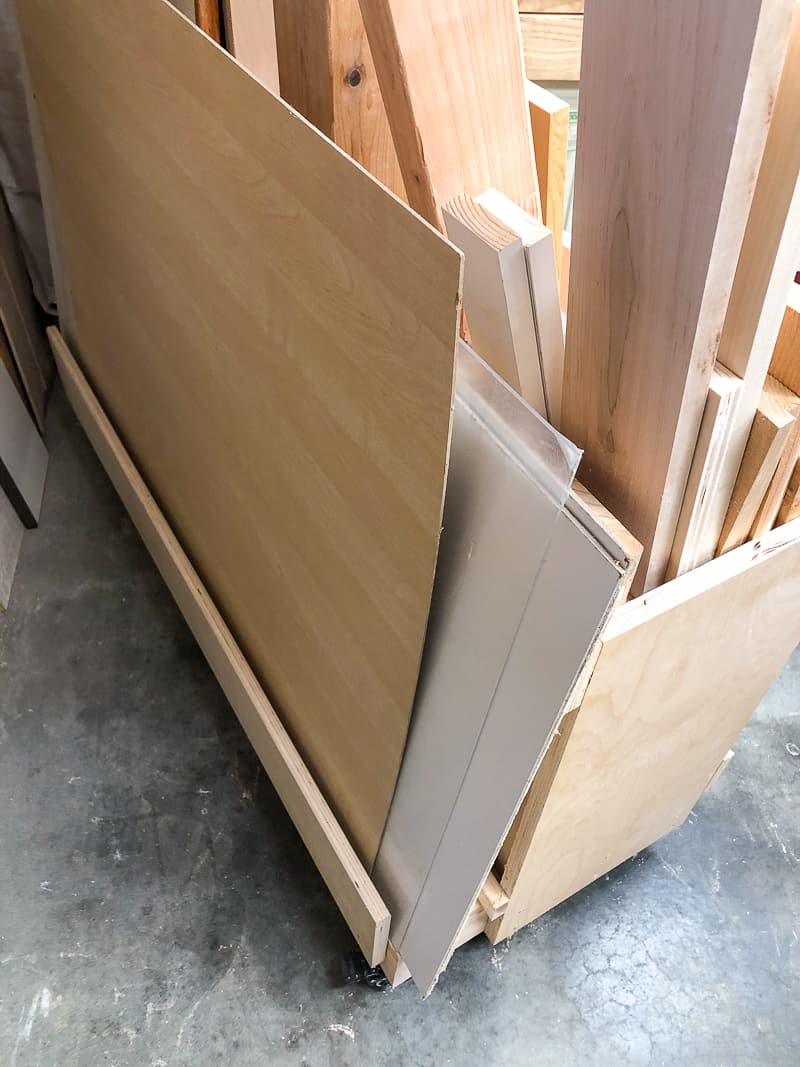
Larger sheets rest horizontally in front section, making it easy to see all my options. You can store a half sheet of plywood fully supported along the front. I never take home full sheets of plywood anyway, since it won't fit in my car!

I keep the larger pieces facing the wall so they don't flop out if I bump into them. The casters make them easy to access, as well as the shelves built into the studs behind it.

I love how this scrap wood storage cart doesn't take up much more room than the stack of plywood I had before, but holds so much more!

Now the plywood isn't blocking the window above, and I can move it out of the way to get to my drill press (that I don't use often, but it's nice to have!)
Want to make your own lumber cart? Download the woodworking plans and get building!