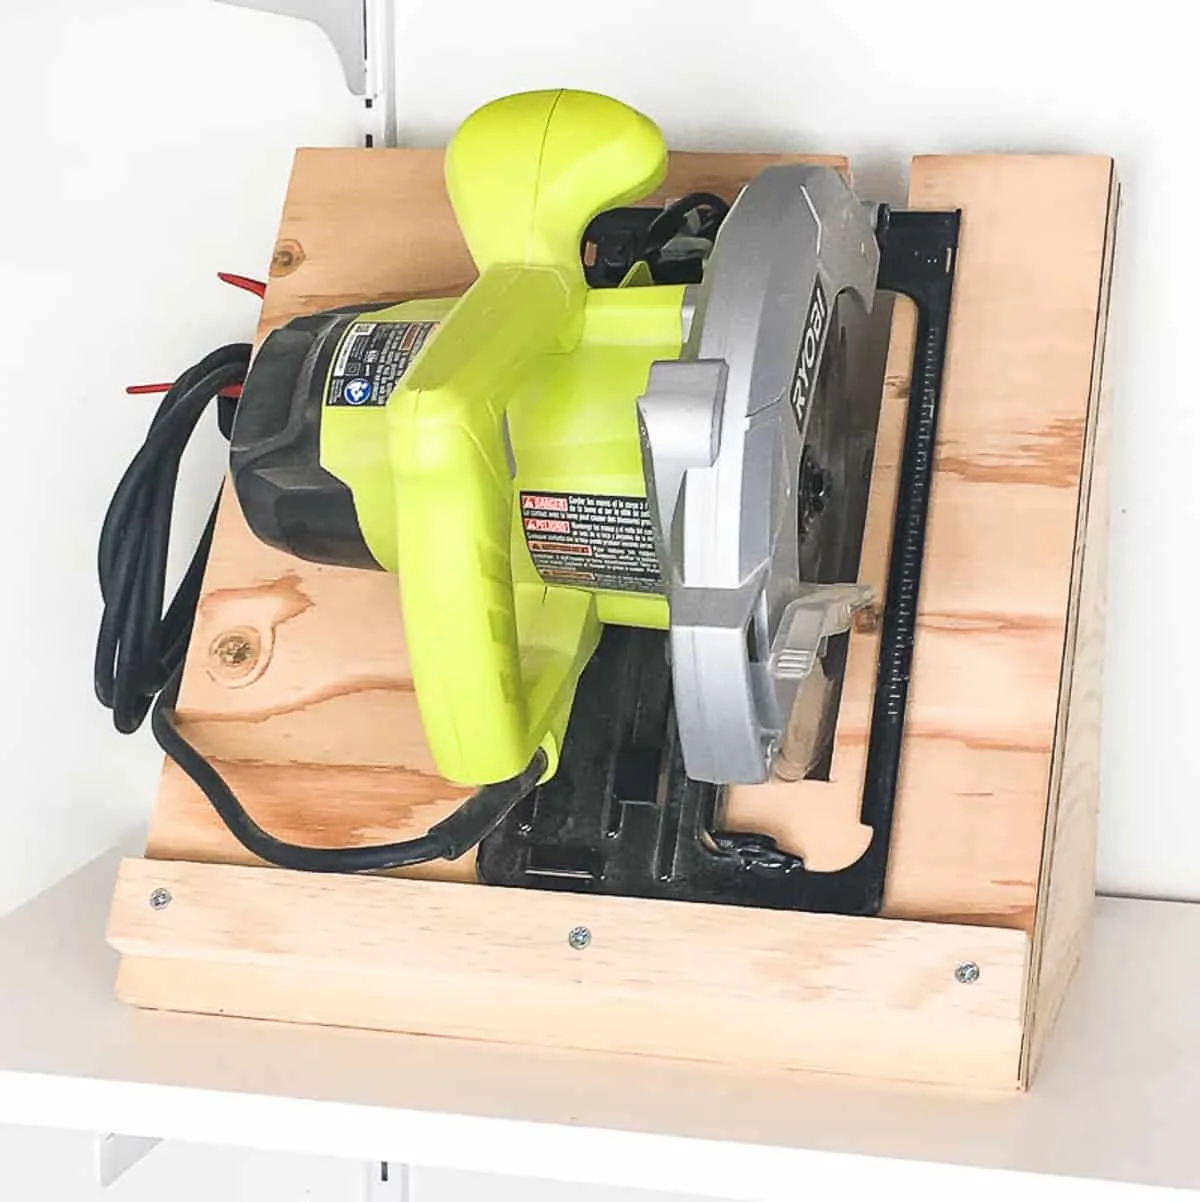
This simple circular saw storage rack is easy to make! It keeps the blade vertical and the cord contained for a clean, organized workshop.

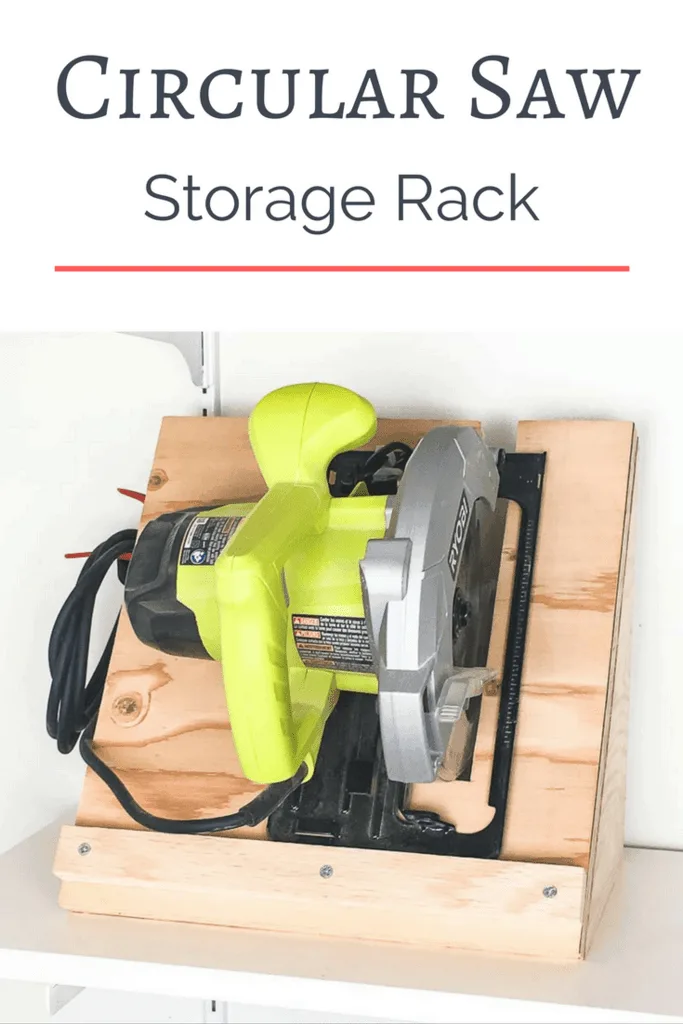
My corded circular saw was a tangled mess, and I worried that sideways pressure on the blade would knock it out of alignment over time. This circular saw storage rack is so simple, I can't believe I didn't make it sooner! It allows the saw to rest flat, keeps the cord contained and protects the blade from damage.
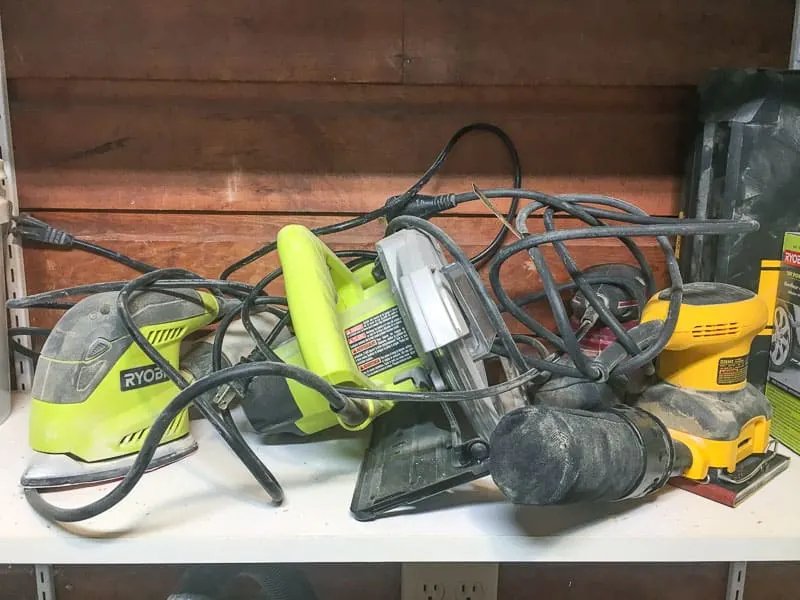
My circular saw previously lived on a shelf behind the miter saw stand, where it sat in a jumbled pile of cords and sawdust. I recently built this sander and sandpaper storage to keep those tools organized, and now I'm doing the same for my circular saw!

This post contains affiliate links for your convenience. Purchases made through these links may earn me a small commission at no additional cost to you. Please visit my disclosures page for more information.
Materials Needed for Circular Saw Storage Rack
- Circular saw
- ¾" plywood at least 12" x 24"
- Jigsaw
- Sandpaper
- Cord hook
Optional, but helpful:
- Kreg Jig
- Check out my post on how to use a Kreg Jig to help you decide which one is right for you.
- 1 ¼" pocket hole screws
How to Build a Circular Saw Holder
Don't forget your safety gear when woodworking! Here are my recommendations for safety glasses and ear protection. No excuses!
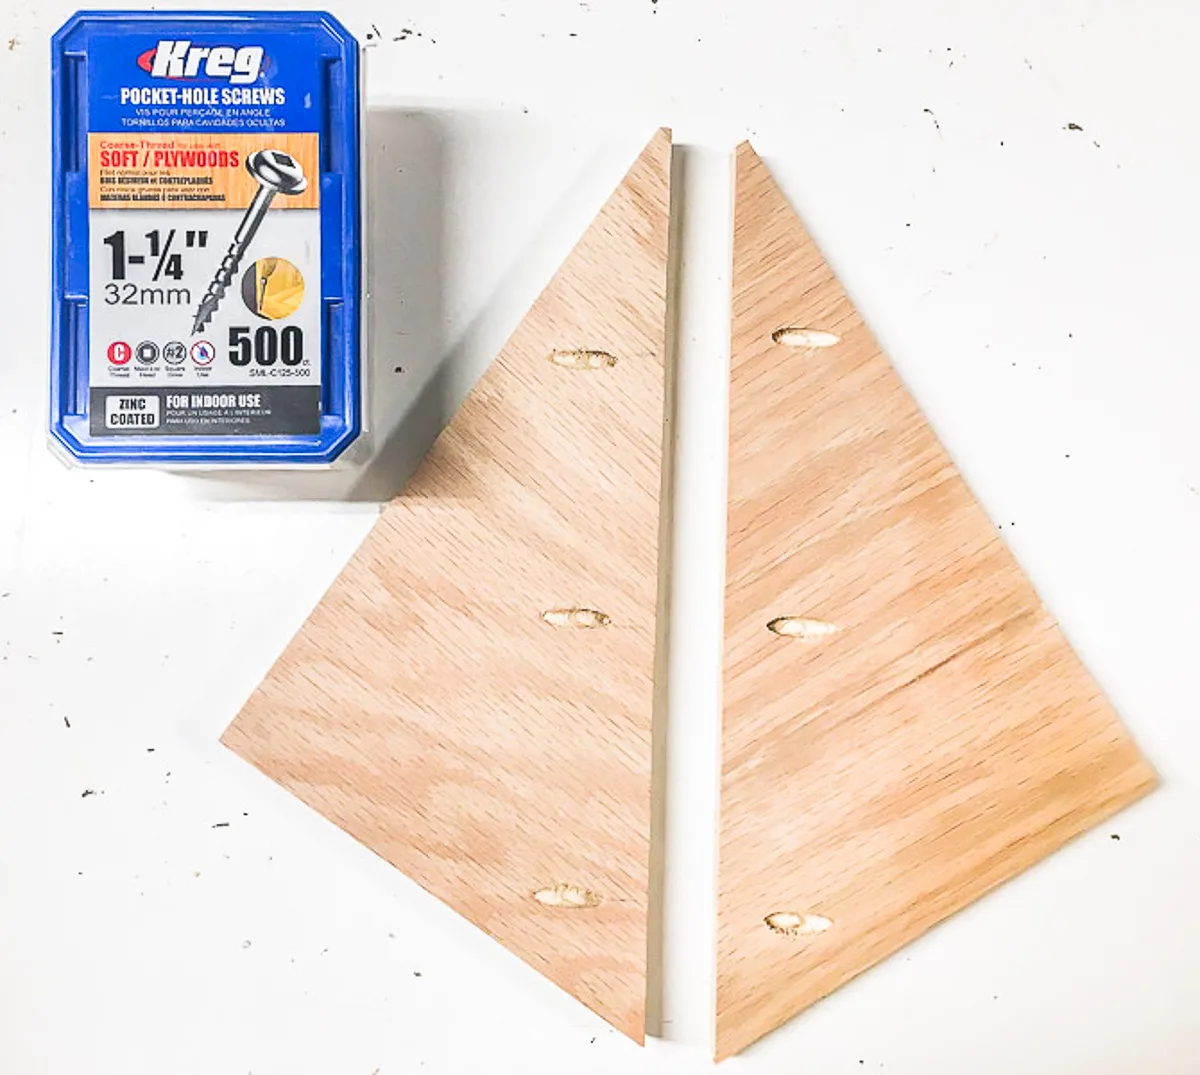
Cut the triangular side pieces
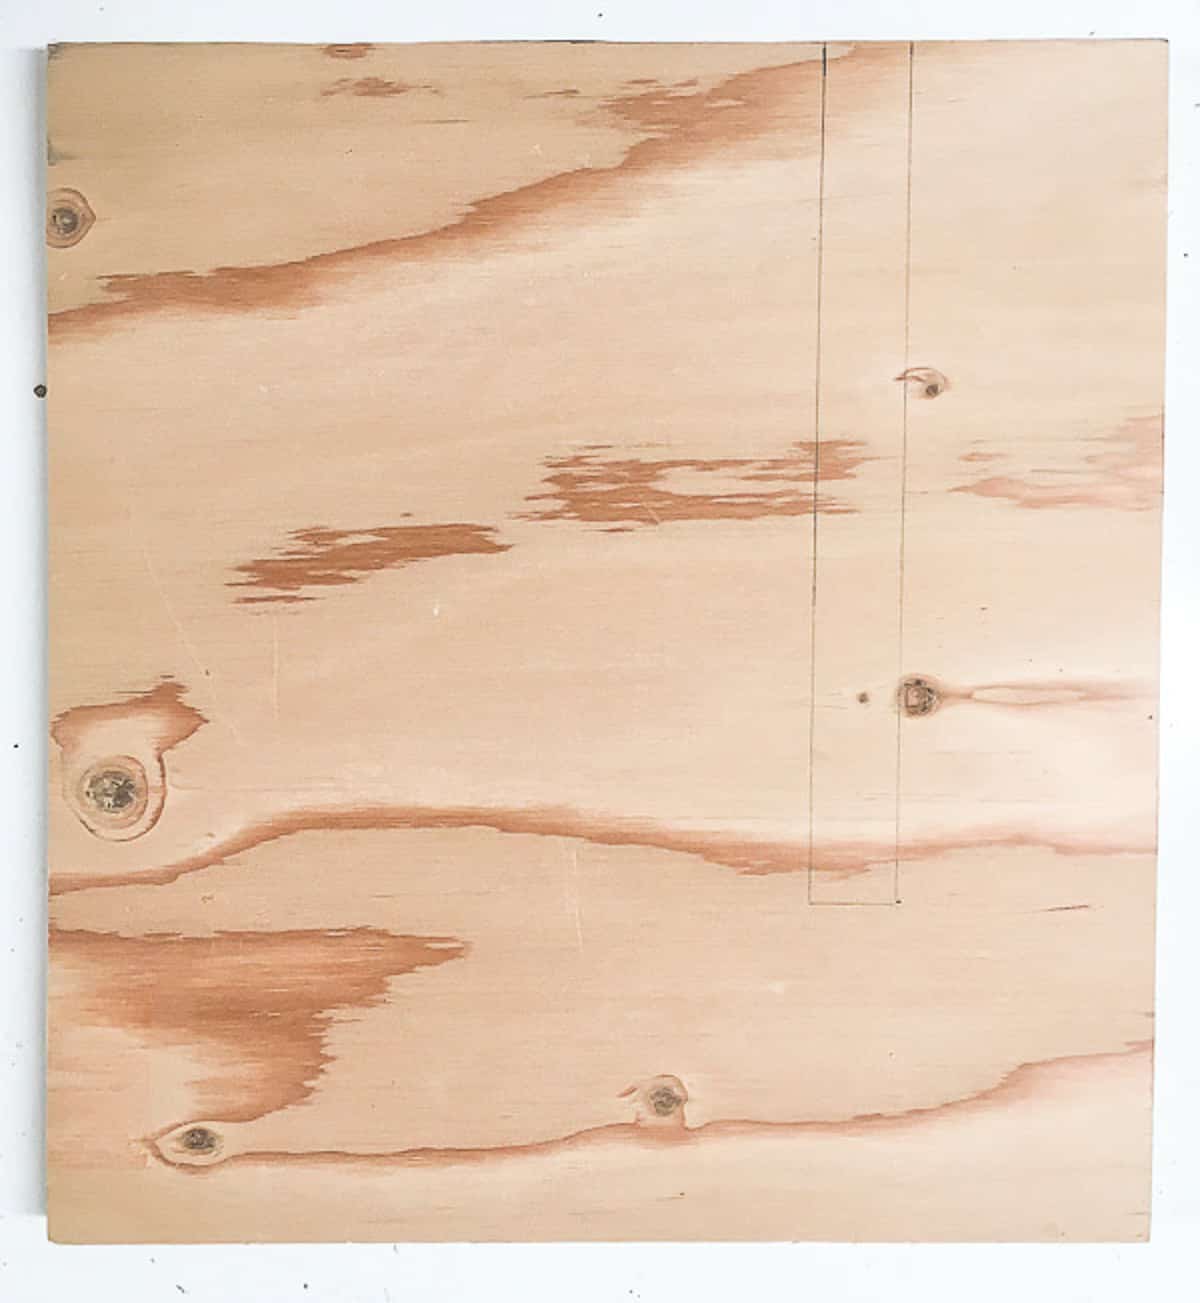
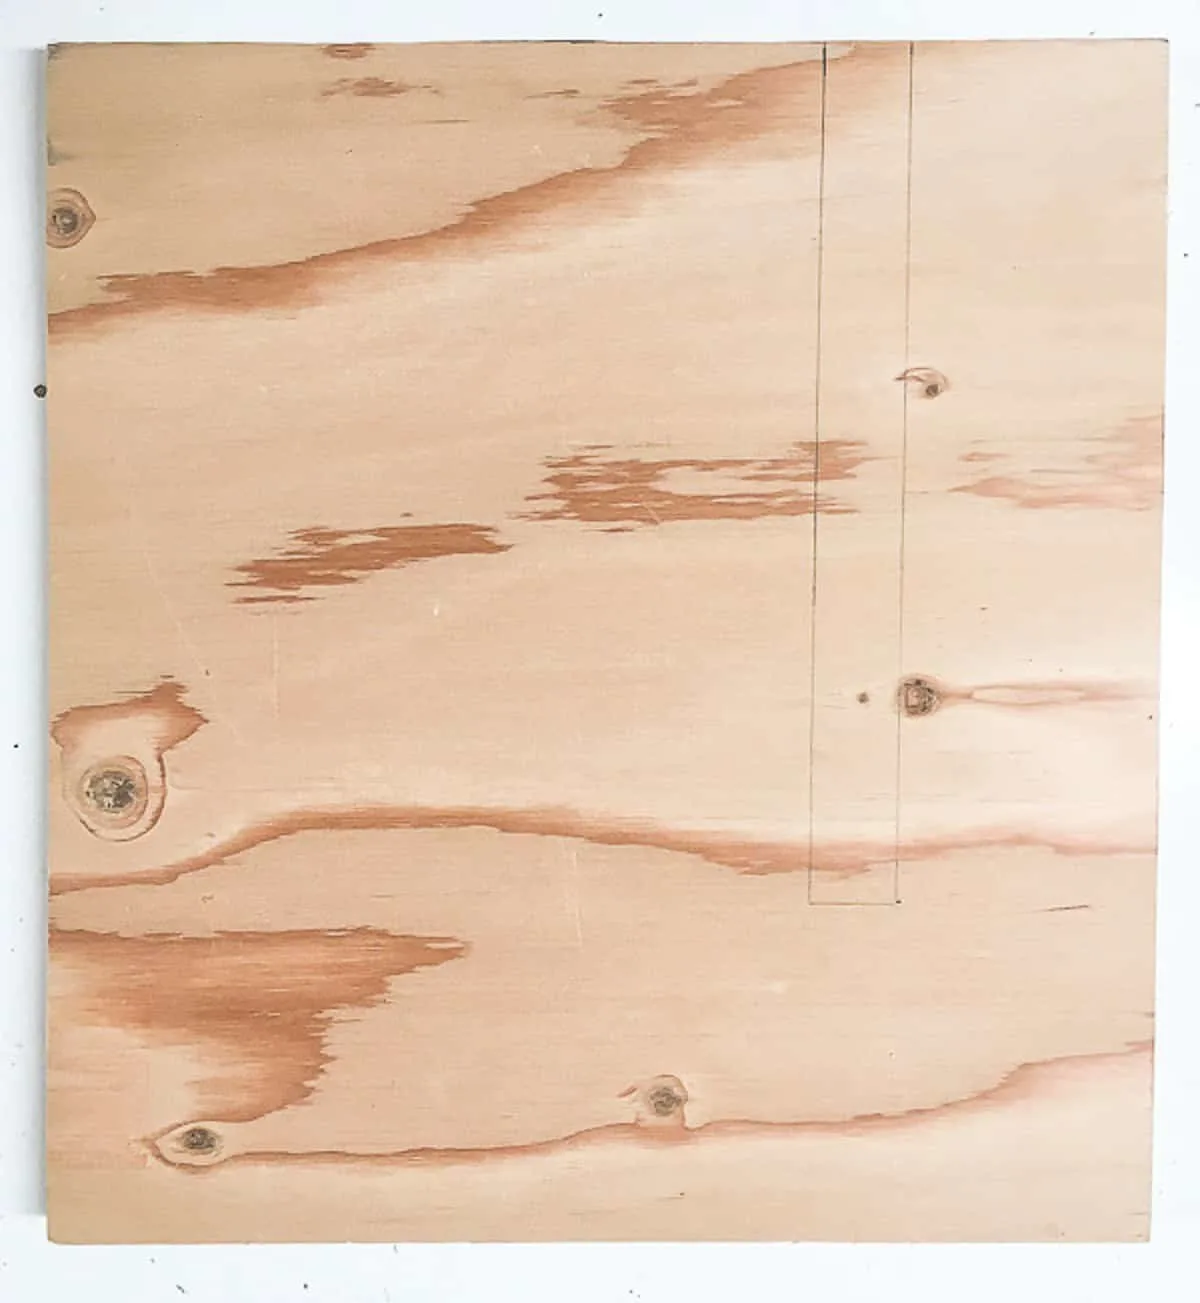
Start with a piece of ¾" plywood that is approximately 12x24". Cut one piece to 8x12", then cut it on the diagonal so you have two identical triangles.
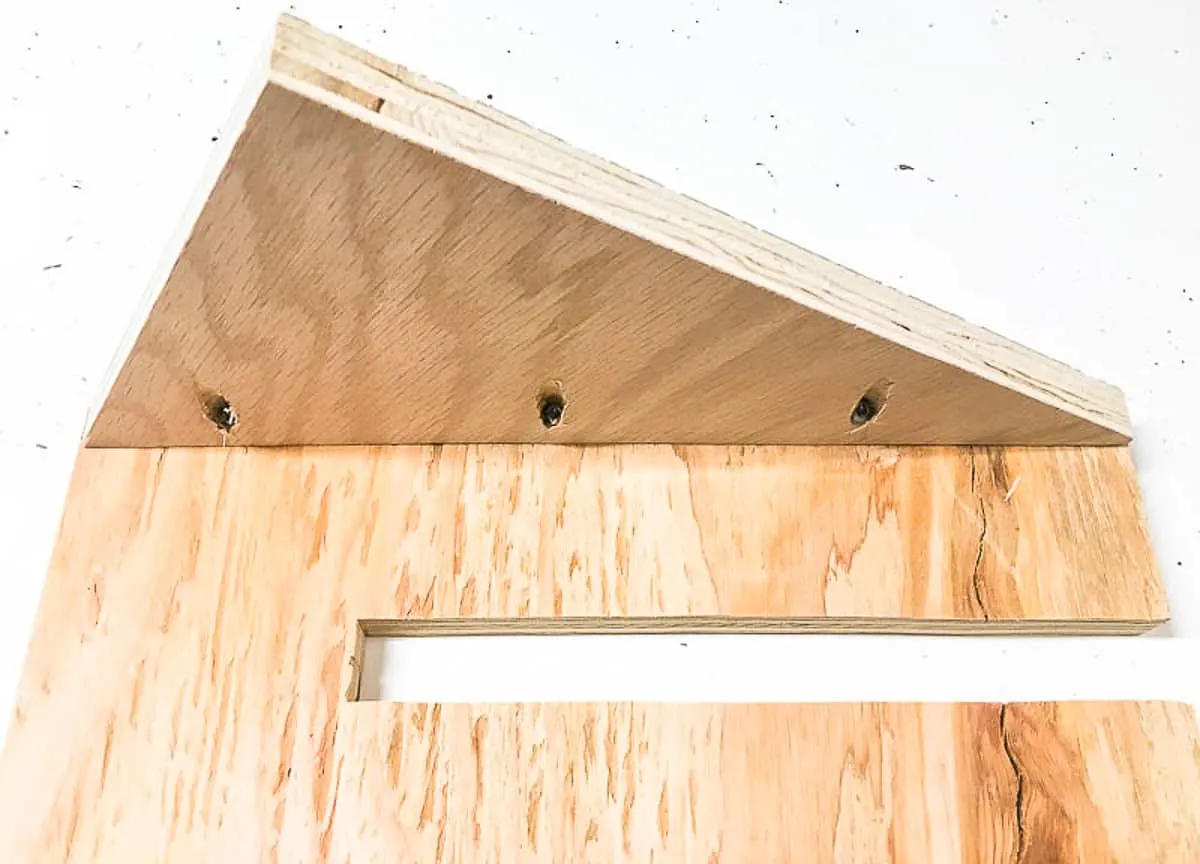
Drill three pocket holes along the diagonal side. If you don't have a Kreg Jig, you can also assemble this with regular 1 ¼" screws later on.

Create the circular saw platform
Cut a strip off the remaining piece of plywood that's about 1 ½" x 12" (or use a scrap piece of 1x2). Set it aside for now. You should be left with a section that is about 12" x 14".
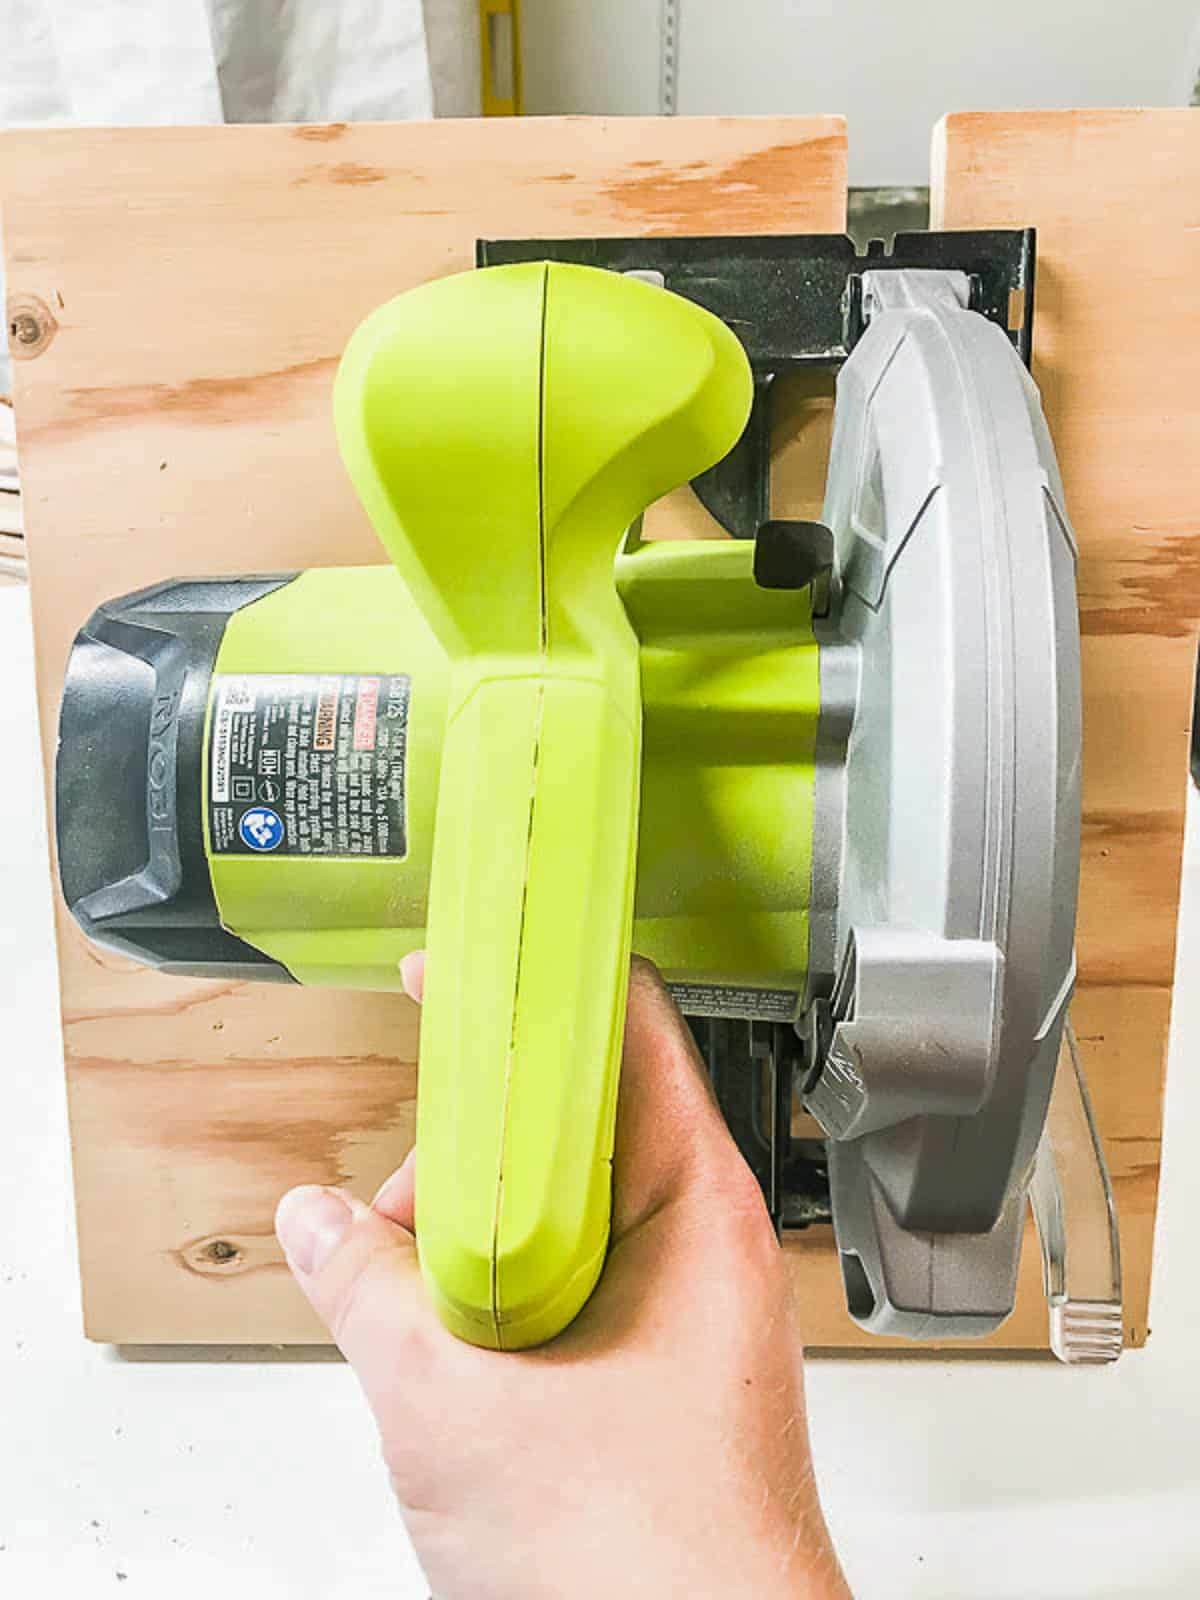
Measure the length of your circular saw base, and the width of the blade with the guard. Mine is 11" long and about 1" wide.

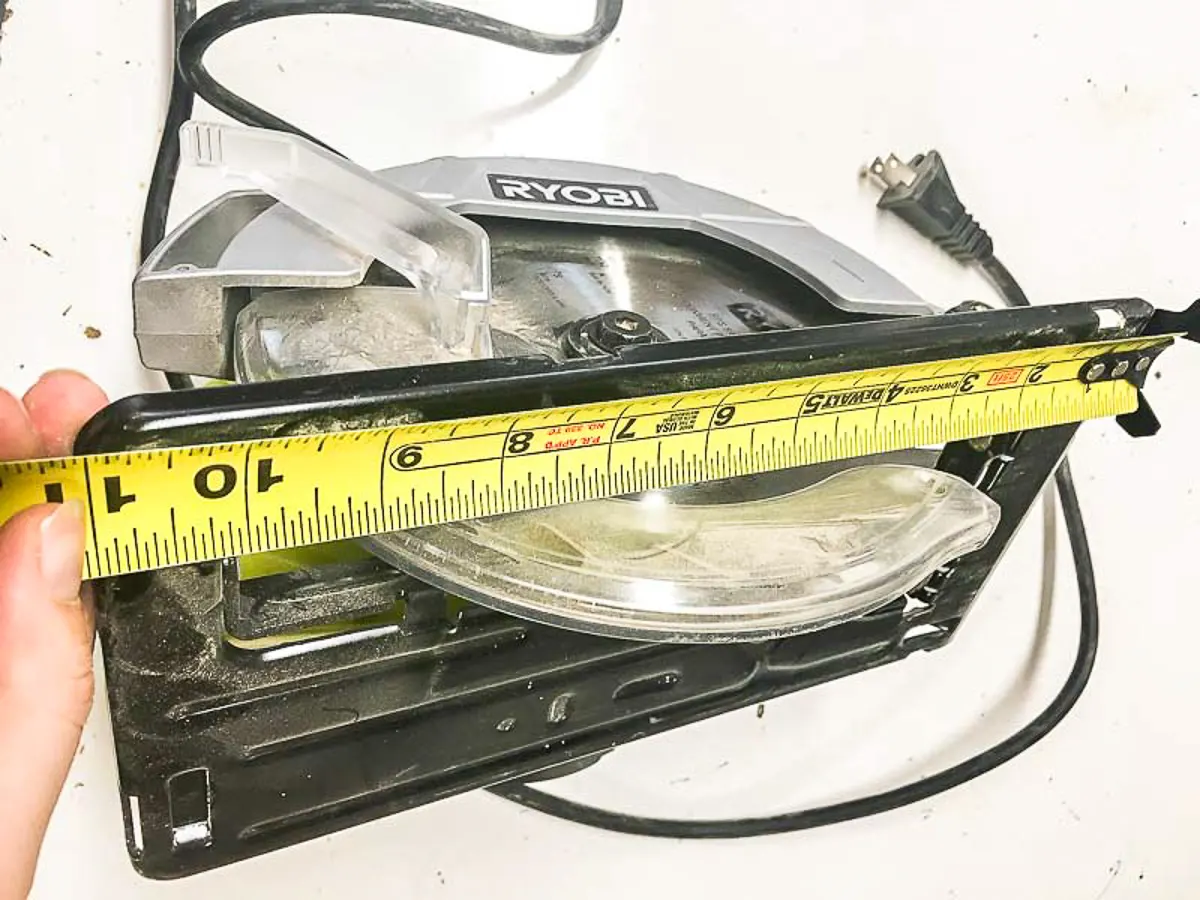
Mark a slot slightly wider than your circular saw blade cover and the same length as the circular saw. Cut it out with a jigsaw, and sand down any rough edges.
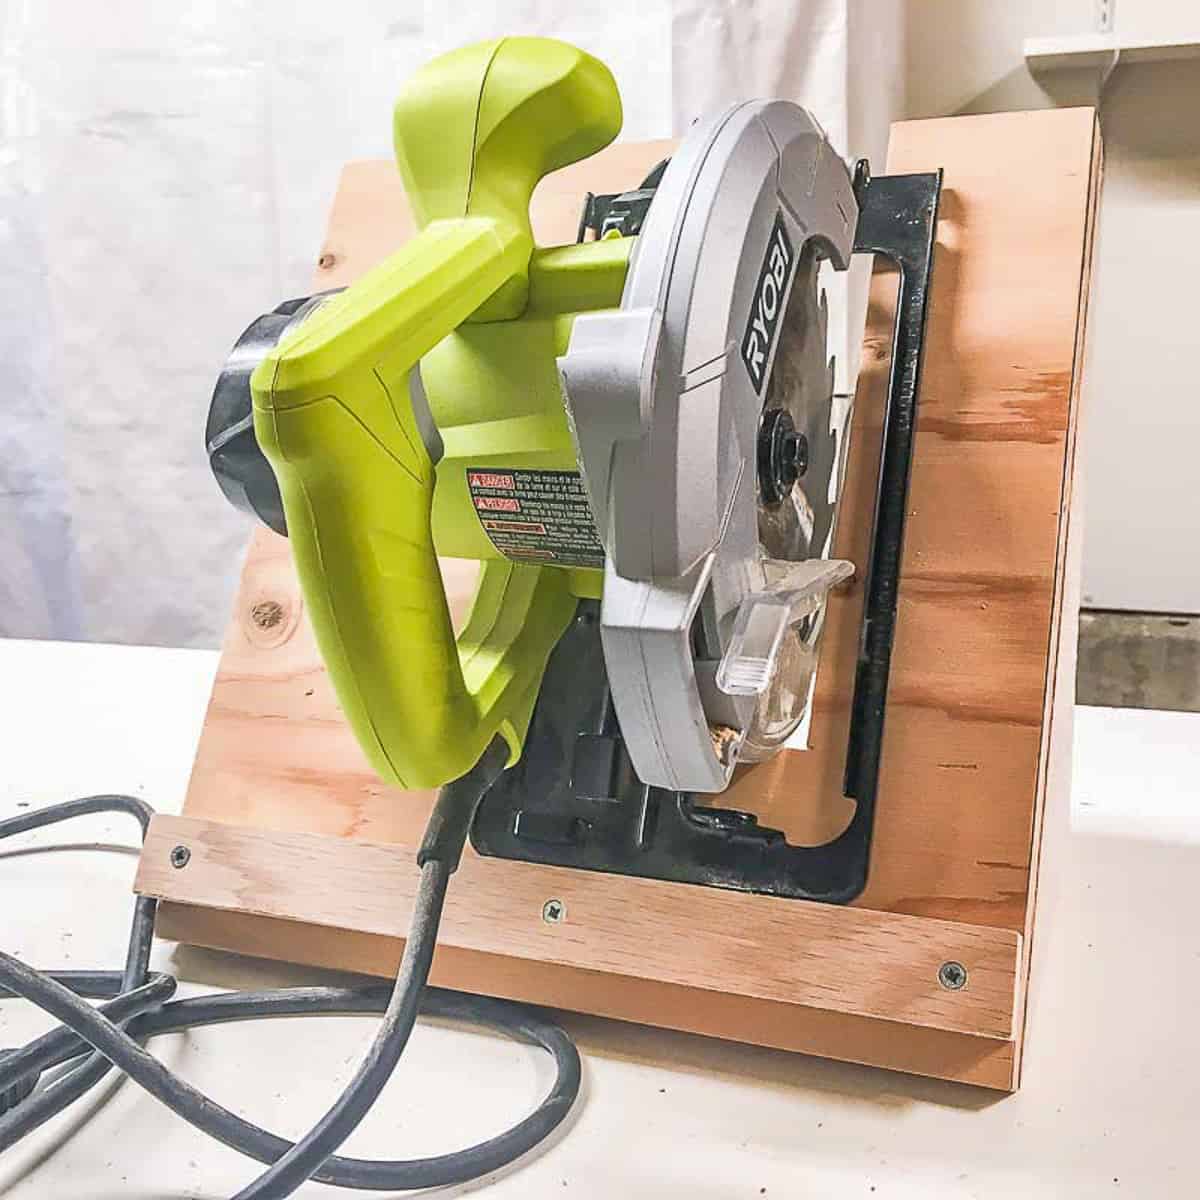
Attach the angled sides to the circular saw platform
Join the triangular supports to the back with 1 ¼" pocket hole screws. You could also attach them through the front with regular wood screws. Just be sure to drill pilot holes with a countersink bit through the top so you don't split the wood or leave the screw heads above the surface.

Add the circular saw support bracket
Flip the stand over and test the fit of your circular saw. With the blade guard resting in the slot, mark a line at the bottom of the base.

Attach the 1 ½" x 12" strip of plywood under that marked line.
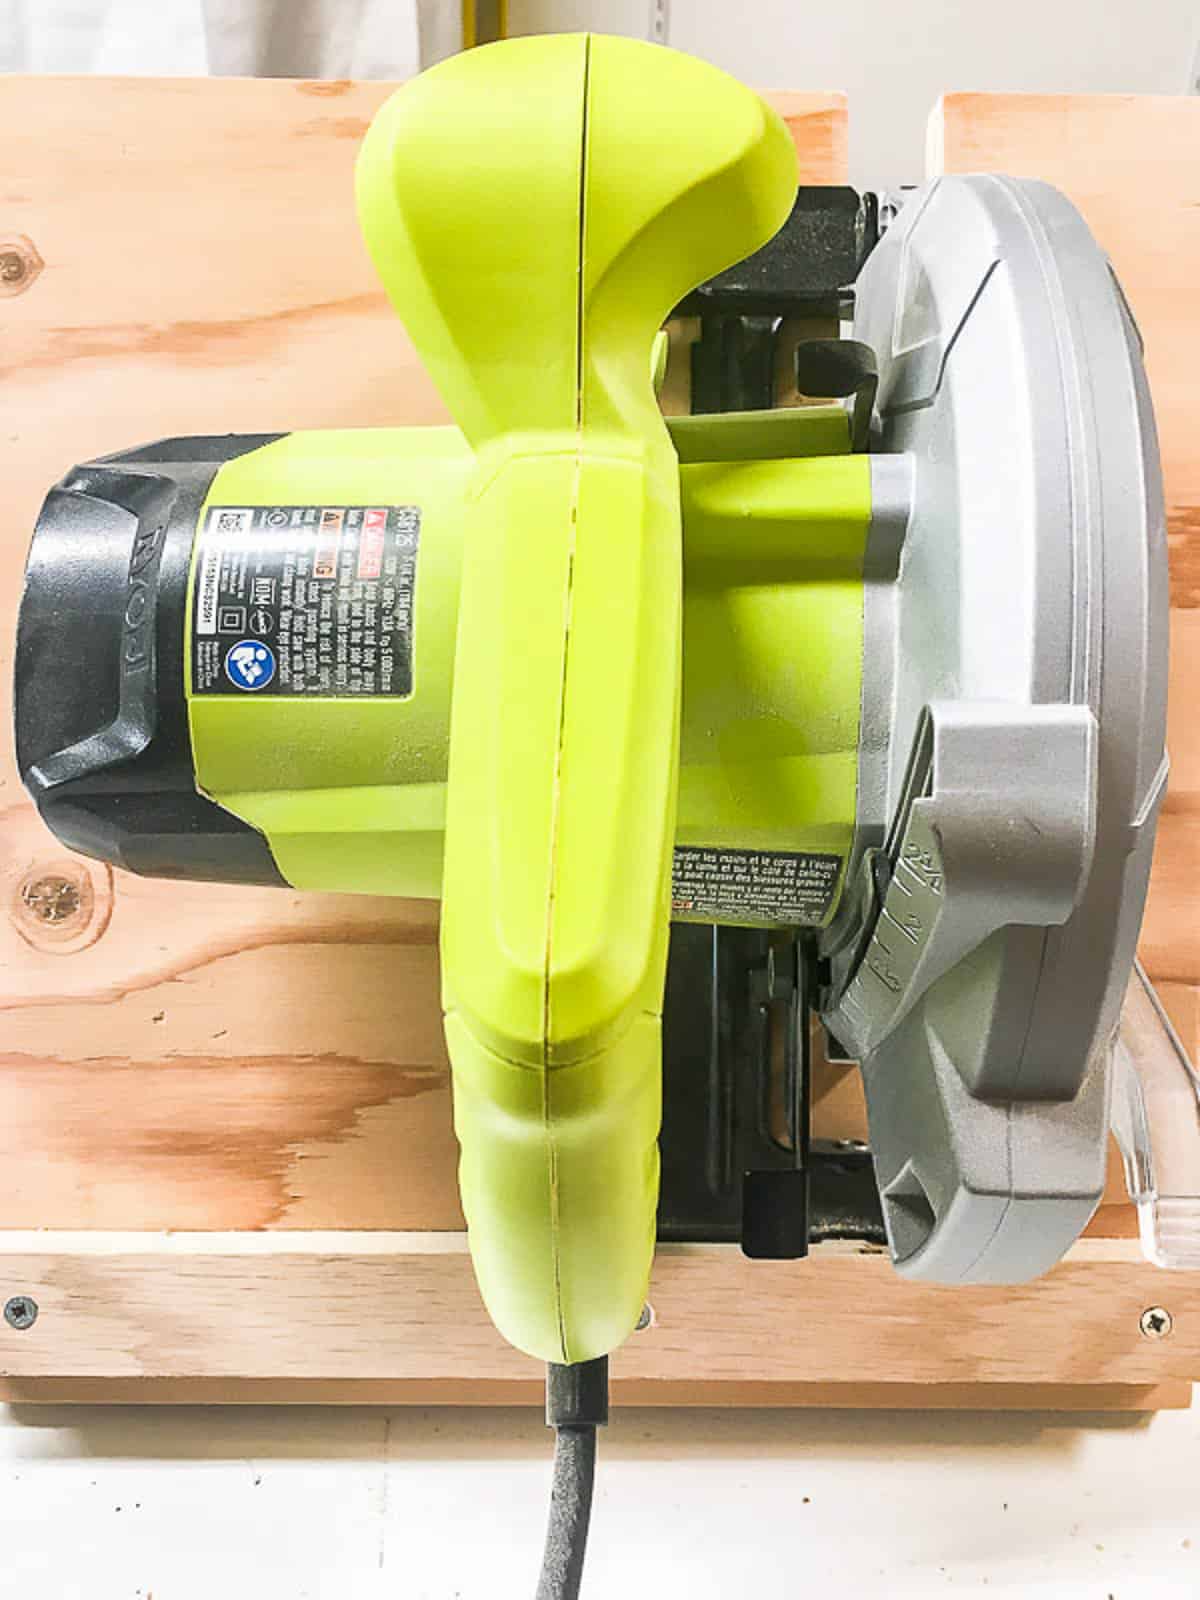

Your circular saw's base plate should rest securely on top of the bottom support. This angle prevents the saw from falling off, but it's easy to grab quickly when needed.

Add a cord holder
I had this random hook left over from a larger set of hangers that worked great for cord management. But these Velcro cord straps would work even better!


I'm so glad my circular saw finally has its own home. Hopefully I'll reach for it more often now!

Want more small workshop organization ideas? Check these out!
Jenny
Sunday 12th of August 2018
Great tutorial for the circular saw. I'll be featuring this tonight at Merry Monday, hope to see you at the party!
Kippi
Wednesday 8th of August 2018
Wow! Great idea I will be sharing it with my husband! Happy Summer, Kippi
Grandmas House DIY
Tuesday 7th of August 2018
Totally going to have to make myself one of these! Thanks for sharing with us at the To Grandma's house we go link party!
Shirley Wood
Friday 3rd of August 2018
We love your creativity at Merry Monday! Can't wait to see what you're up to next week! Where has the summer gone!!
Ann
Wednesday 1st of August 2018
Oh, I luv this idea and totally need to make one of these for myself! I'd luv for you to share it with us at Wall to Wall DIY Wednesday!