Wood paneling can make a space feel dark, cramped and dated. Check out how I painted tongue and groove walls to instantly make the room feel brighter!

Wood paneling can feel outdated or dark, but there's no need to tear it down! With the right approach, you can give it a fresh, modern look simply by painting it.
In this article, I'll show you how to paint wood paneling with grooves from start to finish, with tips and tricks to get the best results!
This post is sponsored by HANDy Paint Products and contains affiliate links for your convenience. Purchases made through these links may earn me a small commission at no additional cost to you.
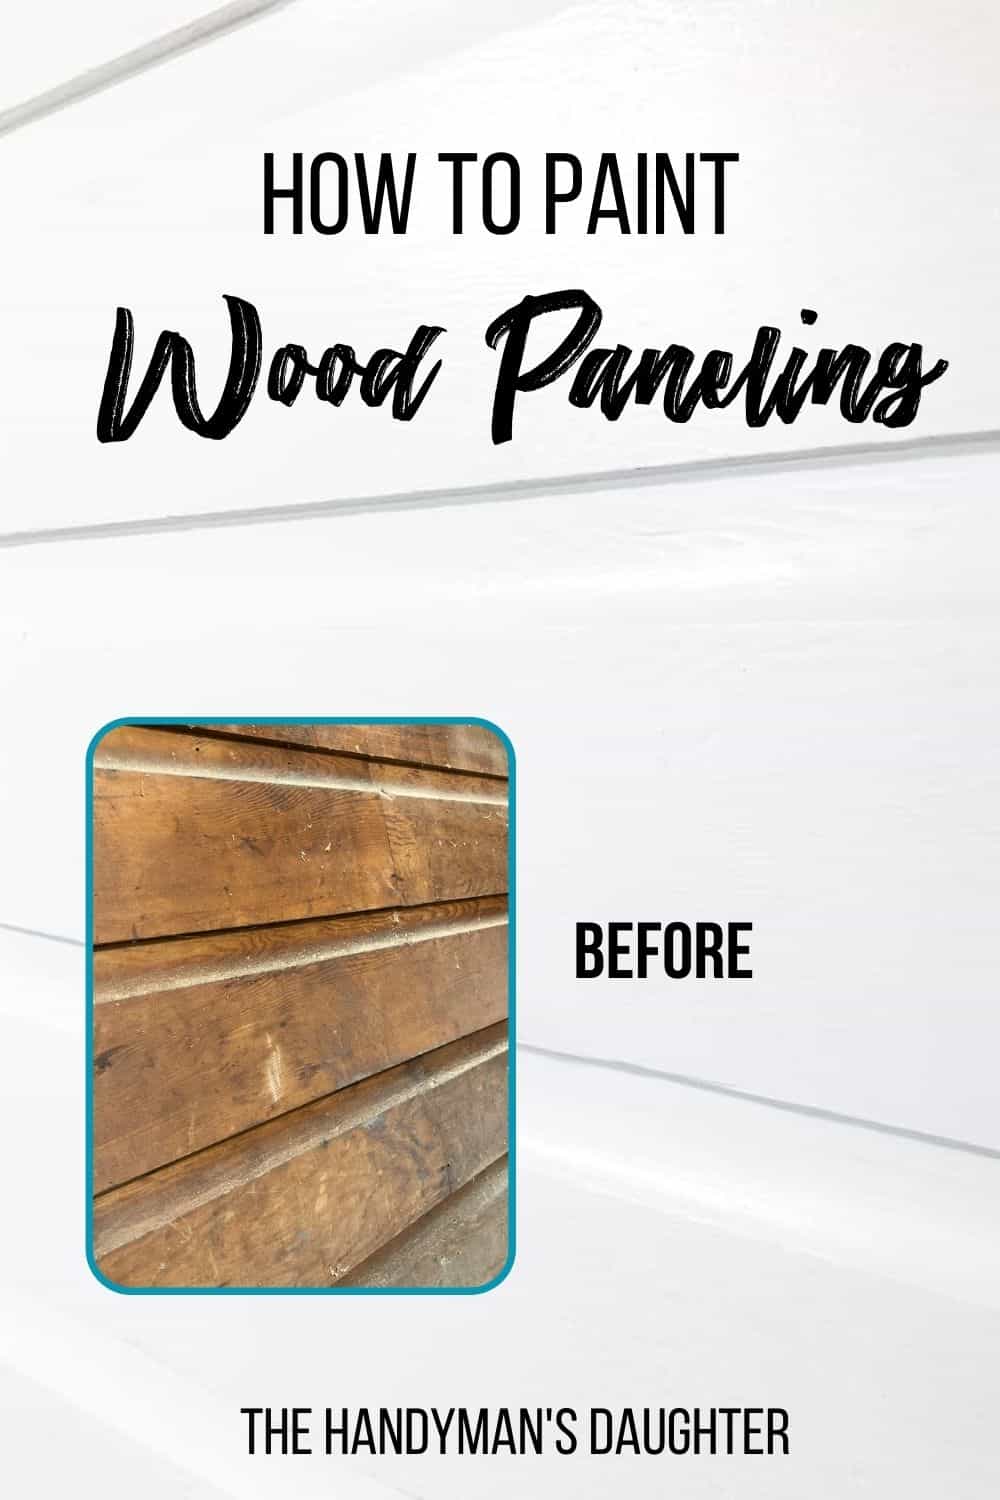
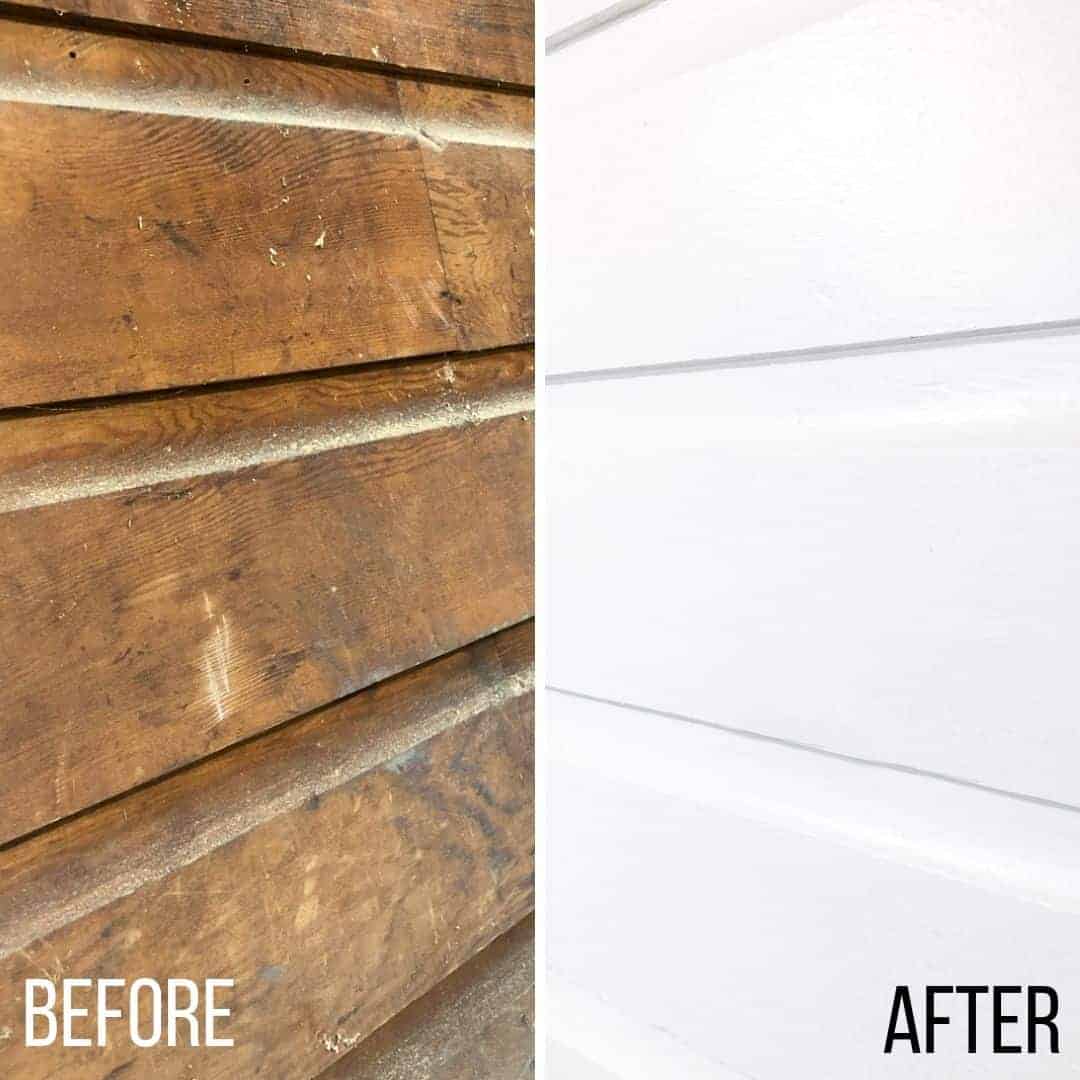
My Tongue and Groove Walls Before Painting
My workshop was previously a garage, and the walls are covered with dark tongue and groove wood paneling. Over the years, I've tried covering up as much of it as I could.
I created a whiteboard wall behind the lumber rack on one side . . .
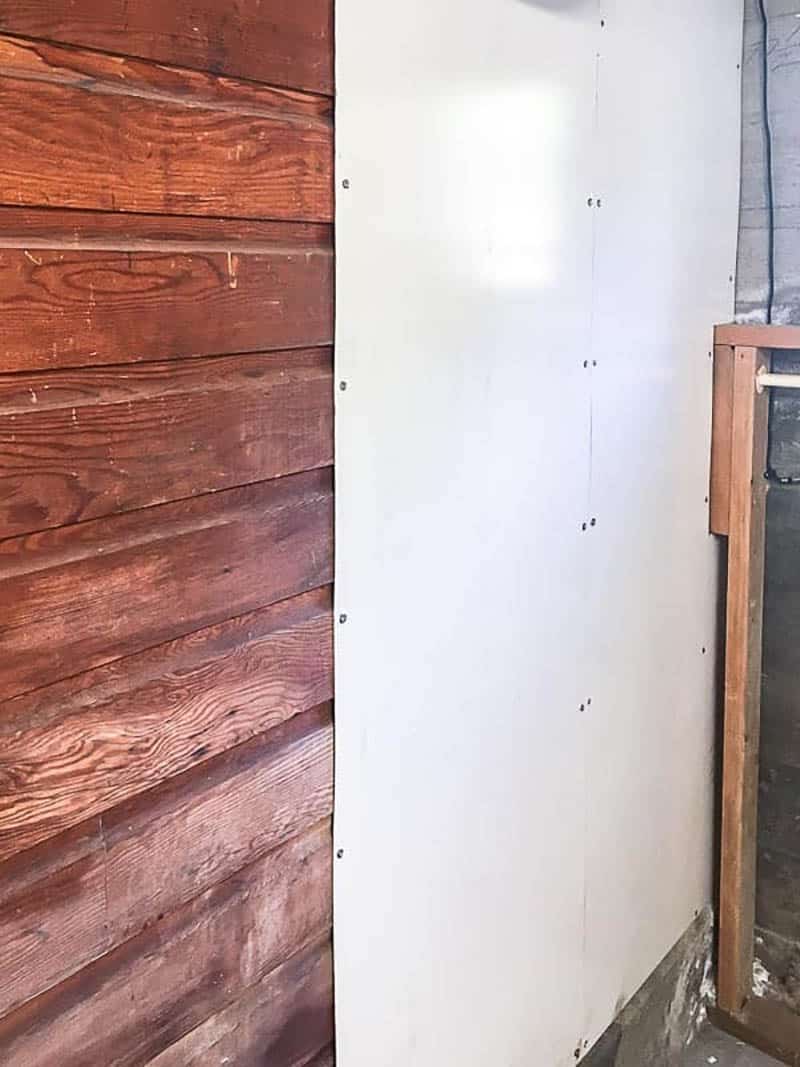
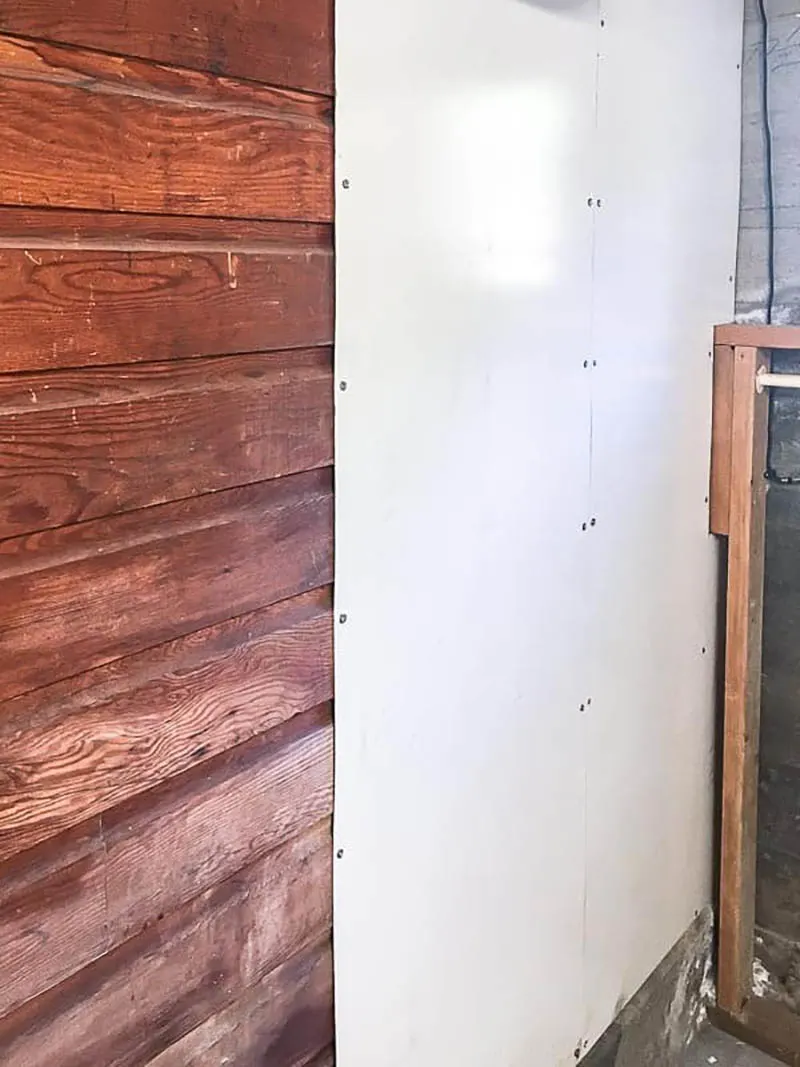
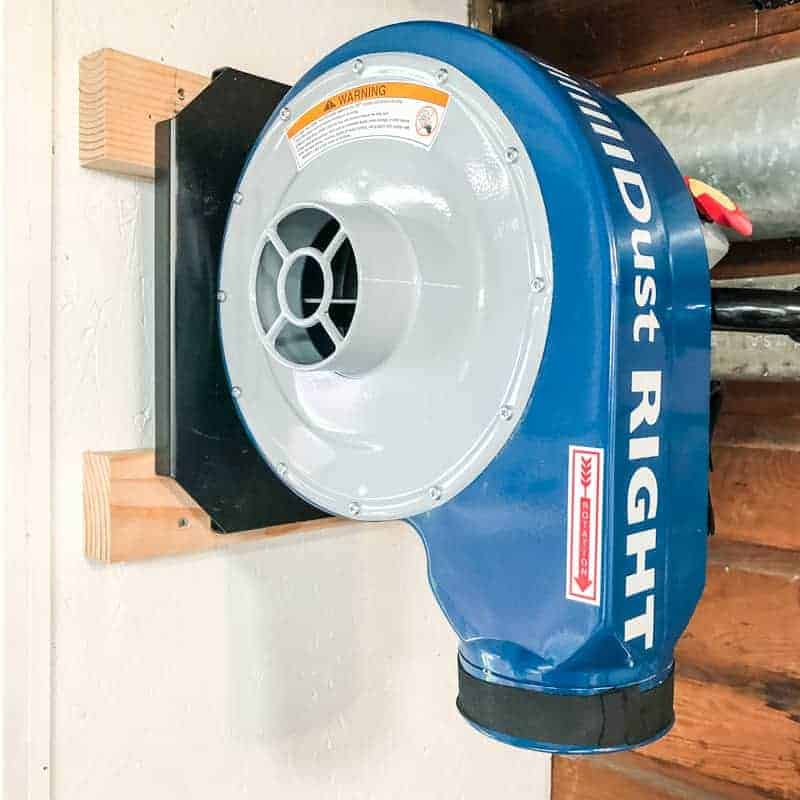
I even tried adding OSB over it when I installed my new wall mount dust collector in the corner.

But the back wall is covered with various ducts and pipes, making it impossible to cover up. This end of the workshop houses my miter saw stand and a few shelves, which get covered in sawdust despite the miter saw dust hood I made.

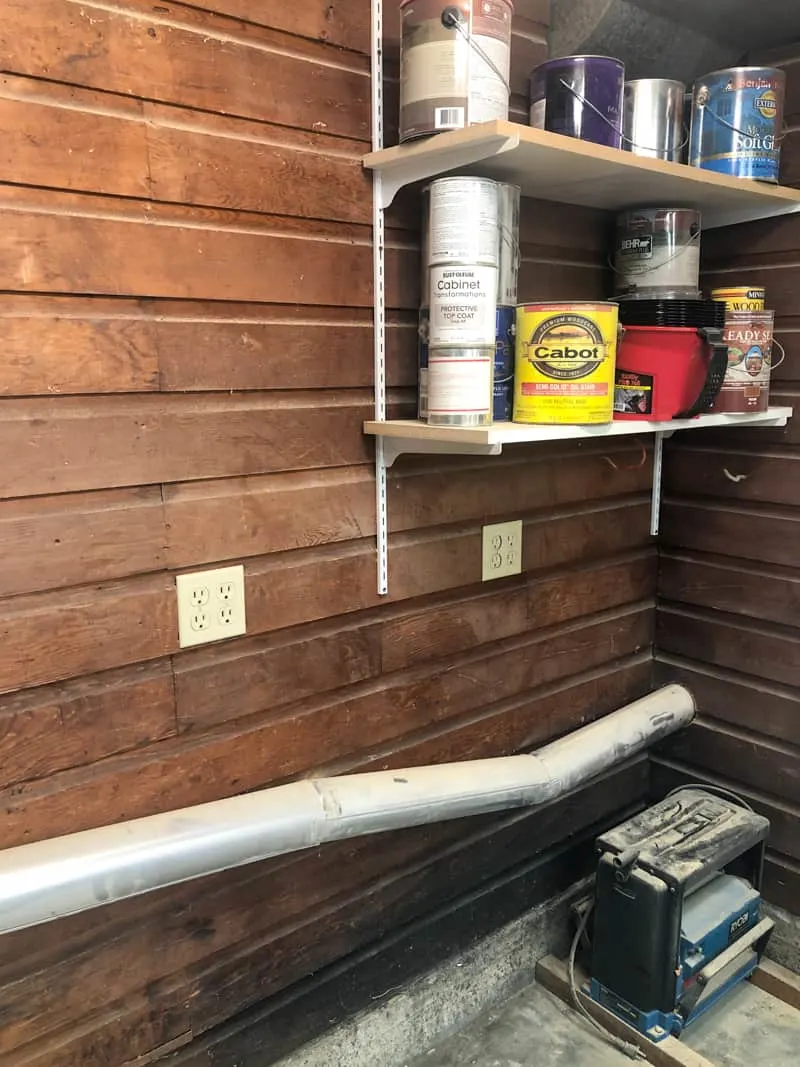
I wanted to give this area an overhaul and add some cabinet storage instead of open shelves. But while I had all the shelves down and the miter saw stand pulled away from the wall, I figured it was time to brighten it up!
Materials Needed
- 120 grit sanding sponges with angled edge
- Random orbit sander or corner cat sander (optional)
- Use deglosser on thin veneer wood paneling instead of aggressive sanding.
- Wood filler or spackle
- Paintable caulk
- TSP
- Large sponge
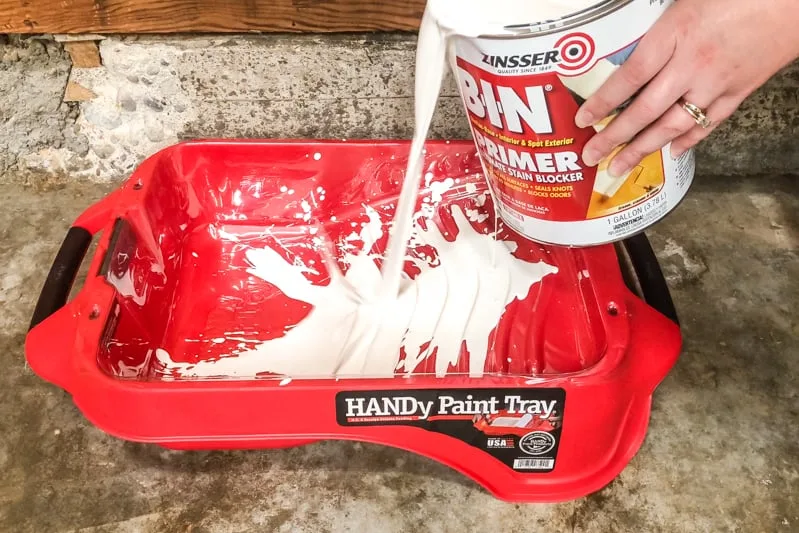
- Shellac based primer such as Zinsser B-I-N
- Latex paint
- Paint tray with disposable liner
- Paint roller with ¾" nap cover
- Paint brush
How to Paint Wood Paneling
Sand and Patch Holes
I hate sanding as much as anyone, but it really does make a huge difference! If you try painting over polyurethane or varnish, it won't stick properly unless you sand first. Most wood paneling in a home will have some sort of a clear top coat over it, so you'll need to scuff that up first.
My workshop used to be a garage, and I'm pretty sure the tongue and groove boards are original to the 1946 house. It was beat up, and had exhaust stains on the lower boards from decades of parked cars.
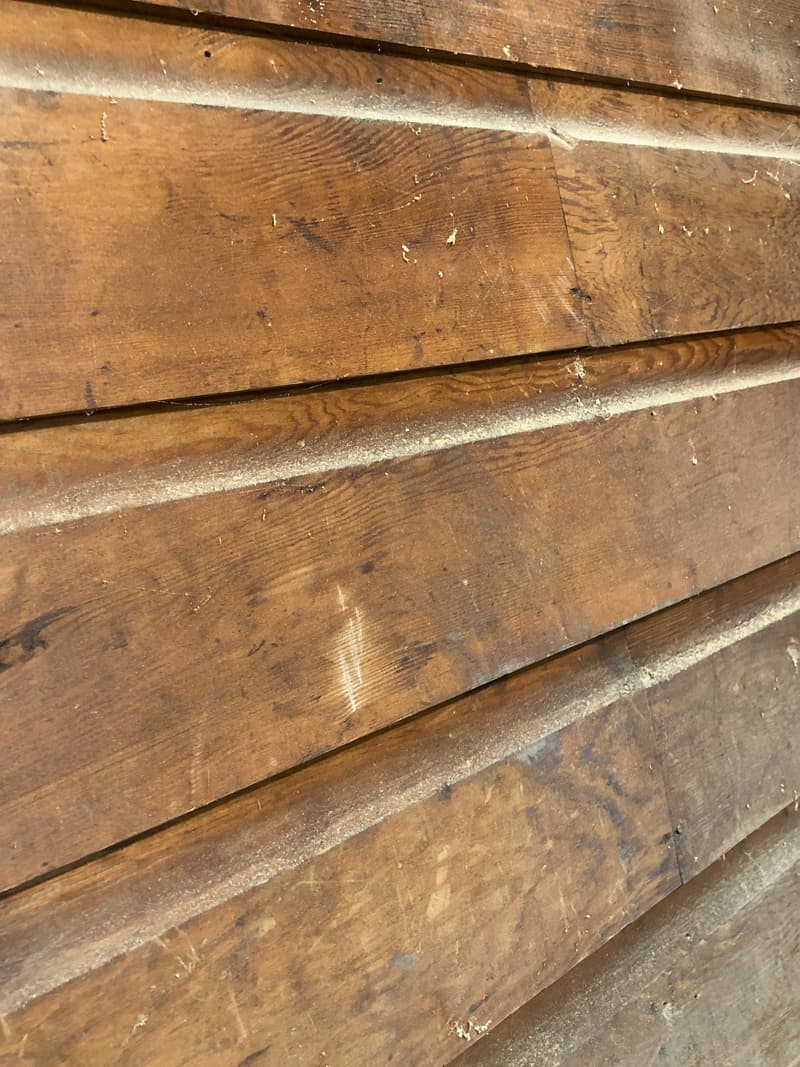
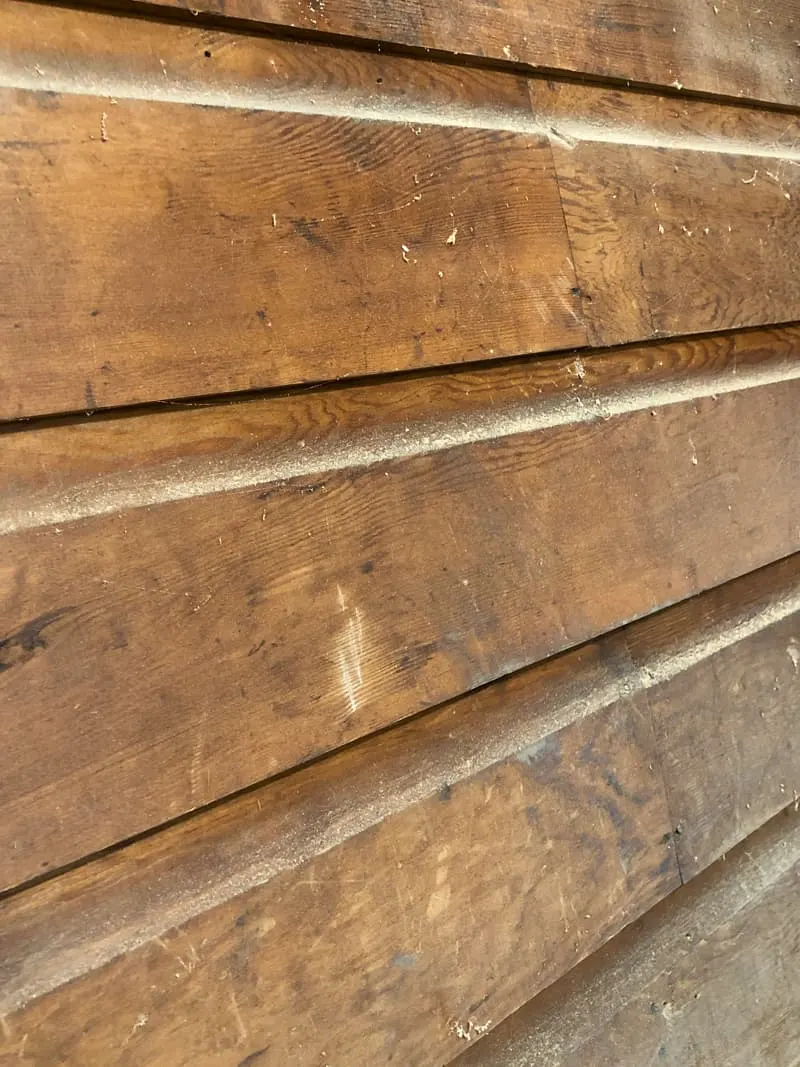
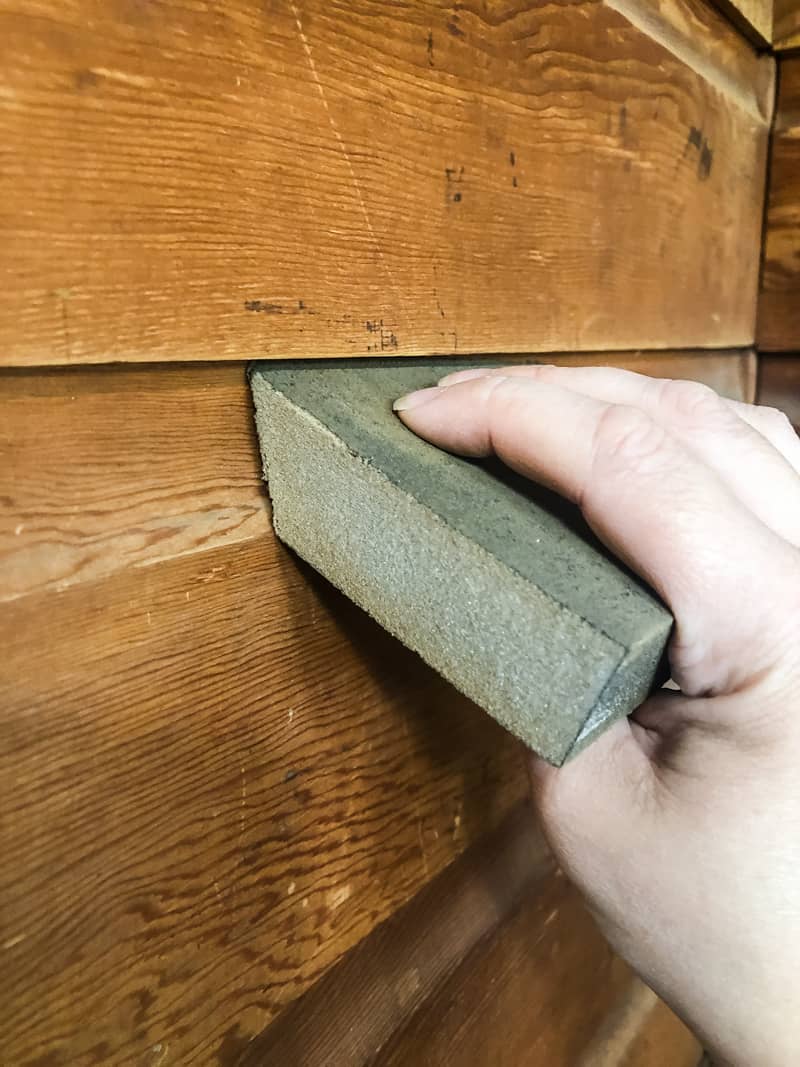
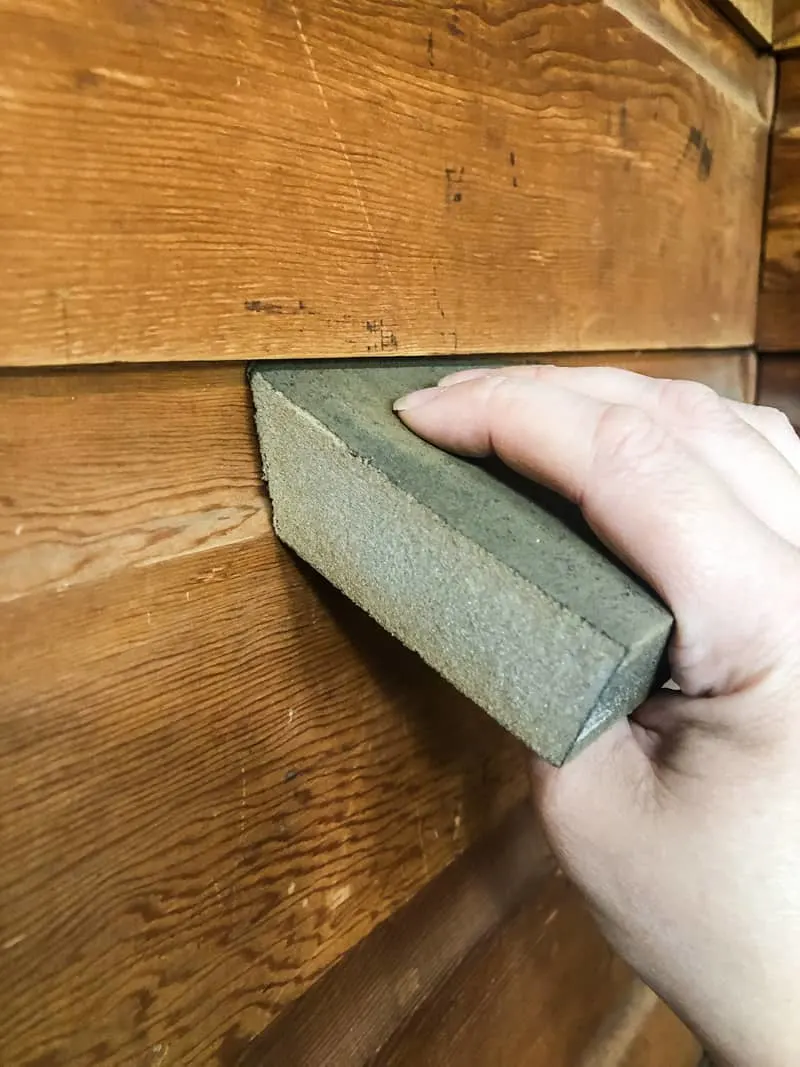
I used a corner cat sander to sand off all the soot and take it down to the natural wood. The triangular shape makes it easier to get into the grooves.

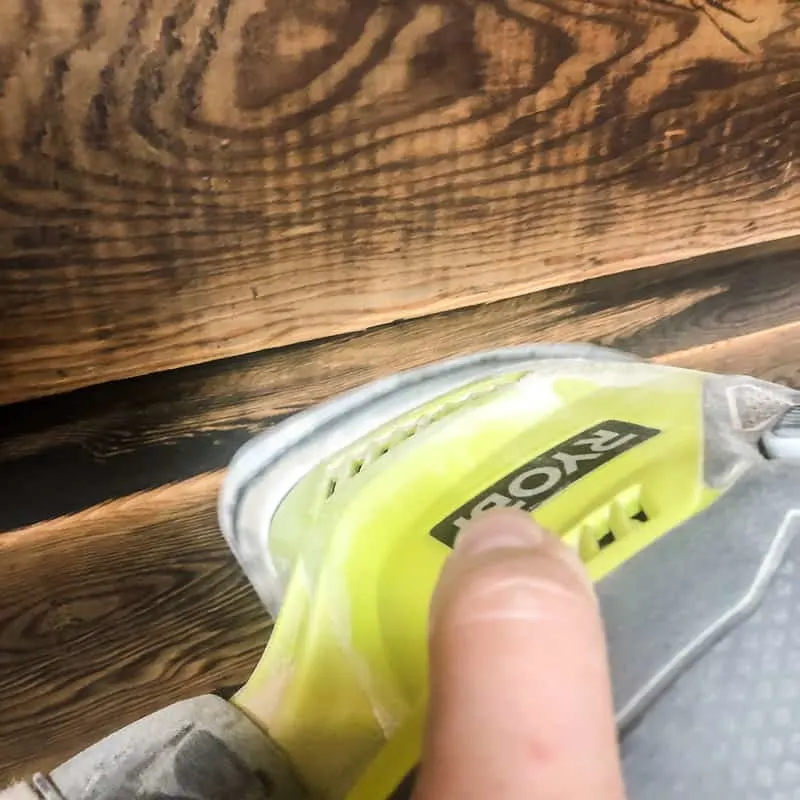
For the less damaged areas, I used a soft sanding sponge with an angled edge. Just a few quick passes with the corner in the groove cleaned them right up!
If your paneling is a thin veneer instead of solid wood, you may want to try deglosser rather than sanding. Sanding too aggressively may result in bare spots where the wood no longer exists! I used deglosser before painting my melamine kitchen cabinets, and it helped the paint stick onto the slick surface.
After sanding, apply wood filler or spackle to any nail holes or scratches. The more meticulous you are about filling in imperfections now, the better your final result will be!

Clean the Walls
All that sanding will create a thin haze of sawdust on the walls. Use your vacuum or shop vac to loosen up the hidden dust and suck it all away!

If your walls are particularly dirty, like mine, you'll want to give them a quick wipe down as well. I mixed up a batch of TSP solution in a bucket and used a sponge mitt to clean every crack and crevice. It was amazing how much grime came off in just a few swipes!
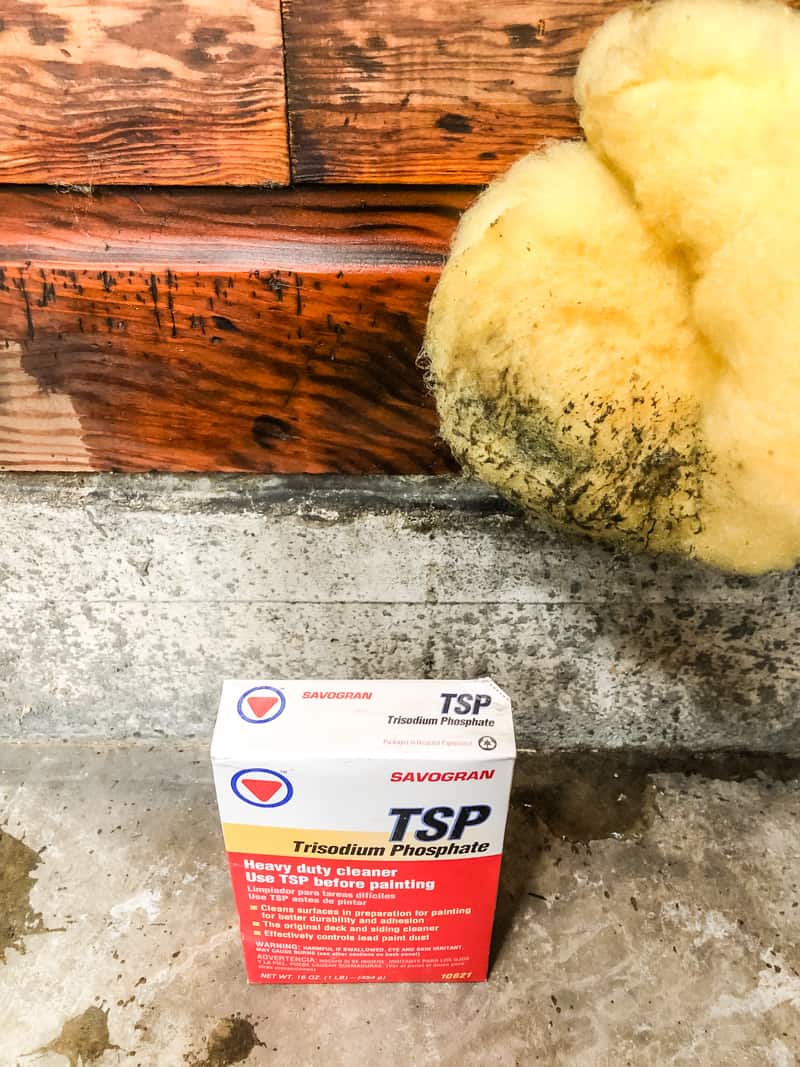

I've used TSP for cleaning everything from a tile floor before painting to our aluminum siding. I'm always amazed at how well this powerful cleaner works! Make sure you wear gloves, because the degreasing agents will suck all the oils right out of your hands!
Let the wood paneling dry completely before breaking out the paint brush. I pointed a high powered fan at it for a few hours and it was good to go.
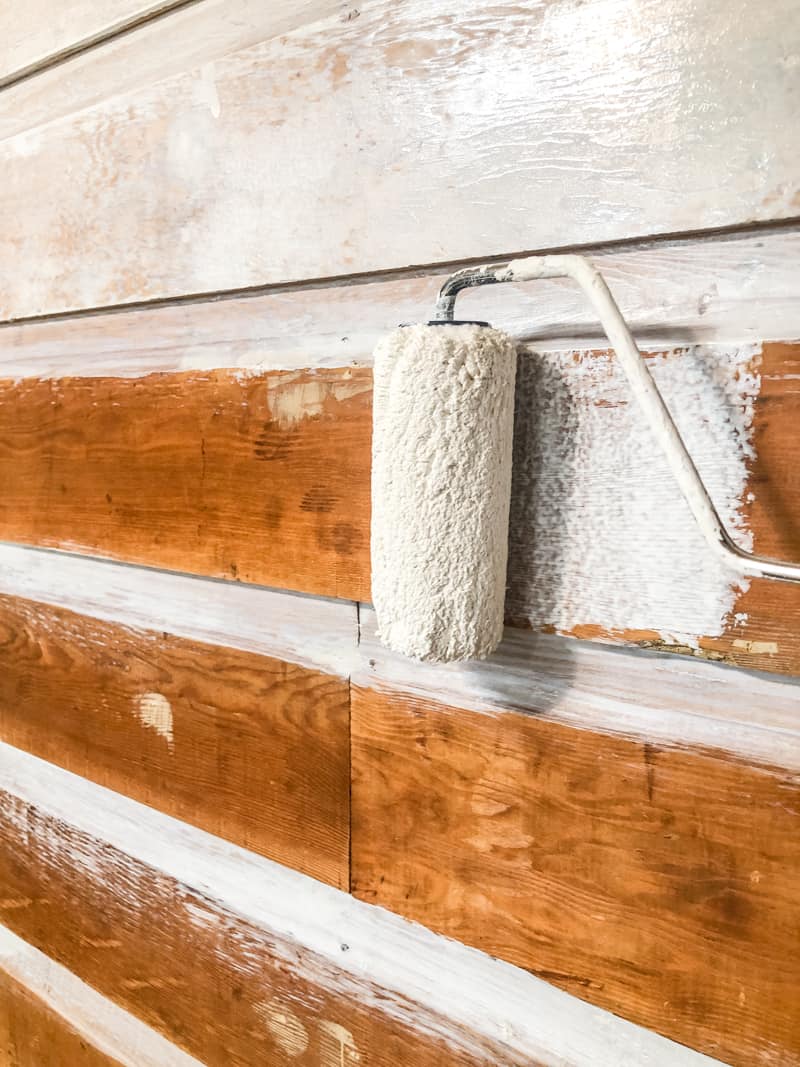
Apply a Shellac Based Primer
Trust me, not just any old primer will hide this dark wood! Tannins will bleed through any water-based primer and turn your white walls orange in no time!
While any oil-based primer can stop tannin bleedthrough, it can take for-e-ver to dry. I like using a shellac based primer like Zinsser B-I-N instead because it dries fast and hides stains and dark colors easily!
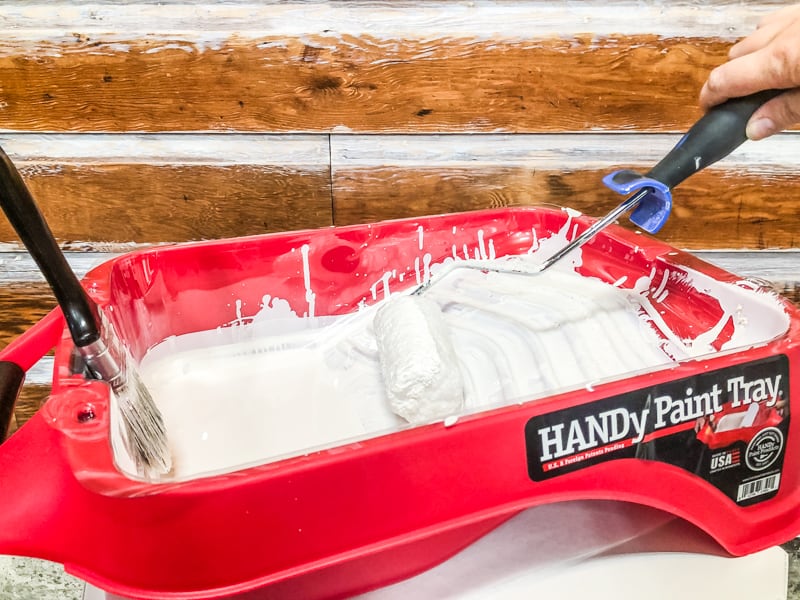
You'll want to use both a brush and a roller for the best coverage. I used the HANDy Paint Tray with a disposable liner to make it easier to switch between tools.

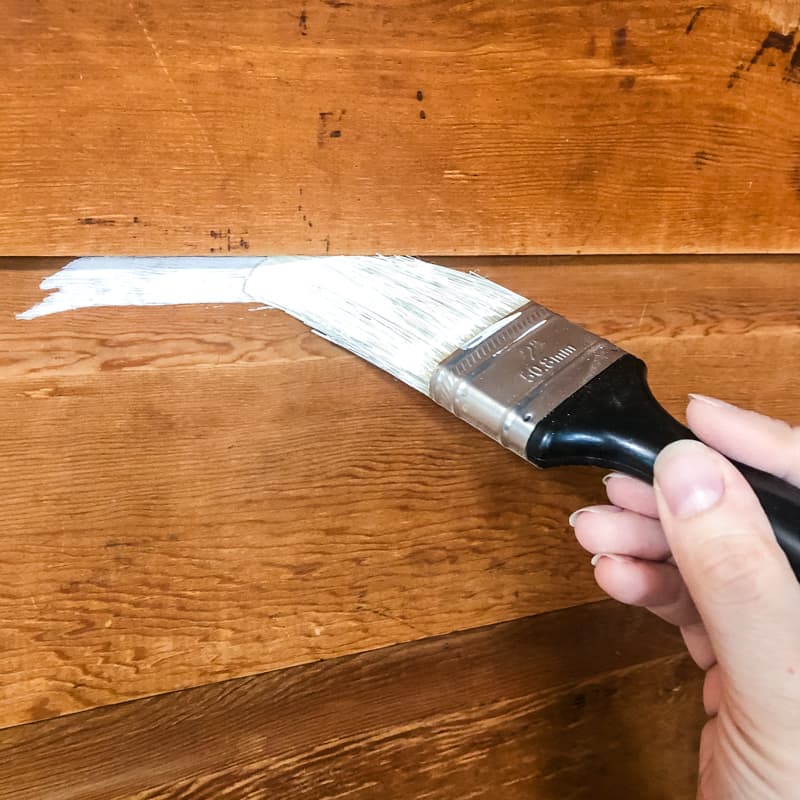
Use a brush to get the primer into the grooves between the boards. Work in small sections, because this stuff dries fast! I would use the brush on two or three boards at a time.

I chose a smaller 4" roller that is the same width as the flat part of the boards. If your paneling is made of thinner boards, a wider 9" roller will help cover more surface area while minimizing drips along the edges.

This wood was so dry, it sucked up the first coat of primer instantly! You could literally see it disappear into the pores. It took two coats to get decent coverage.

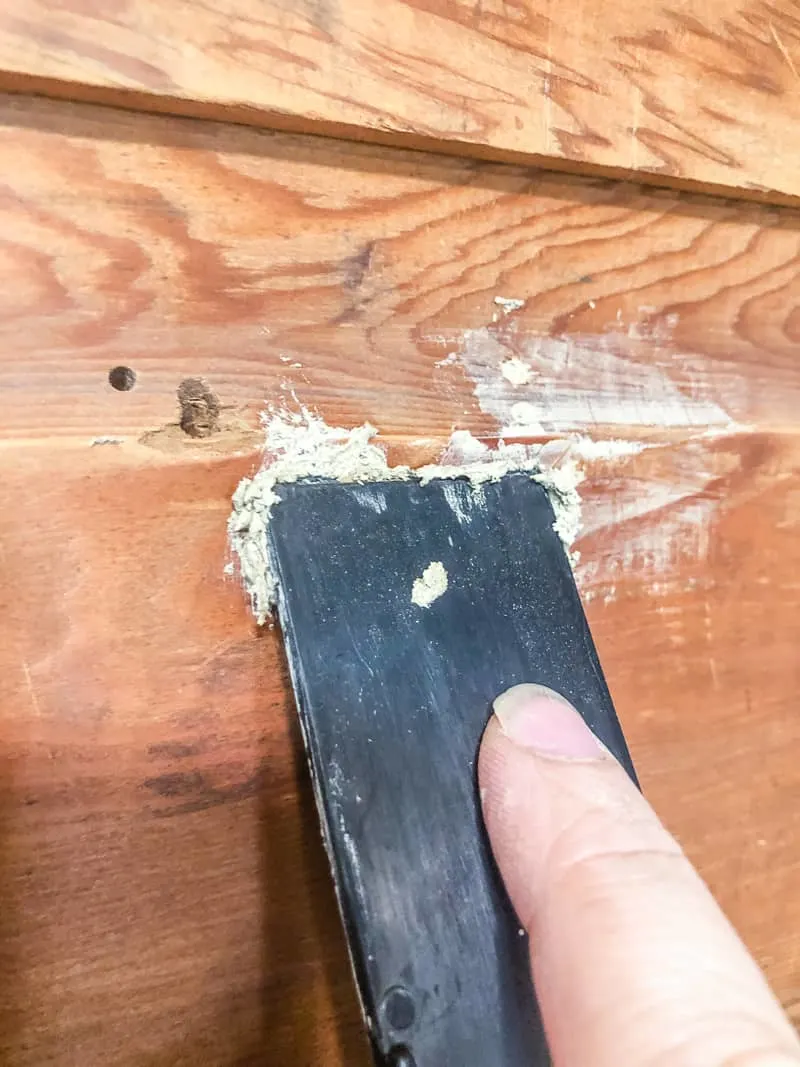
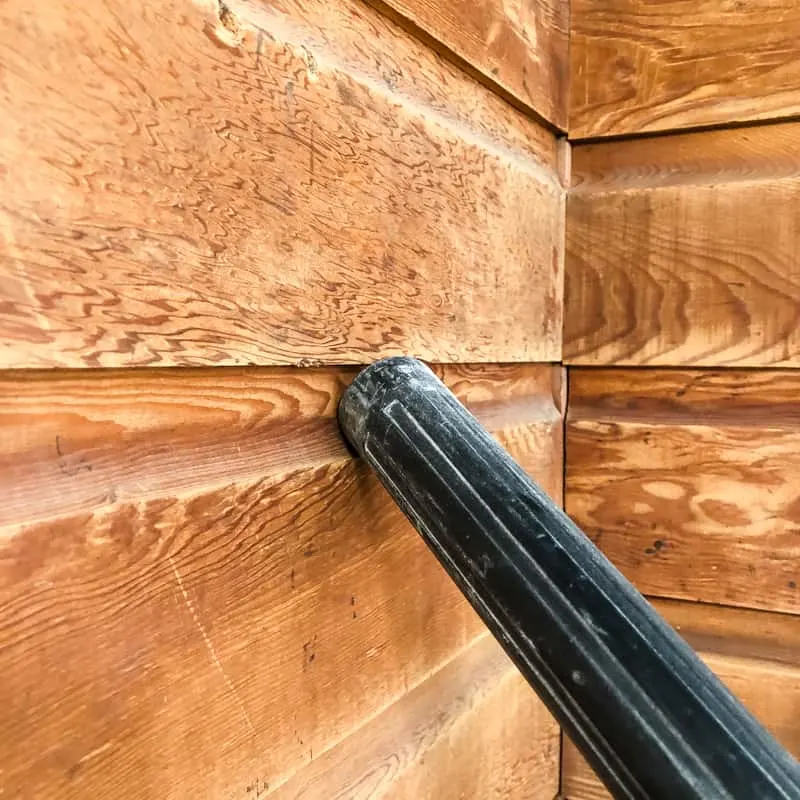
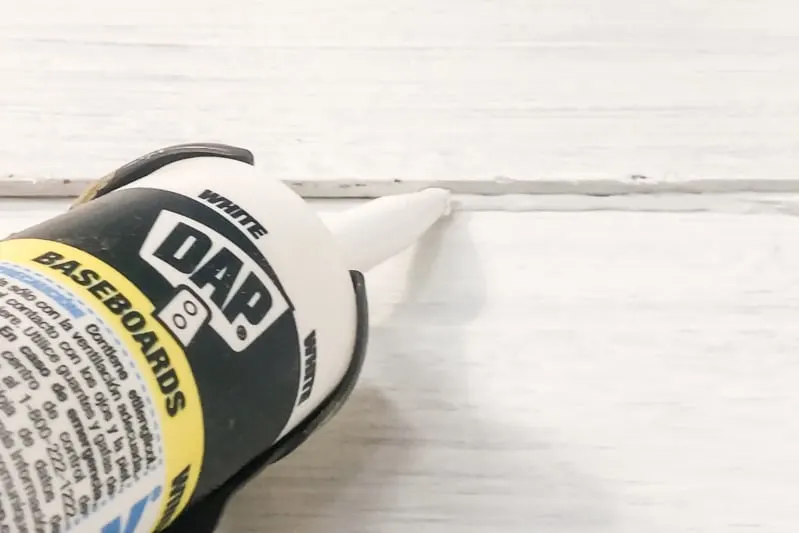
Caulk any Gaps
Some people prefer to caulk before paint or primer, but I like to wait until the last coat of primer is dry. It makes it much easier to see the gaps and cracks, because they stick out like a sore thumb with all that white!
Caulk will help to hide the transition between each panel or board while still allowing for seasonal wood movement. When the humidity rises, the boards can expand. Then, when the air is dry, wood contracts slightly and reveals the original color in the cracks.
Cut the tip off a tube of paintable caulk, then place it in a caulk gun. Run a thin bead along each seam. You can learn more about how to use a caulk gun here.

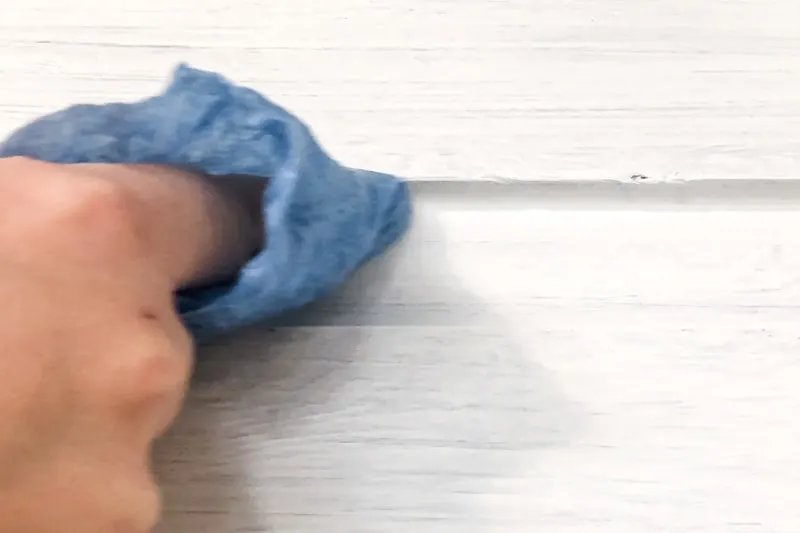
I like to use a wet shop towel (they have less lint than regular paper towels) to smooth out the line with my fingertip.

Apply Two Coats of Paint
The last step of painting wood paneling is the latex paint. I had an older gallon of white paint that I wanted to use up (am I the only one who hates storing leftover paint cans?)
Repeat the same technique as the priming step. Use the paint brush to get into the cracks and seams, then roll on the flat surfaces. Keep the brush handy to catch any drips!

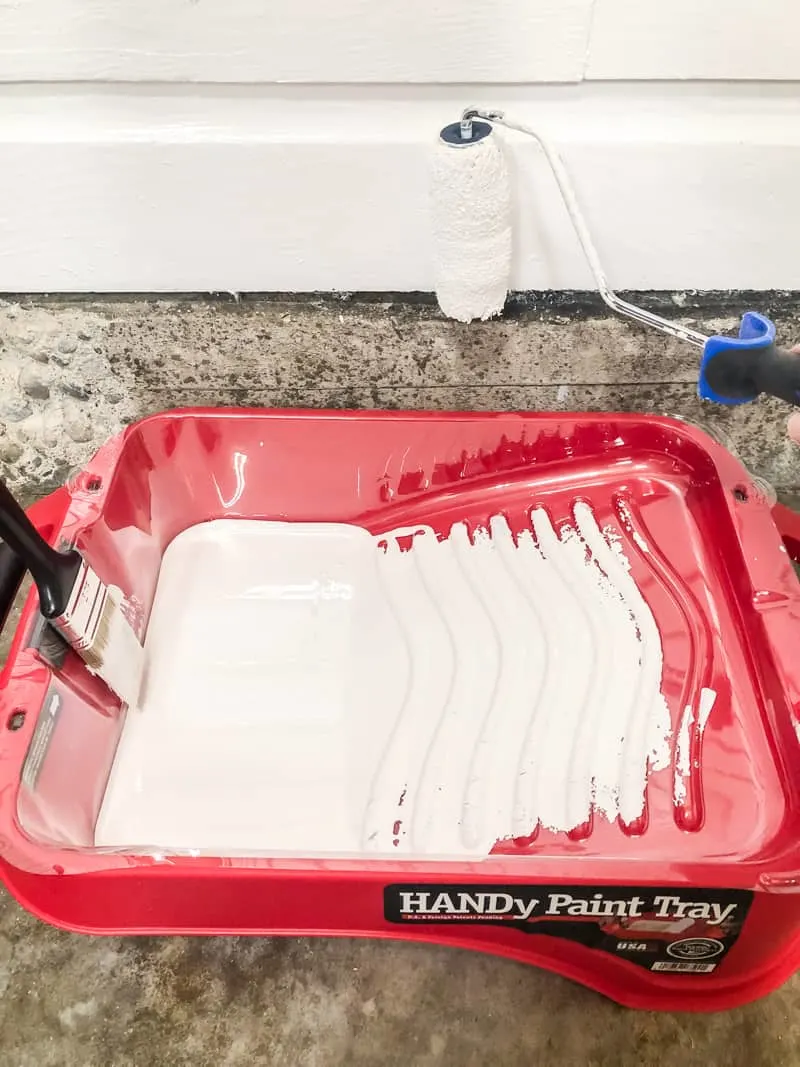
I applied two coats to get sufficient coverage. You may need more or less depending on how drastic a change you're making in the color.
Painted Tongue and Groove Walls Before and After
It's amazing how painting over wood paneling instantly makes the room feel more modern without hiding the character!
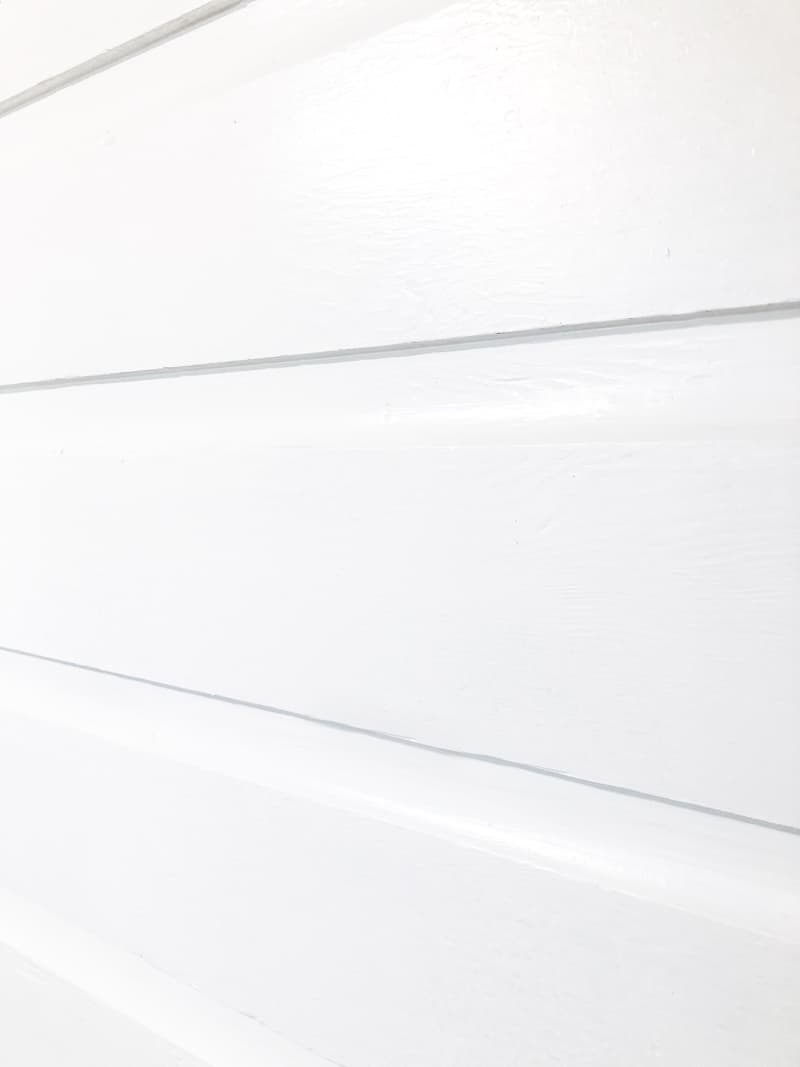
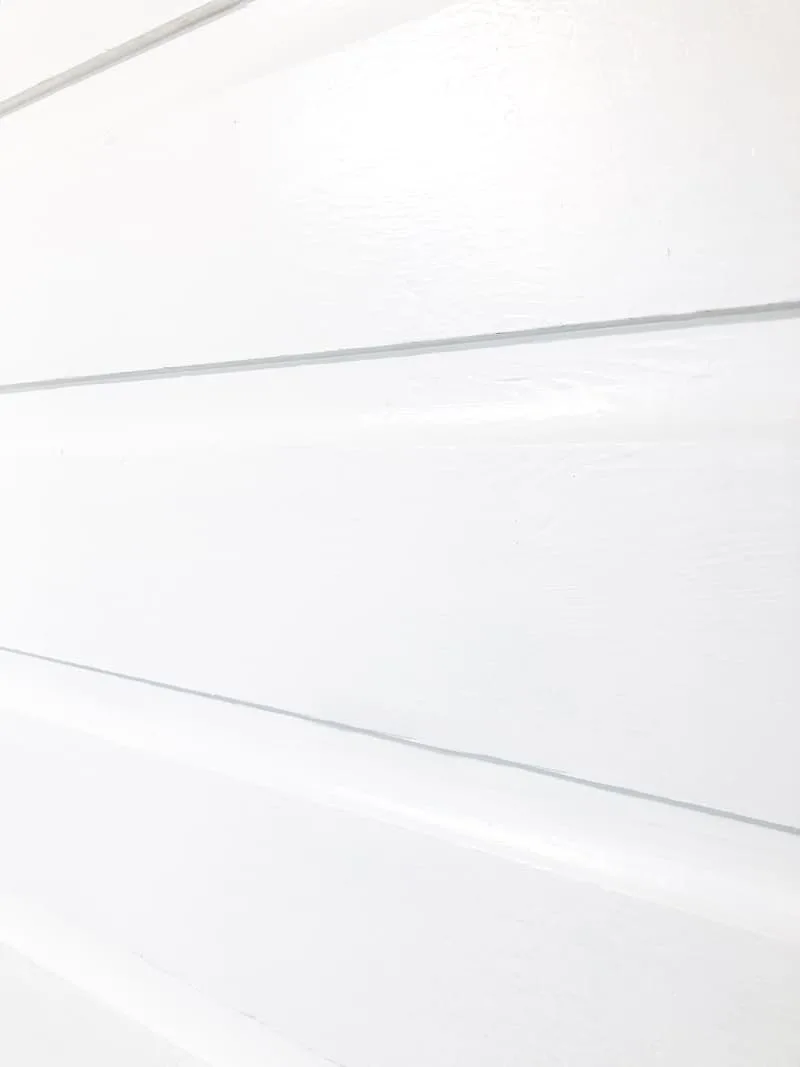
What was once a dark and dreary wall is now bright and cheery!

If you're on the fence about painting your wood paneling, I say go for it! It takes just a little more effort than painting a regular wall, and it can quickly update your space.
Check out these other painting tips!