This DIY Lego table is perfect for your little master builder! Uses IKEA Lack side tables and Trofast bins for an easy project anyone can make.
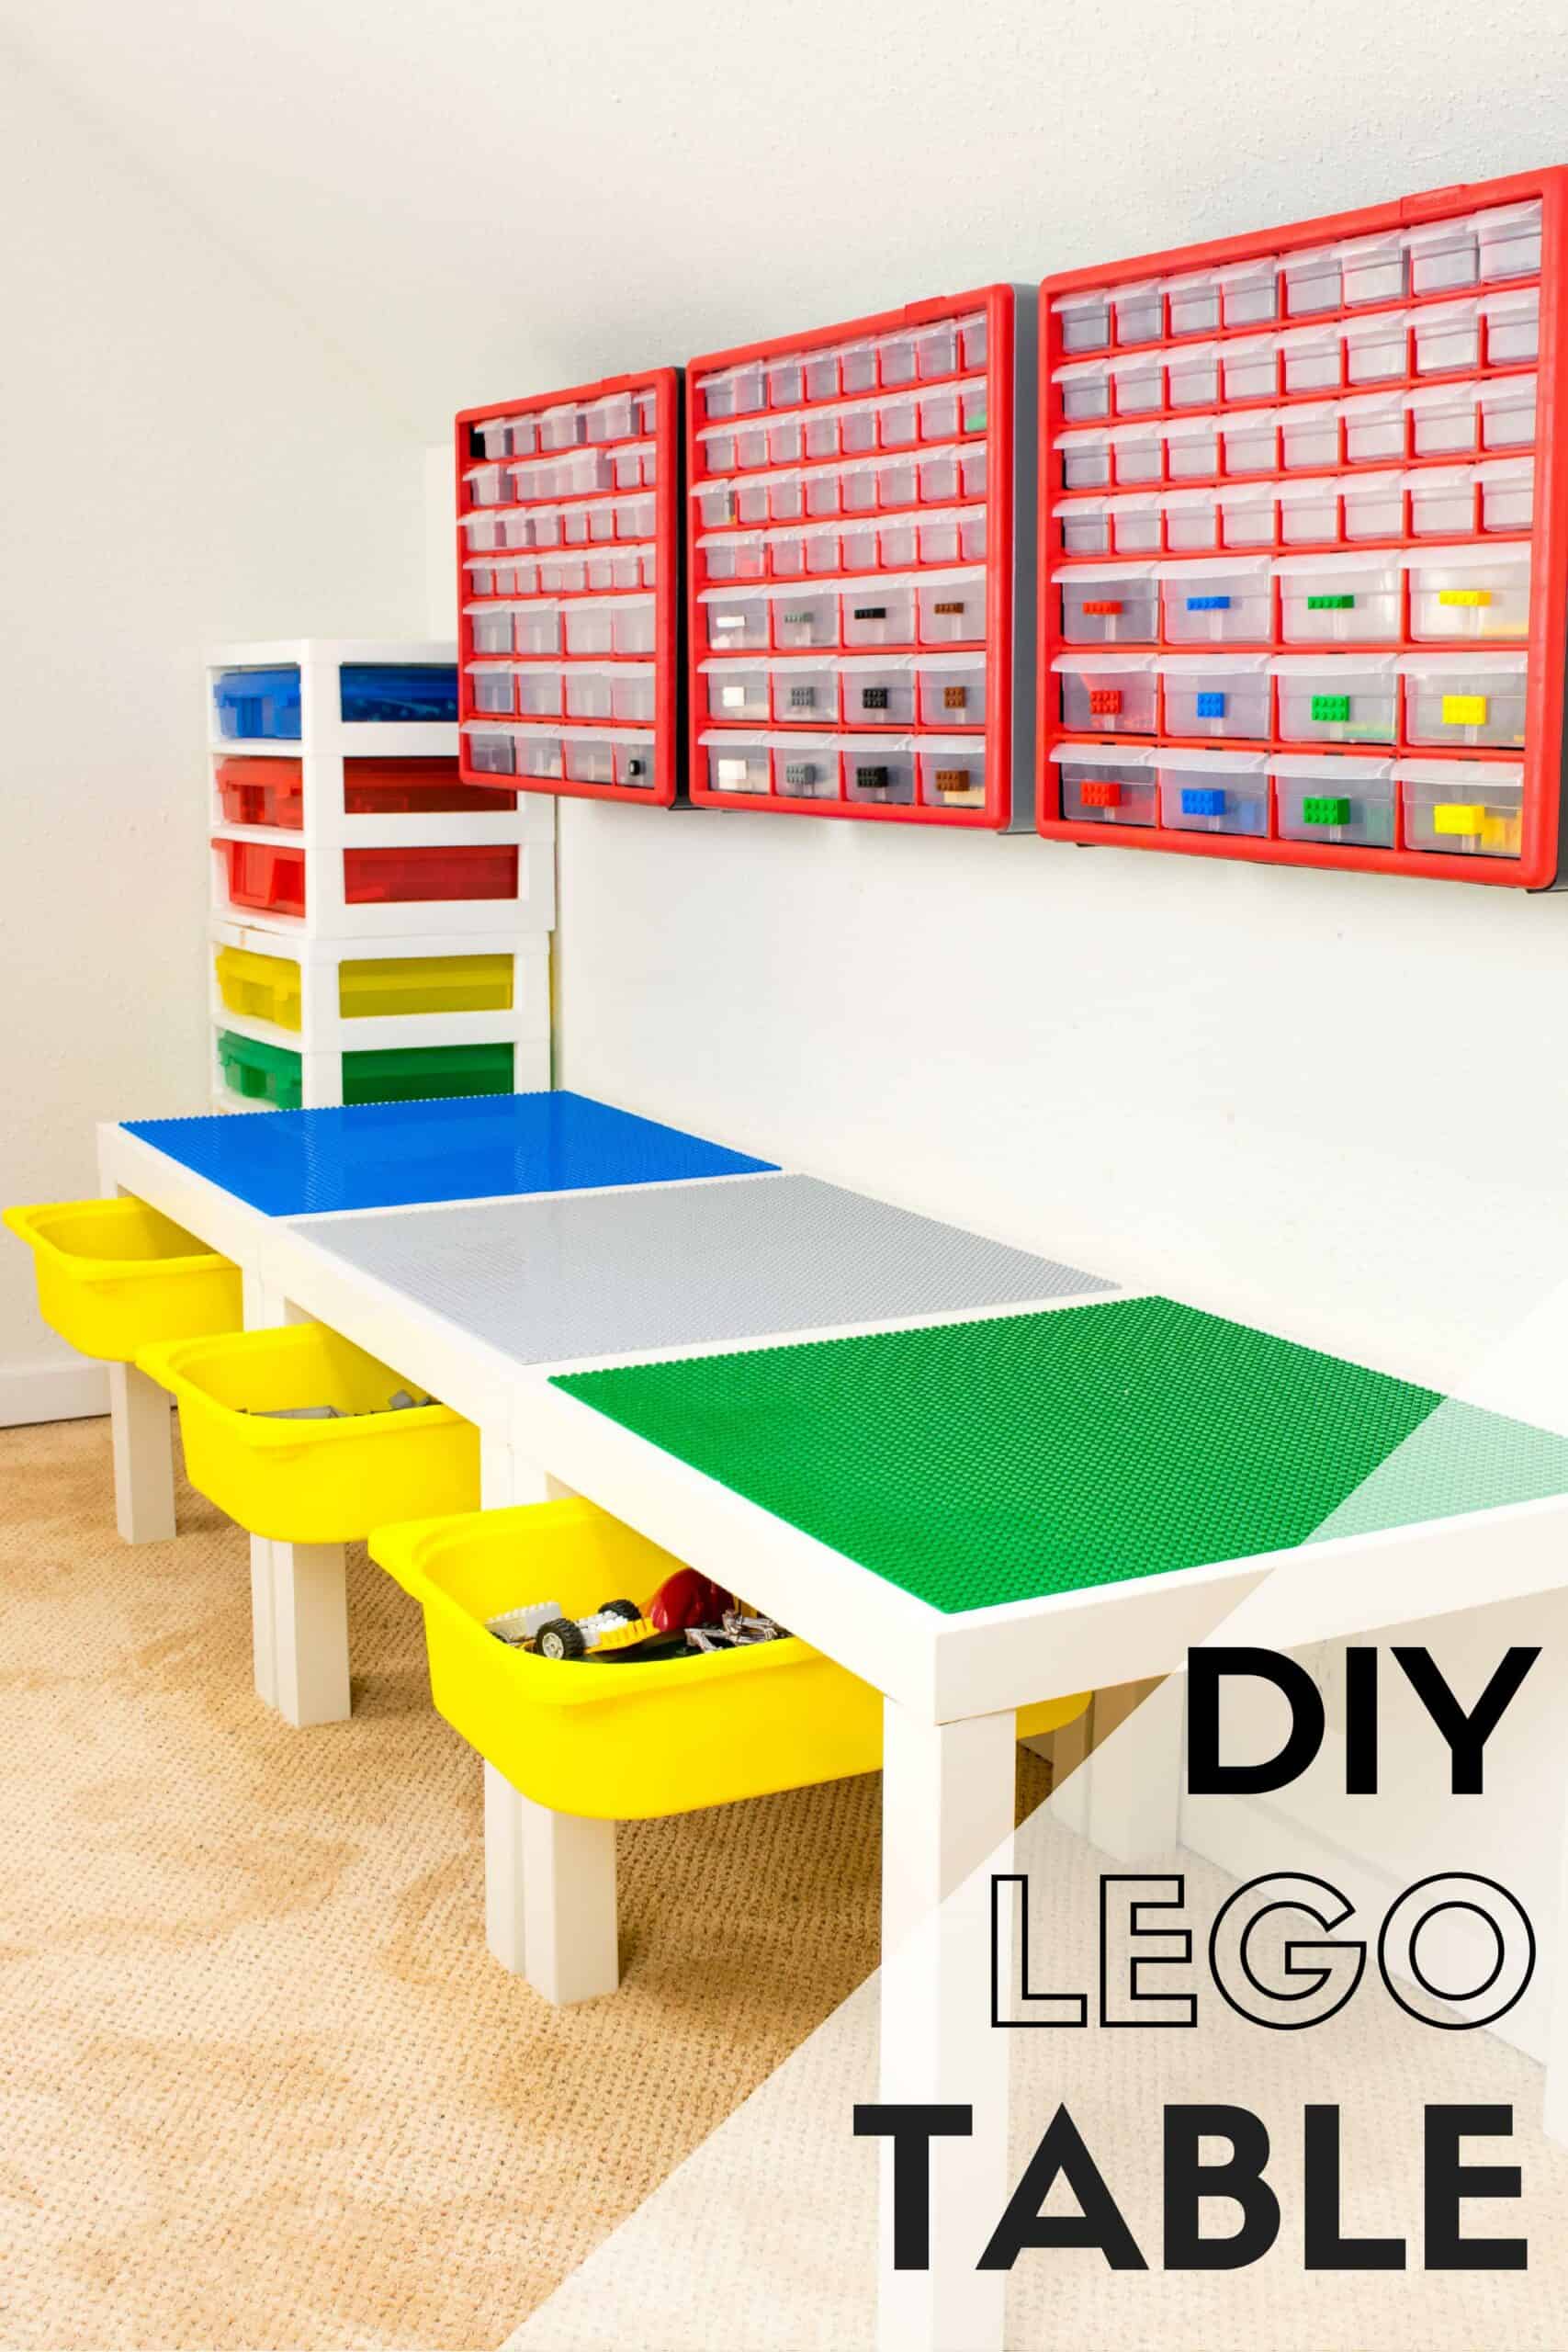

Does your kids' playroom look like a Lego store exploded? I know ours did! Pieces and partial builds were scattered everywhere, making it hard for our son to play with the toys he loves so much. As soon as I finished this DIY Lego table, he was hard at work creating an entire city!
I'm in the process of giving the playroom a complete overhaul. Our son is 10 now, and his play style has changed dramatically from when we moved here before kindergarten. Out goes the train table and play fort! *sniff sniff* It's gradually turning into a cool hangout space that will take him into the tween years (gulp!)
This post contains affiliate links for your convenience. Purchases made through these links may earn me a small commission at no additional cost to you. Please visit my disclosures page for more information.
Materials Needed
- IKEA Lack table
- IKEA Trofast bin and drawer slides
- Ask customer service or the missing parts desk at IKEA for the drawer slides (Part #120056). I got mine for free! If they don't have them or won't give them to you, try using the IKEA Billsbro drawer handles instead.
- Four 10" x 10" Lego base plates
- Gorilla Glue heavy duty double sided tape
- Gorilla Glue super glue or heavy duty carpet tape
- Adhesive Velcro strips
- I used the industrial strength, low profile version
- Small parts drawer cabinet
How to Make a Lego Table
Before you start, be sure to check out my video of the process below. It really is this easy to make your own DIY Lego table!
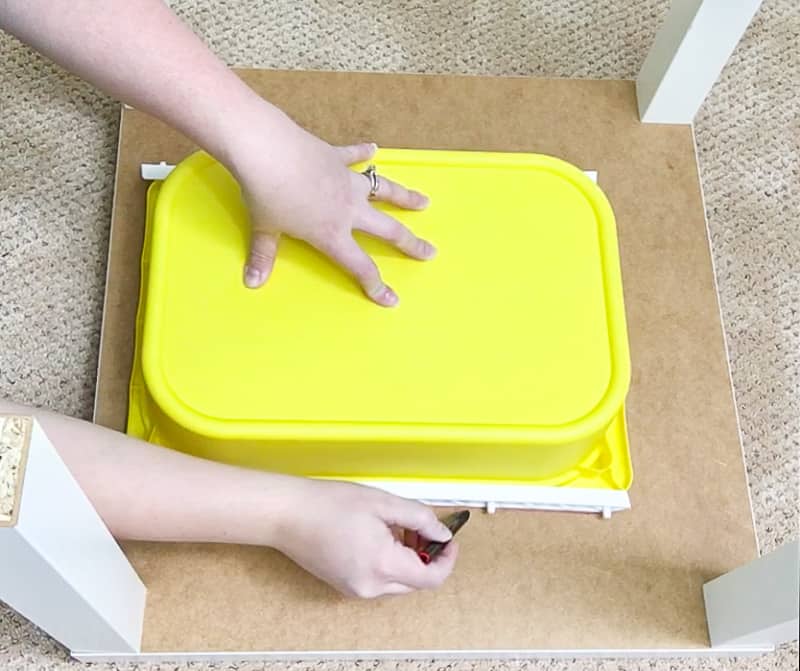
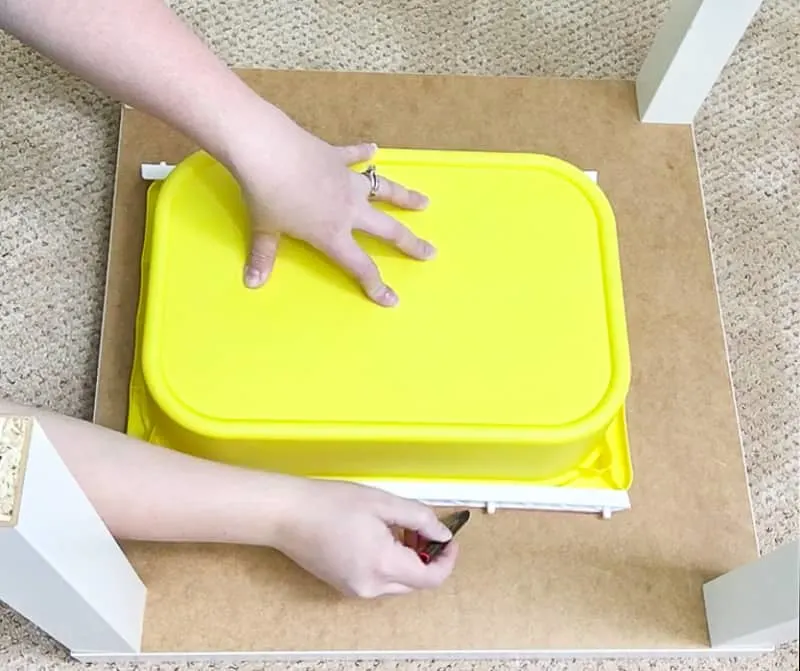
Attach the bin
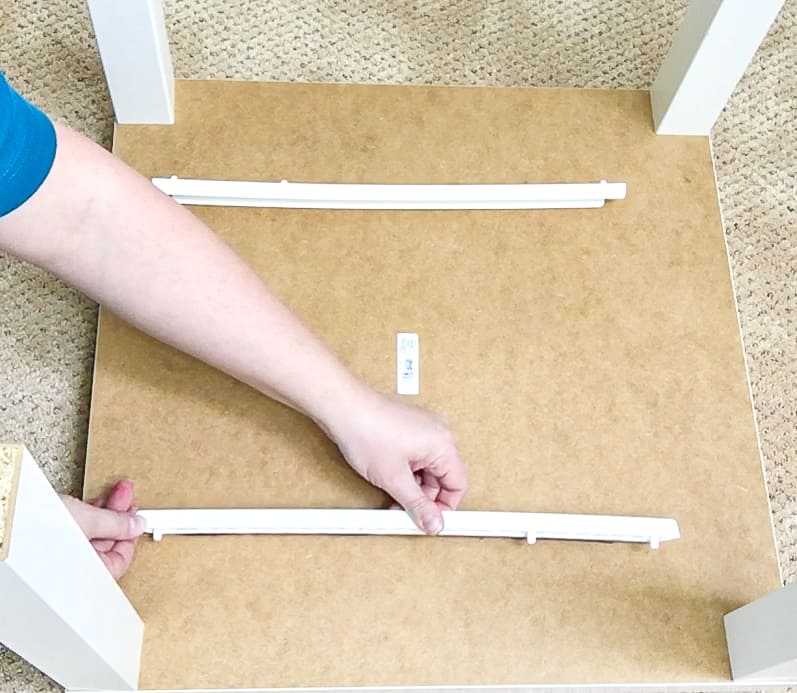
Flip the IKEA Lack table over and place the IKEA Trofast bin upside down, centered on one side. Slip the Trofast slides under each side of the bin and mark their position on the outside edge.
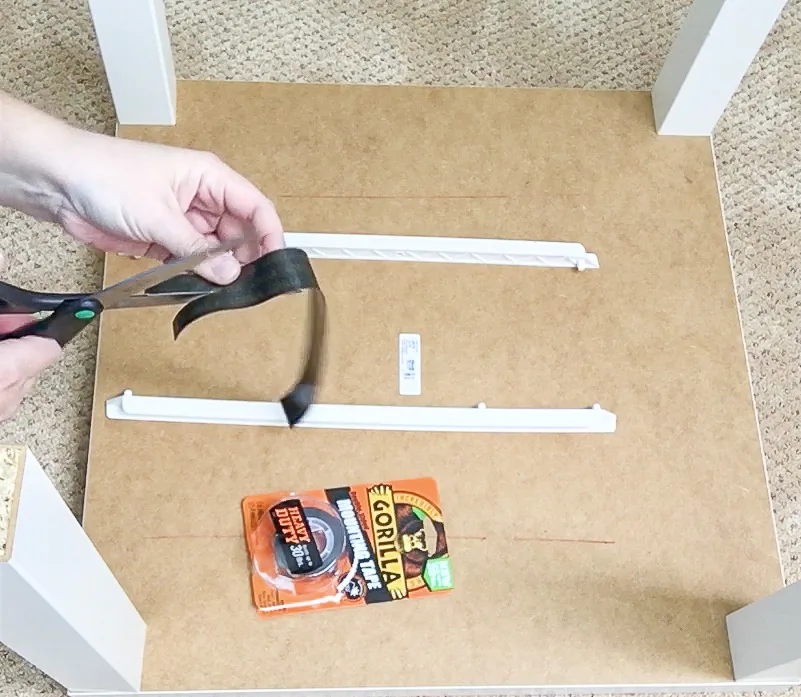
This heavy duty double sided tape is rated for up to 35 pounds, which is a lot of Legos! Cut a strip in half, and stick it to the thinner side of the drawer slides.

If you can't get these slides at the store, IKEA Billsbro handles are the next best thing! Mount them with the screw holes facing the bottom of the table. You might want to combine the tape with screws, since the middle of the table is just cardboard so there's not much for the screws to hold on to!
Peel off the backing and attach the rails to the underside of the table along the markings. Press and hold them in place for 15-30 seconds so they adhere properly.
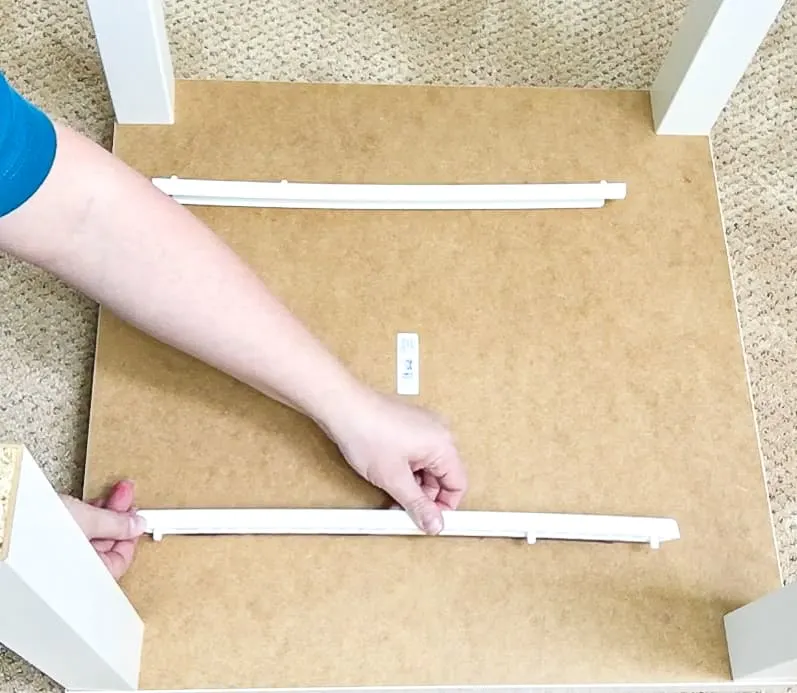
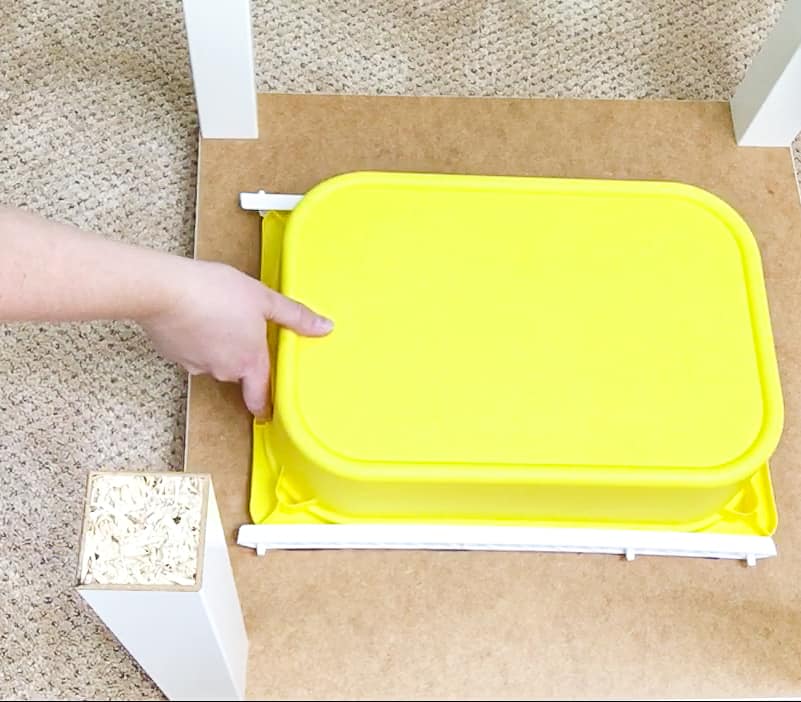
Test to make sure the bin can slide freely without falling out. Then flip the table over.

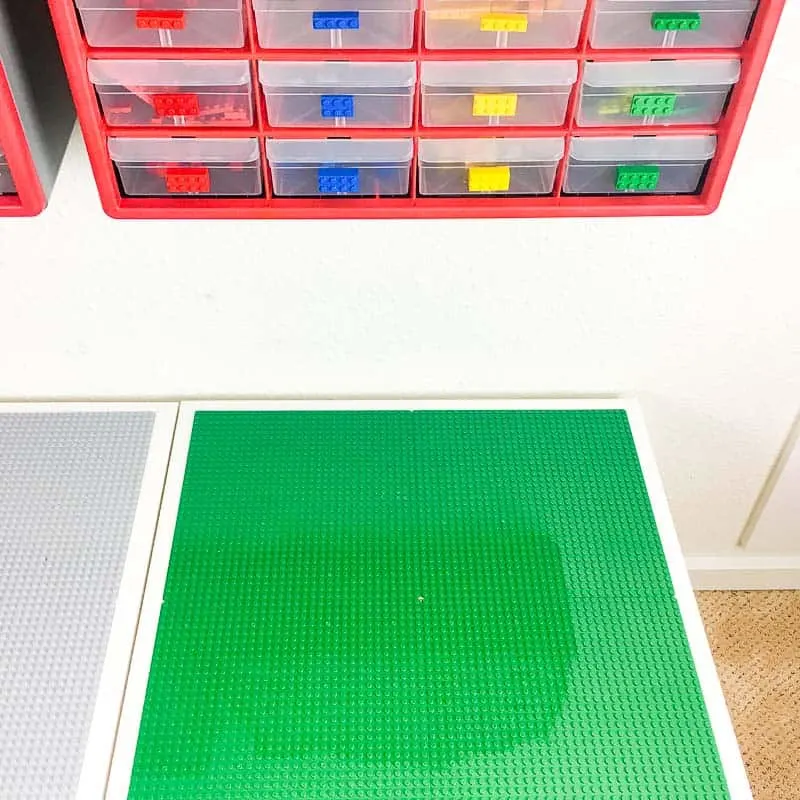
Attach the base plates
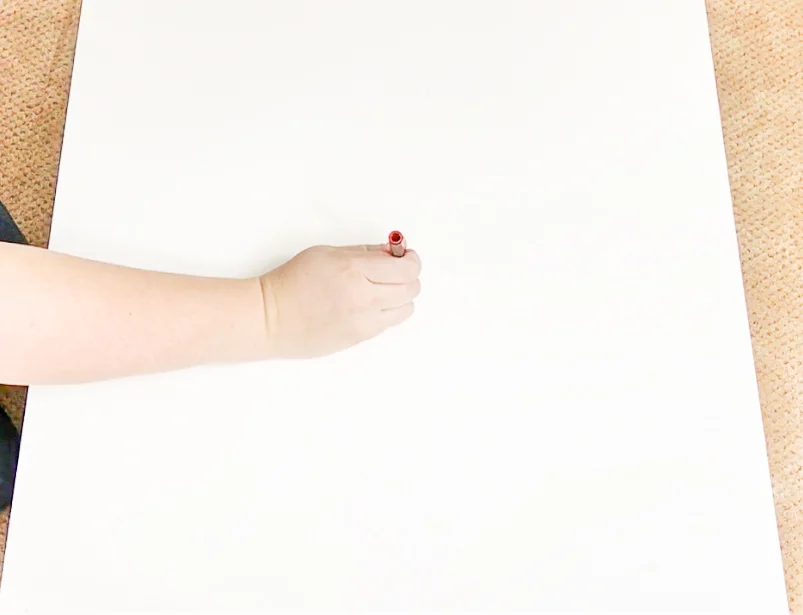
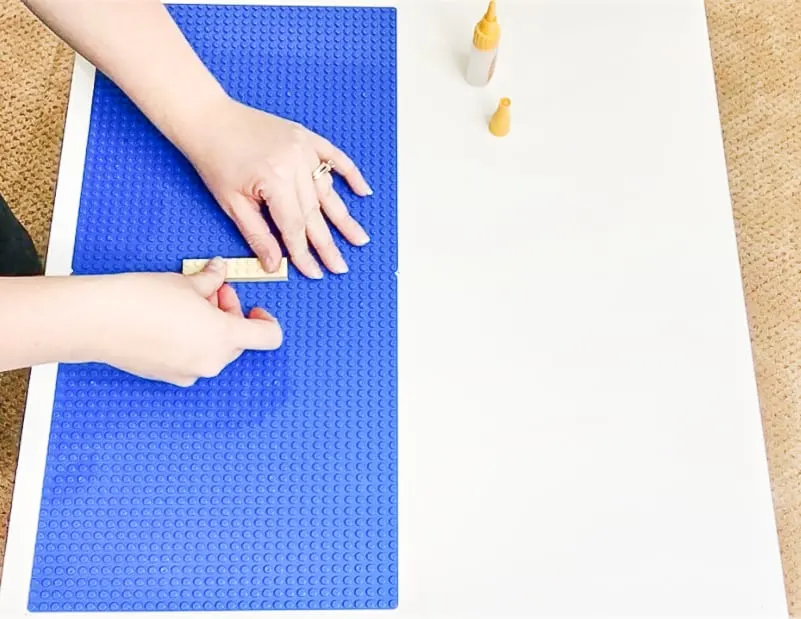
Mark the center of the table, then arrange four 10"x10" base plates around it. Mark the outside corner of each plate, so they'll all be straight when you glue them in place.

Glue the back of each of the base plates, then place them on the table at your marks. In the video, I used double sided carpet tape instead. This keeps them in place better than glue and allows you to use the baseplates for something else in the future!
Use Lego pieces to connect the plates with the correct spacing in between. Place something heavy on top of the plates while the glue dries.

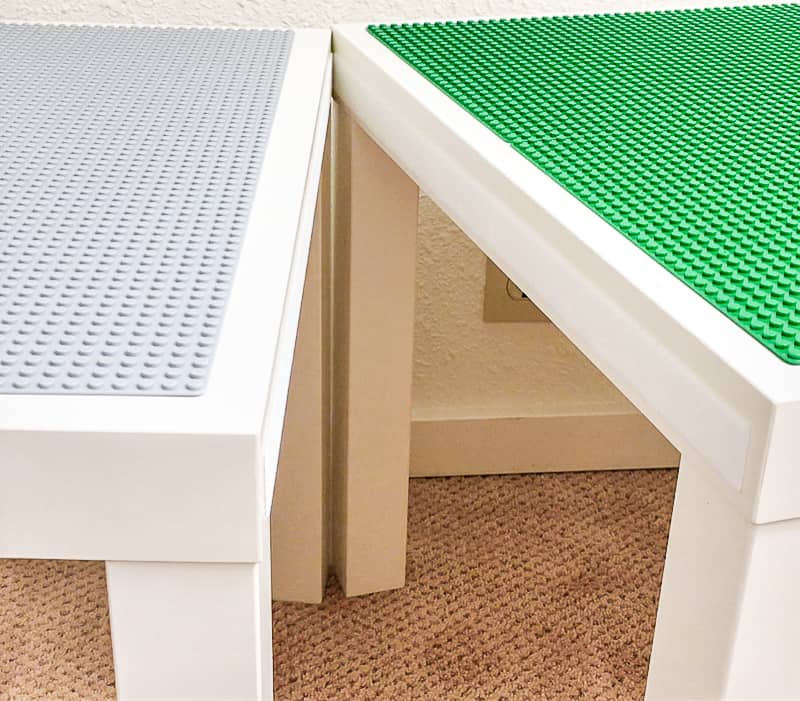
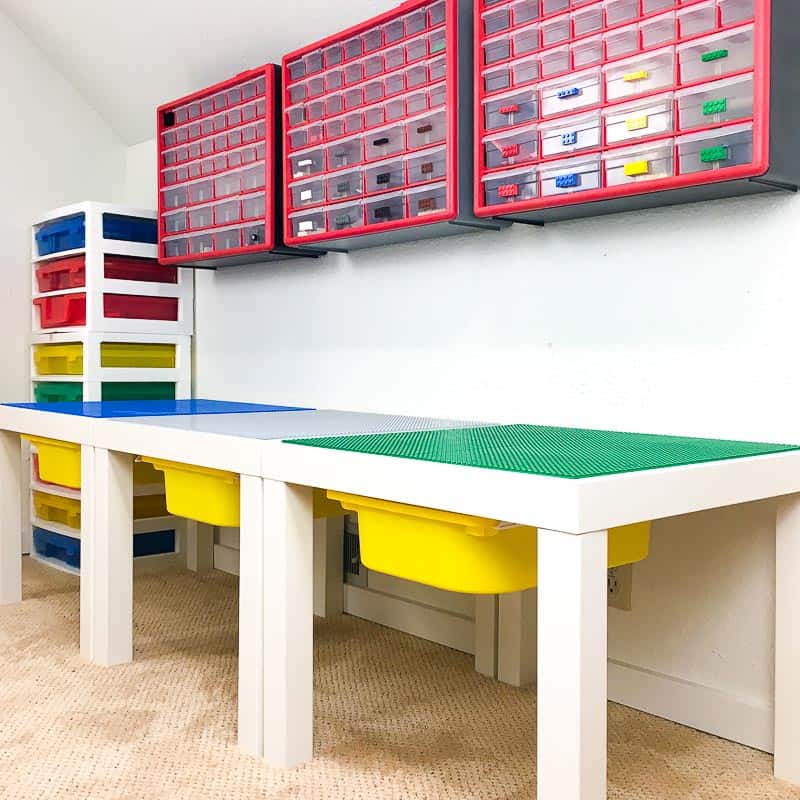
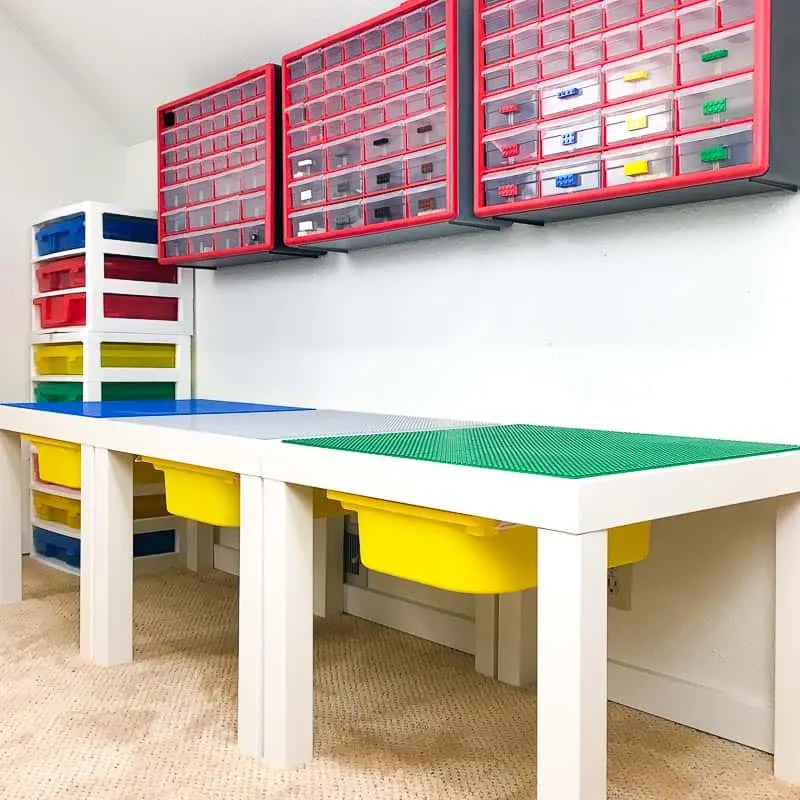
Connect the tables
I applied adhesive Velcro to the sides of the tables to hold them together. The low profile Velcro creates less of a gap between tables where small pieces can get trapped. And the industrial strength gives the long row of tables better rigidity, which is important when you're building a skyscraper or ninja fortress!

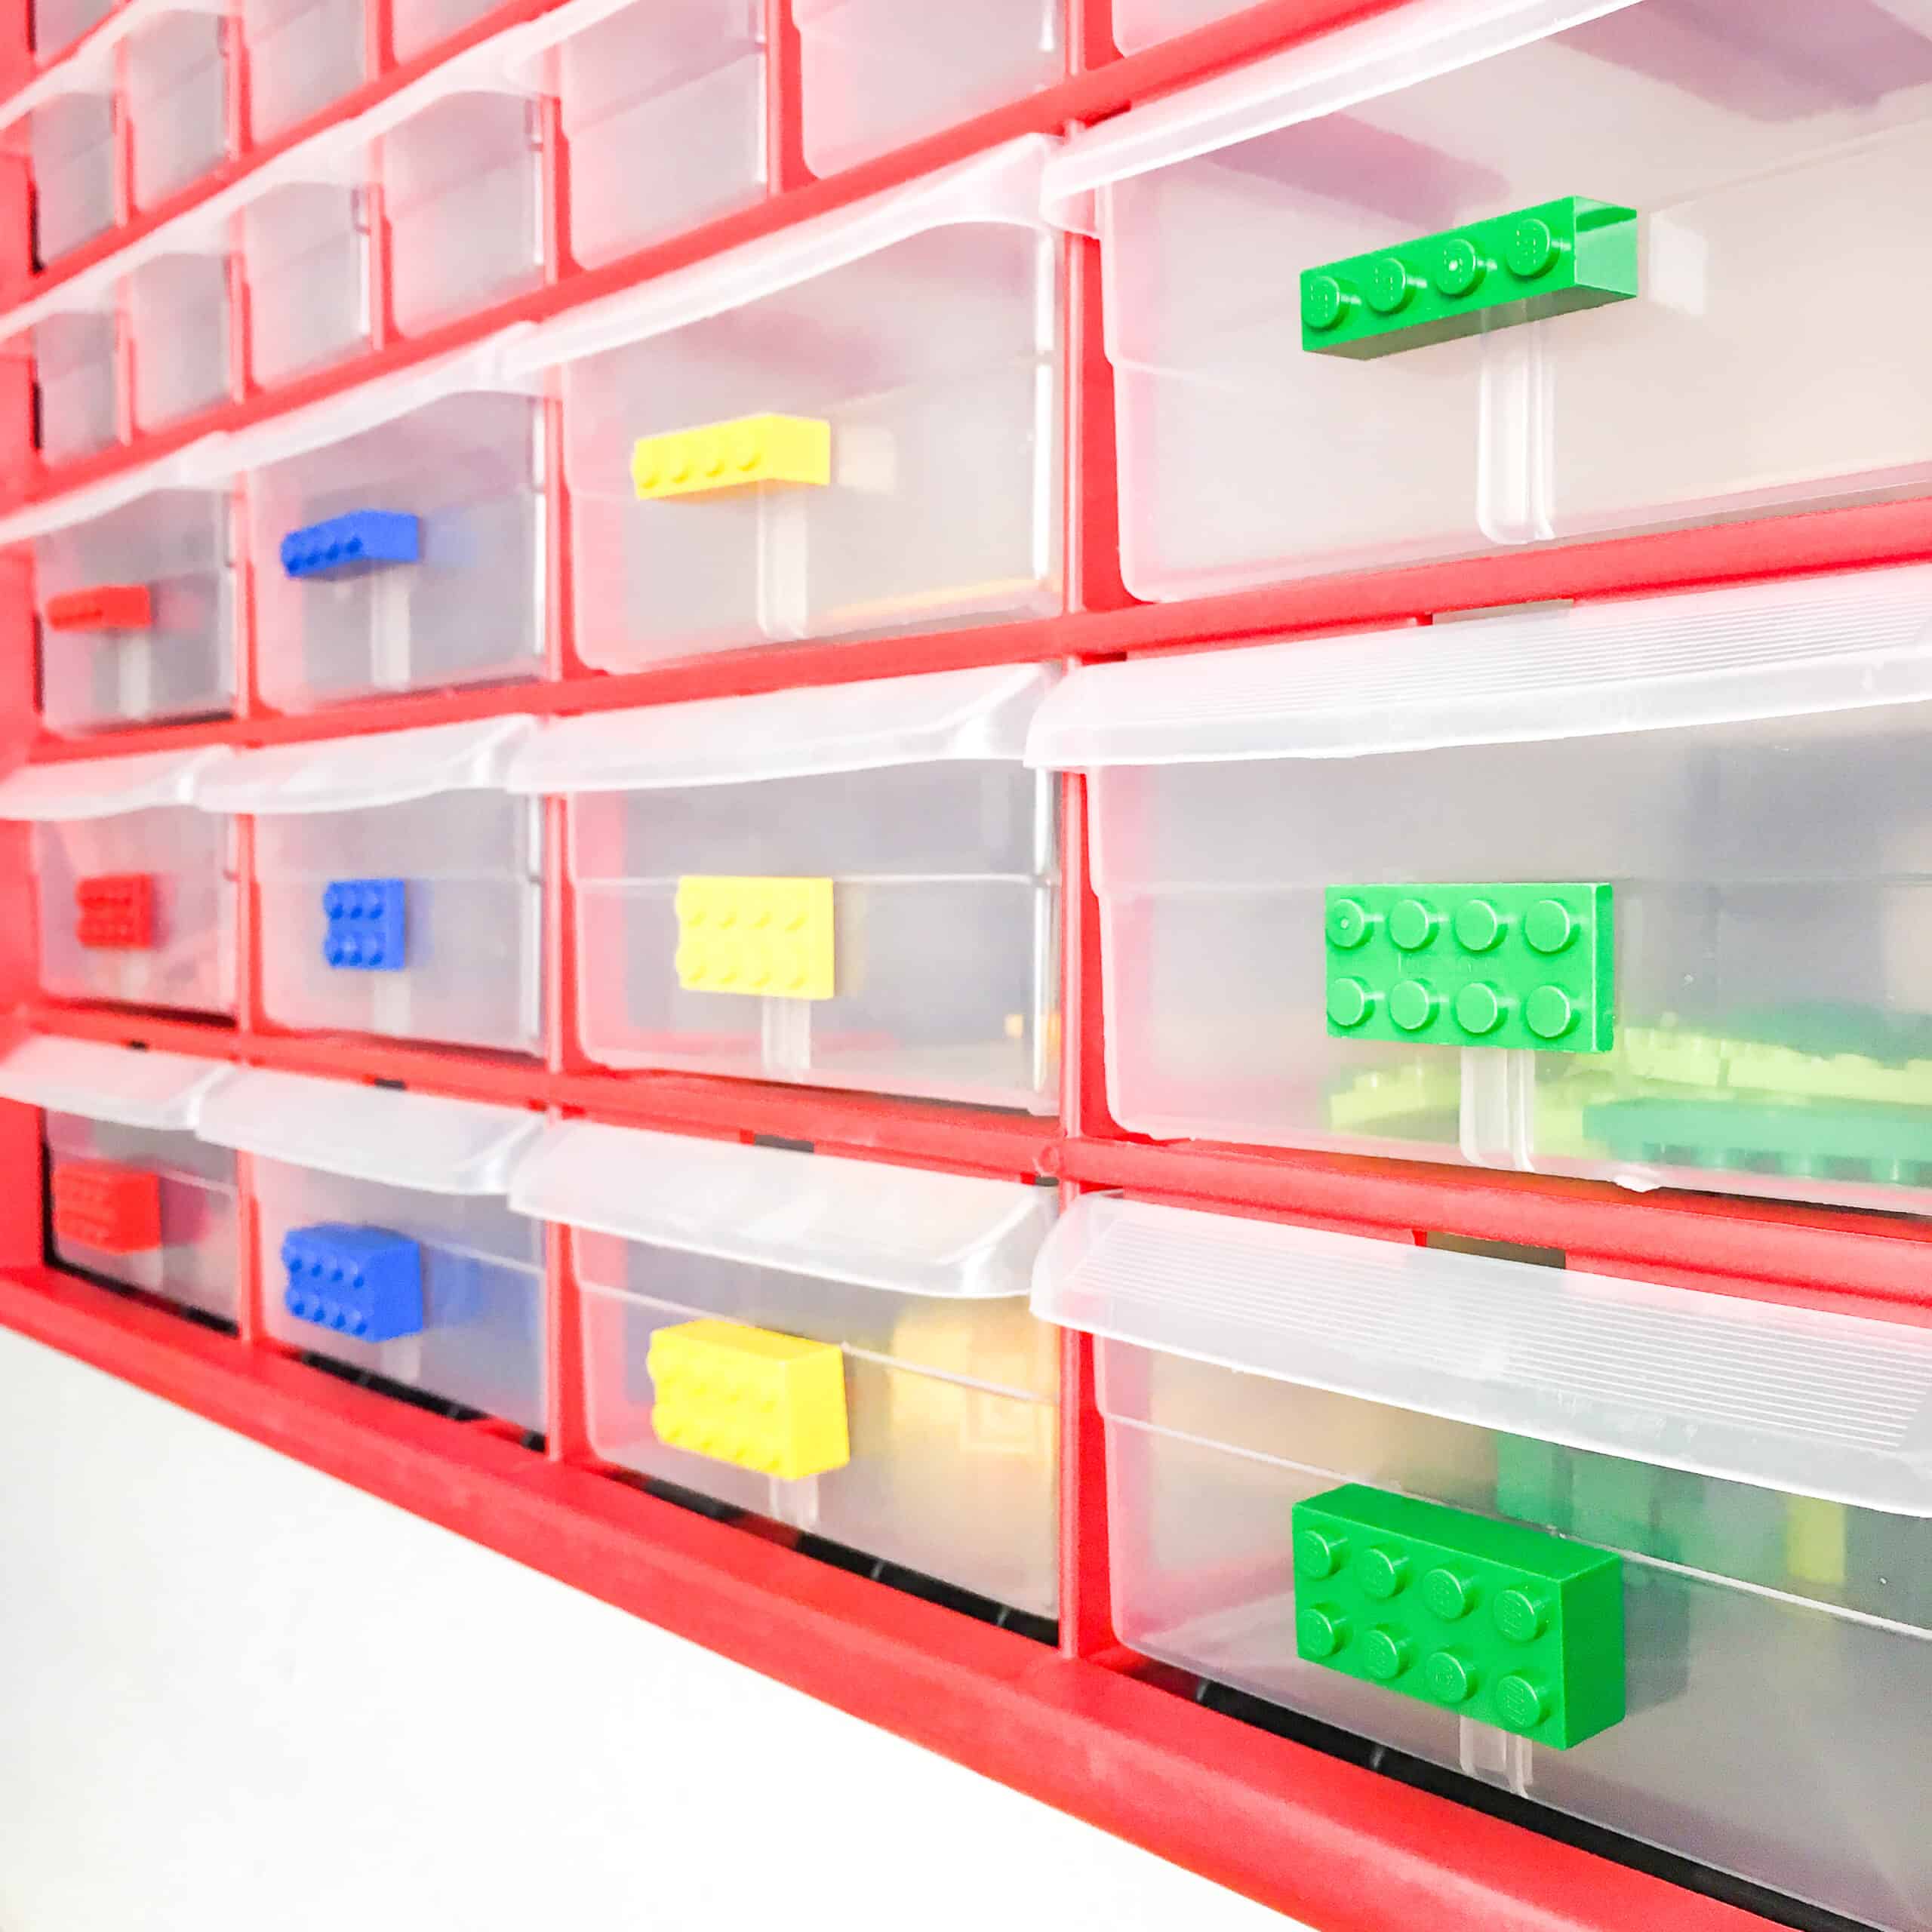
Add small part bins for more Lego storage
I bought one of these small part bins a few years ago, and it was great for keeping everything organized. But without a label to identify what was inside, those pieces were quickly forgotten.
I used the same double-sided tape to attach one Lego piece to the front of each drawer. Now he can grab what he needs and keep building!

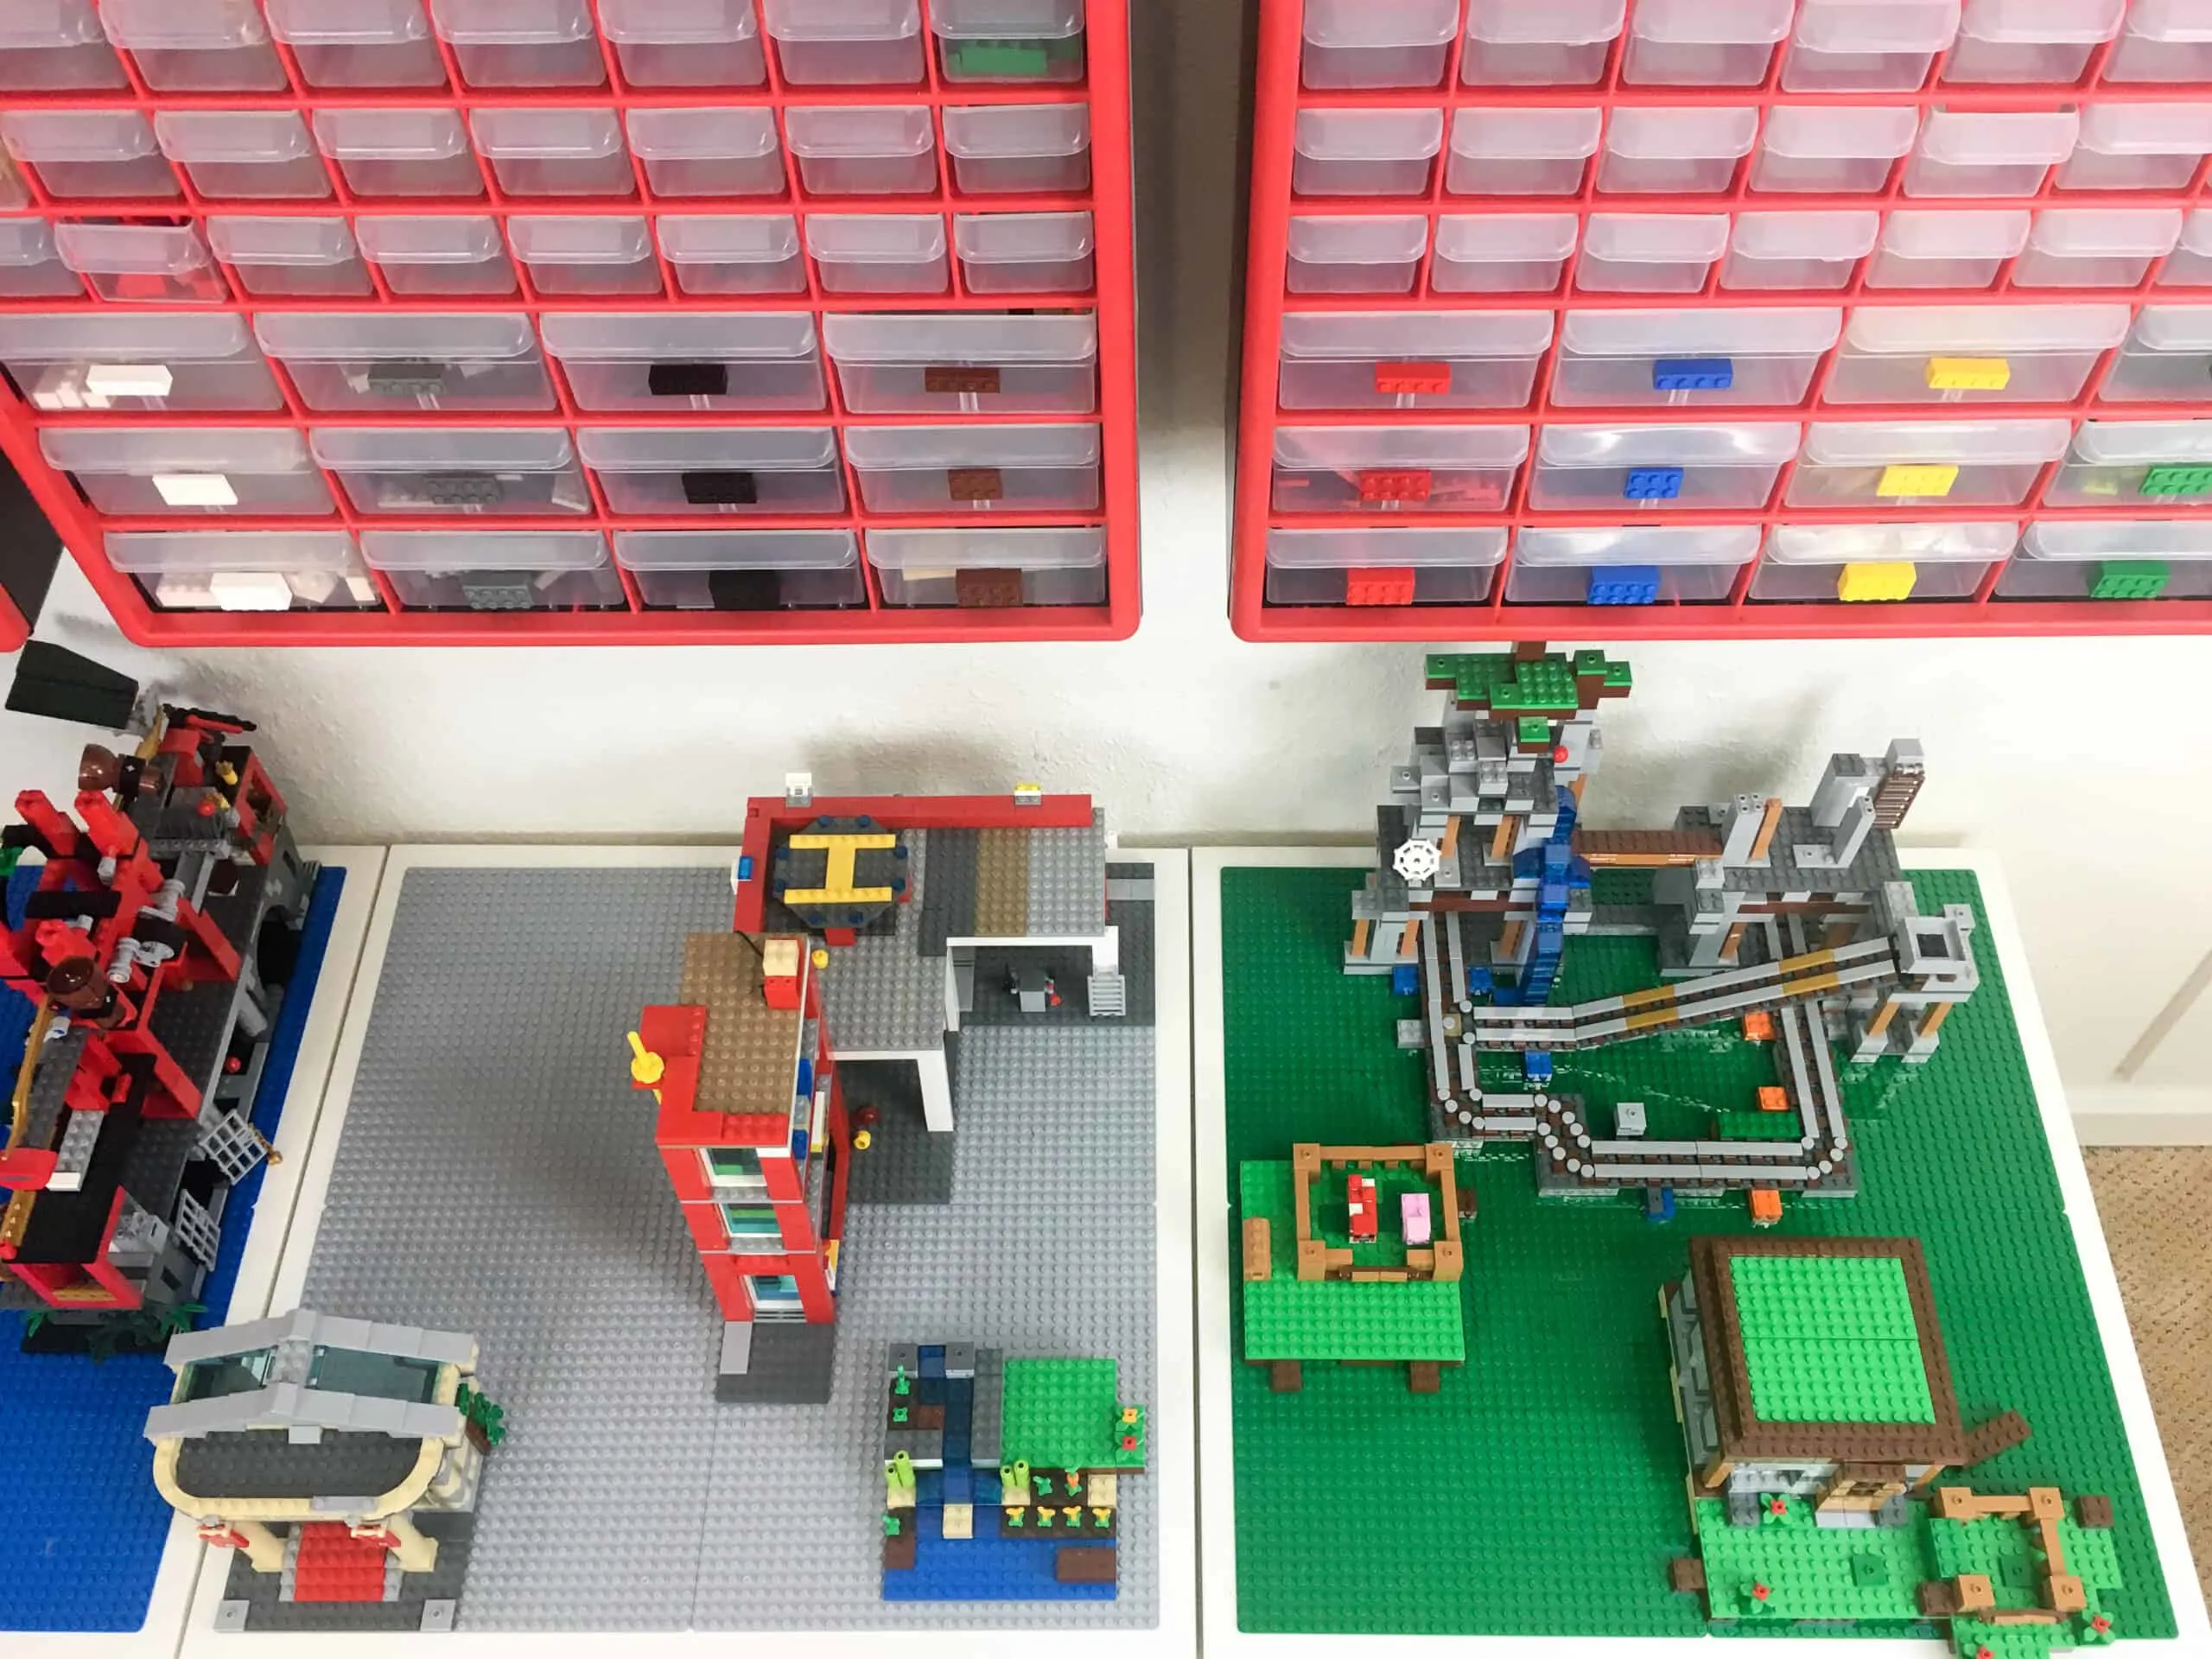
I attached each bin cabinet to the wall above the Lego table for easy access. Sorting all his pieces into the correct bin is a work in progress, but it's getting there!
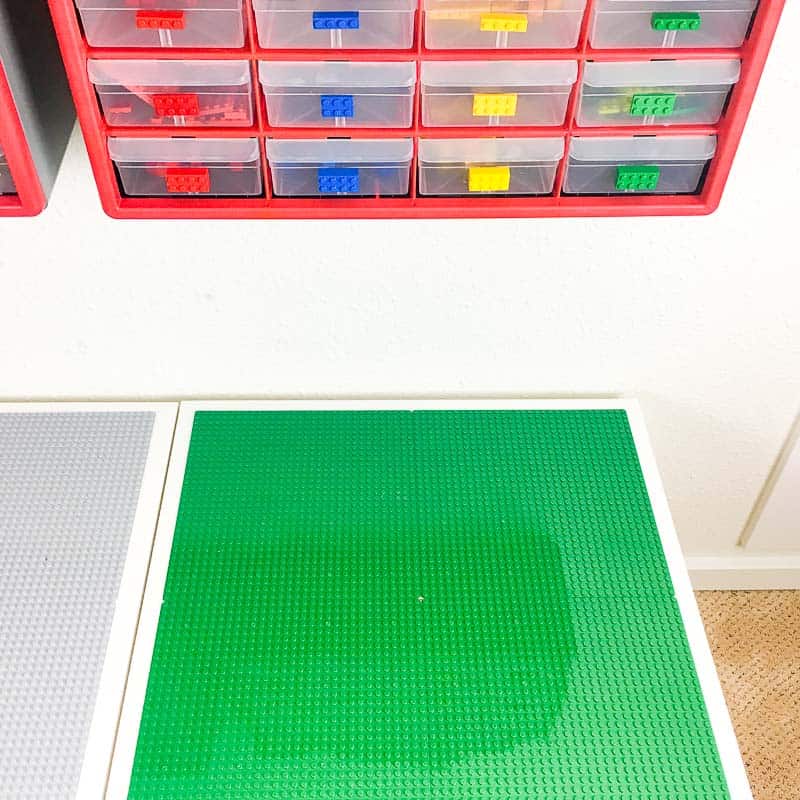
Loose pieces get tossed into the drawers underneath to be sorted later. Full sets that have been disassembled are kept in the bins of the storage tower in the corner.


He prefers to sit on the floor to play and build, so I didn't bother with chairs. Small ones like these should be able to fit underneath without a problem.
I just LOVE the bright colors in the playroom! I'm glad we kept the walls white so the colors really pop.

Within minutes, my son had put together all his Lego buildings into one massive city! Where else can you find a Ninjago temple, fire station, museum and Minecraft farm all in one place?

Other Lego storage ideas
Whether you have a large Lego collection or just a few sets, you'll need some sort of Lego storage to get all those little parts organized! Over the years, I've made lots of projects to help keep everything off the floor and easy to find.
I've added a new IKEA Lego table to the room, and it fits a TON of Legos! Check out more IKEA Trofast hacks like this one here!


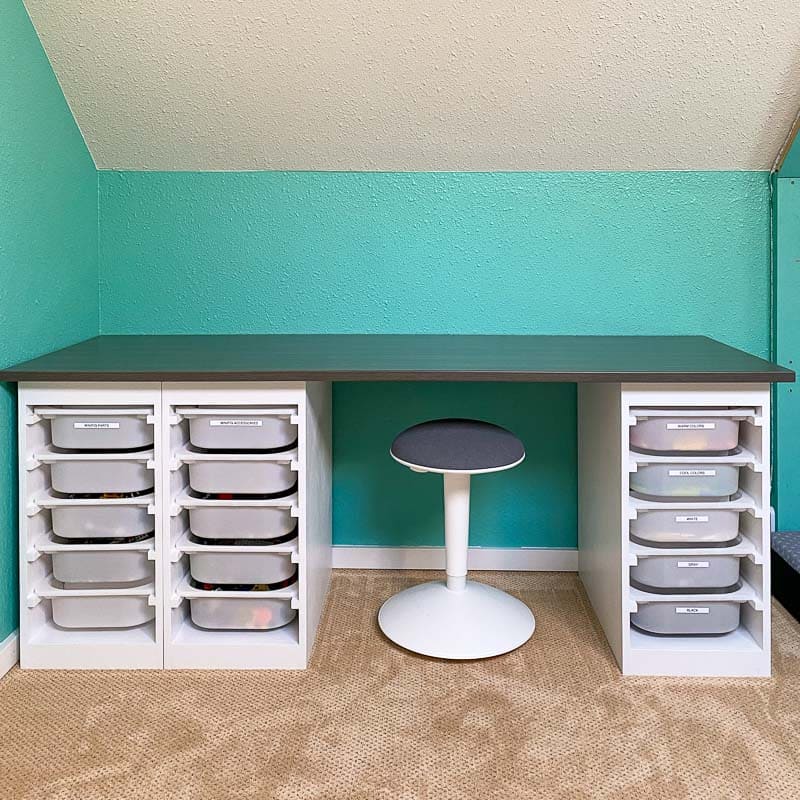
As he got older, I made him this Lego desk that also gives him a space to do his homework.

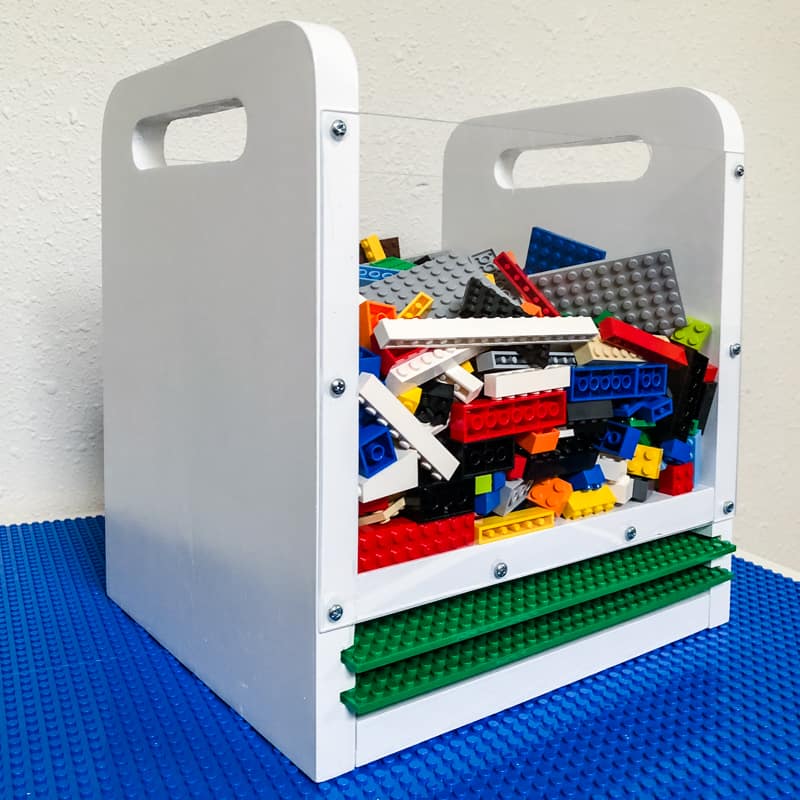
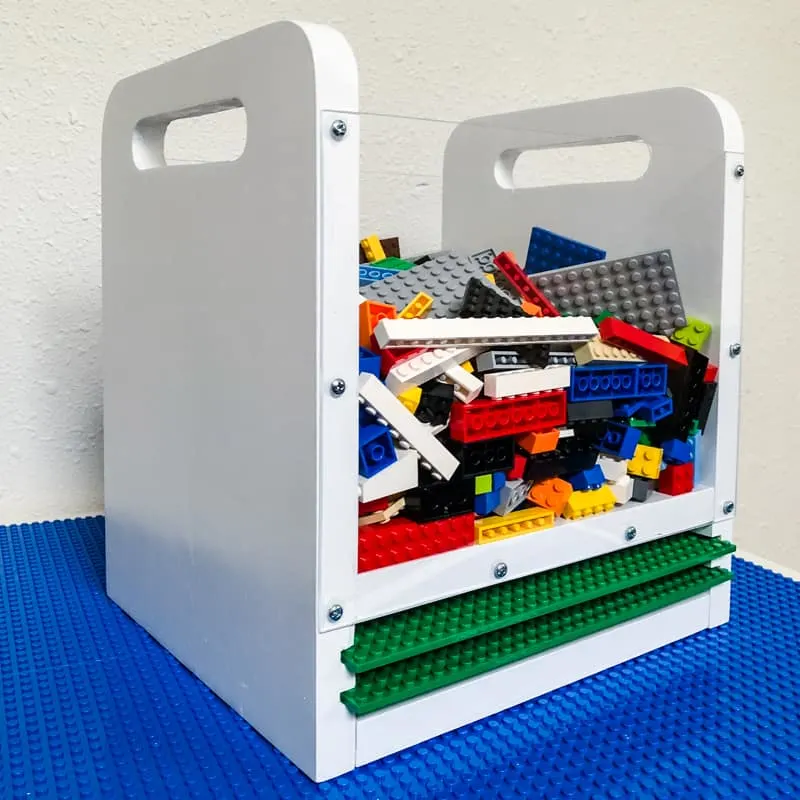
This clear sided Lego bin to make it easier to find that elusive piece at the bottom, and the chunky handles allow him to grab the bin and haul it across the room or to a friend's house.
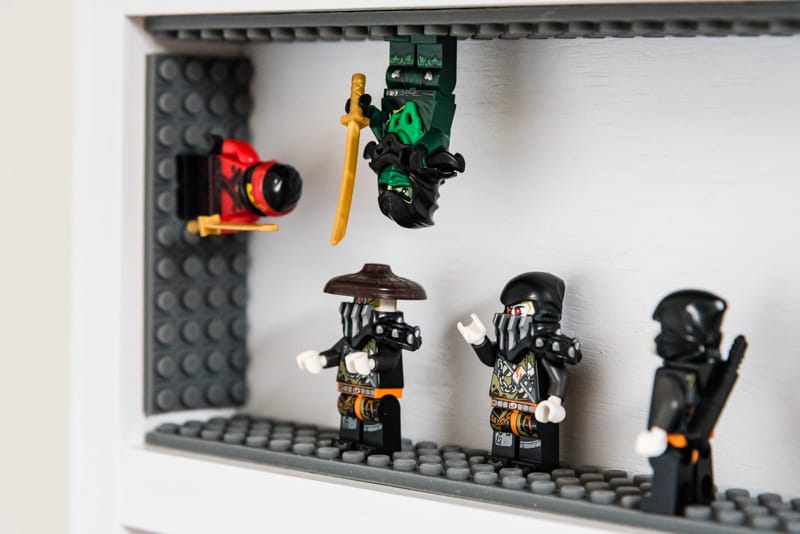
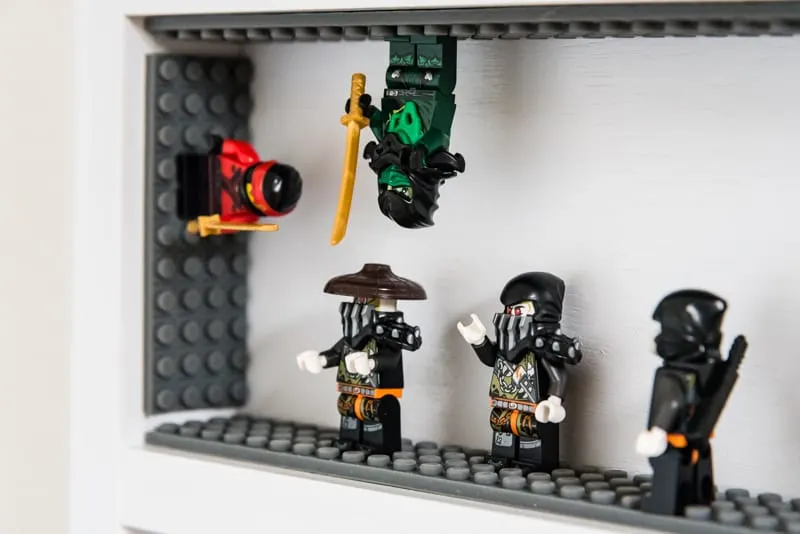
And his favorite characters are displayed on the wall with this fun DIY Lego minifigure display case!
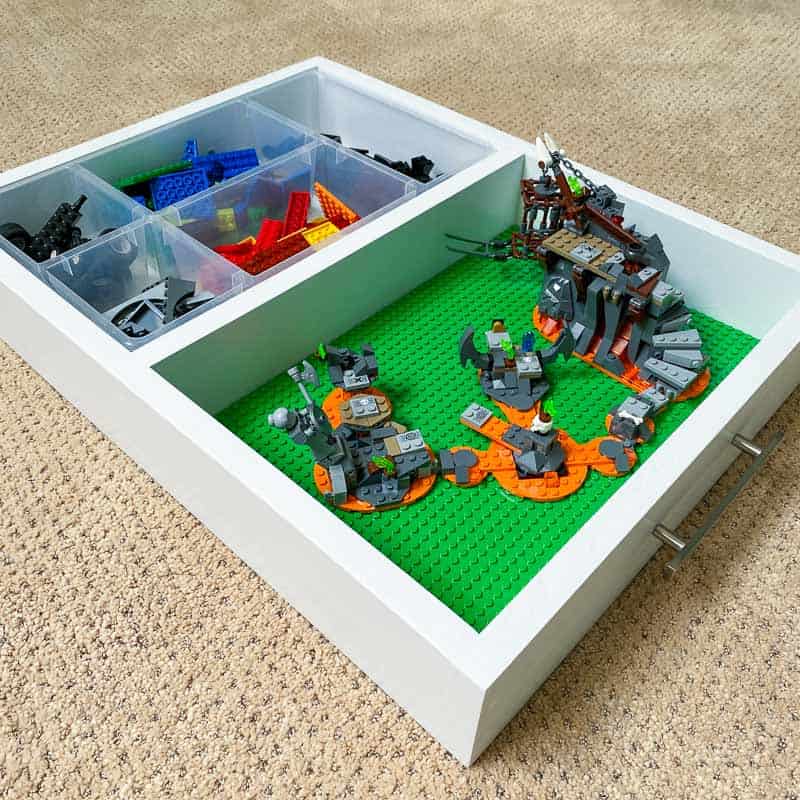
This Lego tray is perfect for taking his creations across the room or across town.

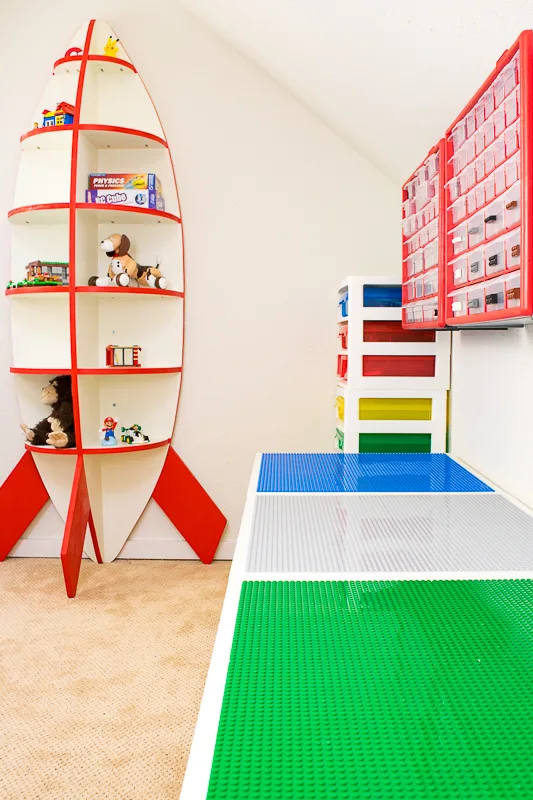
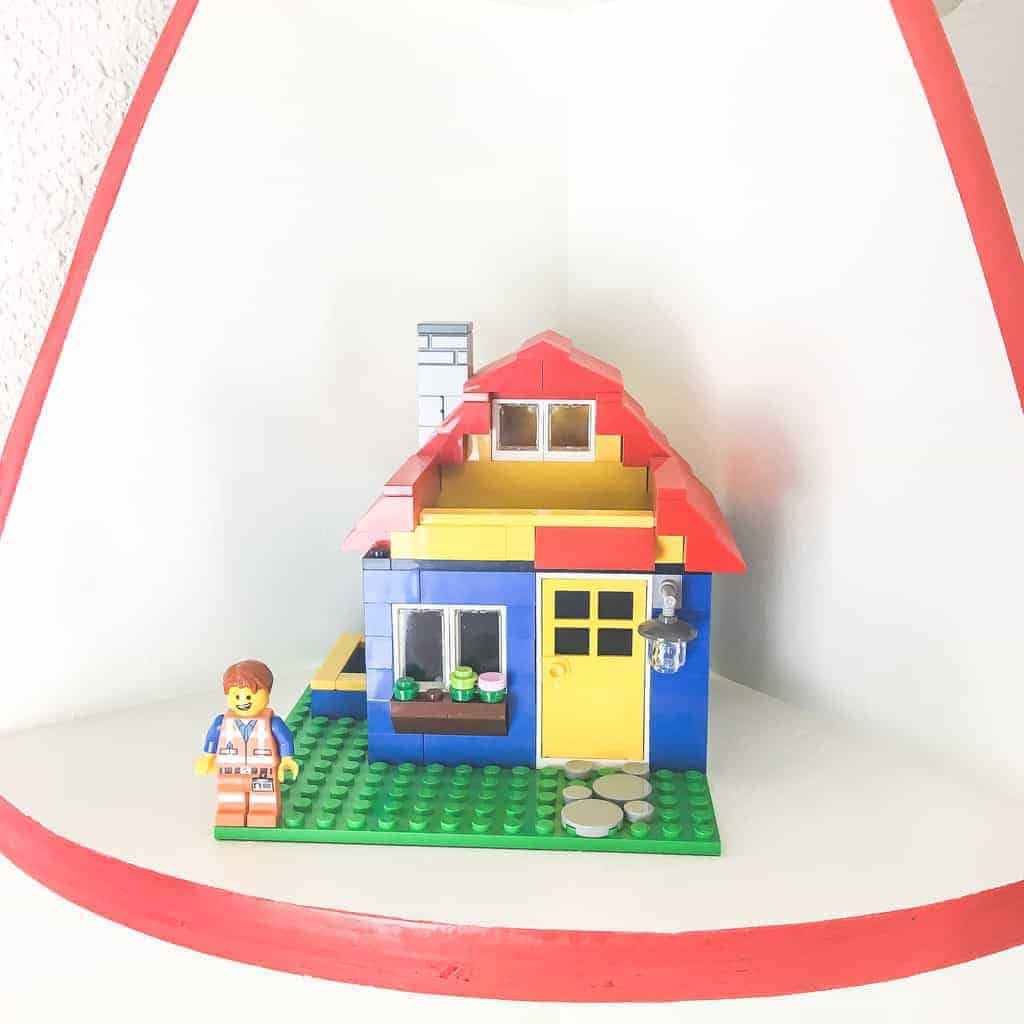
When he's finished, he can display Lego builds on his rocket bookshelf!
How do you store and display your Lego? I'd love to hear from you in the comments below!
Andrew
Wednesday 19th of December 2018
Thank you for this idea, I have just made one of these as a Xmas present for my 2 year old who loves his Duplo. I was glad to see that Duplo is also compatible with normal Lego so I decided to use normal Lego base plats allowing the table to last him longer when he starts using normal Lego. I filled out a spears form on Ikea's website and they emailed me to say that two drawer slides had been posted out direct from Sweden. You realy can not fault their customer service.
I also ordered some soft bumper edging for round the side from eBay just in case he falls in to the table.
Vineta
Saturday 22nd of December 2018
Wow, that's great that they'll ship out the drawer slides! Hope your son loves his new Lego table!
Bobbie
Sunday 16th of December 2018
IKEA would not give or sell me any drawer slides. I sent my husband to Homedepot to get the ones you suggested and he doesn’t want buy them. He says they are super flimsy made to hold electrical wires and there is no way they will hold the drawers full of legos. Any other suggestions? I already bought the whole set up and it’s ready to be built I’m just stuck on the drawer situation now.
Vineta
Sunday 16th of December 2018
I was actually just about to add something about this! I've heard that the IKEA Sektion suspension rail fits the lip of the bins perfectly and has holes so you can screw them to the underside of the table. You can find them here: https://www.ikea.com/us/en/catalog/products/60261527/
Lydia
Saturday 8th of December 2018
Where did you find the colorful storage bins to the far right?
Vineta
Monday 10th of December 2018
You can find them here.
Catherine Manson
Tuesday 16th of October 2018
Where did you find the drawer slides?! I love this!
Vineta
Friday 19th of October 2018
I got them at IKEA. They're usually included with the Trofast furniture line, and you can ask for just the drawer slides from customer service.
Jenny
Friday 20th of April 2018
This is stylish, practical, and a great DIY for the home. I will be featuring this in my 16 Stylish DIY Home Decor Ideas at Merry Monday on Sunday at 6 pm pst. Hope to see you at the party!