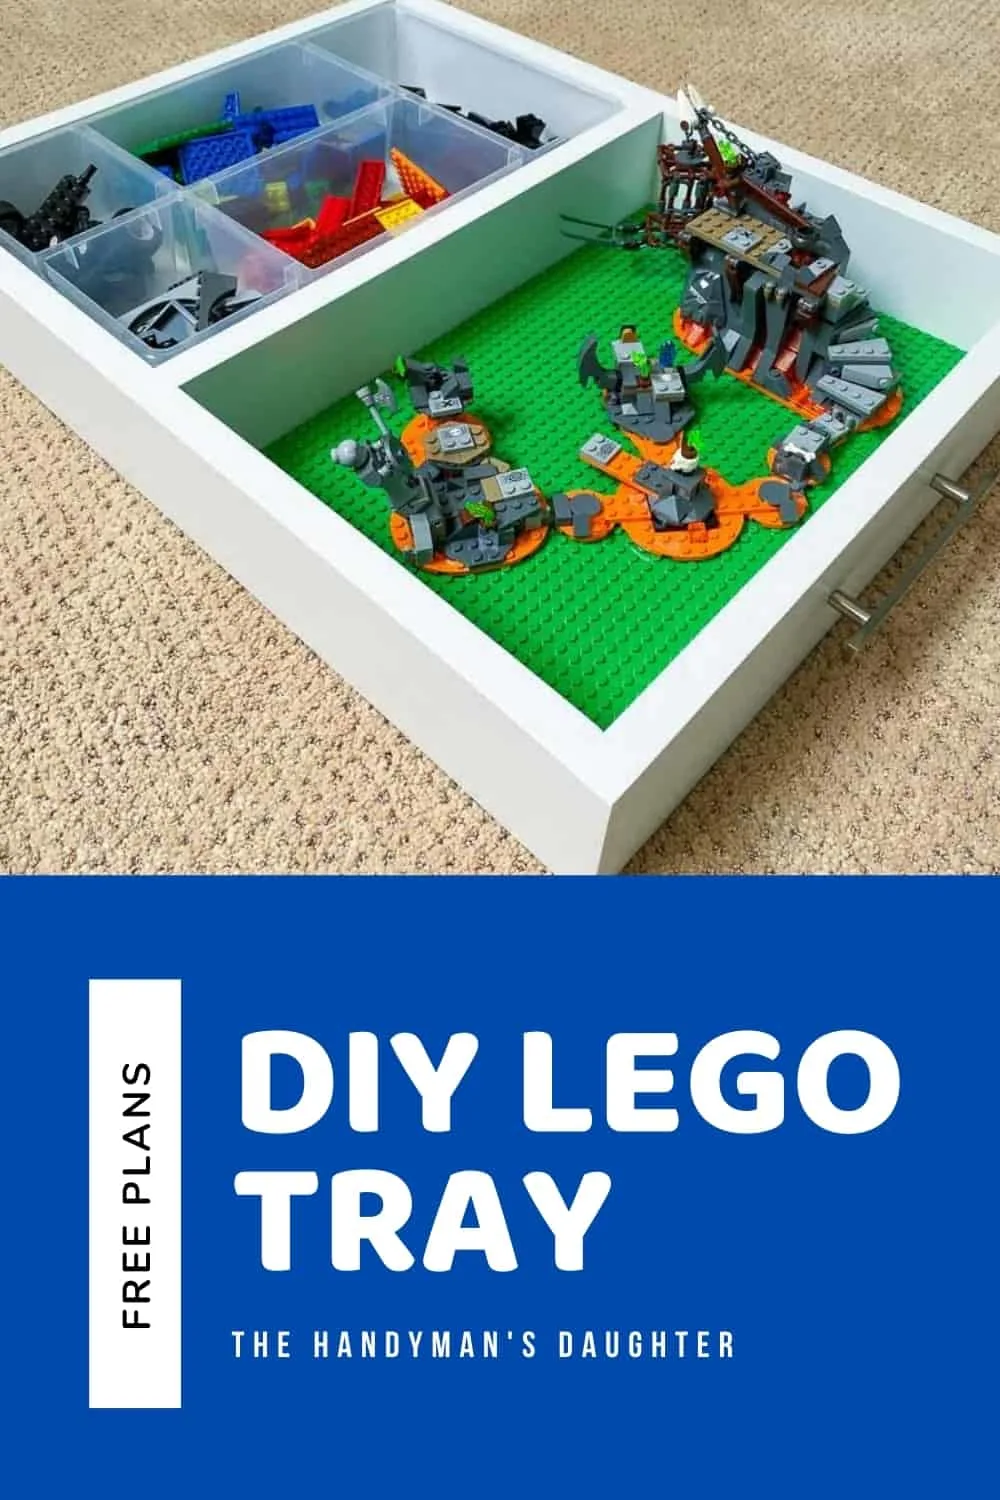
Keep all those little pieces in one place with this DIY Lego tray with removable organizer! Sort parts on one side and build on the other, then use the handles to carry it all away!

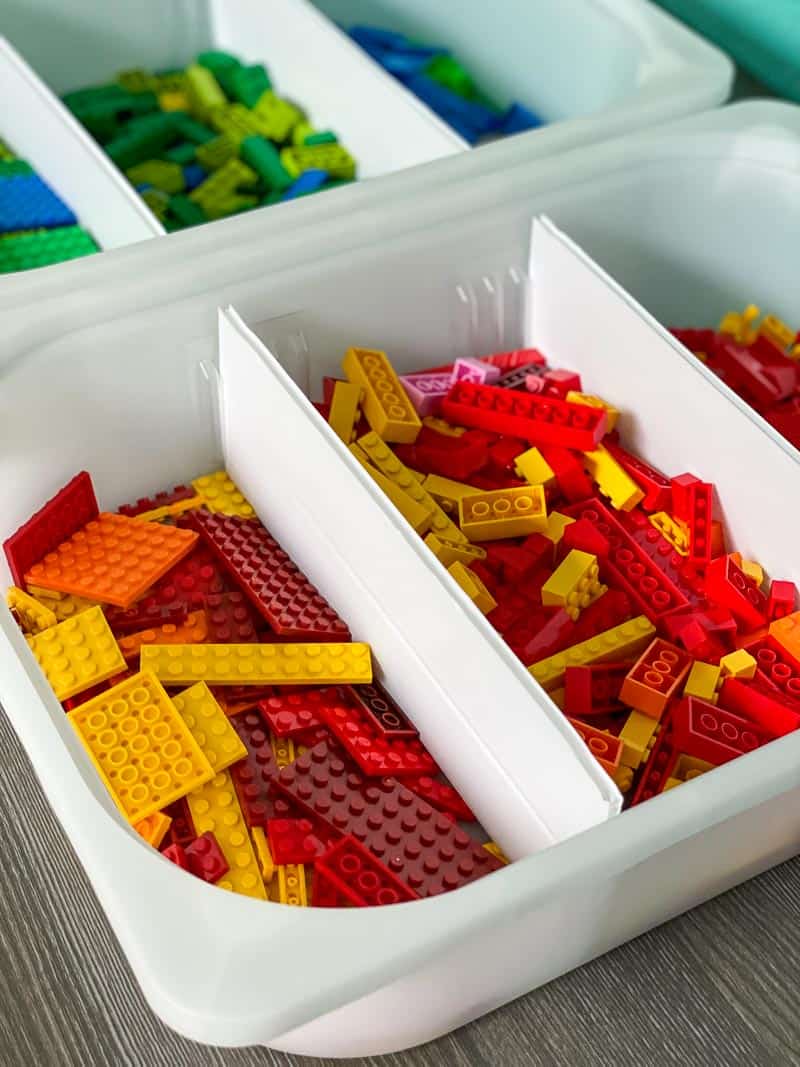
My son has been using his new Lego desk every day since I installed it a couple weeks ago. We've been busy sorting all those little parts into the bins, using these DIY drawer dividers to keep similar pieces together.

But old habits die hard, and sometimes he'll start building on the floor with a base plate for a work surface and a bin full of Lego pieces!
Rather than fight it, I decided to make a Lego tray that will be easy to carry around the room. The plastic organizers can be removed easily to refill with new pieces, and the base plates provide a sturdy building area.

You can customize this Lego tray to fit any kind of organizer, or remove it entirely for a larger work surface! I'm planning to make a second tray with four big base plates so he can build an entire city that won't crumble when you move it.
Here's how to make your own!
This post contains affiliate links for your convenience. Purchases made through these links may earn me a small commission at no additional cost to you. Please visit my disclosures page for more information.
Materials needed for DIY Lego tray
- 24" x 24" panel of ½" plywood
- One 1x4 board
- Plastic organizer (I got mine at IKEA)
- Lego base plates
- Wood glue
- Brad nail gun and 1 ¼" brad nails
- You could also use screws, but they tend to split thinner plywood.
- Countersink bit
- 1 ¼" flat head wood screws
- Drill
- Clamps
- Wood filler
- Paint
- Double sided carpet tape
- Drawer handles
How to Make a Lego Tray
I always find it easier to work off printed instructions, so I drew up a quick set of plans for this Lego tray before I started building. Your dimensions will vary if you use a different plastic insert (or you could leave it open for loose pieces), but the process is the same. Click here to download the free woodworking plans!
Take measurements
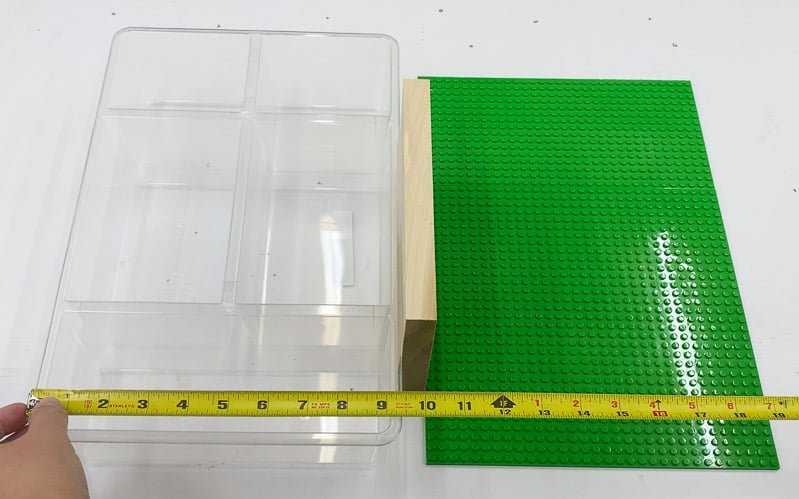
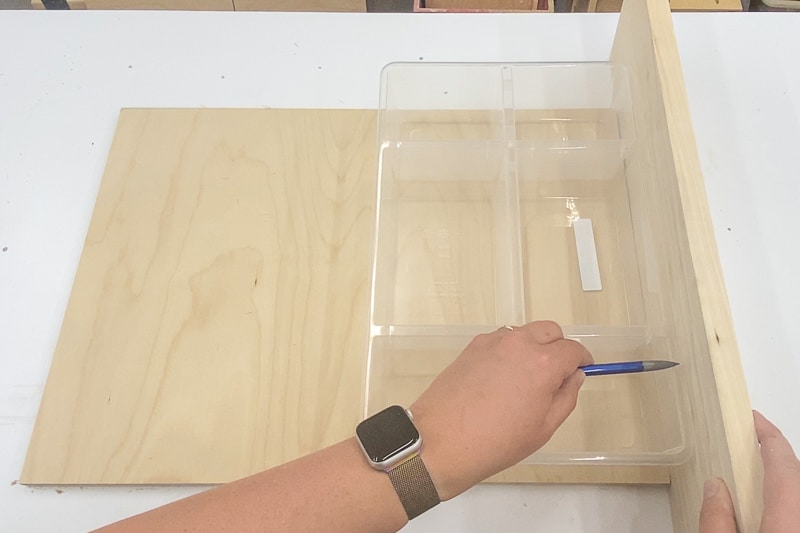
Cut the base plates to the same length as the organizer. Then lay out the organizer and base plates with a scrap piece of wood in between as a divider. Measure the length and width of the entire layout.

Cut the pieces
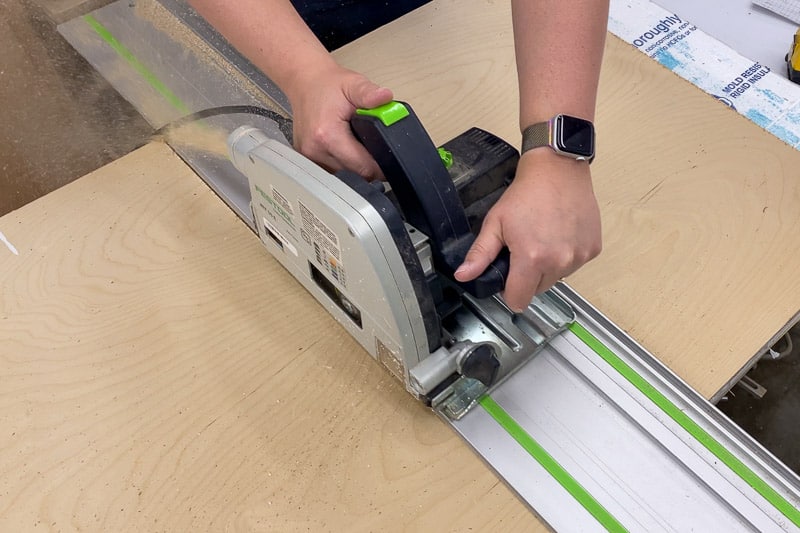
Transfer those measurements to your plywood panel, then cut it to size. I used a track saw to cut the piece slightly oversized, then trimmed it to its final dimensions at the table saw. You can also get plywood cut to size for you at the store!

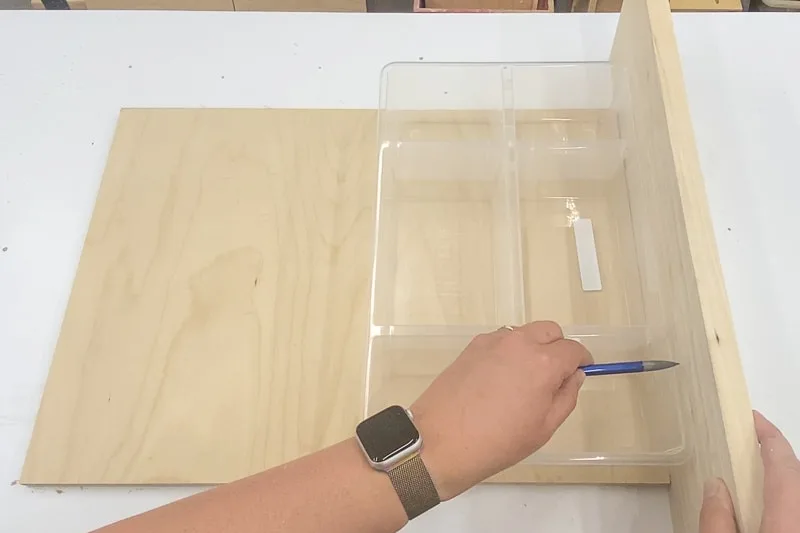
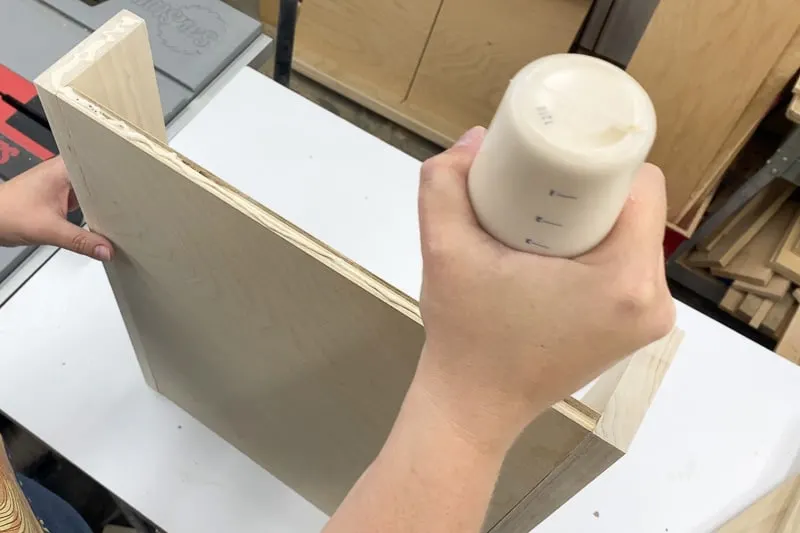
Next, cut the sides that will go around the plywood base. To get a perfect fit, place the organizer on top of the plywood base and mark the height on the board.
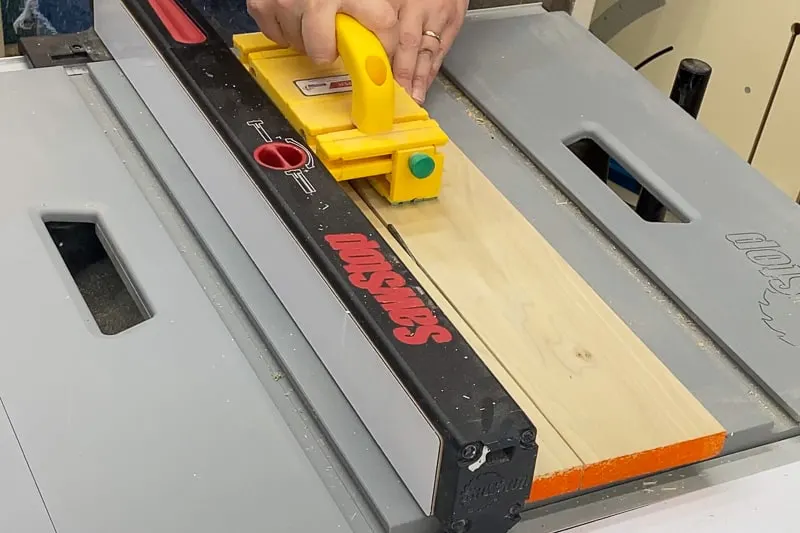
Set the fence on the table saw to that mark, then cut your side pieces to that width. You can also just use a 1x4 board, but the sides will be a little bit taller than the plastic insert. The center divider will be ½" shorter than the sides, since it sits on top of the plywood base.

Cut two pieces to the exact length of the longer plywood side. Leave the other two sides uncut for now, so you can take exact measurements during assembly.
Attach the sides to the base
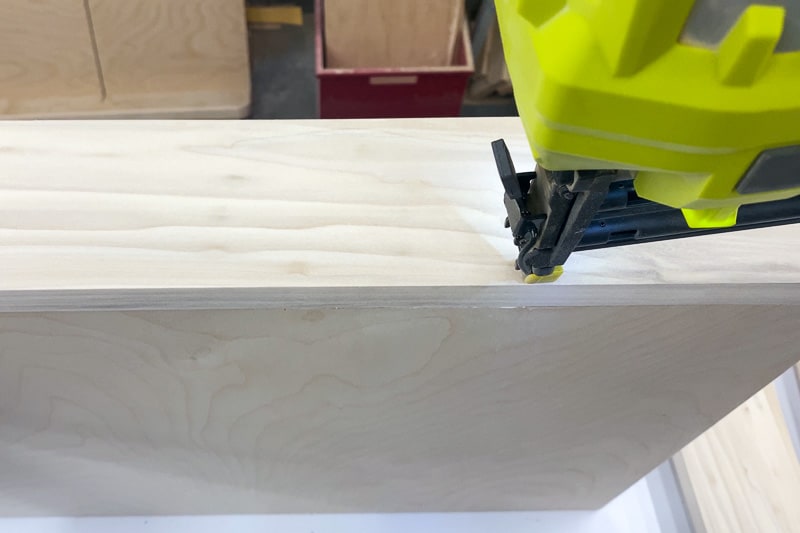
Apply wood glue along one of the long plywood edges, and place the first side piece on top, flush with the bottom and sides.
Nail it in place with 1 ¼" brad nails, then flip it over and attach the other long side the same way.
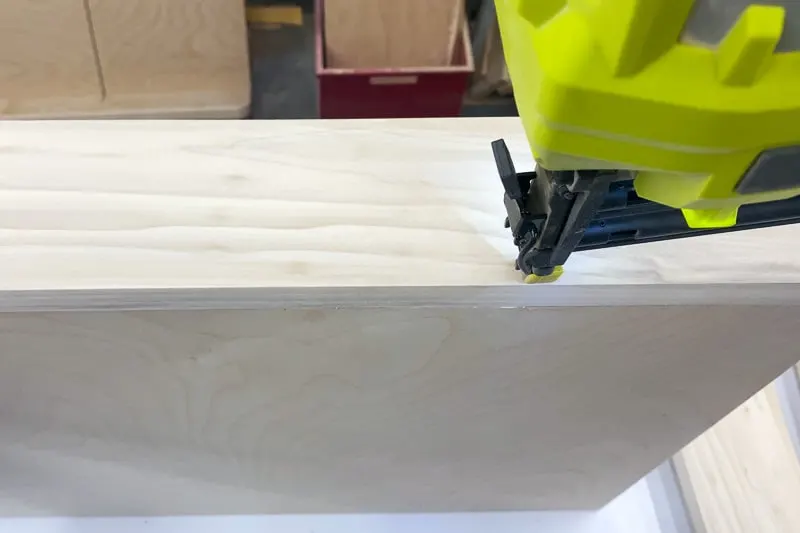
Now measure the length of the shorter ends, including the sides already installed, and cut the end boards to fit. Apply wood glue along the edge...

then nail the short side in place.

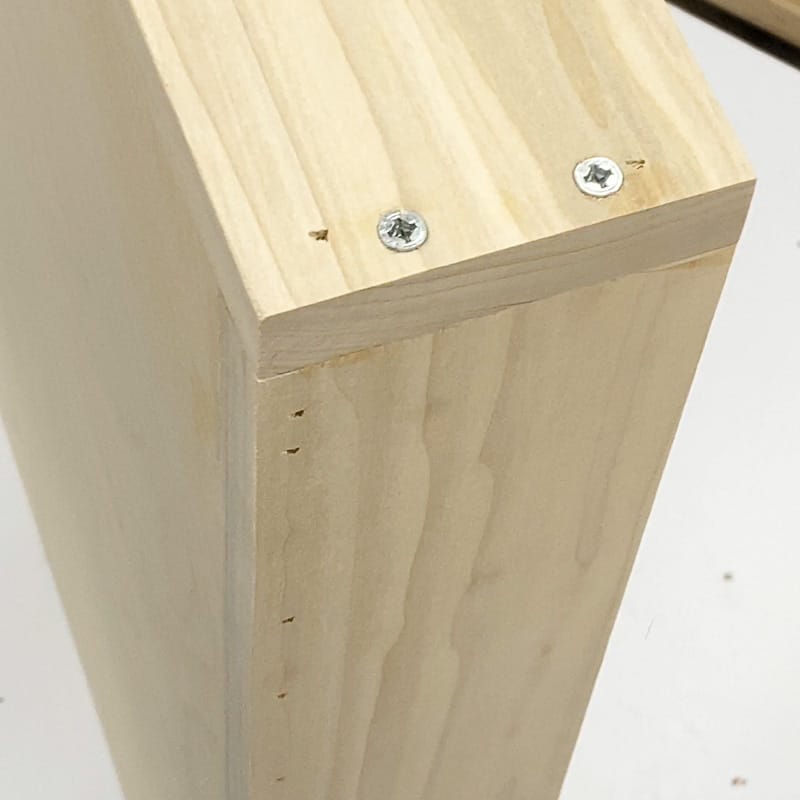
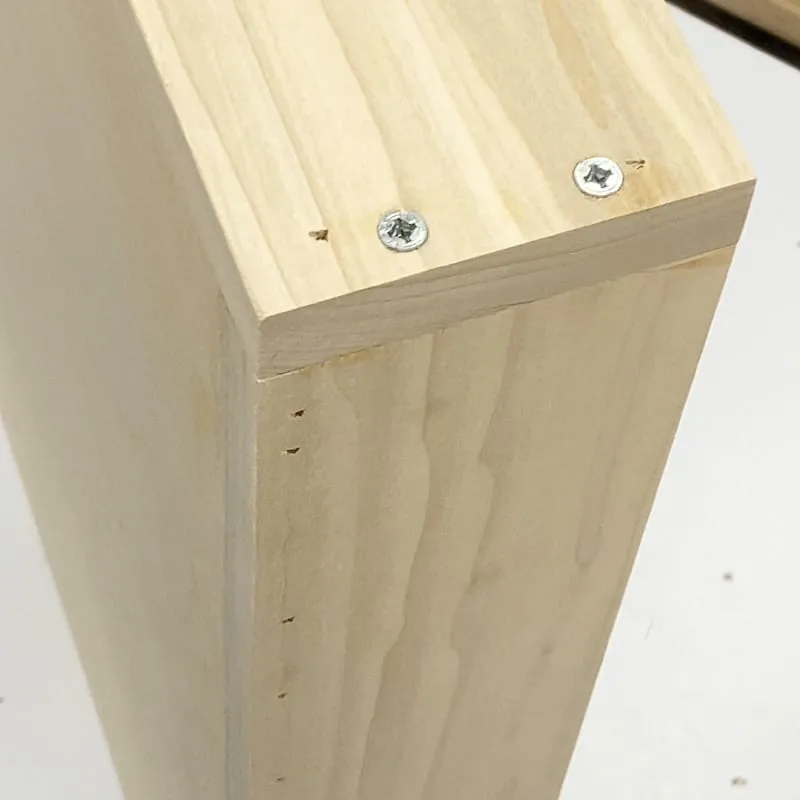
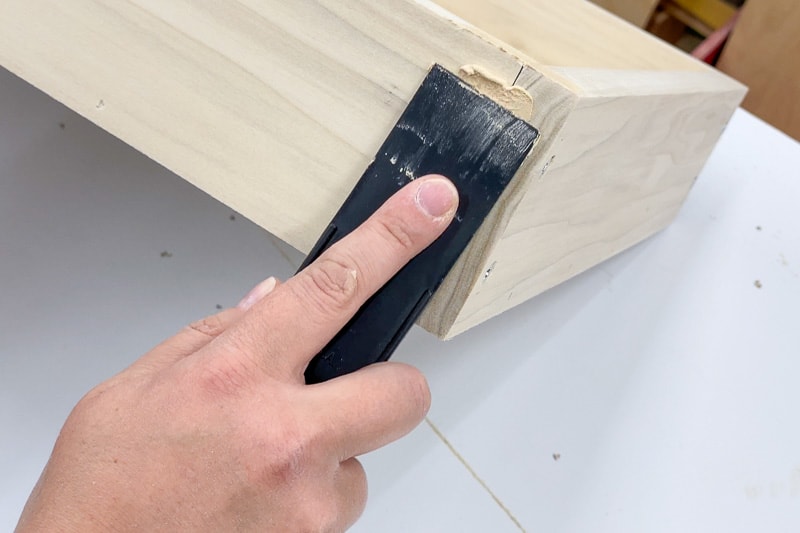
I was a little worried that the sides wouldn't be strong enough with just glue and nails, especially with the added strain of the handles. So I added some countersink holes at the corners.

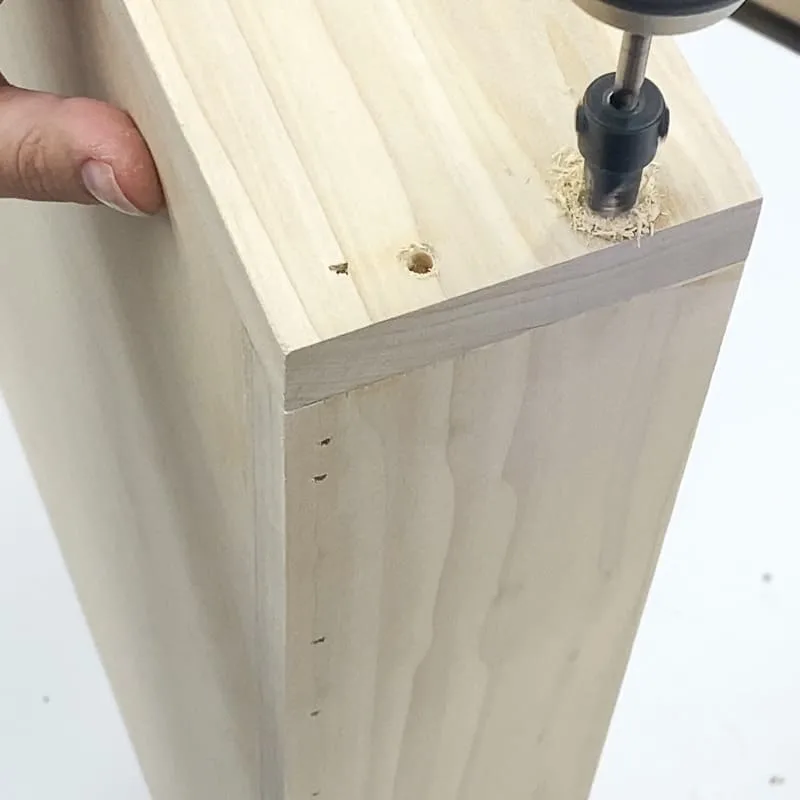
Then I screwed everything together for a tighter fit. The screw heads will be hidden with wood filler before painting.
Attach the middle divider
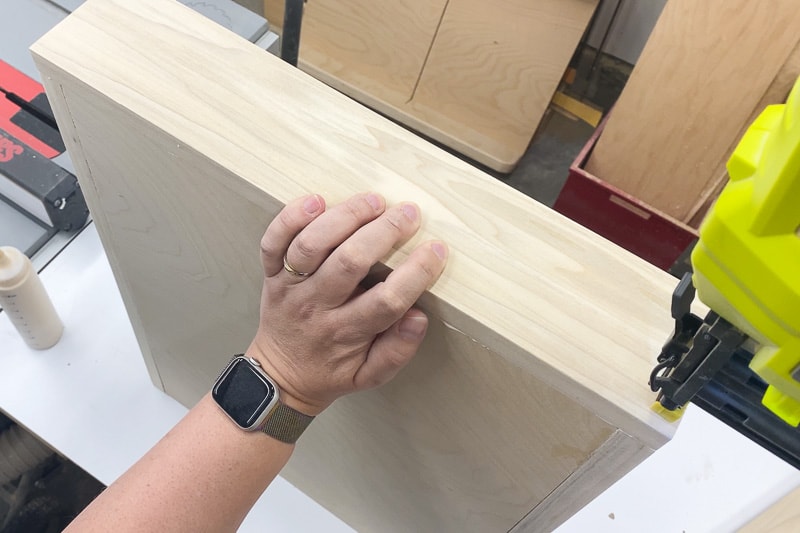
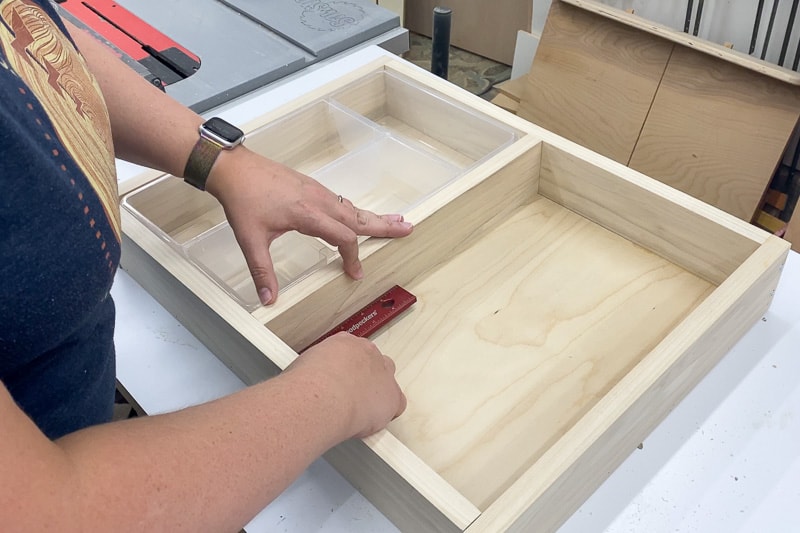
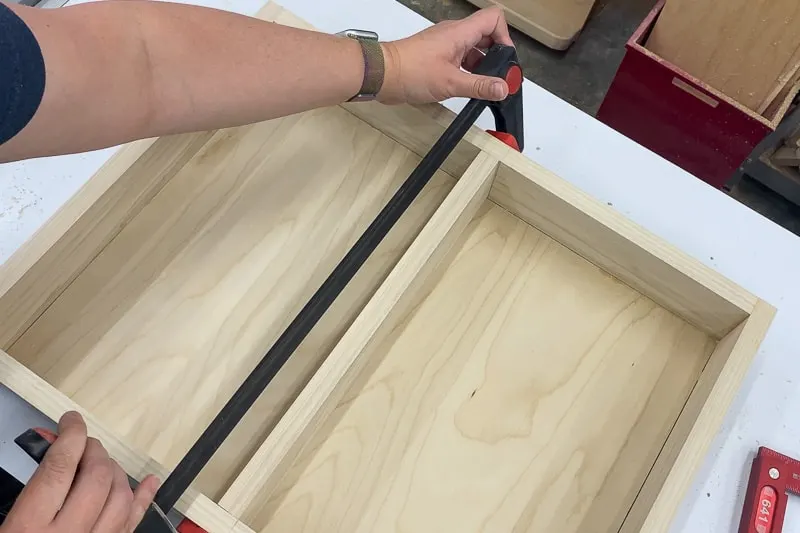
Place the organizer inside the tray on one side, and slide the middle divider next to it. Check for square, then mark its position on the sides.

Transfer the marking to the outside of the tray, and drill countersink holes.

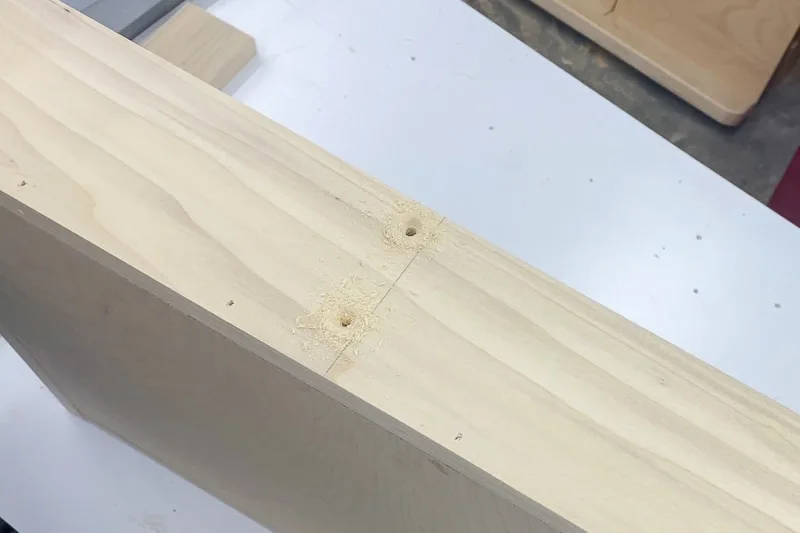
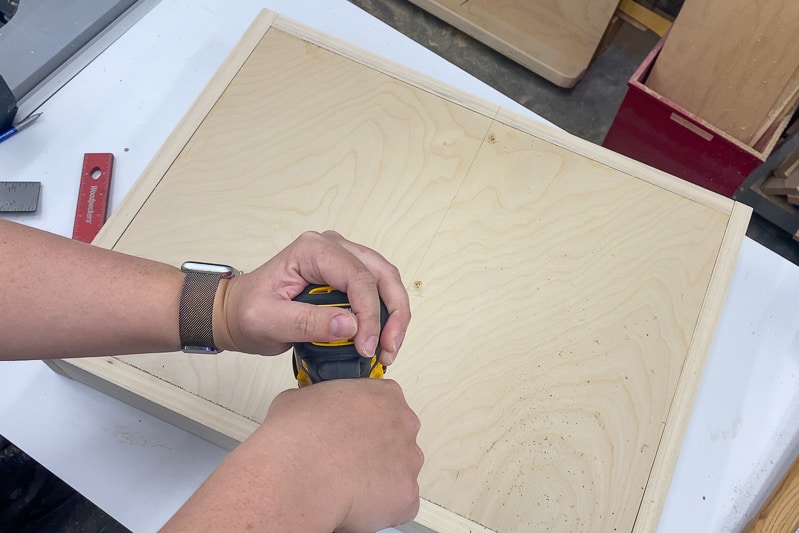
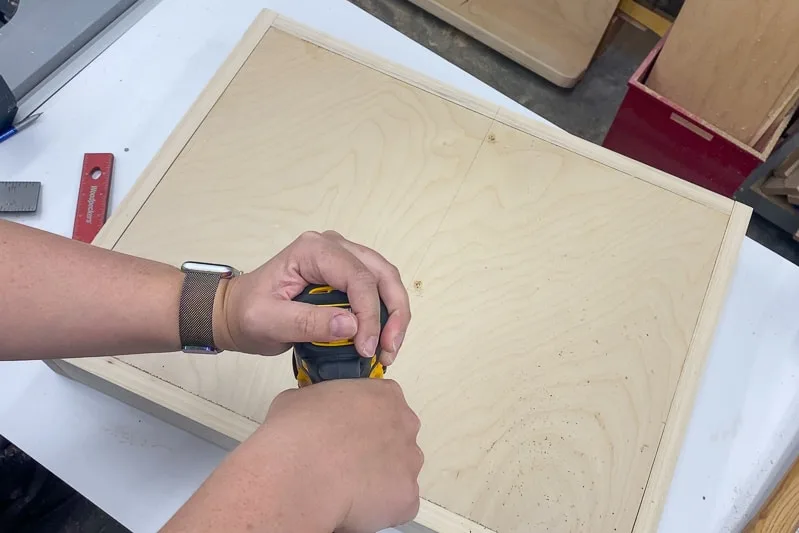
Clamp the middle divider to the sides to keep it in place while you screw it in from the outside.

For a little extra security, I also screwed the center divider to the plywood base from underneath.
Fill holes and paint
Hide any gaps, holes or screw heads with wood filler. Sand the entire Lego tray to 220 grit once the wood filler has dried.

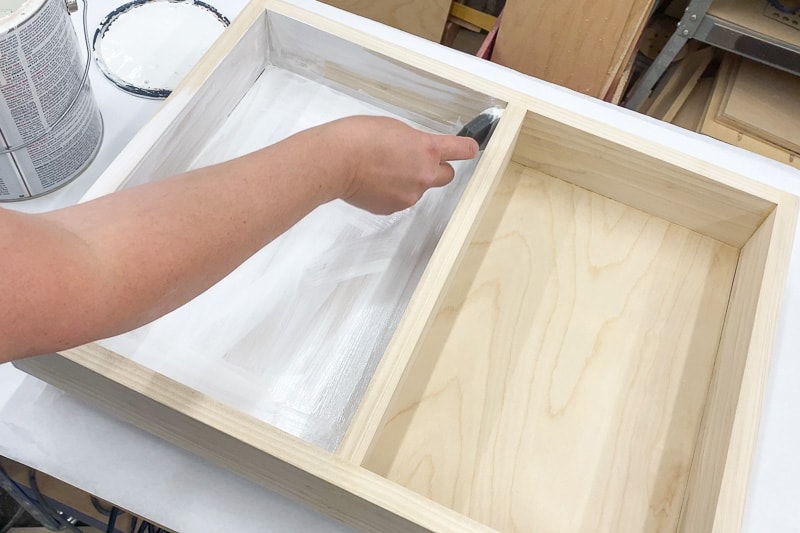
Raw wood is thirsty, so I like to apply a coat or two of water-based primer before paint. Sand between coats for a smooth finish!

Attach handles
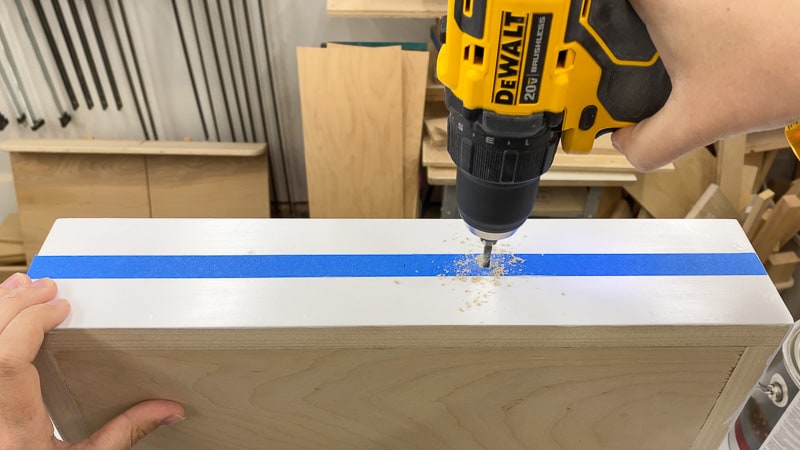
Once the paint has dried, drill the holes for the handles on the short sides of the Lego tray. I like to use painter's tape to mark the position of the holes.

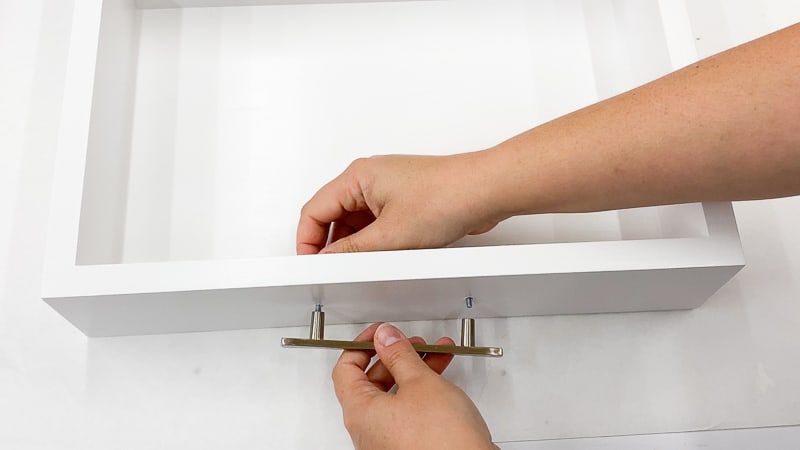
Then just screw them on from the inside. I got these handles from my local architectural salvage yard for a dollar each, and they're perfect for carrying the tray around!

Line the bottom with Lego base plates
I've tried a bunch of different methods for attaching base plates to flat surfaces, and nothing works better than this double sided carpet tape! It's super thin and super sticky, so they don't come off when you remove your latest Lego creation from the base.
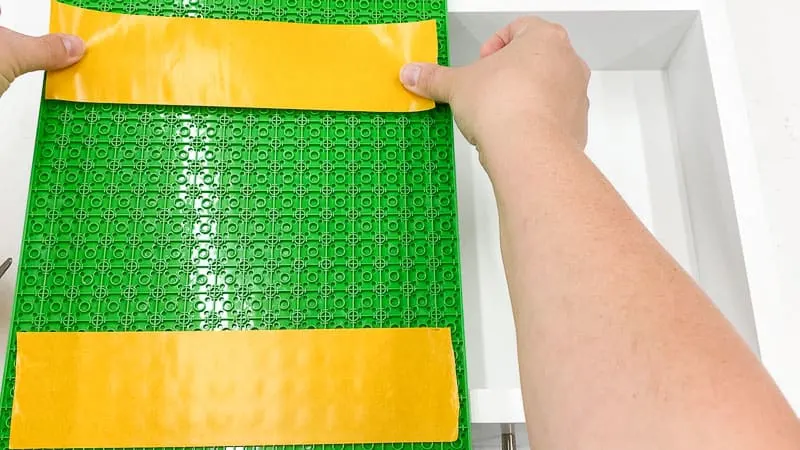
To ensure proper spacing between the dots, use long Lego bricks to hold the two base plate pieces together.


Then flip it over and stick the carpet tape onto the back, especially across the seam where the two plates meet.

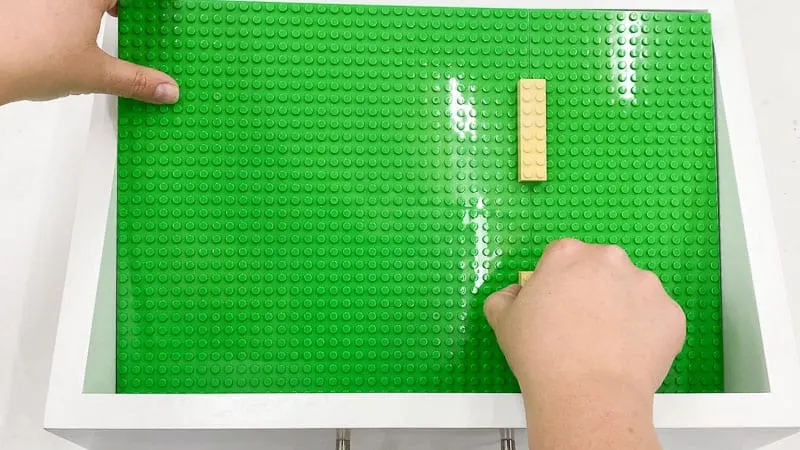
Then slide the base plates into the tray, using the bricks to guide it into place.

Now it's time to play!
This Lego tray has traveled around the house, from his bedroom floor to the coffee table to the dining table and back again! The handles make it so much easier to carry around, and he can work on his latest project anywhere.
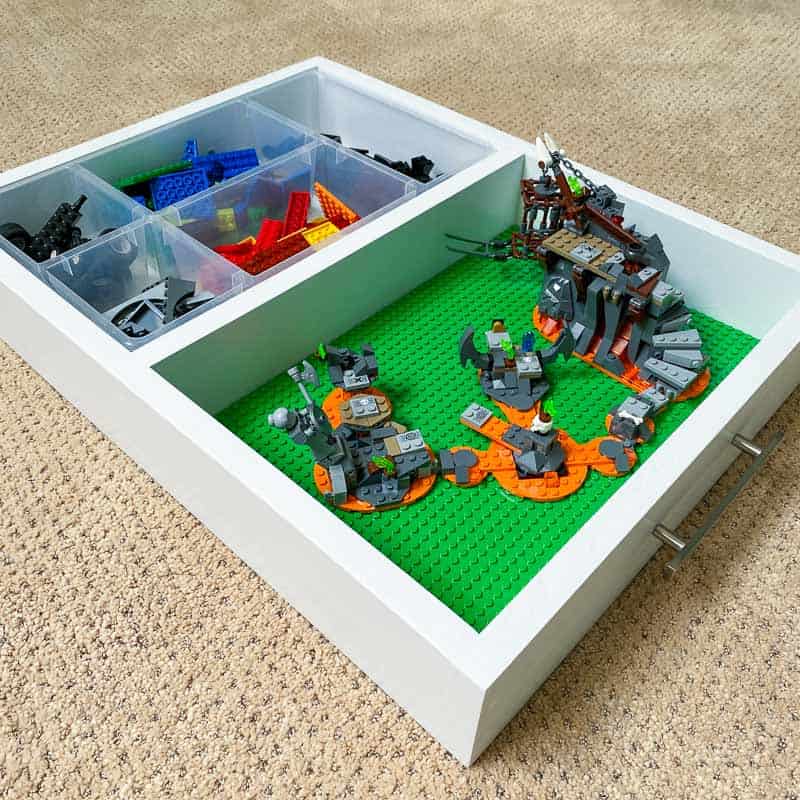

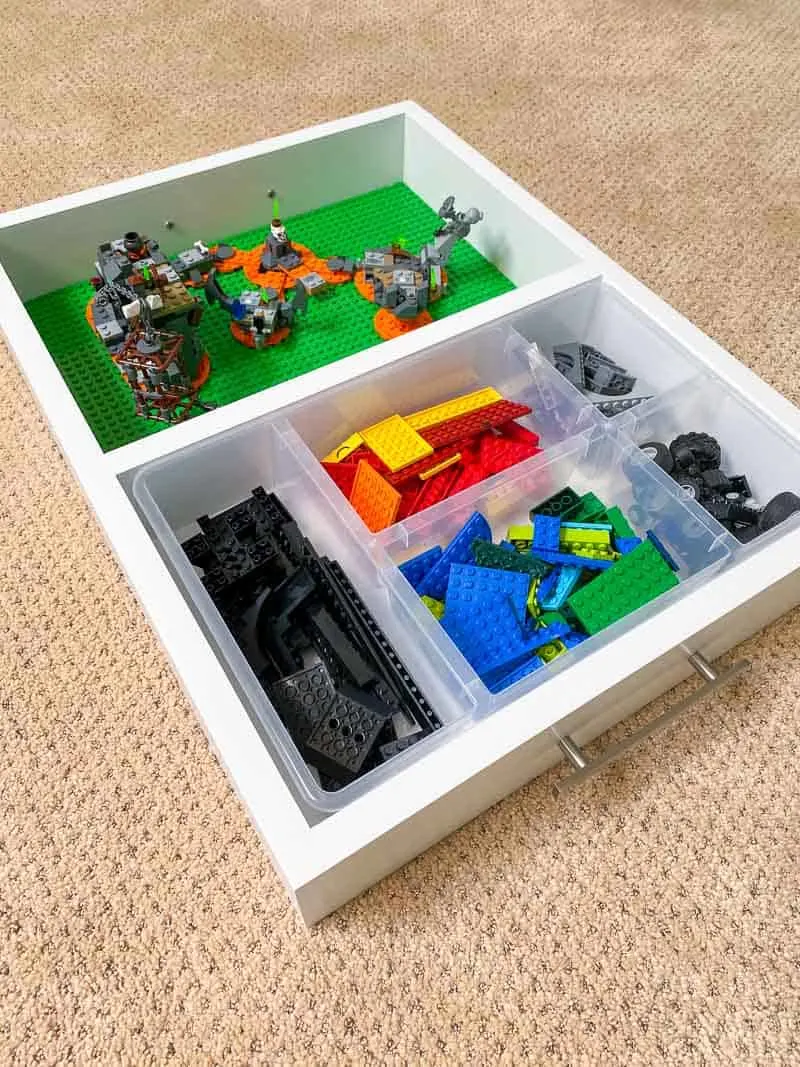
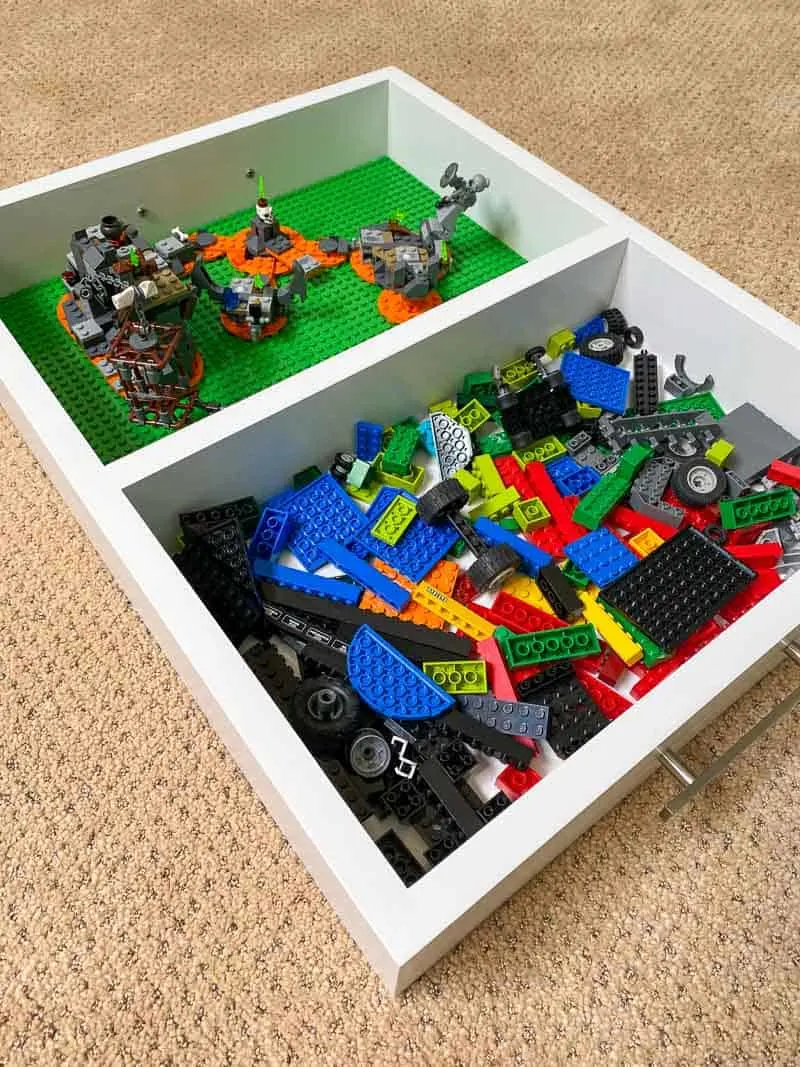
All those pieces stay in one spot, and the whole thing slips easily under the bed at the end of the day! He can also remove the organizer entirely and just dump loose Lego pieces on that side.

Check out these other Lego storage ideas!