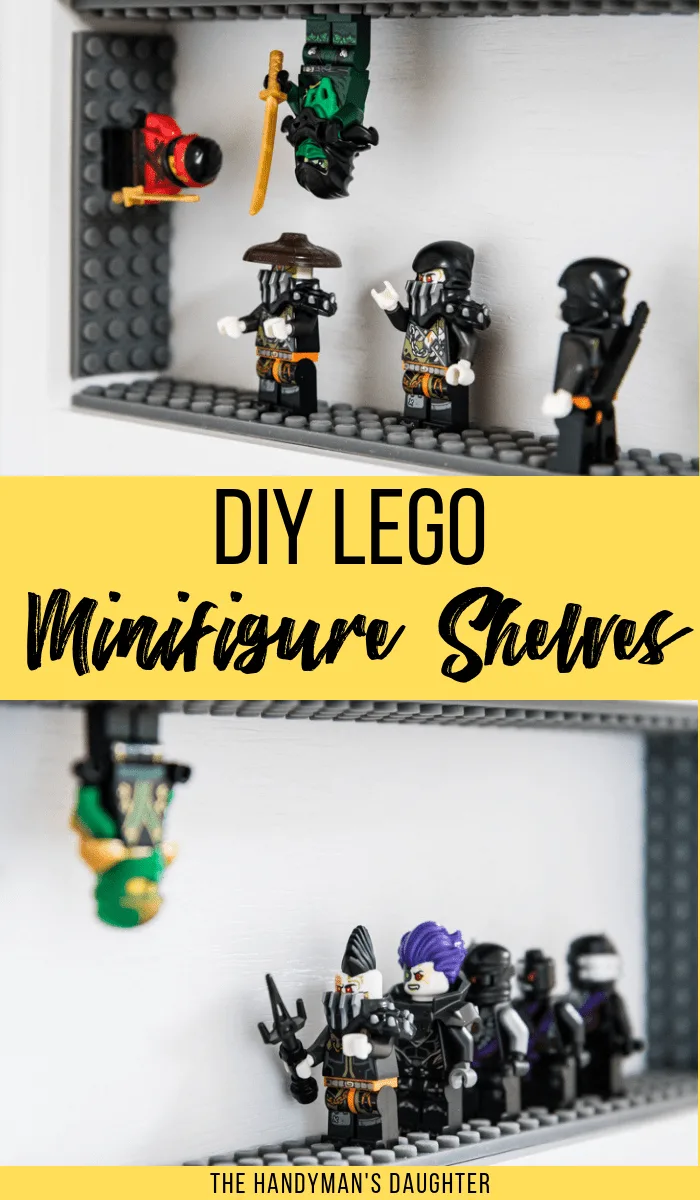
Keep all those minifigs in one spot with a DIY Lego minifigure display case! Use adhesive Lego tape on the shelves and sides for a fun, interactive display.

Even with my son's epic DIY Lego table in his playroom, it seems like the pieces and minifigures are still everywhere! He's always searching for the right character for his battle scenes, creating a giant mess in the process.
I decided to build this simple Lego minifigure case to hang on the wall and keep them all in one spot! You can find even more Lego display ideas here!
This post contains affiliate links for your convenience. Purchases made through these links may earn me a small commission at no additional cost to you. Please visit my disclosures page for more information.
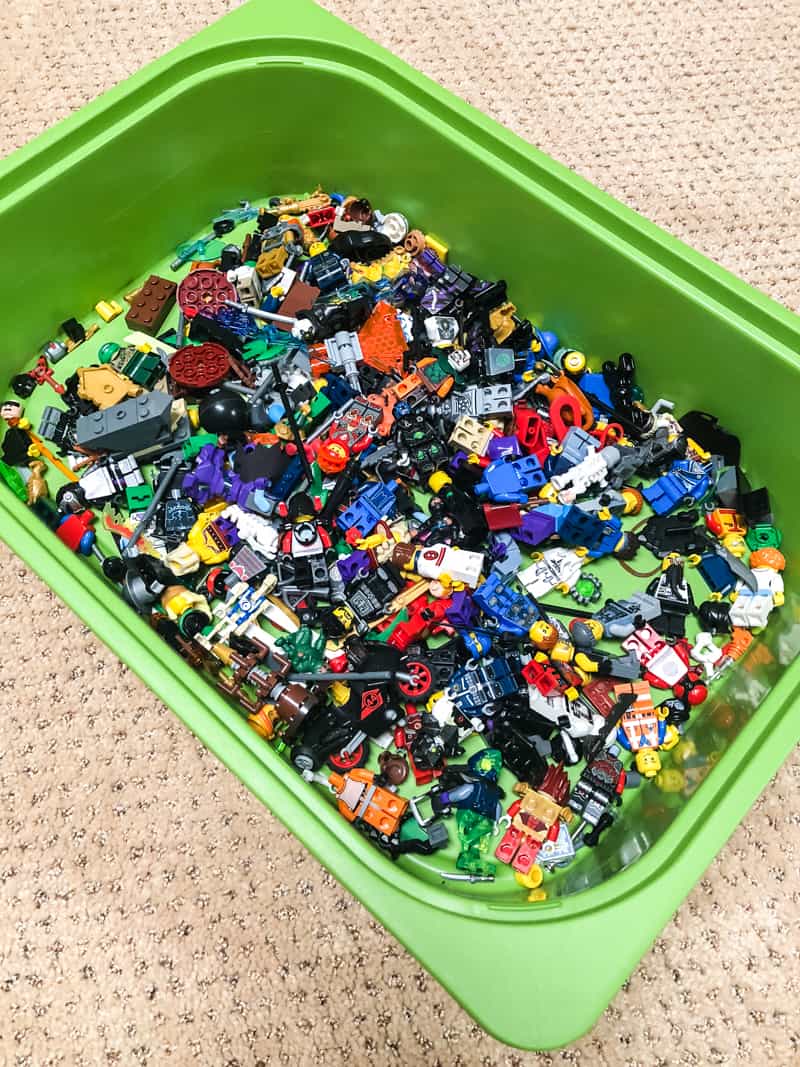
Finding the right Lego storage solution for the playroom has been an ongoing process for years. We've tried big bins of loose pieces, tiny bins of organized pieces and bins separated by set. (Trust me, it hasn't looked like this since the day it was built!)

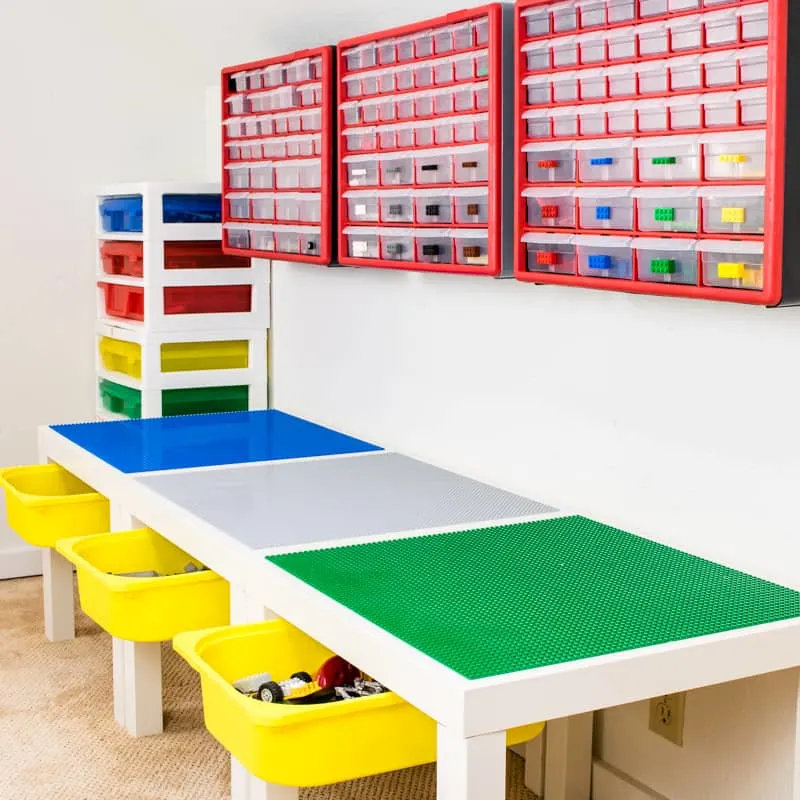
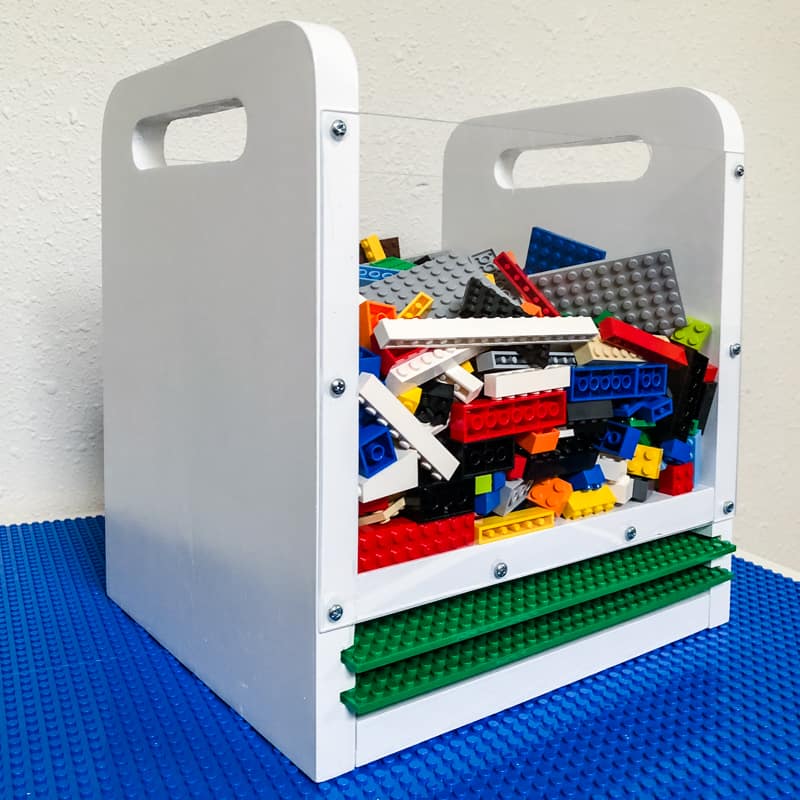
Each has its pros and cons, and we're still trying to figure out which one works best for our naturally disorganized son. 🙂 All the standard brick pieces are kept in this clear sided Lego bin I made for easy transport.
All the minifigures were thrown into a big bin, making it difficult to find the right ninja or bad guy during playtime.

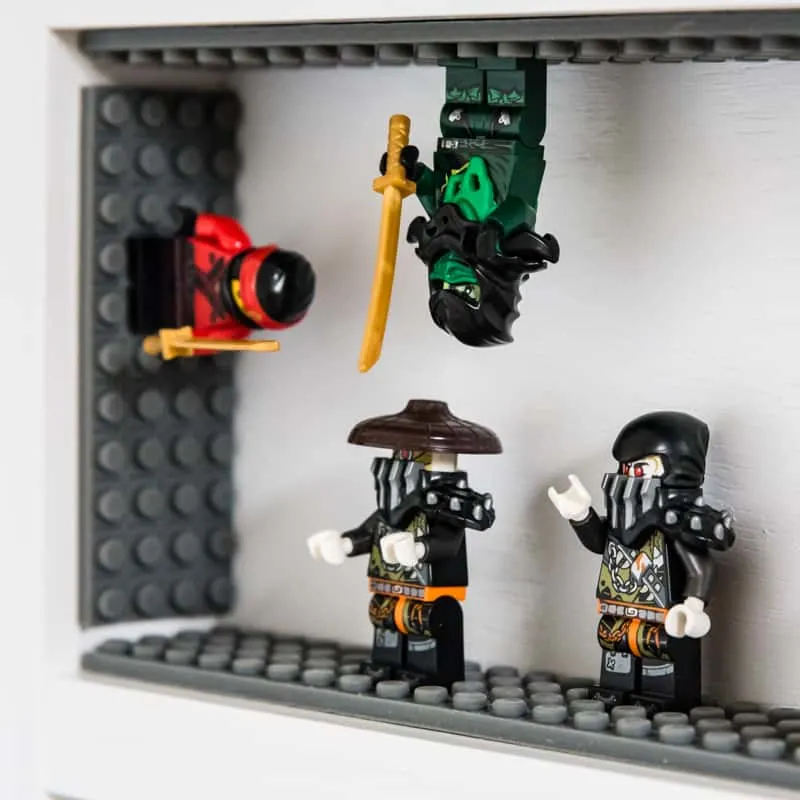
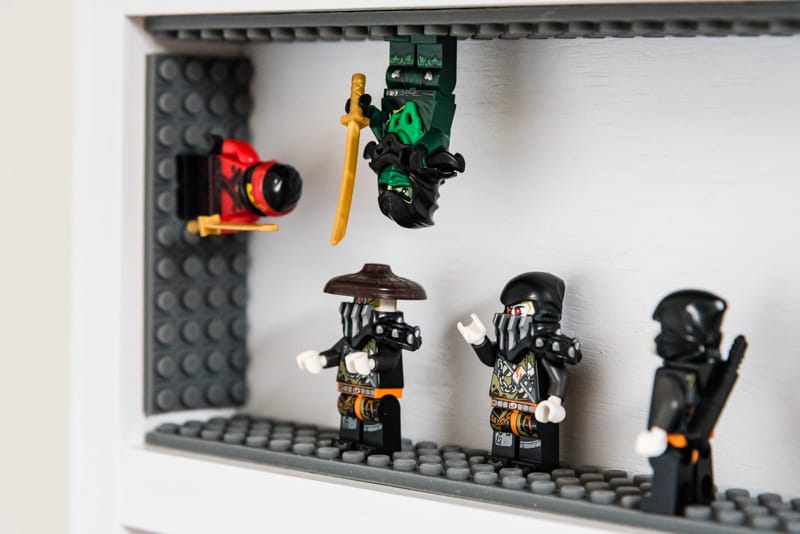
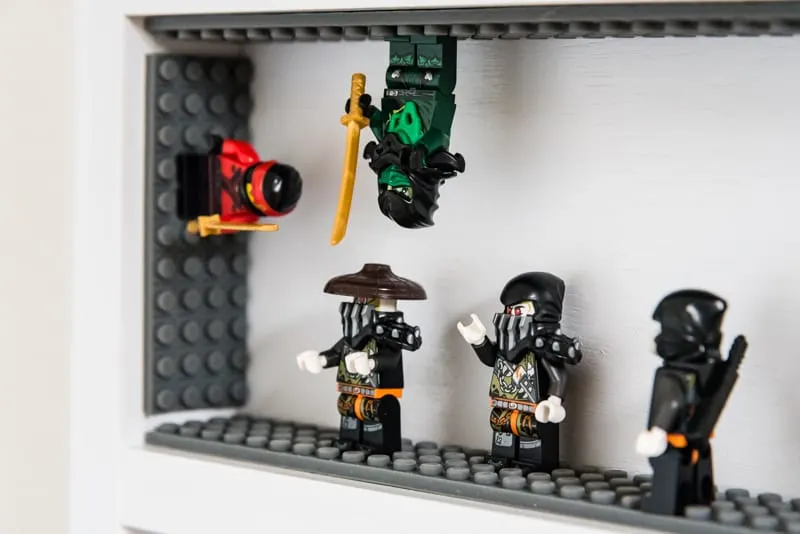
I've been trying to think of a way to use this cool adhesive Lego tape in the playroom. It won't stick to our heavily textured walls, but the painted wood of this Lego minifigure display case is the perfect application! The minifigs can battle up the walls and even upside down. Storage can be fun!

Materials Needed for DIY Lego Minifigure Display Case
- Two 8' long 1 x 2 boards
- 18" x 24 ½" sheet of ¼" plywood
- Wood glue
- Square
- Countersink bit
- 1 ¼" screws
- Wood filler
- Sander and sandpaper
- Brad nailer and ¾" brad nails
- Adhesive Lego tape
- Paint
- Picture hanging hardware
Don't forget your safety gear when woodworking! Here are my recommendations for safety glasses and ear protection. No excuses!
How to Build a Lego Minifigure Display Case
Check out the video below for a quick overview of the build, then read the tutorial for more details!
Download the Woodworking Plans
Before you begin, don't forget to download the free woodworking plans here! You'll find step by step instructions with 3D models so you can easily build your own minifig display!
Cut the Pieces
Cut two 24 ½" pieces and six 16 ½" pieces from the 1 x 2 boards.
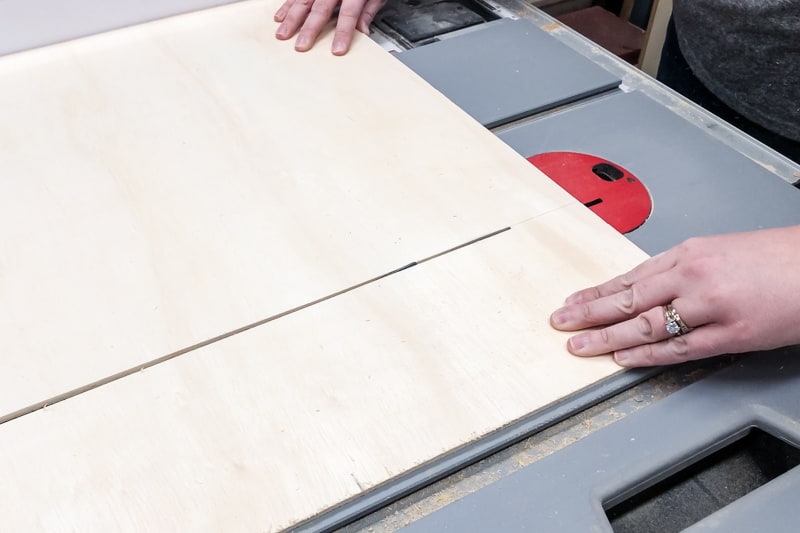
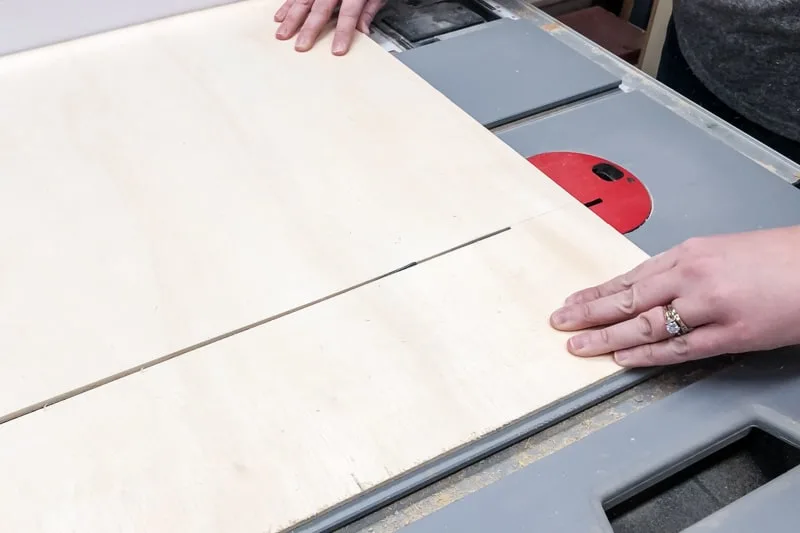
Then cut one 18" x 24 ½" piece of ¼" plywood for the backing. You can do this with a jigsaw, circular saw or table saw (or have it cut for you at the store!) For better accuracy, I recommend assembling the shelves first, then cutting the plywood backing to fit.
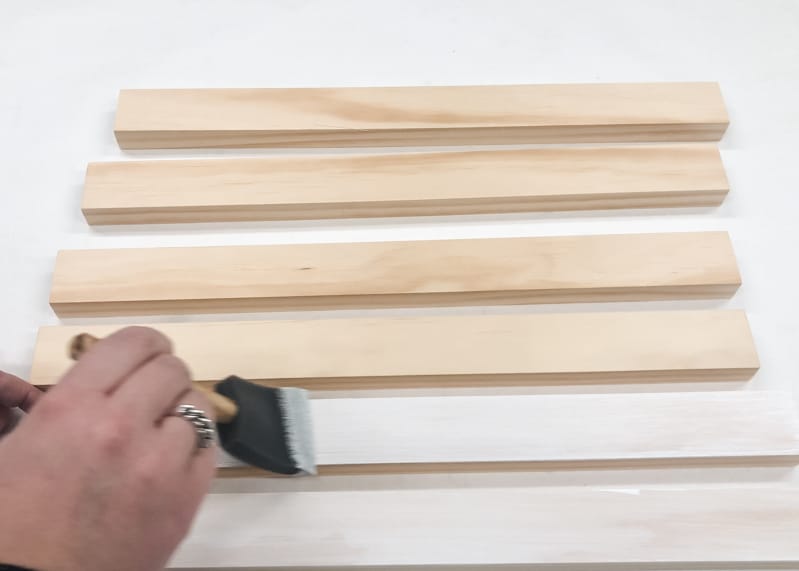
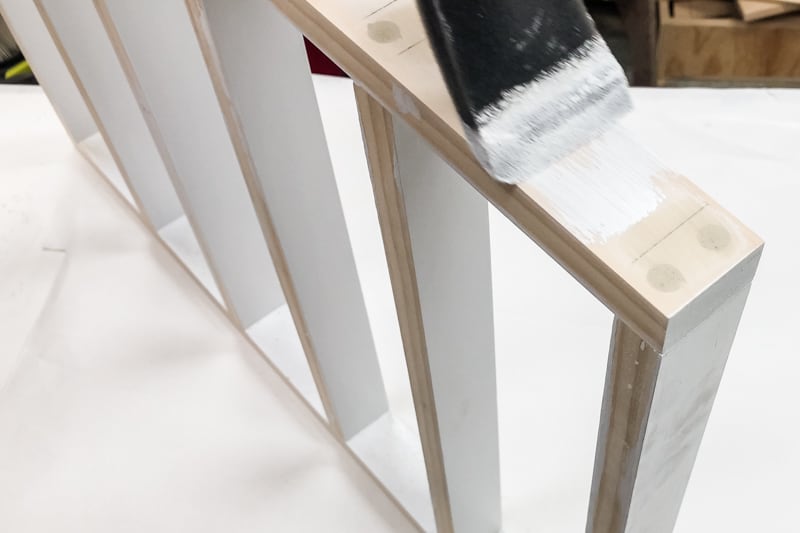
Sand and Paint
Give each piece a good sanding with 150 grit and 220 grit sandpaper. Then paint all the pieces.
I prefer to paint before assembly, especially on shelves like this. The process is so much faster and easier when all the pieces are flat on the workbench! I left one wide side of the longer pieces unpainted for now. You'll see why later.

Predrill the Holes
You could use pocket holes, dowels, nails or screws to assemble the minifigure shelves. I wanted to hide the joinery without too much of a fuss, so I decided to countersink the screws and cover them with wood filler.
Small boards like these are prone to splitting, so take the time to predrill your holes before you start assembly. The shelves are spaced 4" apart, so I used a scrap of 1x2 to mark the position of each shelf.
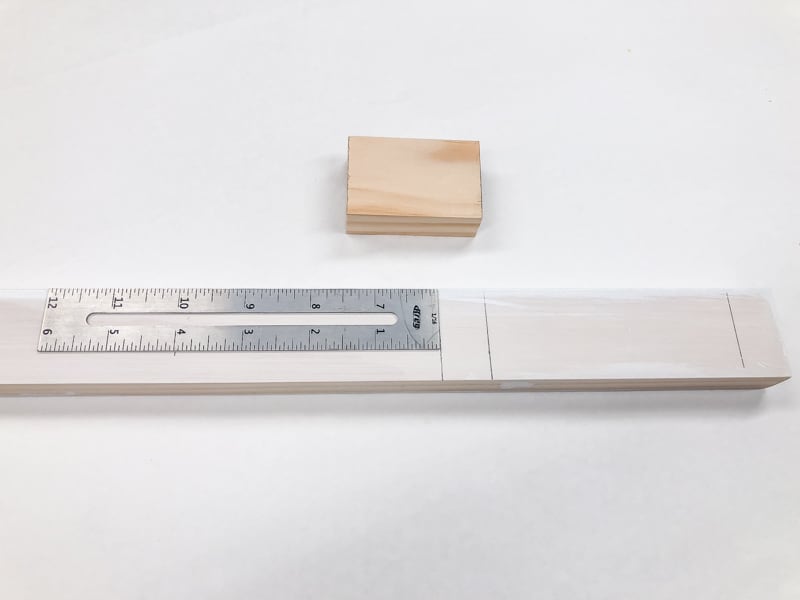
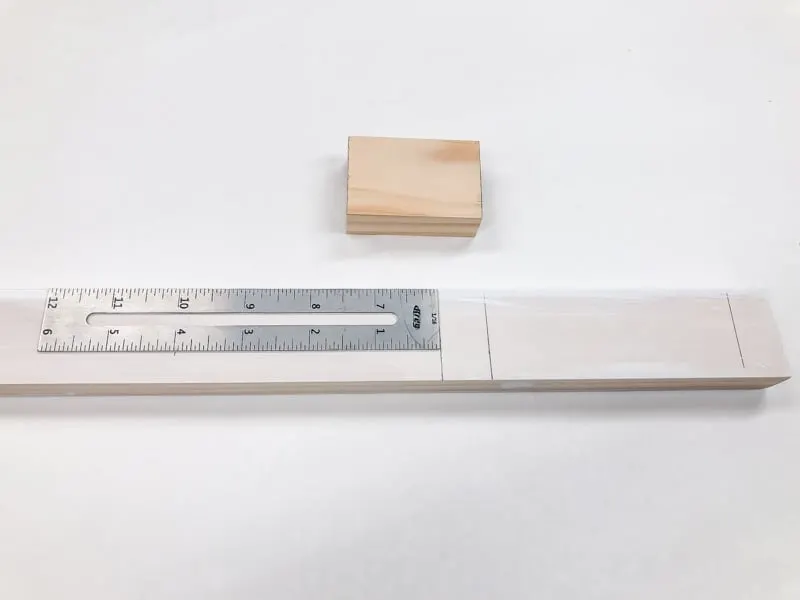
I like to predrill these holes in two steps. First, using a countersink bit, drill two holes at each shelf position.
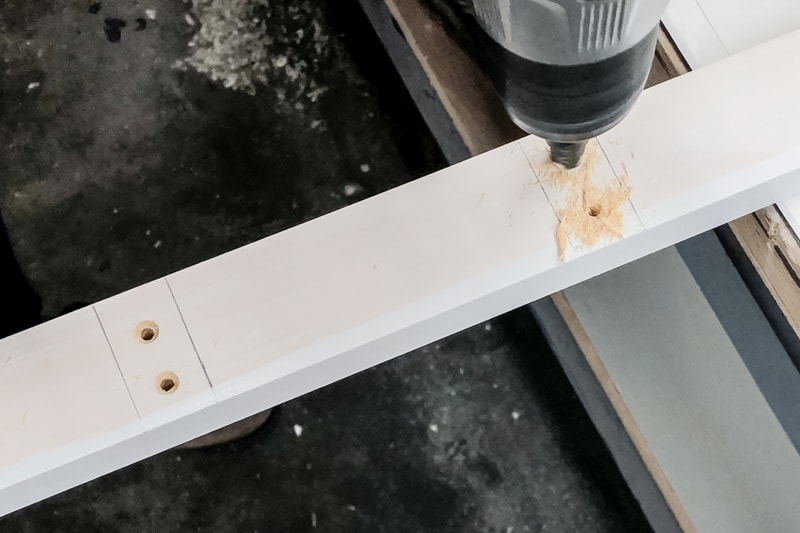
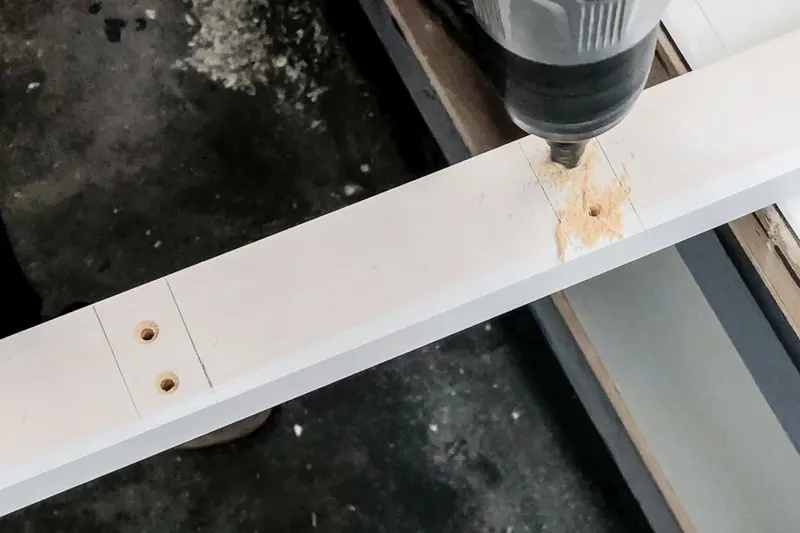
Then line up each shelf piece and stick the bit through the hole. Then drill the hole into the end of the shelf board. This way, I can concentrate on making a good countersink hole first, then focus on the proper alignment.
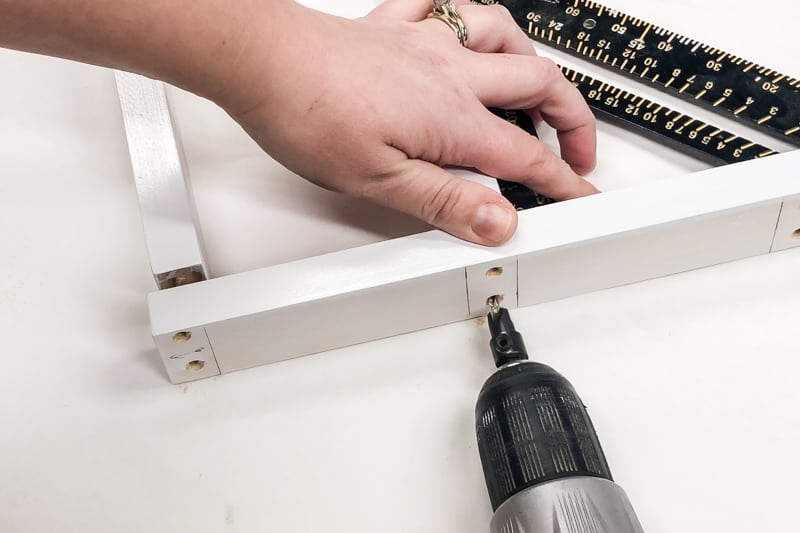

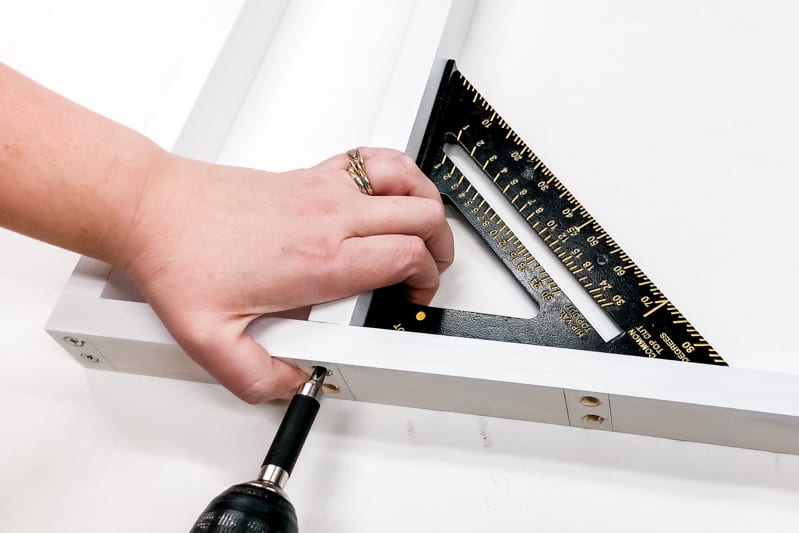
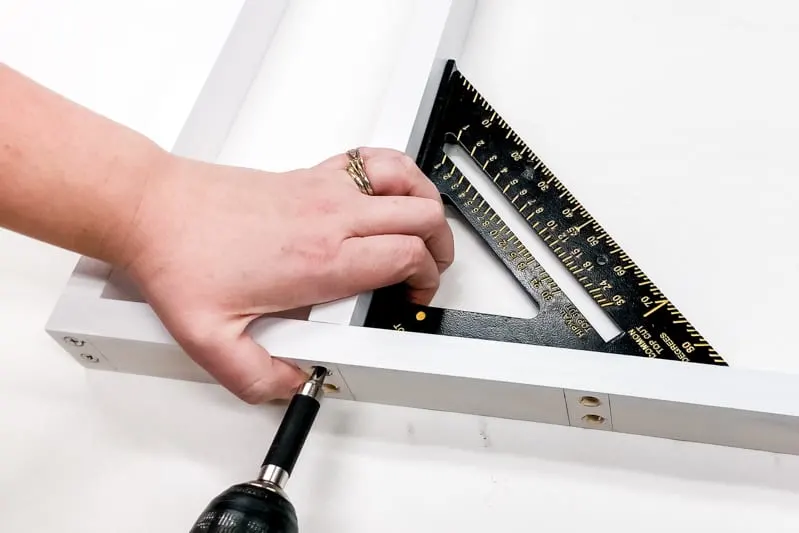
Assemble the Minifigure Shelves
Using 1 ¼" screws, attach each shelf to the side pieces. Make sure the screw head is slightly below the surface of the wood.
Cover Screw Heads with Wood Filler
Wood filler will make all those ugly screw heads disappear! This tutorial goes over everything you need to know about how to use wood filler, but basically you just overfill the hole slightly, then sand it smooth when dry.
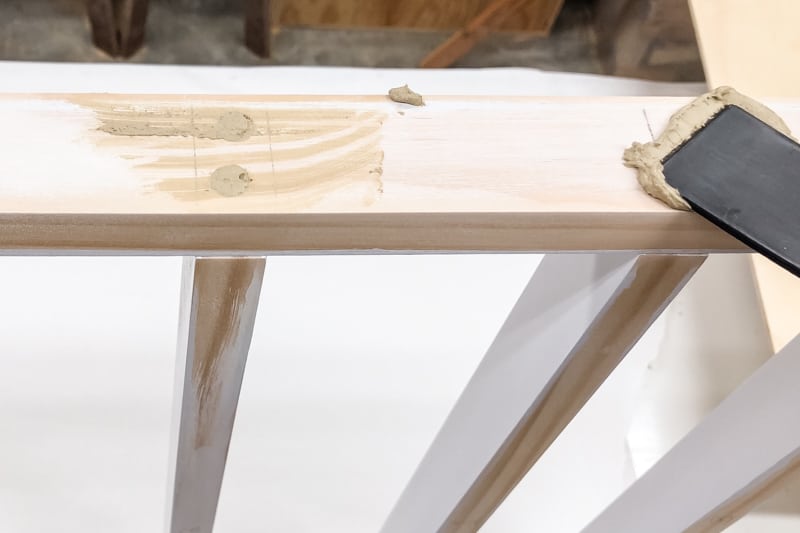
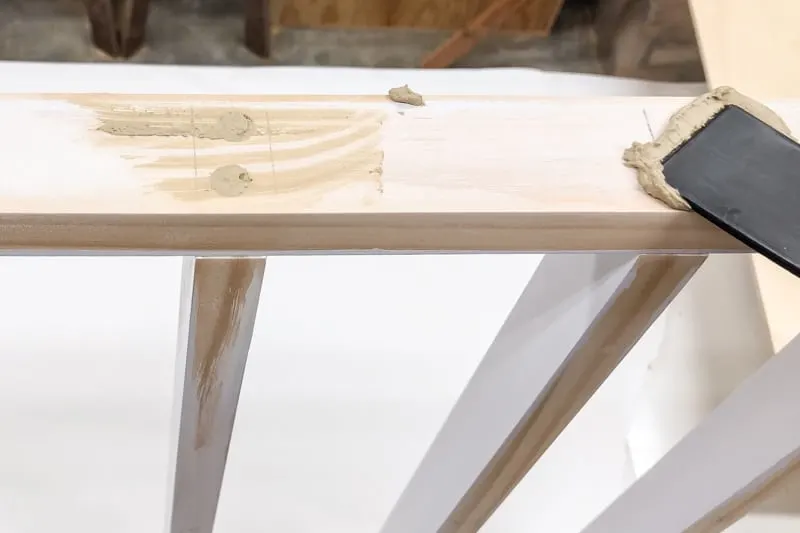
Then finish painting the sides to make the screw holes disappear!

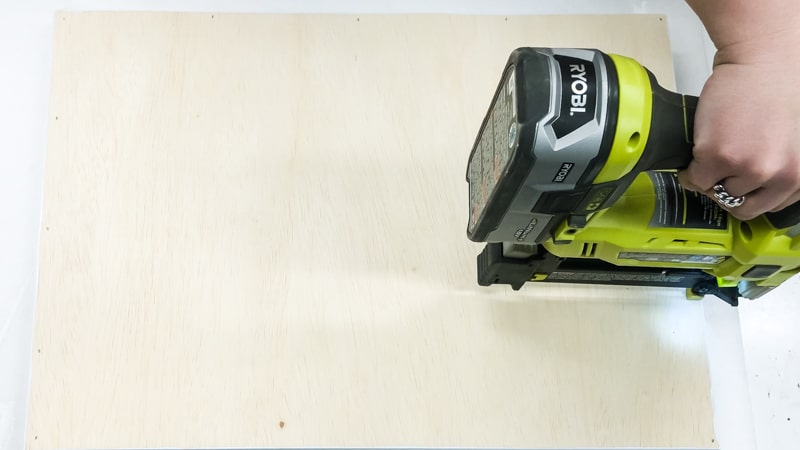
Cut and Attach the Backing
I always prefer to cut the plywood backing after the piece has already been assembled. Double check the measurements of your shelves, then cut a piece of ¼" plywood to match.
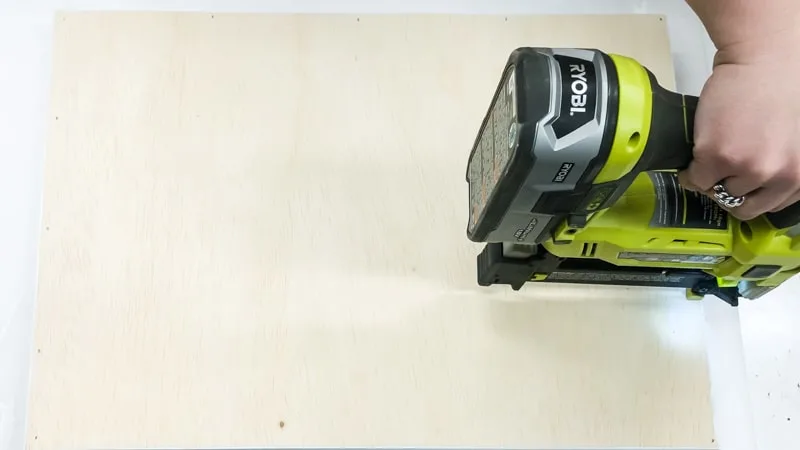
Sand and paint the edges and one side. Then attach it to the back of the Lego minifig display case with ¾" brad nails (this is the brad nailer I use and love!)
Attach the Adhesive Lego Tape
Cut five pieces of the adhesive Lego tape to fit the shelves, then stick them on. I had a lot of trouble removing the paper from the adhesive backing, so I just ripped it off and used clear double-sided mounting tape instead.
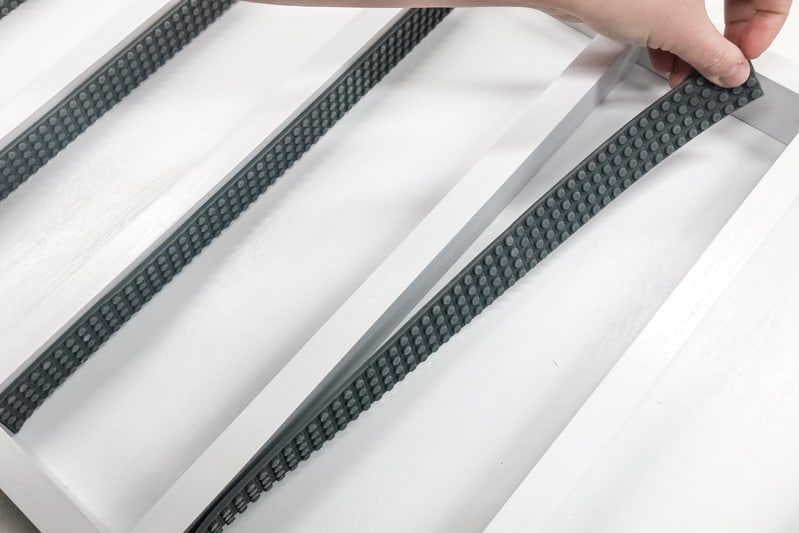

You can also put it on the sides, and even the top!


Hang Your New Lego Minifigure Display!
My son had a ton of fun picking out the minifigures for his new display case!
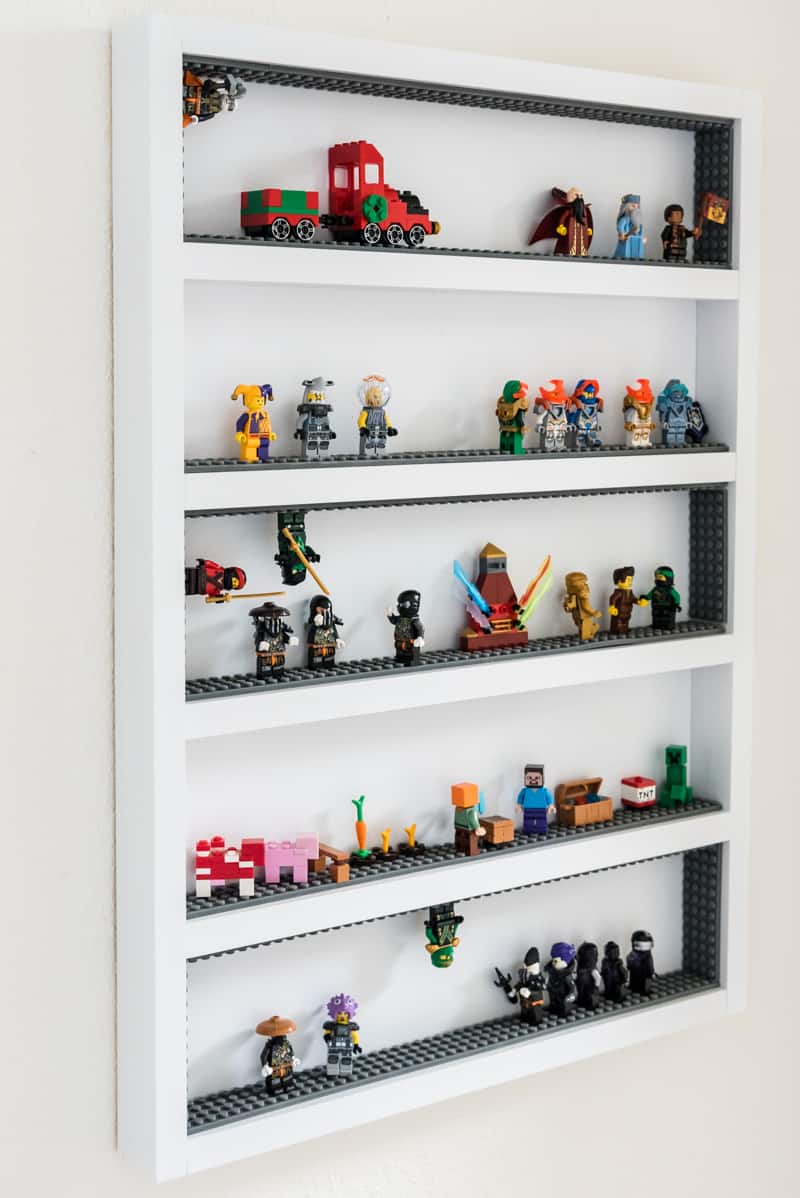
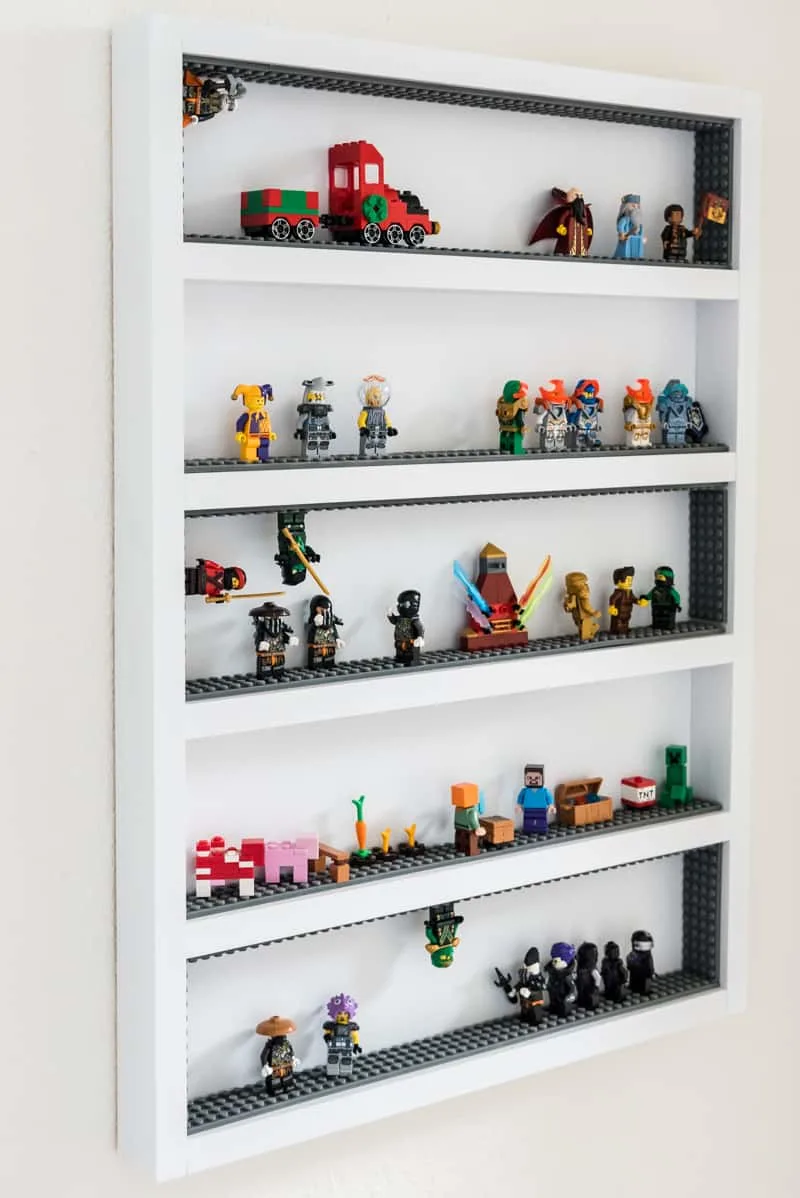
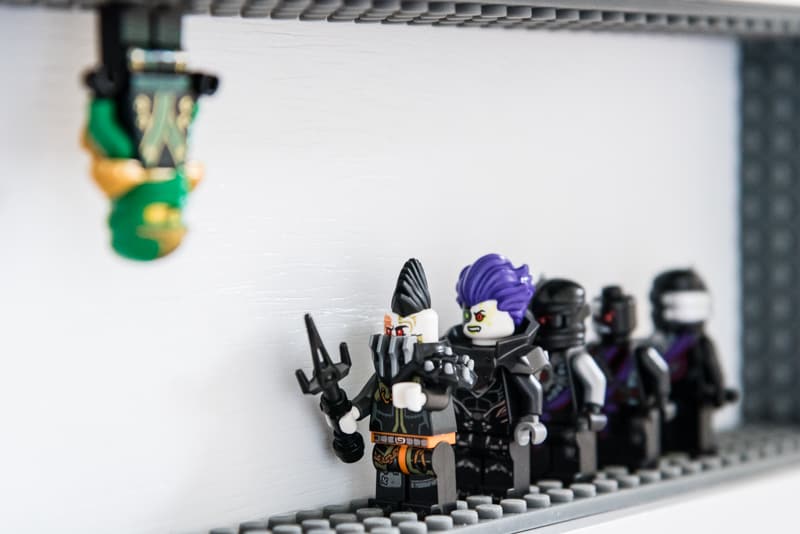
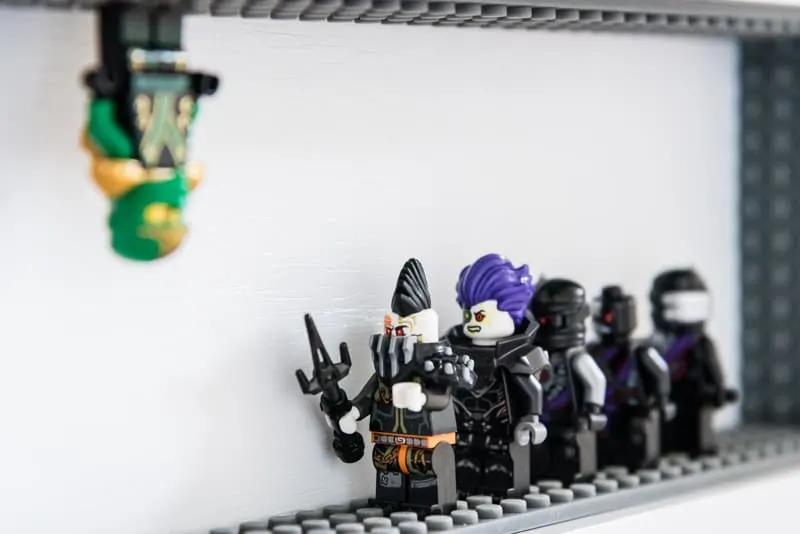
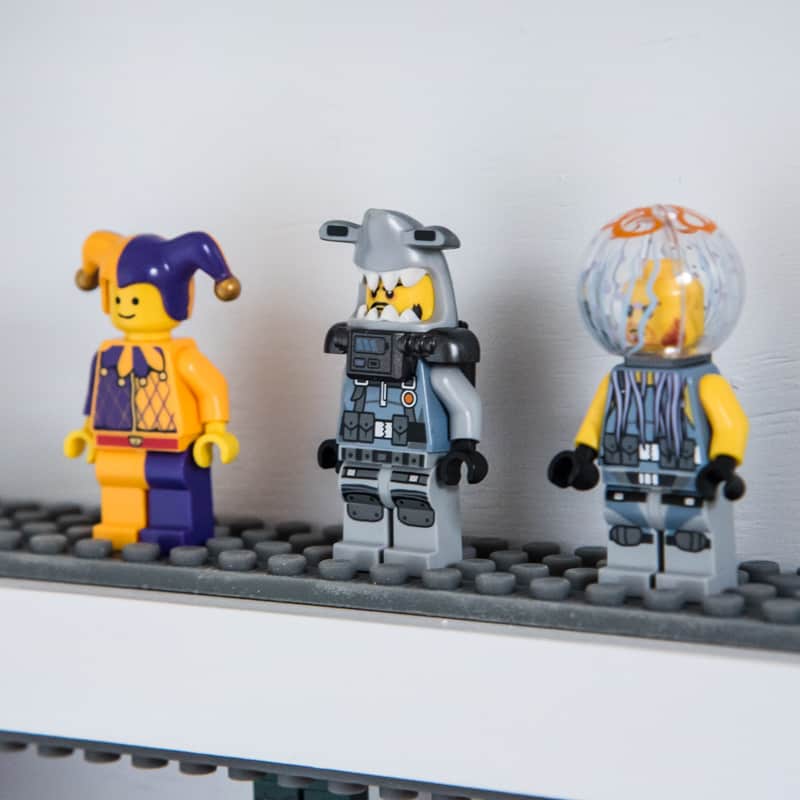
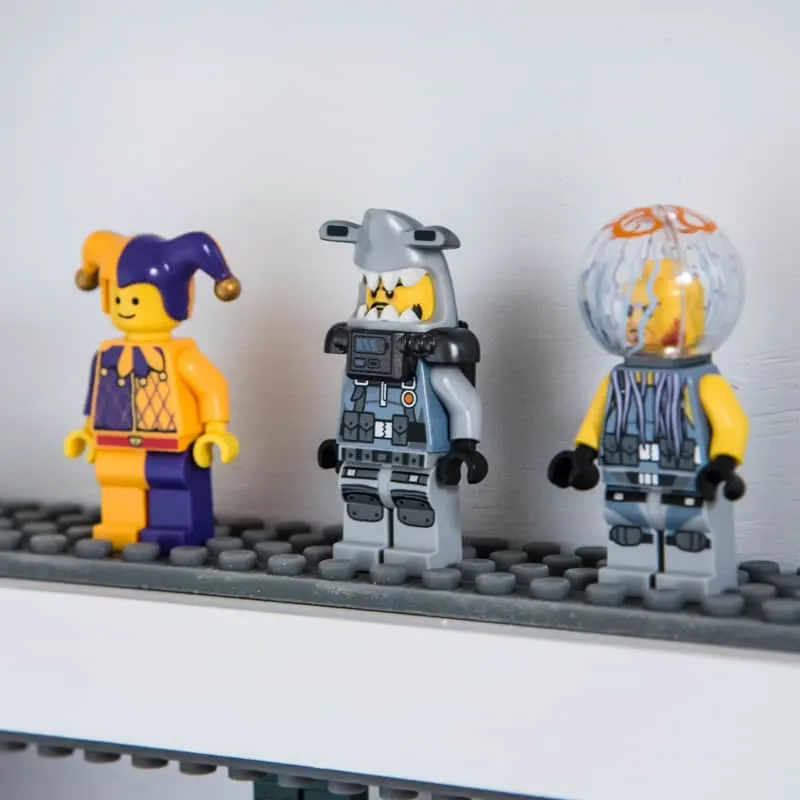
Now he can have gravity defying ninja battles!
And act out his favorite Minecraft scenes!
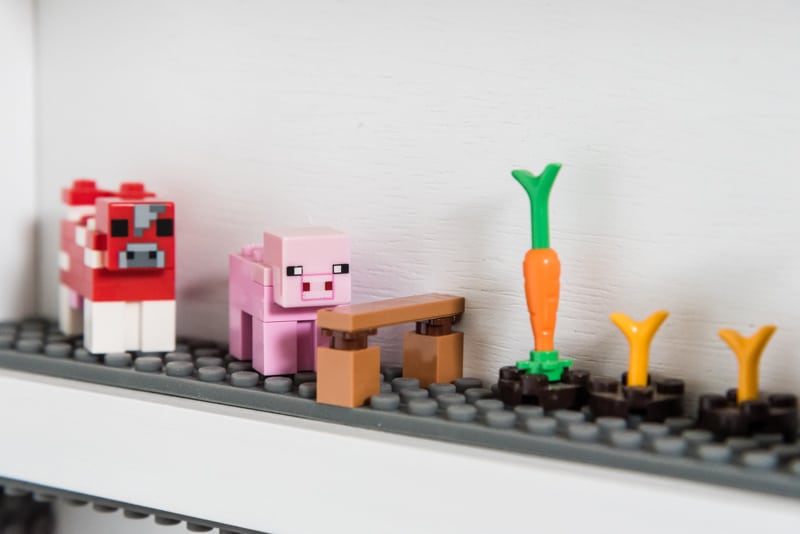

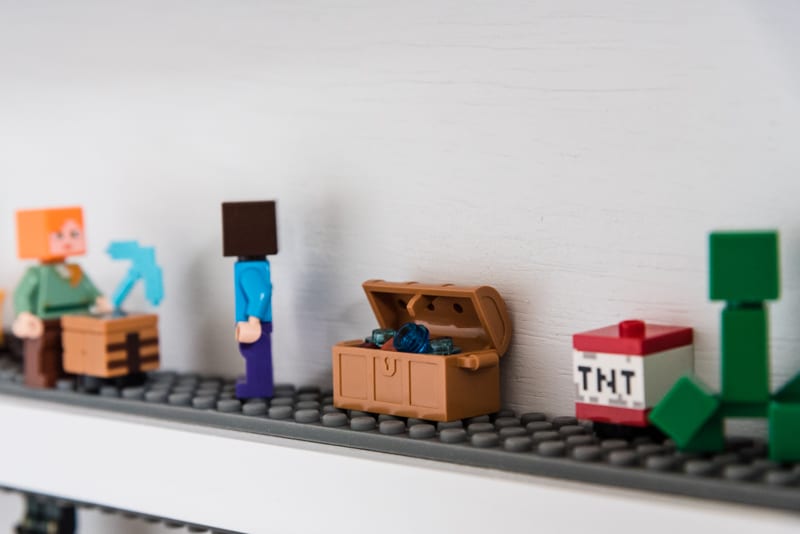

Lego characters that haven't seen the light of day in months or years now take center stage on their own minifigure shelf!
Check out these other Lego storage ideas!
Nicolette
Friday 27th of December 2019
I've searched online forever looking for the one diy Minifigure display/stand that caught my eye. Then right at this moment realized that I don't really"need" the three display shelves I have now in my living room! So I will now convert them into Minifigure shelves easily.
Hurrem
Thursday 10th of January 2019
I was fascinated by this project as the mother of two sons. I'm so sorry the Legos are going to be forgotten in the boxes. I wonder if I can do it.