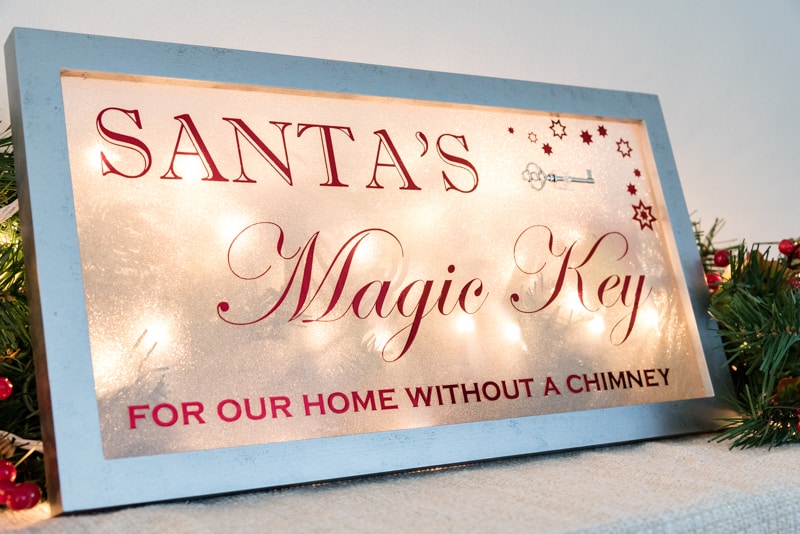
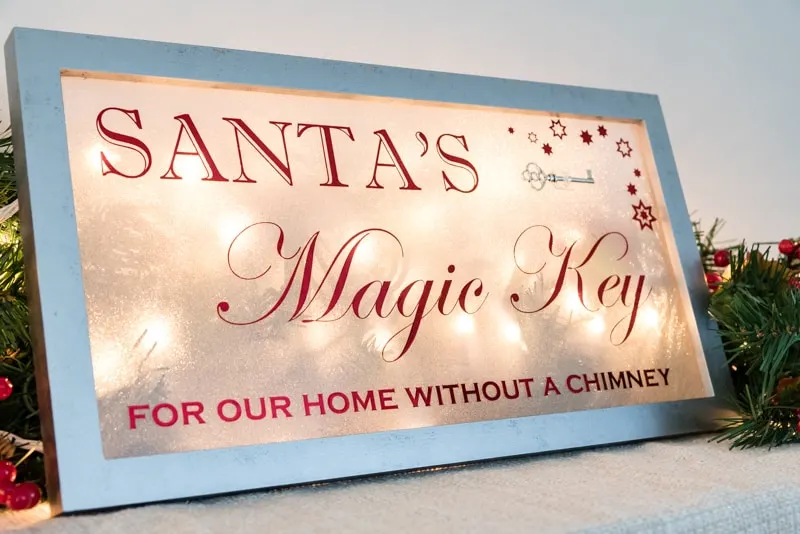
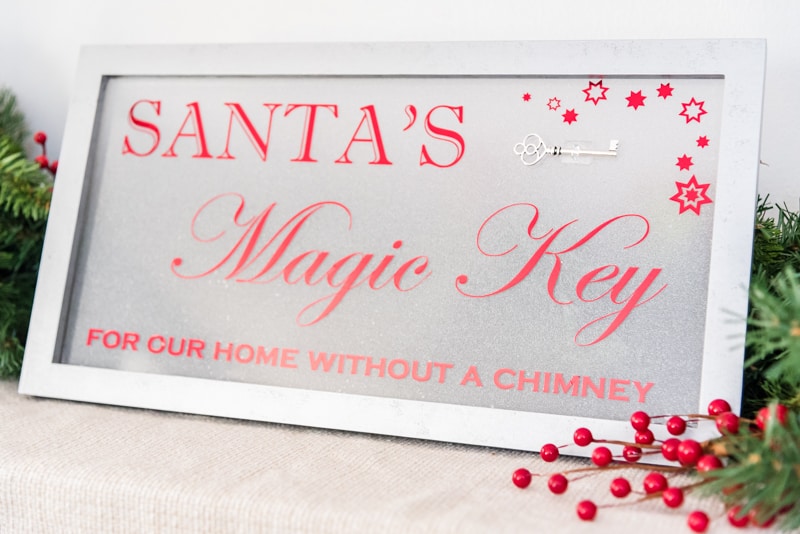
Are your kids worried that Santa can't deliver presents because your home doesn't have a chimney? Give him access with Santa's Magic Key!

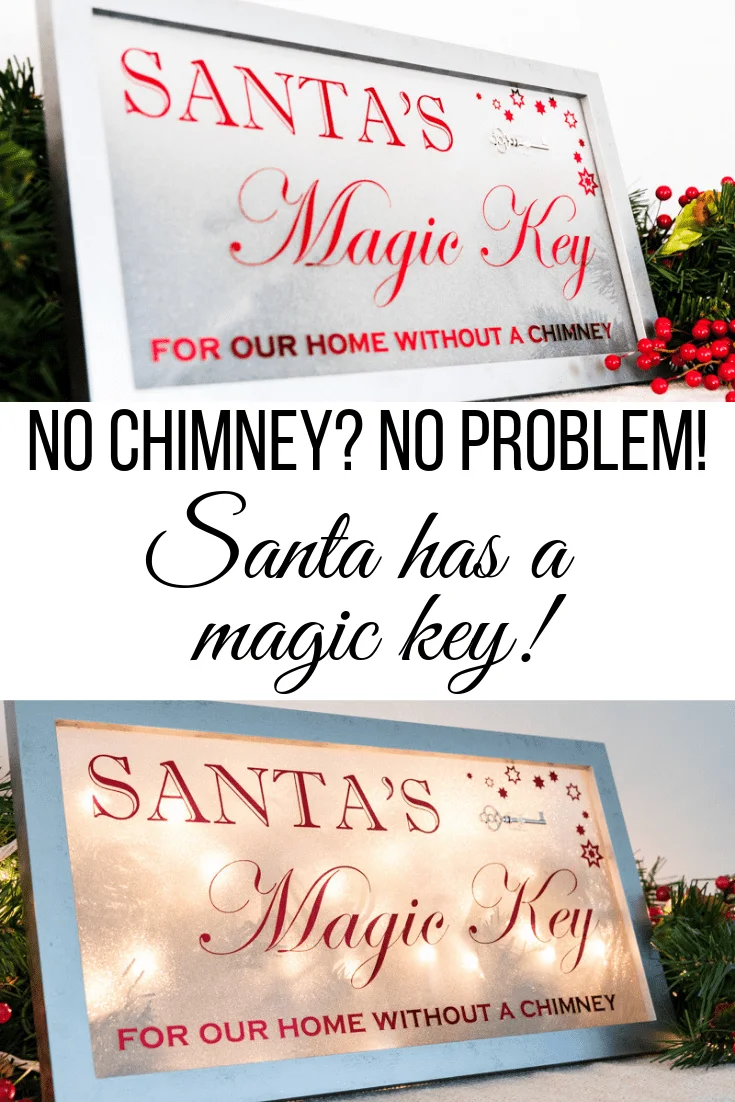
More and more homes don't have a fireplace these days. But how does Santa deliver presents without a chimney? Christmas could be ruined! *cue dramatic crying* Just display Santa's Magic Key by the door, and Santa can just walk right in and deliver his gifts!
This post contains affiliate links for your convenience. Purchases made through these links may earn me a small commission at no additional cost to you. Please visit my disclosures page for more information.
There are plenty of creative ways to display Santa's Magic Key. You could use it as an ornament on the Christmas tree. You could hang it from the doorknob with a special note. But this framed sign is bound to become your little one's favorite Christmas decoration!
Materials Needed for DIY Santa's Magic Key Sign
- Fancy key
- 8" x 16" picture frame
- Frosted contact paper
- Silhouette or Cricut machine
- Shiny red vinyl
- Transfer tape
- Silver craft paint (optional)
- Clear decorating clips
- Hot glue gun
How to Make Santa's Magic Key Sign
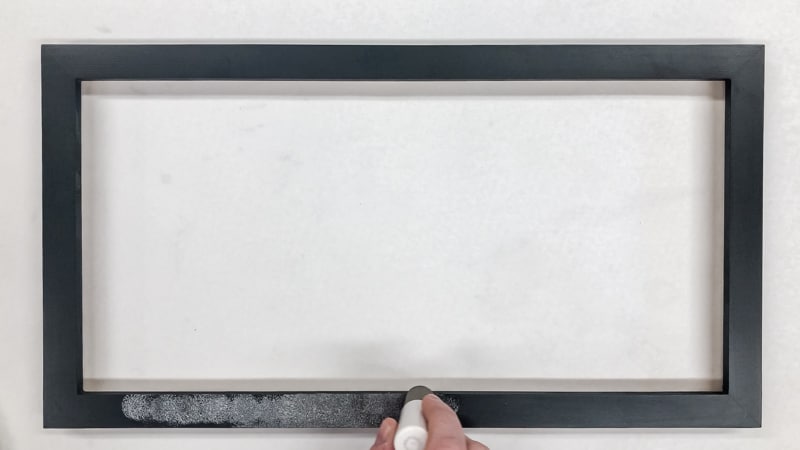
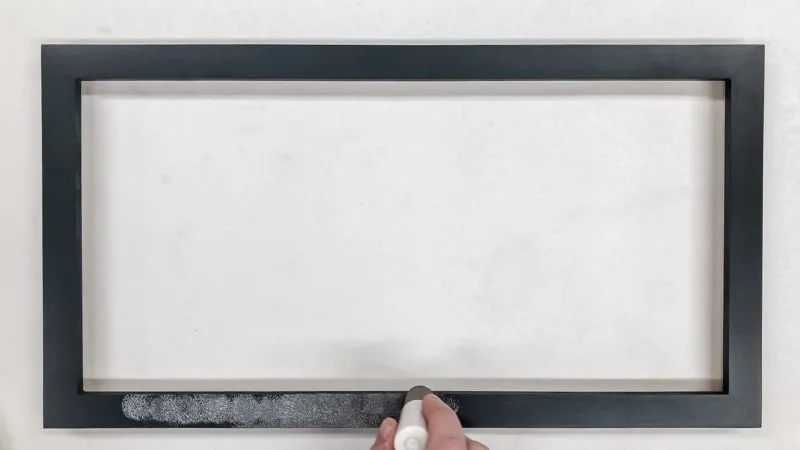
Paint the Frame (Optional)
The dimensions of this frame were a bit different from the typical 8x10, so the options were limited. I chose a black frame so I could give it an aged silver paint treatment. Just dab silver craft paint over the black with a foam pouncer to give it a textured metallic look. Here are some more tips for how to paint a picture frame!
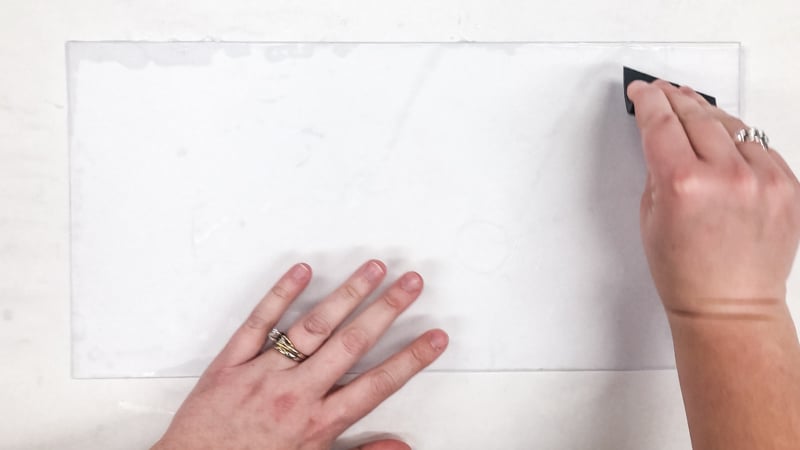
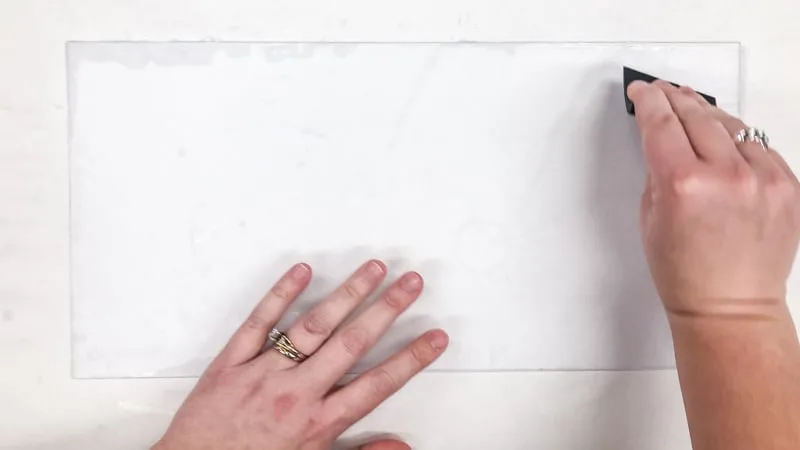
Apply Contact Paper to the Glass
Pop the glass out of the frame and wipe it down with glass cleaner. I used leftover frosted contact paper from covering our window to give the glass a wintery look.
Spray the glass with soapy water so the contact paper is easier to position. Place the contact paper on top, then smooth away any air bubbles with a credit card or scraper tool.
Create the Lettering
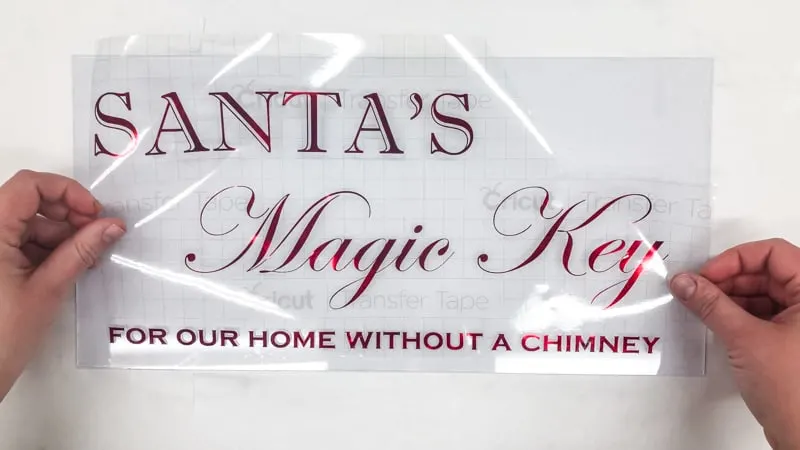
I created my own sign lettering with the Silhouette Studio software, then cut it out of shiny red vinyl. Play around with different fonts to see which ones you like best! I used Imprint MT Shadow, Edwardian Script ITC and Copperplate Gothic Bold for mine.
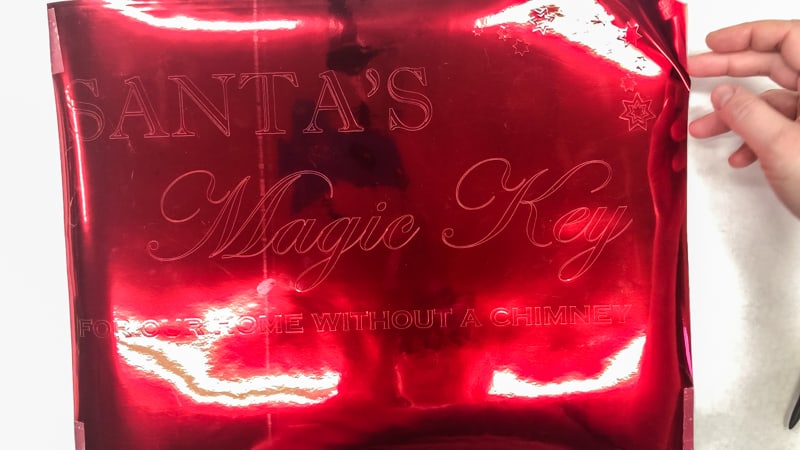
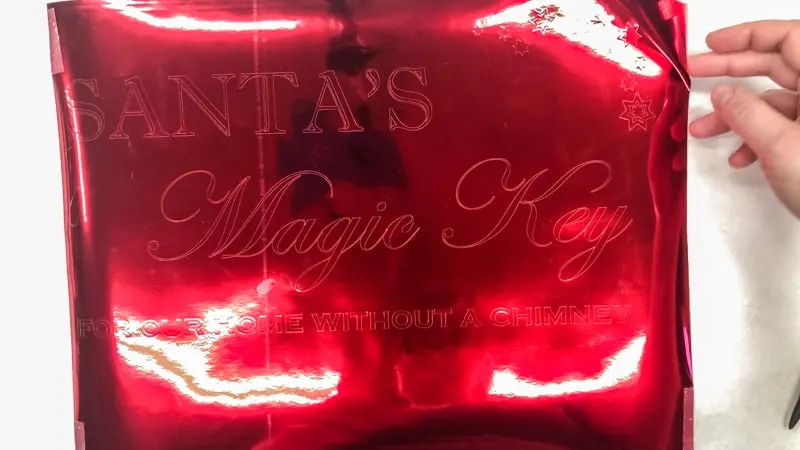
Weed out the excess vinyl, so all you're left with is the lettering. This can be tricky with such fine details, but using the weeding tool makes it easier.
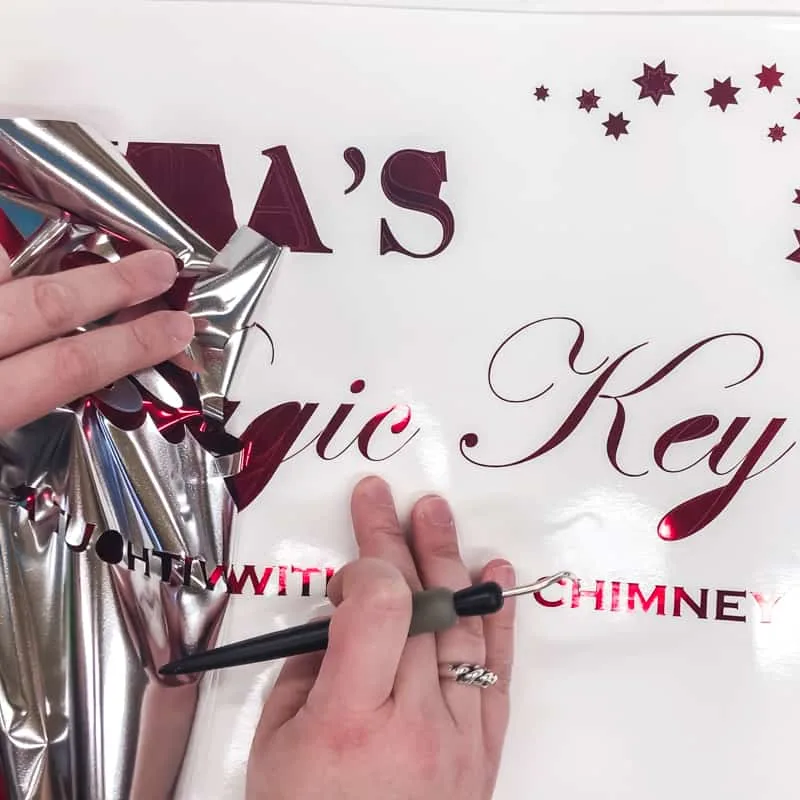
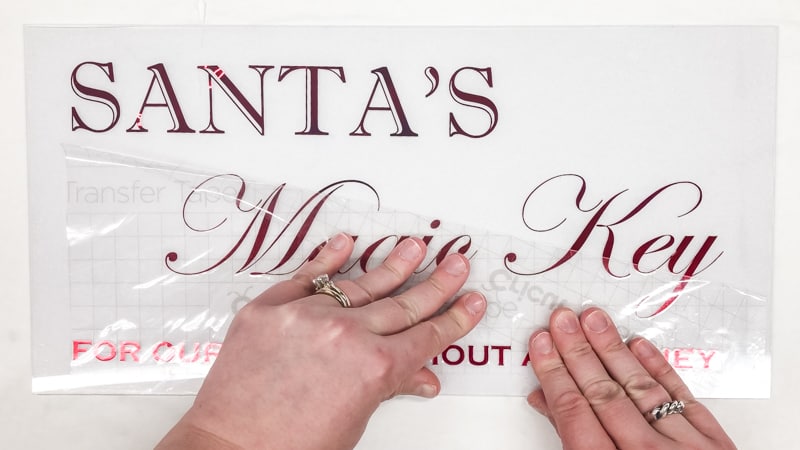
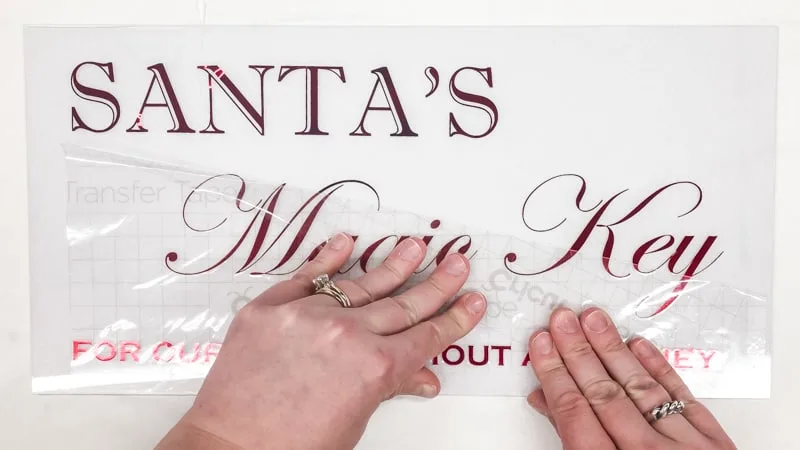
Cover the entire design with transfer tape, then peel off the backing.
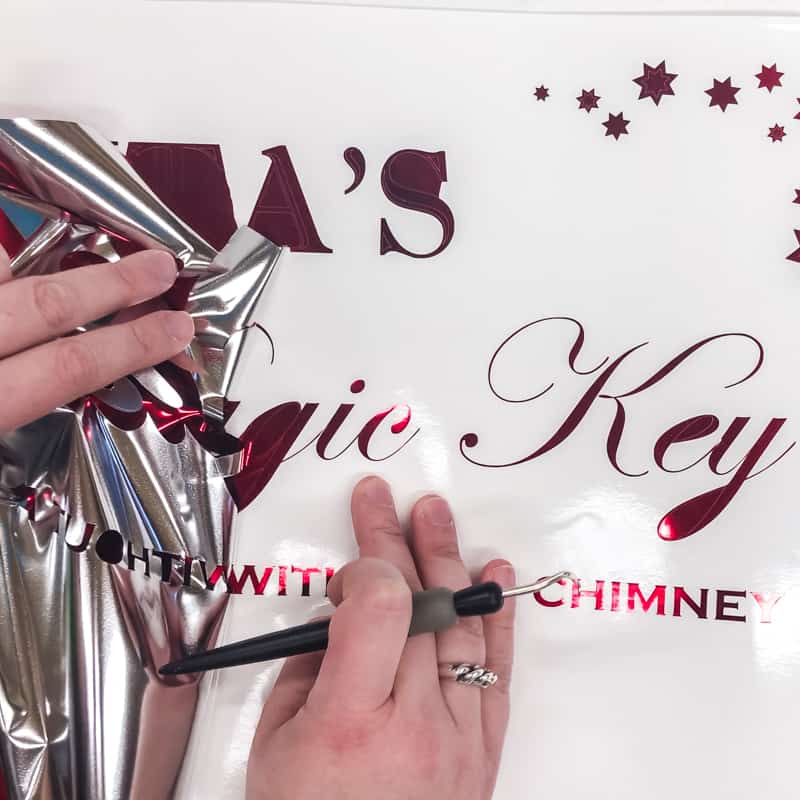
Apply Lettering to Glass
Place the transfer tape with the lettering attached on the front of the glass (the frosted contact paper should be on the back). I separated the lettering from the stars so I could adjust the spacing to fit.

When you peel off the transfer tape, there may be some letters that don't want to stay put. Scrape them with a credit card or scraper tool, then try again.
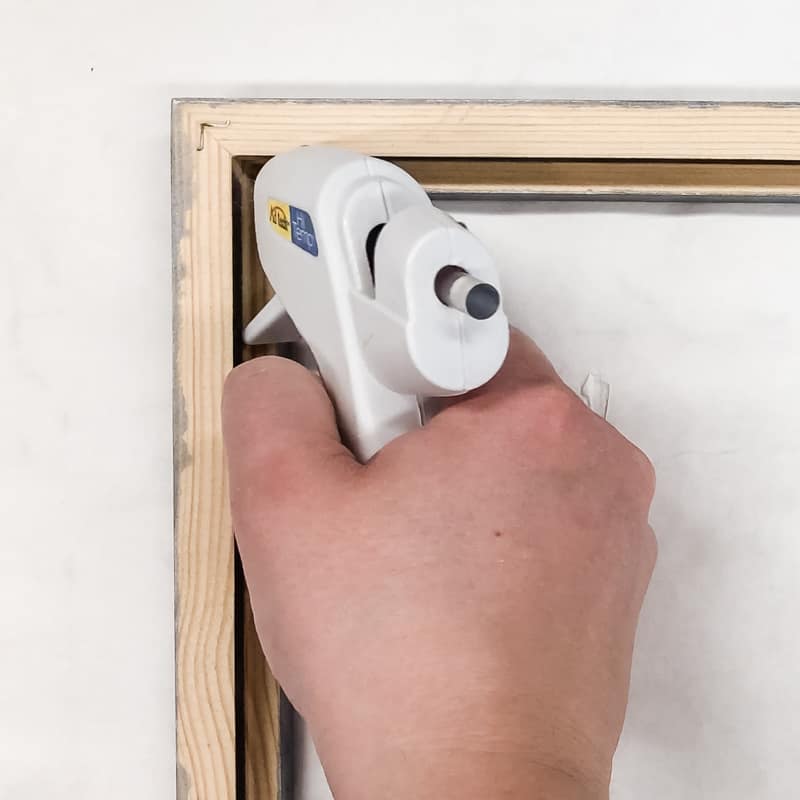
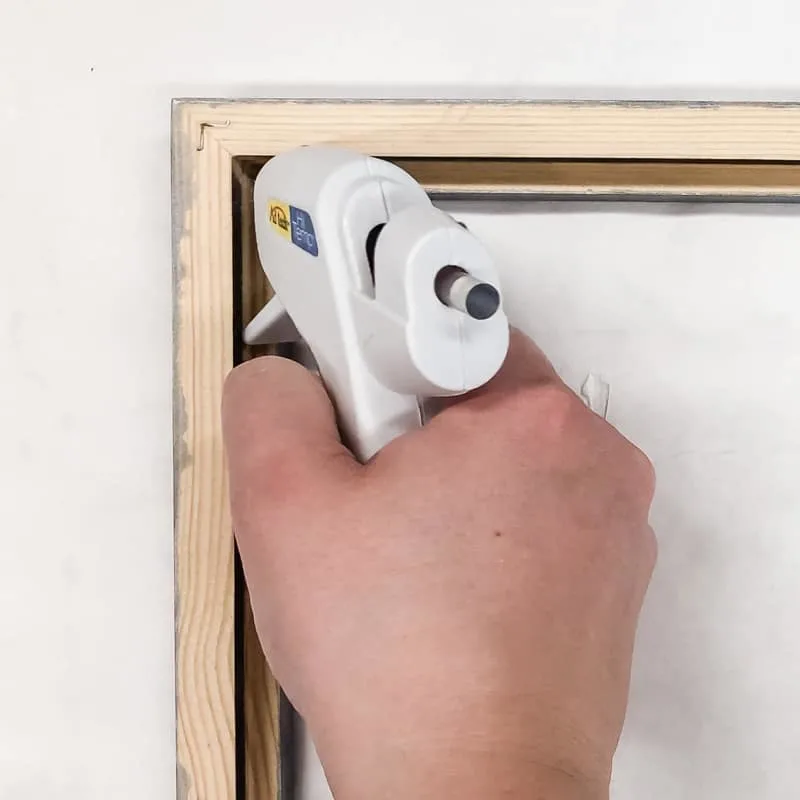
Insert Glass into Frame
I wanted to keep the translucent look of the frosted glass so it could be lit up from behind. But without the cardboard backing, the glass would fall out of the frame. So I added dabs of hot glue to the inside corners to keep the glass secure.
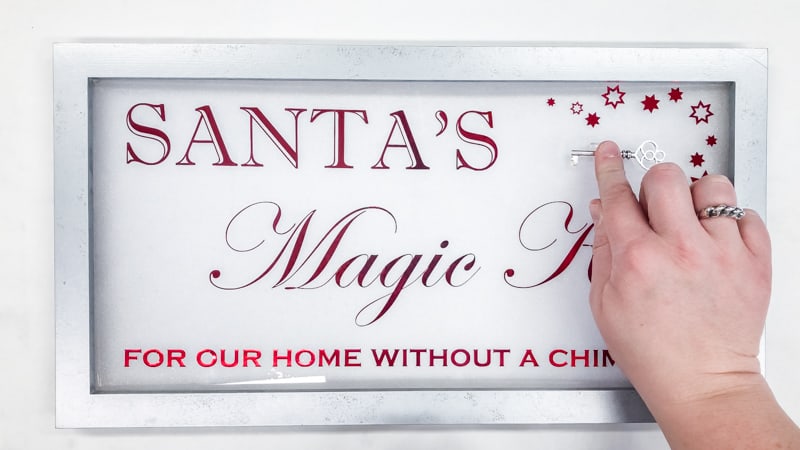
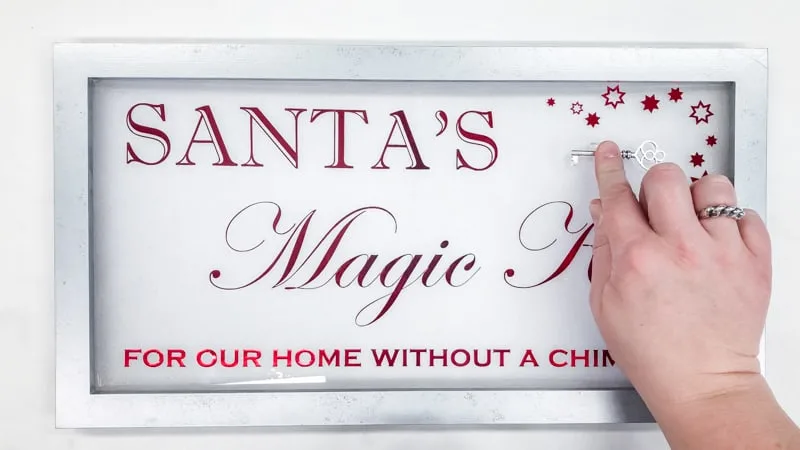
Add Santa's Magic Key
What good is the sign without Santa's Magic Key? I found these fancy plastic keys that fit perfectly in this little adhesive clip.
Just stick the clip to the sign in the corner with the magical stars, then add the key.
Display Santa's Magic Key by the Front Door
Make sure Santa can get to his Magic Key by positioning it near the front door! I positioned some lights from the garland behind it to really make it sparkle!
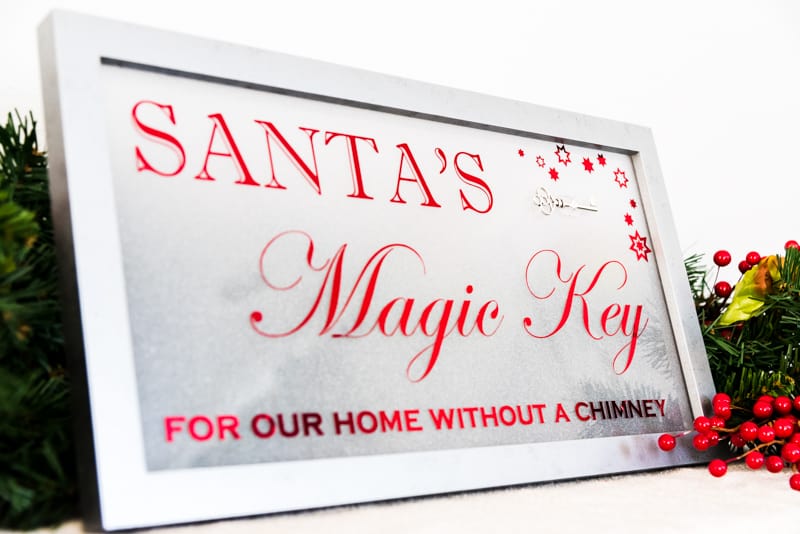
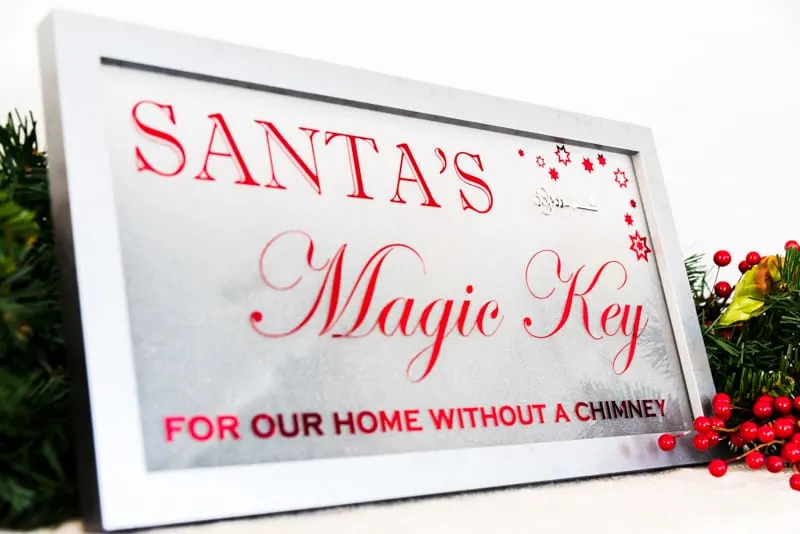
But it looks great with the lights off too!
You can remove the key from the clip on Christmas Eve and switch its position. Now the kids really DO think Santa used his "magic key" to deliver presents!
Check out these other DIY Christmas decorations!
Amy
Monday 17th of December 2018
What a cute idea. Your sign turned out darling!