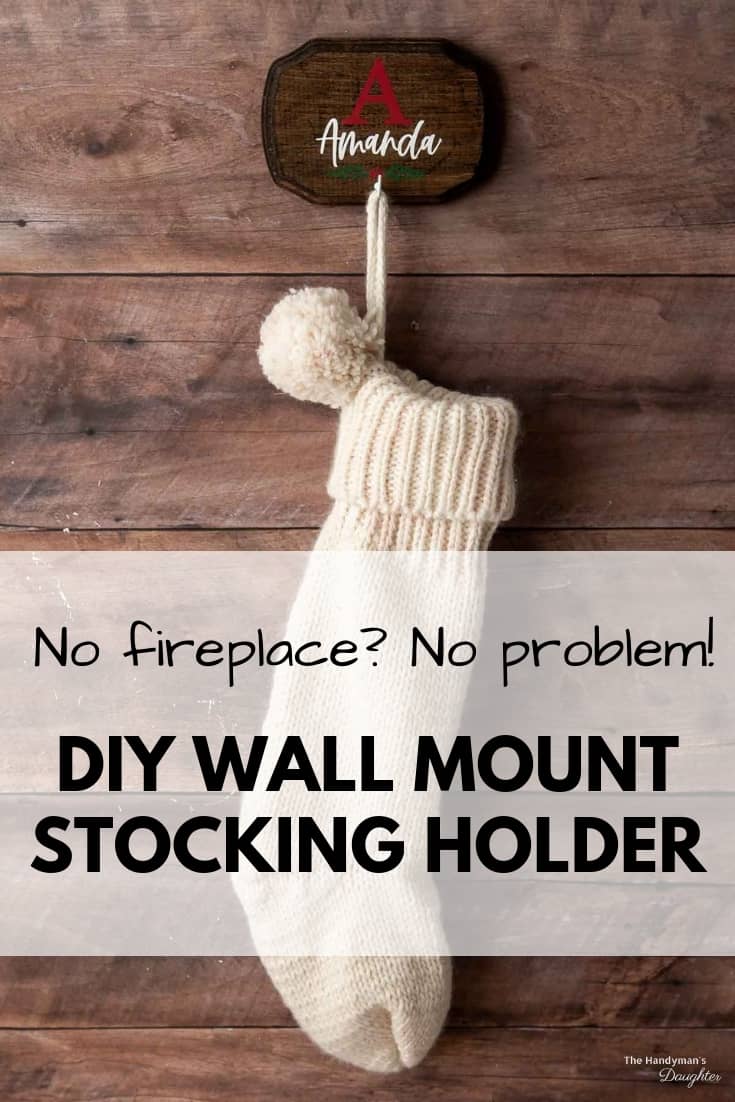
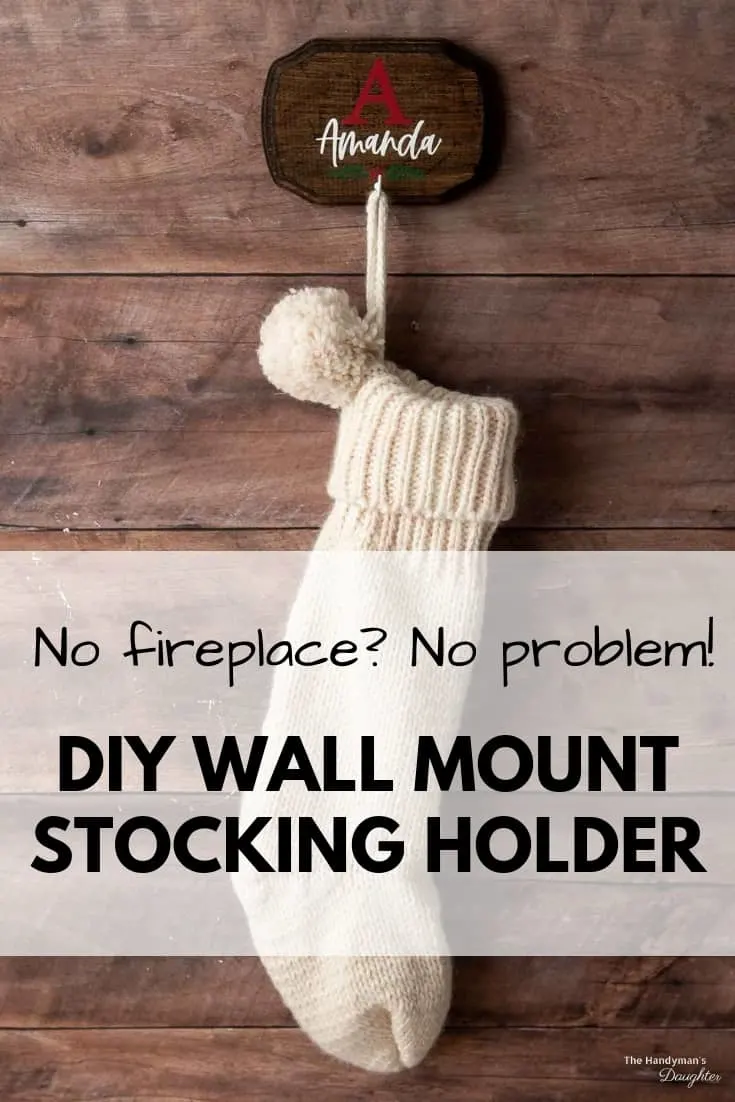
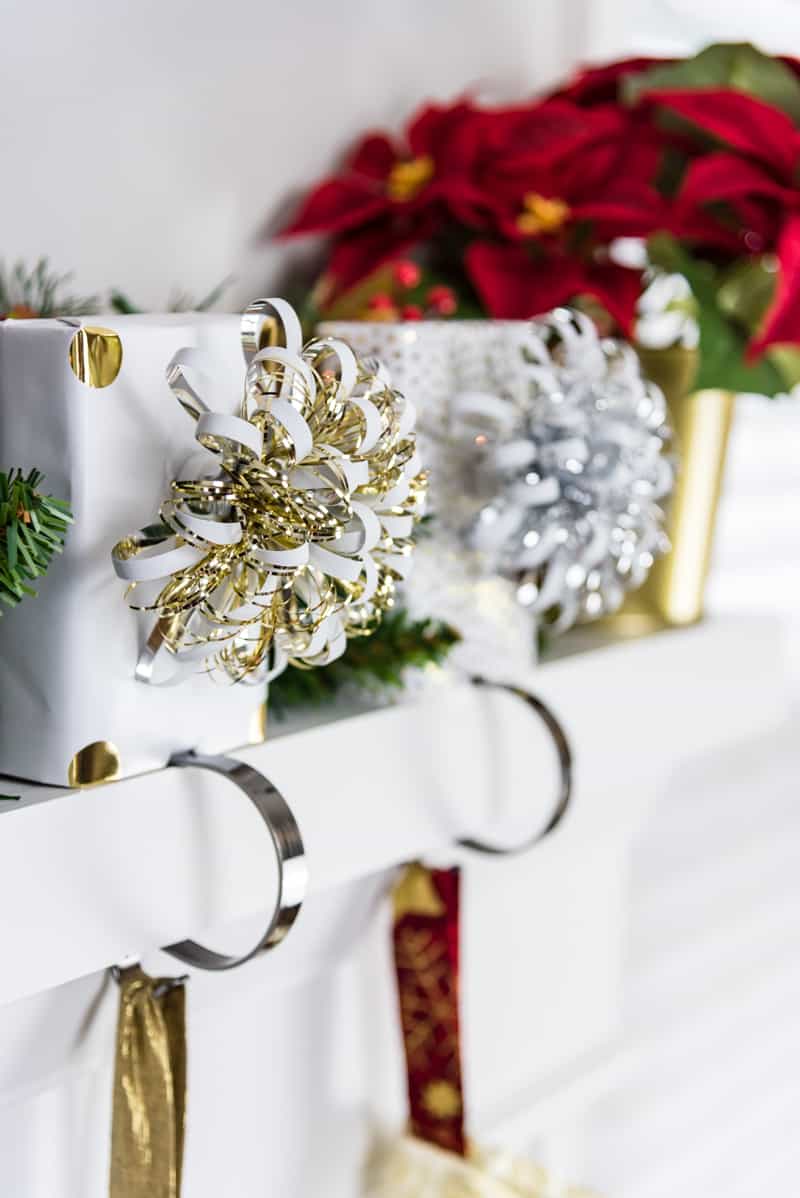
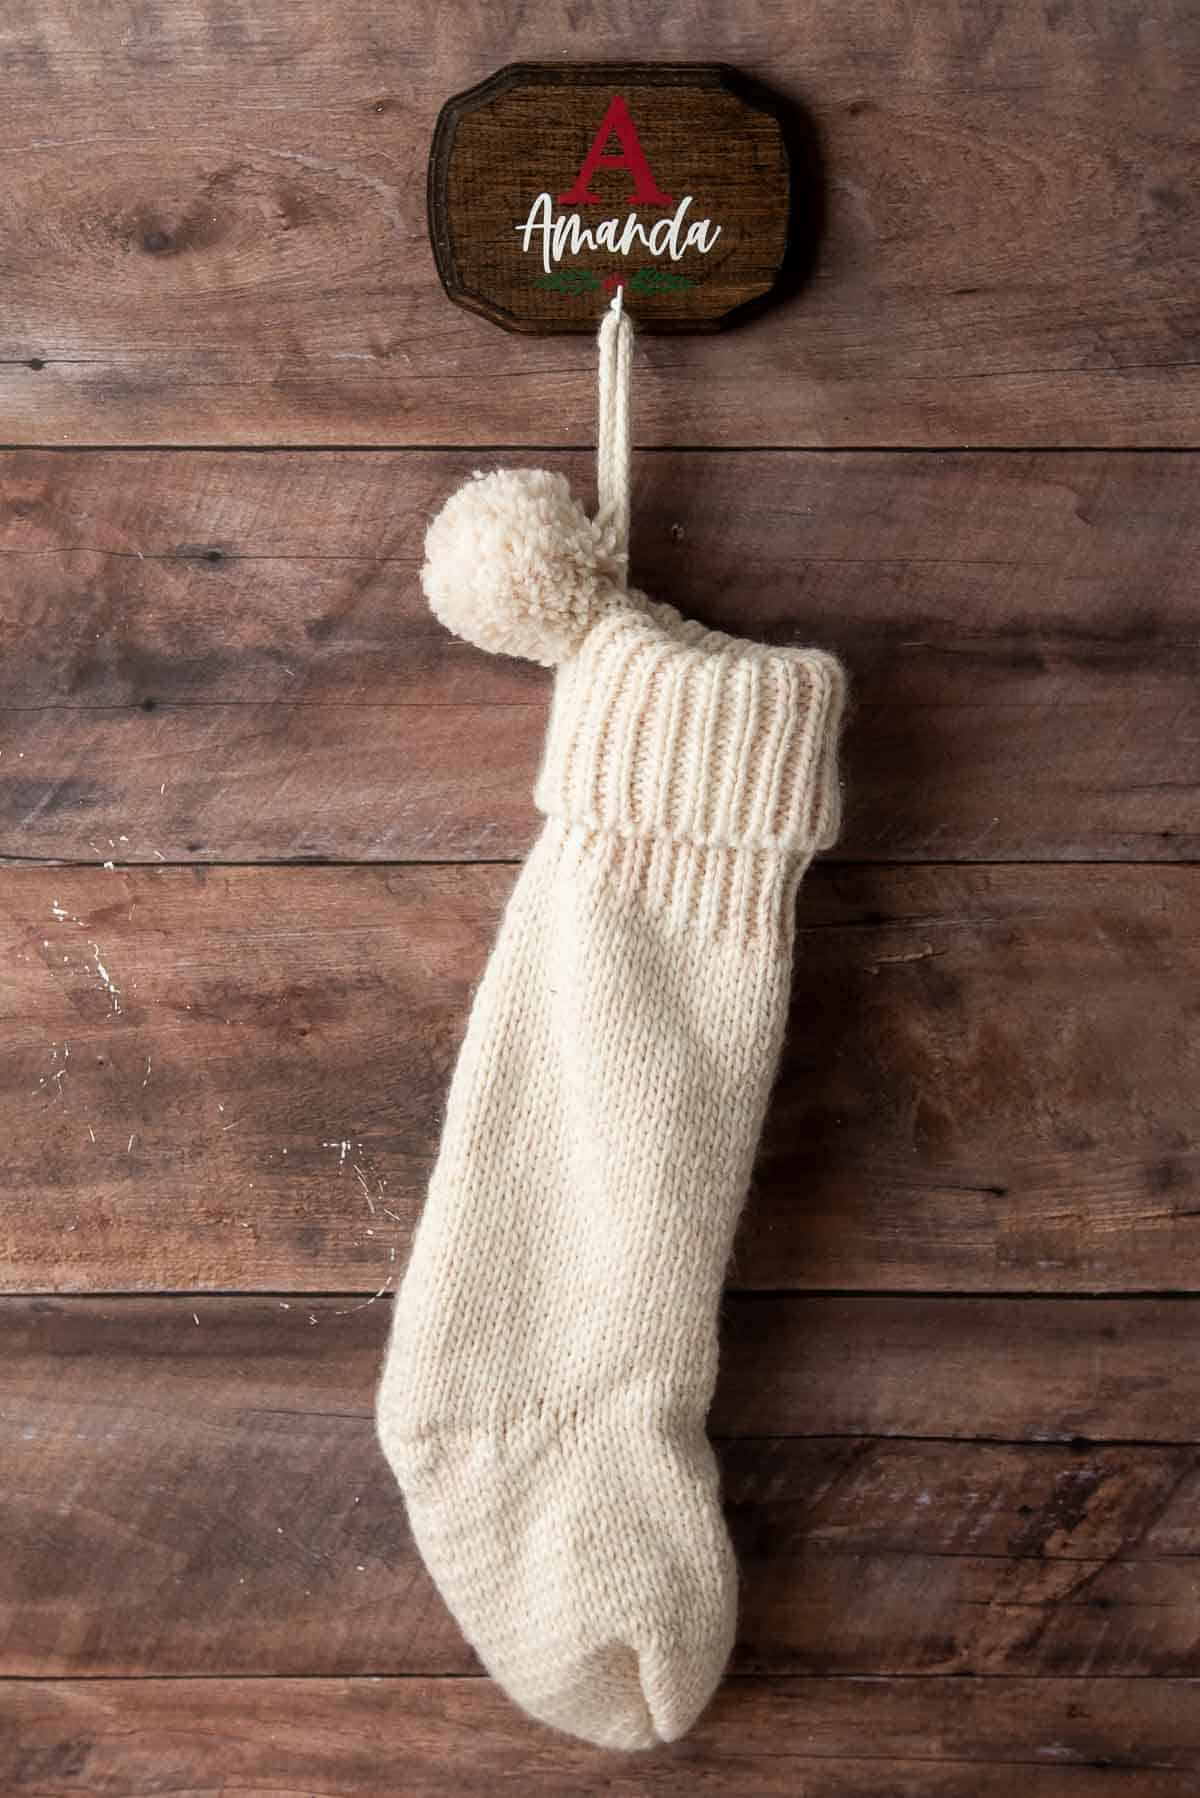
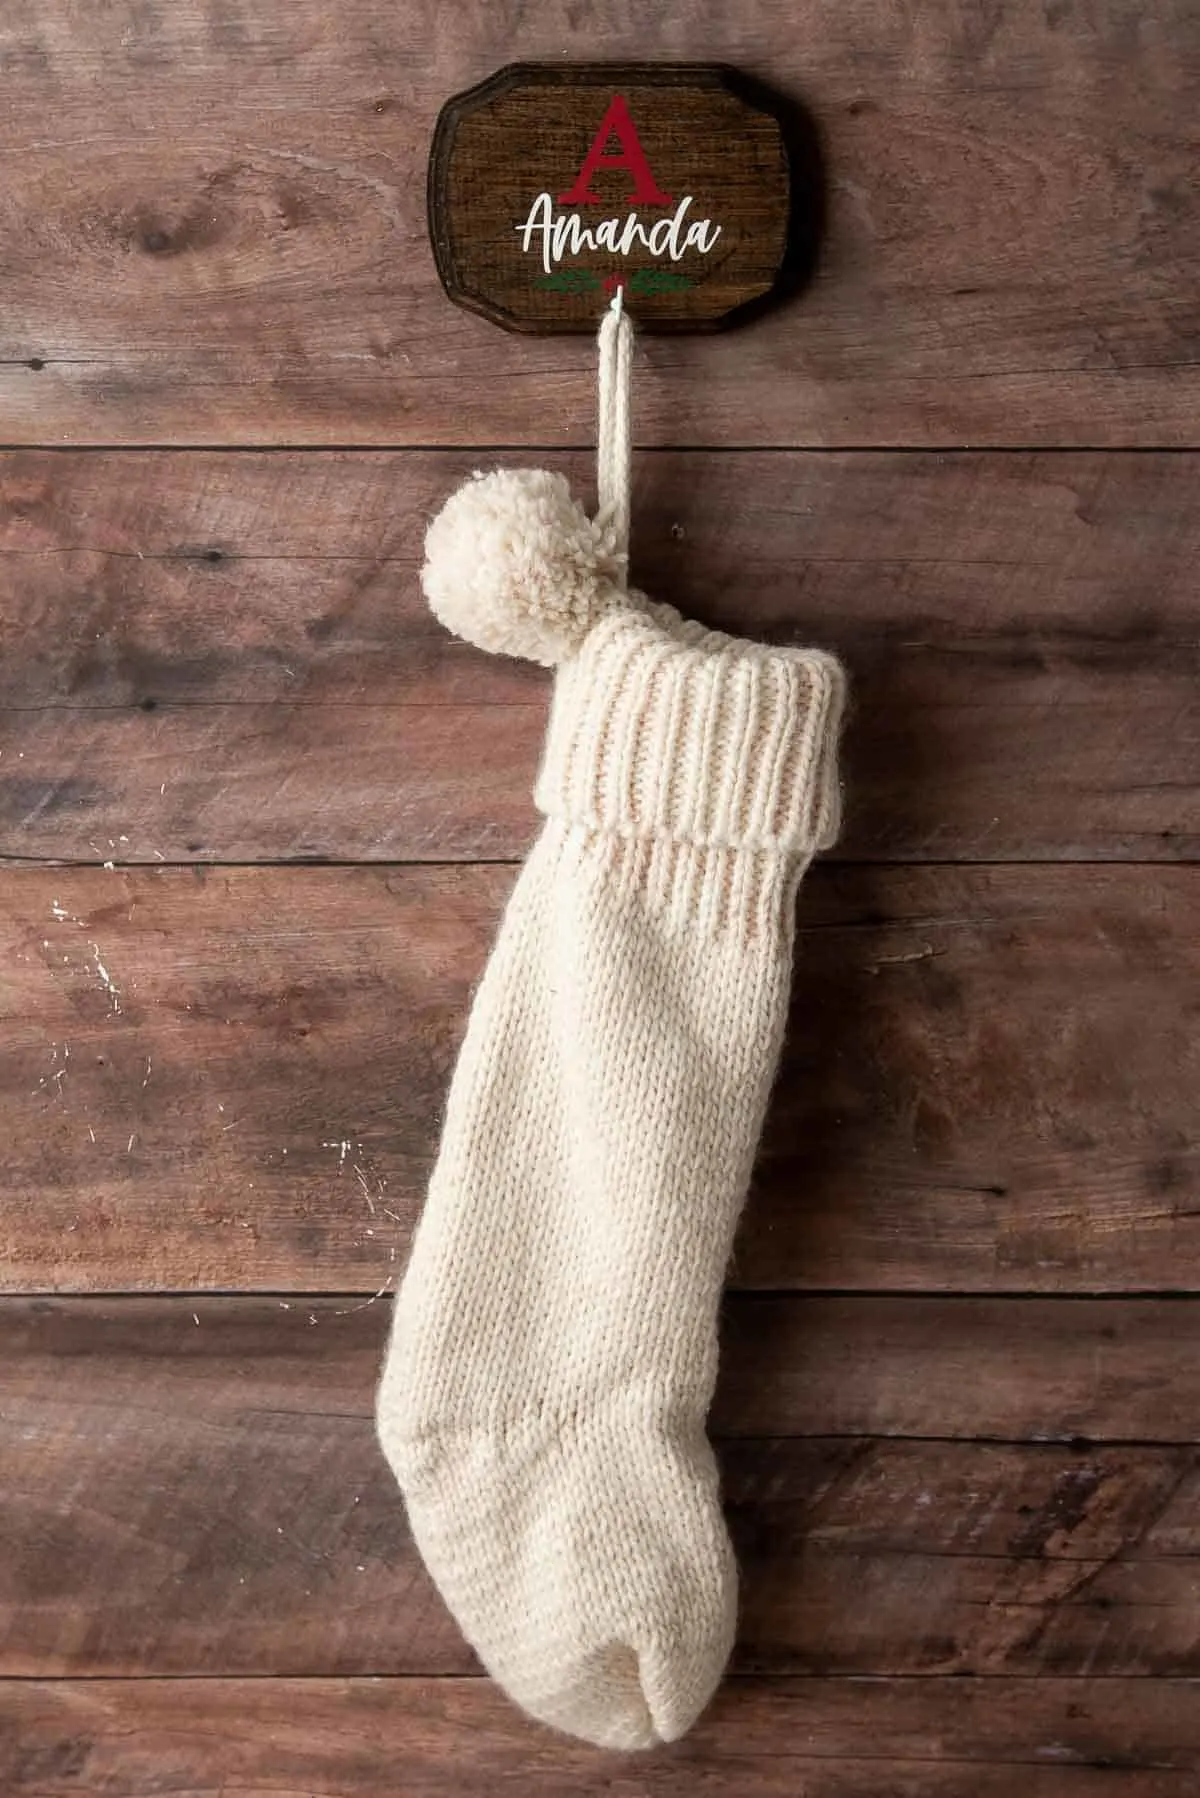
No mantel? No problem! This simple DIY stocking hanger mounts on the wall! Personalize the design for each member of the family with stencils you can make yourself.
Nowadays, it's pretty common to find a house or apartment without a fireplace. We honestly never use ours, even with all the effort I put into remodeling it a few years ago! The only time it gets any attention is at Christmastime, when I add a garland and these DIY stocking hooks to the mantel.

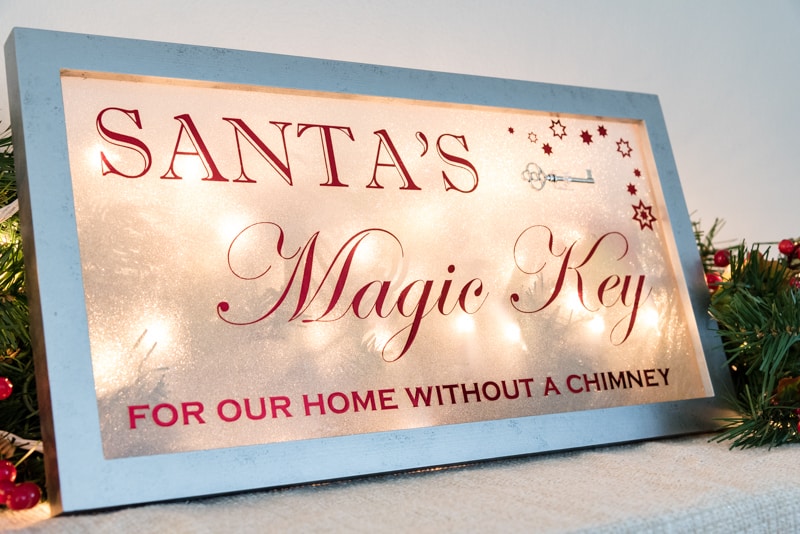
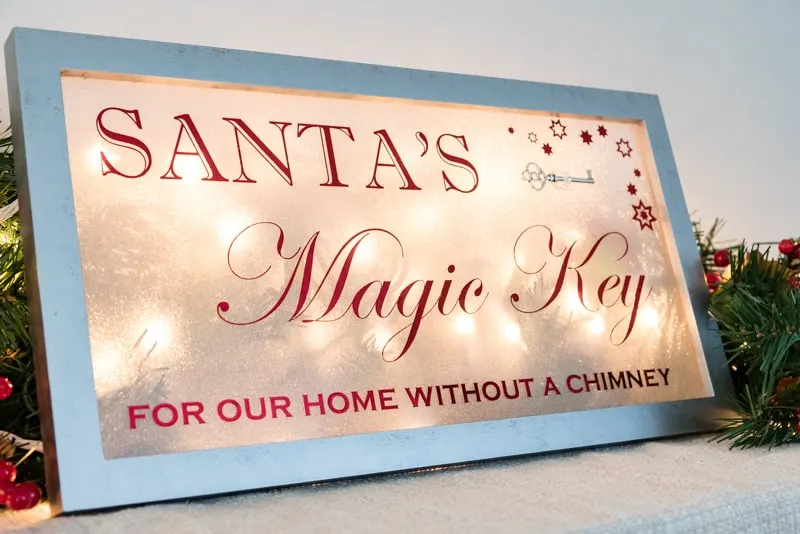
Don't worry if you don't have a chimney of your own! Santa will still come to your house to deliver all the treats to good little boys and girls. He'll just use his Magic Key! 😉
All you need to put out your stockings for Santa are these DIY stocking hangers for the wall!
This post contains affiliate links for your convenience. Purchases made through these links may earn me a small commission at no additional cost to you. Please visit my disclosures page for more information.
Materials needed
- Cricut or Silhouette machine
- Stencil vinyl
- Transfer tape
- Weeding tool
- 9" x 12" wood plaque
- You could also cut your own out of scrap wood.
- Red, white and green craft paint
- Sponge brush
- Mod podge
- Screw in cup hook
- Heavy duty adhesive mounting strips or other picture hanging hardware
How to make a stocking holder for the wall
Make the stencil
You don't necessarily need a vinyl cutting machine to make these personalized hangers. There are plenty of reusable stencils you can buy that would add the perfect touch to each plaque.
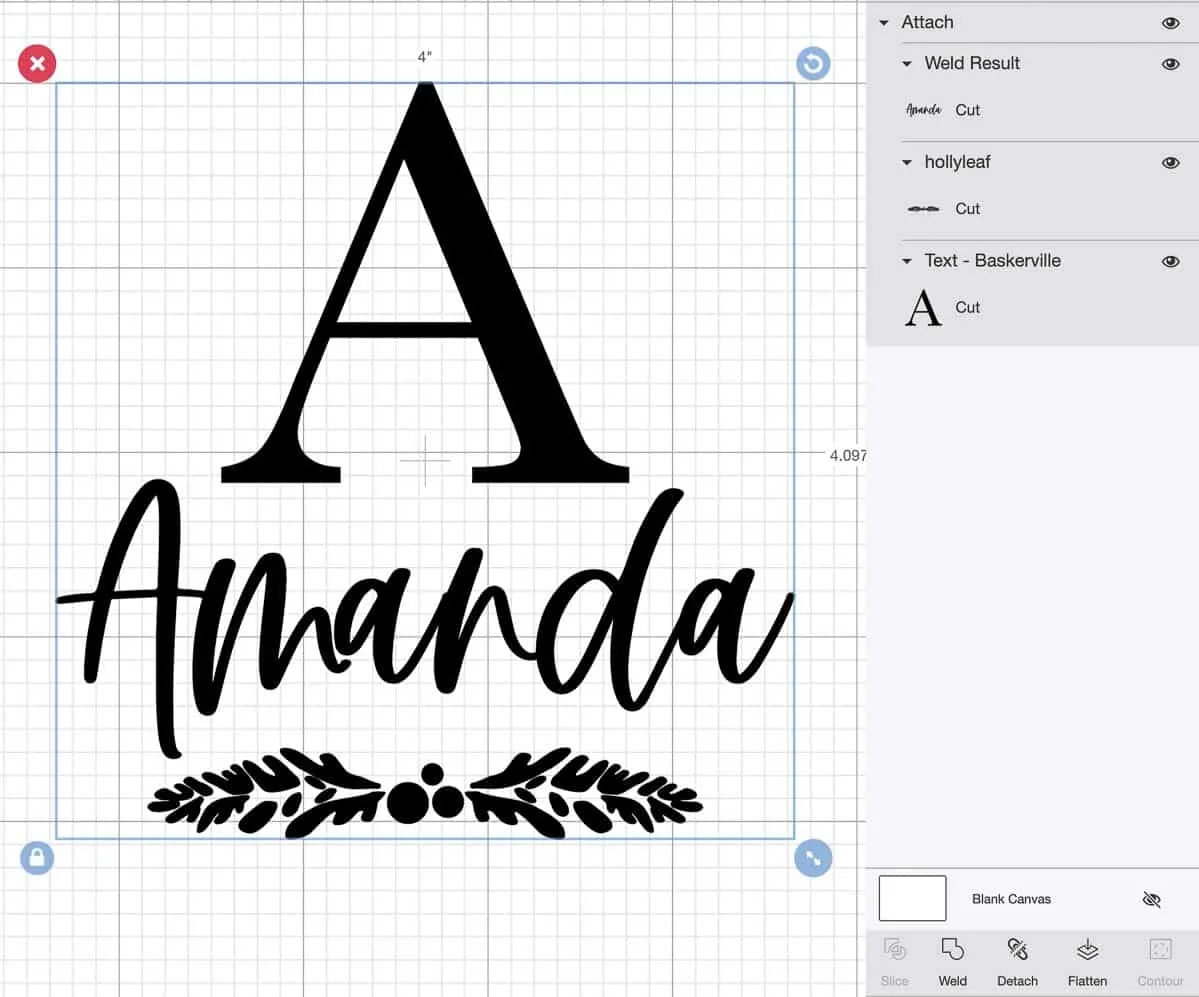
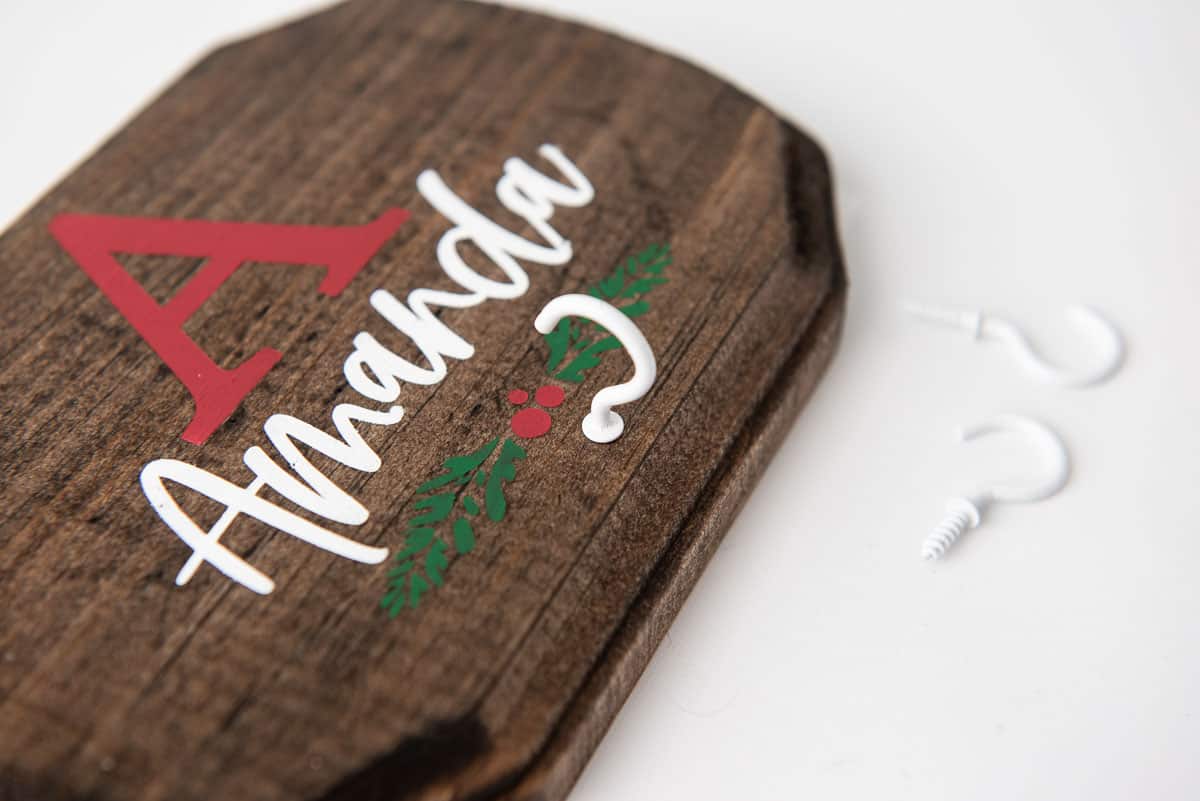
For this design, I used Bakersville for the big letter "A", and Barley regular for the name. If you don't have this font, you can use any thick, script font. Lastly, add the holly design and align all the elements to your liking. Keep the entire design around 4" square.

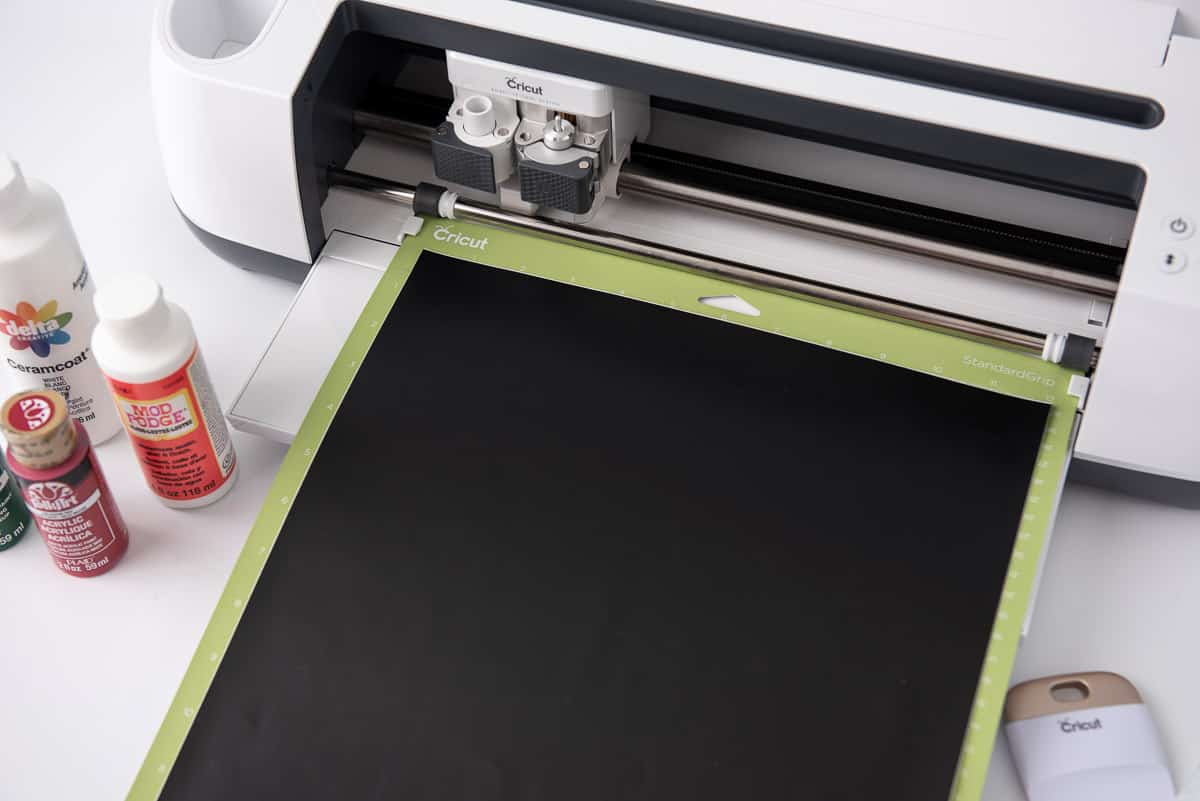
Just stick the vinyl onto the mat, insert it into the rollers and hit go!

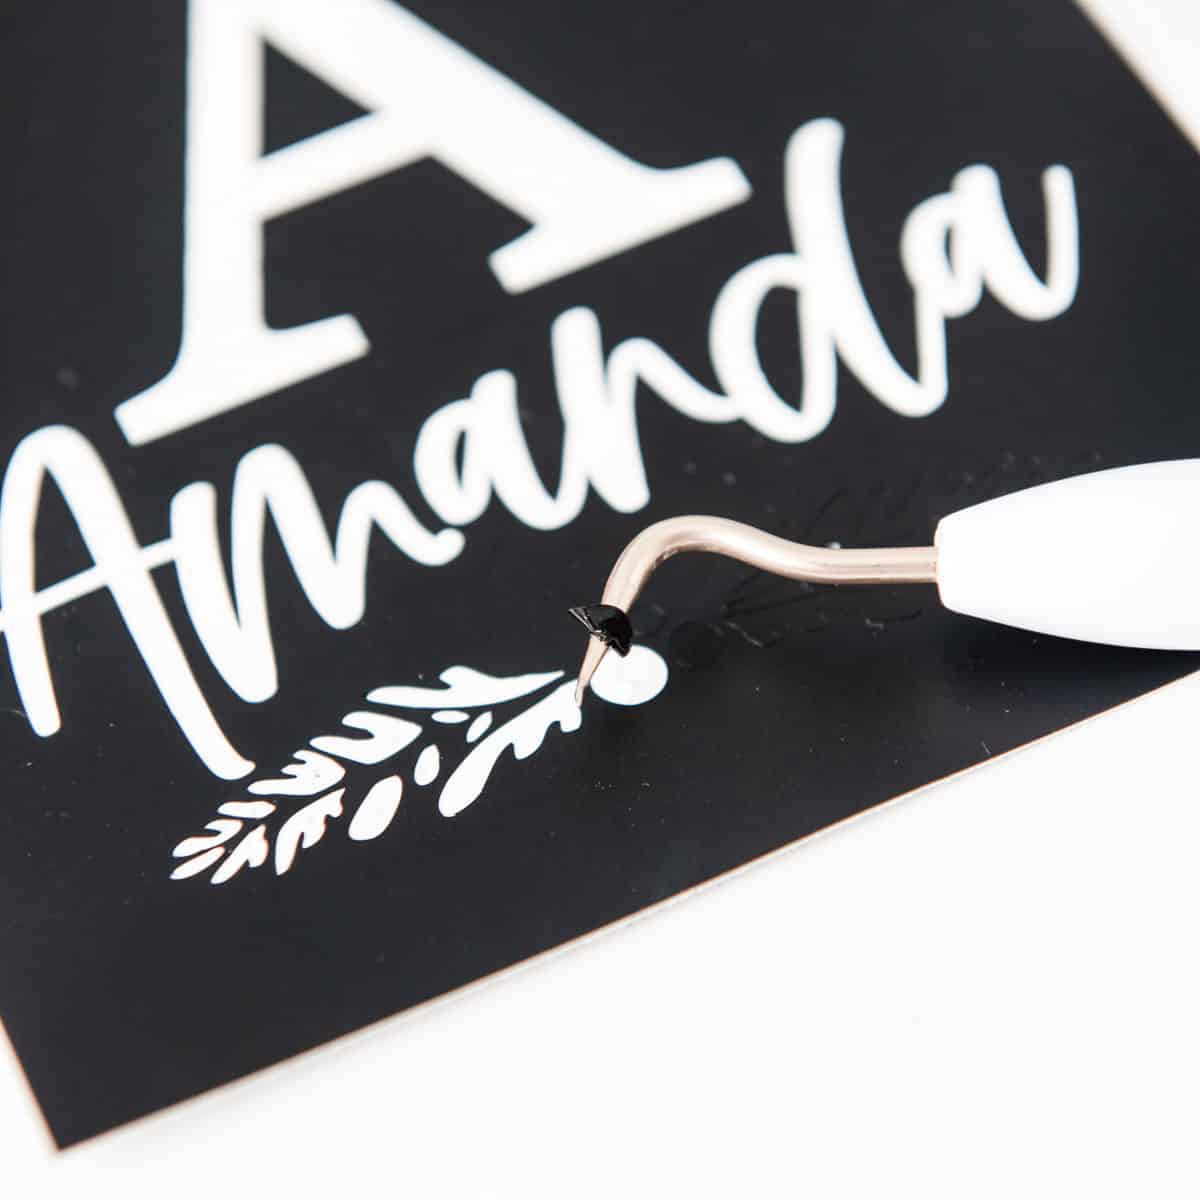
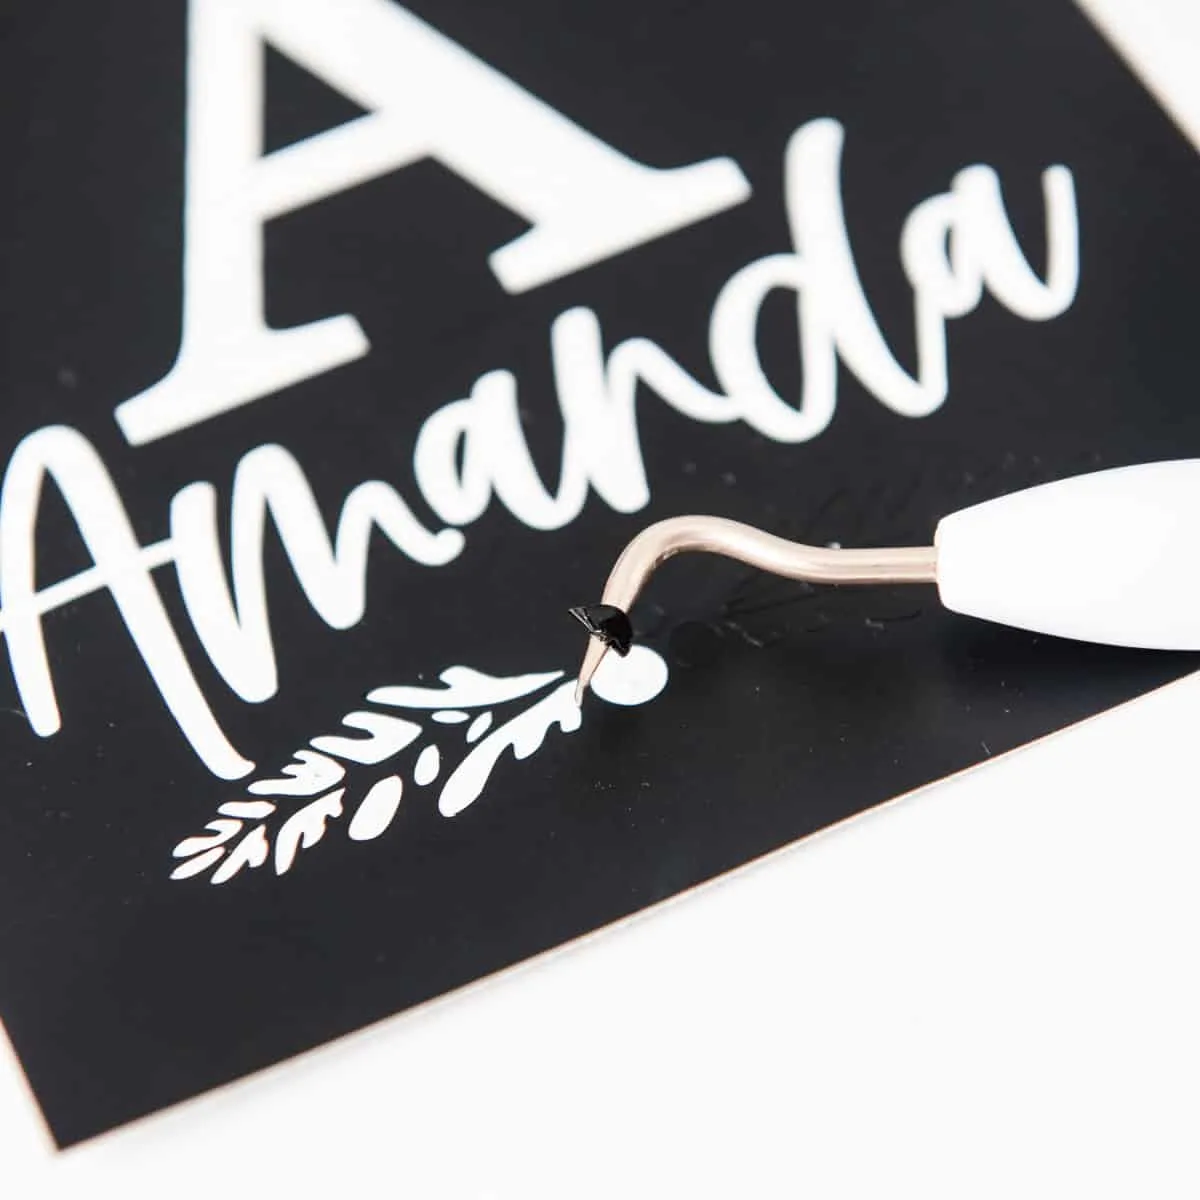
Weed out the design with a weeding tool. Make sure to leave the middle of the letters, like the center of the A, in place.
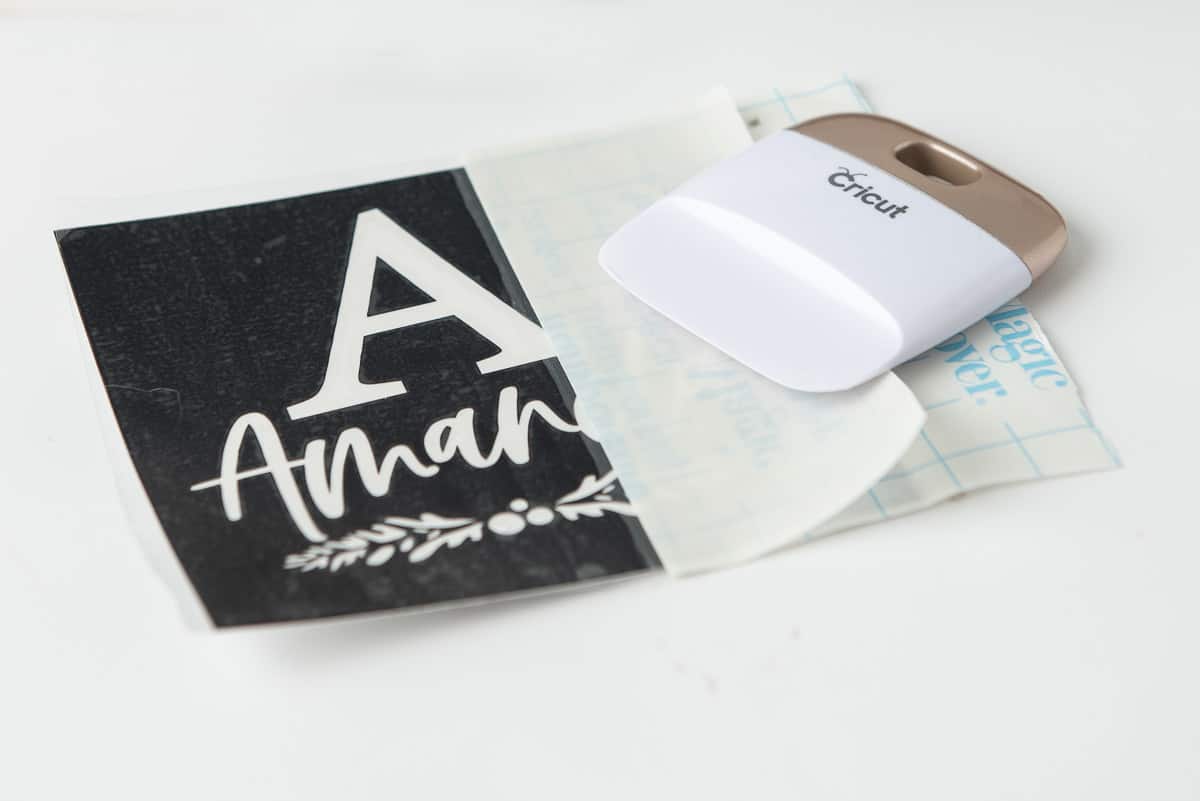
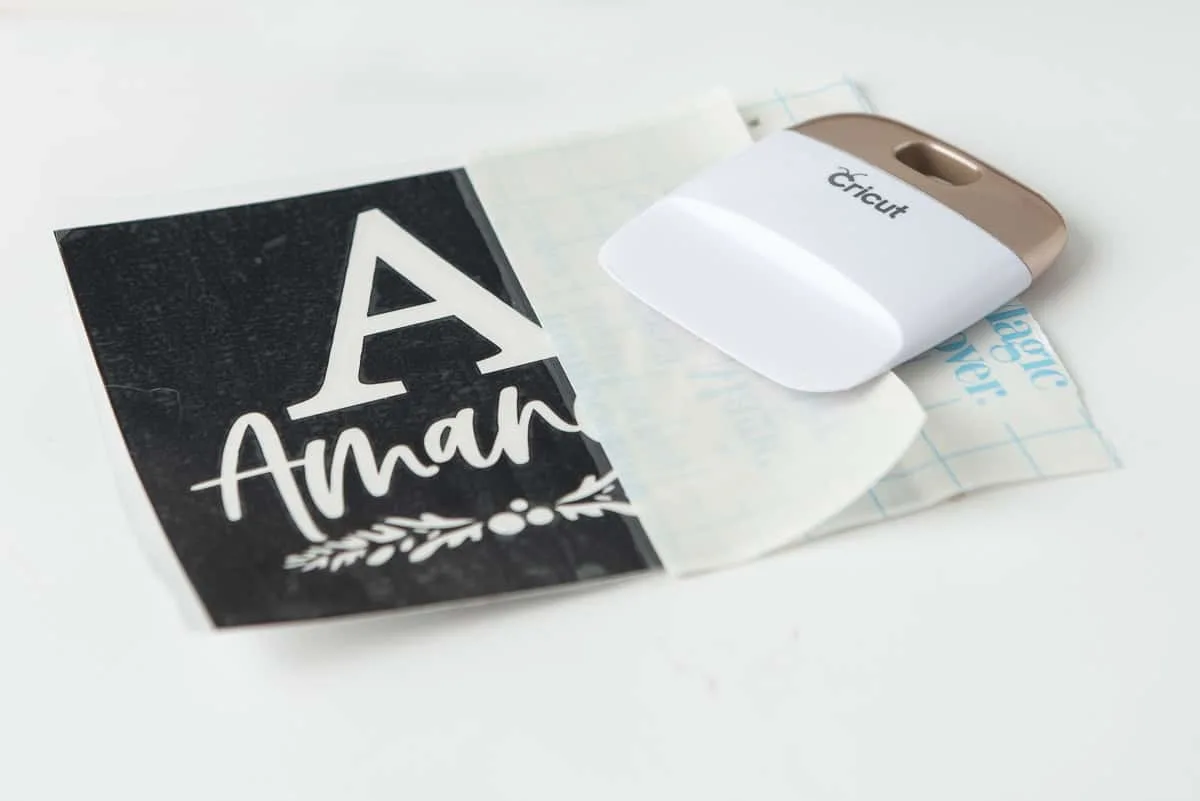
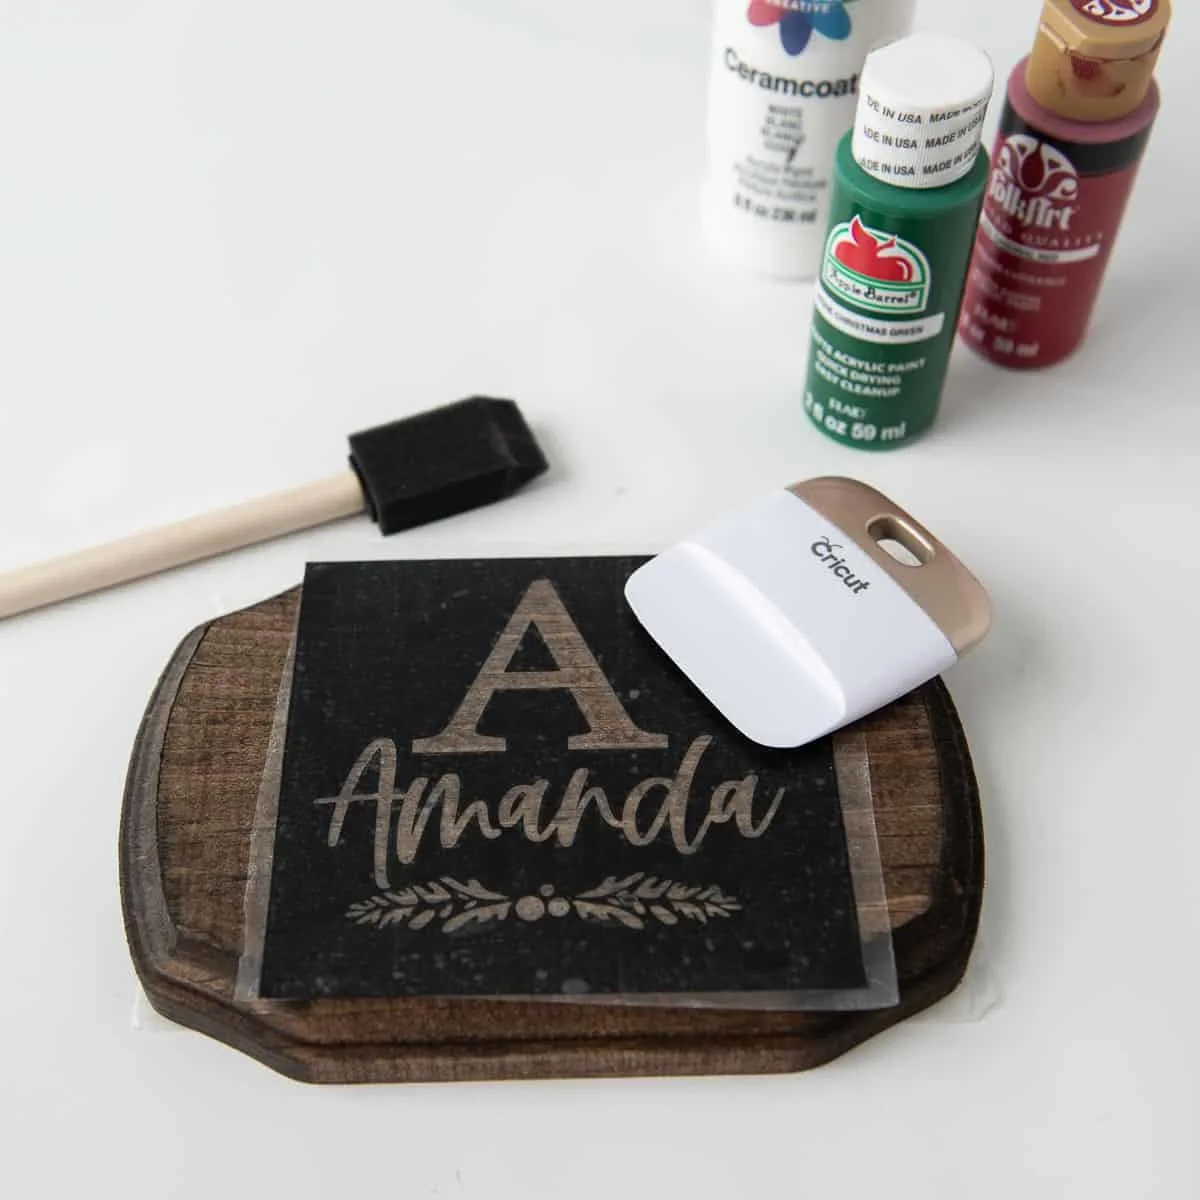
Finally, cover the entire design with transfer tape. Rub all over it with a smoothing tool or a credit card to remove air bubbles and get a good seal. Leave the vinyl backing in place for now.
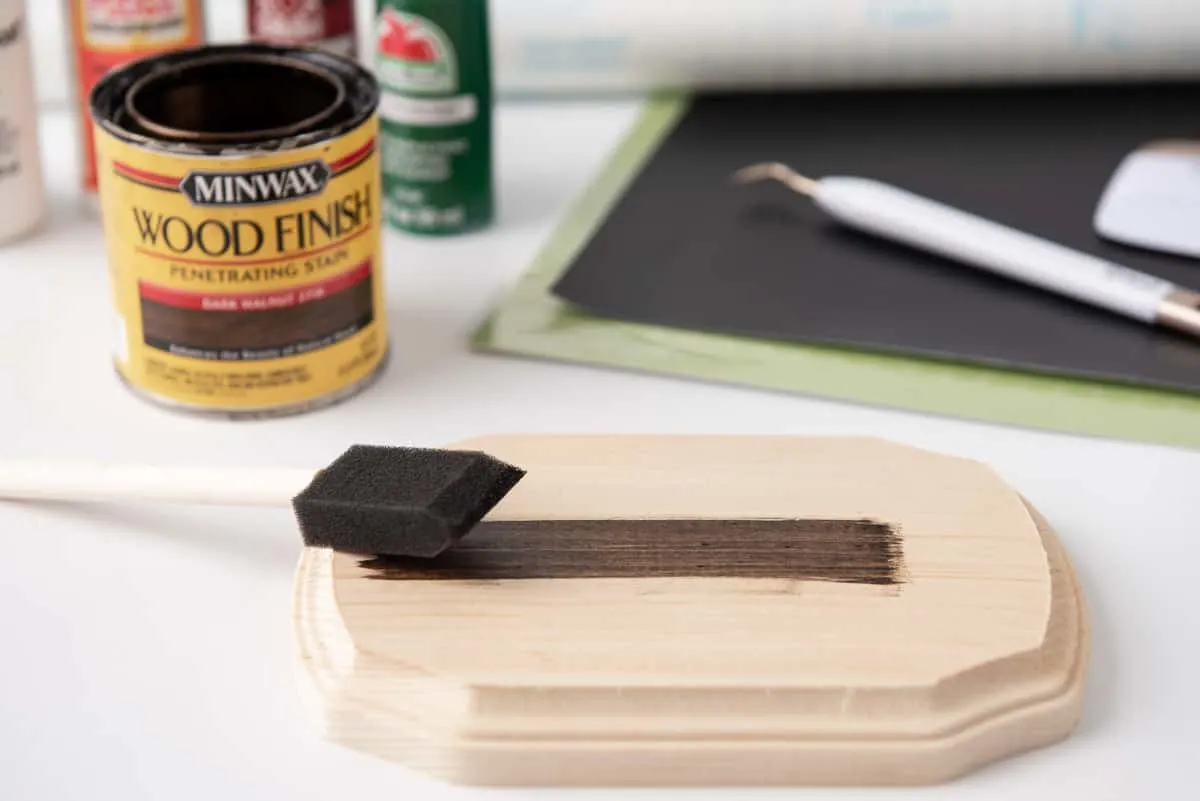
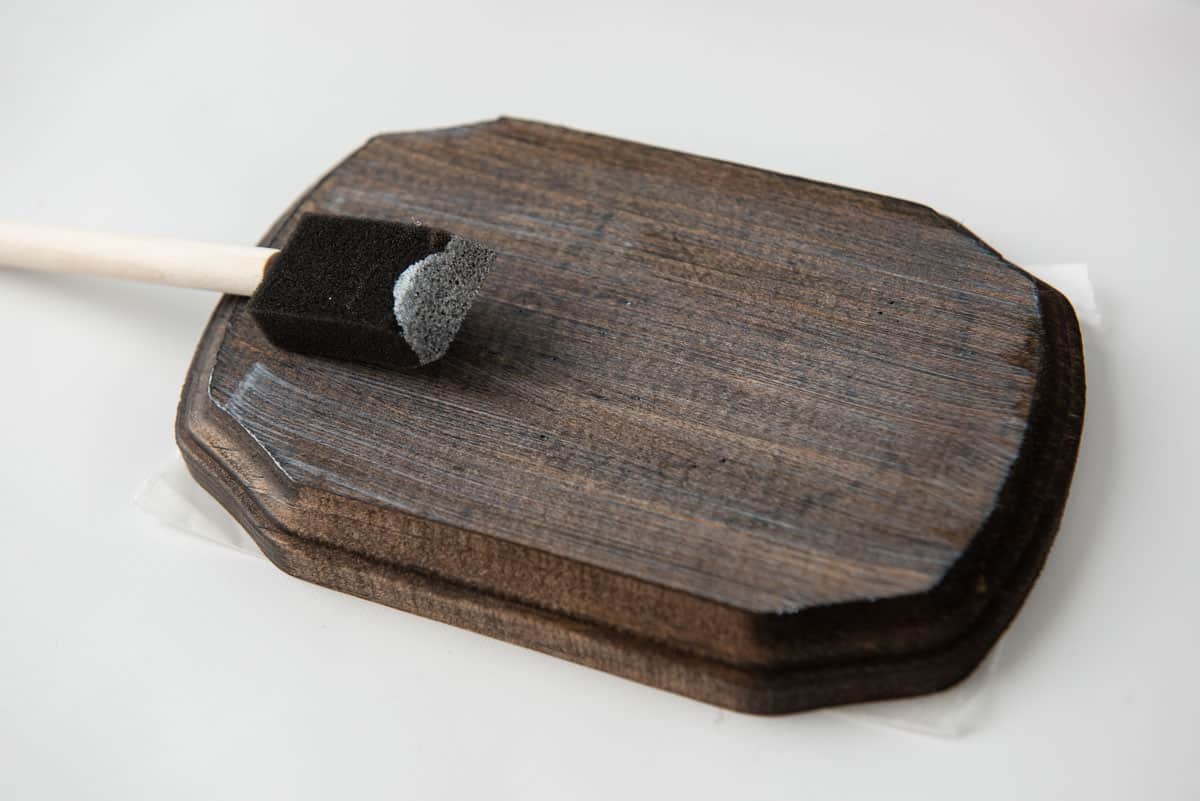
Stain the wood plaque
Apply wood stain to the front of the plaque with a foam brush. Wipe off any excess after a few minutes with a paper towel. Leave it to dry overnight.

Once the stain is dry, add a layer of Mod Podge to the front of the plaque where the vinyl stencil will be applied. It goes on white but dries clear.
The Mod Podge acts as a sealant to prevent the oils in the stain from breaking down the adhesive on the vinyl. If you skip this step, the paint is more likely to bleed under the stencil and require more touch ups.
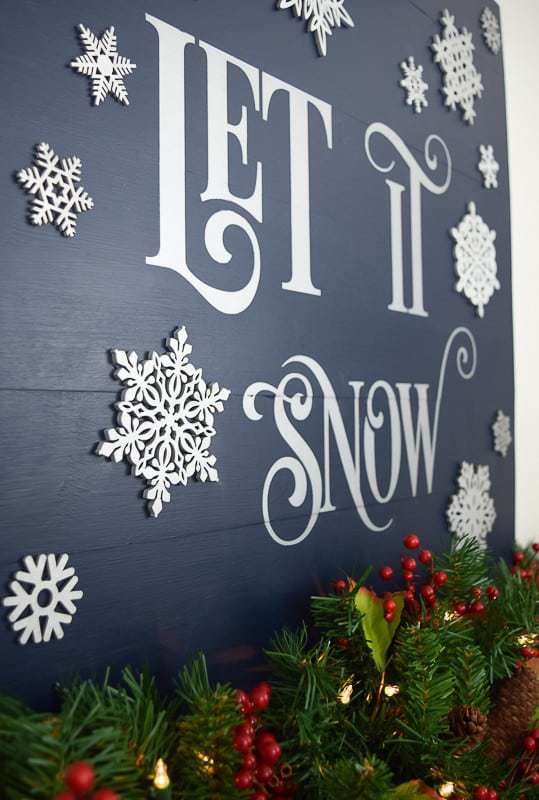
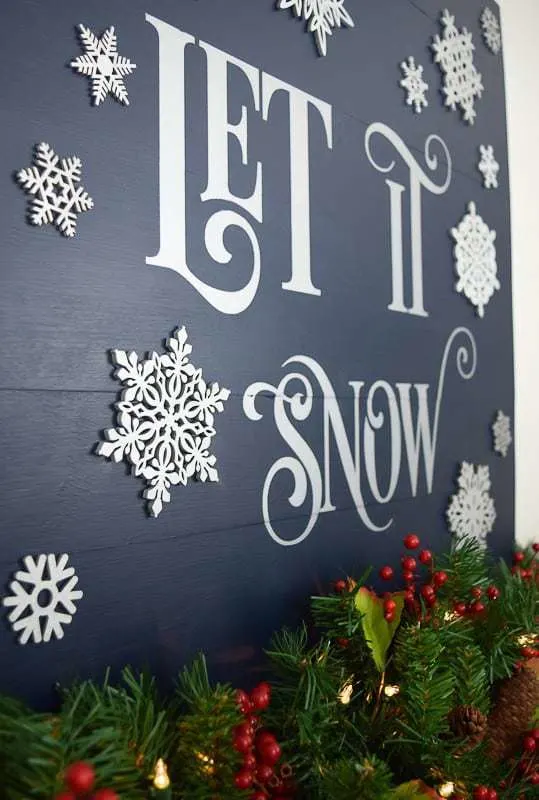
This trick also works OVER the stencil to prevent bleedthrough on paint. Just apply a thin coat of Mod Podge over the stencil and let it dry before painting. I wish I had known this back when I did some of my previous stenciling projects, like this Let it Snow sign. It took forever to touch up all those letters!
Paint the design on the plaque
Peel the backing off the vinyl, being careful not to remove any of the smaller parts along with it. Center the stencil on the plaque, and rub it down firmly. Then slowly peel off the transfer tape, leaving the vinyl on your project.

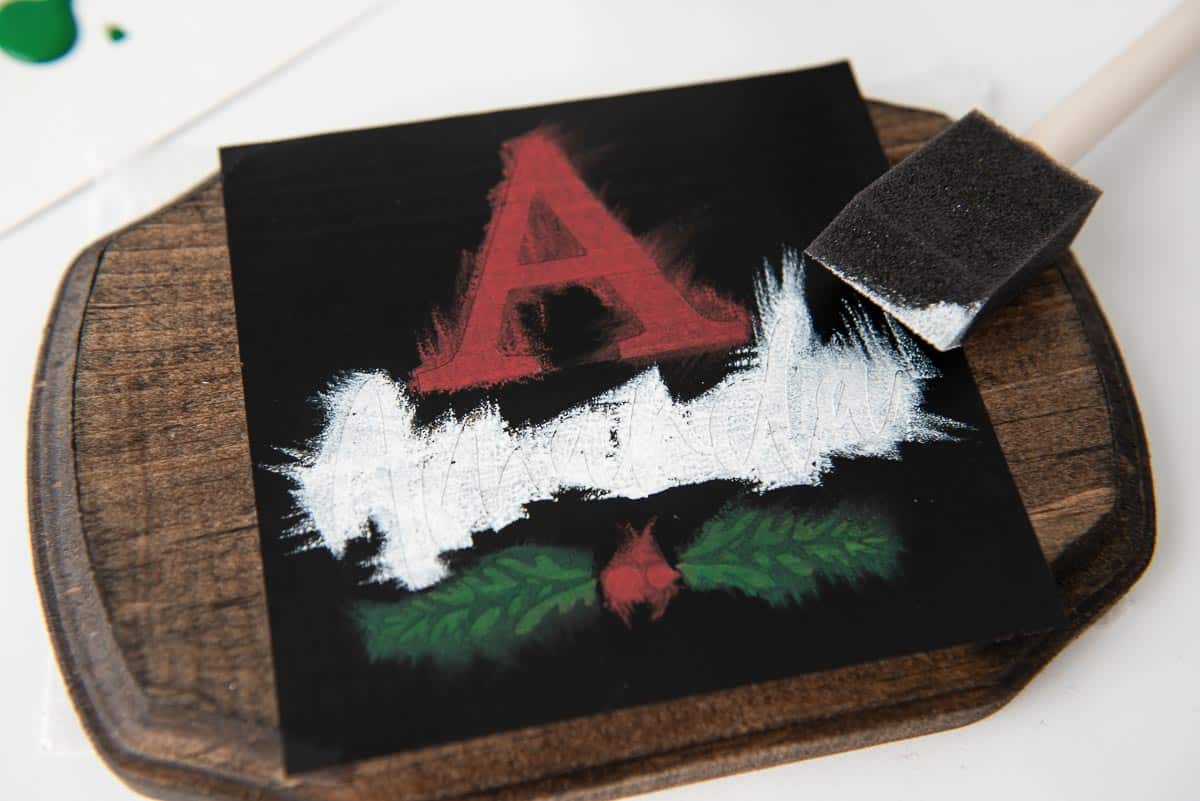
Use a small foam brush to apply paint to each section of the stencil. Don't BRUSH the paint on! Just lightly tap a thin coat onto the surface with an up and down motion. It'll take a few coats to get full coverage.

Once the paint is dry, remove the stencil and pick out the inside of the letters that might be stuck to the wood. I just jab the middle of the vinyl with my weeding tool and pull it straight up so I don't scratch the paint.
Attach the hook and mounting strip
Predrill a small hole under the stencil for the cup hook. The drill bit should be the same diameter as the center of the screw, NOT the spiral part on the outside. Then screw the hook in place.

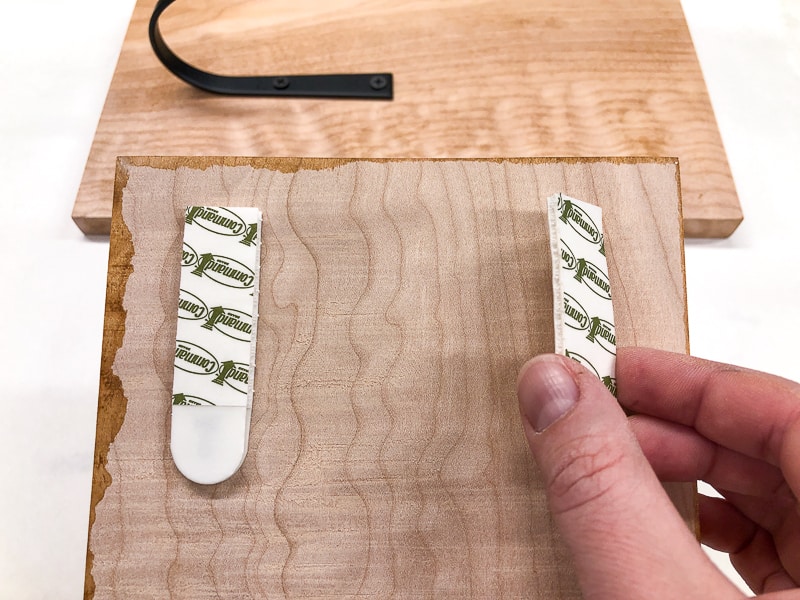
On the back, install your preferred hanging hardware or Command strips. I like using these Velcro style mounting strips, because they can hold a decent amount of weight and they're easy to remove without messing up the wall. I've had them on the back of these air plant holders for over a year without any problems!

Mount your stocking holder on the wall
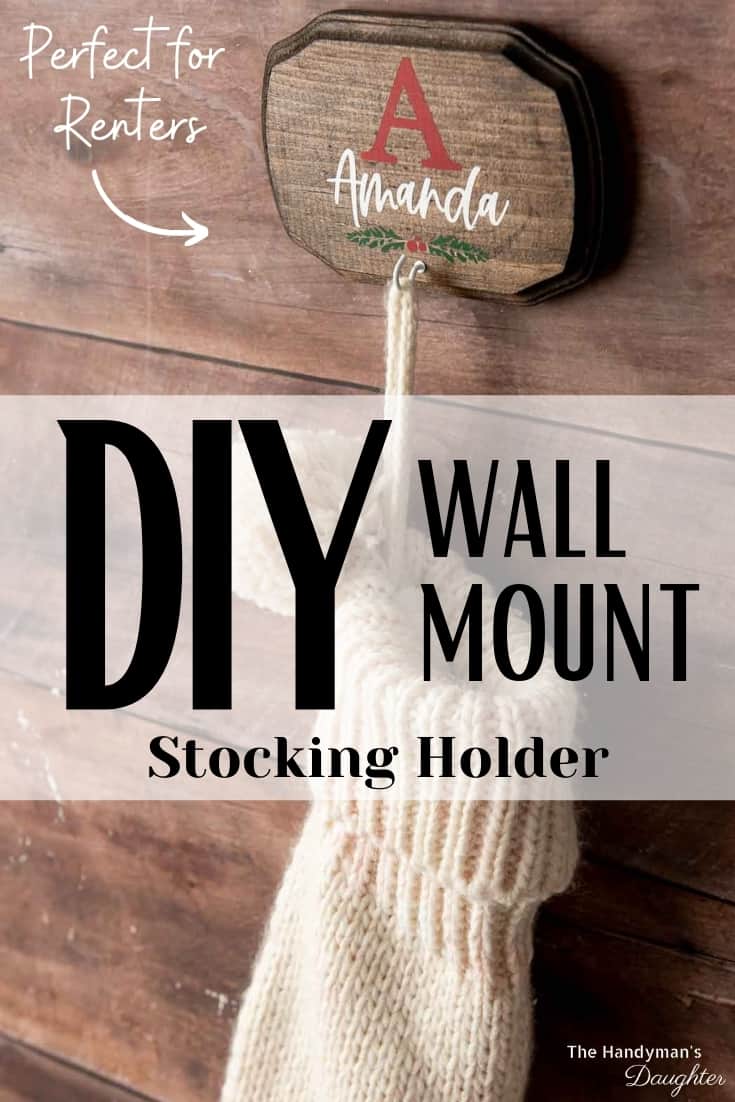
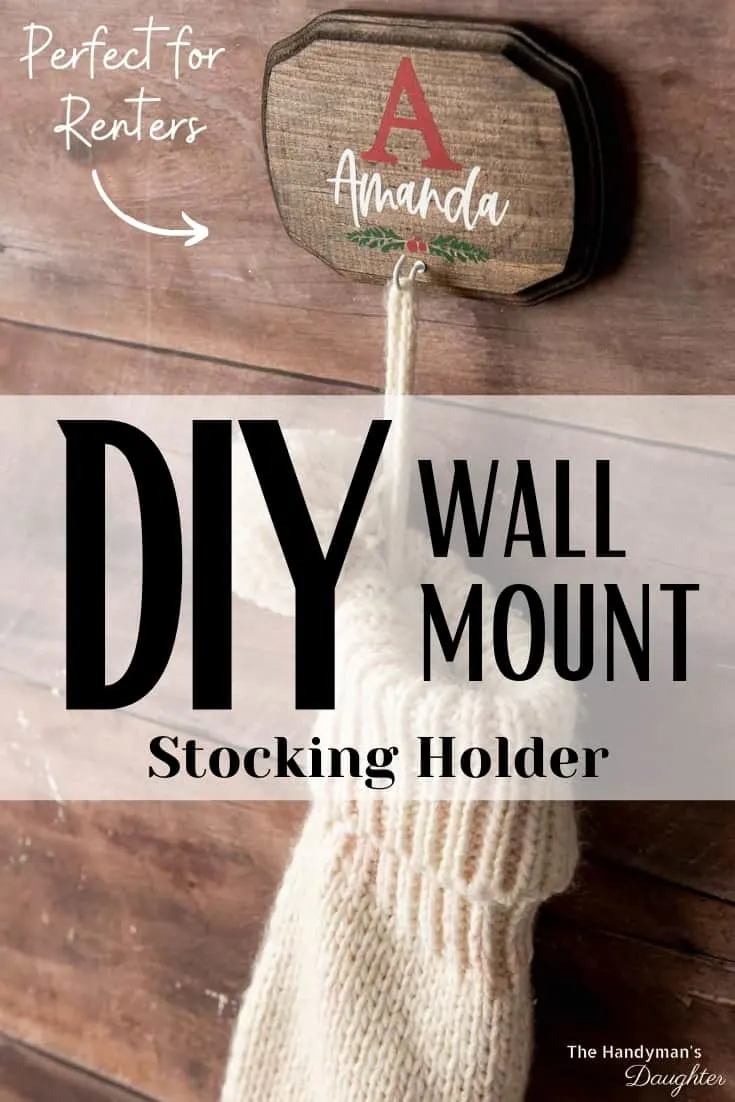
With the Command strips, all you do is peel off the backing and stick the stocking hanger to the wall! This is the perfect solution for renters who can't put a bunch of holes in the drywall. You could also mount all the stocking holders to a wood board, then mount the board to the wall.
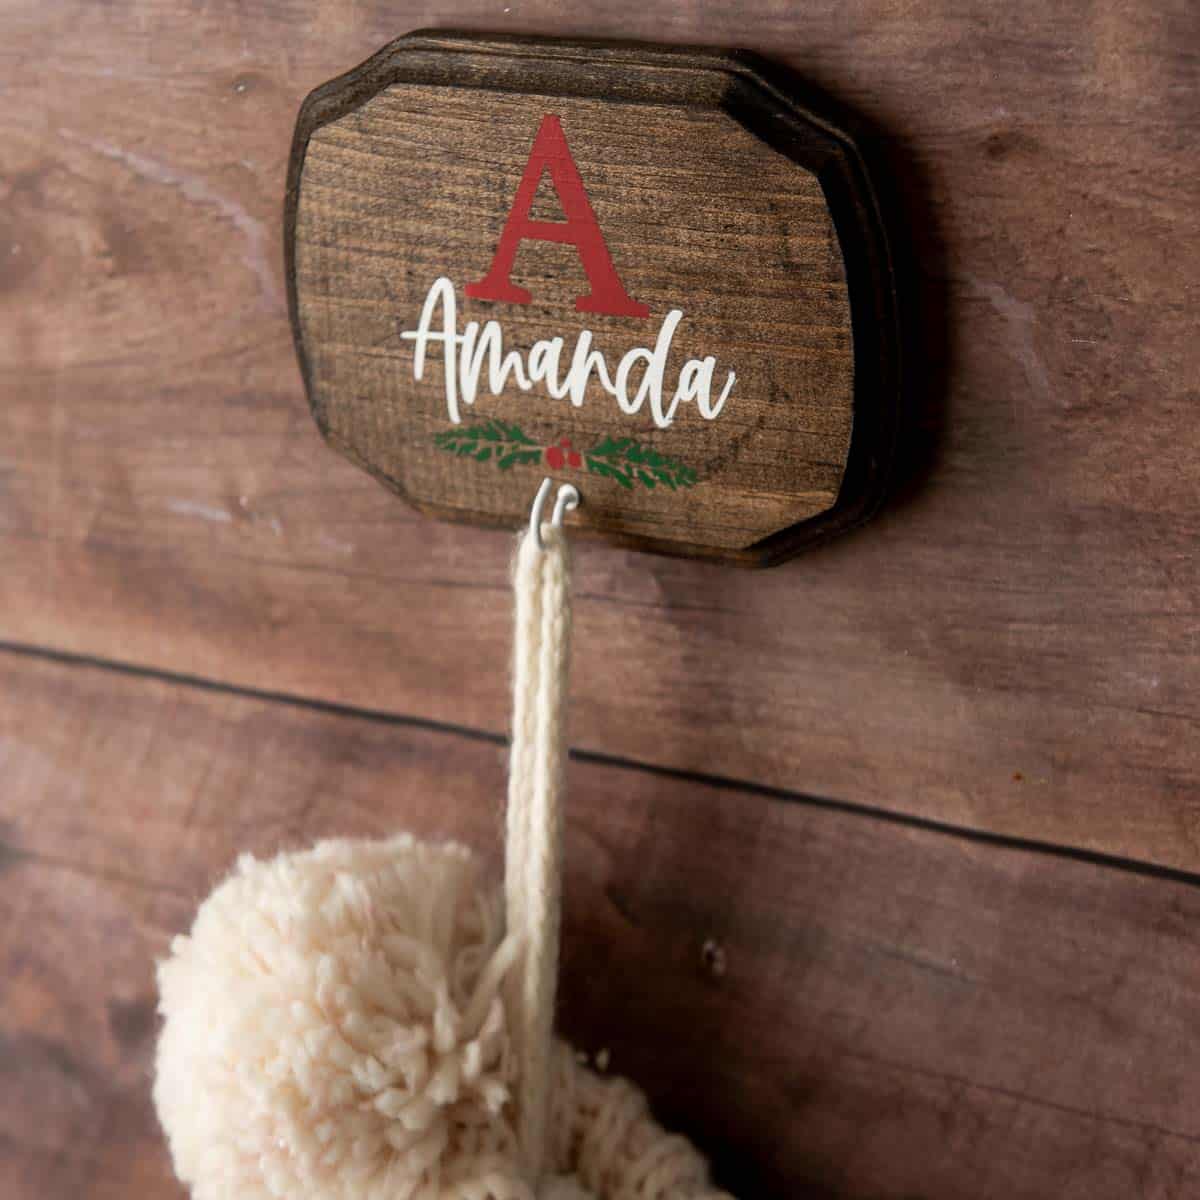
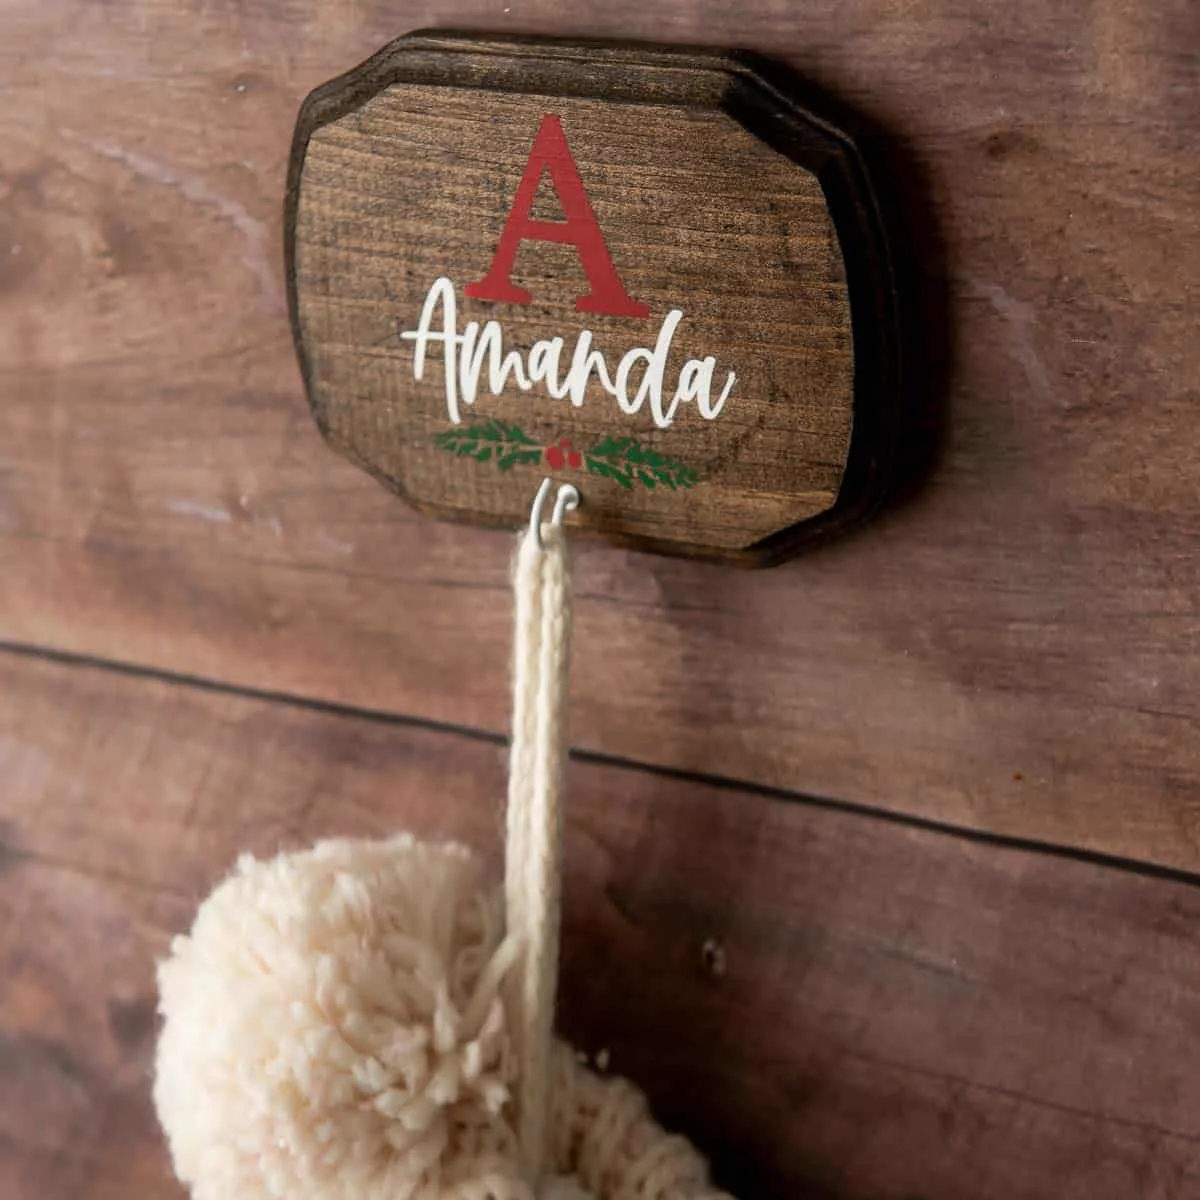
Now the hard part is waiting for Santa to come fill up the stockings! 🙂
Check out these other DIY Christmas decor ideas!