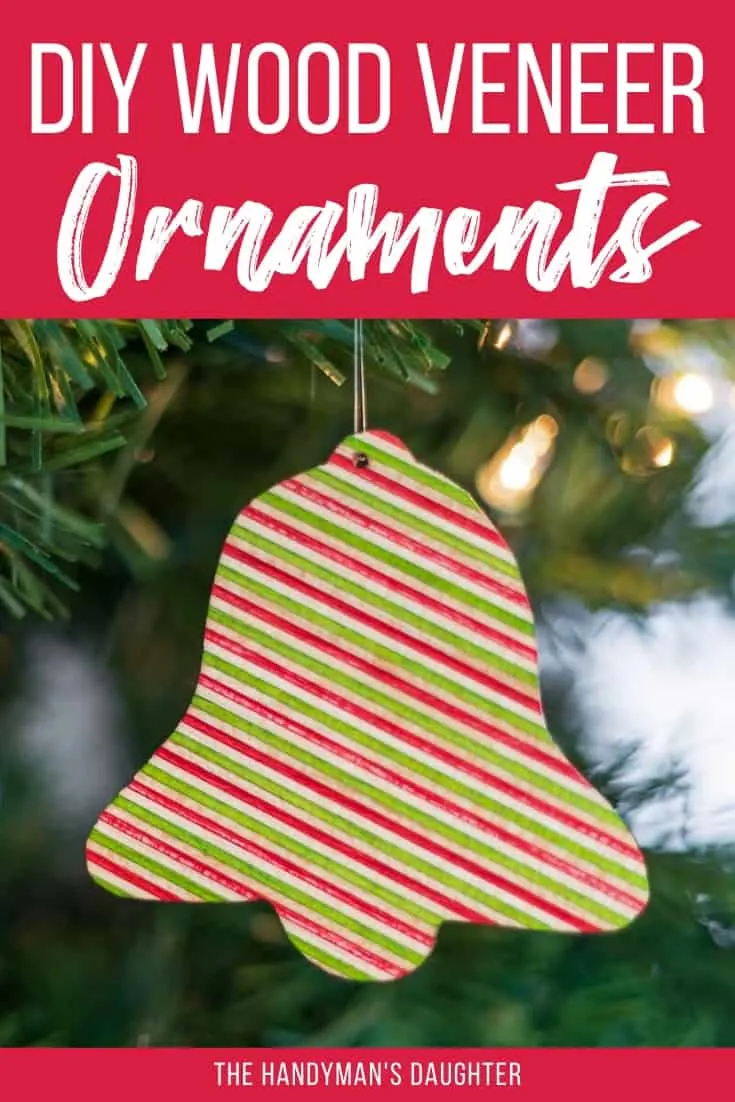
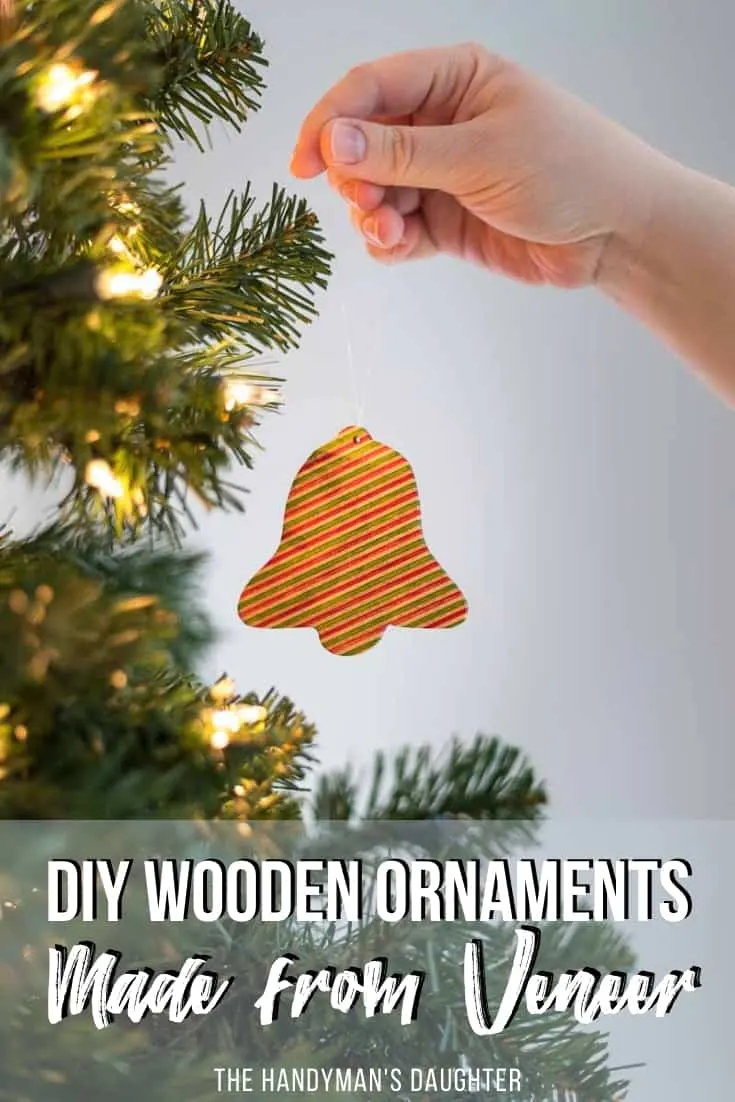
These wooden ornaments are fun and easy to make, and the colorful layers are made from dyed wood veneer!

I've been totally obsessed with making things out of recycled skateboards lately (you can check out the wooden candle holder/air plant stand made here). The wood is dyed so the bright color reveals itself no matter where it's cut.
I ordered a couple of sheets of red and green veneer to make a set of wooden Christmas ornaments using my new favorite material. Just four sheets should be more than enough to make a whole stack of ornaments!
This post contains affiliate links for your convenience. Purchases made through these links may earn me a small commission at no additional cost to you. Please visit my disclosures page for more information.
Materials Needed
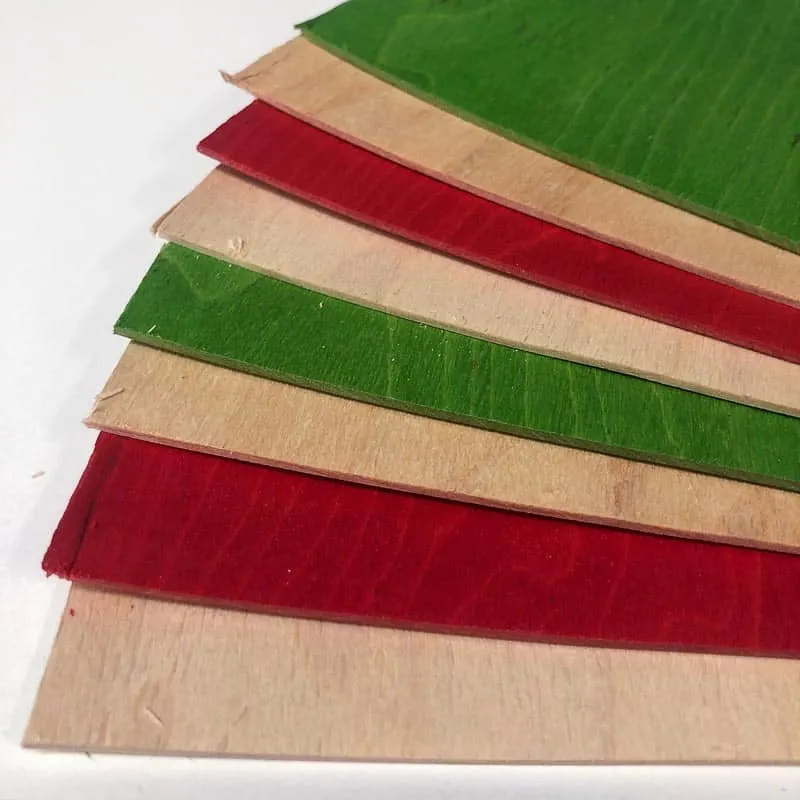
- Red, green and natural colored wood veneer
- I got mine from Roarockit, where you can order individual sheets of different colors.
- Wood glue
- I recommend Titebond III for the longest working time.
- Clamps
- Scrap of melamine board (optional)
- Band saw
- ⅛" drill bit
- Clear fishing line or ribbon
- Stencils or Christmas cookie cutters
- Or draw the shapes freehand if you're more artistically inclined than I am!
Don't forget your safety gear when woodworking! Here are my recommendations for safety glasses and ear protection. No excuses!
How to Make Wood Veneer Ornaments
Cut and Glue the Layers
Each layer of colored veneer is only 1/16" thick, so it takes quite a few pieces to get a workable chunk of wood. Decide on your pattern, then cut the veneer into 4" wide strips.
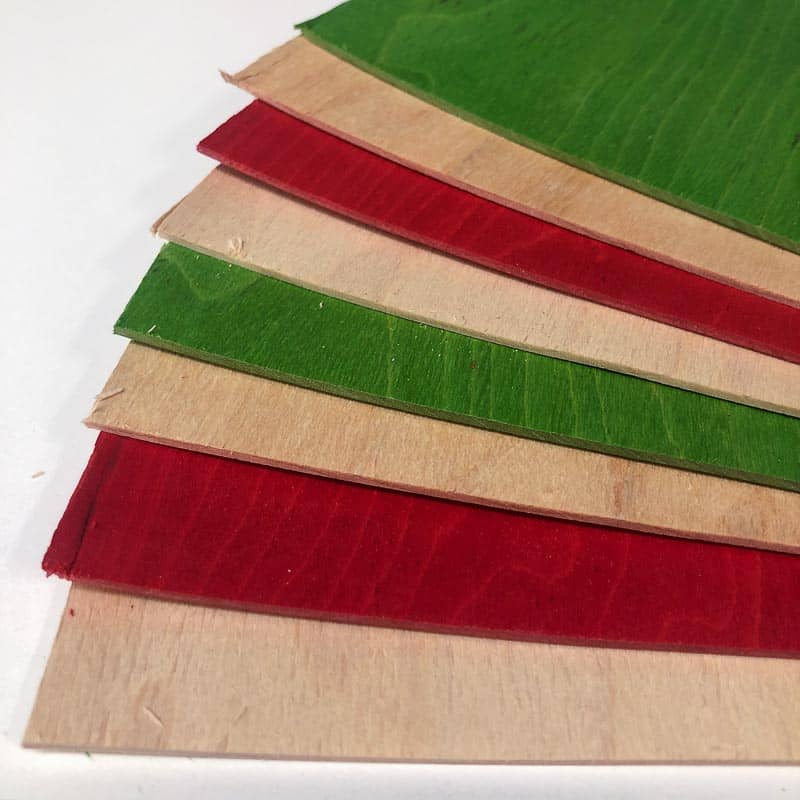
Apply wood glue to the first layer, then stack the next color on top. I like to use a glue roller for this because it applies the glue evenly and quickly. Make sure you coat the entire surface of the wood for proper adhesion.

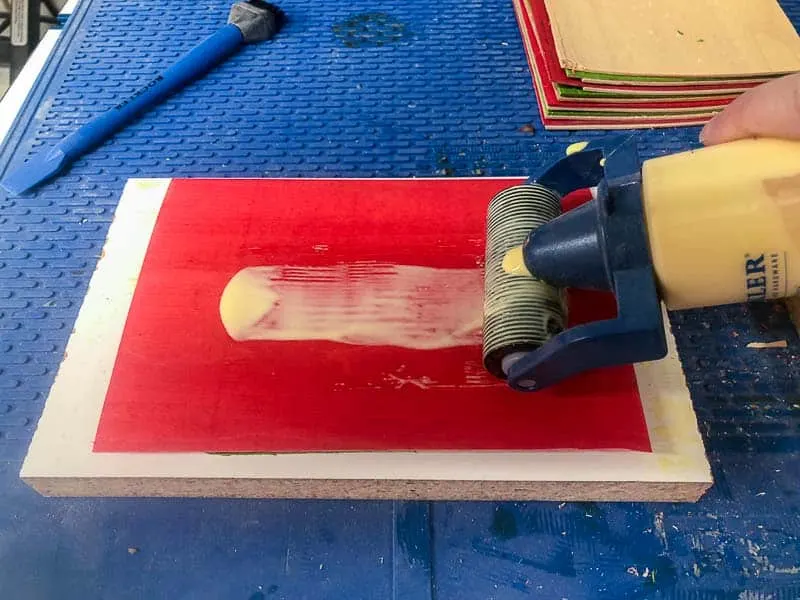
Keep gluing and stacking the layers of wood until it's about an inch thick. I recommend using Titebond III because it gives you a longer working time. The gluing process takes a while, and you don't want your first layer to be dried and set before you get the stack into clamps!
Clamp the Stack Together
The key to these wooden ornaments is to make sure the layers are clamped tight and flat, so they won't separate when they're cut into thin slices. But all these layers can get slippery and messy when they're coated in glue!
I like to use scrap pieces of melamine to create a wood sandwich. It allows me to get even clamping pressure across the entire stack, and the glue won't adhere to the melamine and cause problems when the clamps are released.

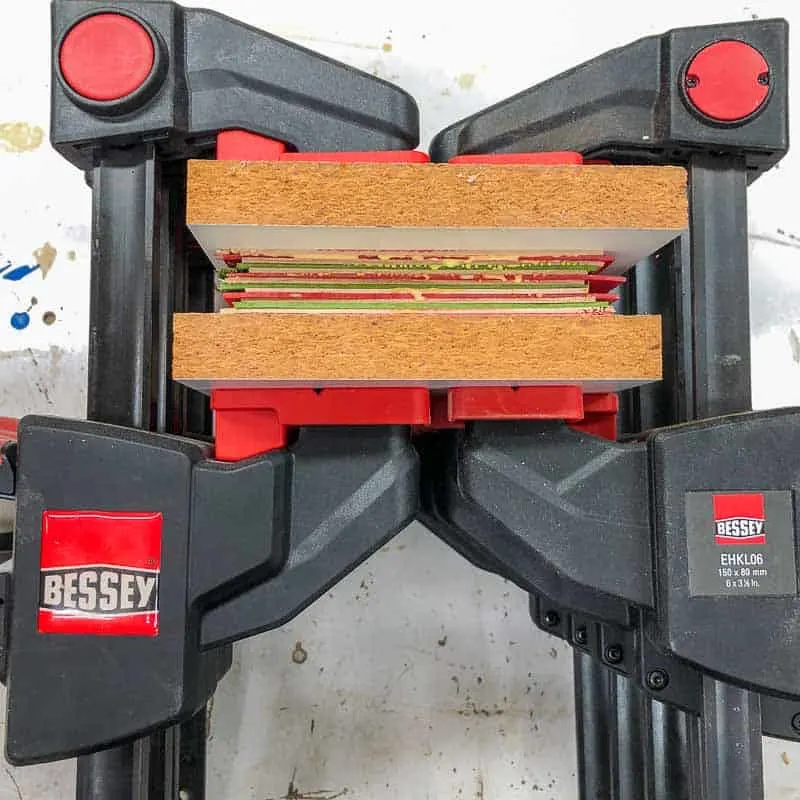
Try to get all the cut edges lined up so you don't waste material. These Bessey one handed trigger clamps are handy for holding the stack with one hand while you tighten it with the other. Leave the stack in the clamps overnight so the glue has plenty of time to dry.
Cut the Stack in Half and Glue up Again
The next day, remove the stack from the clamps and cut it in half. This will create two stacks of 1" thick layers.
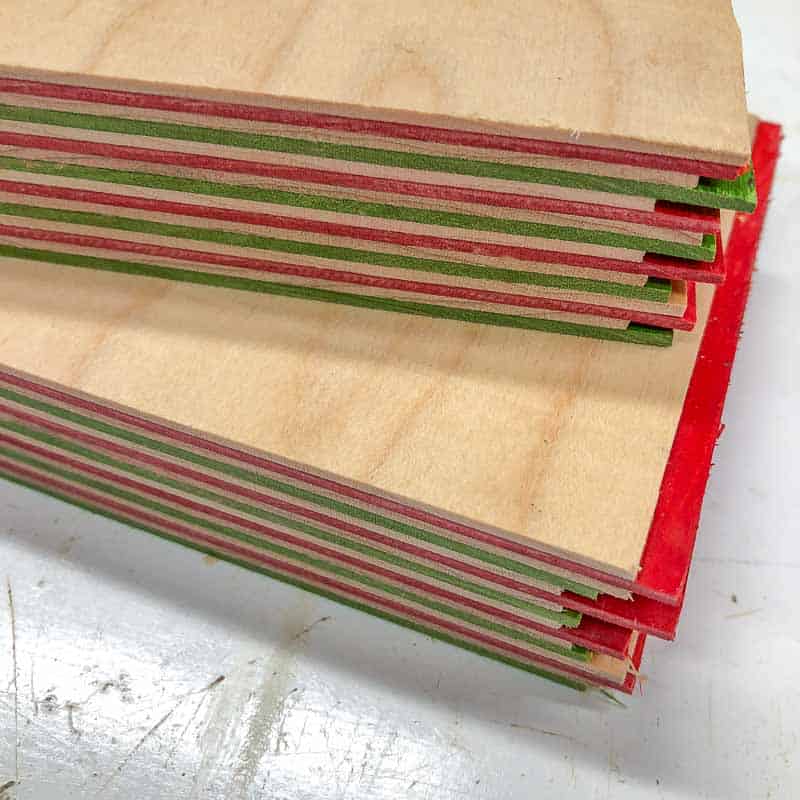

Now, glue those two stacks together to form one 2" thick block. Make sure that you have the right color pattern continuing between the two stacks. Clamp it again, and let it dry for a few hours.


Then repeat the process so you end up with a 4" stack! Wasn't that much easier than gluing up all those layers 1/16" at a time! 🙂
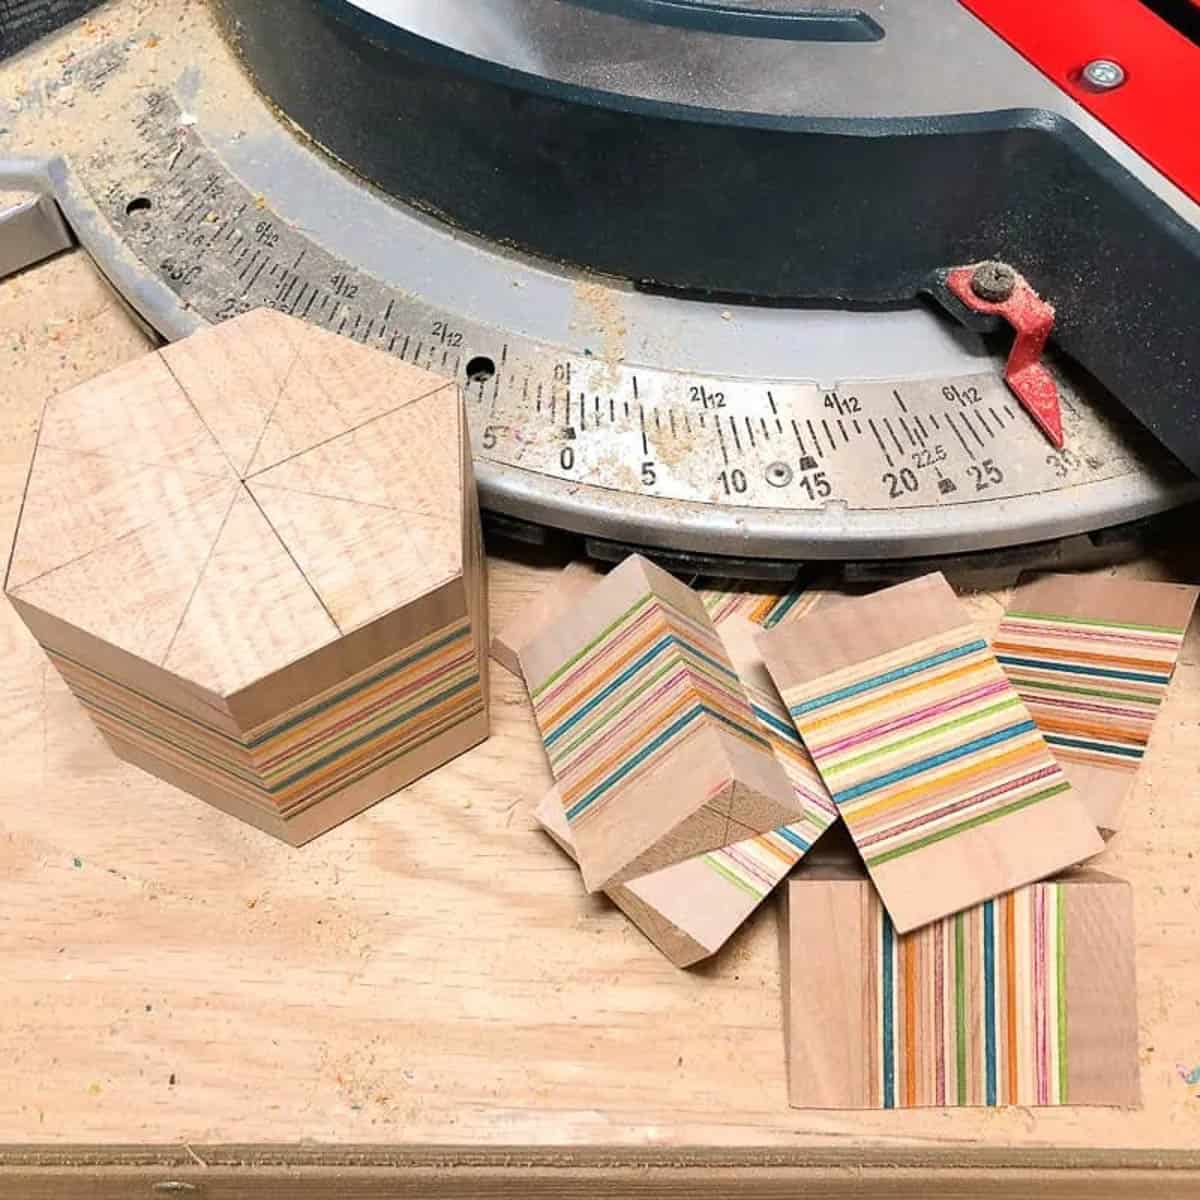
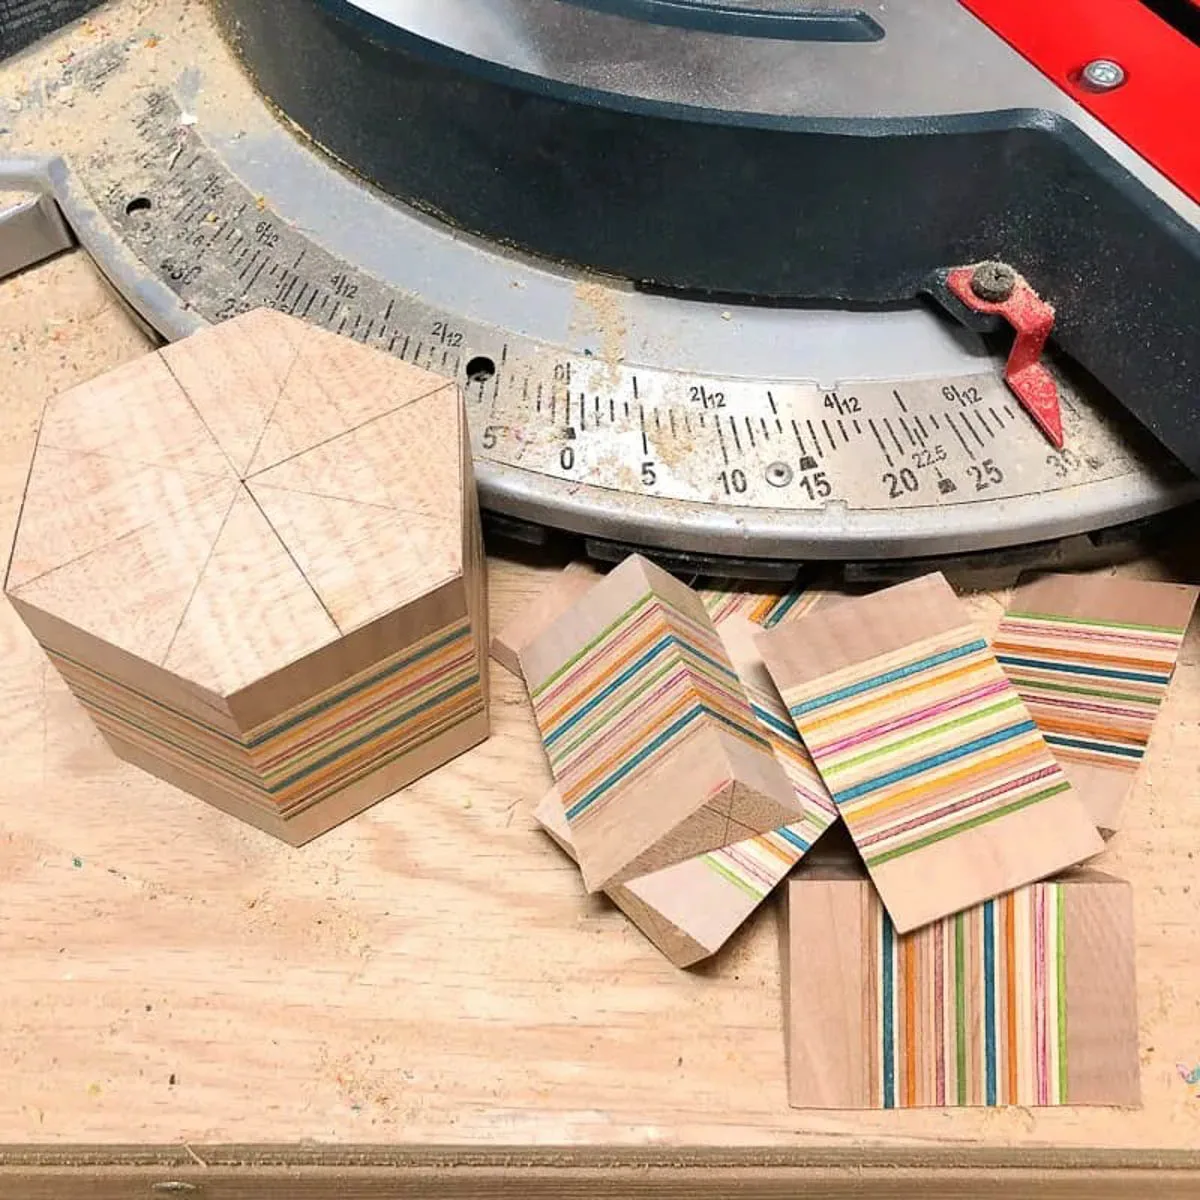
Cut the Block into ¼" Thick Slices
I've been thinking about buying a small benchtop band saw for the workshop for a while, and I snagged this one on sale recently. It's perfect for cutting thin slices for these wooden ornaments! You can also use a miter saw if you can keep your hands safely away from the blade, or a table saw if the blade goes high enough.
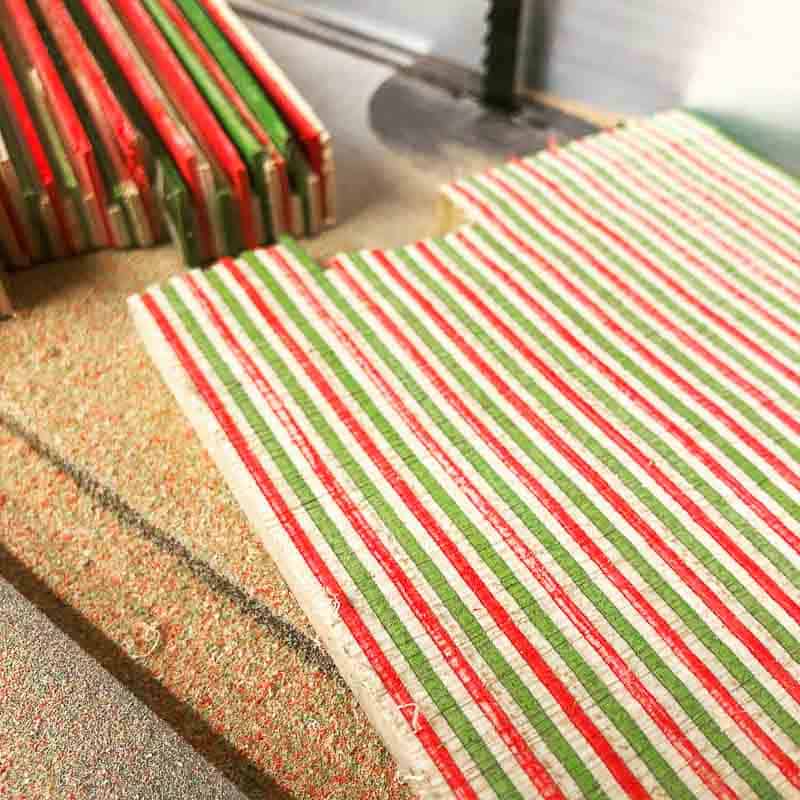
Set the band saw fence ¼" away from the blade, and the height just above the top of the stack. Then slowly cut the block into slices.

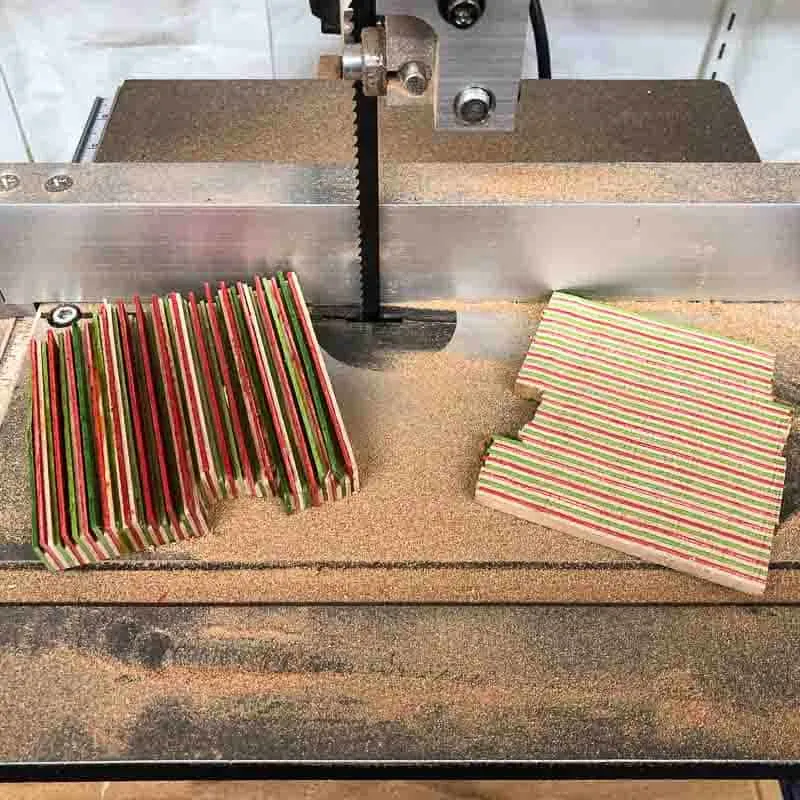
It's so satisfying to see those ragged, messy layers turn into smooth, uniform pieces! Plus, it makes very festive sawdust! 🙂

I kept cutting the block down until I felt it wasn't safe to hold with my hands anymore. I could have gotten another slice out of it, but safety first!
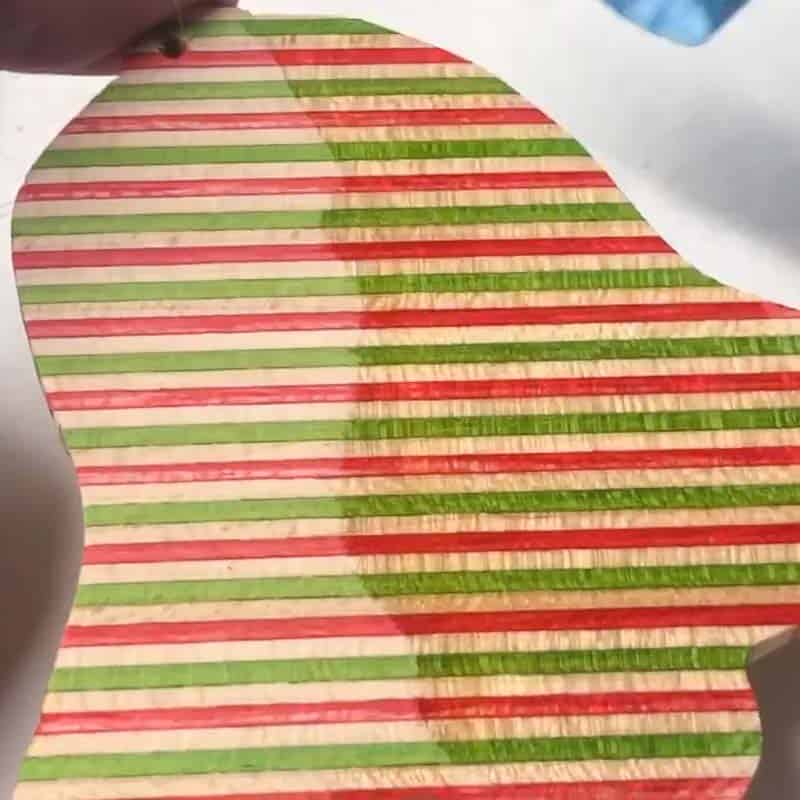
Draw Ornament Shapes on the Slices
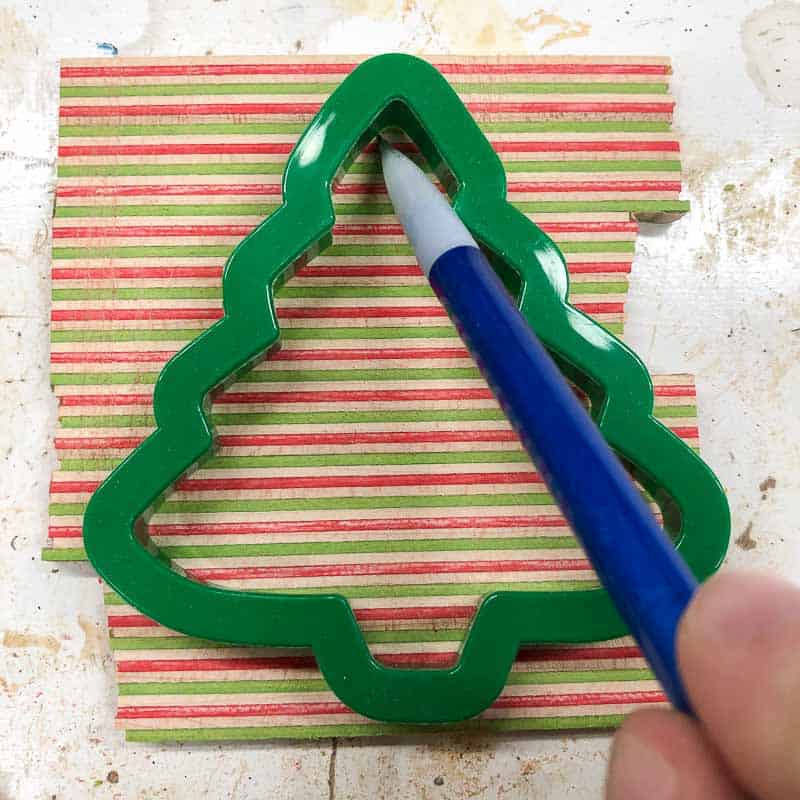
I'm not much of a baker, so our box of cookie cutters sits around gathering dust most of the time. I dragged it out and picked out the Christmas themed ones, which turned out to be the perfect size!
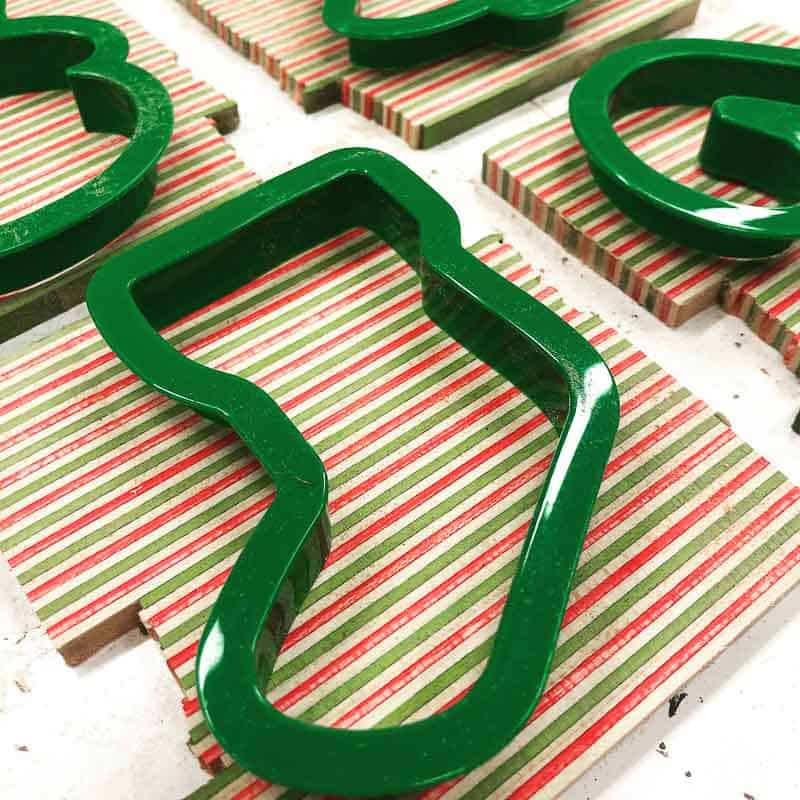
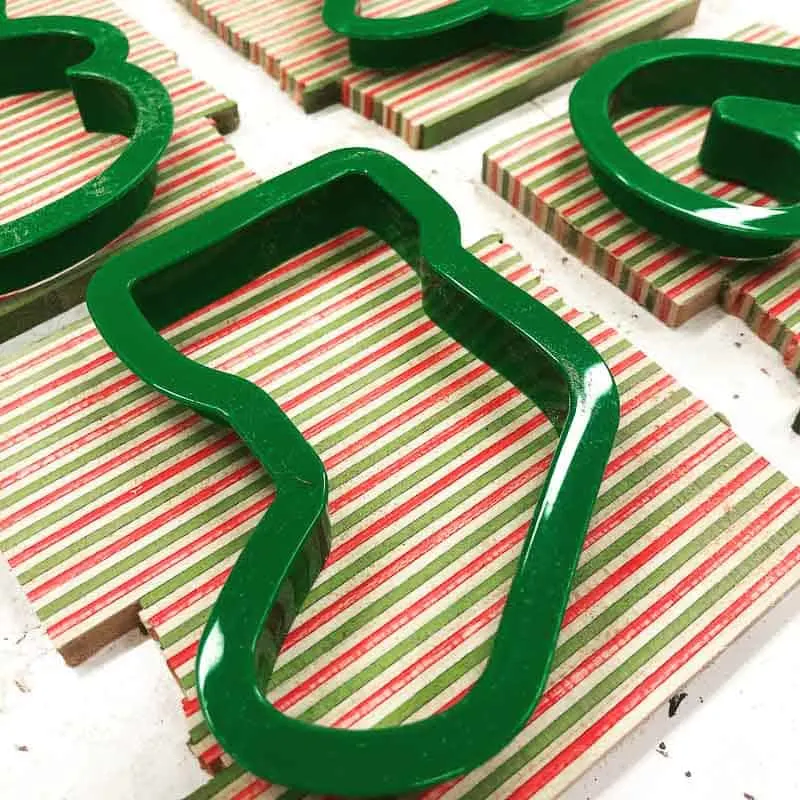
Position each cookie cutter on top of the wood slices. I mixed up the direction of the stripes on a few of them for variety. Then trace the inside of the shape with a pencil.

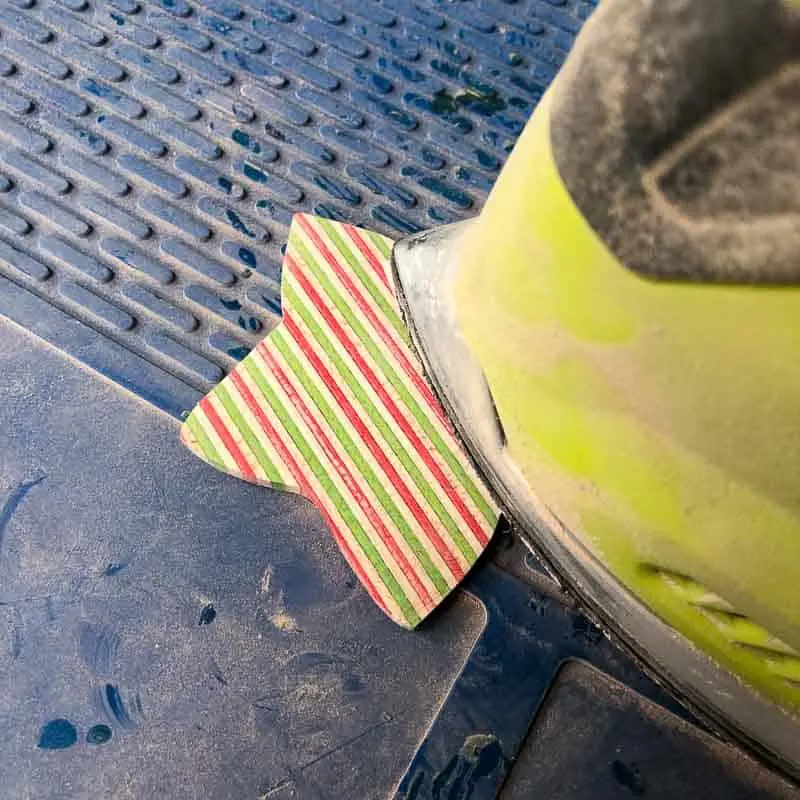
Cut out the Shapes
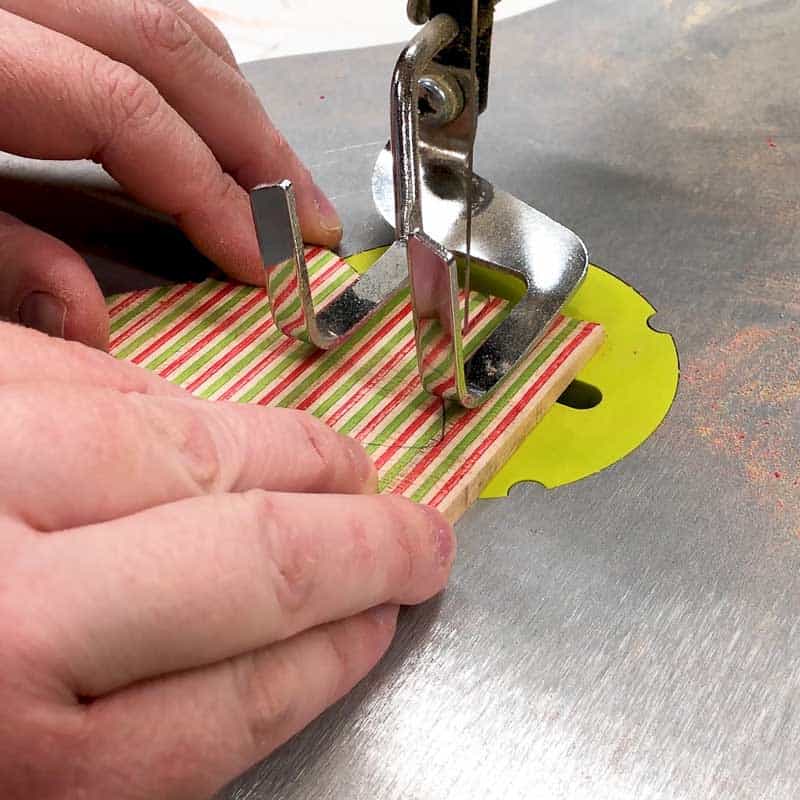
I started off cutting out the shapes on the band saw, but the blade was too aggressive for this type of cut. Plus, some of these curves are just too tight to make on the band saw.
So I pulled the scroll saw out from the shelf of my t-track workbench instead. You could also use a jigsaw for this step. It did a great job making those tight turns, and it left the edges much cleaner than the band saw did.

Drill a Hole for the Hanger
Use a small drill bit to make a hole at the top of each wooden ornament.
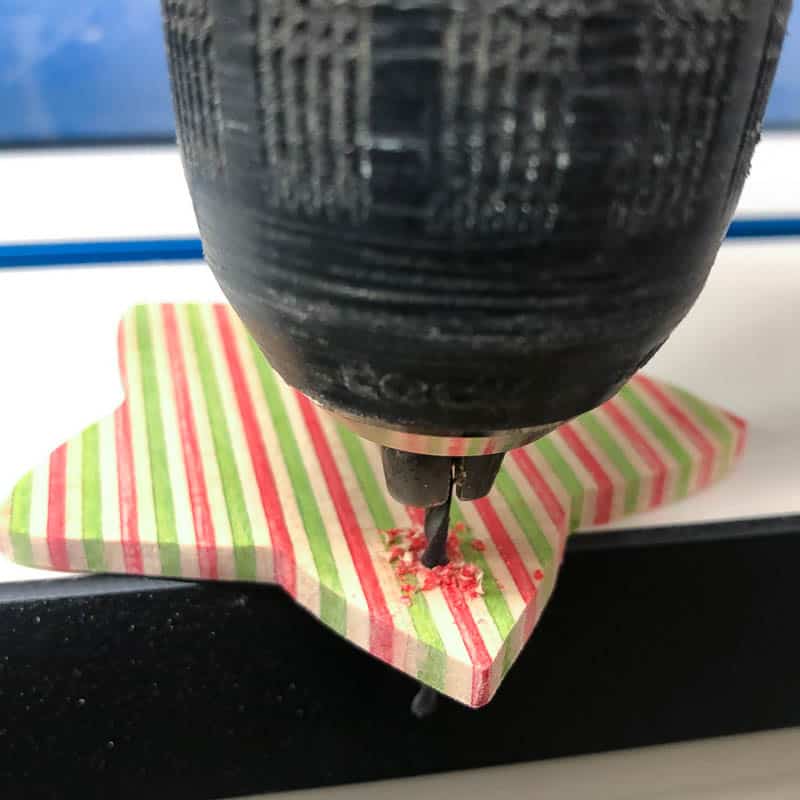
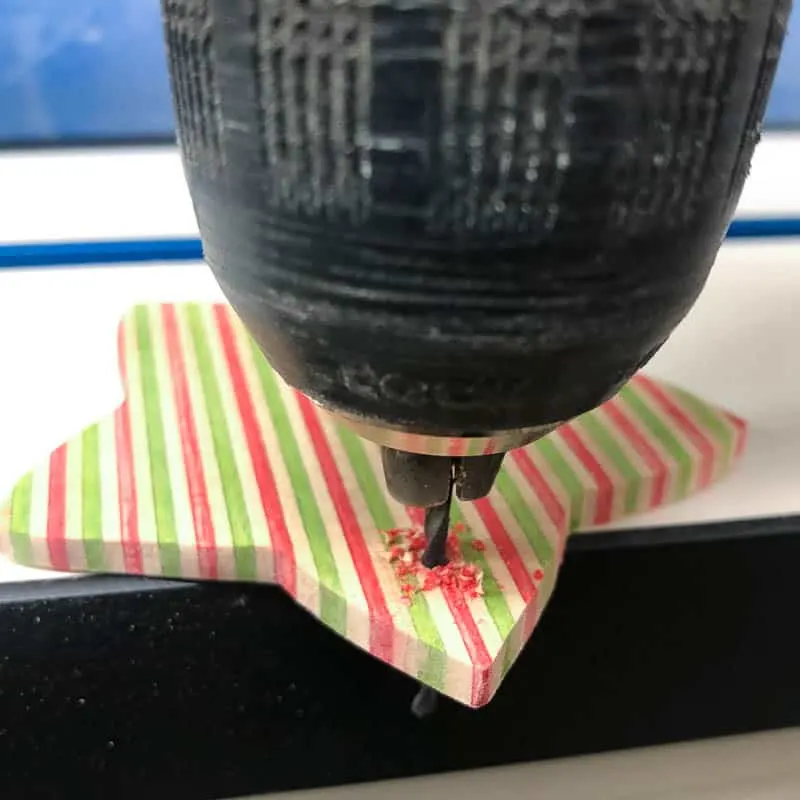
I'm using fishing line to hang these, but you could use ribbon or twine if you have some on hand. Just make sure the hole wide enough so you can string it up easily.
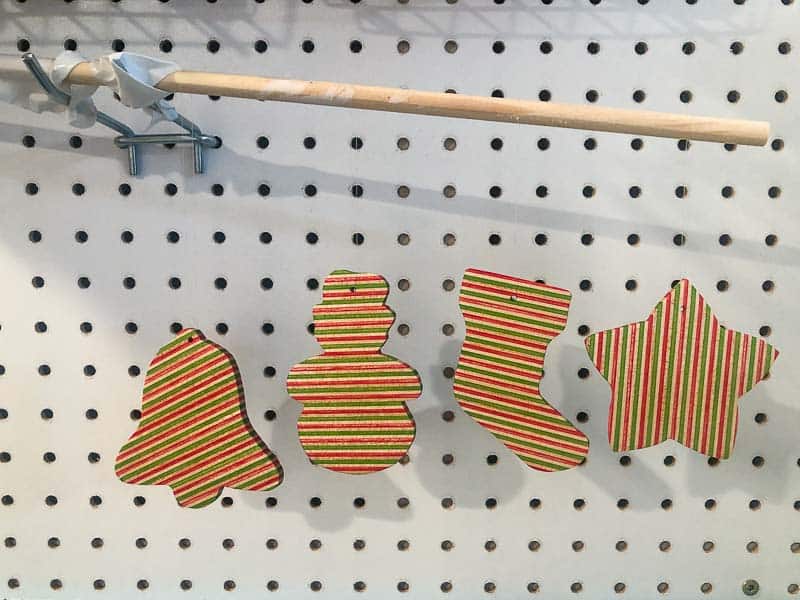
Sand and Finish the Wooden Ornaments
All that cutting and shaping leaves plenty of saw marks on the ornaments. I started off using a corner sander to take off the worst rough spots, then switched to hand sanding to smooth out all those curves.

Remove the sanding dust with a tack cloth or microfiber cloth. Then apply your favorite finish. I used boiled linseed oil, which is a wipe on finish that really makes those colors pop!

I strung up the ornaments and hung them from a dowel, so I could let both sides dry at the same time.

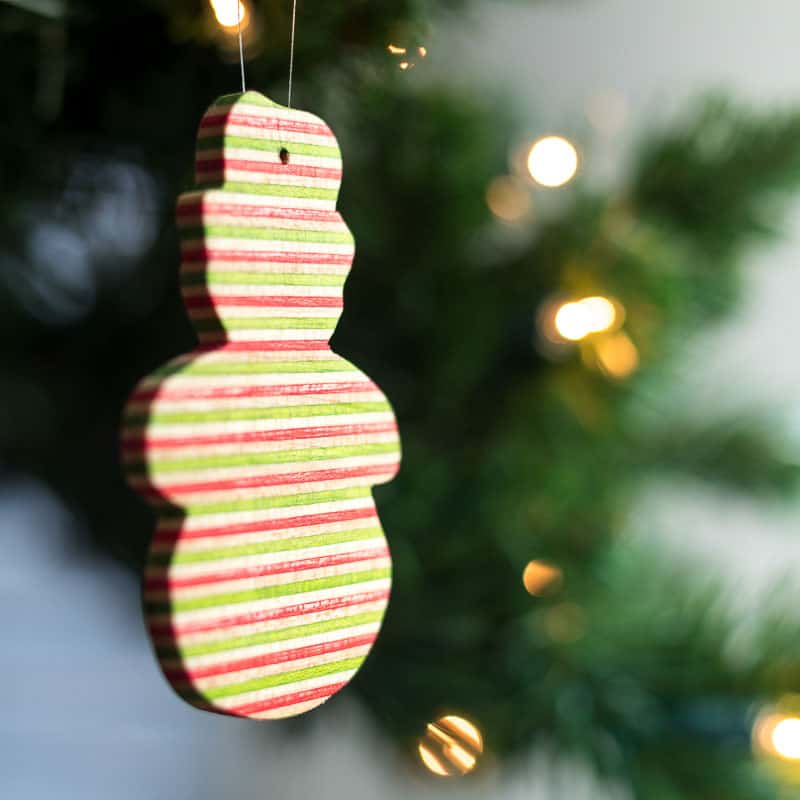
Hang your Wooden Ornaments on the Tree!
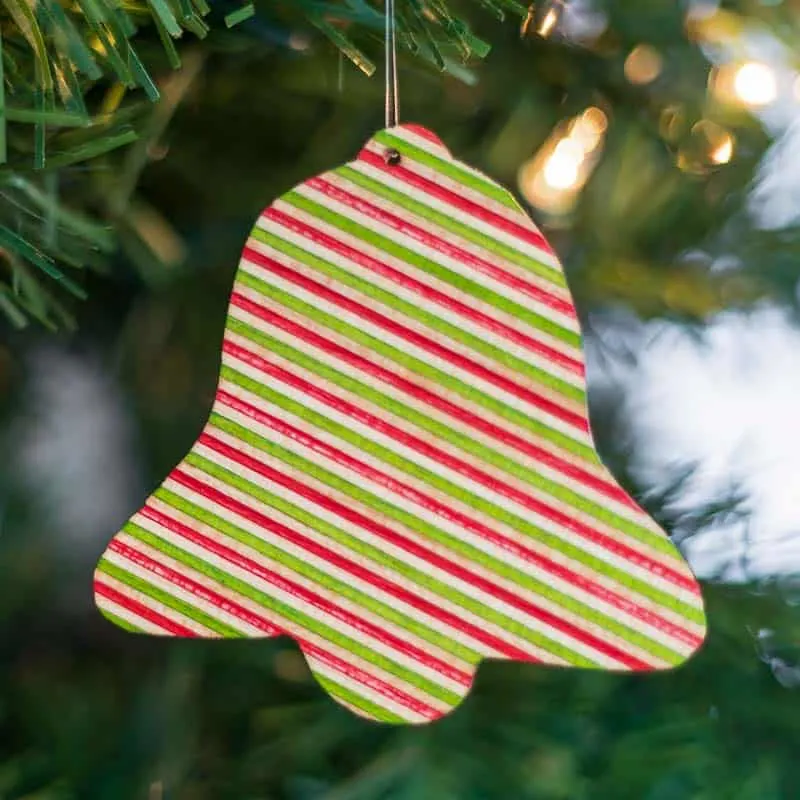
Once the finish is dry, your skateboard veneer ornaments are ready to hang!


Which one is your favorite? I can't decide!


This process would also work for making coasters or other decorations. I'm thinking of making different versions for other holidays too!
Check out these other DIY Christmas decoration ideas!

Amy
Sunday 15th of December 2019
I love your ornaments. They turned out so cute. Happy Holidays!