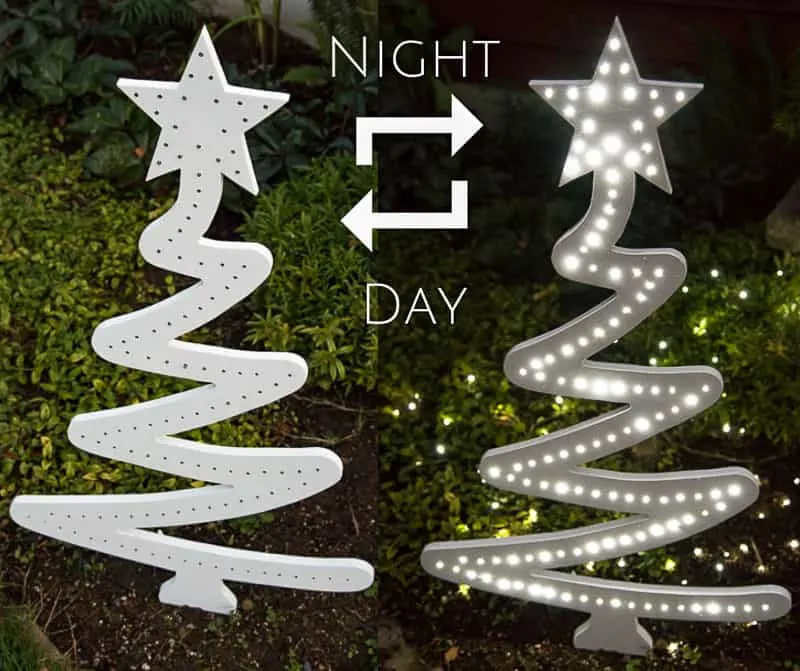
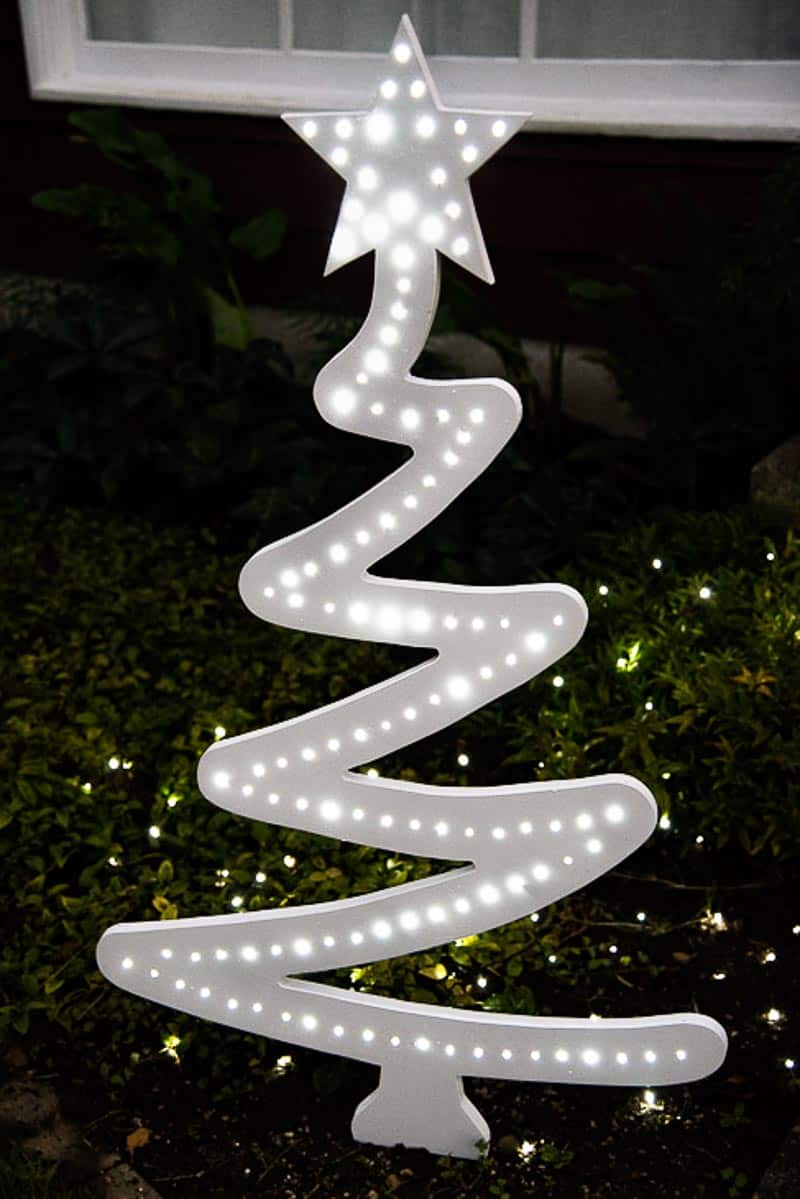
Brighten up your yard for the holidays with this DIY wooden Christmas tree! Looks beautiful during the day and glows at night with lights!

Want to create your own outdoor Christmas tree this holiday season? This modern version, made with ¾" plywood, might be just what you need to bring your house from bah humbug to bright and cheery!
This wooden Christmas tree may look complicated, but all you need is the pattern! Just trace the cut line and mark the holes for the twinkle lights to shine through. Here's how to make it!
Not your style? Here are more wood Christmas tree ideas and other DIY outdoor Christmas decorations that might inspire you!
This post contains affiliate links for your convenience. Purchases made through these links may earn me a small commission at no additional cost to you. Please visit my disclosures page for more information.
Materials needed
- 26" x 48" piece of ¾" plywood
- You can get this cut to size for you at most home improvement stores!
- Christmas tree pattern
- Carbon tracing paper
- Jigsaw
- 7/32" drill bit
- Sandpaper
- LED Christmas lights
- The front of our house doesn't have any electrical outlets (crazy, right?), so I used these battery operated lights.
- White paint
- Staple gun and ⅜" staples
- Tent stakes
- ½" conduit straps
How to make a Christmas tree yard decoration
Trace the pattern
This was my first time using a woodworking pattern, but it was really easy! The Winfield Collection website has lots of cute projects, with full paper patterns of every piece. I can barely draw a stick figure, so it's nice to have the artistic part done for me!
Place a sheet of carbon tracing paper between the plywood and the paper pattern. Tape both down to the plywood with painters tape.
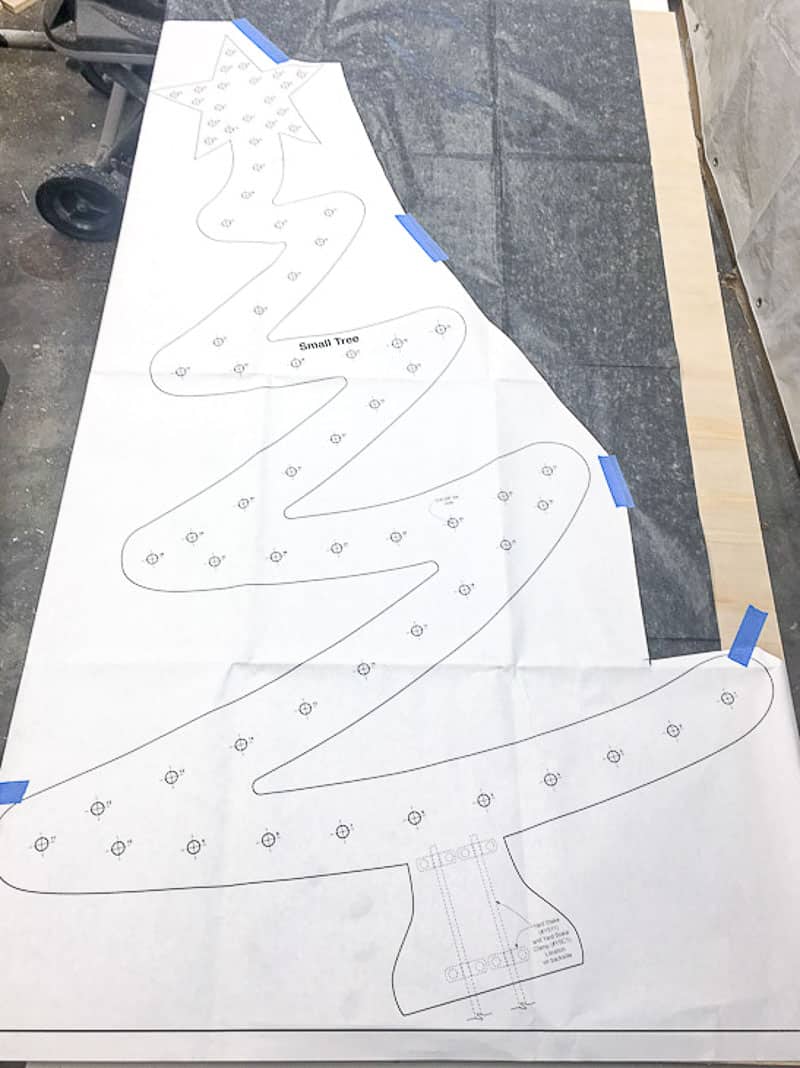
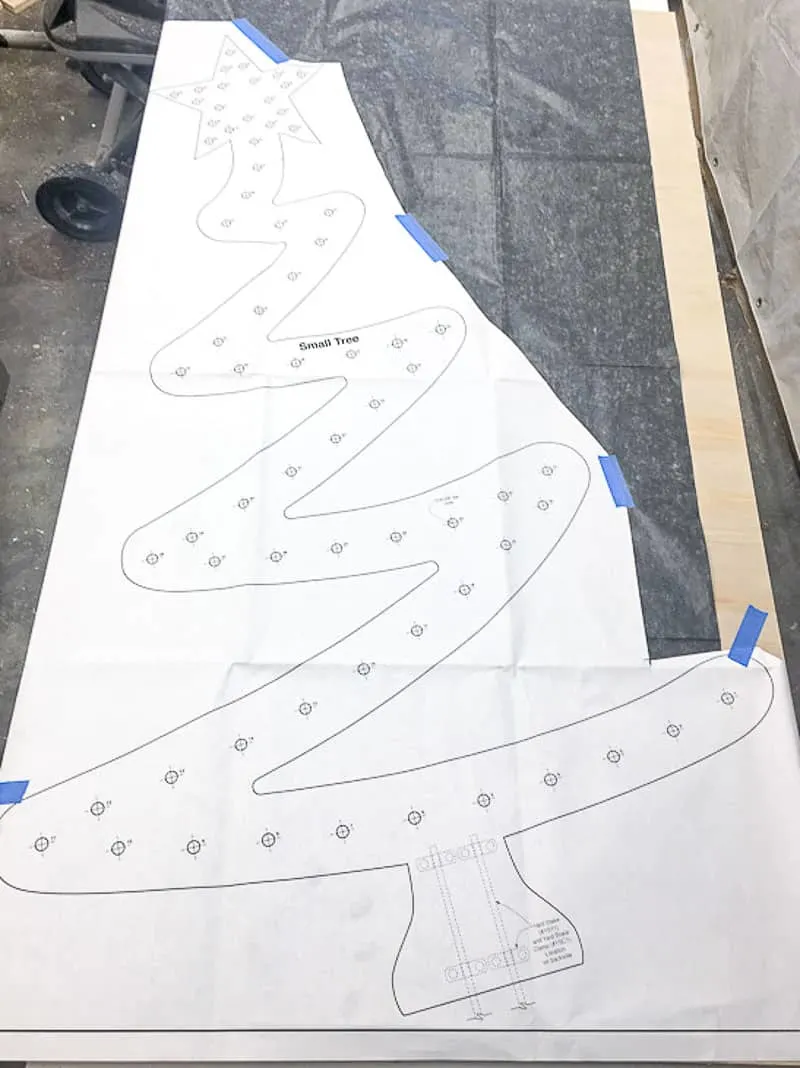
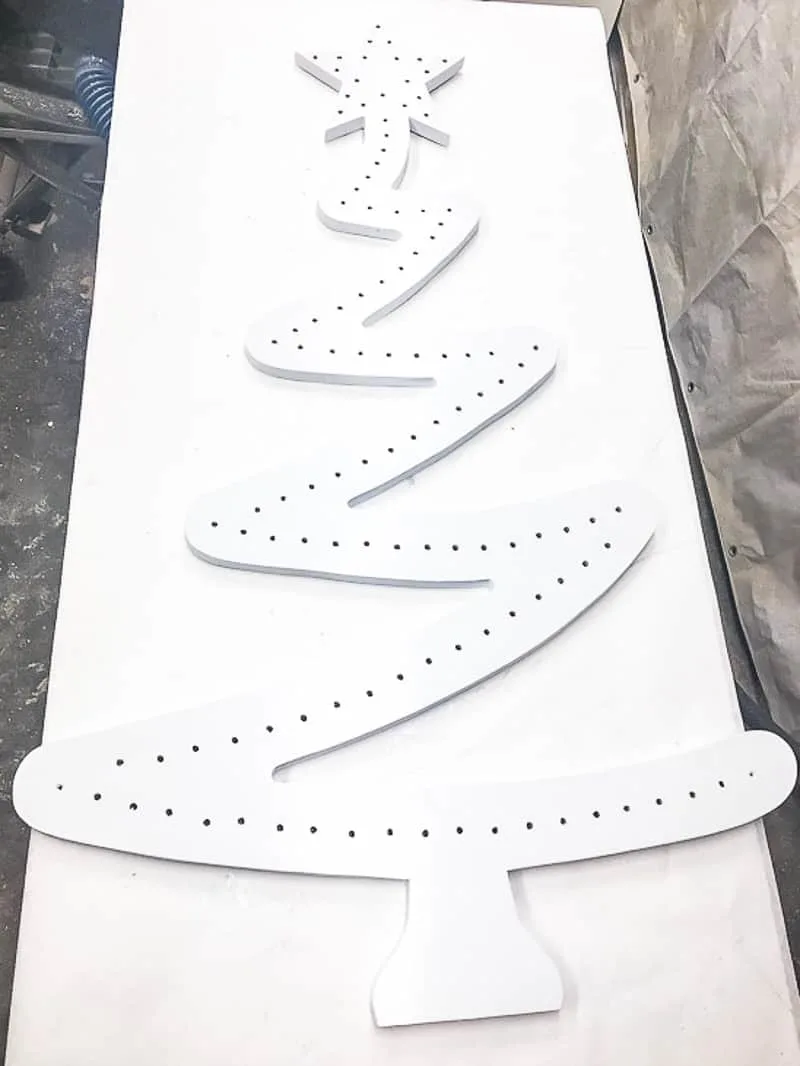
Trace the entire pattern onto the plywood, including the spots where you'll drill holes for the lights.


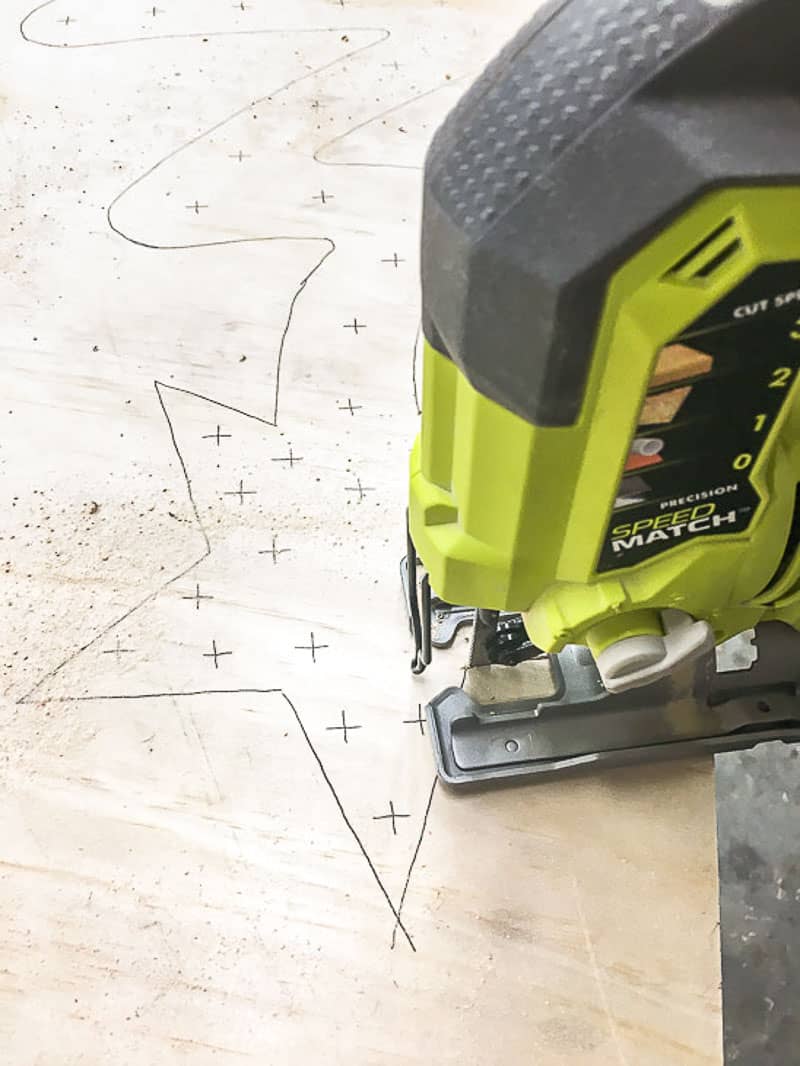
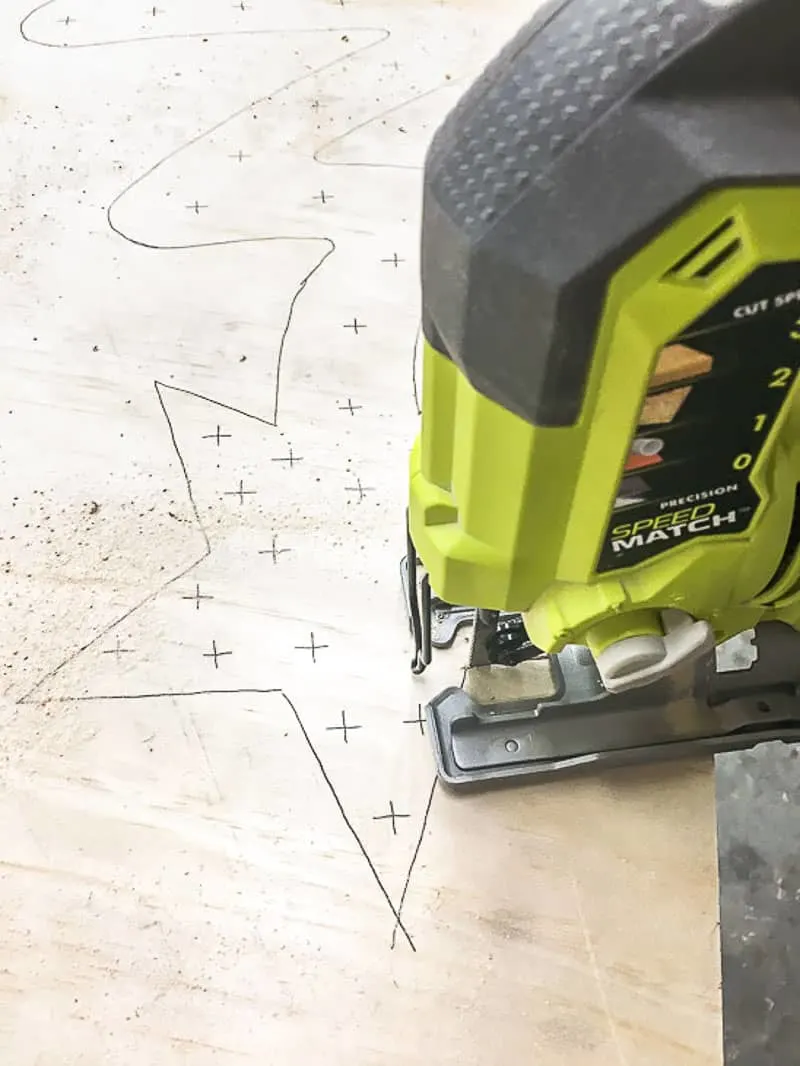
Cut out the plywood Christmas tree
Remove the tracing paper and pattern, and fill in any areas that didn't transfer clearly. Elevate the plywood above your work surface with scrap pieces of wood underneath so you don't cut into it. Then carefully cut out the tree with a jigsaw.
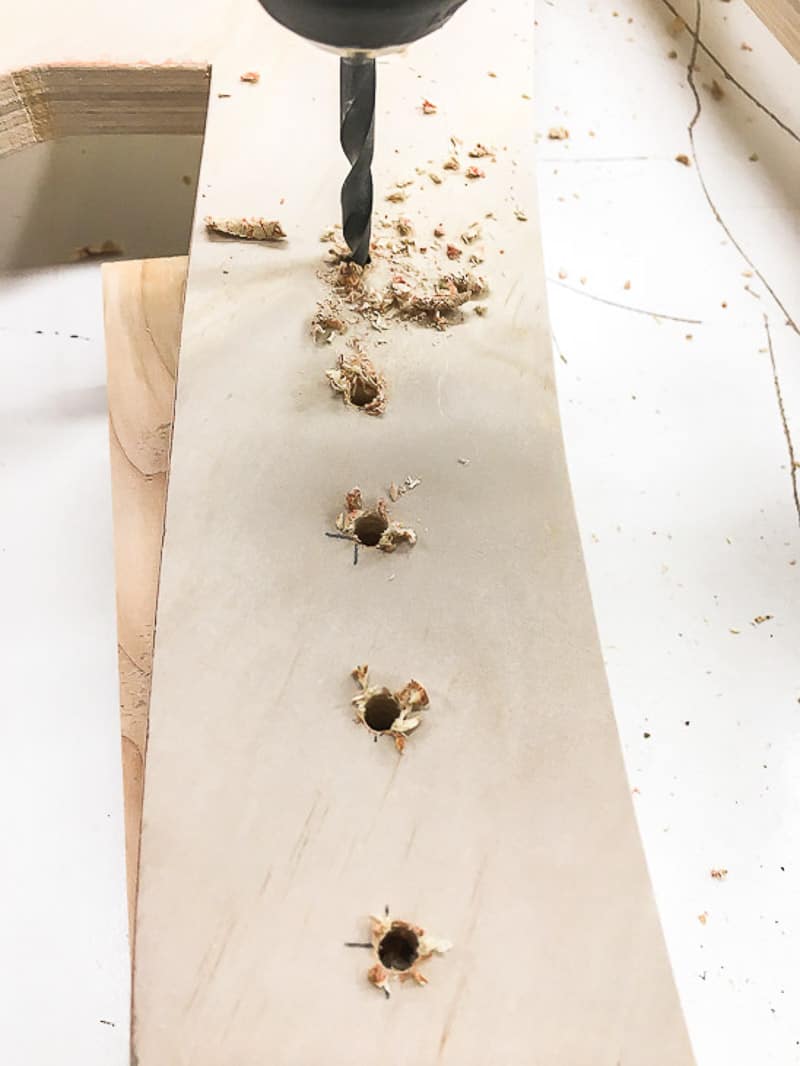
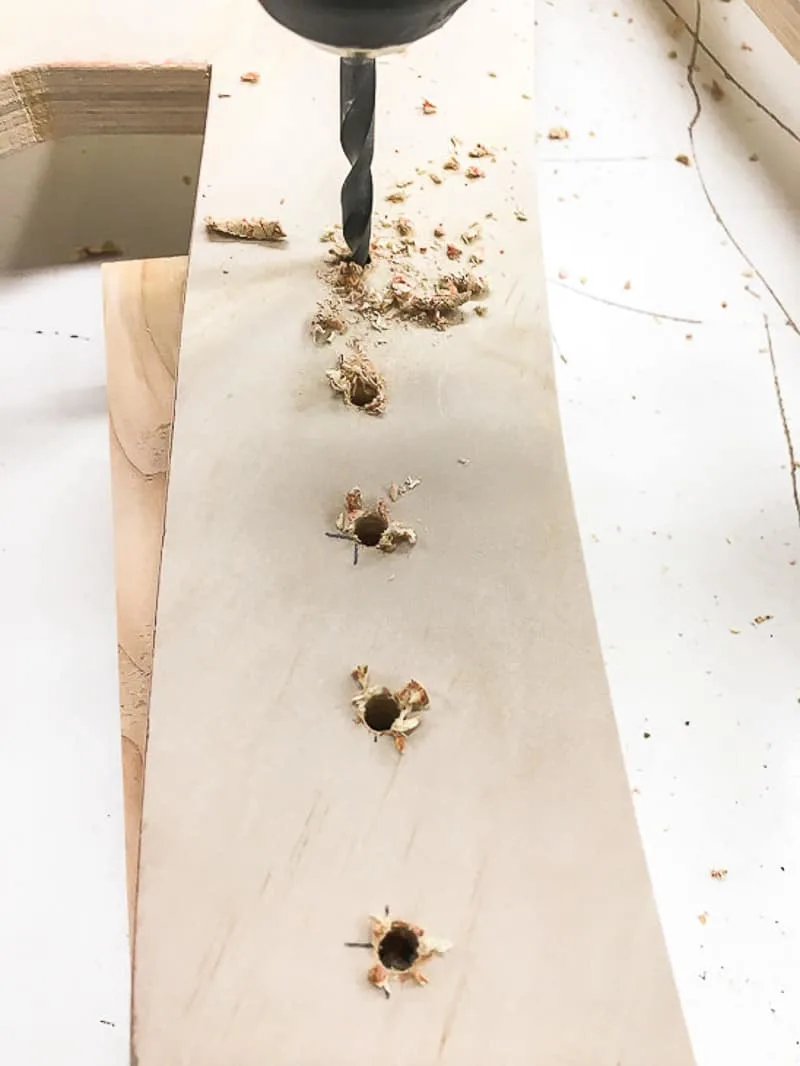
Drill holes for the lights
My string of battery powered lights had 200 bulbs, so I decided to add extra holes for an even brighter outdoor Christmas tree display! The original holes were 2" apart, so I made an additional hole in between each one.
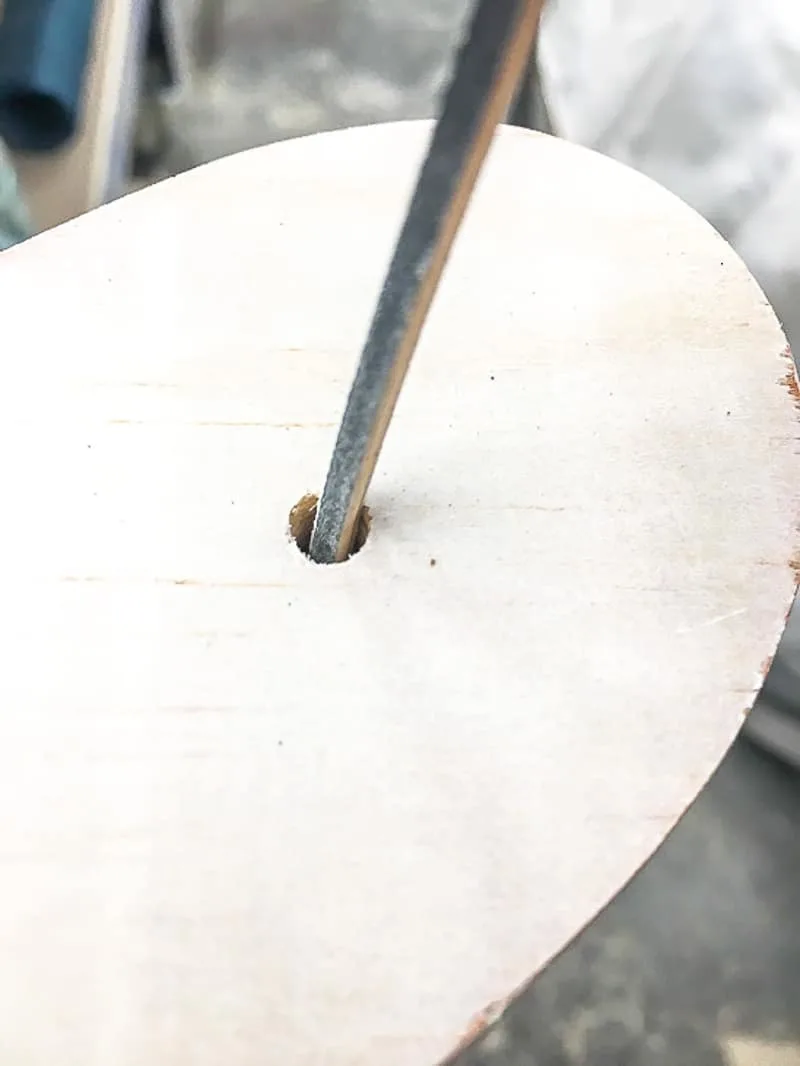
Test drill bits to see which one fits best with your light bulbs. The 7/32" bit worked perfectly with my mini bulbs, but your size may vary.
To prevent the wood from chipping, place a piece of scrap wood underneath the hole you're about to drill. This will hold the wood fibers in place, instead of blowing them out the back. Drill holes straight through each marking on the tree.
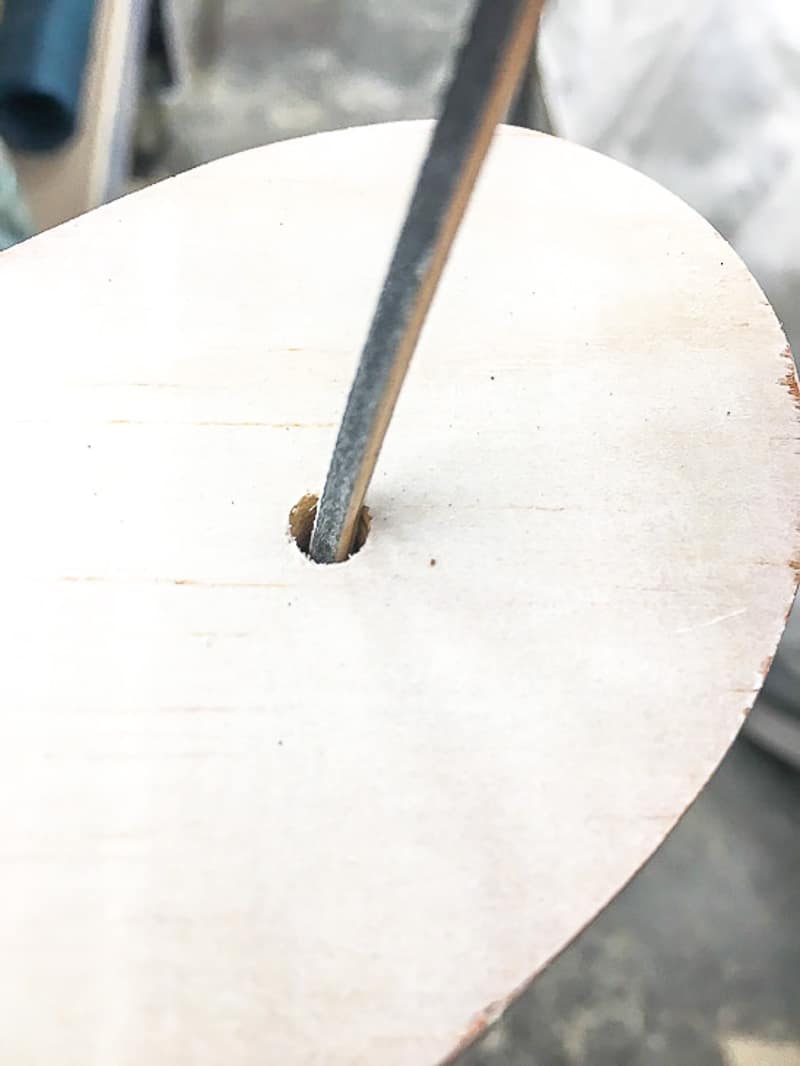
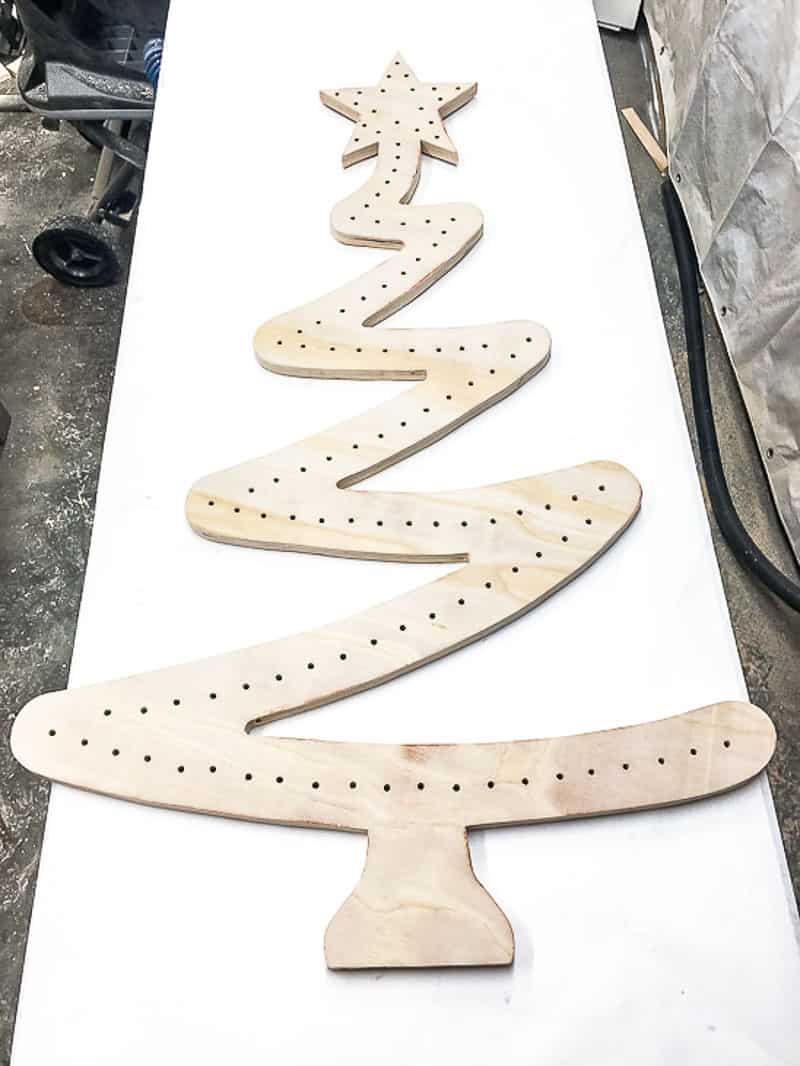
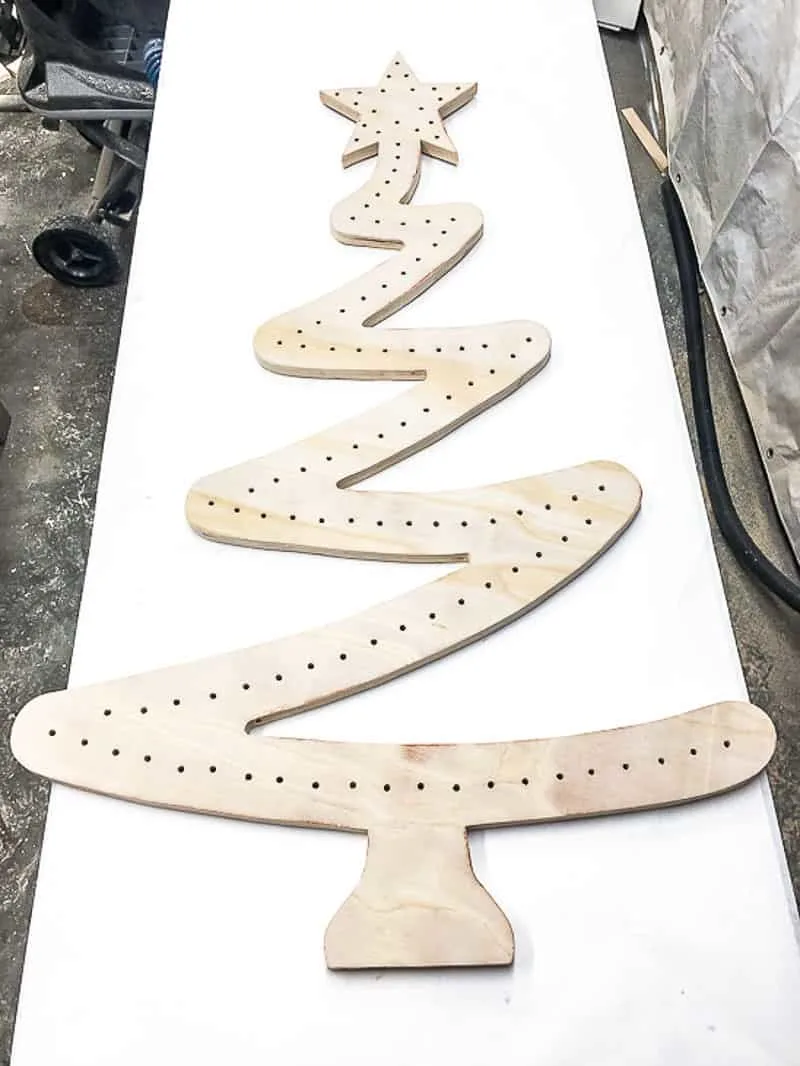
Sand down all the rough edges. I used these sanding sticks to clean out the holes for the bulbs, and 150 grit sandpaper for the flat surfaces and cut edges.
Looking good so far!
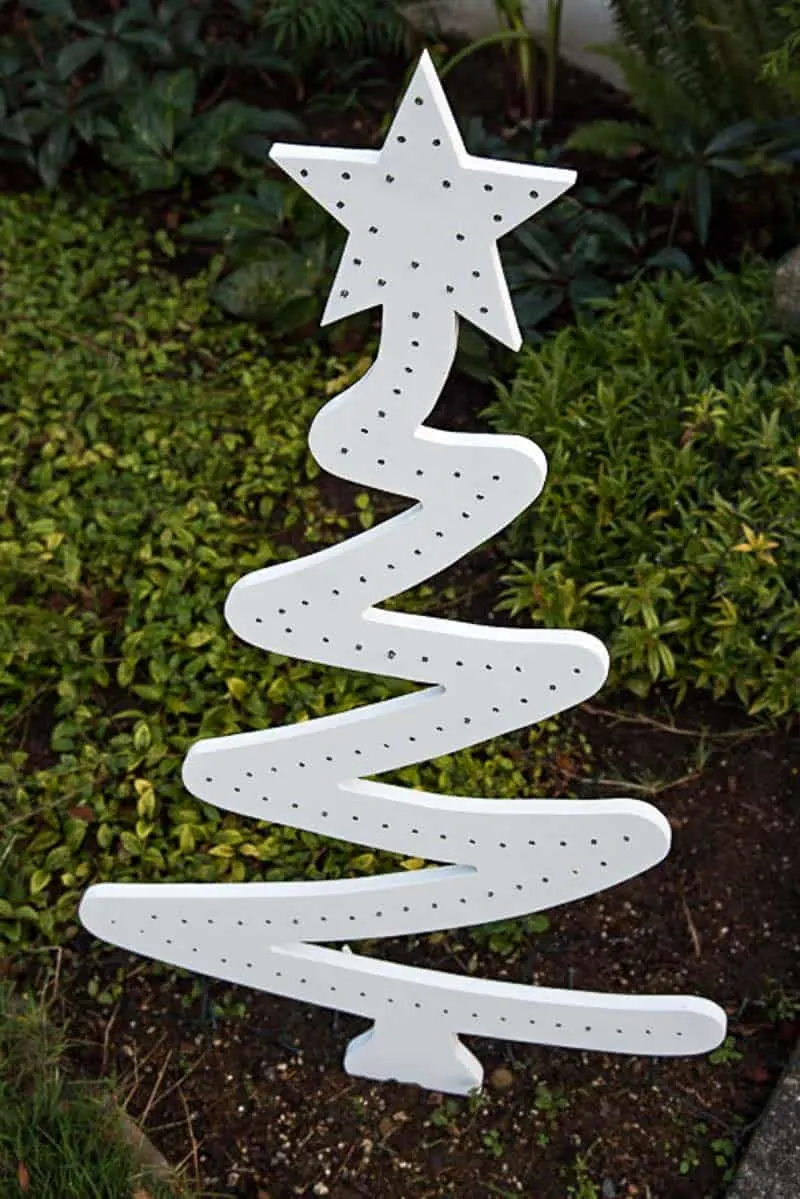
Paint the wooden Christmas tree
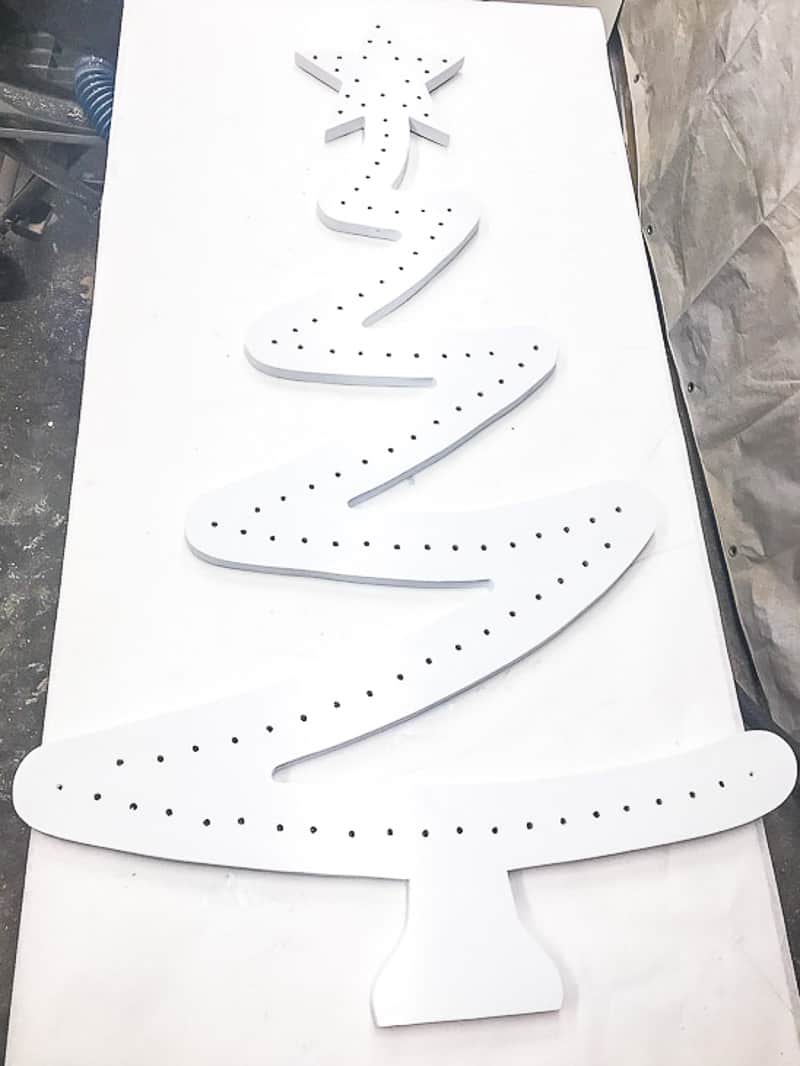
Now, we paint! Be sure to use outdoor paint for this project, to protect the wood from rain or snow. I went with the same white paint as our outdoor storage bench, which has survived several wet winters.
I recommend rolling the paint on with several light coats to prevent paint from dripping into the holes. I still had a few spots where I had to dig out a blob or two, but most of the holes stayed clean.
Attach the lights
Once the paint is dry, insert a bulb into each hole, starting at the top of the tree. It looks like an electrical mess on the back, so plan to place your decoration in a part of the yard where you can't see all the wires.


Staple the wire to the back with ⅜" staples between the bulbs to hold it in place. Be careful not to staple through the wire, or you'll have to do some splicing to get the circuit working again (ask me how I know!)


Attach the stakes
At the bottom of the tree, attach two tent stakes to the back with conduit straps. This type with the T top fits perfectly in the ½" conduit strap and keeps the Christmas tree firmly in the ground.


Now your Christmas tree yard decoration is ready to go in the garden! Mine is displayed right by our front steps, and really pops against the dark green plants.

The lights are on a timer, and turn on just as the sun goes down. It really looks magical, especially with the extra lights sprinkled through the bushes behind the tree.

I hope this simple project helps brighten up your yard this holiday season! If you make one, I'd love to see it! Tag me over on Instagram to show it off!
Check out these other DIY Christmas decoration ideas!
35 DIY Wood Christmas Decorations - Anika's DIY Life
Monday 22nd of March 2021
[…] Christmas Tree Yard Decoration from The Handyman’s […]
Sheri
Monday 11th of December 2017
Love this.
Toni | Small Home Soul
Wednesday 6th of December 2017
Oh my gosh this is so fabulous!!
Anika
Wednesday 6th of December 2017
I love this cool and whimsical tree!! It is absolutely perfect!
Kim
Wednesday 6th of December 2017
This is really cute! I love the fun and funky vibe.. not as traditional as some lawn decorations! Love it!