Want to add privacy to your windows, while still letting sunlight shine through? Learn how to apply frosted contact paper on windows!
Contact paper is magic. I've used it to update everything from flat front cabinets to our kitchen countertop! It's a quick and easy way to temporarily change the look of anything in the house.
Check out even more contact paper ideas here!
This post contains affiliate links for your convenience. Purchases made through these links may earn me a small commission at no additional cost to you. Please visit my disclosures page for more information.
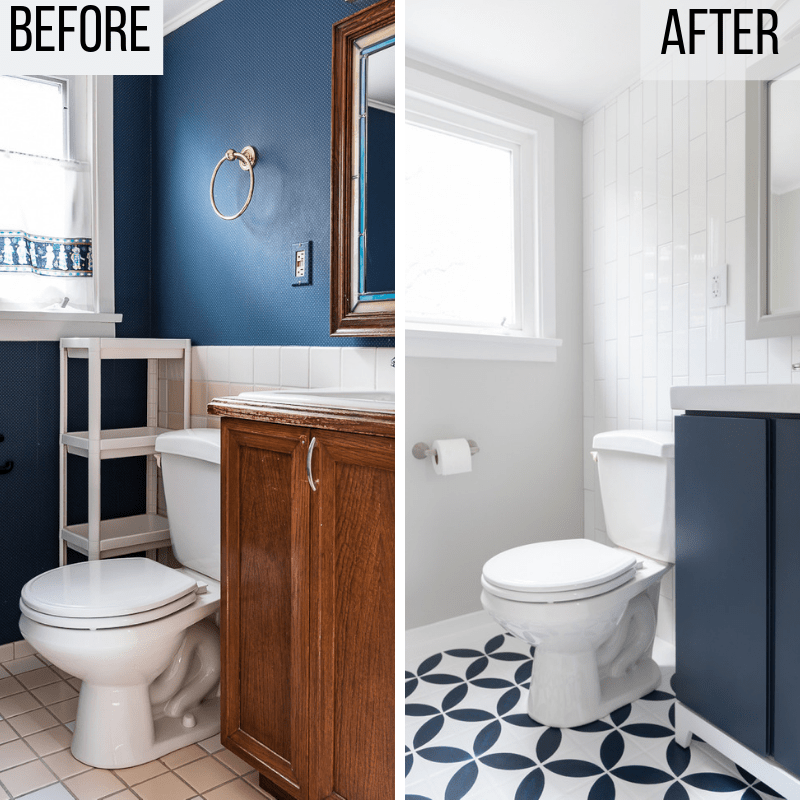
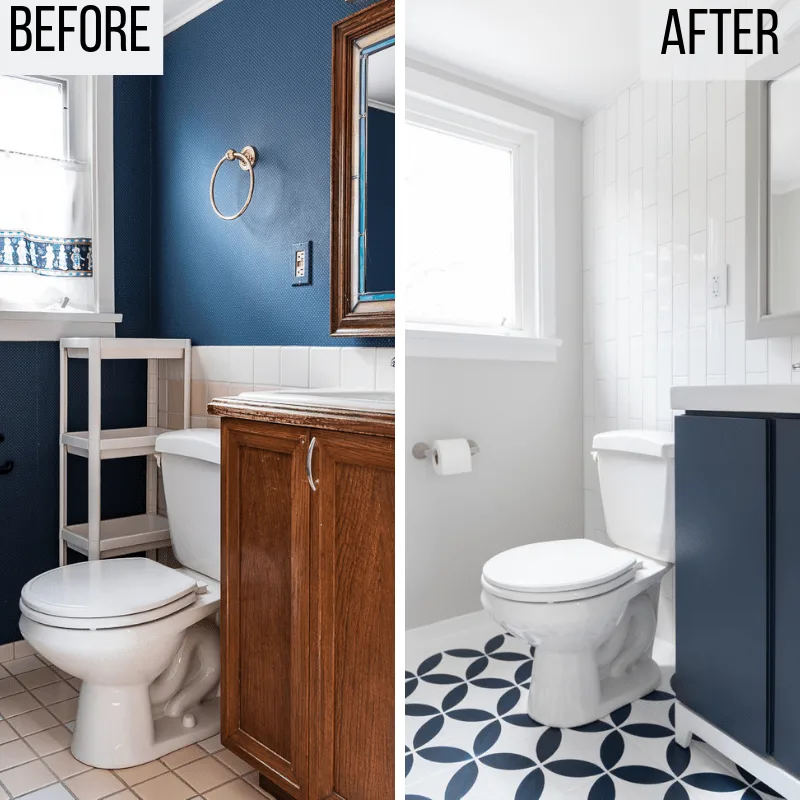
When I remodeled our half bathroom, I replaced the old curtain with frosted window film to provide some privacy while still allowing light into the room. I was in such a rush to finish the project, I never wrote up a tutorial on how to apply contact paper on windows!
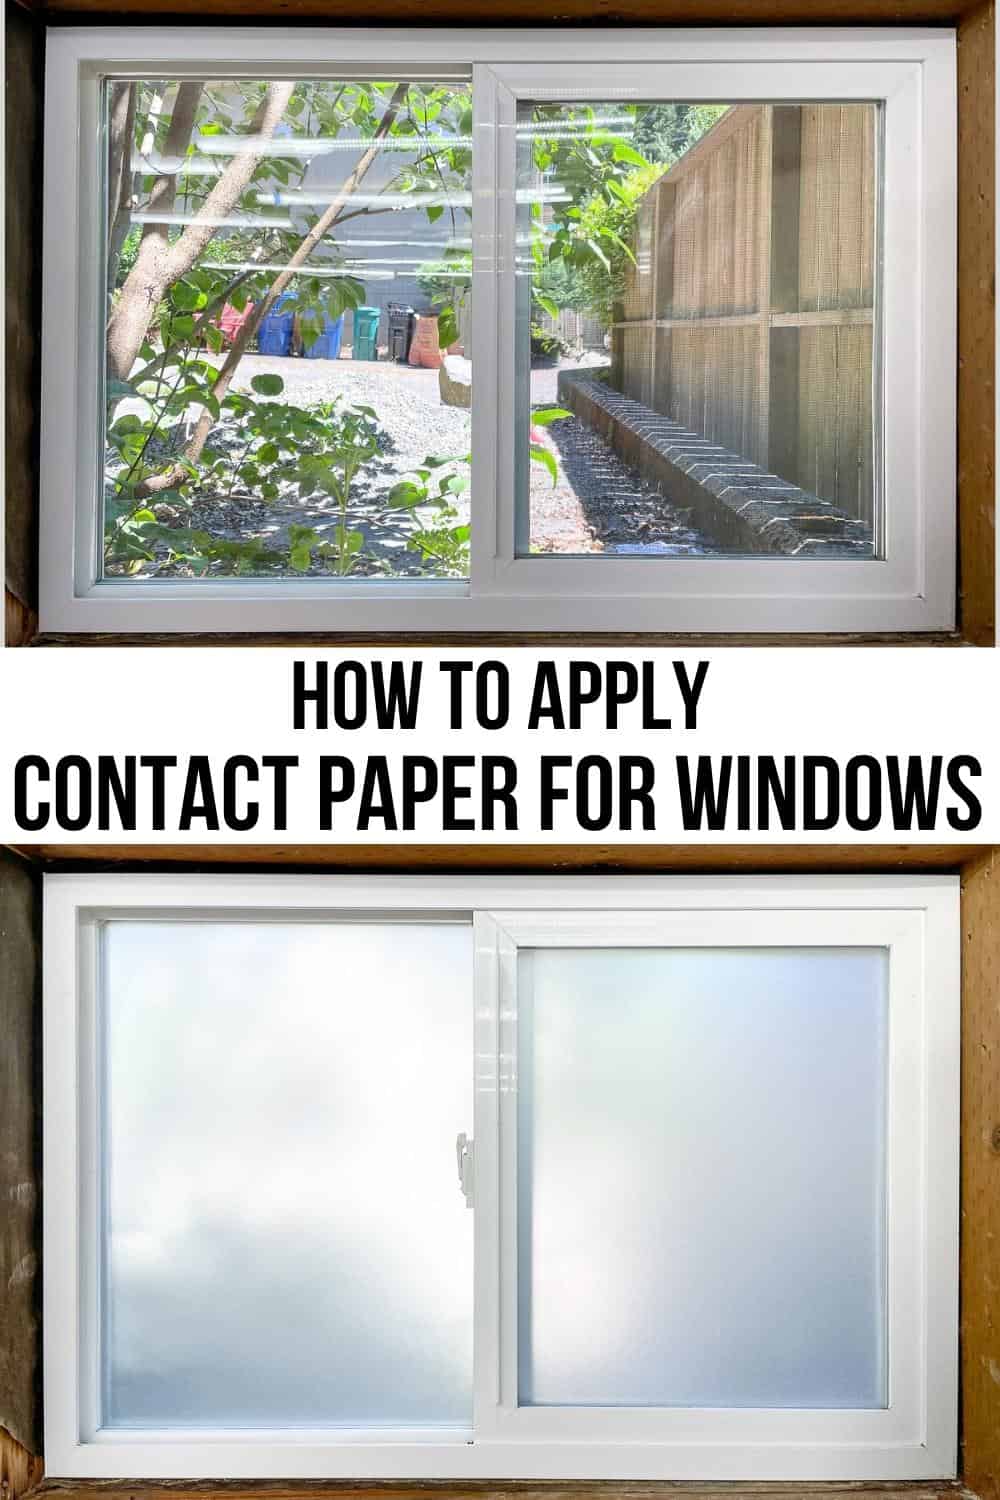
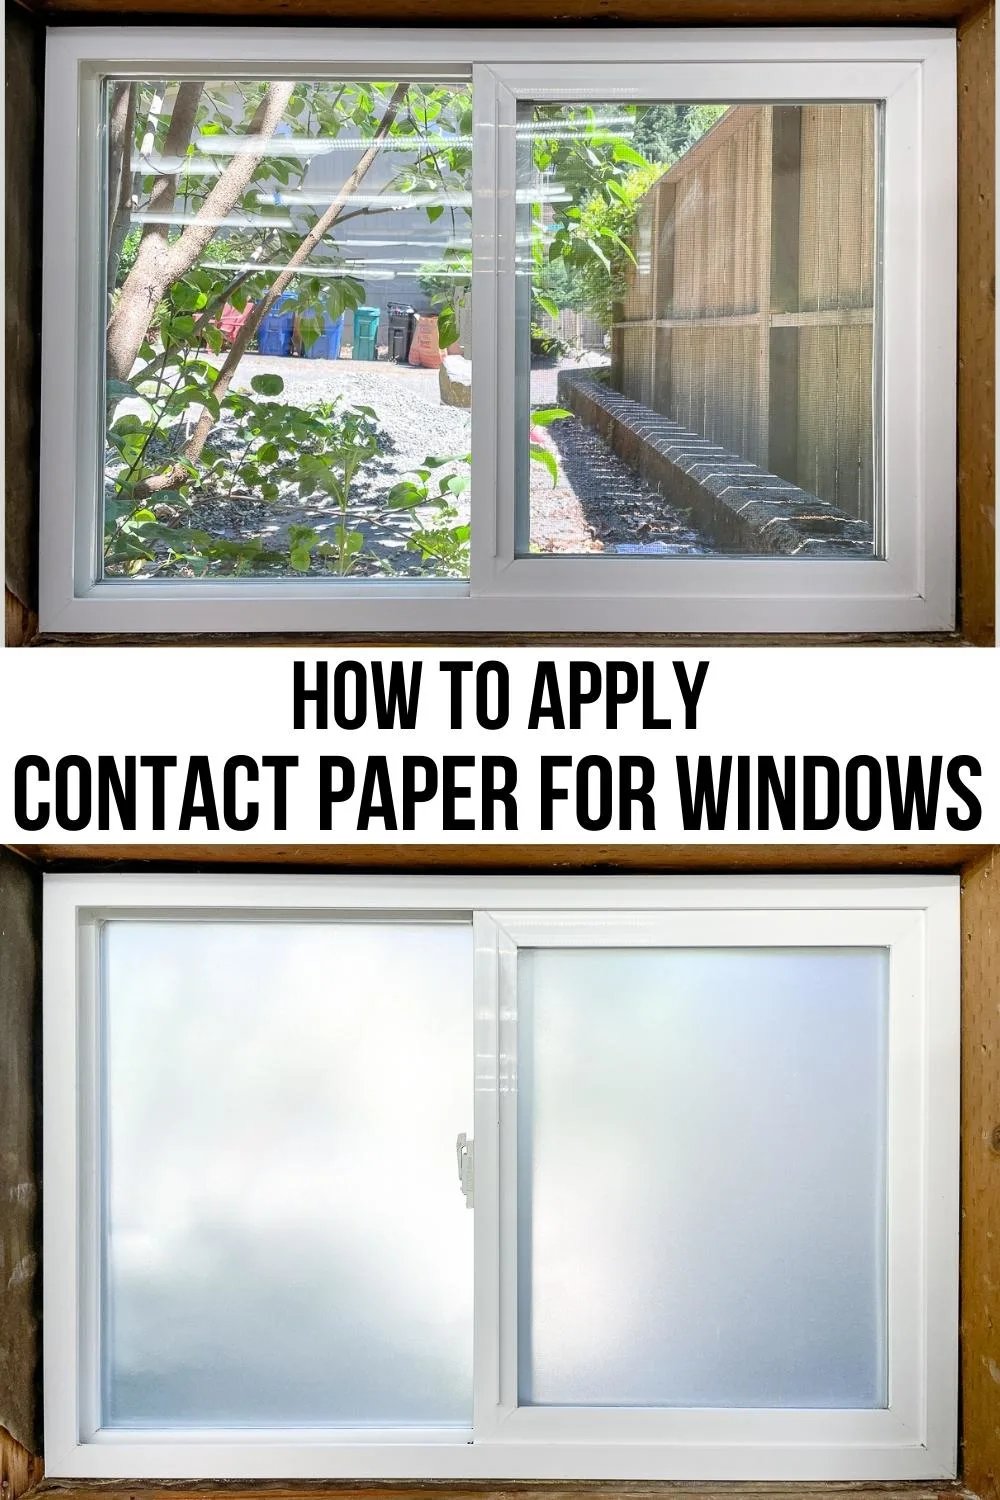
But I recently realized that there's another spot in the house that could benefit from this privacy window film: my workshop. It always bothered me that anyone could walk down our alley and peer into the basement workshop.


Also, the morning sun shines directly onto my lumber rack, and there are some wood species that change color when exposed to UV light. Covering up the windows will prevent this from happening prematurely.
We recently had our windows professionally cleaned, and I figured this was the perfect opportunity to apply the window film while the glass was still clean. They get dirty fast with all that sawdust flying around!
Static cling window film vs adhesive contact paper
There are two different types of contact paper for windows. In the past, I used self adhesive contact paper that has a sticky backing. It holds up really well in high traffic areas, but it can be difficult to position and remove air bubbles and wrinkles.

These basement windows aren't easy to reach, so I decided to go with this static cling window film instead. It doesn't stick to itself, and can be repositioned on the glass as necessary. The downside to the static cling version is that it can peel off really easily, so it's best for areas that don't see a lot of use.
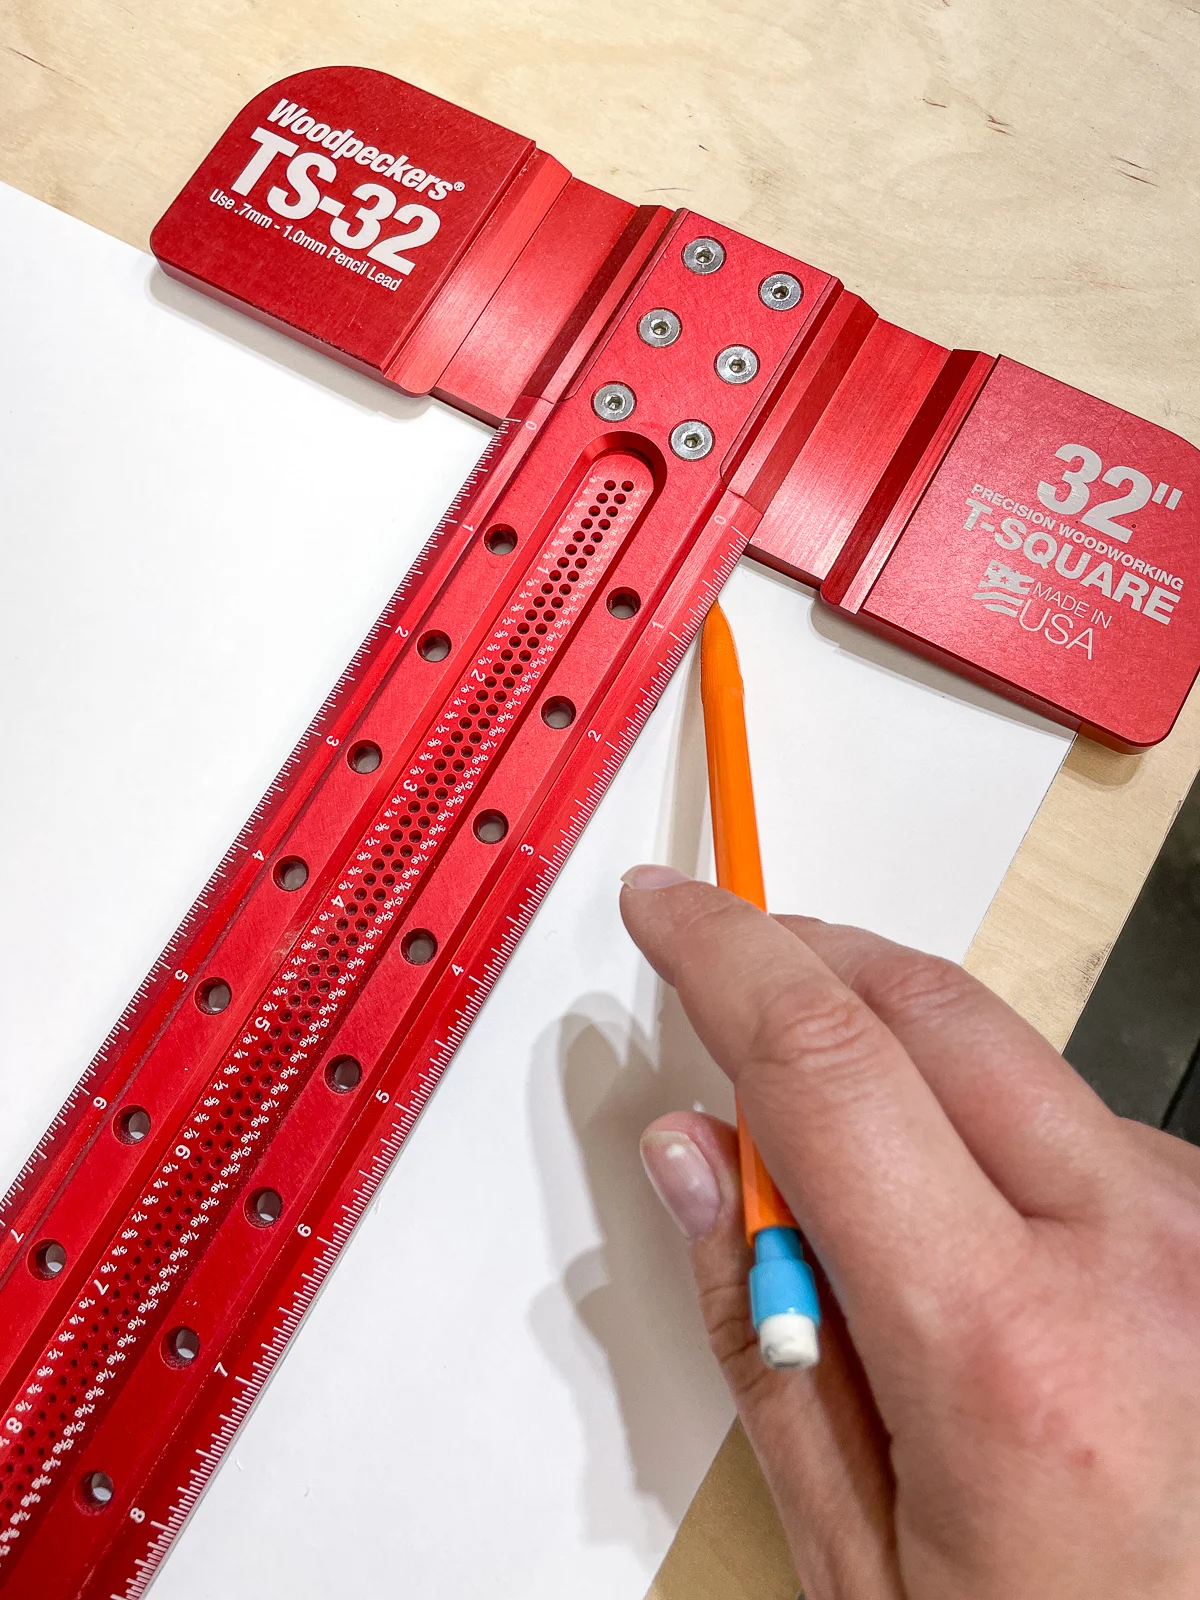
Measure and cut the privacy film to size
Measure the width and height of each pane of glass, then subtract 1/16" from each dimension. This will give you a little bit of wiggle room around the outside edge.
Unroll the window film, and mark out the size you need with a straight edge and a pencil. Then cut it out with scissors or a utility knife.

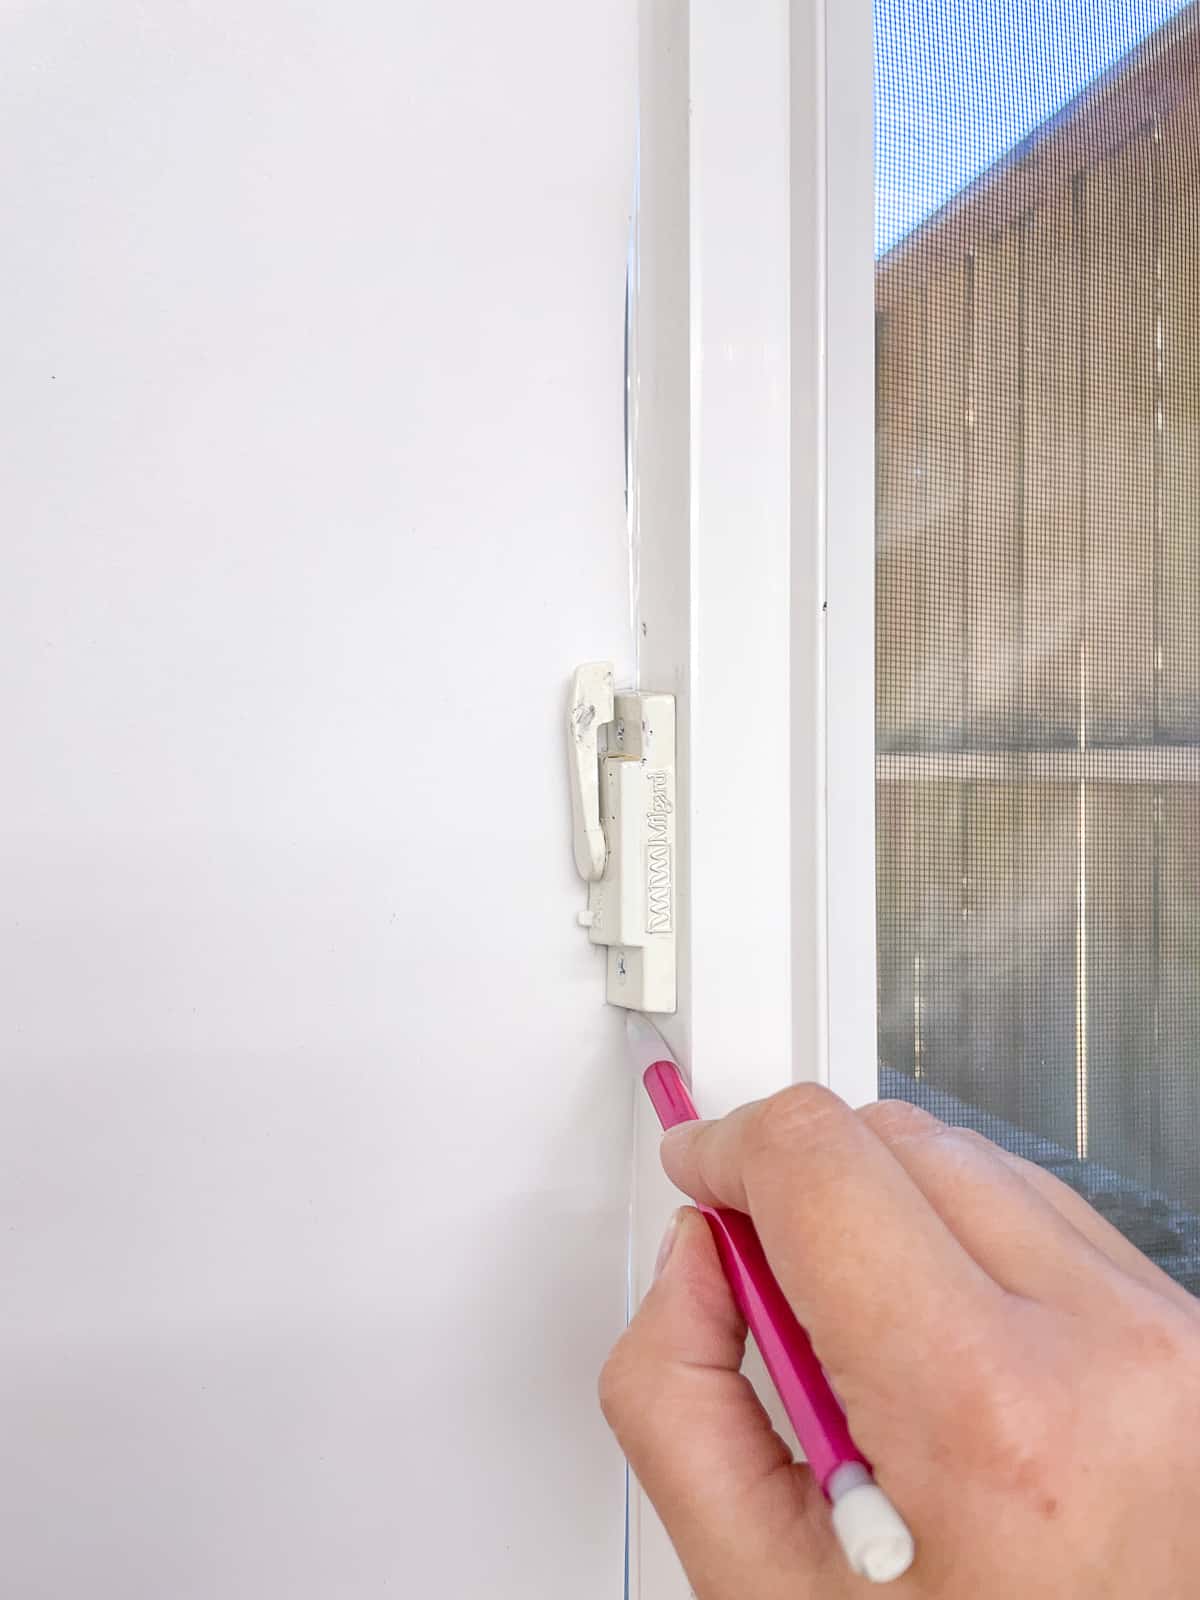
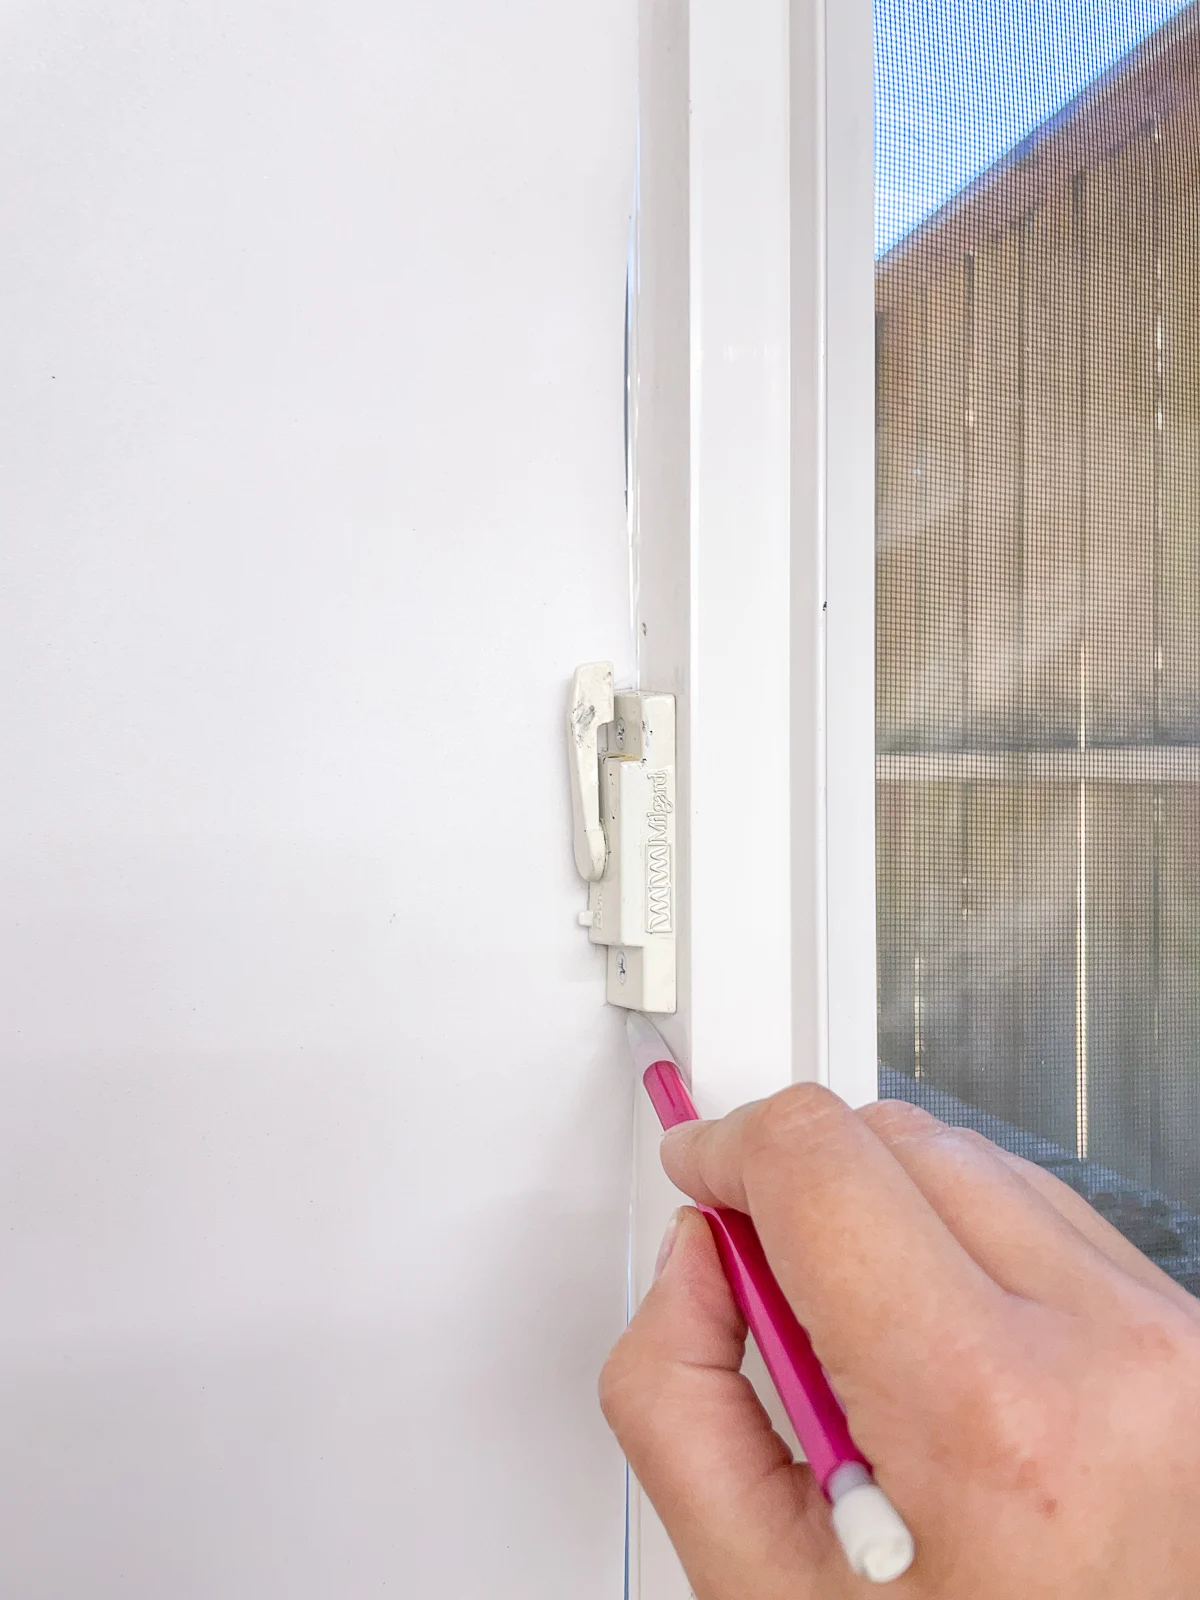
My windows have a latch on the side that blocks part of the glass. I positioned the paper over the latch and traced the shape with a pencil on the frosted side. Then I cut it out and adjusted the fit until it went around the latch without buckling.
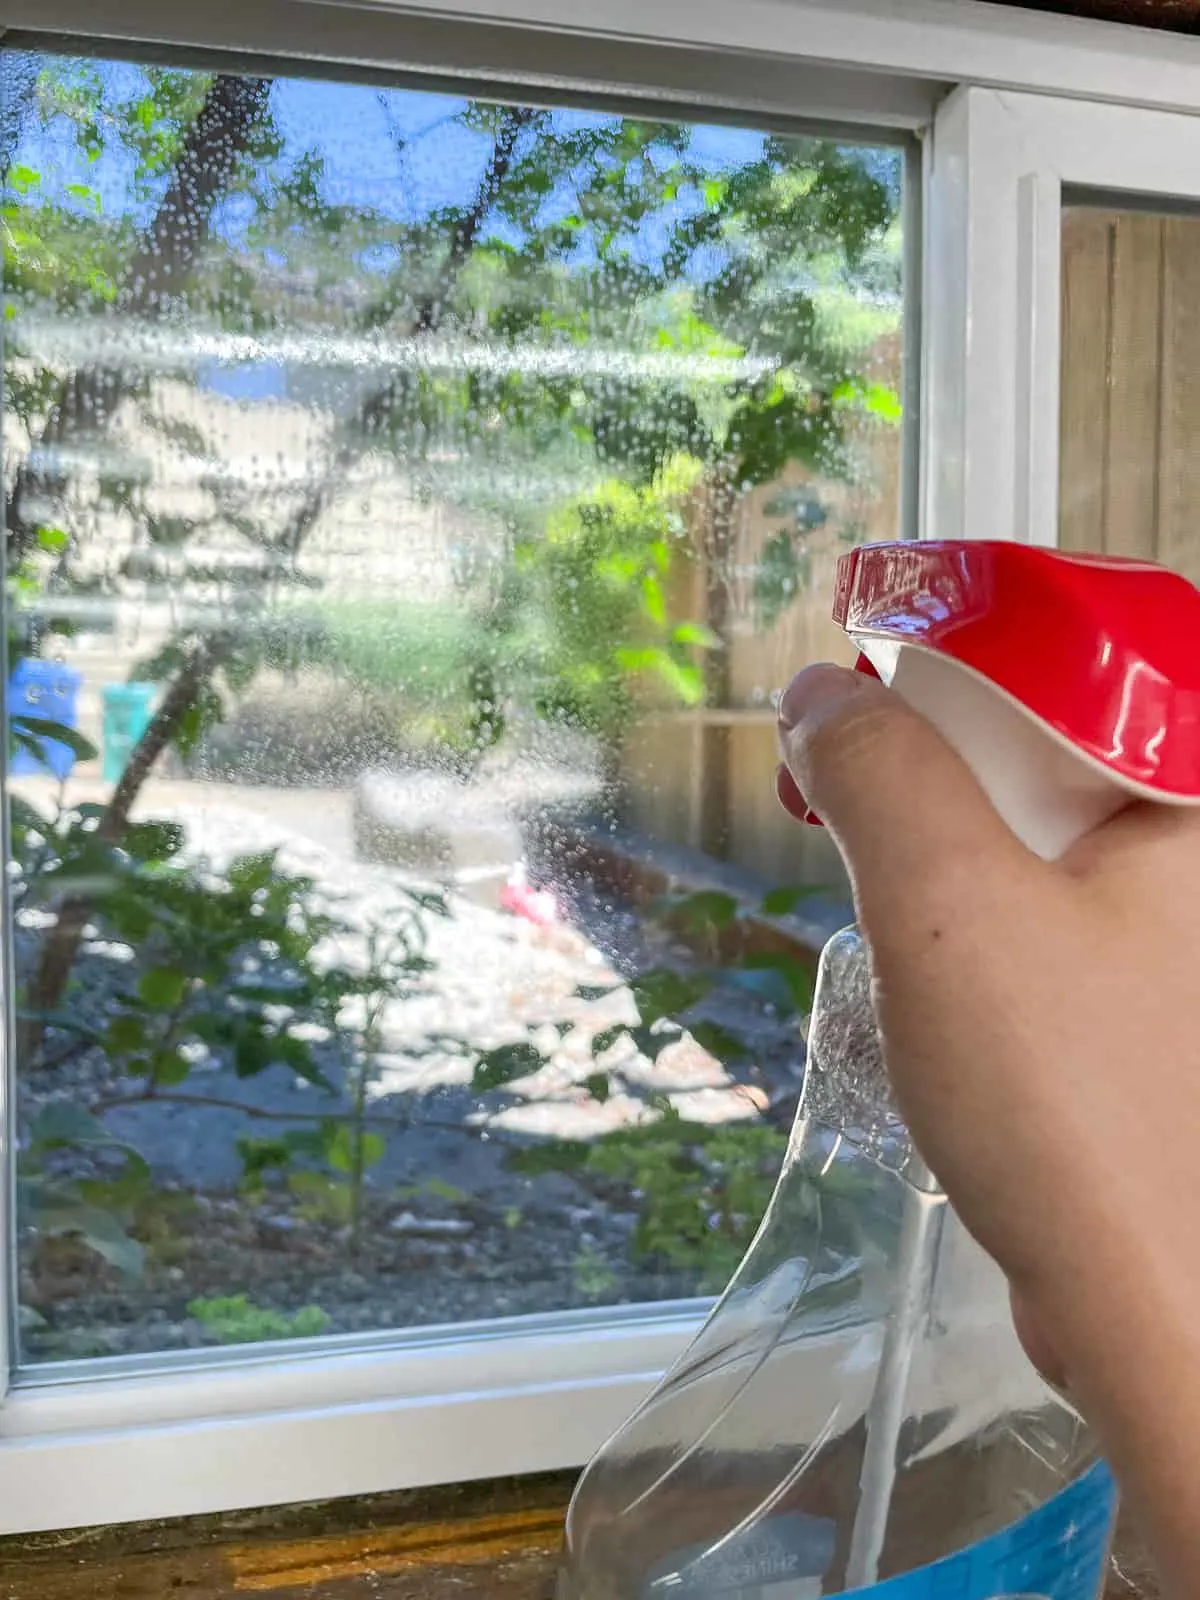
Clean and spray the glass
These windows were already clean, but I gave the glass a quick wipe with Windex to remove any dust that might have settled on the surface. Then I sprayed them again to leave a slick surface for the window film to slide around on.

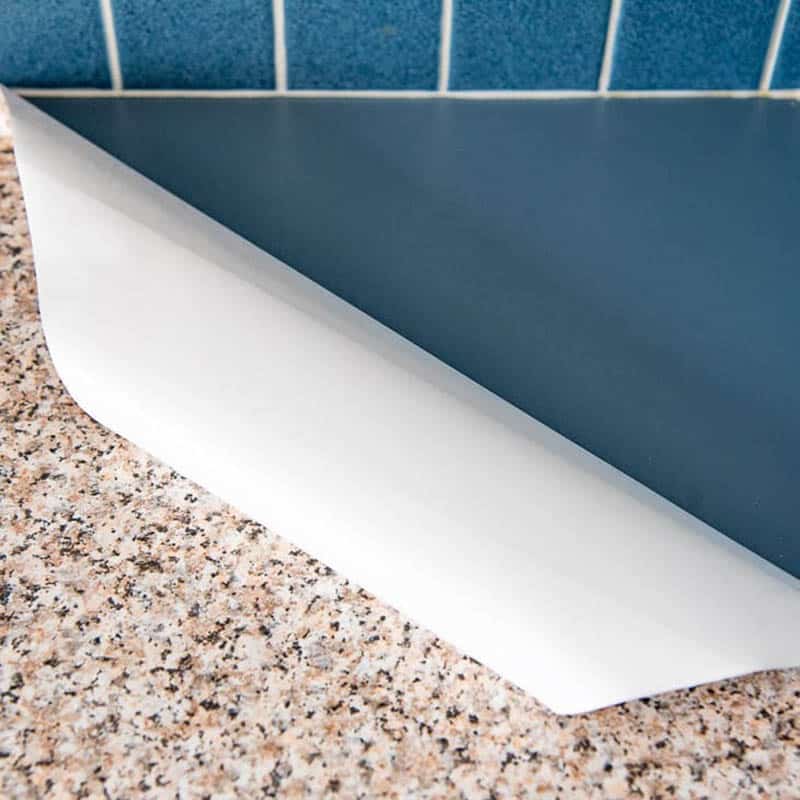
Peel off the paper backing
If you have a large window to cover, you'll find it easier to handle the privacy film if you leave most of the paper backing in place until the top two corners are properly aligned. Since my windows were smaller, I could peel off the entire backing without the film folding back on itself and making a wrinkled mess.
Start at the top of the window, peeling back just enough to stick the top few inches of film to the glass. Then pull away the rest of the paper as you work your way down.
Push out air bubbles
The soapy spray on the window makes it much easier to push out any air bubbles from underneath the frosted window film. I used a plastic putty knife, but you could also use a squeegee.
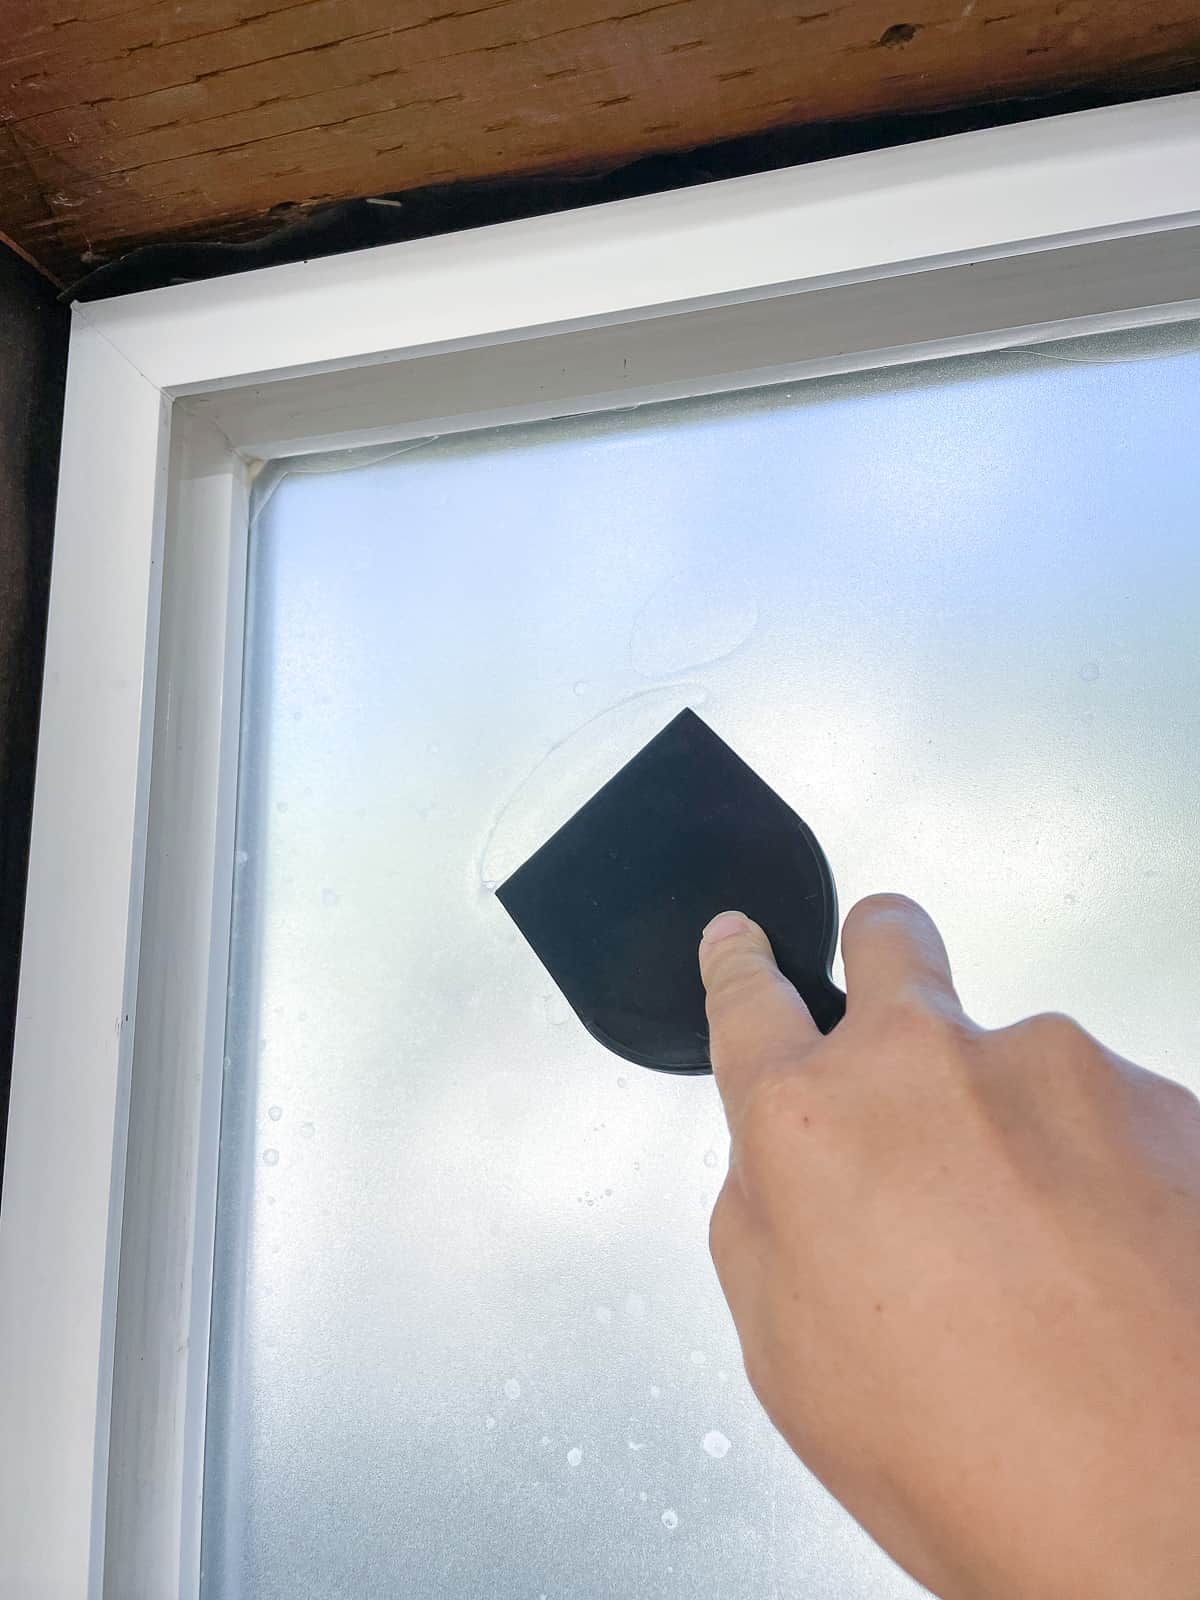

Push the bubbles out to the edges, so the air and soapy water can escape. I tried to direct most of the bubbles down to the bottom, so it didn't drip down the window and cause streaks.

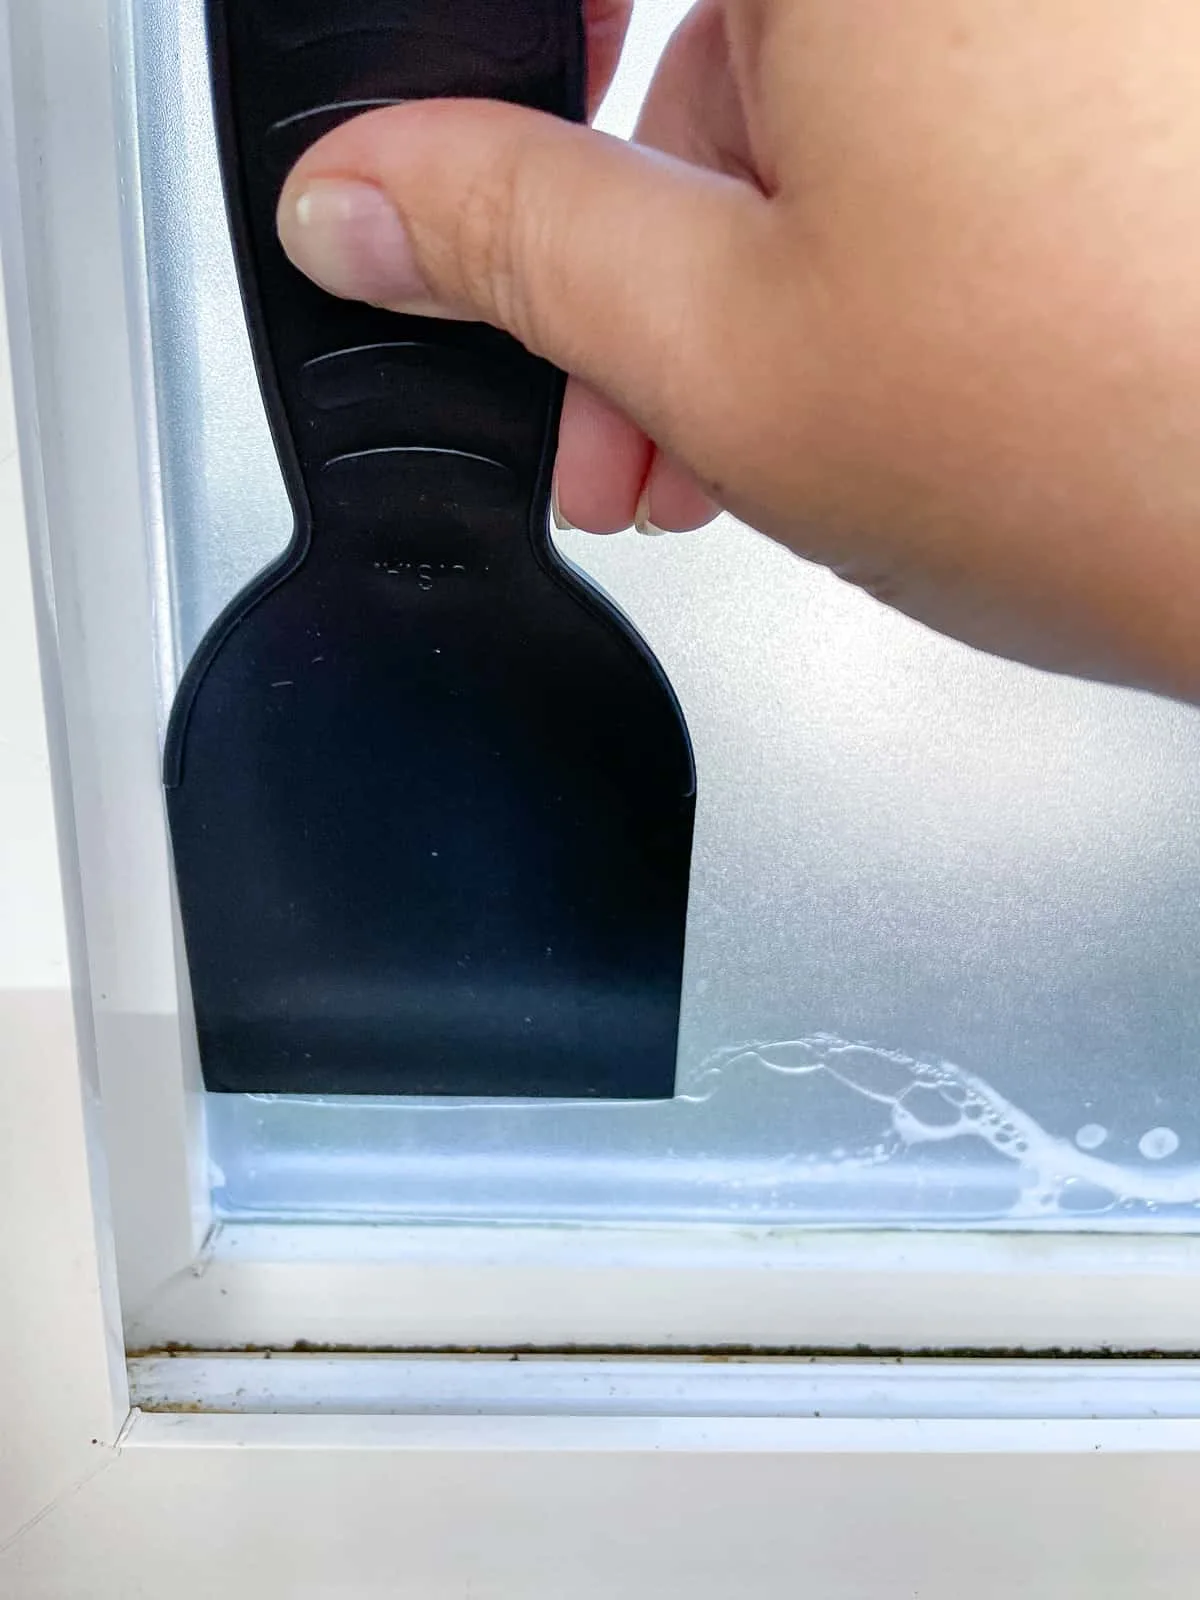
Wipe down the contact paper
After all the air bubbles have been pushed out, wipe down the entire contact paper surface to remove any moisture. Once the glass is dry, it will stick more securely and won't shift around.
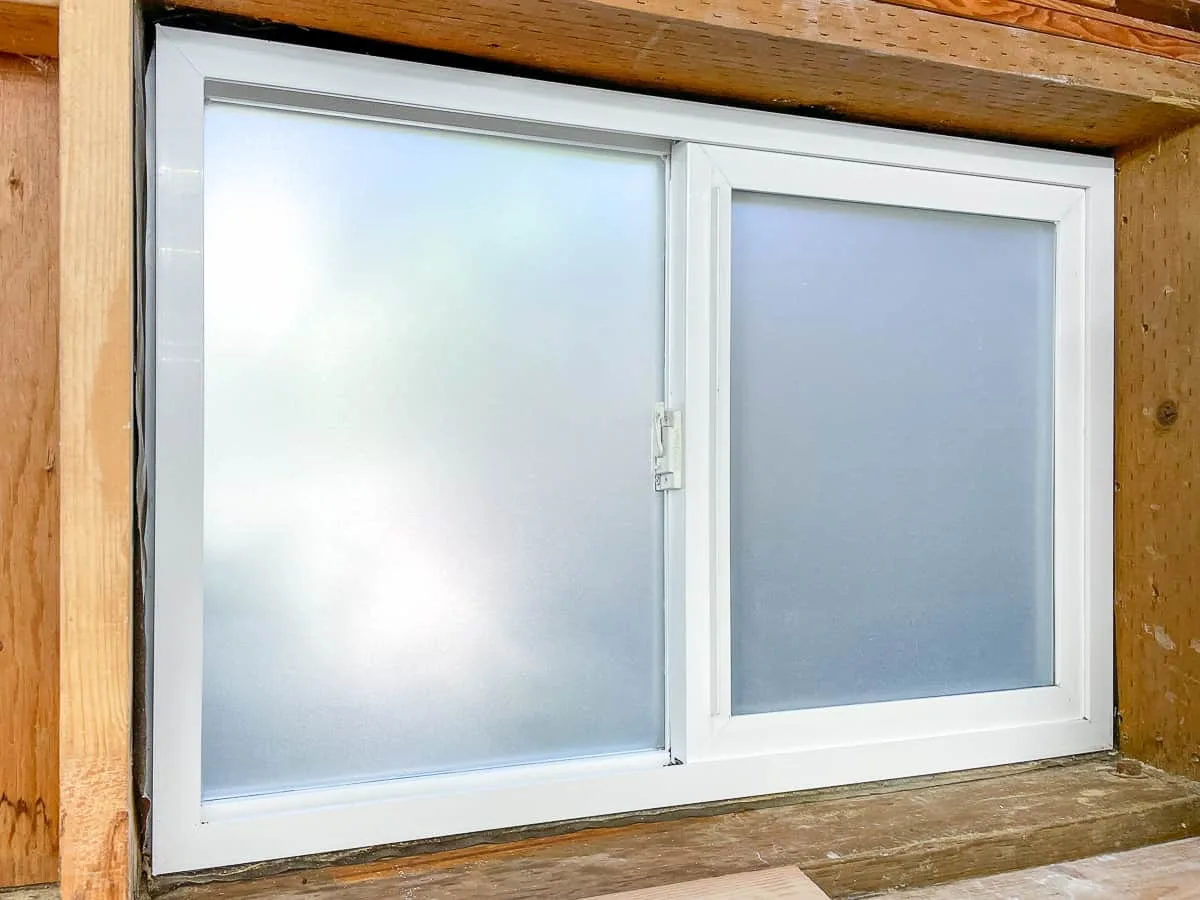
I was really happy with how the first half of window turned out! You can really see how the frosted contact paper provides privacy while still allowing light to come through.
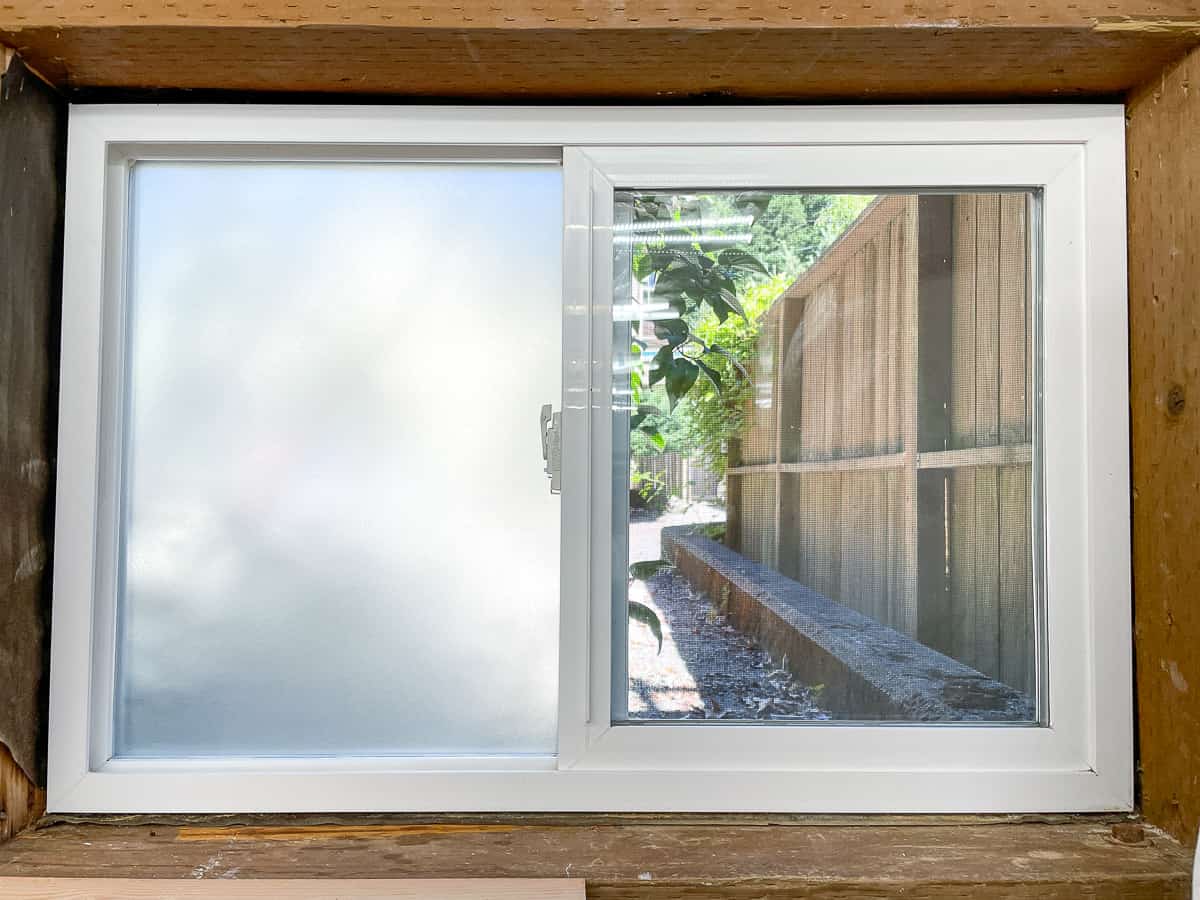

I quickly finished up the other half, and marveled at the final result. Now this project has snowballed and I'm planning to trim out the window to make it look less like a construction project!

This quick and easy DIY project can change up the look of your windows and provide privacy in your home with different styles of contact paper. You can find textures that make the glass look etched, or even stained glass effects with colored patterns!
Check out these other contact paper ideas!
Jess
Tuesday 1st of November 2022
I'm confused. Did you use windex and then a custom mix of water and soap or are you using windex under the film to ease installation? I have windex in my house but not an empty spray bottle for soap and water, so this would actually make it easier for me.
Vineta Jackson
Tuesday 1st of November 2022
You can just use Windex! That's what I used for these windows and it worked great!
Milton
Thursday 29th of September 2022
Thanks for the tip. I have been racking my brain for idea's to increase privacy in a front bathroom, and you showed me the trick, thanks so much. Headed to Lowes tomorrow.