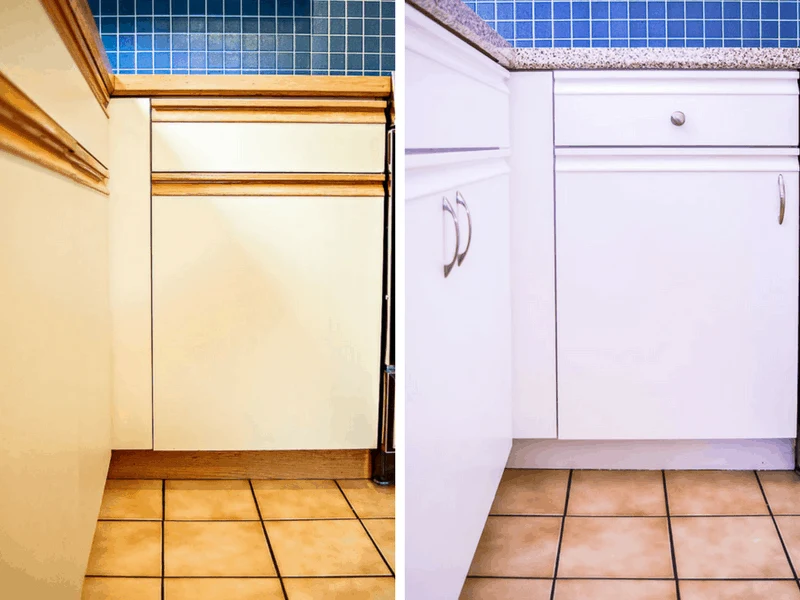
This renter-friendly DIY project uses contact paper for cabinets to give your flat-front kitchen cabinets a new look on a budget! It's easily removable, and doubles as a dry erase board!
Contact paper has been used creatively throughout our house, from the contact paper kitchen countertops to the frosted contact paper window in my half bath makeover. I even used it to cover these bifold doors to create a folding room divider screen! It's so versatile, and you can change it up when the mood strikes!
Check out more creative ways to use contact paper around the home here!

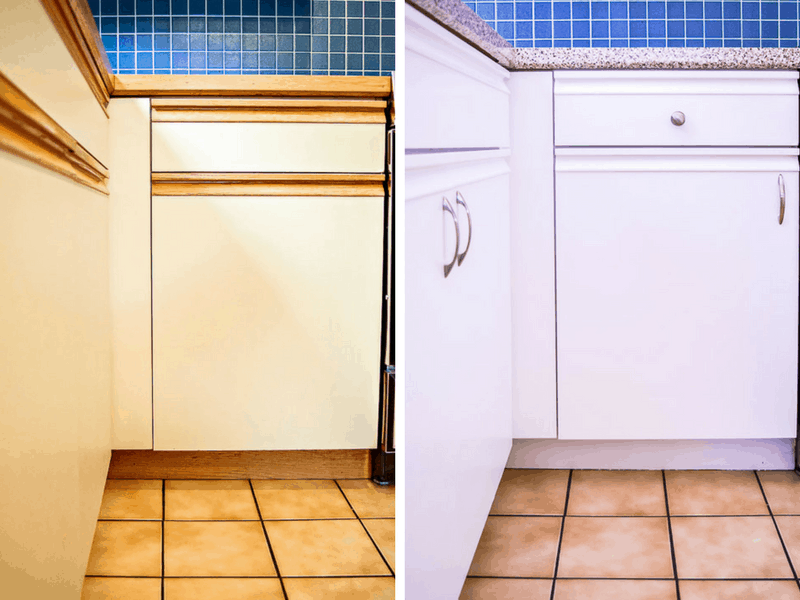
I've gone through the agony of painting my 80s kitchen cabinets, and it's a project I'm not particularly excited to tackle again! It takes for-e-ver and it's really difficult to get a flawless finish.
Contact paper, on the other hand, goes on smoothly, looks great in minutes, and is easily removable. I wish I had thought of it before I painted these!
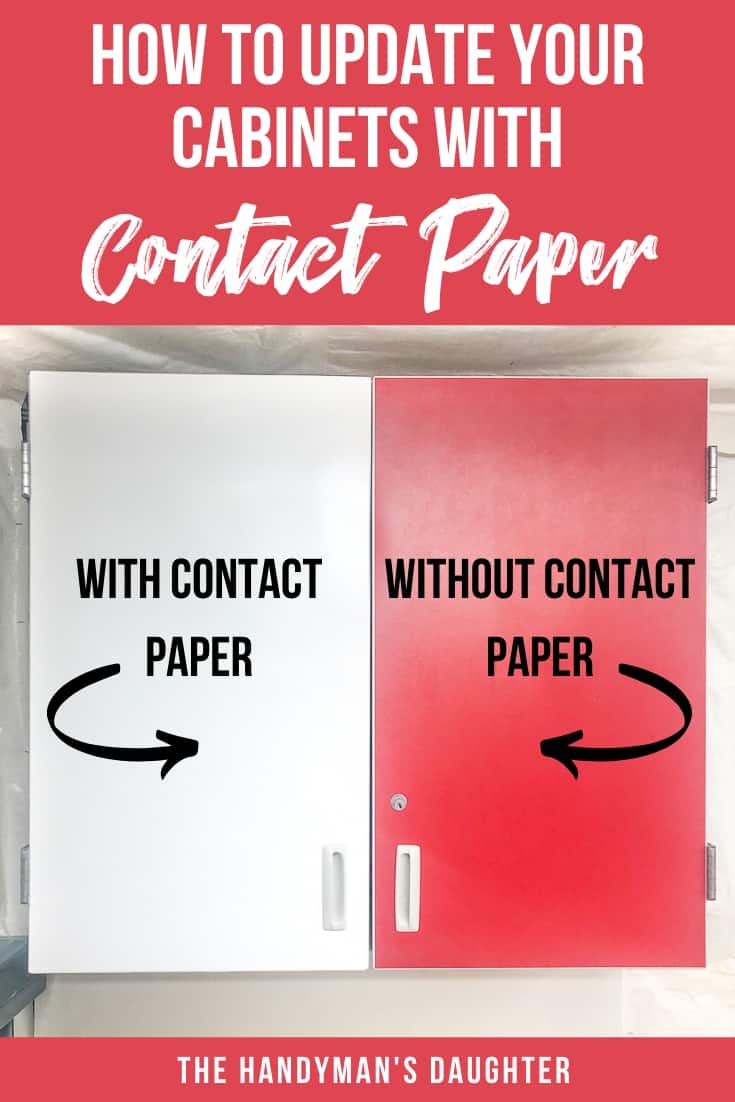
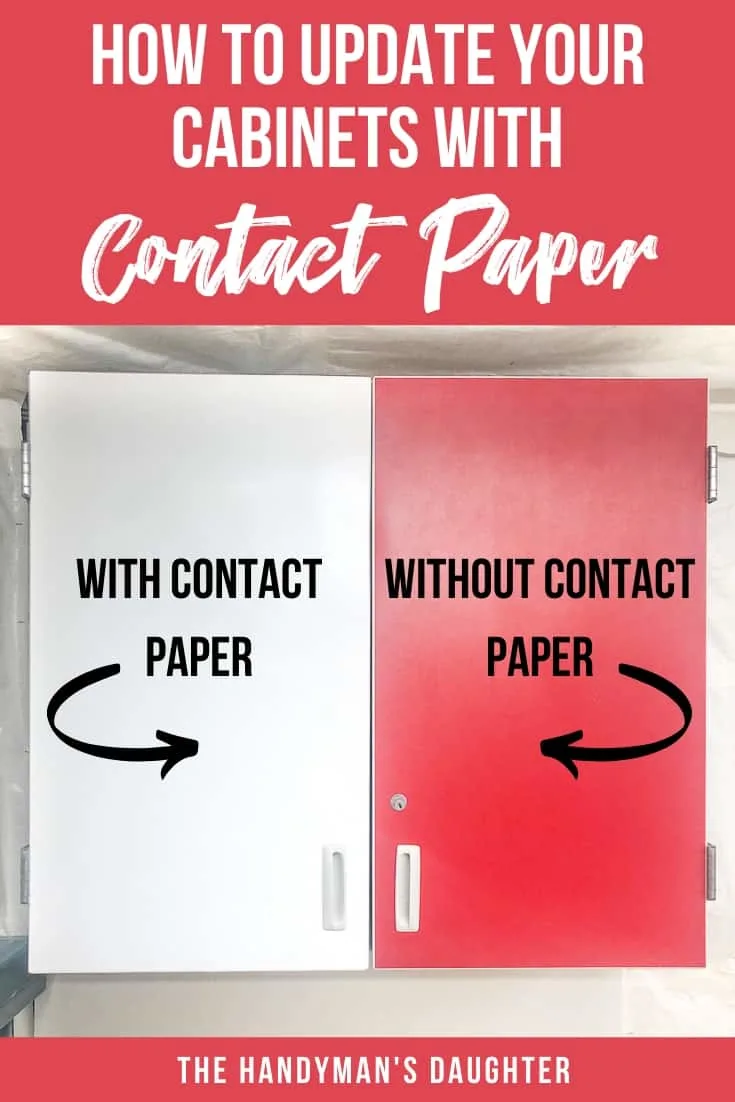
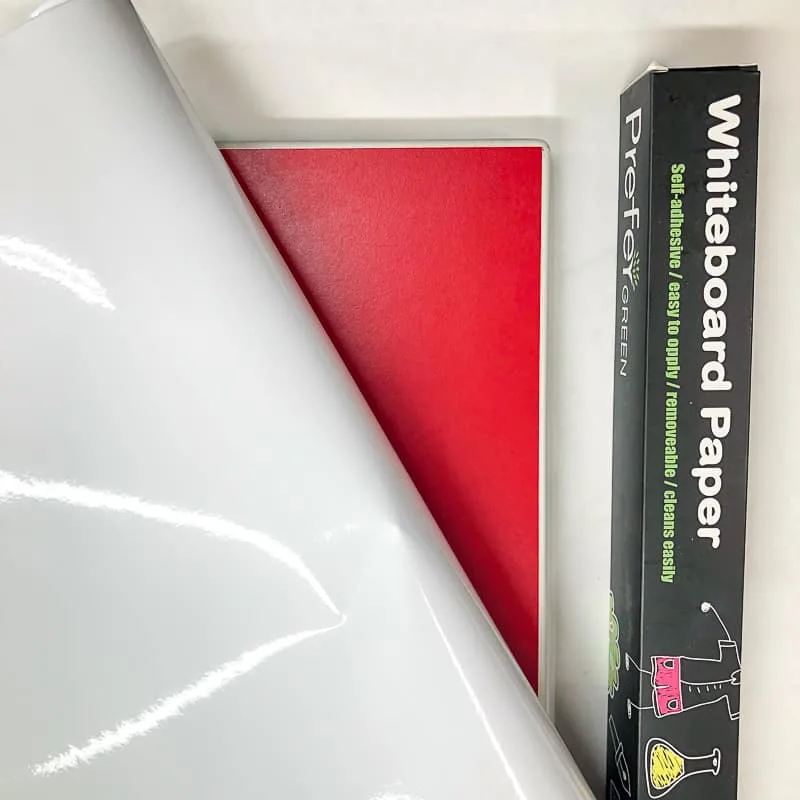
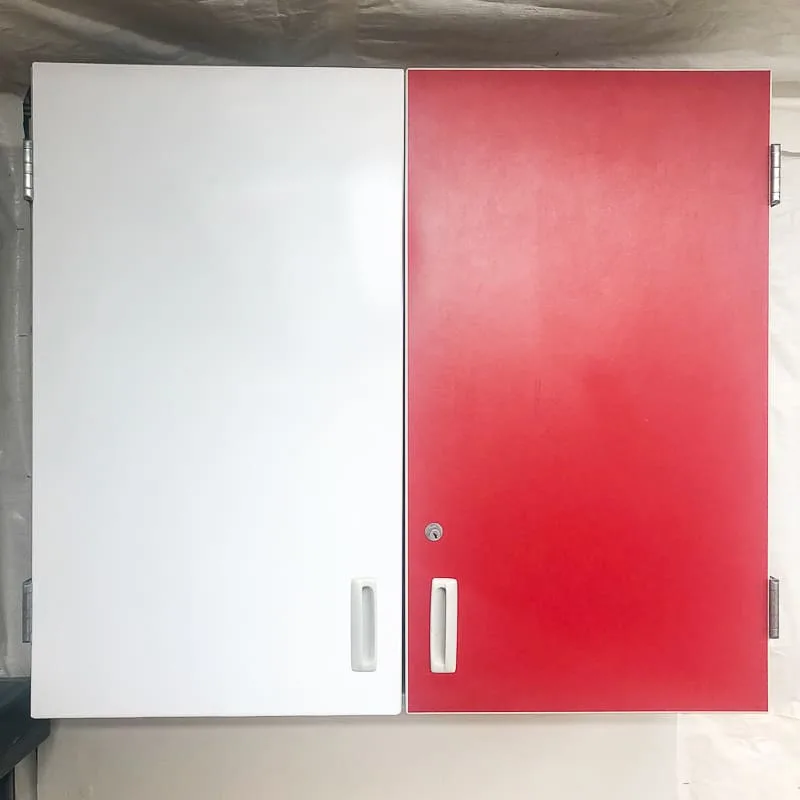
I picked up a used wall cabinet at my local architectural salvage yard for some much needed workshop storage. It's the perfect size, but the bright red doors are a little much! Nothing a little contact paper for kitchen cabinets can't fix!
This post contains affiliate links for your convenience. Purchases made through these links may earn me a small commission at no additional cost to you. Please visit my disclosures page for more information.
Materials Needed
- Contact paper
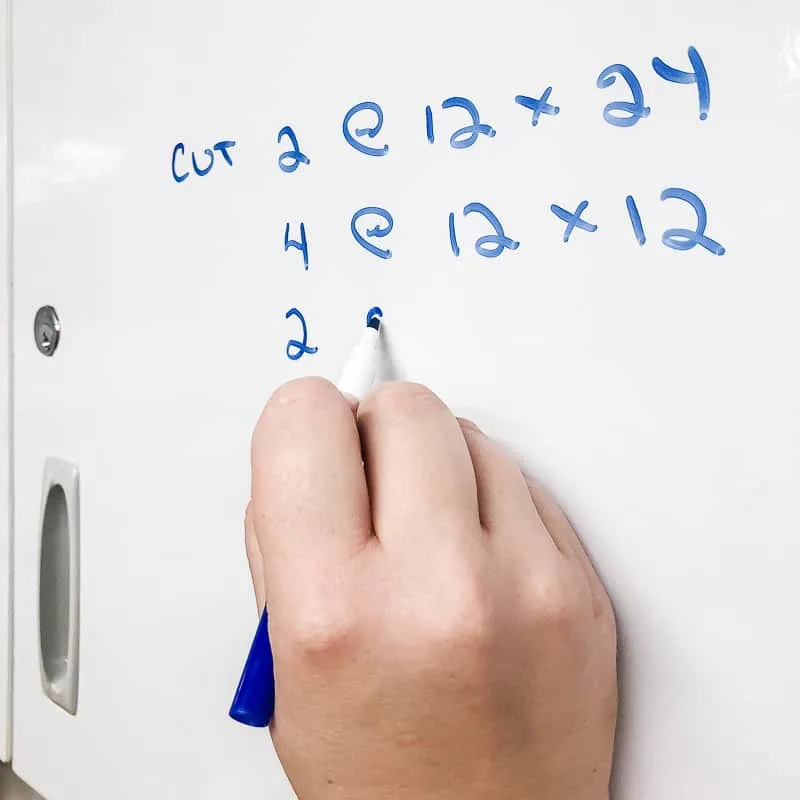
- I used white dry erase contact paper, so I can write notes and shopping lists right on the doors!
- Squeegee, smoothing tool or even an old credit card
- Scissors
- Razor knife with new blade
- Windex
- Screwdriver to remove hinges and hardware
How to Apply Contact Paper for Cabinets
This process works best on flat-front cabinets without any decorative details or trim on them. But you could also try it on a door with a flat center panel for a little pop of color! You can learn more about the different types of cabinet doors here if you're not sure which style you have.
Remove the Cabinet Doors
This process is a lot easier if you take off the cabinet doors first. Just unscrew the doors from the hinges, leaving the hinge attached to the inside the cabinet.
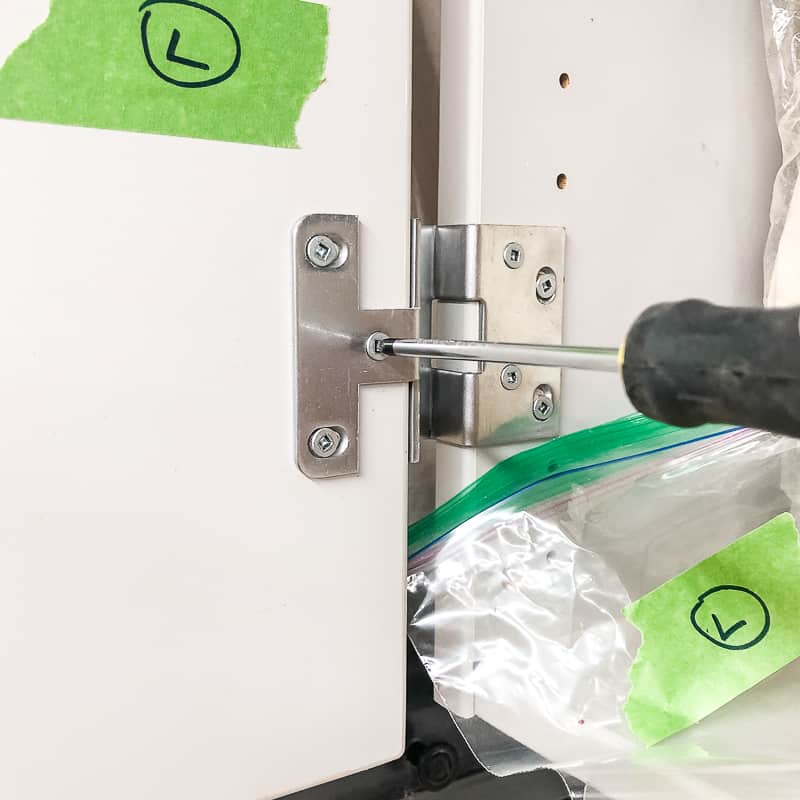
If you're applying contact paper to all your kitchen cabinets at the same time, label them first. Each door is already leveled and adjusted, so switching doors or hardware will create more work for you! Just stick a piece of painter's tape to the cabinet, door and hardware bag with the same number or letter written on it.
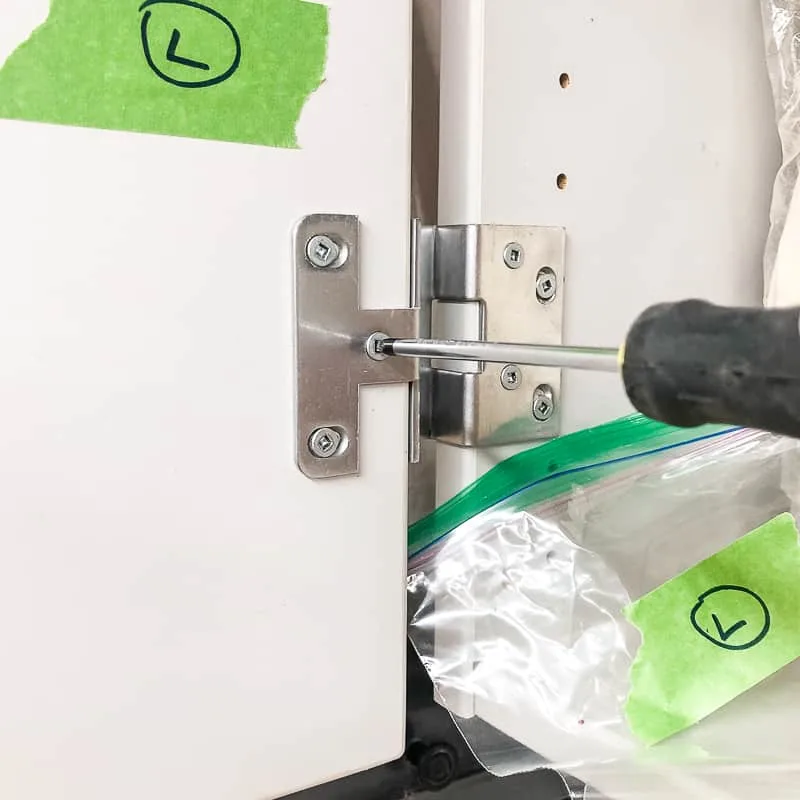
Remove Door Handles and Knobs
Unscrew the hardware from the back, then remove it from the door. Put all the screws into a plastic bag and label it with the same number as the door and cabinet.

Clean the Doors
Any dust or grease will prevent the contact paper from sticking properly. Plus, bumps can show through, so take the time to scrape off anything that's sticking up from the surface.

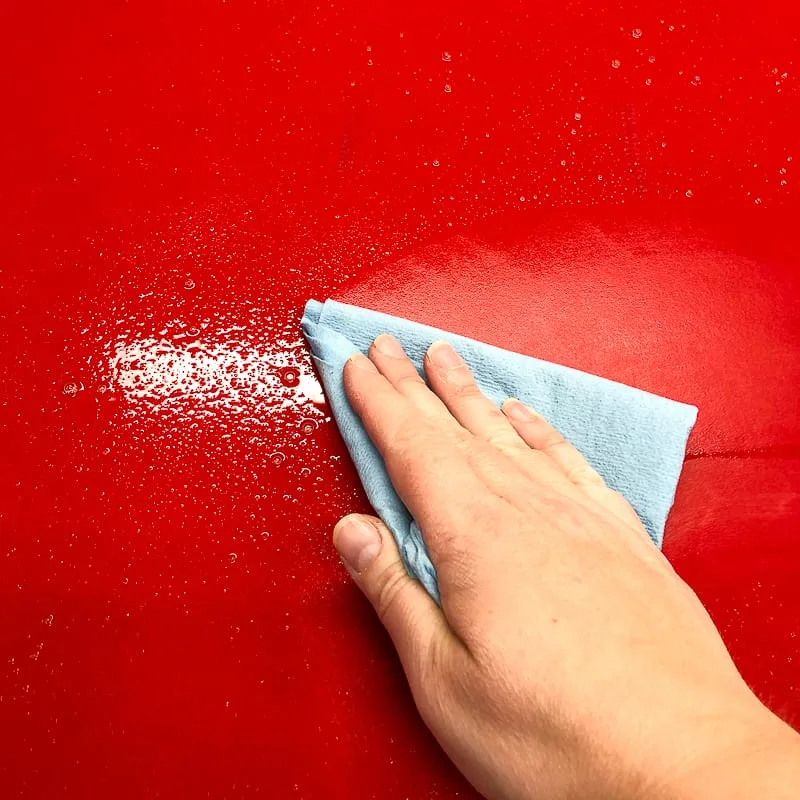
Leave the surface slightly damp when you apply the contact paper. A thin film of Windex allows it to slide around a bit so it's easier to adjust.
Cut the Contact Paper to Fit the Cabinet Door
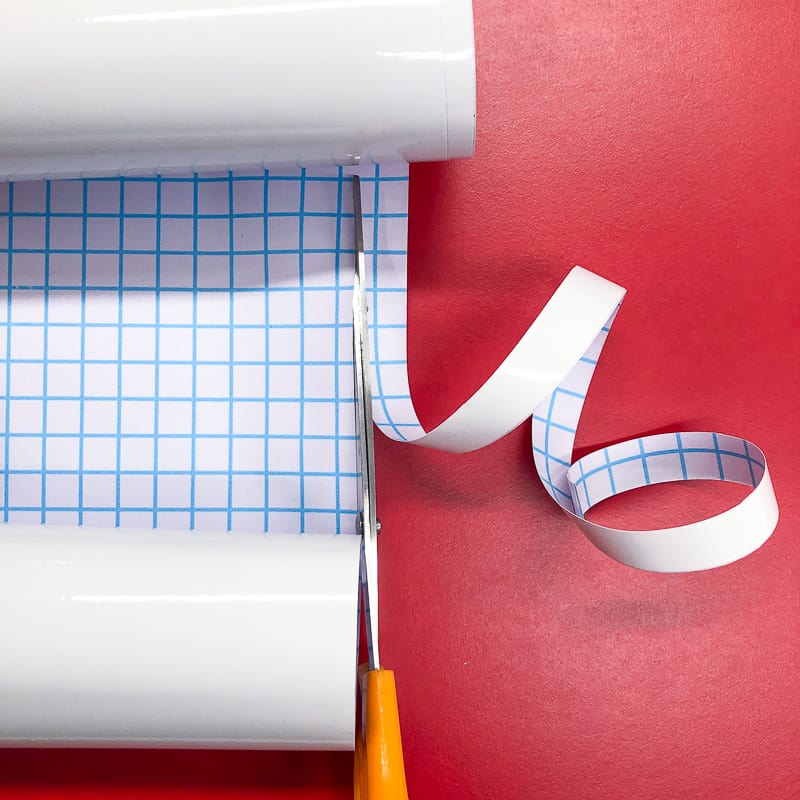
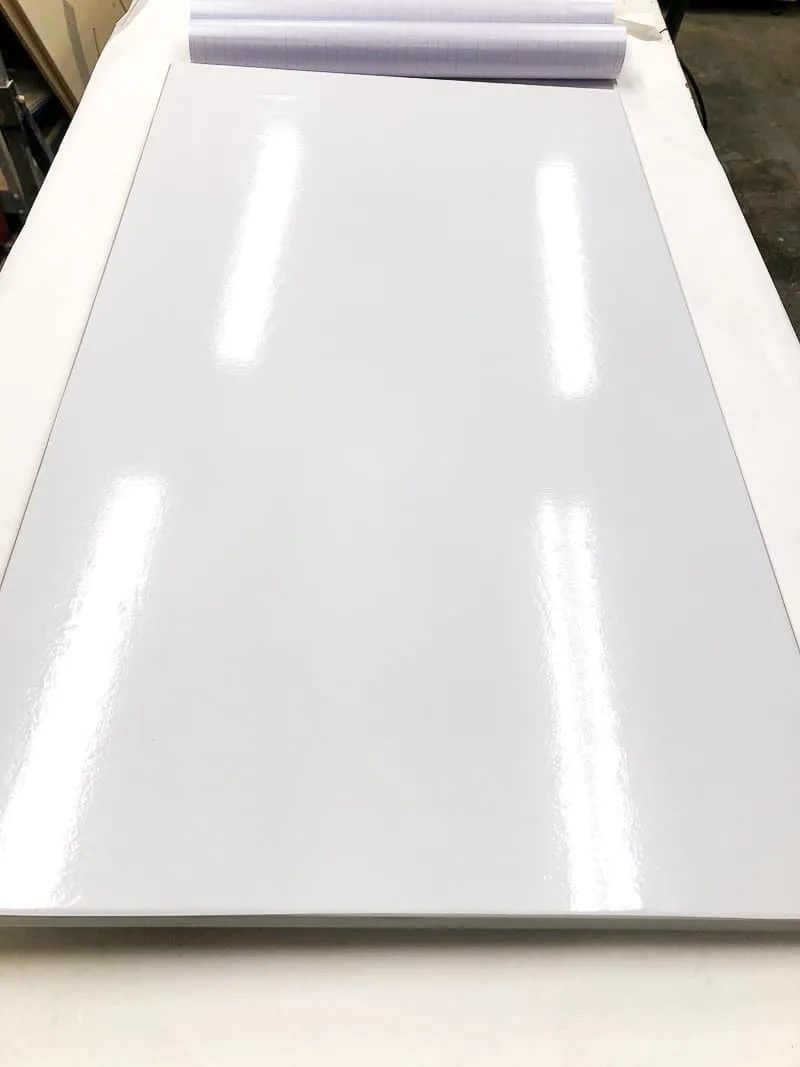
Unroll the contact paper across the cabinet door. Line up the end with the corner, then mark the other end with a tiny snip of the scissors.

I can't cut a straight line to save my life, so the grid on the back is soooo helpful! Trim the contact paper to the required length with scissors, making sure to keep the cutting line as smooth as possible. You could also use a ruler and a razor knife on a cutting mat for a perfectly straight edge.
Repeat the process for the width of the cabinet door. Mine was just slightly narrower than the contact paper roll, so I only had to trim off a tiny bit.

Apply Contact Paper to Cabinet Door
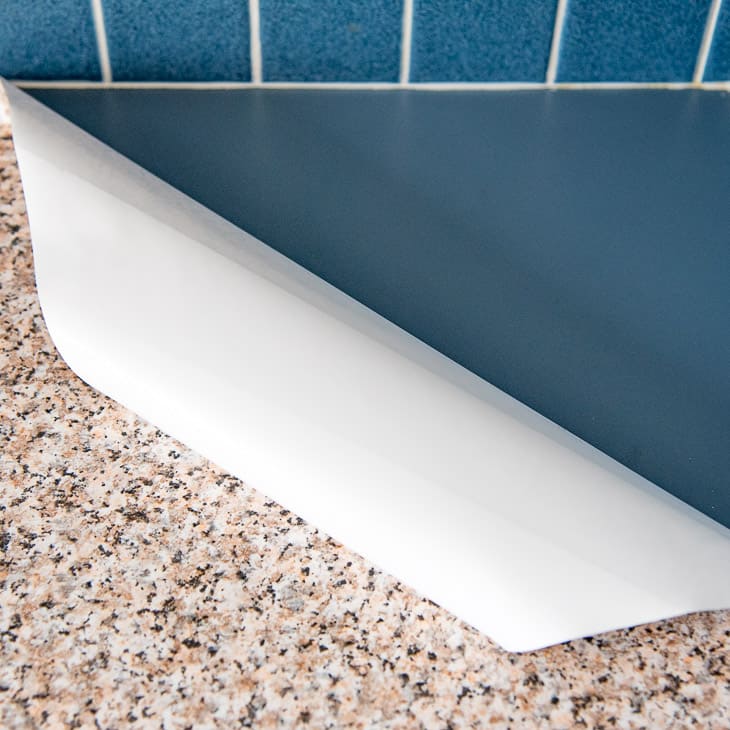
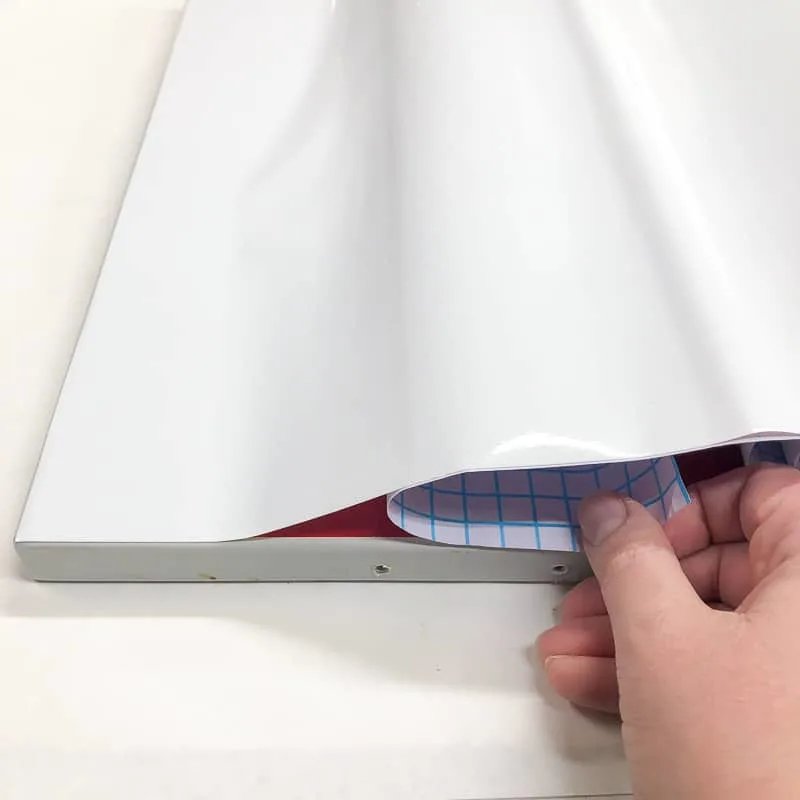
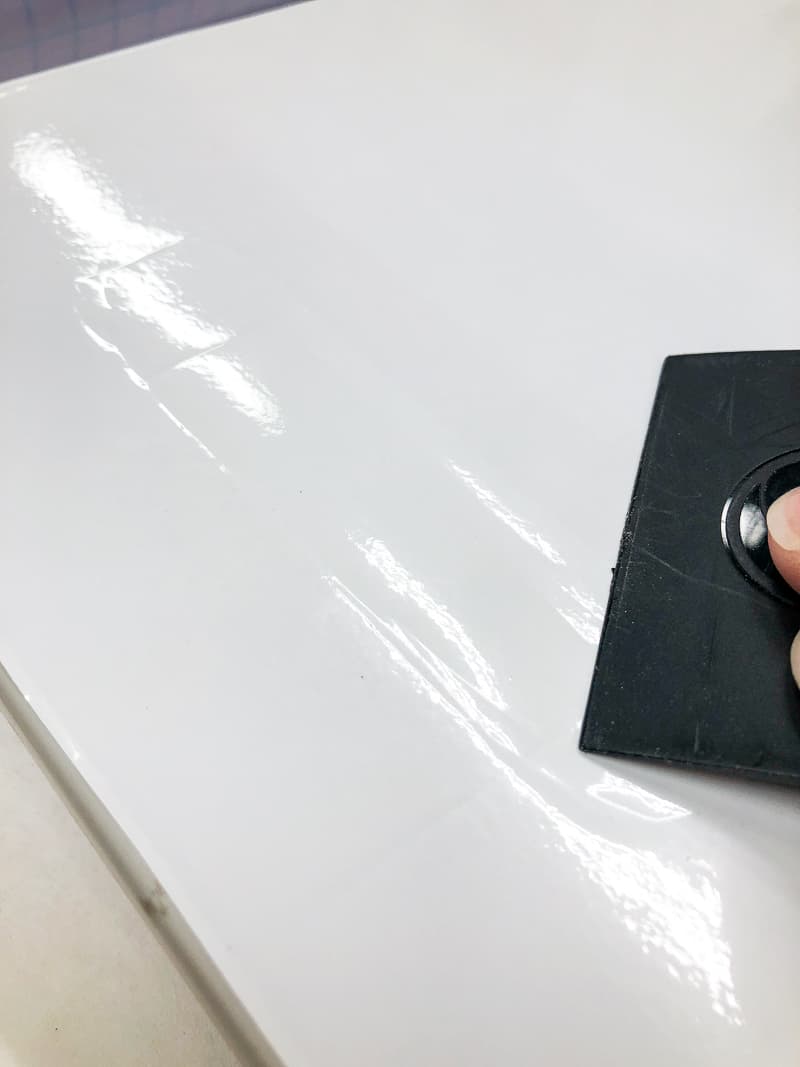
Peel the backing off the first inch or so, and align the corners. Push out any air bubbles with a squeegee or smoothing tool.
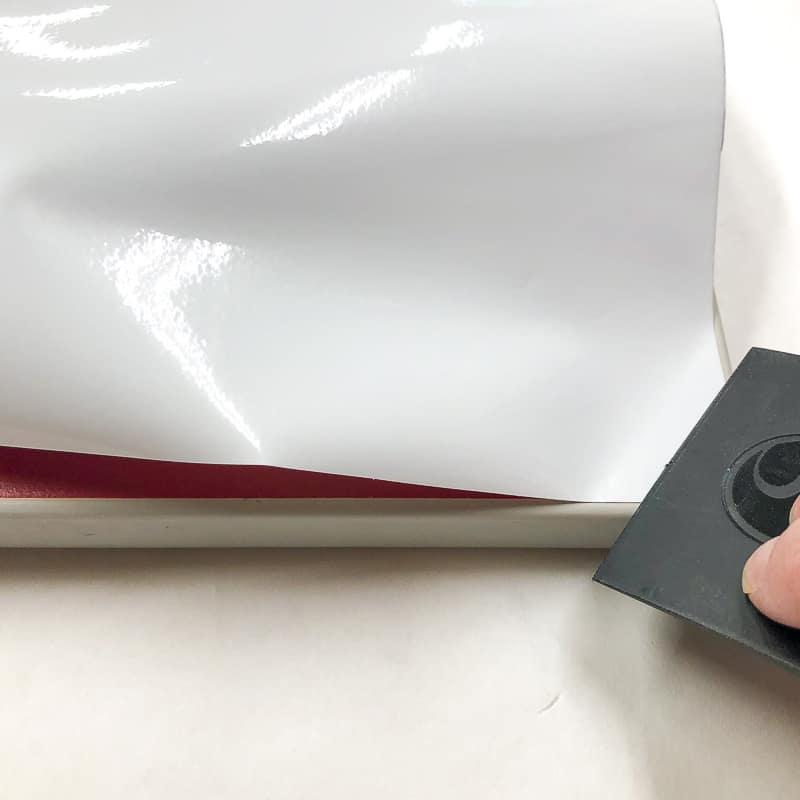

Stretch the top edge taut and stick the other corner in place. Then firmly press down the middle with the smoothing tool. It's important to get this section aligned correctly so it doesn't end up crooked as you work your way down the cabinet door.

Pull back the backing another couple of inches, then smooth out the contact paper in the direction of the roll. This will push out any air bubbles instead of trapping them underneath.

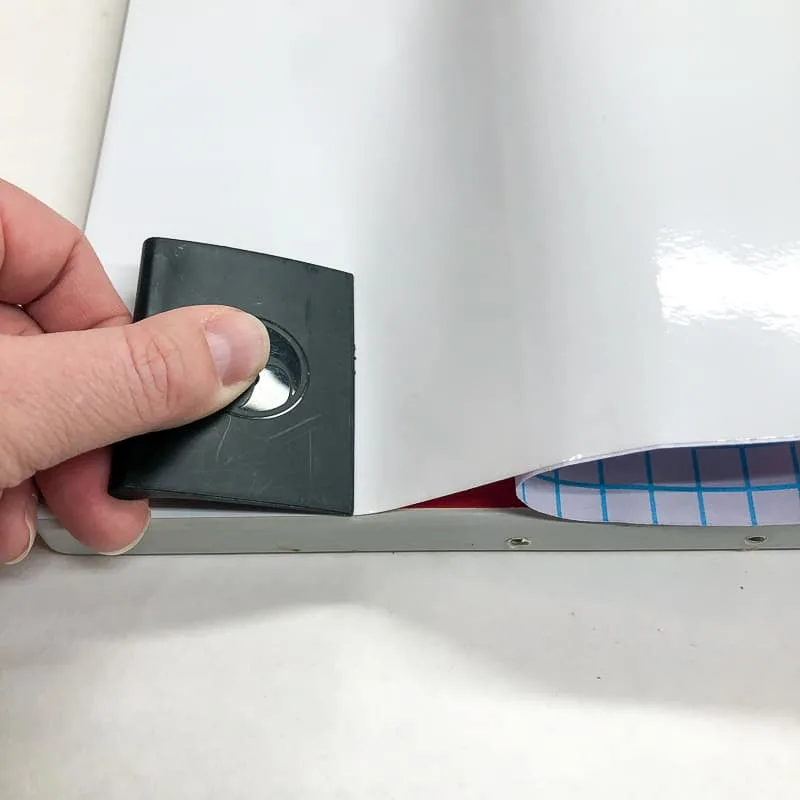
Continue working your way down the cabinet door a few inches at a time. If it seems like you're veering off course, you can pull it up and try again. Just be careful not to crease it!
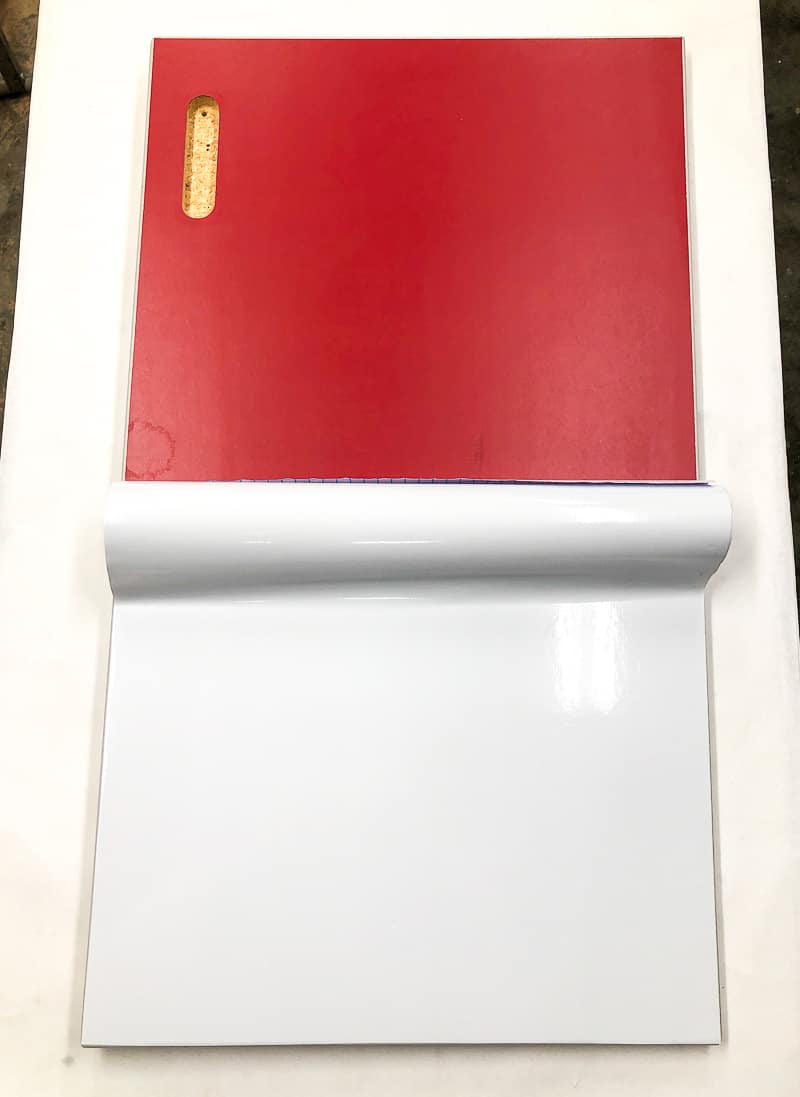

If you measured correctly, the contact paper should cover the entire surface perfectly! The red cabinet door is no more!
Trim Off Any Excess
My second door didn't go quite as smoothly as the first. I ended up with a little bit extra at the bottom (measure twice, cut once, people!)
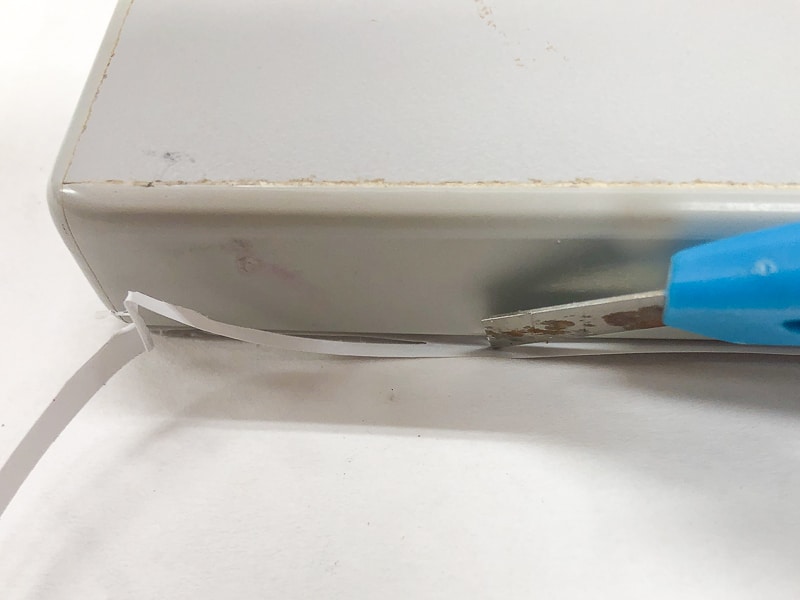
Luckily, this is a pretty easy fix! Just flip the cabinet door over so the contact paper is facing down. Then run a razor blade along the edge to trim off the excess. I suggest doing this over a piece of cardboard or something to protect your table underneath.

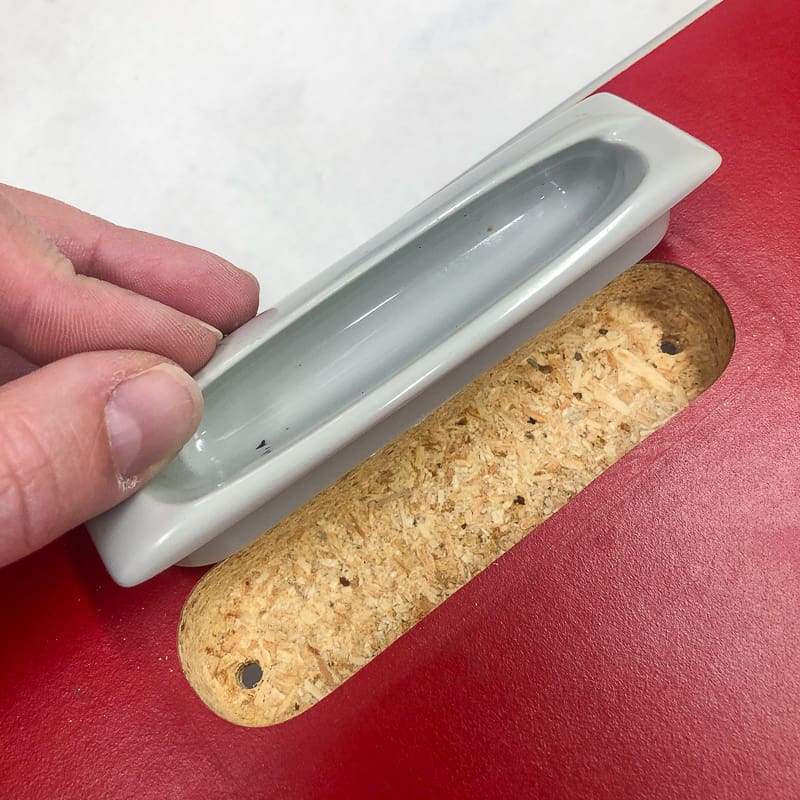
Cut Holes for Door Pulls and Knobs
As you were smoothing out the contact paper, you probably felt the holes from the door pulls and knobs. Rub the smoothing tool over those spots to create an imprint.

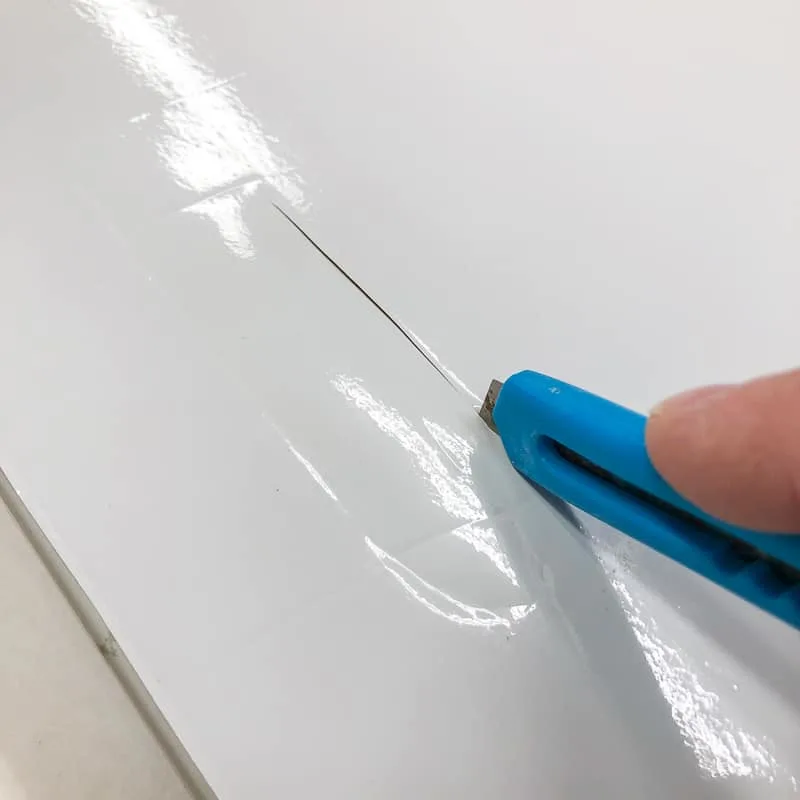
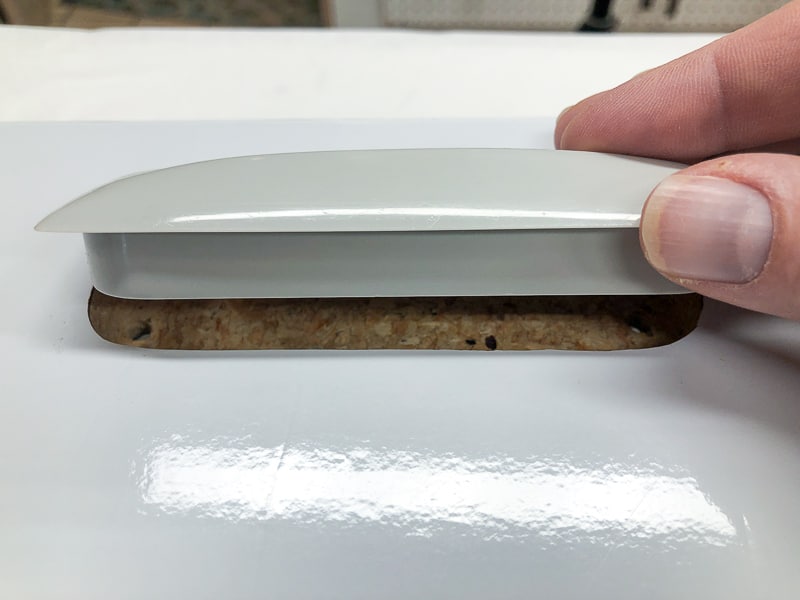
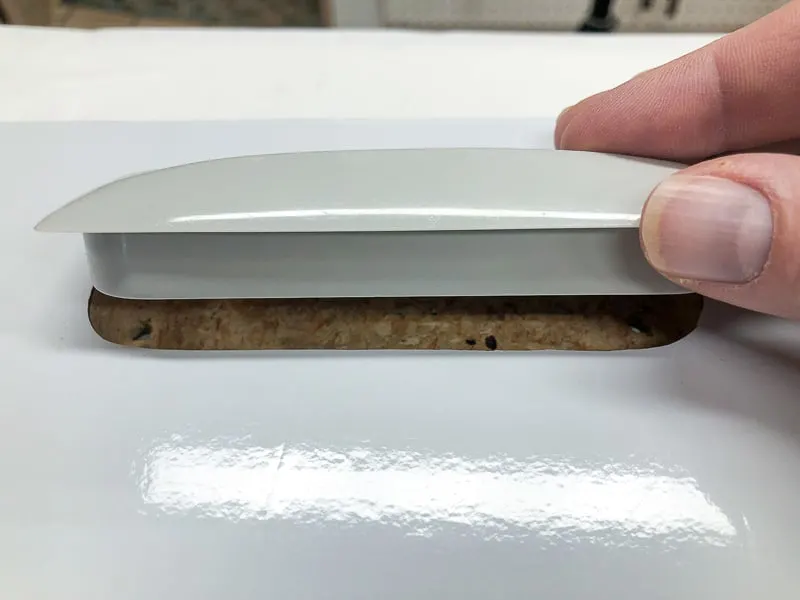
This cabinet door has a recessed door handle, so I used the razor blade to cut along the edge of the hole. If yours is just a small screw hole, cut an X across the hole.

Now you can reinstall the door hardware, and the cuts should be hidden underneath!
Reinstall the Cabinet Doors
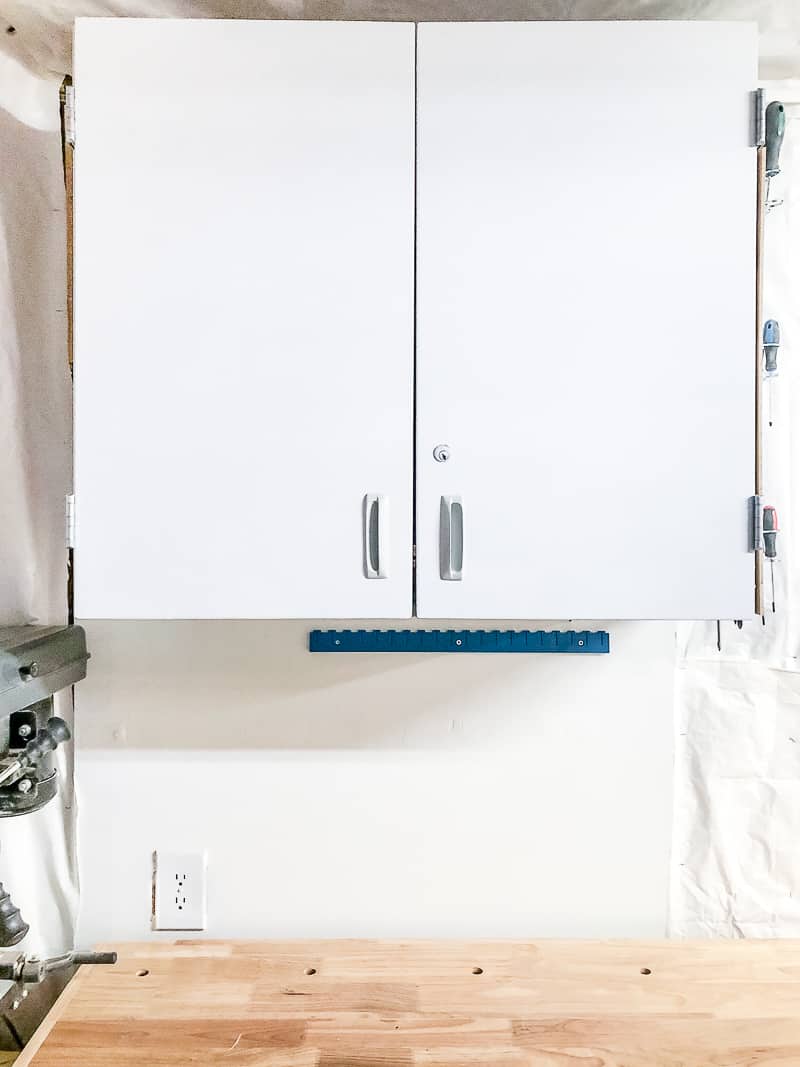
Match up the door to the corresponding hinge and screw it back on. What a difference!

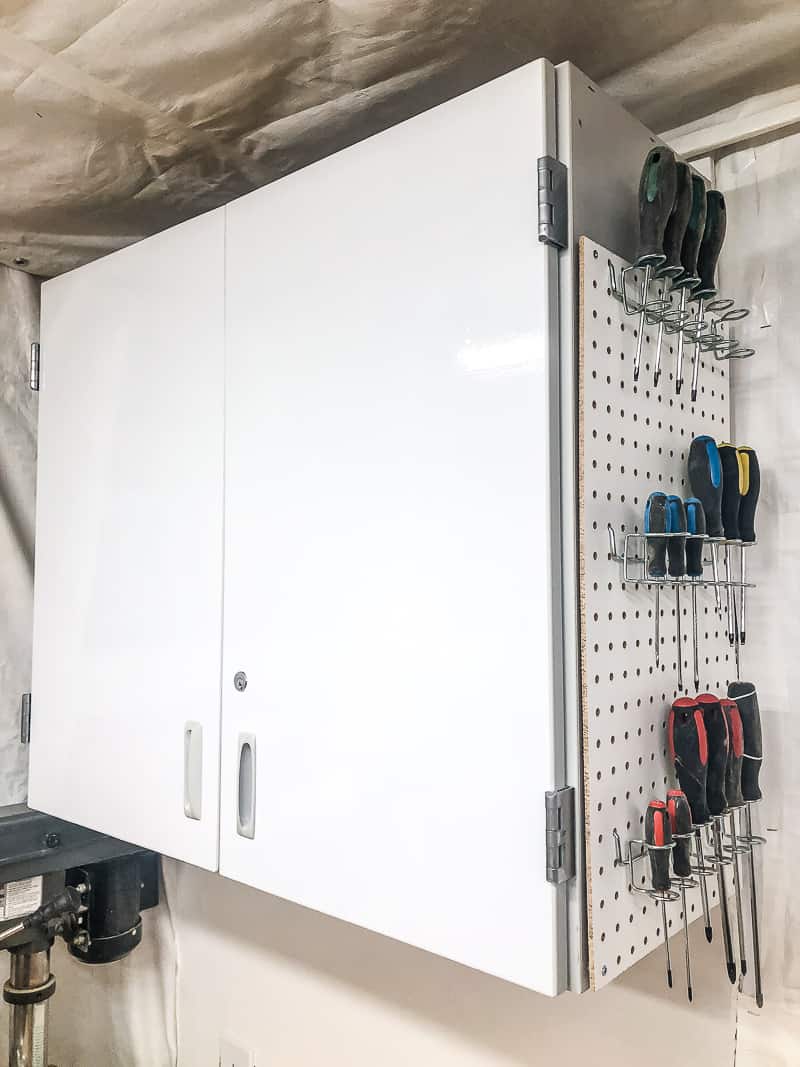
Now I can write notes on the doors! I had whiteboard sheets on the wall of my workshop before, but it quickly got covered up with a pegboard and a clamp rack. It's nice to be able to write out my cut lists where I can see them, instead of losing a scrap of paper in the chaos!

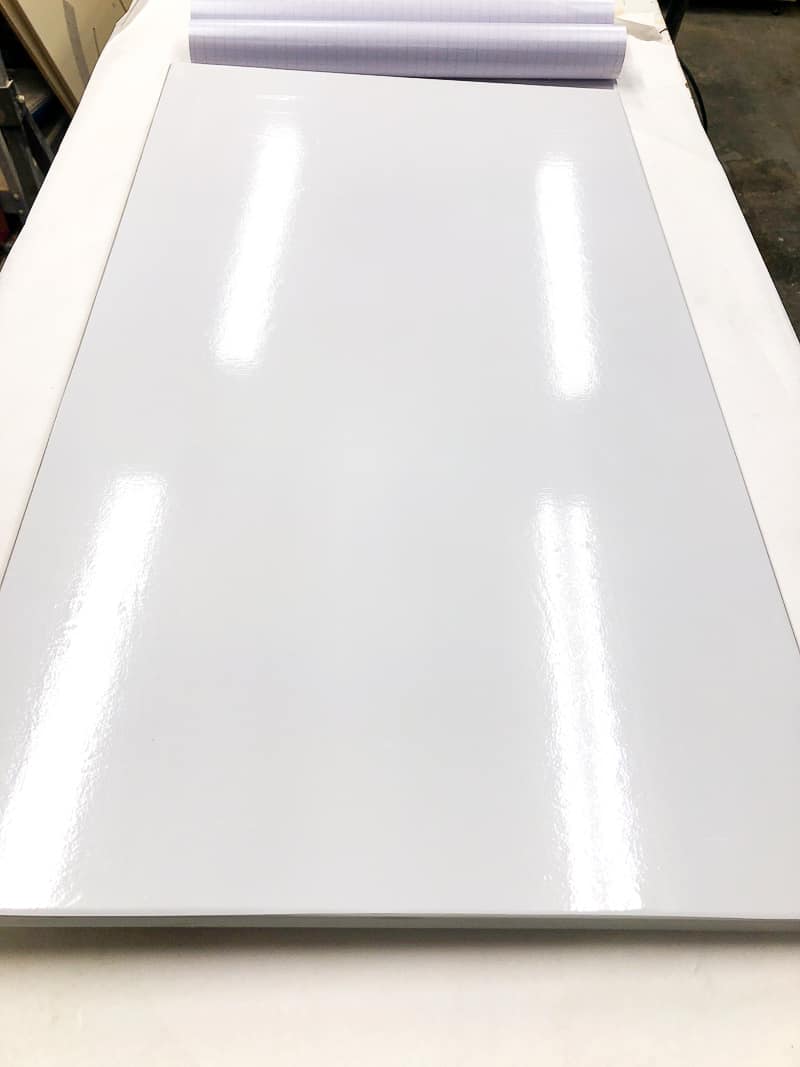
There are plenty of matte and patterned contact paper options out there if you don't like the shiny look. Just keep in mind that the textured ones won't be quite as easy to clean!
I added pegboard to the exposed side of the cabinet for additional storage. (Ignore the white tarp on the wall and ceiling. Some genius decided to run a water line ON TOP OF the studs instead of next to it, so I can't install drywall over that section. *eyeroll*)

Enjoy your Updated Cabinets!
This is such a quick and easy project, and it makes a HUGE difference! It's perfect for renters who hate their dated cabinets but can't paint them. This removable contact paper for cabinets peels off easily without any sticky residue, so you can get your security deposit back when you move!
I'm especially impressed that there's no red showing through the white! I was worried that it would look a little pink, but you would never know that there's bright red doors under there!

Check out these other easy home improvement projects!